-
Posts
1071 -
Joined
-
Last visited
-
Days Won
32
Content Type
Profiles
Forums
Blogs
Events
Gallery
Downloads
Store
Everything posted by A to Z
-
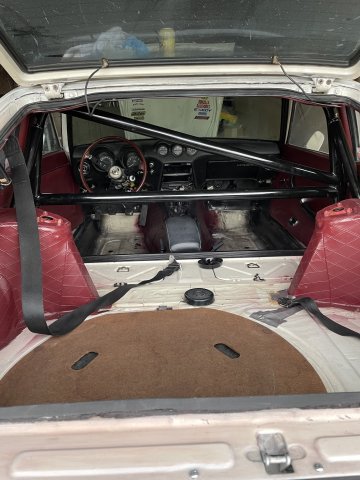
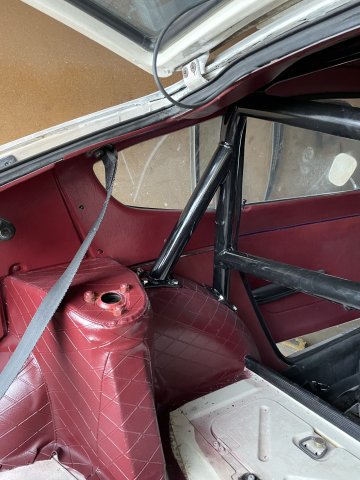
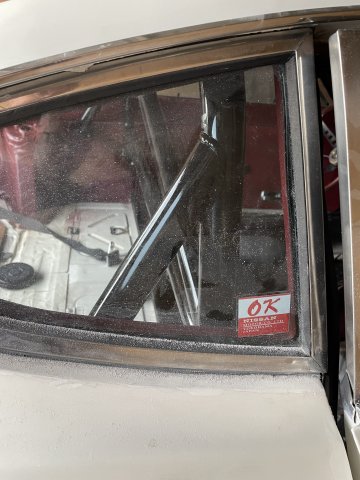
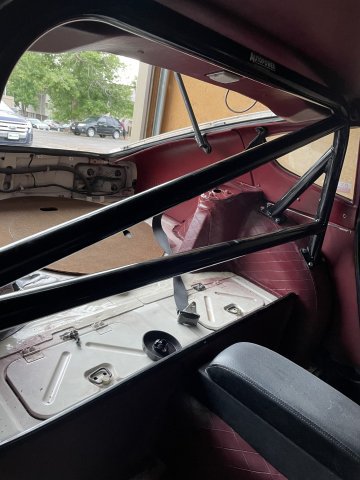
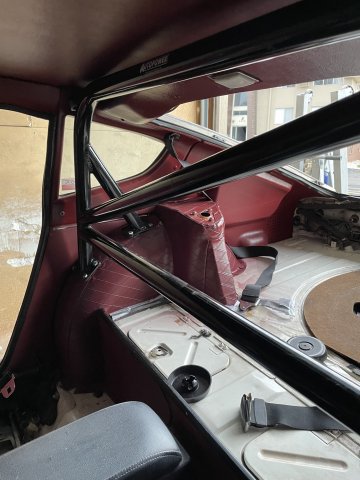
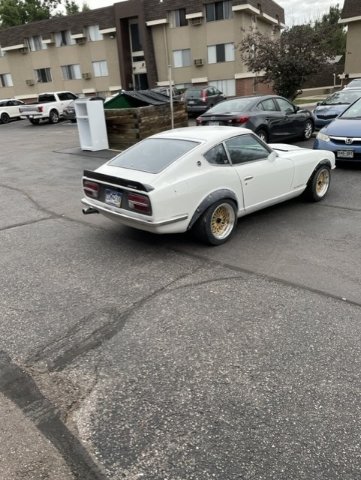
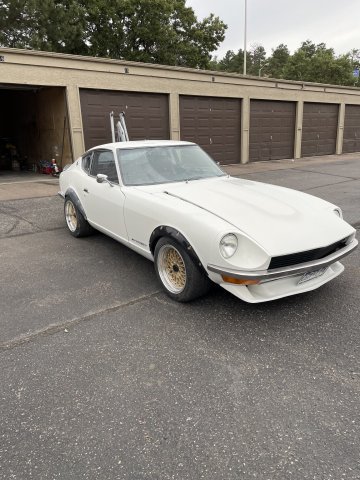
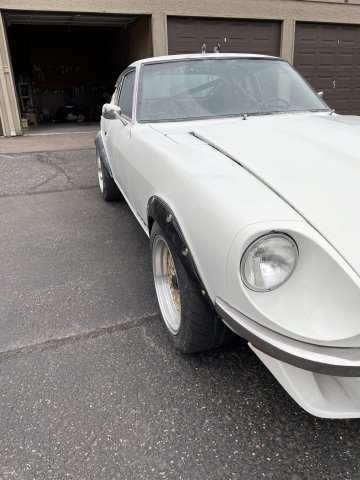
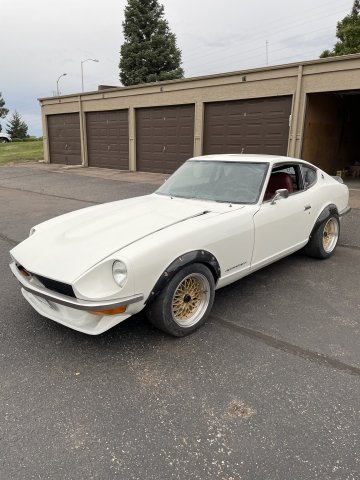
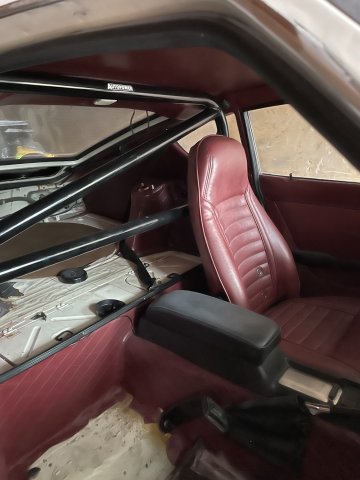
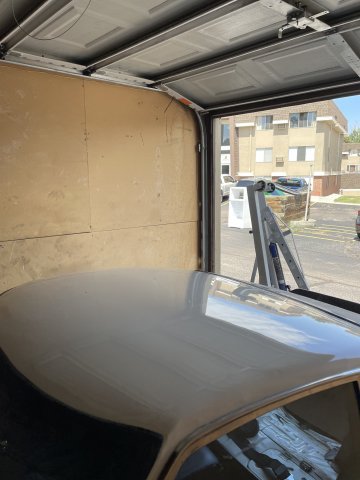
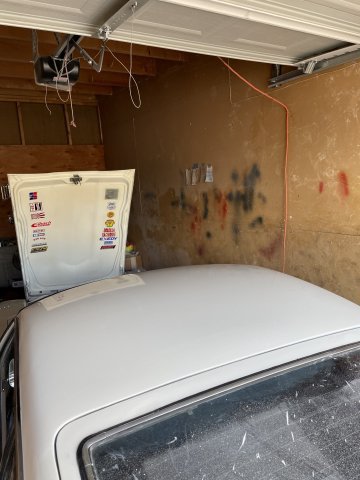
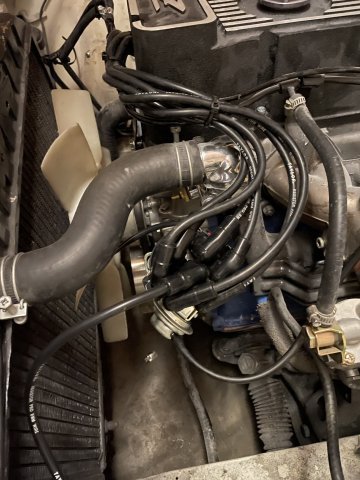
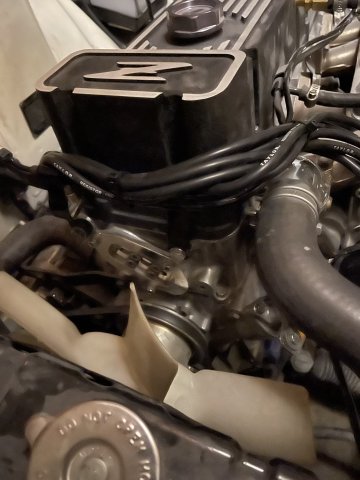
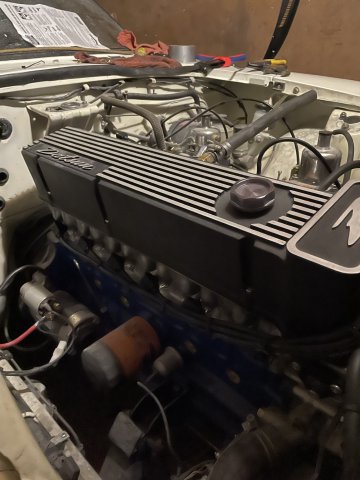
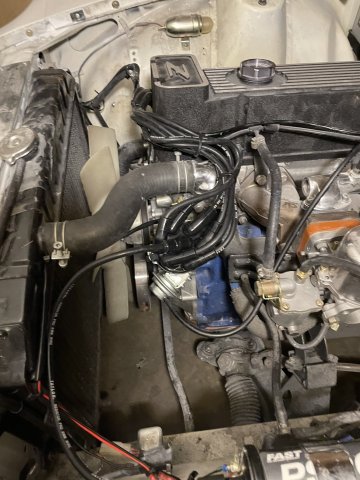
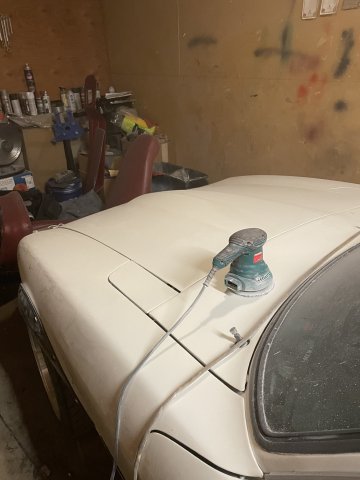
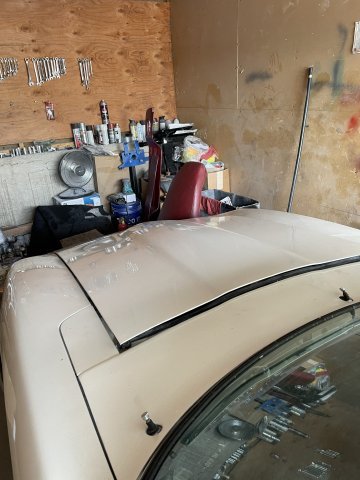
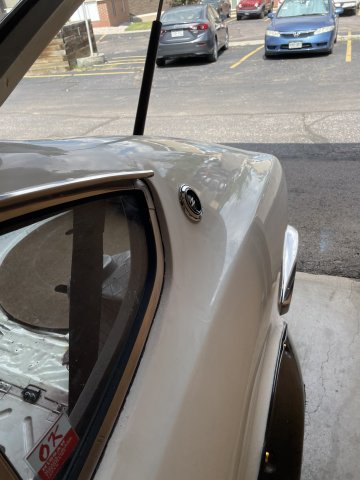
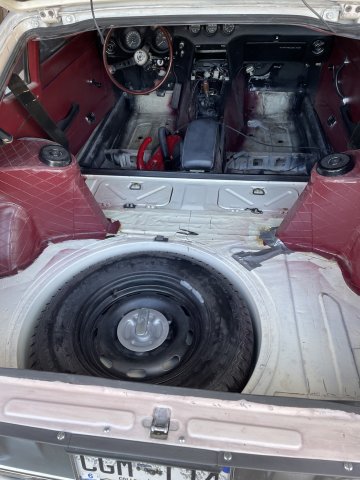
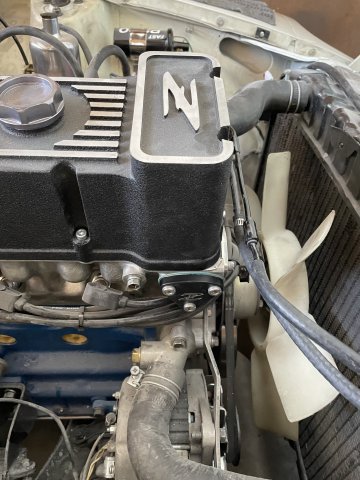
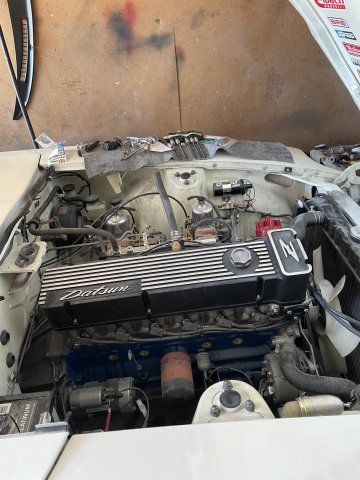
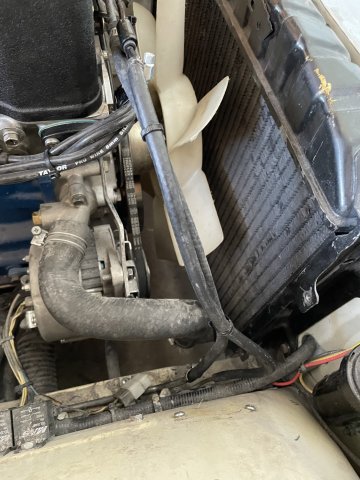
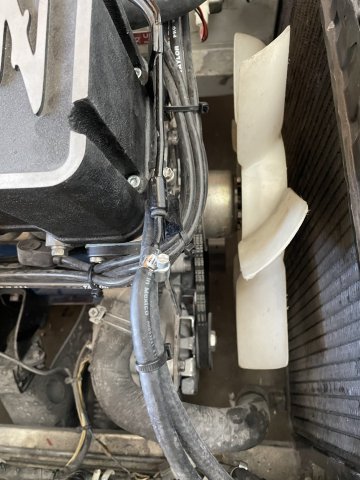
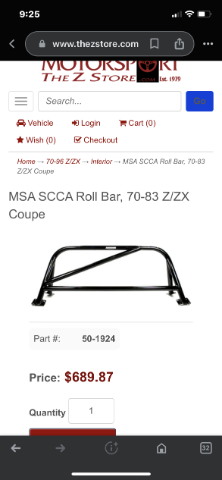
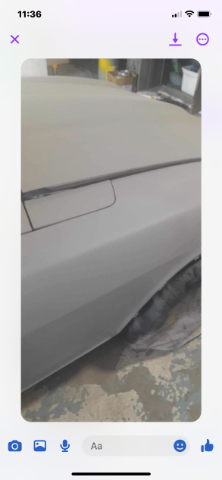
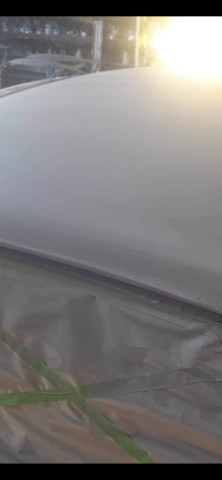
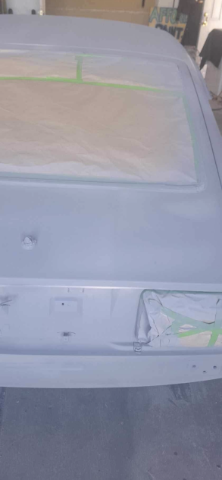
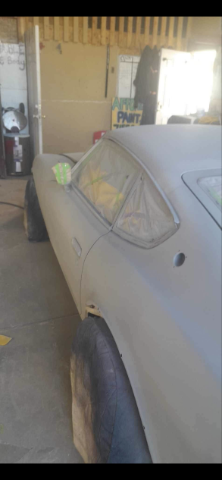
07-30-2023 UPDATE. Jumped on the fuel leak in the rear first....the 51 year old original hose couldn't take the pressure of the pump and blew out, so I replaced it, then went ahead and installed the rollbar, then added in inch to the clutch master cylinder rod....now it is WAY too long! So I guess 1/2" longer?? Pedal is at max height, and the clutch letout is at the very end. At any rate, I then started the car up and set the initial timing at 15 degrees. Took her for a maiden drive in the parking lot....very lean, and it pings as soon as you step on the gas.....octane of the fuel in there is 88 so I will add octane booster and richen the carbs and start that fun again. At any rate everything works, and I now know the engine and trans will not have to come back out. I took some pics...the car is VERY dusty and dull, because it is sanded with 2000 grit and waiting to be buffed. The roof is already buffed but covered in dust. Car is about 90% done now. I am about spent.....glad it is almost done. Cheers. PICS:
-
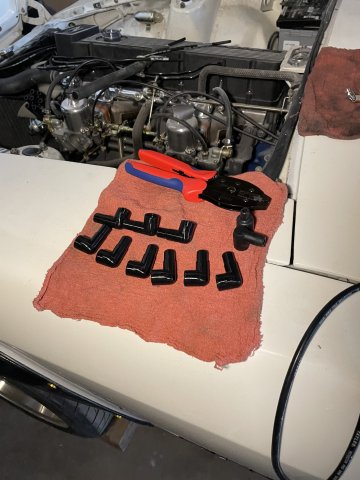
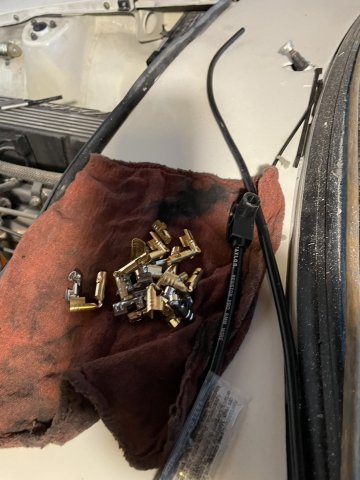
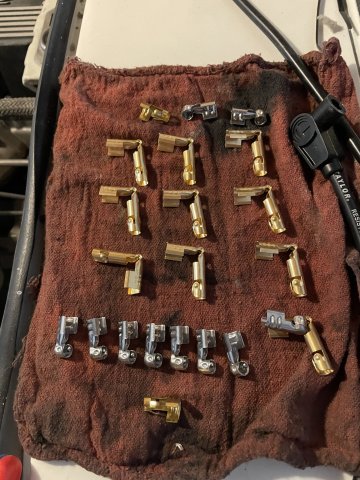
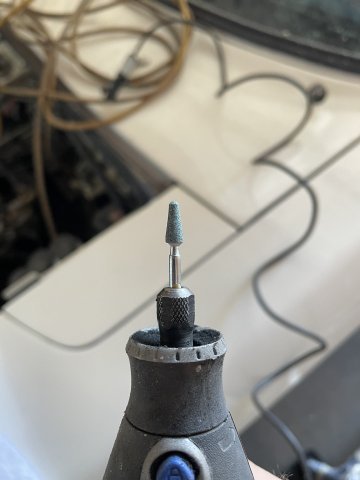
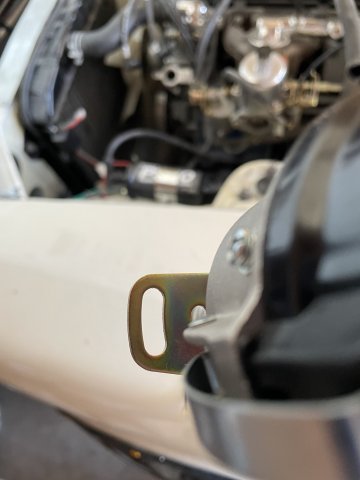
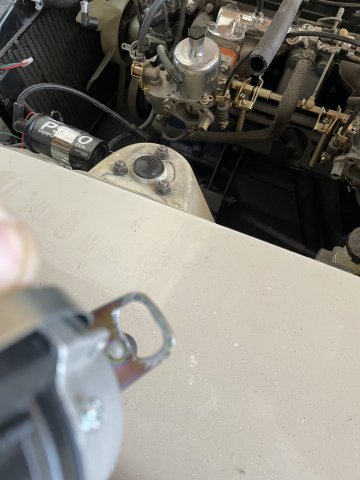
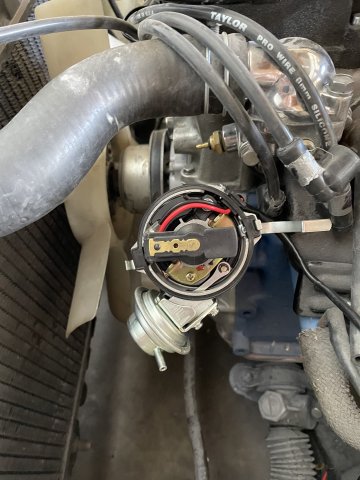
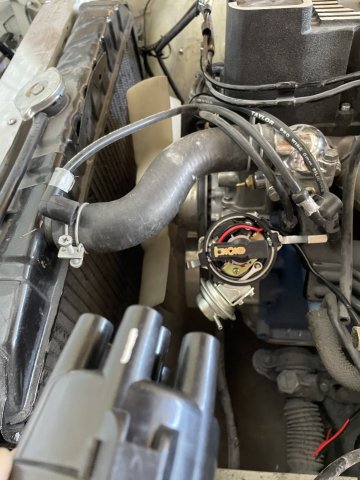
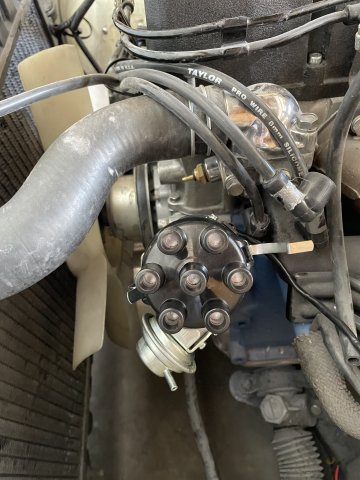
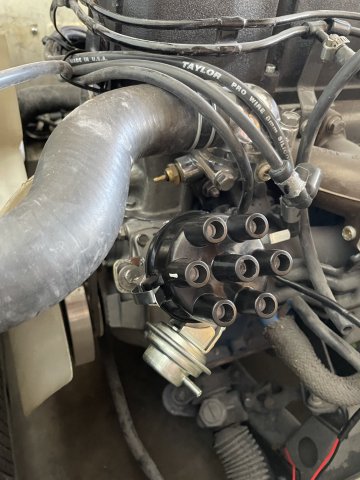
07-29-2023 update. Busy Day! I started with confirming I was at Top Dead Center on #1, and I was. That was great. I thought for sure I was going to have to drop the oil pump, etc. I also found out that my 240Z L24 timing pointer is much better than the L26 scale I have on there as well....so ignore the scale......I then went to drop in my new distributor but the slot for the screw that holds it in place after timing adjsutmenst was WAY off....so I had to dremel it out to work. Once In, I went ahead to tied things up and tried to start the car....SUCCESS! I was so happy! No smoke, no bang, no explosion...I let it run and get nice and hot, and was rewarded with the weird smells of a new engine seating in for at least an hour if not more. 40-45 psi oil pressure at idle, or 950 RPM I guess......must be the 10W30 break in oil holding the pressure back a hair....at any rate, it IS good pressure, so I my first REAL engine build and it didn't screw it up. Thank you Jesus. After that, I started on the extension for the rod on my clutch master cylinder where it hooks up to the pedal.....not long enough. From what I have read it is a common problem, so I have that in the works. When the engine was running, one of my old fuel lines in the back decided it didn't like being under pressure and blew a leak, so I have that to do now as well. I got the rollbar all unpackaged, and it is ready for install. Next I ran my new set of Taylor cut to fit 8mm spark plug wires, what a pain. But I got them done. Then ended the day color sanding my hood , isnpection doors and top of front fenders, etc. I got about 95% done and my new orbital sandeer broke, so I ordered another one. Lasted 2 weeks. I DID get it nice and hot and worked the heck out of it though. Here are some pics of the busy day. Cheers.
-

clutch master cylinder rod WAY too short
A to Z replied to A to Z's topic in S30 Series - 240z, 260z, 280z
Entire new clutch kit and conversion kit from Godzilla Raceworks, as this car is an automatic transmission to manual stop. Whole whole kit is from exedy and matched. The clutch master cylinder is exedy, and the rod is just too short! -

clutch master cylinder rod WAY too short
A to Z replied to A to Z's topic in S30 Series - 240z, 260z, 280z
the pedal won't move up if the stop is turned in, unless you unhook the clutch rod. It is too short. -

clutch master cylinder rod WAY too short
A to Z replied to A to Z's topic in S30 Series - 240z, 260z, 280z
also the clutch pedal is much lower than the brake pedal. -

clutch master cylinder rod WAY too short
A to Z replied to A to Z's topic in S30 Series - 240z, 260z, 280z
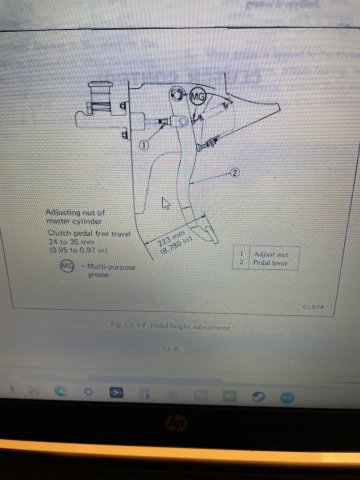
the measurement from the firewall to face of pedal pad is 6.5 inches instead of 8.78 inches per the factory manual -
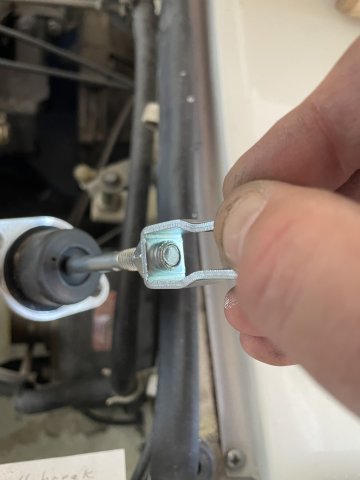
On my clutch setup, I noticed that I wasn't getting enough "push" from the clutch master cylinder. According to the FSM, there should be 8.78 inches distance from teh firewall to the front of the pedal (see pic I attached). When I measured mine it was only 6.5 inches !!! so somehow, my rod is 2 3/8 inches too short! I am assuming I can buy a thread on coupling and some additional all thread to make up the length that is not there, but I am noticing that the clutch pedal stop is screwed out keeping it from coming up any more. So, I know I can simply adjust that out to let it come up, but I am wondering if anyone else has had this problem? 1972 240Z
-
07-23-2023 UPDATE. Another day in the garage on the Z car. I did some tests and found that my coil is good, ballast is good, but the modules in both Mallory Unilite distributors are bad.....I orderd a stock style breakerless distributor the other day, and it will be a simple 2 wire to the coil affair....So my time with Mallory is over. Moving on. Anyway, I also decided it was time to get the interior cleaned up. I pulled the carpets and the seats, and then vacuumed and started wiping/mopping out the interior. I took a couple pics....some just for admiring the glossy paintjob I now have. Take care.
-
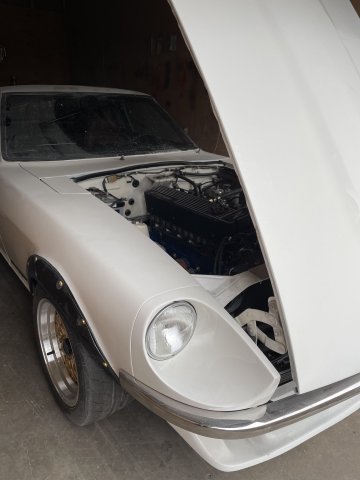
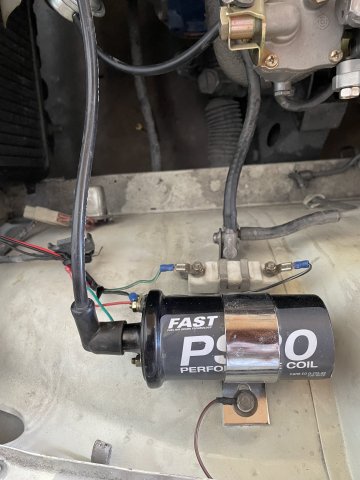
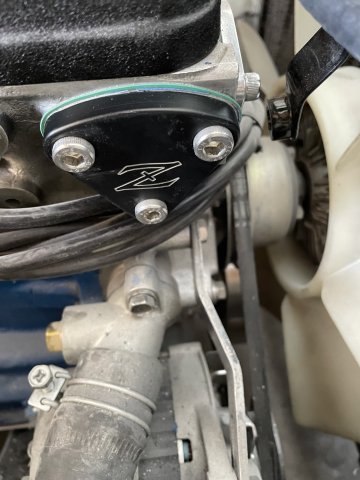
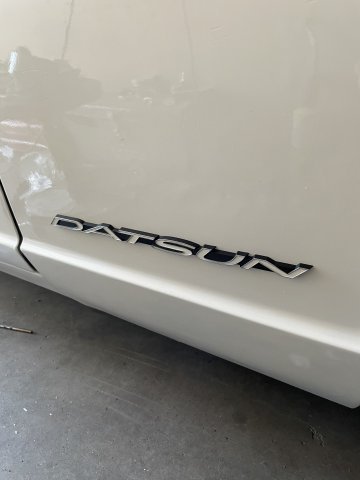
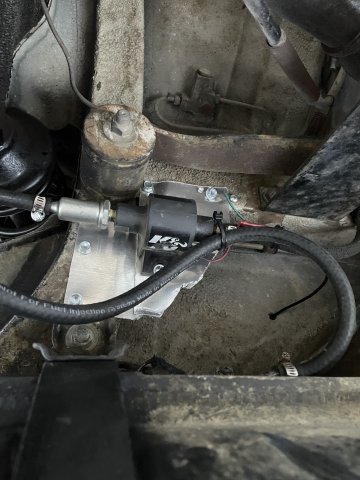
07-22-2023 UPDATE: Trying to get it running. Something in the ignition is wrong. I am starting to think that the reason my new Mallory distributor was found by a guy in the back of his Z car unused, is because it is bad. I have a new coil, and I wired it so that the power goes through the ballast just as mallory said.....confusing. I also went ahead an confirmed my #1 TDC, and the distributor rotor is pointing at the 11 o'clock position! Everyone is telling me that is supposed to be #4, but there it is! Supposed to be at the 9 o'clock postion accoring to the powers that be online. Any ideas? I also attached some new emblems, and mounted my K&N electric fuel pump back next to the gas tank. The bracket doesn't look good, but it works. I am running it on a separate line with a 20A in line fuse to the hidden switch inside. It will act as a theft deterrent, and I will have to turn the pump on, when I start the car. I bought a black fuel pump block off plate that matches the valve cover. Engine is DIRTY from all the bodywork and paint, but still looks pretty good. PICS.
-
The reason I post my not so great work, etc. is to show guys that you CAN do it yourself, if you can live with just a driver quality. Too many times, I see the idea of "you either have to have junk or full out restored". That doesn't have to be the case. I have a perfect Mustang. It's not so great. You worry about every little thing, this is more of a carefree sports car.
-
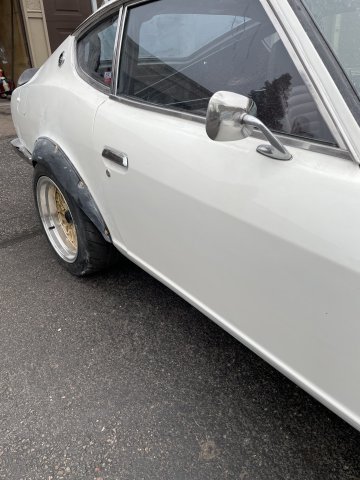
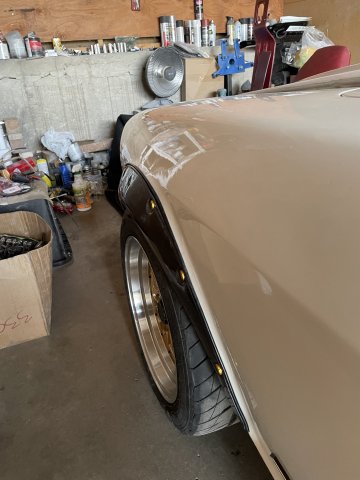
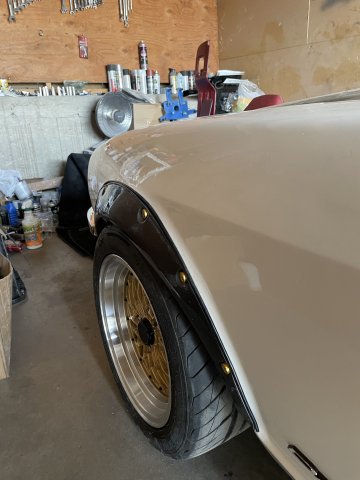
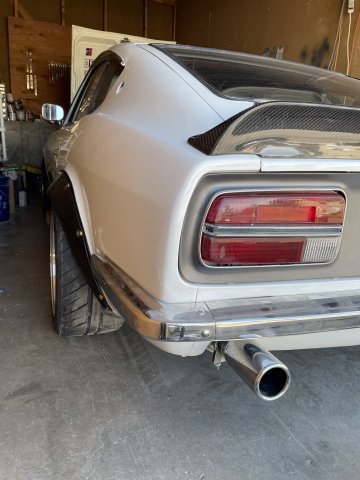
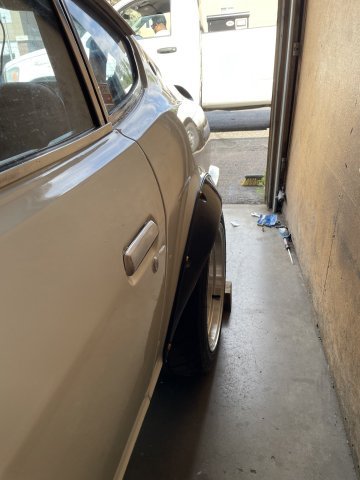
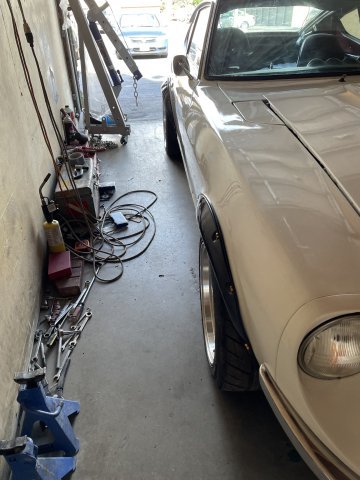
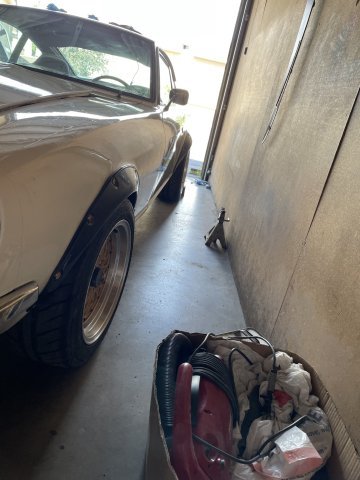
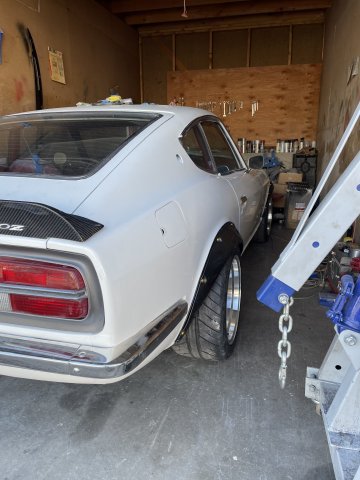
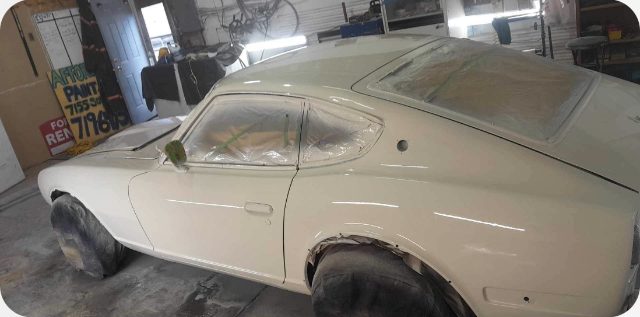
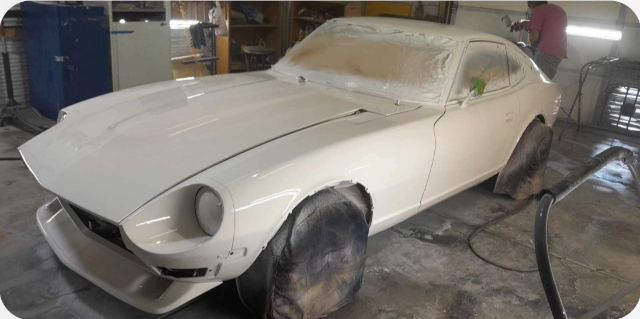
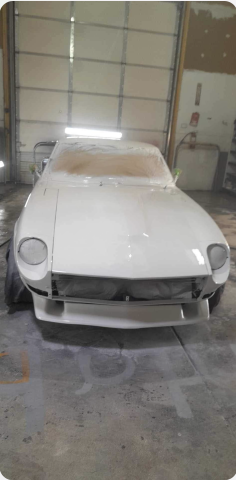
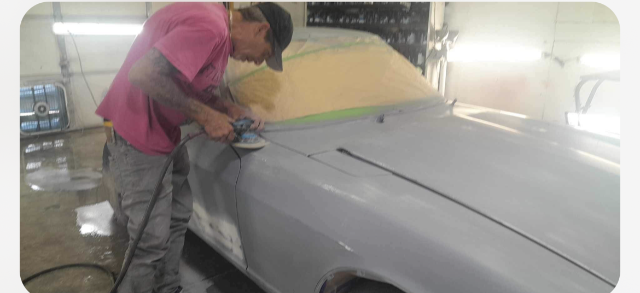
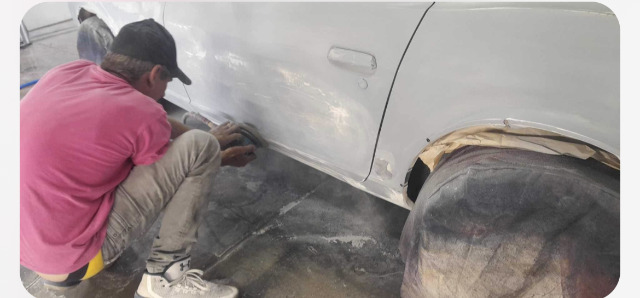
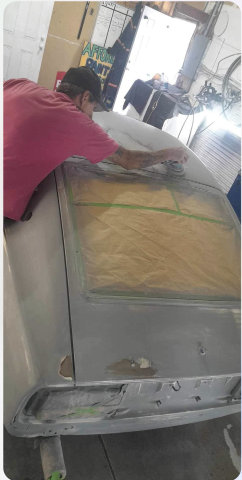
It has unique, custom flares that are a love it or hate it deal. These are universal fit, and I wanted a one off setup.....to cover the tires AND eat up the wheel well to tire gap. Cost 30 bucks on eBay. I have a backup set, and these were painted Charcoal Metallic with clear, but they need to be sanded and buffed out. If you look carefully, you can see I got them to carry on the line of the stock lip. I get the "It looks stupid" comments as well as thumbs up's, so I don't know.....I like them, they are unique, and I did it. In Japan you see custom flares, but everyone here all does them the same for the most part. If anyone reading this hates them, I can live with that....I like them and few others do as well. The paint job is a cheap paint job. It was either this or DIY with tractor paint, so this is better. I am having to do paint correction. There is dirt and dust in the paint and some areas where the clear is dull down at the bottom, so 2000 grit sandpaper, Turtle wax rubbing compound and a buffing wheel with some compound will fix that. A couple spots where it looks like the air hose touched it when it was wet, that kind of thing. He did tell me he put 3 coats of color AND clear, so that gives me some thickness to work with on sanding and buffing. I had a tad bit of overspray lines on the rubber I have gotten off. 1500 bucks and 5 day turnaround means there is a tradeoff, and ANY bodywork that isn't perfect shows right through...the clear magnify's it. So, the car is unique, one off and I will treat the imperfections as art. and Life so on. Jesus is Lord.
-
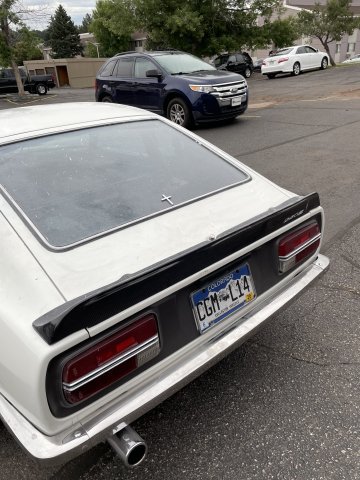
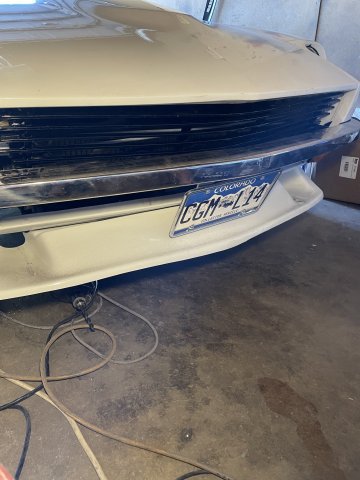
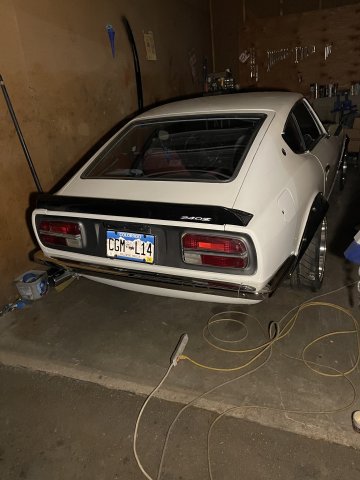
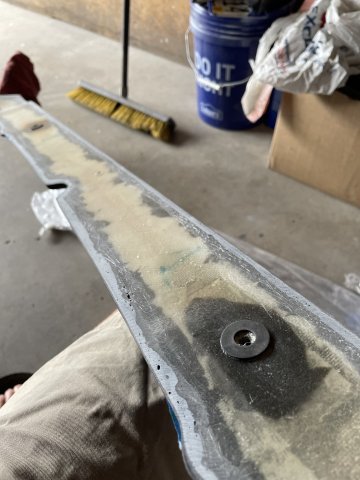
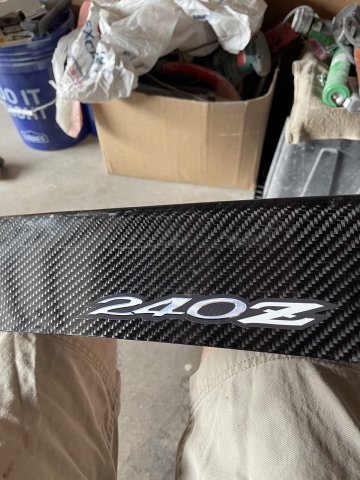
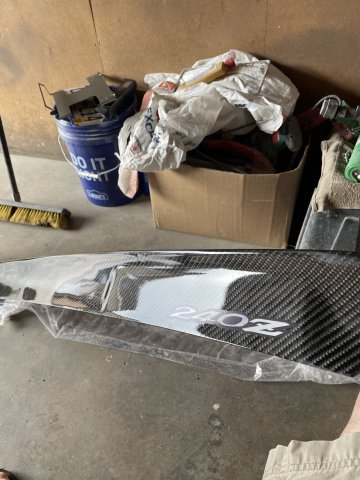
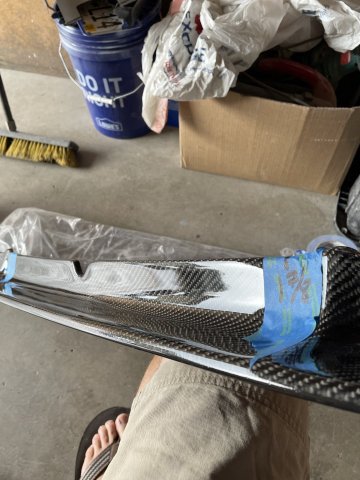
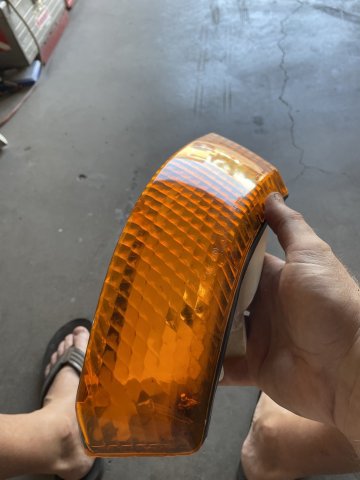
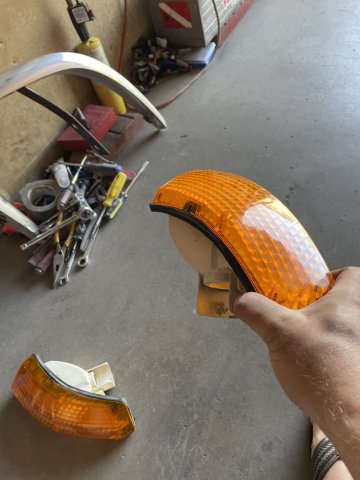
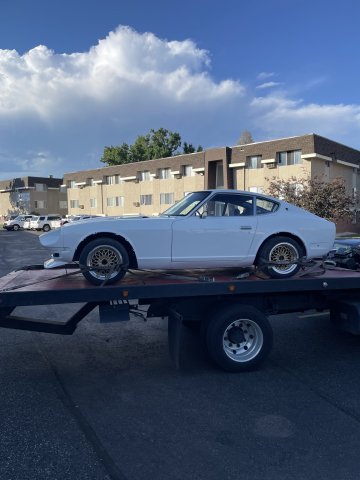
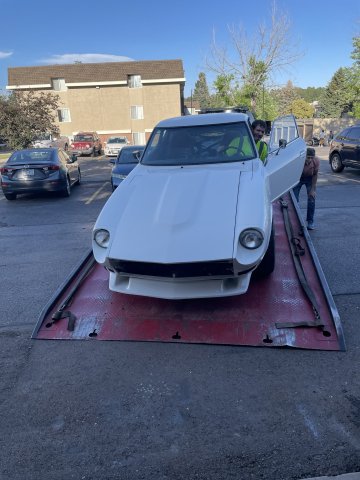
07-15-2023 UPDATE: Knowing the Z was being delivered back from the painter today, I went out to the garage to keep prepping the garage and some of the items so that I could immediaelty start putting the stuff back on. I glued some rubber washers on to the ends of the bumpers where they meet the body when tightened down, and 2 rubber washers under the rear spoiler. I then added a 240Z sticker to the back. polished out my tailight lenses and then my Z car showed up. Once it was in the garage I started putting the exterior items back on and God willing will do more tomorrow. 5 day turnaround at the painters is great! Pics follow.

