sweetride2go
-
Posts
313 -
Joined
-
Last visited
Content Type
Profiles
Forums
Blogs
Events
Gallery
Downloads
Store
Everything posted by sweetride2go
-
Good stuff John! I learned the hard way about torching near glass, now I small pits on the innerside of my windshield from plasma torching inside the car. Ryan~
-

post me some questions
sweetride2go replied to grumpyvette's topic in Gen I & II Chevy V8 Tech Board
280Z, I had the same problem, but with less miles. I found that the distributor wasn't sitting on the intake, so the clamp was pushing the dizzy down onto the oil pump drive shaft. I bought a shim kit for the dizzy so it would sit properly, and this also dropped the oil pressure a tad, but for me that isn't a problem since mine is high anyways. I haven't put many miles on it since or checked the gear. Also, I ended up going with a composite gear, so if I get around to checking it, I will let you know. I also noticed that my dizzy has two O-rings on the base of it, and after reading what Grumpy said, maybe this is creating a lubrication problem for the two gears? My dizzy is similar to this one http://www.summitracing.com/parts/MSD-8361/?image=large hopefully grumpy can chime in on this because now I'm curious. Ryan~ -
home built EFI system?
sweetride2go replied to sweetride2go's topic in Gen I & II Chevy V8 Tech Board
Just to update on an old thread. I abandoned the thought of doing a home built EFI. It would be cheaper and probably easier to go megasquirt or some other engine management on a regular manifold for the Gen-1 chev. Also, through my research it seems that the LT1 manifold I wanted to use wasn't efficient for the kind of power that I was hoping to achieve (500hp/tq). So, in hindsight, if I had the money, I would have gone with the Holley Stealth Ram, but I couldn't afford it, so now I have a carburetor, lol... Cheers Ryan~ -
twin turbo 4x4 hardbody (vg30dett into D21)
sweetride2go replied to sweetride2go's topic in Other vehicles
Just to keep up to date, I am still moving forward, but mainly just collecting parts at the moment and trying to find time to re-gasket the engine and get it ready to drop in. Transmission and transfer case is sealed up and ready to go. I have a gasket set for the engine and a new timing belt, one idler pulley that needed replaced, a walbro 225 fuel pump, a water pump, rod and main bearings (since I will have the pan off, might as well), and SS tubular down pipes which are much more compact than the OEM units. I just ordered two small intercoolers which should fit behind the grill and in between the headlights (22x5x3). There is only the clutch and a new wiring harness to order still, and then as soon as I am out of school this winter I can start the hard part of the project... Hopefully next update will have some pics and mabey some progress. Cheers Ryan~ -
That sounds great Will! I wish I had that available to me before I mounted my big gauges. I bet there could be some interest in these. Cheers Ryan~
-
Mine were frozen, I took them out and broke them loose. They have a tad of shaft play, but they work fine. I didn't even do it nice, I used vice grips and heat and possibly a hammer, ha.. Cheers Ryan~
-
Yes, I tigged an -8an fitting on the rear section, and I flared the front and used a -8 nut and one of those T shaped ferrules, and went directly to the regulator. However, I feel that while I was at it I should have made up a return line in the chance that one cay I can afford to go to fuel injection... But hindsight is always 20/20 isn't it... Cheers ryan~
-
I ran a 1/2" stainless hardline from just past the factory fuel pump location all the way to the fuel pressure regulator in the engine bay. In between the pump and the firewall, I ran the line inboard of the modified 'framerails'. It's all one piece too. Here is the finished SS hardline finished, outside of the car. Cheers Ryan~
-
post me some questions
sweetride2go replied to grumpyvette's topic in Gen I & II Chevy V8 Tech Board
Hey grumpy, I have a new Gen-I SBC that is running a full roller setup(hydraulic). I now have logged on appx. 350 miles on the engine, but I am still having a problem with a stubborn lifter that's not pumping up. The lifters were expensive, but should I be ready to pull the intake and such to get the lifter out or is there another way to 'coax' that lifter into working properly? The engine sat for a few years assembled before I got it running(in the Z), but I don't know if that would have created any problems... Thanks Ryan~ -
Wanted to say good luck to ya for attempt at a vg30dett swap into the hardbody. I as well am currently attempting this, its been ongoing for a few years. The engine itself fits quite nicely into the truck. I found out that the v6 engine mounts do interfere with the turbos. also the 300zx oil pan fits perfectly in my truck however i have a 2wd. heres a pic of the complete driver side engine mount from a v6 hardbody, its actually three seperate peices.

-
260z wiring diagram needed
sweetride2go replied to that240guy's topic in Gen I & II Chevy V8 Tech Board
Well, I didn't write stuff down like I should have when I wired it, and without a test light I can't tell you which is high and which is low. Here is what I do have! On the wiper motor; black > ground blue > to switch blue/yellow > to switch Sorry, if I can get my hands on a test light today I will tell you more... Hope that helps. Cheers Ryan~ -
260z wiring diagram needed
sweetride2go replied to that240guy's topic in Gen I & II Chevy V8 Tech Board
I happened to have driven my car to work today, if I get a chance I'll go out and see if I can still see the wire colors for how I wired the wiper motor. The only thing I couldn't figure out on the wiper is the 'autostop'. So ya, you kind of have to time it, but it isn't a big deal for me, especially since my car rarely sees the rain... Cheers Ryan~ -
260z wiring diagram needed
sweetride2go replied to that240guy's topic in Gen I & II Chevy V8 Tech Board
I just finished this on my 260Z but using an American Autowire kit. The combination switch was a PITA, but I found a thread that really helped, even though I think they were working on a 280, but I figured it after a bit of head scratching. look through here: http://forums.hybridz.org/showthread.php?t=94822&page=2 Cheers Ryan~ -
Well, I finally set up a youtube account, see the video here (it's the same as the above video). I still have a couple lil things to work out. My turn signal switch is so worn out that it rarely works, and my tach is having some technical issues. It works most of the time, but there are times that it spazes out then quits. I think it is either a connection issue, or that in its travels during the R&D the circuit board may have been slightly damaged. It seems to quit mostly when it's hot out. Oh, and for future information, make sure you leave enough extra wire behind the gauges so that you can get them out of the dash so that you don't have to take out the whole dash to service them. Cheers Ryan~
-
twin turbo 4x4 hardbody (vg30dett into D21)
sweetride2go replied to sweetride2go's topic in Other vehicles
Yay, pictures!!! Ok, so here's the deal. I needed another gauge cluster for the inside of the D21 since mine is for the 4-cylinder and there is no tach. Now, I have two clusters from v6 hardbodies. But, for the moment, I don't know wich one to go with yet. So I'll post them both so you get an idea what I am dealing with, and I will come to a conclusion sometime in the near future. yah. lol Here is the first cluster. It is out of an 87 hardbody pickup 4x4, you will notice that it has more actuall gauges and less idiot lights than the other cluster. Also, notice the dual fuel gauges, one reading for the entire tank and the other reads only from 1/4 to empty. (ps: notice the odometer, ya, 90k +/-) This cluster is out of a 91 pathfinder, and you might notice right away that this was an automatic vehicle. This one has less gauges, but is almost identical to the cluster that is in my 93 D21. It also has less wires than the previous cluster wich might make it easier to wire up. I don't suppose anyone knows if there is a VSS located in the cluster behind the speedo? Cheers Ryan~ -
post me some questions
sweetride2go replied to grumpyvette's topic in Gen I & II Chevy V8 Tech Board
Hey grumpy, I have a chevy small block with less than 200 miles on it, but it keeps 'pushing' oil out from the base of the distributor on the intake manifold. The dizzy is one of those aluminum MSD knockoffs. Also, my oil pressure seems quite high, I have to let the engine come to operating temp before I drive otherwise I can hit 90+ psi at 2500-3000 rpm. Thanks Ryan~ PS: This was a great read on oil pressure, thanks again. http://forums.hybridz.org/showthread.php?t=67892 -
Oh, and the dash I'm using has a dashcap on it.
-
Well, I've been meaning to get this done for a long time, so here are the gauges in their cups, in the dash from the drivers seat. Here is a short, poor quality video. I hope it works? Please never mind that the rest of the interior is far from being done, but after working on the car for four years its nice to be able to drive it. For some reason the exhaust sounds like it's coming from a tractor on this camera... Cheers! ryan~
-
I shrinkwrapped my LED's, and I still had the "glowing LED's" with the backlights on, but unfortunatly, I had already soldered my LED wires and no longer had the room to take the gauge apart again. I was going to try some of that 'liquid electrical tape', I figured that should block out most of the light... As far as the gauge cup goes, I just took a pair of tin snips and cut of the last 1/8" all the way around and made sure it was nice and flat. It fits snug. Cheers ryan~
-
twin turbo 4x4 hardbody (vg30dett into D21)
sweetride2go replied to sweetride2go's topic in Other vehicles
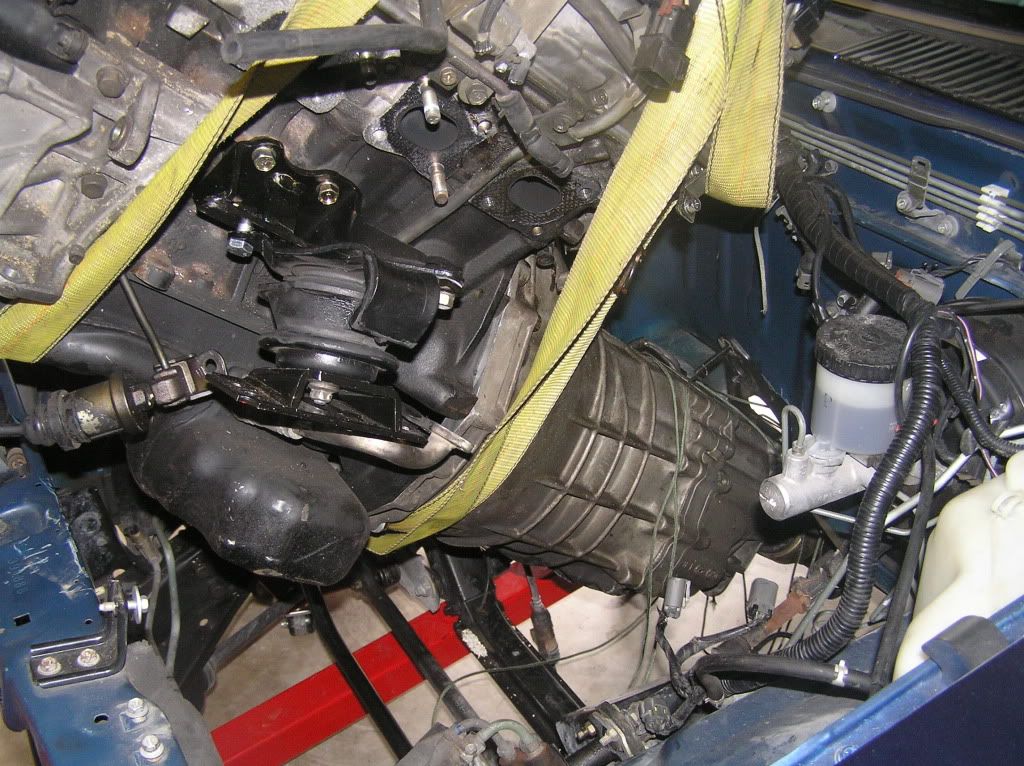
Sorry, no pictures again. My camera is away at the moment… It has been brought to my attention and strongly suggested that I replace the cam and main bearing seals while the engine is out. So, I have a gasket kit ordered and on the way, along with a timing belt, water pump, and it looks like I will be replacing at least one of the idler pulleys for the timing belt as well, those aren’t cheap. I also have a clutch coming, and the transmission/transfer case just needs to be re-gasketed and it’s ready to go. The flywheel has some hotspots so its going out to get re-surfaced. The bill for this project is getting big in a hurry! I found a local Z32 guru, and he has been a great wealth of knowledge. I knew I would need a fuel pump, but he also mentioned that I should use the fuel pump control module. Other than that, and maybe a few other things I may or may not need, it seems that I have most everything I need. For the moment, ha…. Motor mounts (truck): The truck mounts fit with the turbo installed, at least on the passenger side, but part of the mount touches the waste gate mounts, so that would have to be trimmed. Also, the exhaust manifold practically touches the rubber area of the truck mount, which seems kind of bad, lol, and the alternator also touches and can’t be tightened properly. Regarding the alternator, however, it seems that it may be in the way of the frame area where the motor mount attaches, so it may have to be relocated, but I also may be able to trim some of the motor mount area on the frame?, but I wont know till I actually put the engine in and see what my clearances are. If I have to I figure I can relocate the alternator to the drivers side using the D21 V6 brackets, then lengthen the wires to compensate. Motor mounts (Z32): This is looking more and more like what I will be using in the end. These aluminum standoffs, I guess you could call them, are a bit taller, and have a different angle at the bottom. Here is what I am thinking: I have some old chevy truck mounts that use a single bolt to the frame, but I was thinking of turning them upside down, and putting the chevy block side against the D21 frame, then modifying the motor mount surface of the Z mounts to meet the chevy mounts. So some fabrication will ensue. Oil pans: I have to get the engine off the ground and on an engine stand to make sure, but after comparing the two pans, it looks like I might be able to use the Z oil pan. The height difference between the truck and Z pan are minimal, the biggest difference being the bulge on the bottom being on opposite sides. The Z pan bulges on the drivers side, which will not work because the differential and drive shaft live there. So I am either going to have to cut off the bulge and relocate it to the other side, orrrrr, take the truck pan, weld in some drain back ports on the pan for the turbos and maybe modify the oil pump pickup if I need to compensate for a deeper/shallower pan. -
twin turbo 4x4 hardbody (vg30dett into D21)
sweetride2go replied to sweetride2go's topic in Other vehicles
UPDATE: I dropped the turbo's off for rebuilding and some massaging, and I am still toying around with the truck mounts. However it has been brought to my attention the the truck mounts may not work because for one, they are huge and possibly in the way of the compressor/and piping and maybe a bit of the alternator, and for two, they are like $145 bucks each!!! I can get 3 holes to line up on the passenger side mount, but the drivers side will requiring some slotting of the holse, and some trimming of the oil line bracket to the turbo. I still need to get ahold of the truck pan so I can start modifying it for the drain back lines from the trubo's. I will also have to modiy the oil pump pick-up tube for the truck pan. That gets me thinking, I should pick those up tonight... Sorry, no pictures today... Cheers Ryan~ -
I was wondering about steering shaft clearances... It wouldn't be the first steering shaft I have made though, lol. I'm on version 3.0 on my Z right now. When I get to the point where I can set the engine in the engine bay, I will defiantly post pics. cheers ryan~
-
post me some questions
sweetride2go replied to grumpyvette's topic in Gen I & II Chevy V8 Tech Board
Grumpy, I have a Gen-I SBC and wanted to know where to the temp sender would be best installed. Is there a big difference in coolant temperatures between the front of the block versus the rear, and/or including the intake manifold cross ports? Right now my sender is in the rear driverside port on the intake manifold. Thanks, Ryan -
Ok, I finally got around to taking some pictures of fan/radiator/shroud/hoses to car/fitment, etc. heh. Here is the relationship between the Griffin radiator to the opening in the nose of the car. It could be a little wider if the frame rails would allow it, or get a radiator that isn't as tall. I'm using a slightly modified JTR type radiator support on the bottom with rubber mounts. I had to lower the support just a bit to get the top of the radiator level with the core support. You can see here that the fan shroud fits nicely to the radiator. I used some foam tape on the edges to give a soft seal to the radiator. I also had to just barly notch the top left corner for the hose to fit. The fan has been cleaned up a bit, any extra tabs or excess plastic has been removed for the most part. This shot is more for the hoses. Pretty basic here. I bought 6 hoses on one trip, and managed to get lucky with two of them, then returned the rest. The top one was a dead ringer, the bottom hose was the hard one to find, there is another angle you can't really see in the bottom hose. Here you can see some more modification to the fan shroud for the bottom hose. Also, the fan shroud would fit flat in this area except for a small flaw in my shroud mount where it needed to be welded at just a bit of an agle. Right now the shroud wants to pull away from the bottom of the radiator, wich ment supporting the bottom too to keep it close. Cheers Ryan~
-
Here is a great link for future use in wiring up the Tarus fan: http://forums.hybridz.org/showthread.php?t=99700 Cheers Ryan~