

toolman
-
Posts
519 -
Joined
-
Last visited
-
Days Won
7
Content Type
Profiles
Forums
Blogs
Events
Gallery
Downloads
Store
Posts posted by toolman
-
-
Rented a Ford F350 with 14 foot flat bed for $120/a day. The sand blasting shop was on the other side of the island about an hour drive away.
Forklifted into the blasting room

View of blasting( lots of noise from the air compressor and very difficult to see anything)
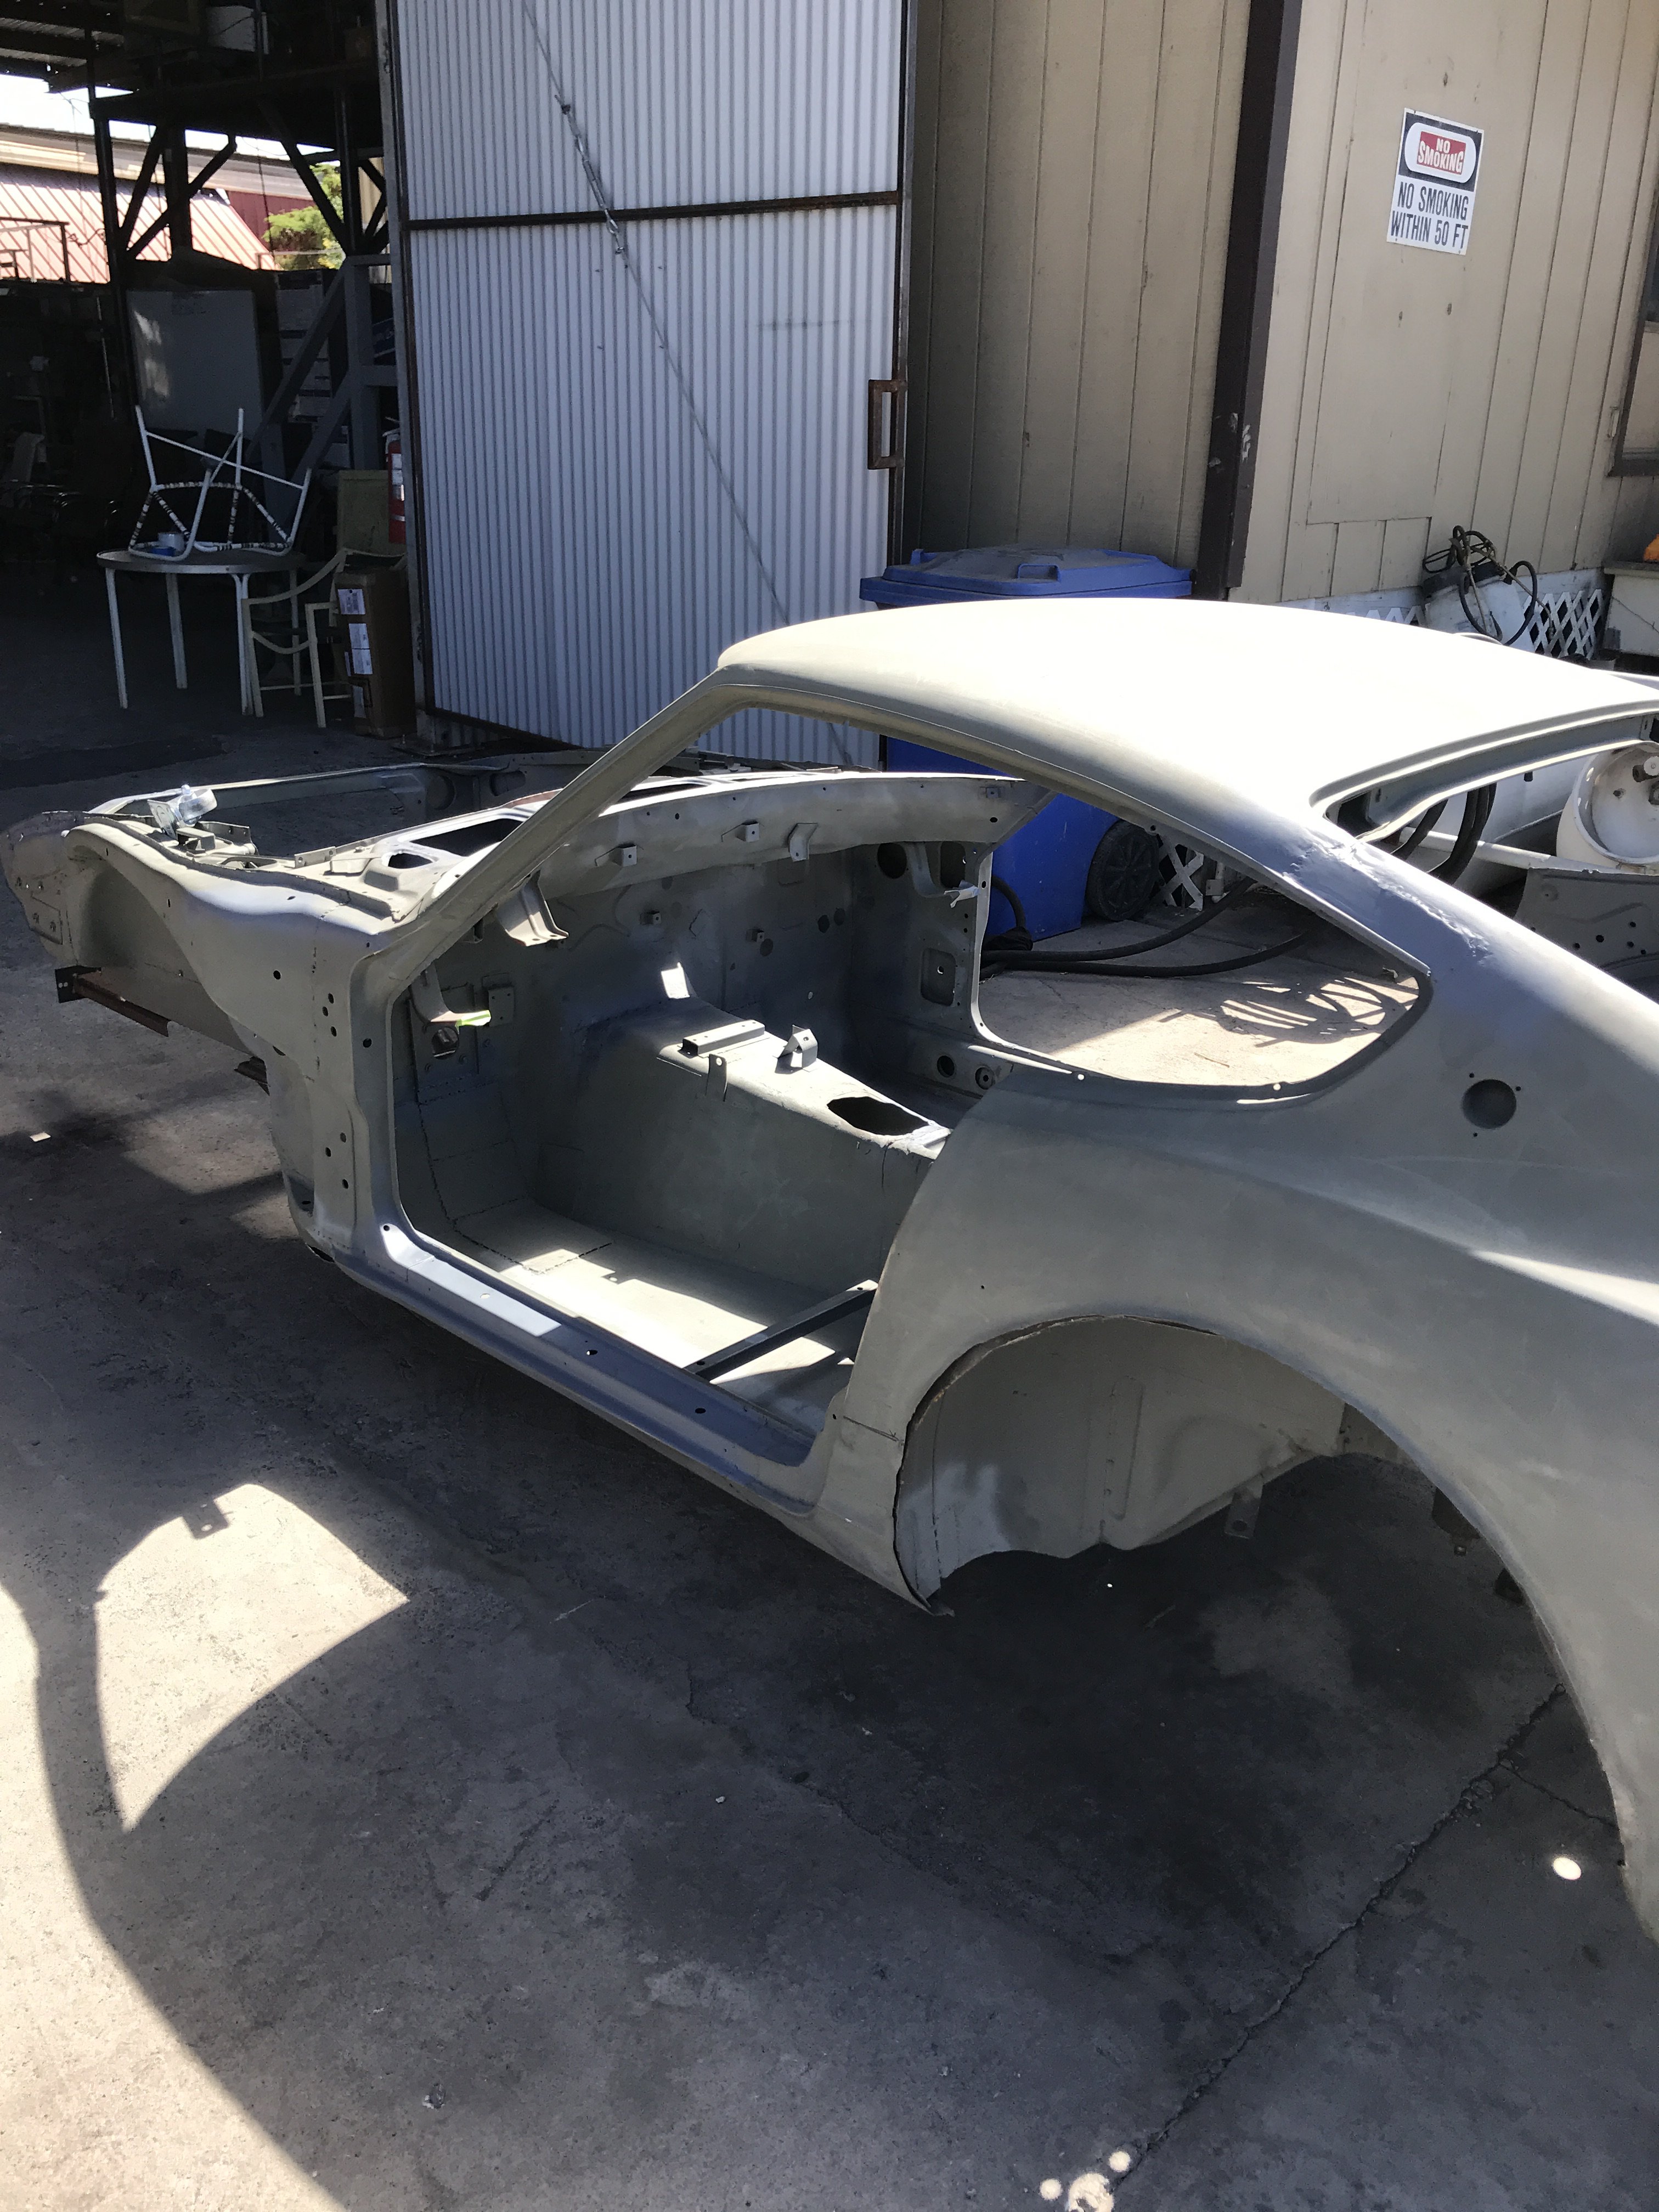
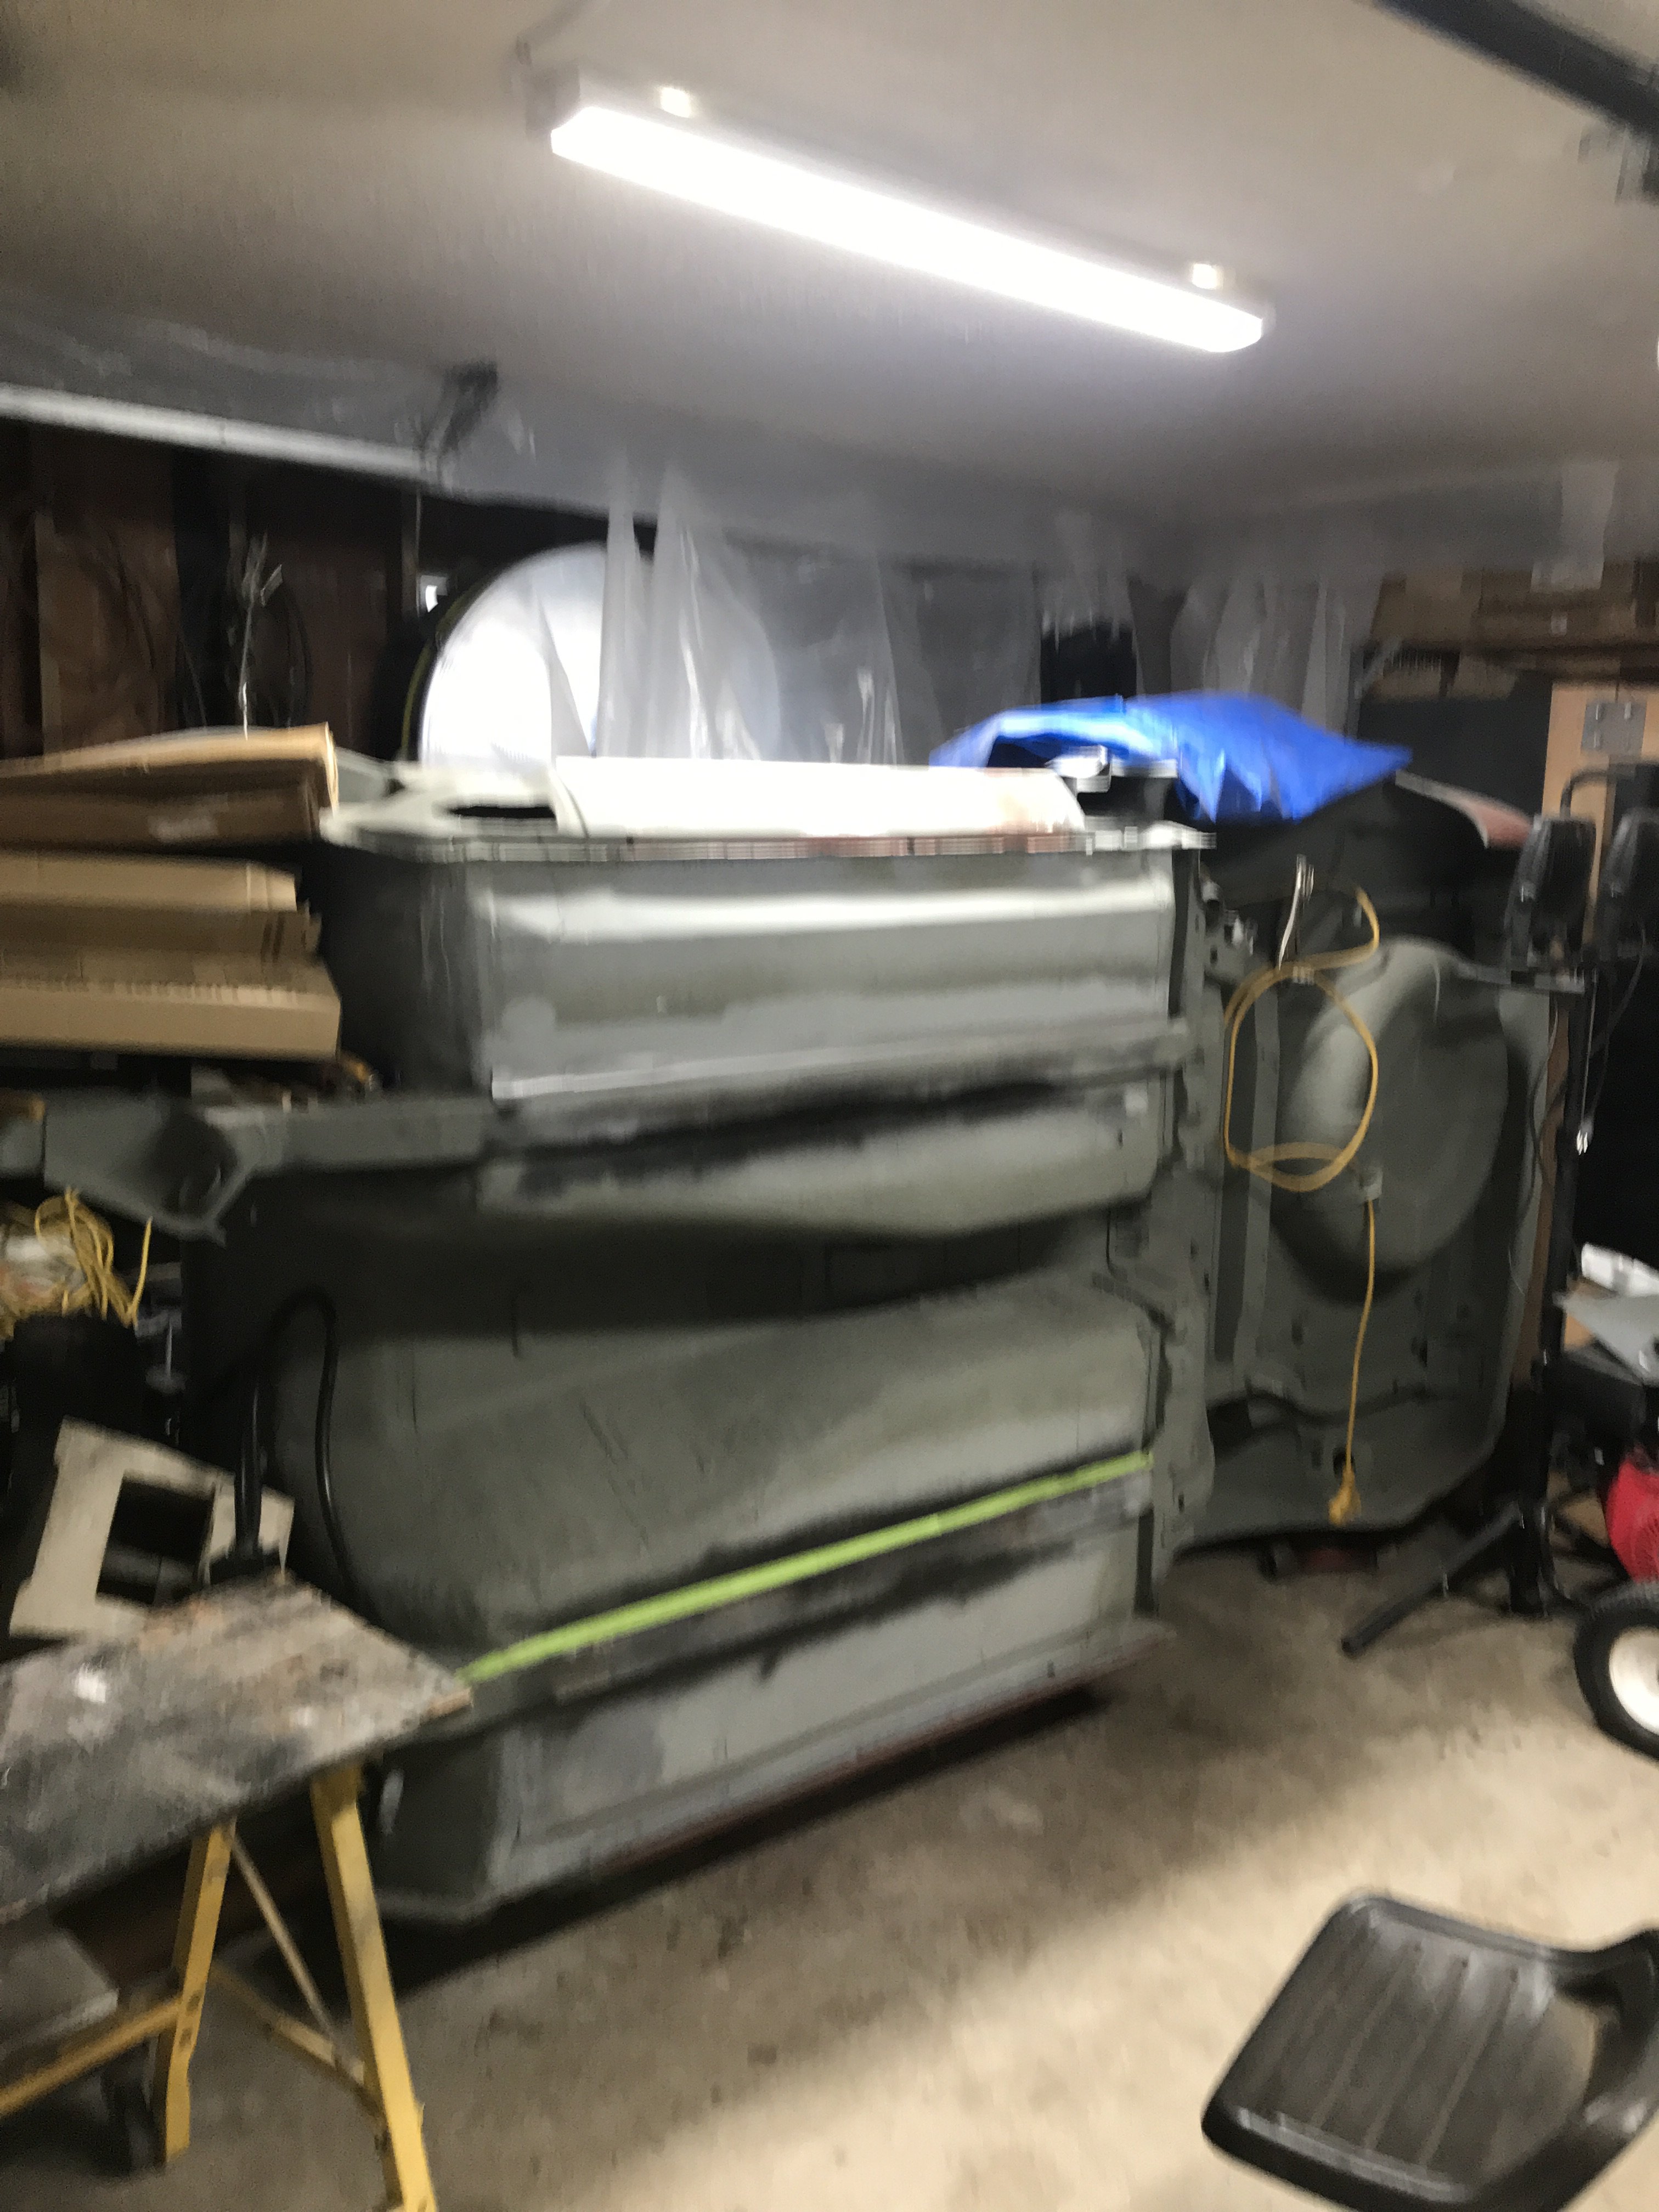
The 240z finally back at home. Probably take a week to get most of the blasting media out of all those box sections. Next step is seam
sealing the car. This is another labor intense job that may take a couple of weeks.
-
SleeperZ, Previously I had a Chevy 355 with a T5 trans in my 240Z. This time I am putting in a crate LS3 motor with a T56 trans. Thinking about
putting a R200 differential with 3.70 gears. Down the road, I might do a Ford 8.8 or Camaro IRS rear swap. I will have plenty of time when
I retire.
-
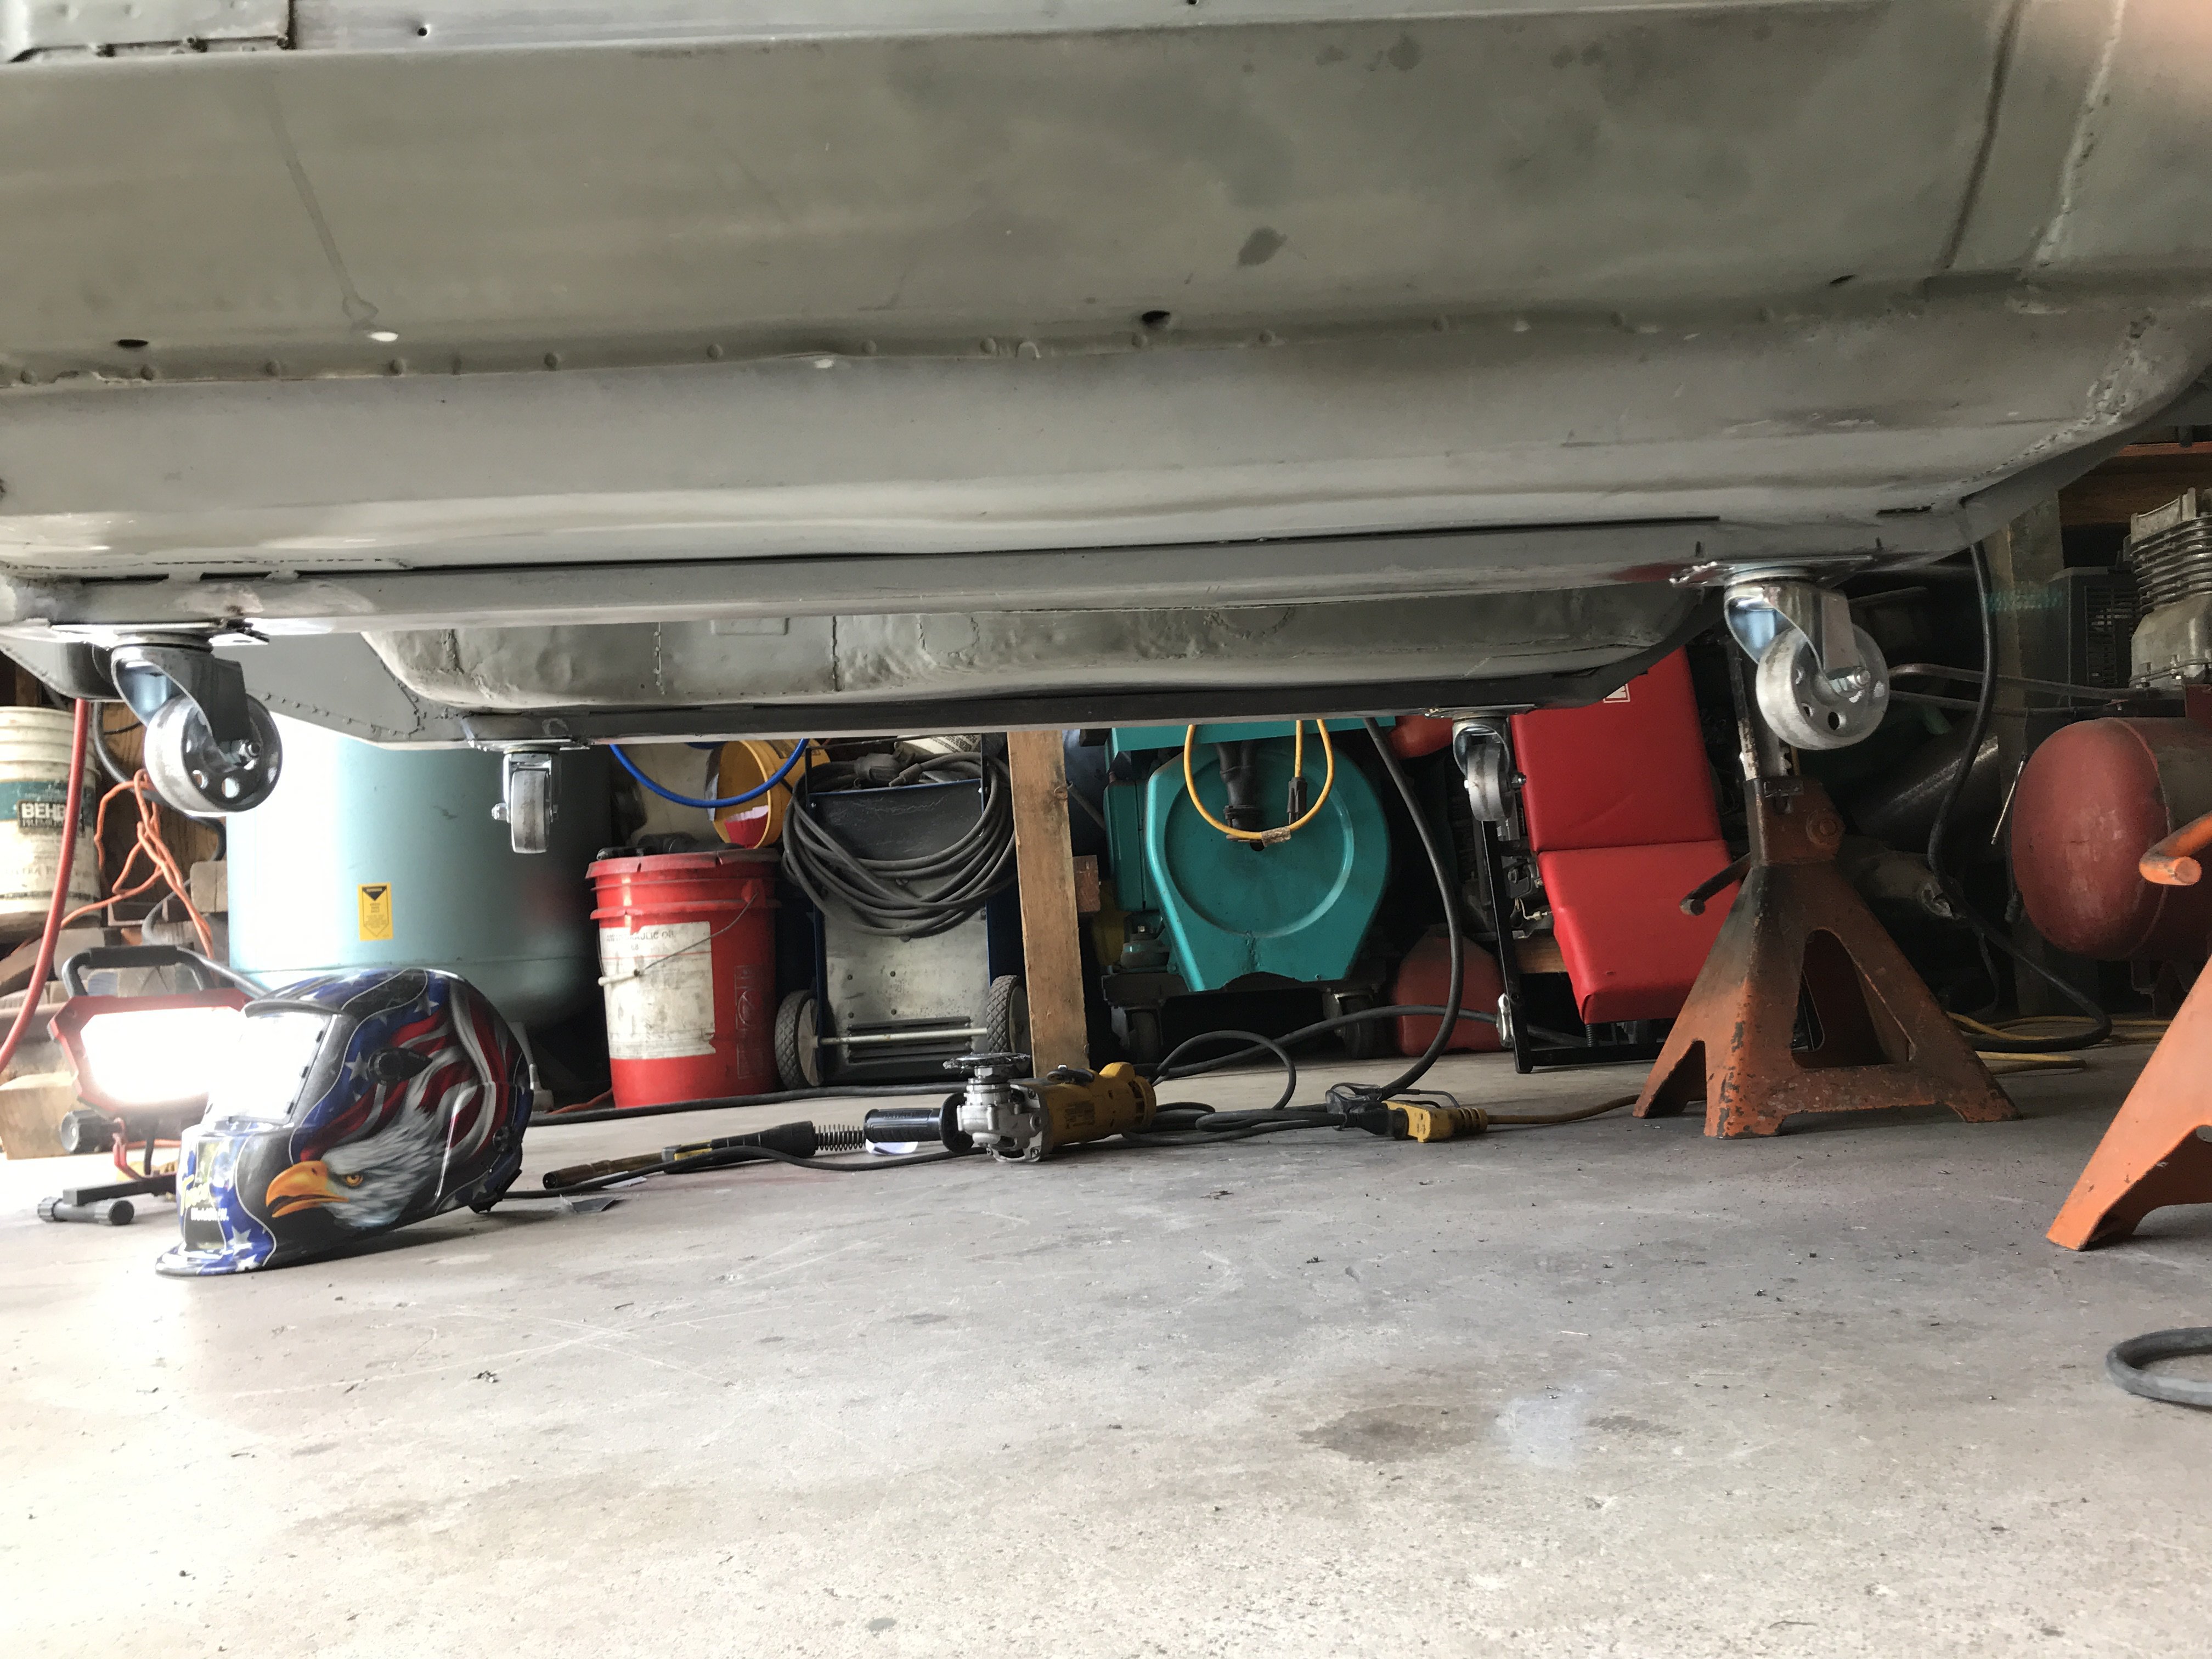
I made an appointment to media blast my z this Saturday. Rented a Ford F350 with 15 foot flatbed and lift gate for $130 per day. Unbolted
the four 3" casters on the rotisserie and tack welded them to the frame rails.
Side view of casters
The casters were transferred to allow easy movement of car to the rented flatbed truck. With help from my neighbor and the liftgate, the
move should be relatively easy.
Hard to believe, it took 15 months to get it this far!!
-
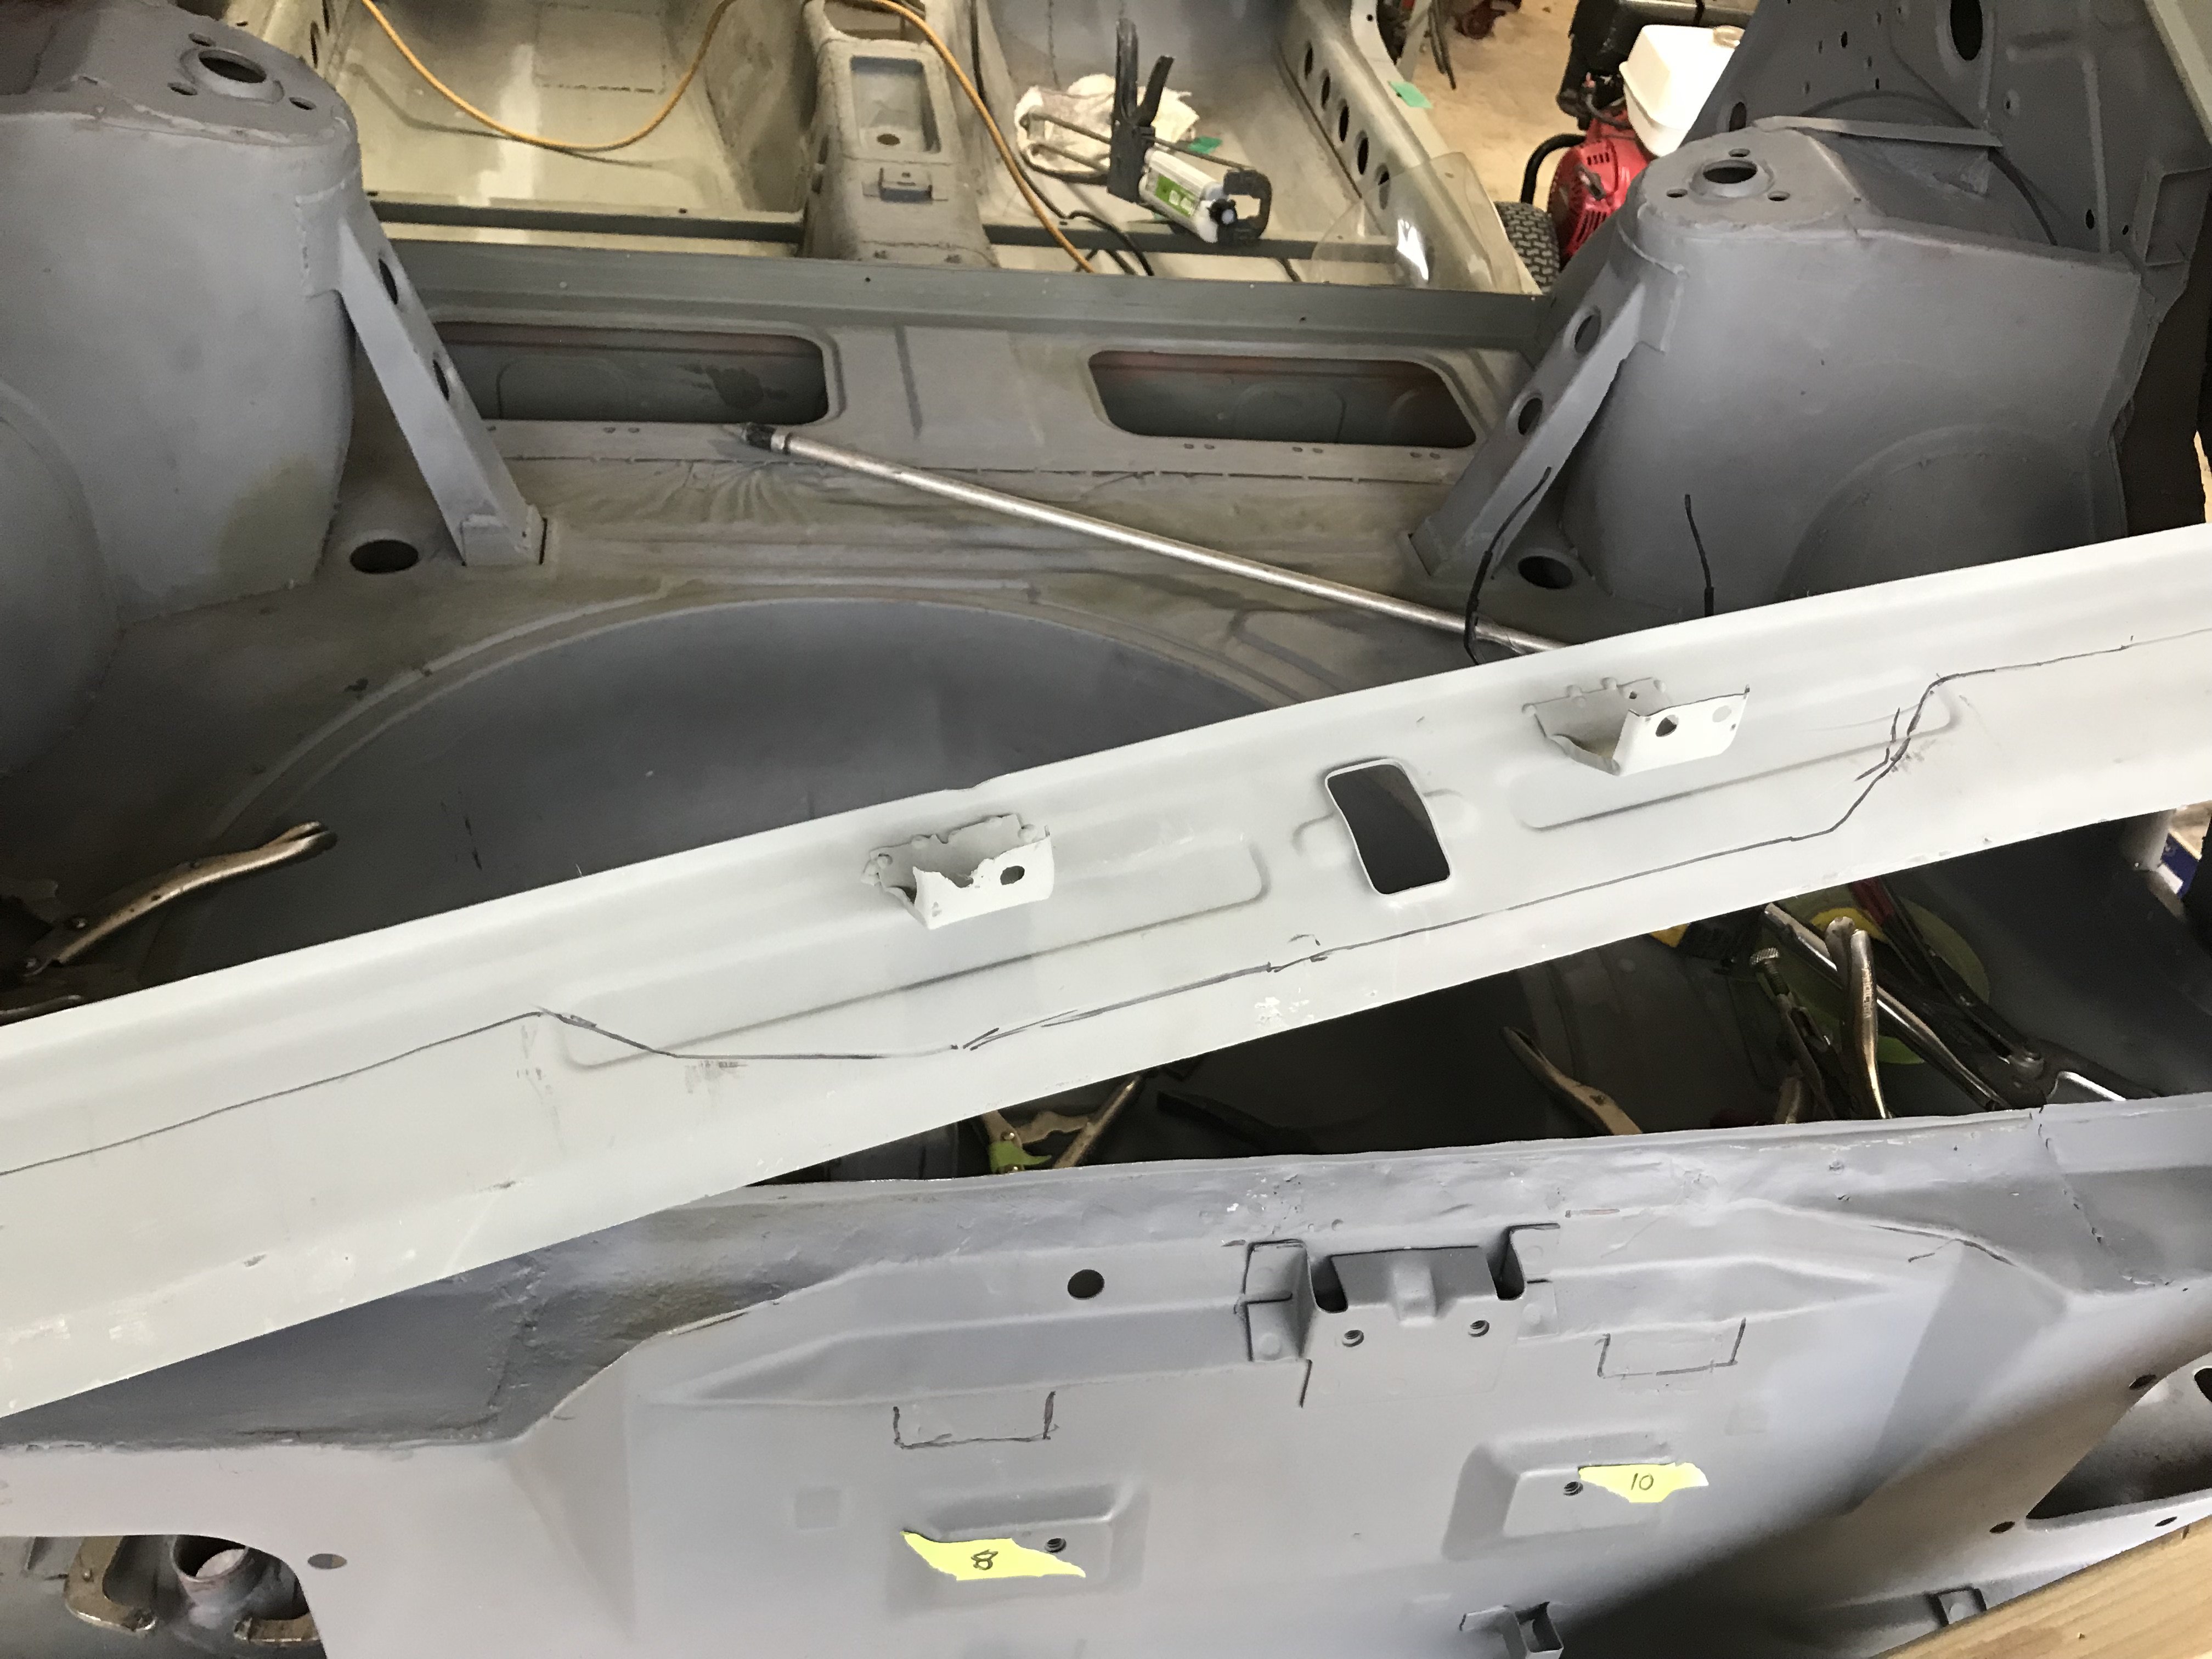
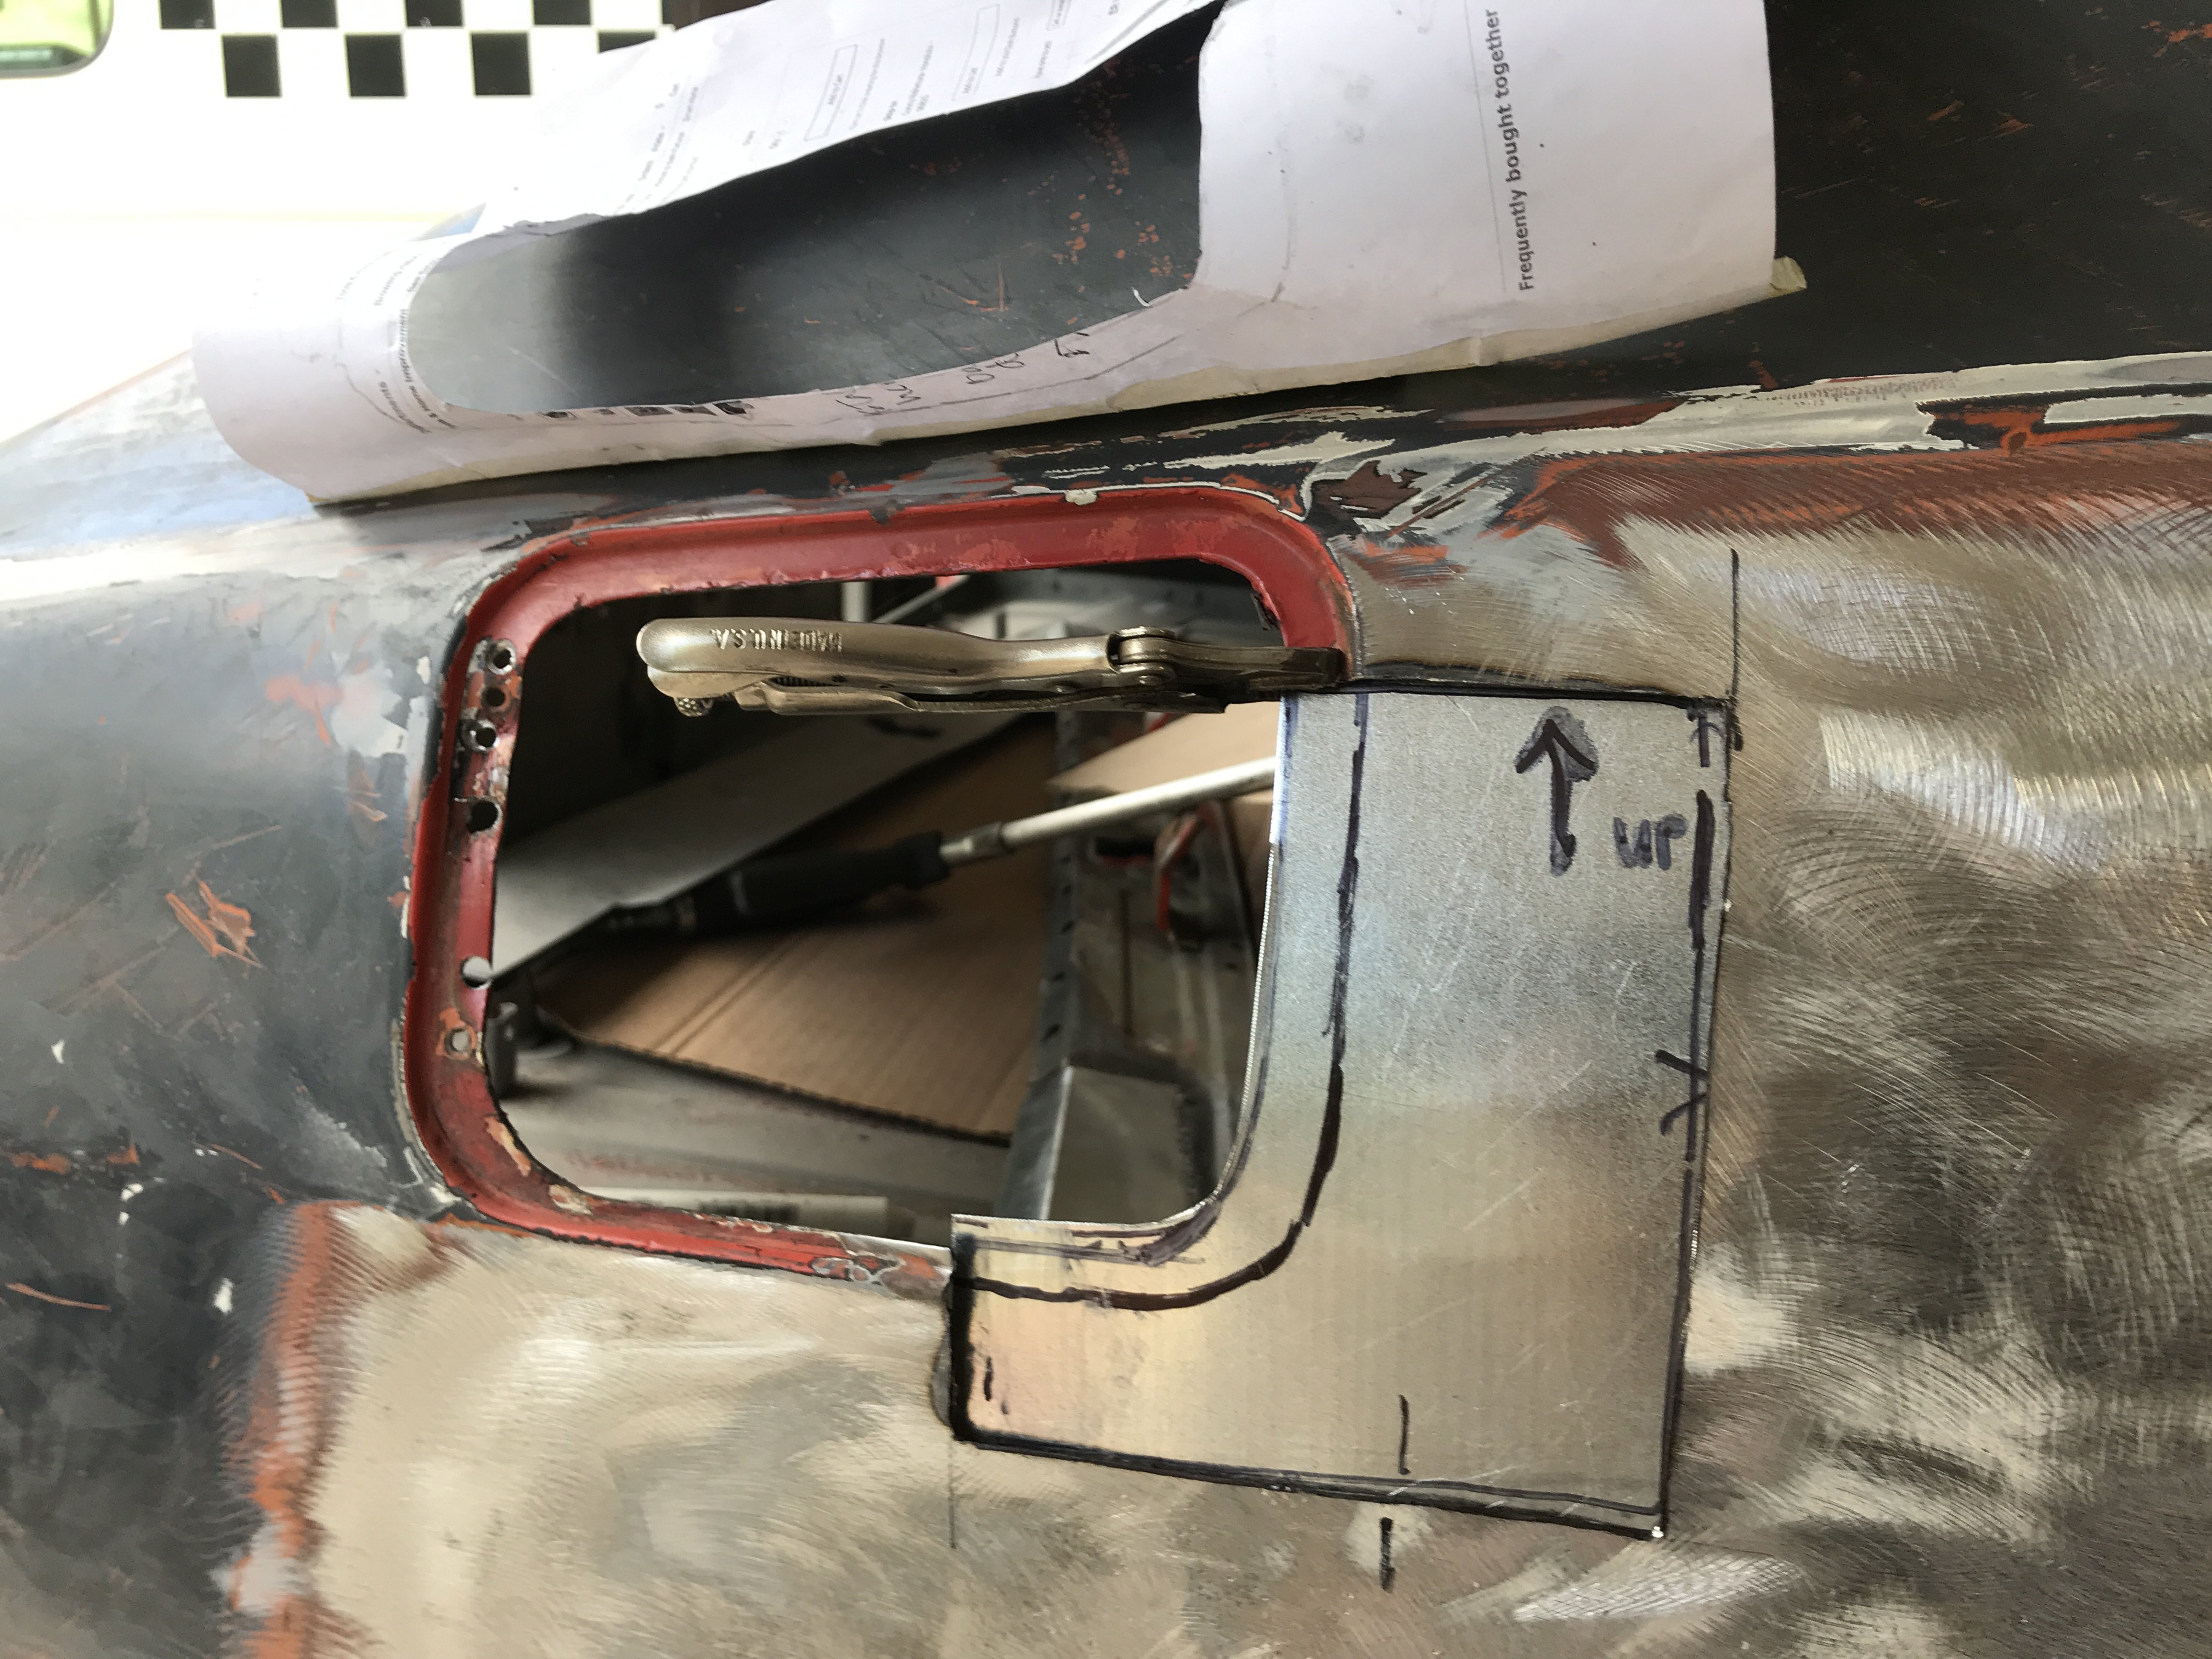
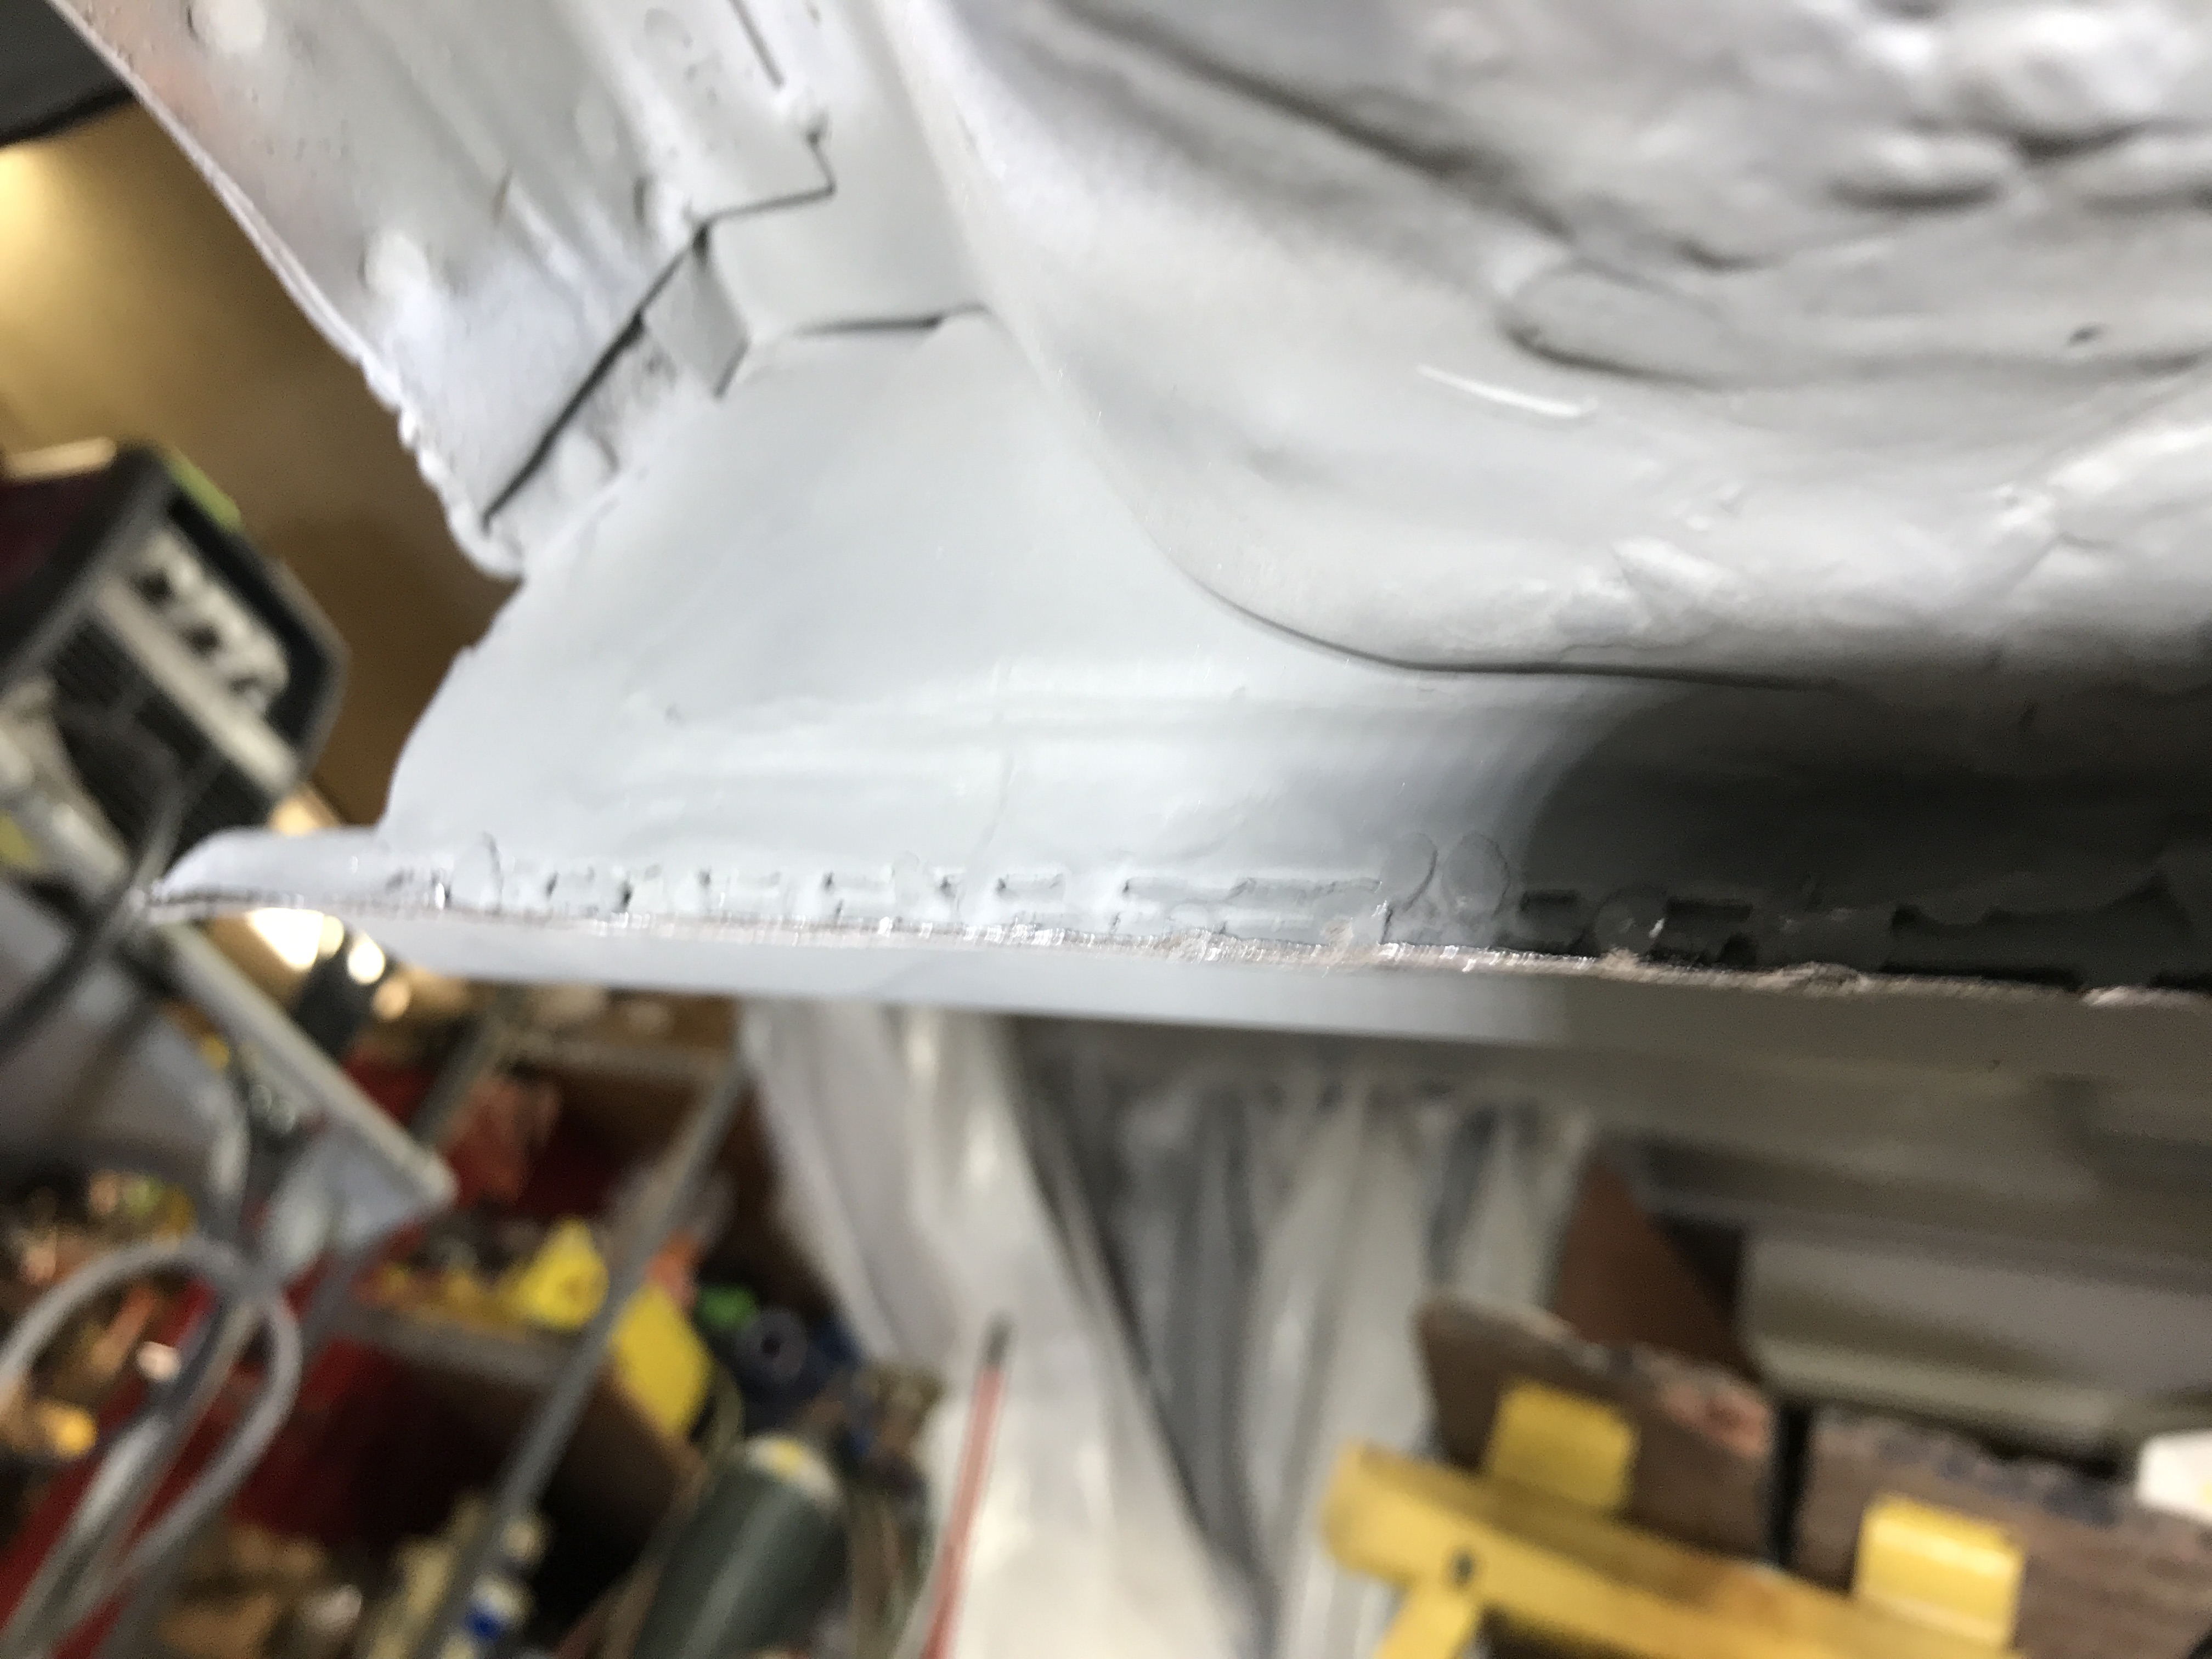
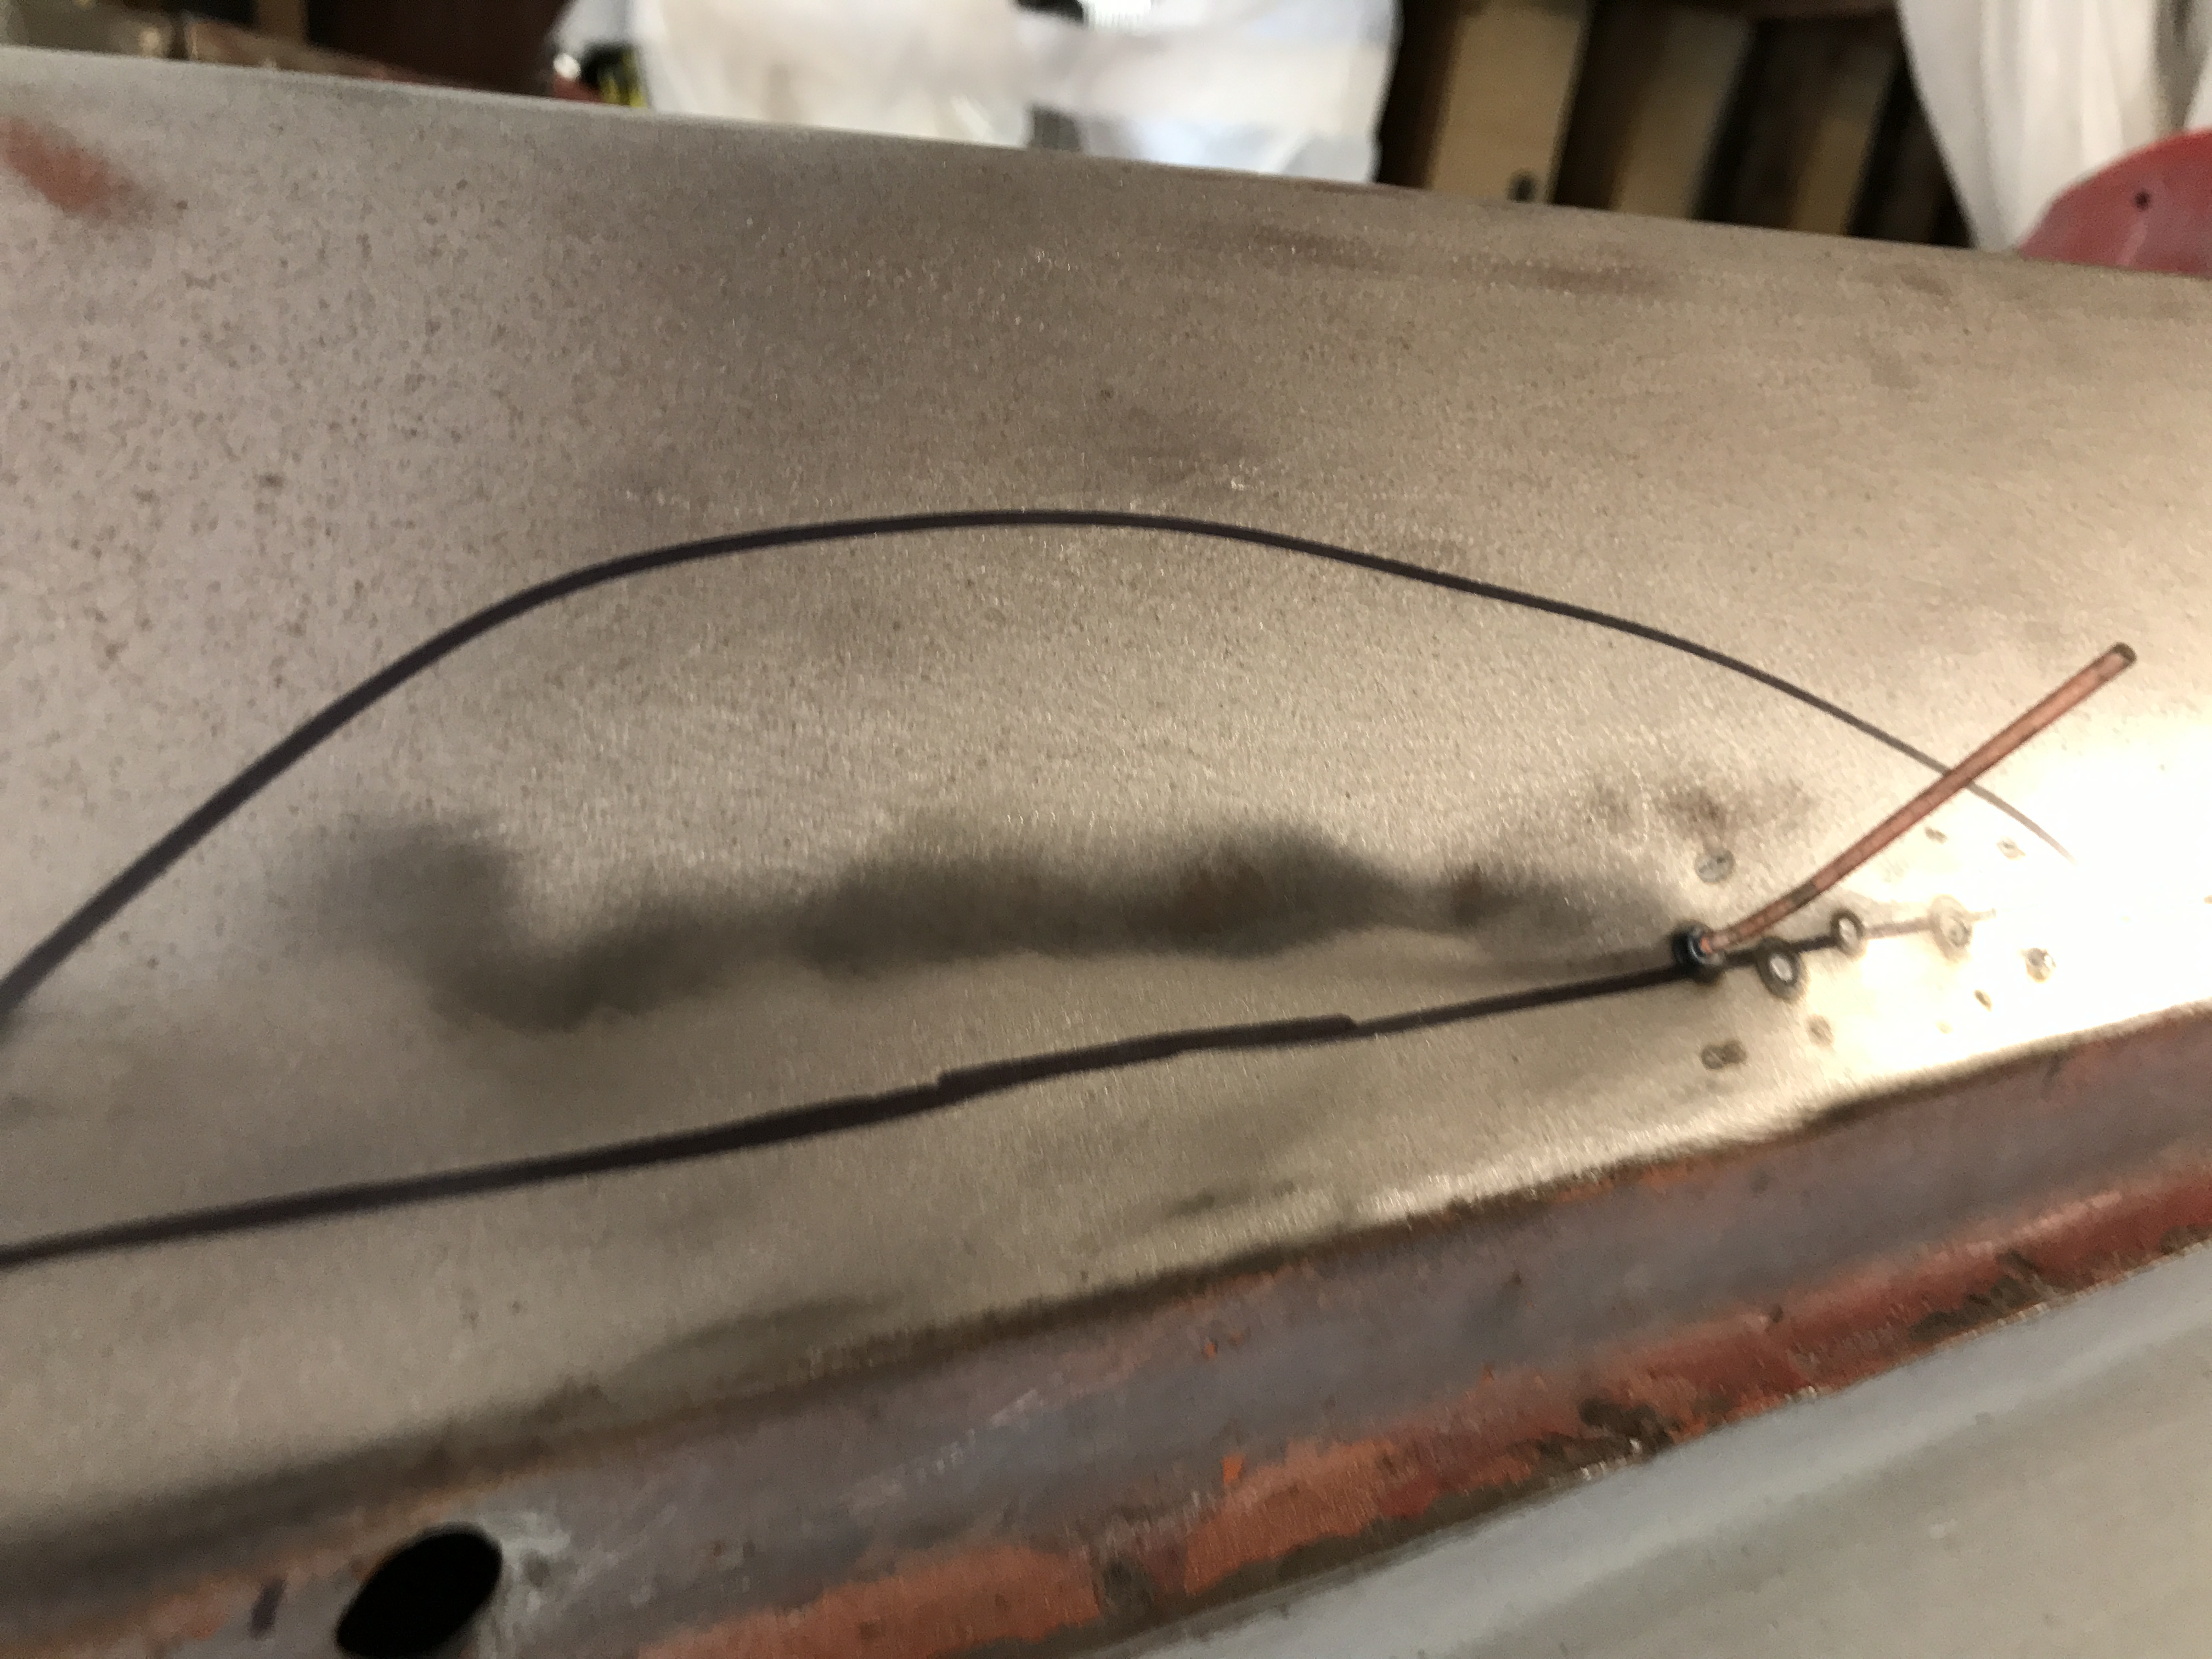
This is the bottom view of the replacement hatch panel. It was mocked on and the outer edge was traced with a black marker pen. The area
below the line will grind with a 50 grit sander. Existing rear panel matching area was sanded. Adhesive must thoroughly cover all grinded areas.
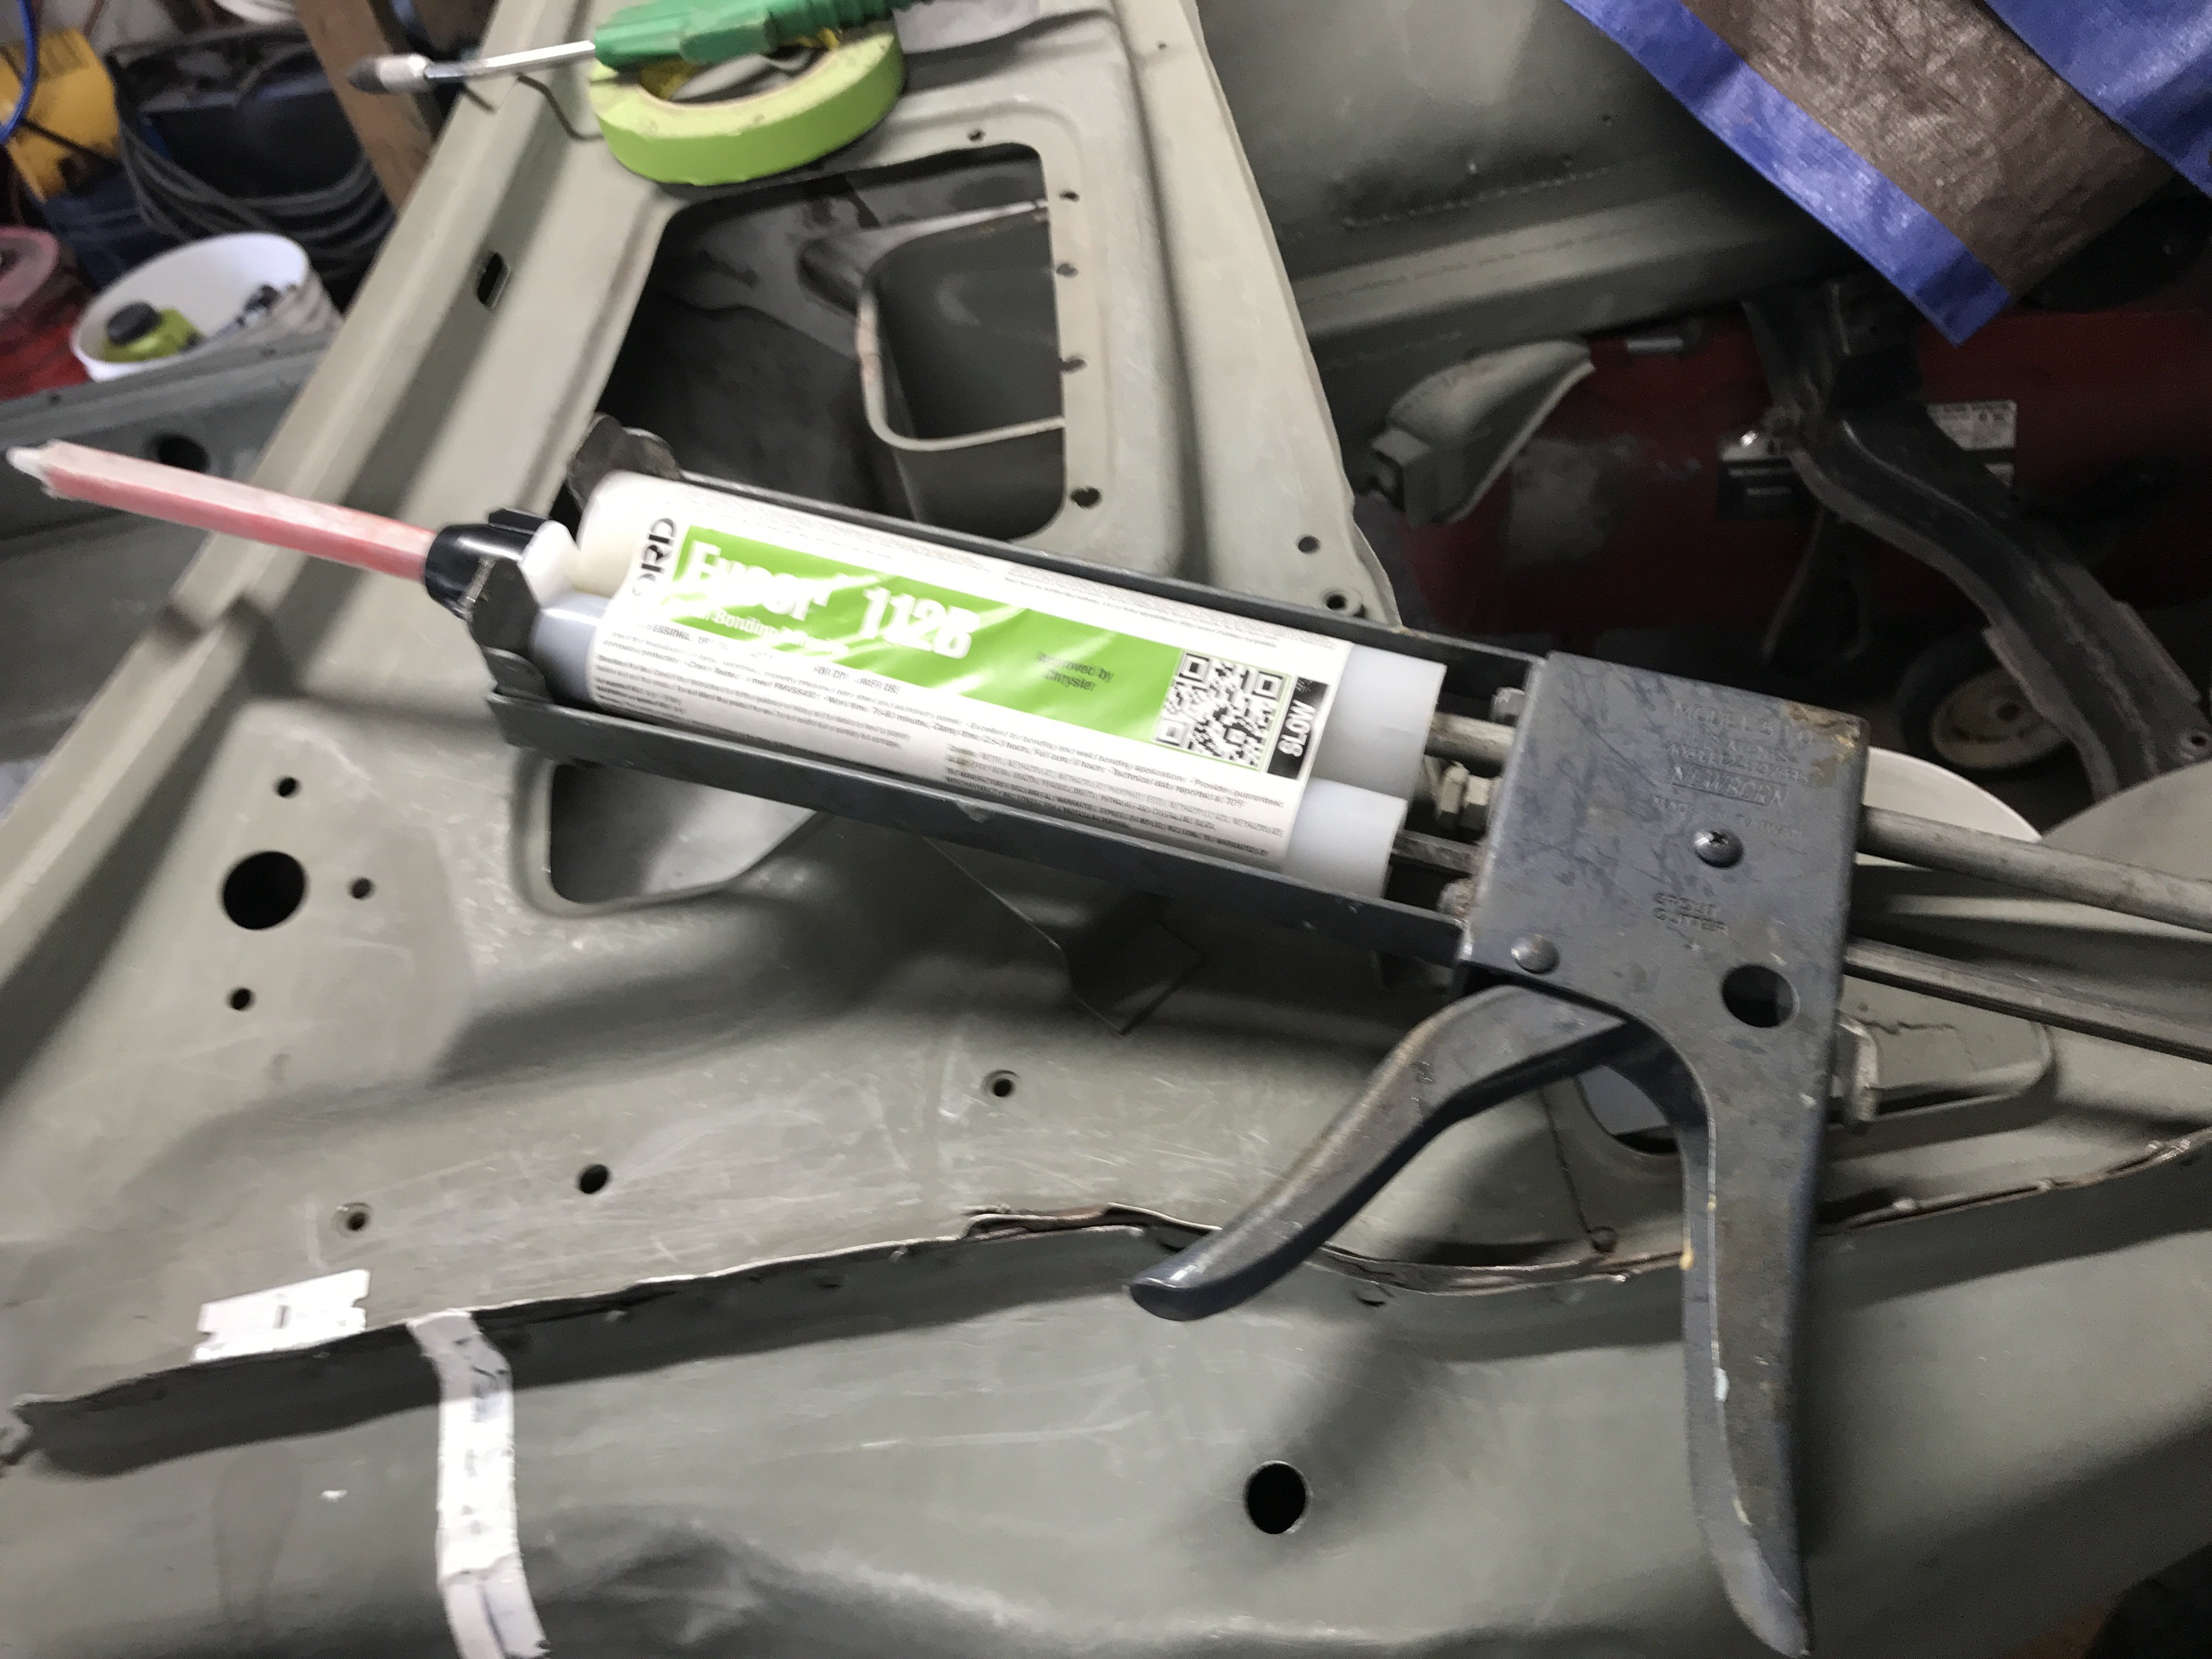
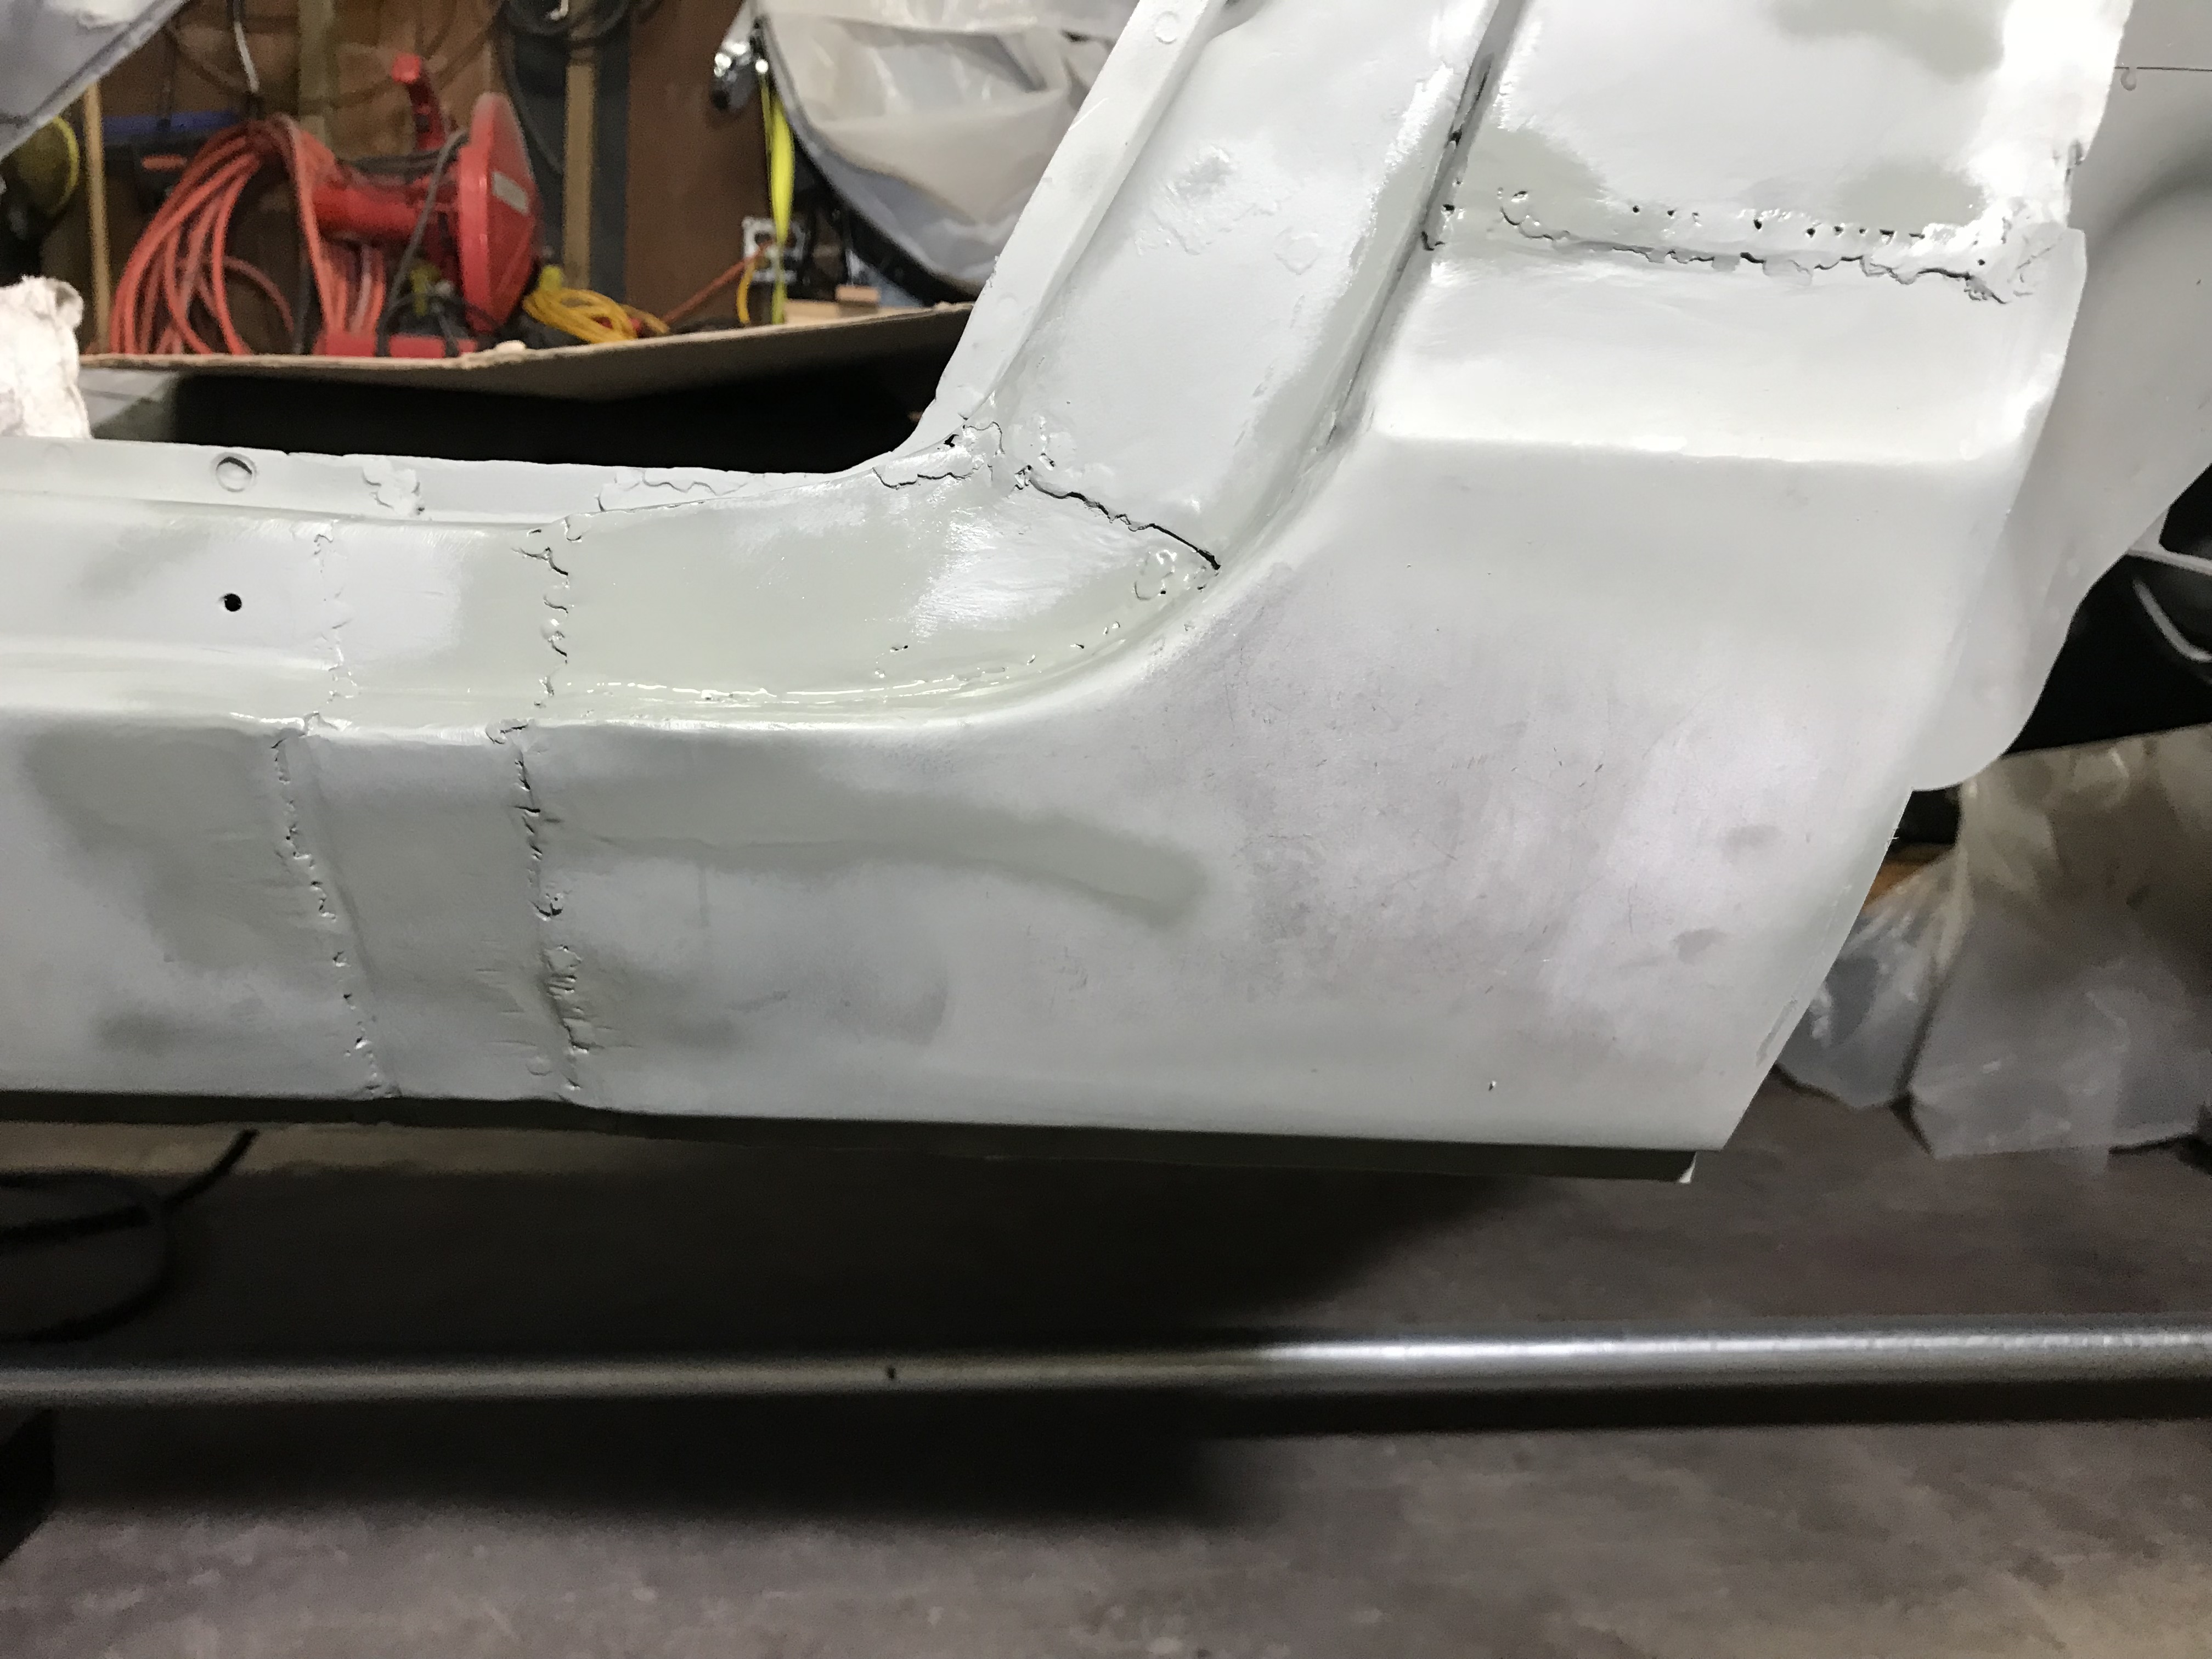
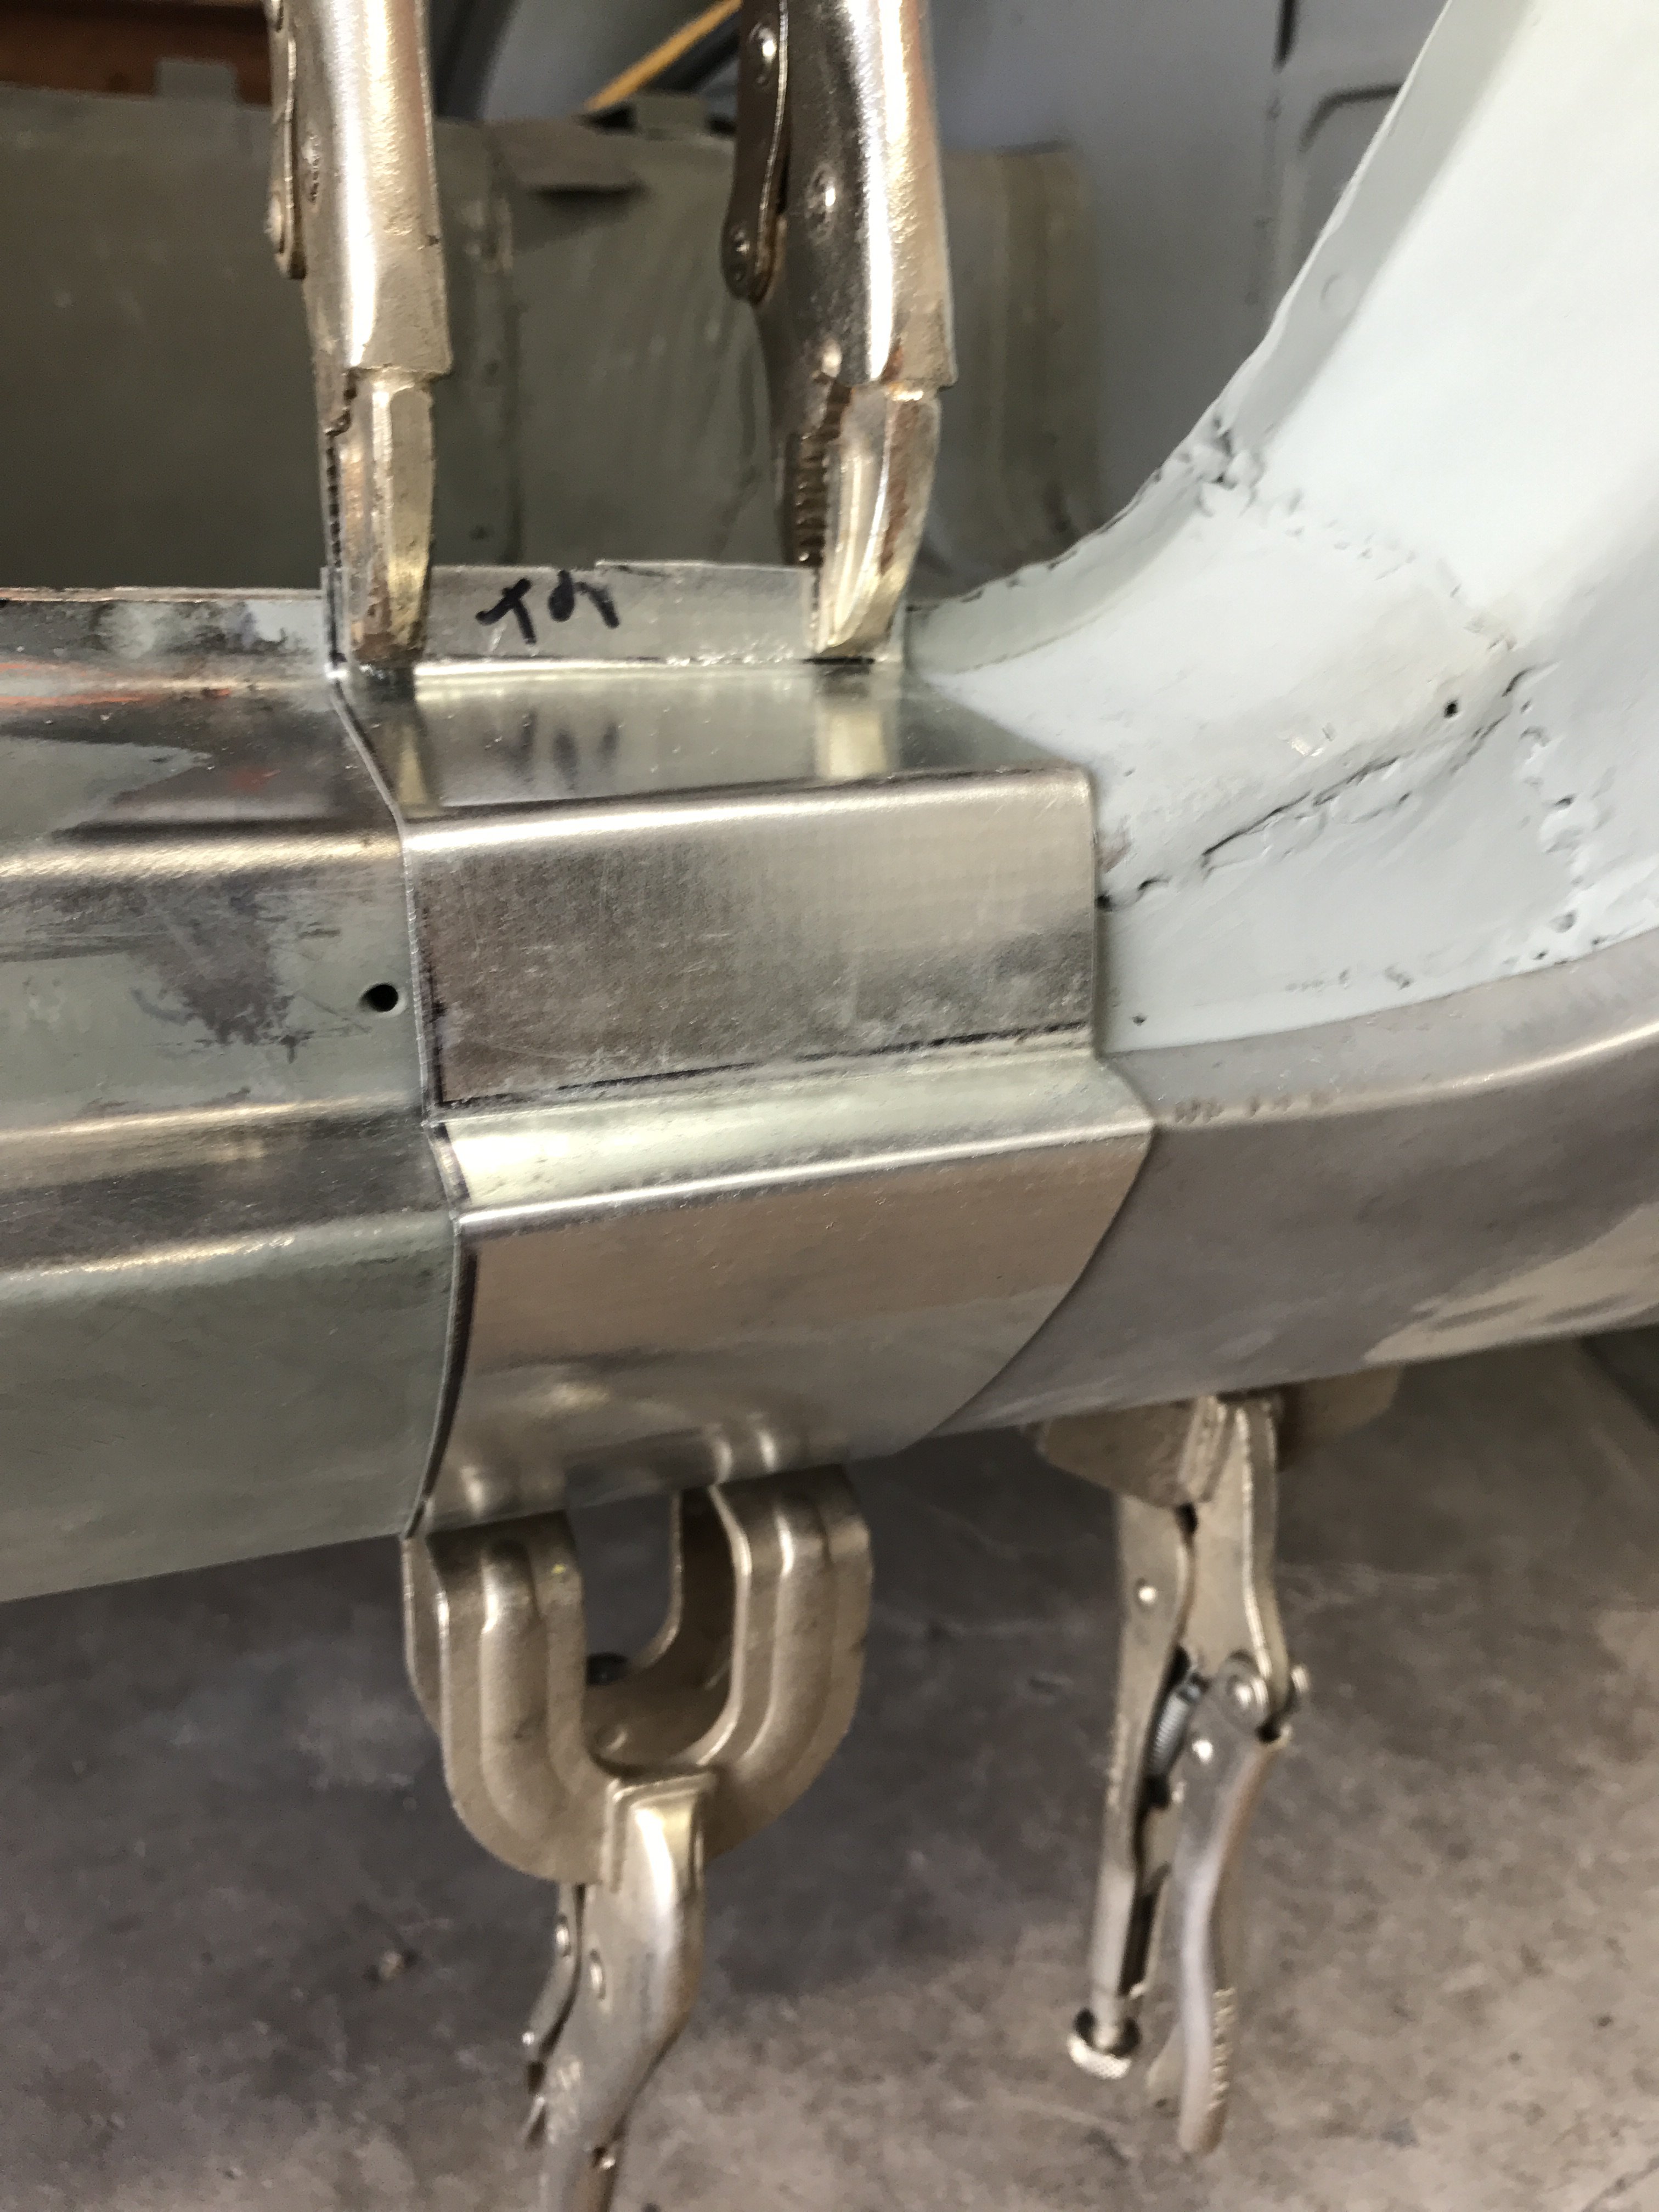
The Lord Fusor metal to metal structural adhesive was used to bond the replacement top panel to the existing rear panel.
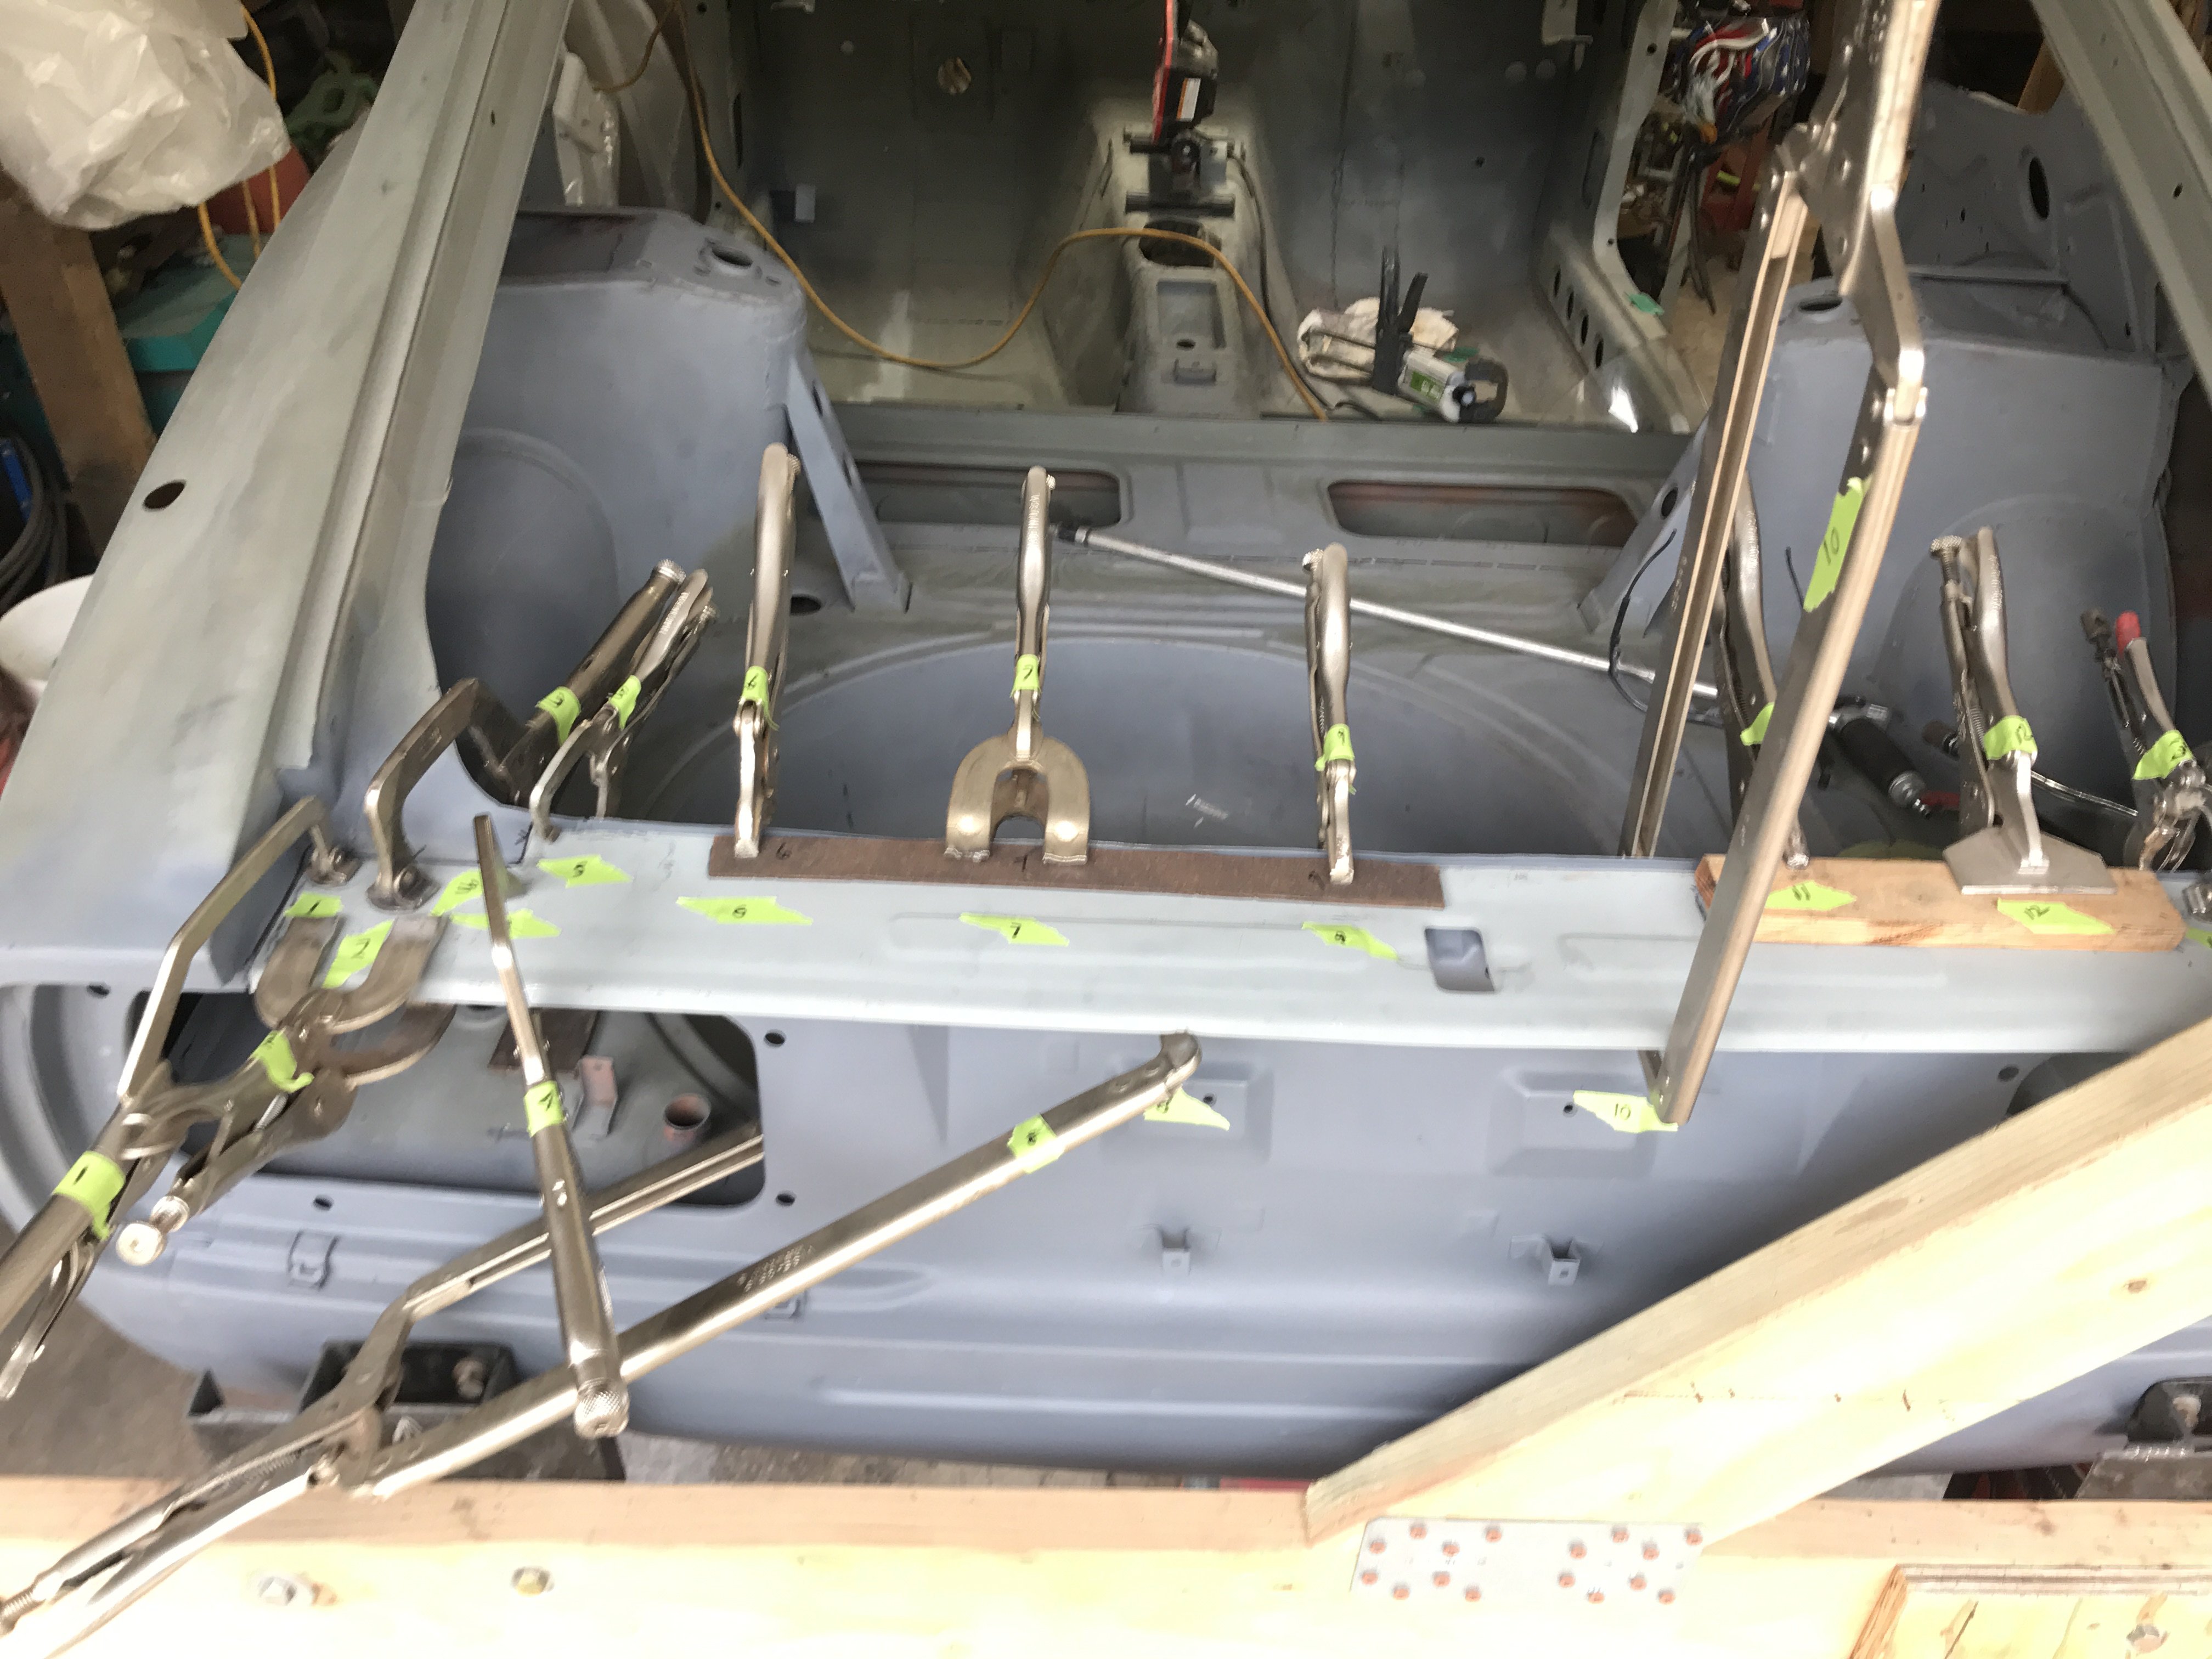
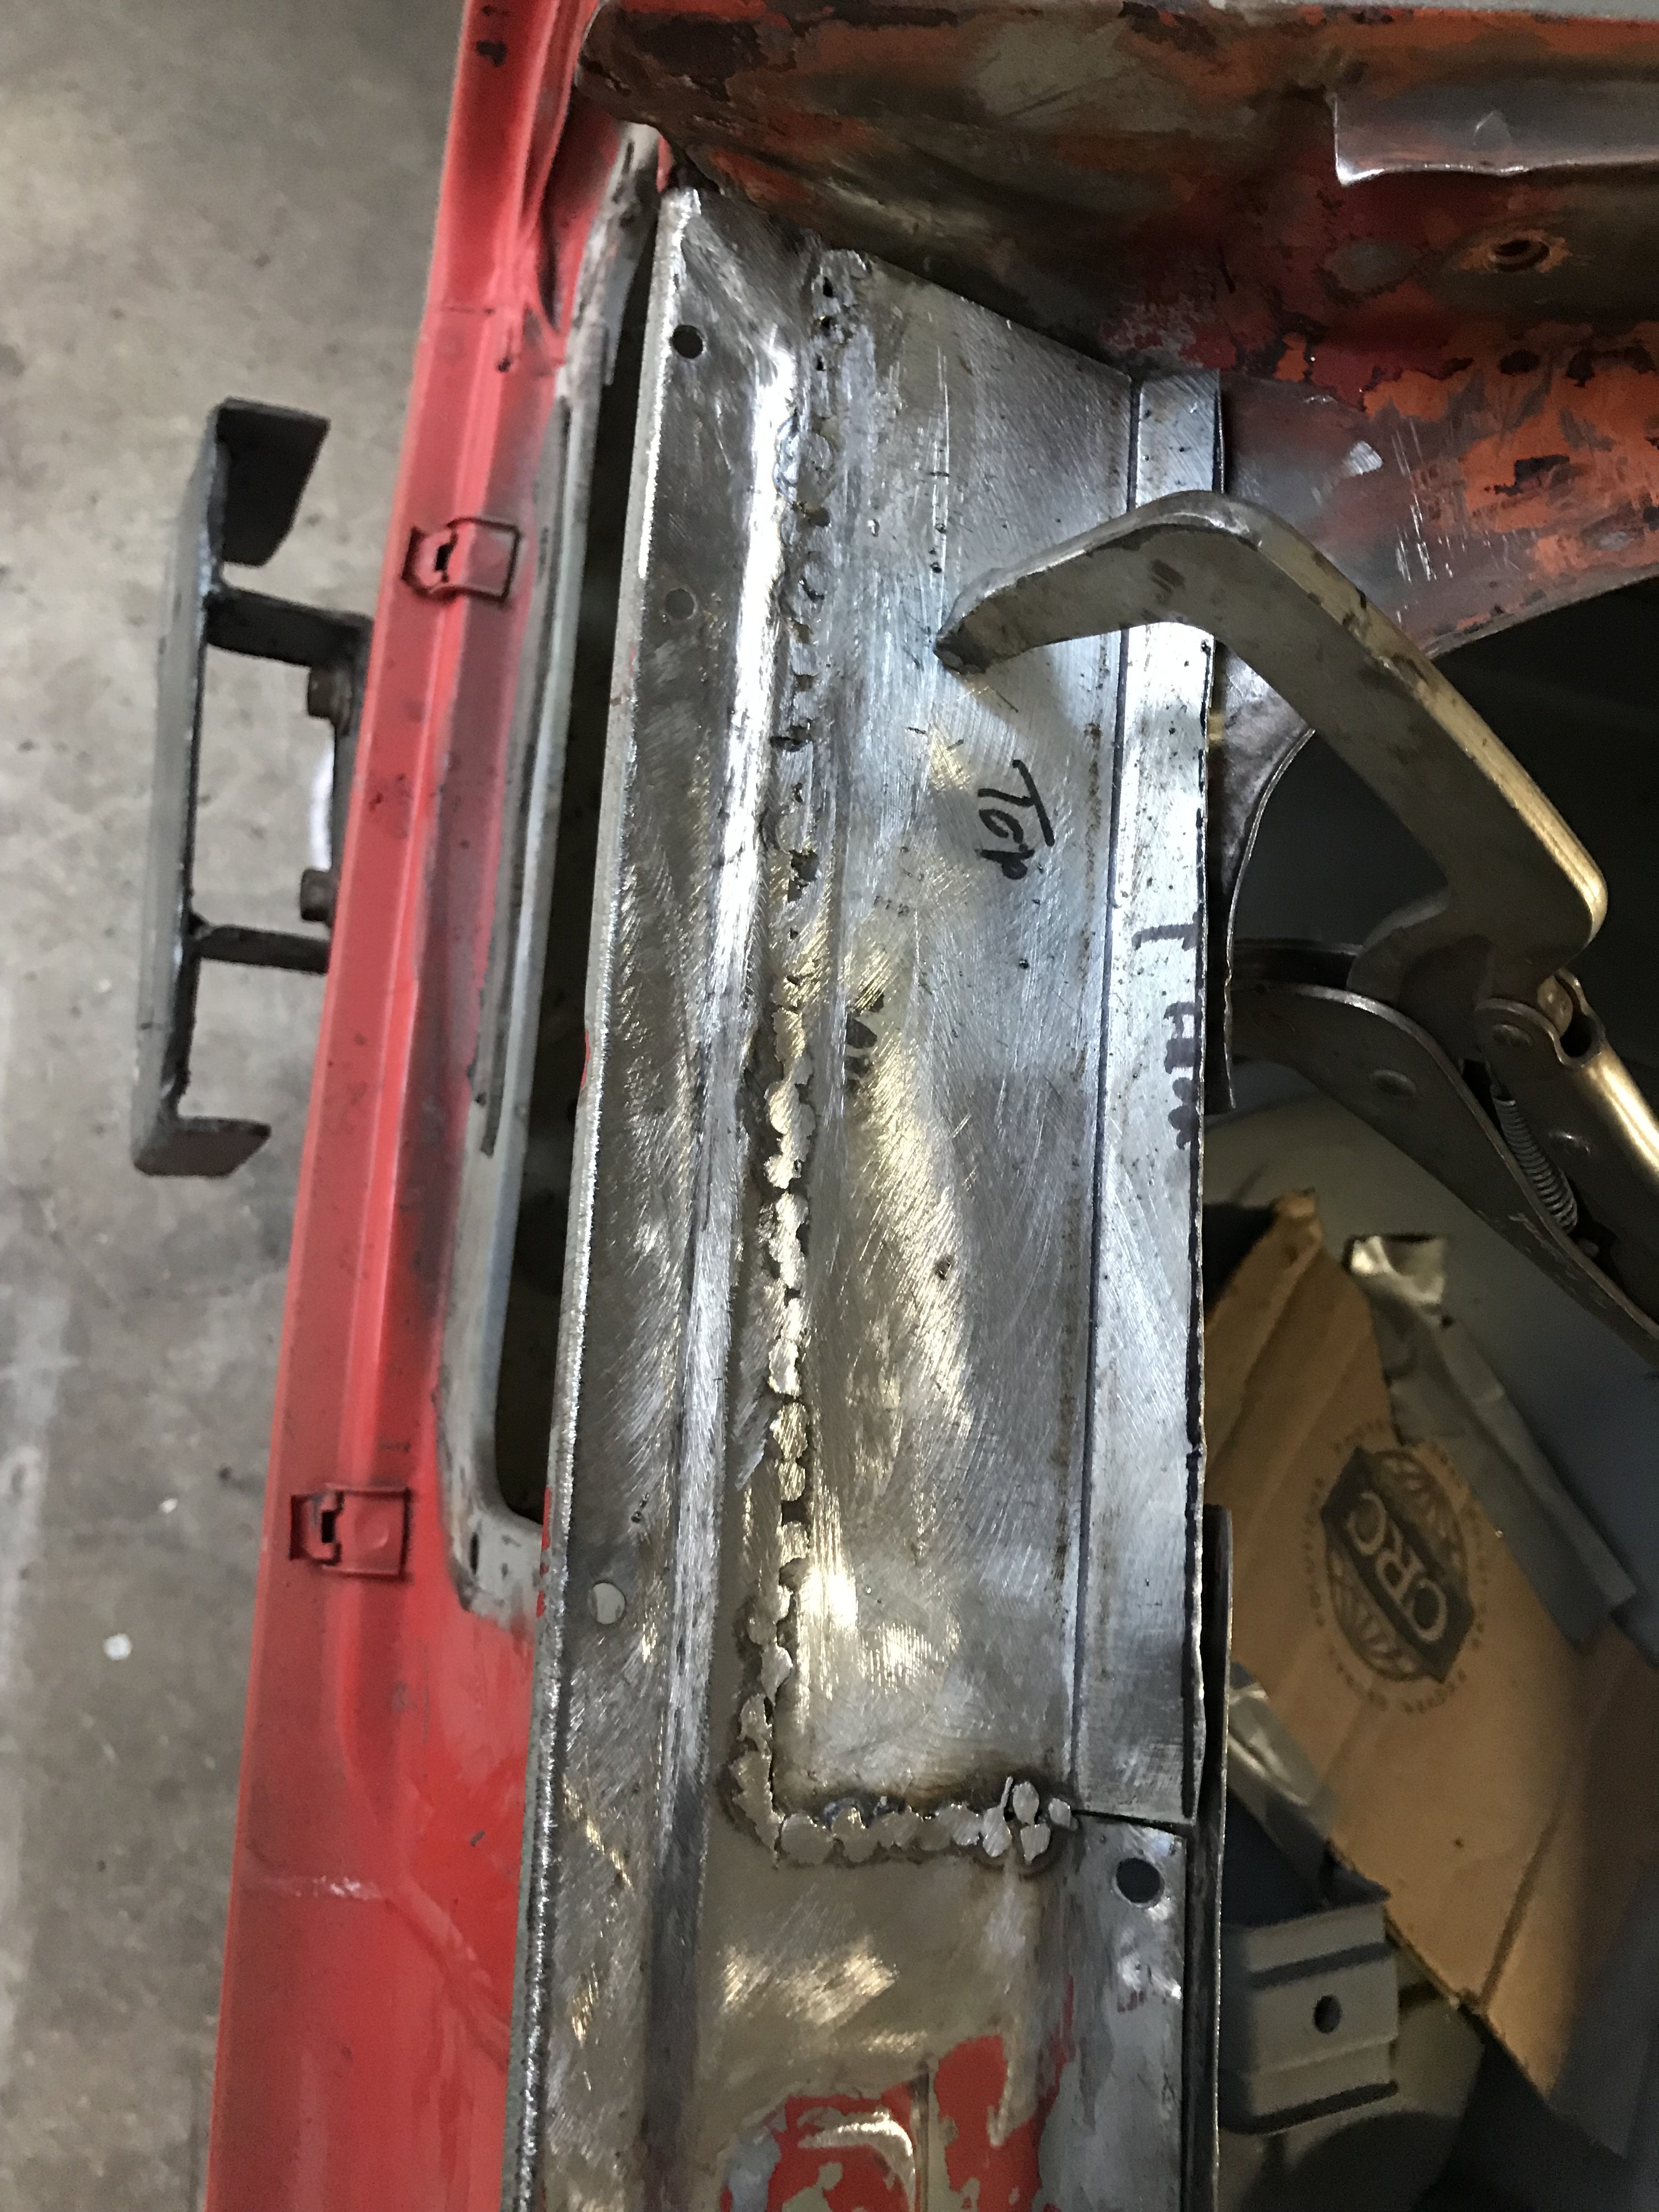
The panel is installed and bonded. A dozen vise grips are utilized to hold the panels together until curing is done(in this case about 8 hours).
Note-the vise grips are all numbered with corresponding numbers on tape located on the panel. These adhesives usually have a fast setup time
so preadjusting the vise grips was done.
The next day the vise grips and excess adhesive was removed from the edges.
All the seams will be sealed after epoxy priming.
The Lord Fusor structural adhesive costs about $50 and special applicator gun runs about $50 too. This adhesive is OEM approved
products and even crash tested.
This post was rather long so let me know and I try to keep posts shorter.
-
I had planned to wet media blast the car this weekend. Unfortunately my 3000PSI gas powered pressure washer didn't cooperate.
Took a day to get it running which screwed up my time frame. This is because after wet media blasting, there is a 72 hour time limit to
epoxy paint the car before corrosion sets in. With a 24 hour drying time, there is not too much time for error. Also, the weather also
has to cooperate too. So I decided to put blasting on hold until the next weather window opens up. Instead did some welding inside of rear
hatch panel.
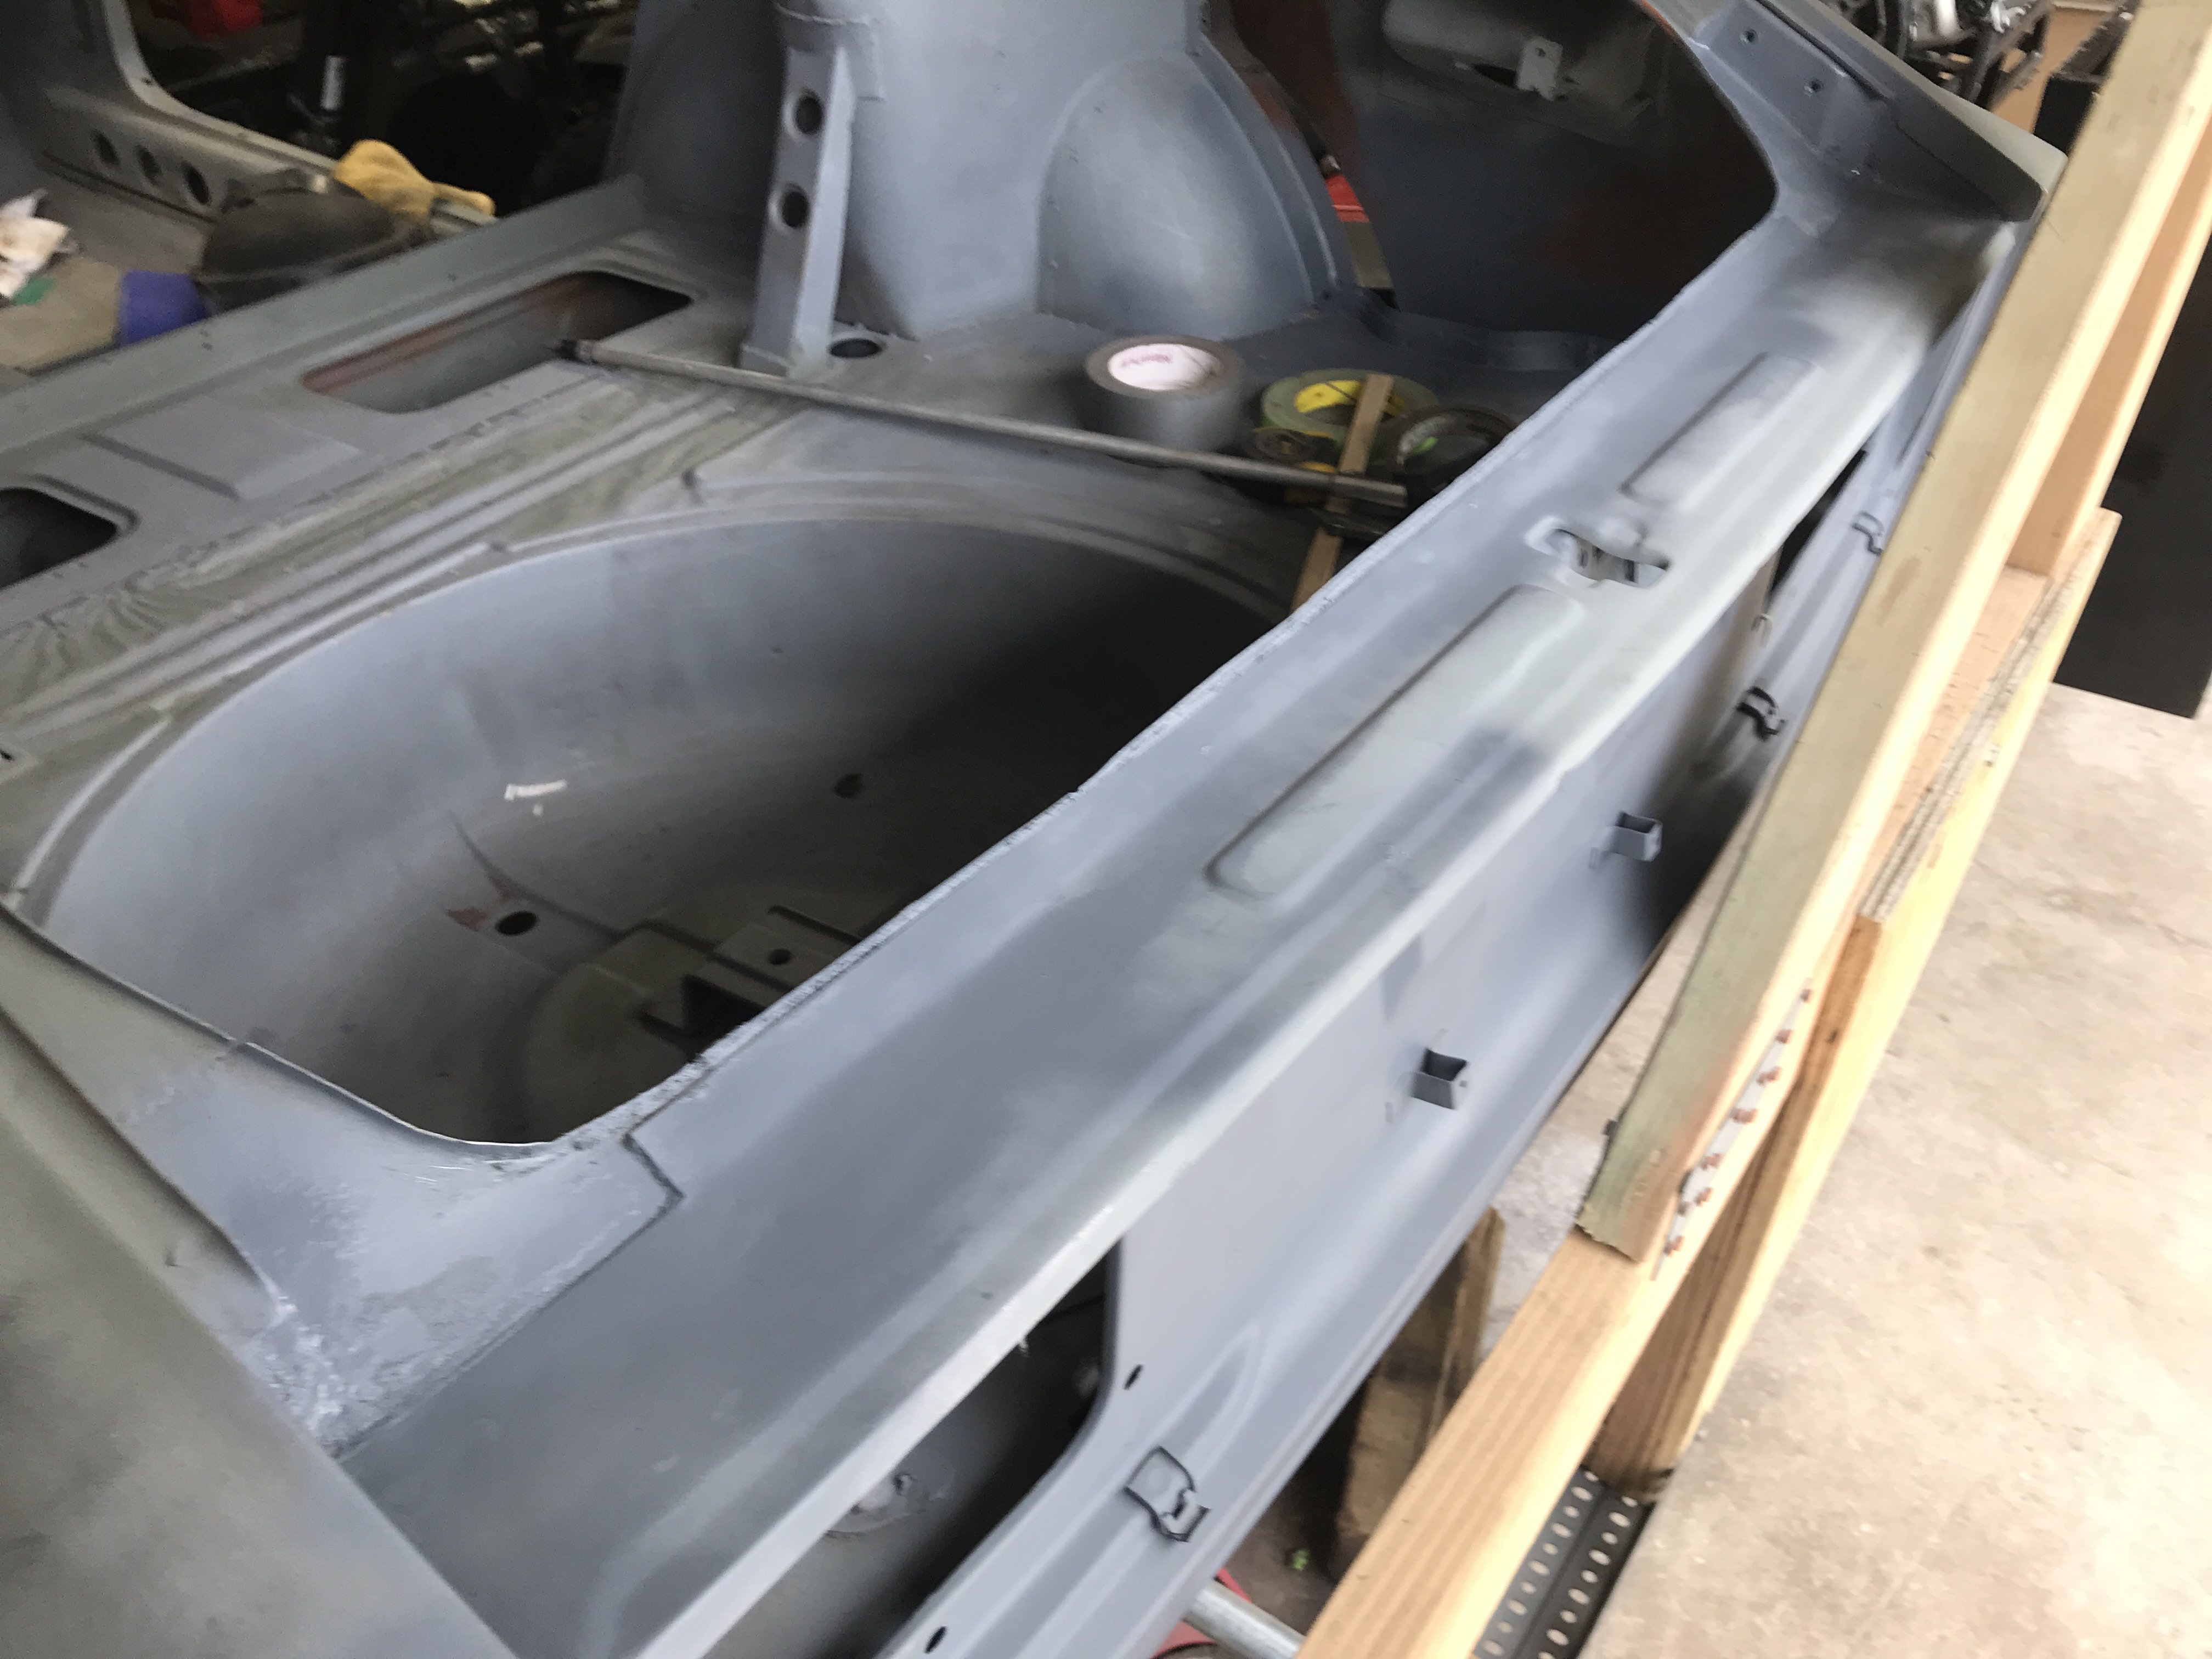
Right rear hatch panel-inside view
Center of Rear Hatch Panel-inside view
Left Rear Hatch Panel- view from inside
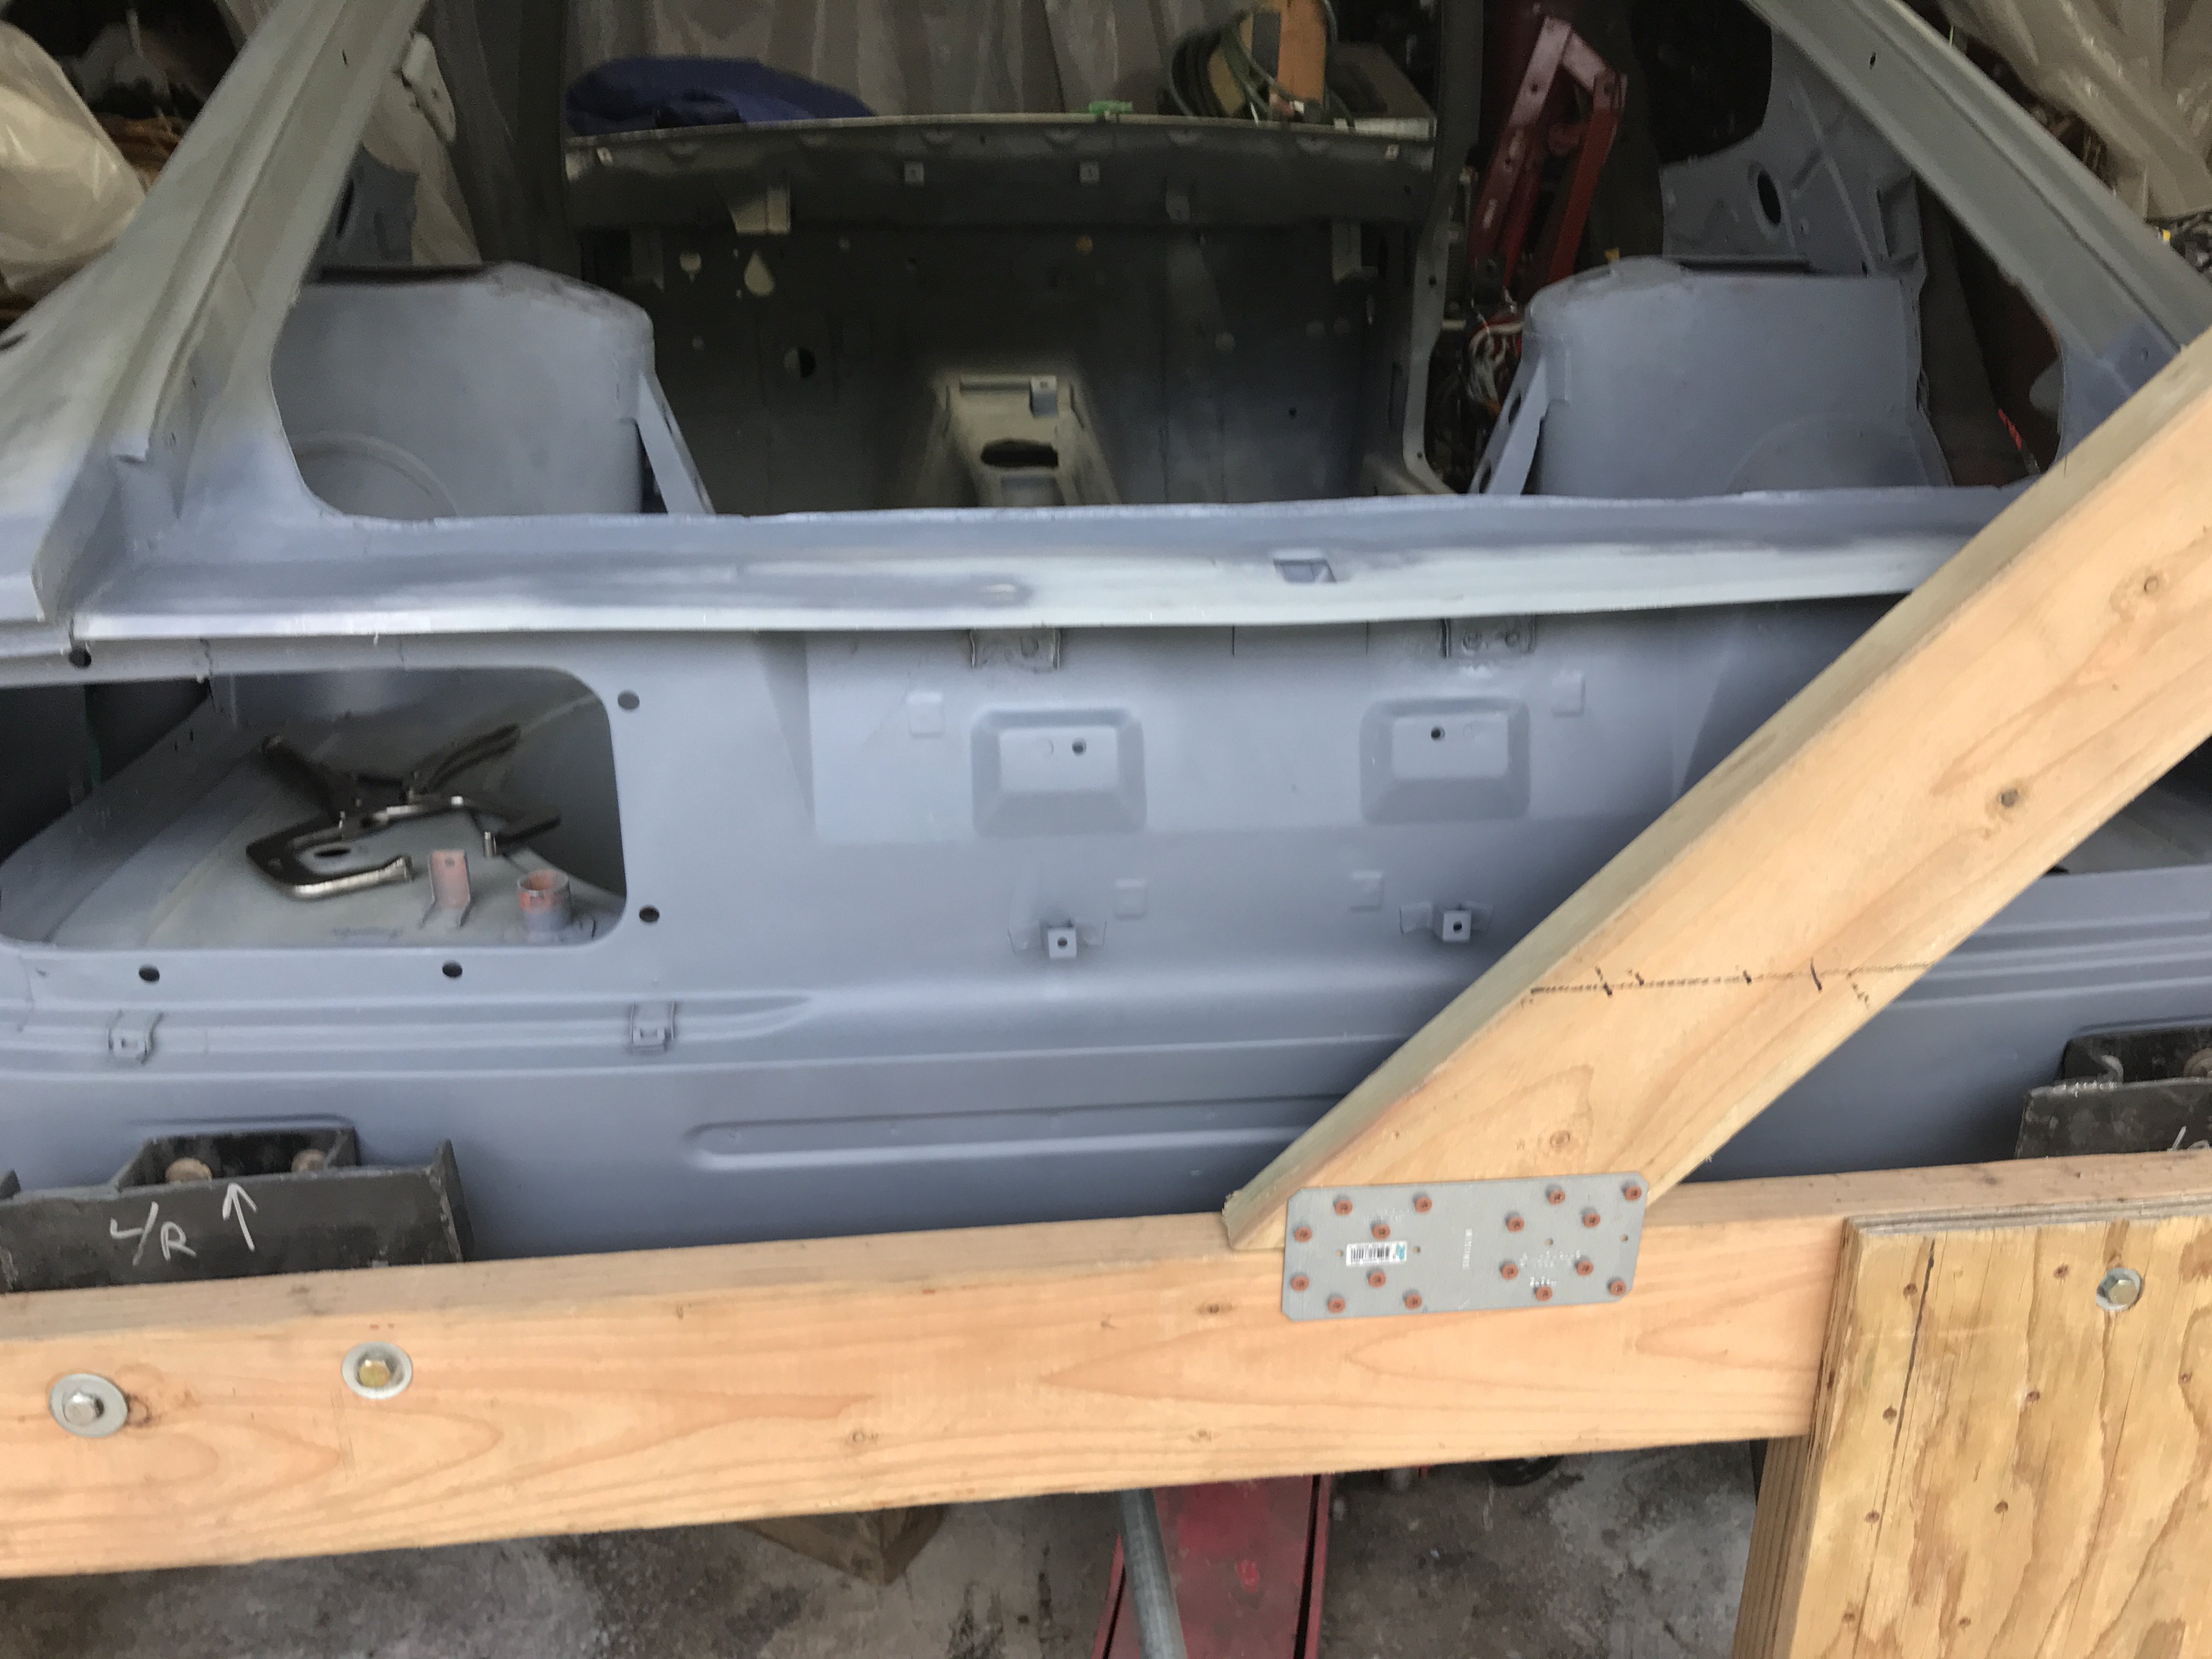
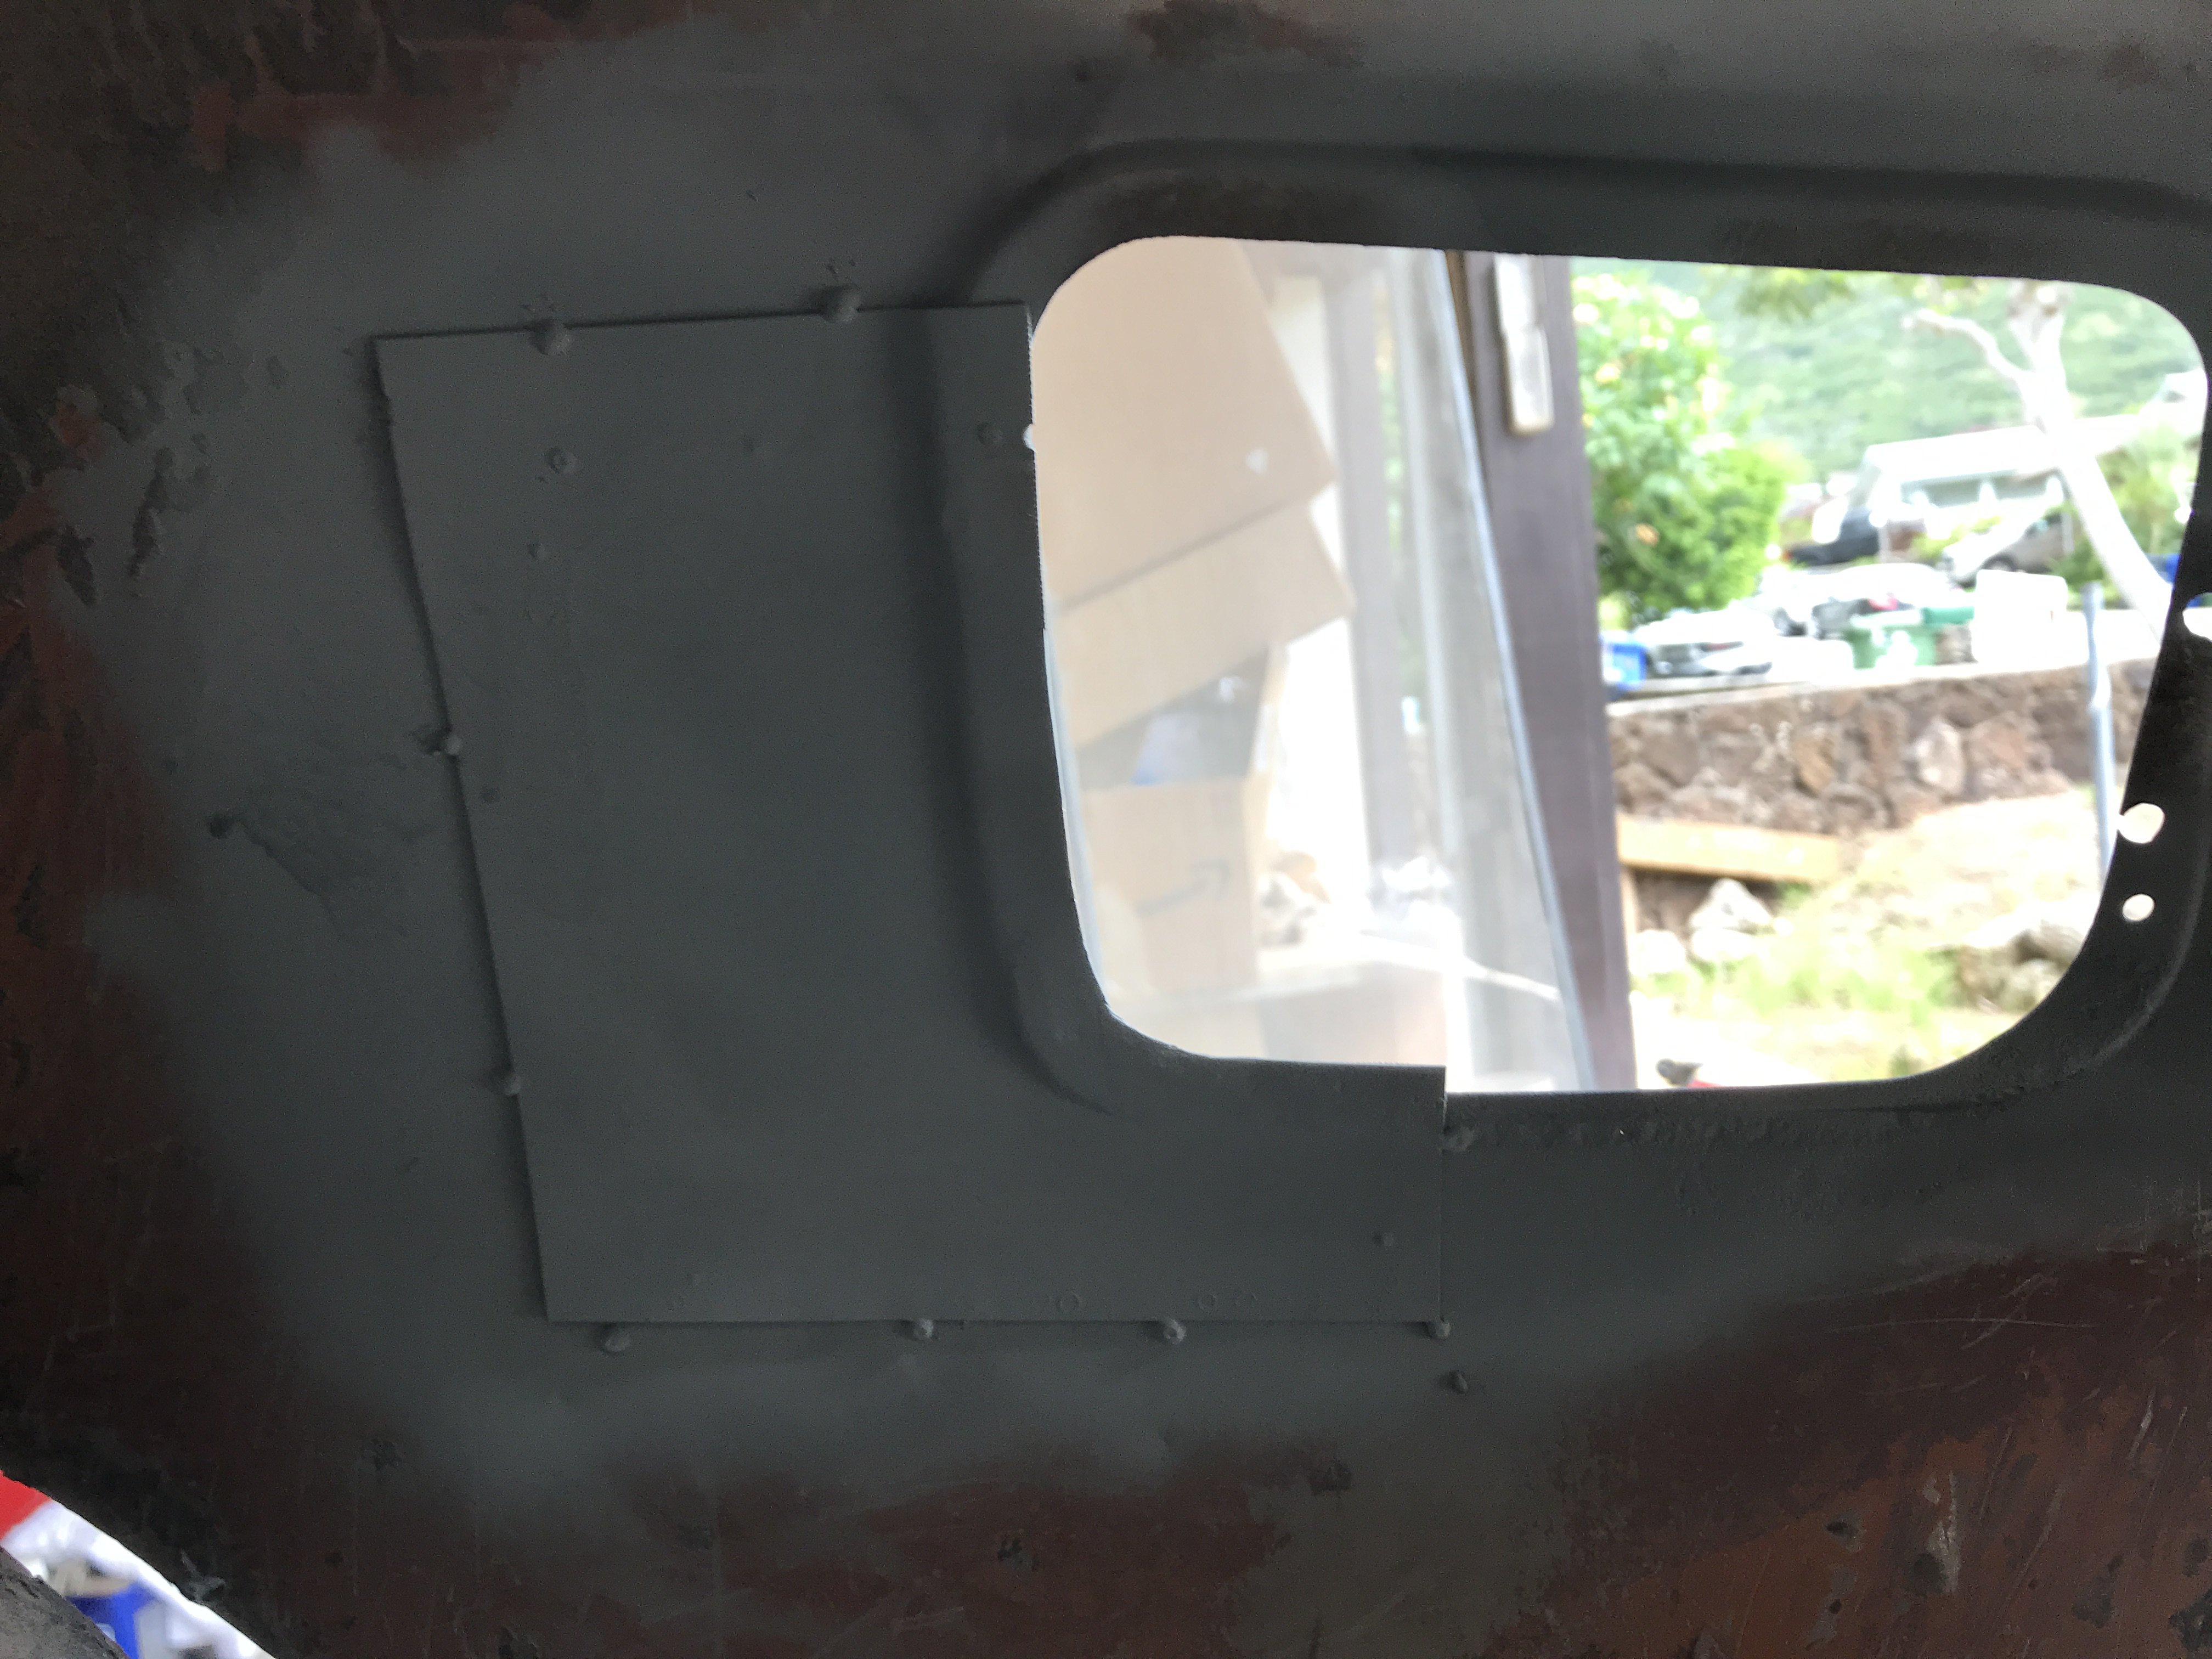
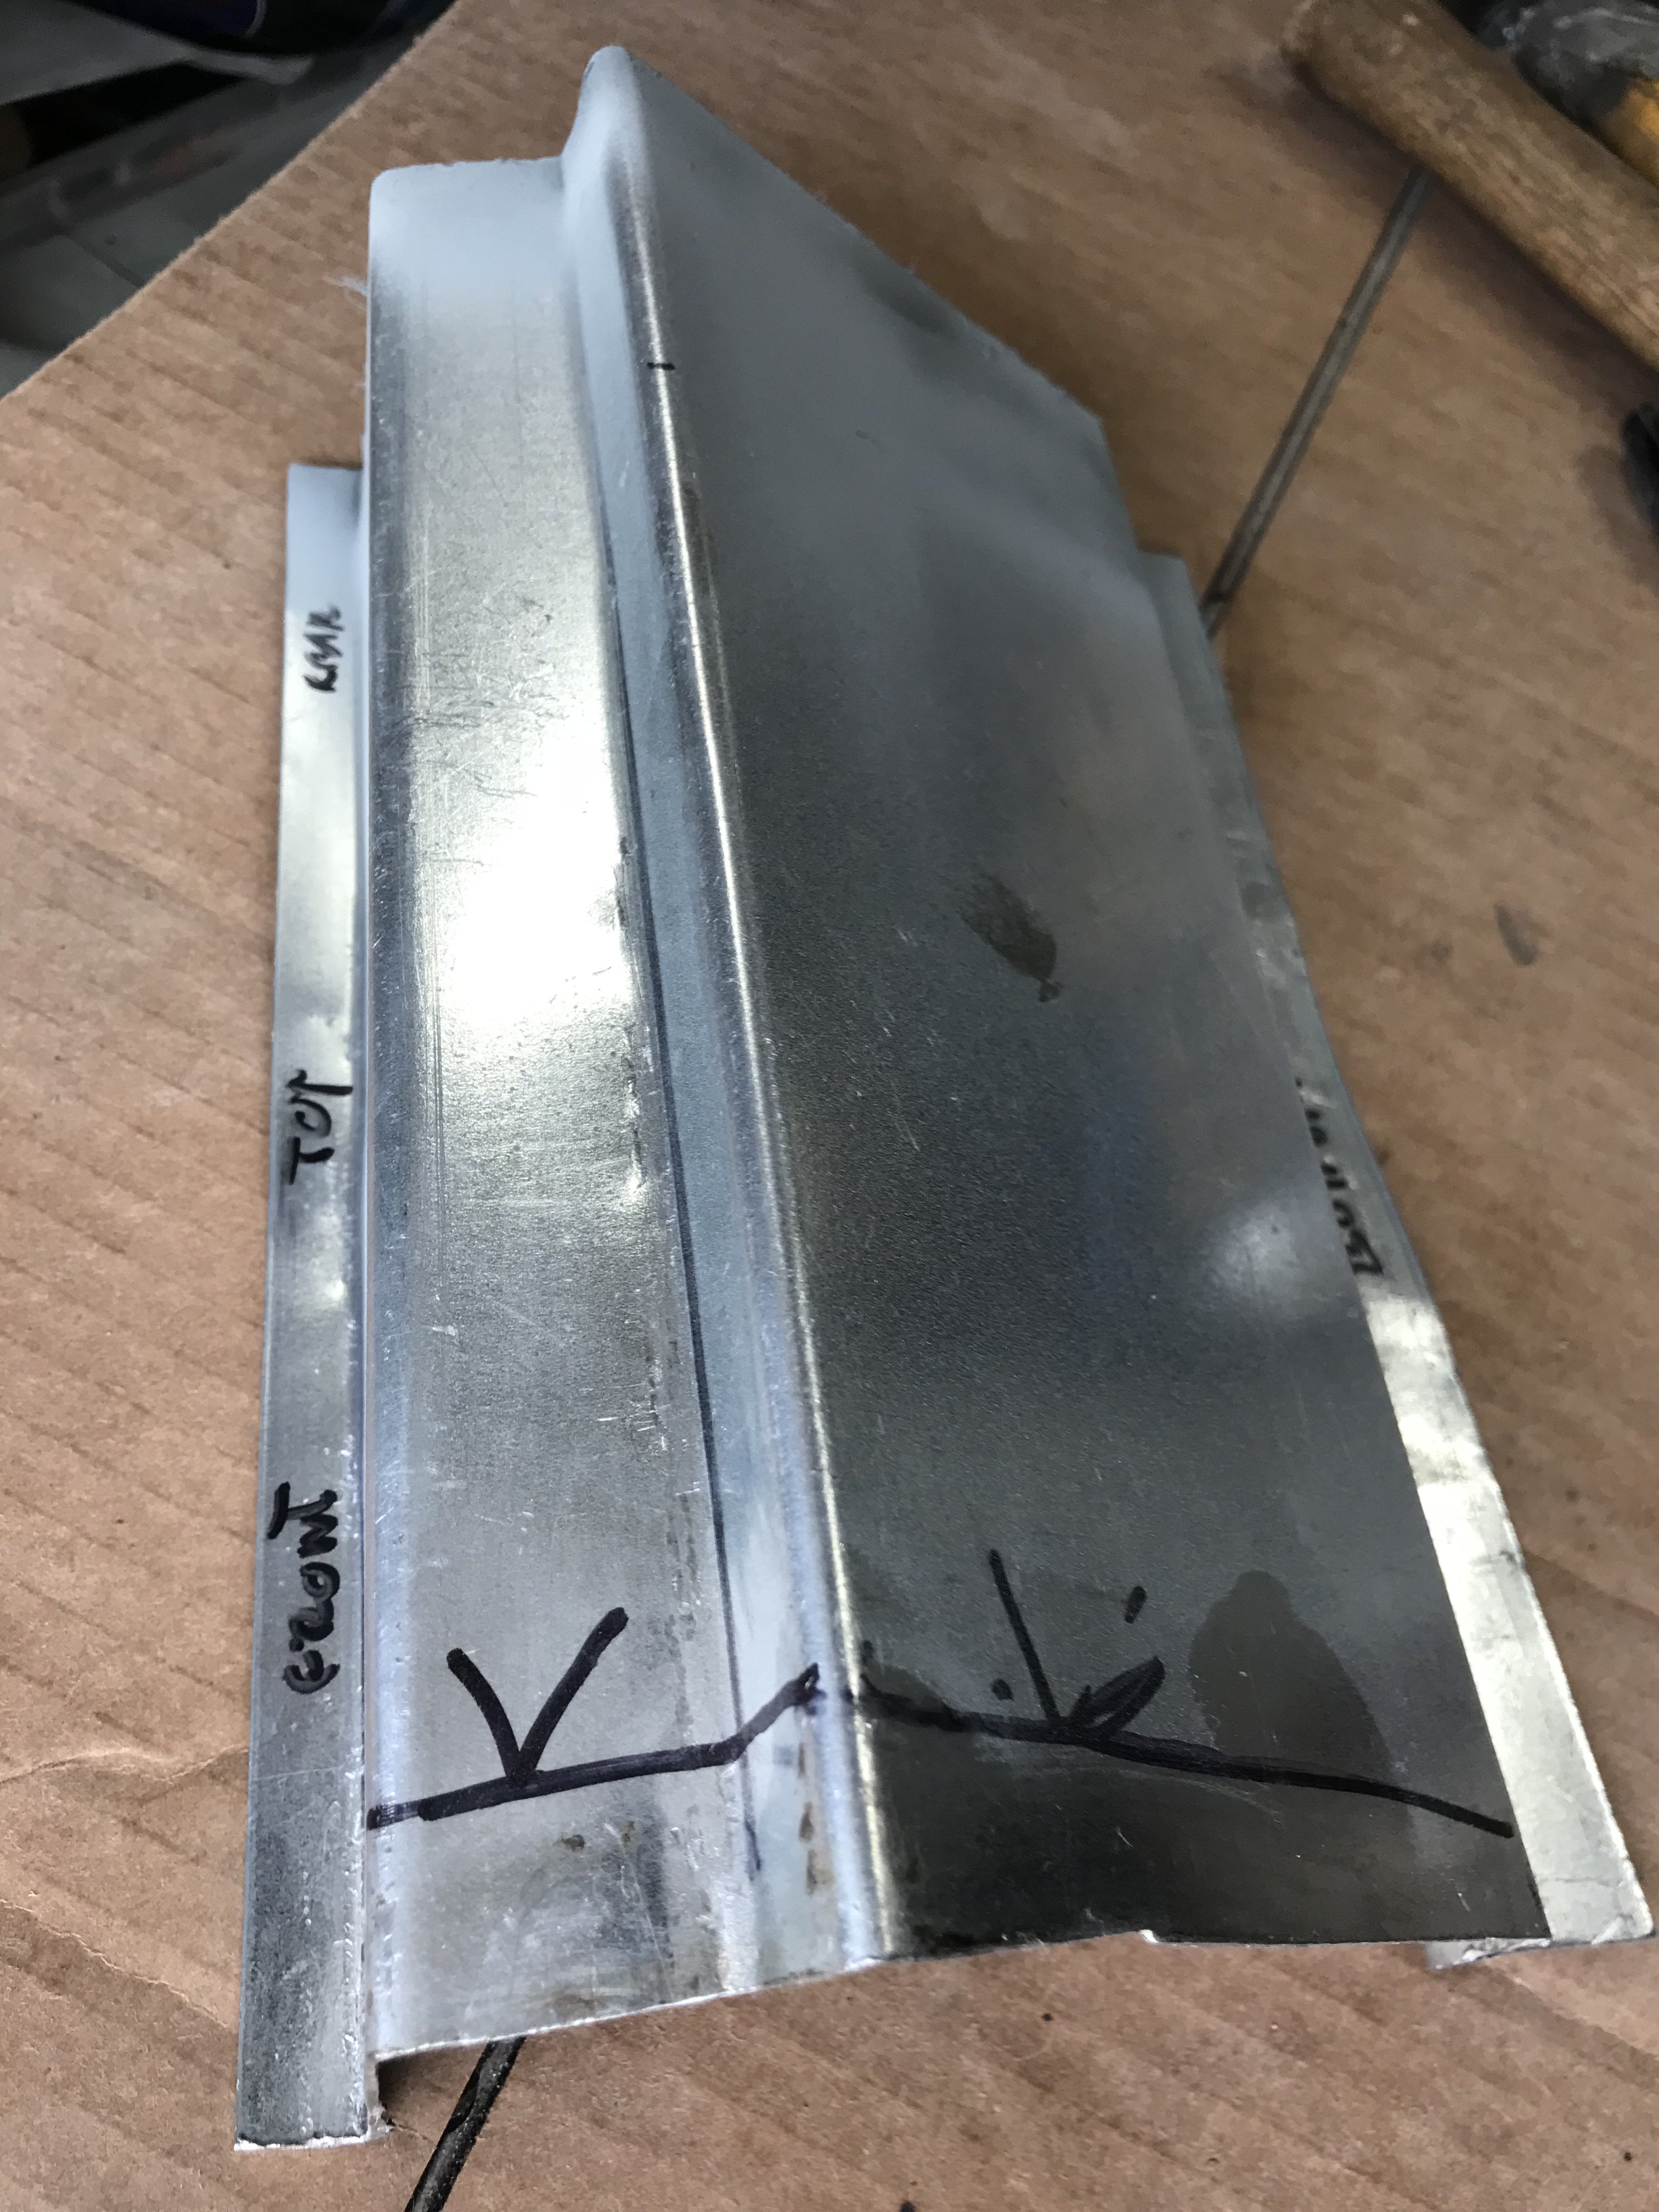
Overall Top view of Hatch Panel. I decided to use a different method of attaching the top replacement hatch panel. The new replacement
panel is even constructed of 20 gauge metal. I have not seen a 240Z that didn't have some corrosion under this panel. So I decided to use a metal to metal automotive epoxy to hold this panel on. The epoxy will also seal the panel from water getting under it and rusting.
-
If you interested in repairing the hatch, go to V8 Z forum-GenIV-Heavy Duty Frame section, there are photos of a hatch repair. Hope to finish
it by this weekend. Hope this helps you.
-
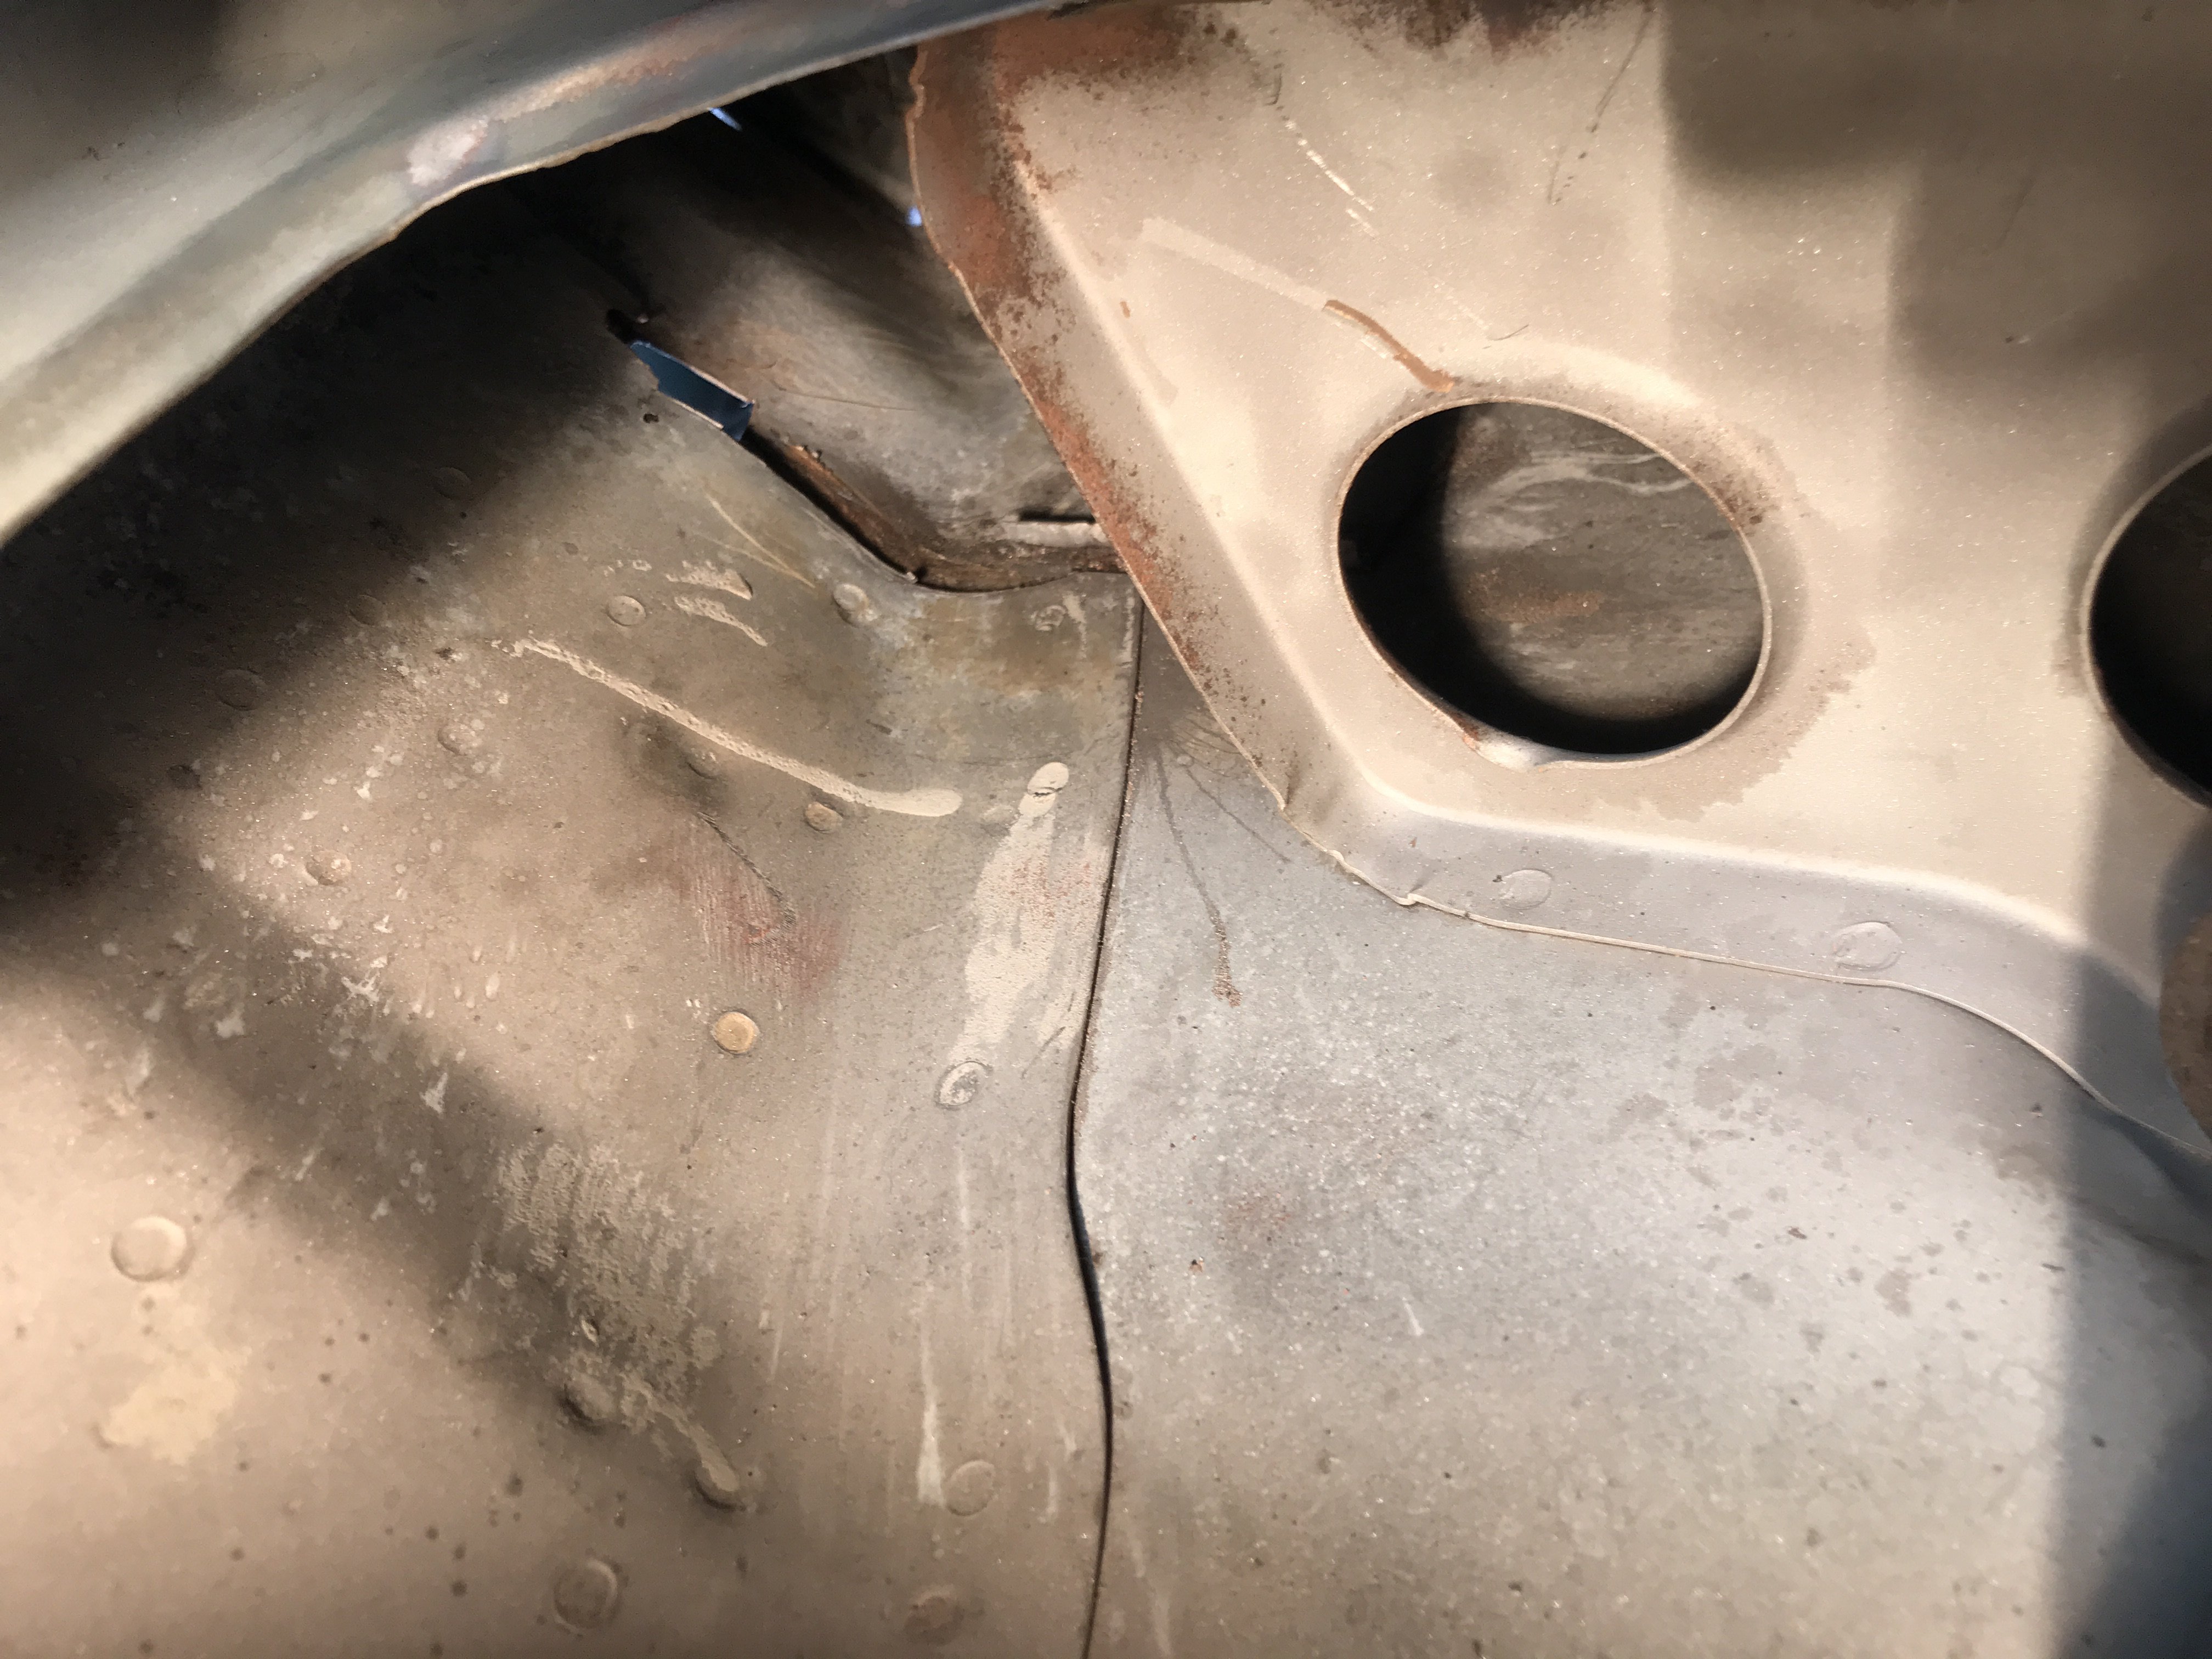
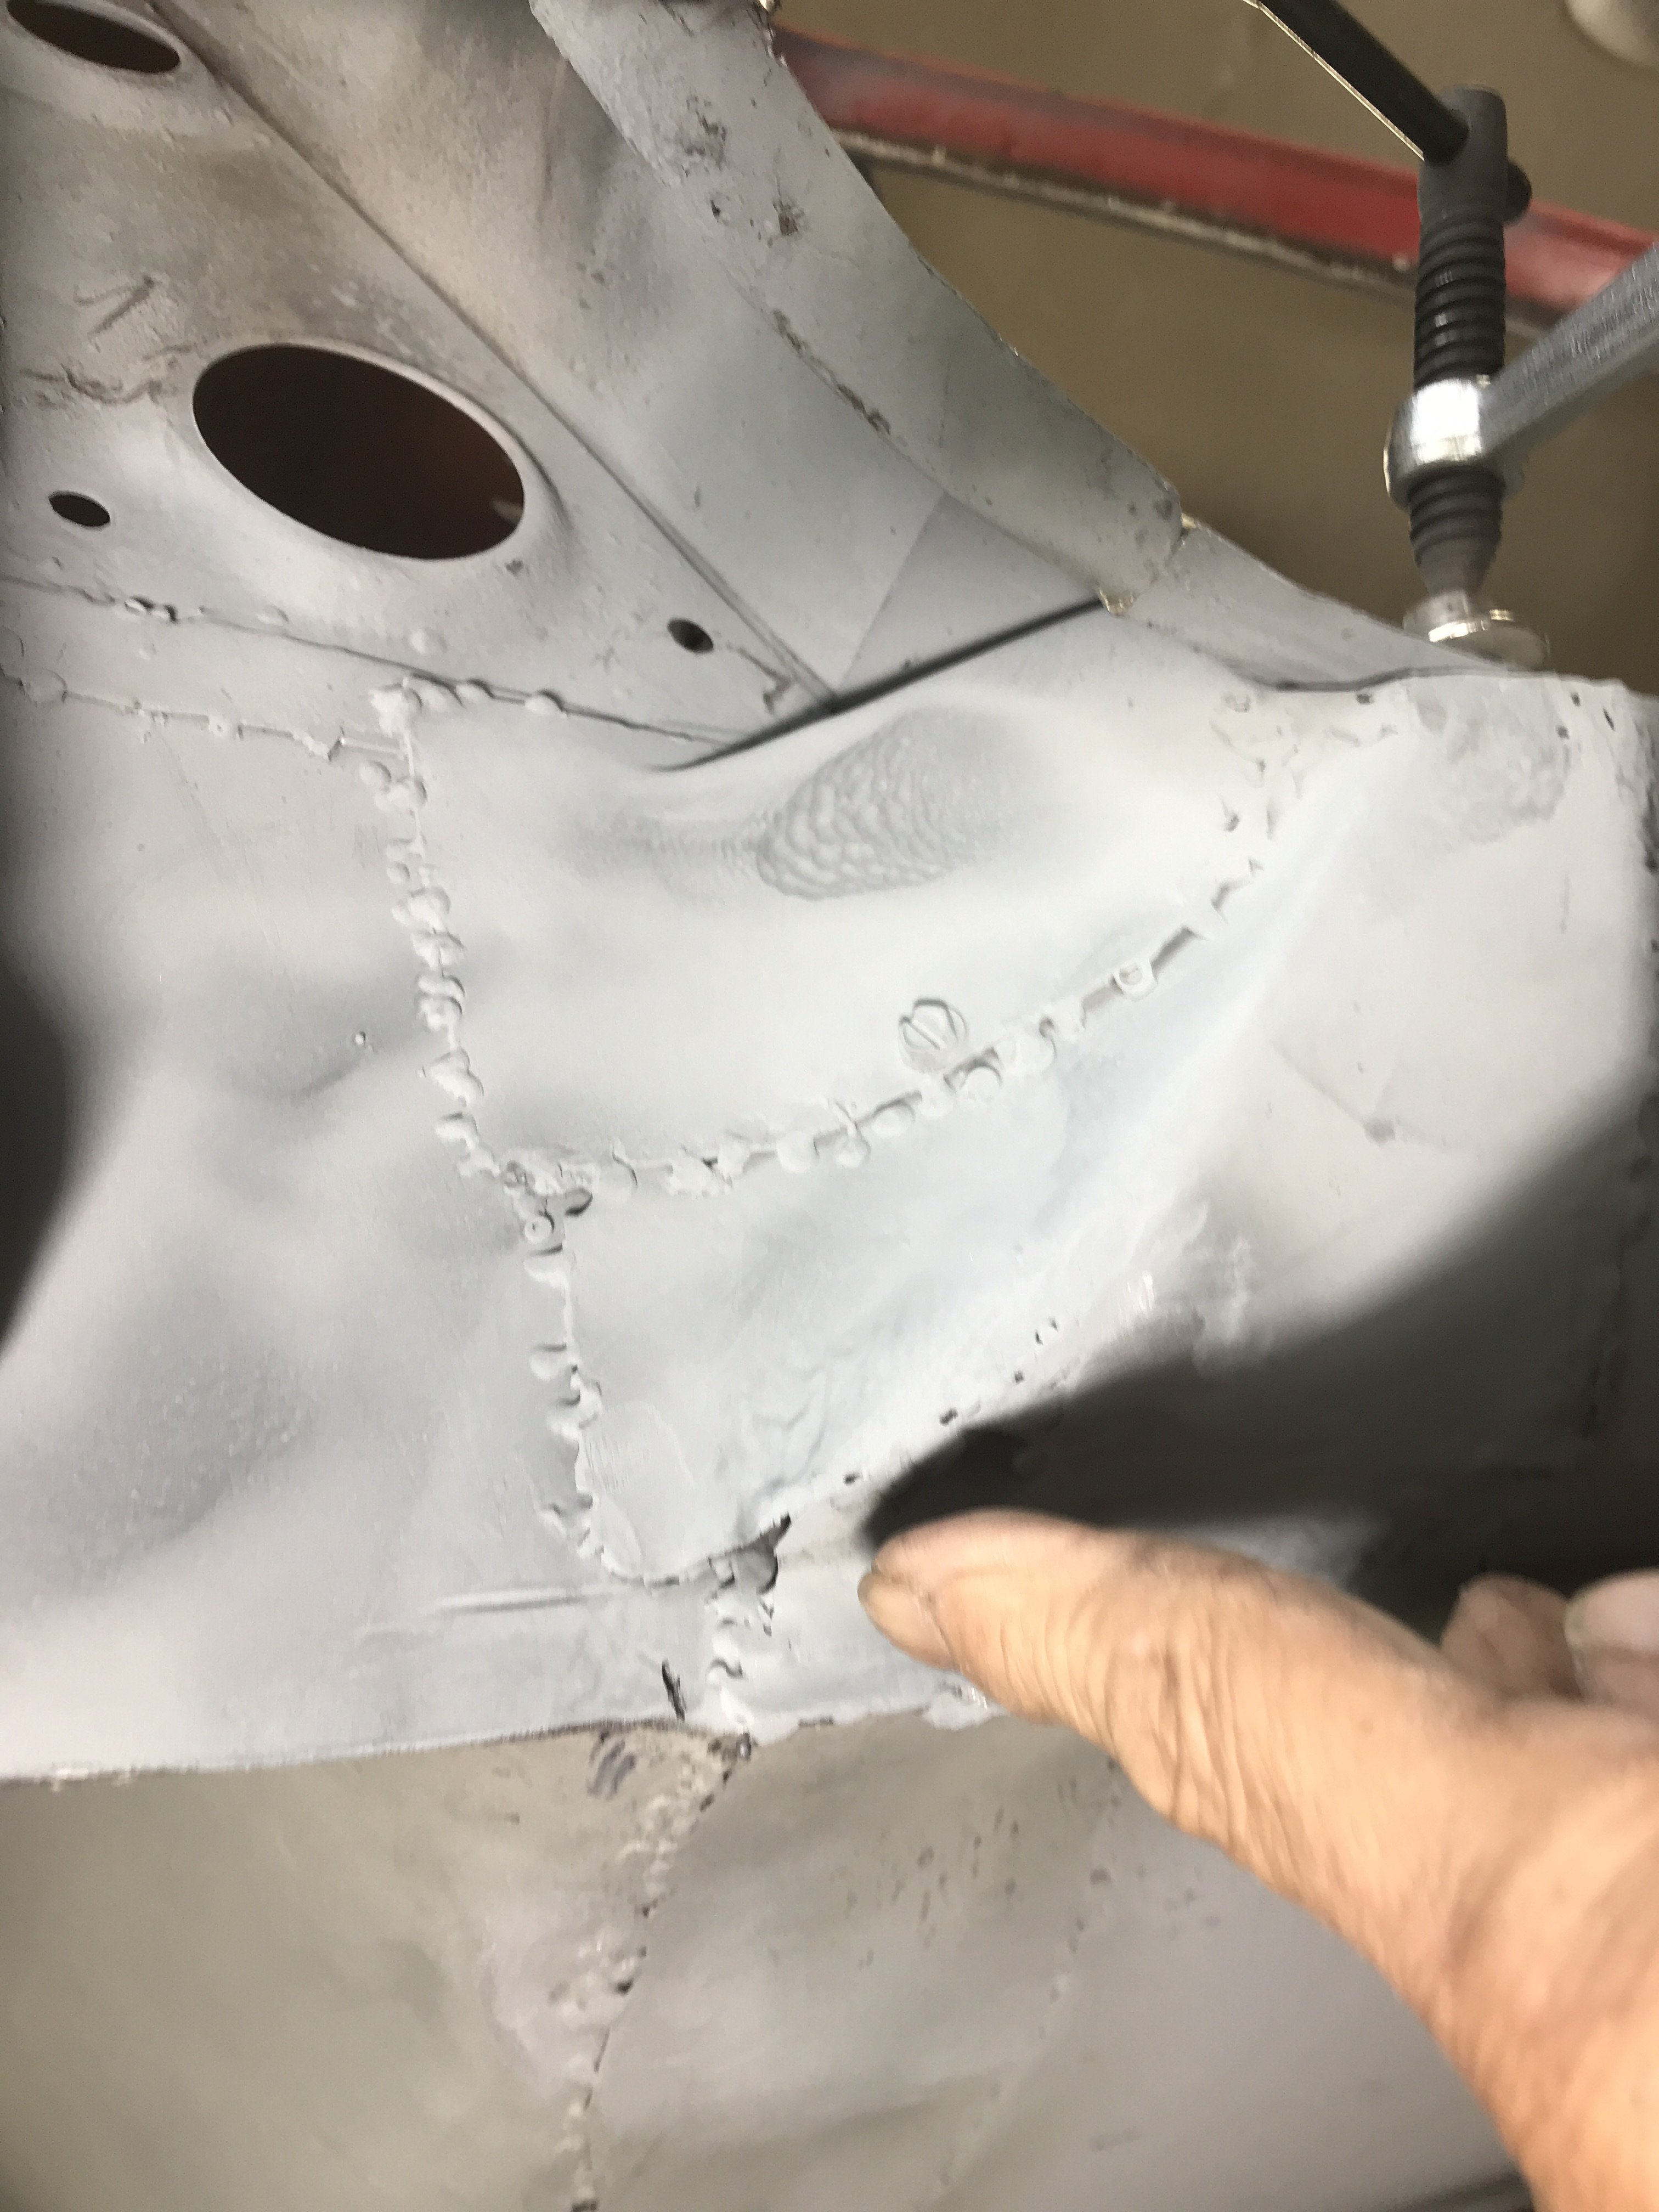
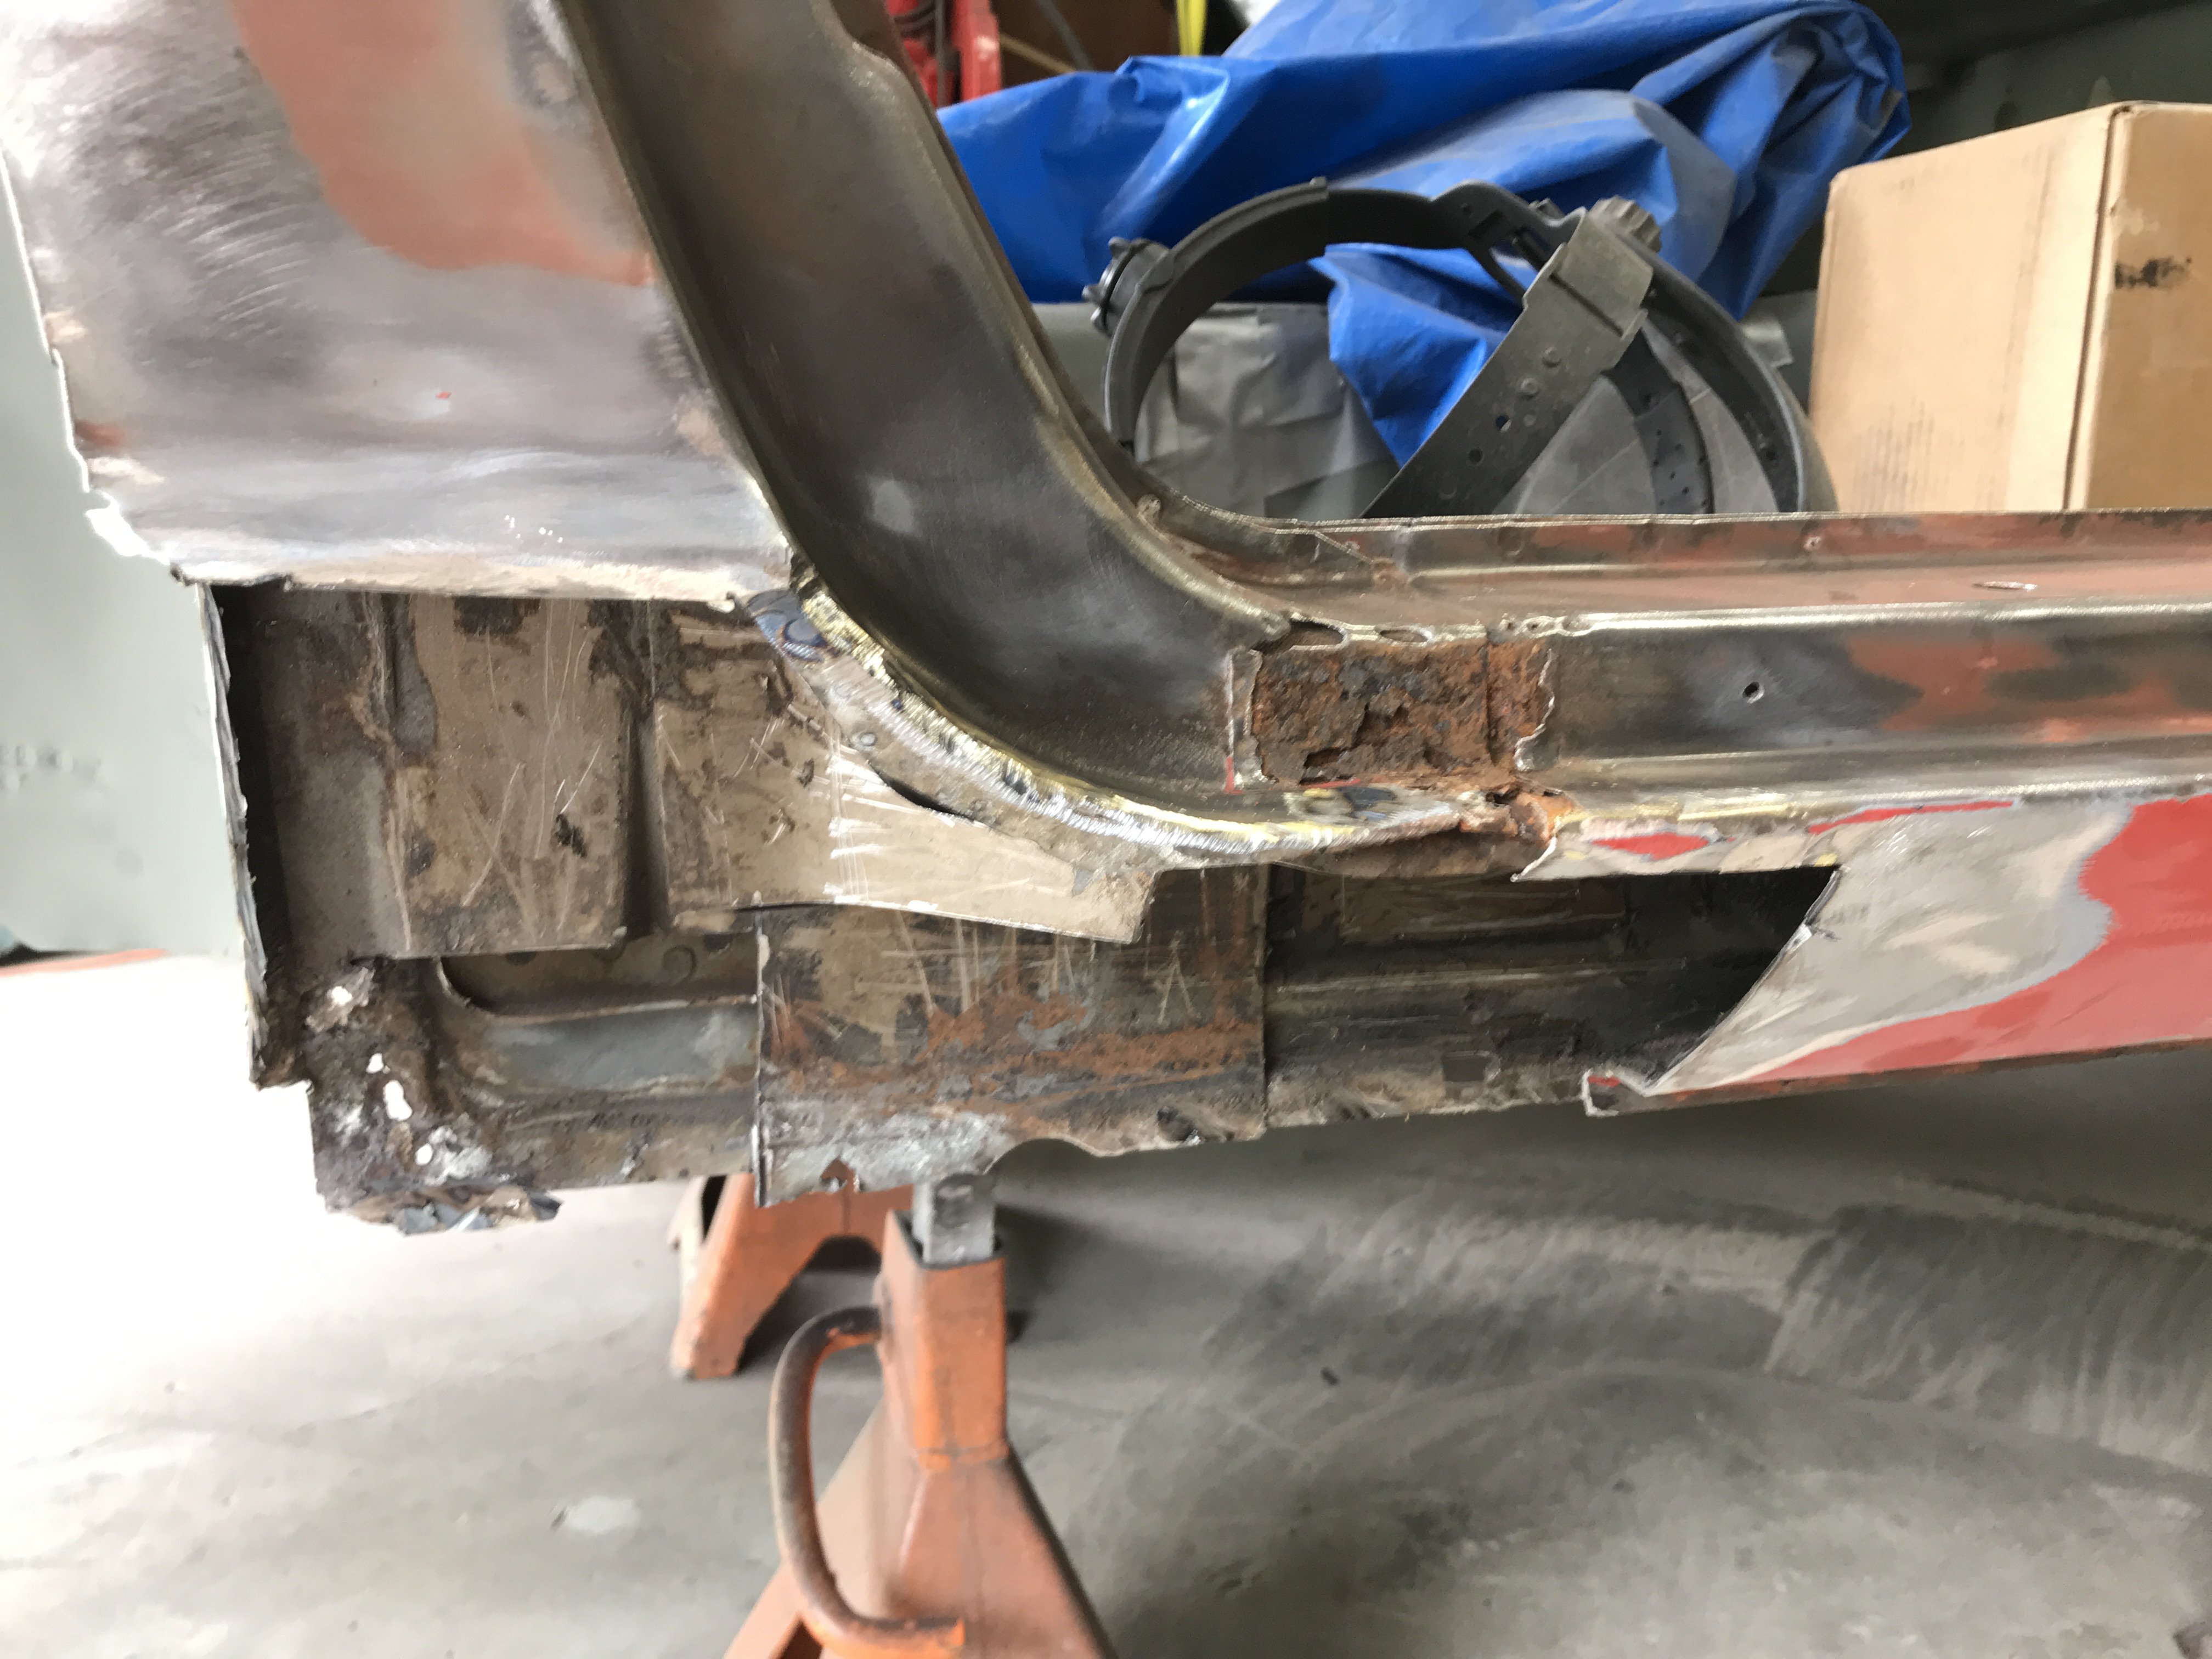
While cleaning the cowl area, I discovered another rust spot[hopefully the last one) in the extreme left side of the cowl. Anyone who has the cowl panel off the car should check these area carefully for signs of corrosion. Most people do not realize that majority of the rain water coming off the front of the roof enters the cowl area then drains down the door post pass the front fender. Combined with dirt, leaves and other debris, corrosion begins.
The rust is difficult to see (above half way down from top) on the upper edge of reinforcement plate.
Pic of corrosion cut out-view from the interior side of cowl
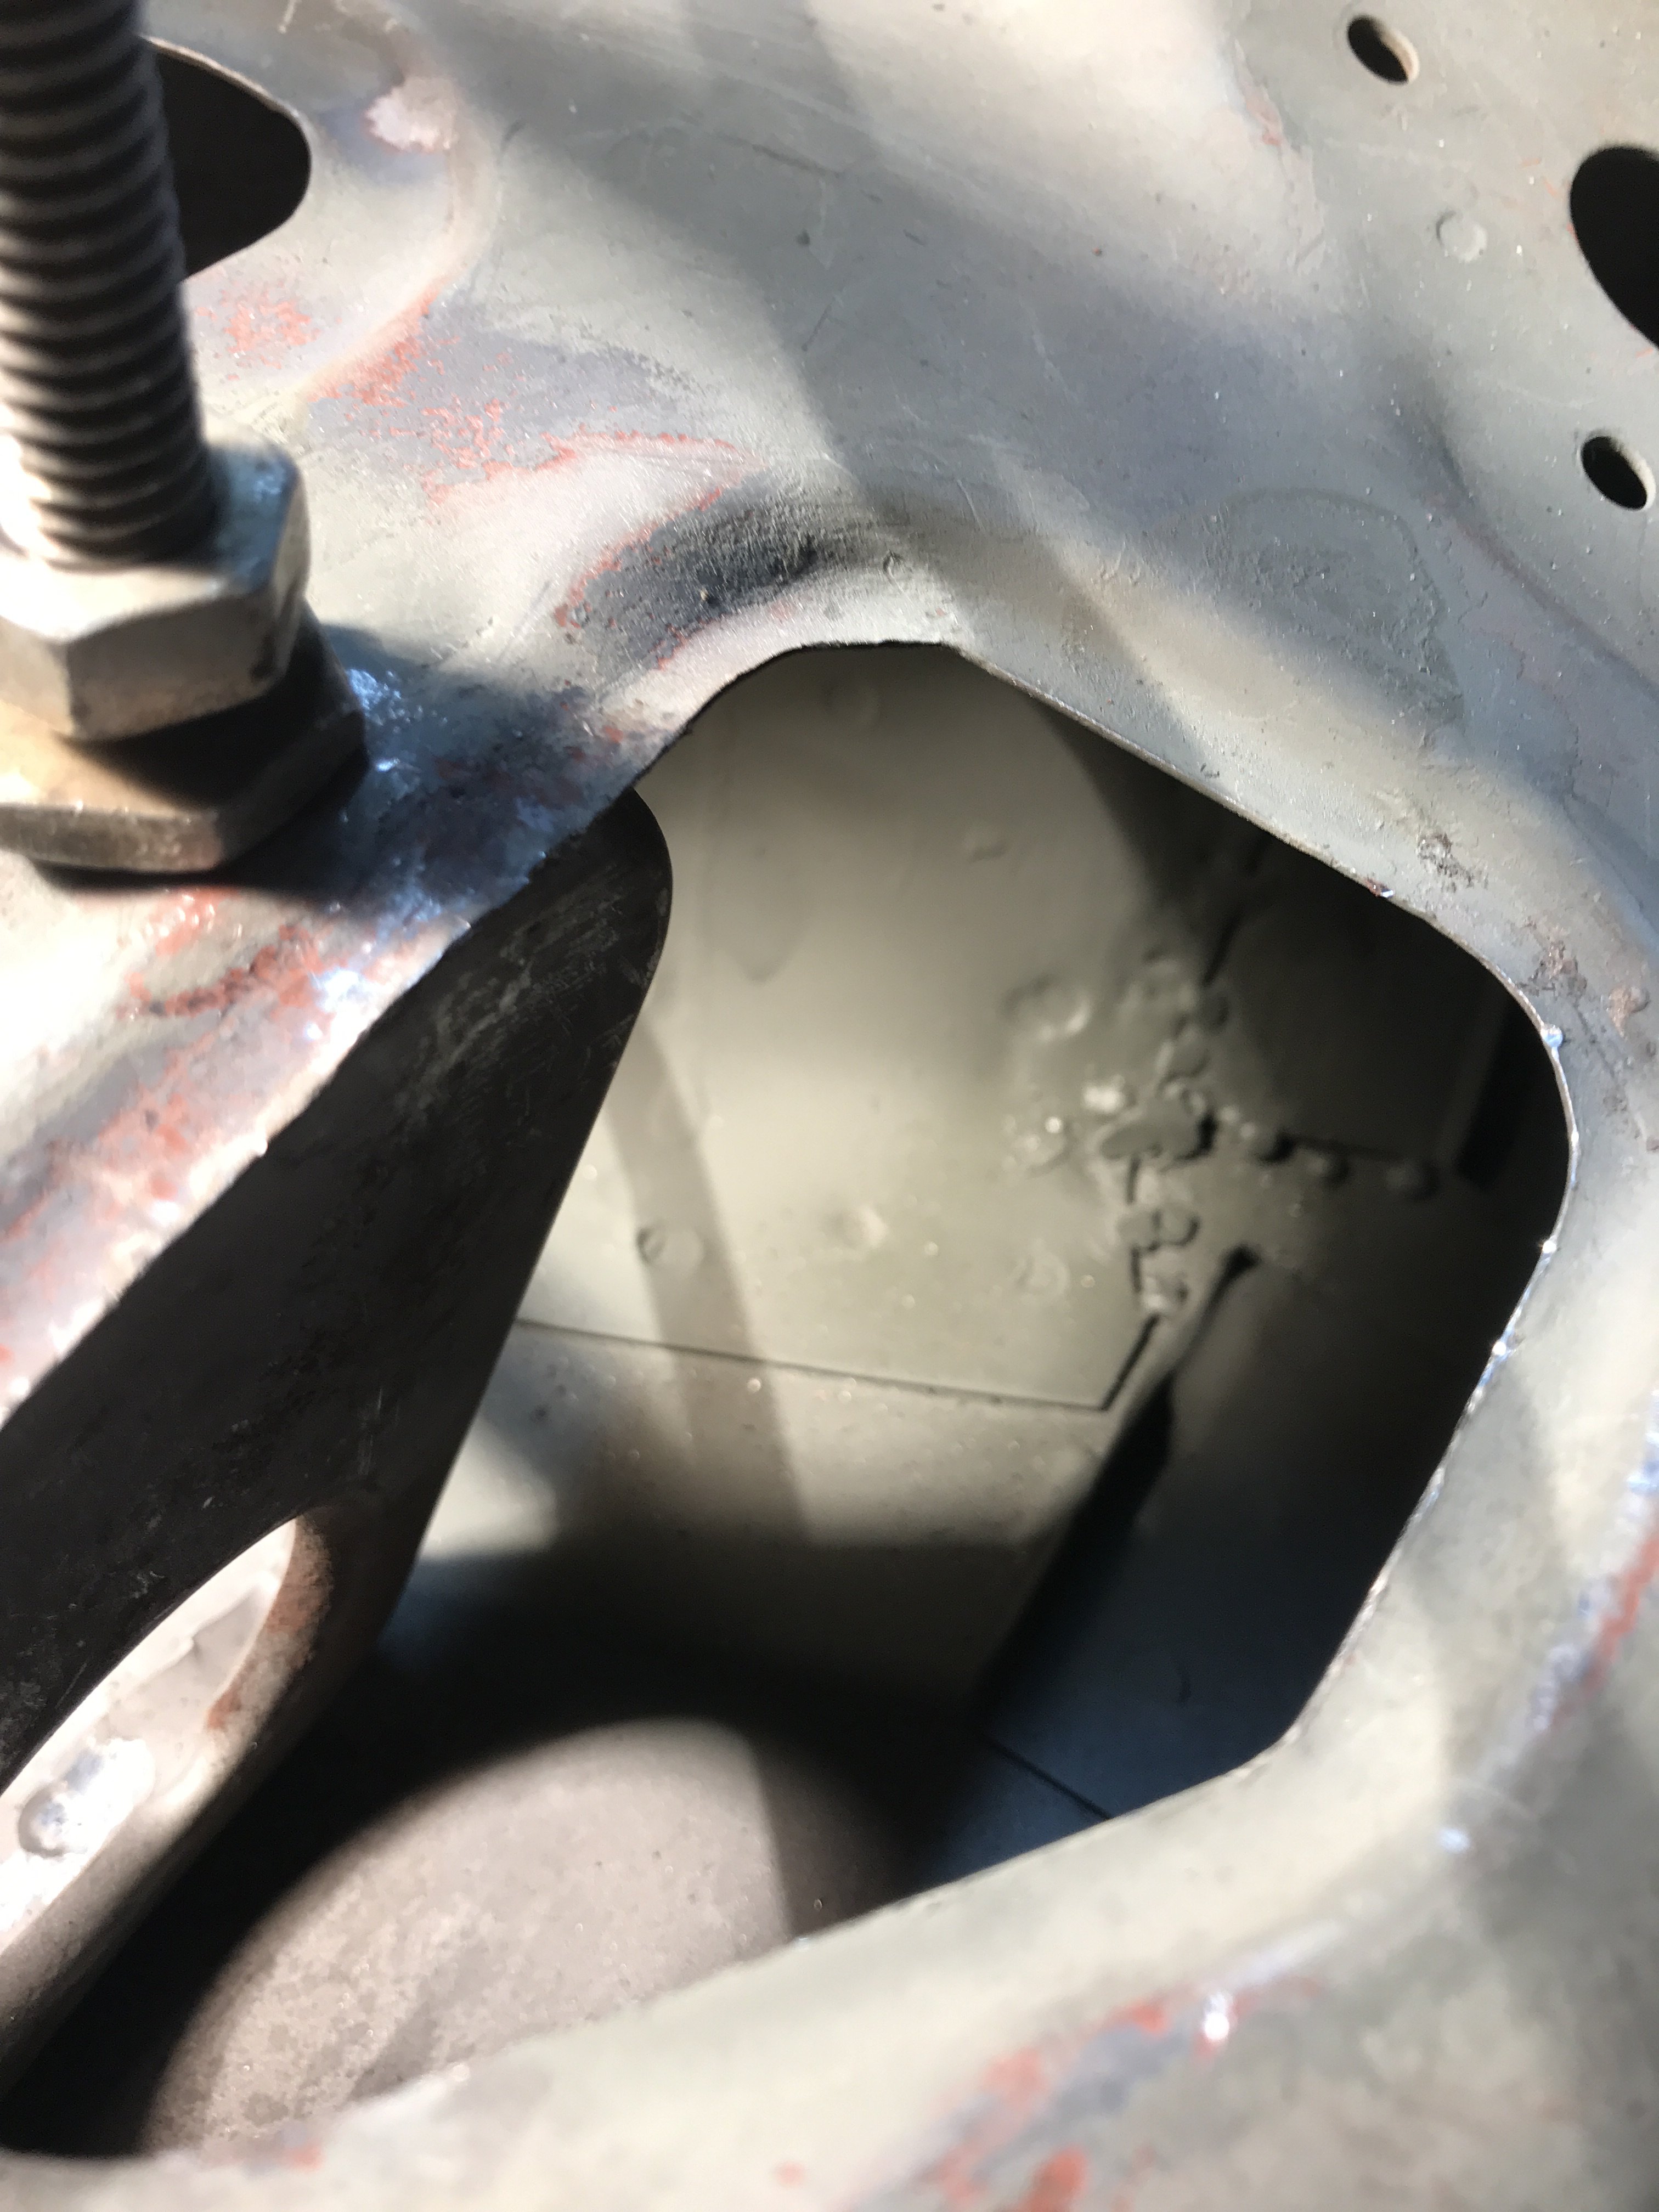
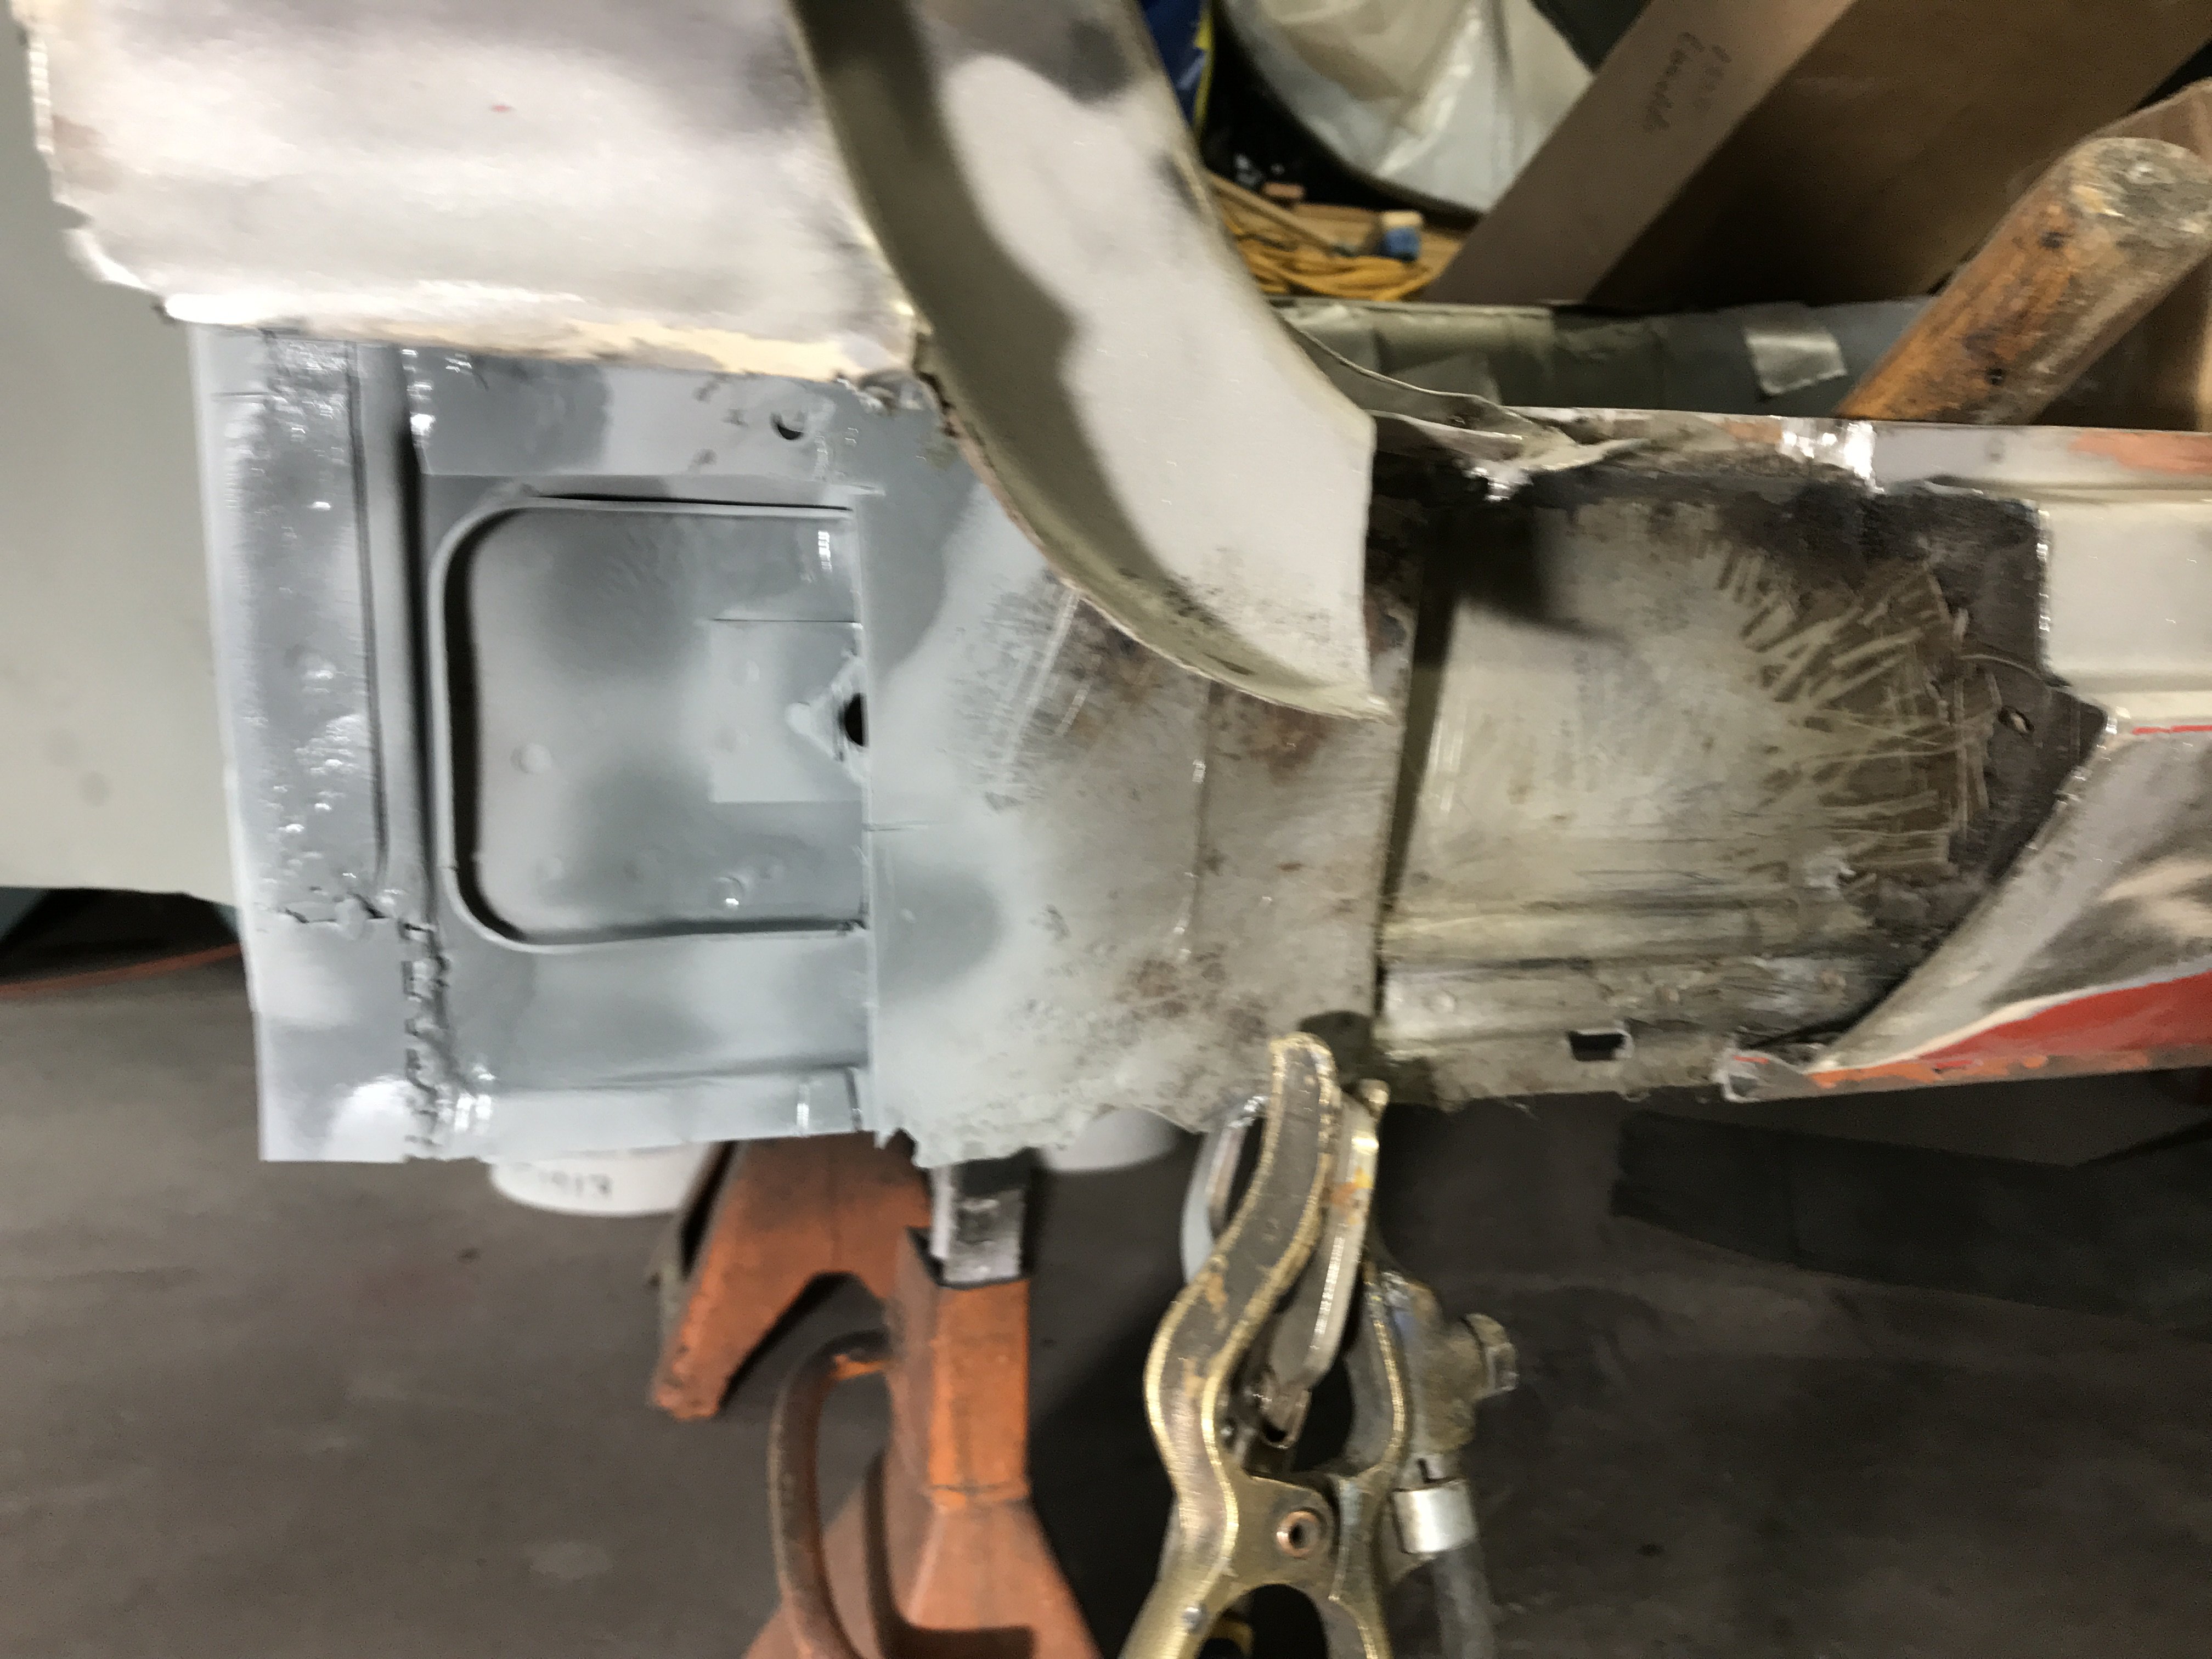
Osho was shot under the reinforcing plate to prevent further rust. One edge of the patch was pushed under this plate then
the patch was welded in from the cowl side. But because the cowl support rib was blocking any work, the spot welds of the rib had to be drilled out. It was still difficult to use the mig because of the confined space. Of coarse, after epoxy priming, all seams and air ducts will sealed with urethane seam sealer.
Hidden corrosion repaired
-
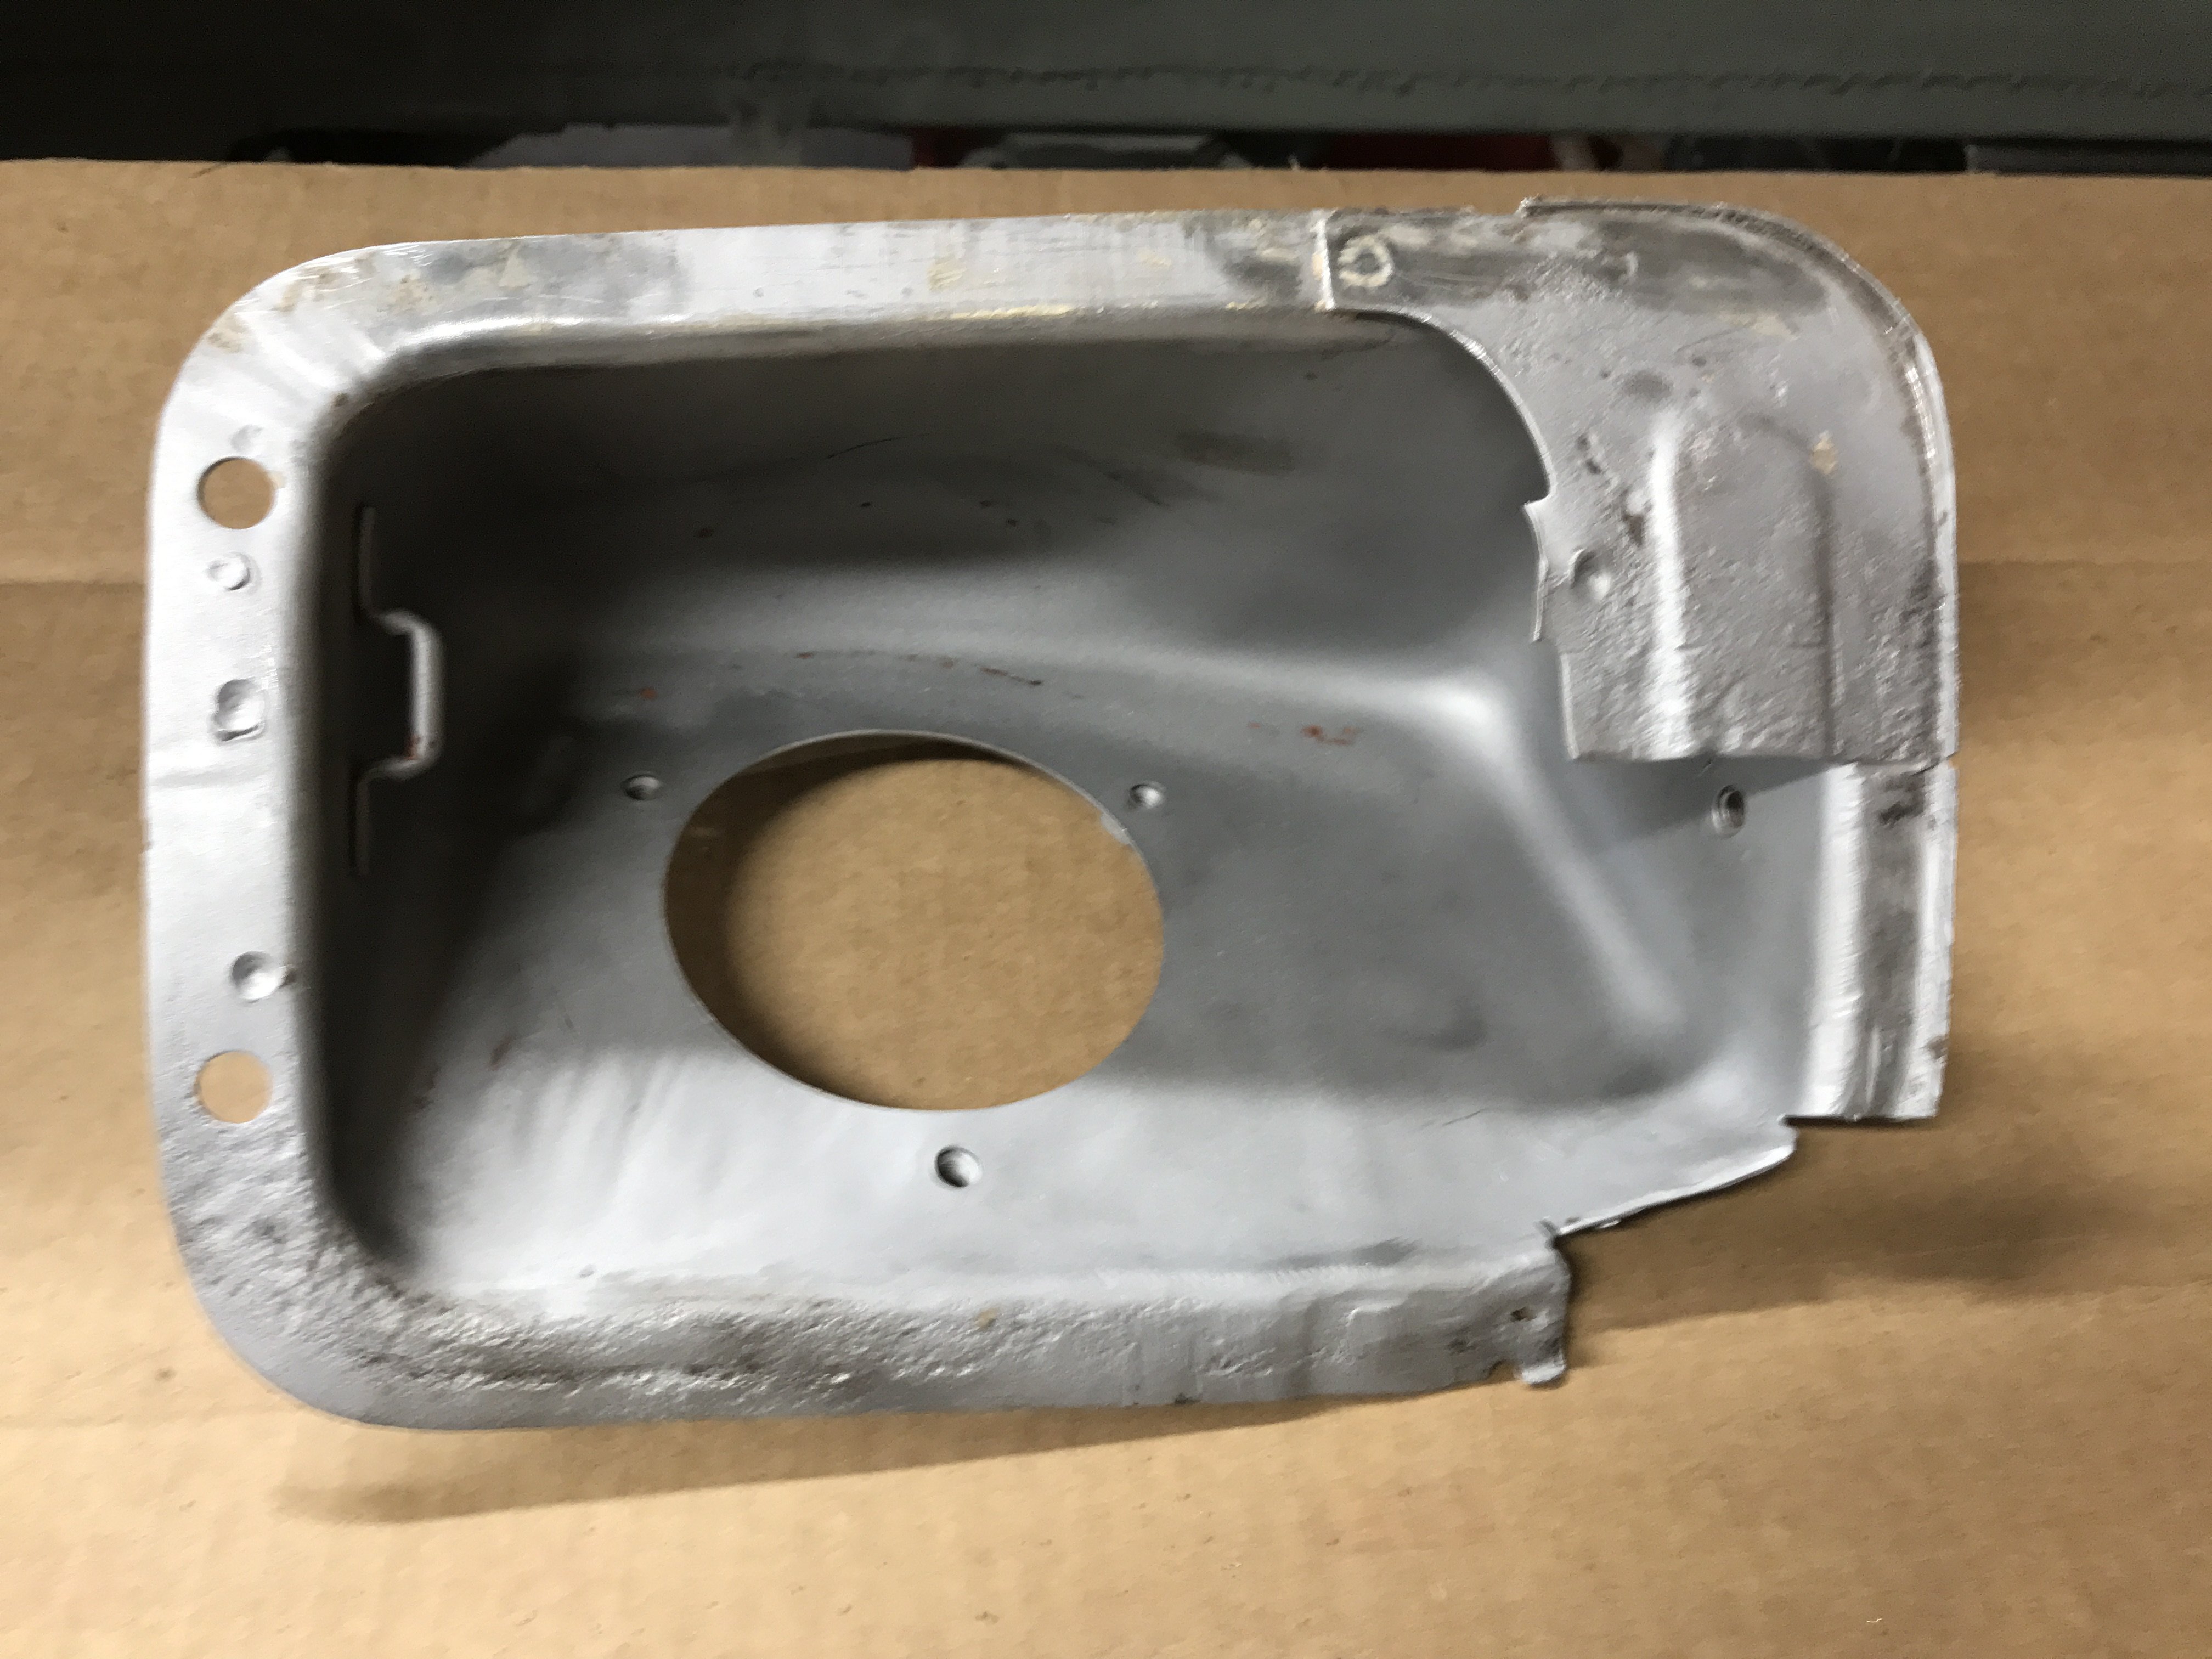
Spent most of the Holiday weekend, rewelding welds and patching small corrosion holes. But managed to finish the inside fuel filler box and mount
it. I used four 5/32" machine bolts to mount it to the quarter panel. Their heads had to be grinded down to clear the filler door movement.
Also, have to fab two small rubber snubbers to prevent contact when closing door.
Most of the Z has almost all of factory paint, primer and undercoating completely removed down to the bare metal. Spray can primer was
applied to prevent rust. The whole car will wet media blasted then painted with epoxy primer,
-
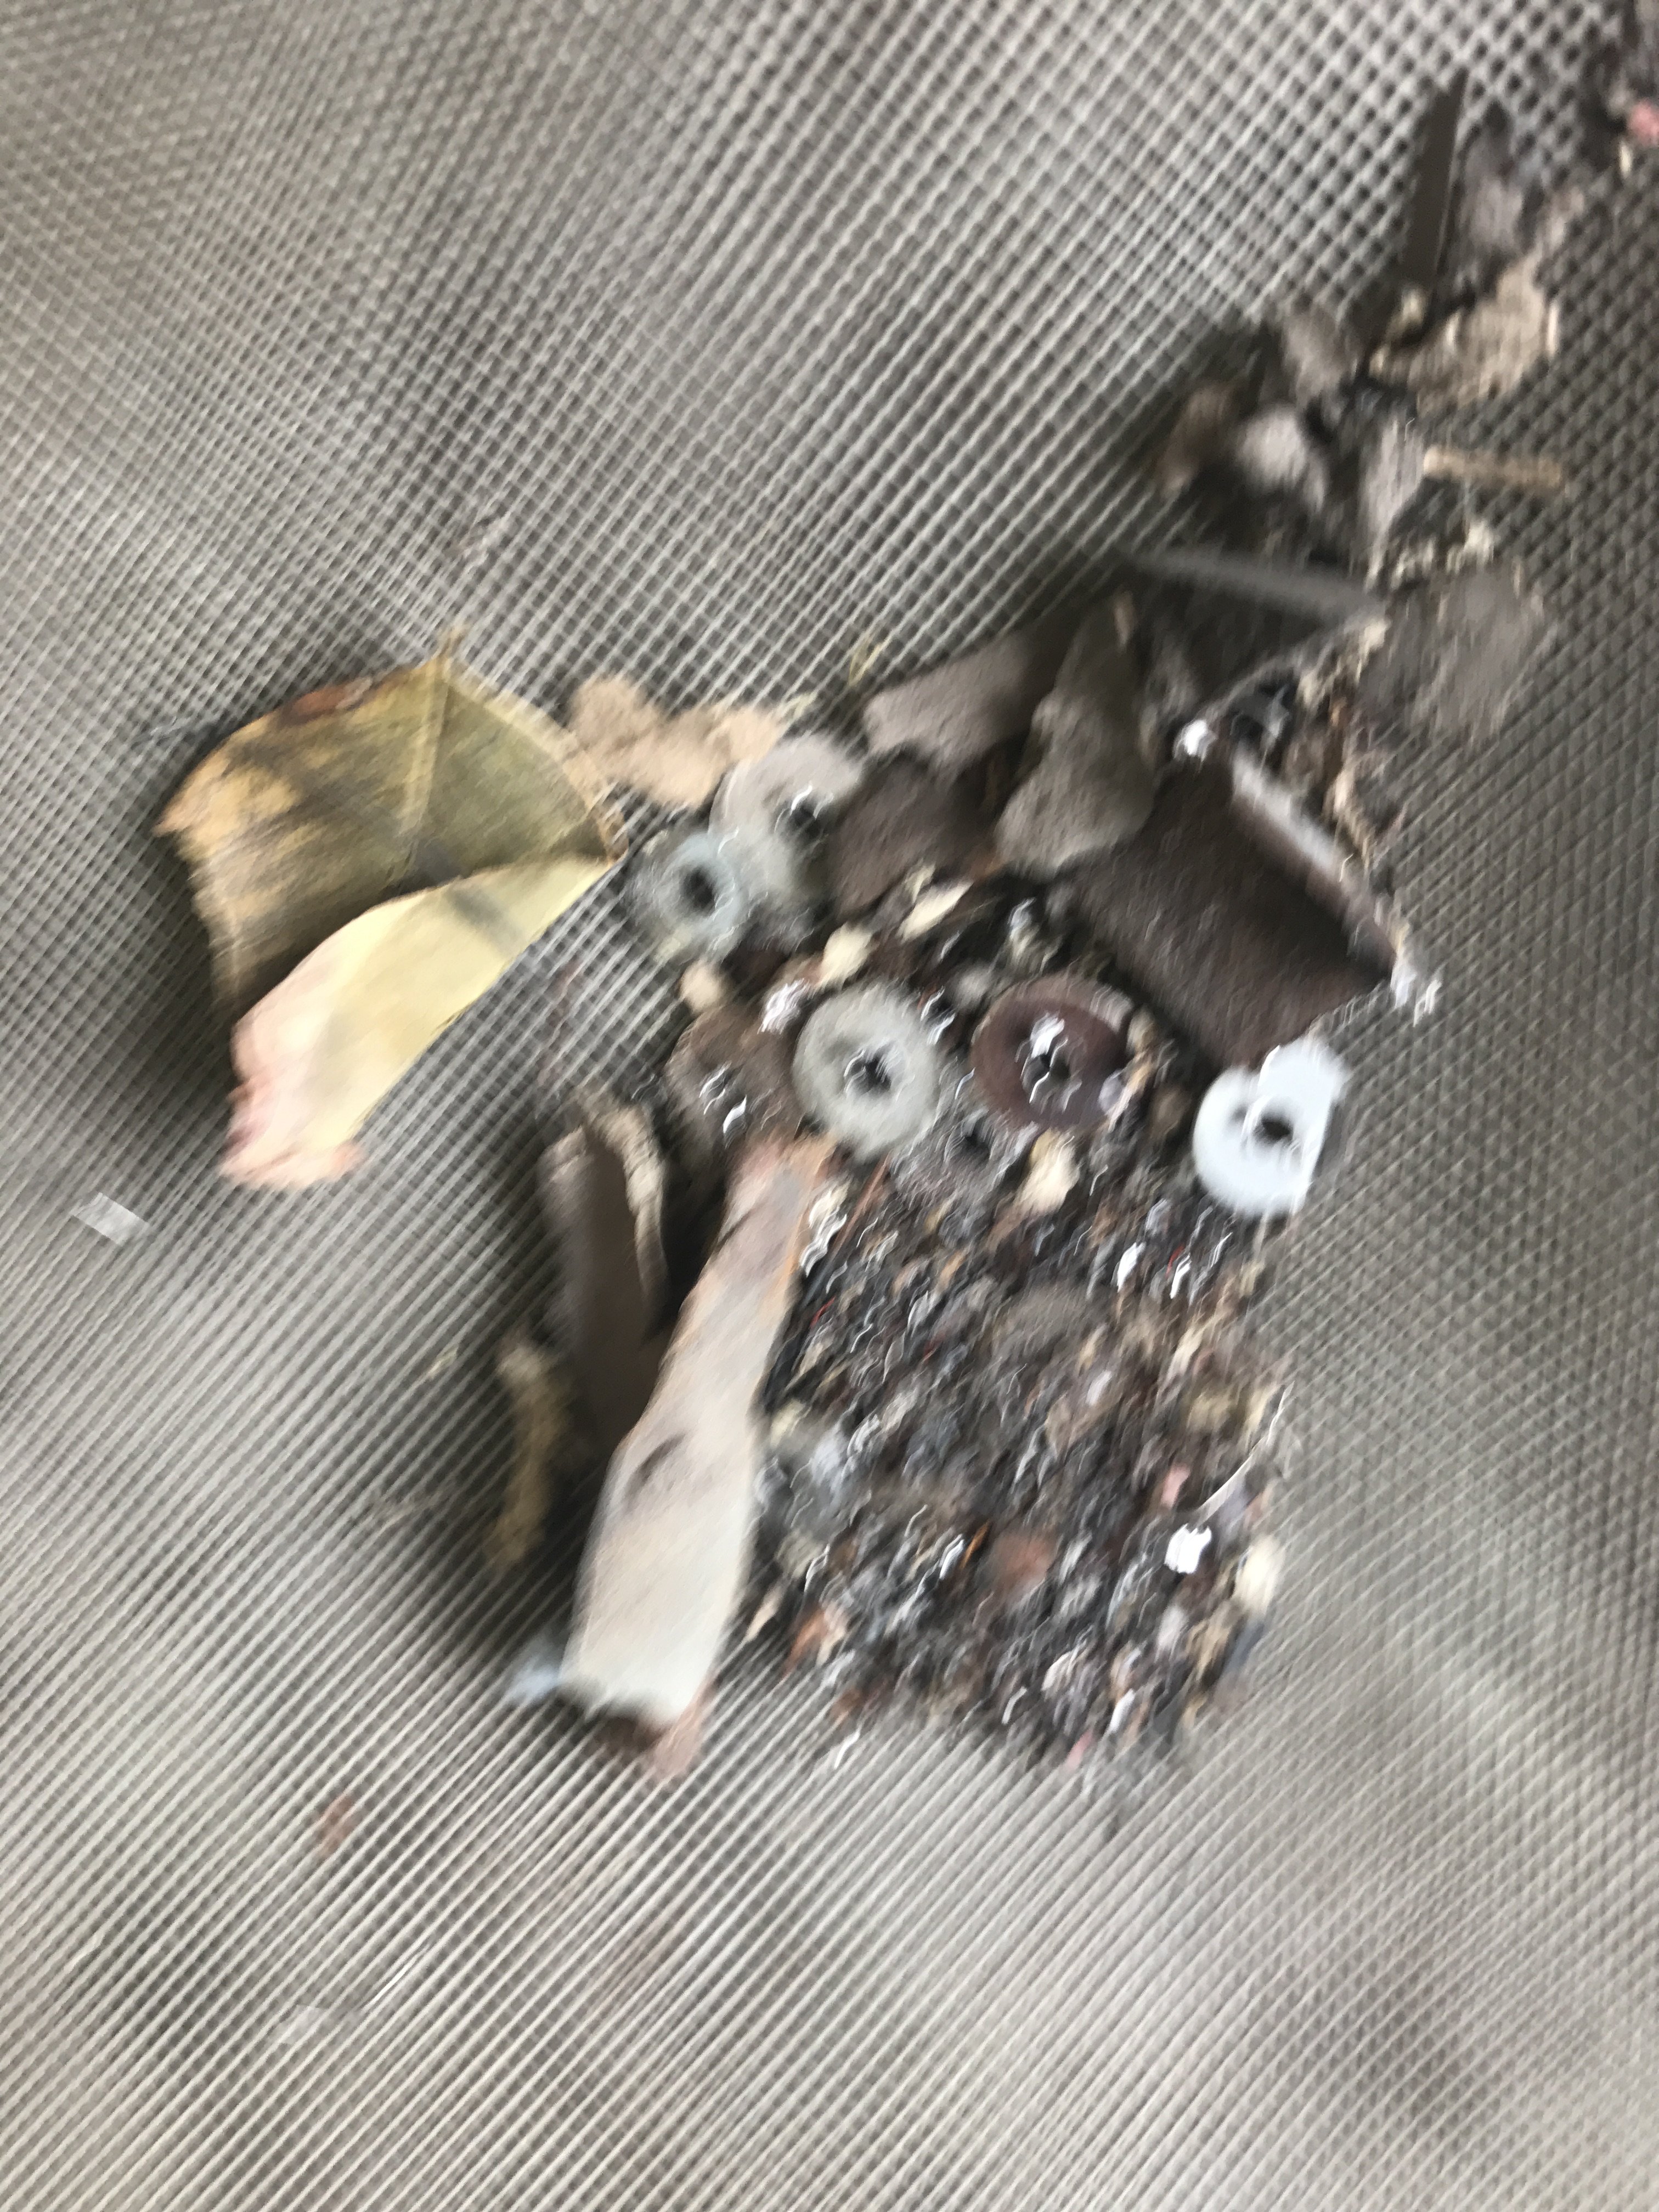
While cleaning up the blast media in the car, I found a lot of rubbish and media stuck in the boxed sections of the Z.
This rubbish was in the upper frame tube alone.
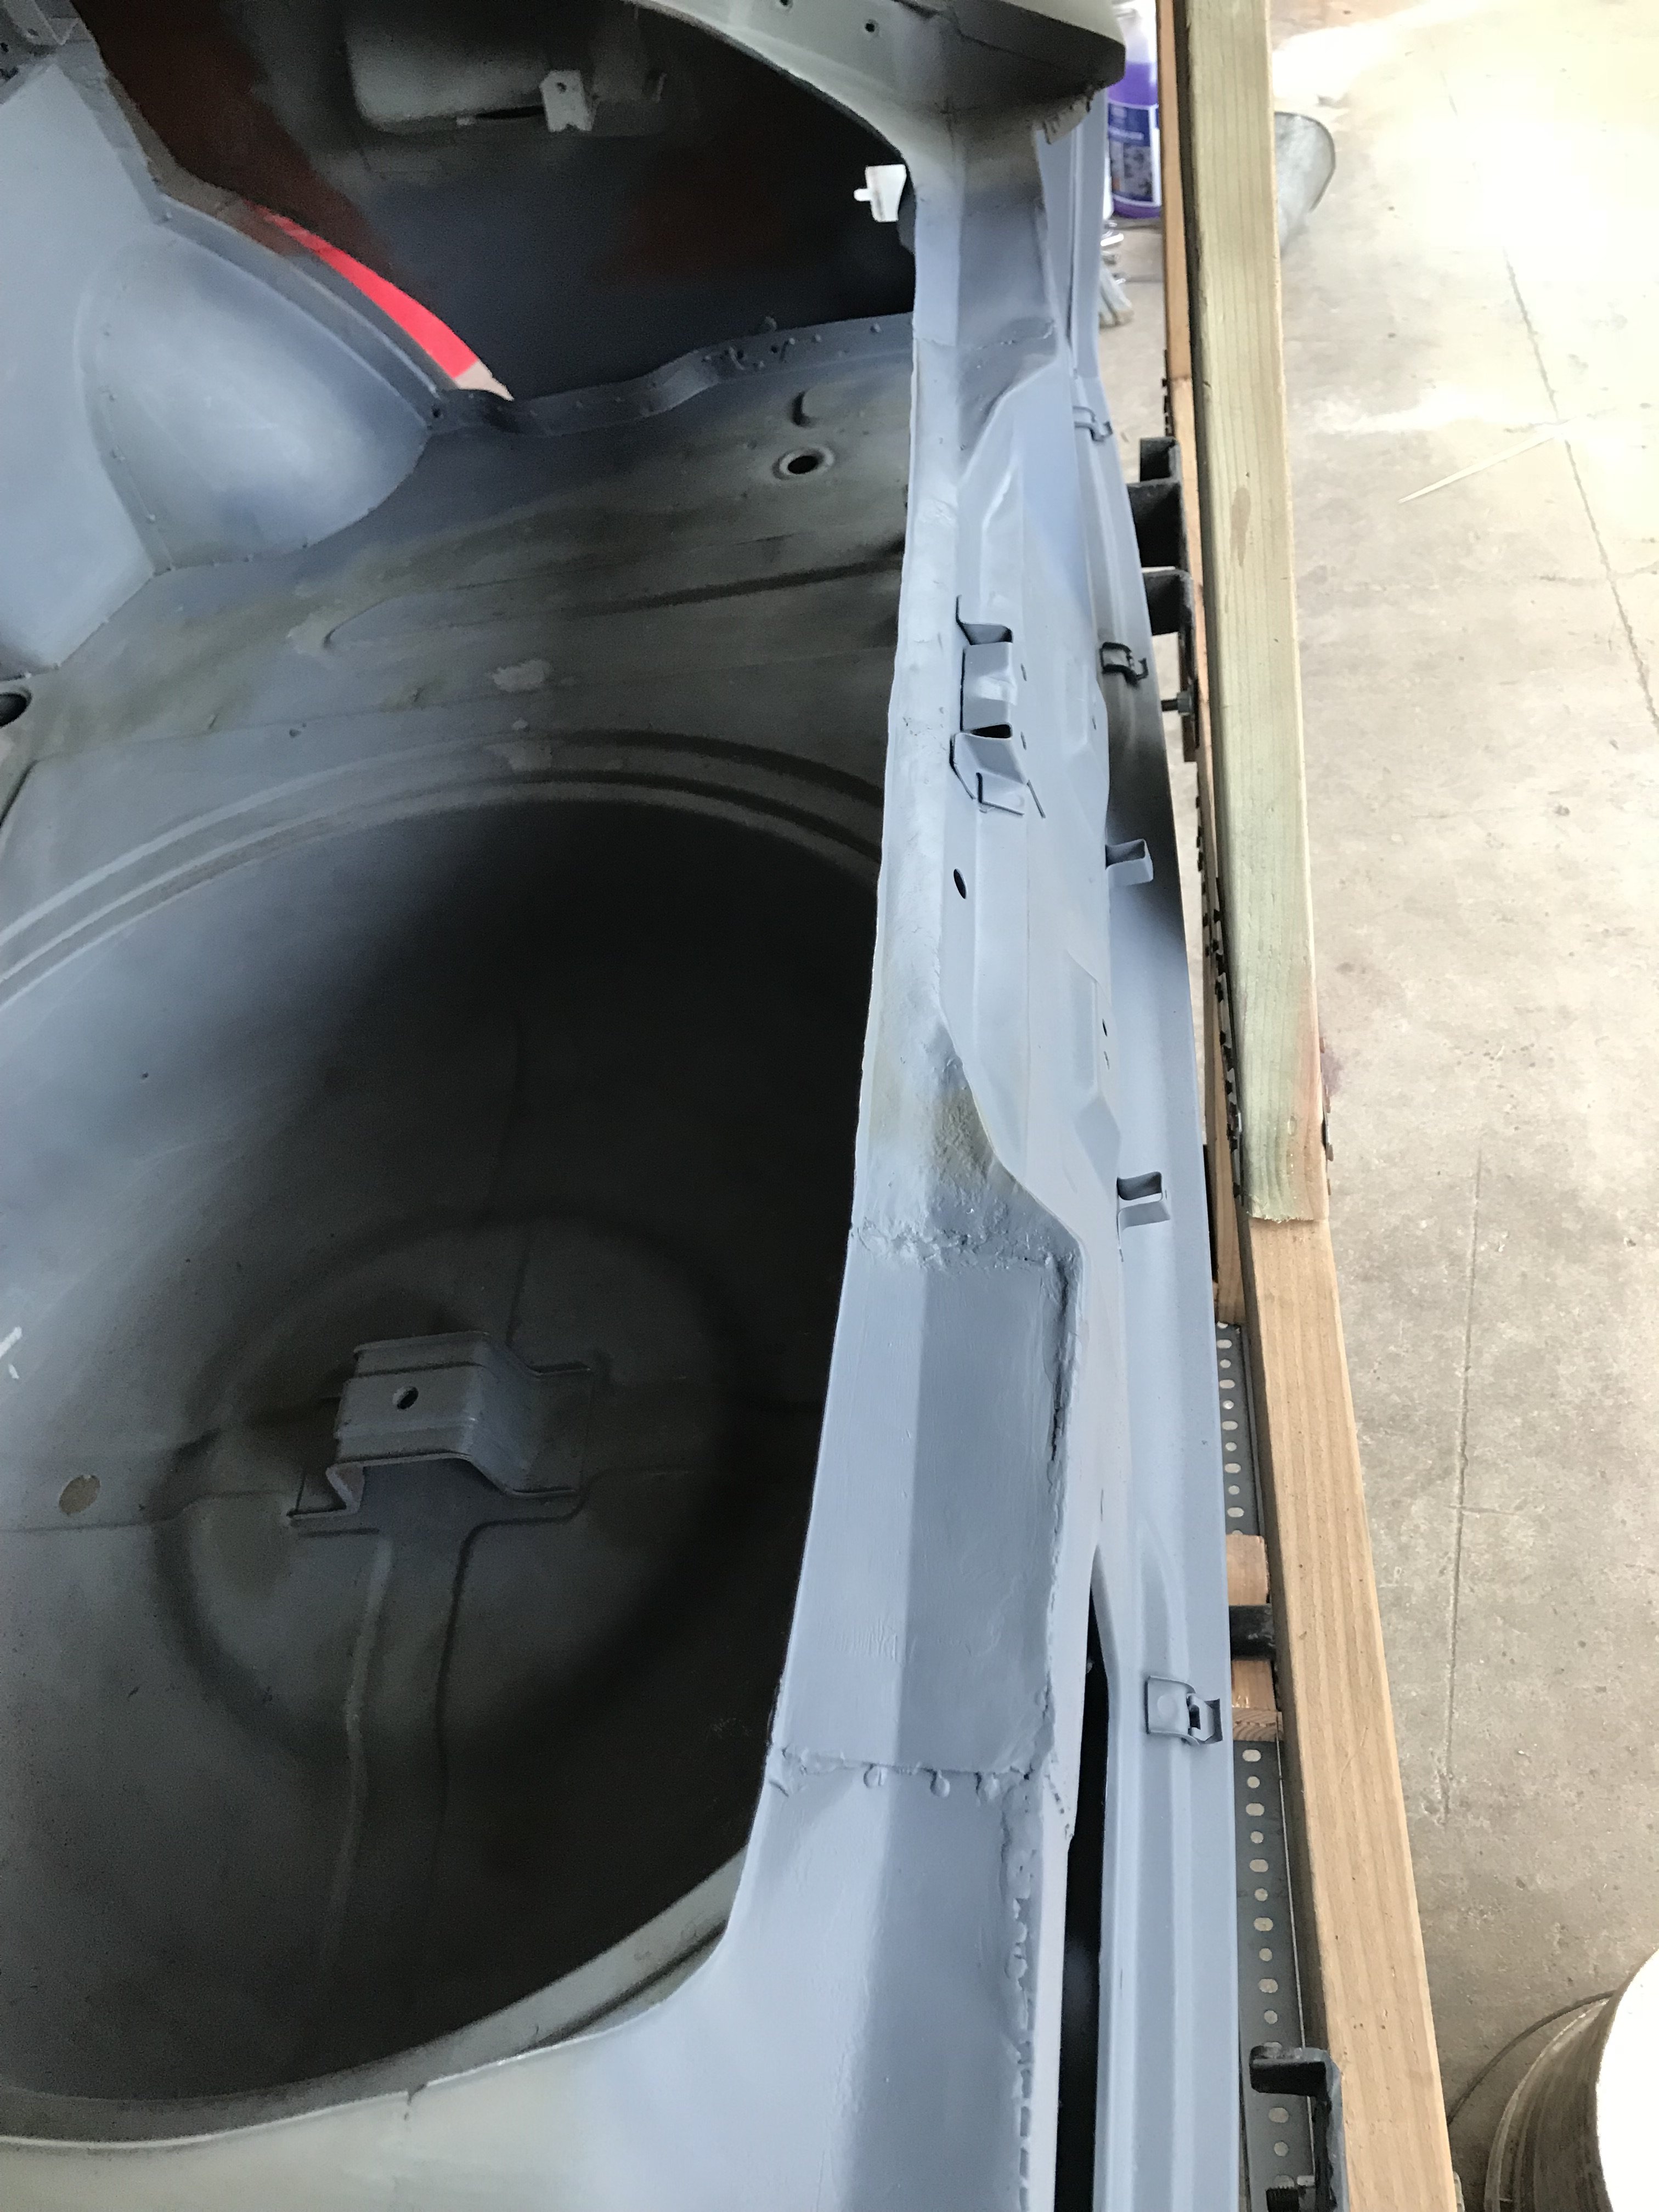
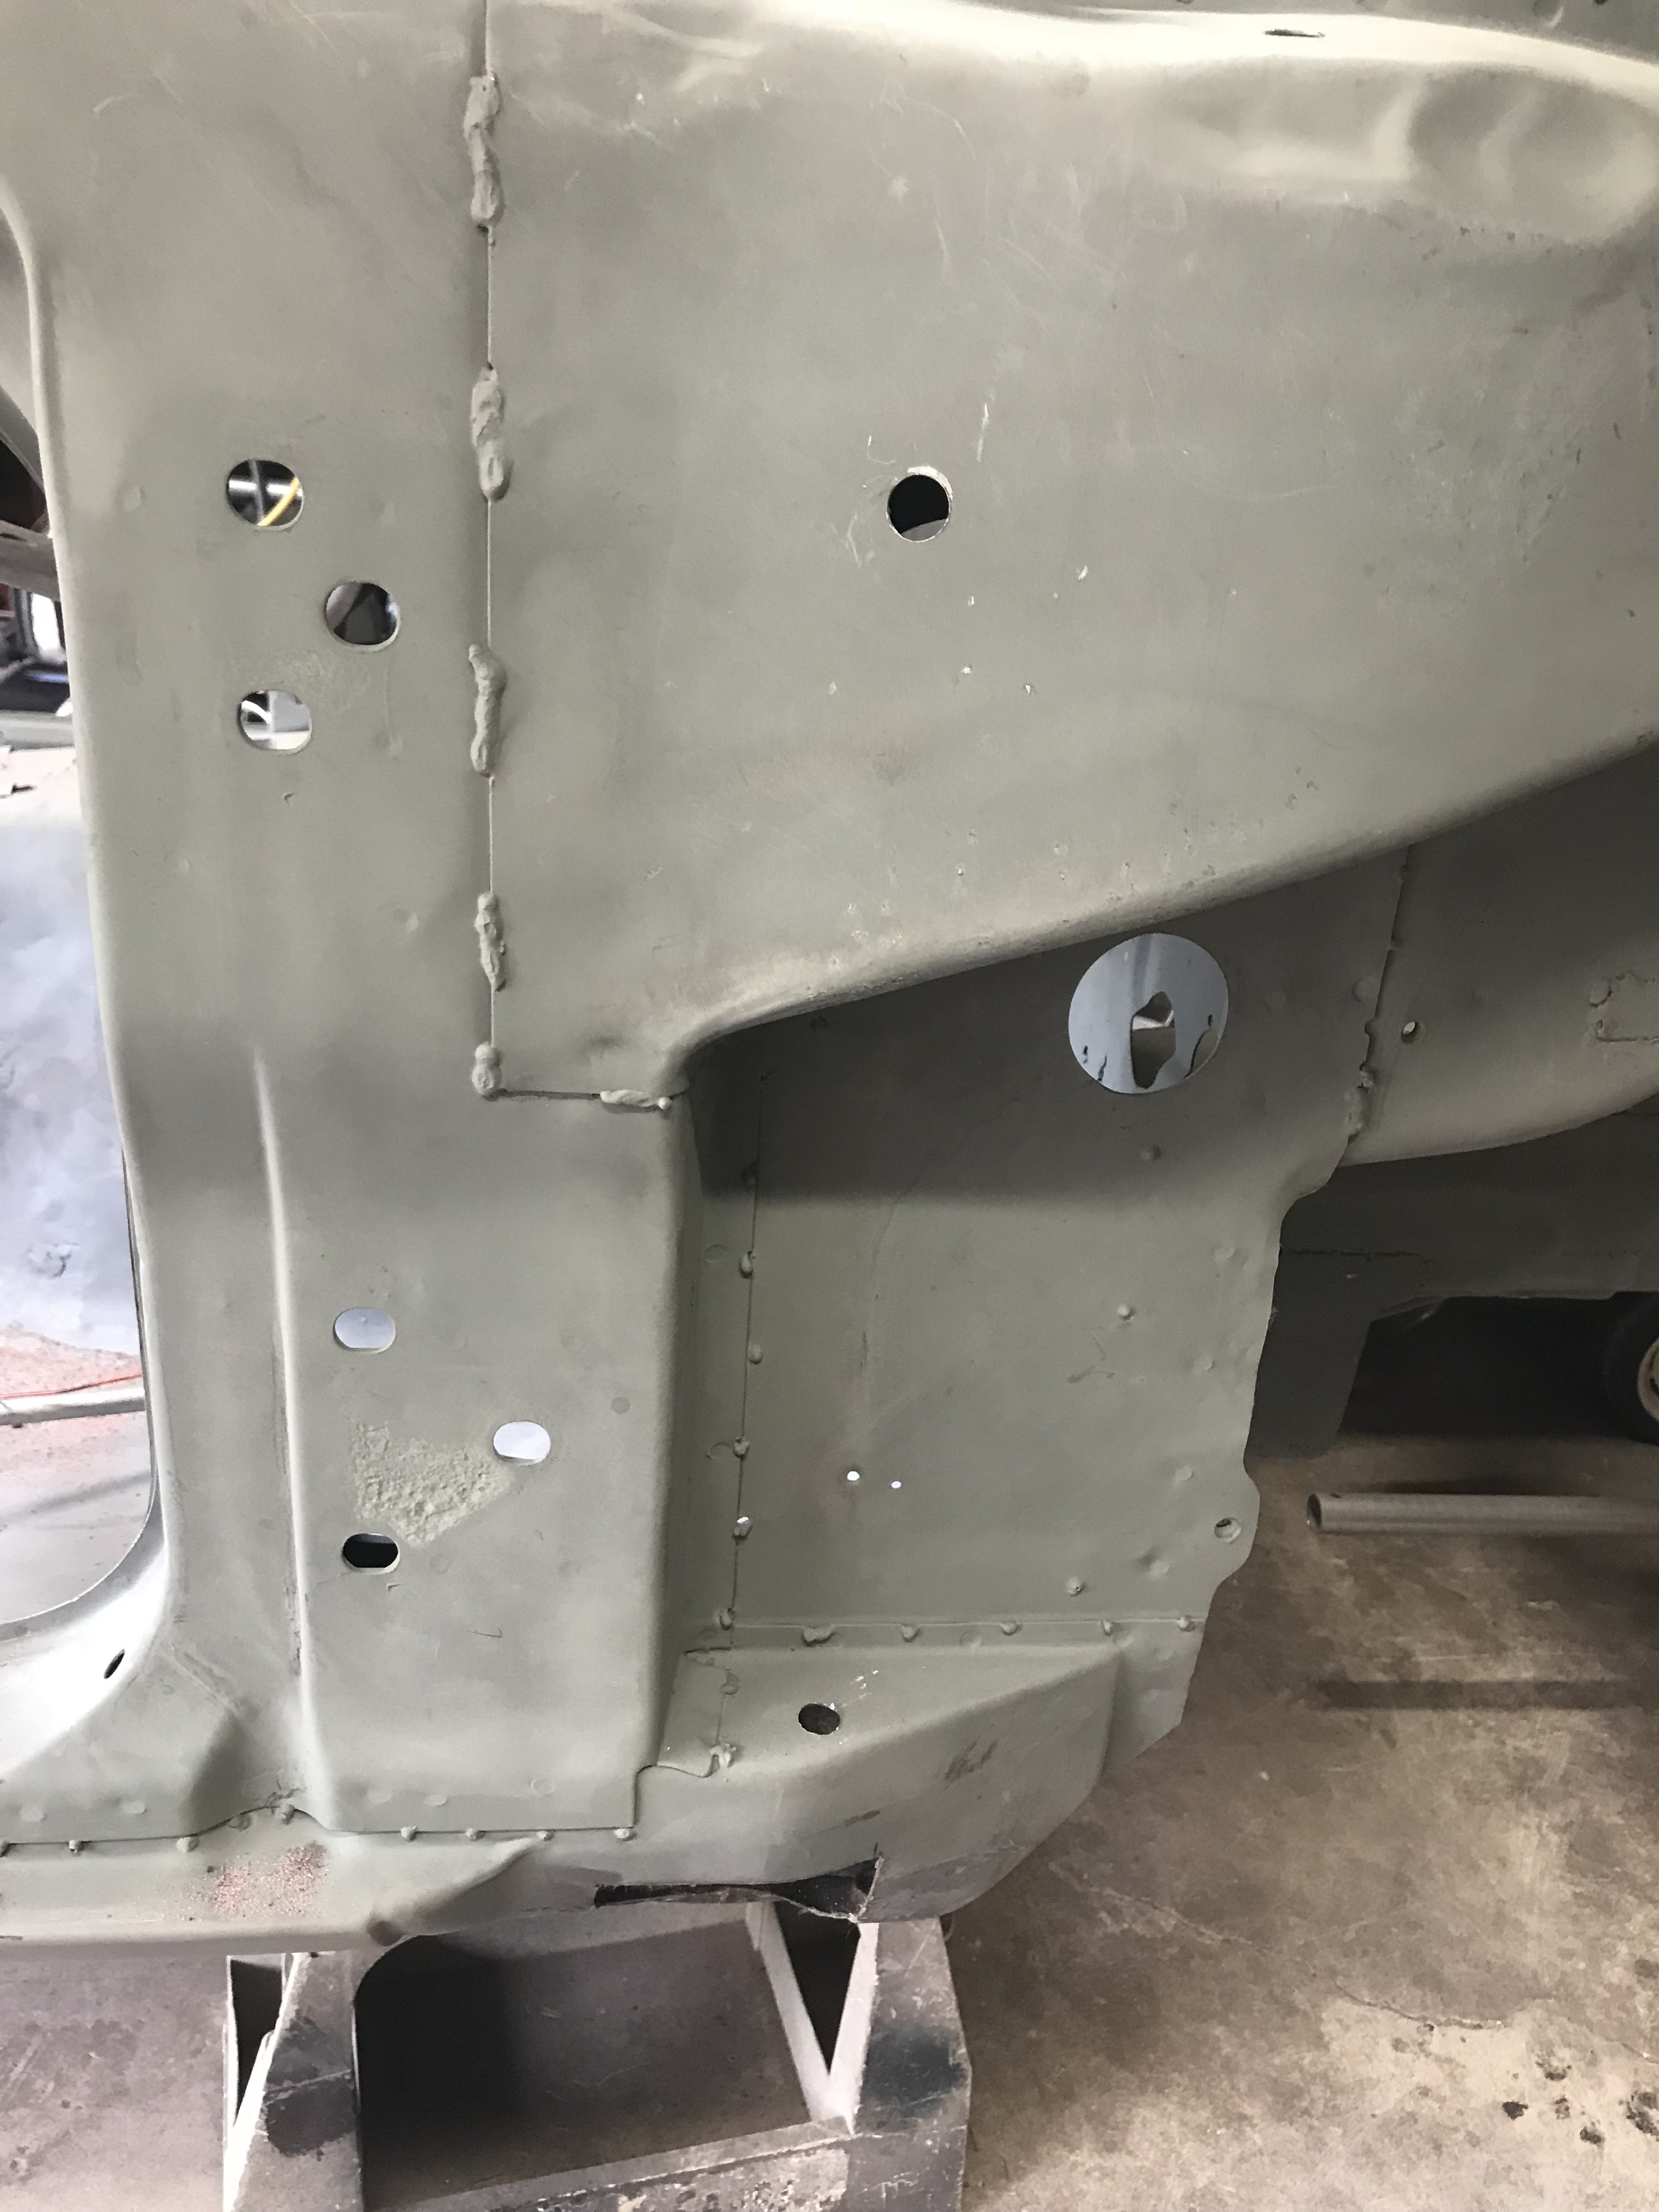
So I decided to drill 1/2" holes in those hard as access areas for two purposes: allow blast media to be removed after blasting. Second: to
allow rustproofing in those areas.
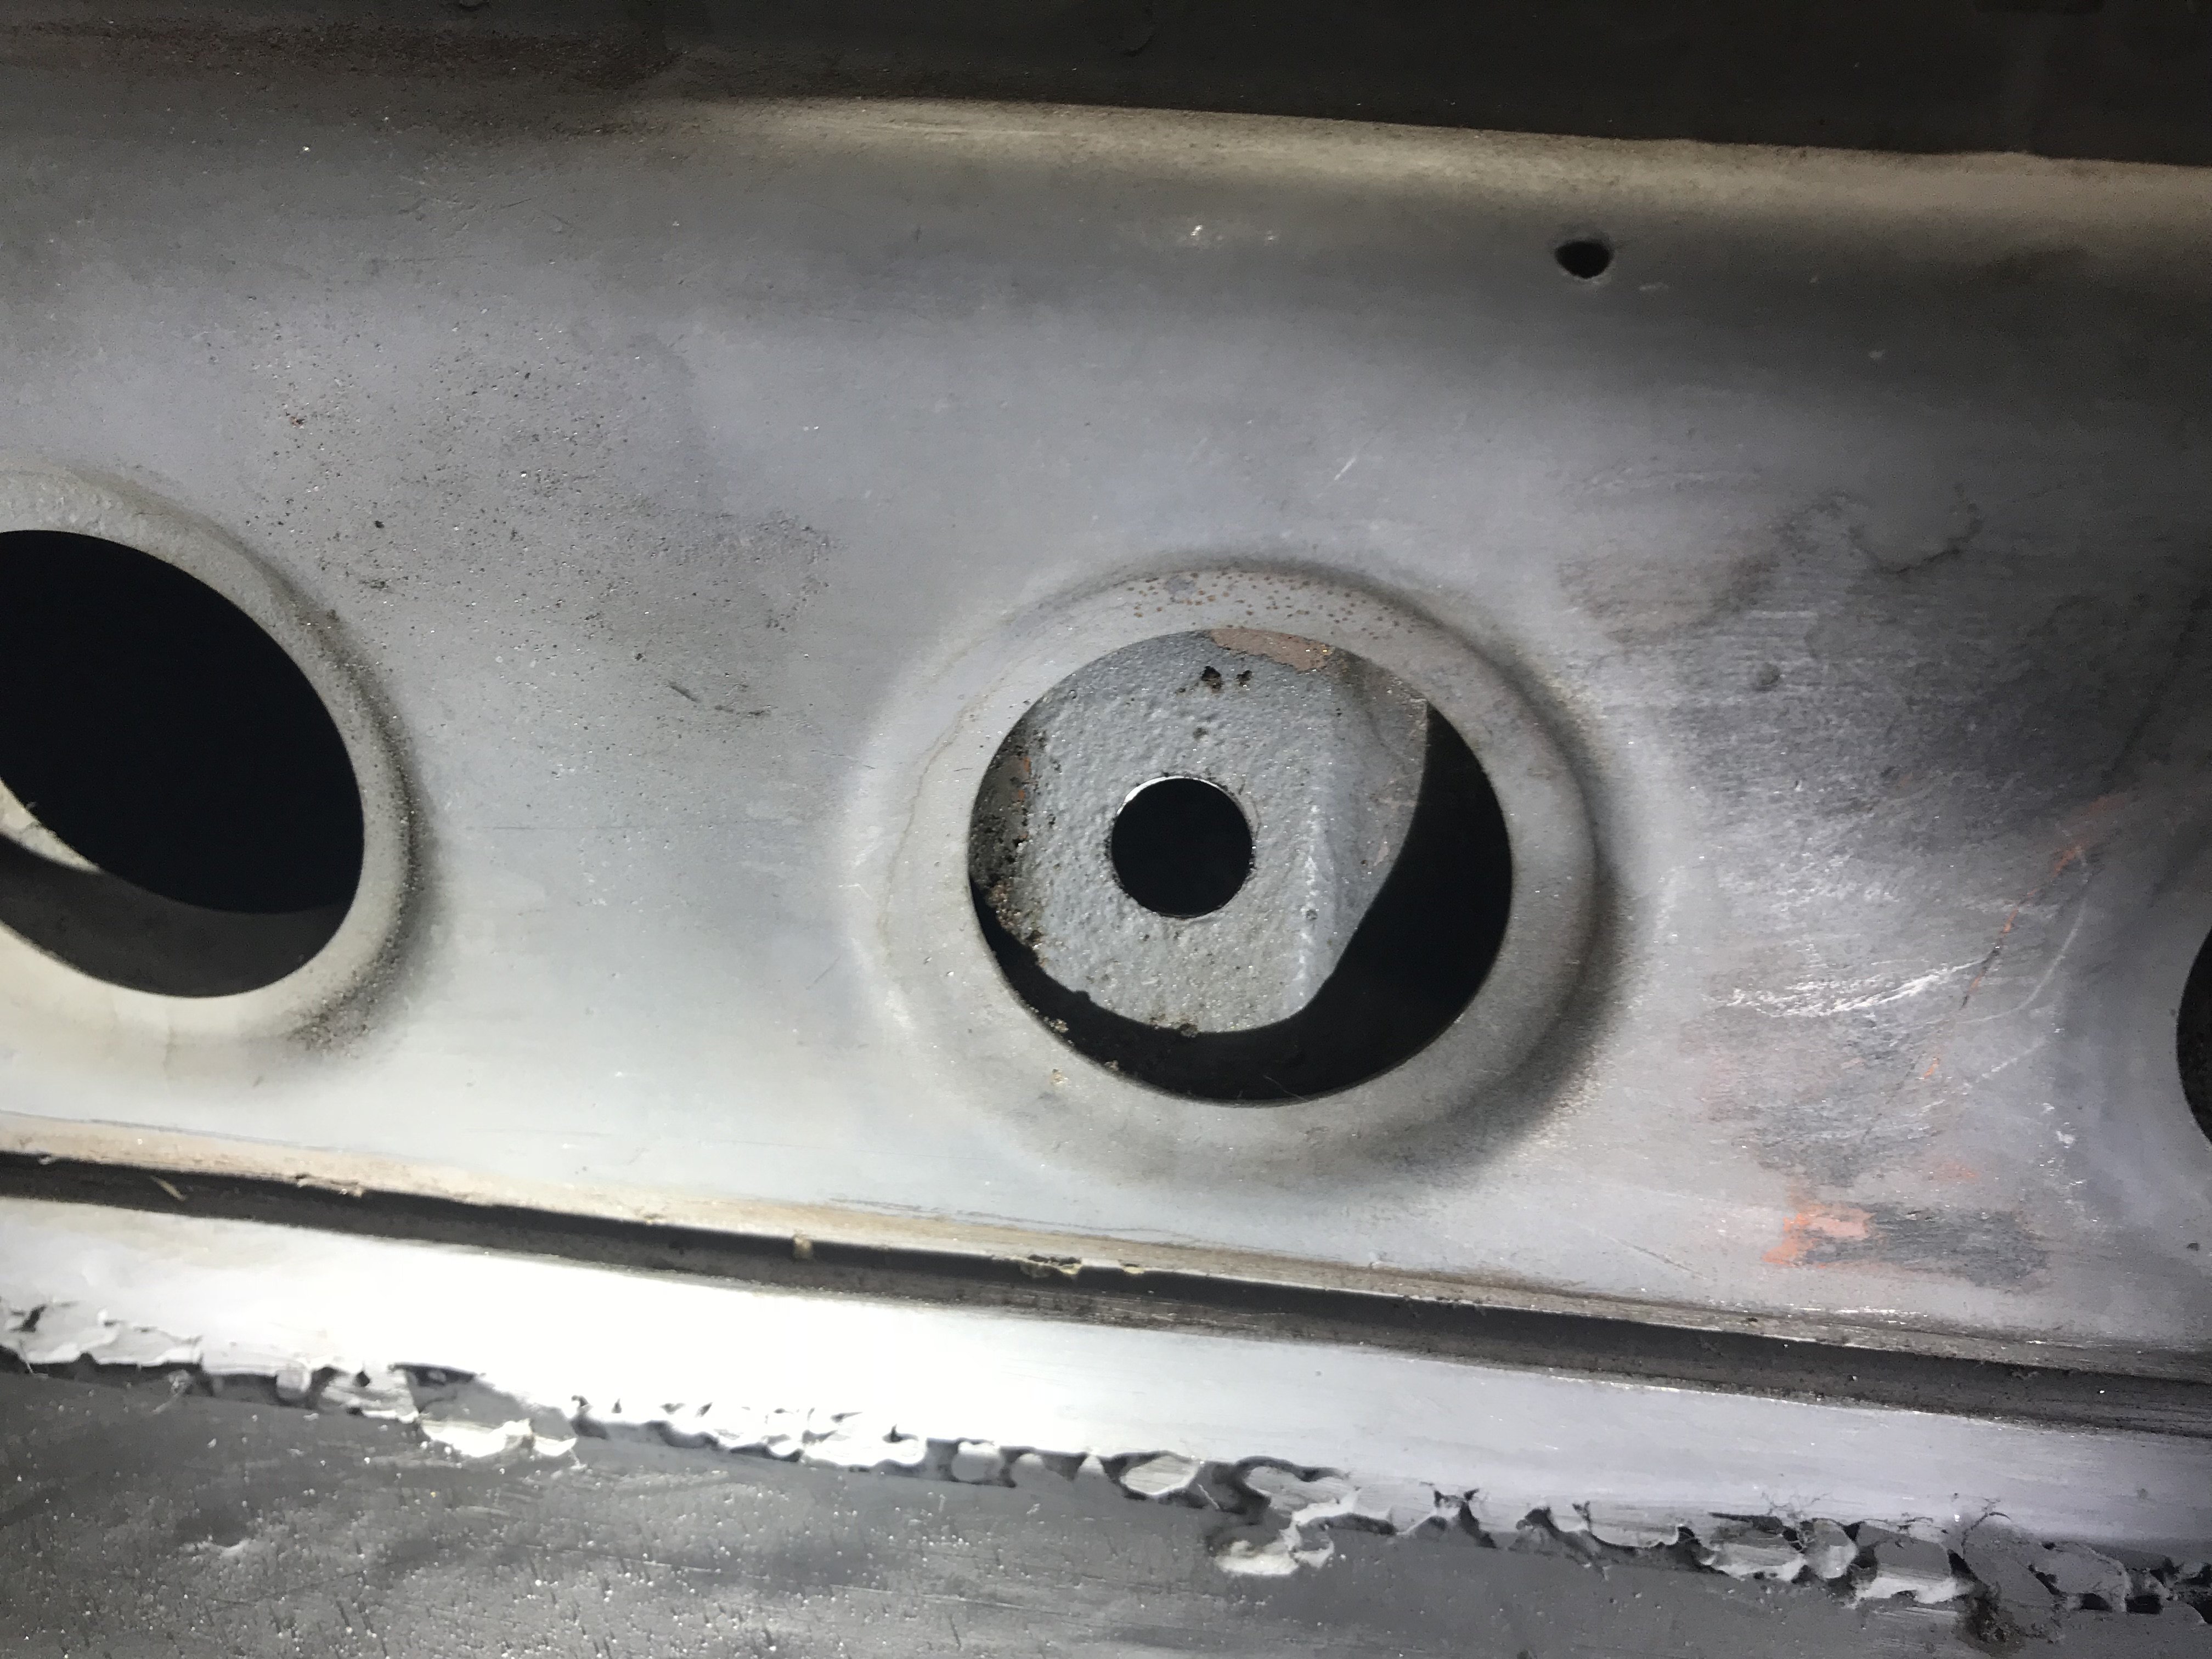
Rear quarter panel dog leg/ wheel housing area is not accessible without this hole here.
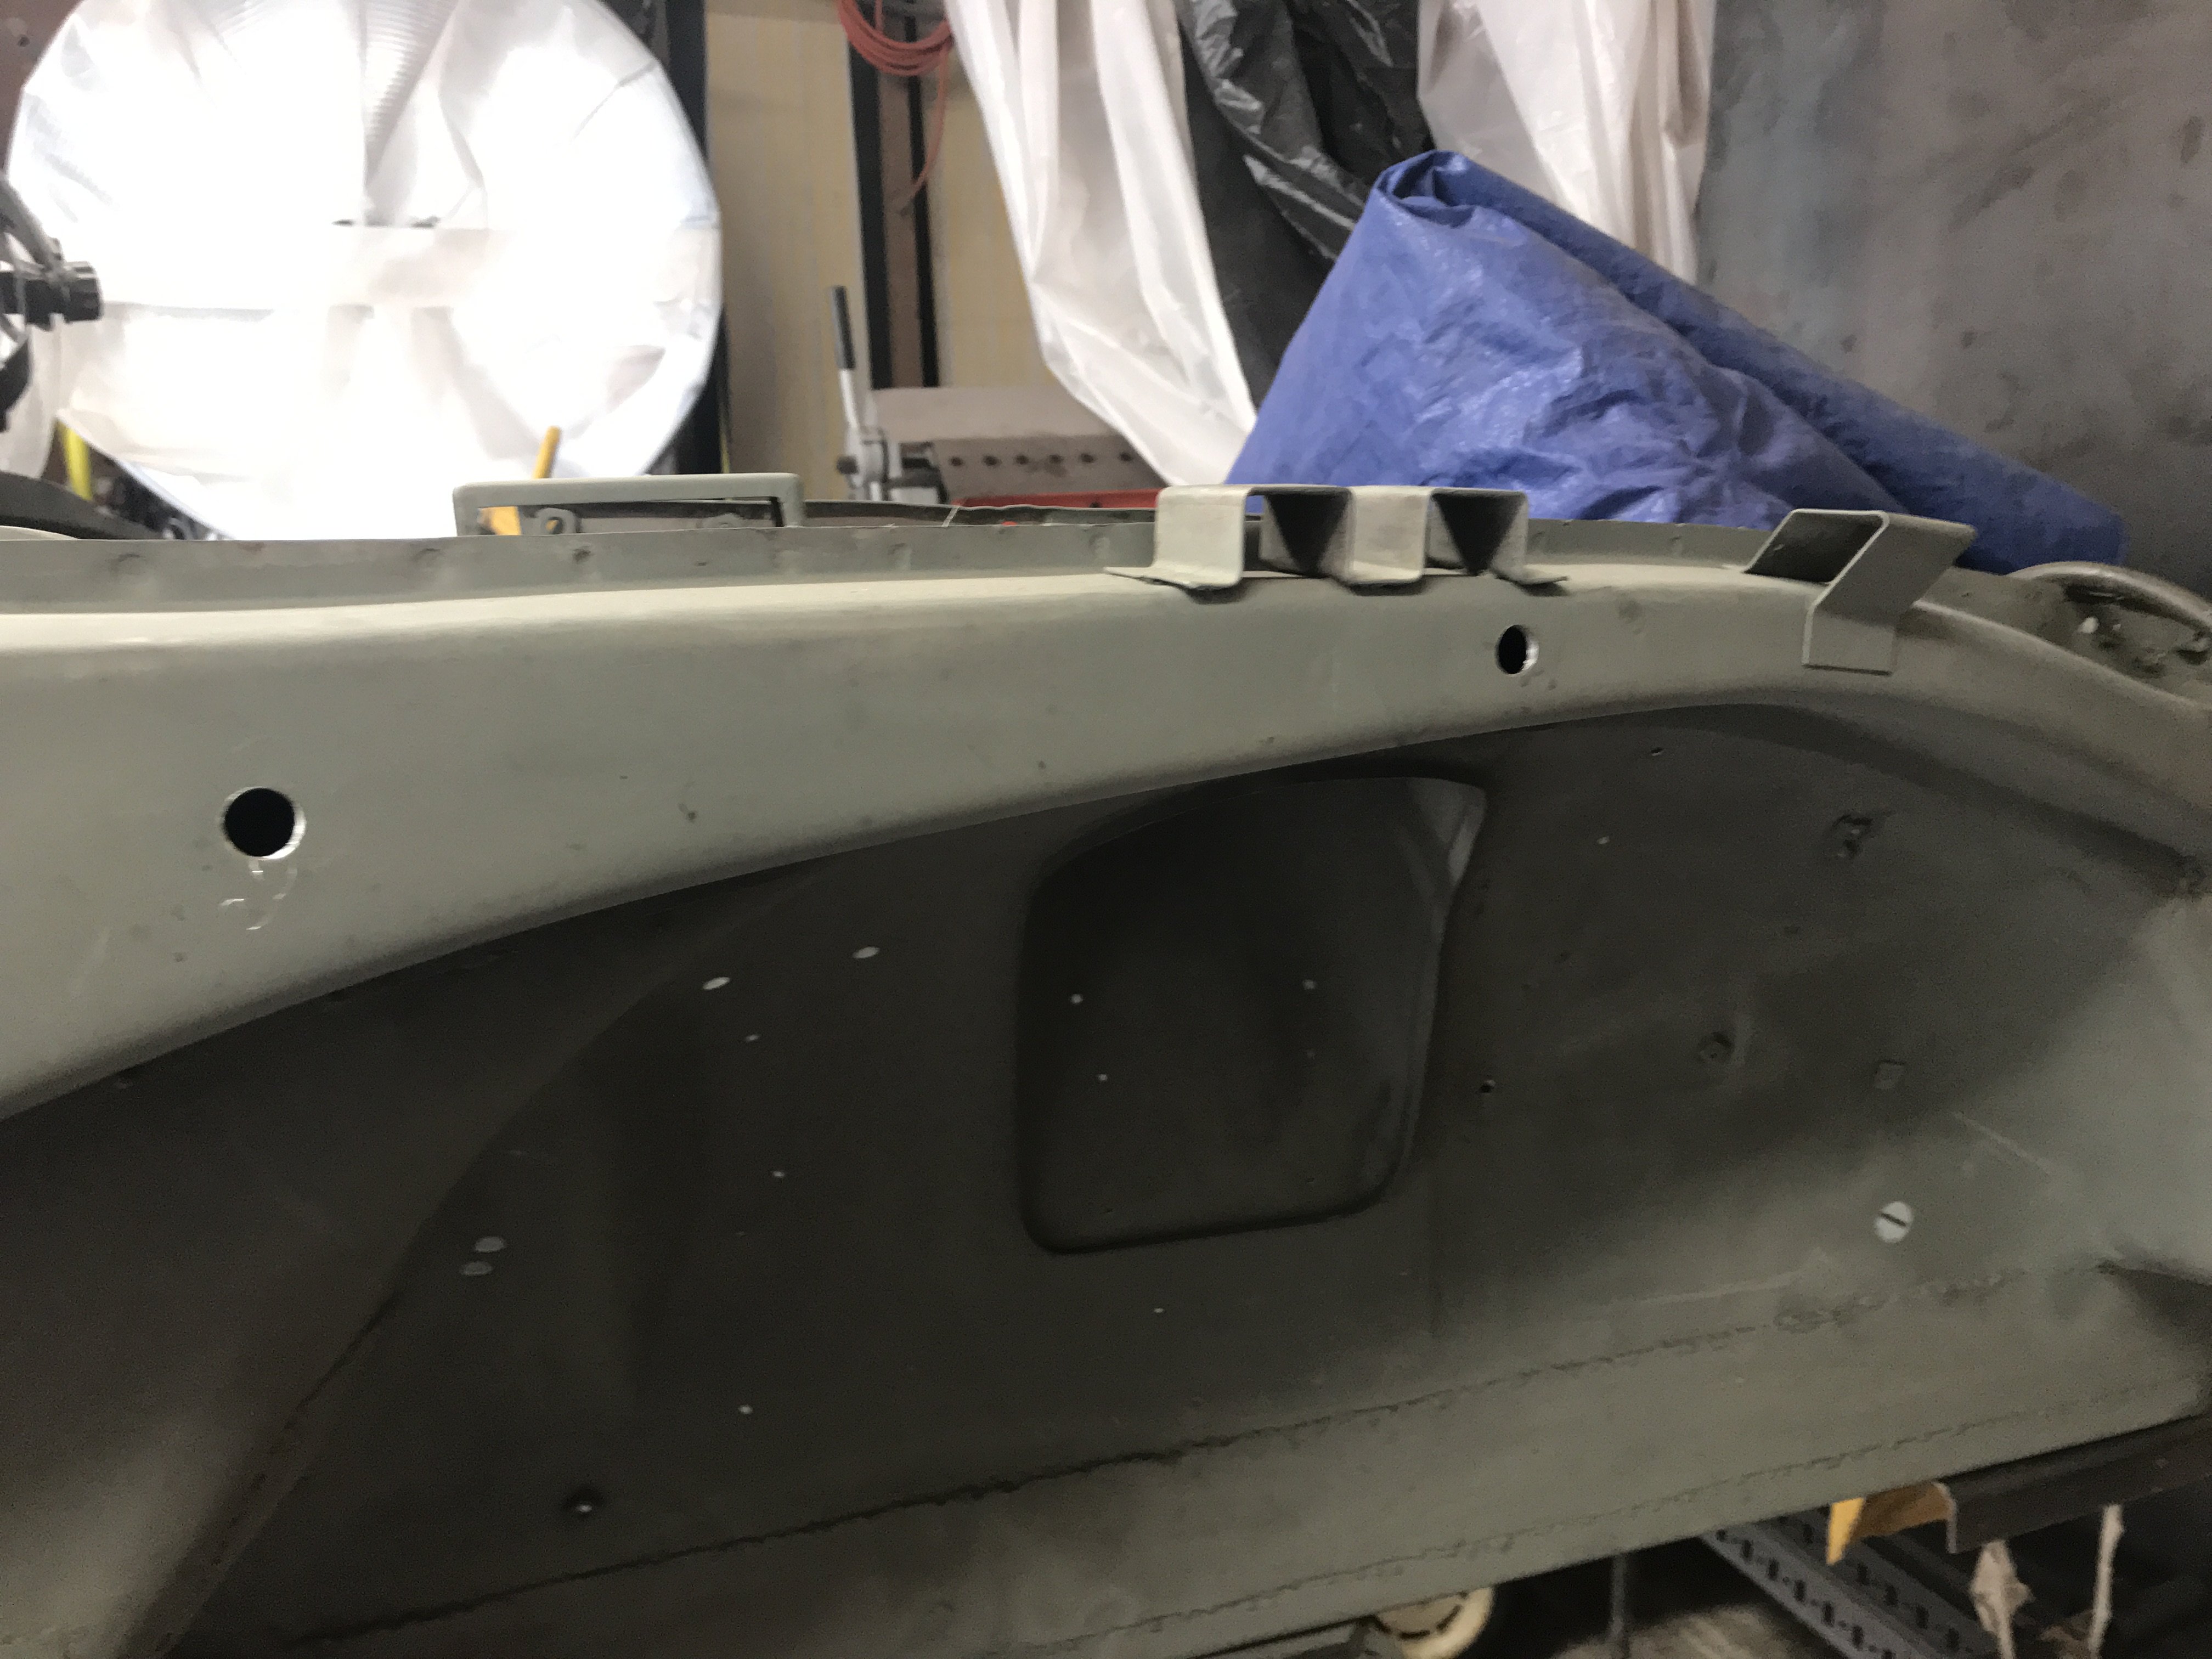
Front door post / upper frame tube area-eight access
holes were drilled.
Rocker panel area
About 14- 1/2" access holes were drilled on each side of the car. These holes will be capped with rust proofing plugs after wet media blasting and epoxy priming.
-
While working on this Z, one problem that coming up was the presence of wax type of rustproofing. Even when I tried to clear the rustproofing around the area of repair, it sometimes would melt and spoil my weld. I tried scrapping and using lacquer thinner but it still was not effective. One of body shop guys told to try Barbeque Lighter Fluid. So I bought some from Walmart. It was only $3 a quart. Well. it works good as it does not evaporate as fast as lacquer thinner and allows time to soften the rustproofing. A stiff parts brush also helps also. The fluid doesn't seem to leave a residue too. For areas with thick rustproofing, use a plastic scraper to remove the heavier deposits first then use the fluid.
Pic of rustproofing on the inside of left quarter panel
After cleaning with lighter fluid, the seams were scrapped out with thin scraper. A 1000 degree heat gun was also used to soften the seam sealer.
Left rear quarter panel pocket
Right side pocket after cleaning. Brushed on OSHO in the seams then neutralized it after 24 hours.
Lighter fluid seems it work well and allow me to remove the factory seam sealer in the panel. Have not decided on what type of rustproofing to use after painting though.
-
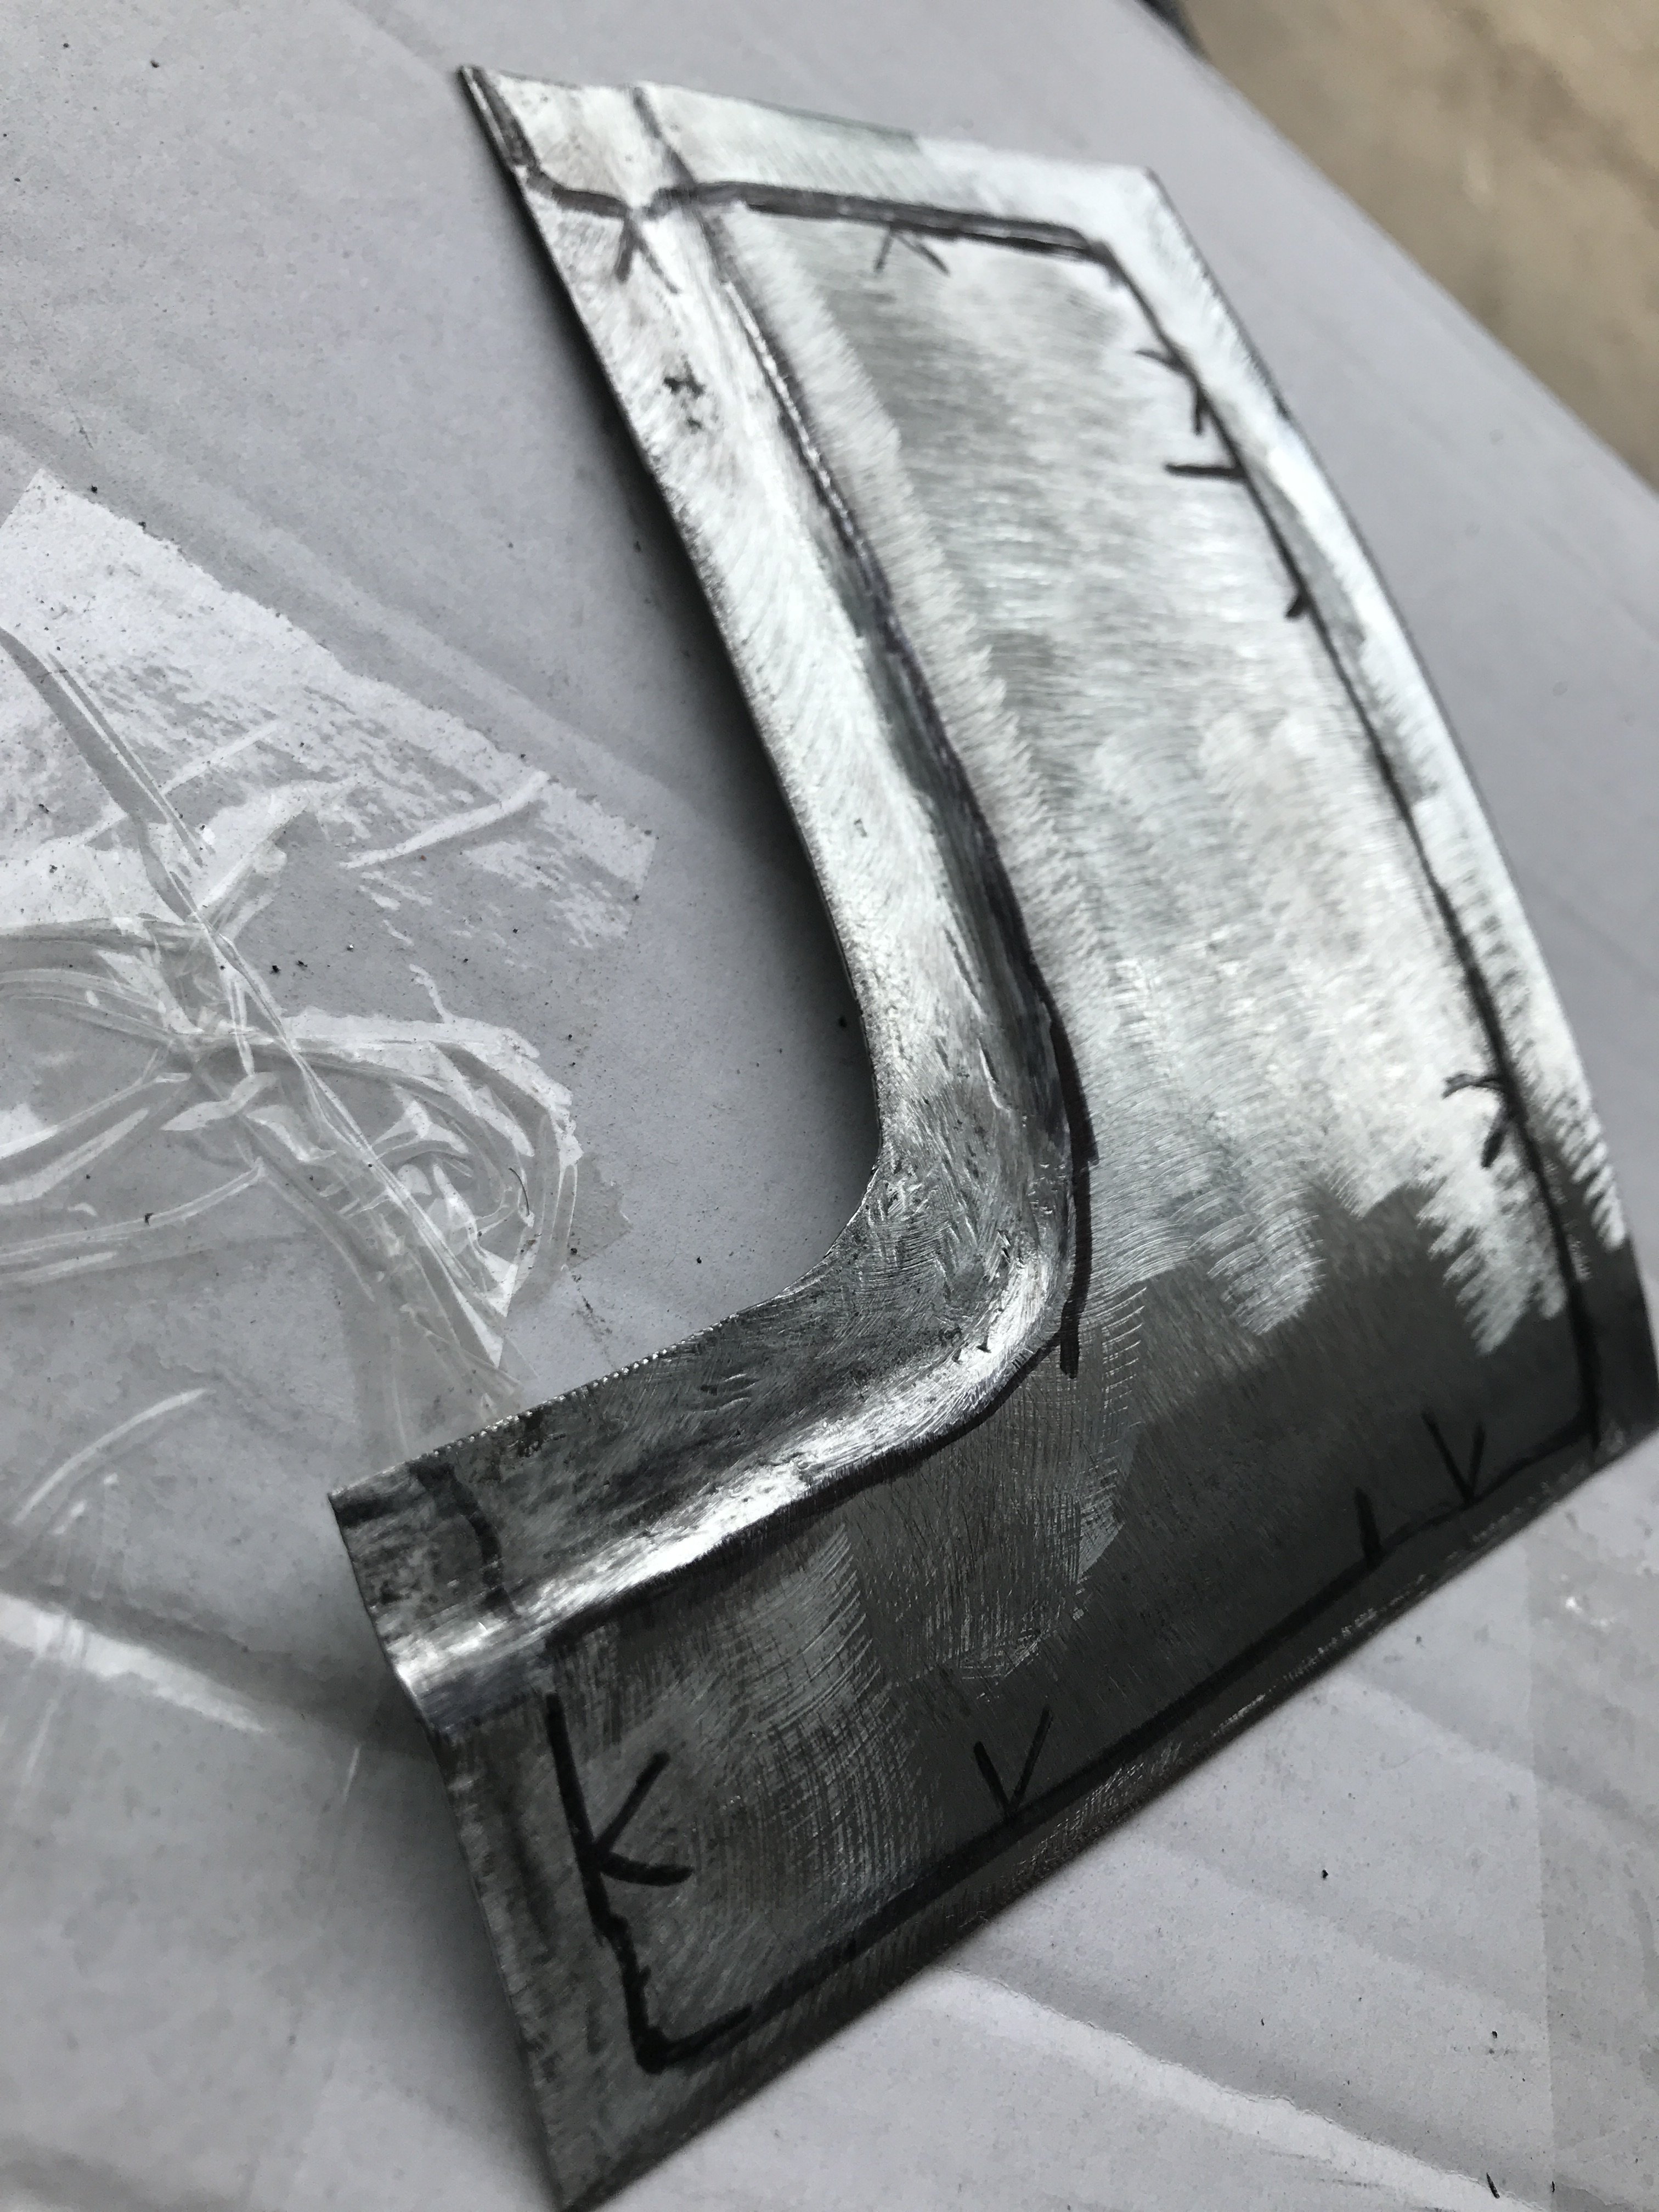
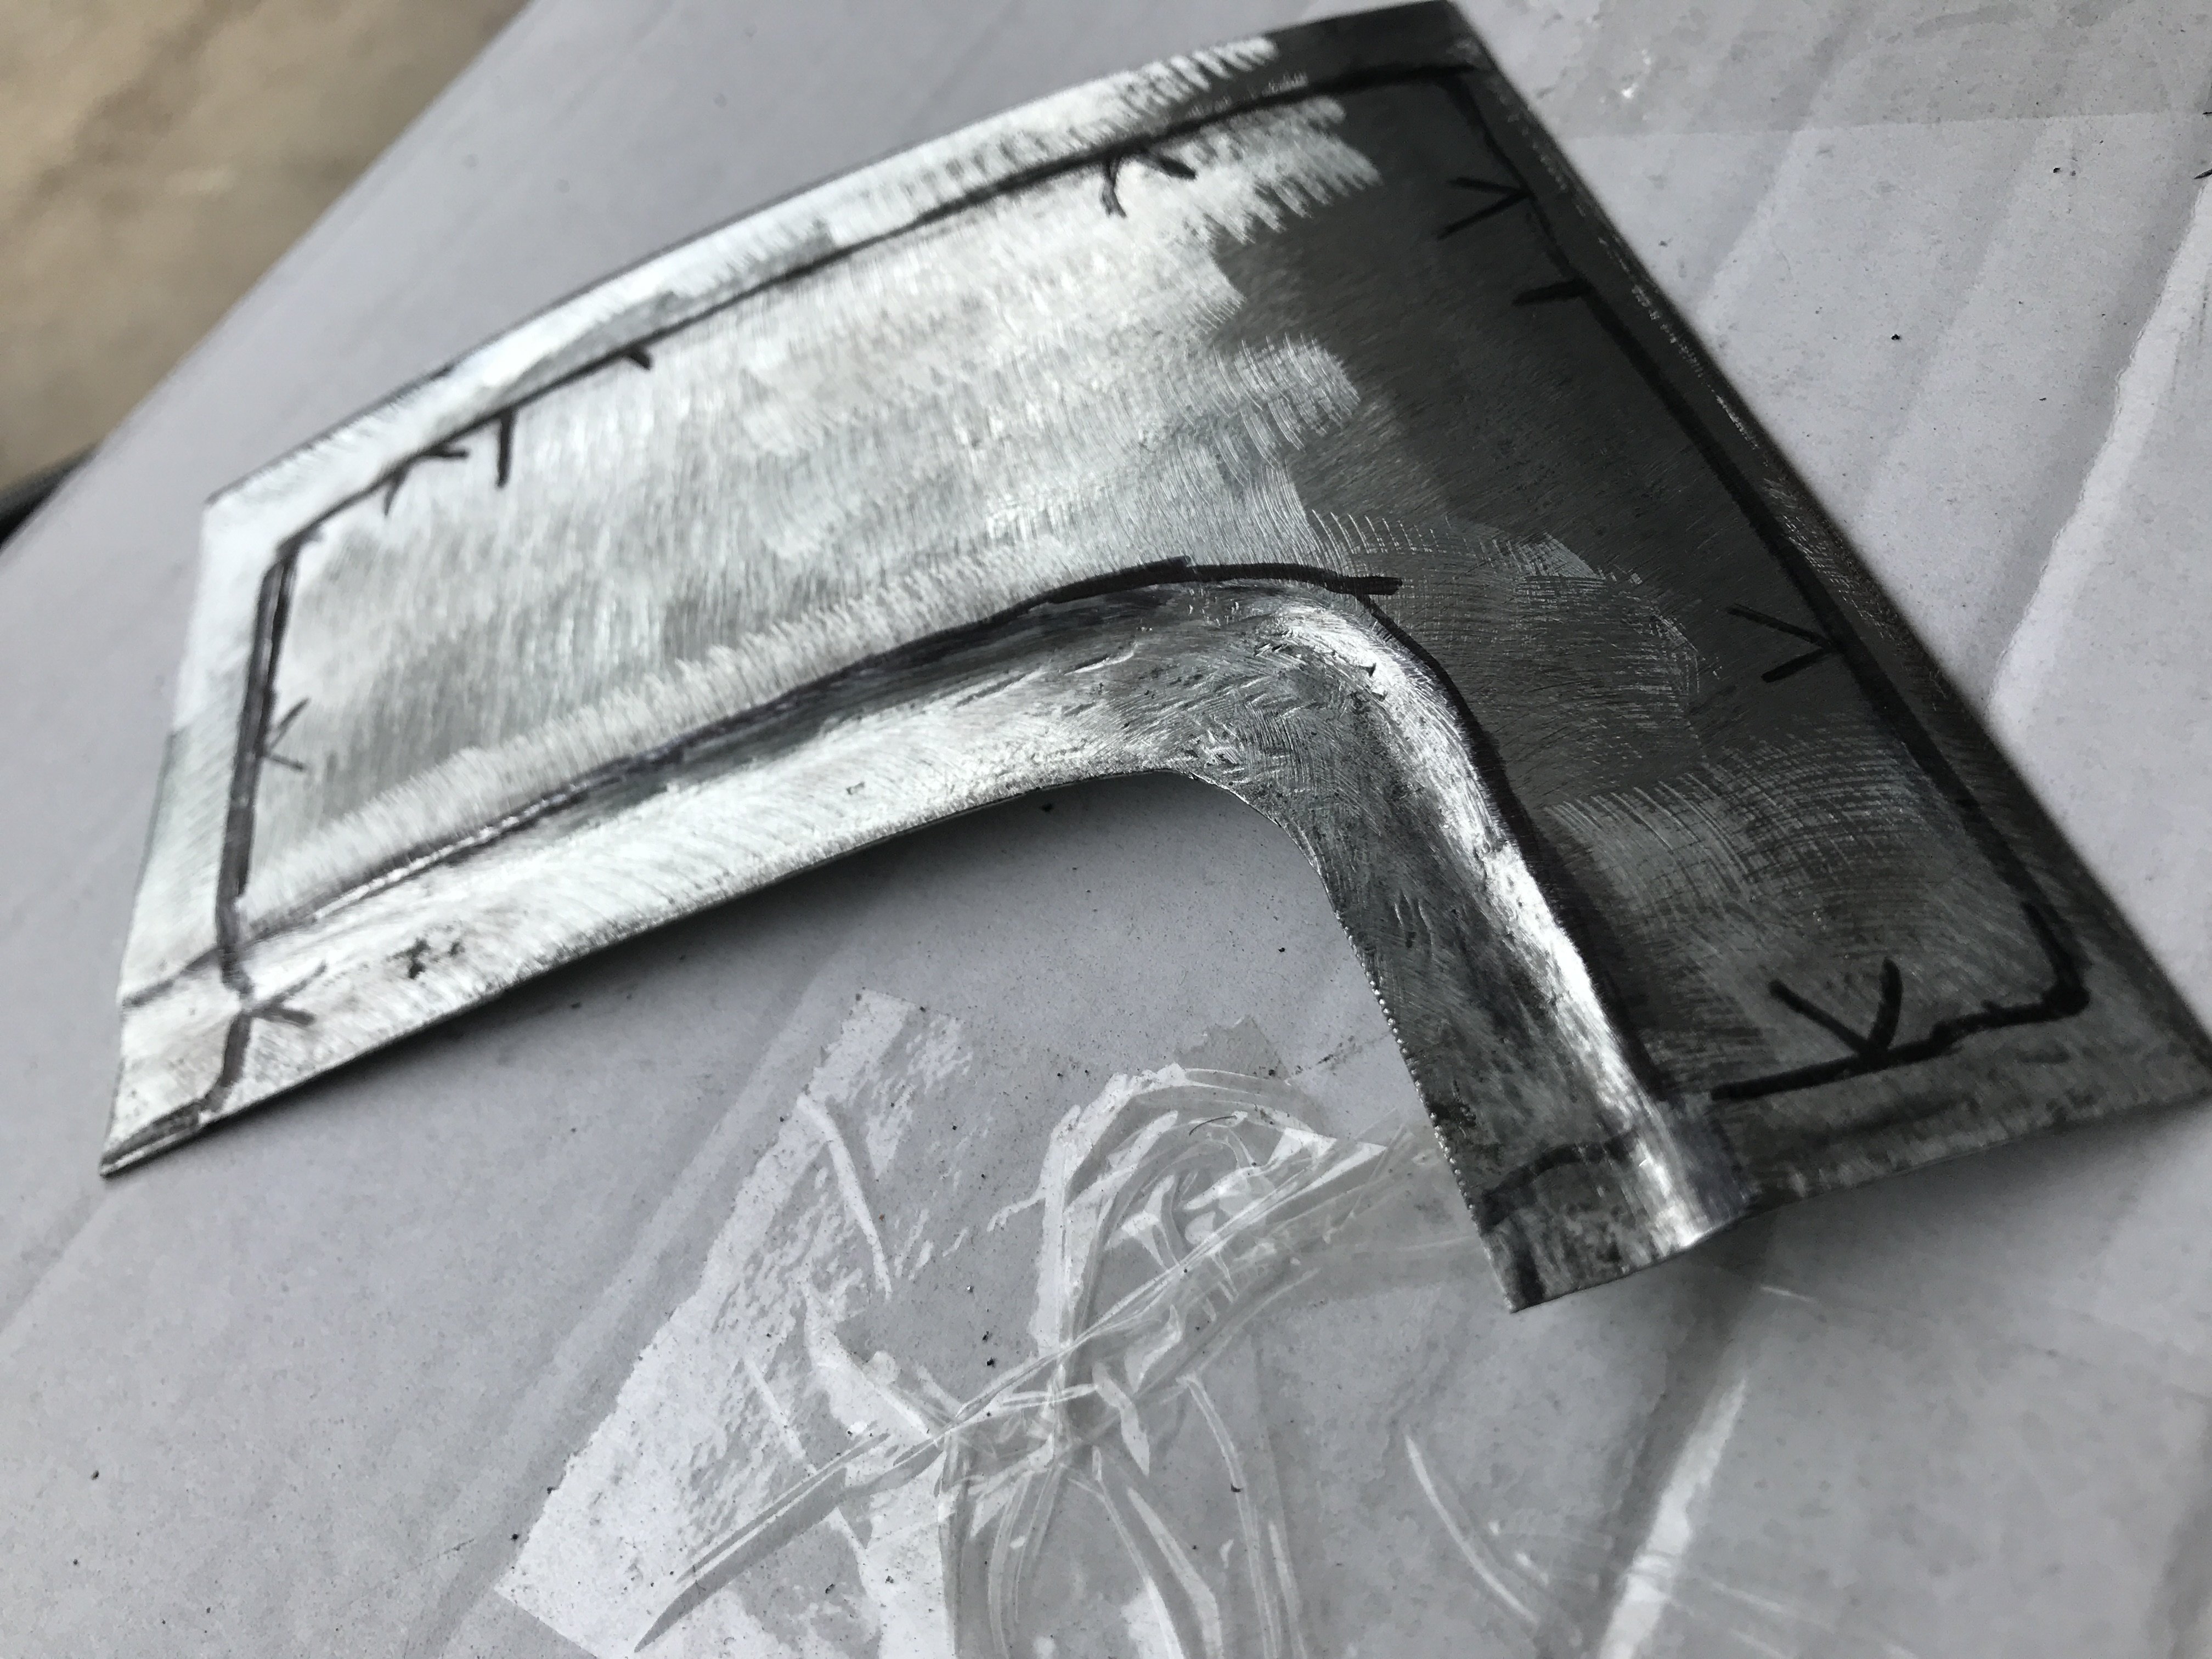
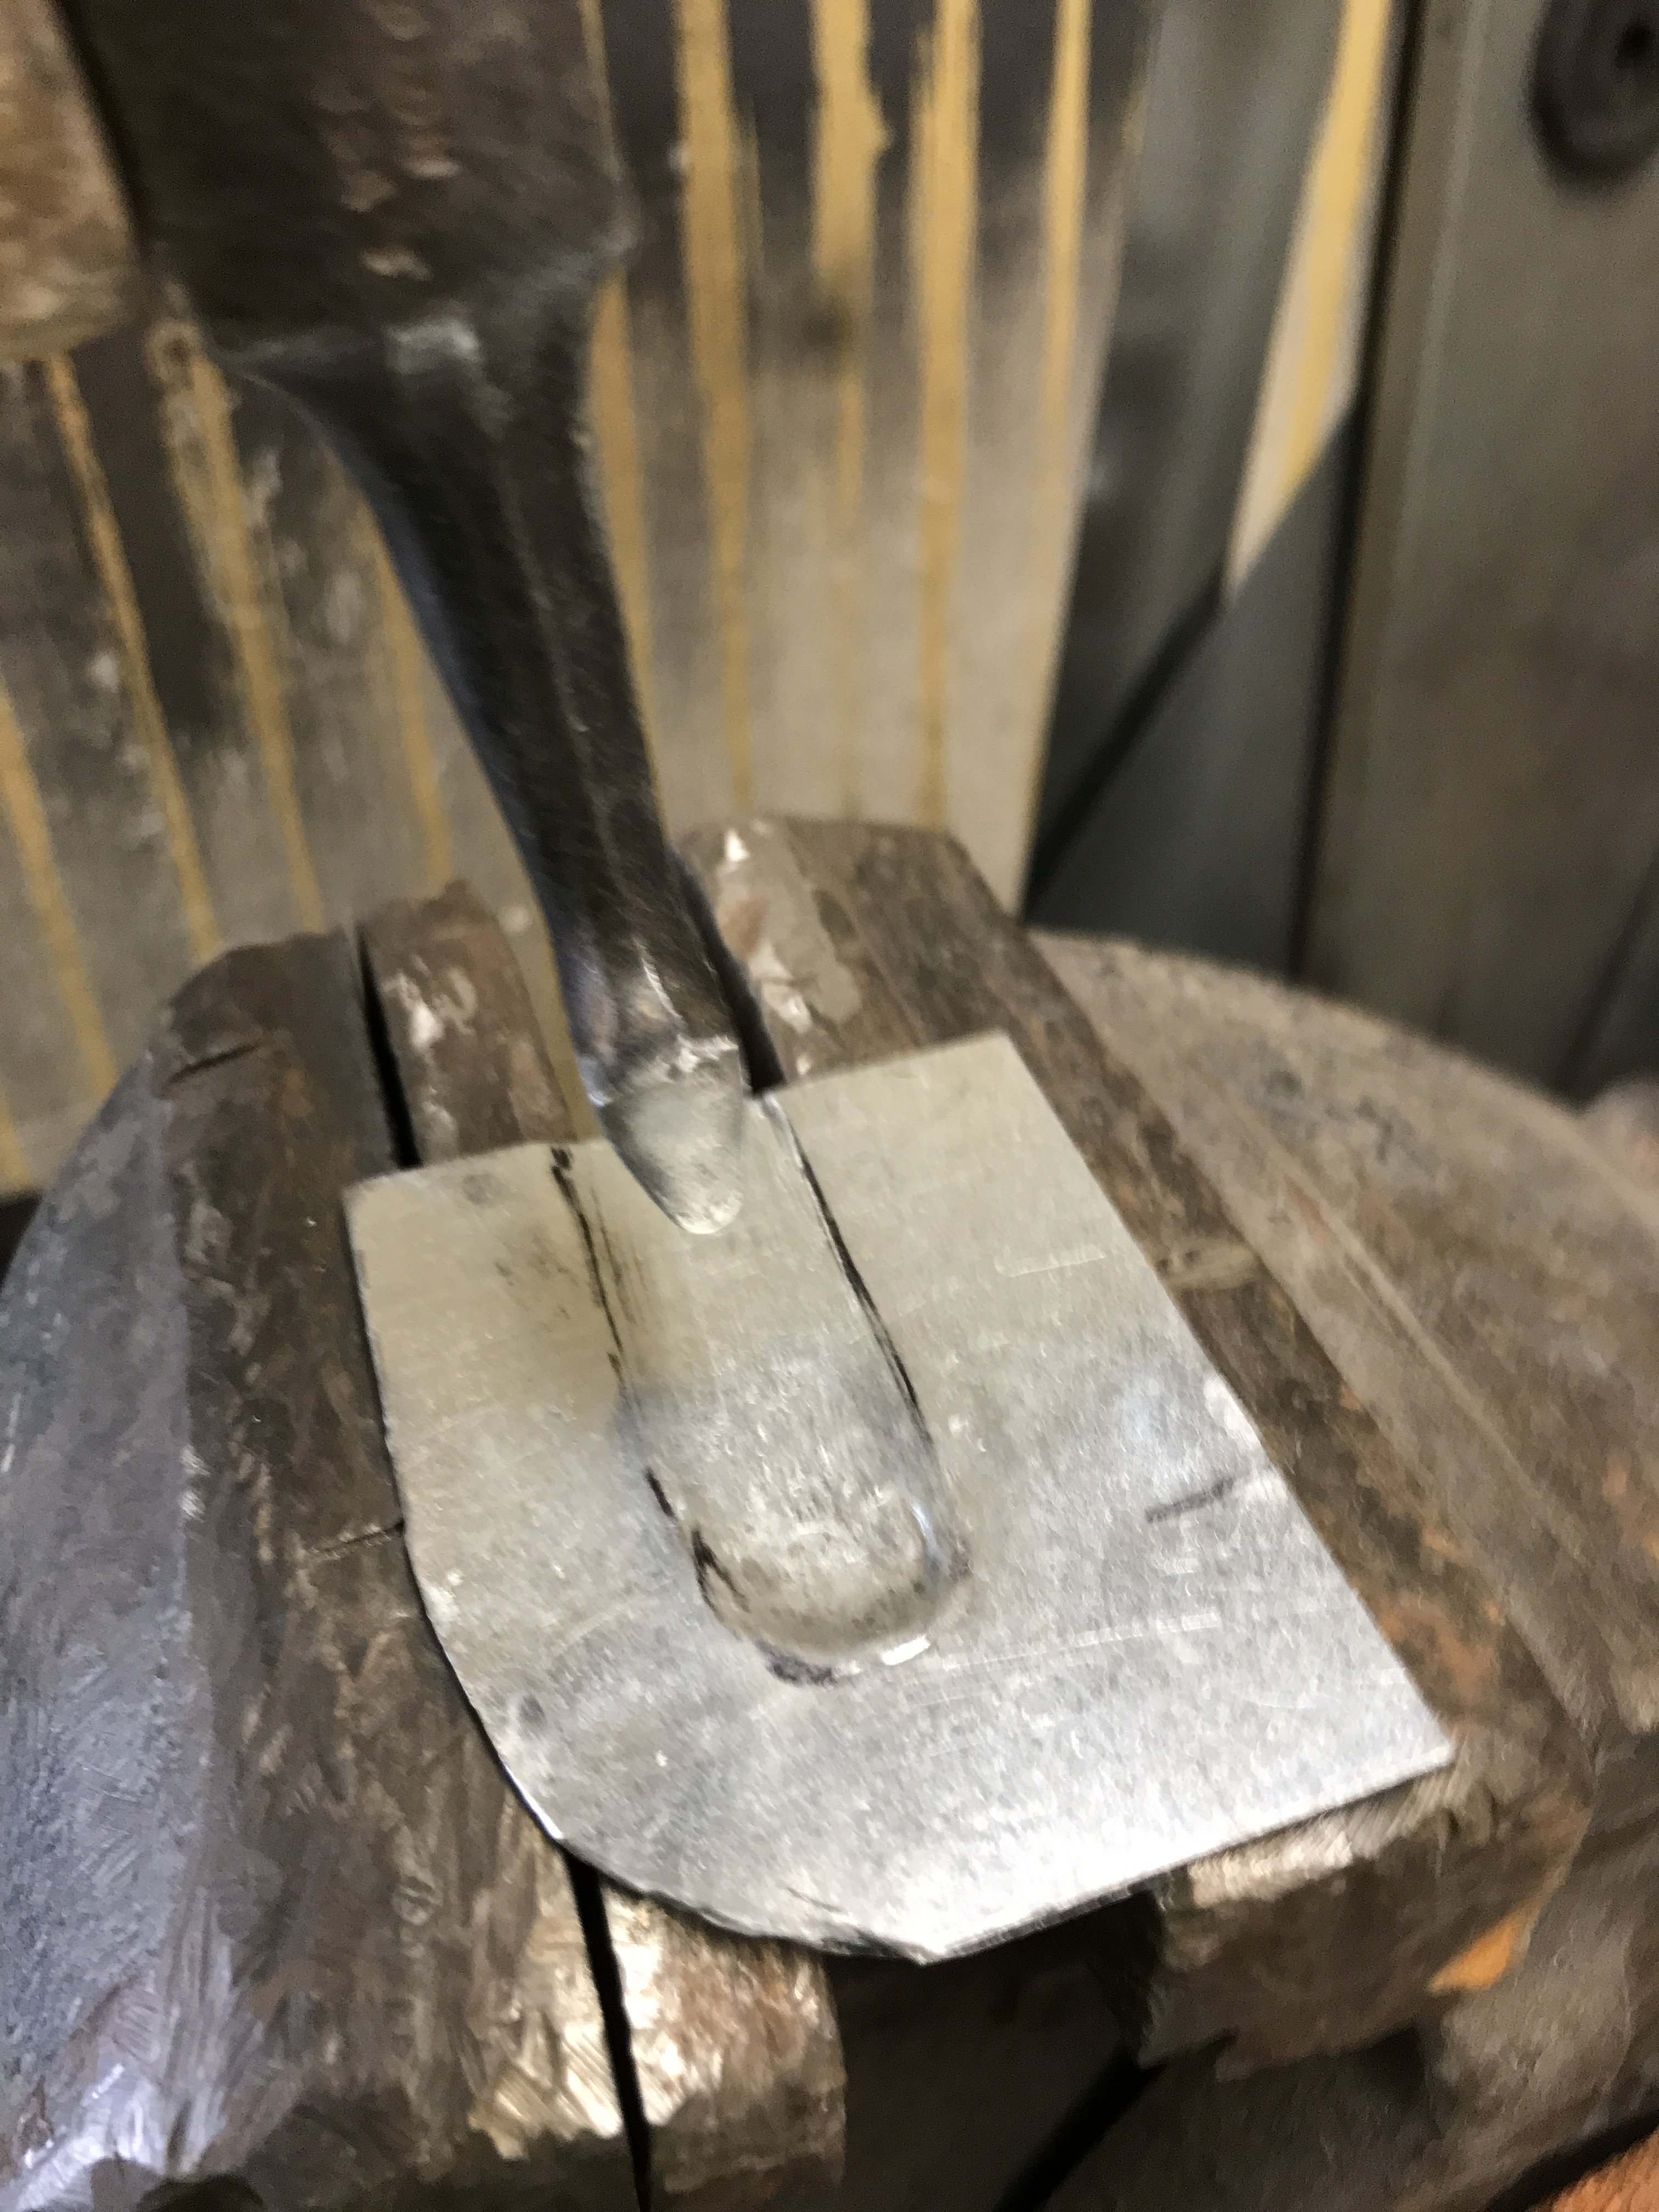
The contour of the inner edge was time consuming. Utilizing a large c-clamp and pieces of 1/4" steel plate to make a temporary screw press.
As you can see, the method is very effective and very low cost.
Guide lines and position marks are very important for correct alignment.
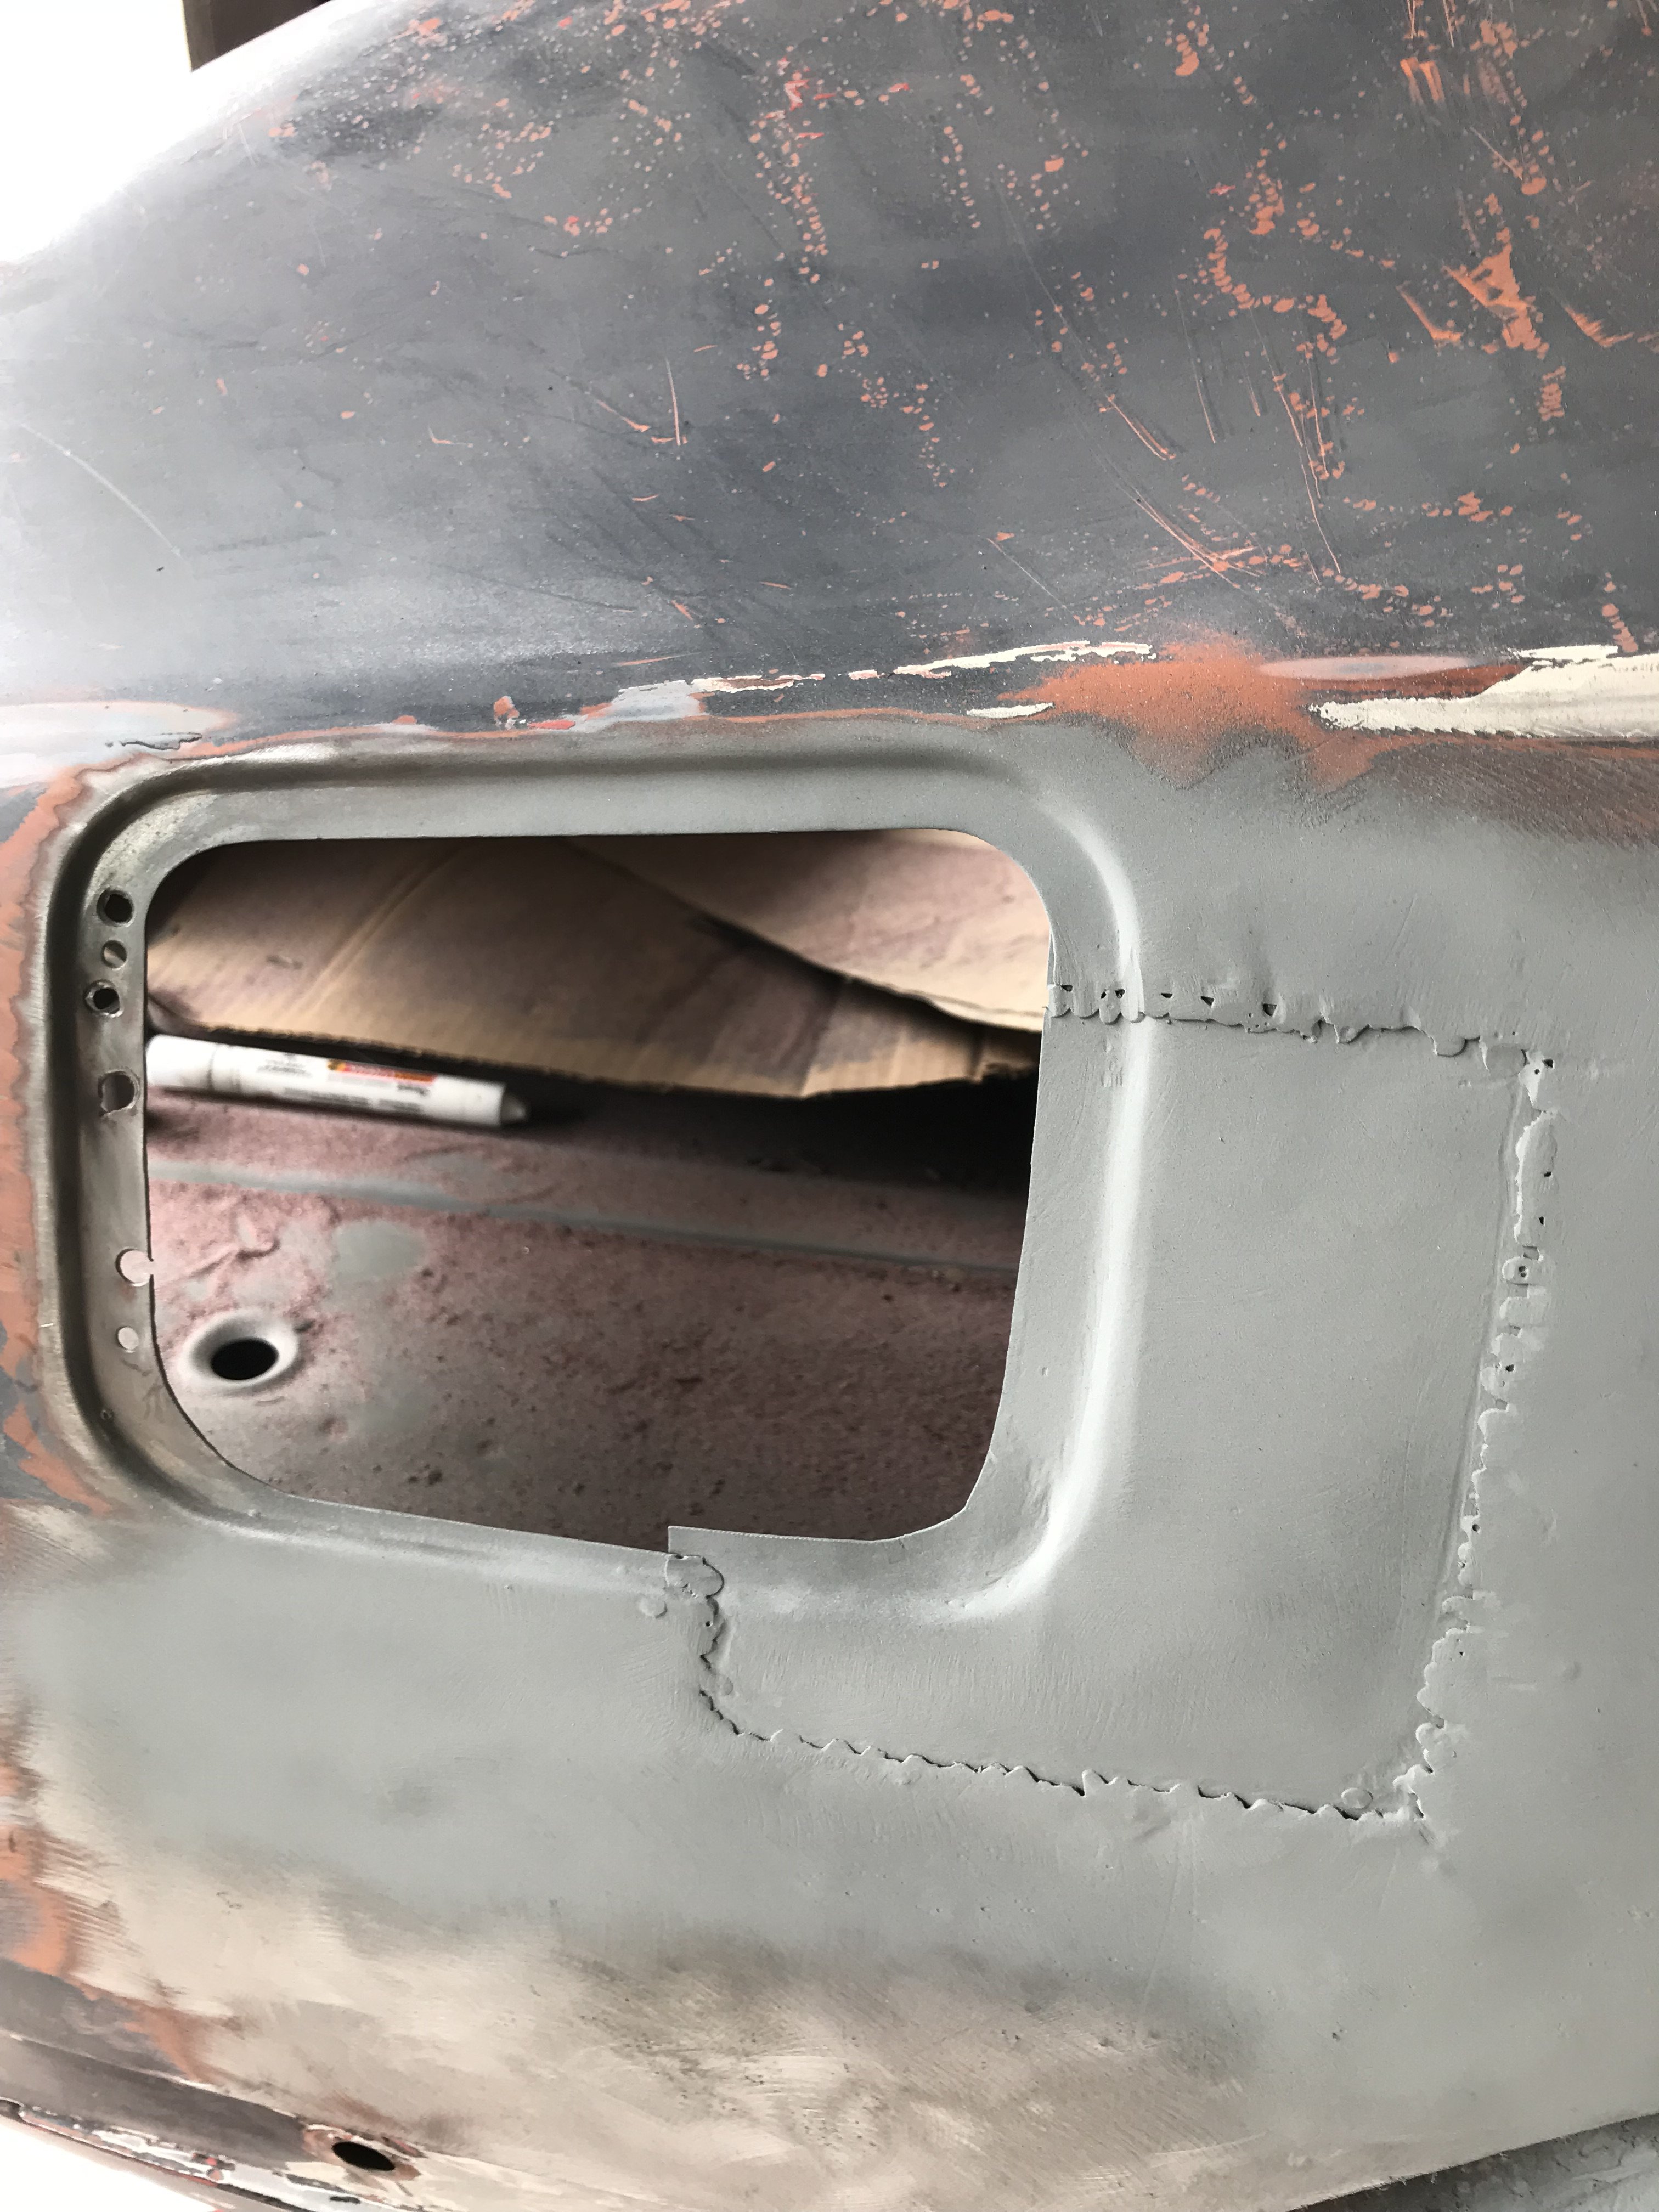
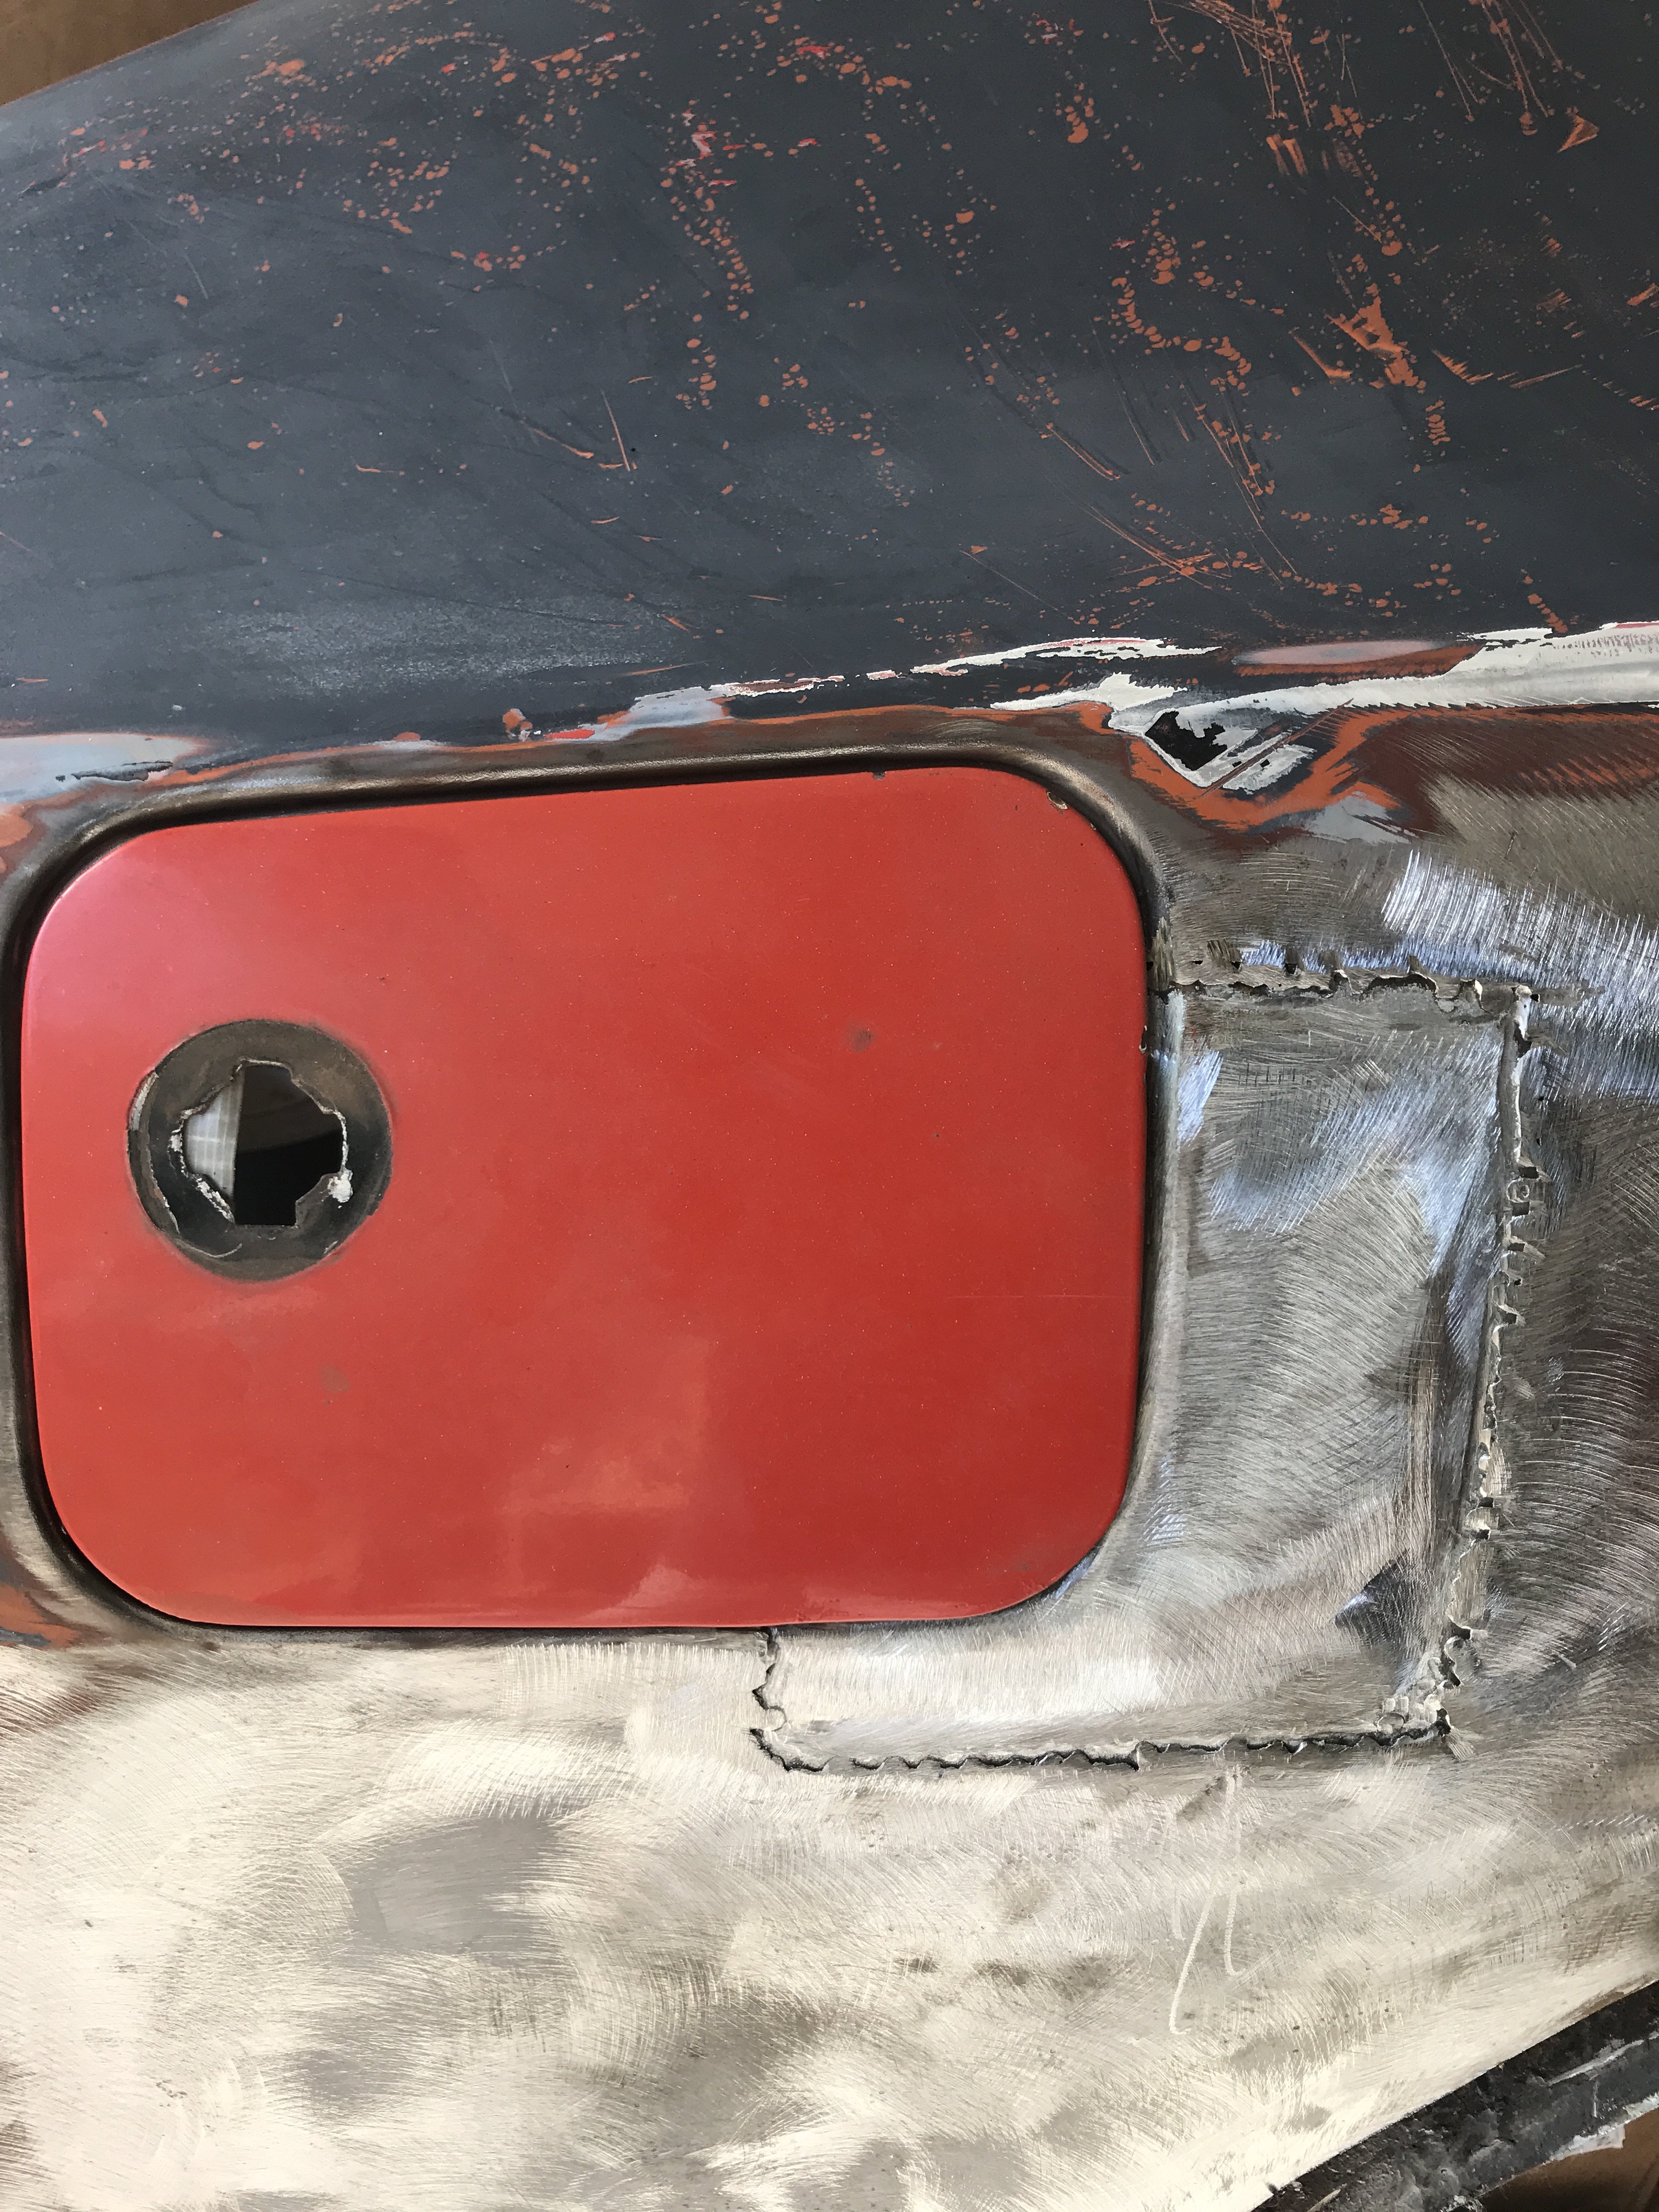
The patch was ducted taped to the quarter panel and fuel filler was test fitted before welded on.
The patch was welded on and painted with welding primer.
The fuel filler door was doubled checked on the exterior patch.
The exterior patch was also tack welded from the inside. It will be seam sealed after media blasting to prevent corrosion.
-
While waiting for the replacement dog leg panel to arrive, I decided to add an additional drain hole in rear area of the inner rocker panel.
A corresponding hole will added to the replacement panel which goes over the rocker panel.
Also, as the wheel housing side will be open till flaring
I will spray seam sealer to protect this area from corrosion.
Replacement panel ready to be welded on.
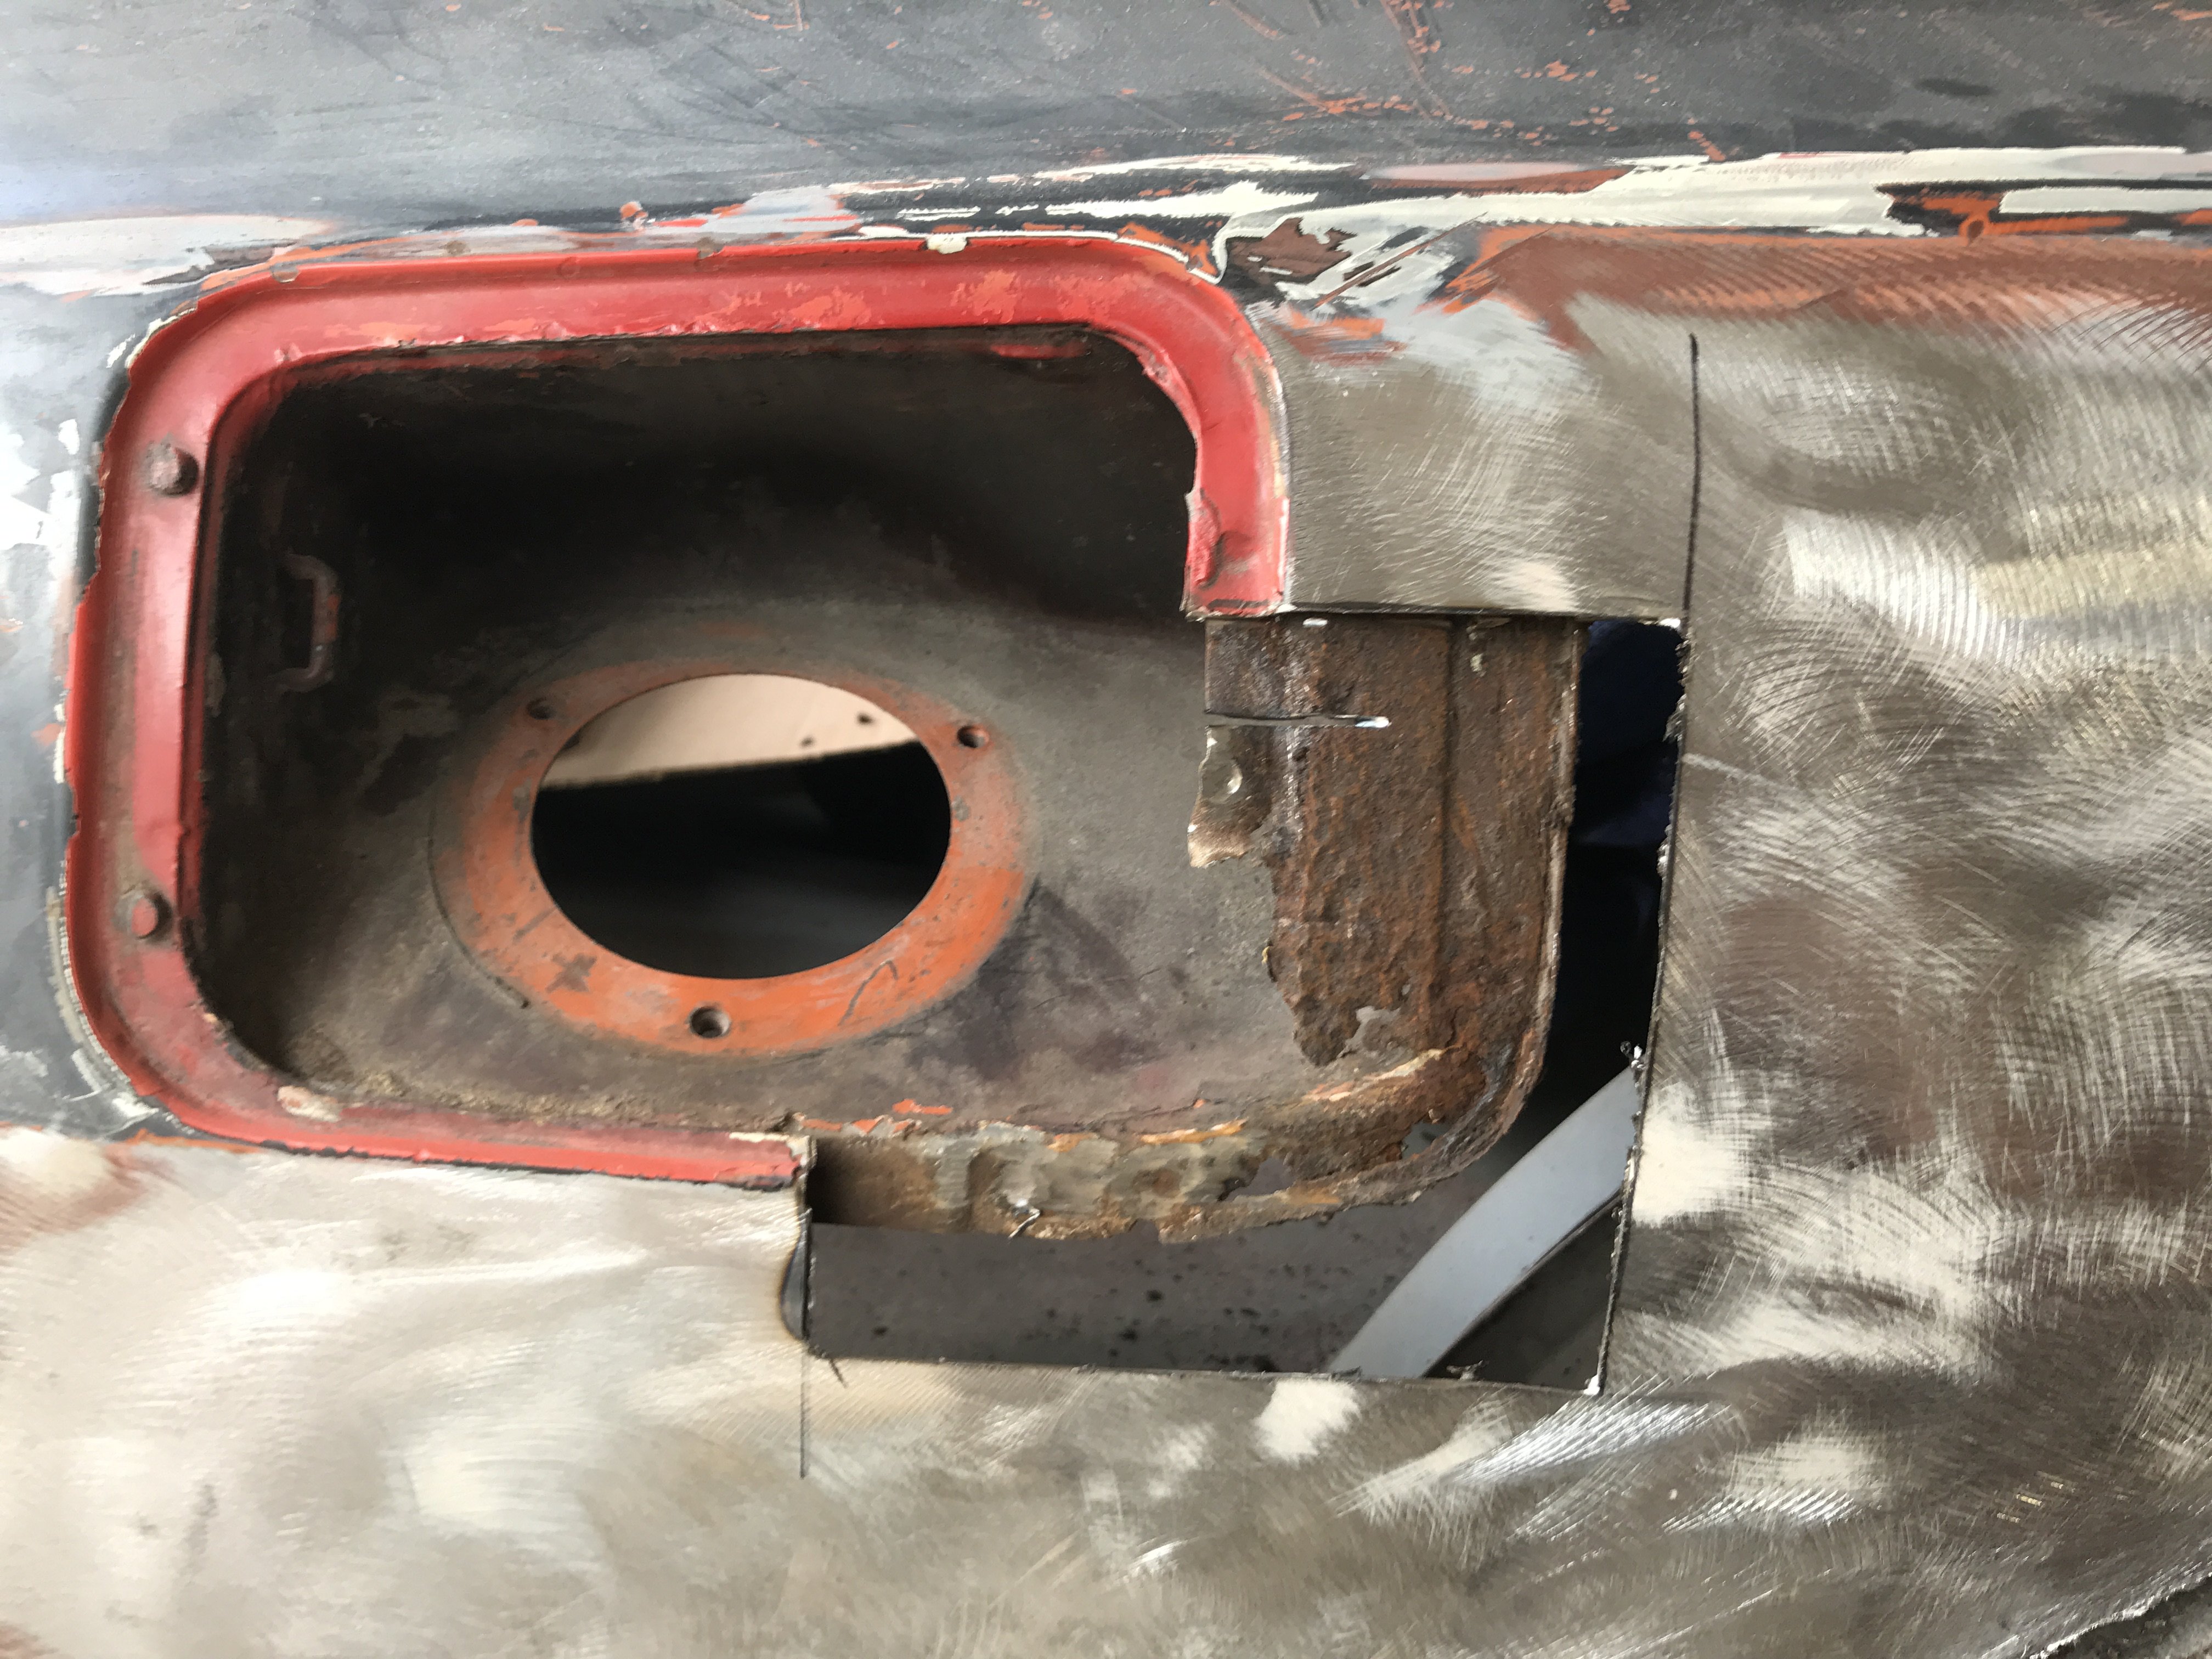
I found additional corrosion on the bottom front edge of the fuel filler door area.
Additional corrosion was discovered on the innerbox section too.
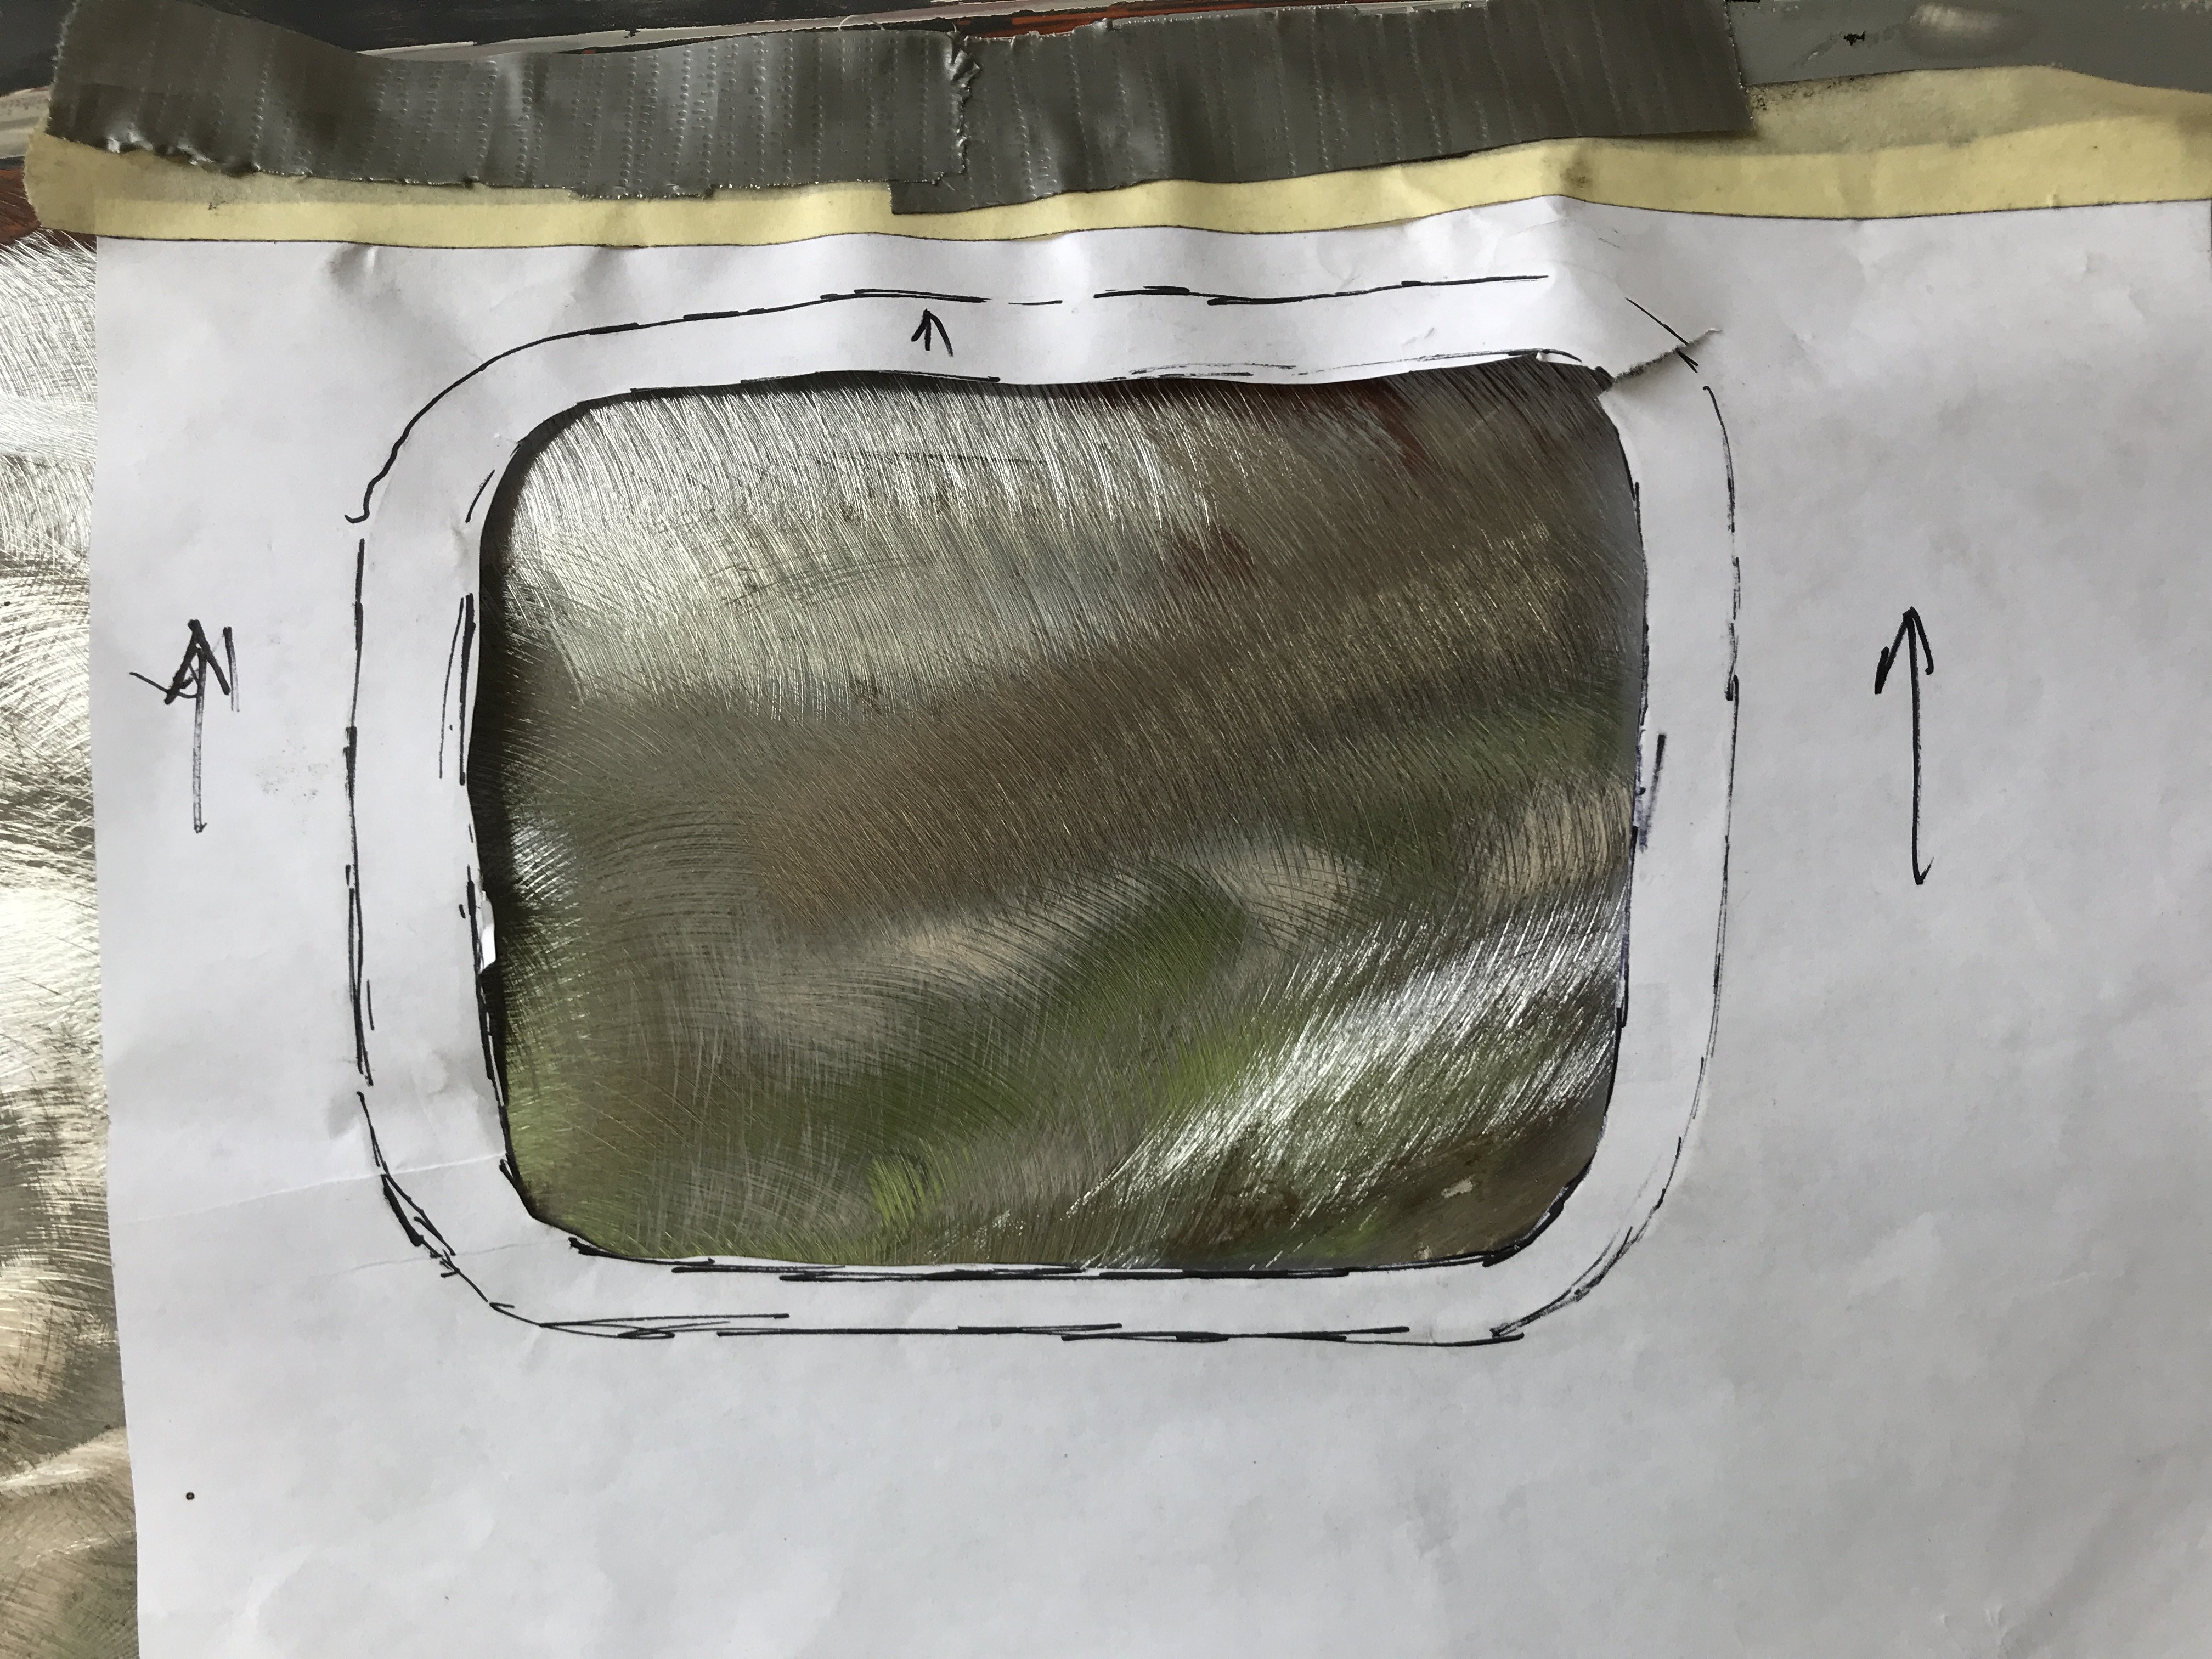
A template was made to create a sheet metal patch.
This photo shows the inner fuel filler box corrosion.
The replacement section had to hammer formed to match the original.
The exterior replacement panel being mocked up before shaping work.
-
I found similar corrosion on the right side door dogleg. Had remove more of this side rocker panel due to rust.
The wheel housing also had to patched. In my opinion, this type of wax type of rustproofing was not thin enough to get in those tight cervices and pockets.
Also, the use of weldable primer will help to prevent corrosion from the mig welding process.
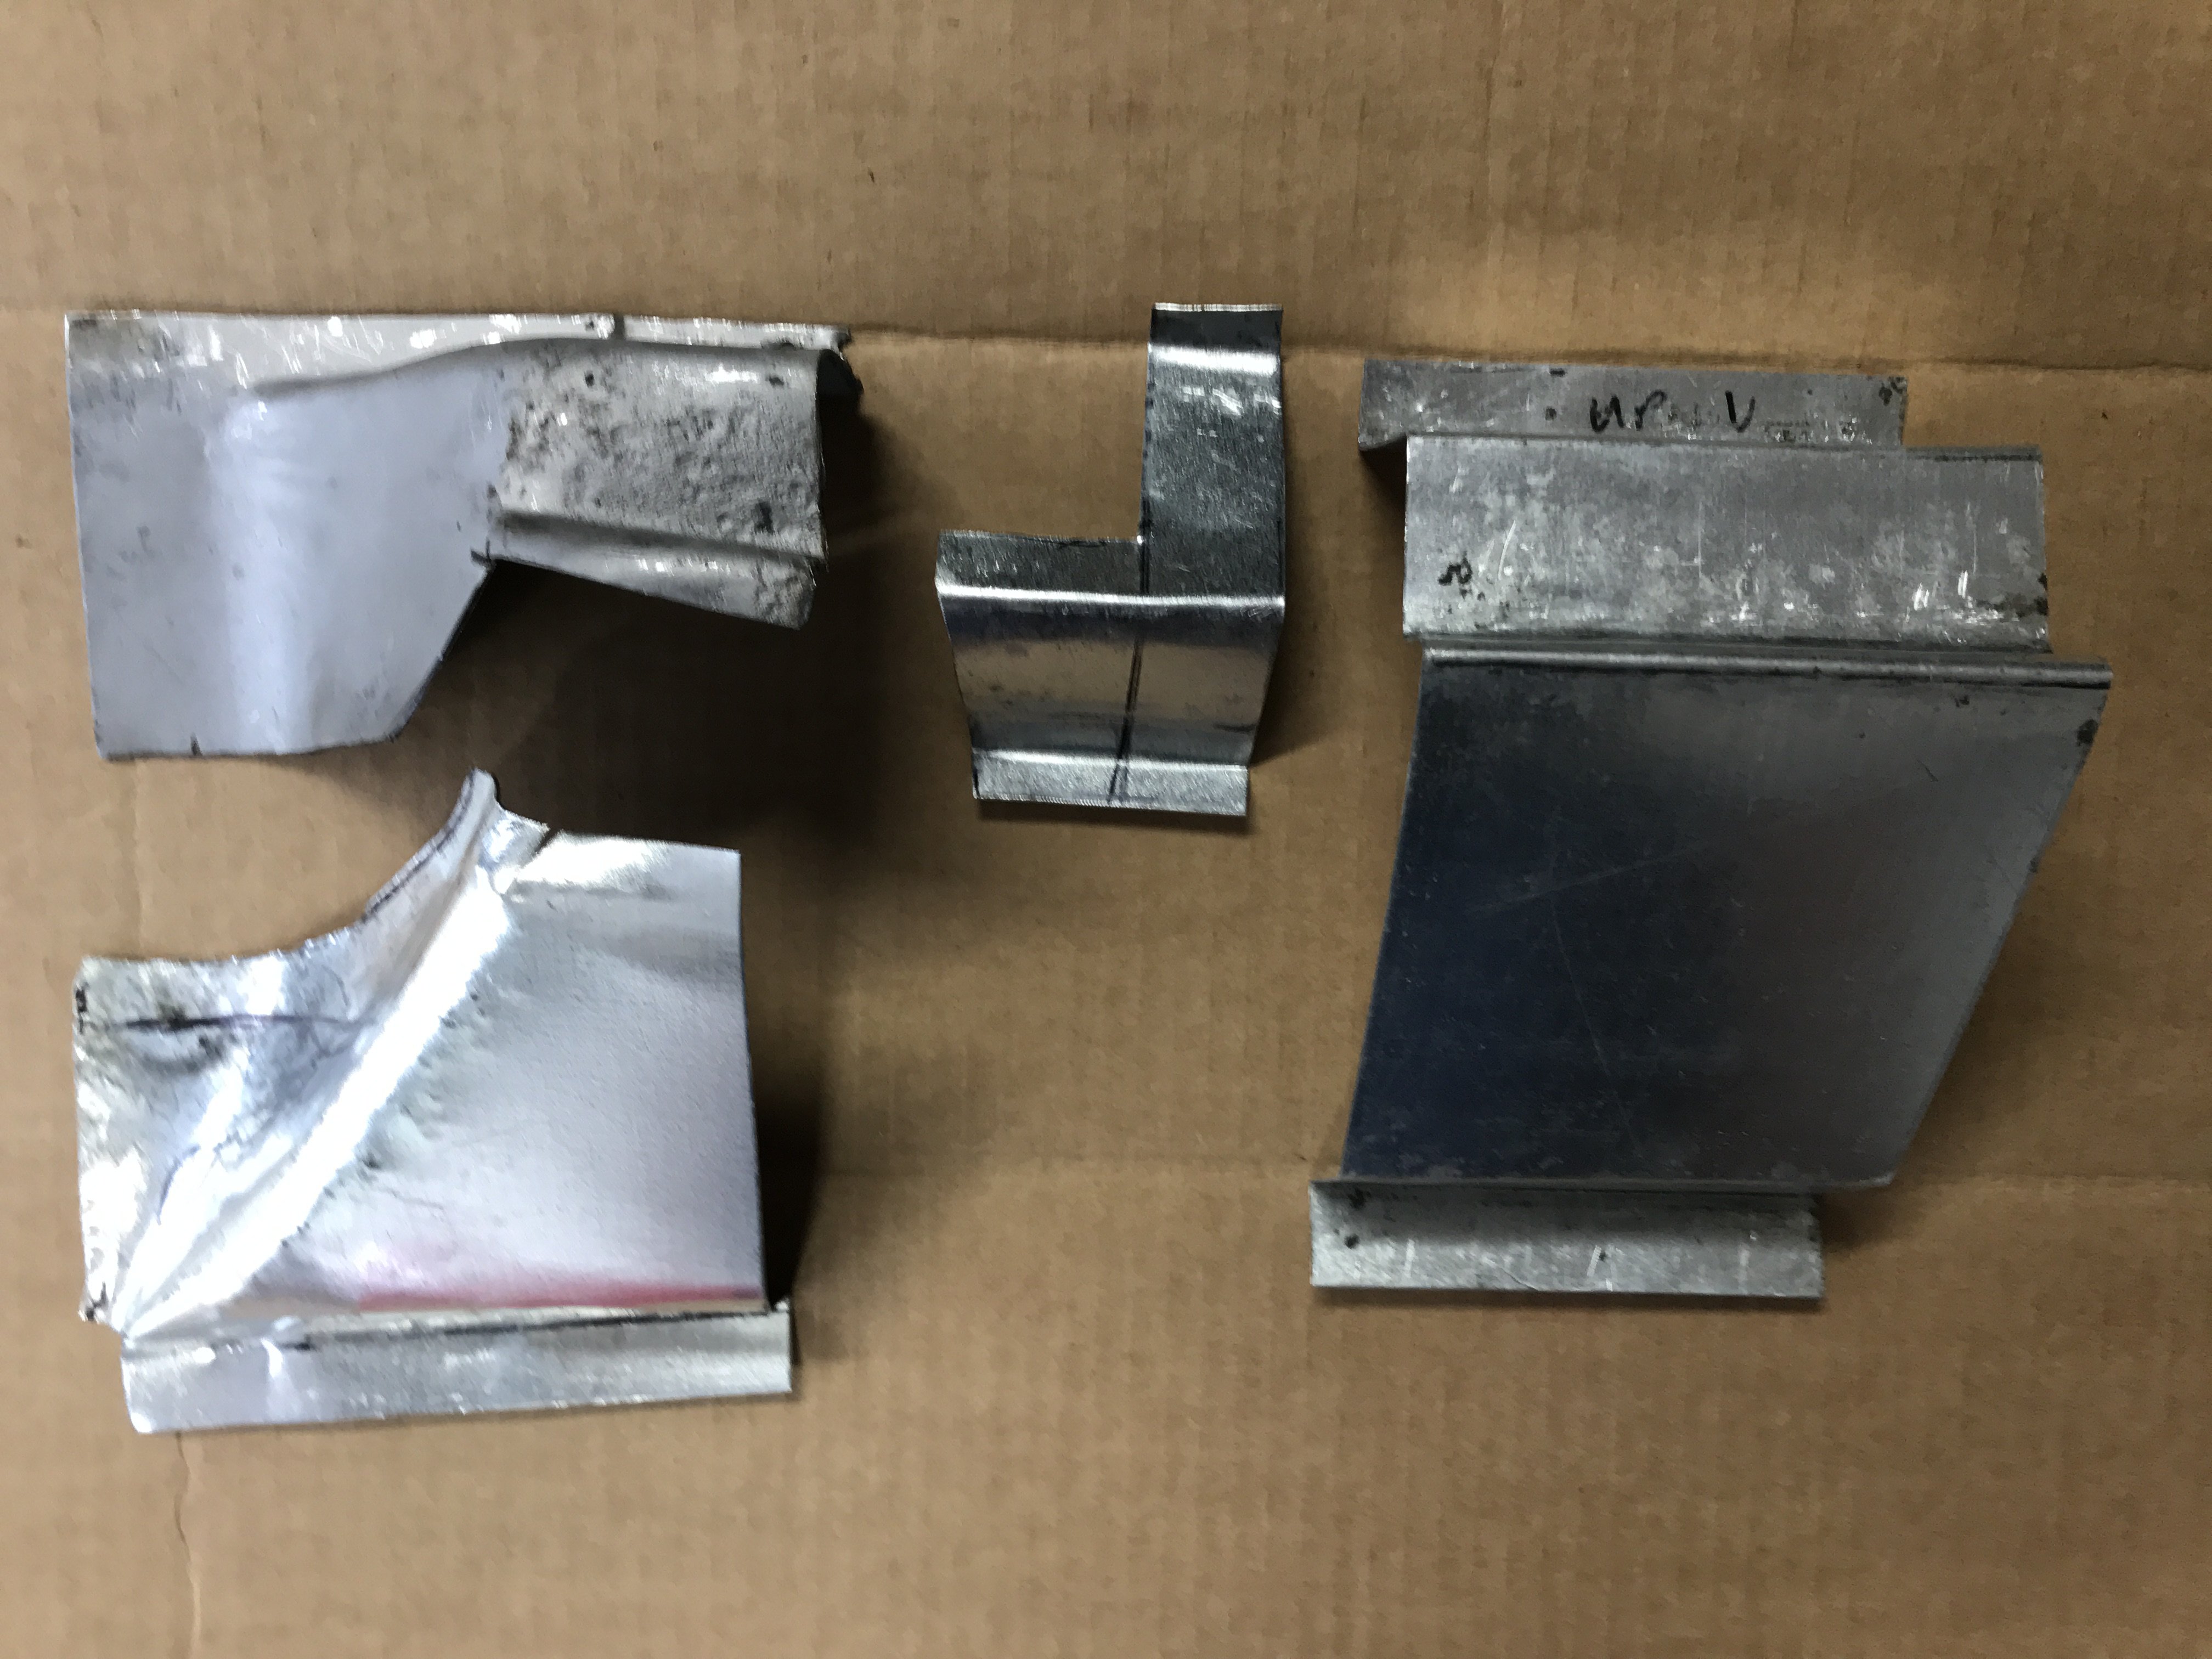
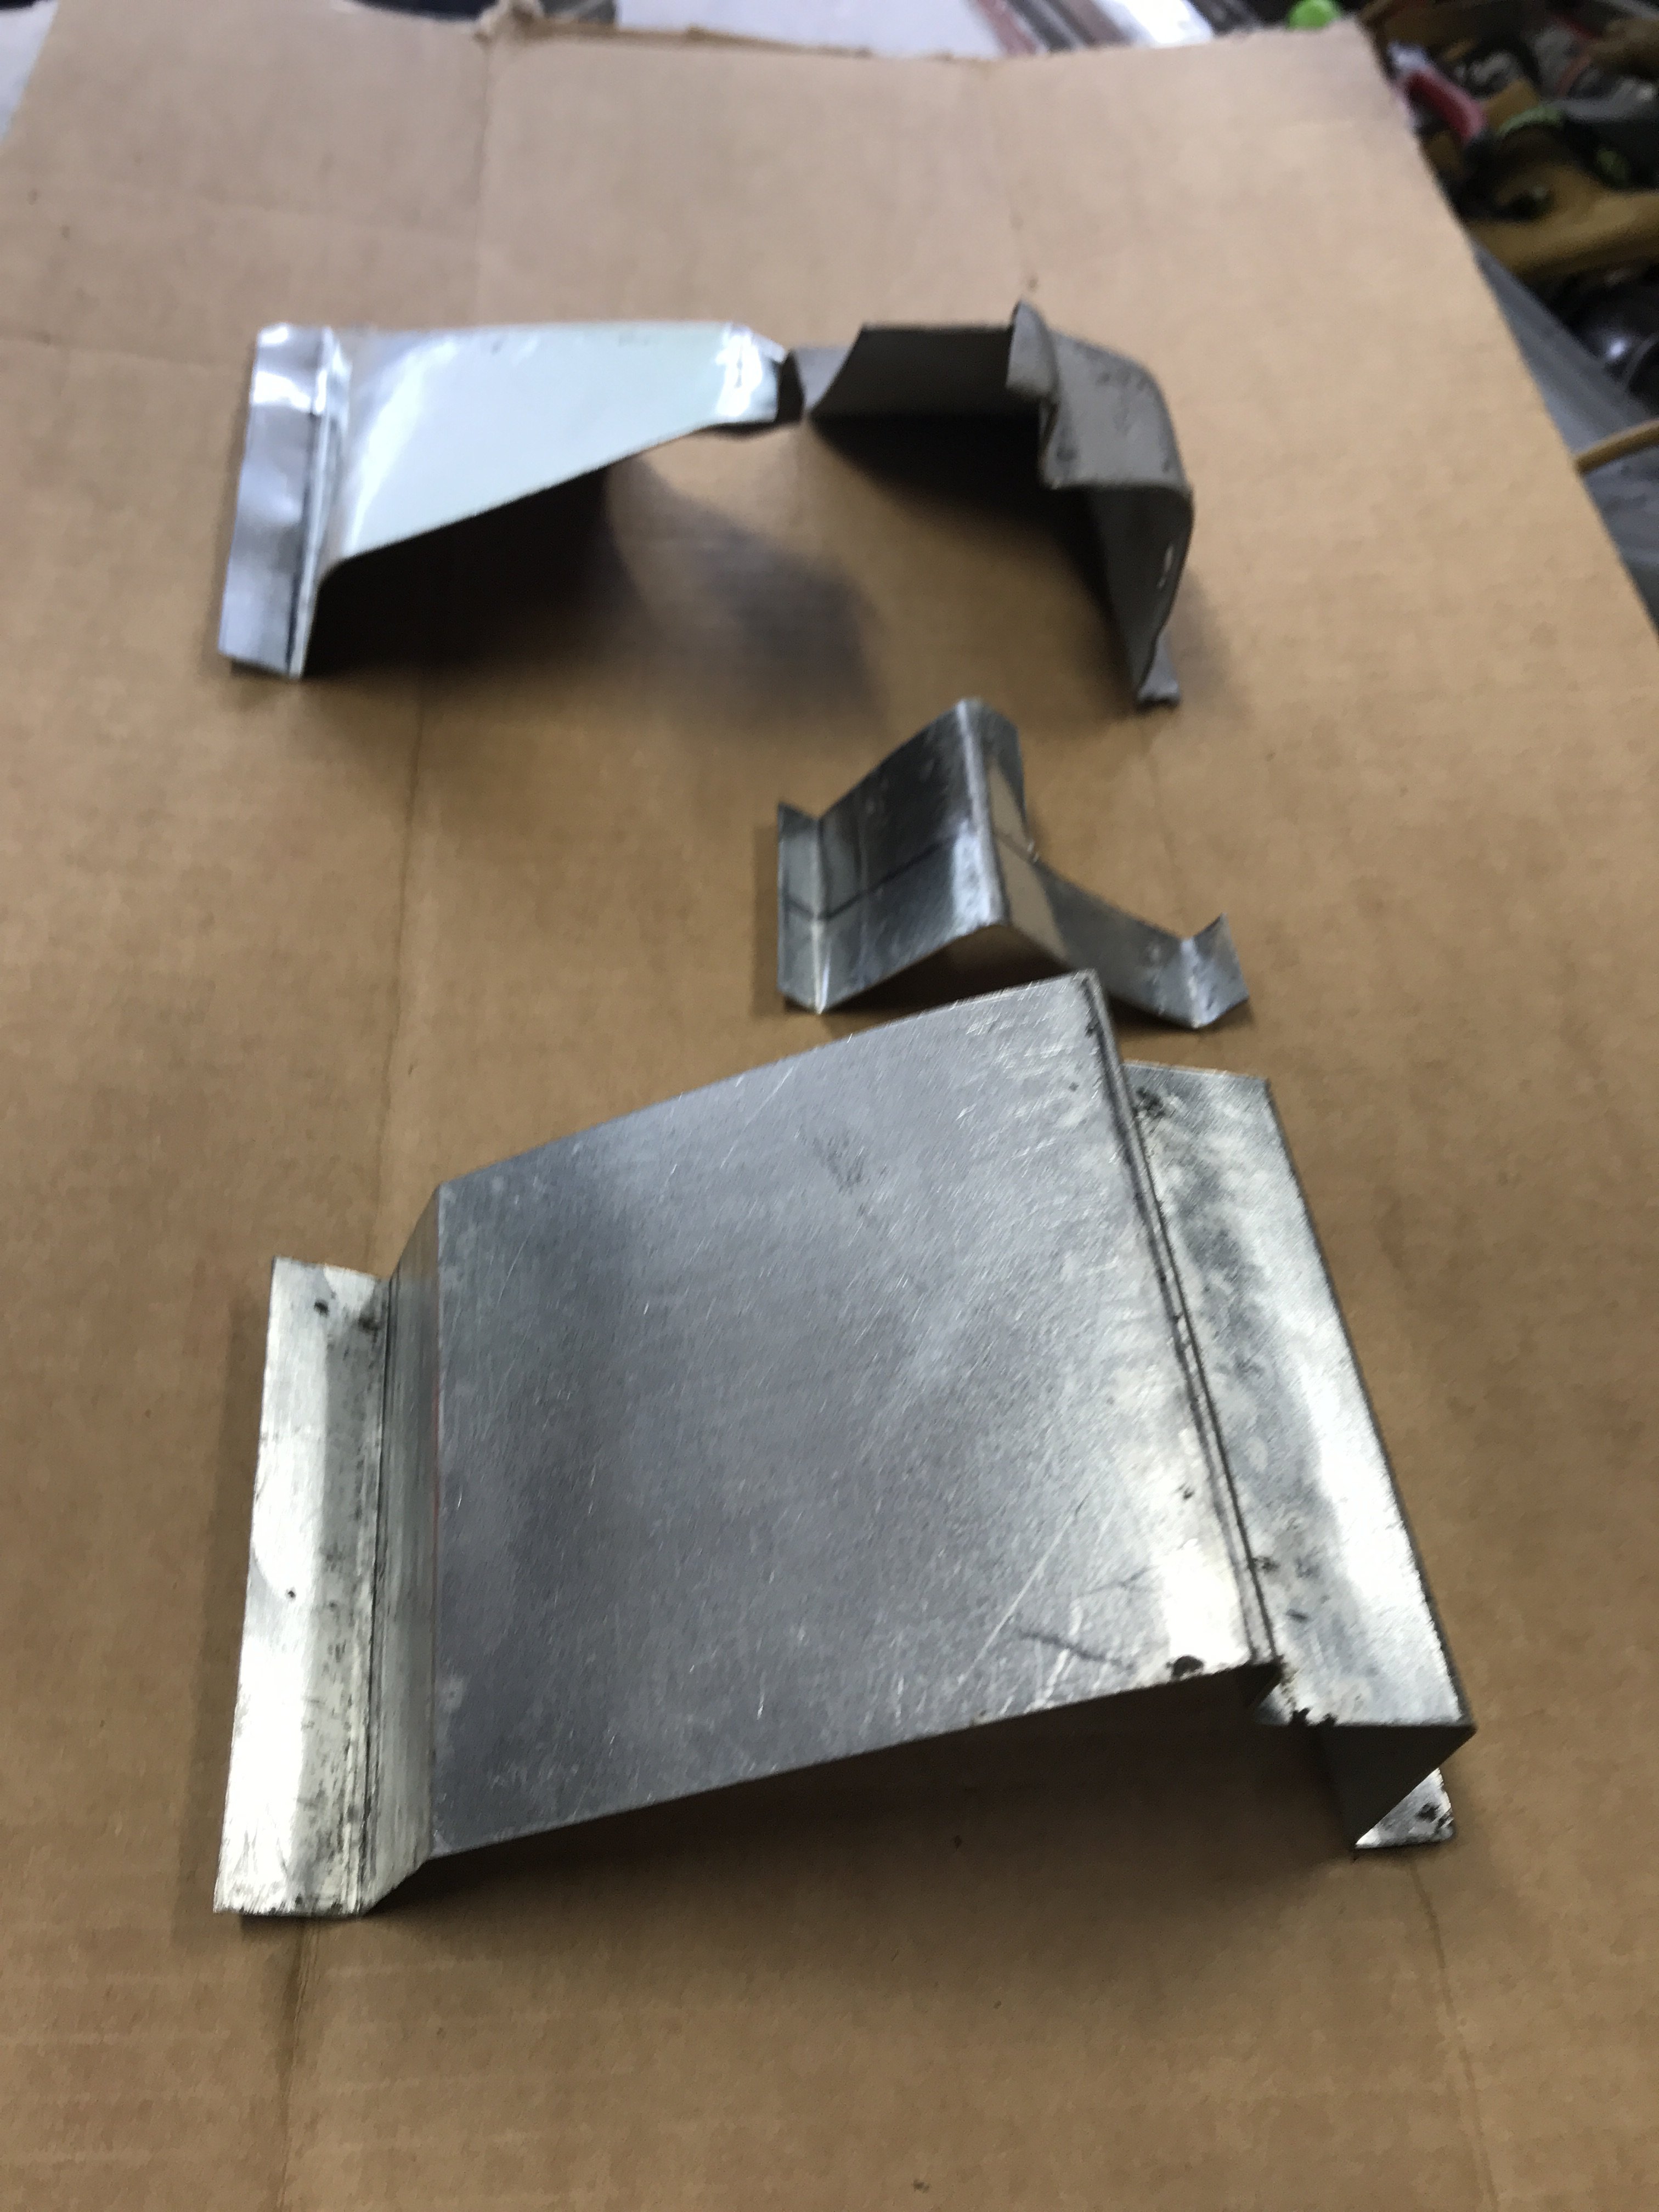
The pictures show the sections of patches for this repair. Only the upper left section is left over from the original rocker panel. The other
three parts will be fitted together like a puzzle.
A different view of the patch sections to give a better idea of the different sections.
Utilized 20 gauge metal for the wheel housing patch to resist corrosion.
Marking a template for the curved section of dogleg. This is the second patch for this section because I had cut the upper potion of the original
curved section to allow welding of the rocker panel. Also, still have do more welding of patches. Waiting for the replacement corner section of the dog leg
from Z Depot which cost almost $100 because of freight. We call it the "Paradise Tax".
-
This is a photo of the left side of the rear hatch panel after media blasting.
Made template for patch for left side.
Had to even to use a Dremel to hard to cut tight areas.
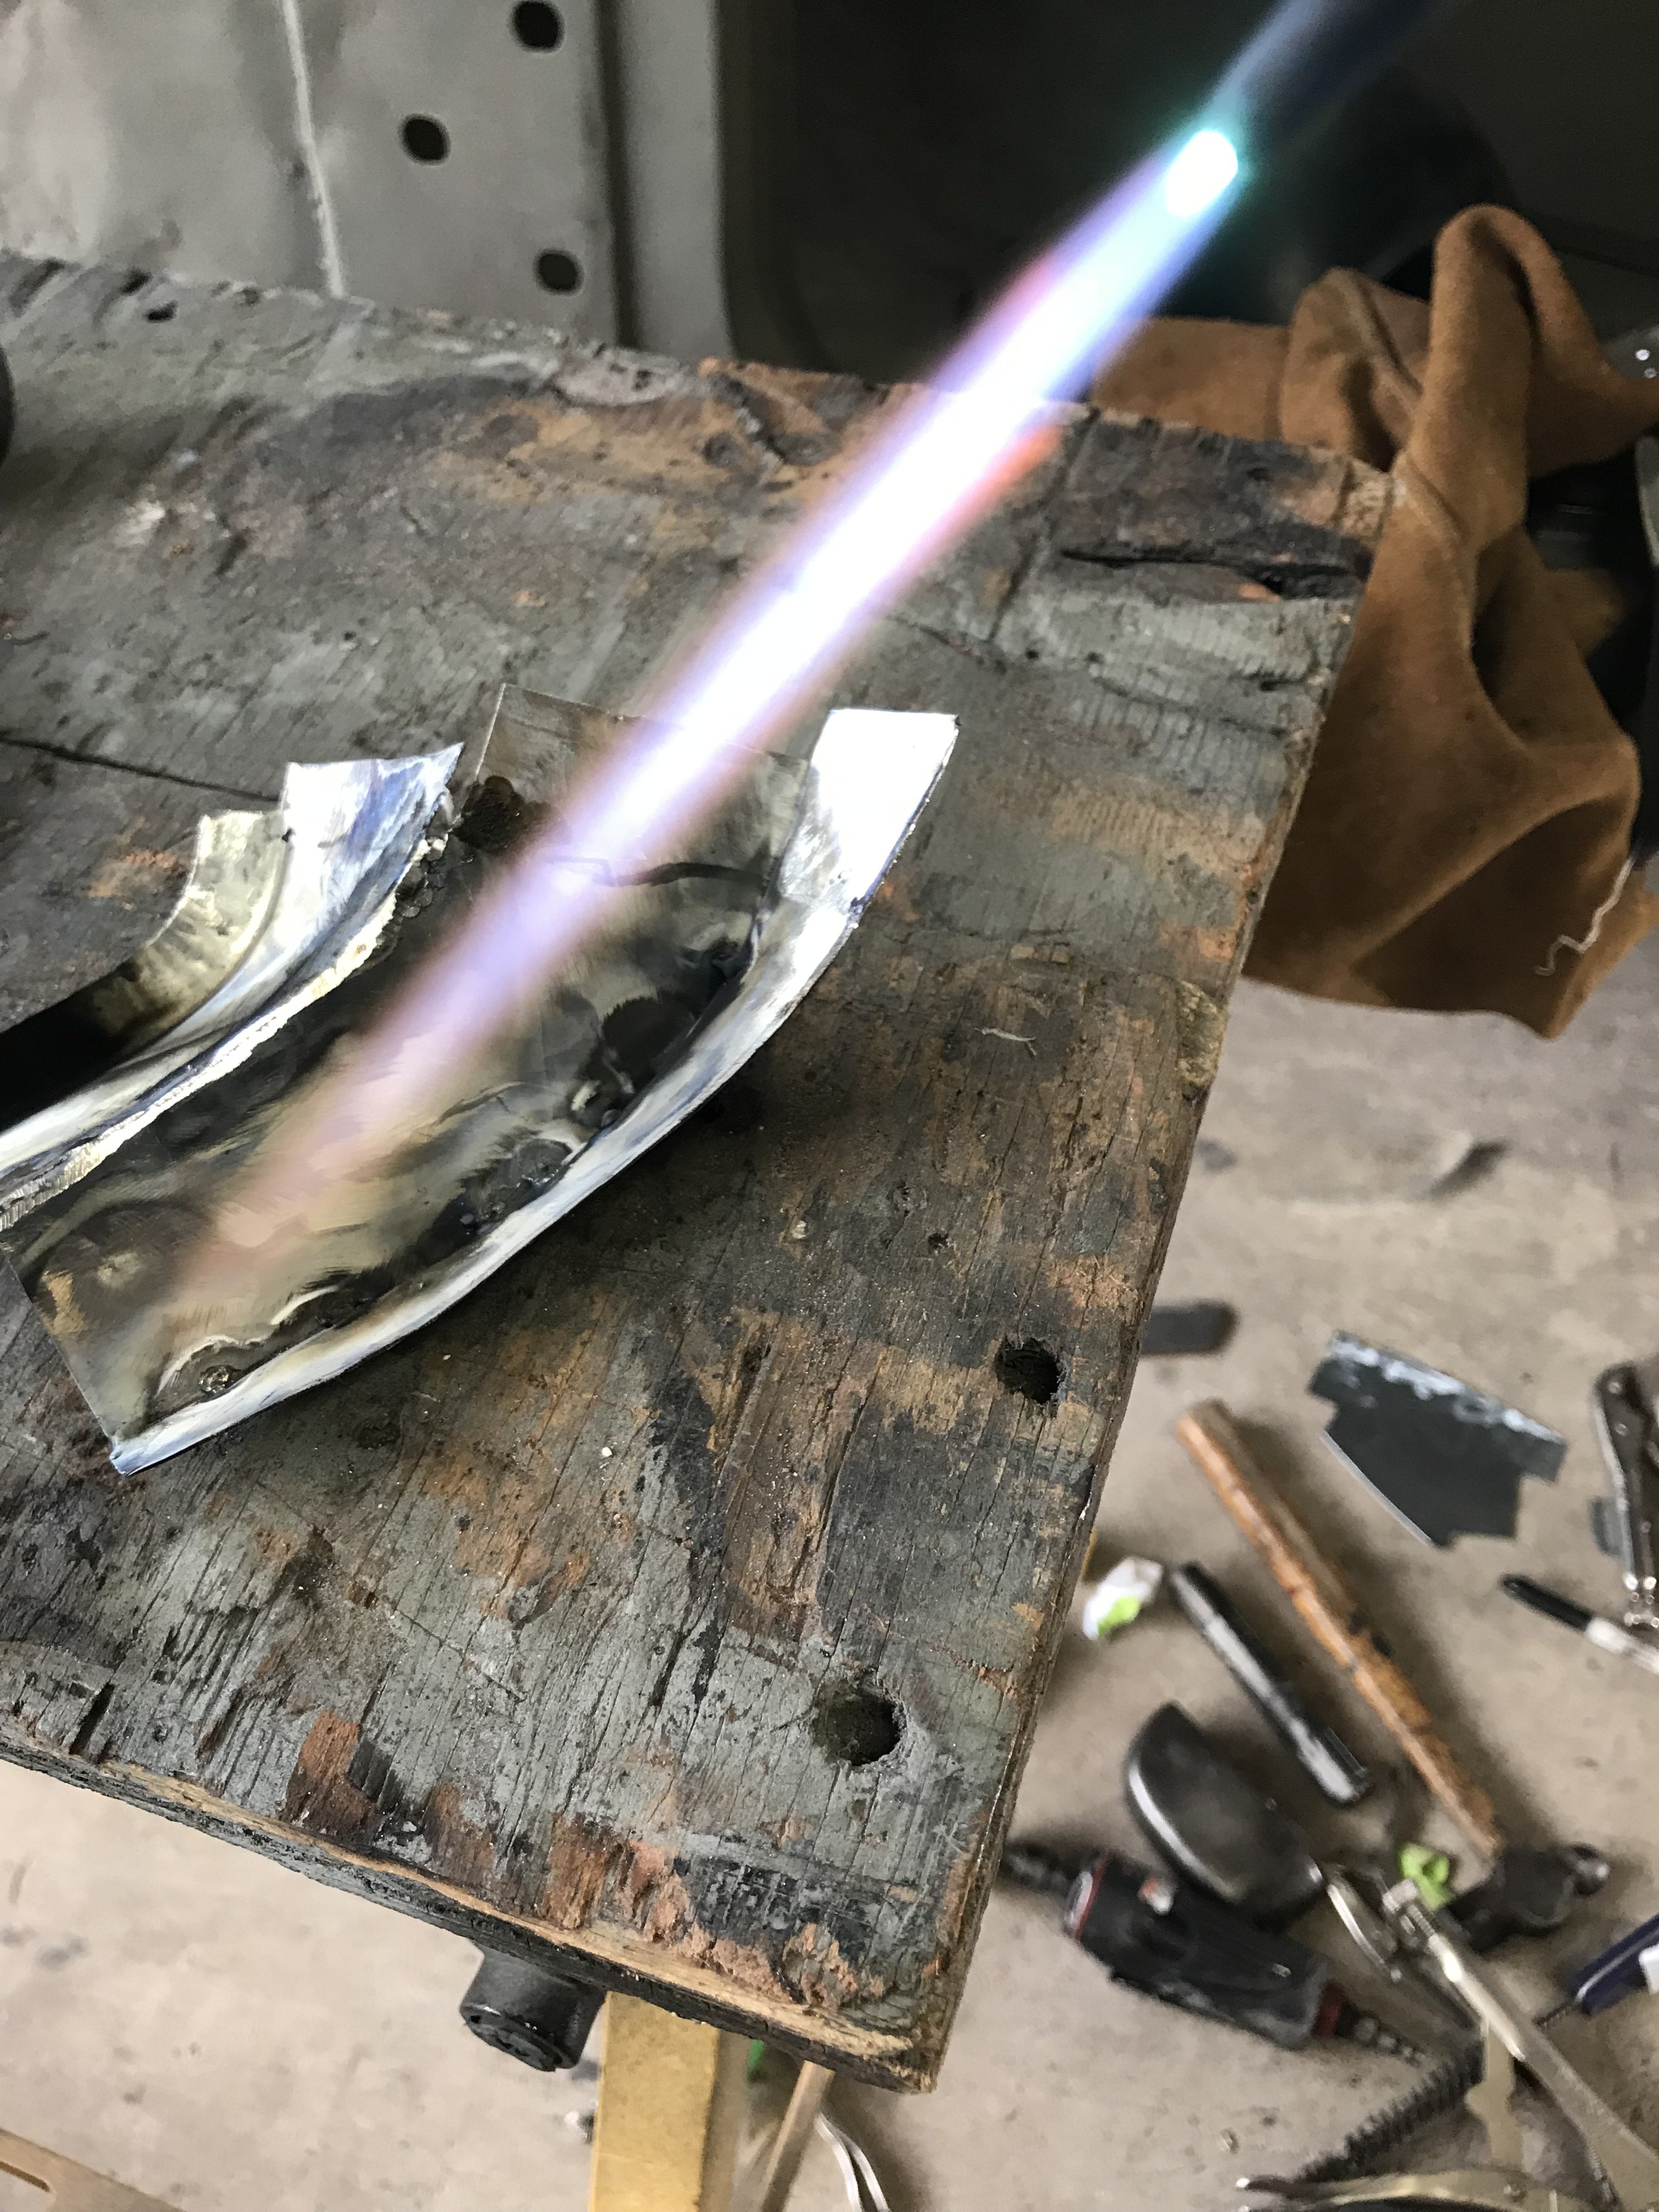
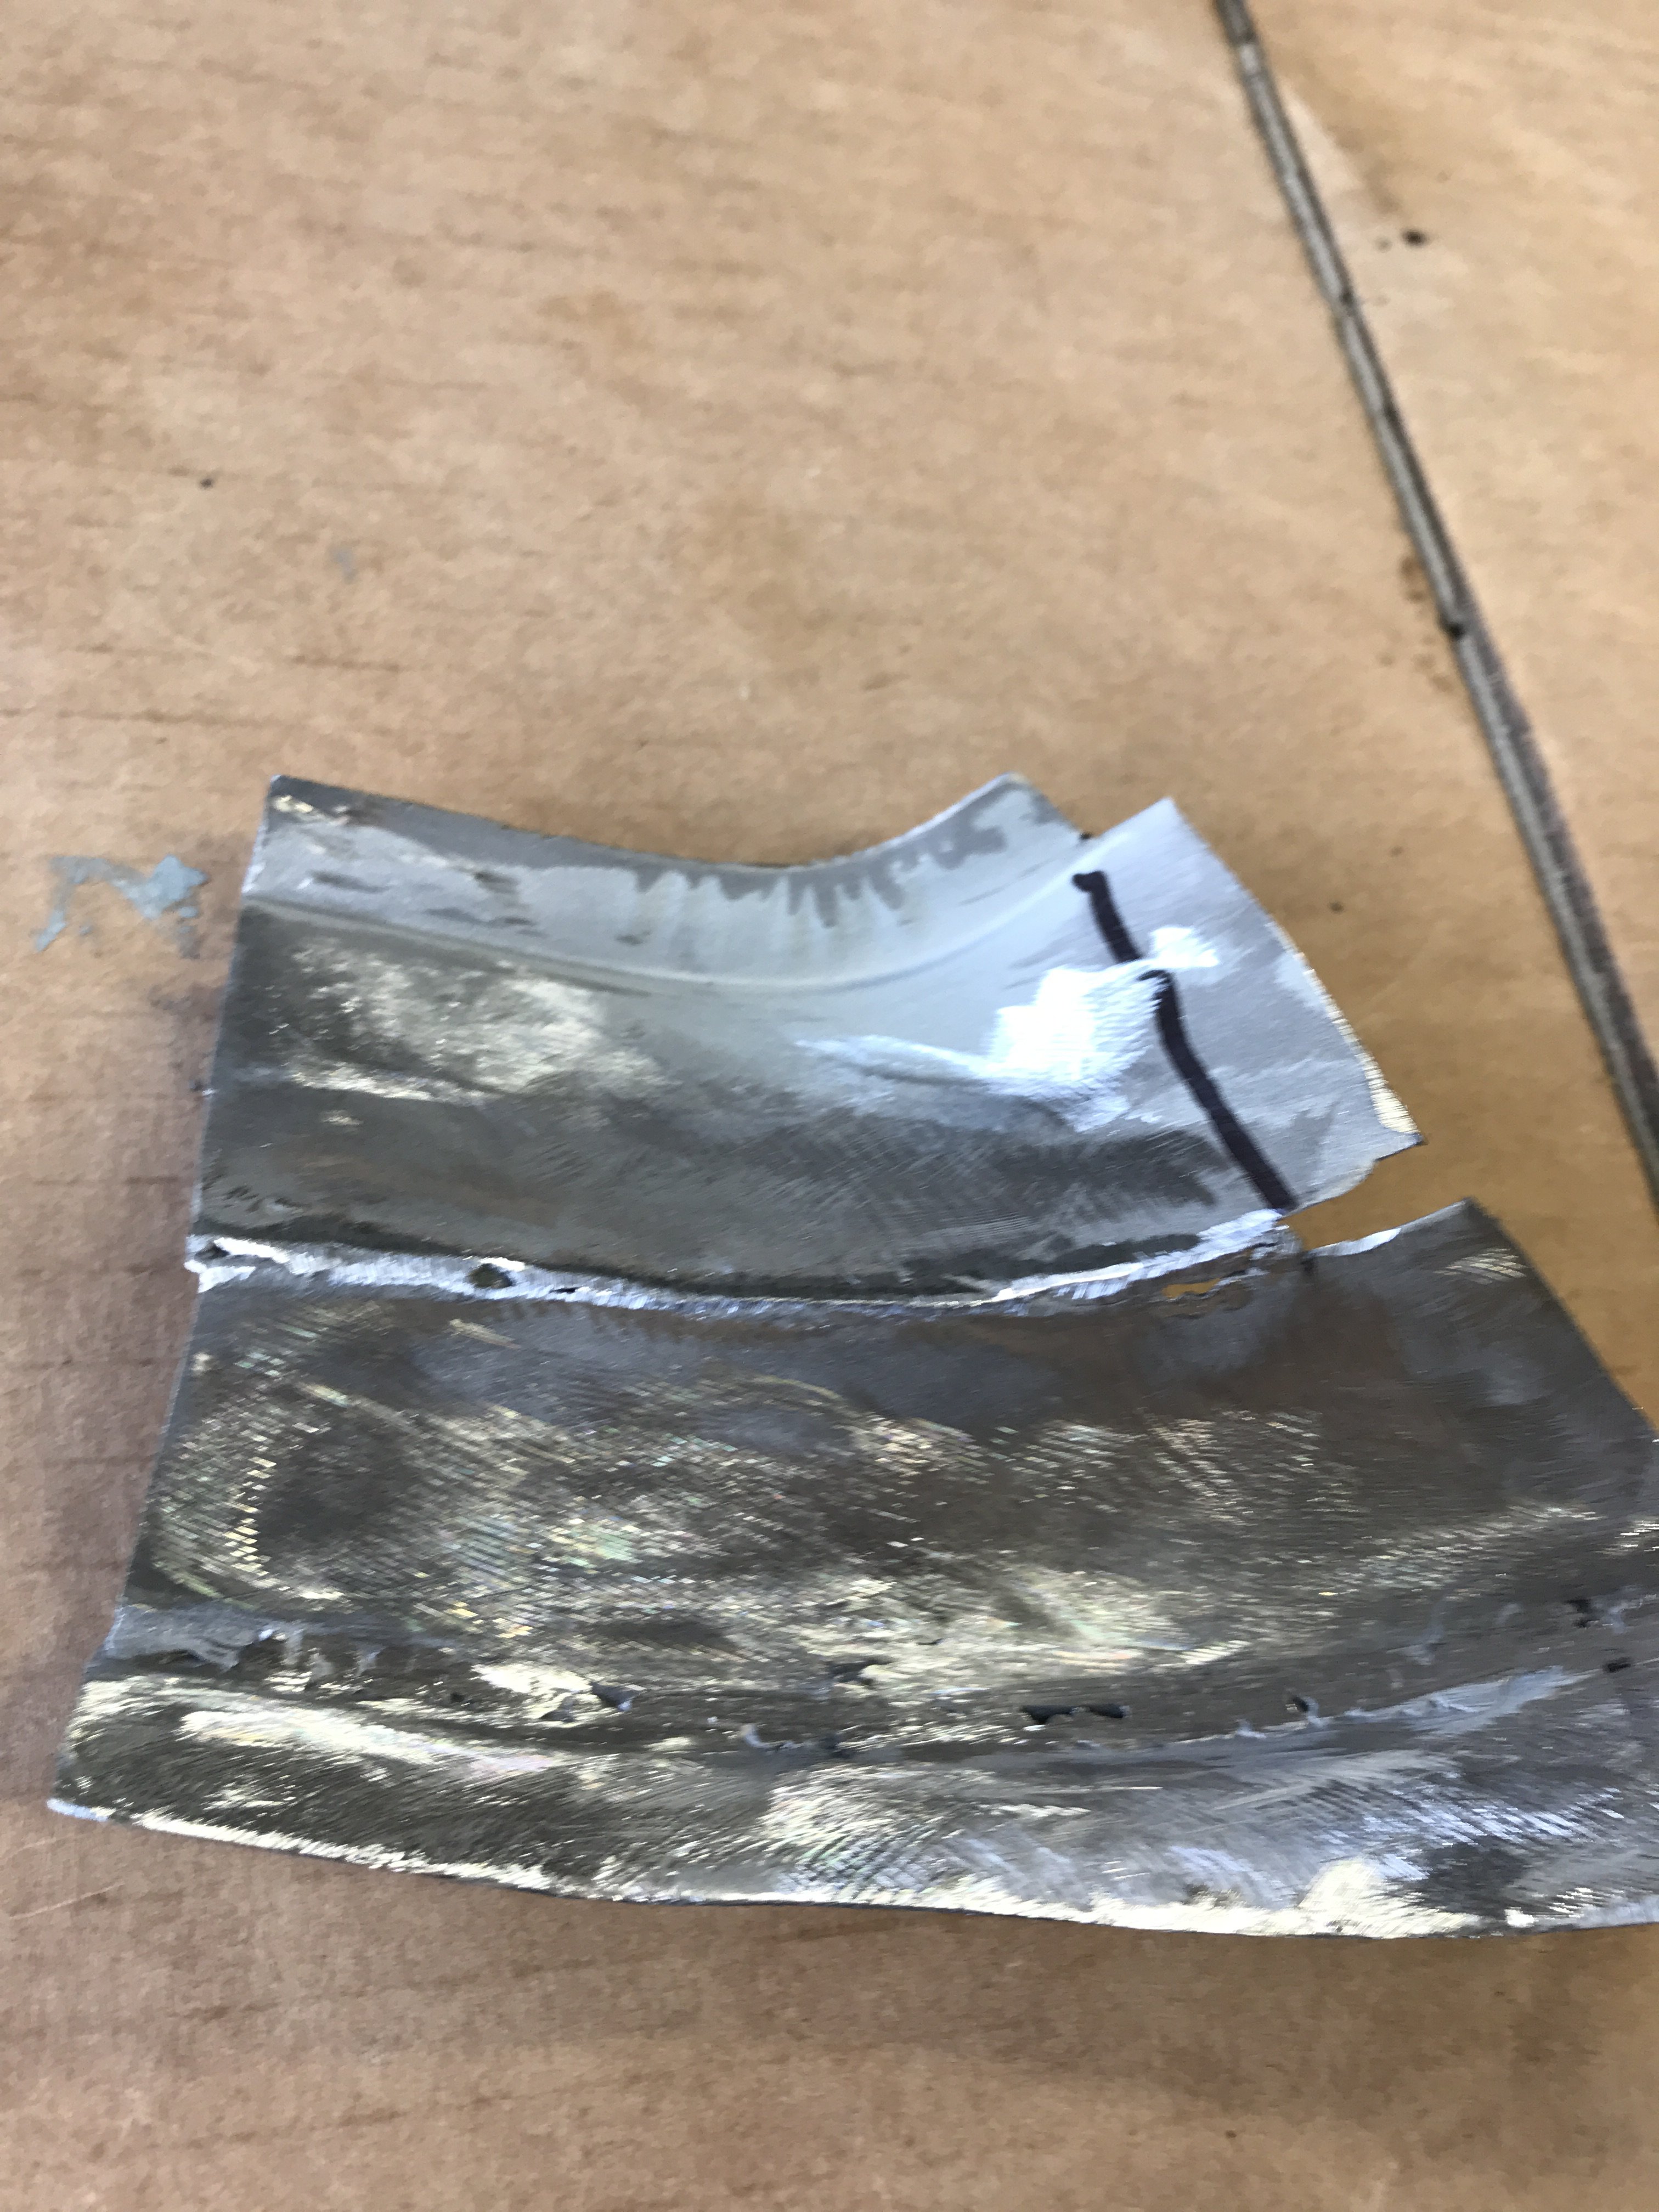
Right side dog leg section finished. I utilized a gas torch and butt welded the joints to provide a smoother finish.
Left lower section finished.
Still working on the horizontal panel between both quarter panels.
Also, repaired this hole by butt welding with gas torch with 1/16 steel rod.
Butt welding provides a finished surface requiring very little body filler. With a Tig welder, you can get away sometimes with no filler at all. But the patch must close fitting thus time consuming.
-
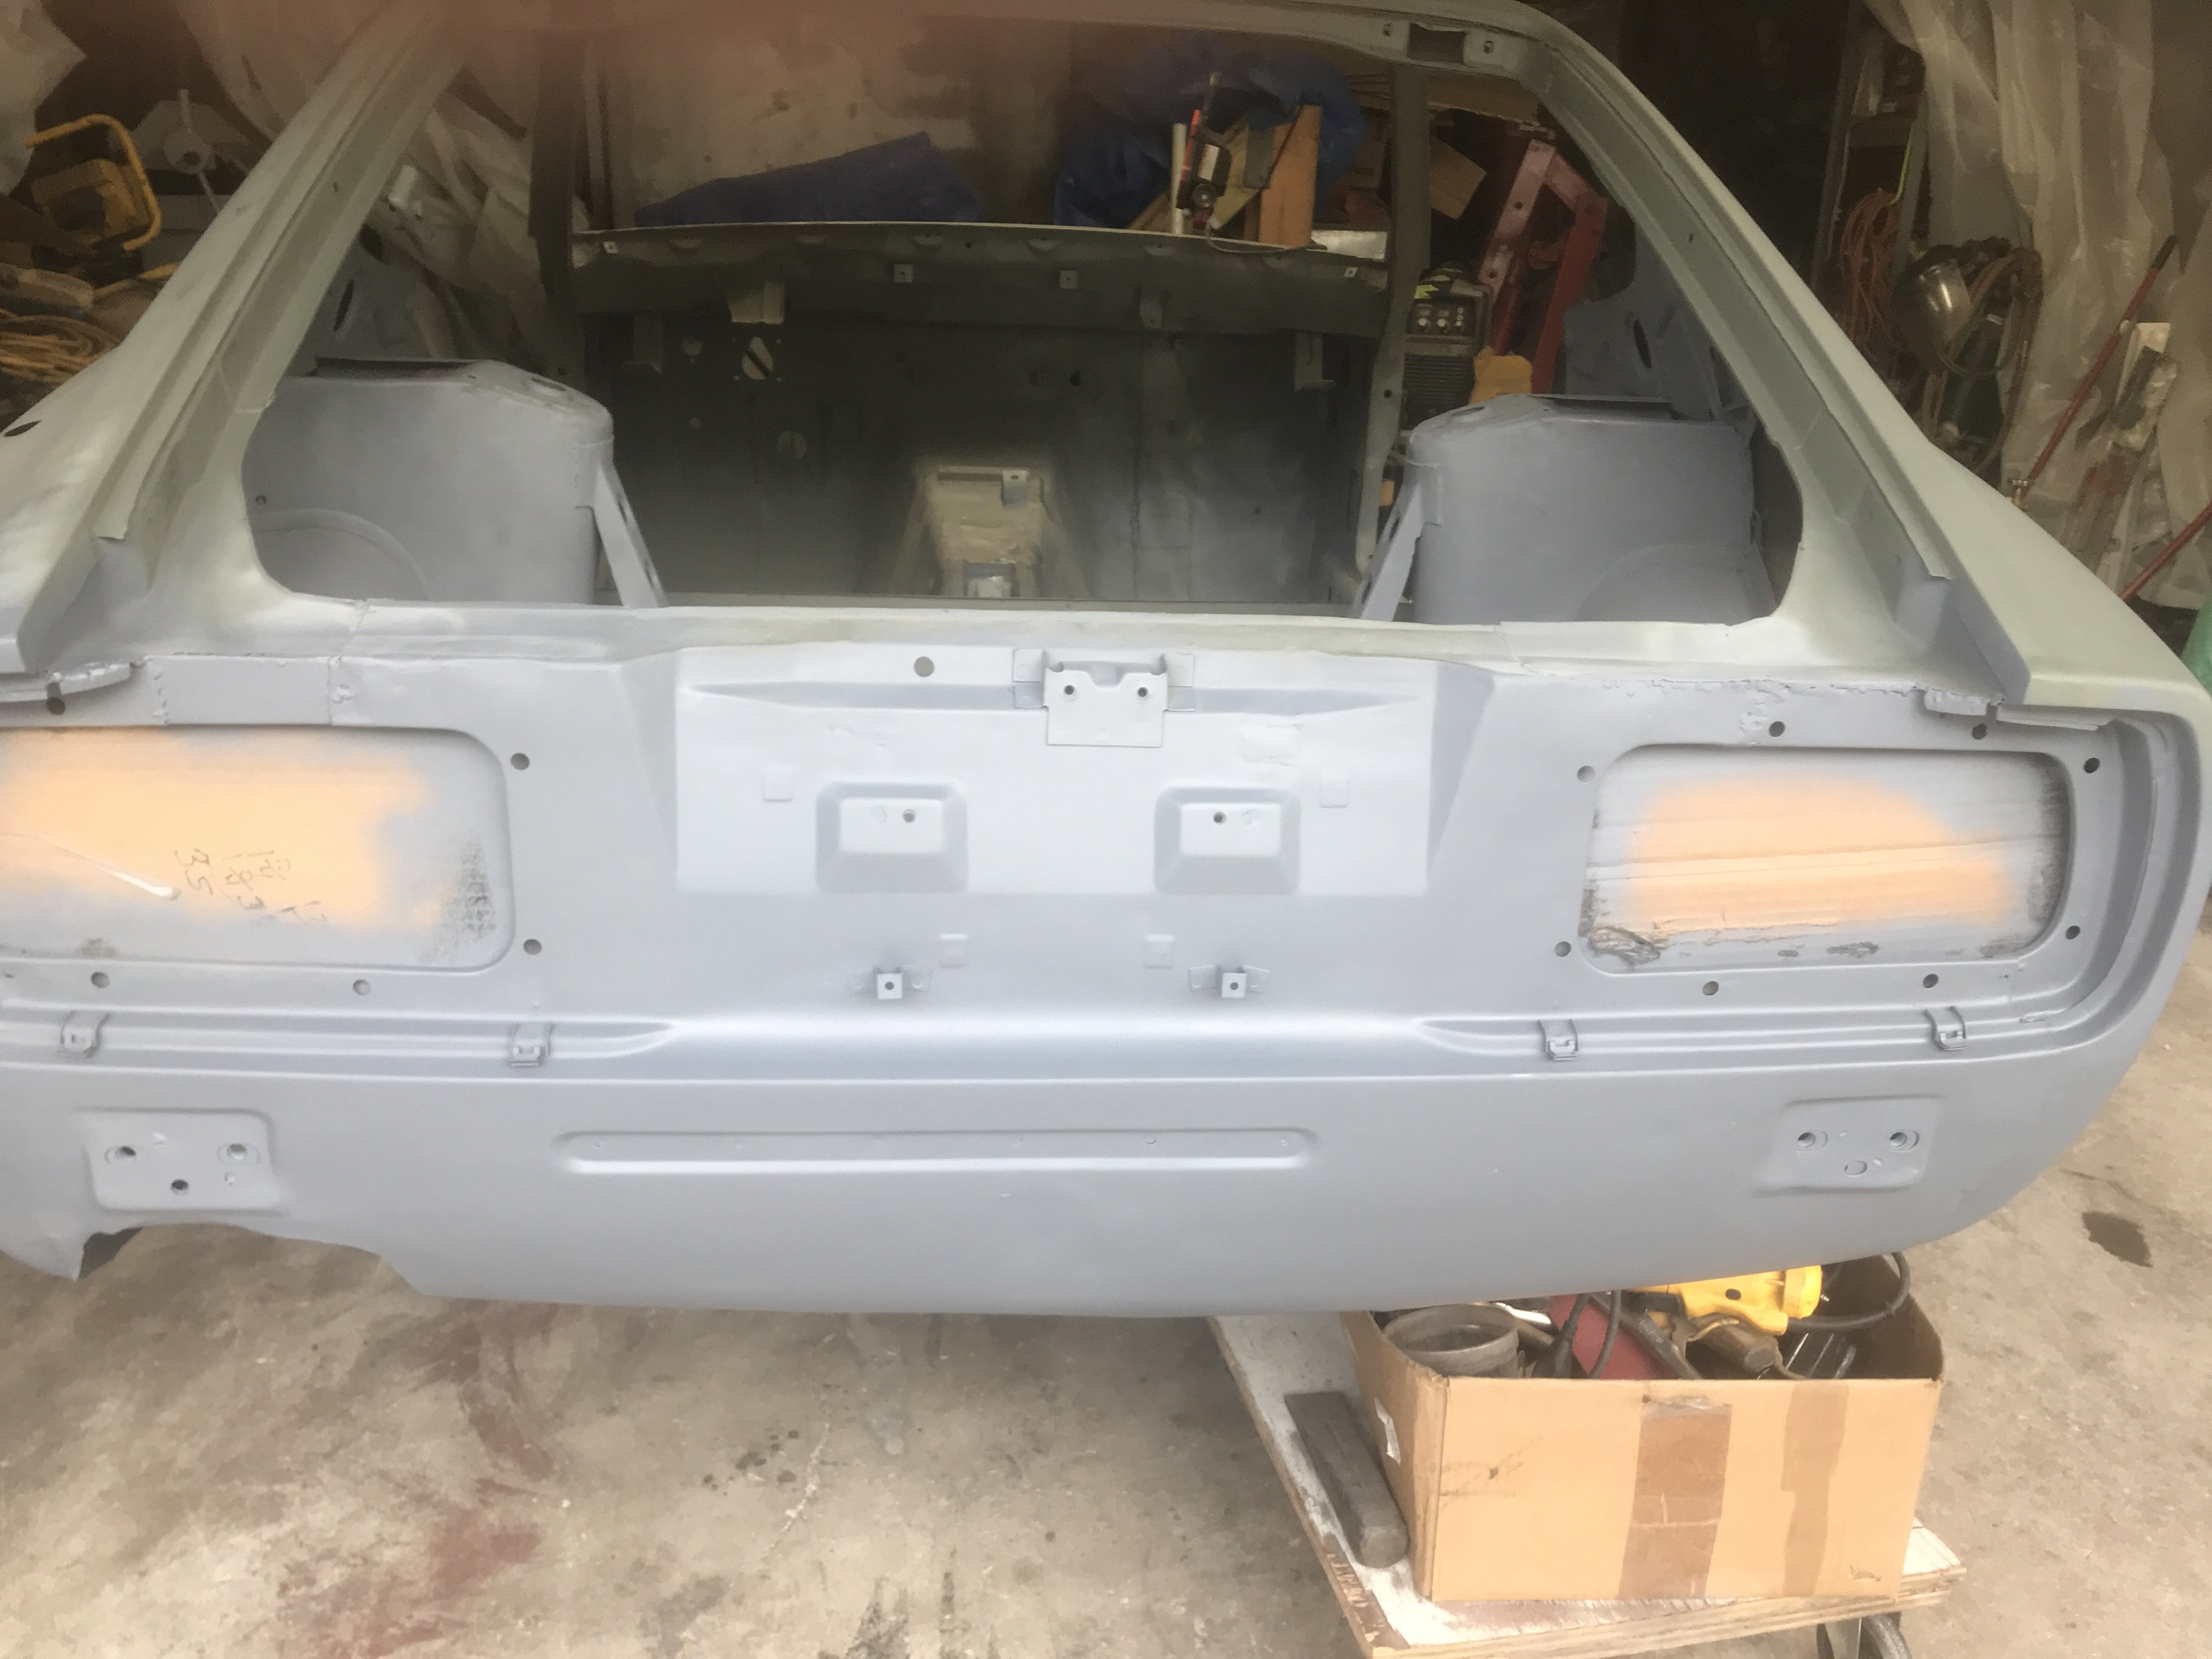
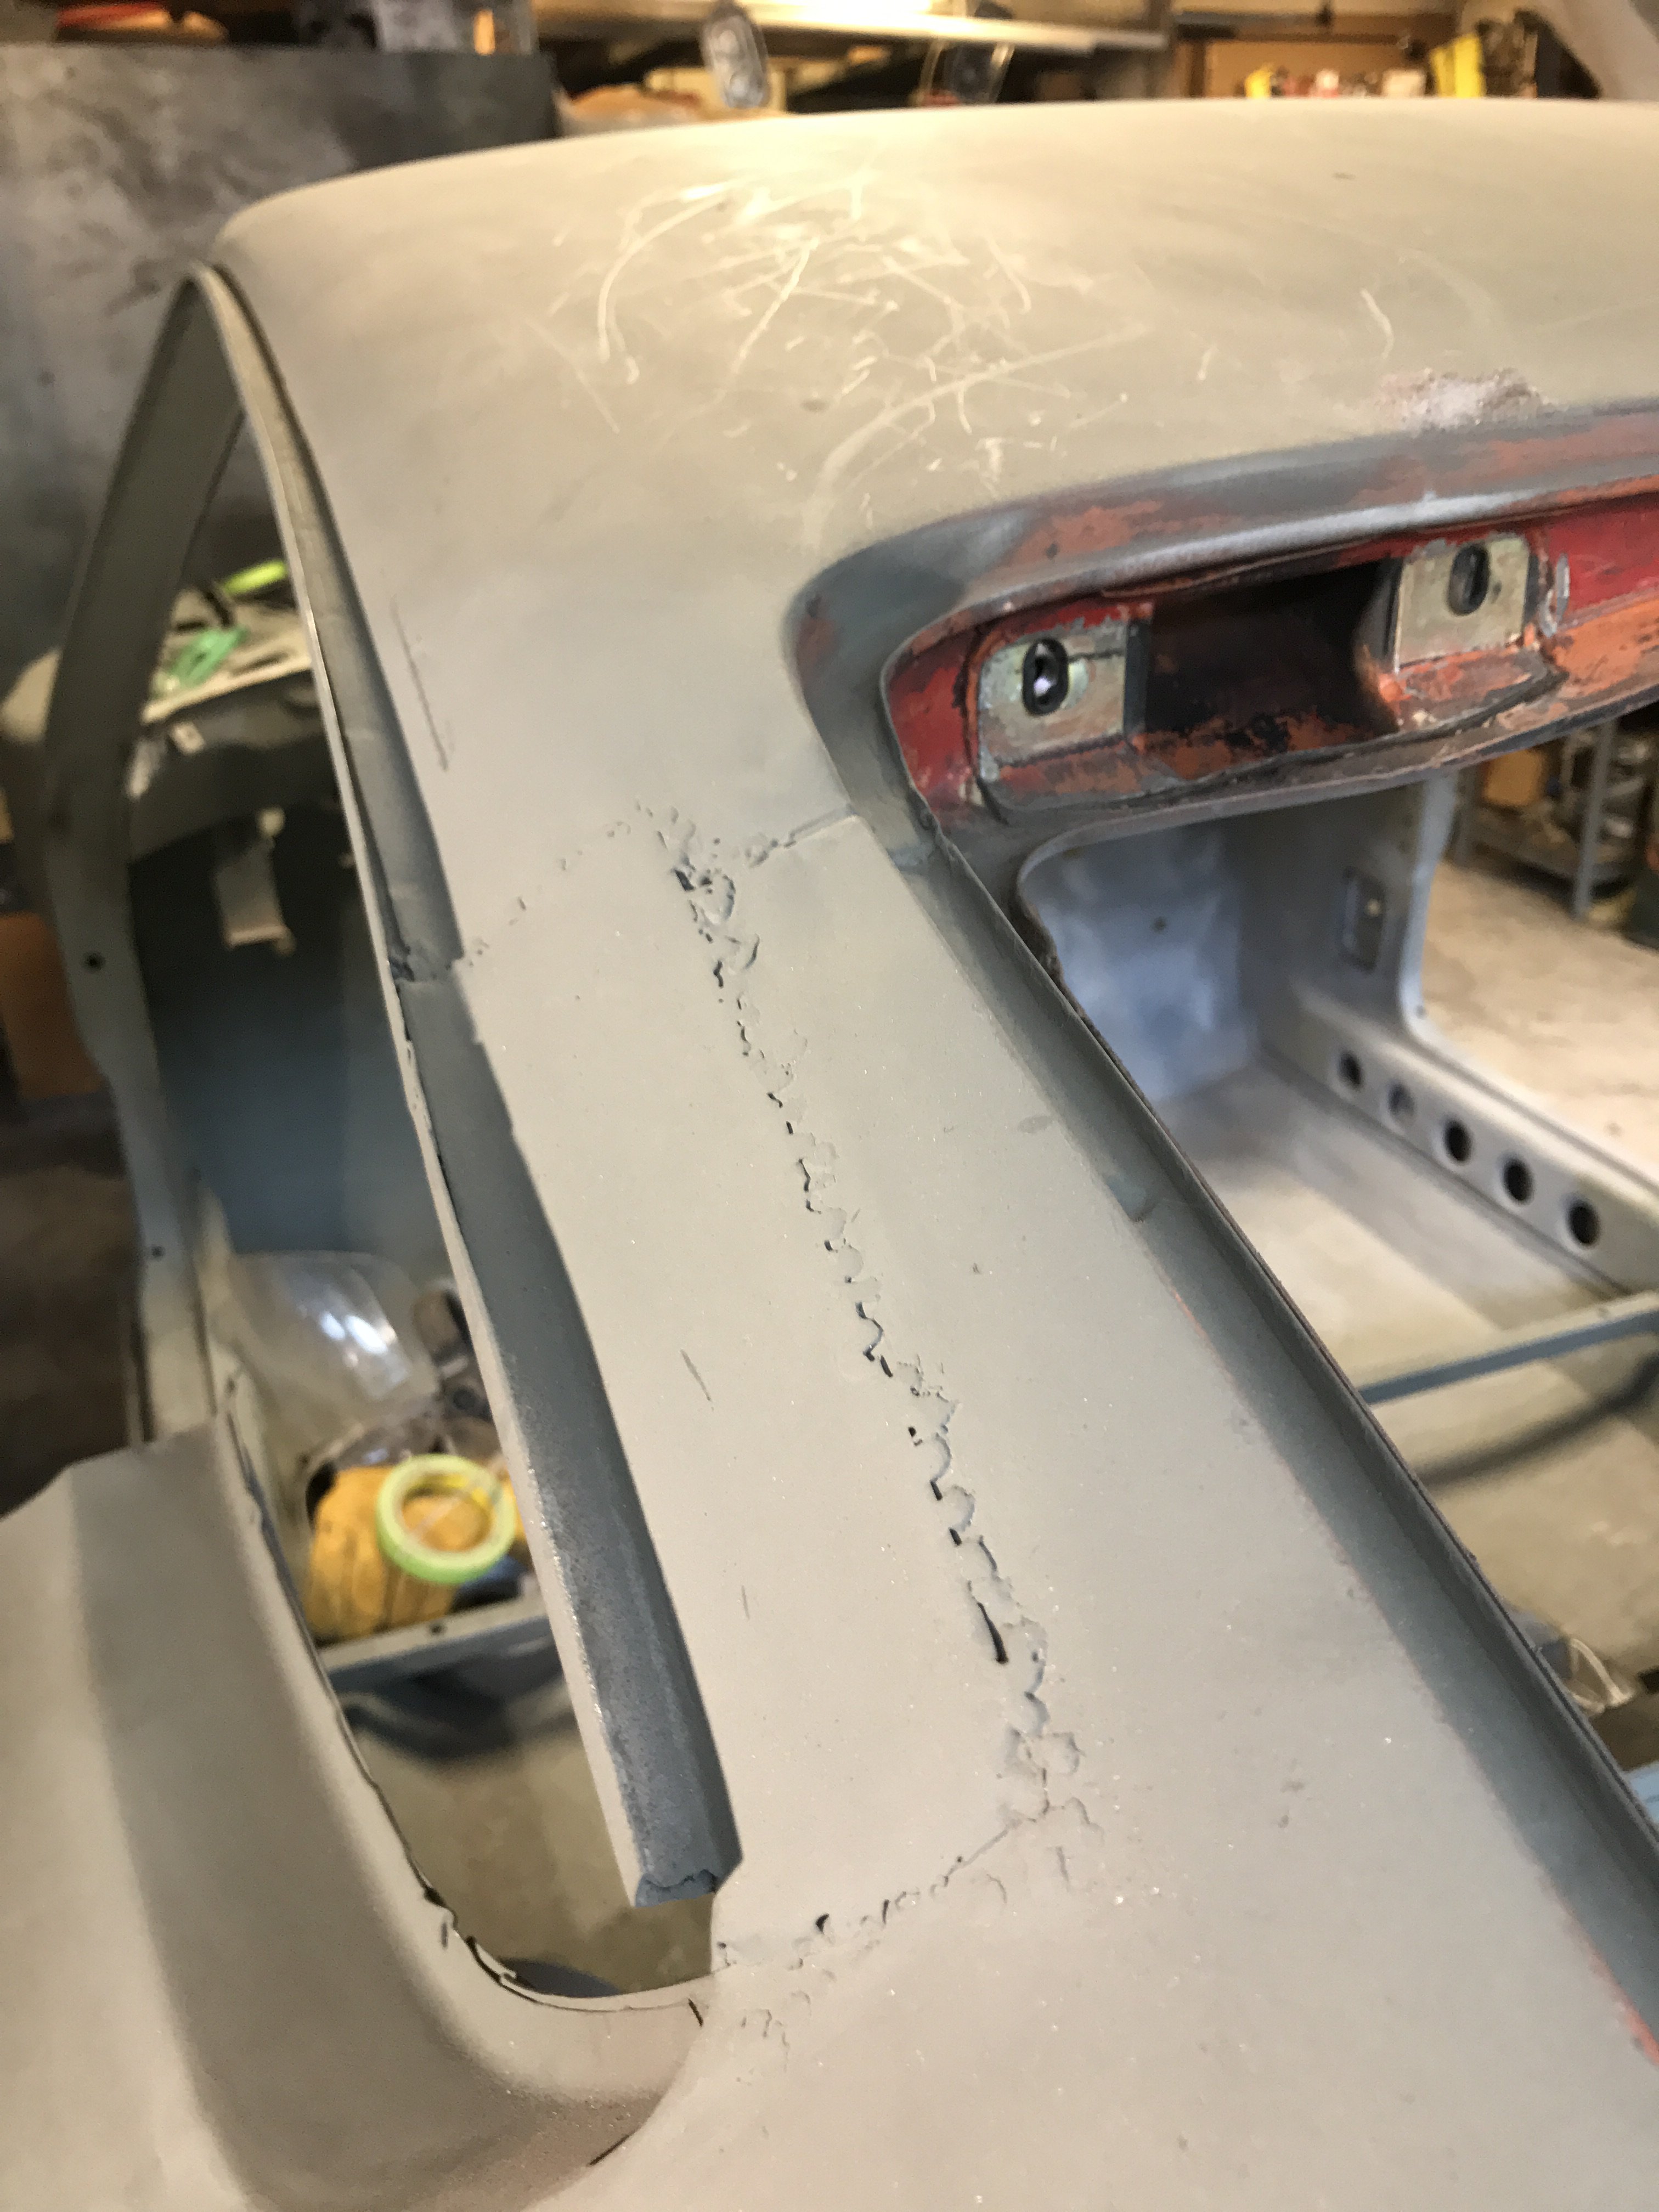
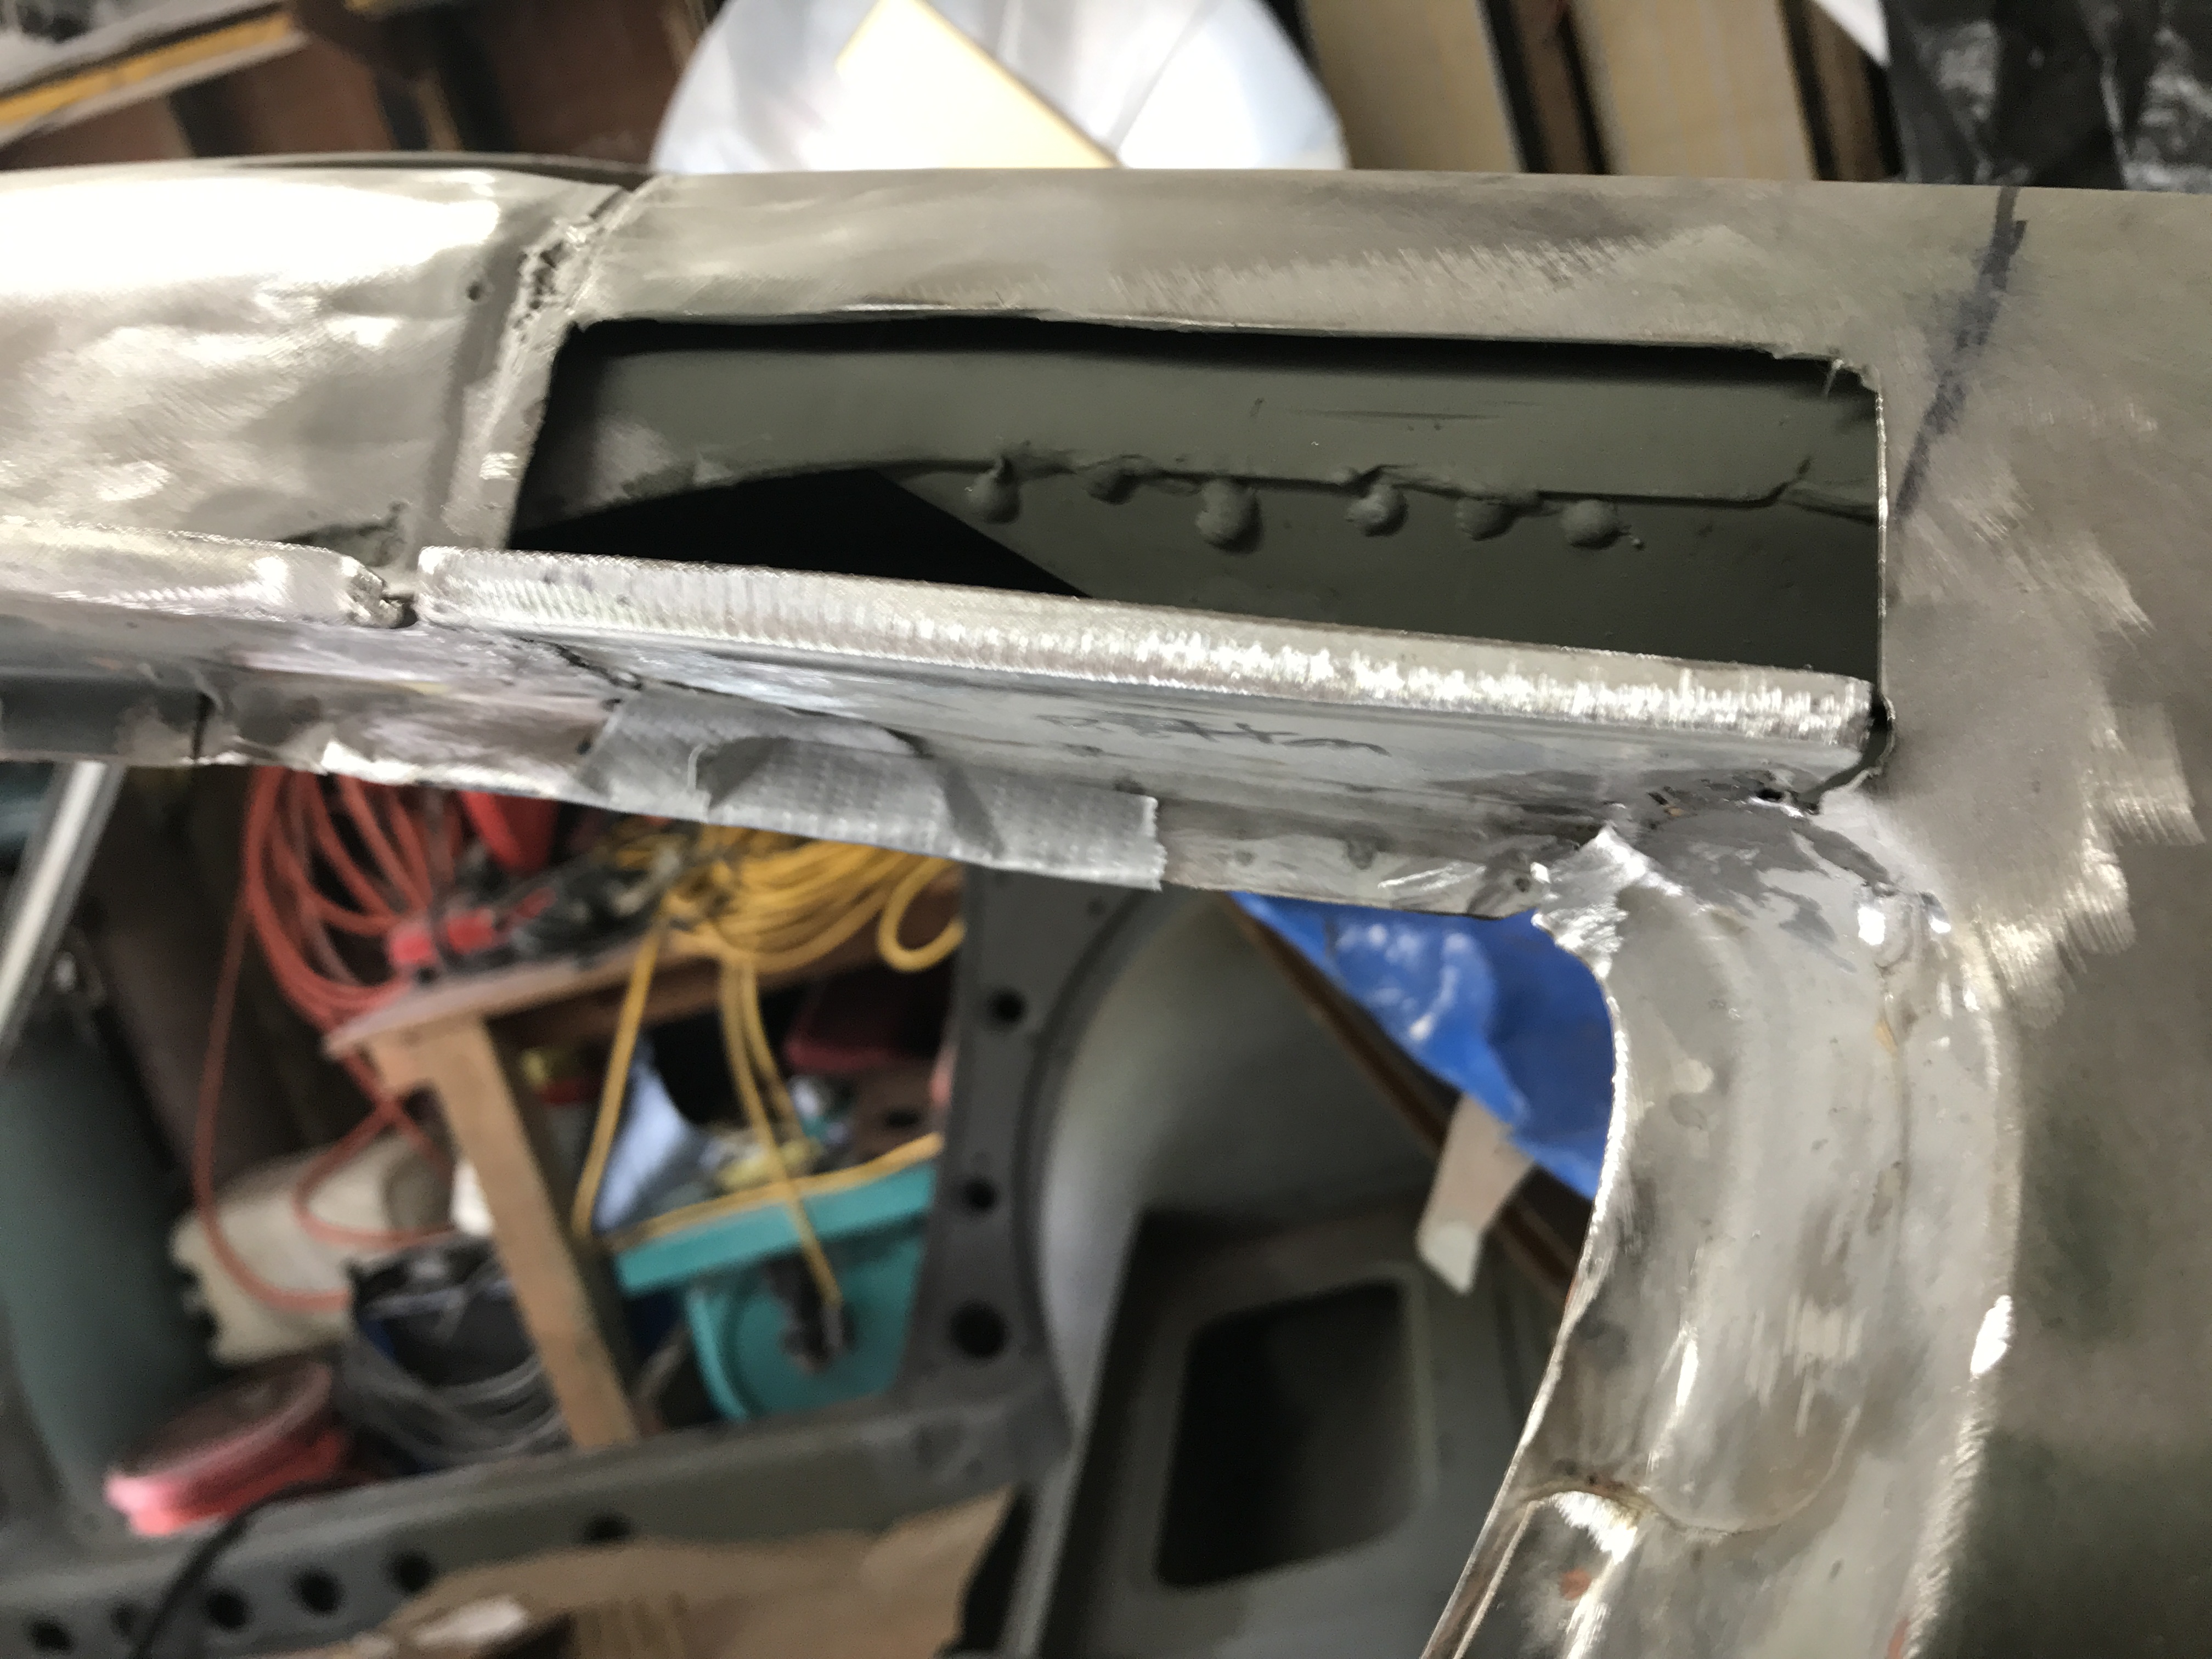
The next corrosion target was the rear hatch upper panel.
Not a pretty sight. This is a common corrosion area for the 240Z. Left side view
Right side view
overall view of rear hatch upper panel
Looks like I will be very busy this weekend!!
-
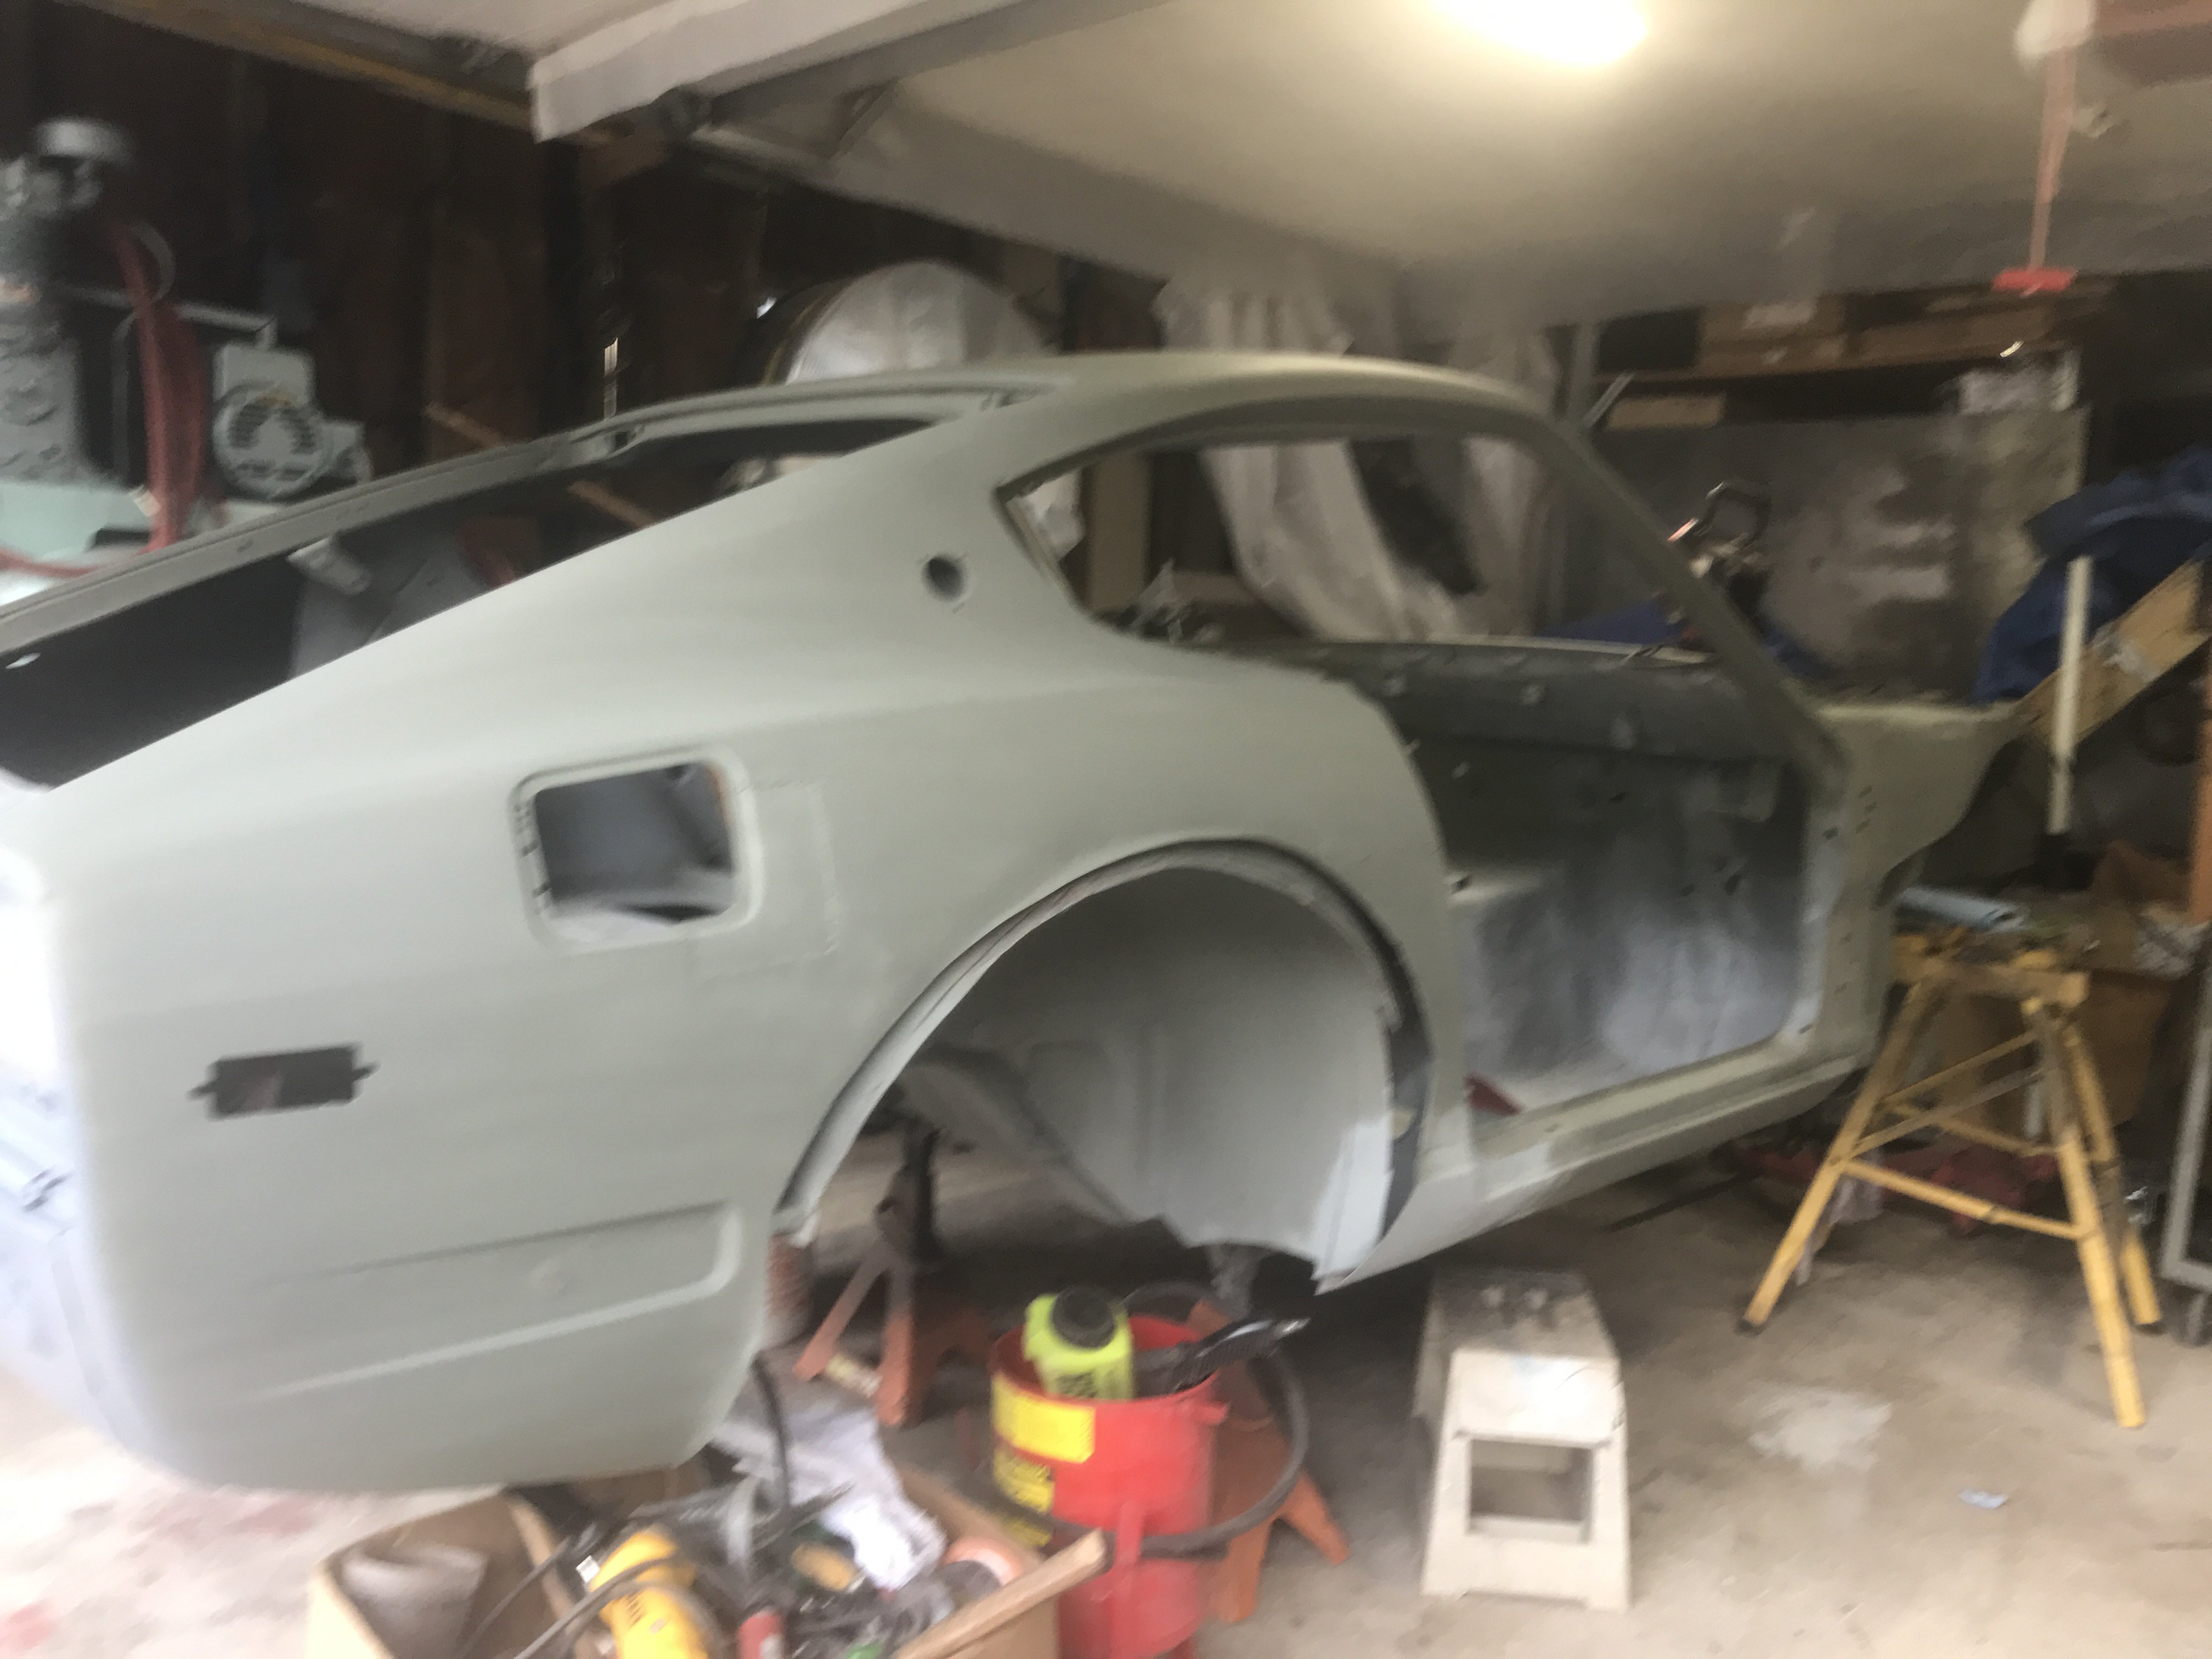
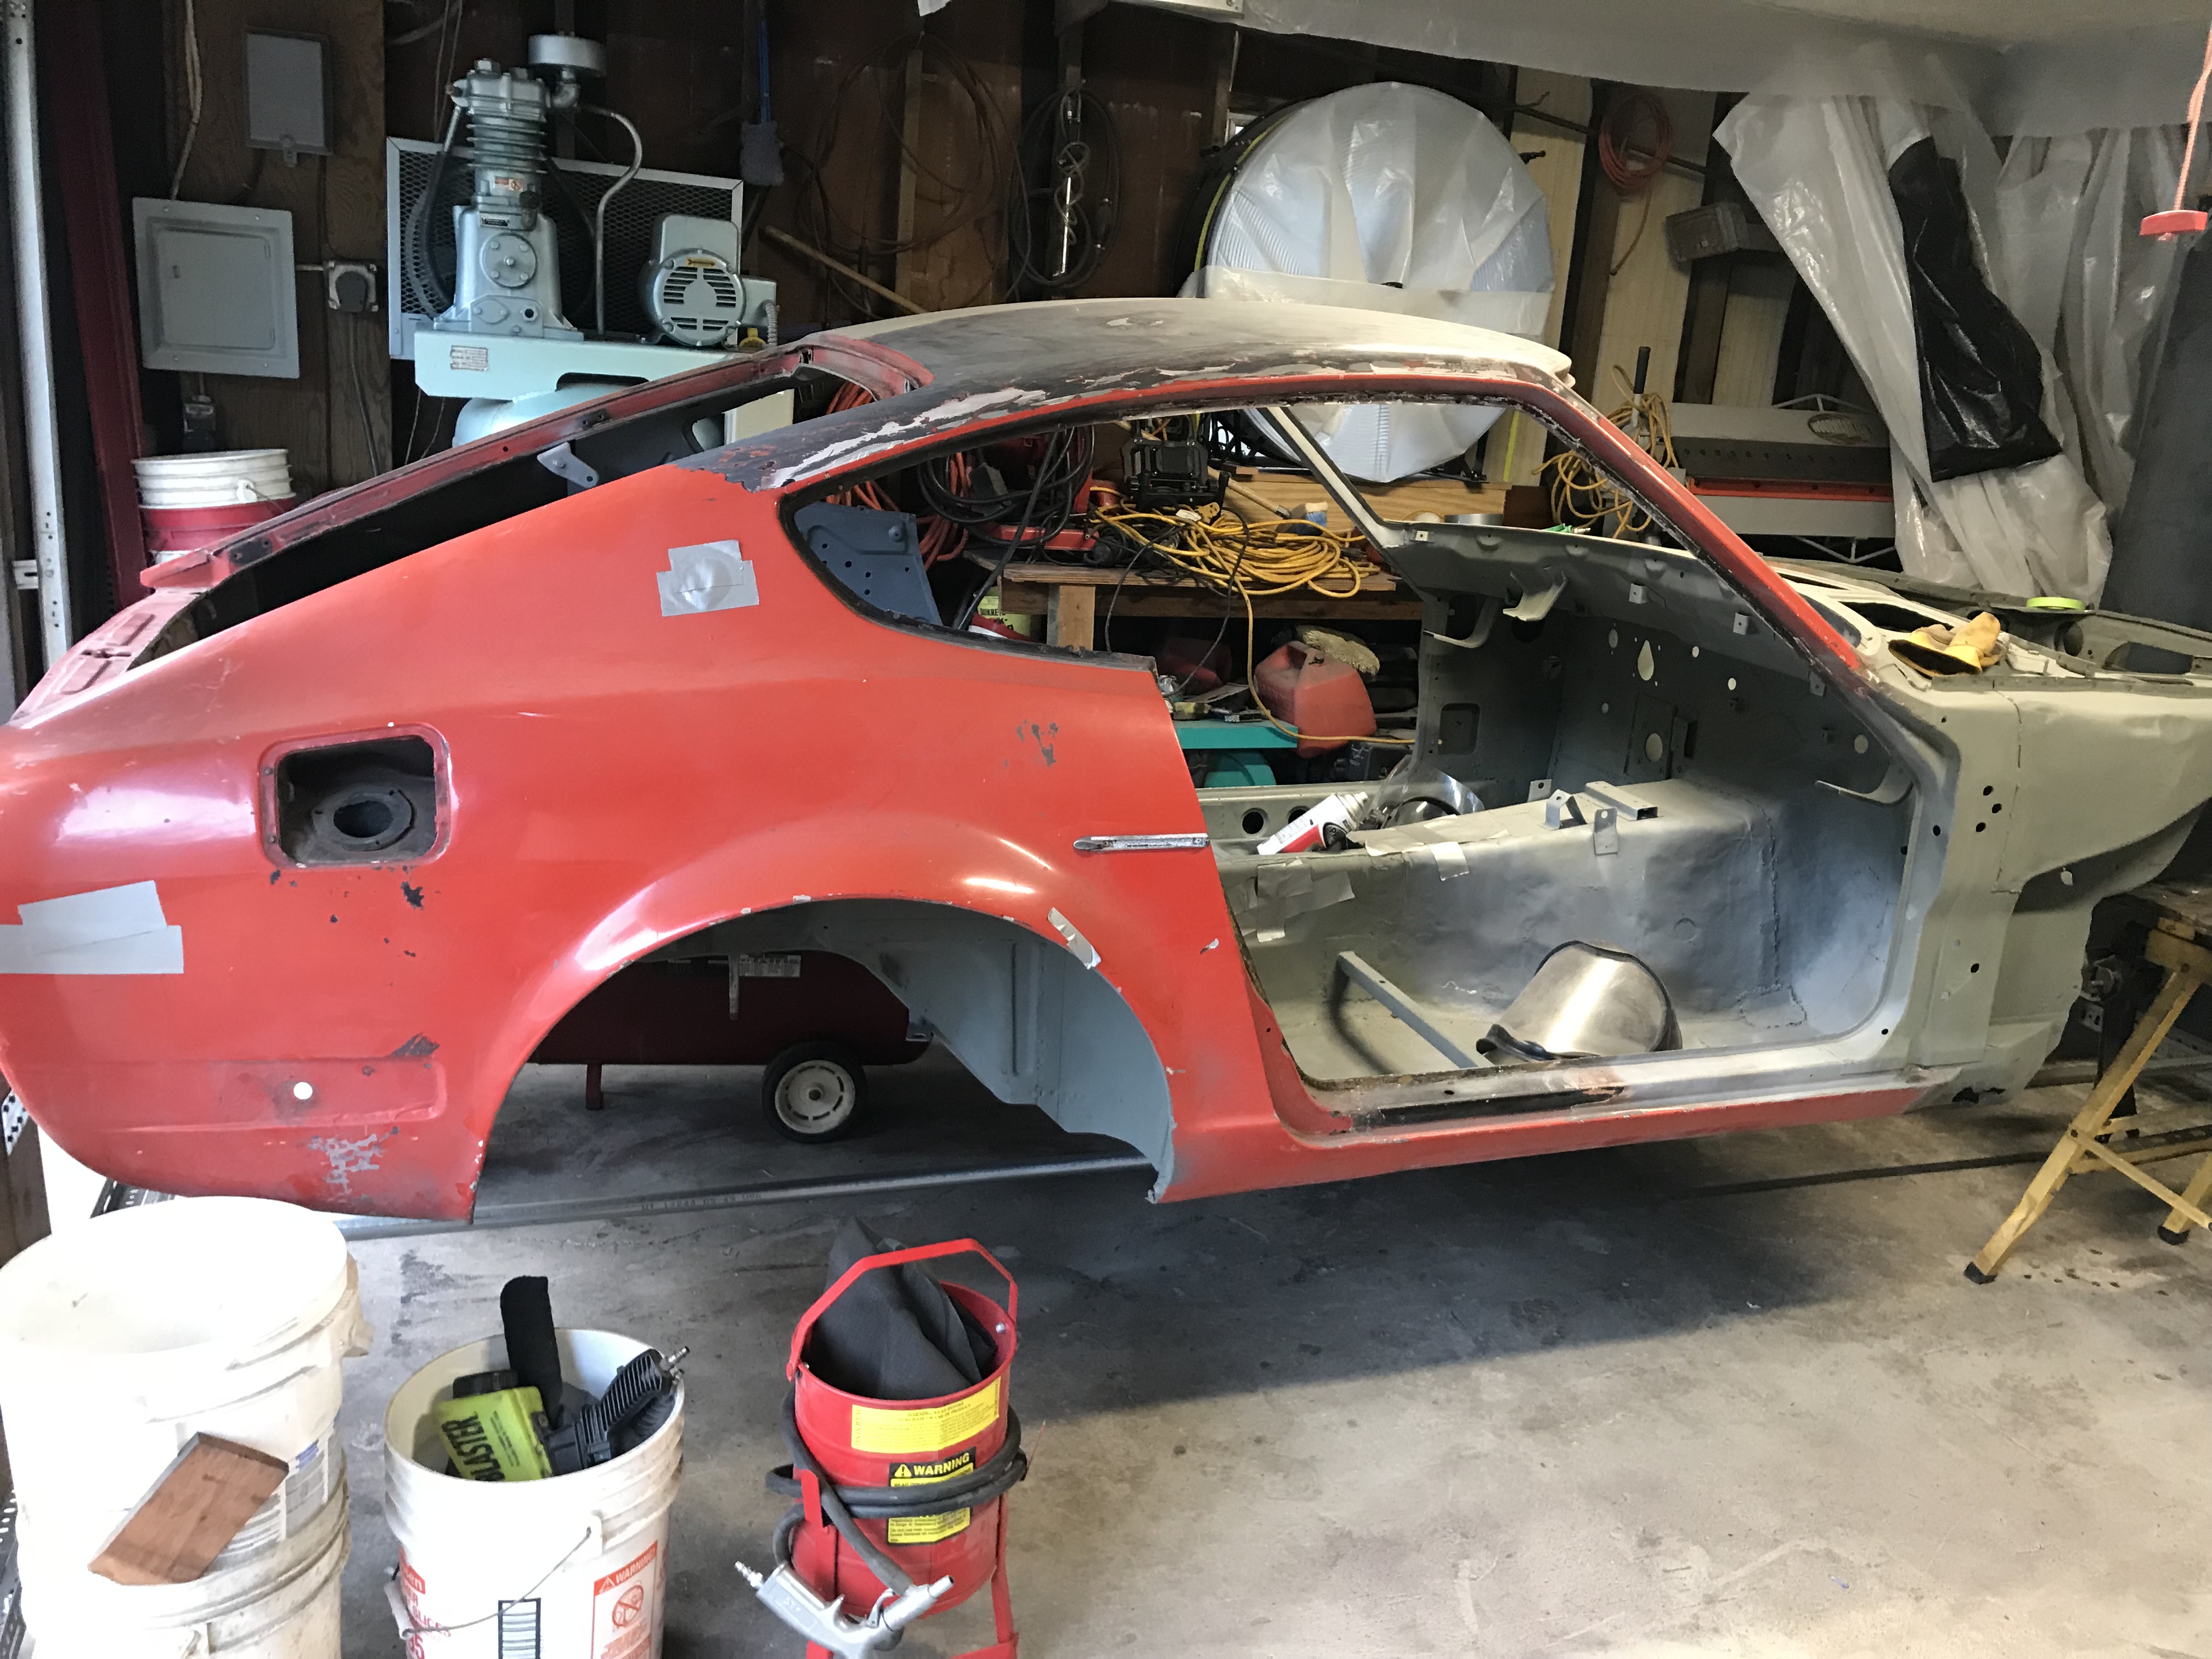
Today was the first day that my Z was turned around in the garage. It has been over 1 year since the restoration started. During that time,
I was looking for another 240z or even a parts car. Because of our high humidity and being surrounded by saltwater, the 240Zs that I looked at
were real "rust buckets". Only consolation that I have is that nobody here (that I know of) has went through such a complete restoration.
The Z finally turned around in my garage.
Only the right side of roof, rear panel and right quarter left to strip the paint off.
Managed to finished the upper left quarter panel patch.
The dip rail was made of 20 gauge metal. urethane seam seal will seal the drip rail after epoxy priming the whole car.
Bottom view of patch
Interior view of patch
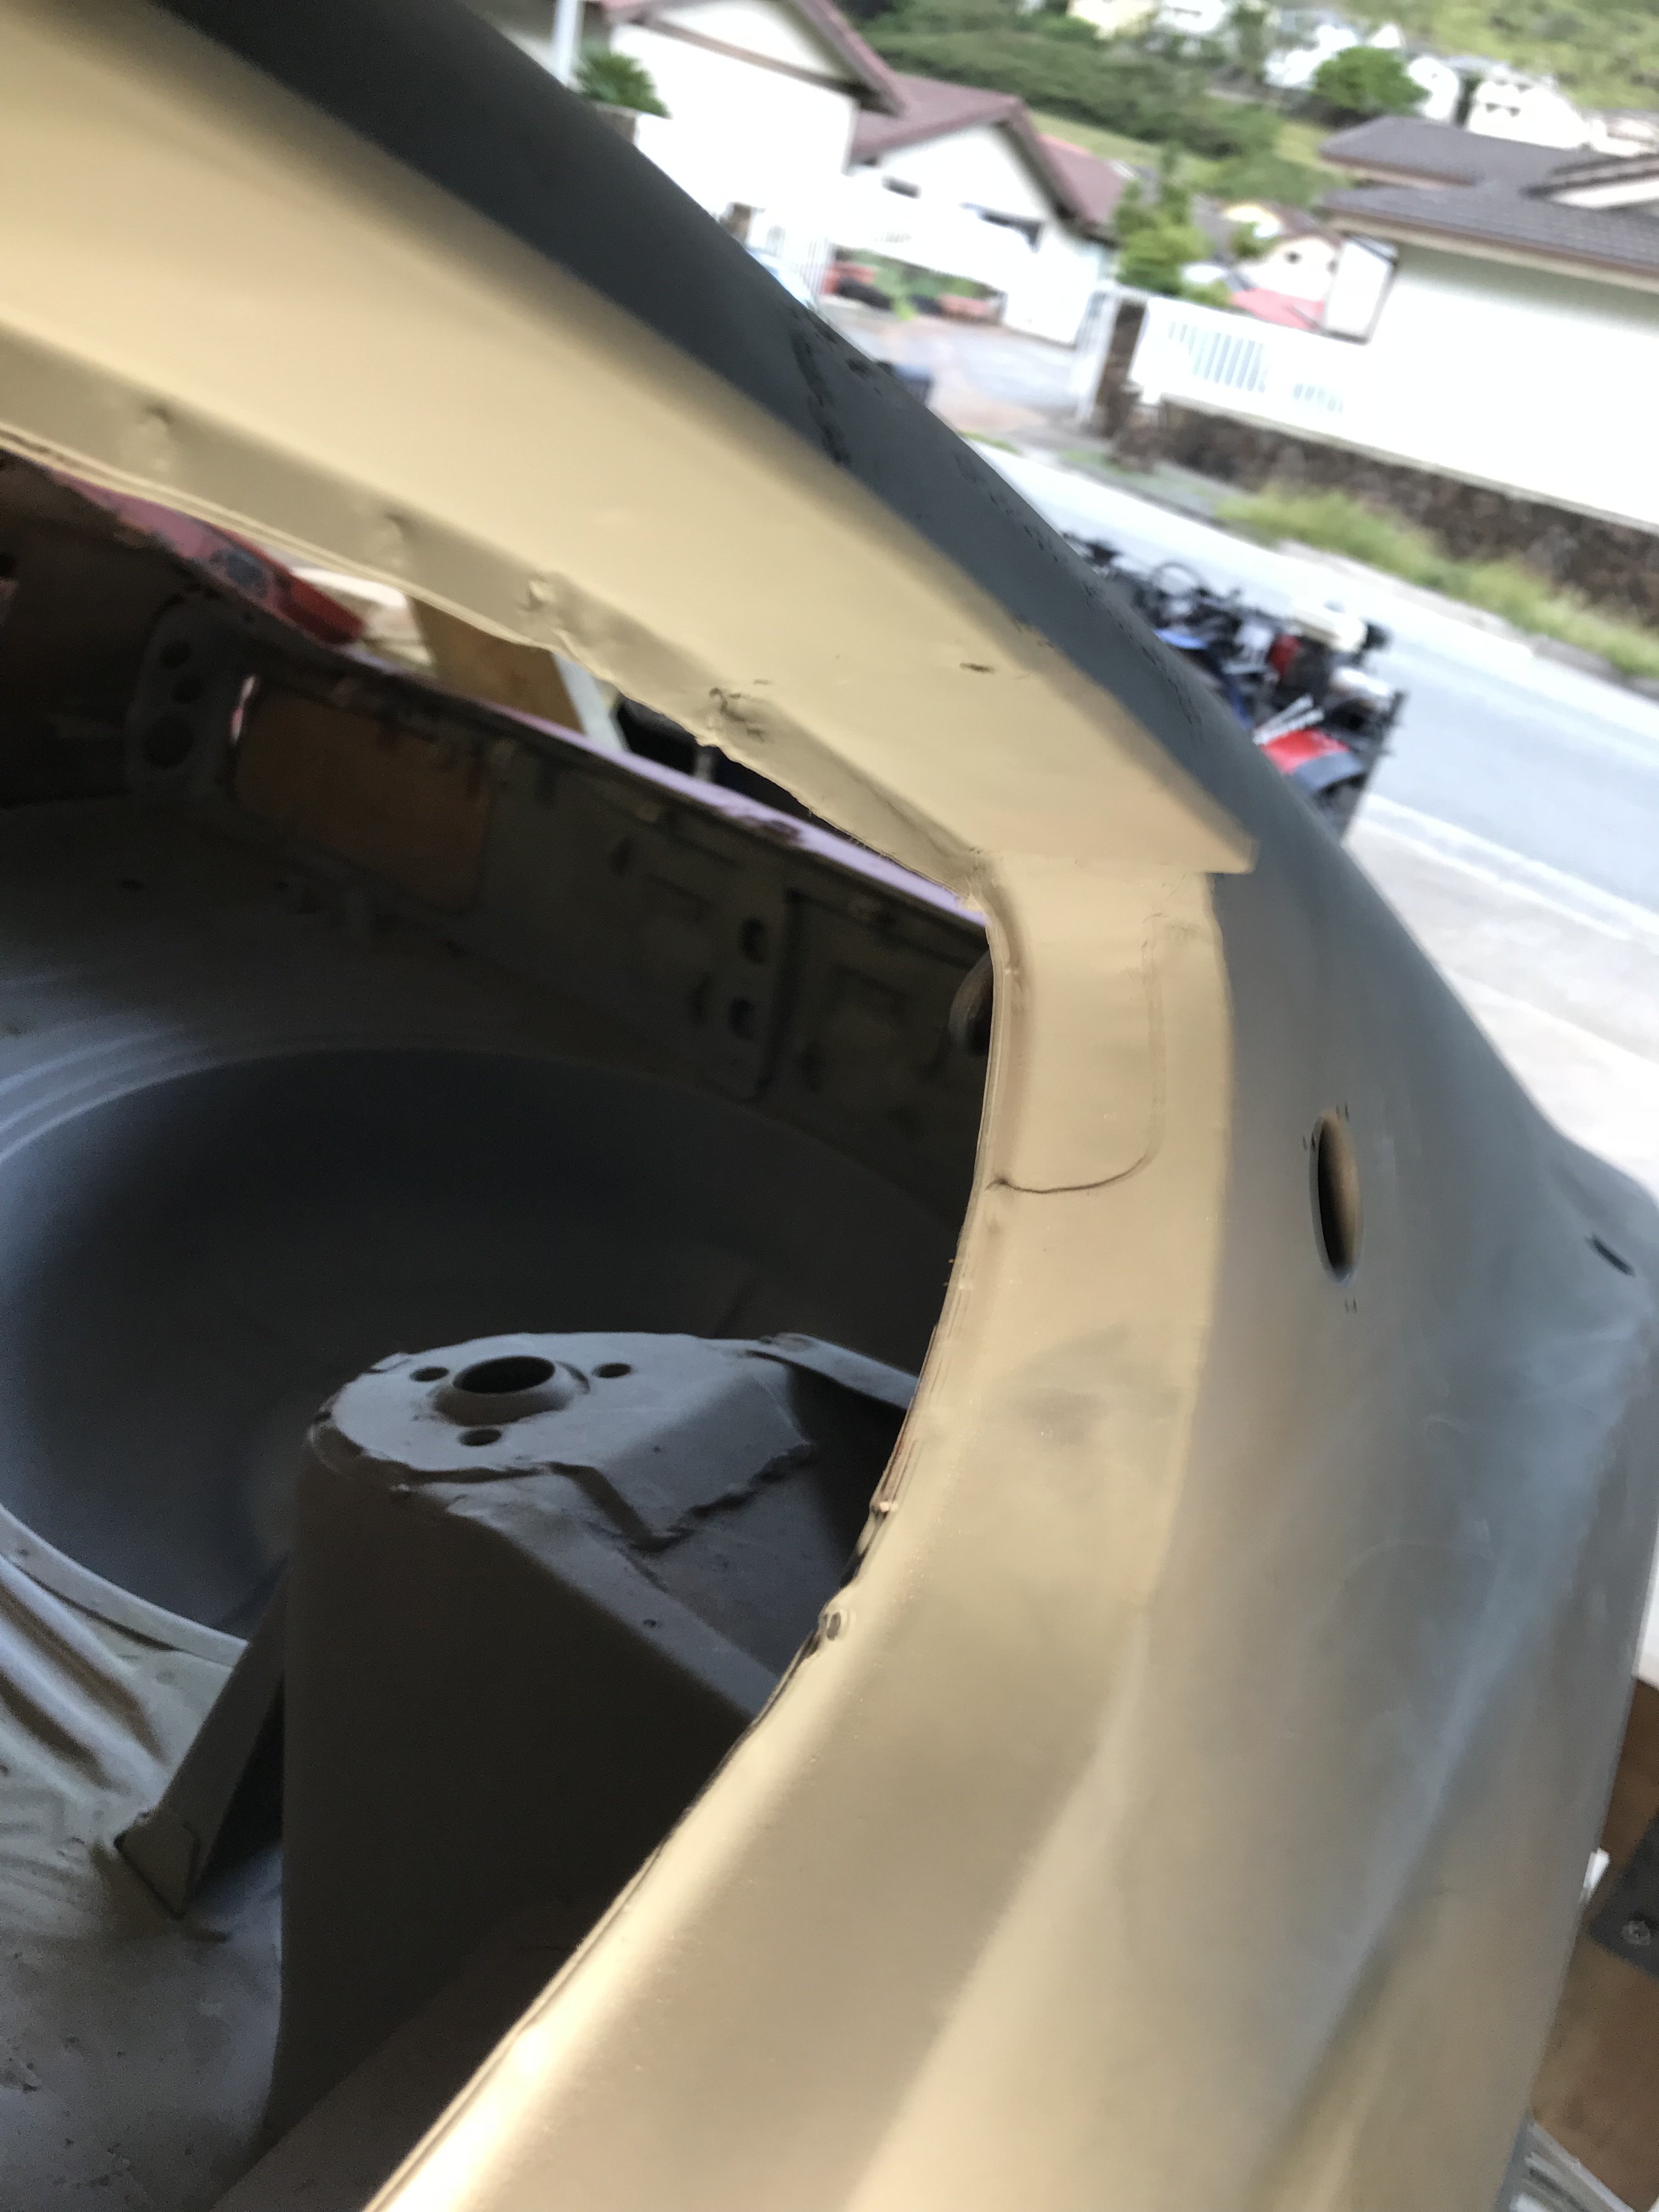
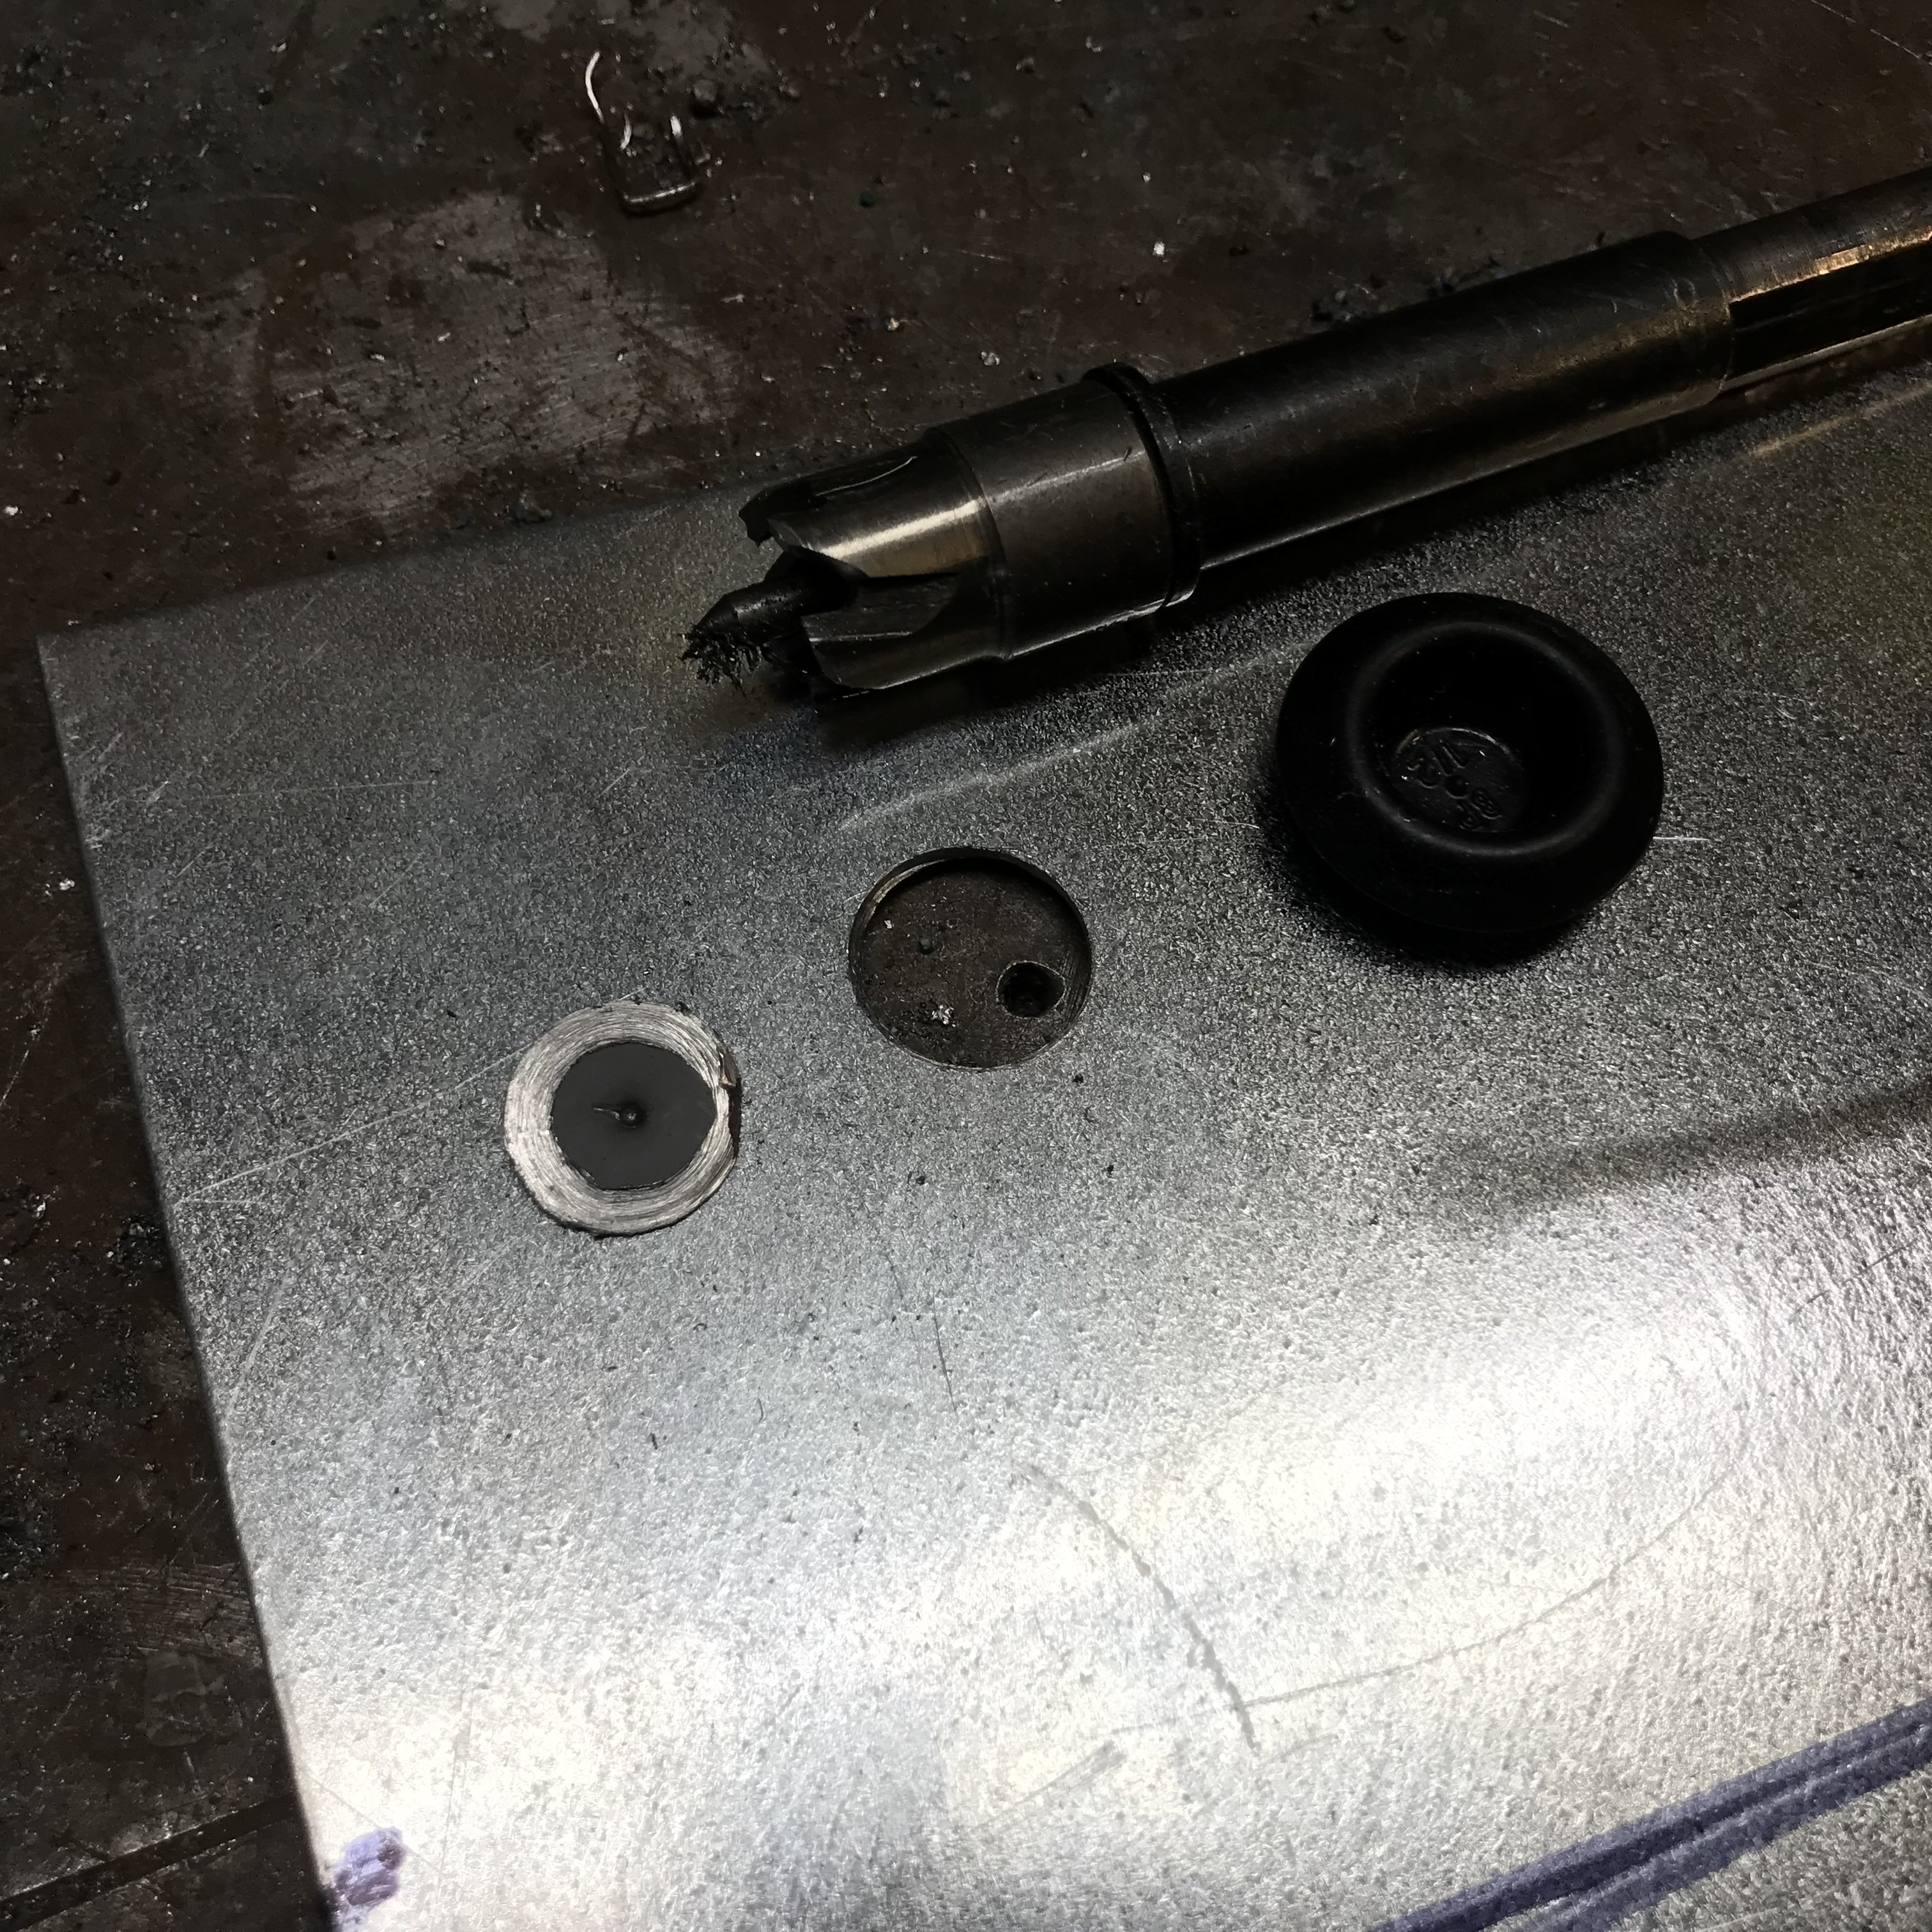
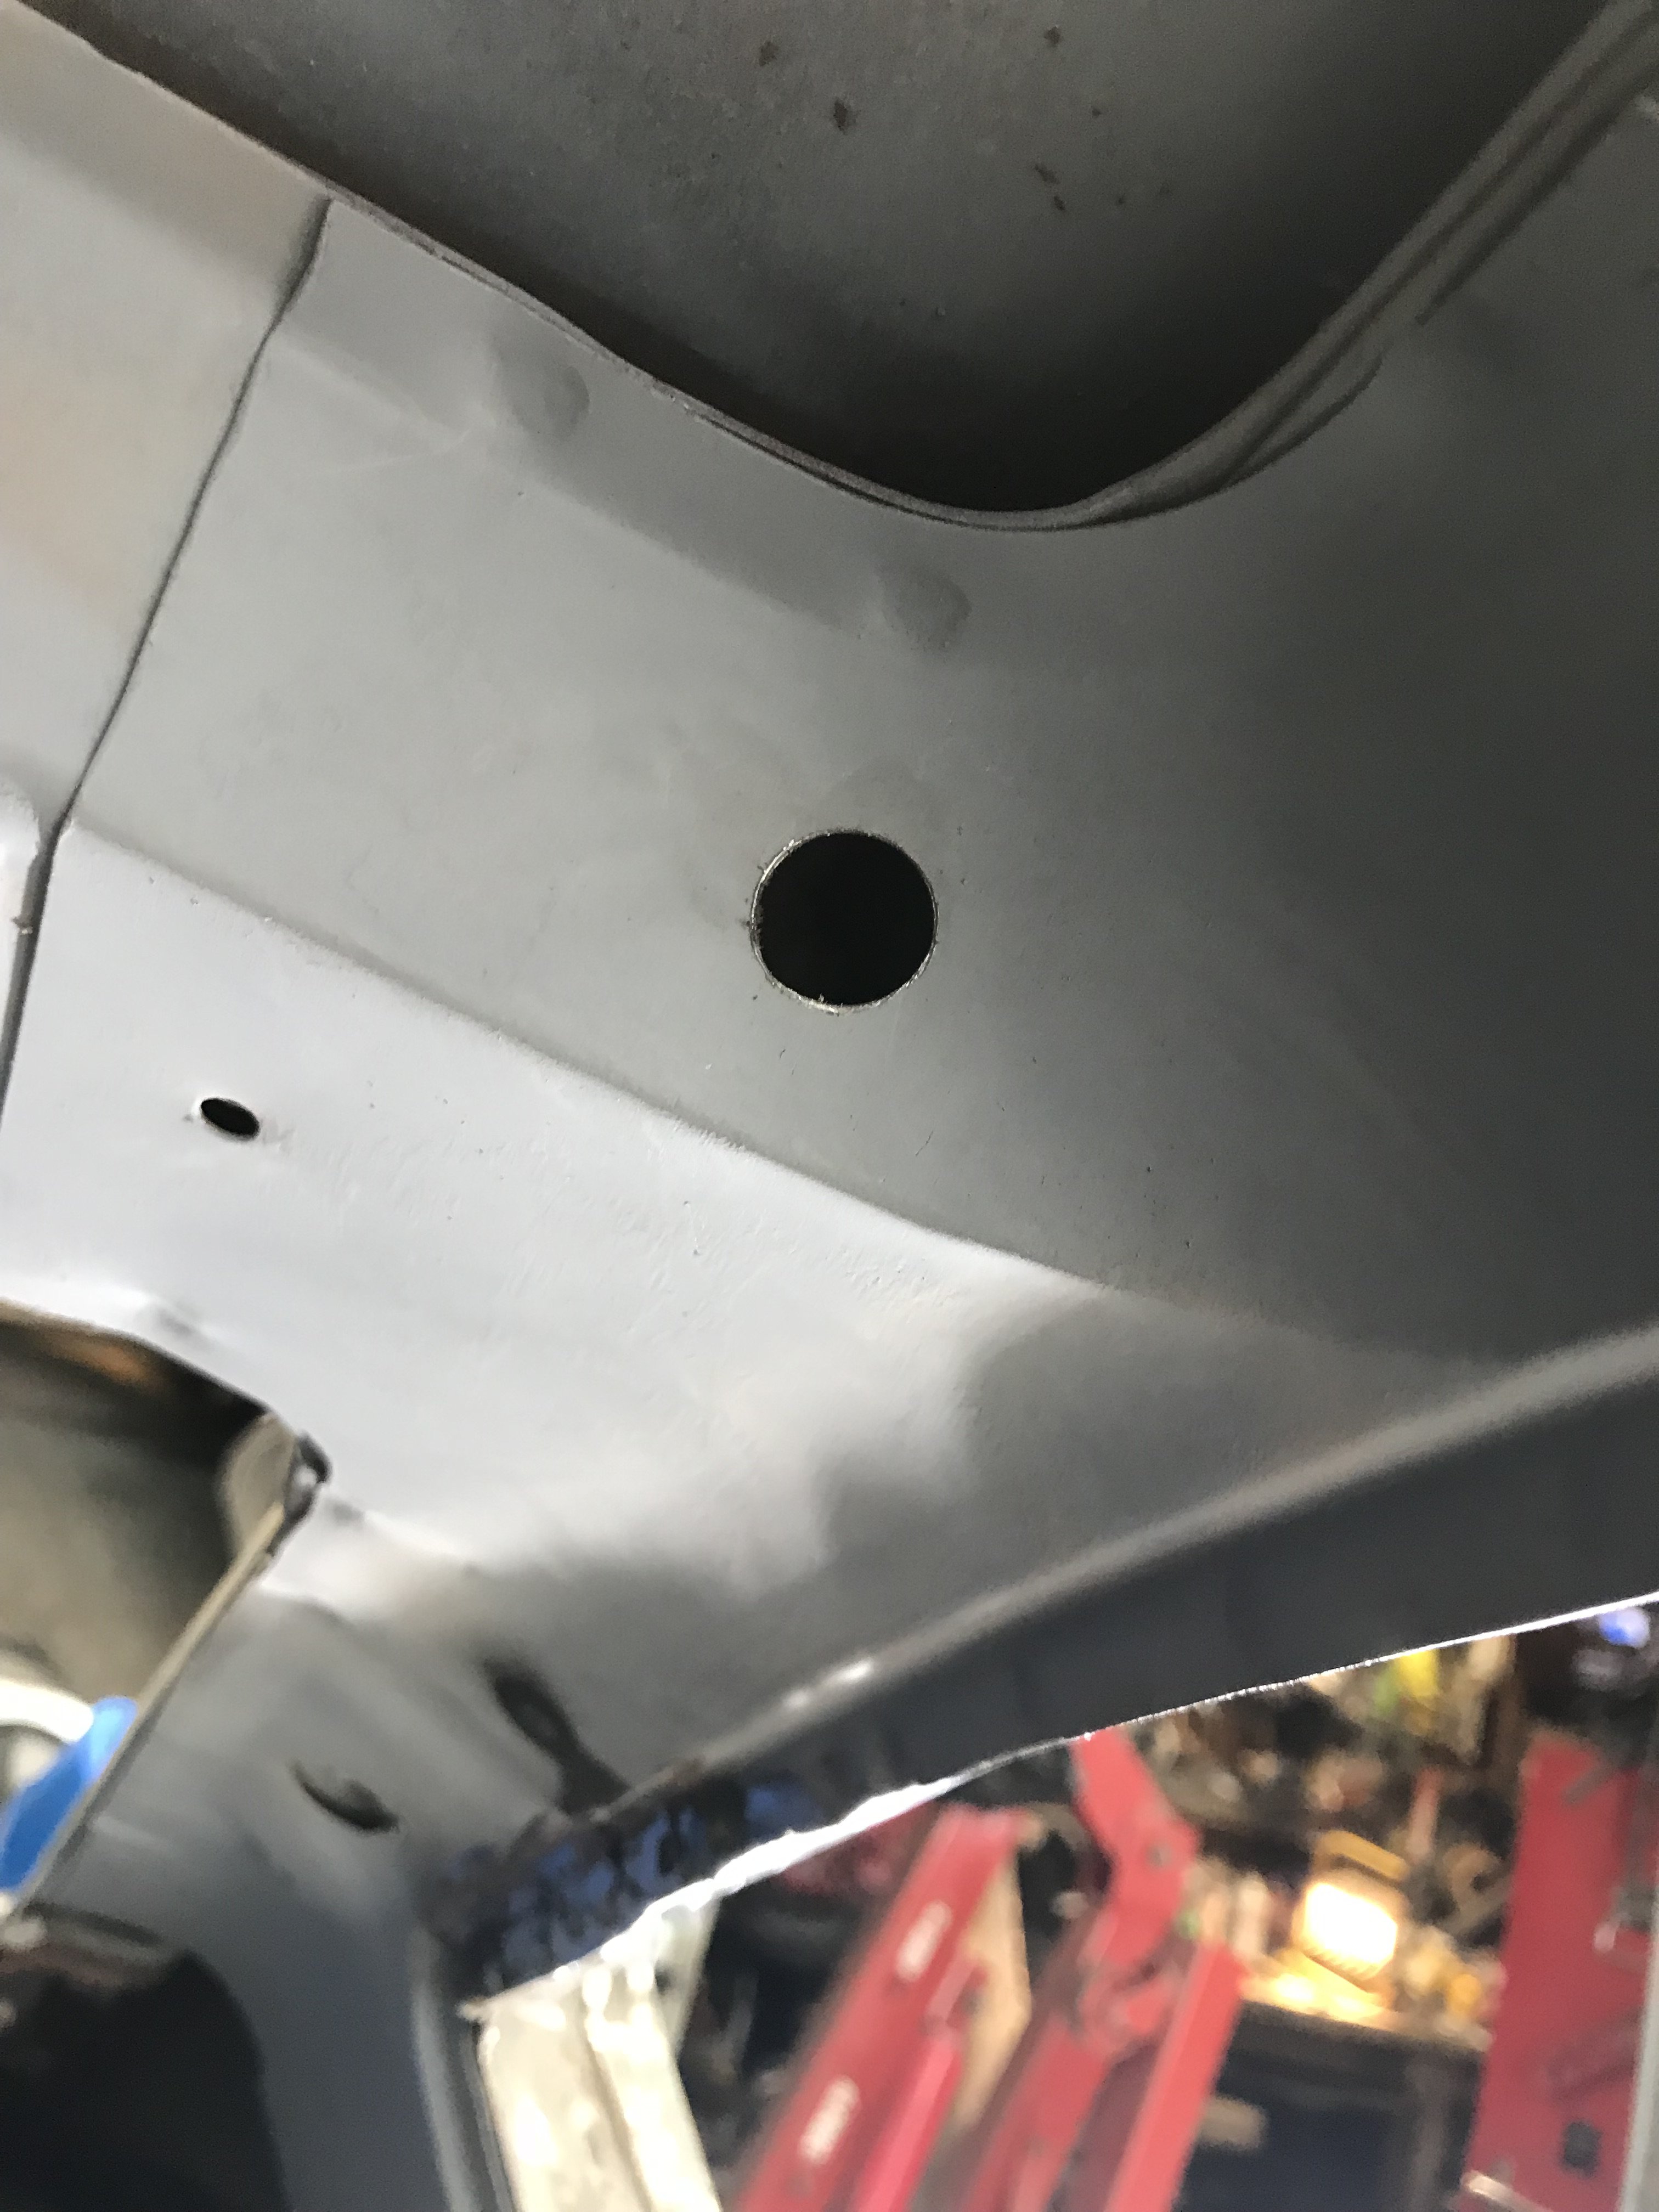
For extra protection, I used a 1/2" Blair hole saw to drill rust proofing access holes. A bendable magnet is used to recover the drilled out piece. The 1/2" plastic plug will seal the hole after rust proofing treatment is done.
The rustproofing hole is just forwarded of the repaired area. Also, it will allow rust proofing of the hatch hinge area(another corrosion point). More access holes will drilled in potential corrosion areas through out the car. Rust proofing will performed only after final color painting .
Thanks again for your praise. Most people do not realize how much work there is for 47 year old vehicle restoration.
-
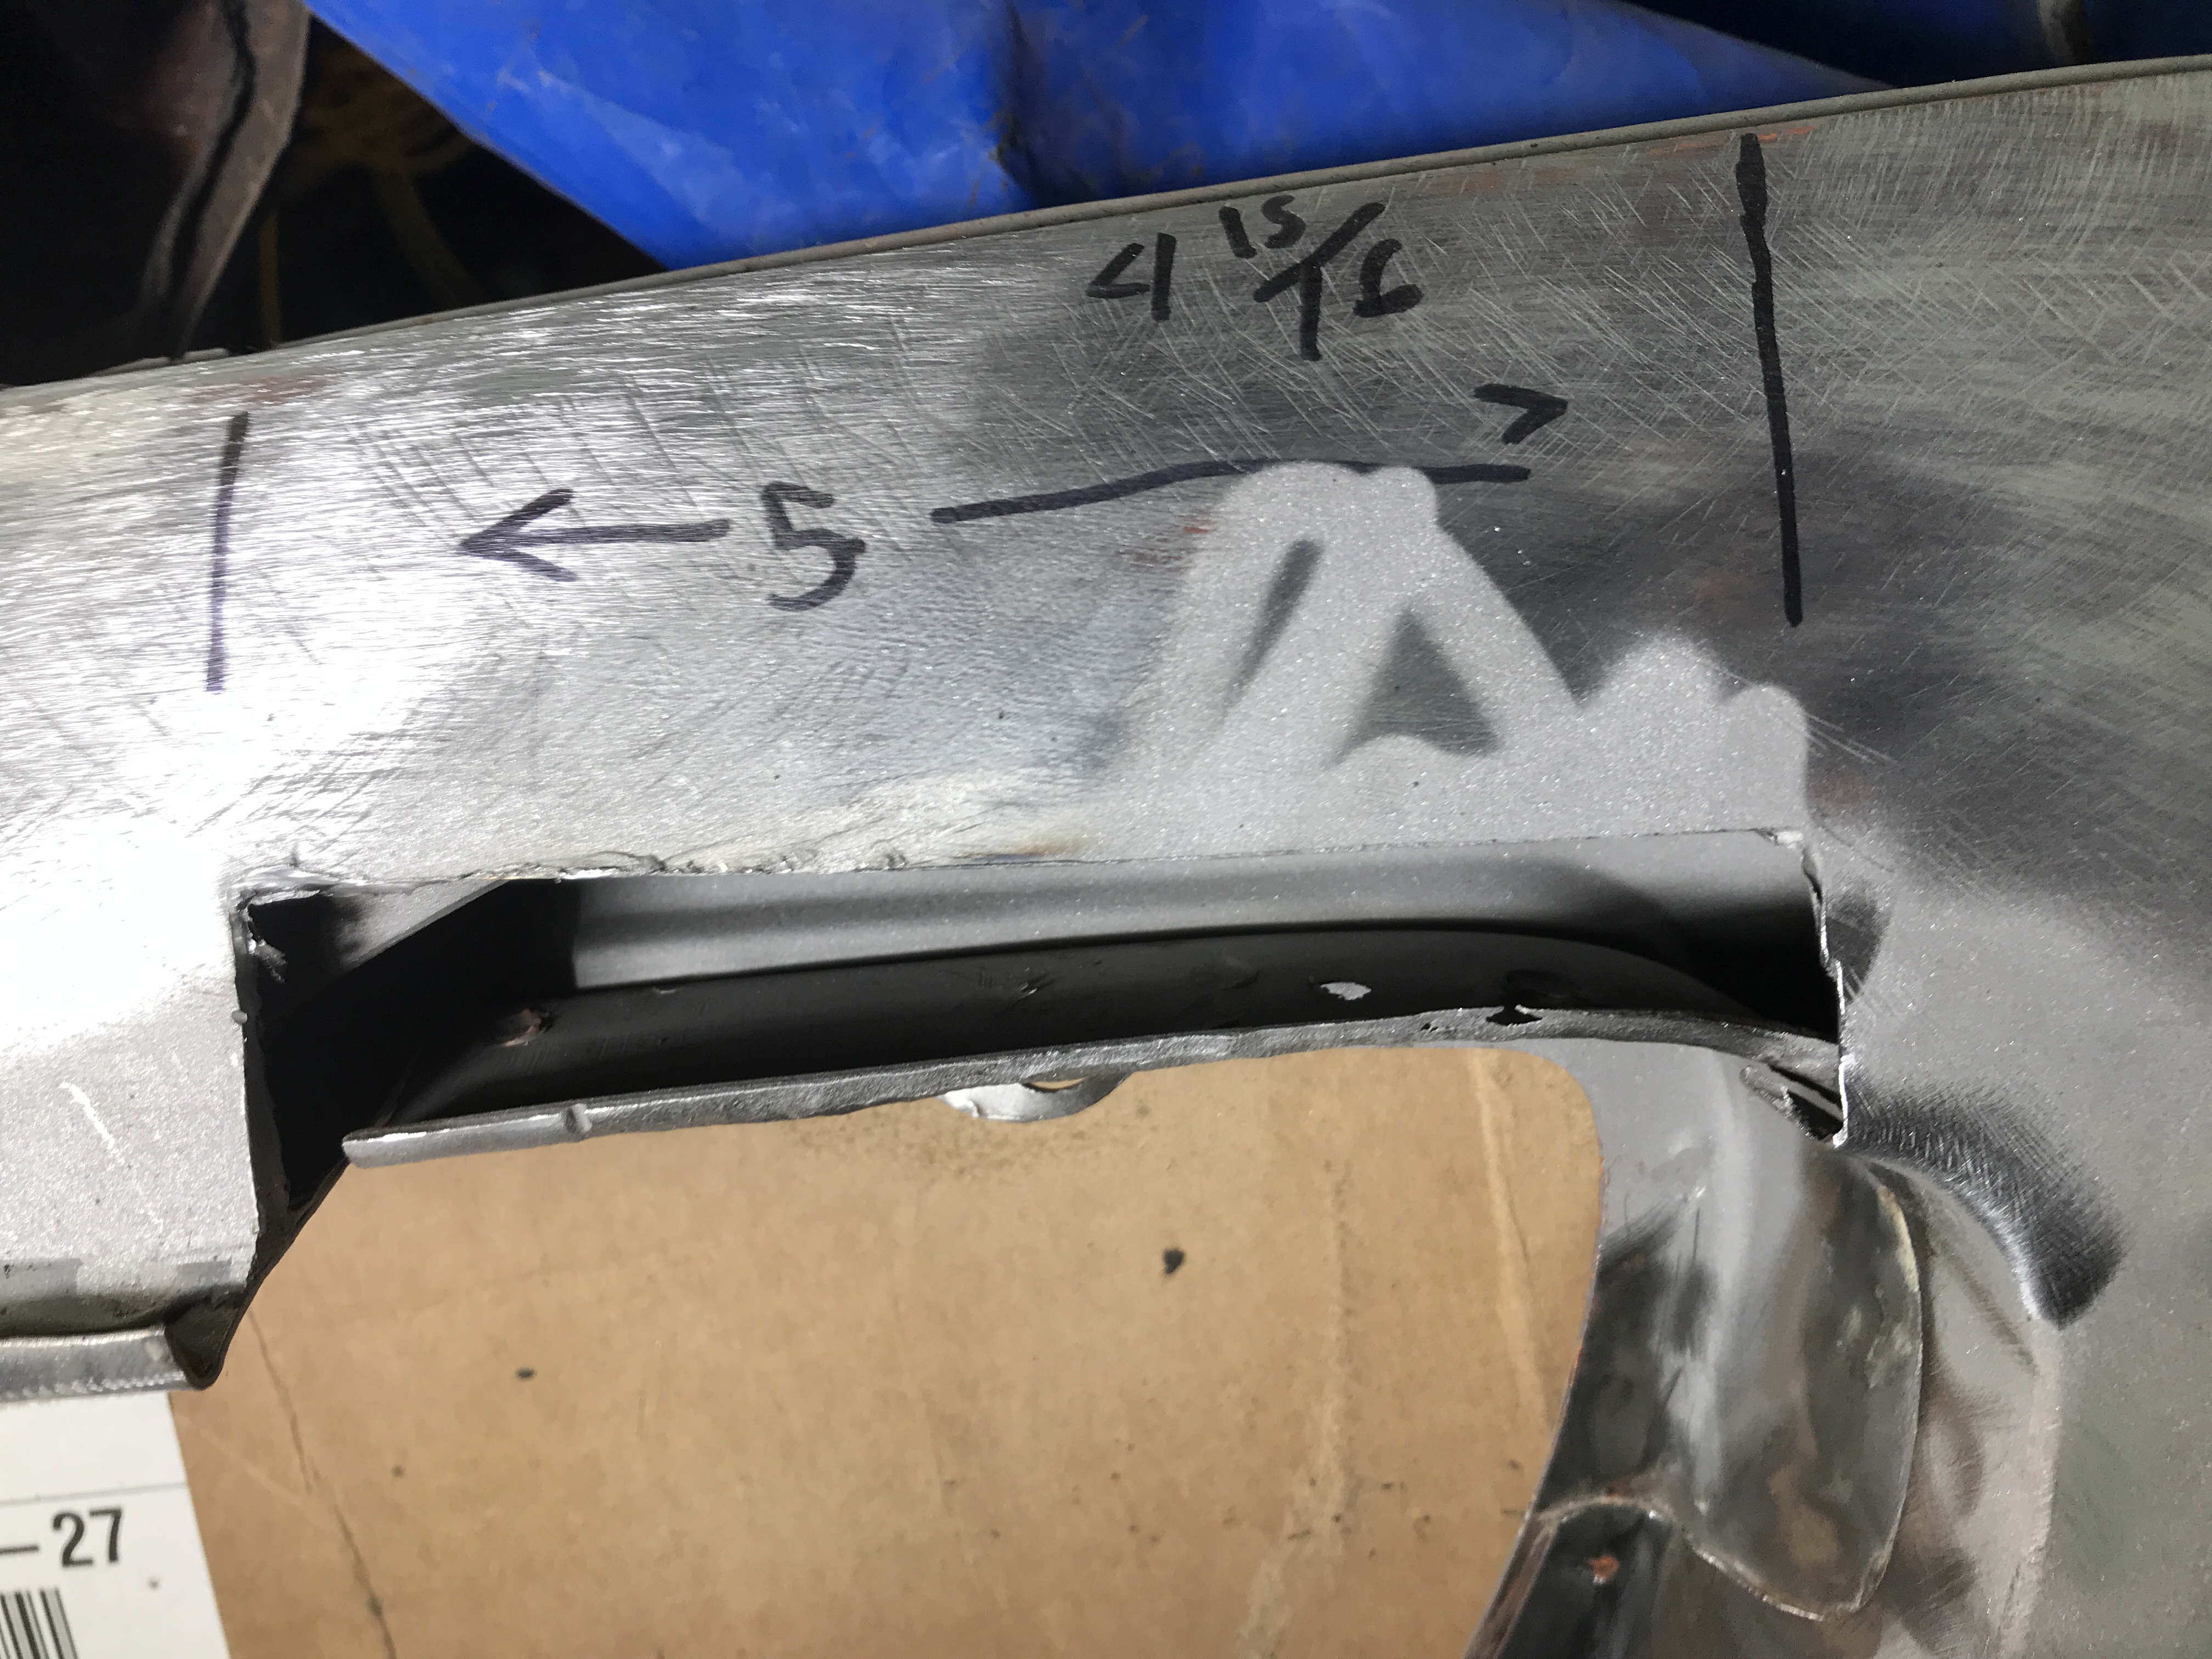
This weekend. I started on the corrosion on the upper section of the right quarter panel.
This area was little heavier gauge(about 20 gauge) but had to be removed.
The removed area, in this case, was about 5".
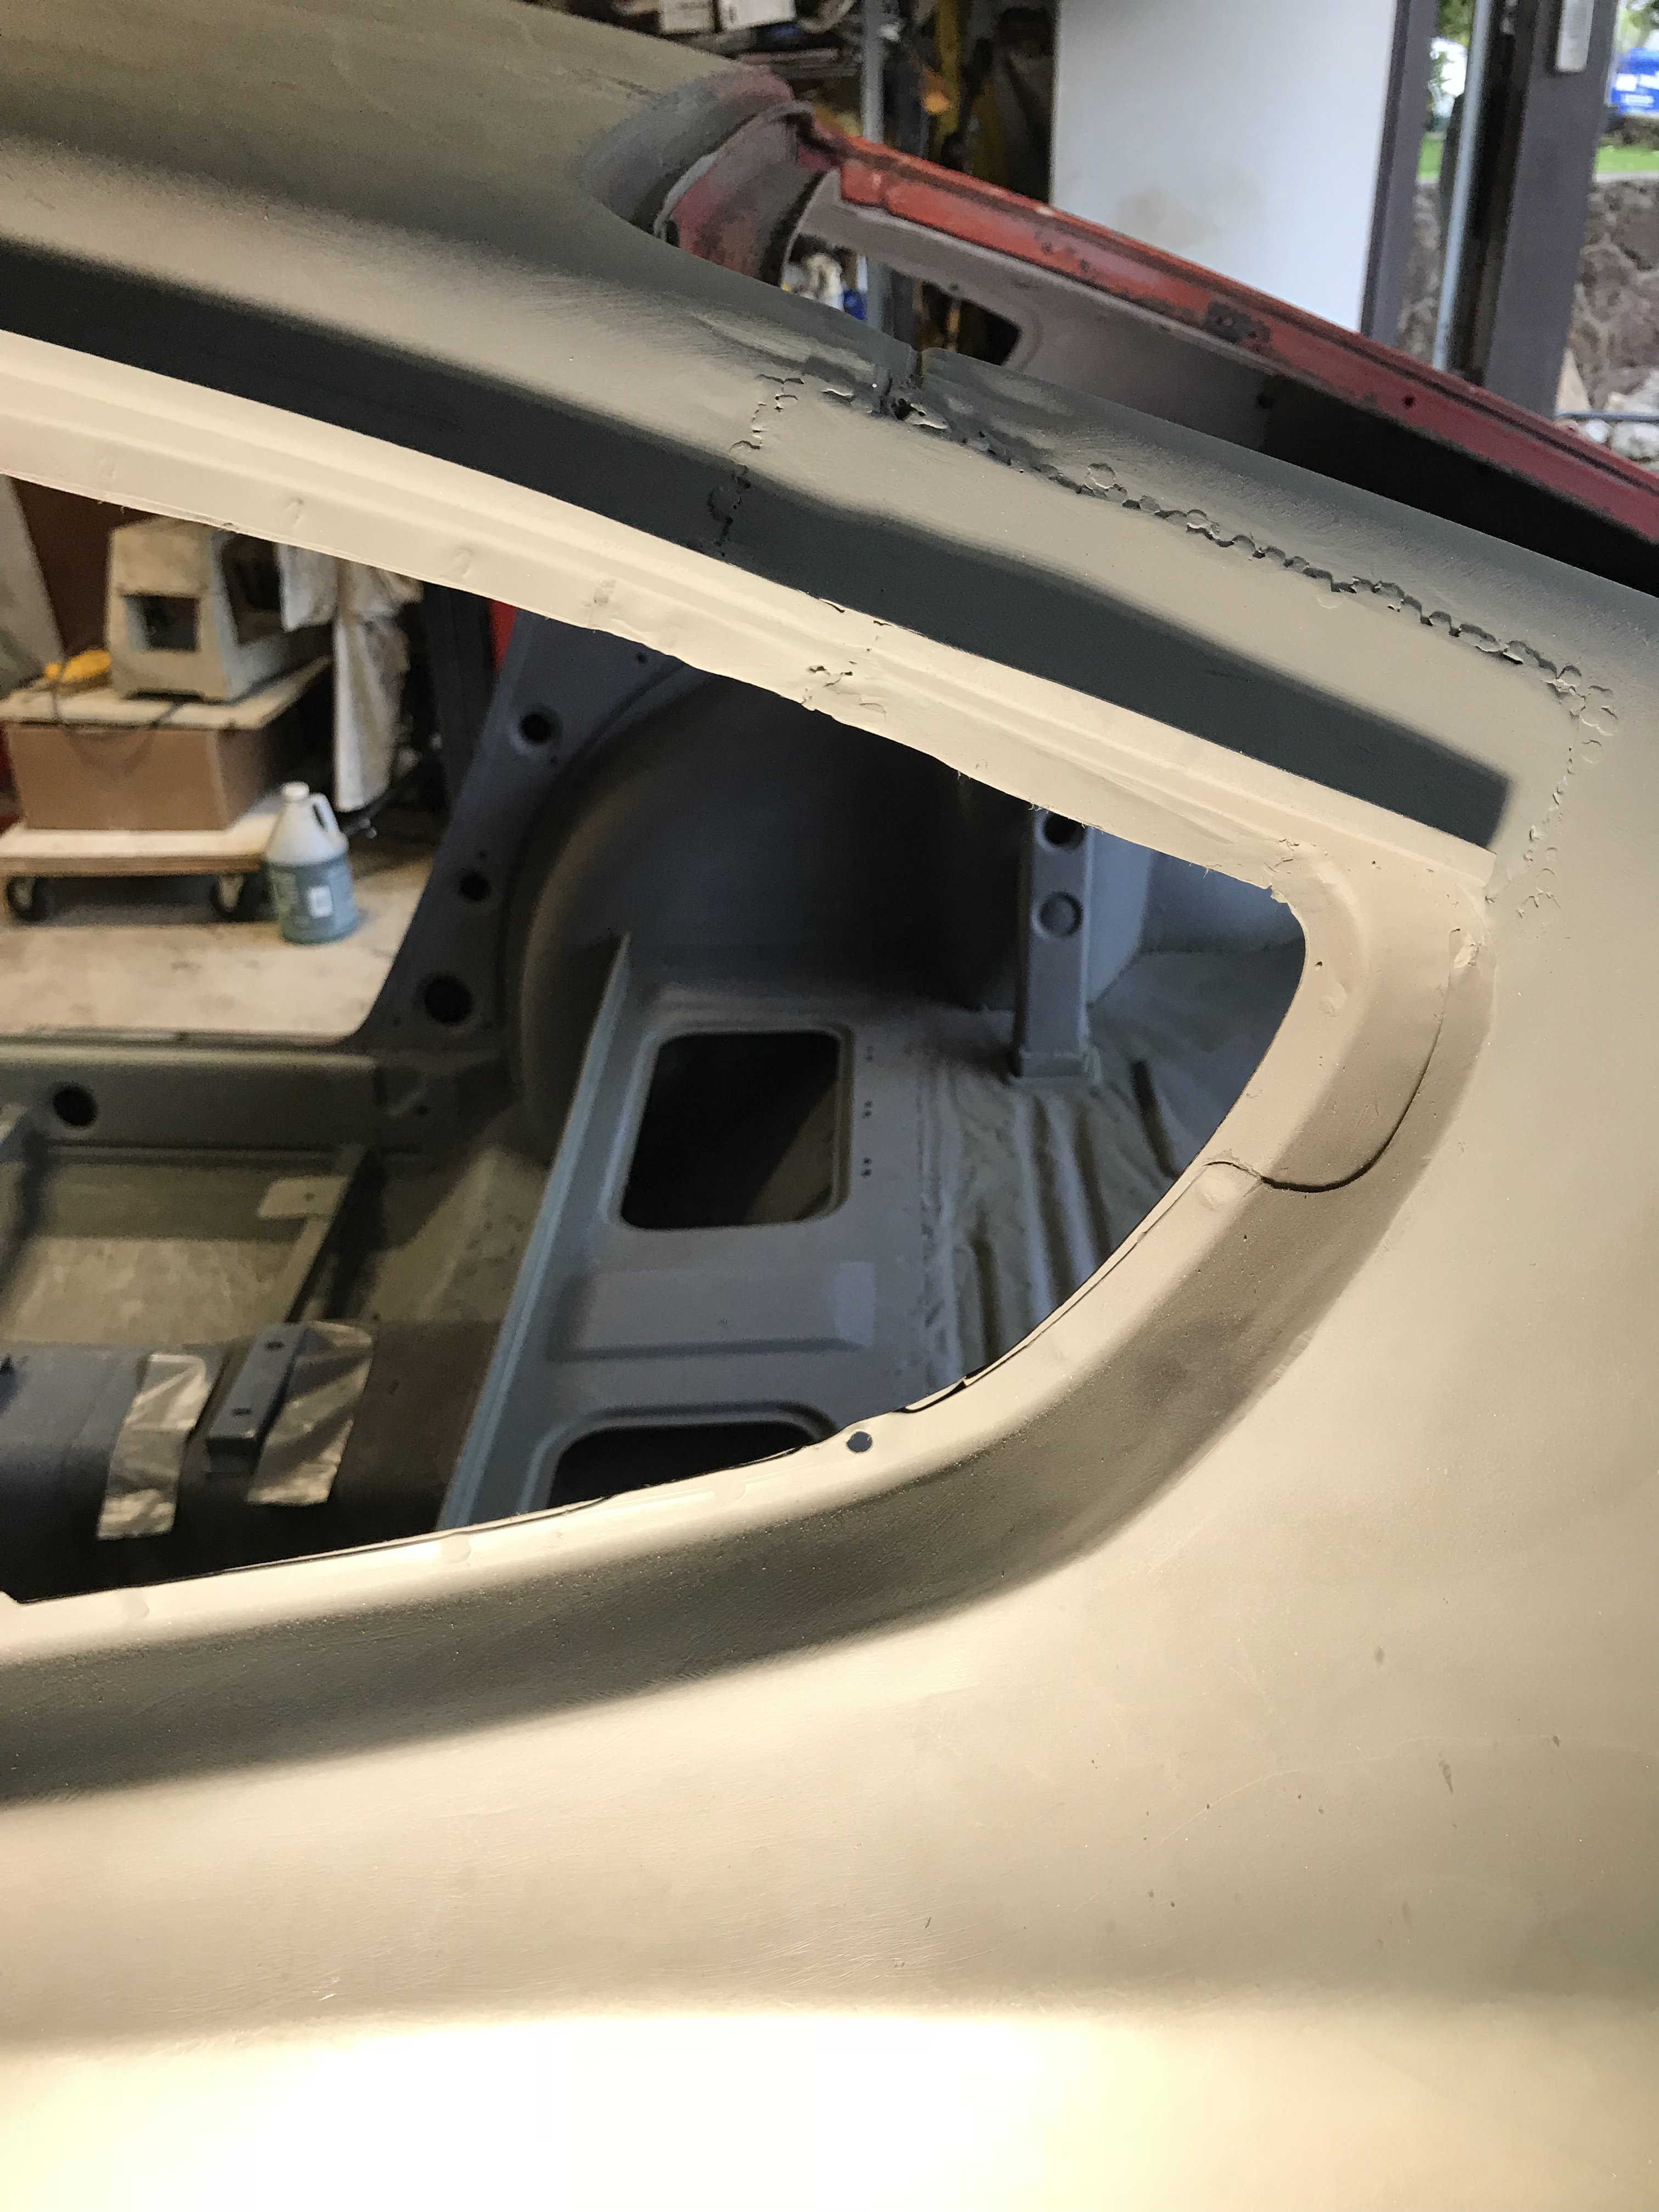
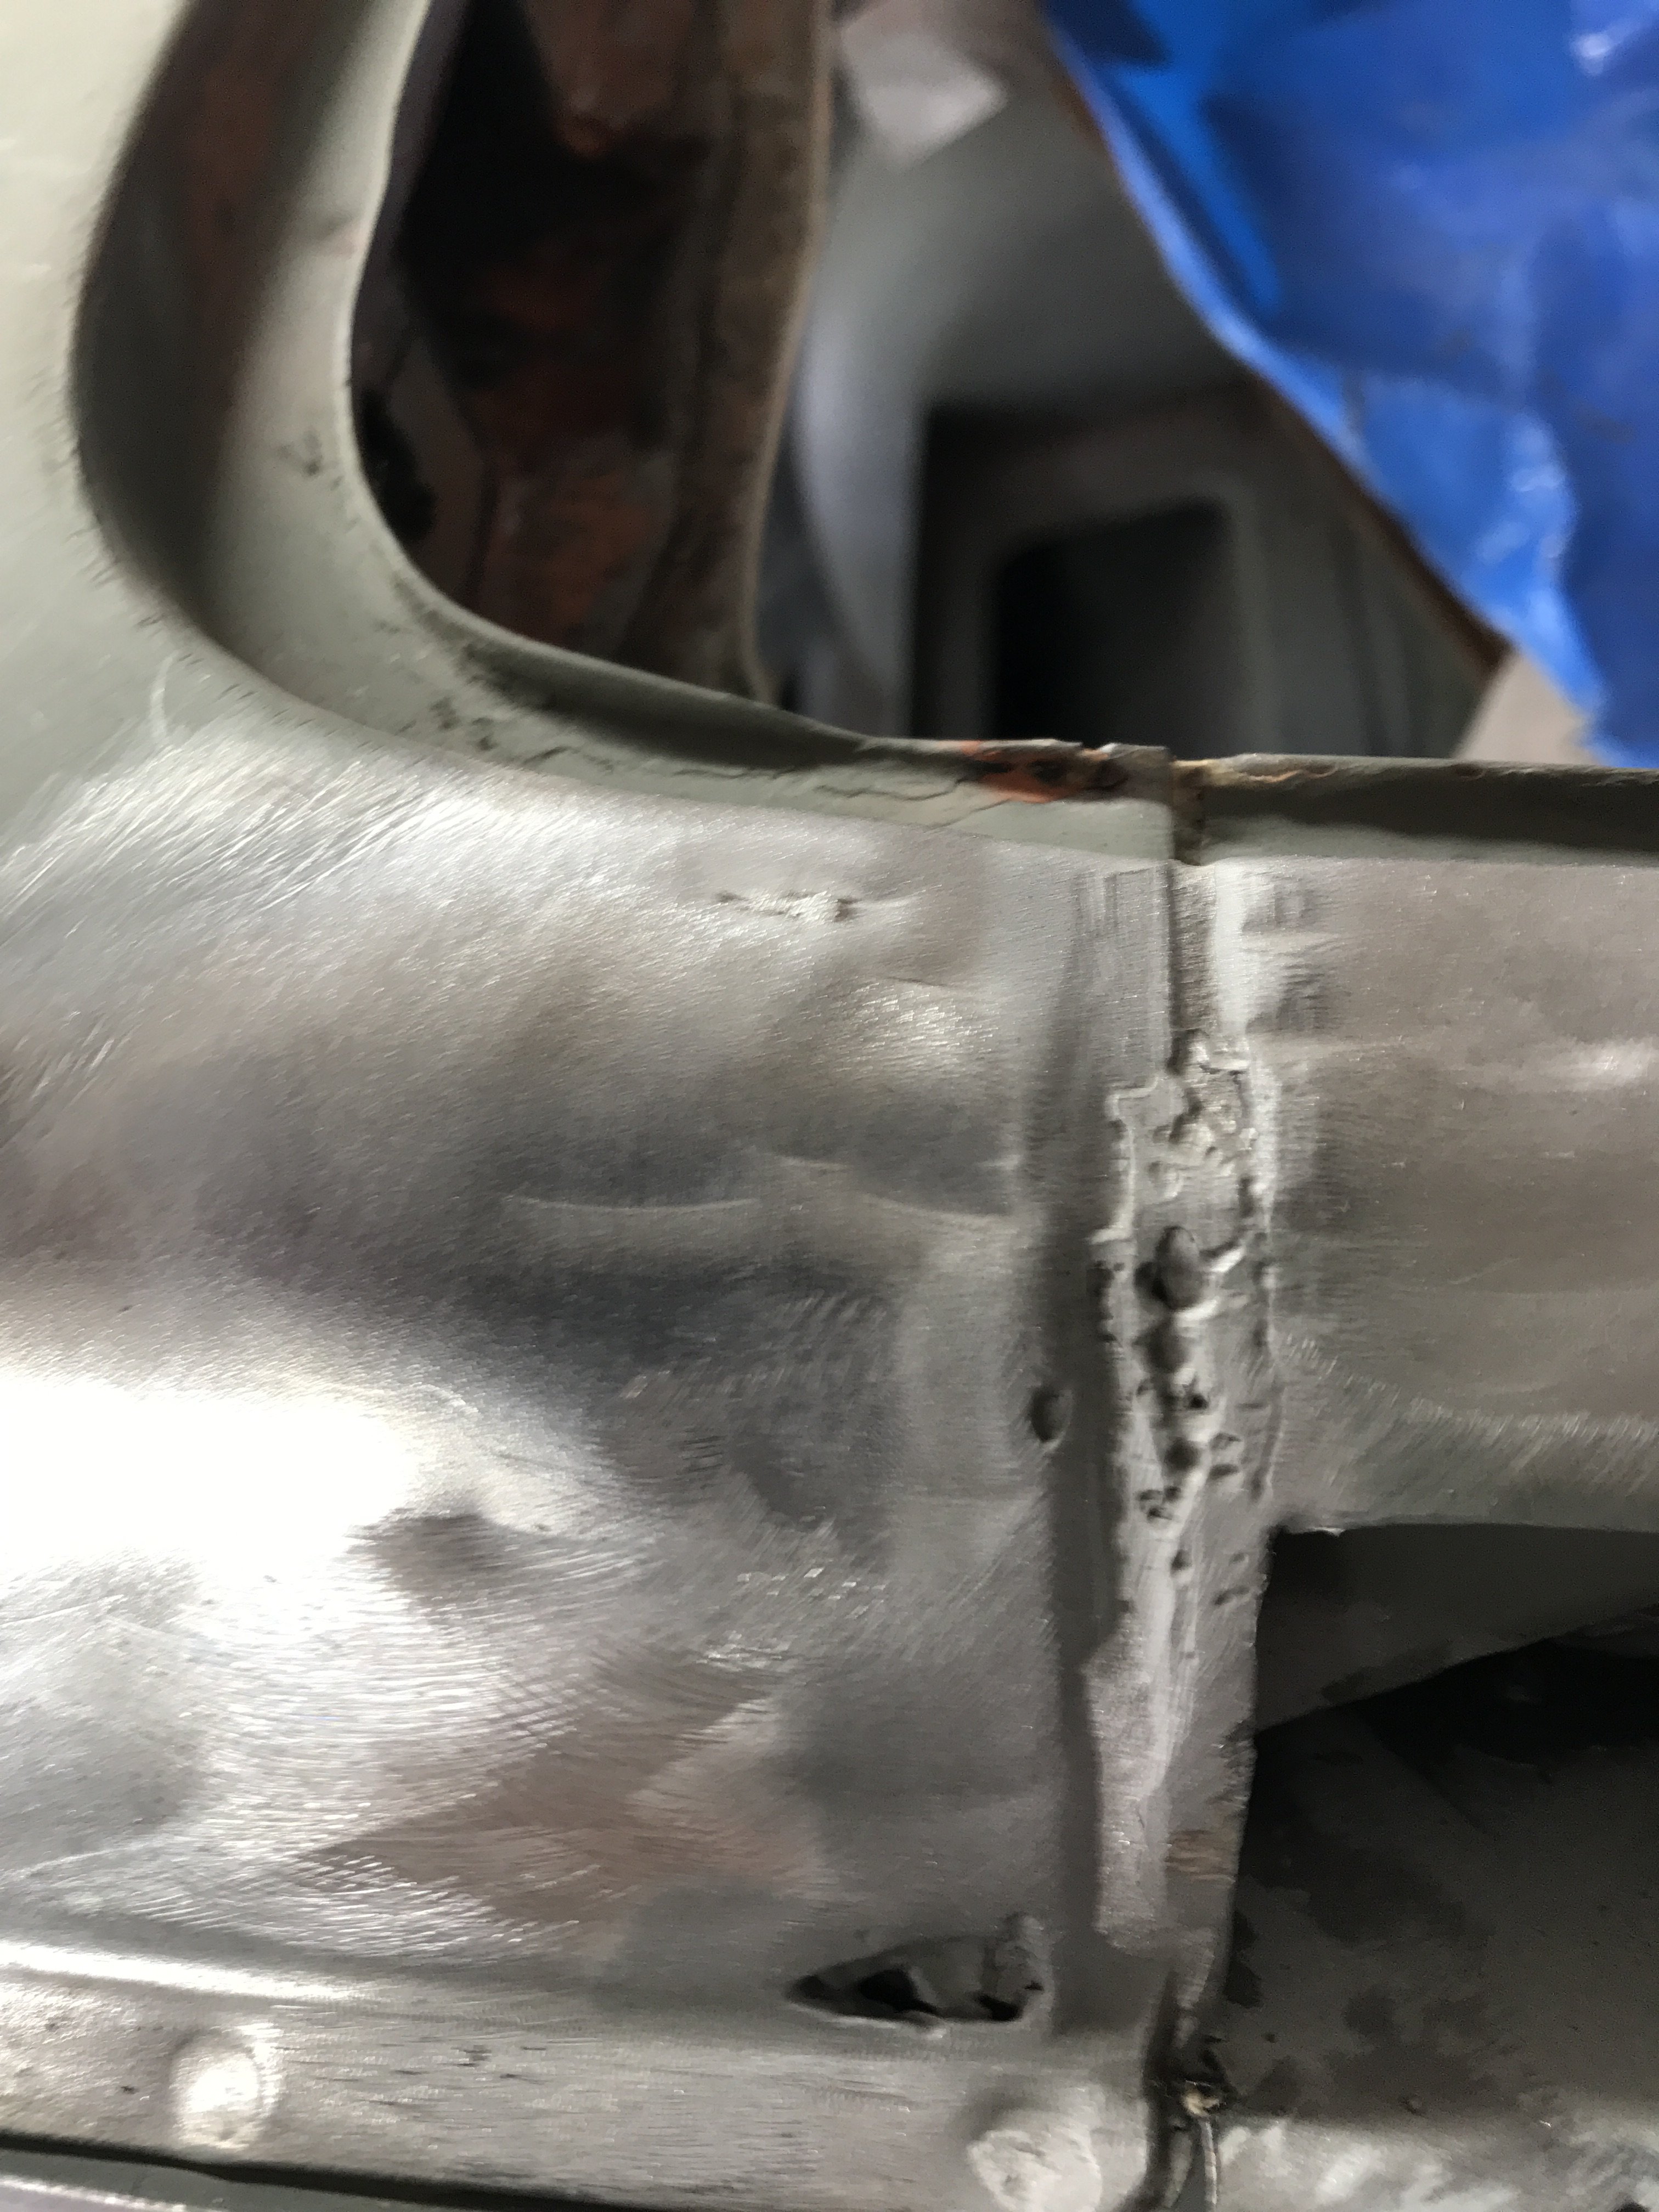
Just the left of the front cut is the connecting area of the quarter panel and the roof. This joint was welded then lead soldered at the factory.
All of the lead solder must be removed before work
can be done. When this car was manufactured, using lead for the roof joints was common practice( even on US made cars).
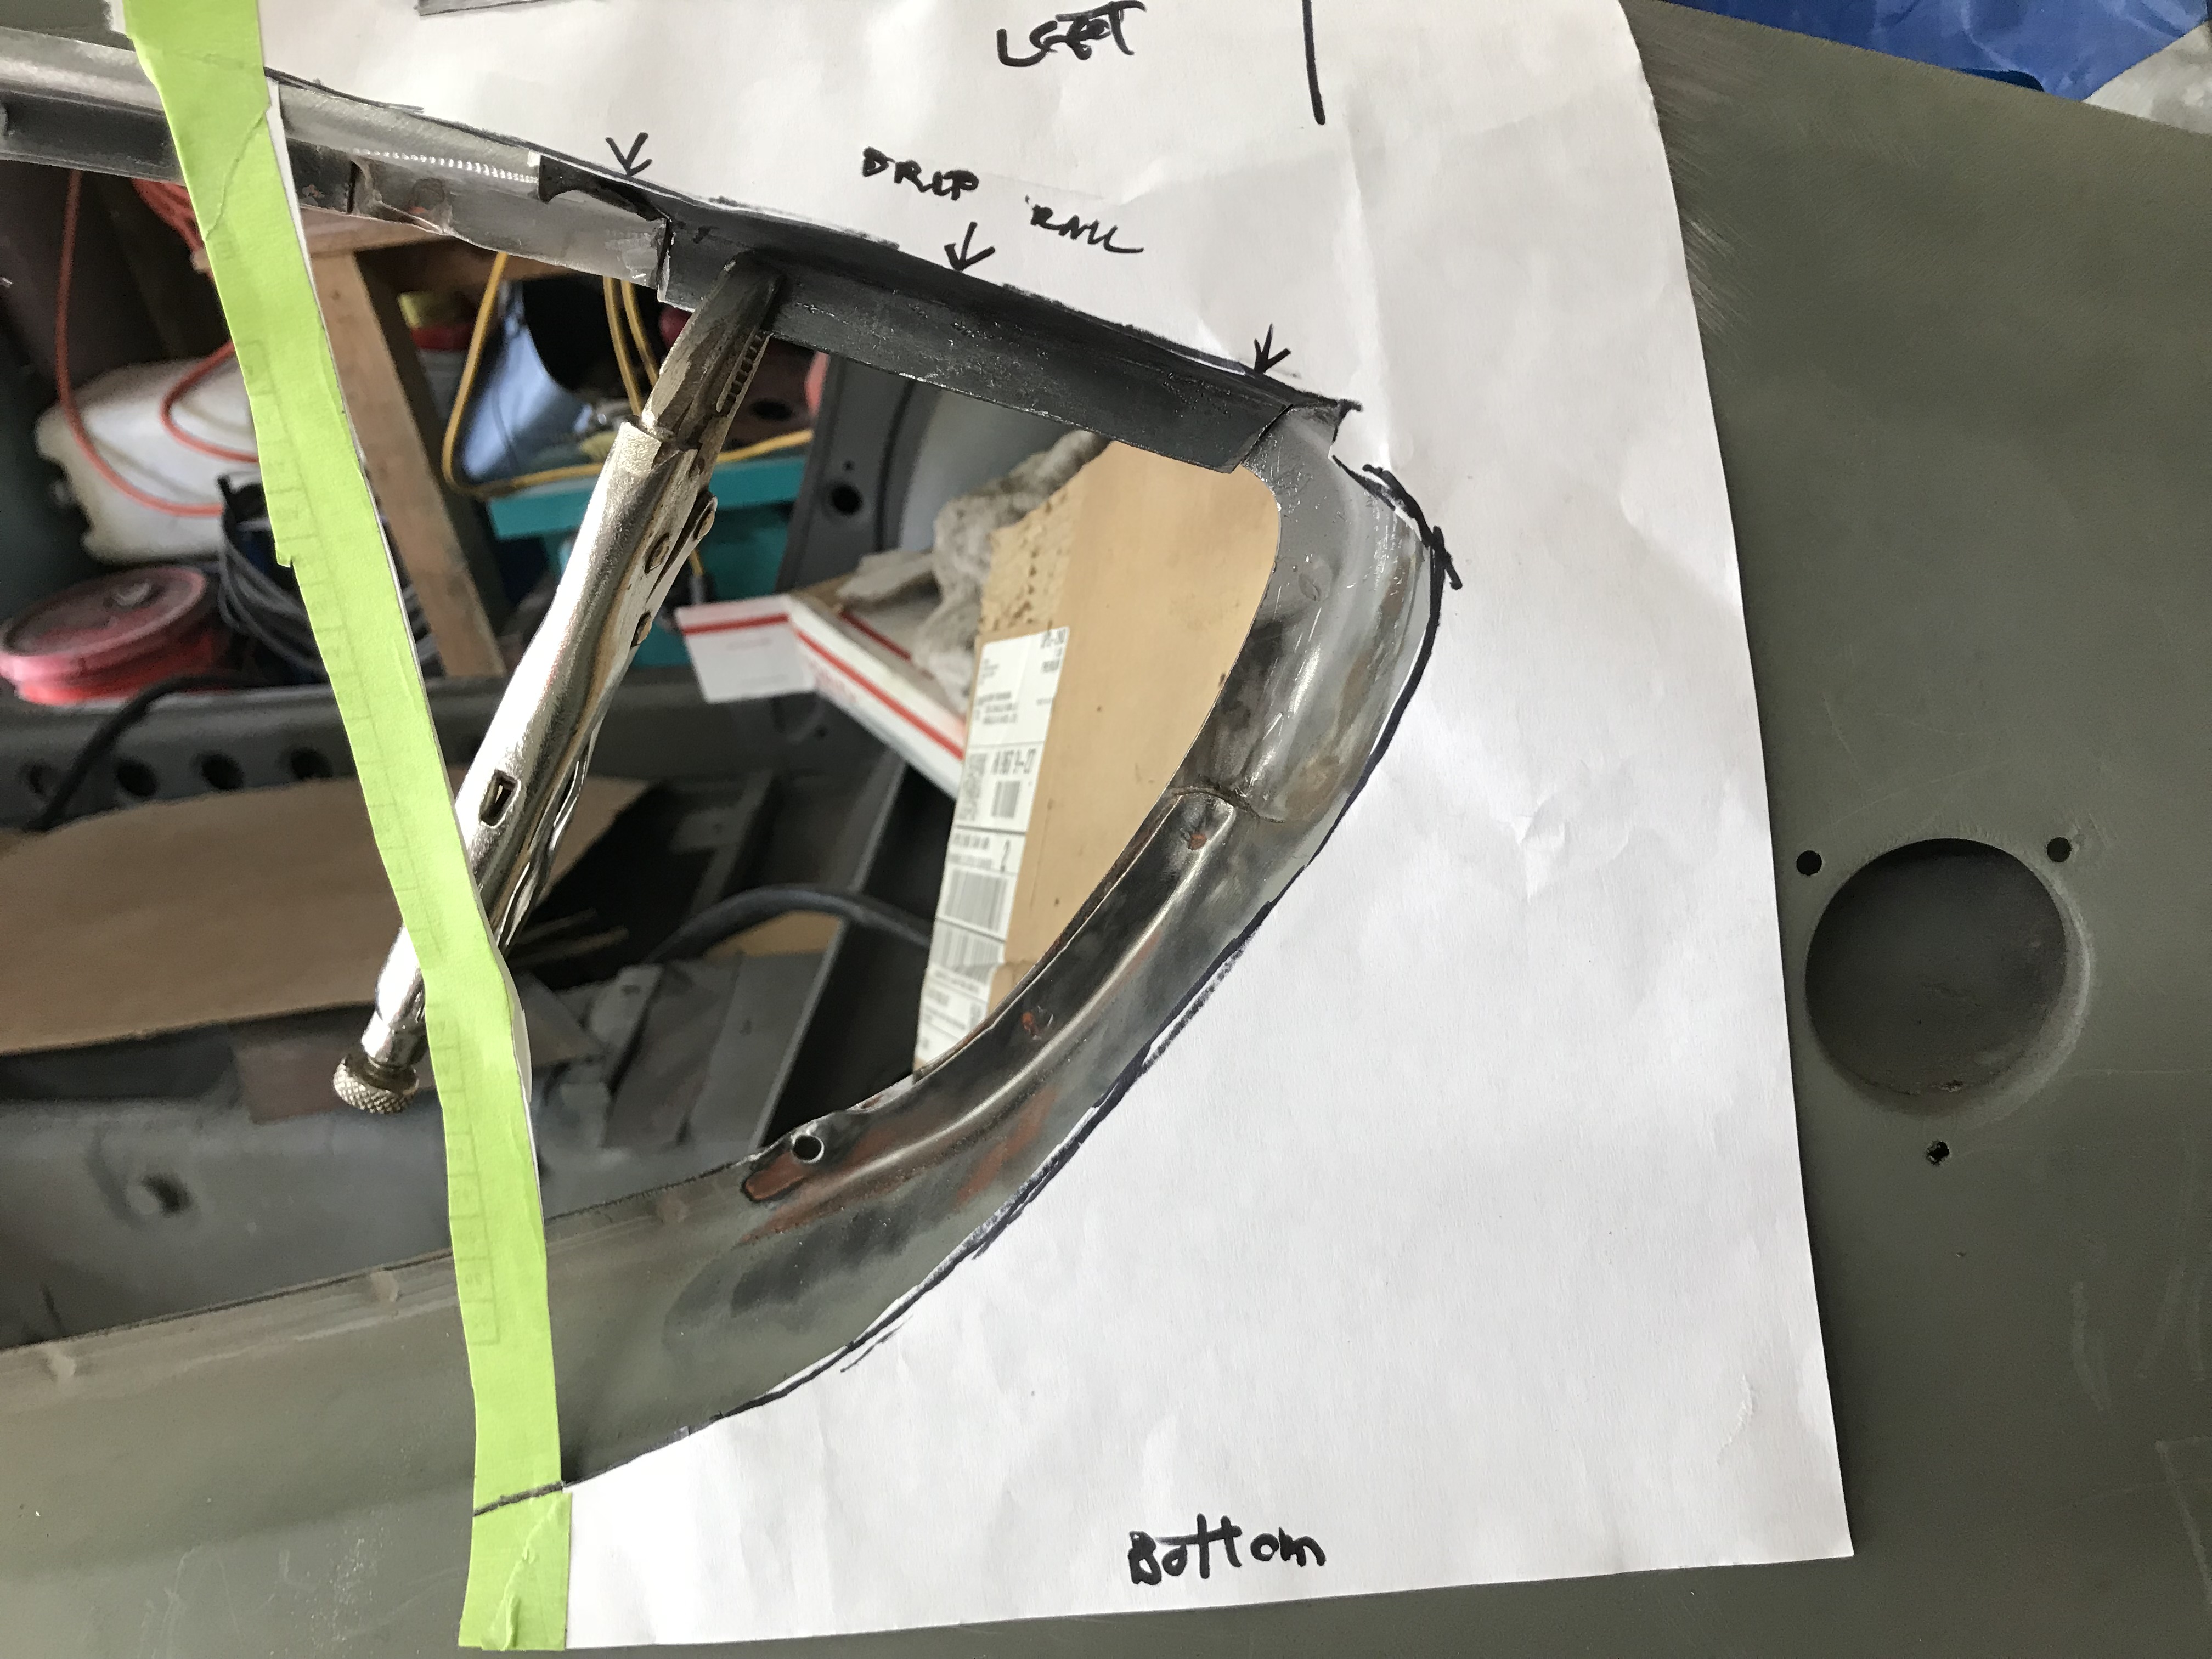
A template was made to provide reference points when reconstructing this area. In this case, the template was copied from the opposite (right
side) and image reversed.
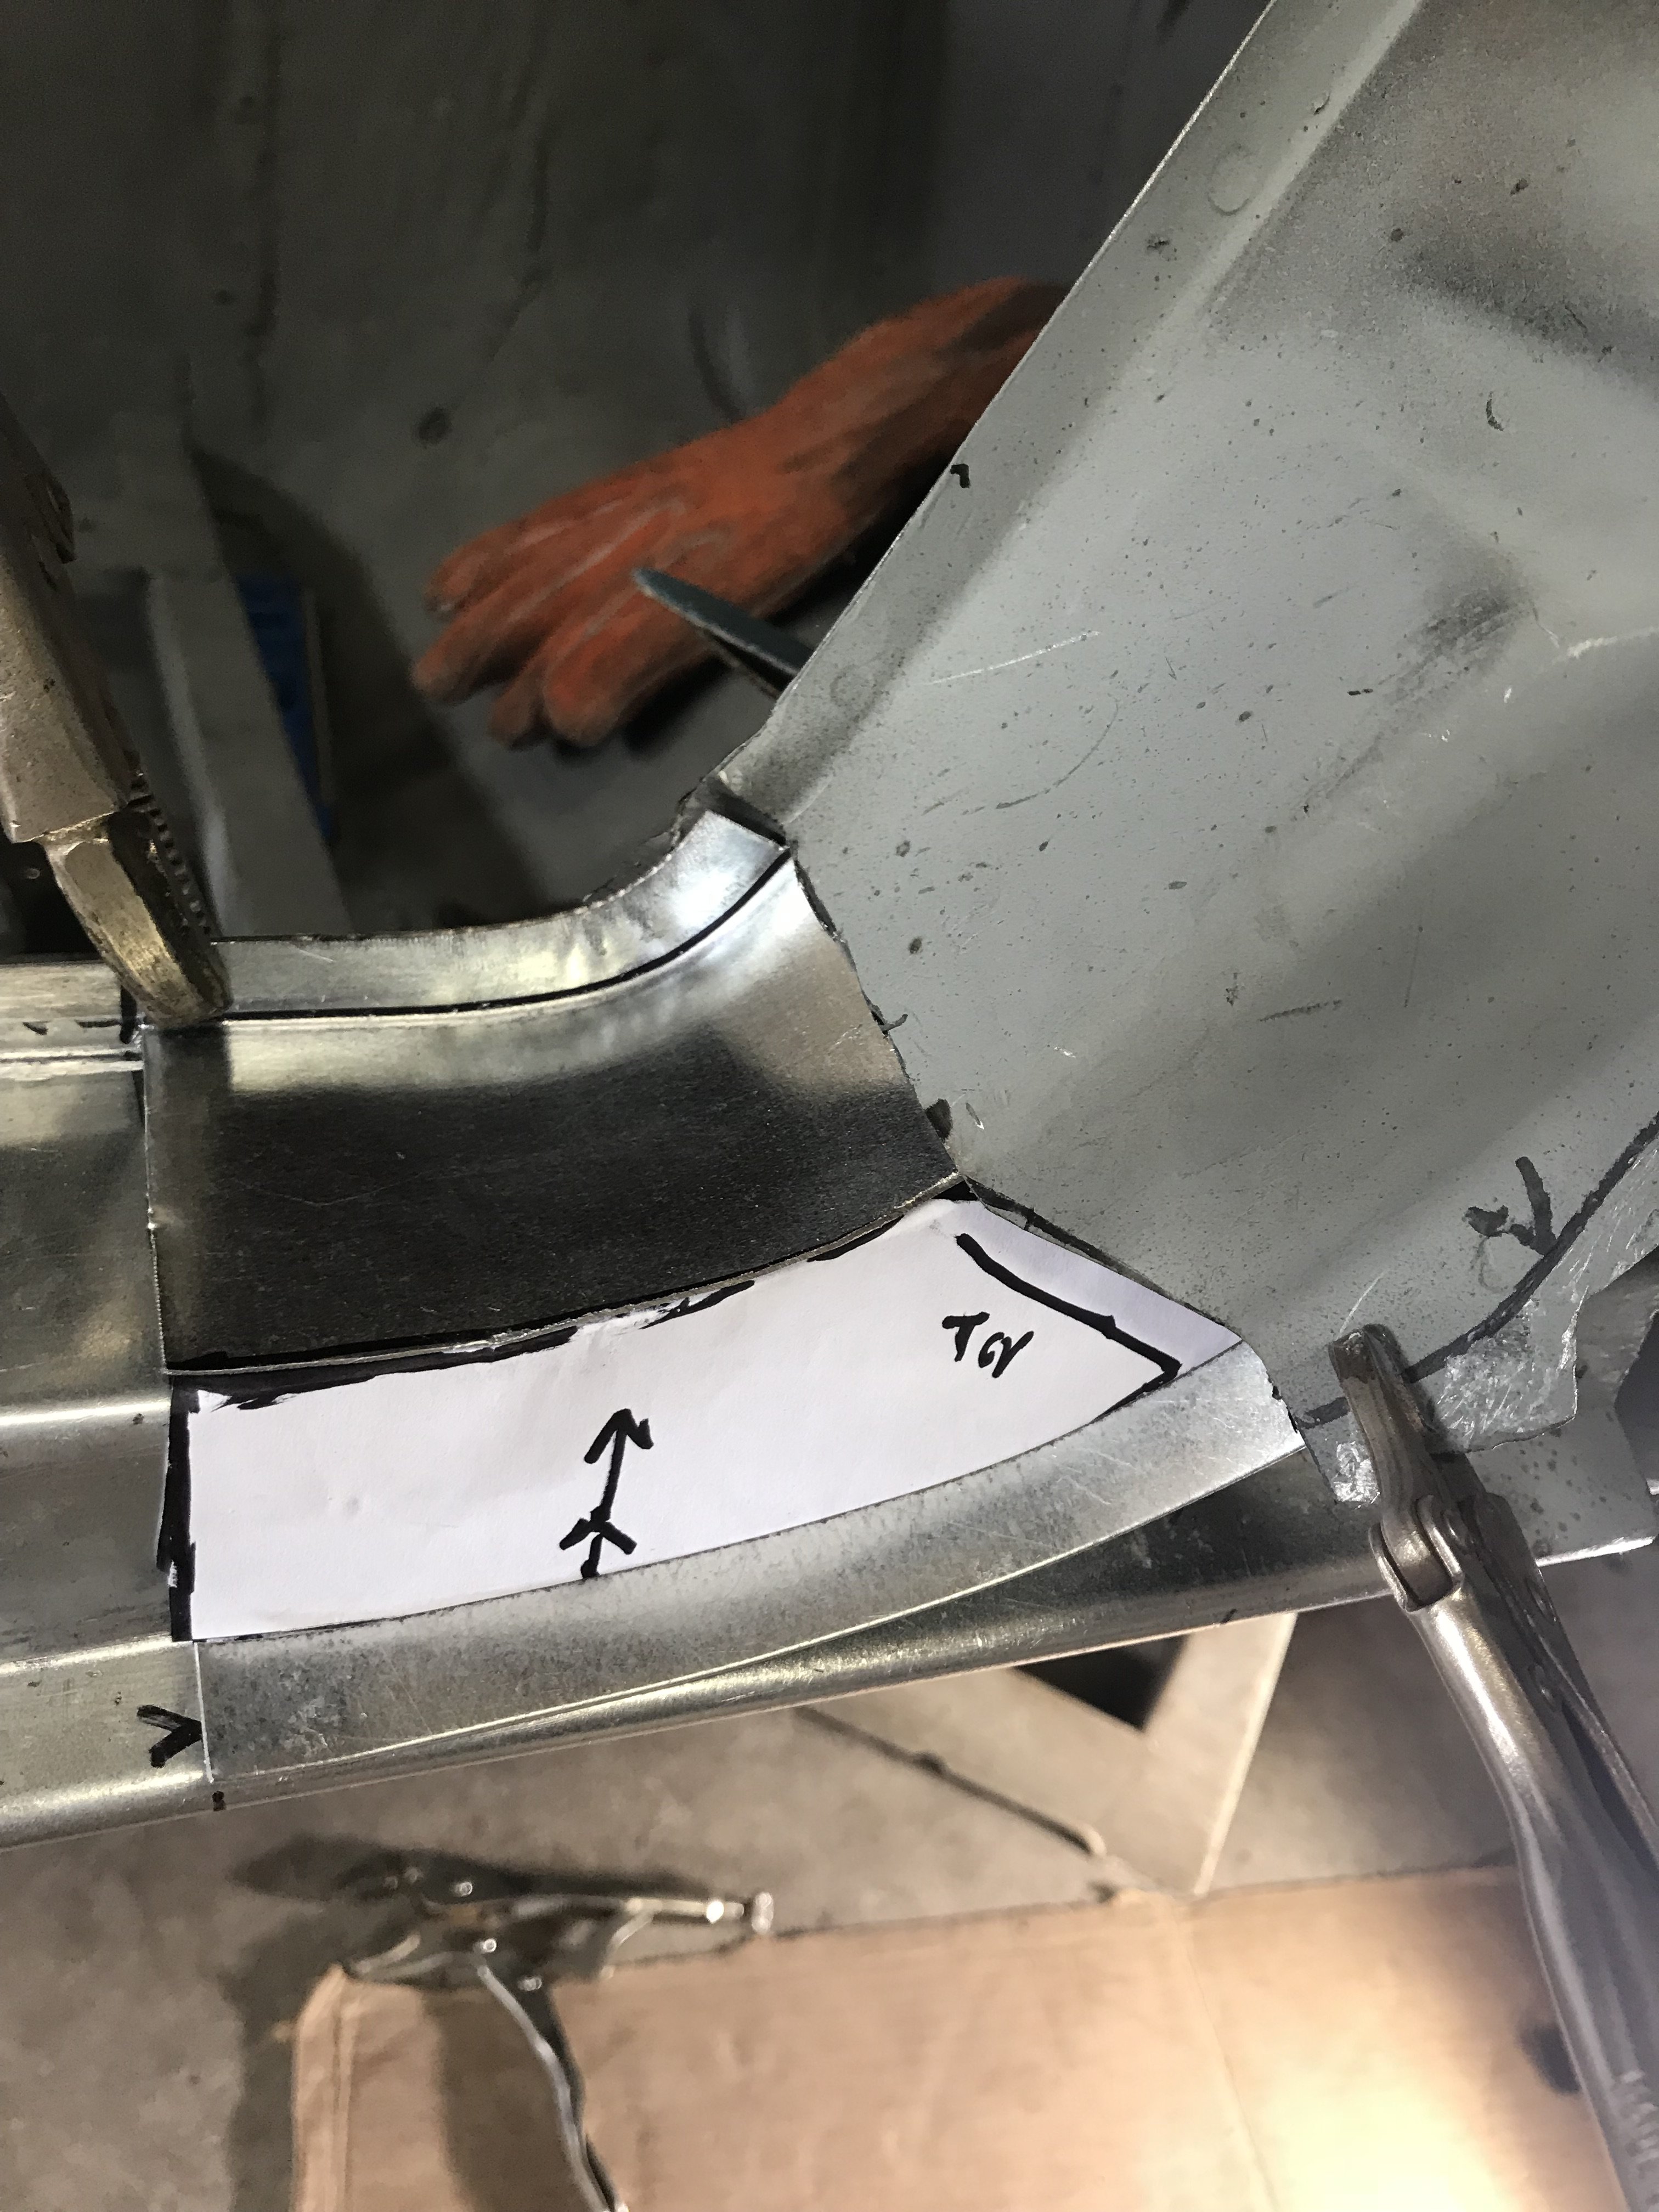
The drip rail patch was constructed using several paper templates.
Note: both front and rear ends of the patch have extra material to allow welding to original metal.
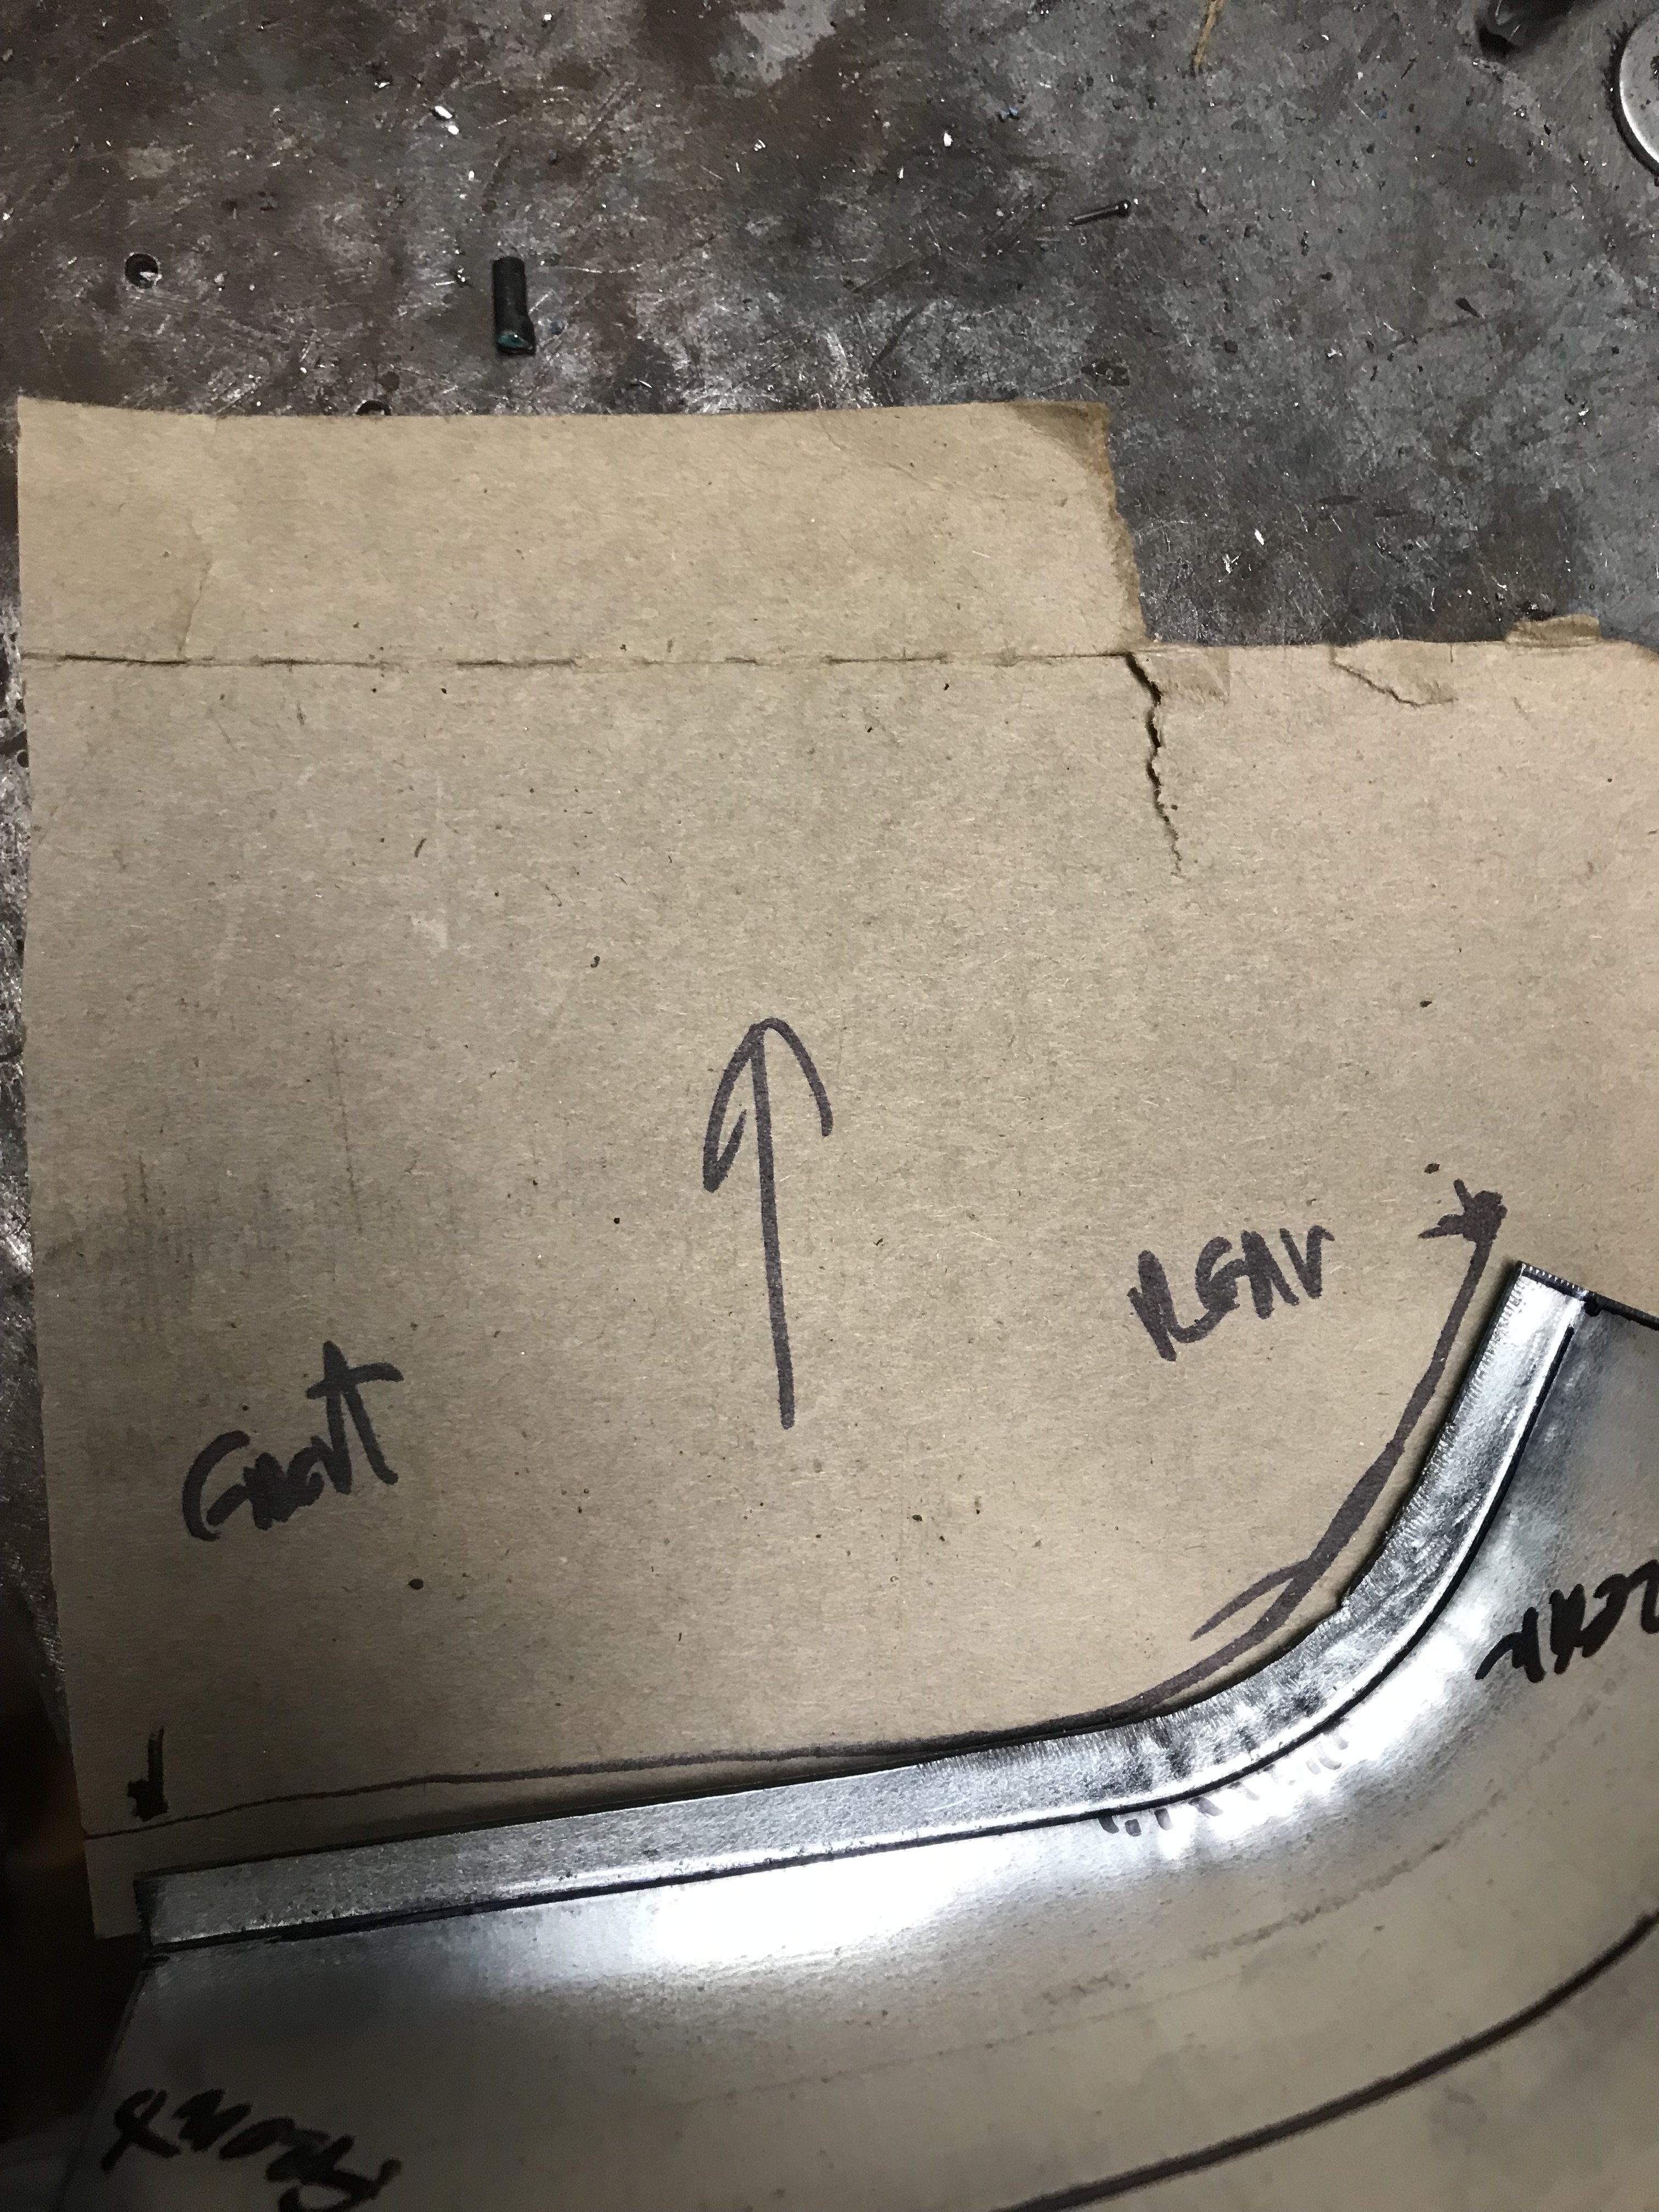
If you notice that I marked directions on my work, it is because it is easy to get confused and place the patch the wrong way.
The lower portion of the patch welded the body.
Note: The drip rail is made taller and will be grinded down after everything is completed.
The seams in the interior of the patched area were tack welded to increase strength. Then painted with welding primer.
-
Managed to get in three hours to work on the Z. I installed the dog leg panel from ZDepot.
Photo of underside of the dog leg panel.
-
I almost made a mistake. When I was watching a video of 240z replacement of its rocker panel, I realized that my rocker panel had to be longer. So I constructed a new longer rocker panel section. This is a photo of what I can up with.
Basically it is just longer than the old one.
But the new rocker also had to be "capped" at the rear.
Interior view of the new rocker panel.
This pics shows the rocker panel welded in place.
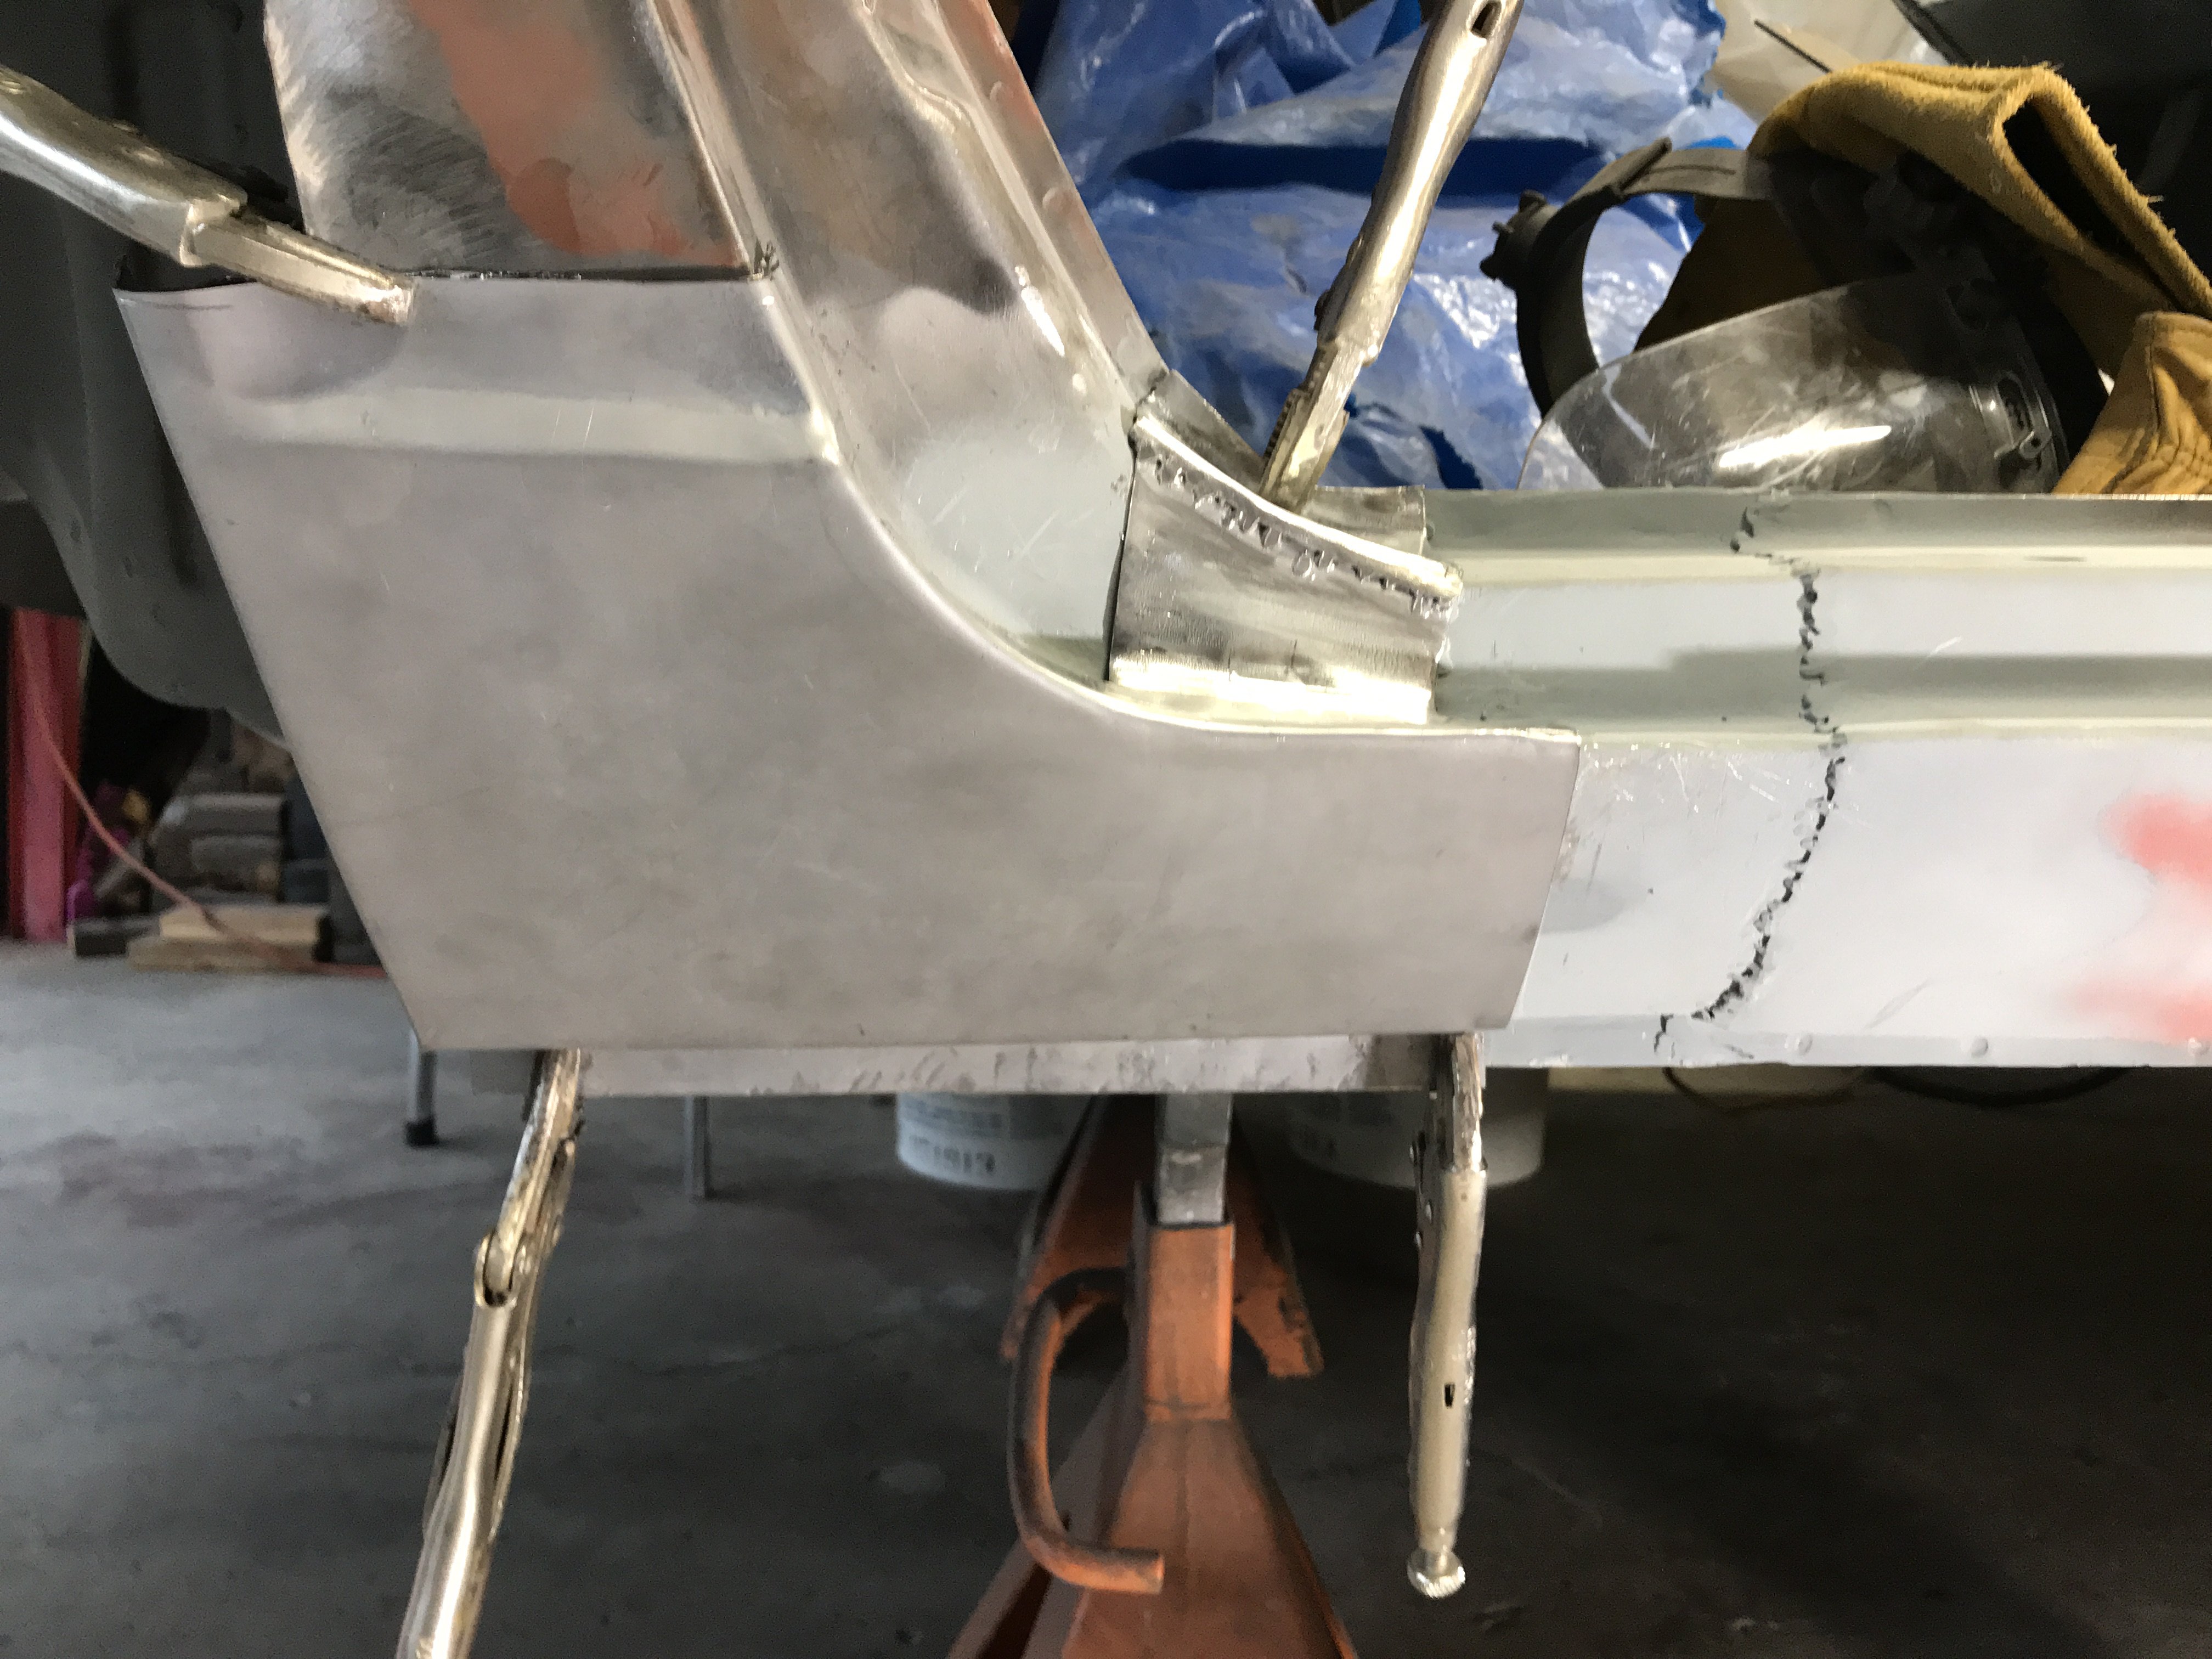
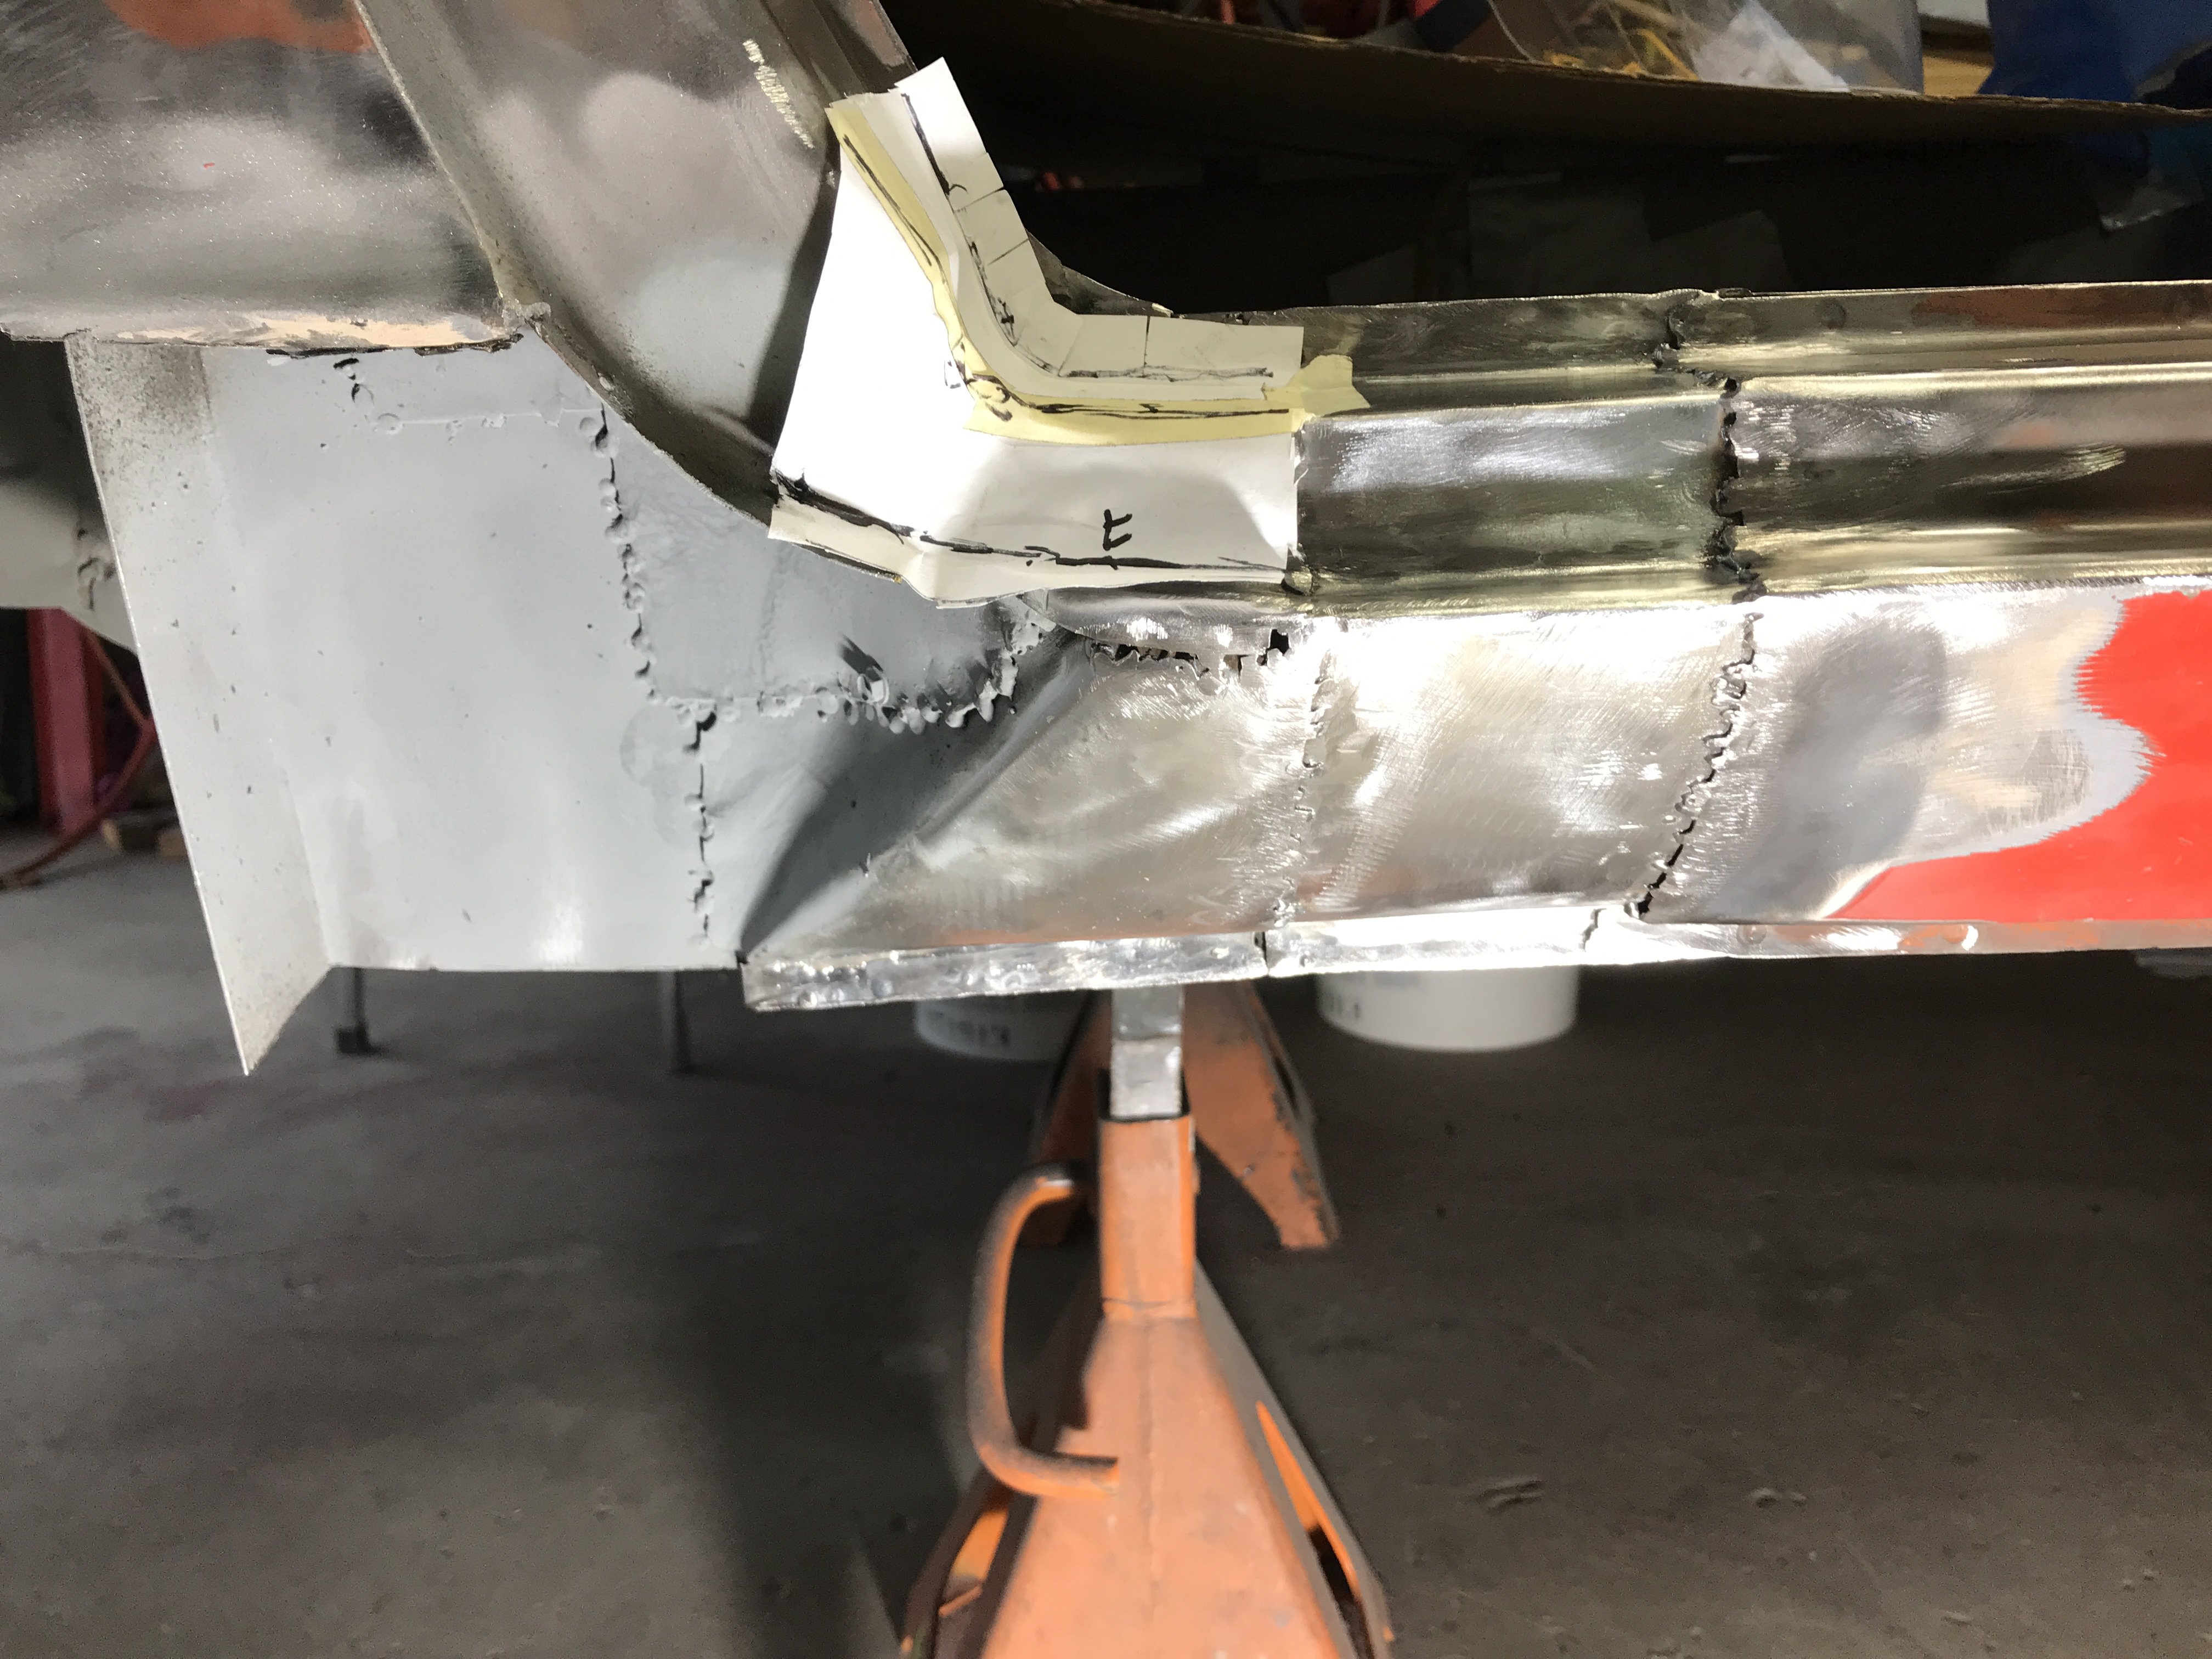
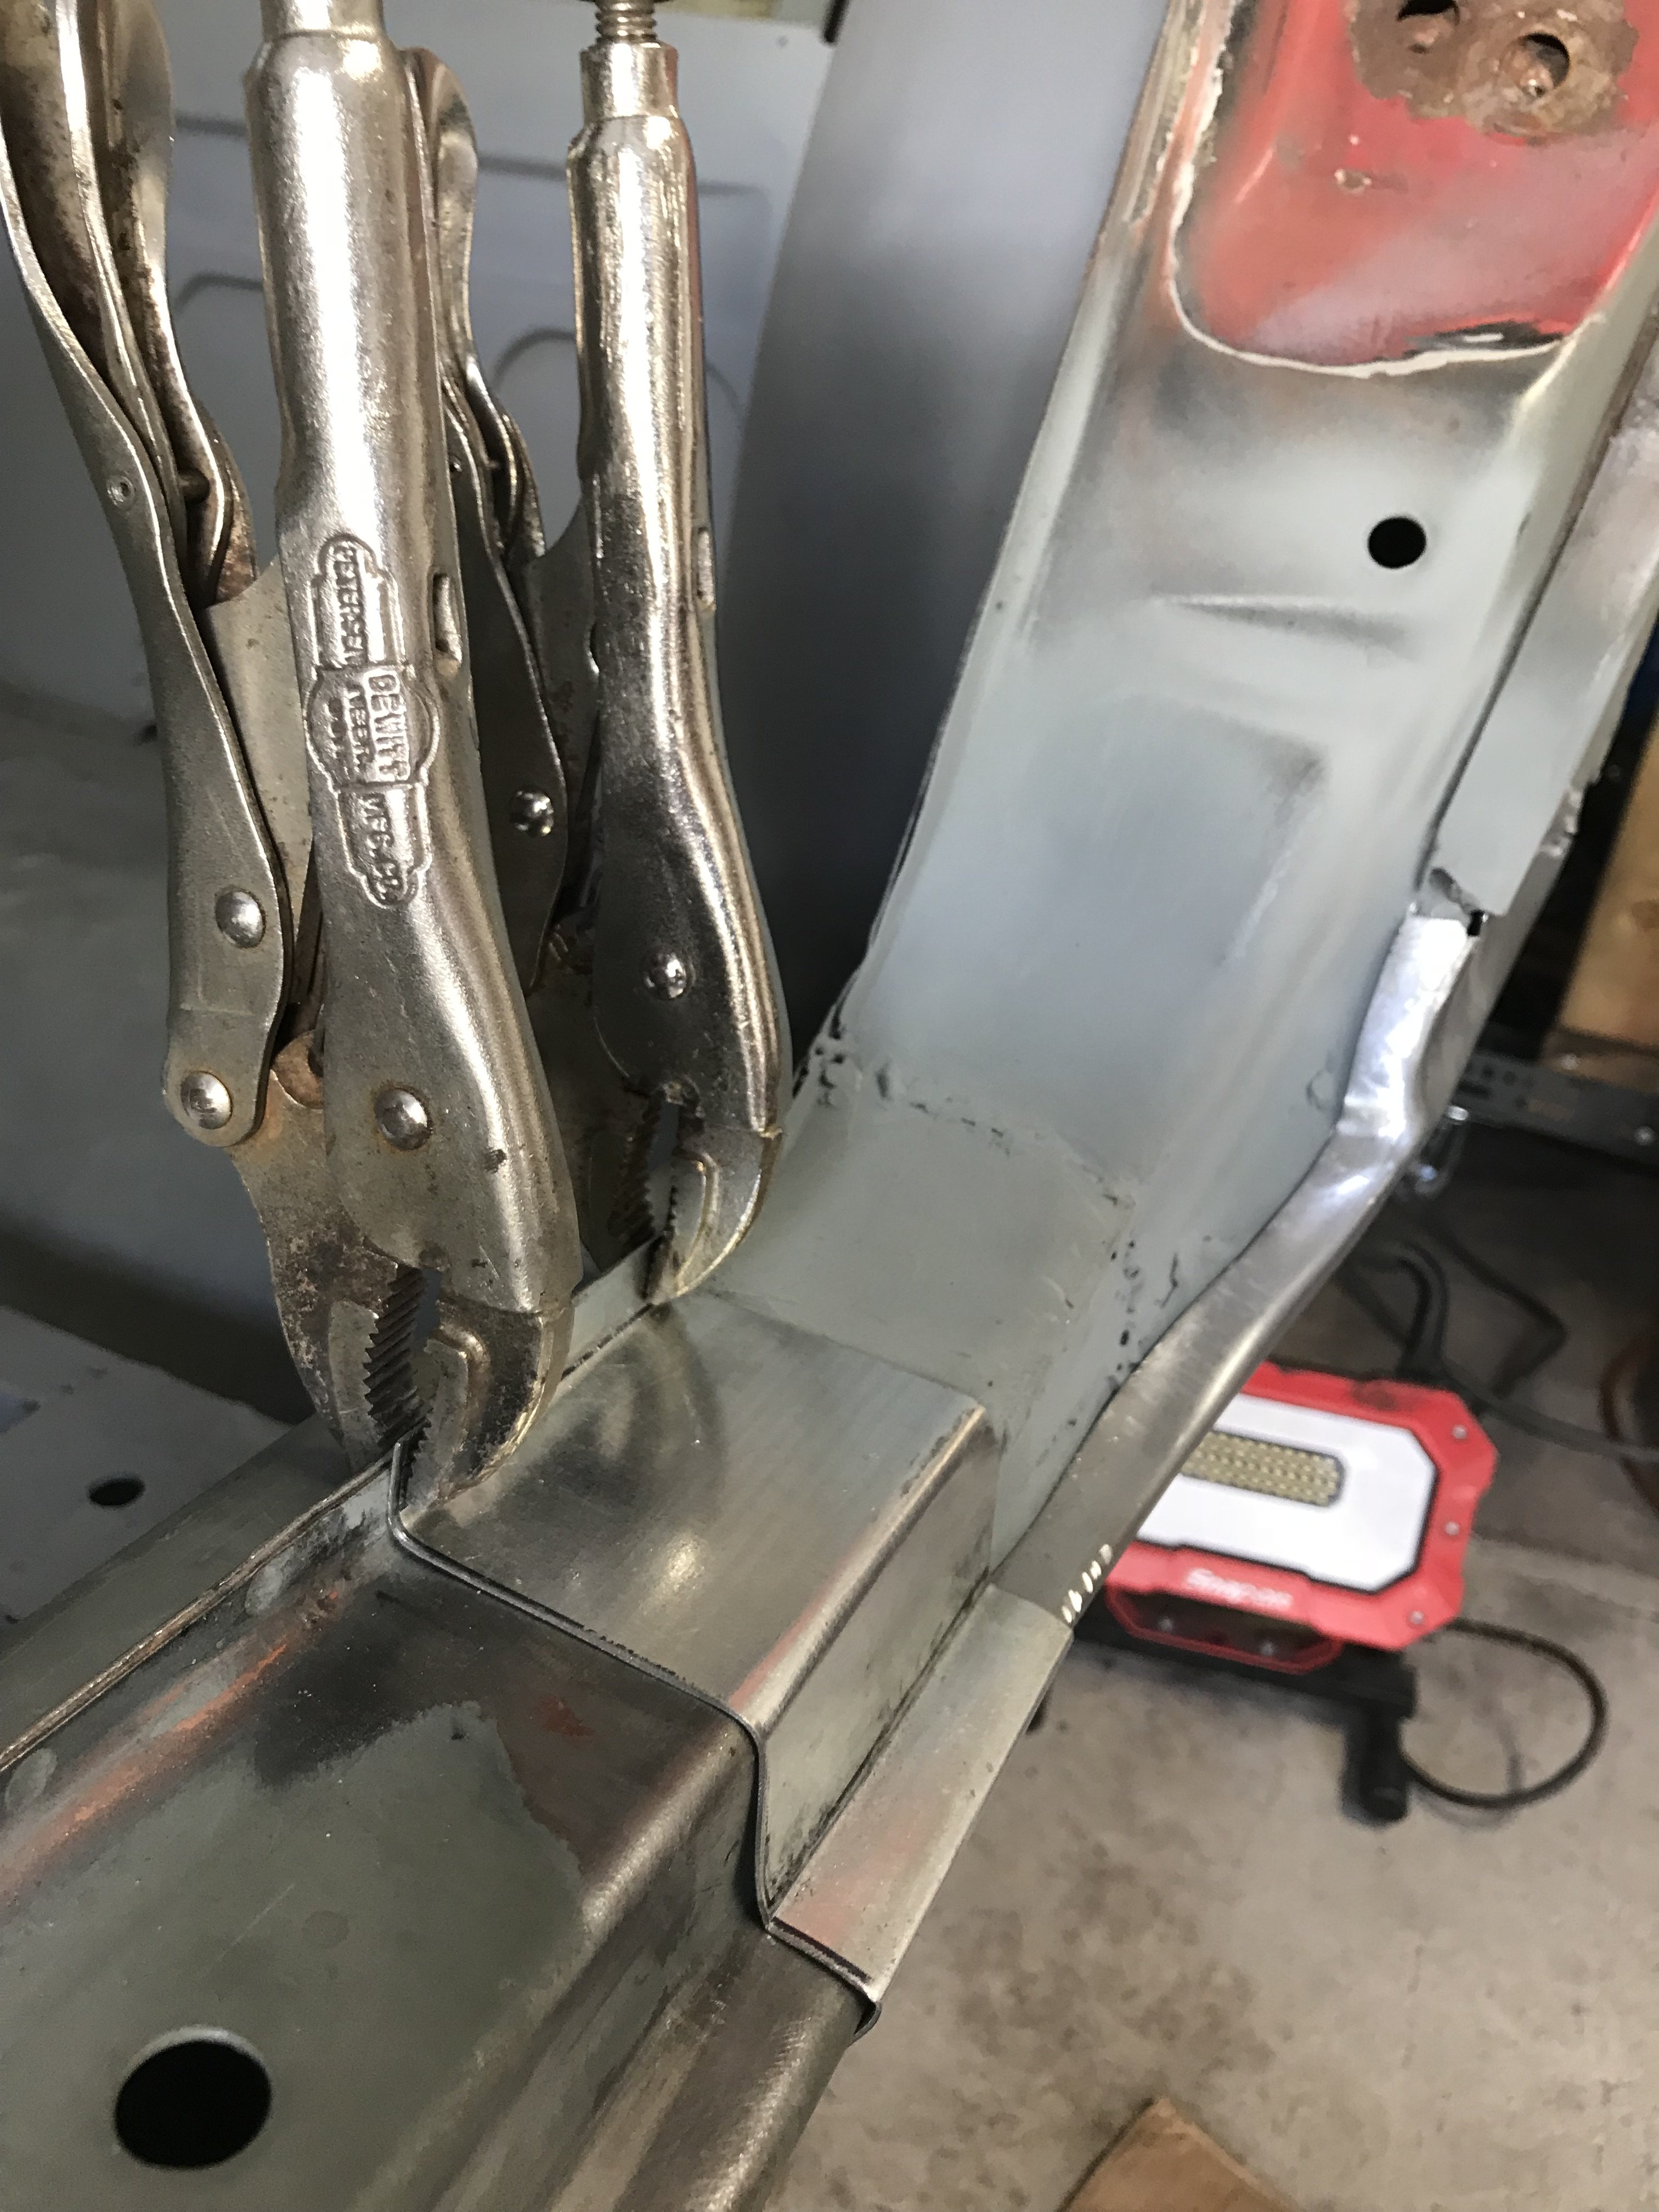
Now, templates were made to construct front upper and side step for the dog leg. This required three separate metal pieces to make this complex shape.
Used a oxygen/acetylene torch with 1/16" steel rod as the metal was so thin.
The finished front upper section of the door leg( three separate pieces of sheet metal welded together).
The welded section was then welded to original dog leg and then painted with welding primer.
-
After waiting for my replacement dog leg panel for a month, I canceled my order with them. I then ordered the panel from Z Depot instead. It
came in one week. Now I can finished up the corrosion repair. I welded in the inner reinforcement panel and painted with welding
primer.
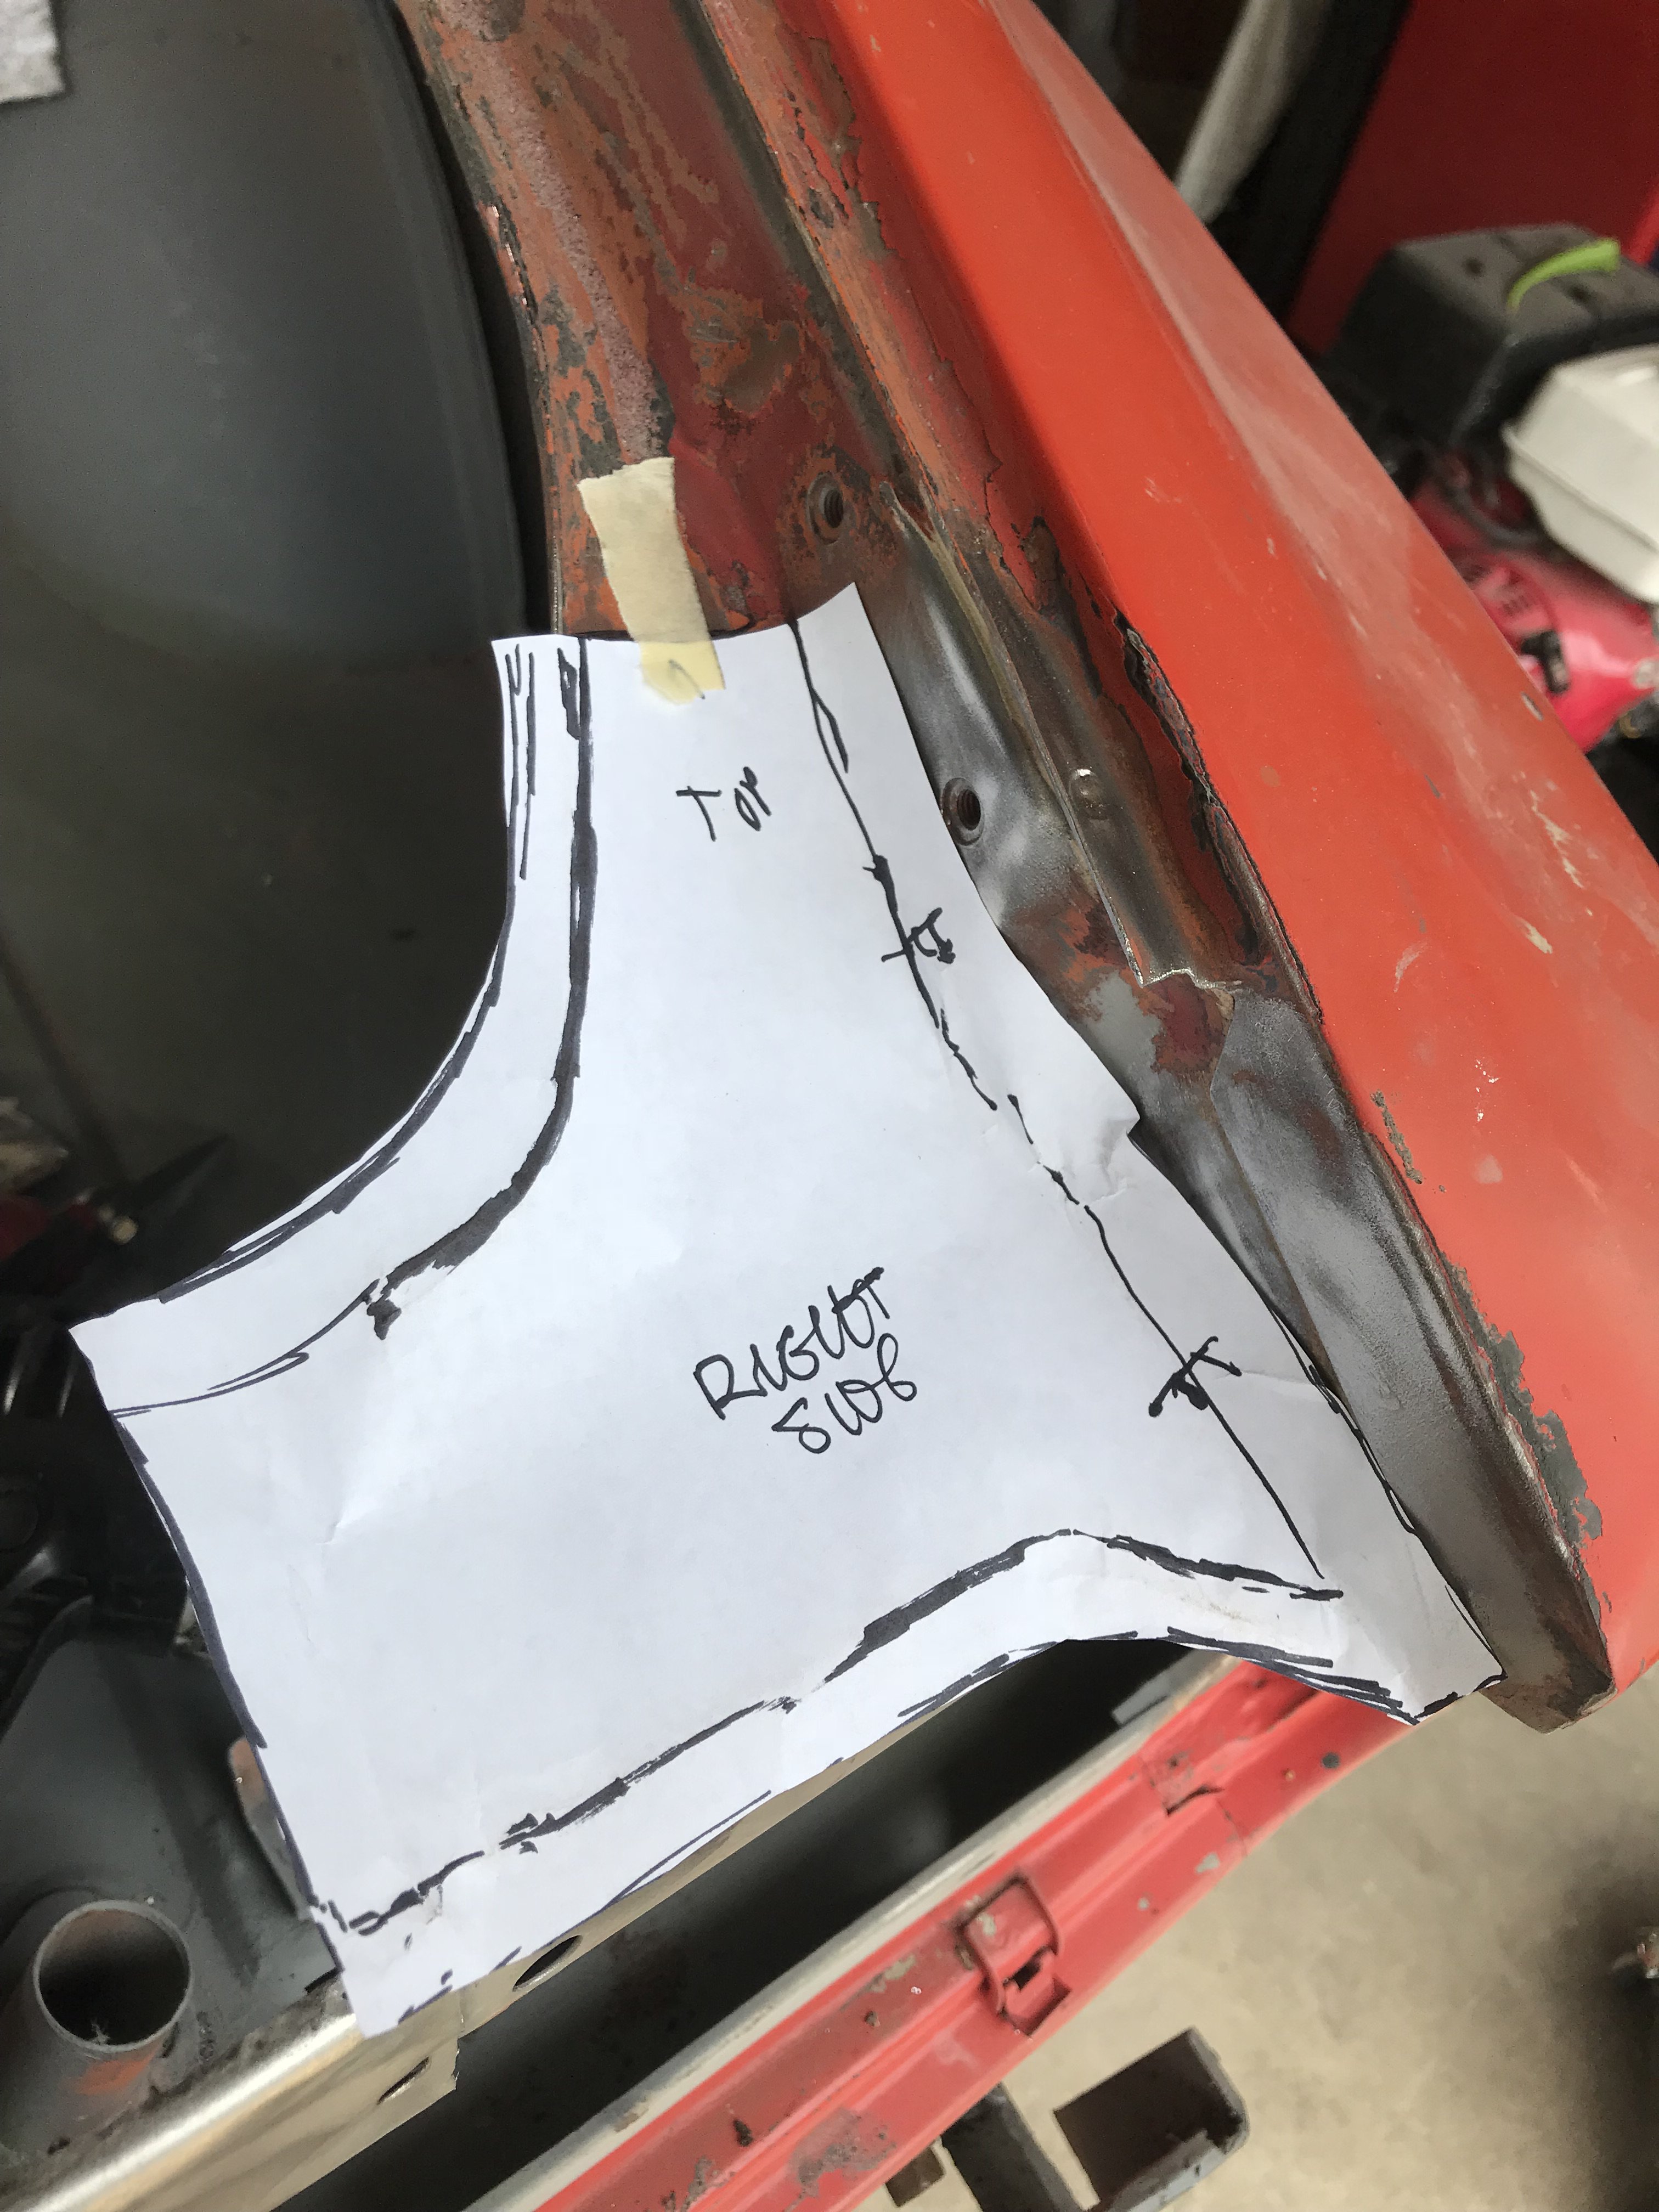
Now to fabricating the upper portion of the dog leg.
First , a template must be made .
Using a metal shrinker , the upper dog leg portion is created.
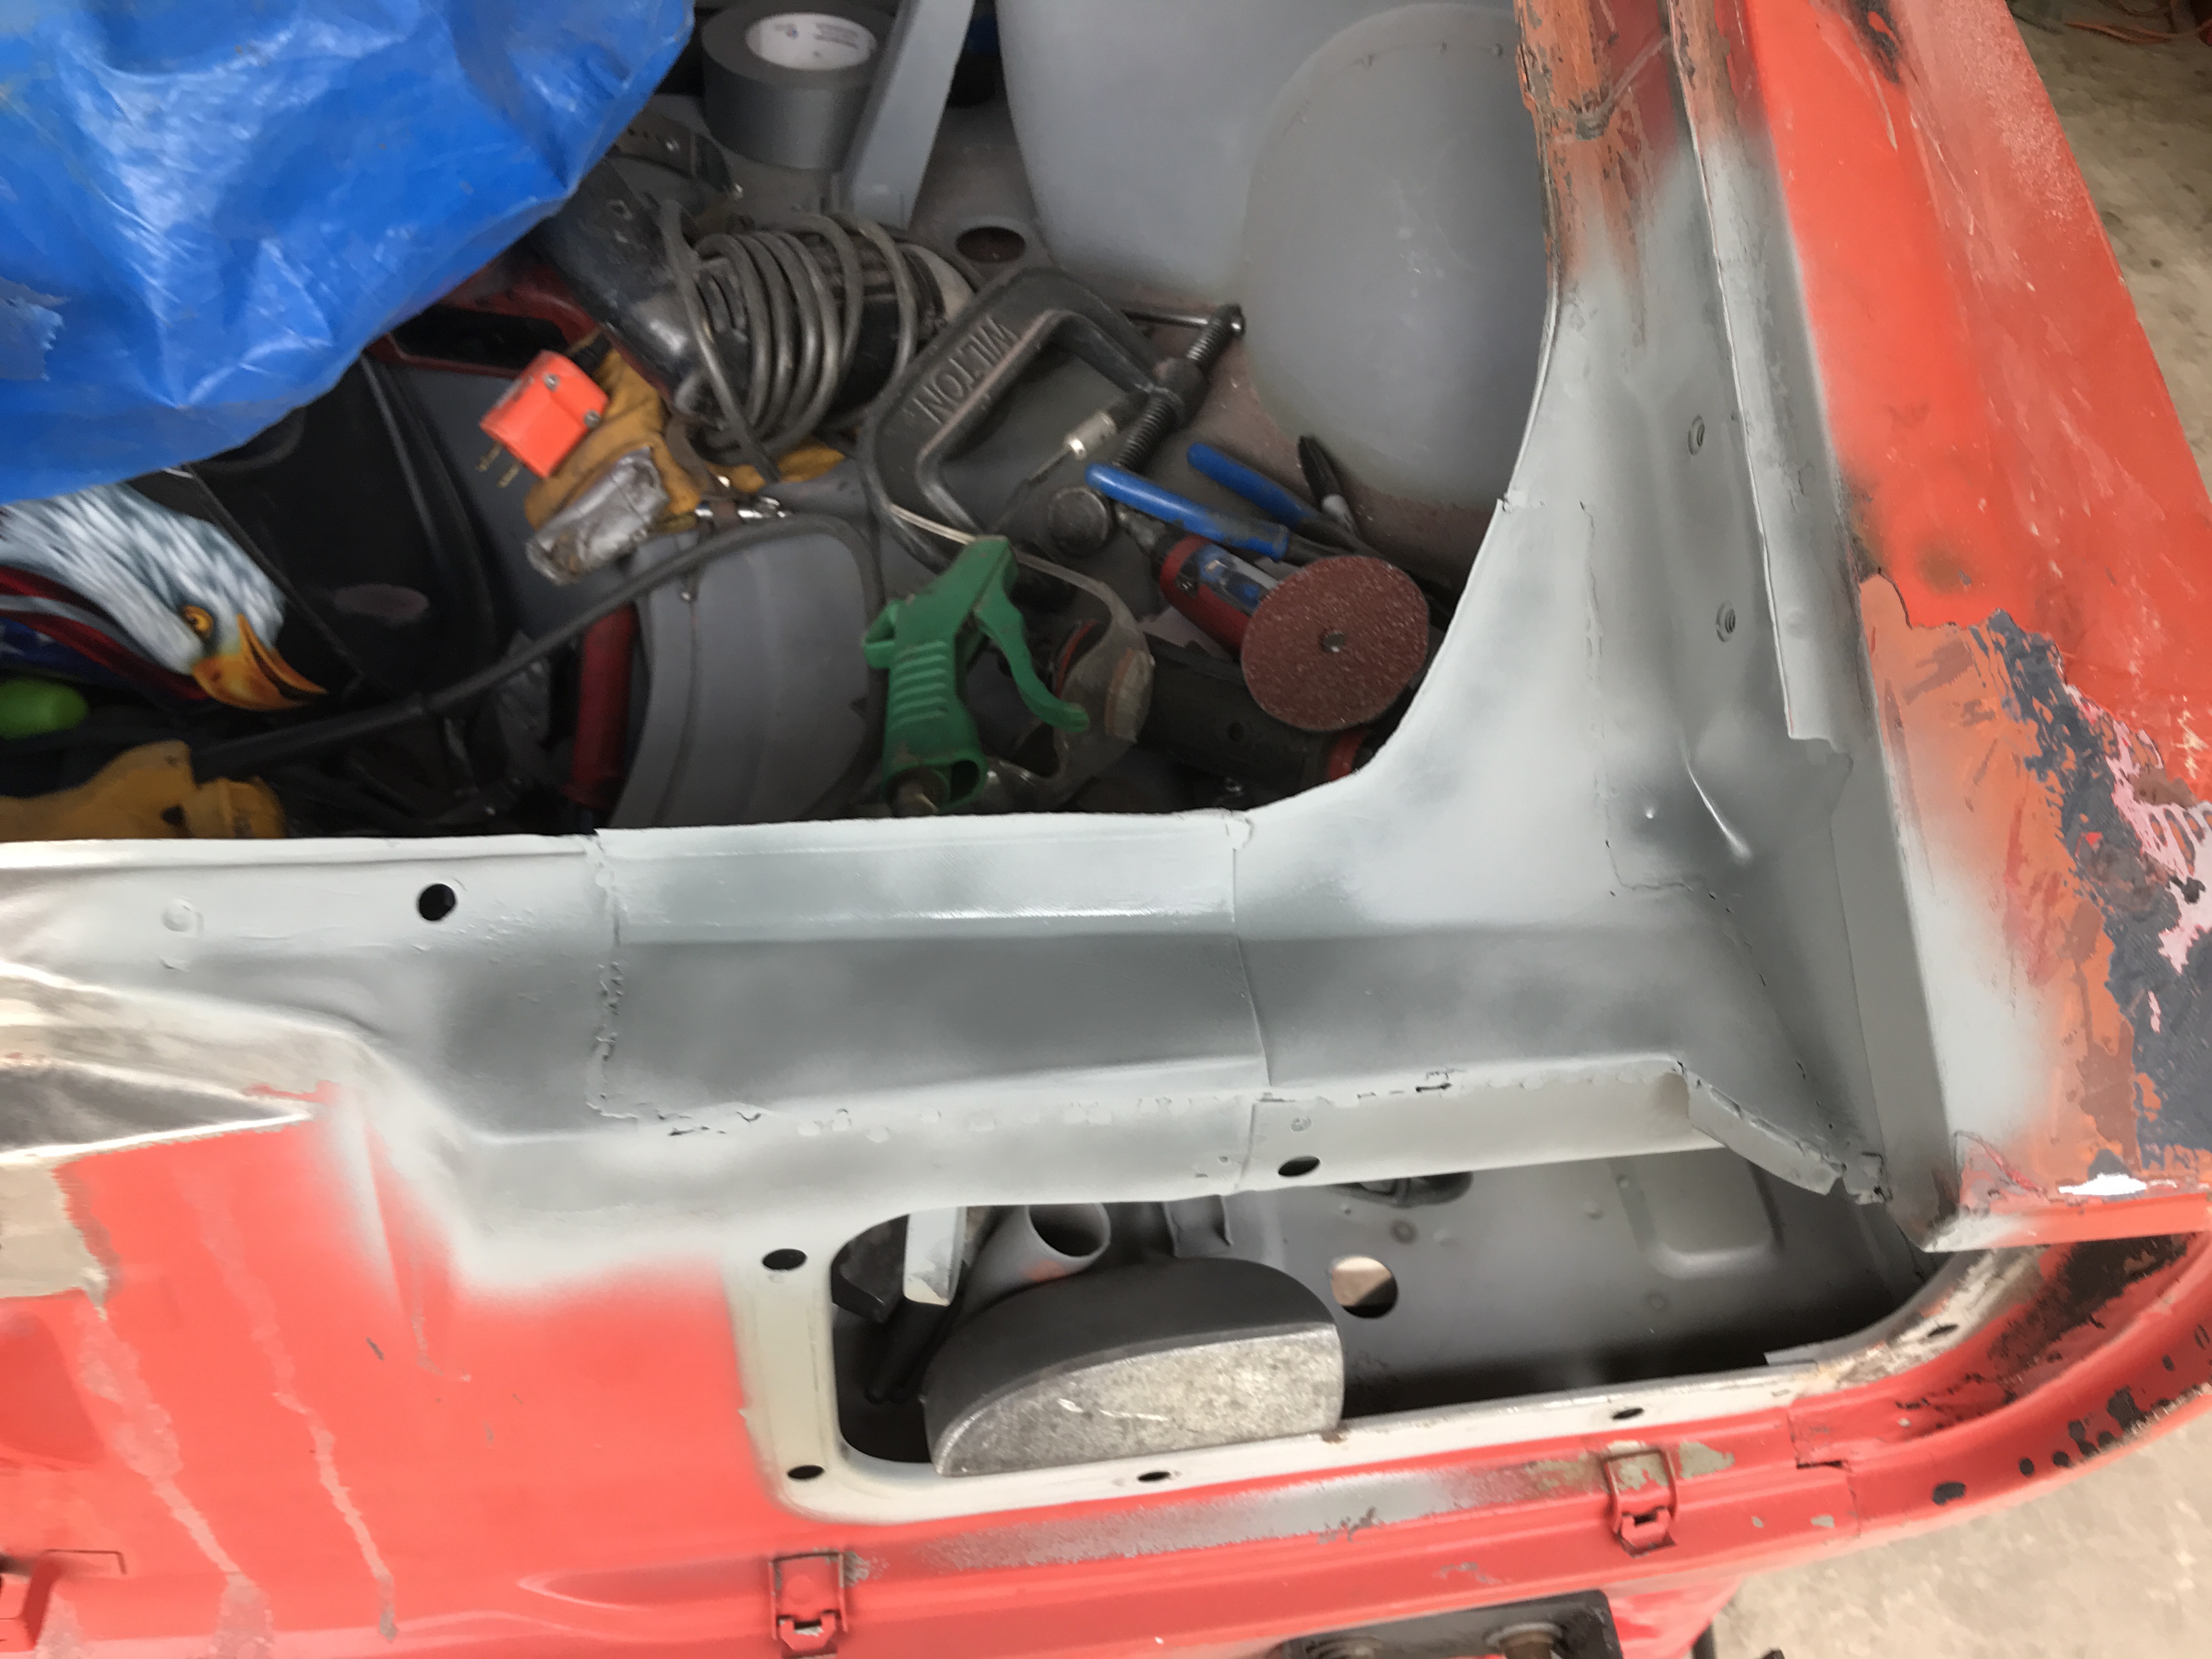
With the upper portion mocked in, the next lower stepped area can made. The picture below shows the dog leg and this stepped area
together.
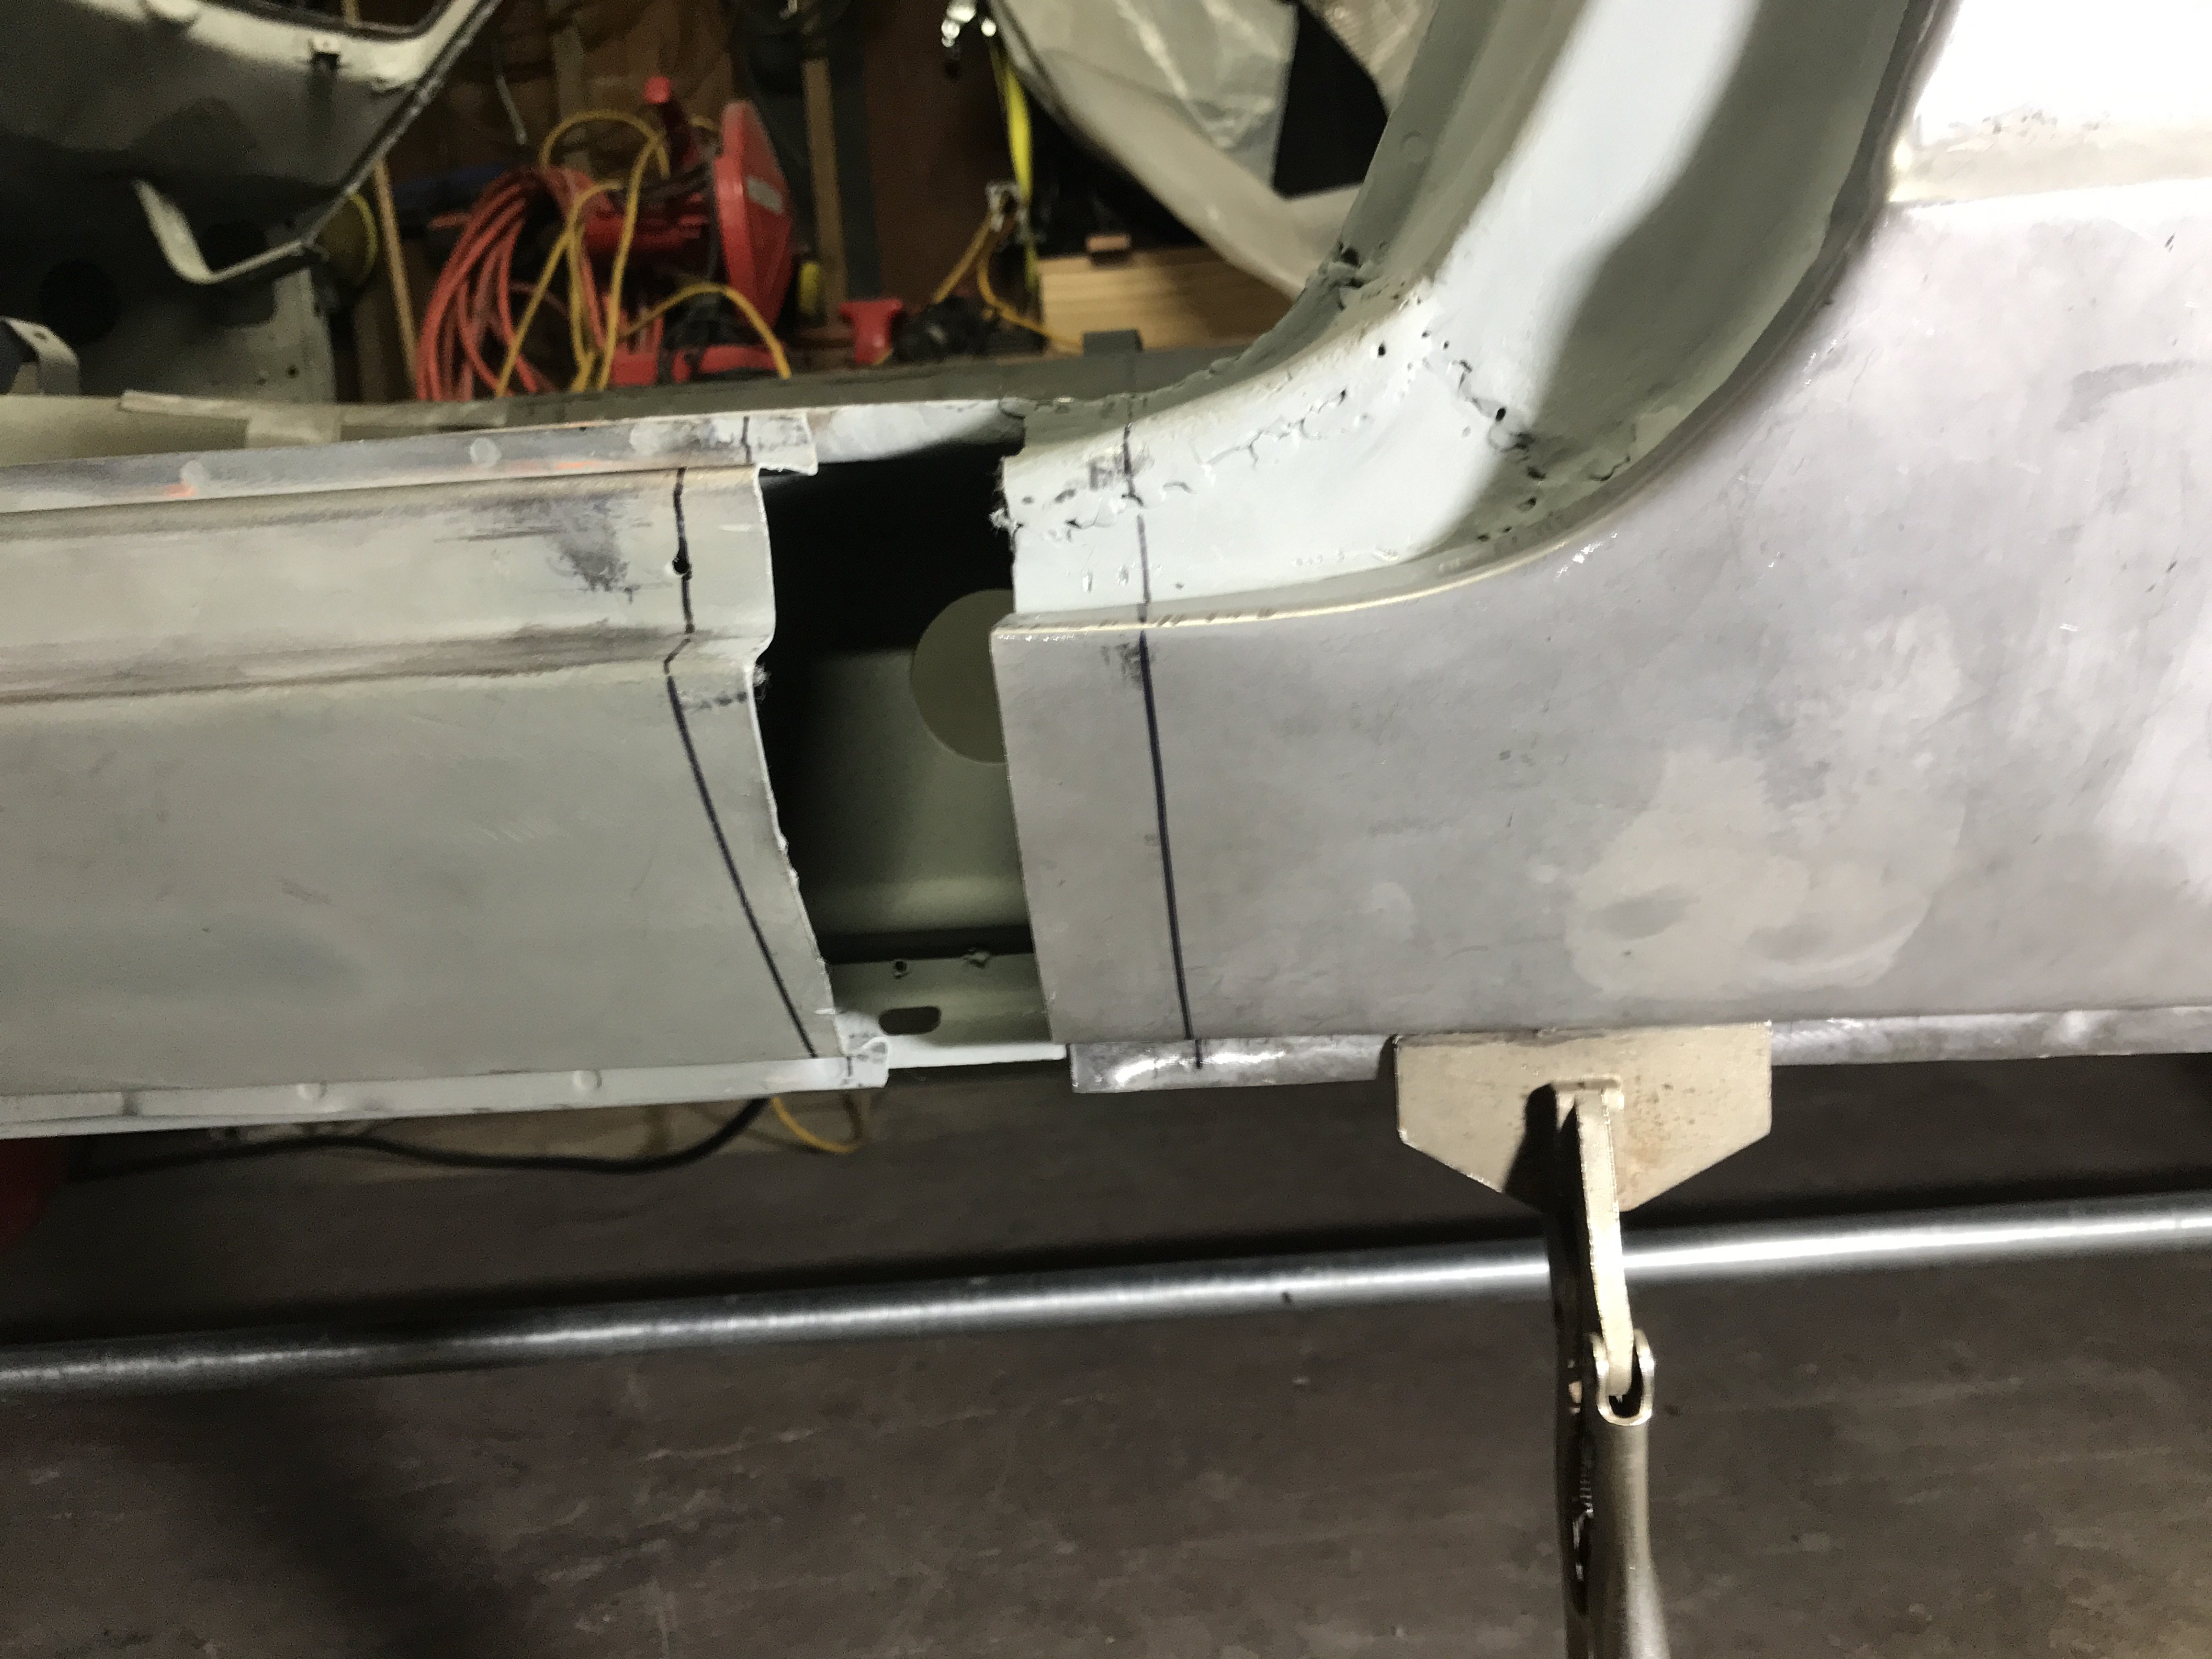
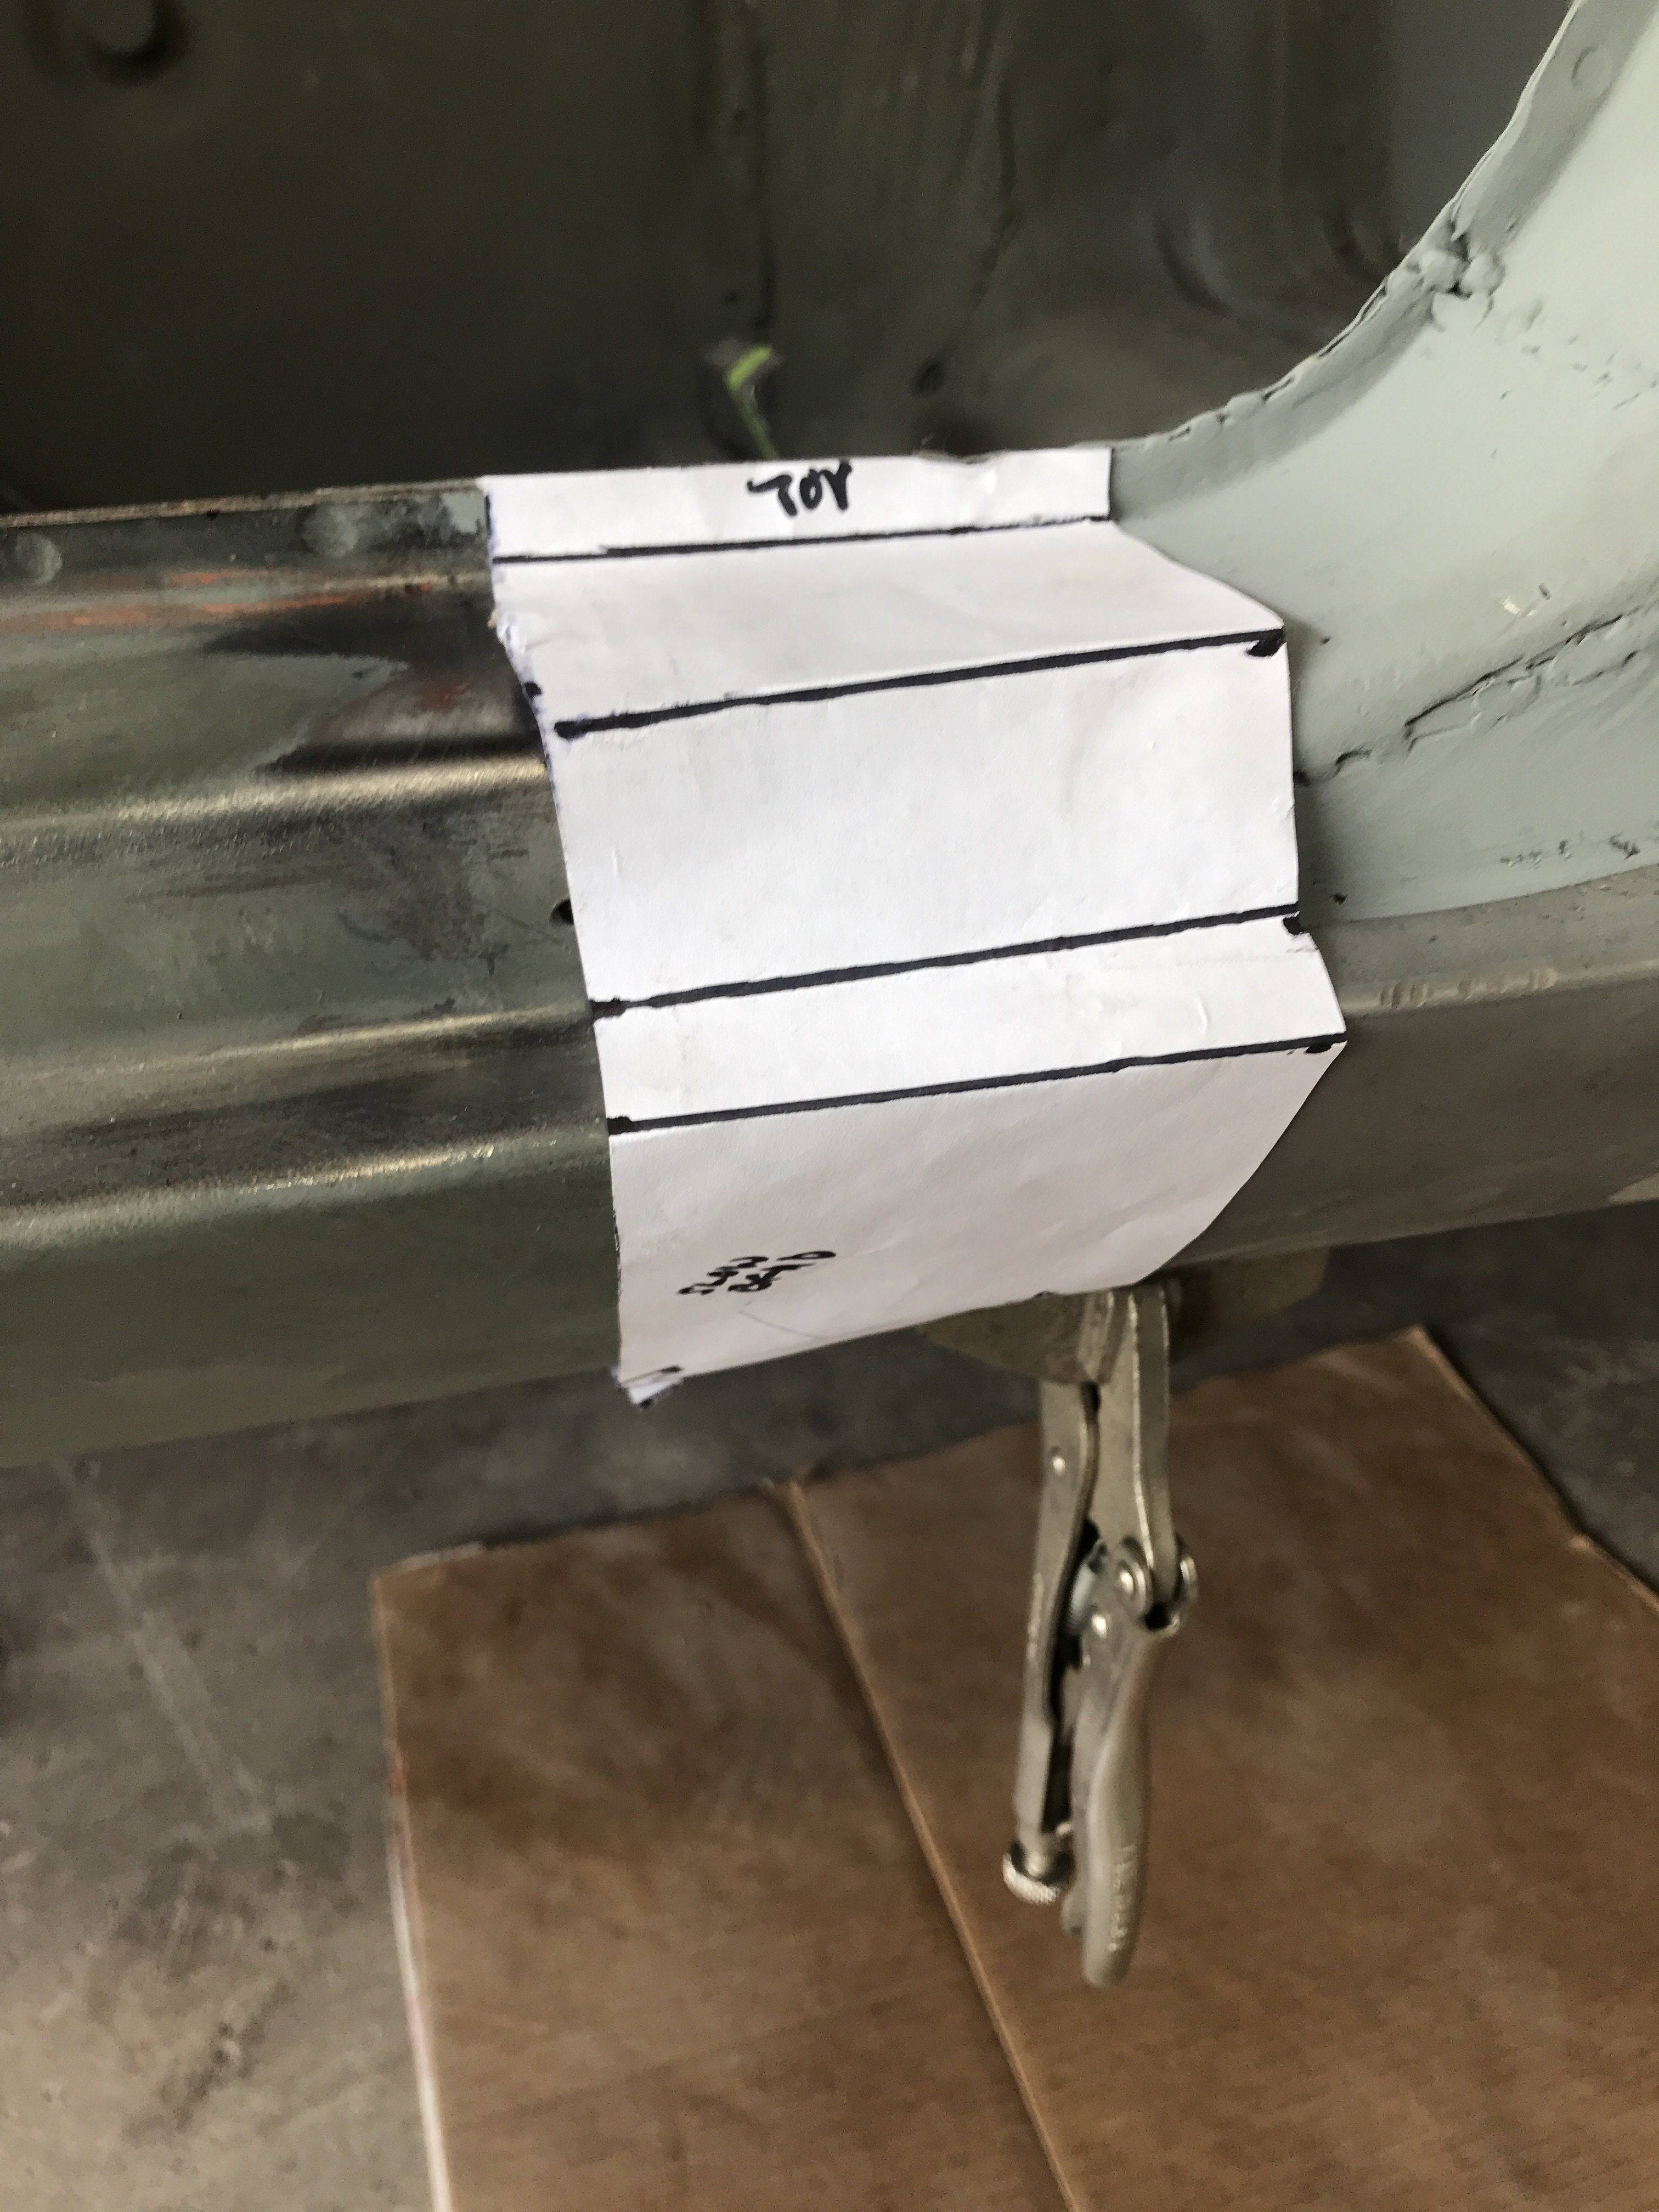
Next, the gap between the rocker panel and the dog leg must be filled. Another template for this gap is made.
There is six separate bends that required. Even with a template, mistakes can happen. Just straighten it out and rebend it.
Sometimes even with metal brake, you have to use "red neck" technology to get the job done.
Almost finished, the patch and dog leg ready to be welded. The wheel opening end won't be welded yet as the new flare size has yet to be determined.
-
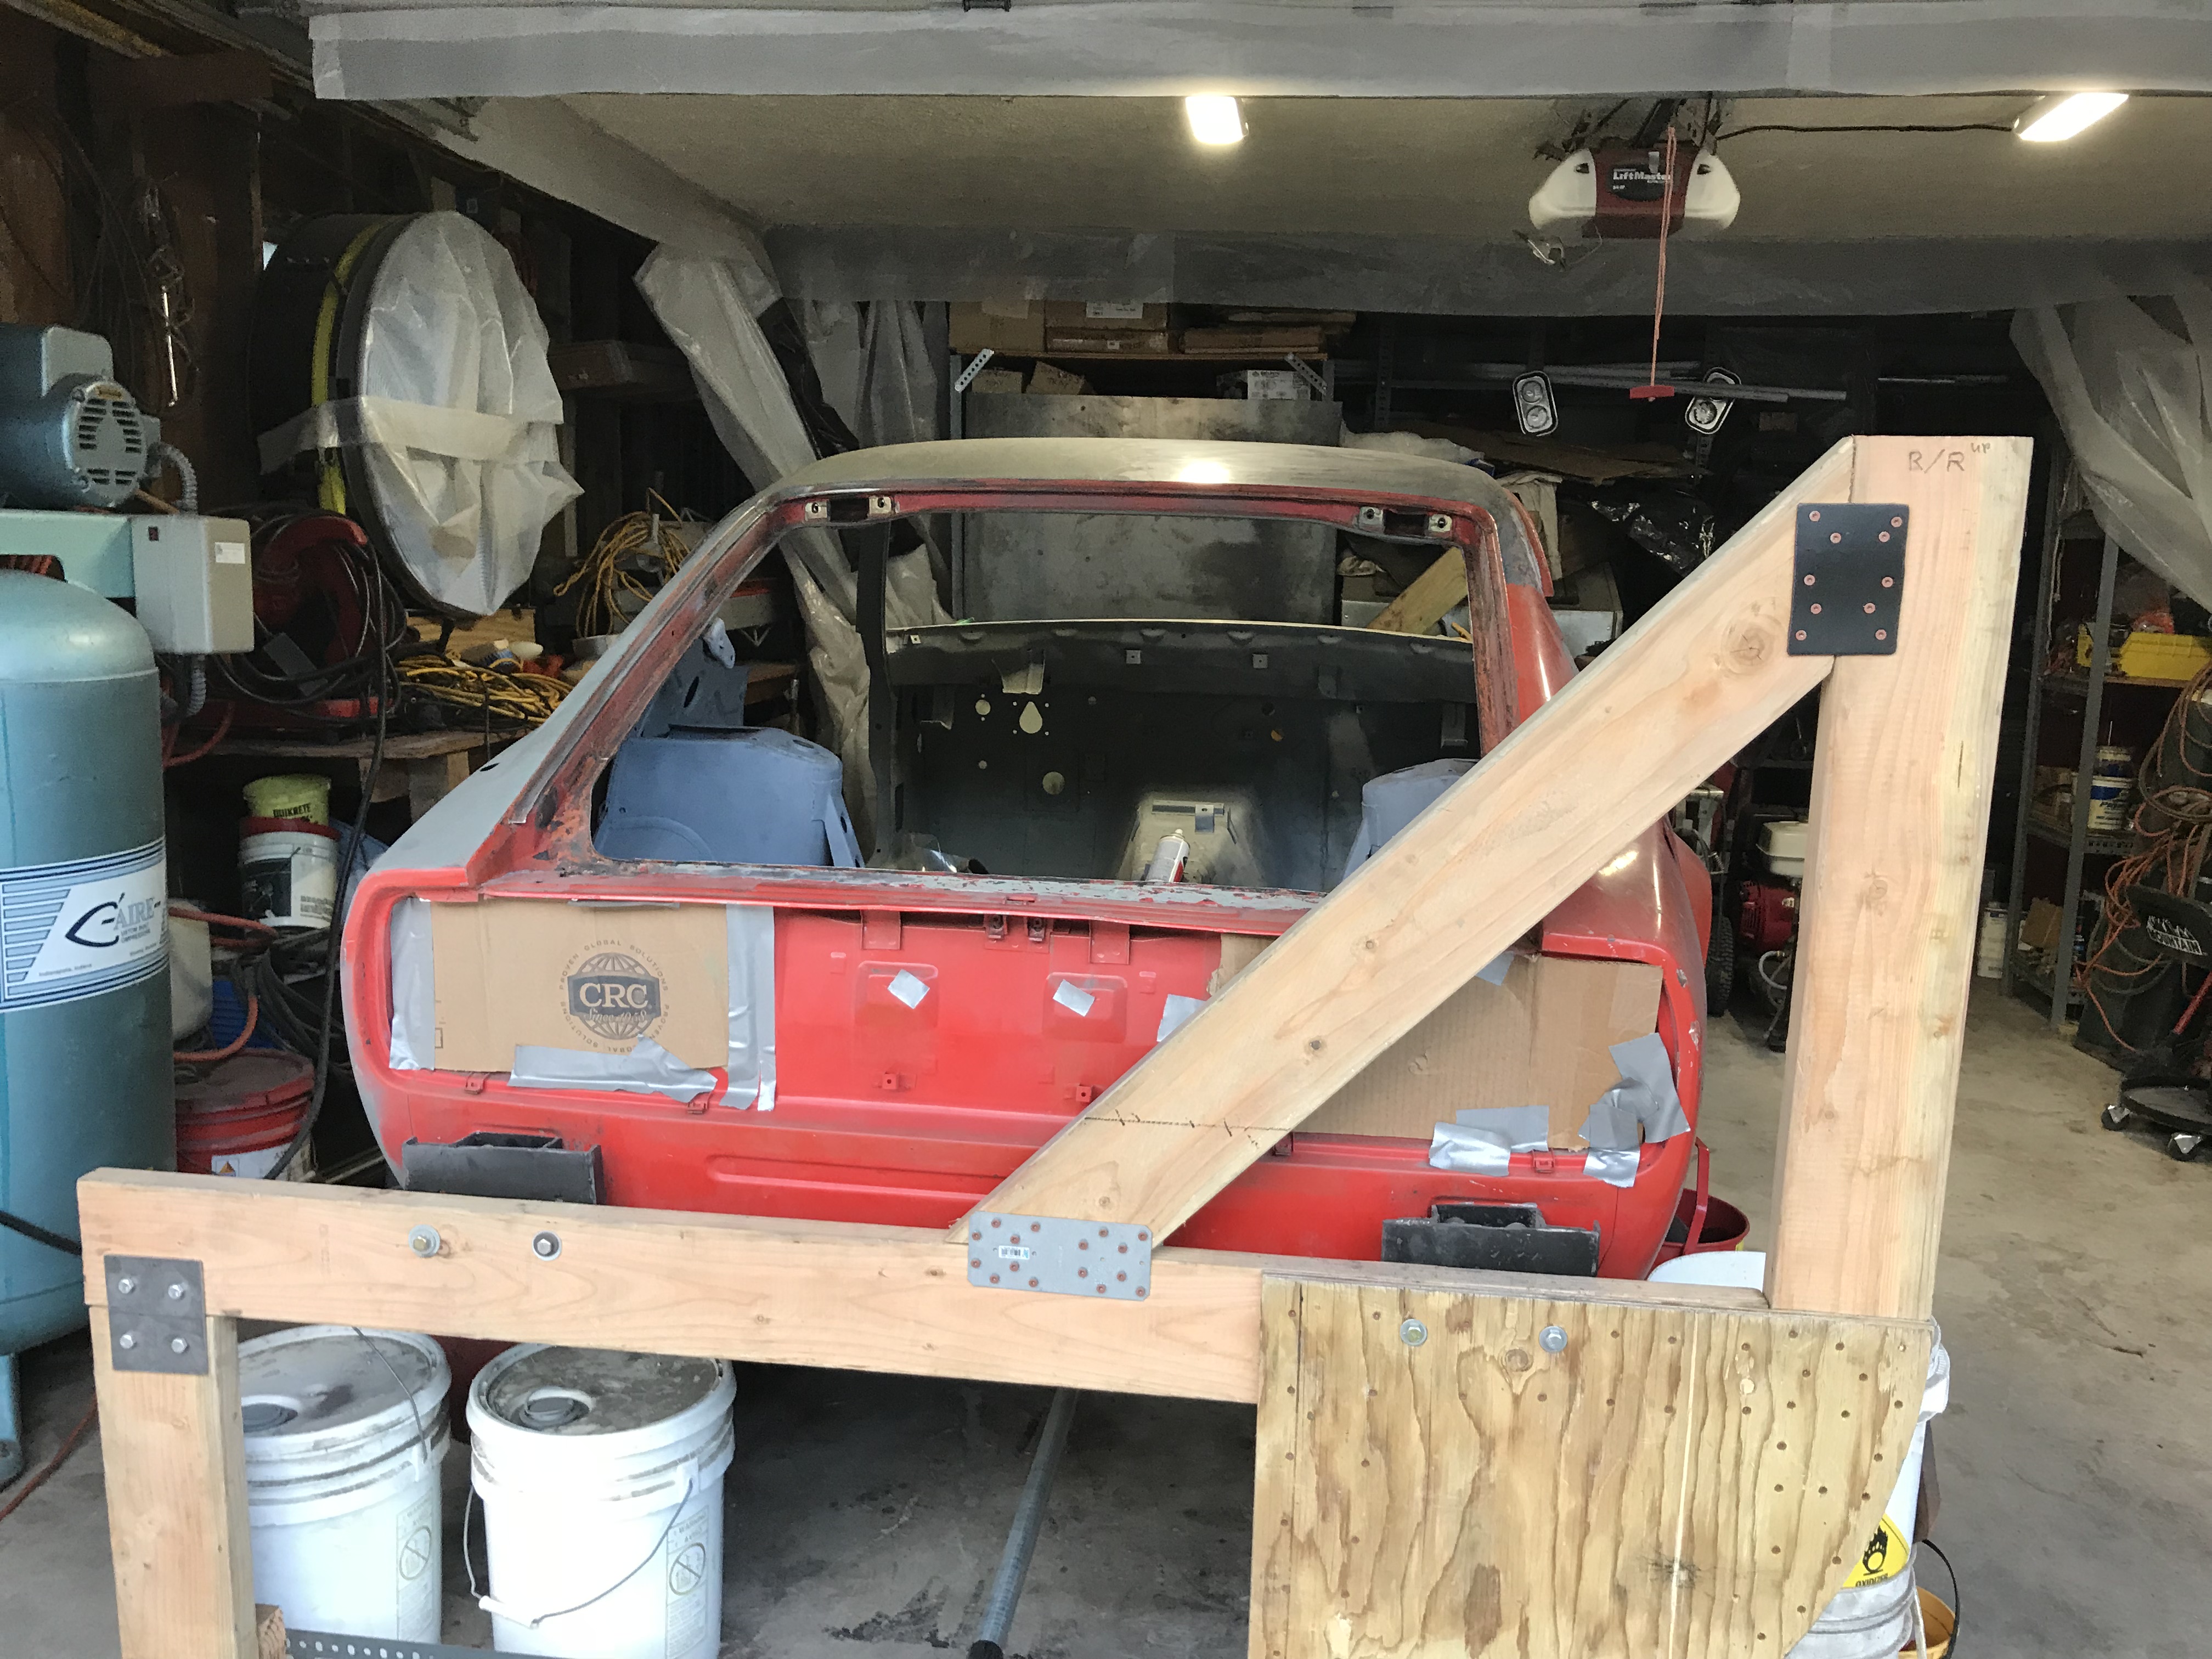
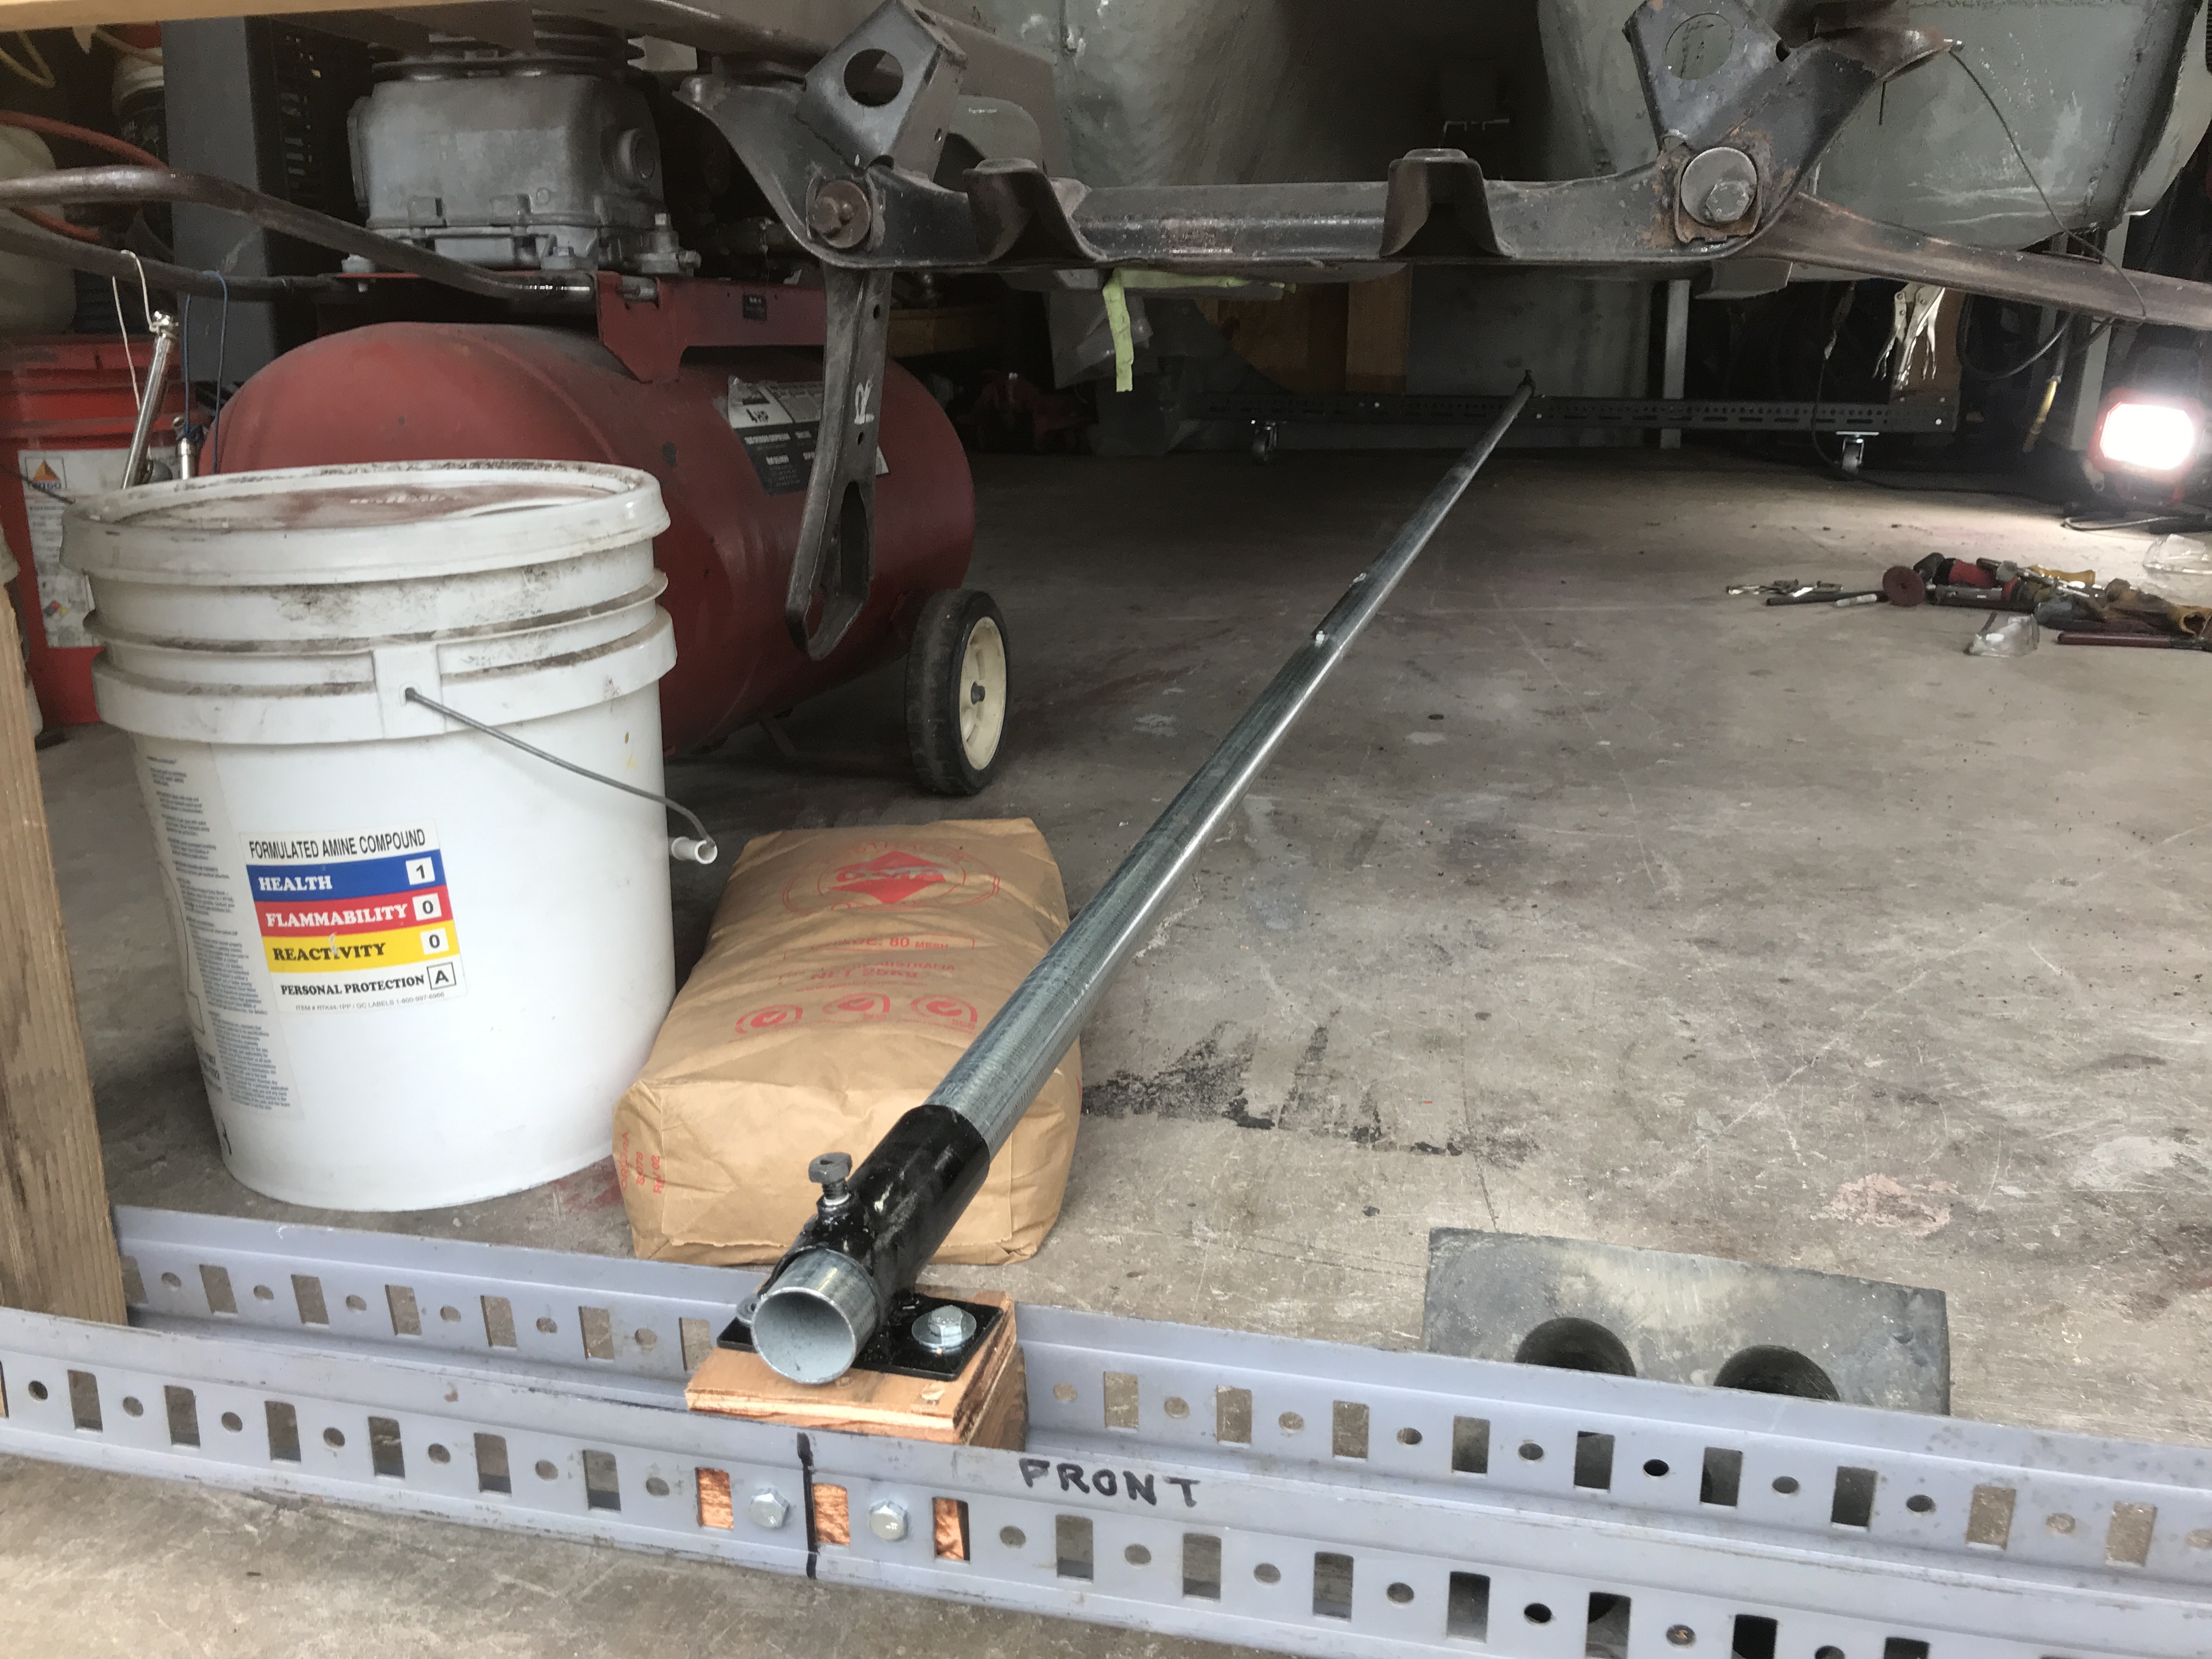
After rotating the car to the horizontal position, I attached the two caster cross members. Pushing the car around was fine but I noticed that
the rotisserie was wobbly when moved. So I decided to add a 1 1/4" galvanized conduit between the two ends of rotisserie to solve the problem.
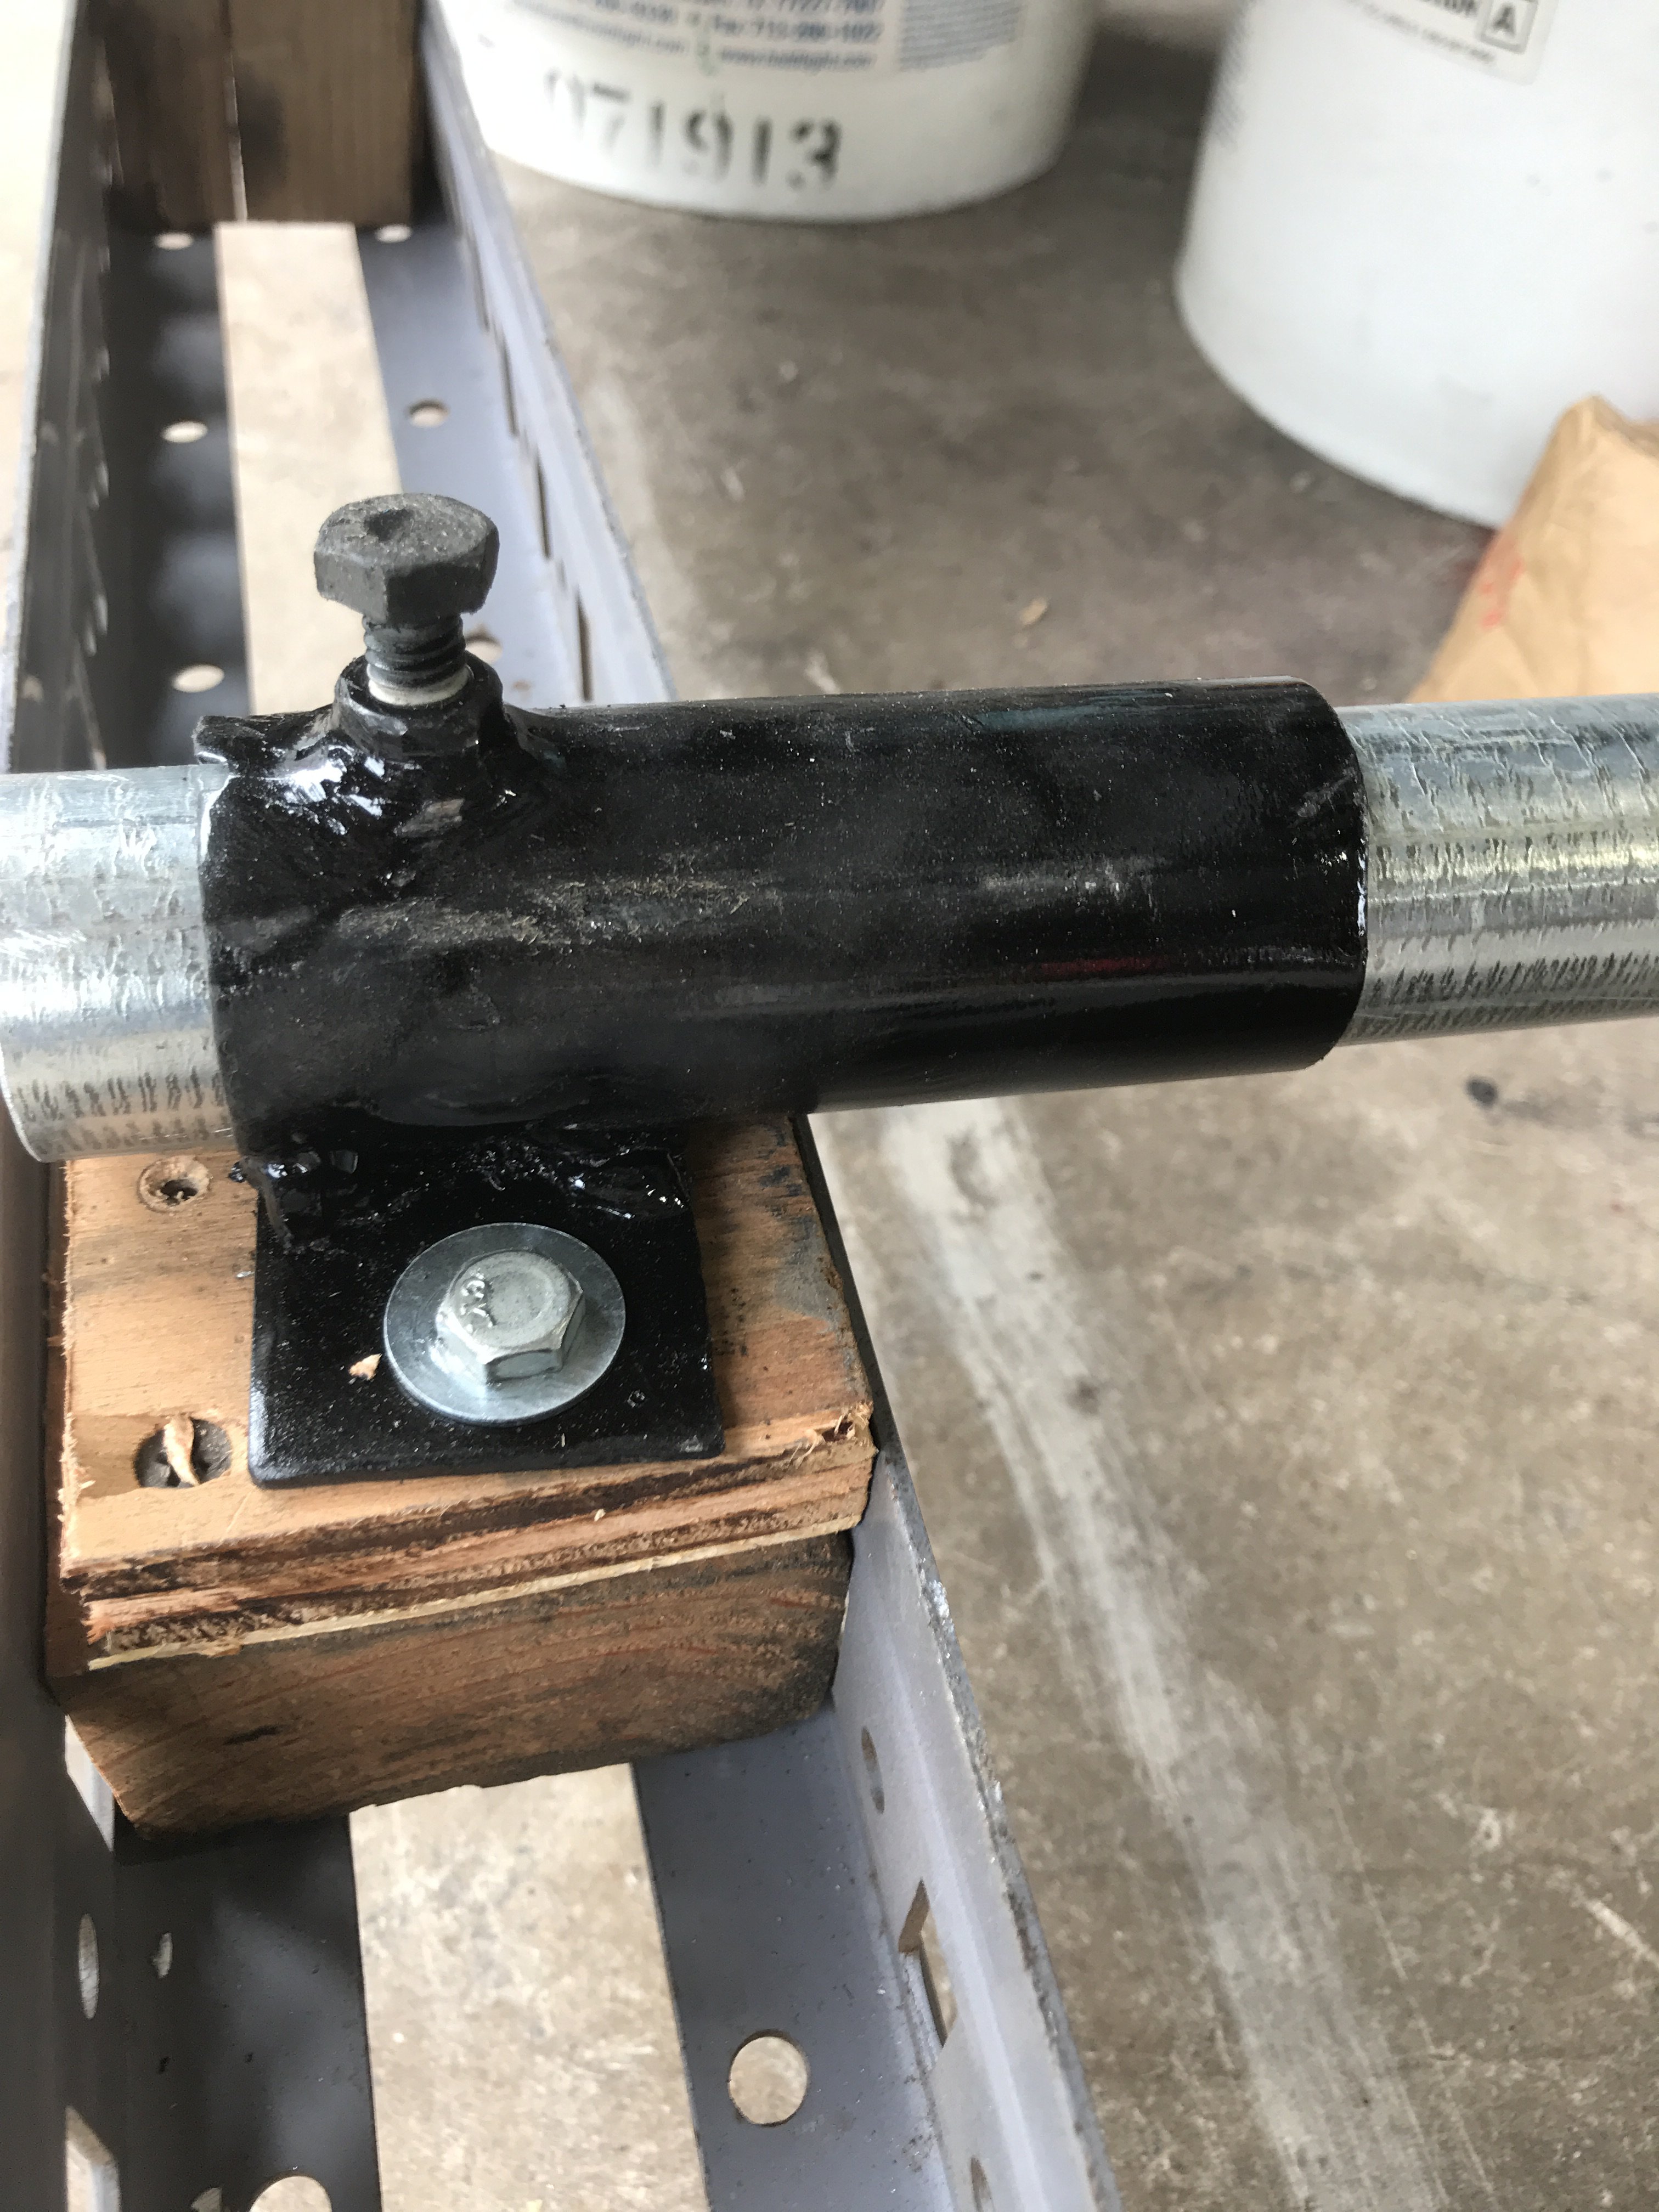
Two mounts were made to hold the 15 feet of 1 1/4" conduit. Two 5/16" x 1" lag screws held the mount to the cross member.
A 3/8" bolt with welded nut holds the conduit in place.
-
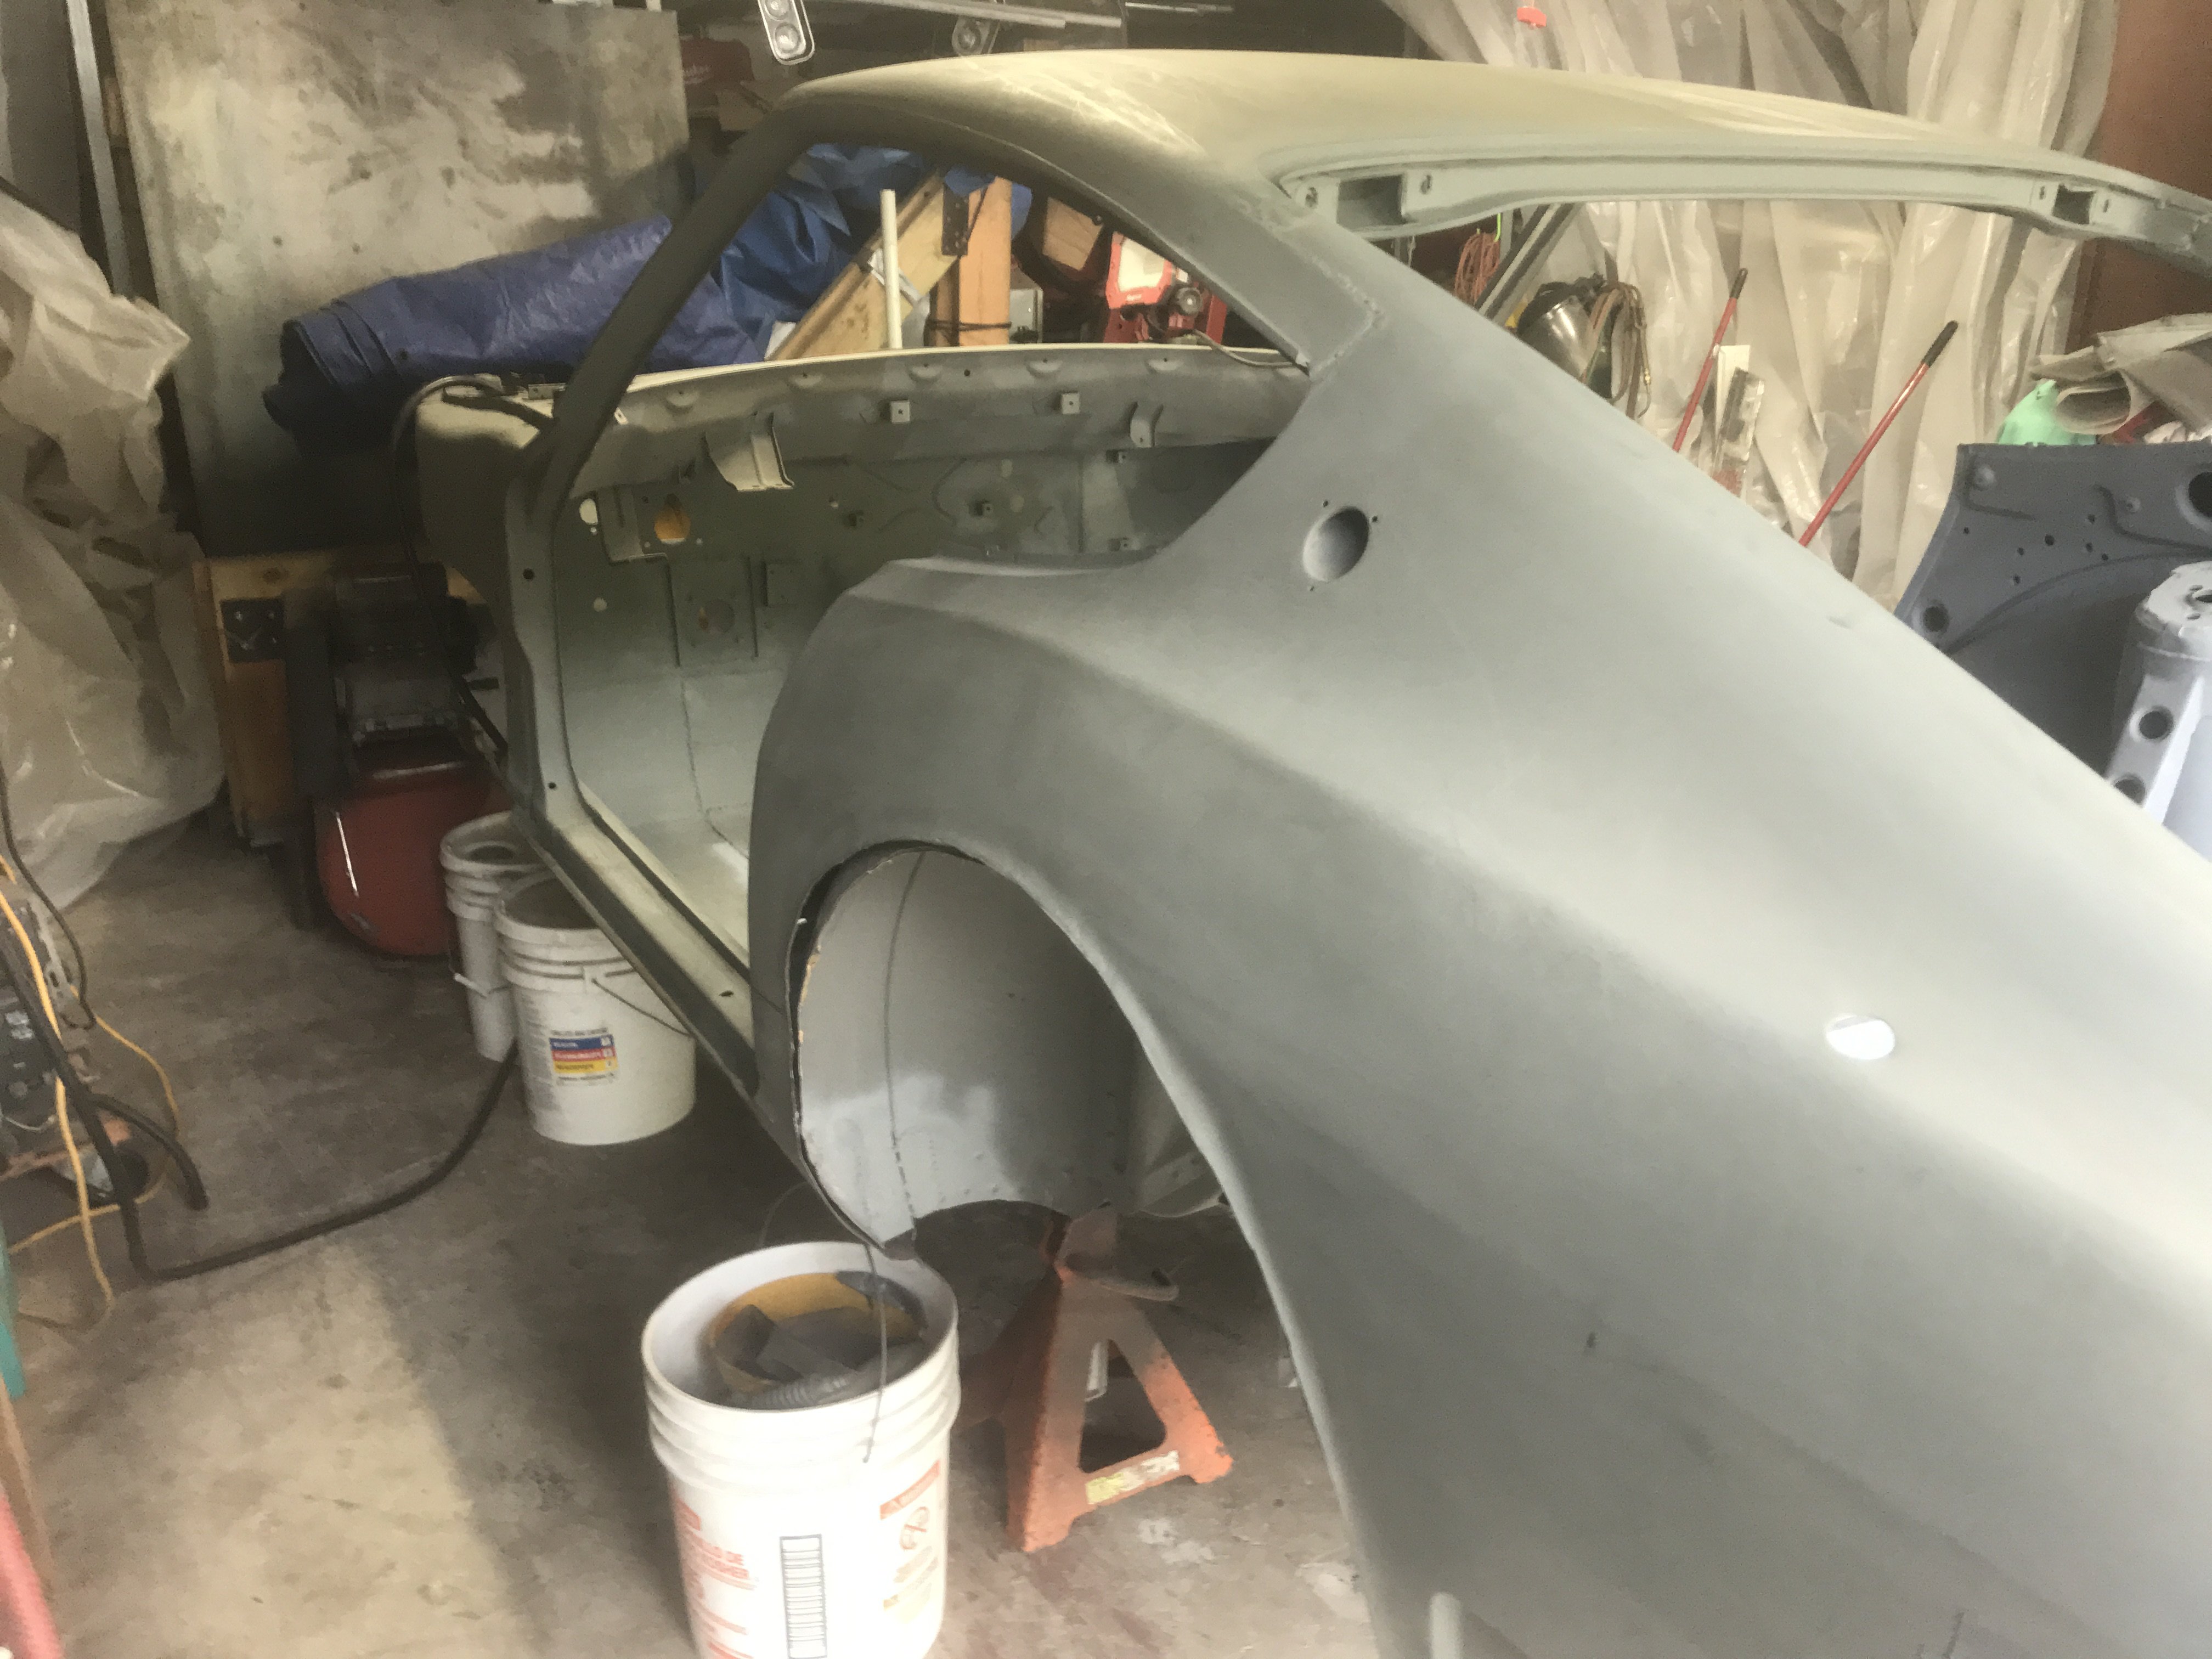
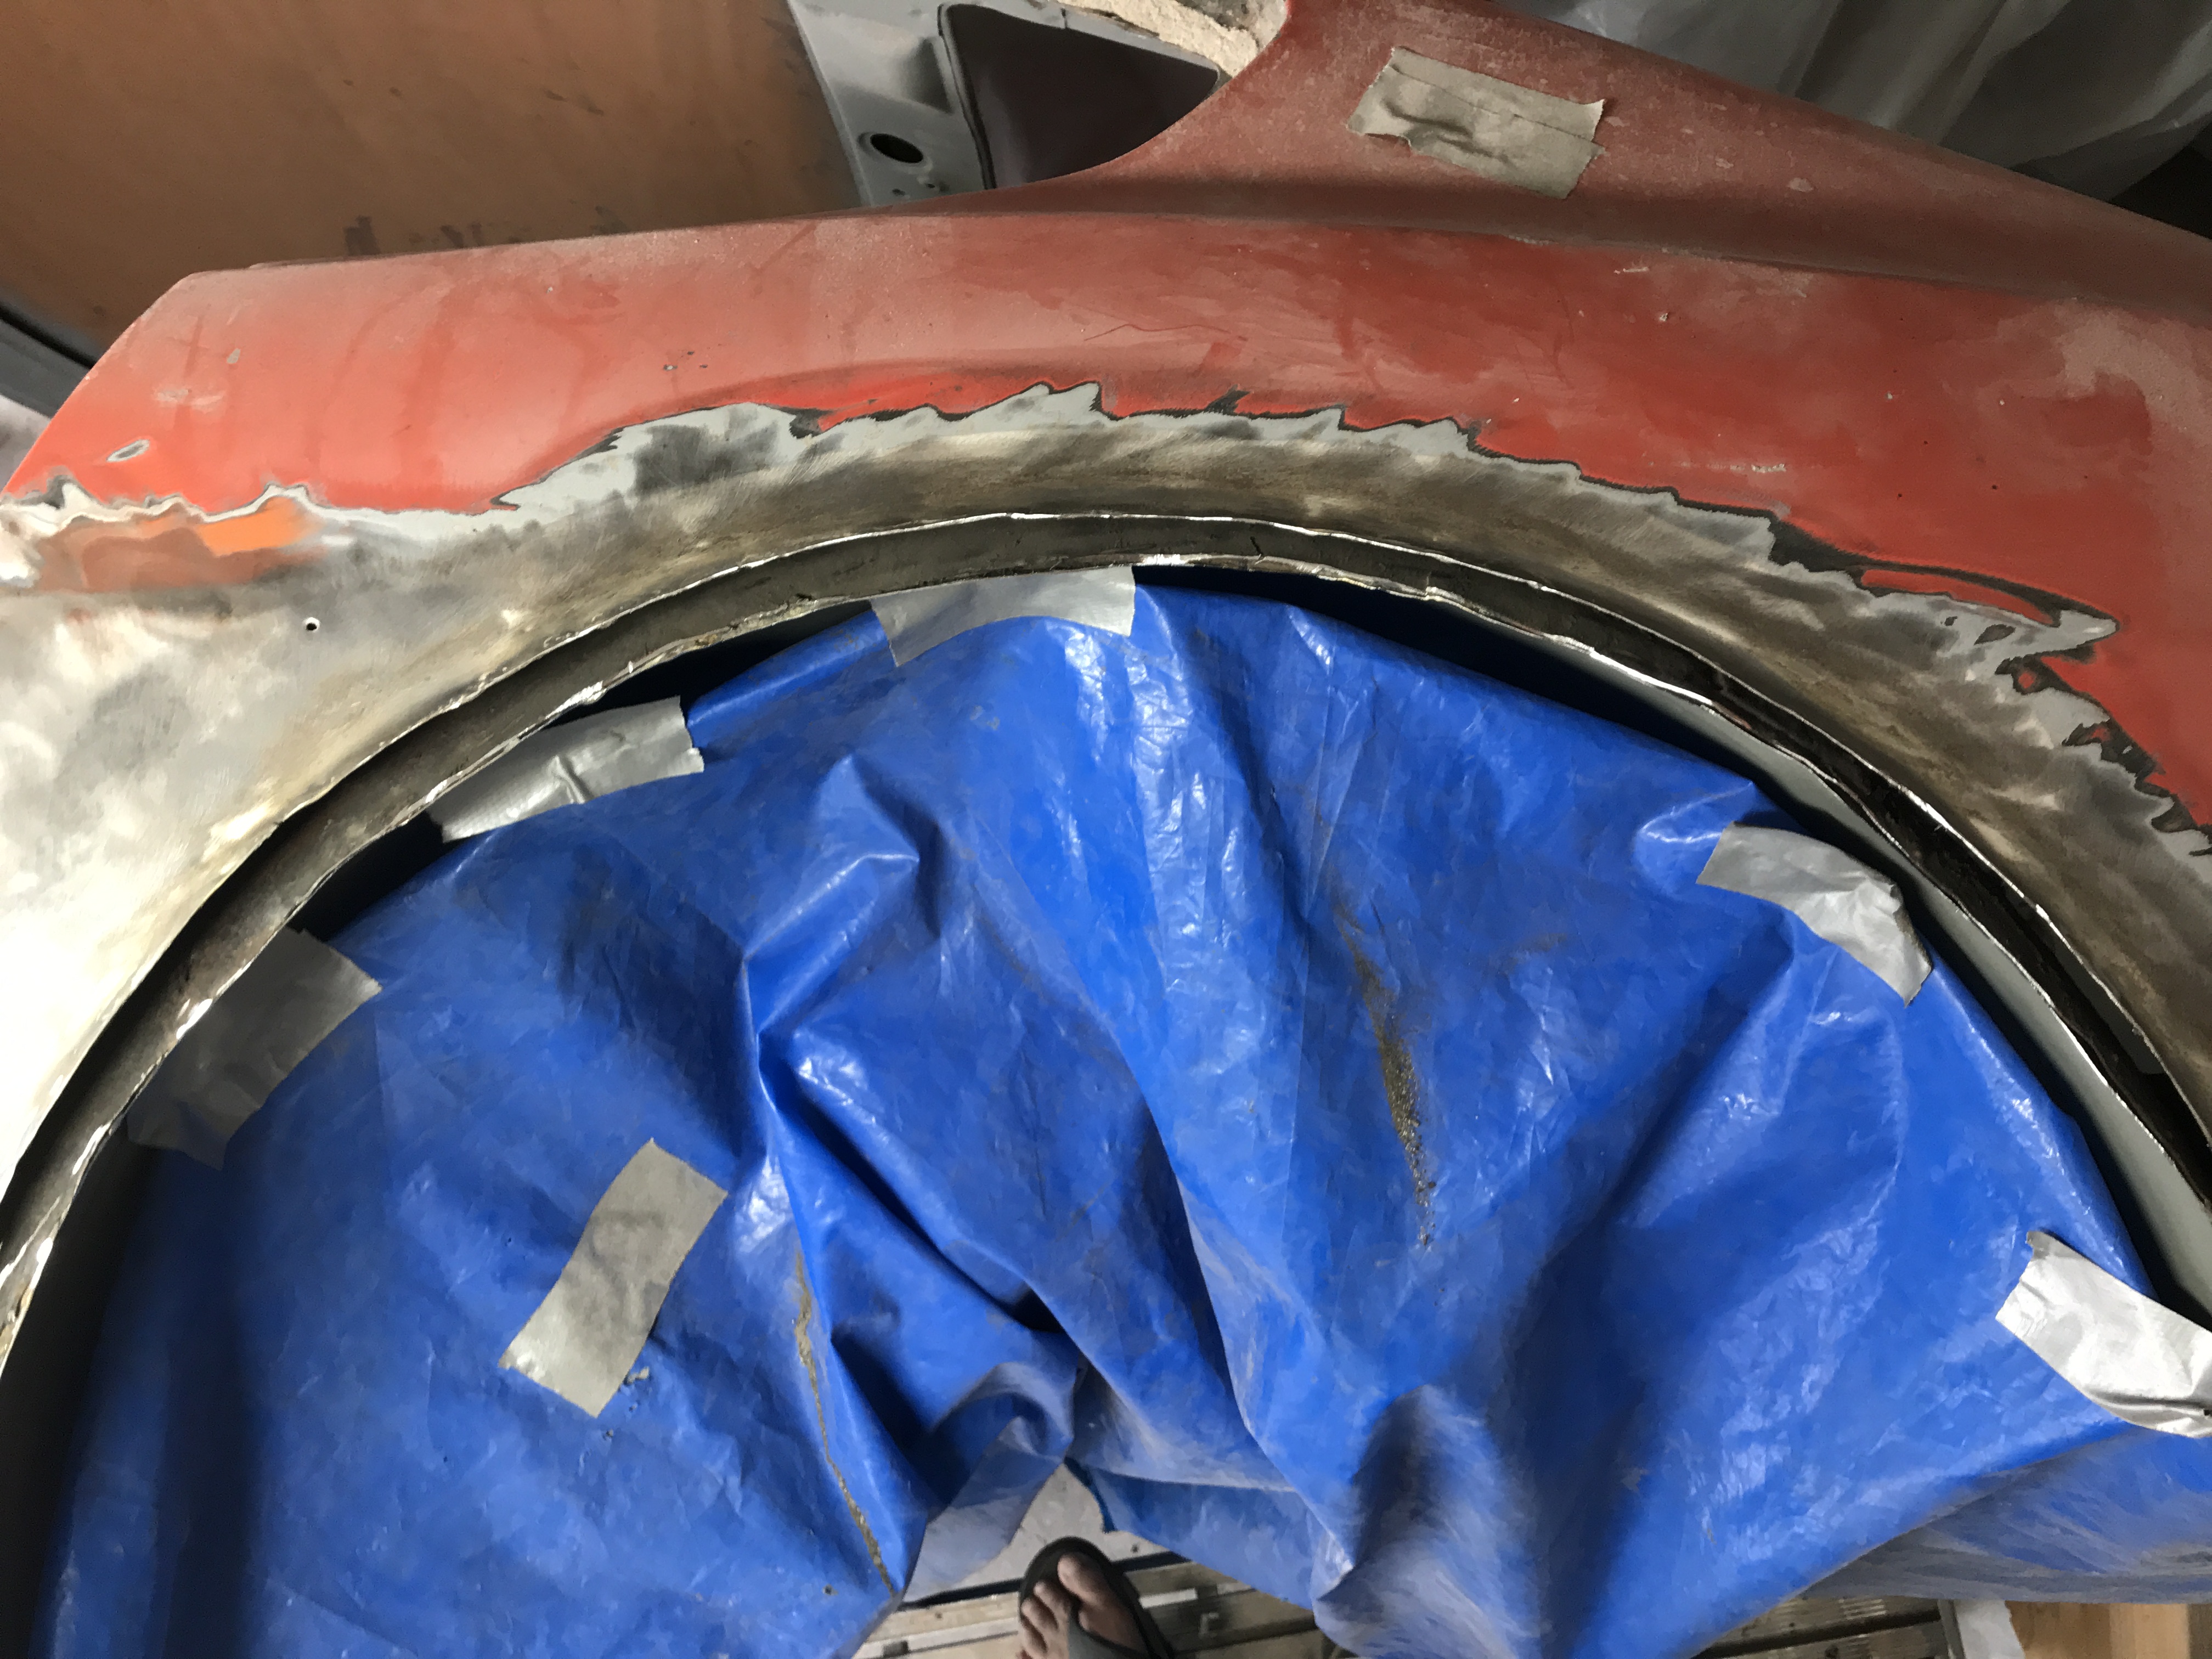
The quarter panel dog leg section is still on back order from the manufacturer so I just do other body work for now. Next, the old metal reat fender flares must be cut out with a
cutoff wheel and air saw.
Additional flaring work must wait till the new wheel and tire configuration is determined.
Inside view of cut out fender flare
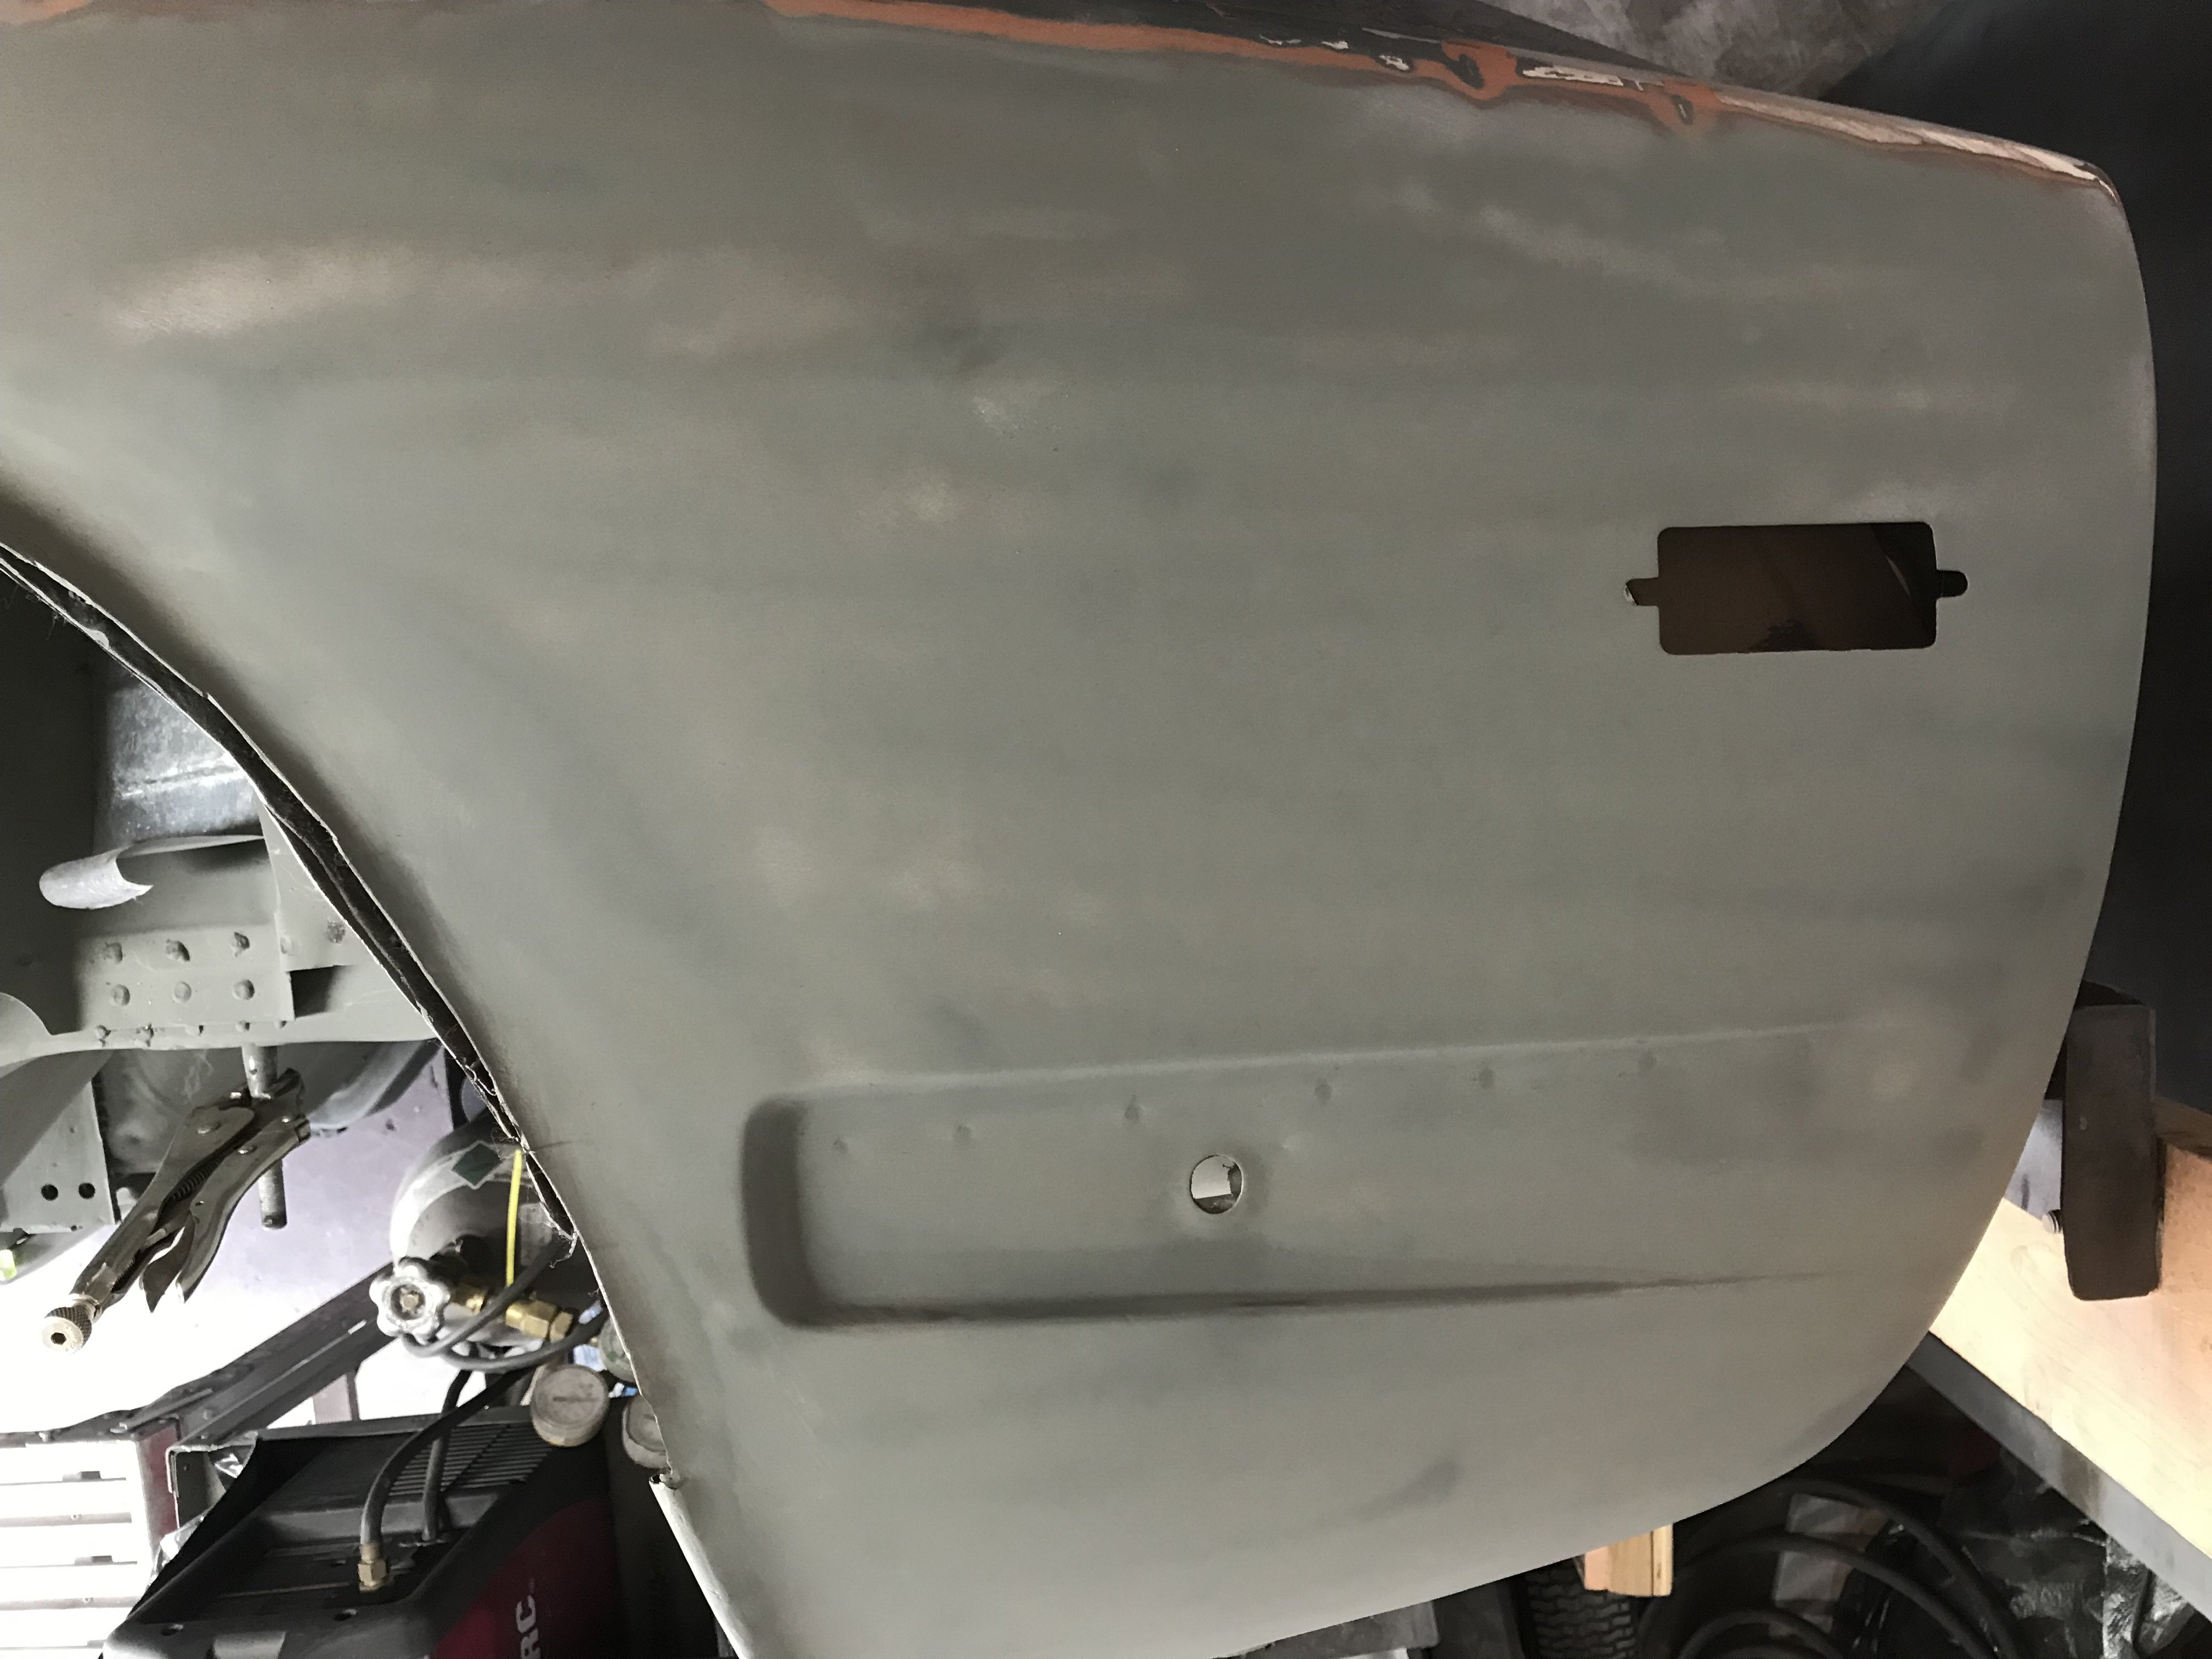
The left rear quarter panel was stripped of previous paint jobs (about three) plus the original primer and color.
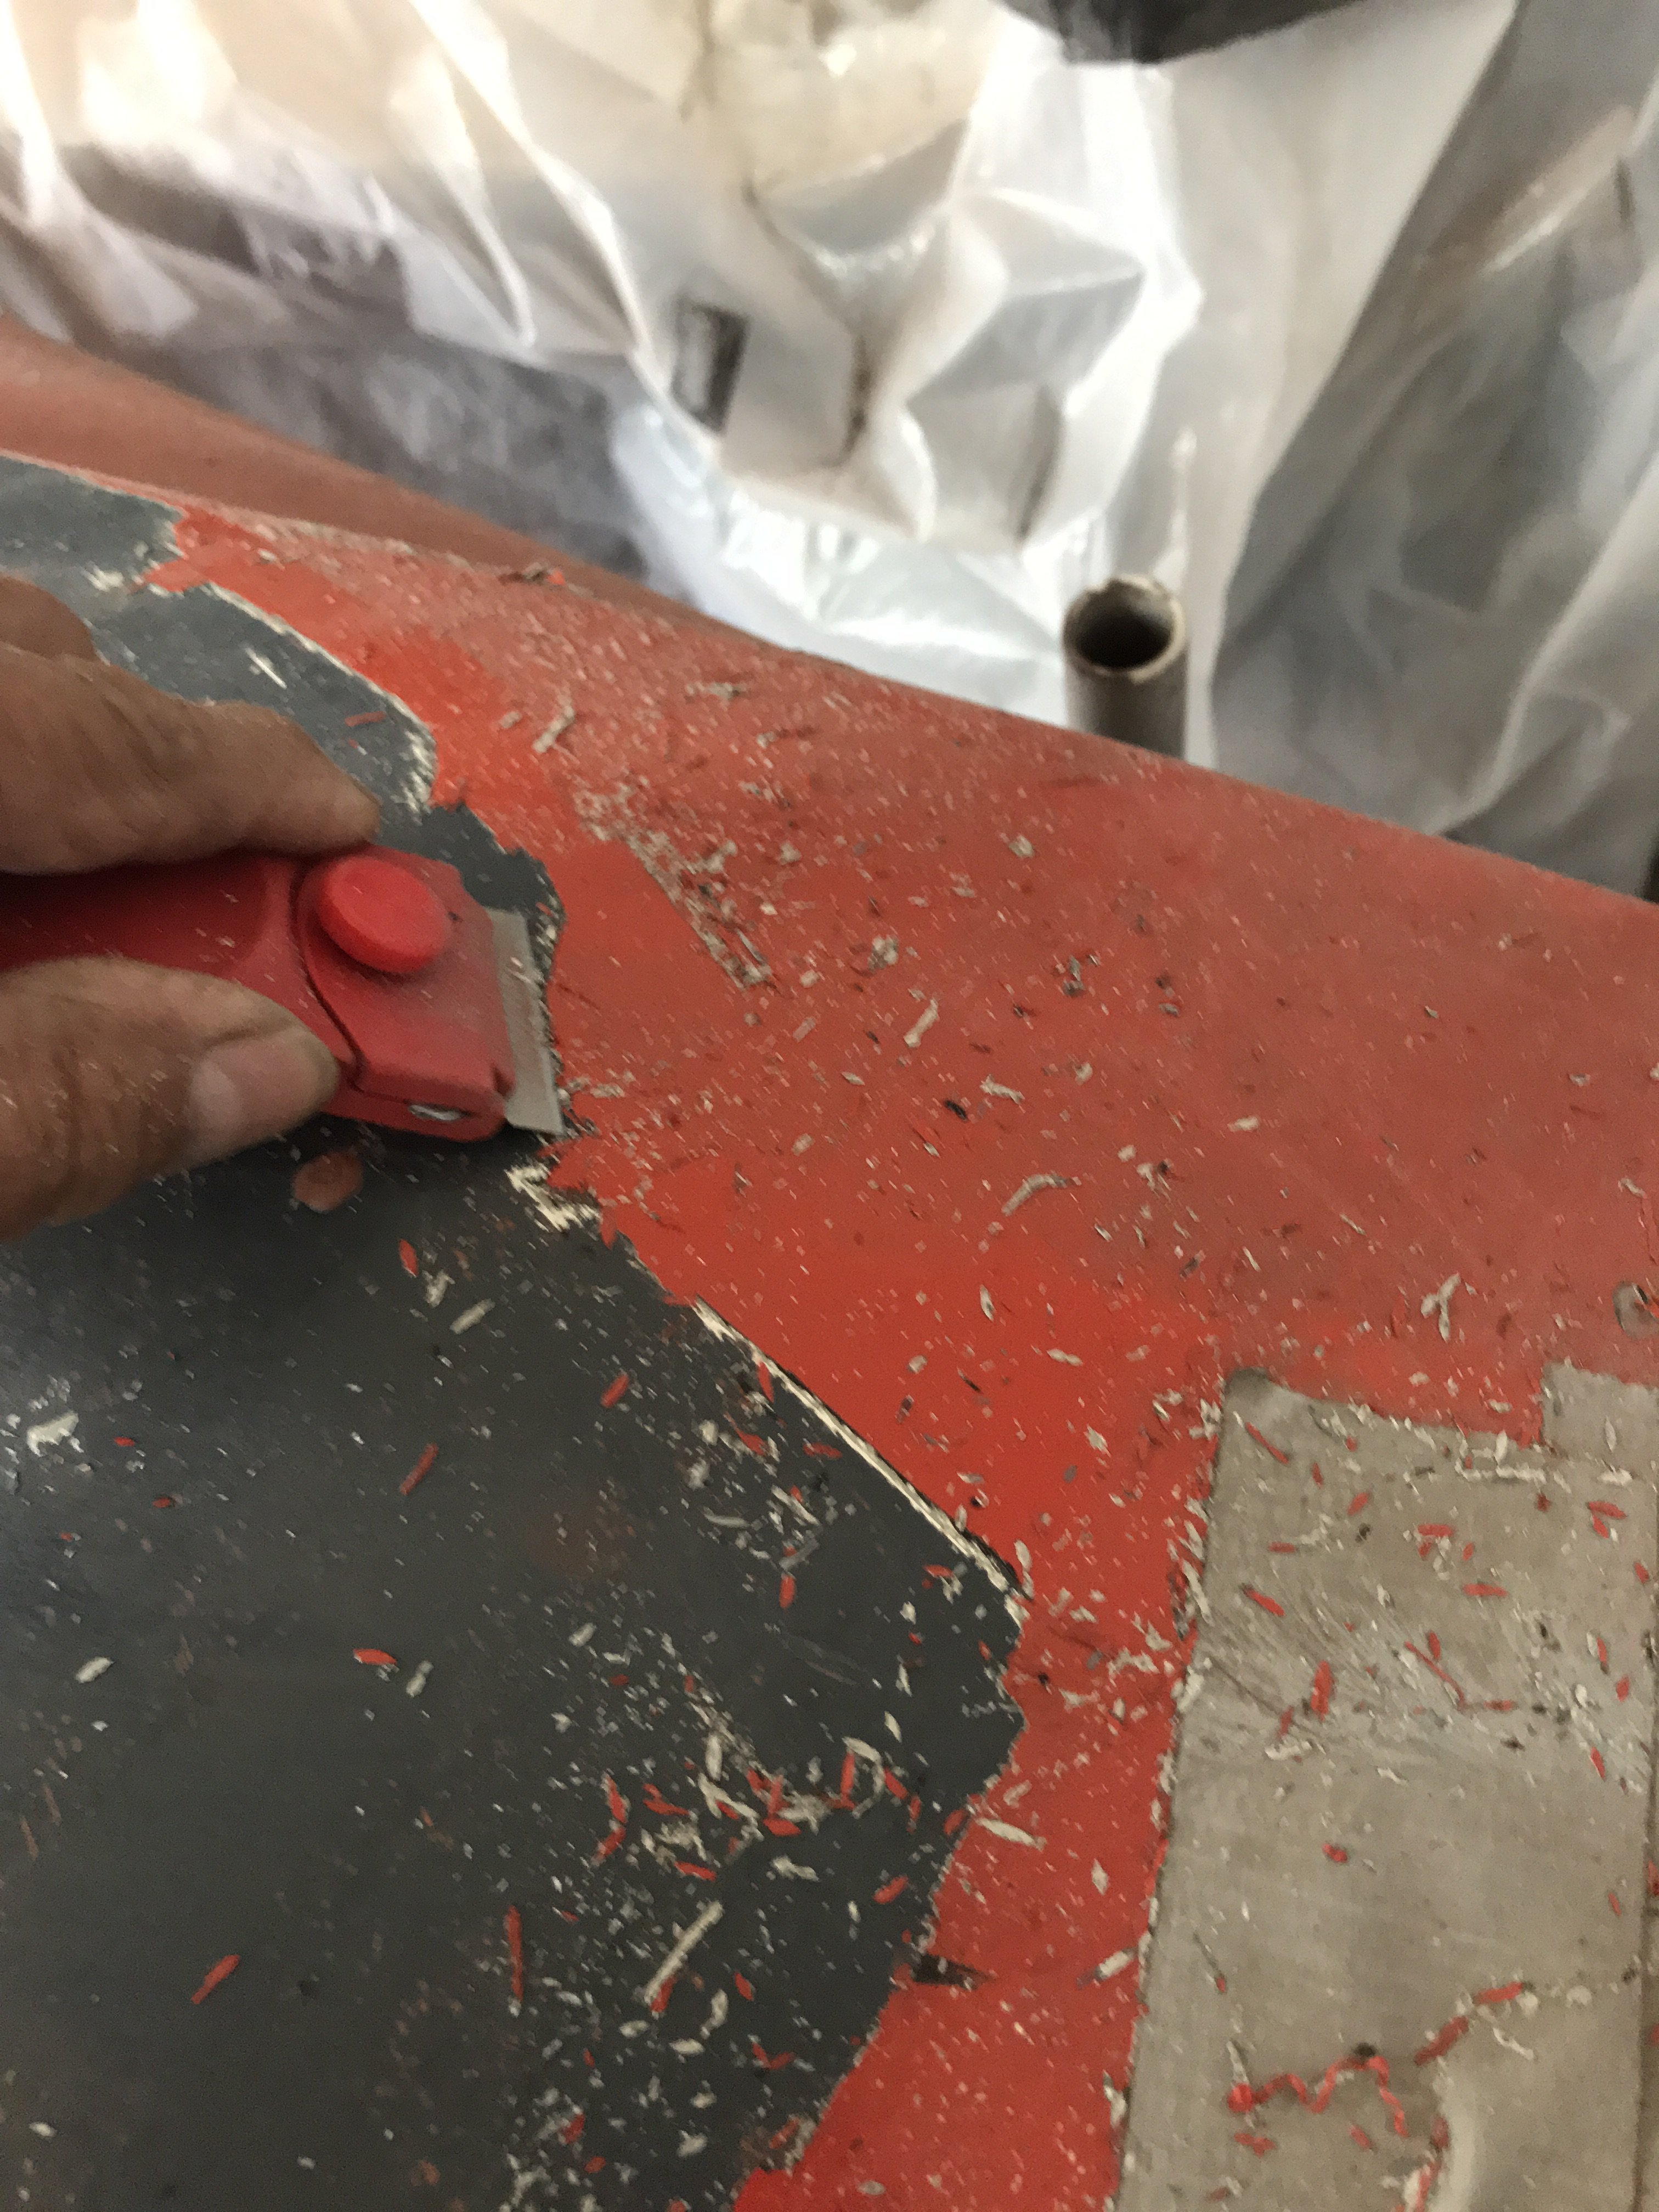
To aid in paint stripping, the addition paint layers( besides factory ones) can be removed with a single edge razor. In this case, the top 3 paint layers came off in one'
thick piece leaving only factory color and primer left behind.
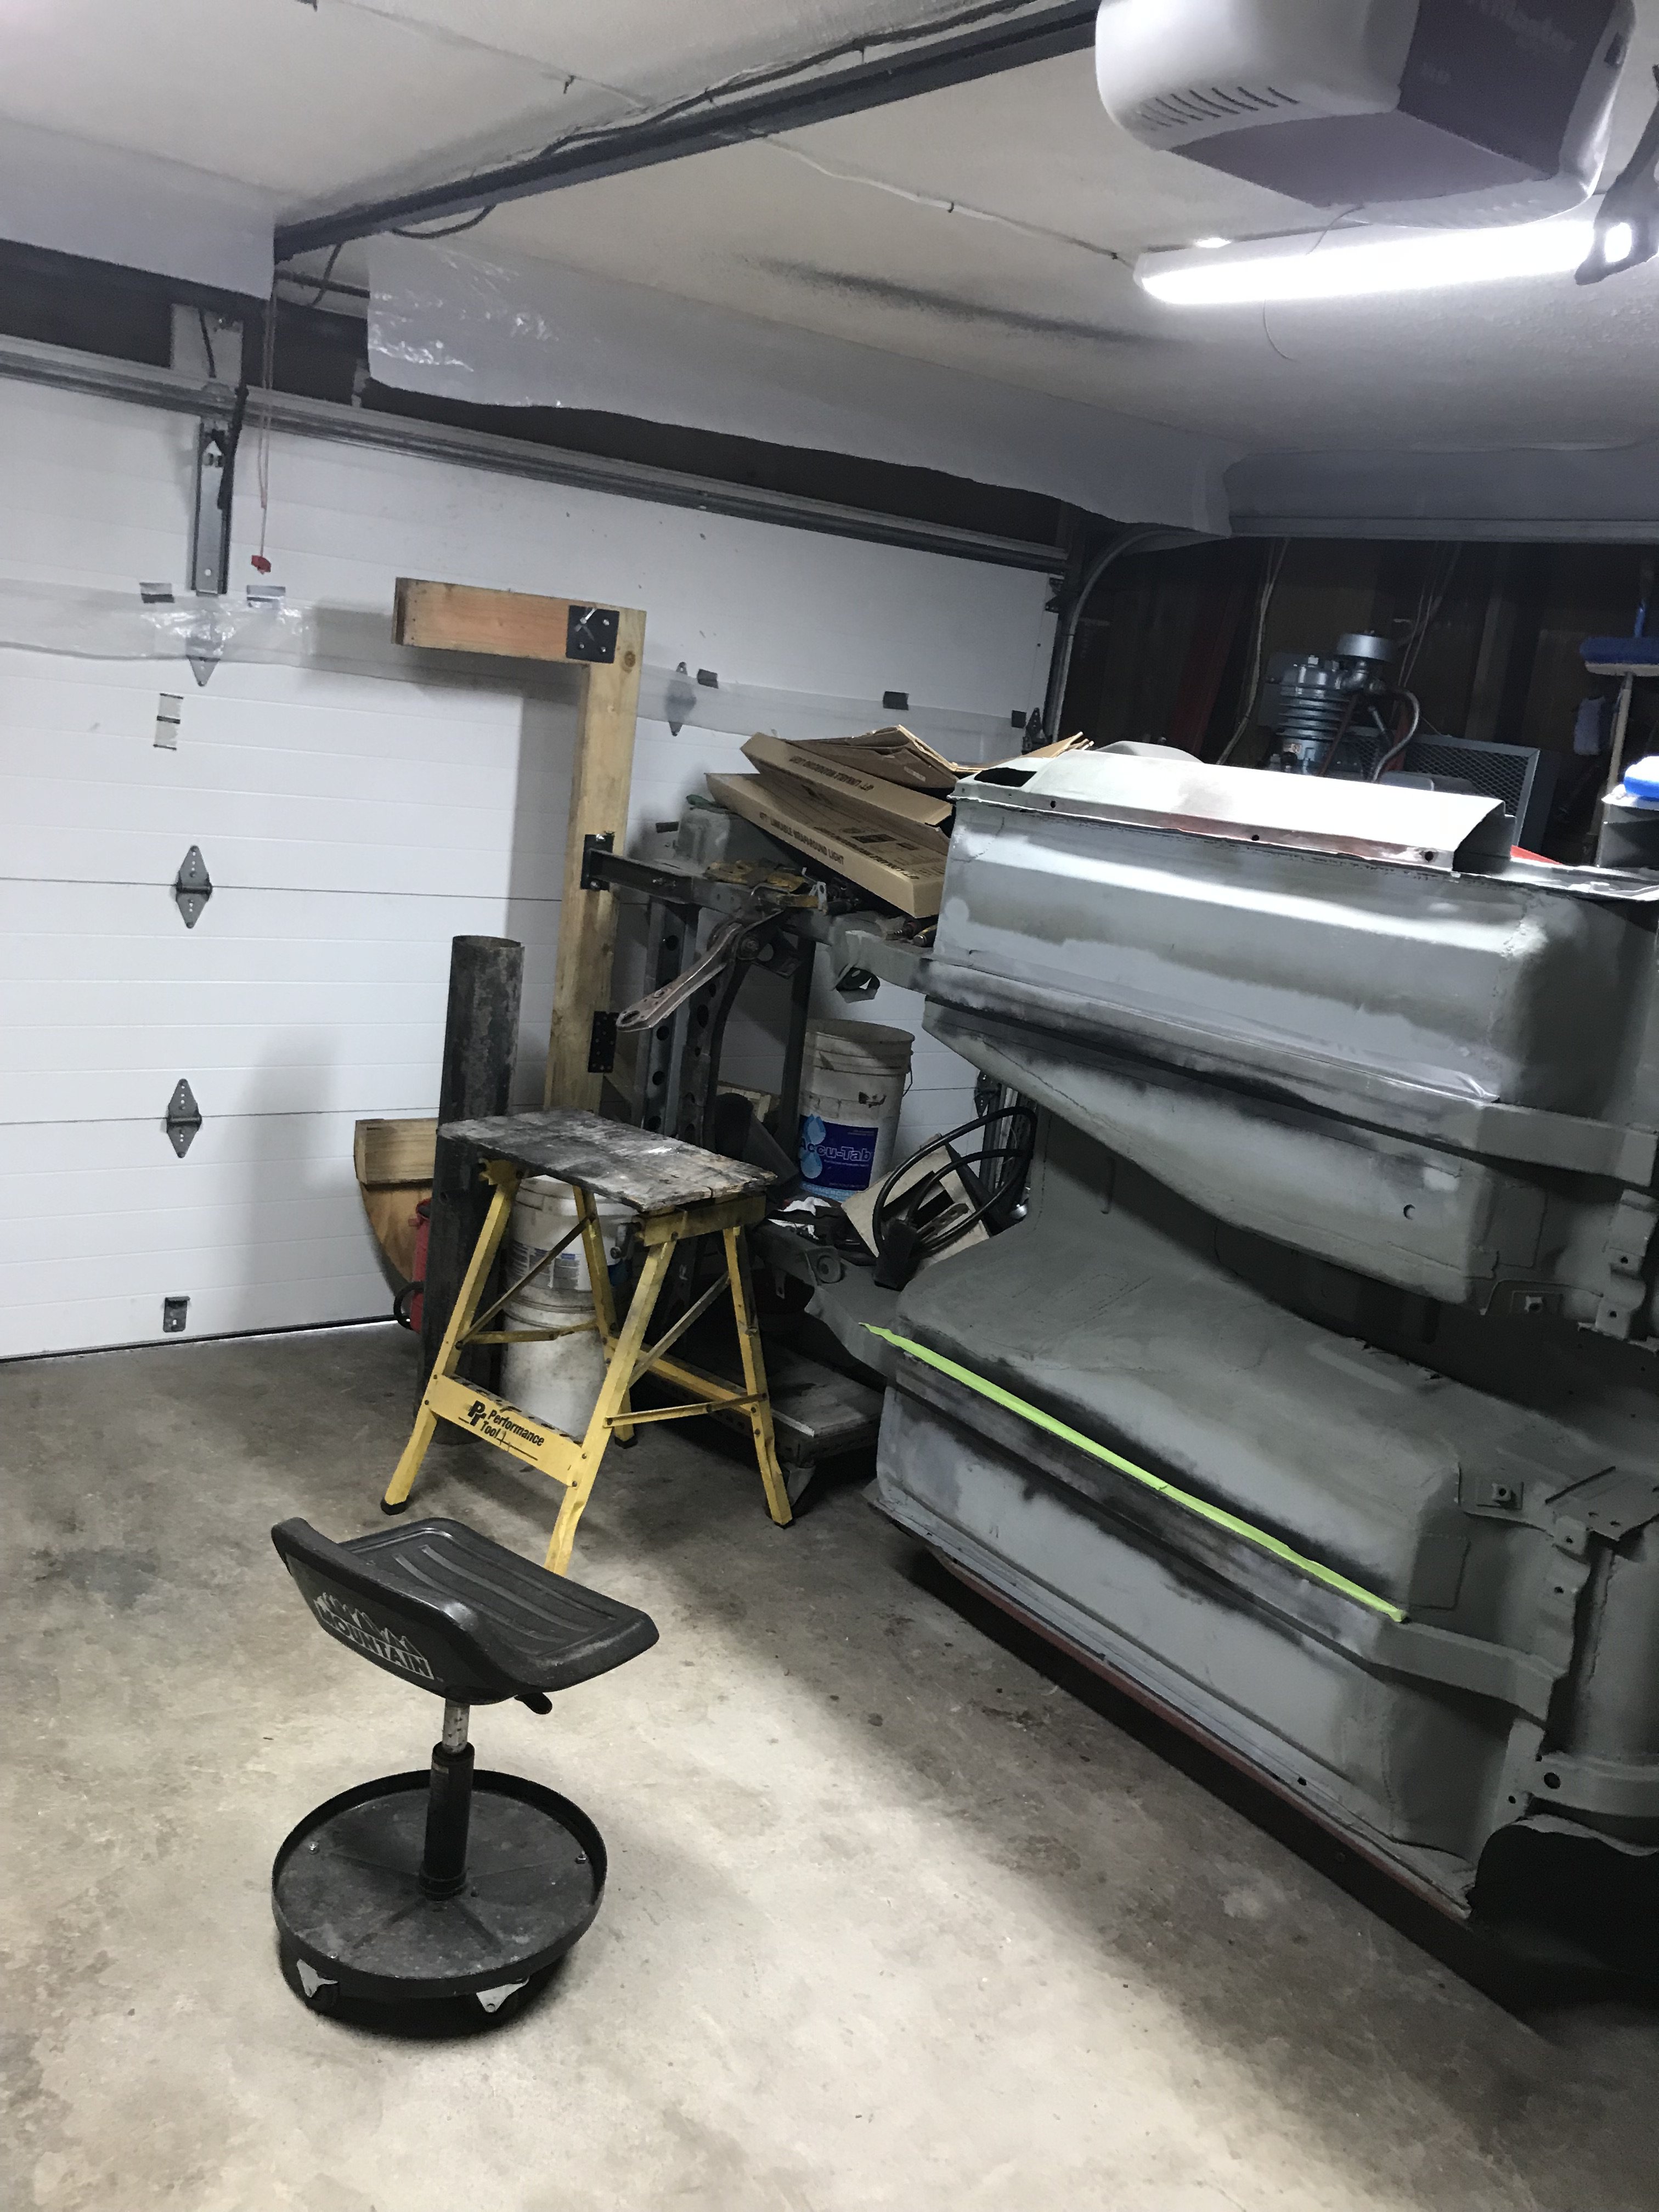
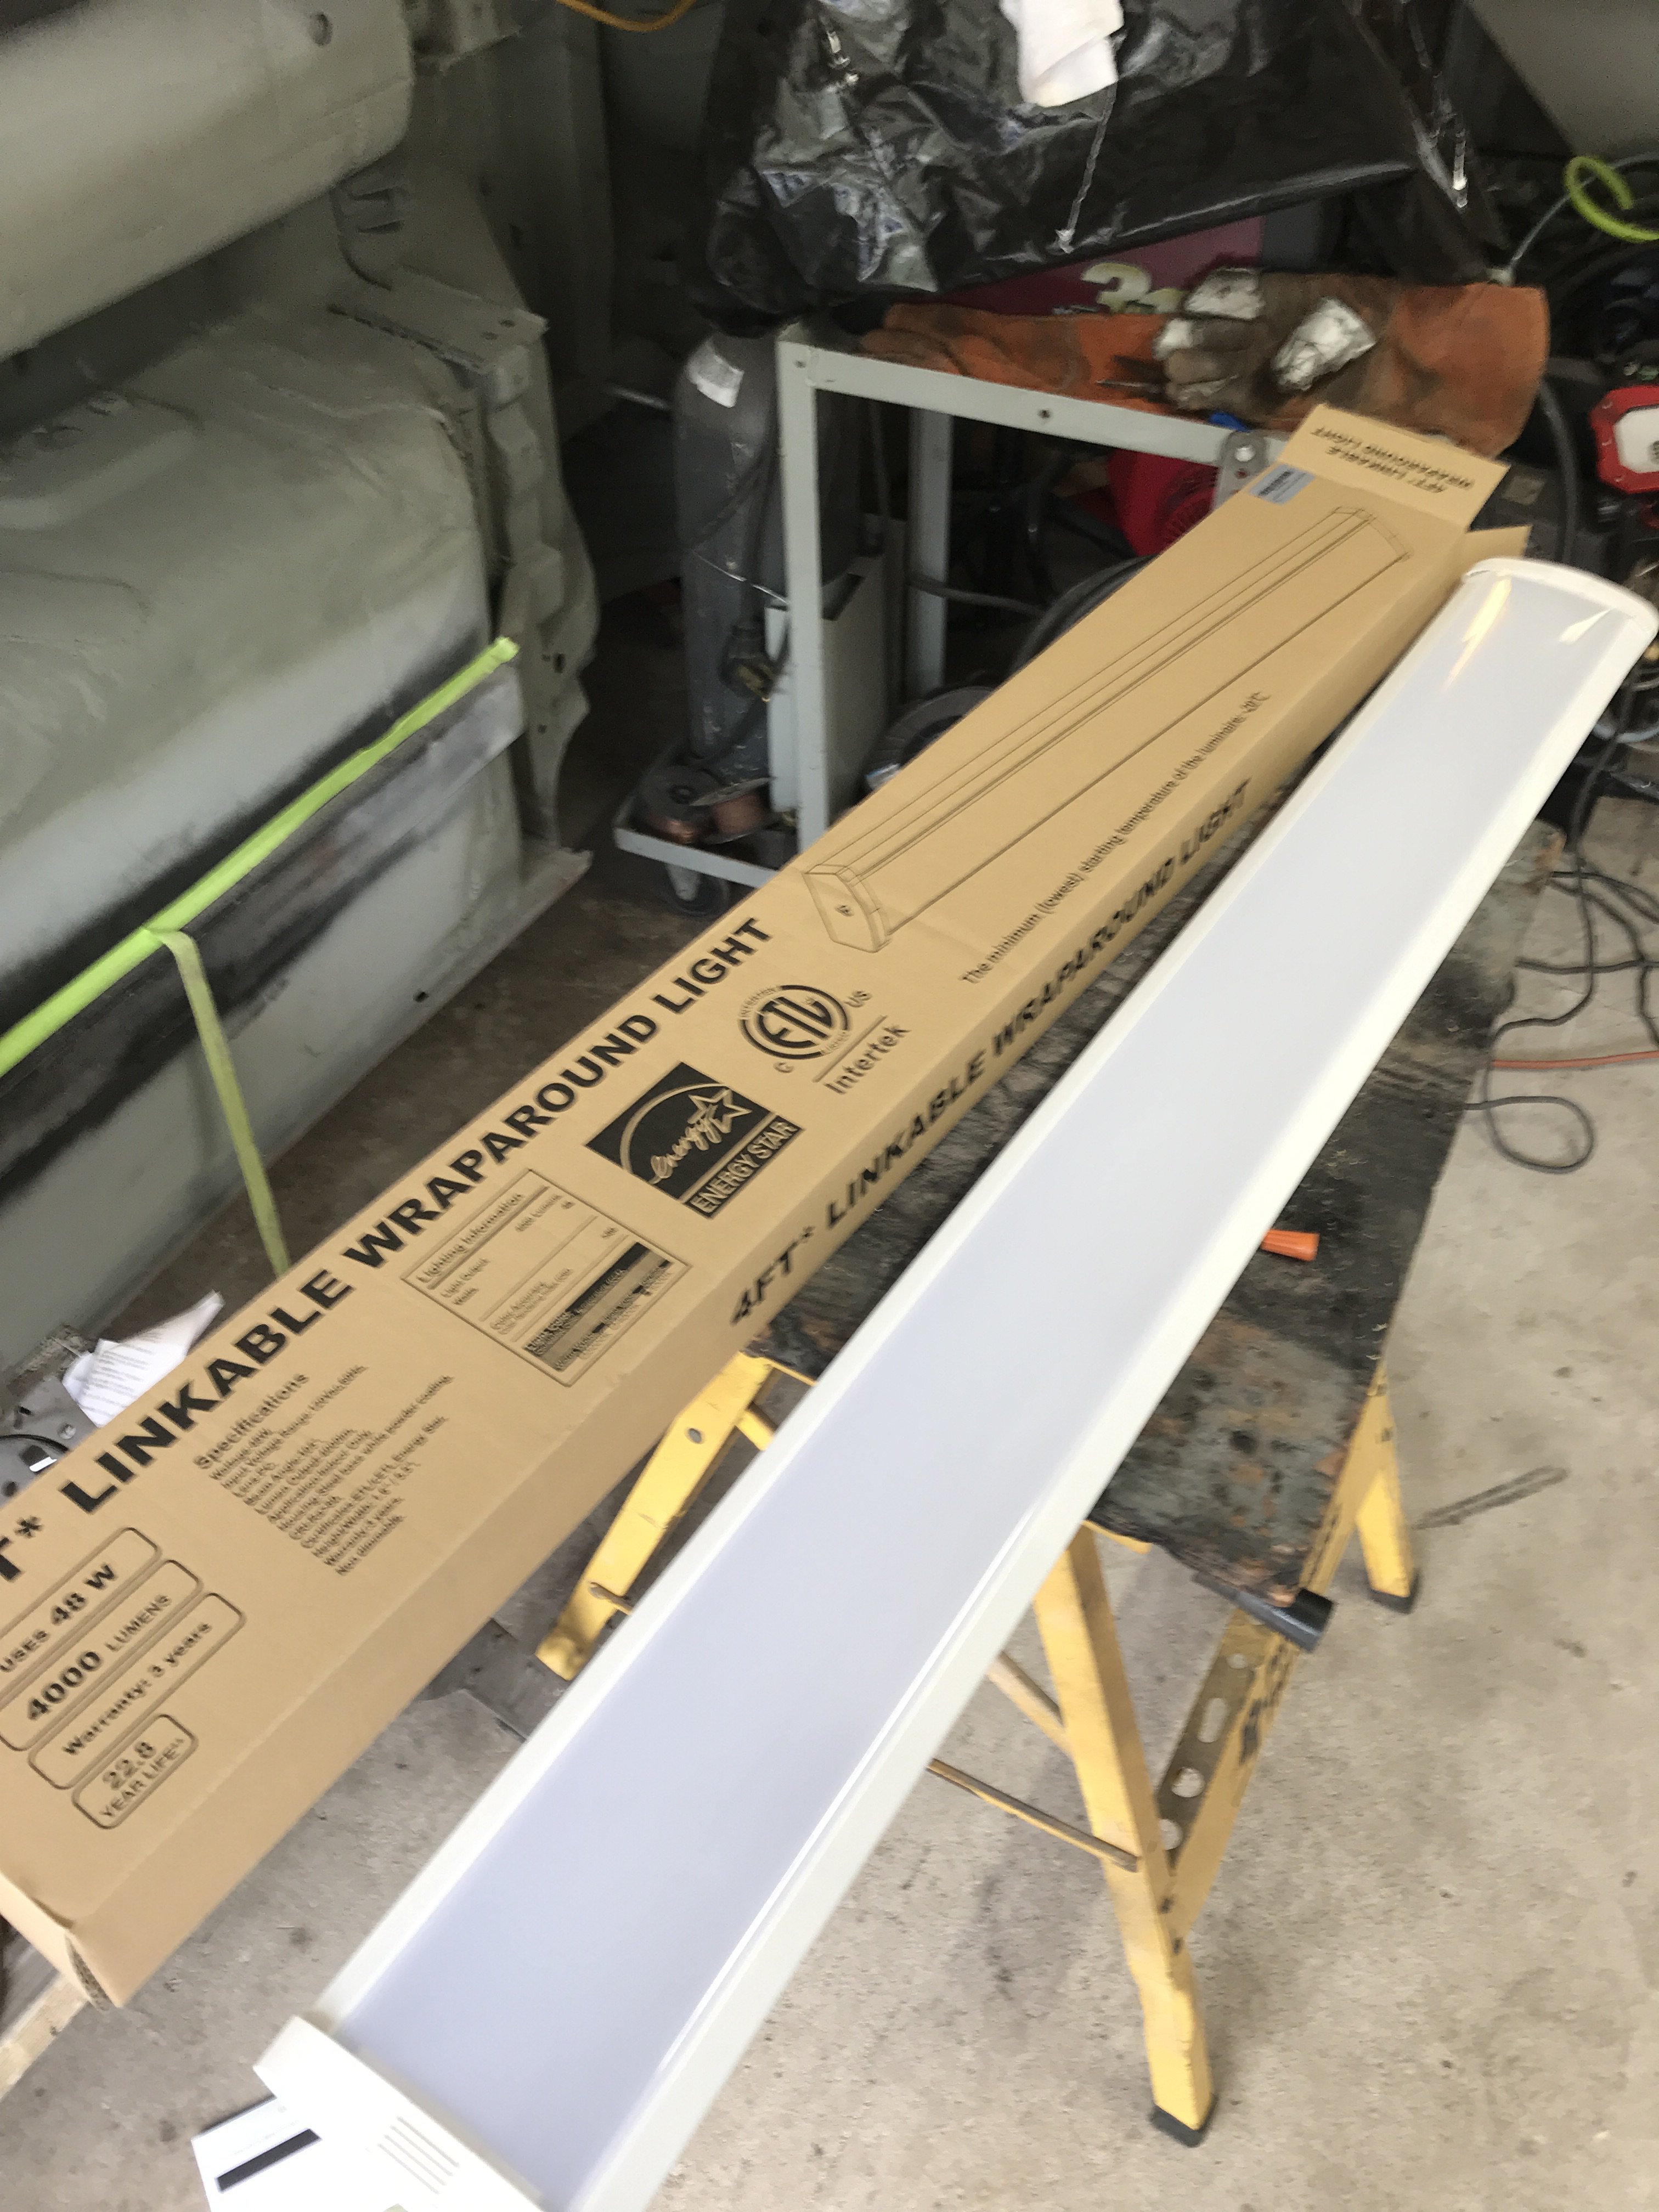
Since I had some extra time, I decided to add additional lights to my garage area. Two 4000 lumens Led Shop Lights on Amazon for only $30 each were installed.
-
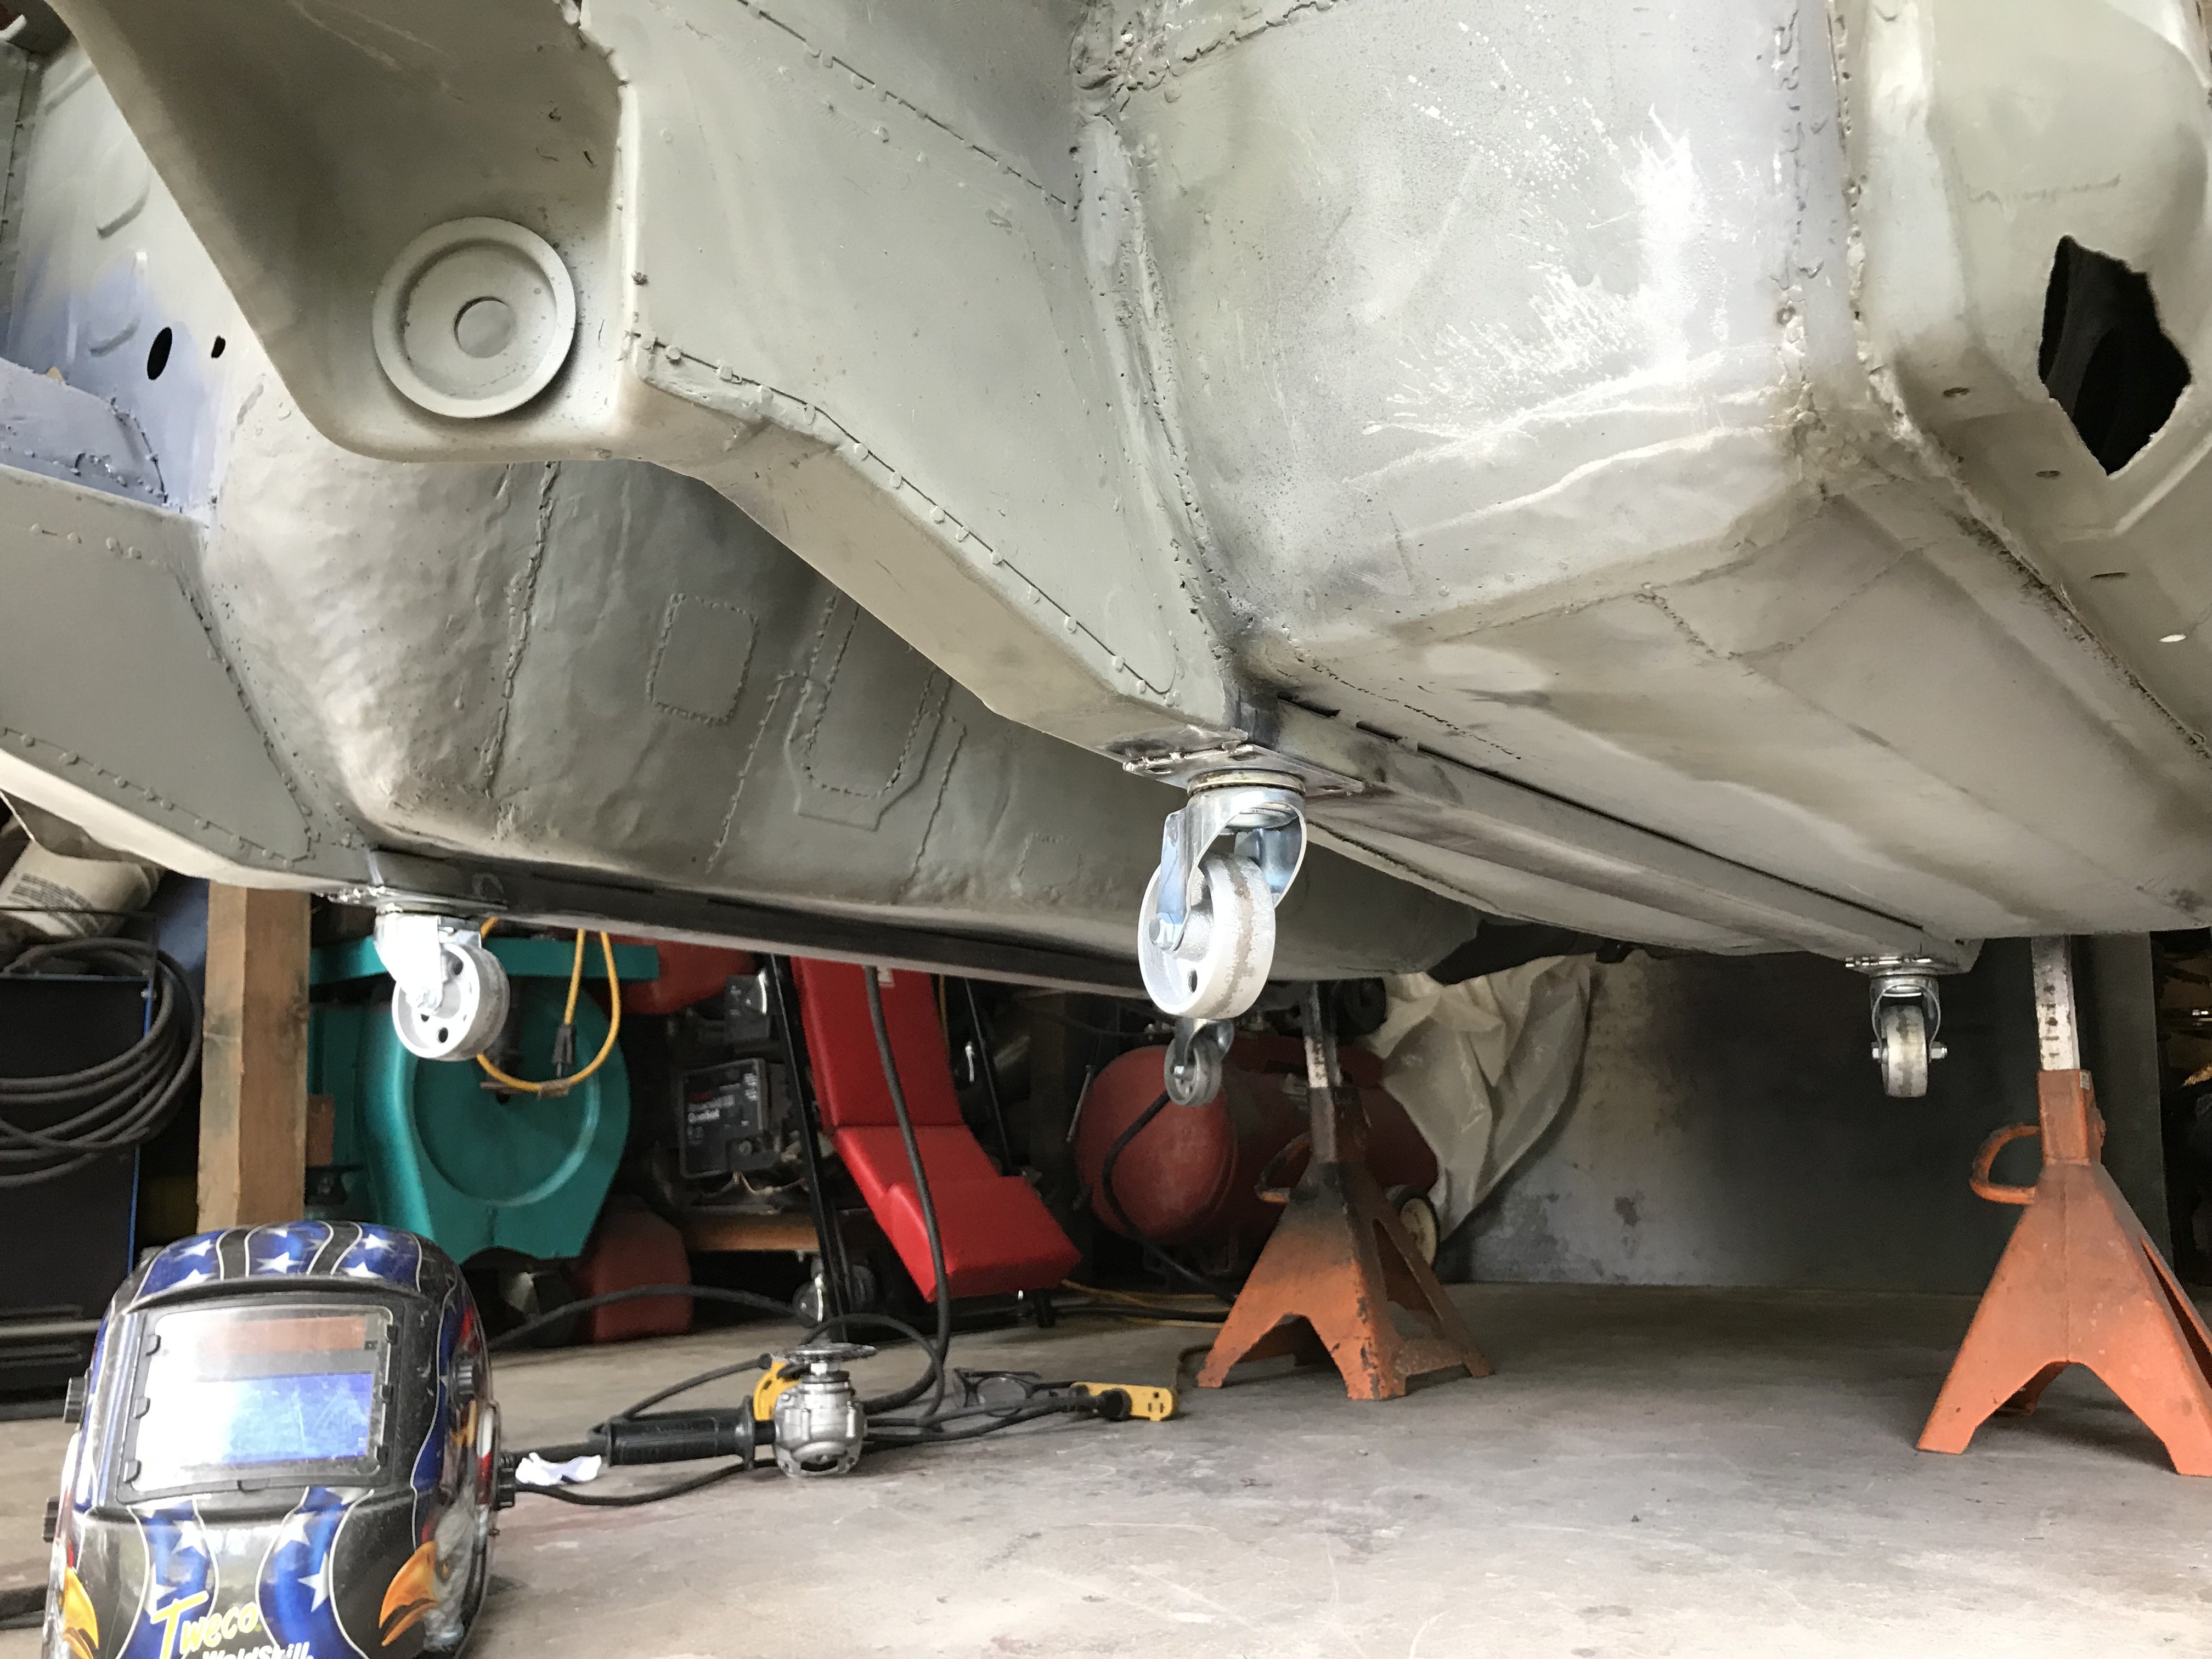
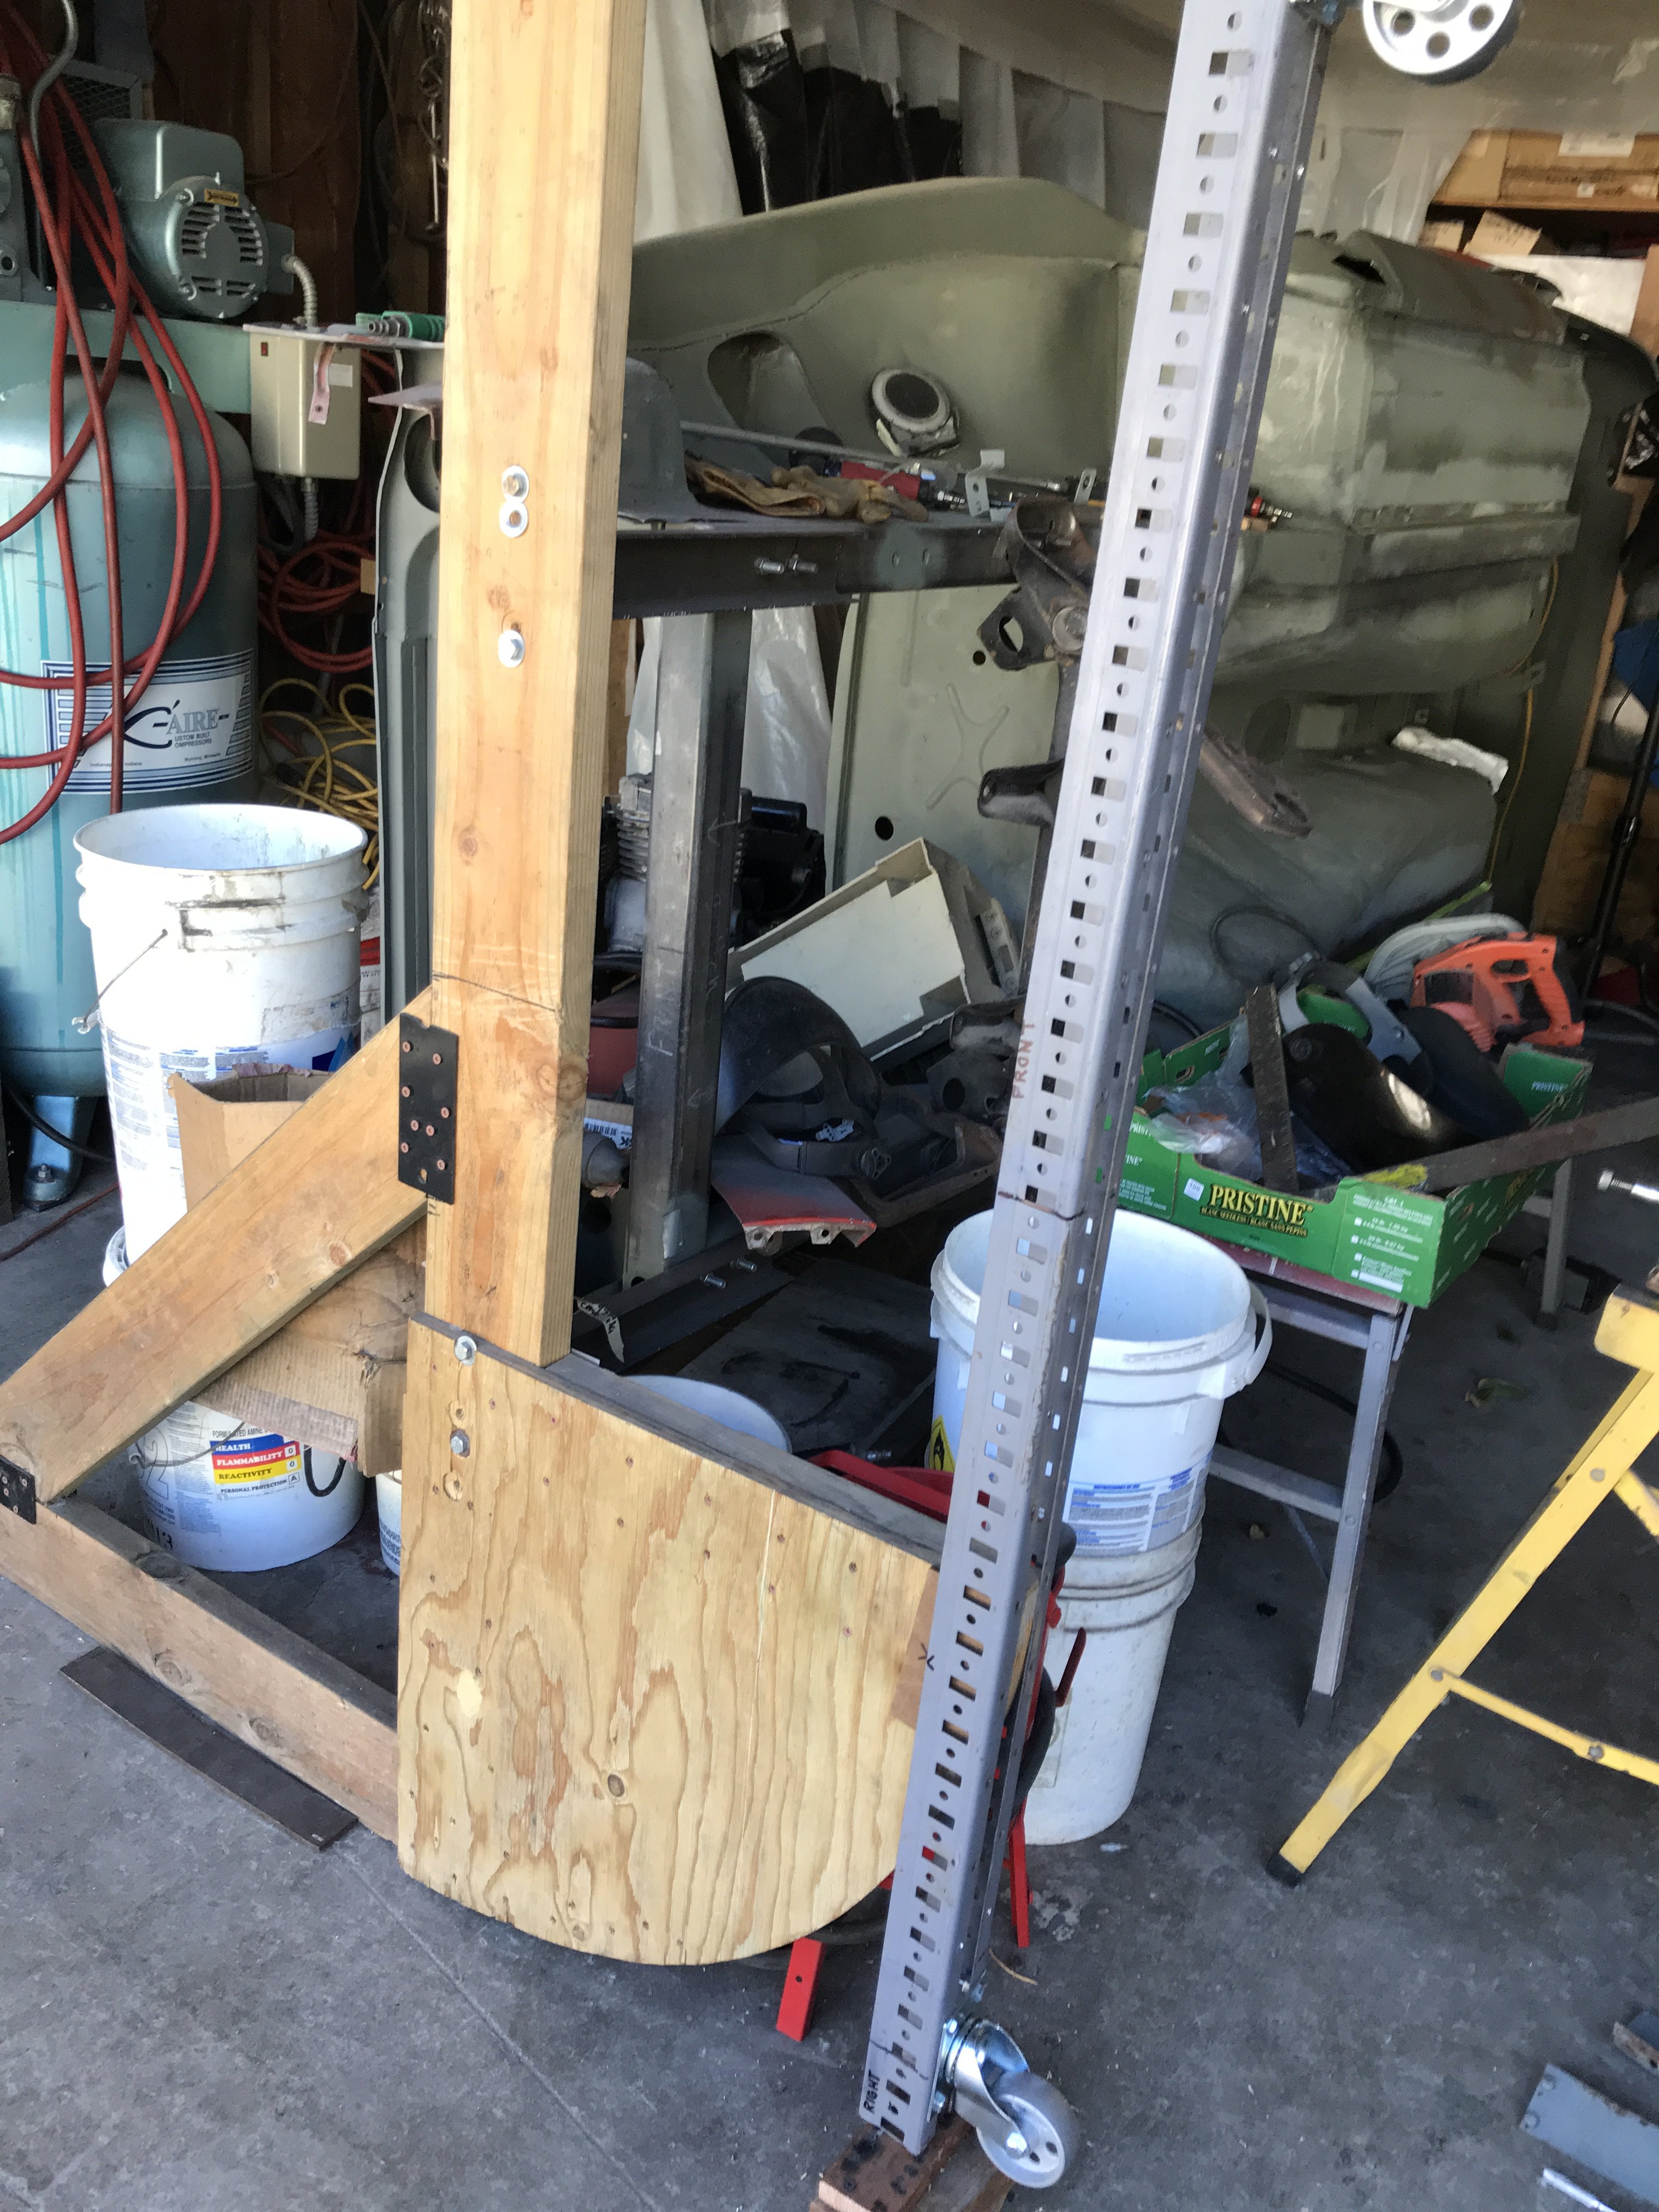
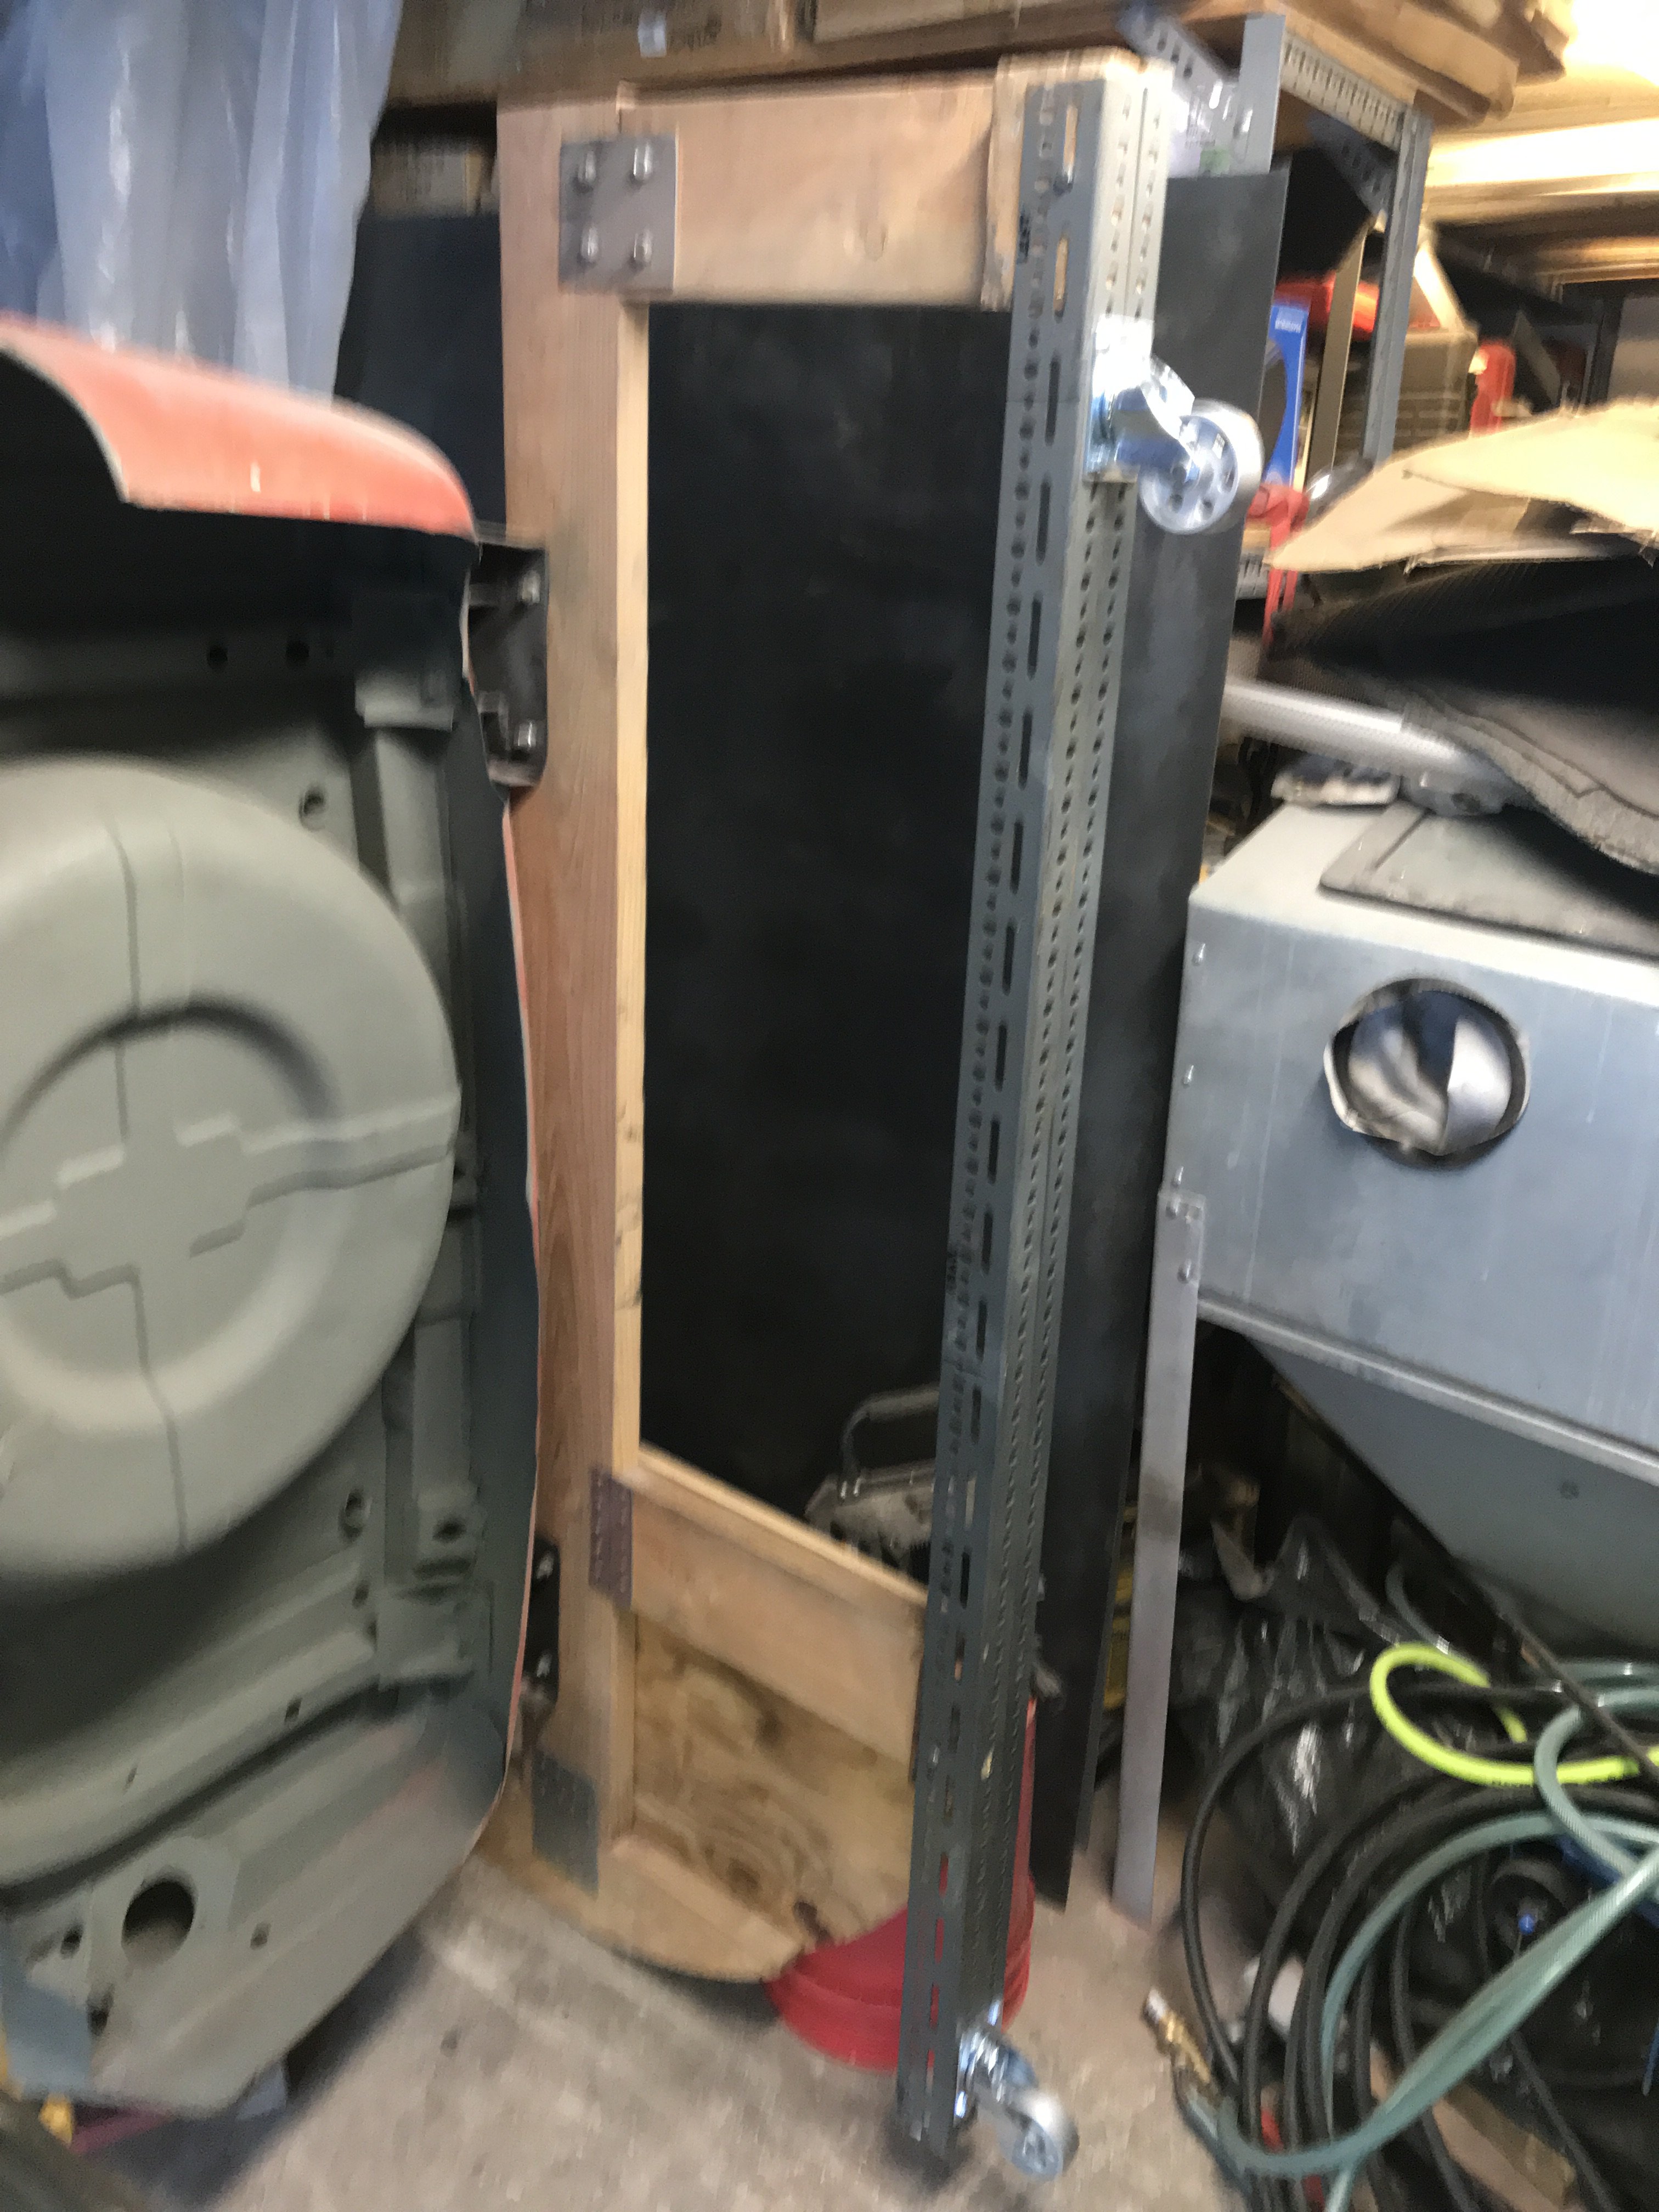
Returning to Low Cost Rotisserie topic after almost a year. Preparing my Z for media blasting. I decided to work on the rotisserie. As the car will probably be in the normal upright position for the most of the rest of the restoration, casters must be added to provide easy movement. Utilizing two 2" x 2" x 1/8" right angle shelving brackets formed into "U" shaped channel support between the two vertical supports of the rotisserie.
Two 4" metal casters were added to bottom of the channel.
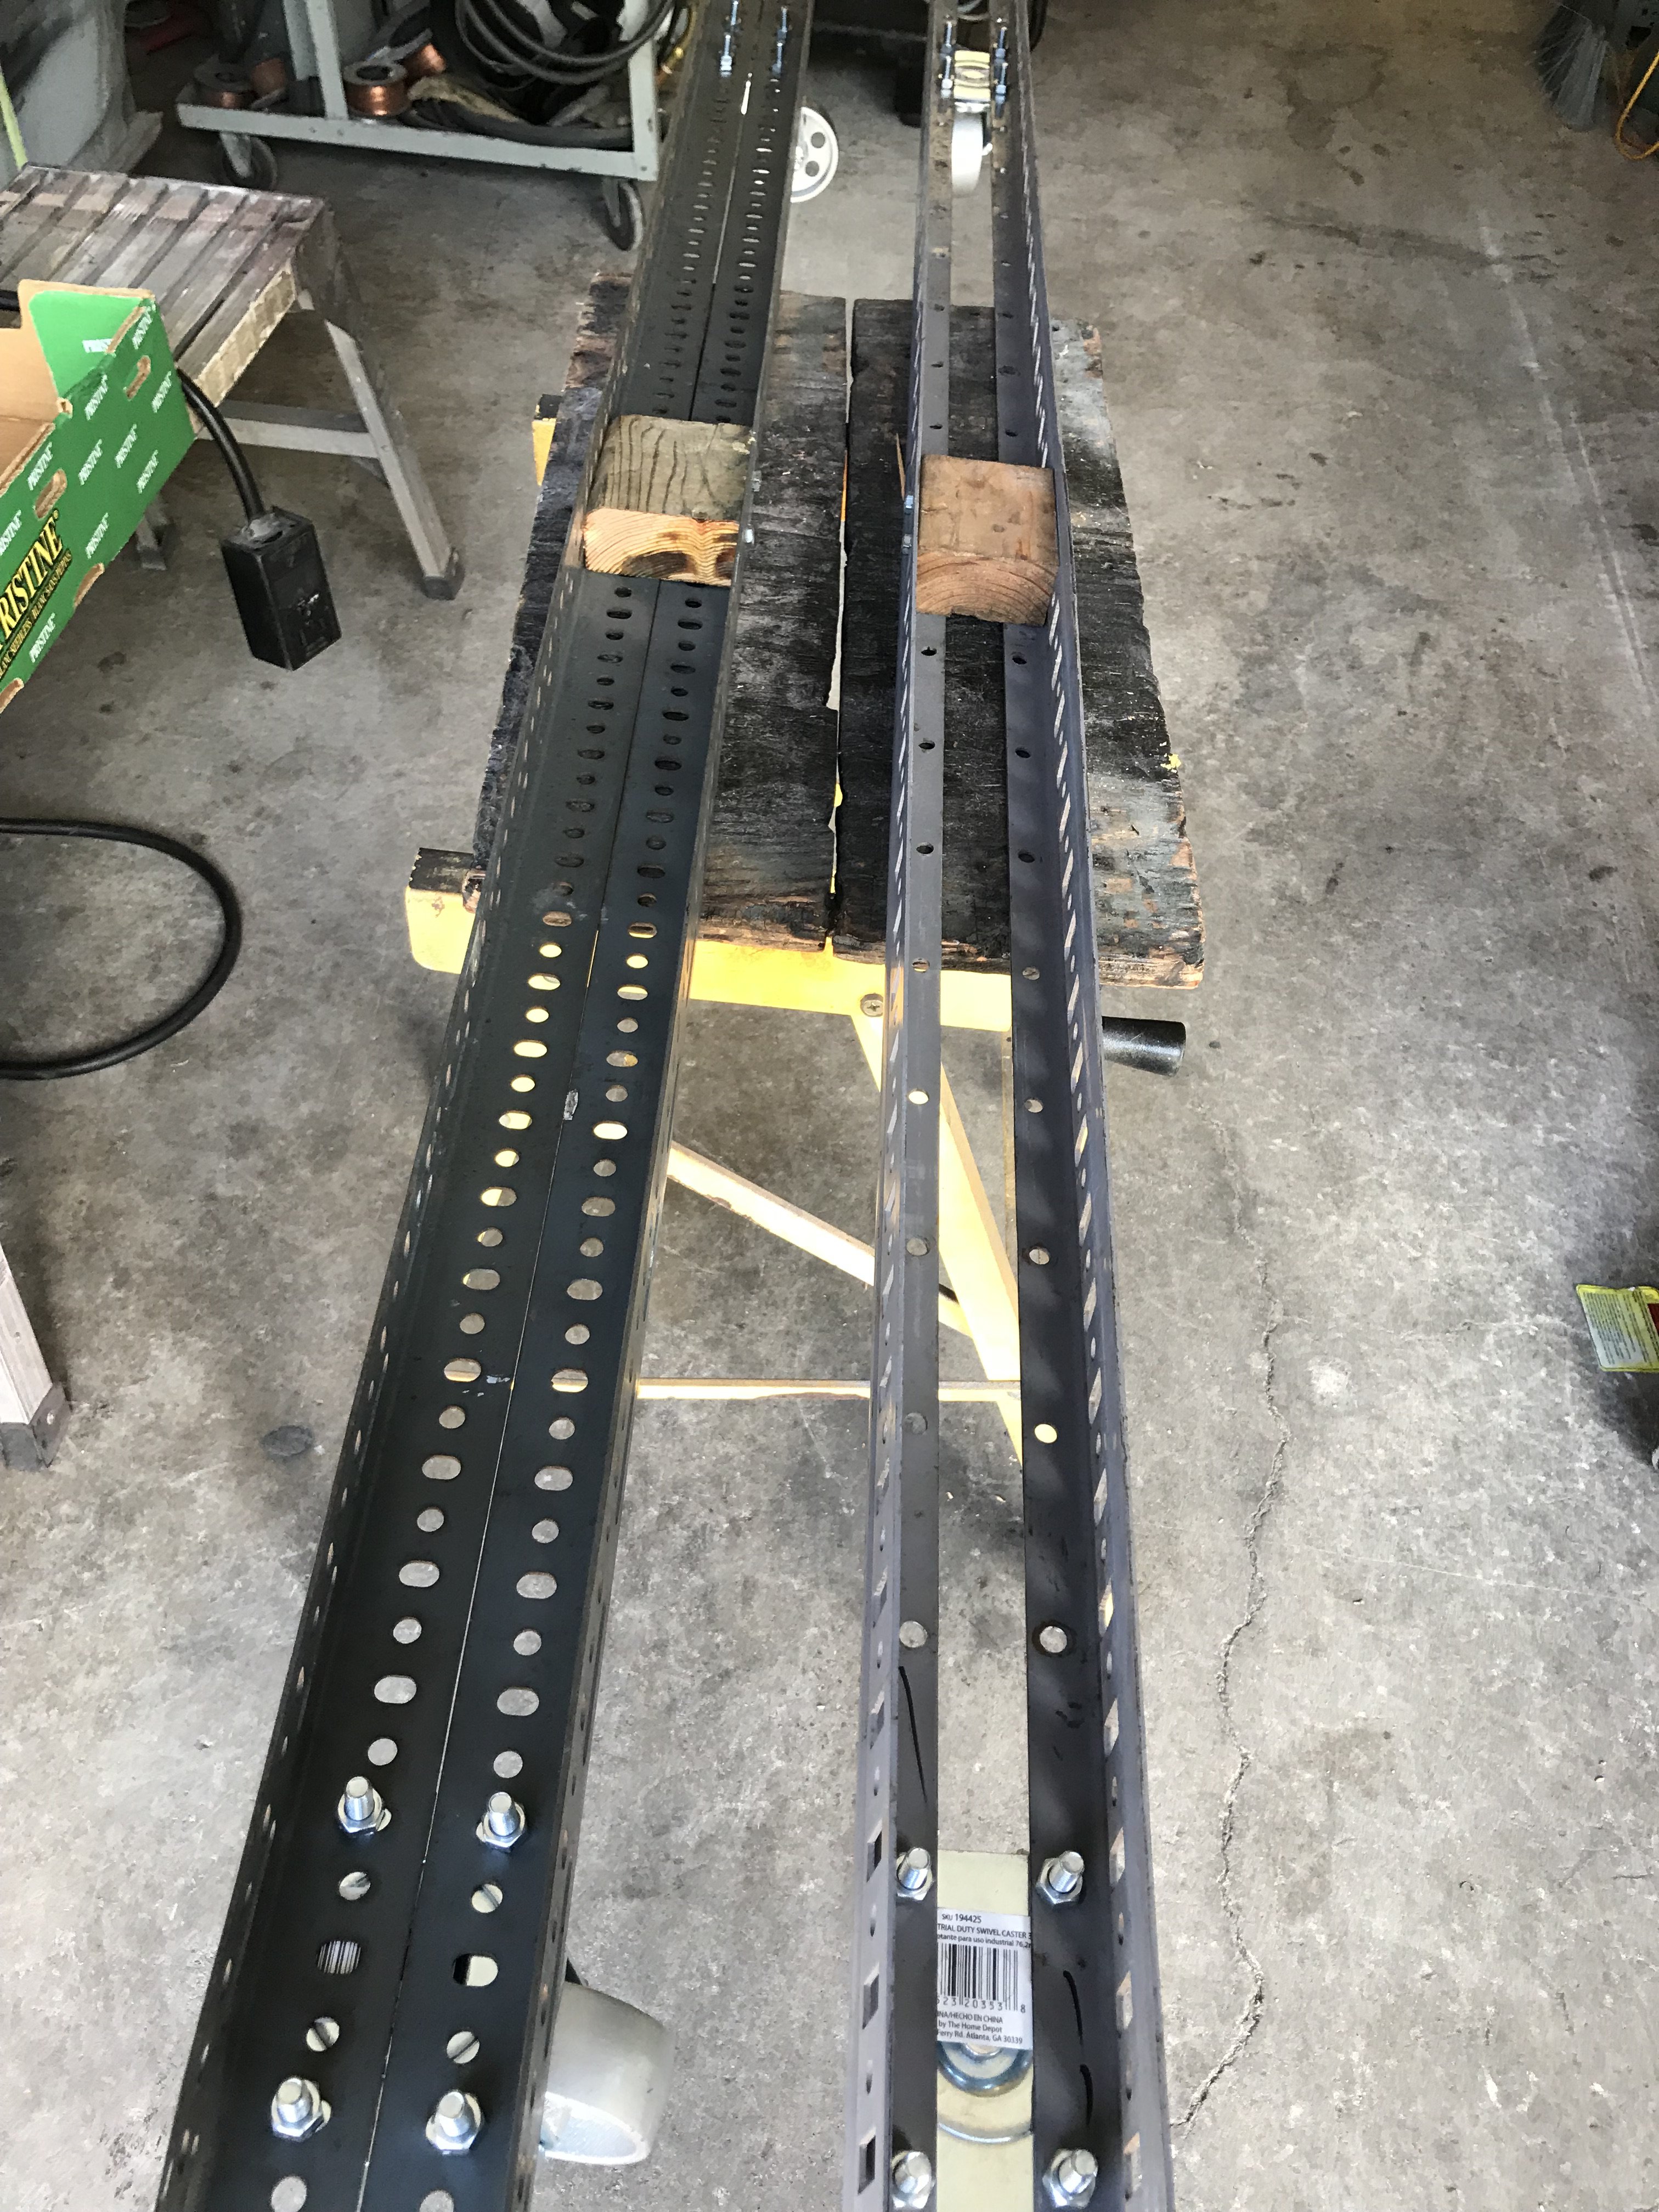
Support channel is about 88" in length.
Each side of the channel us attaches to the rotisserie with six-5/16" x 1" lag screws on both sides.
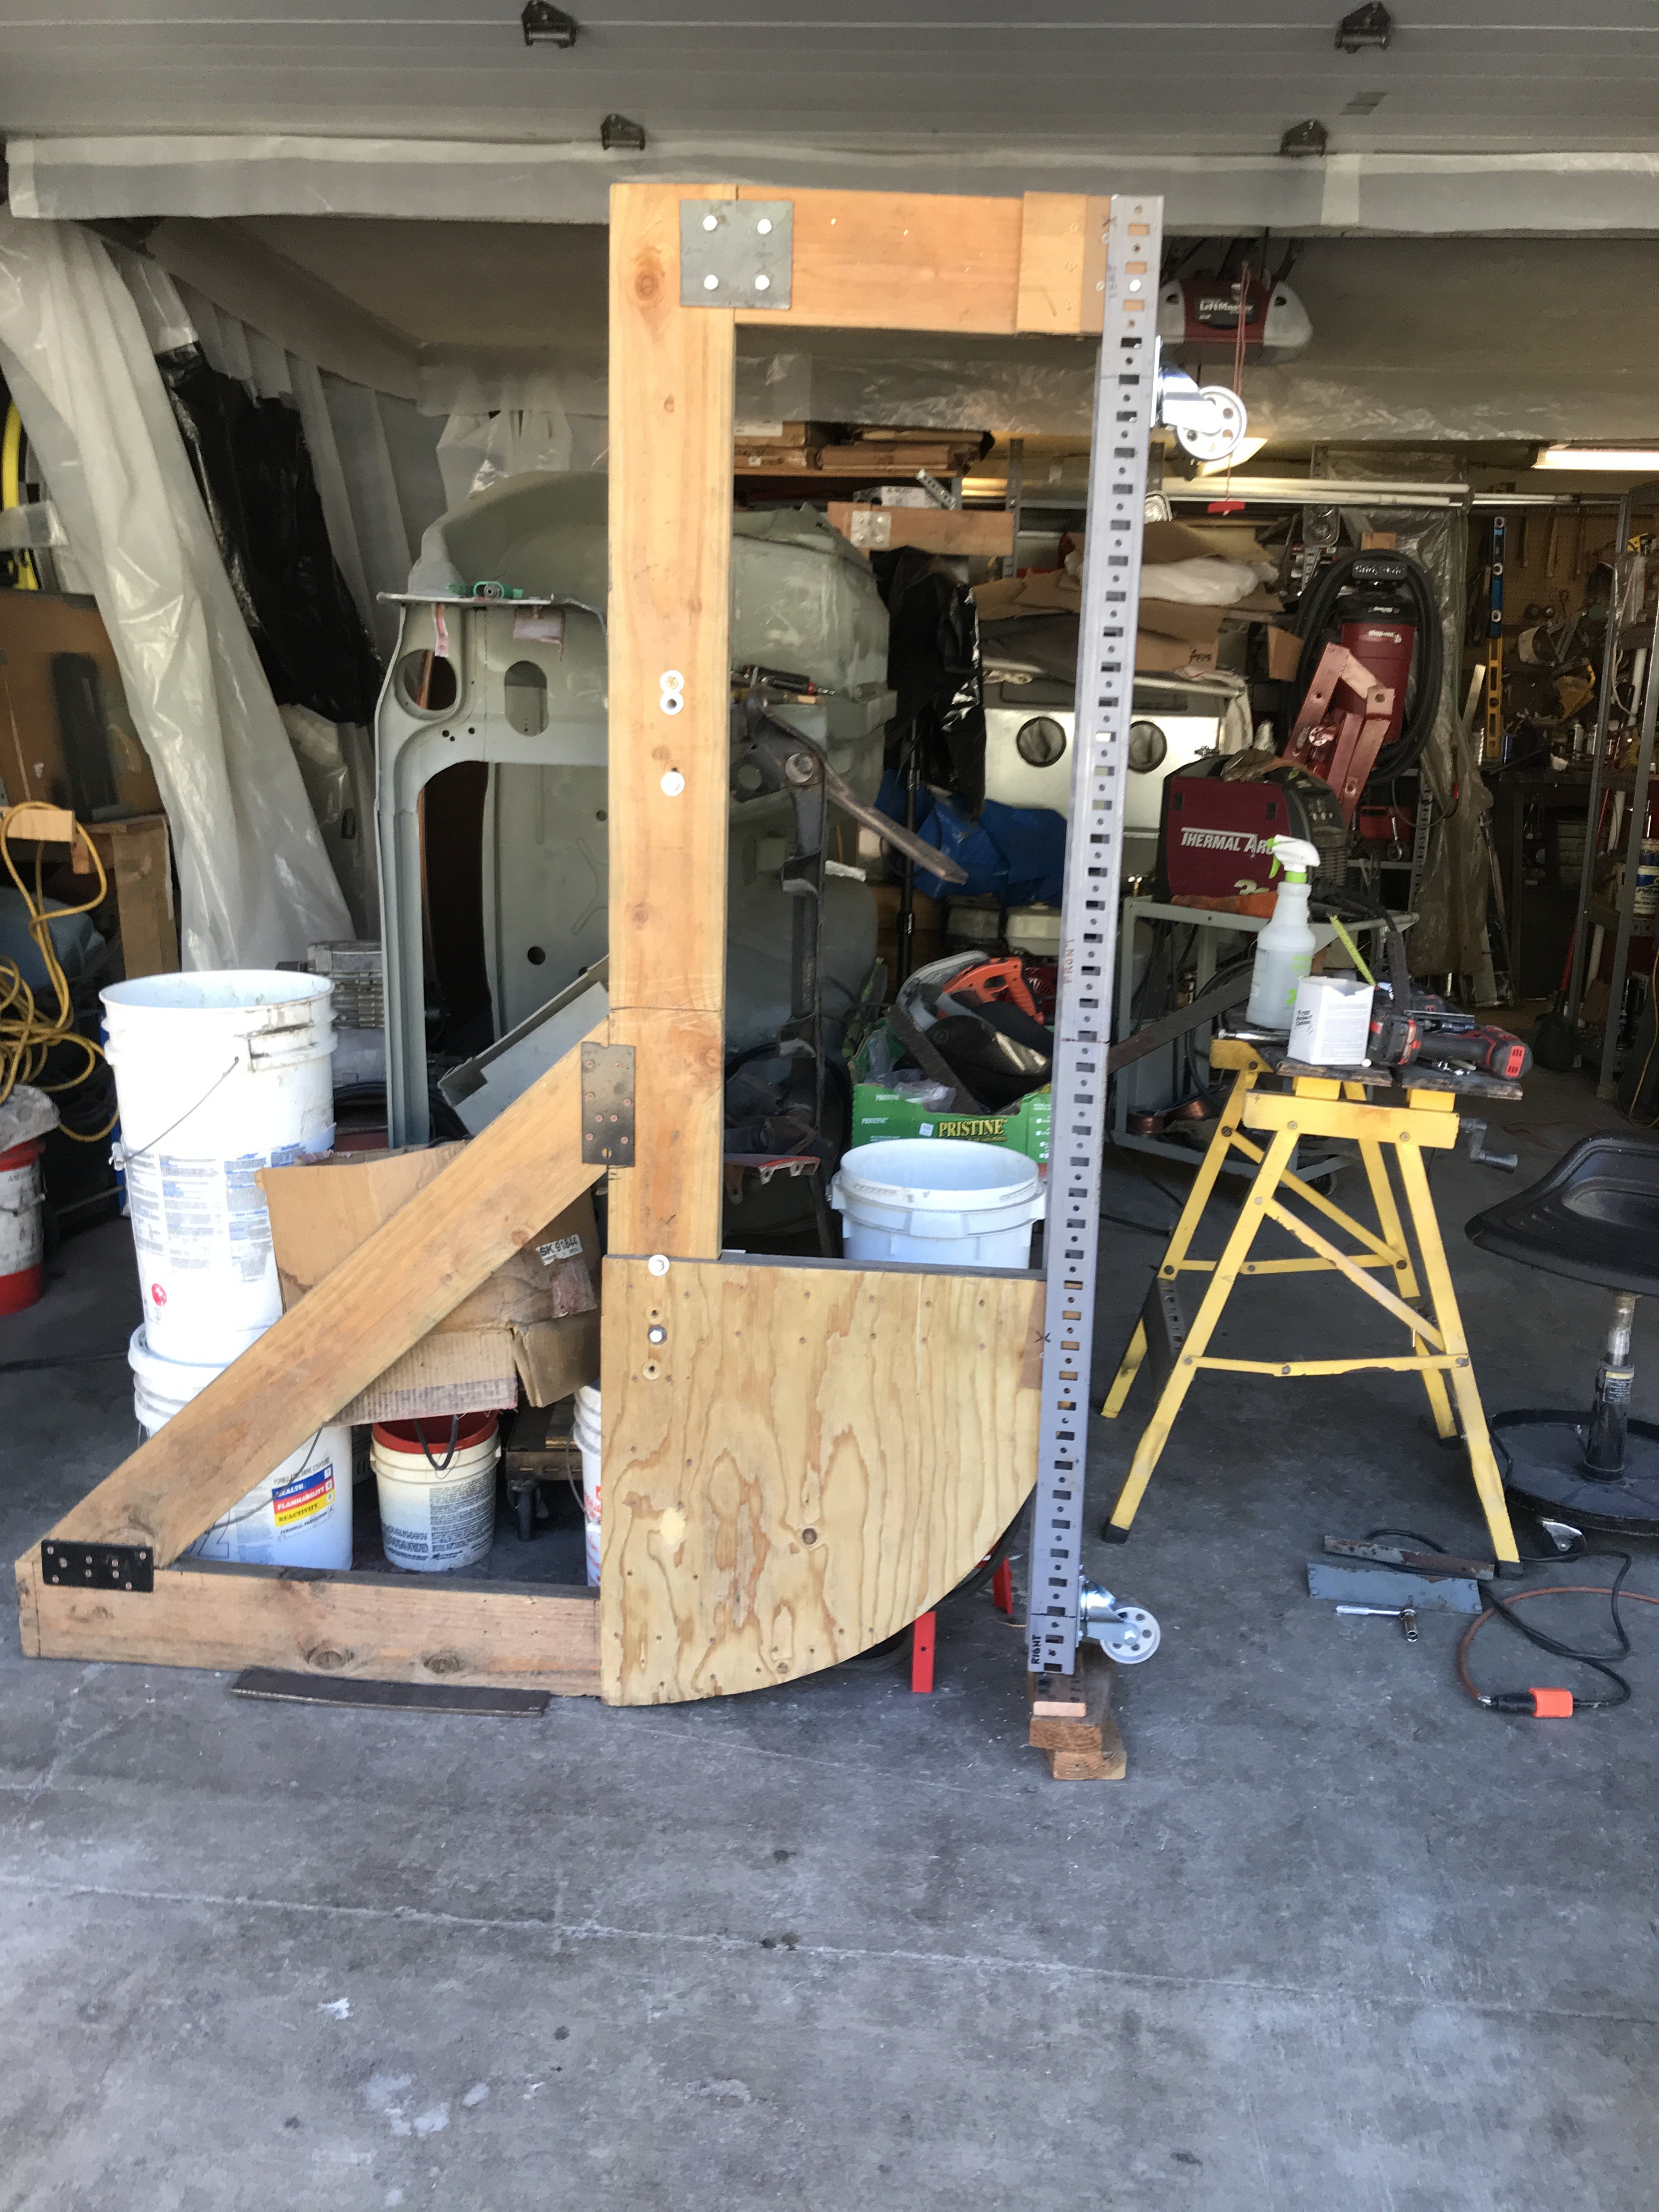
Back view of front caster support channel.
Each 4" caster has a load rating of 250 lbs.
Pic of rear caster support channel
These caster channels will be slid in position/ bolted down after car is in the horiziontal postion and jacked off the ground. These 4 swivel casters will allow the vehicle to be turned completely around with ease. Cost of casters was $10 each-Home Depot and shelving brackets were free(dumpster diving)
A 2" X 4" board was cut down to fit in the center of the support bar and bolted to frame with four 5/16" x 2" lag screws. This was to provide additional strength when floor jacking on the bar.
'
Overall view of addition to support bar
-
Returned Sunday from a convention in Las Vegas but managed squeeze three hours of Z work time in. As I was waiting for the front
lower quarter panel leg, I decided to pull out two dents on the same rocker panel.
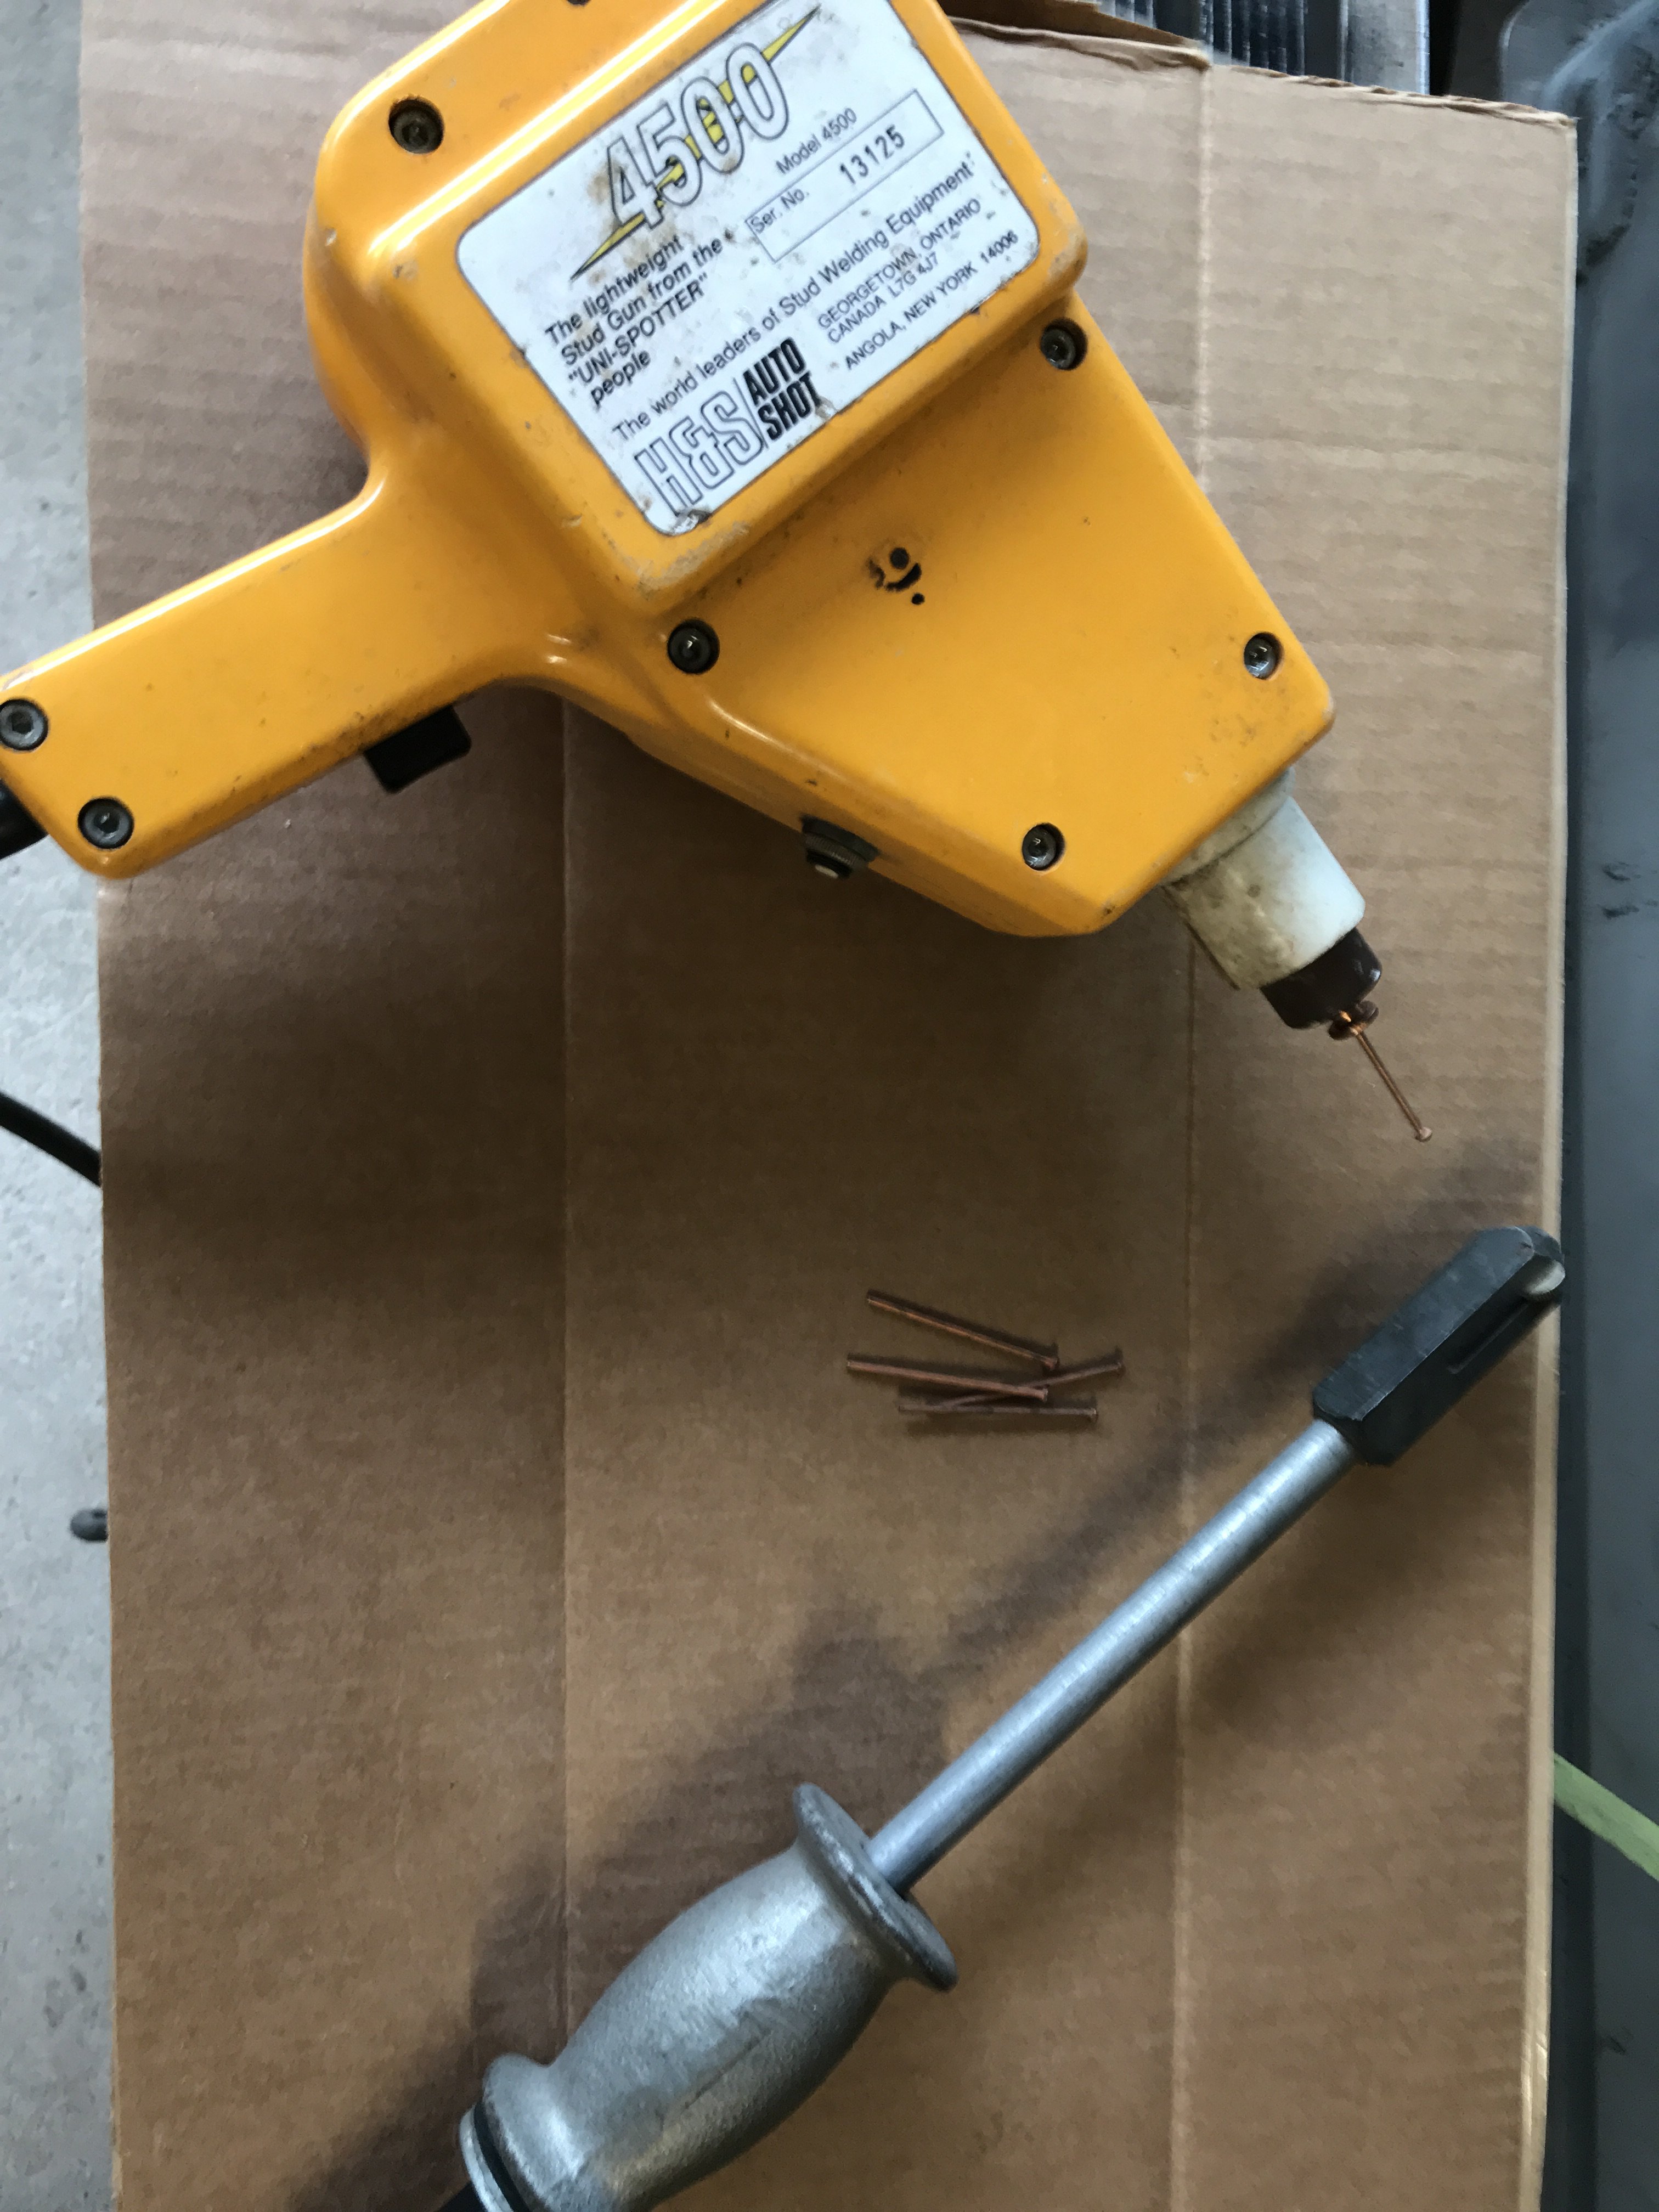
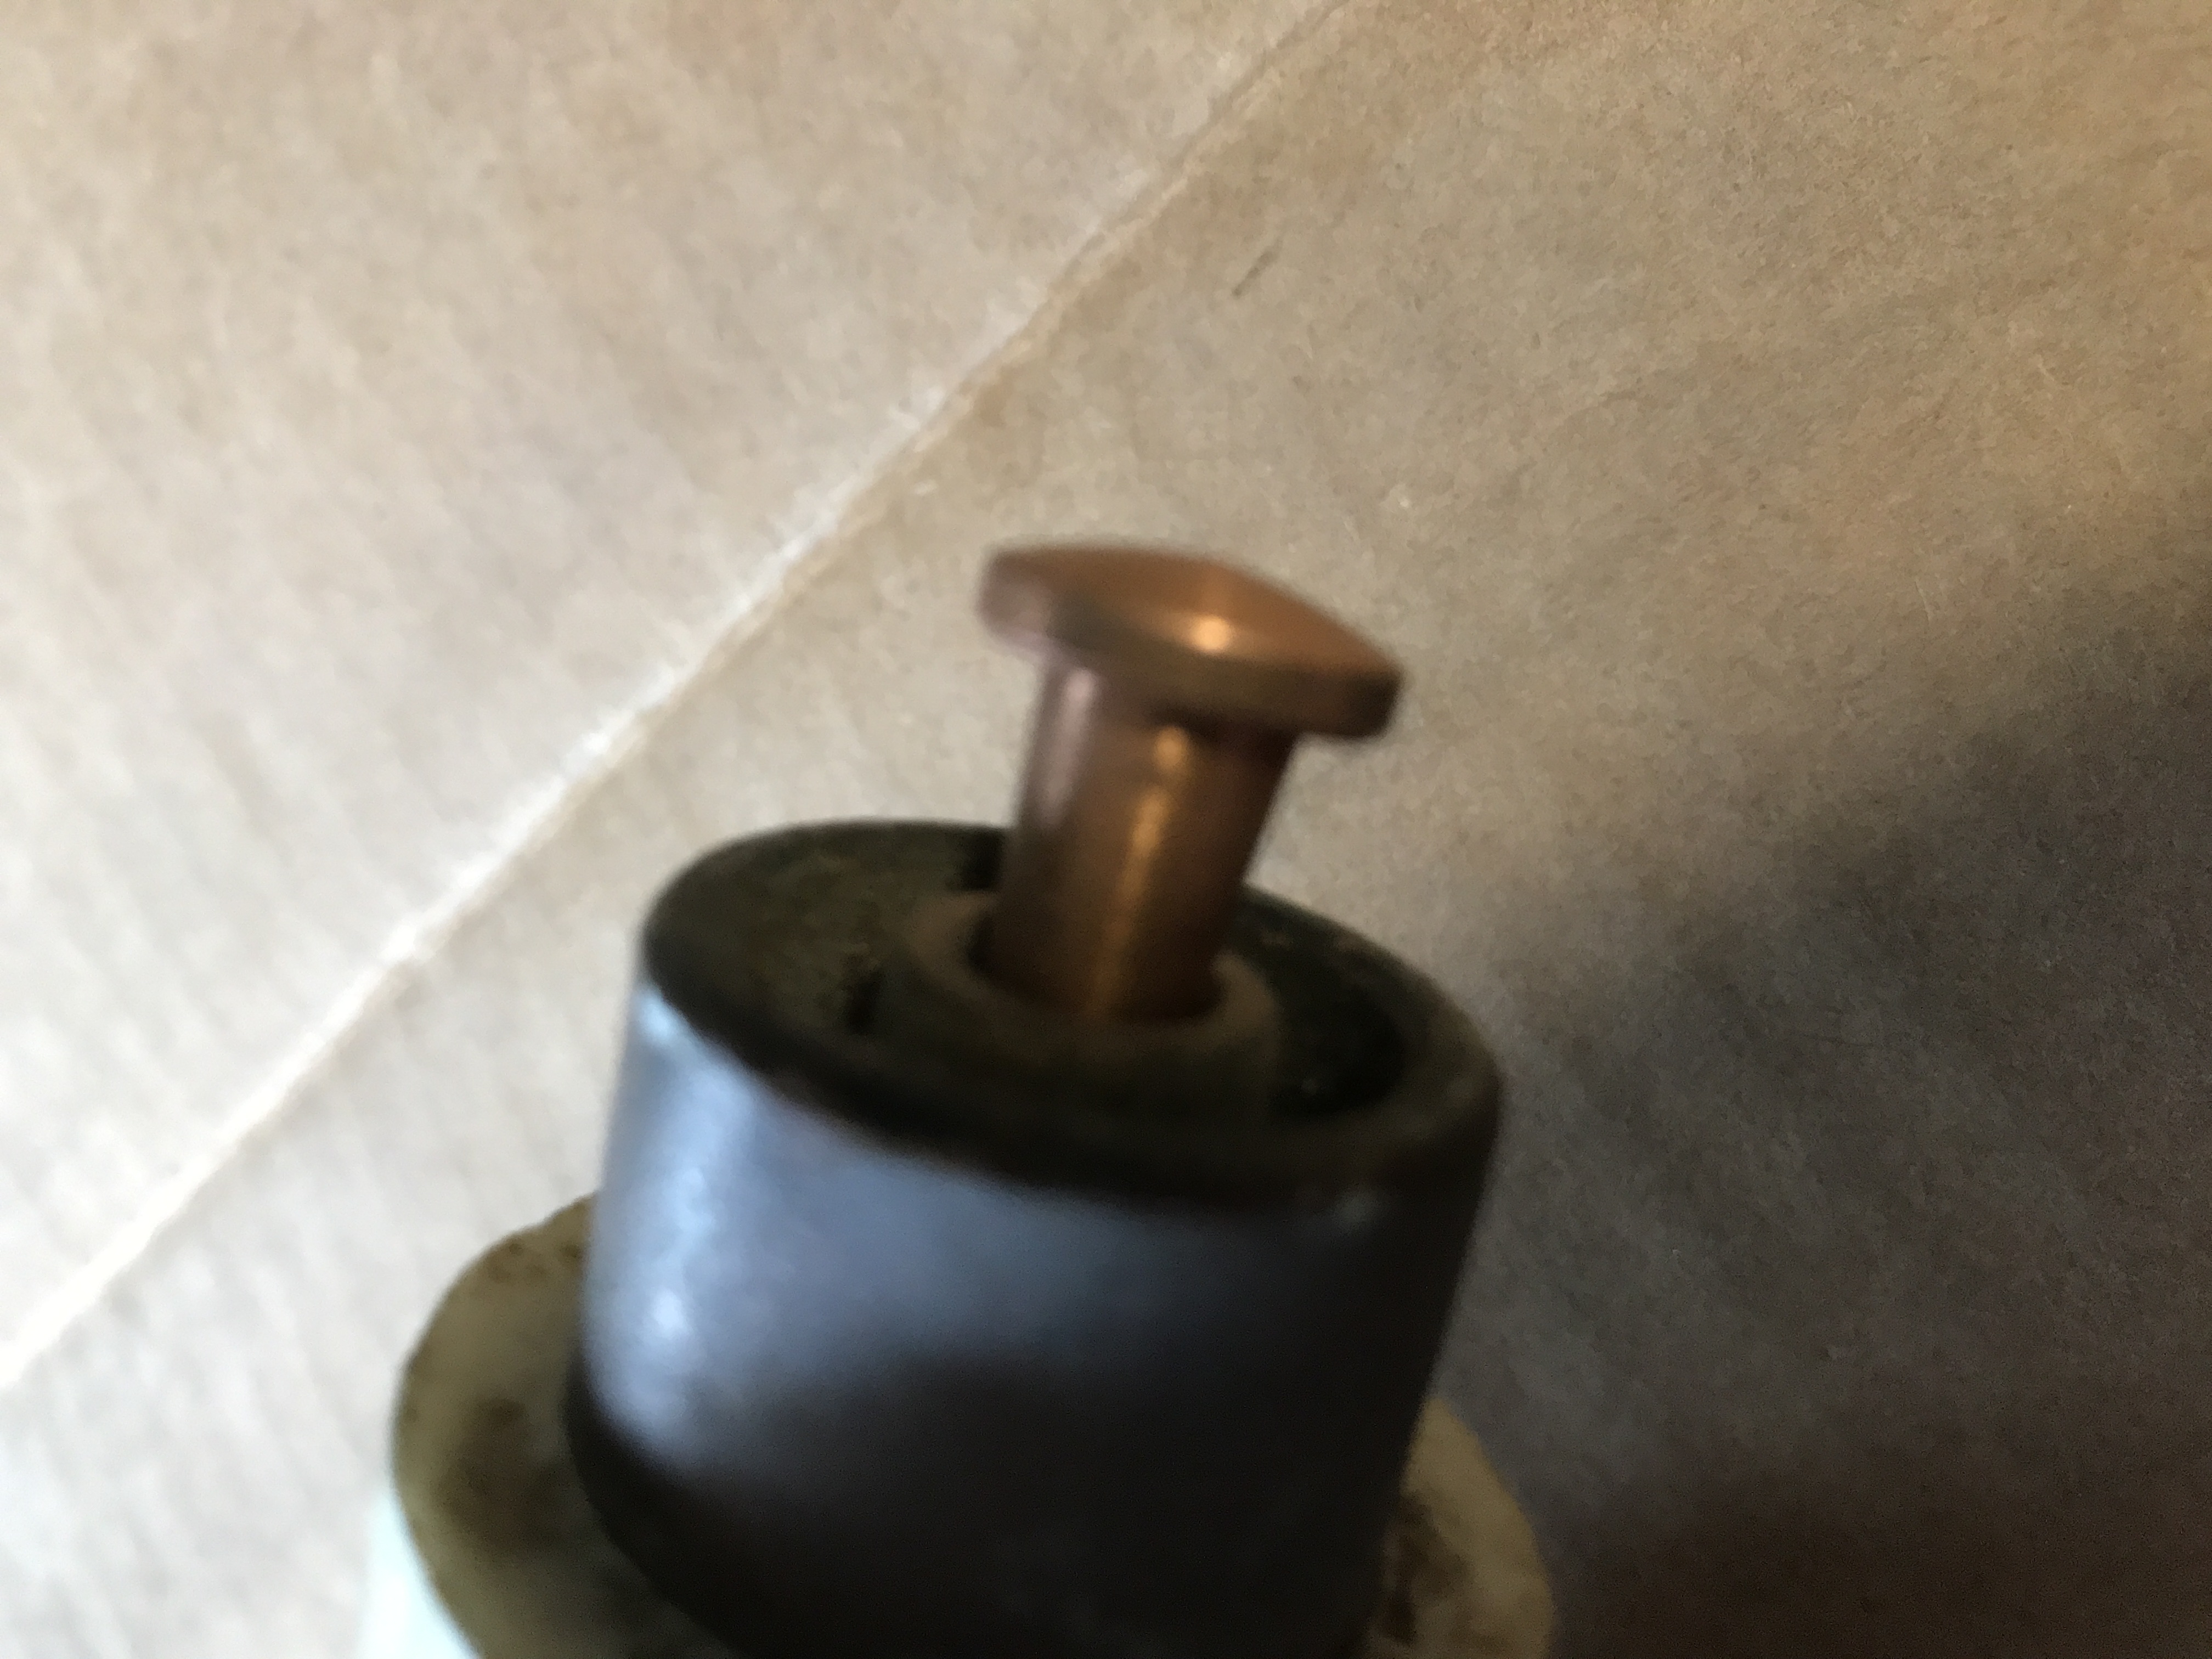
To do this, a 110vt stud gun was utilized.
The gun spot welds copper studs to the damaged area then the sliding grabs and pulls the dent out.
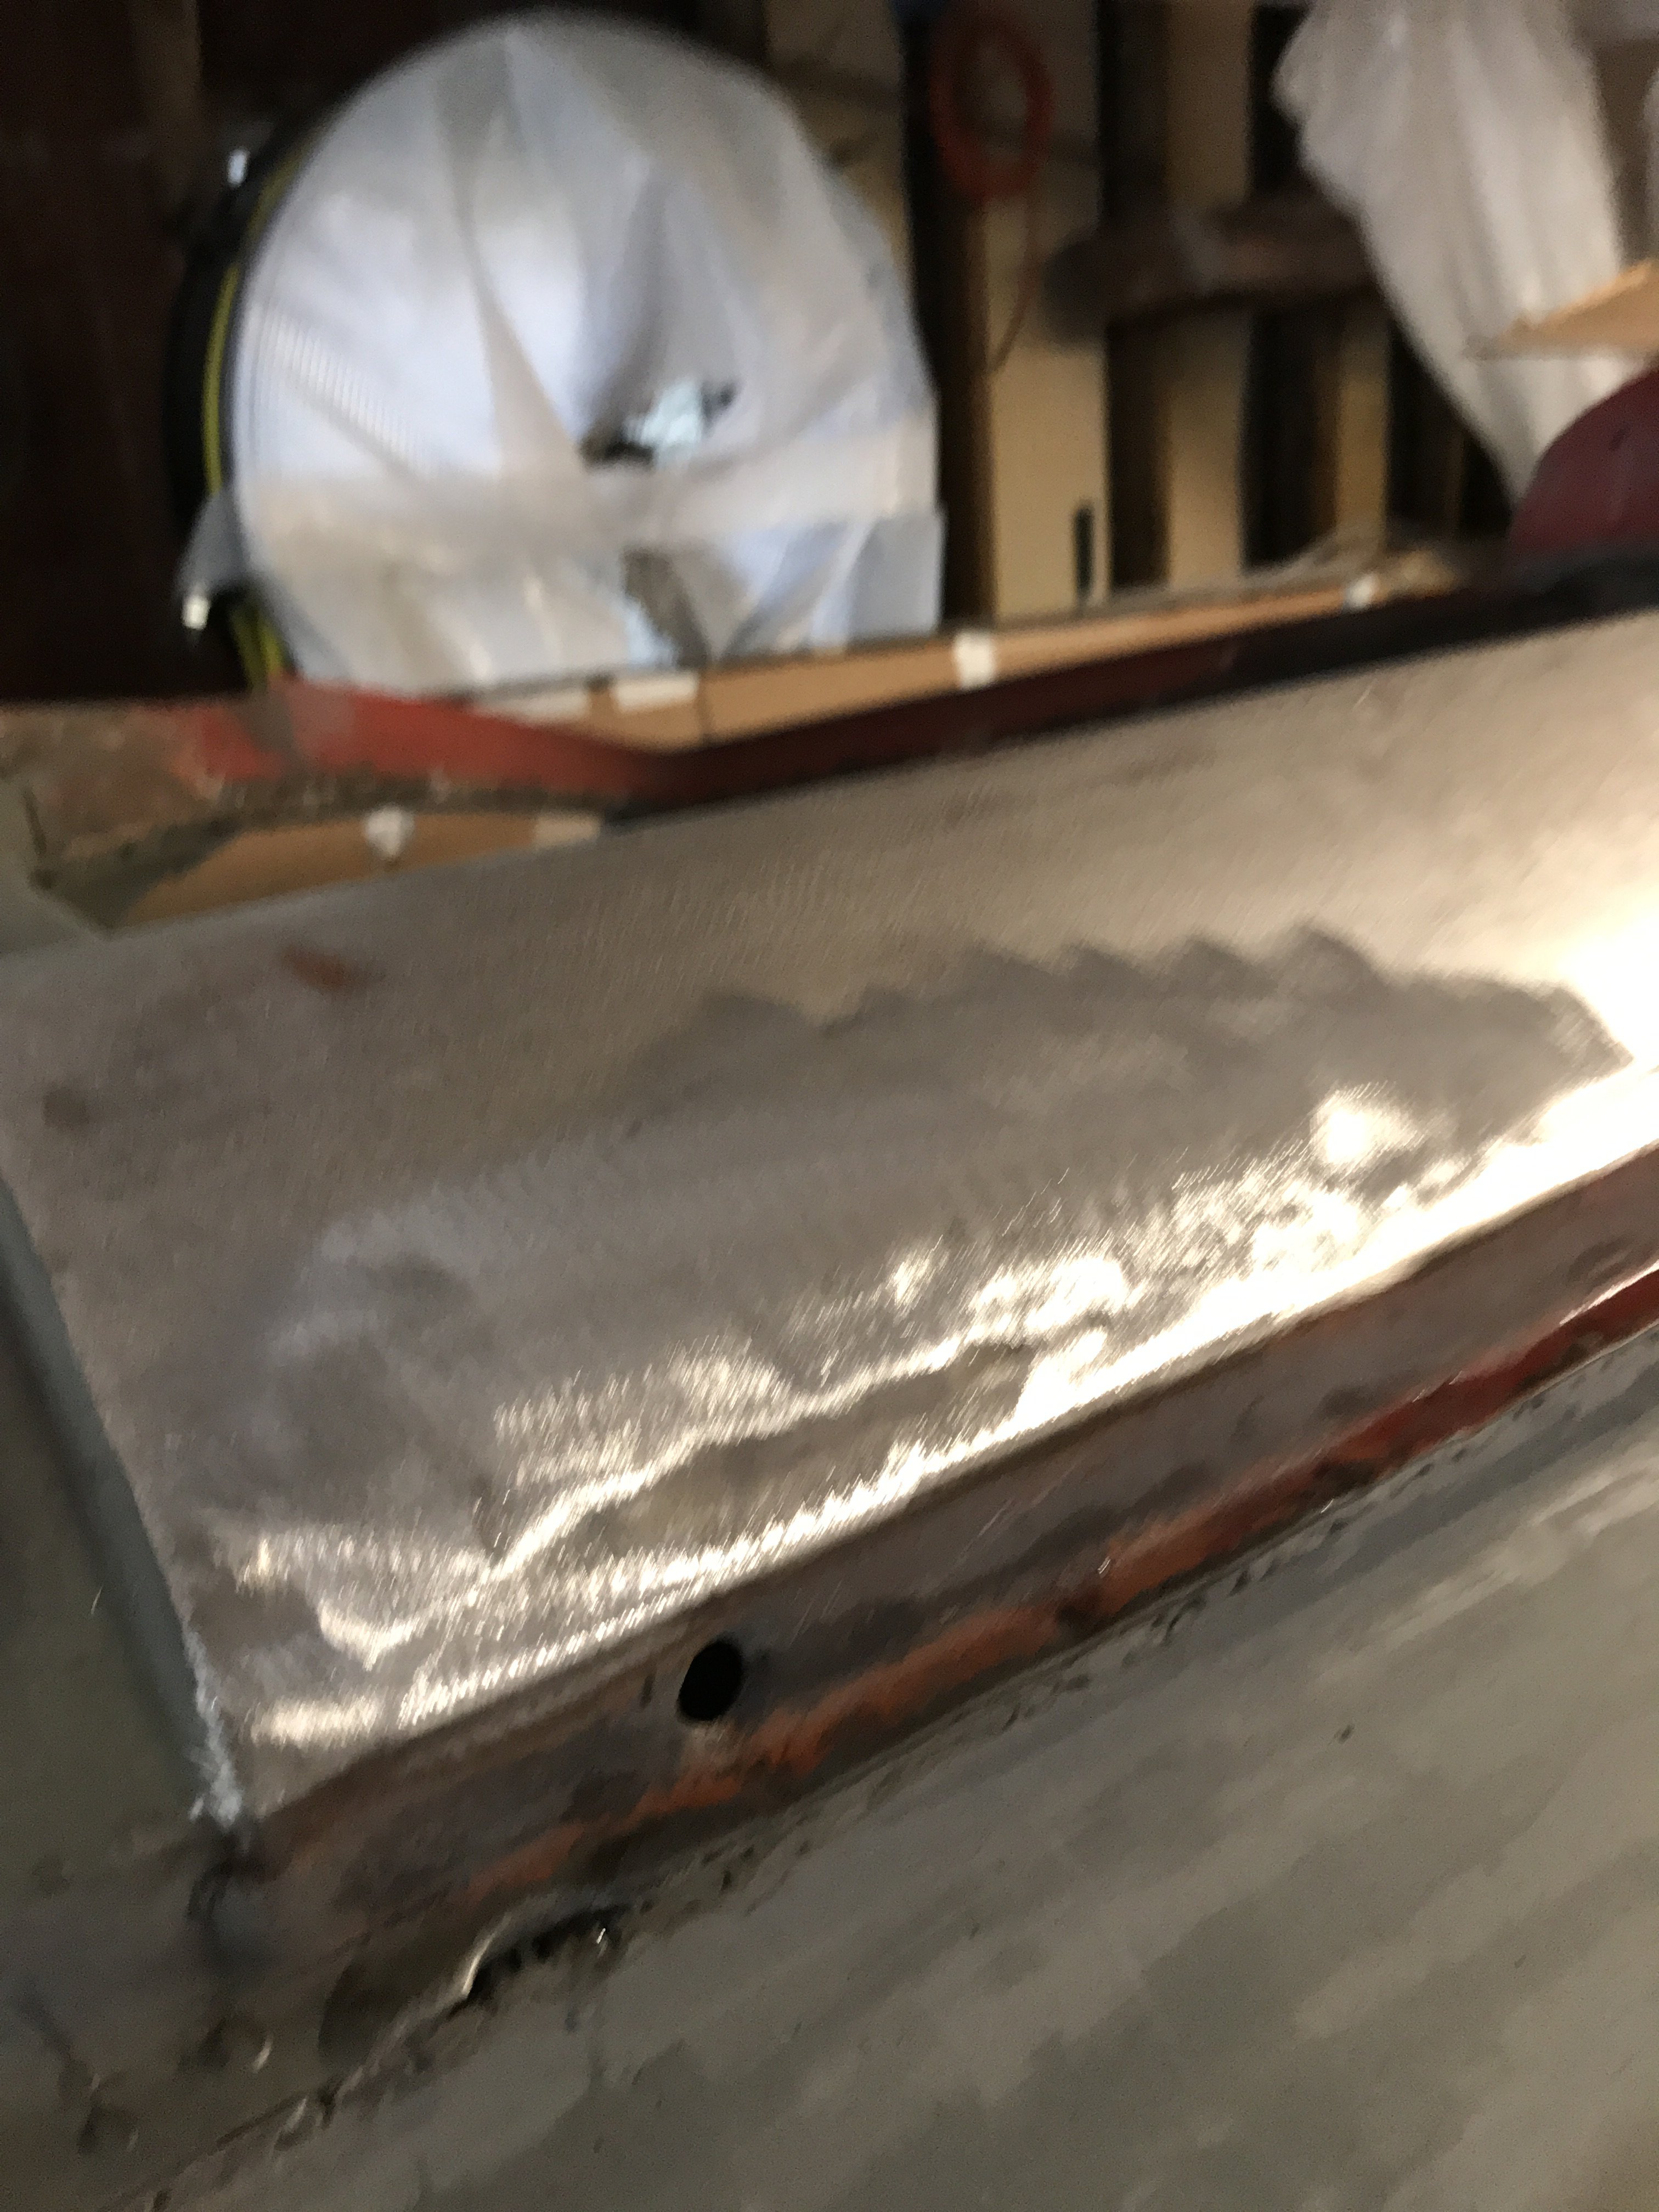
Pic of crease on rocker panel.
Another angle of stud pulling.
If the repaired becomes "high" , there is also a shrinking tip that can be used. This flat tip will heat a small area "red
hot" then tap this area with a body hammer down. Next, "quench" the area with a wet rag. This will create the shrinking action to occur and lower the area.
Repaired area after grinding with#24 grit paper
Pic of the other dent repaired with stud gun
 At the sand blaster
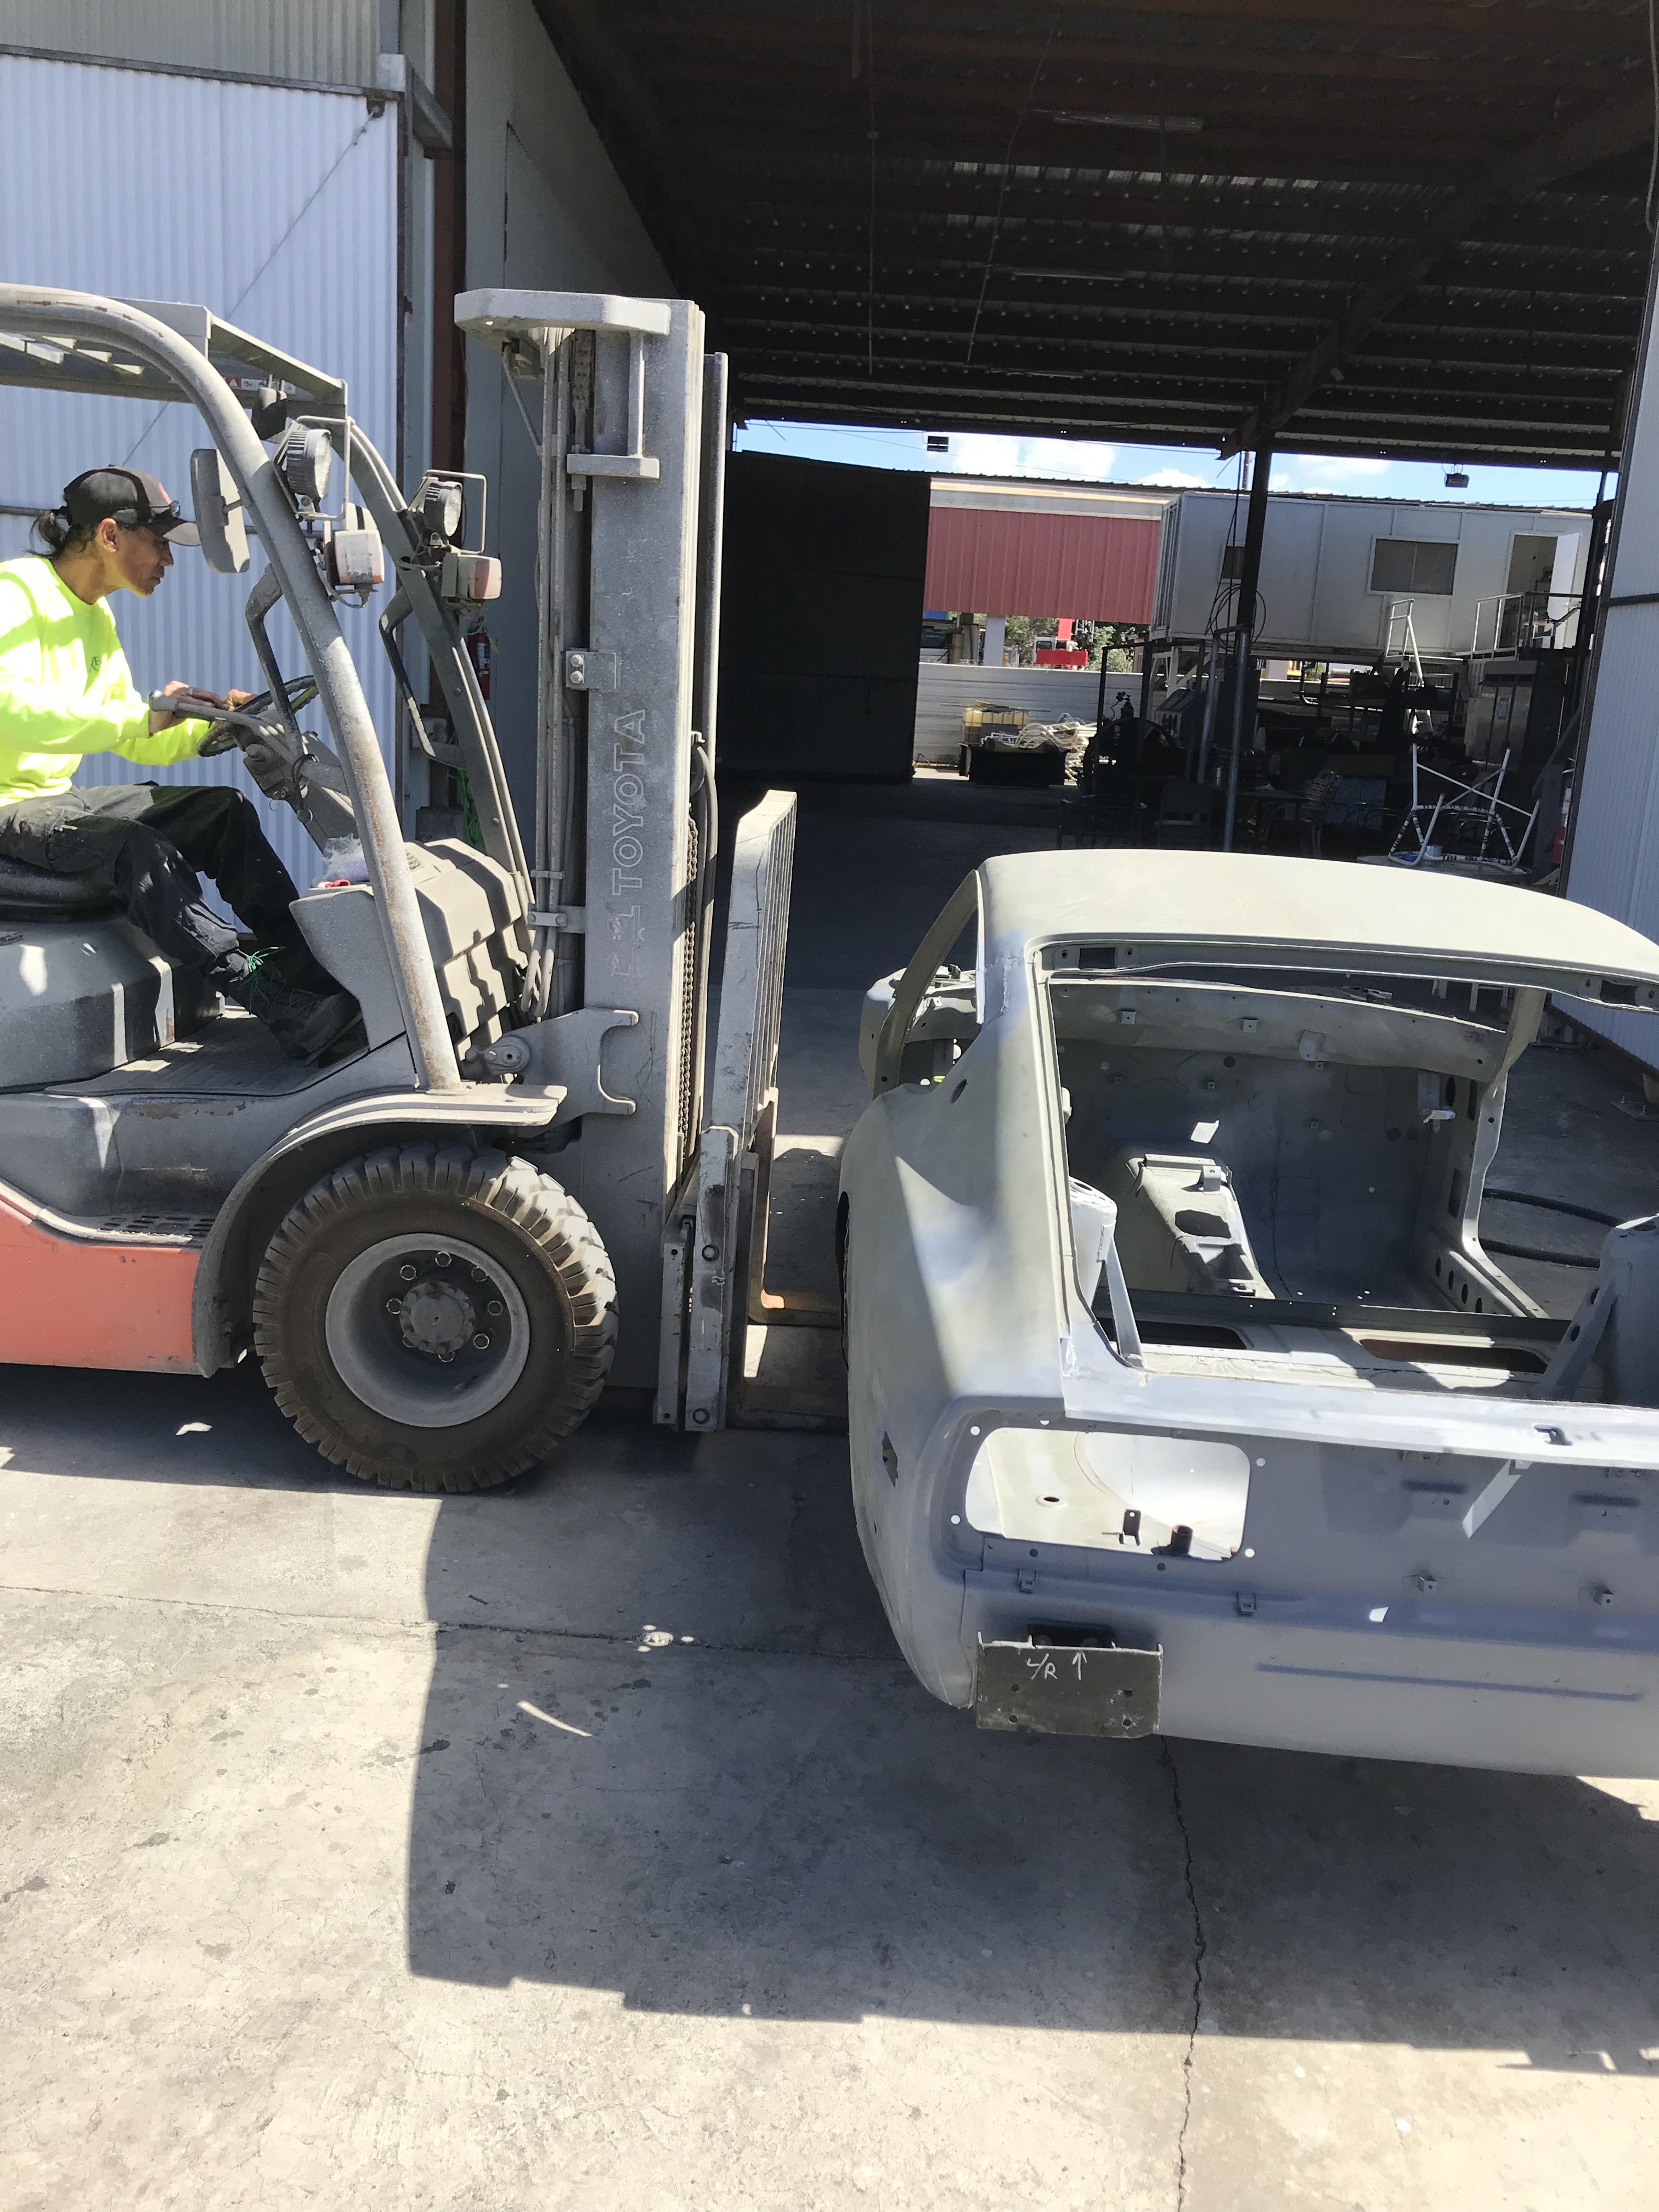

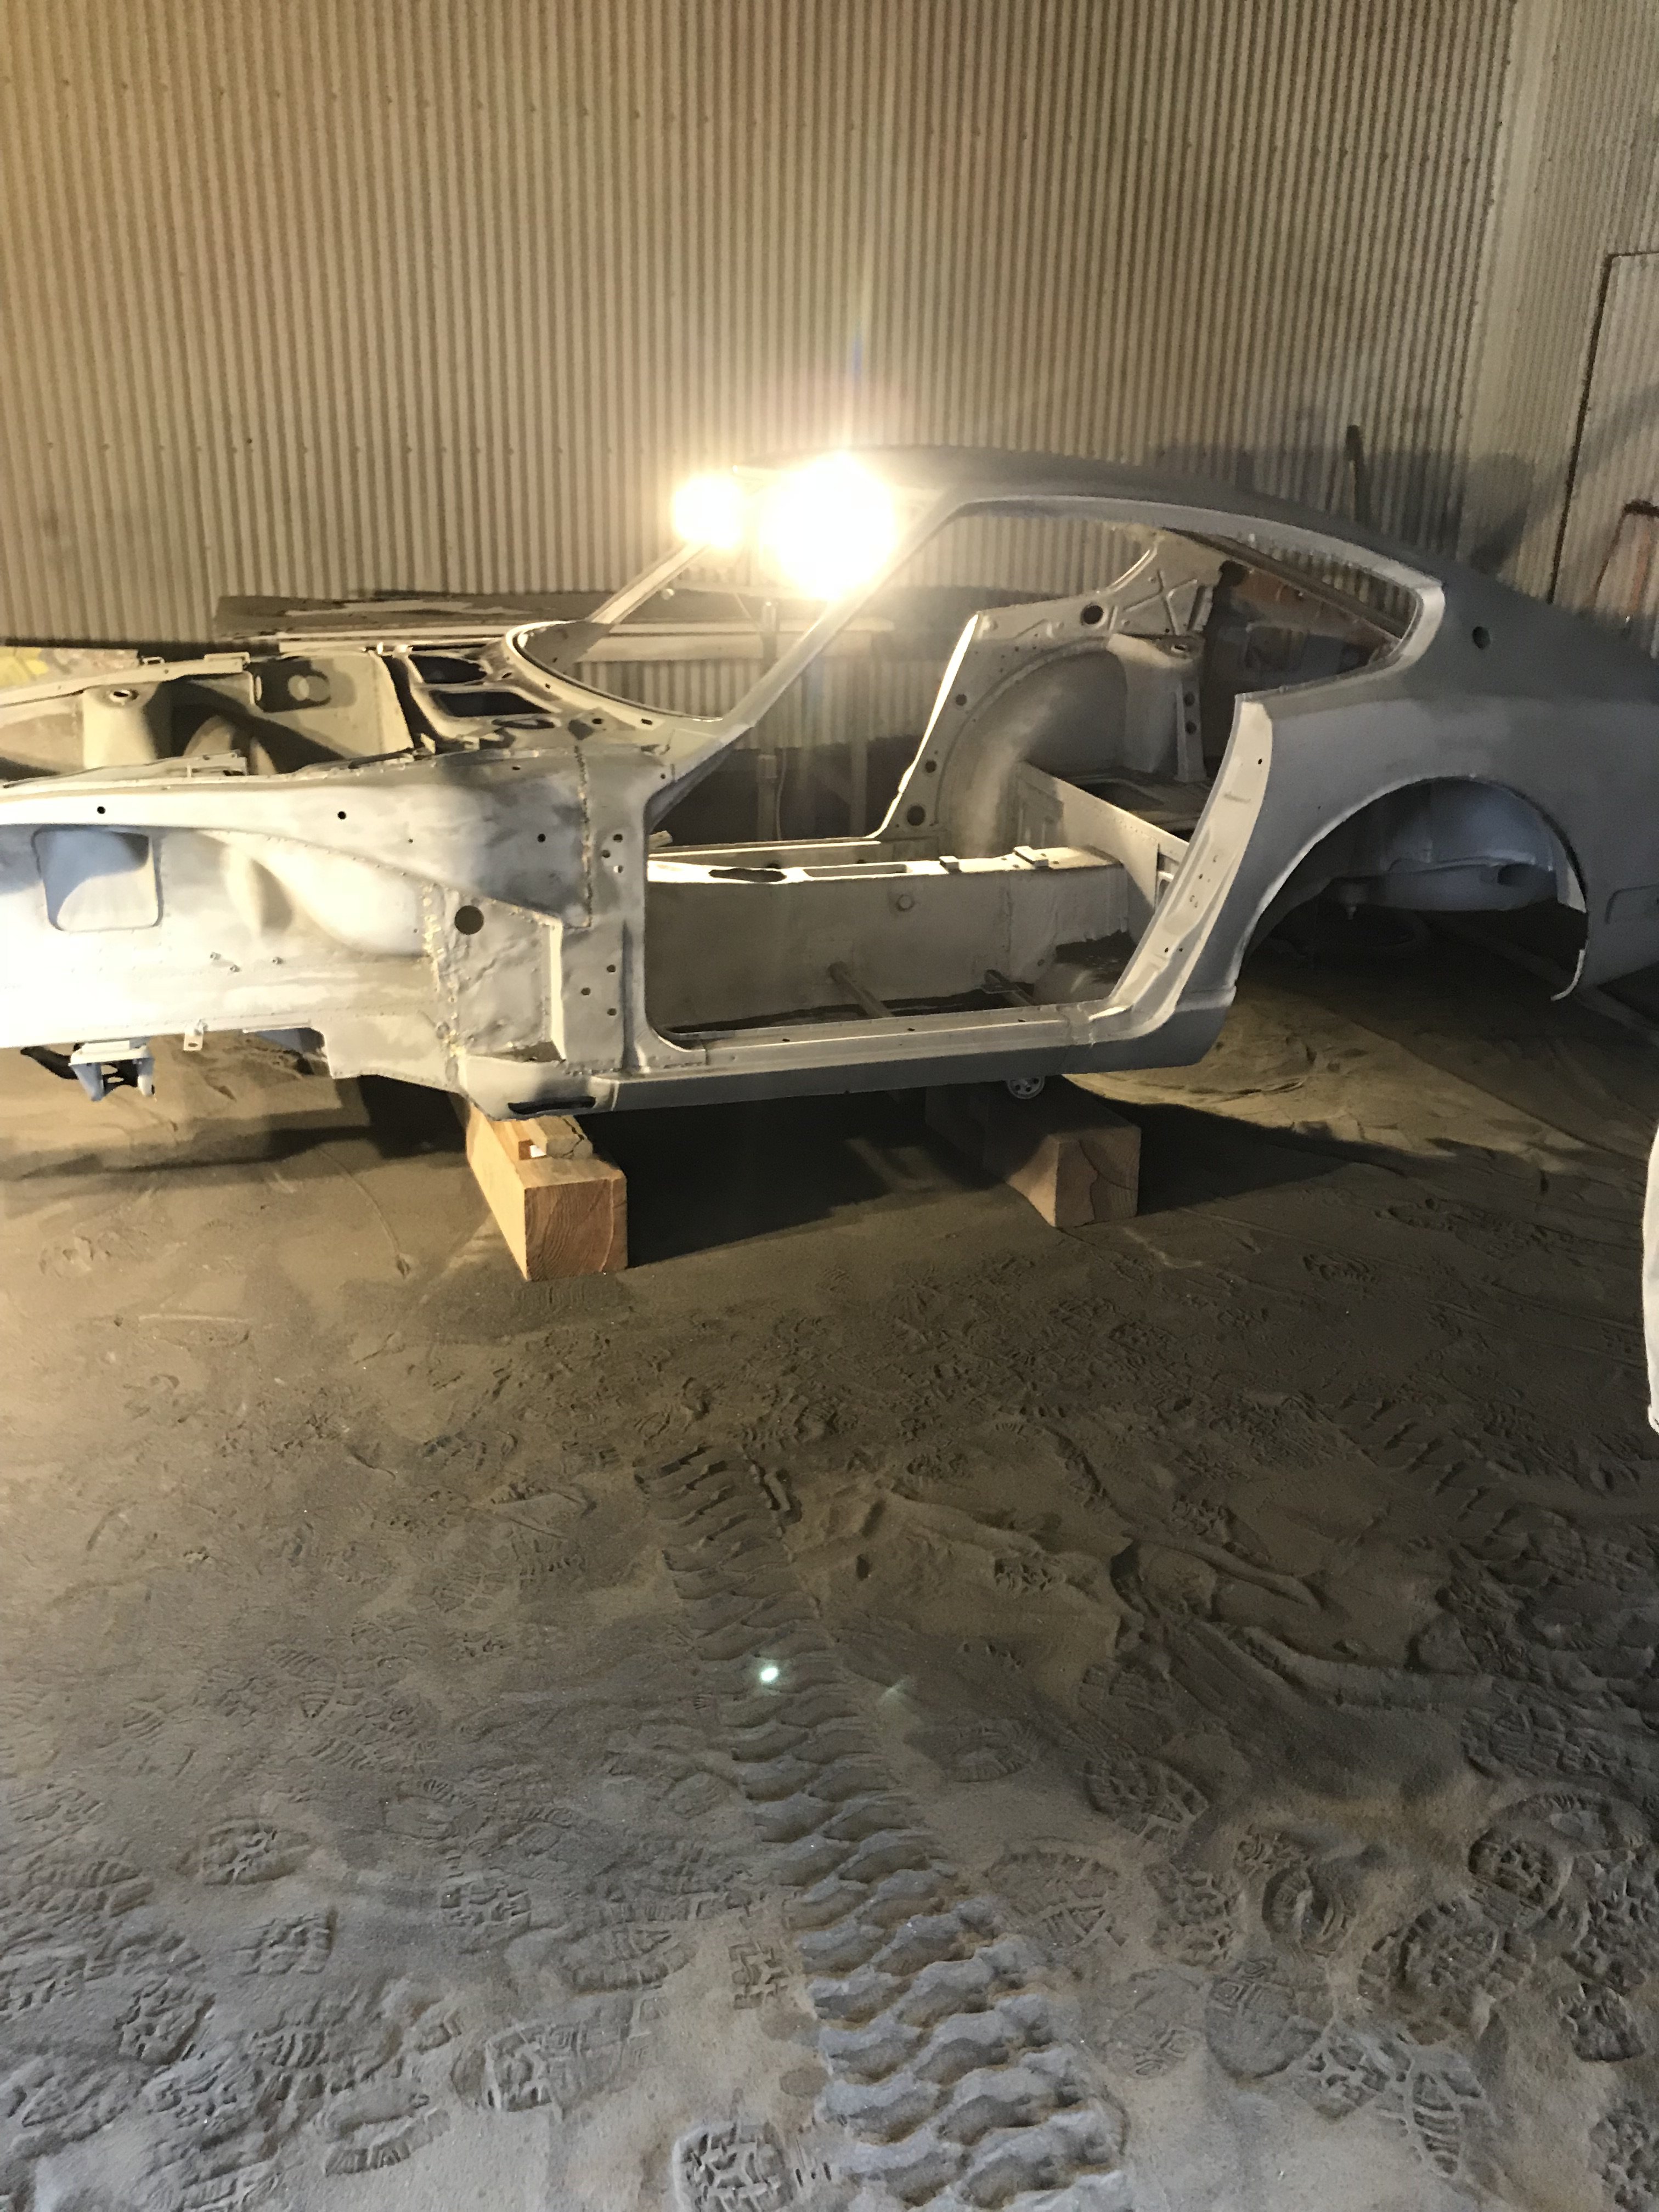 Almost finished blasting

 Right rear hatch panel-inside view
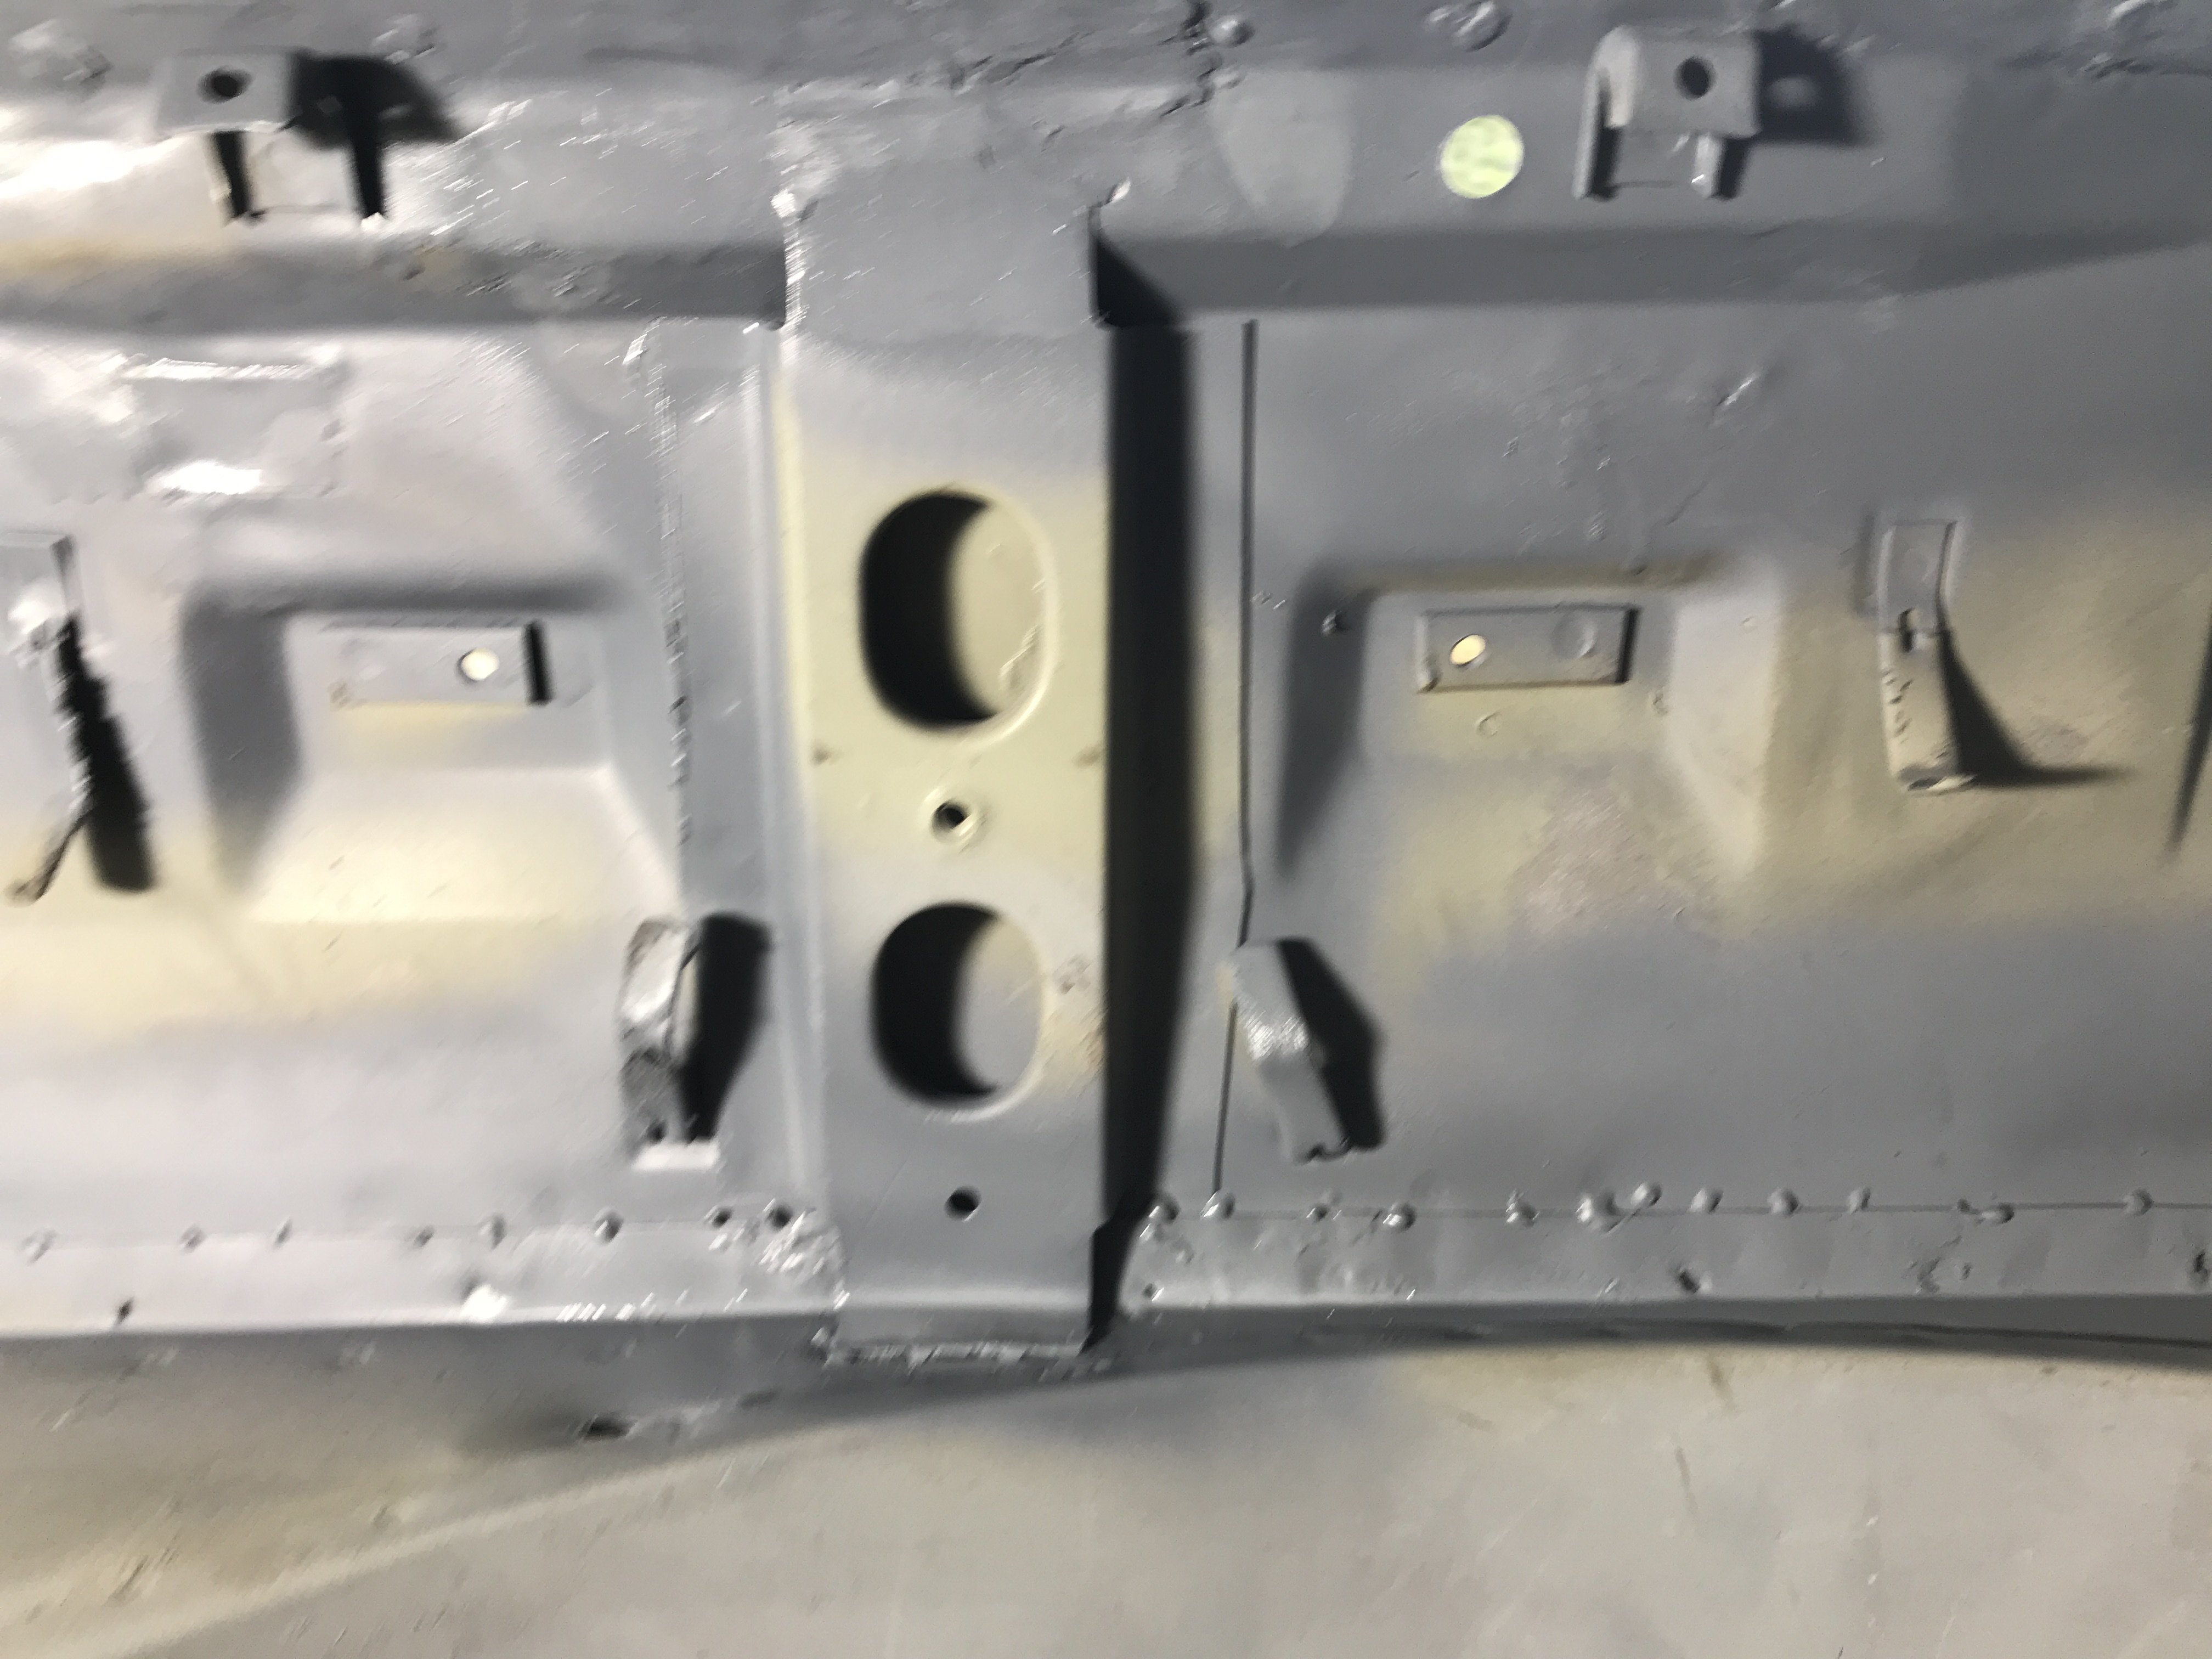 Center of Rear Hatch Panel

 Hidden corrosion

 Upper frame area
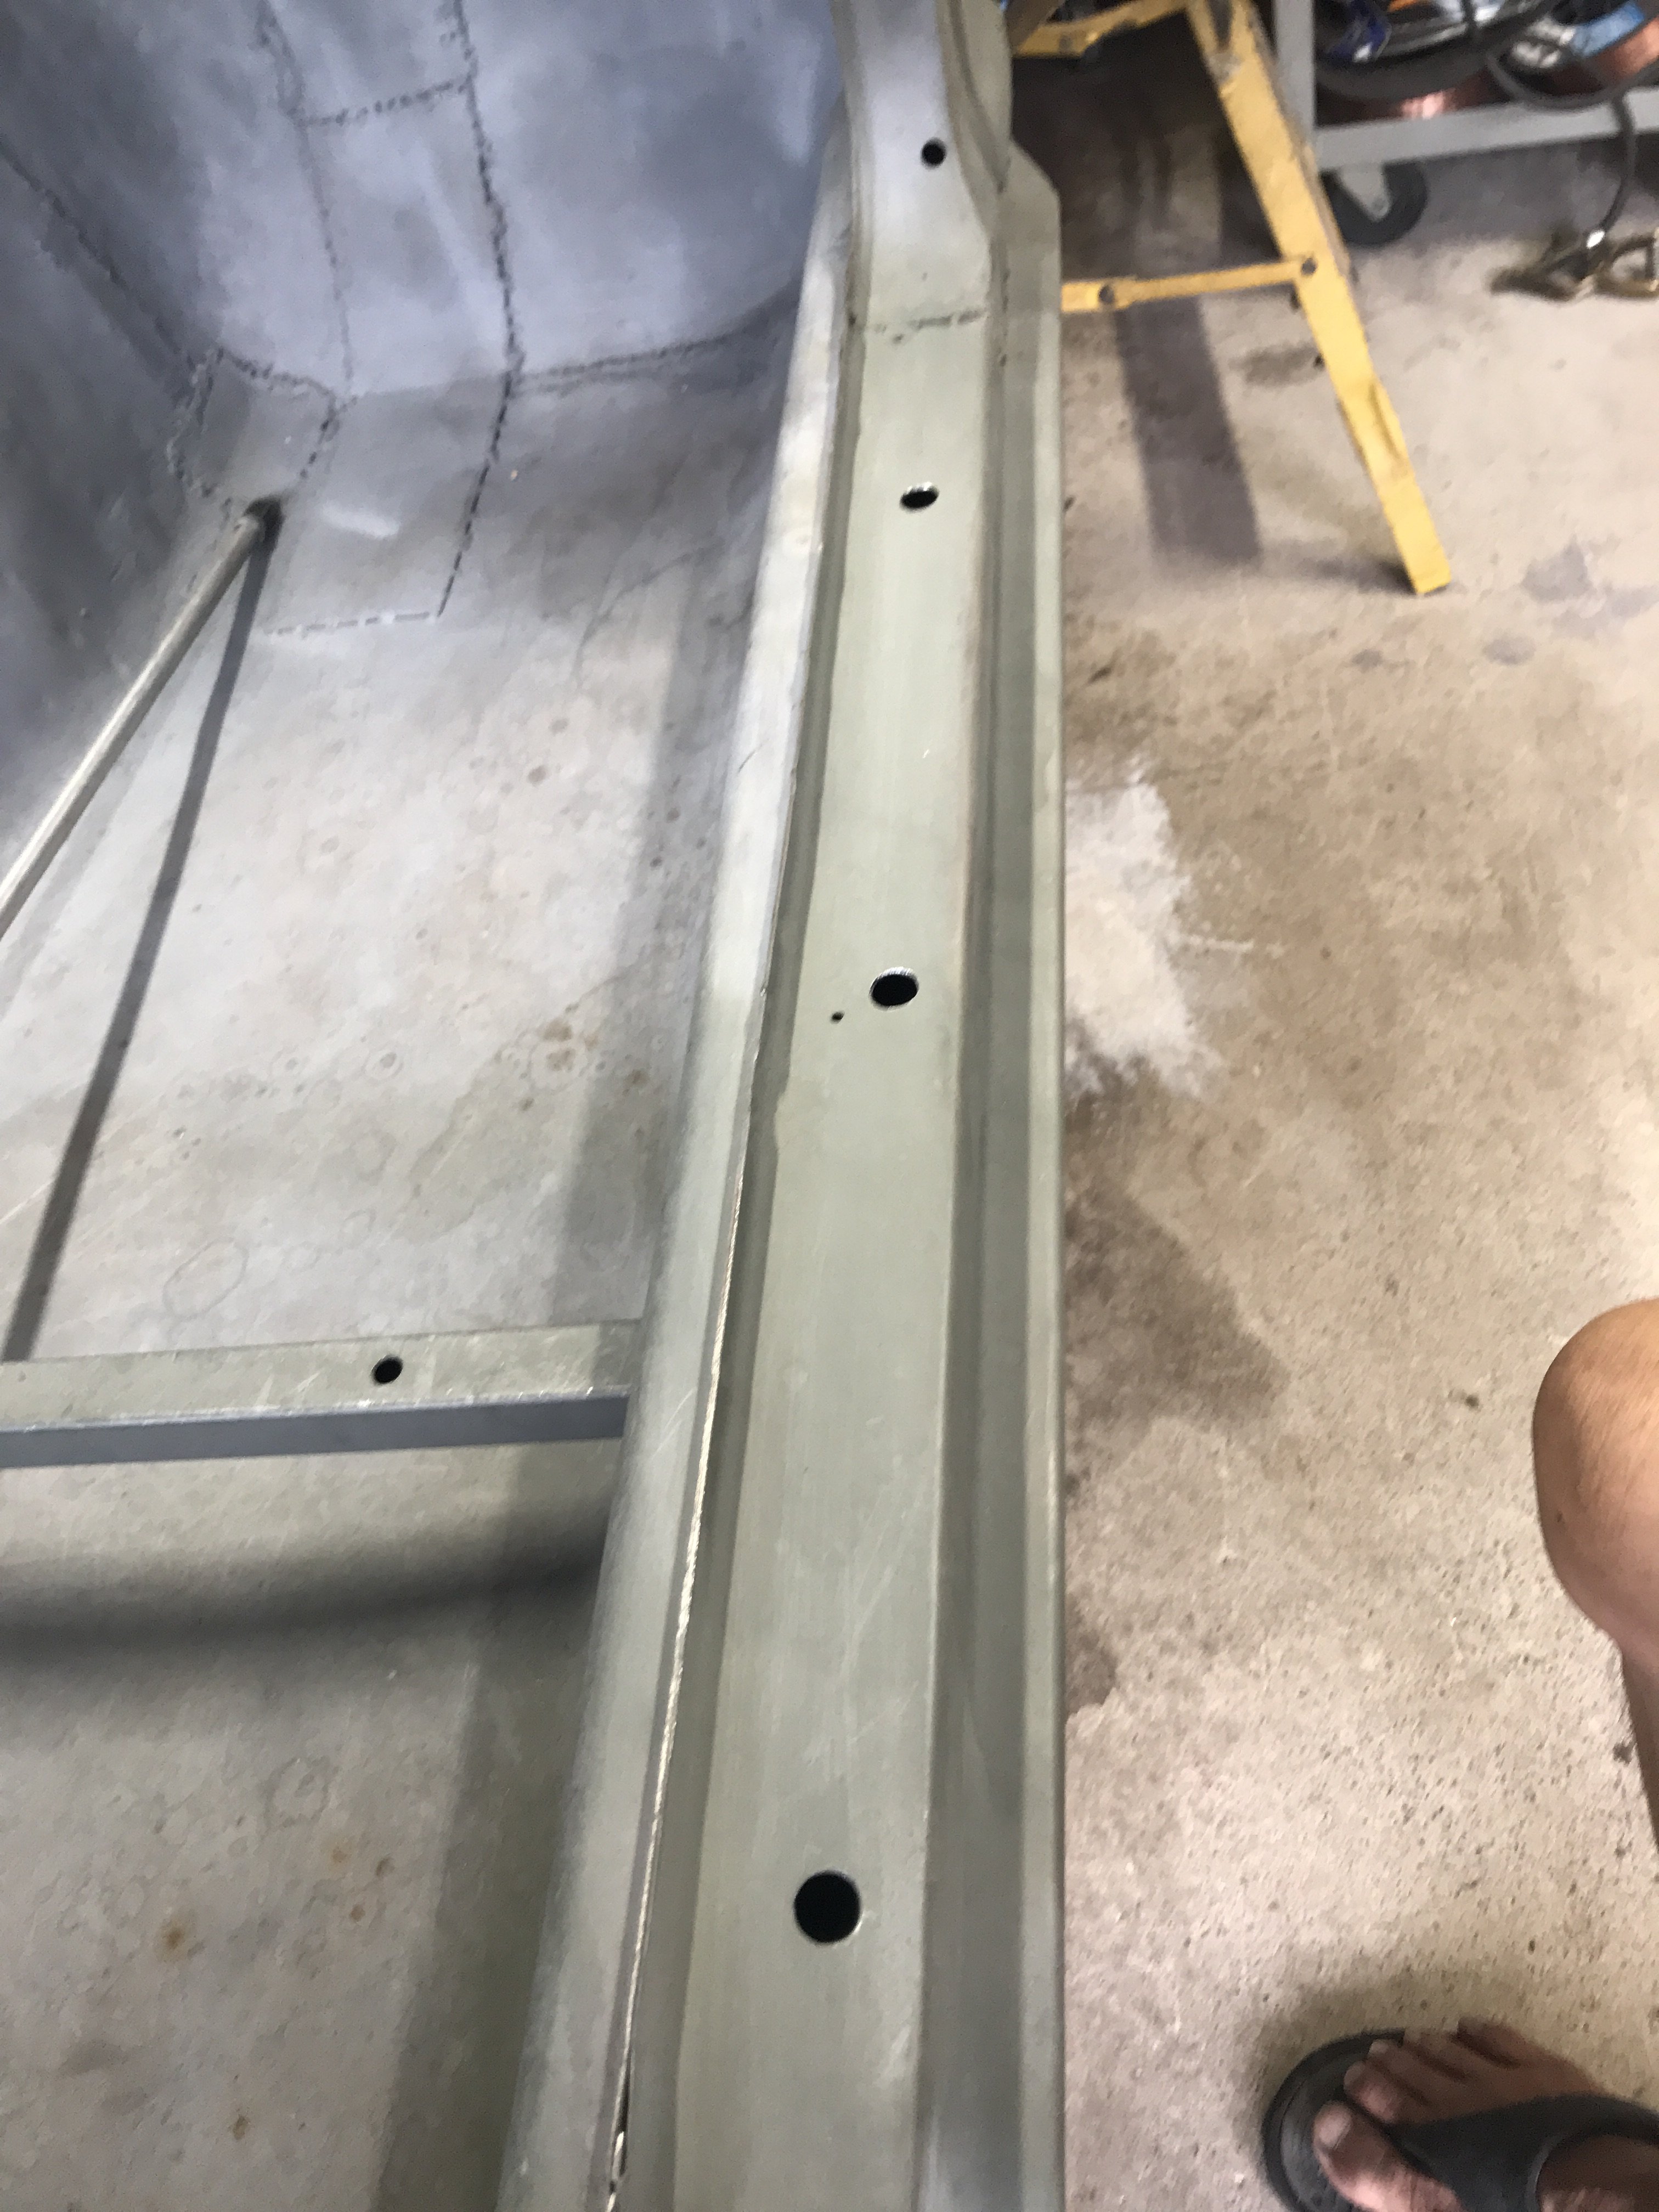
 Pic of rustproofing on the inside of left quarter panel
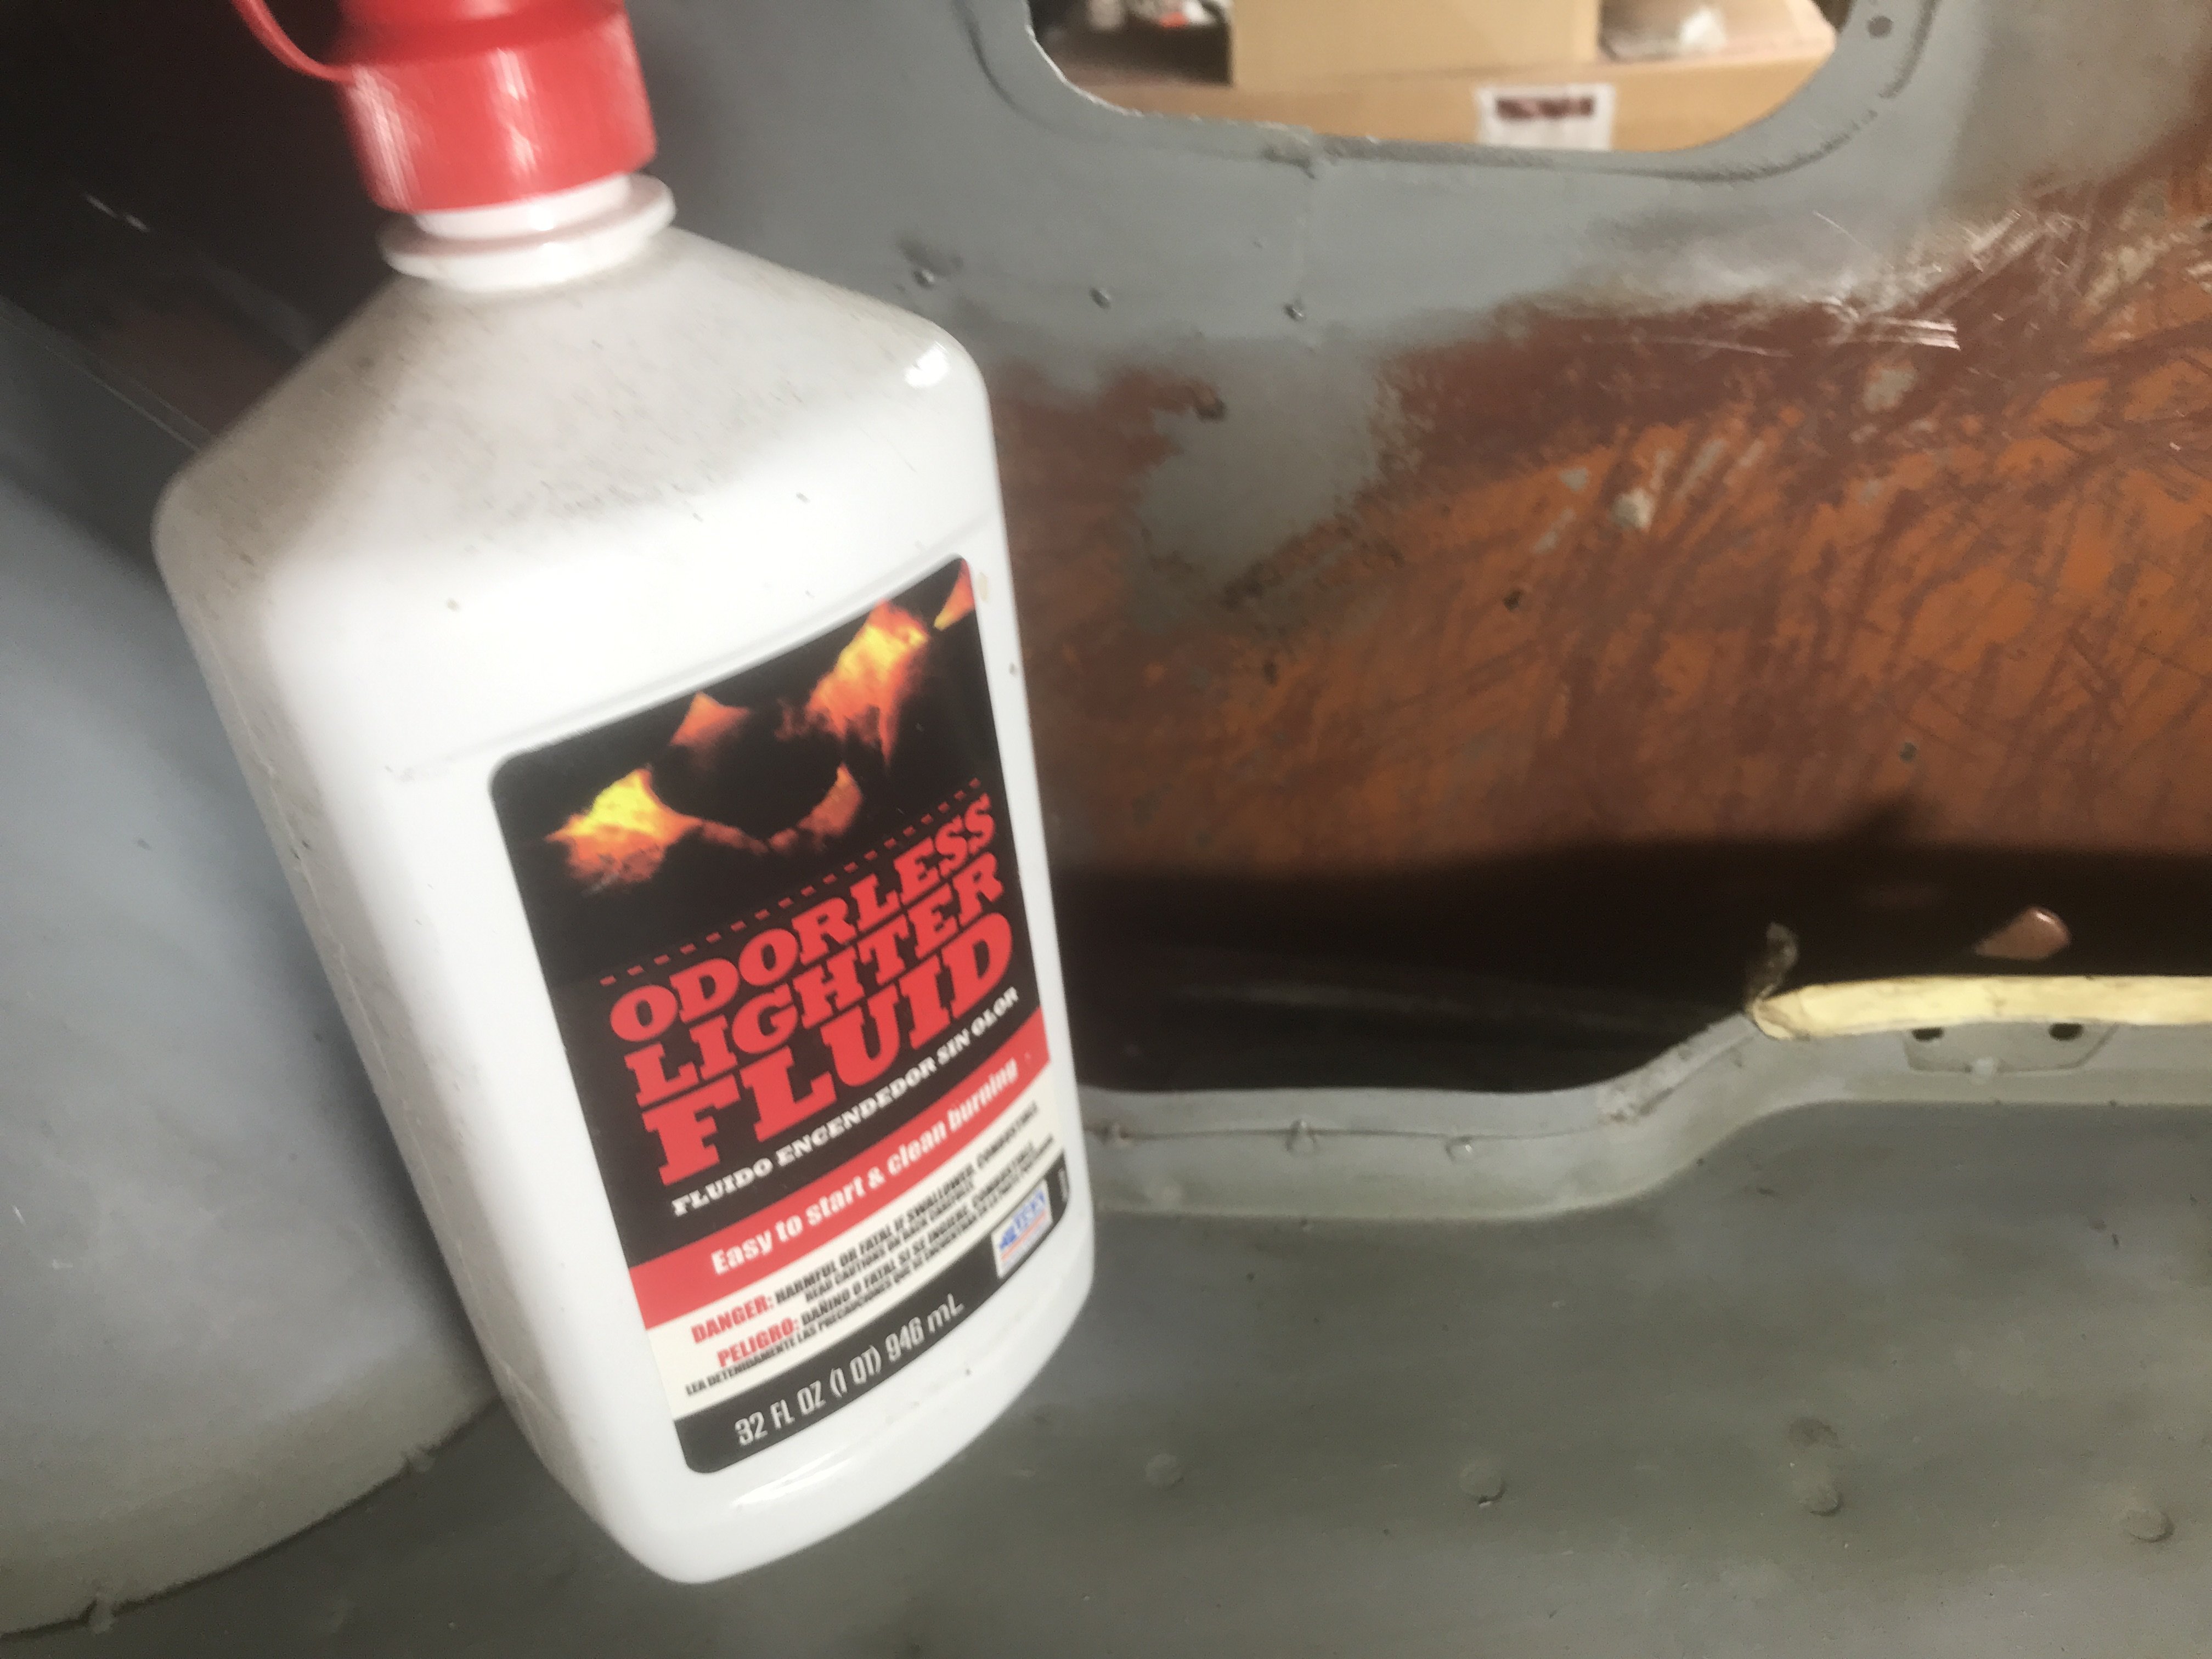 Lighter Fluid
 Left rear quarter panel pocket
 .JPG.4224a78c69813b275c1b5f849483a208.JPG)
 Replacement panel ready to be welded on.
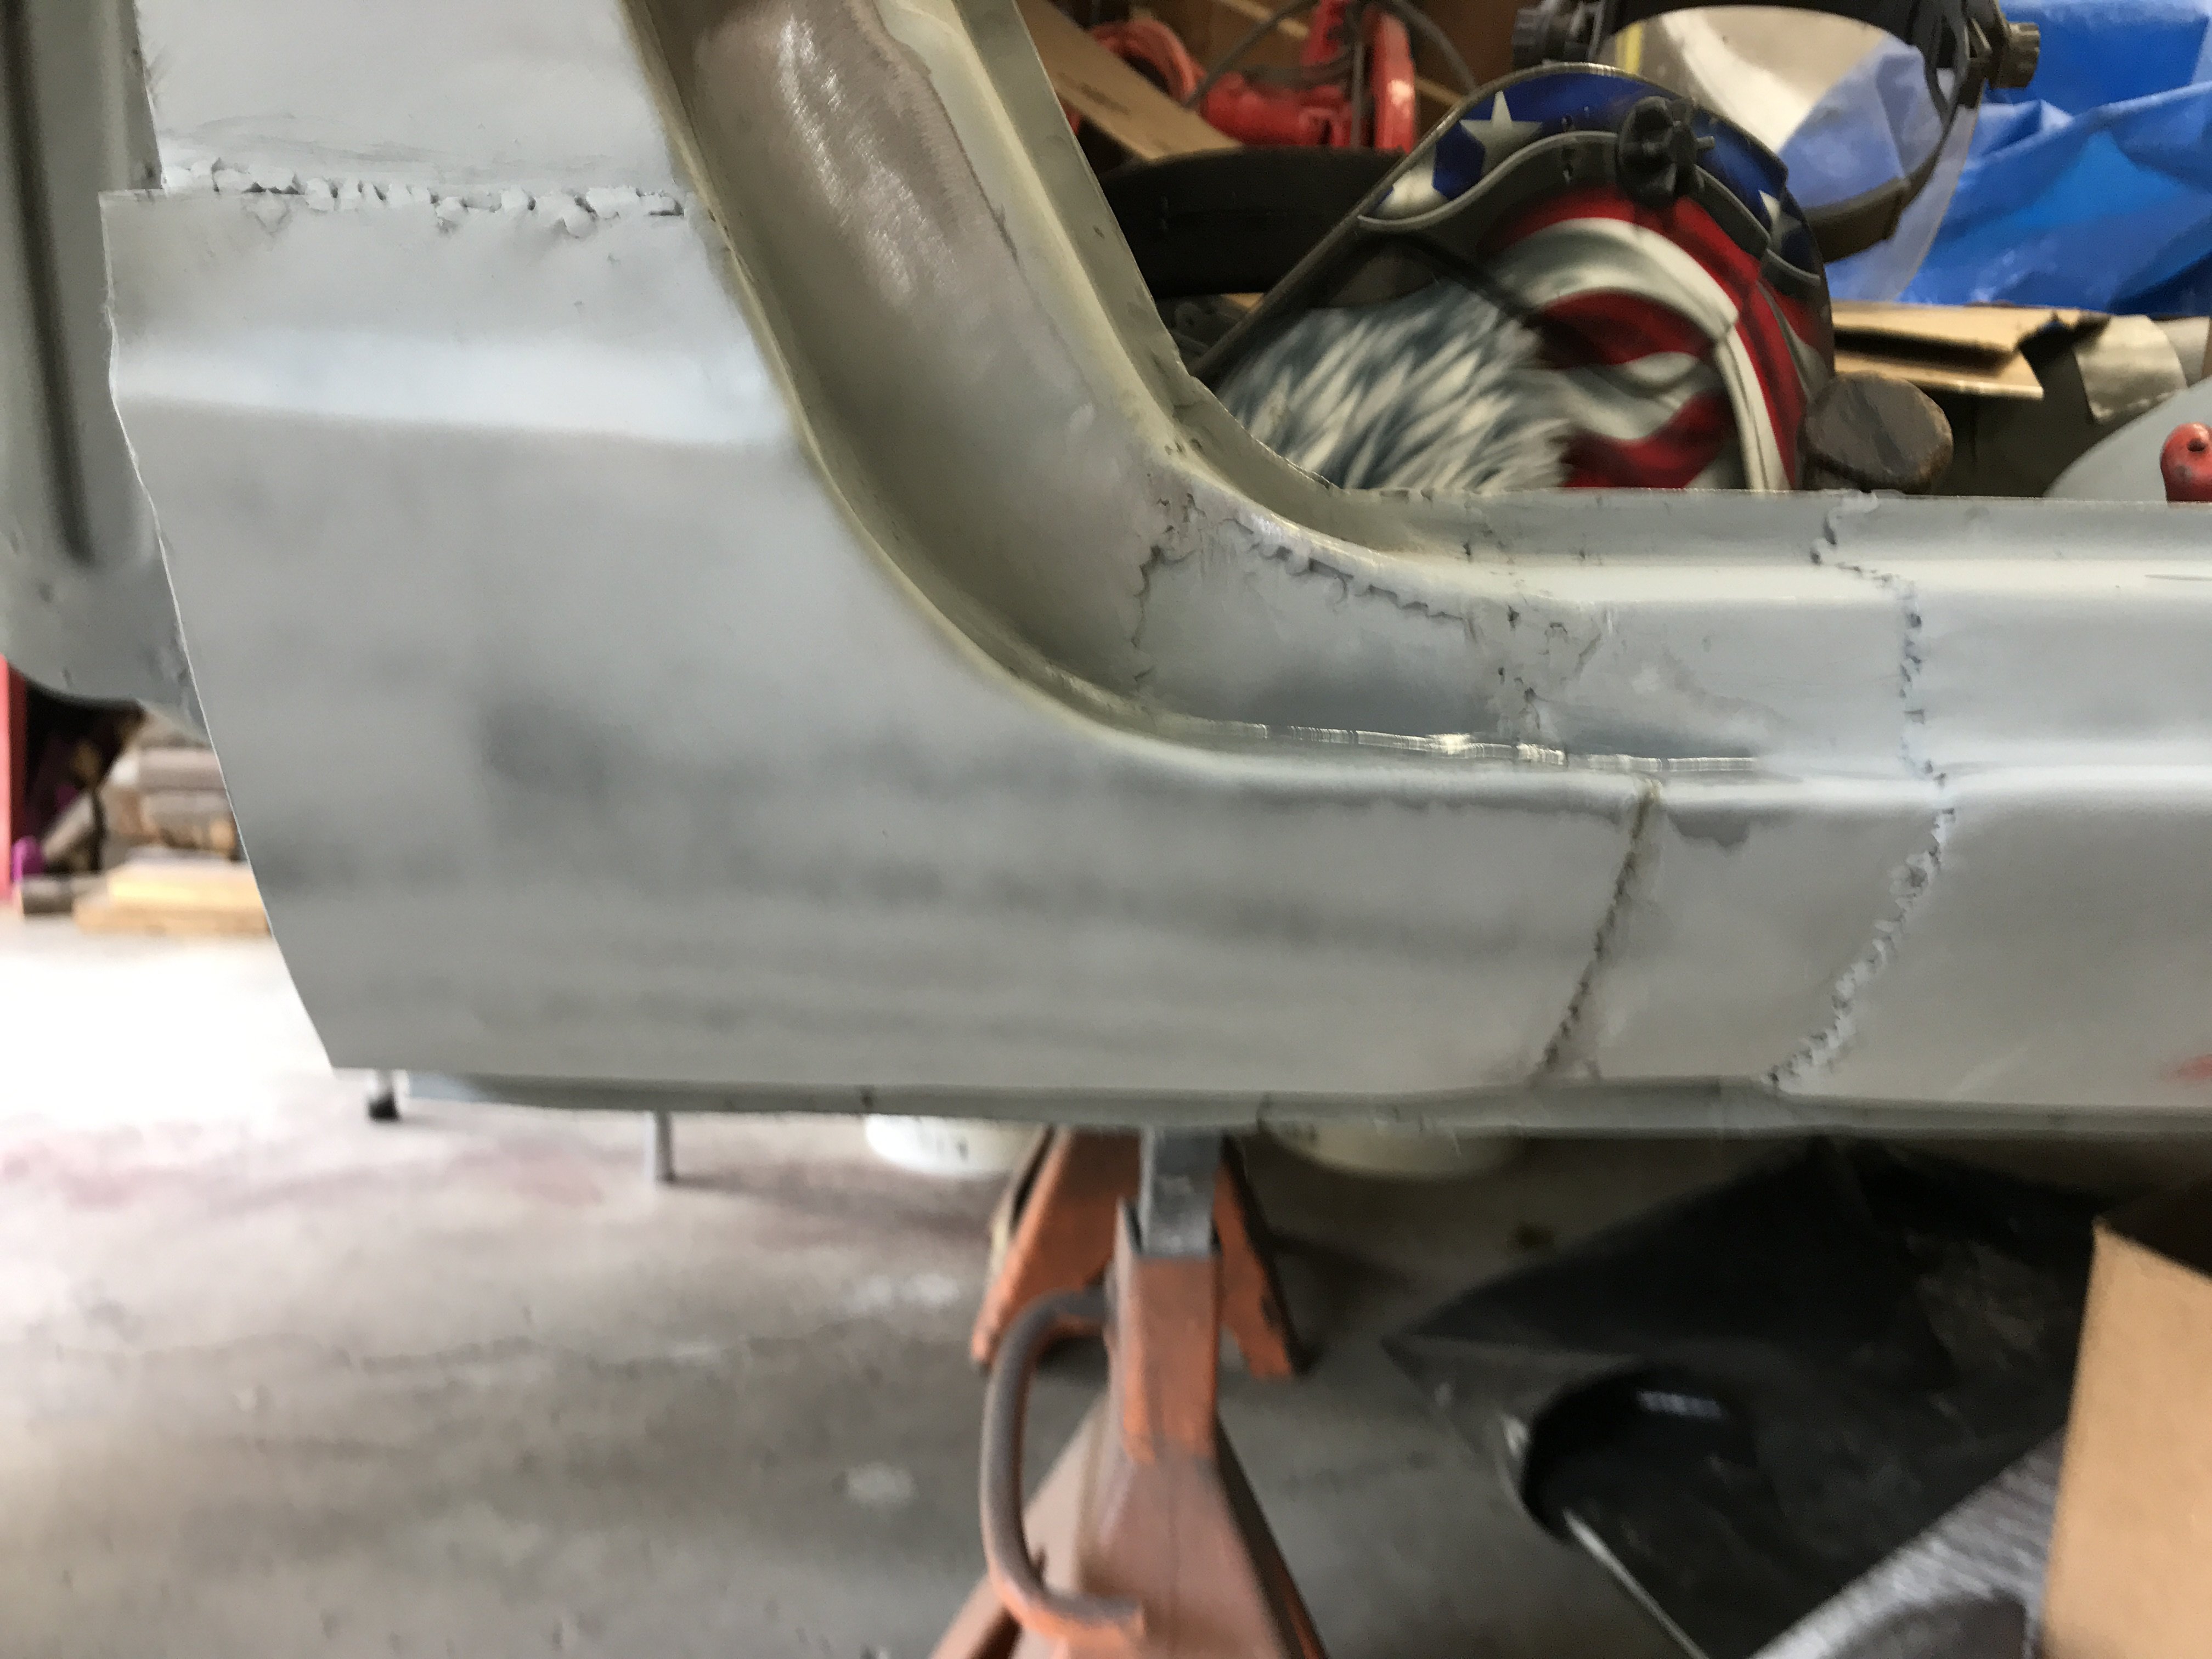
.JPG.831e84e6e328a866c0f3bd911cf0d5b3.JPG)
.JPG.ee79cb08406e1cabd5e21fa2e379f02b.JPG)
 Right side template
.JPG.f8338ea093088b87b21e1a9619e7fa04.JPG)
 \
\.JPG.418c3021c844cef48d0bc3169f7c5ac2.JPG)


 Bottom view of patch
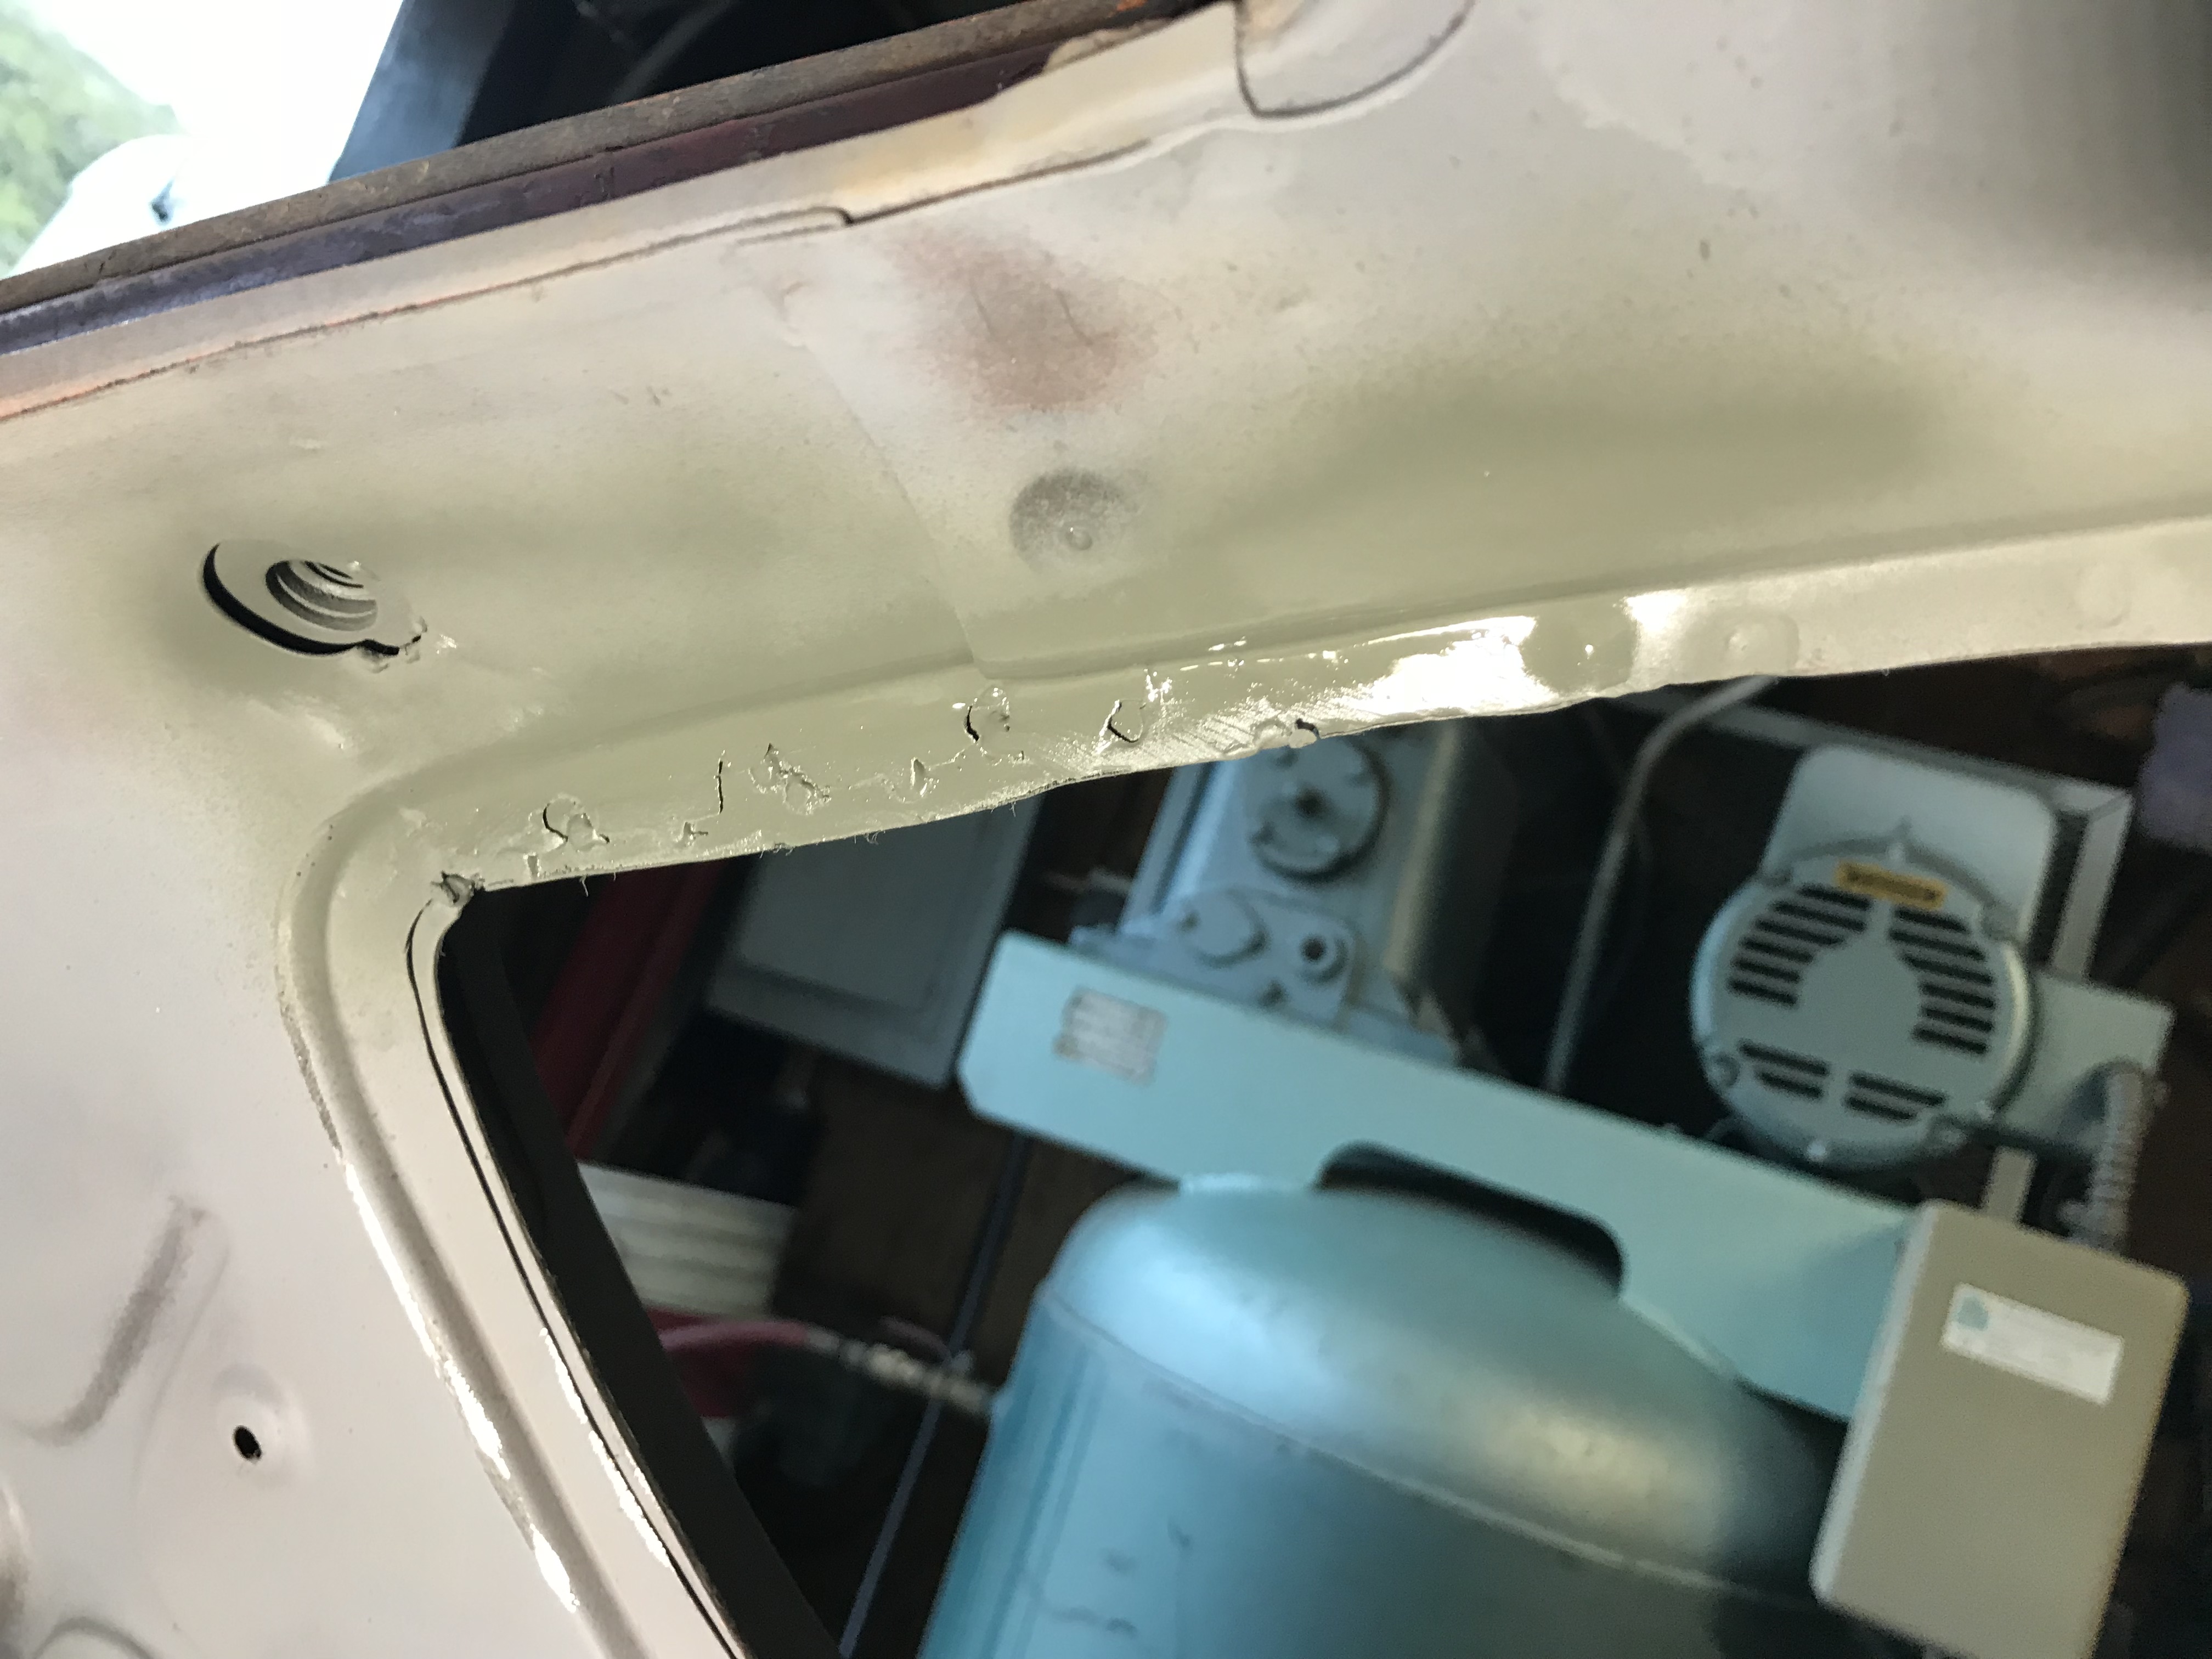
.JPG.51352df3e9125b8e19117526f96d4b01.JPG)


.JPG.3b3033cebac5e0d37443b2533eff5045.JPG)
 Basically it is just longer than the old one.


 First , a template must be made .
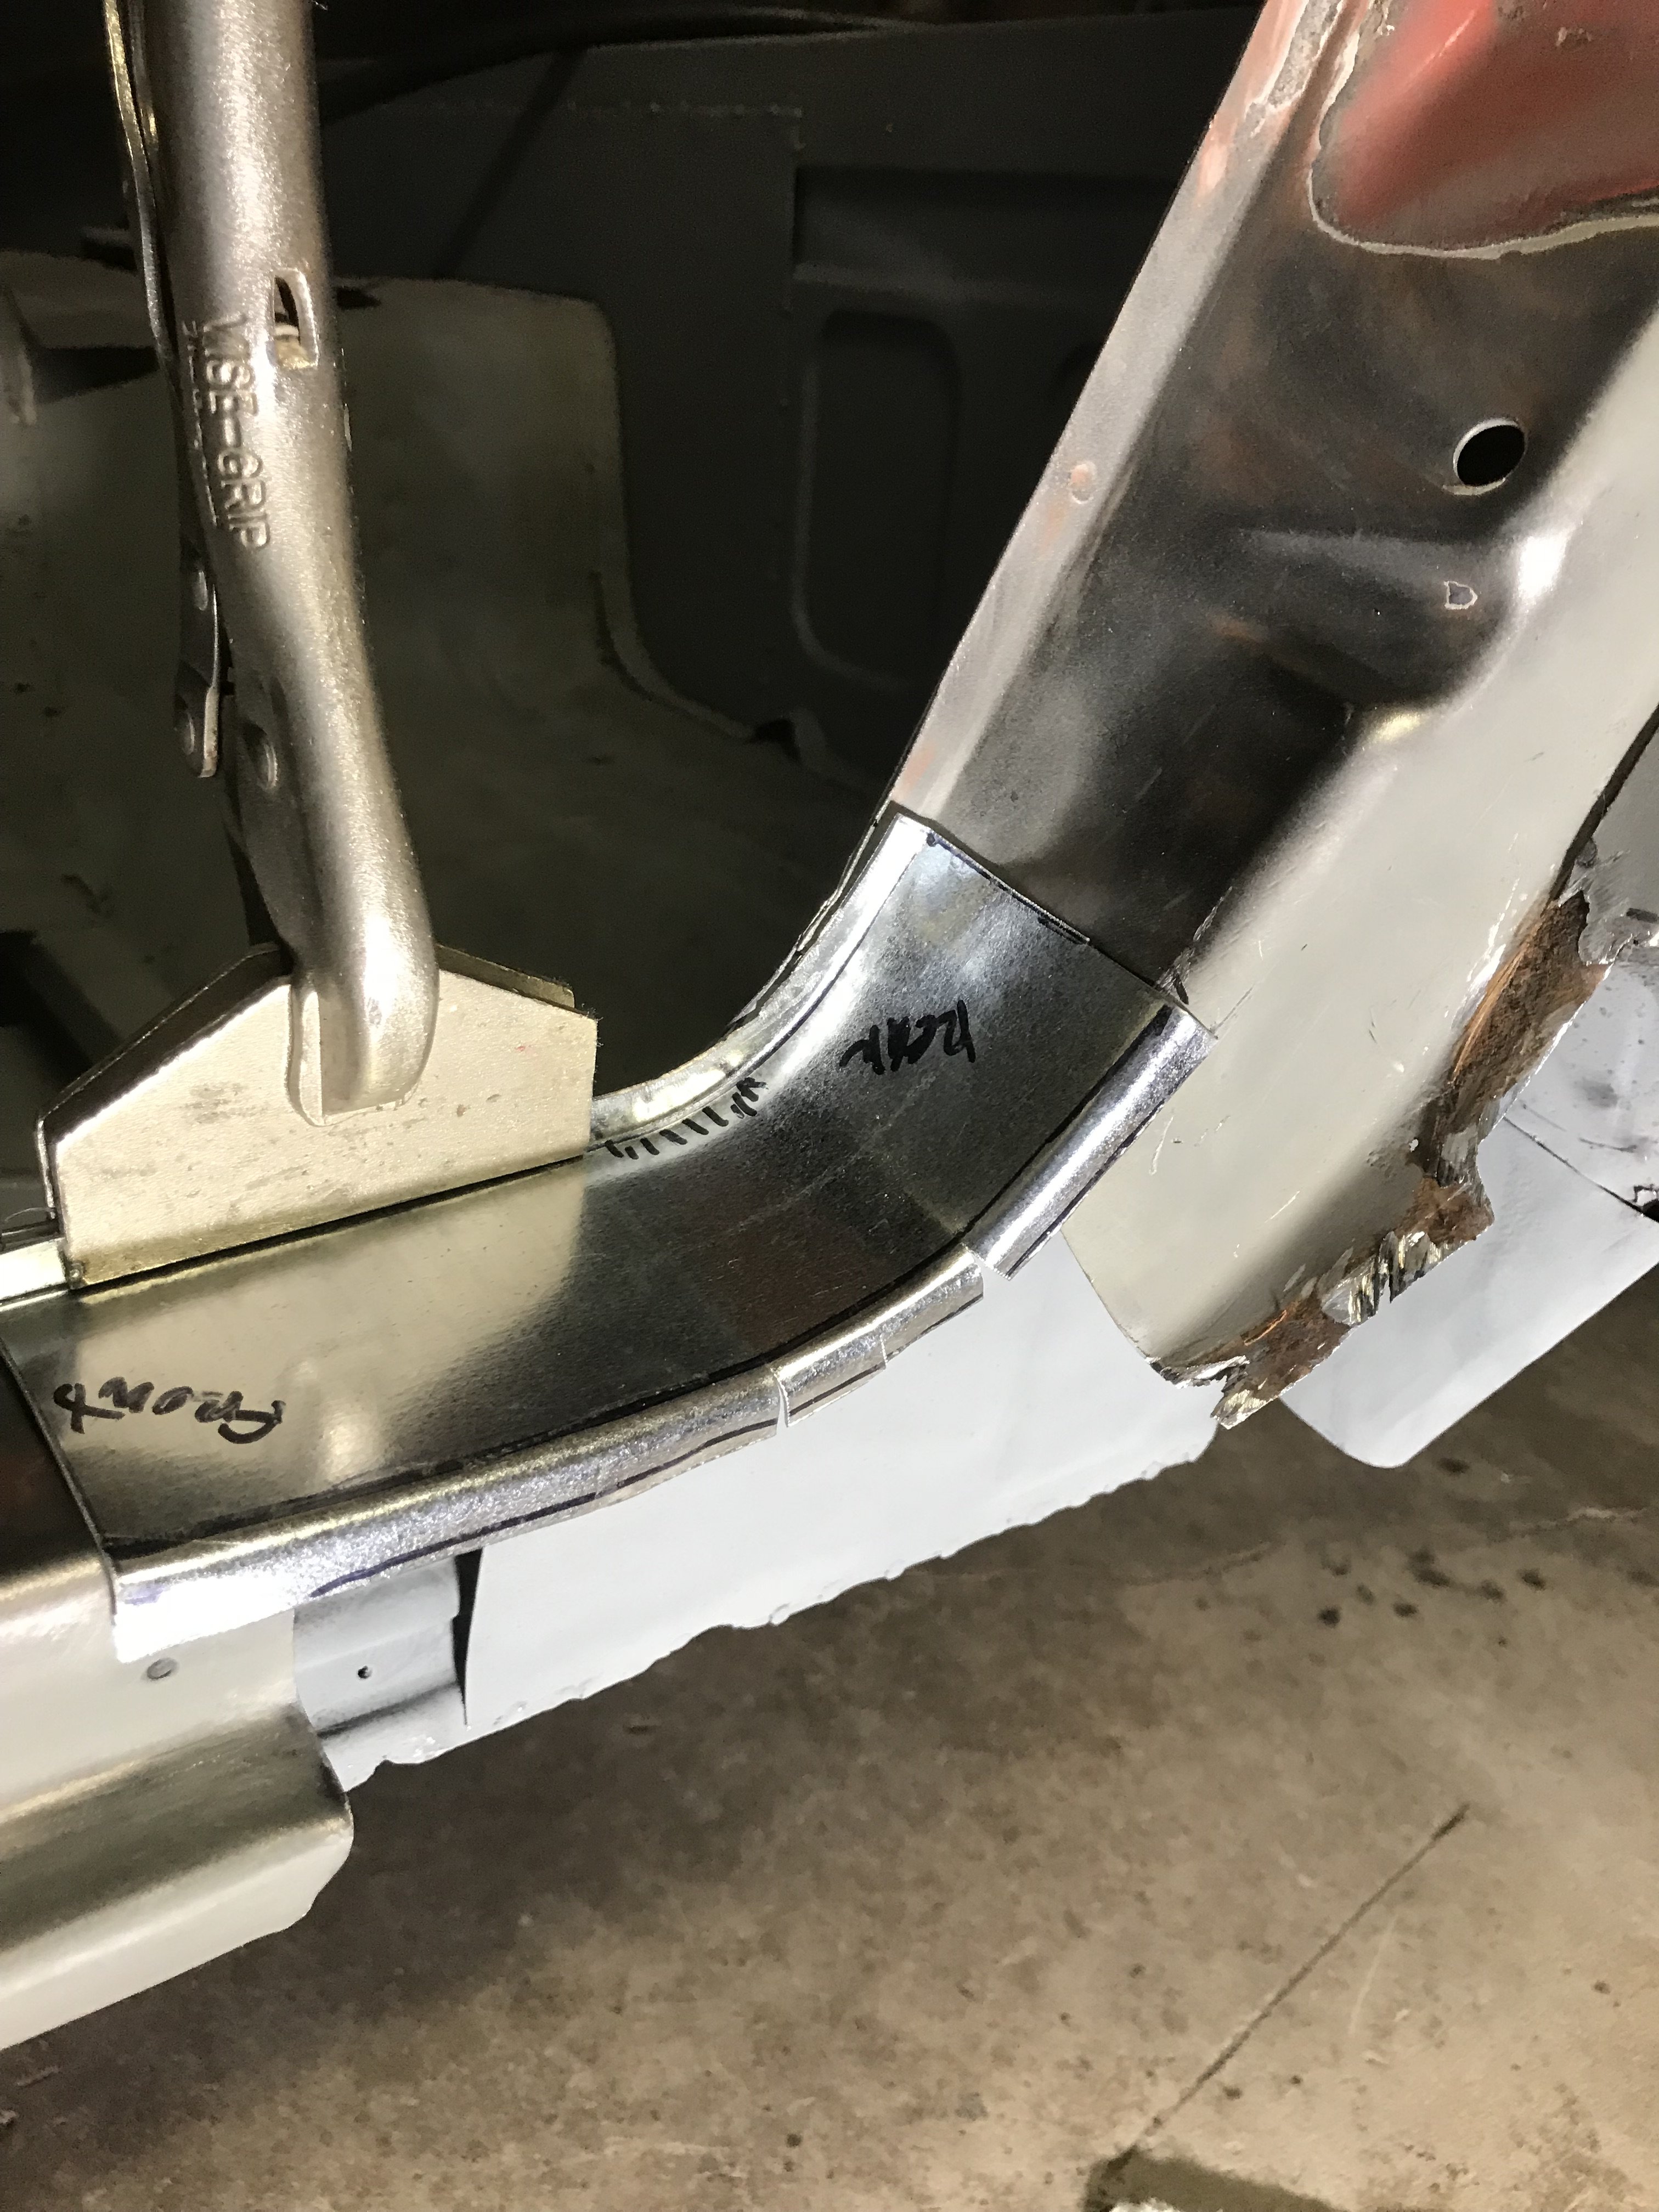

 cutoff wheel and

 Support channel is about 88" in length.
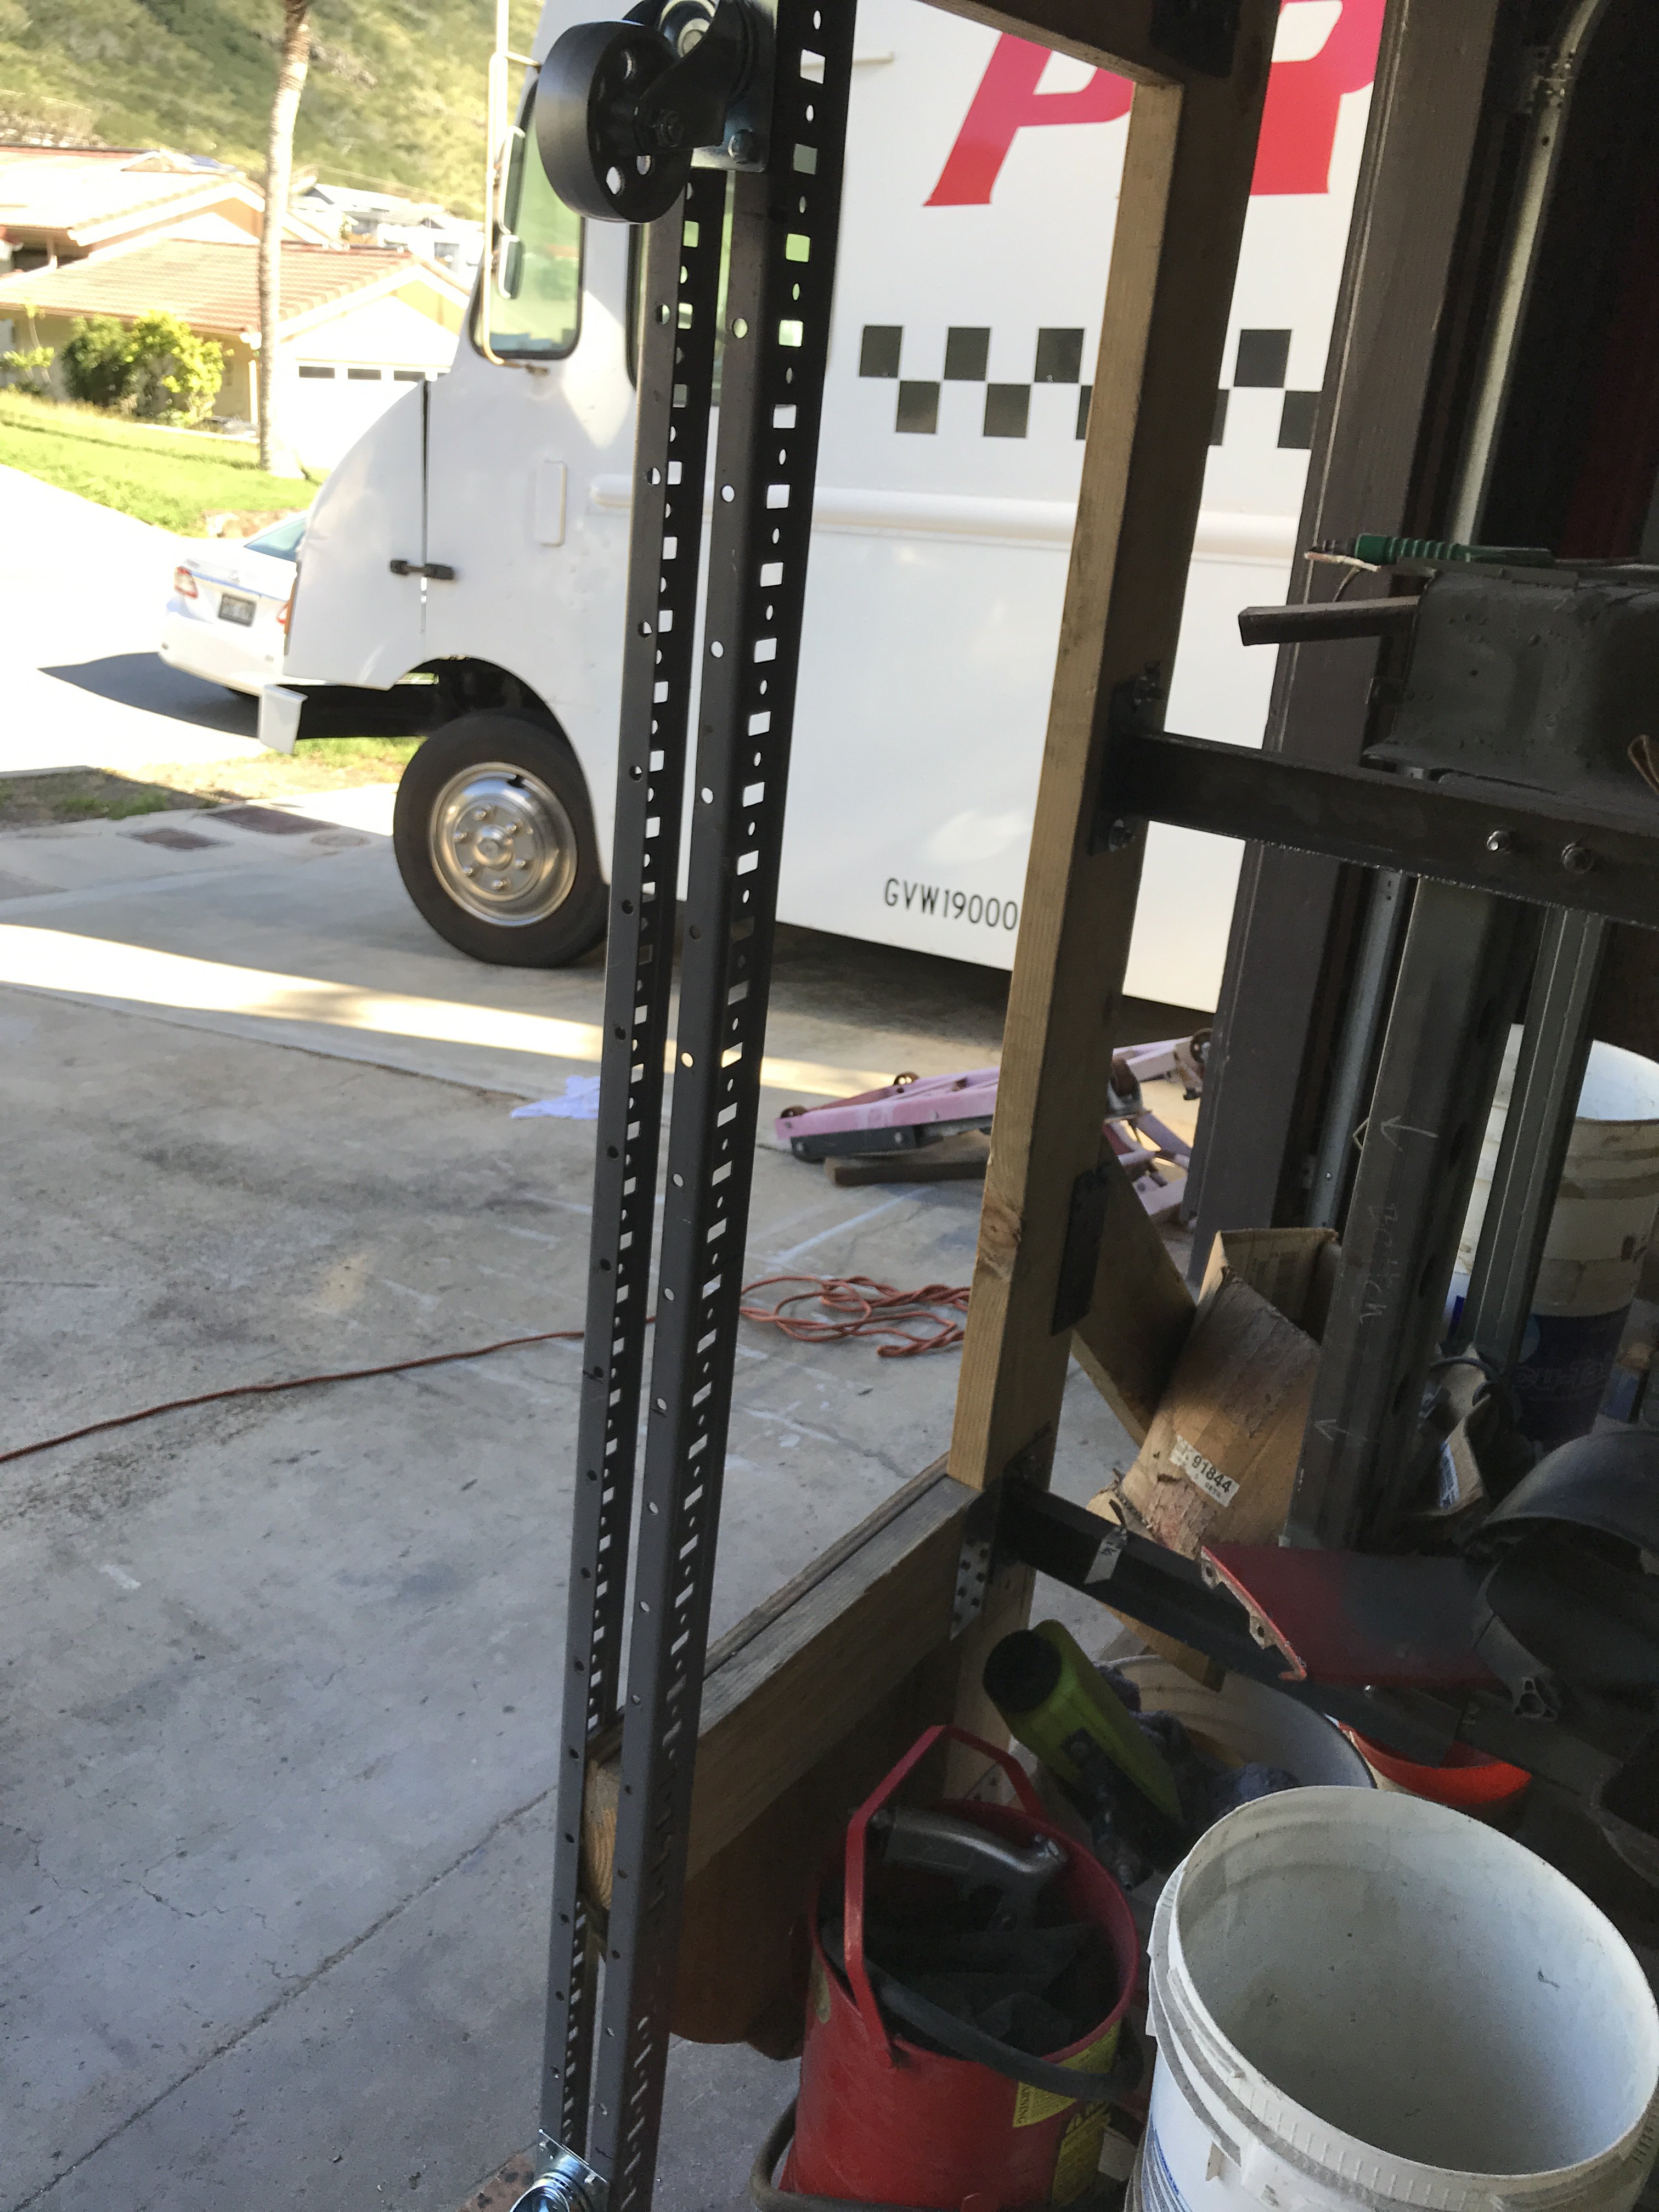 Back view of front caster support channel.
 P
P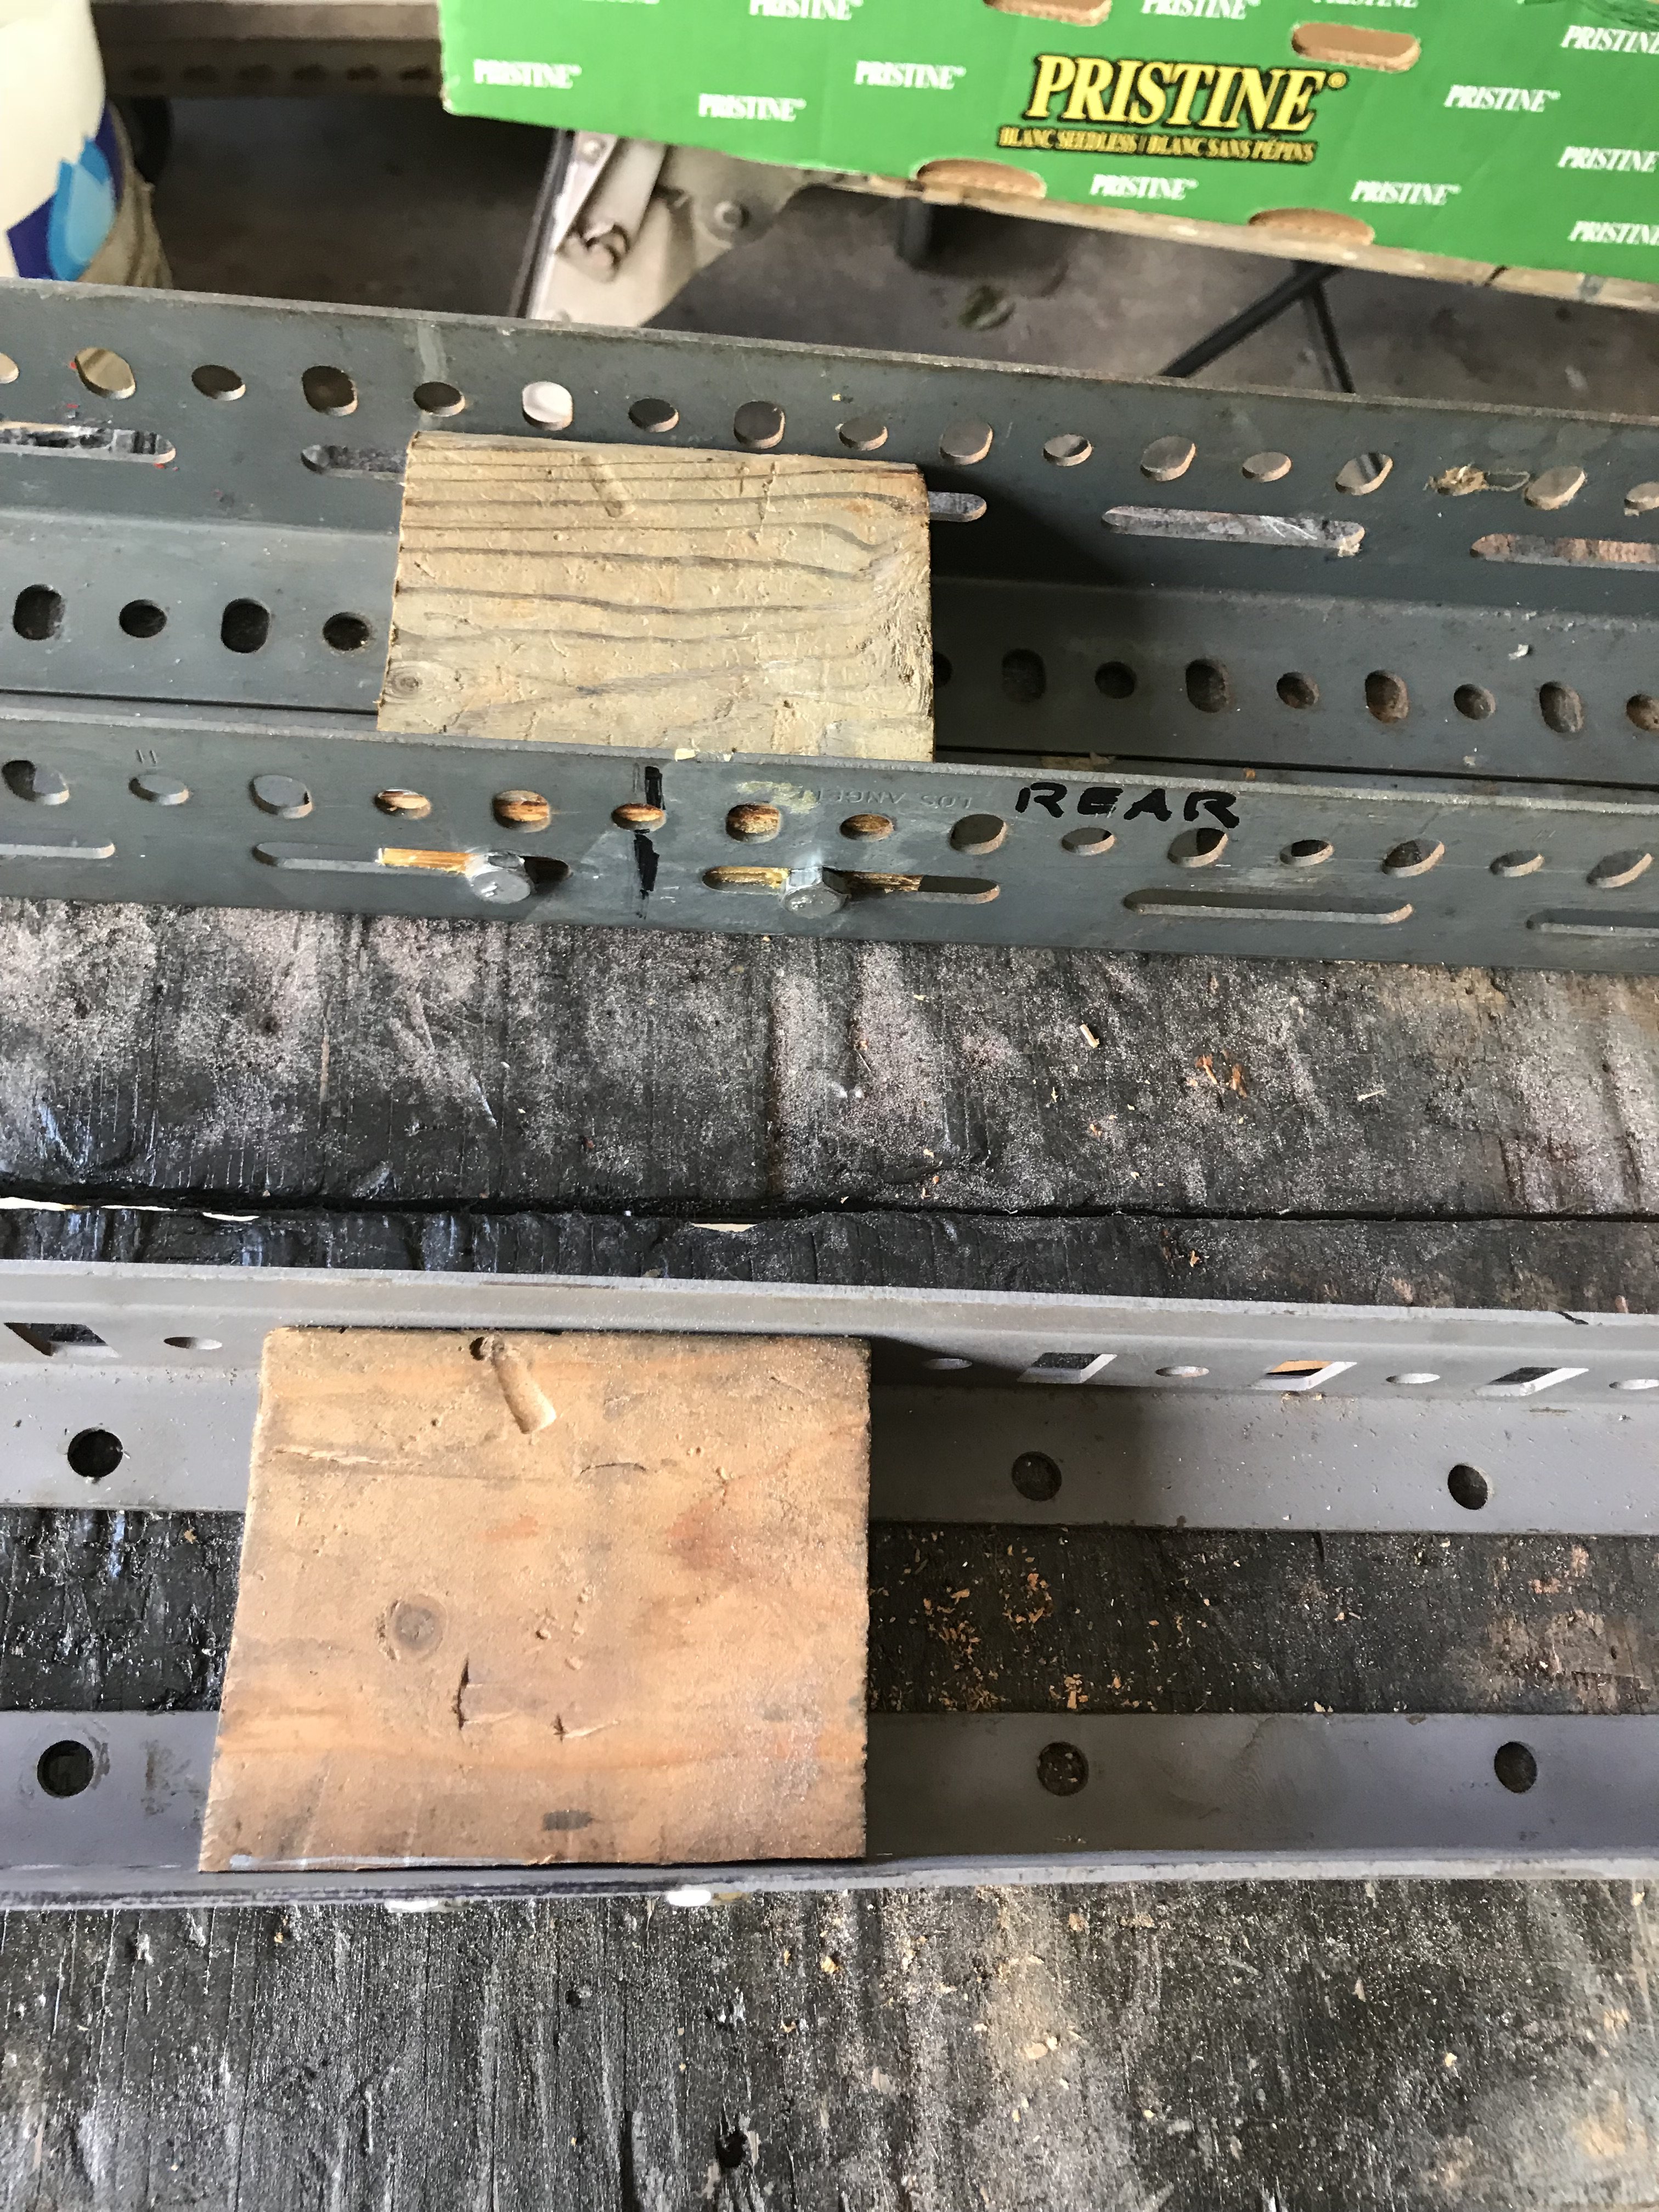
 Repaired area after grinding with#24 grit paper
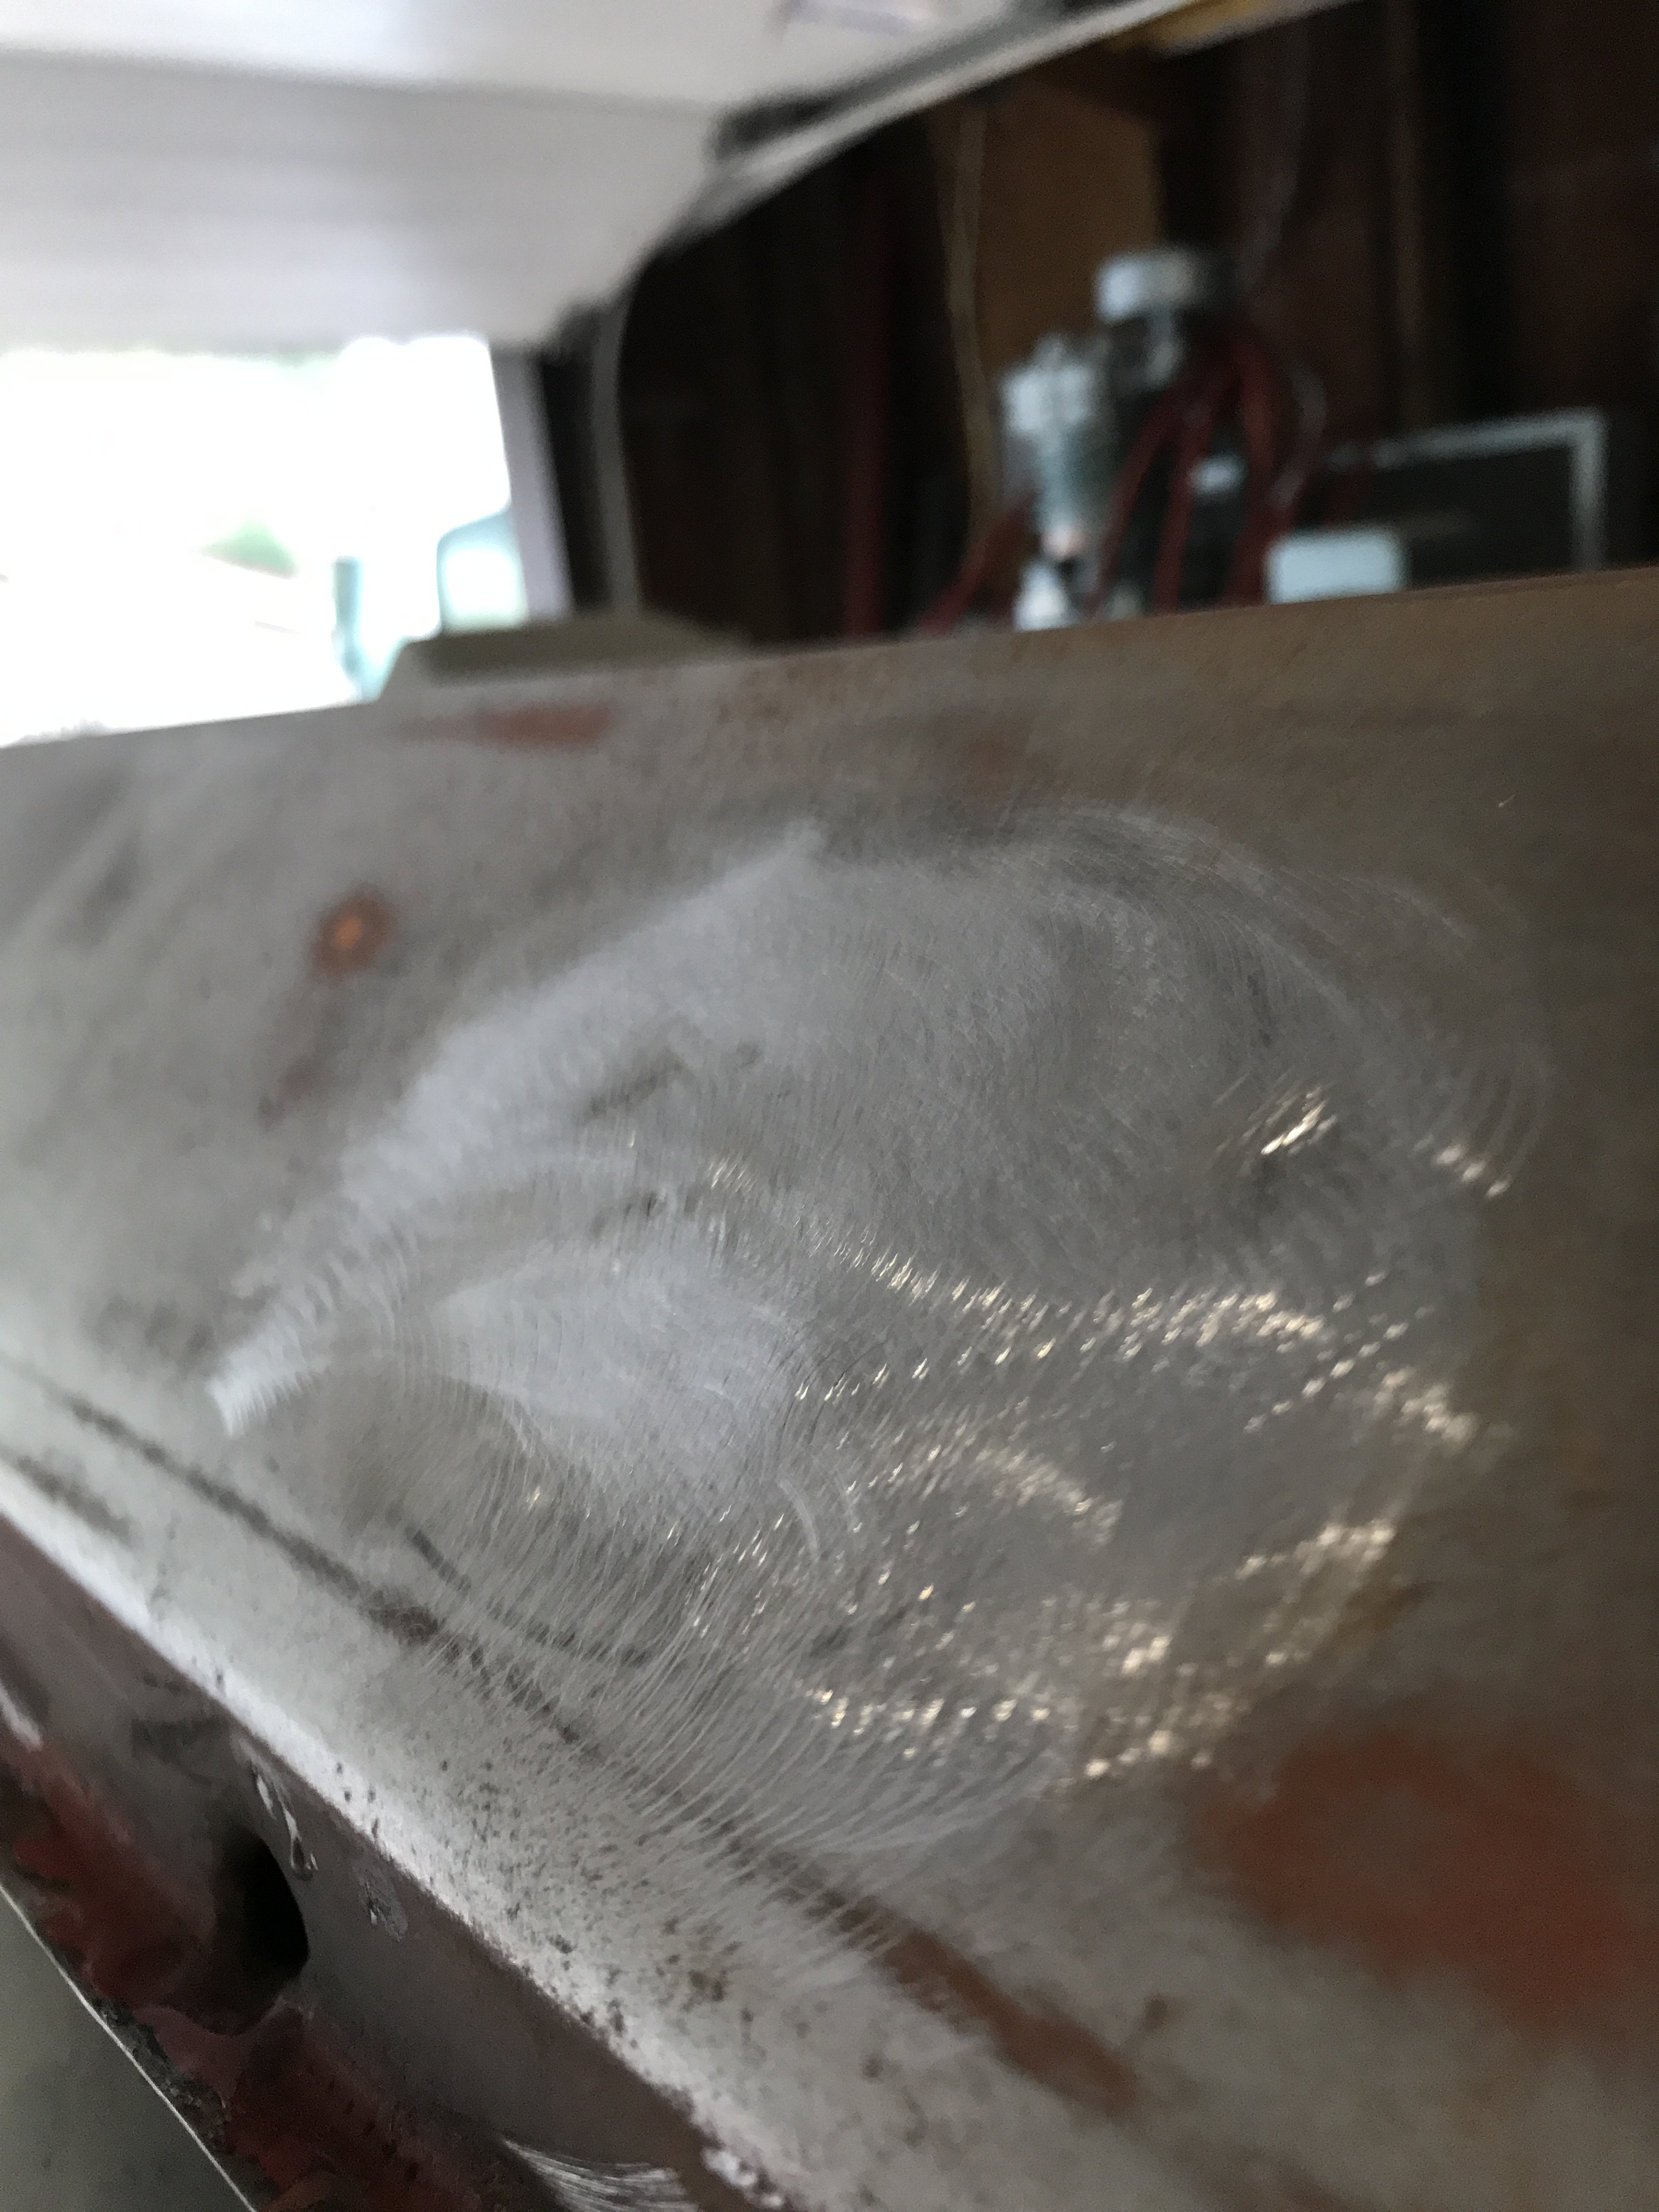
Heavy Duty frame rails and connectors
in Gen III & IV Chevy V8Z Tech Board
Posted
Richard is absolutely correct you must prime the car quick as possible to prevent flash rust. I purchased 5 gallons of Hold Tight for $200 to
provide a 72 hours window before epoxy priming. This solution can be mixed with media in wet media blasting or used with a 2000PSI pressure
washer after dry media blasting. It removes the salt and other contaminants off the metal into the air. Bridges and metal building even use Hold Tight prior to painting.
Also, prior to epoxy priming, I spray Ospho-rust inhibitor around overlapping metal patches. This is slow down any corrosion caused by the
welding process.
The vehicle was given another check for any rust that might have been missed. If rust was found. the area was spot blasted
A 1000 lumen LED portable light was utilized to find any missed areas( like cowl and other boxed sections)
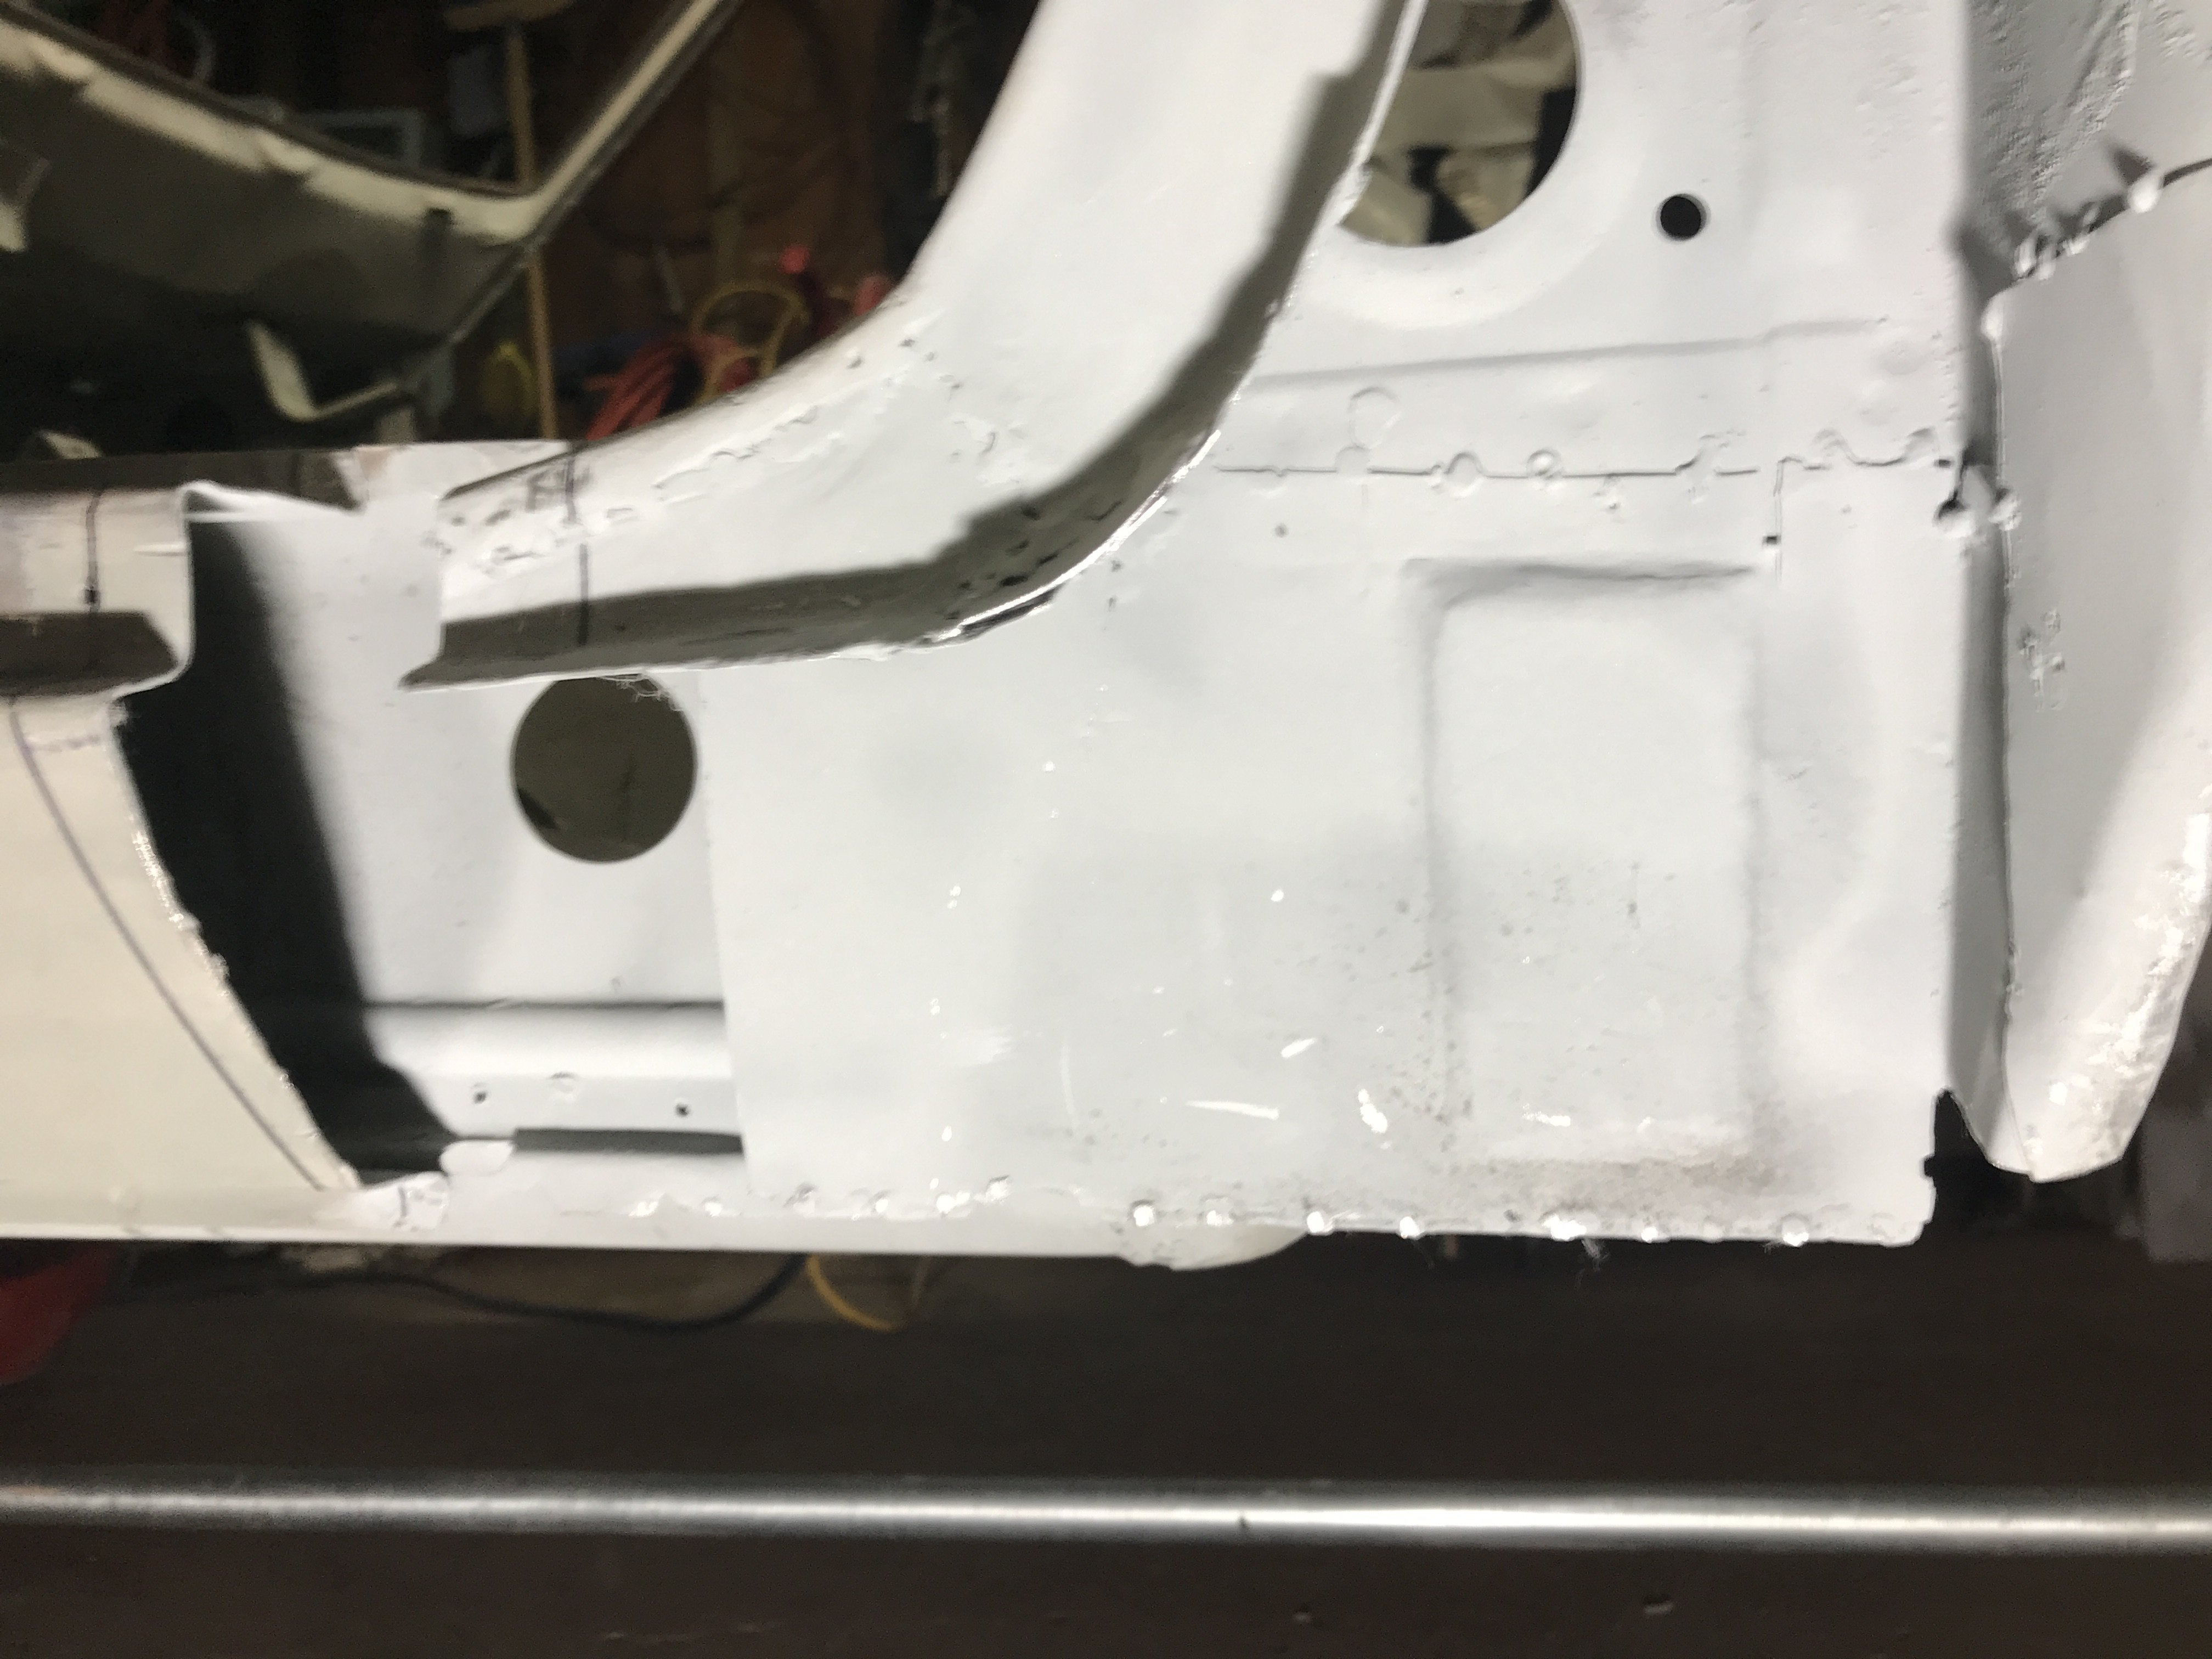
Epoxy priming was very difficult because of the enclosed and tight body sections( especially by the spare tire well).
Front bottom view
Front top view
View of the interior
I sprayed a gallon of white epoxy primer( costs about $200 with activator). Still have to touch up several areas for complete coverage.