5thgenluder
-
Posts
298 -
Joined
-
Last visited
Content Type
Profiles
Forums
Blogs
Events
Gallery
Downloads
Store
Everything posted by 5thgenluder
-
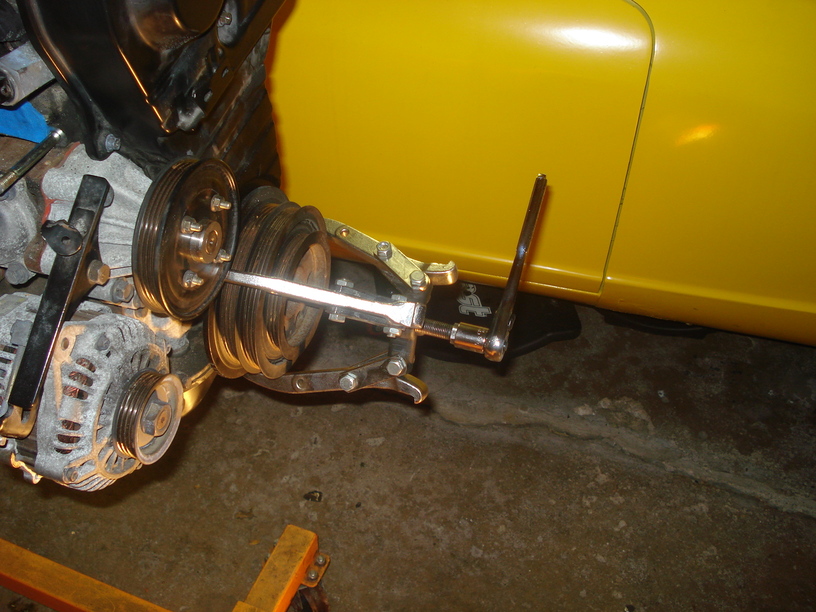
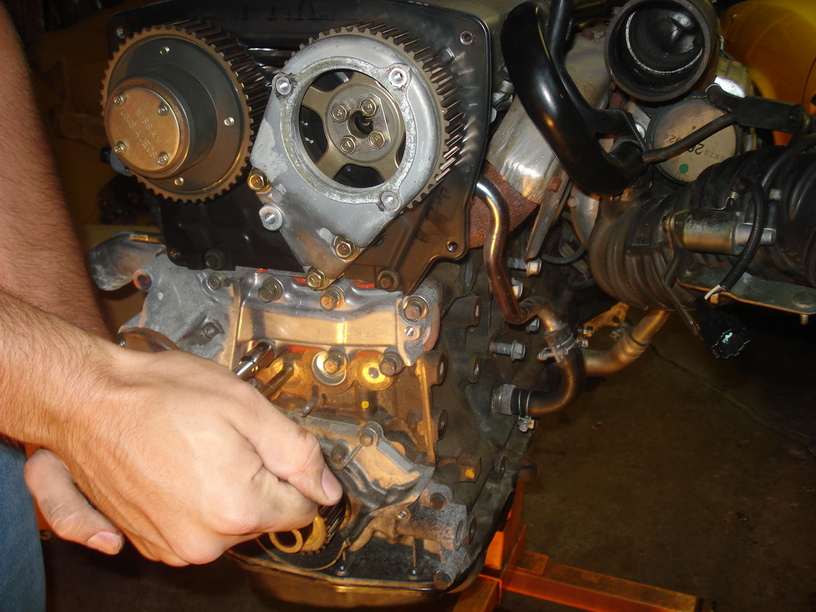
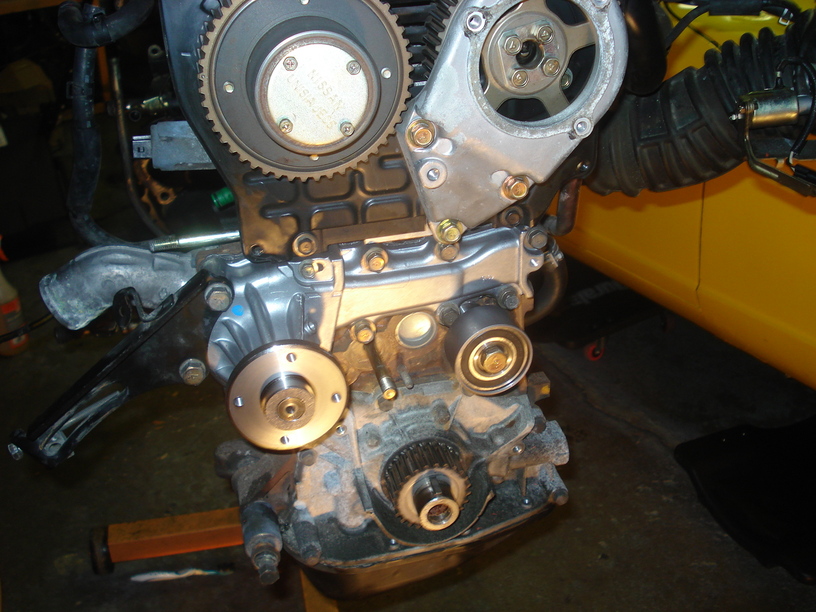
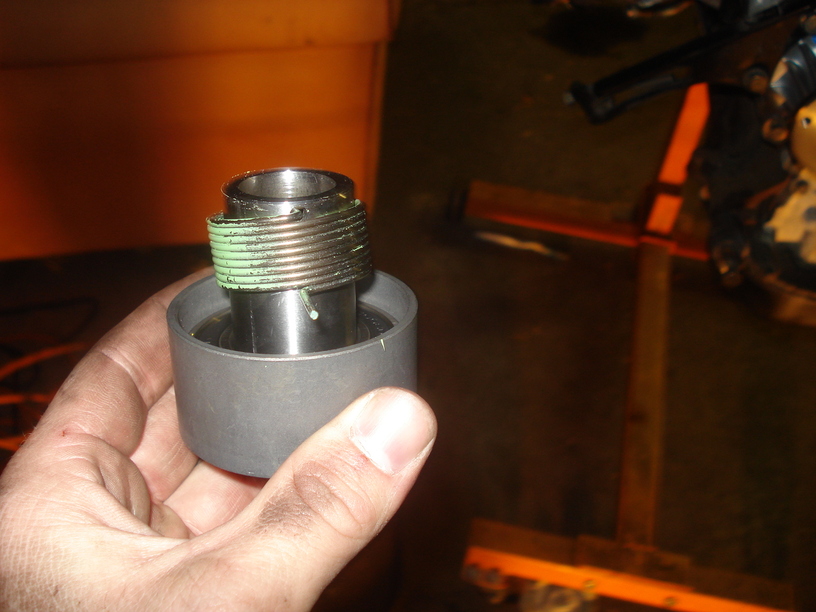
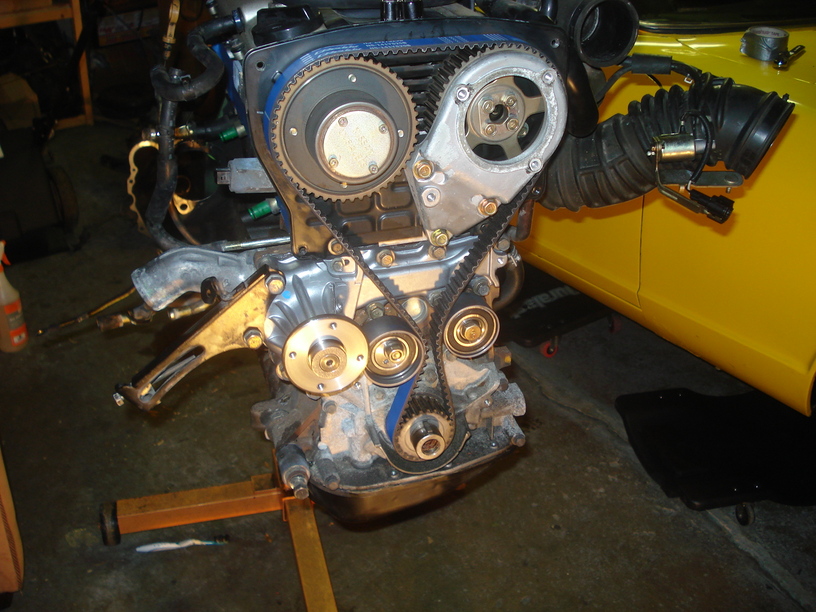
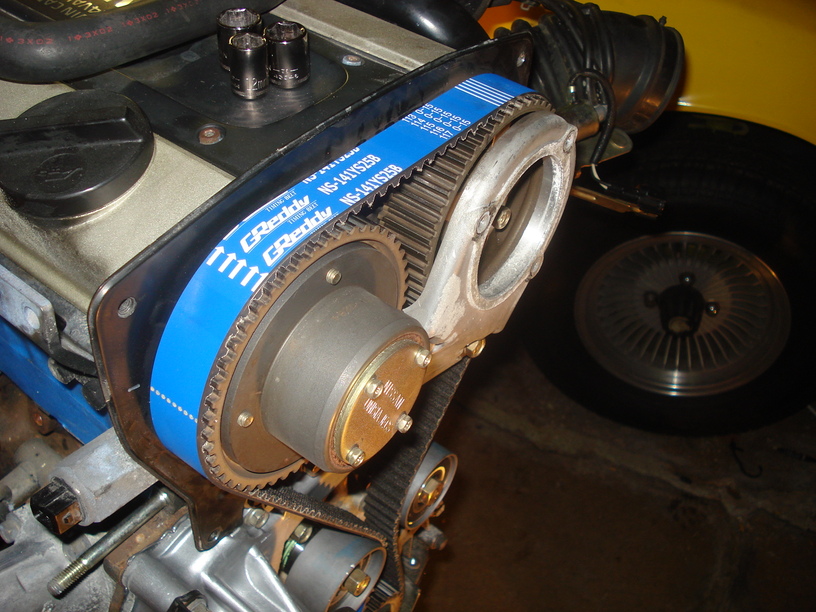
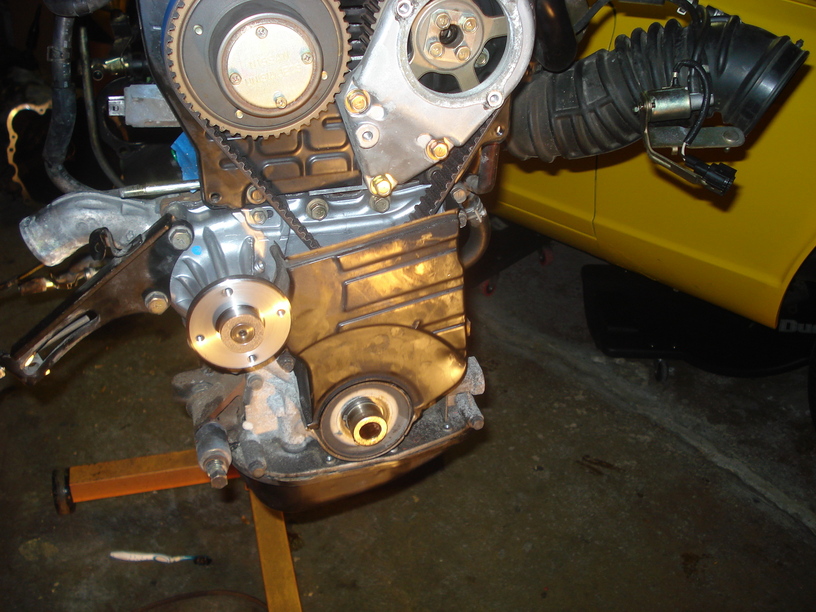
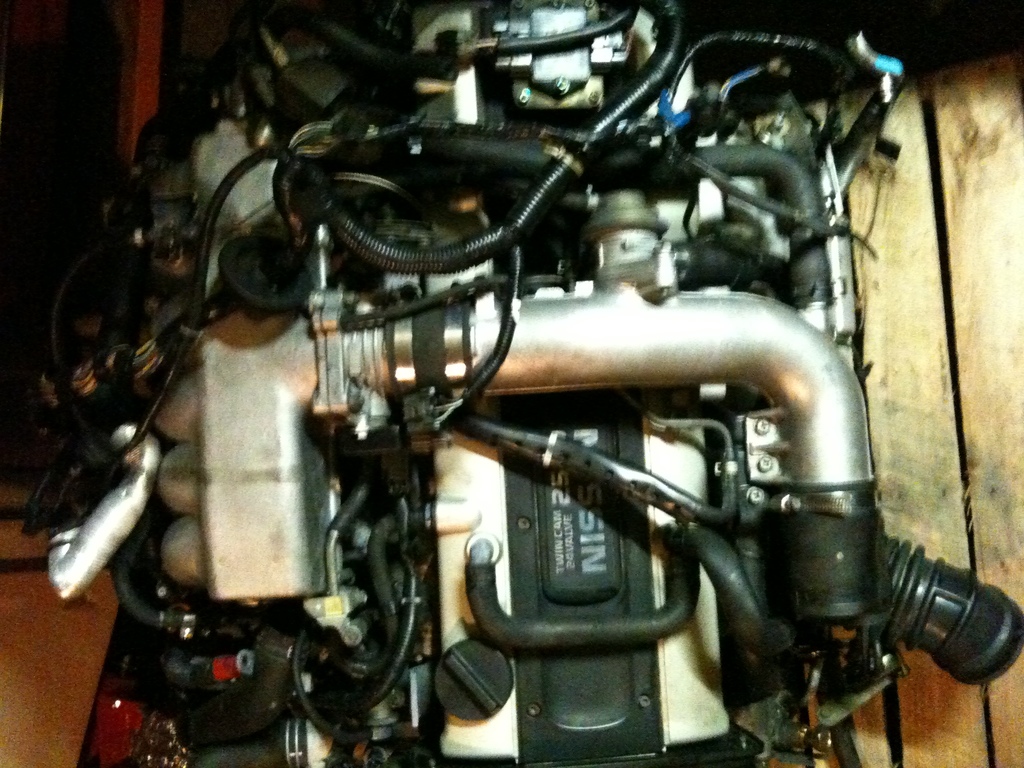
Update: Timing belt. Remove everything according to the fsm. The tricky part was getting the crank bolt off. What I did was install some of the flywheel bolts and put a breaker bar in it against the engine stand so it couldnt move. Then took a very large socket and cranked the bolt off. Next up removing the crank pulley. Used a pulley puller that I rented from autozone. Removed the upper and lower timing cover. Then pulled off the water pump. Here it is off. Scrapped off the old gasket. Installed new N1 water pump with gasket maker. Use the fsm to get the order to install the bolts and the torque specs. New pump on. Installed new tensioner pulley. Attatch spring like shown Line up all the dots before mounting the belt. Added the Greddy kevlar timing belt. Another view from the top. Then put it all back together. Got some good info from here. http://www.scribd.com/doc/16408415/How-to-GuideChanging-the-Timing-Belt-on-a-RB25DET

-
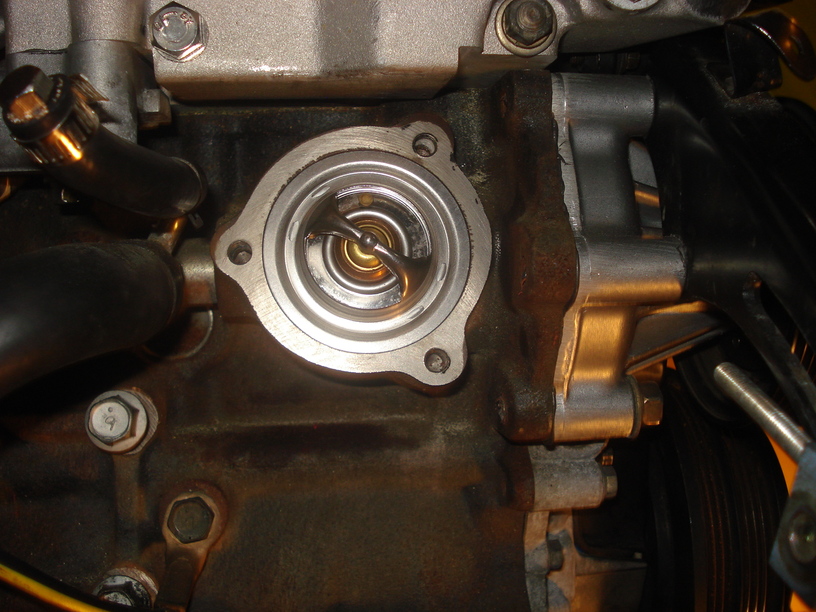
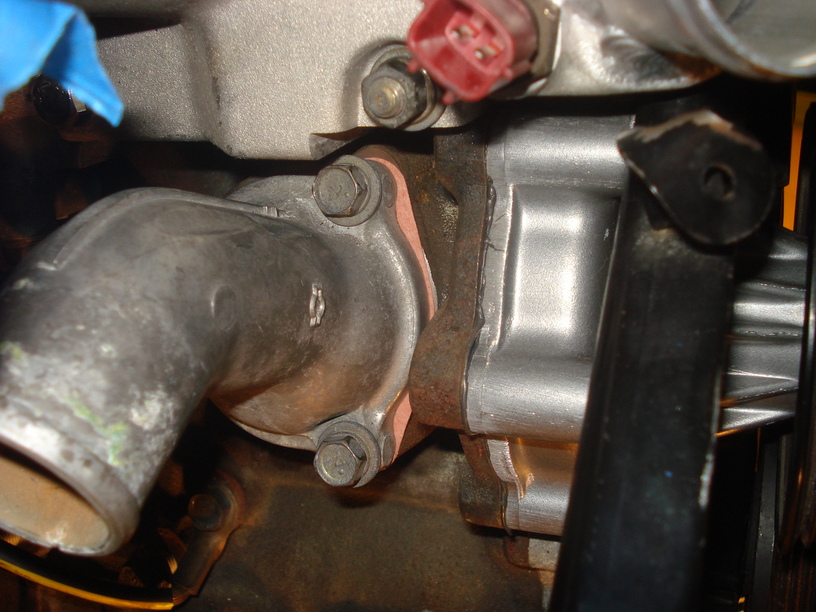
update: thermostat Removed old thermostat. Here it is off. Installed new thermostat Make sure the dot is at 12 Oclock Mounted gasket and put it all back together. Got the thermostat based off of David Garcias advice. Got them from autozone asking for these part #s 1994 300zx twin turbo thermostat 170 degree 1984 300zx n/a thermostat gasket About $15.00 for both
-
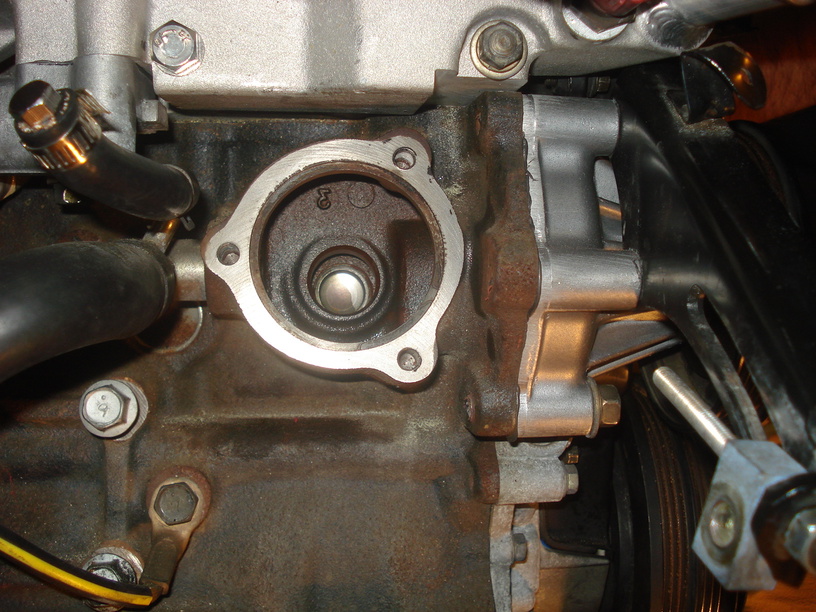
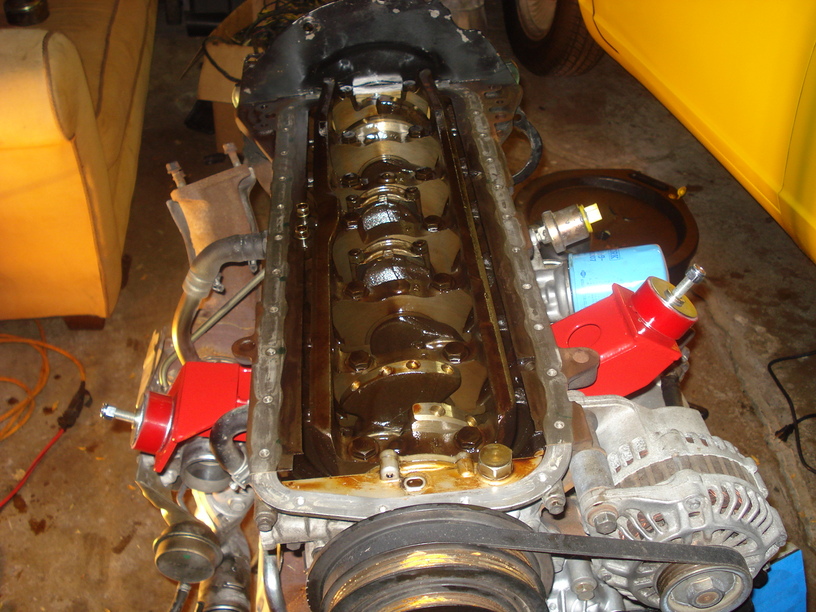
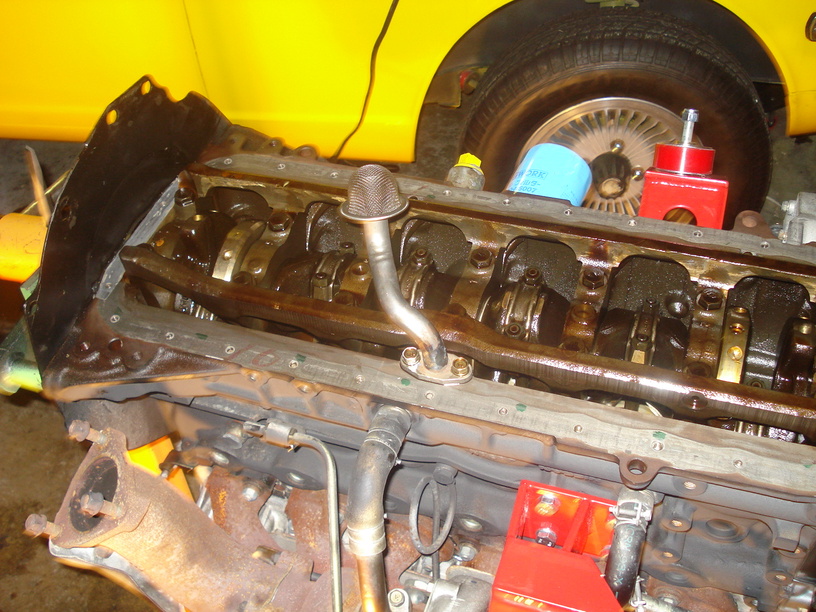
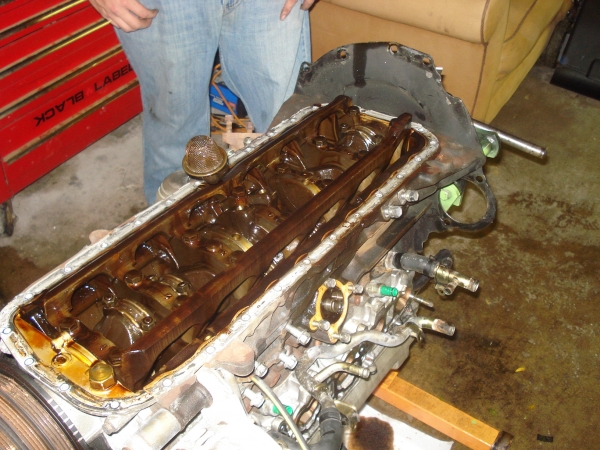
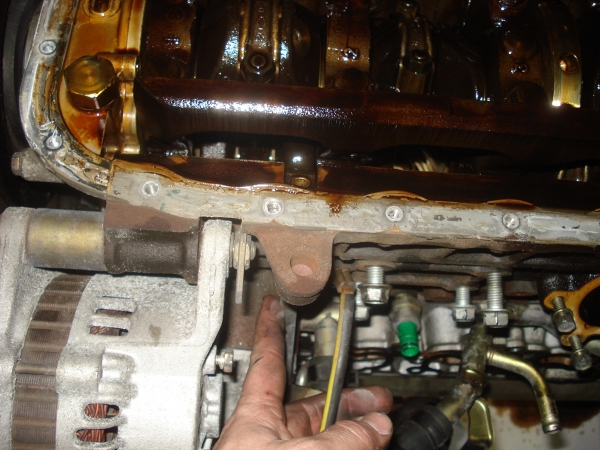
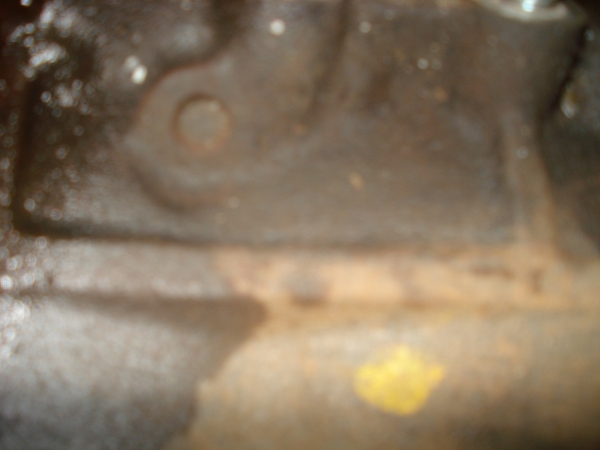
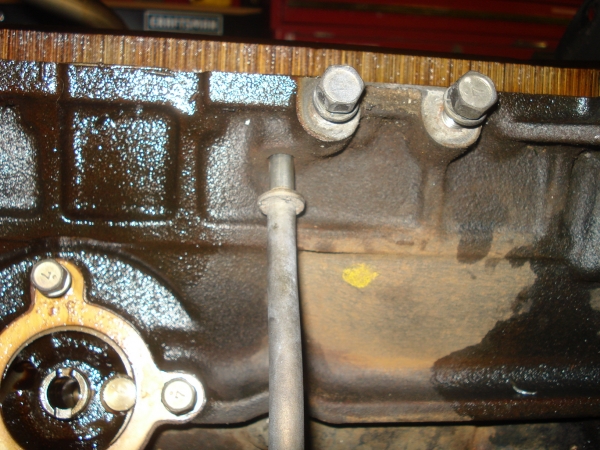
update: Oil pan step 1 removed old oil pan. Scraped old gasket off. Did this with the motor right side up at 1st so the old gasket wouldnt fall in. Then flipped it over to make sure it was clean and mount the oil pan. added oil filter here is a few pics of the oil pan I got from Pat1 Used the silicon gasket maker that Pat provided for me. Mounted the pan tightening the bolts in the order the fsm lists and to the torque specs they list.
-
Chris Rummel's easy follow RB into Z wireing guide
5thgenluder replied to Rumnhammer's topic in Nissan RB Forum
Can someone please help me. What is the function of the tranny wires. I do not have a Z harness in my car anymore, I replaced it with an ezwiring harness. My best guess is that the reverse switch powers on the reverse lights? What purpose does the nuetral safety switch serve? What does it need to get connected to? Any help would be greatly appreciated. -
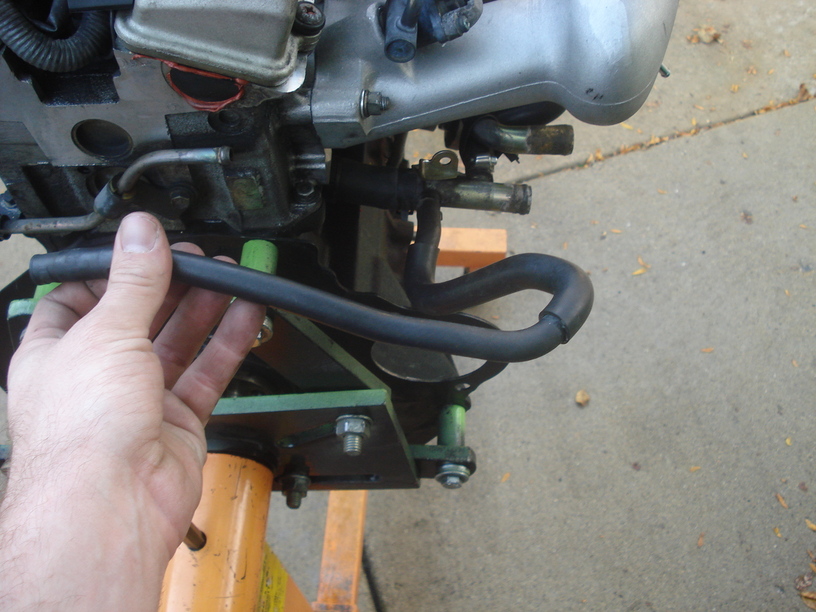
Hey everyone. I have a few questions on my rb25det swap. I used the greddy intake manifold install thread and have a few questions on piping. Does this hose attatch to the pipe on the back of the motor that I have them lined up. What did you guys do with these water pipes? I am afraid that now that the greddy intake manifold is on there is nowhere to mount it. Is it just gonna rattle up against the motor? Also since I am not running a heater can I just connect these 2 pipes together. I am sure I will have more questions later. Any pics of the piping you guys ran would be great.
-
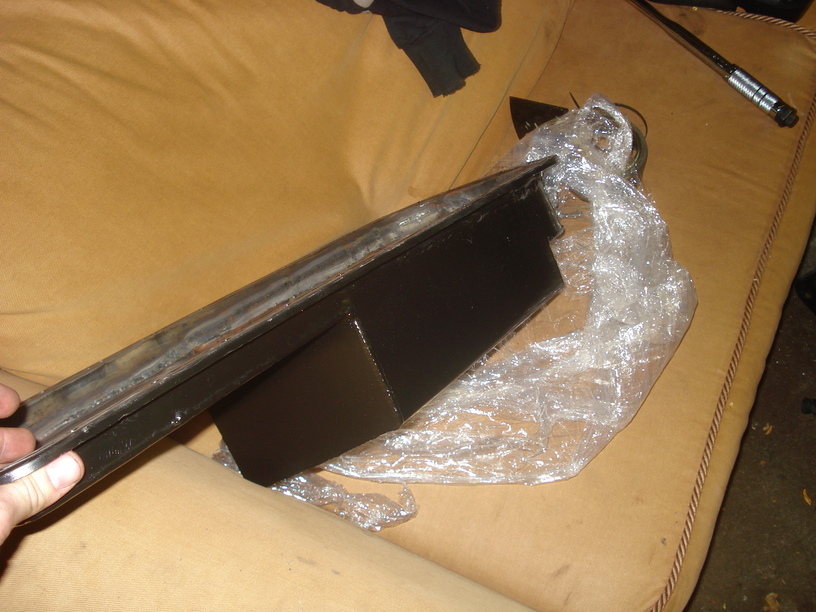
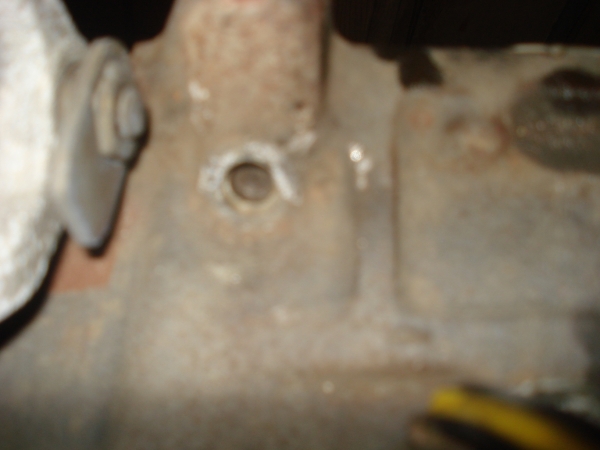
Update: Dipstick relocation Step 1. Remove the stock oil pan Step 2. Remove brass plug shown here from the other side Step 3. Remove dipstick and swap for brass plug location. Used a punch and a flat head to pound it out. Havent fully pounded it back in. Waiting till I can make sure it lines up with the intake manifold. Step 4. Punch brass plug into former diptick location. More to come.
-
Nm did some reading and I found out you can use black rtv. Mini update. Removed intake manifold, clutch, flywheel, oil filter housing, and wiring harness. Ordered new intake manifold gasket. Need a hoist to get the motor on the stand.
-
Guys need a part # for the oil fitter housing gasket.
-
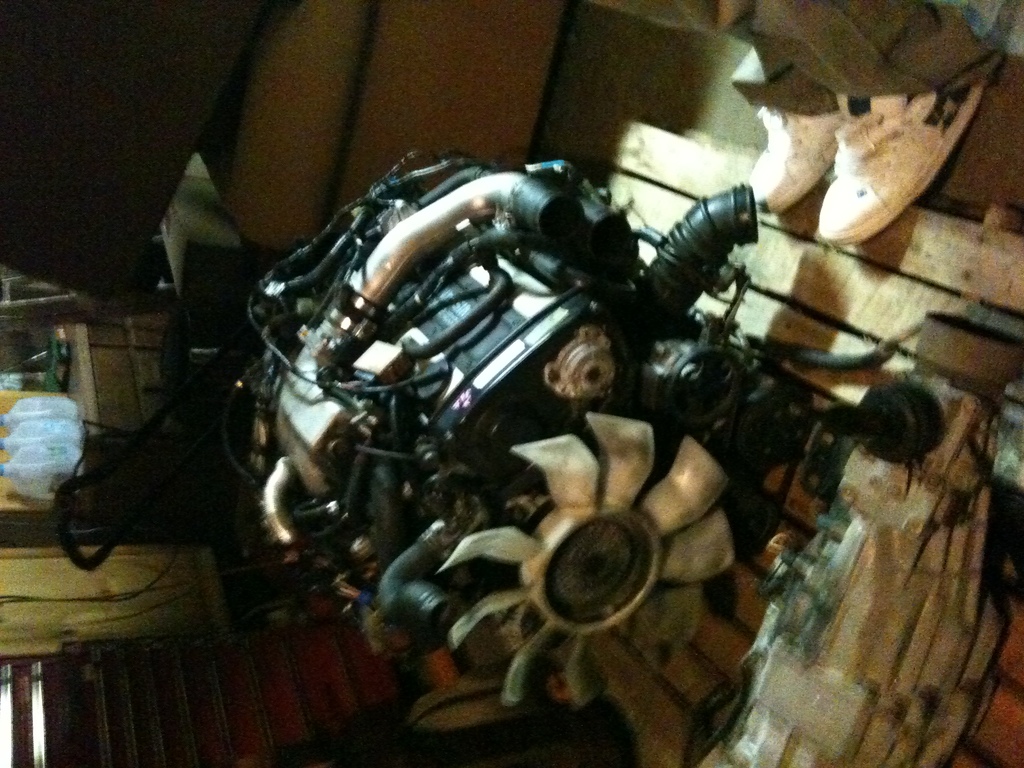
Finally got the motor today.
-
I have a water pump already. Forgot to mention that. Thermostat is a good point. For under $15 I might as well.
-
Well after months of waiting and a long story I won't get into my motor should finally be here today. I'm hoping to have this thing running by Halloween. I will start documenting and updating tonight as soon as I get it. 1st thing I've got to do is change the timing belt, idler pulley, and tensioner. Then swap the clutch with the new one. Change the intake manifold, and move the dipstick. Hope to get that all done by weds.
-
Looks good Jake. Sorry it's off topic but do u mind posting some pics of how u mounted and connected the mckiney intercooler. You could also pm me if you dont wanna clutter your thread. Ps can't wait to see the video.
-
Yes I haven't adjusted anything. Just testing the lines for leaks.
-
43psi fuel pressure?
-
Thanks sleighty and Pat. Pat u were right about the 300zx. Ordered from my local Nissan dealer. Should be here soon. Now I just need a motor.
-
Anyone know where I can get the o-ring for the crank sensor on the rb25det part # n2213158s10?
-
Still waiting on this darn motor. I really want to get this project moving. At this point the whole summer is wasted. Hopefully I can get it done before snow so I can move it to it's new home.
-
Looks like I will be doing the install myself. I guess that means this forum will have a step by step install guide. I should be picking up the motor Friday or Monday. Gotta find a truck.
-
Reflared and repaired. I'm ready for the motor. Pics to follow.
-
Got the new master cylinder installed. Bleed brakes and they are working great. Filled the tank with 5 gallons of gas and tested the fuel system. Flowed great with about 20 psi. One small leak on one of the hard line flairs. Gonna be a pita to fix that one.
-
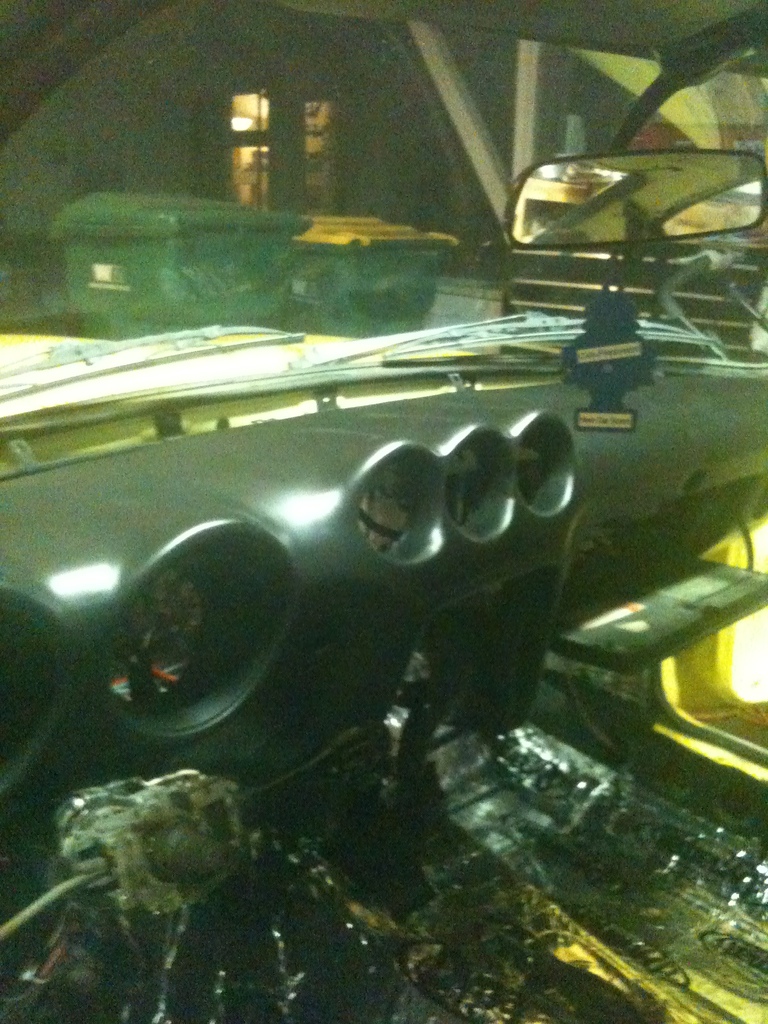
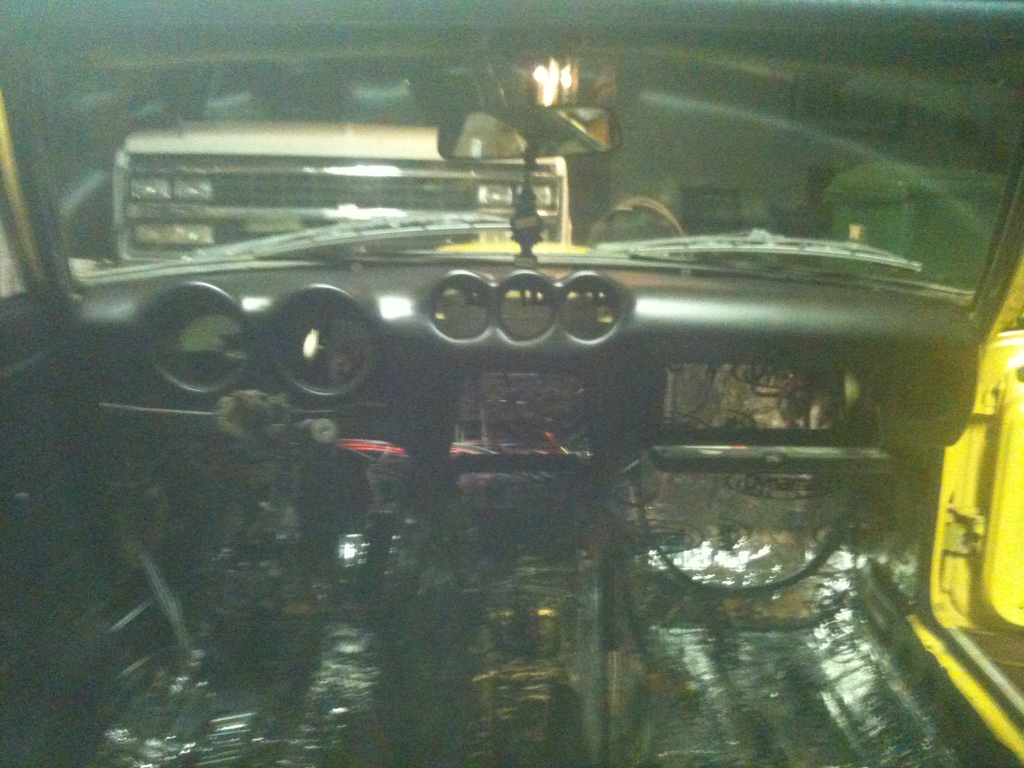
Well I ordered a refurbished master cylinder. Flushed the lines and am awaiting the new master to reinstall and bleed. Got the dash mostly done. Cleaned up most of the wiring. I'm gonna have to make some pretty creative kick panels to conceal them. should be getting my camera back tomorrow. Hope to have some pictures up soon.
-
So as some of you may remember I had a leak in my brake master cylinder. Well I tried to dig in a bit deeper today. So there are 2 caps on the cylinder. Under the 1st cap everything was good. Under the 2nd the brake fluid has turned to sludge. My guess is that it froze then expanded breaking the gasket. My thinking is I need to remove the cylinder flush the lines replace gaskets and seals and bleed the system. Any thoughts or inputs? Am I going about this wrong?
-
Final sand on dash and coat of satin black paint. Back in the car to test fit and looking great and fitting perfect. Still no camera hope to get better pics up tomorrow after I wire it all up.
-
Got some final touches on the dash today. Test fit the gauges. Gonna get it painted flat black for now and get it wrapped next year. Pics as soon as its painted.
-
dash has been primered with high build up primer.