-
Posts
541 -
Joined
-
Last visited
-
Days Won
2
Content Type
Profiles
Forums
Blogs
Events
Gallery
Downloads
Store
Everything posted by Boy from Oz
-
Jeremy actually sent me a few 'installed' photos back in September last year. Unfortunately he also said his project was stalled due to work commitments. You could try sending him a PM asking if he would post the photos - they are sensational. Hope to have my own copy set made up shortly.
-

280z with ls3 with LS1 fuel tank
Boy from Oz replied to 280Z76LS2's topic in Gen III & IV Chevy V8Z Tech Board
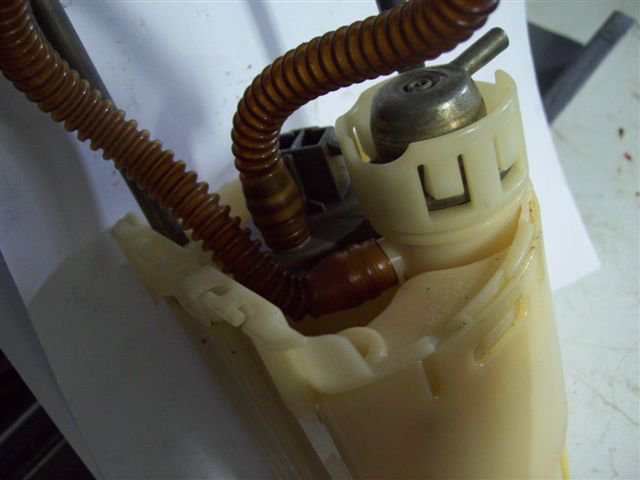
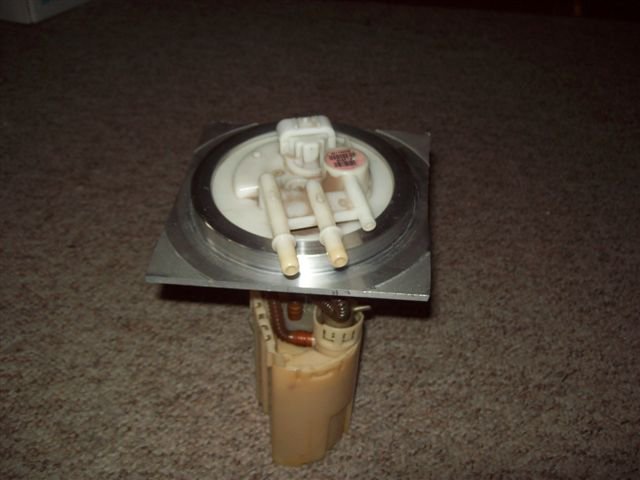
Mine is from a 2004 GTO and it has a built-in regulator. The return line is from the fuel filter. The fuel is pumped firstly to the filter and a 'T' junction after the filter sends the fuel either to the rails or back to the tank via the built-in regulator. The line coming back from the engine is only a vapour line to the charcoal canister. I don't know if this will work or not but if you try blowing on the return port on the pump you should experience resistance if it has a built-in regulator - assuming its in a normally closed position. (edit) I have added a photo of the regulator. I assume if you have one attached to your pump then it would be there to work. -
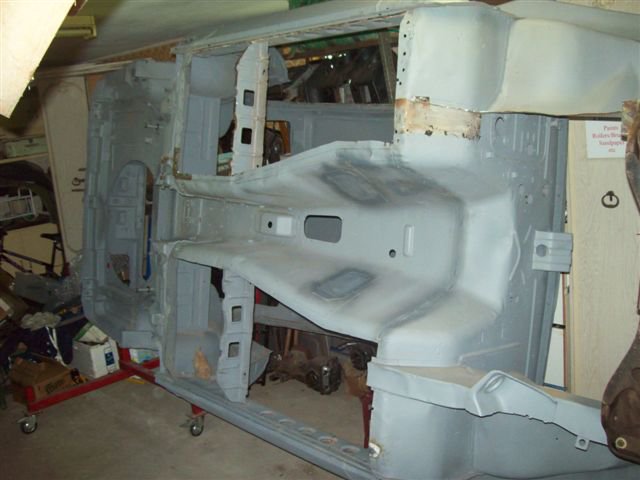
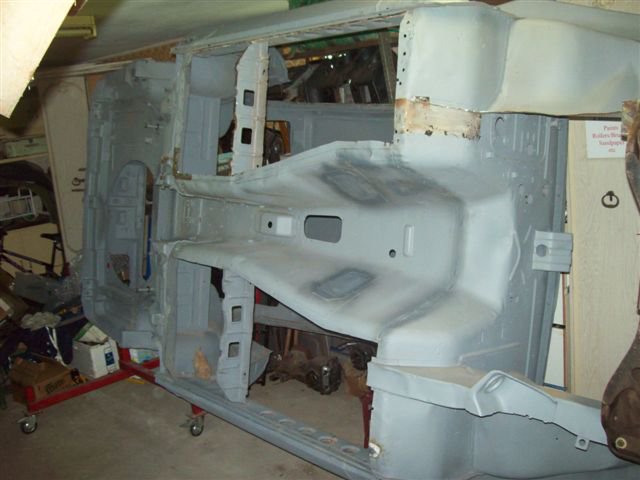
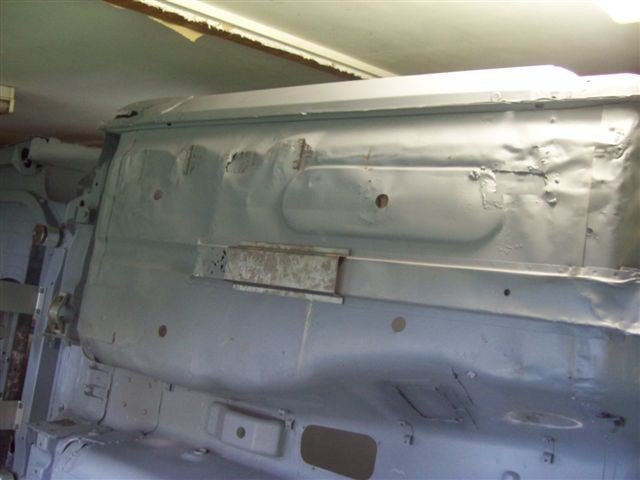
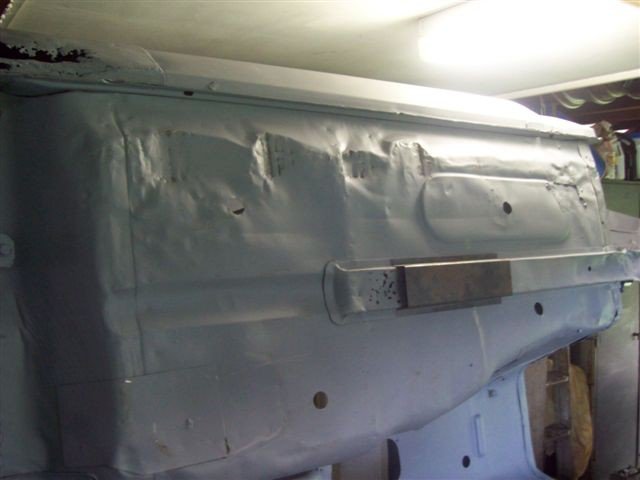
I left the seat front mounts in place for rigidity but removed the rears. I hindsight I probably should have left them as well. You do have to remove the bracing/strengthening plate located under the inner rear seat mount. I also had to slightly modify the seat front support to match the profile of the new floors. (edit) I can't recall exactly but I think the spot welds securing the rear of the floor also secure the seat rear mount, so perhaps there is no option other than to remove that mount.
-

GTO T56 Clutch Release Bearing Connection
Boy from Oz replied to Wheeler's topic in Gen III & IV Chevy V8Z Tech Board
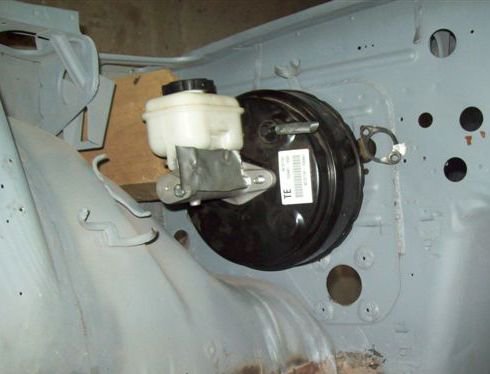
Have you thought of fitting the GTO master cylinder? It's probably a little more involved but I'm fitting the GTO (Aussie Ute & RHD) brake and clutch master cylinders for the sake of uniformity. The clutch master cylinder needs to be offset 30mmm to clear the brake booster which means a pedal redesign. However, just using the GTO clutch master cylinder might be fairly straightforward. -

Relocated ignition coils on LSx - any ideas?
Boy from Oz replied to Boy from Oz's topic in Gen III & IV Chevy V8Z Tech Board
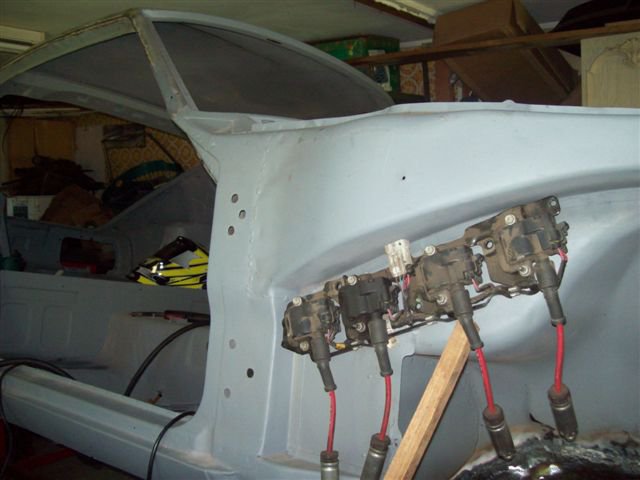
Yes, but luckily the cars down here have both a left and right inner guards! Blown77Z - Thanks, the 'toast rack' configuration gives rise to other possible locations. tfreer85 - I though of having them inside the cabin but I was concerned about how much heat they would generate and the summers down here make A/C a must have. Someone was making a two-tier valve cover which enclosed the coils but there were comments about the coils overheating. -

Relocated ignition coils on LSx - any ideas?
Boy from Oz replied to Boy from Oz's topic in Gen III & IV Chevy V8Z Tech Board
I thought about the cowl but was worried about clearance with the wiper mechanism. I think I might try to mount them in a square configuration on the inside of the inner guard, i.e behind the battery and on the opposite side - I have a RHD. A perforated shield (to allow cooling) painted the same colour as the car should hide them sufficiently without exposure to road grime. These are just my preliminary concepts so any other suggestion would be appreciated. -
I would like to use billet machined valve covers and relocate the coils out-of-sight. Does anyone have photos of such an installation on a S30? Possibly something like this: http://forums.corvetteforum.com/c5-tech/2212538-how-to-relocate-your-coil-packs-many-pics.html Should fit okay but what are the implications of using very long leads? Thanks
-
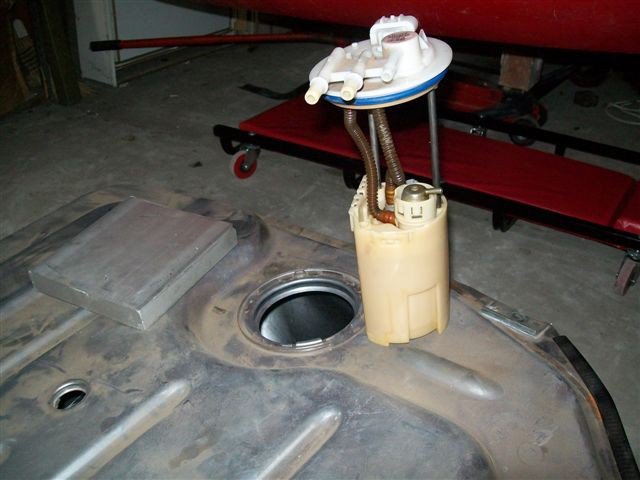
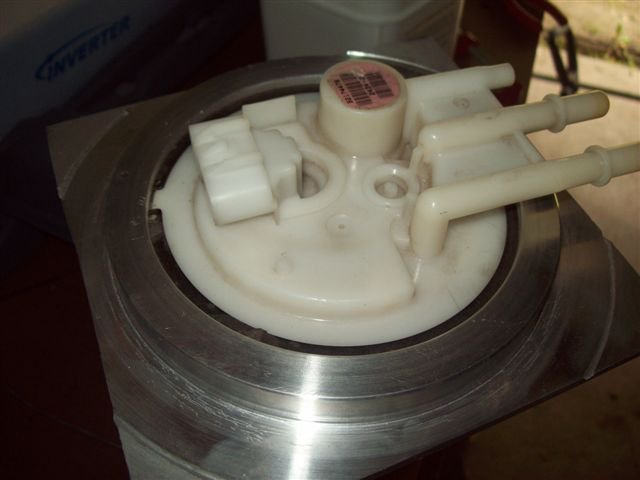
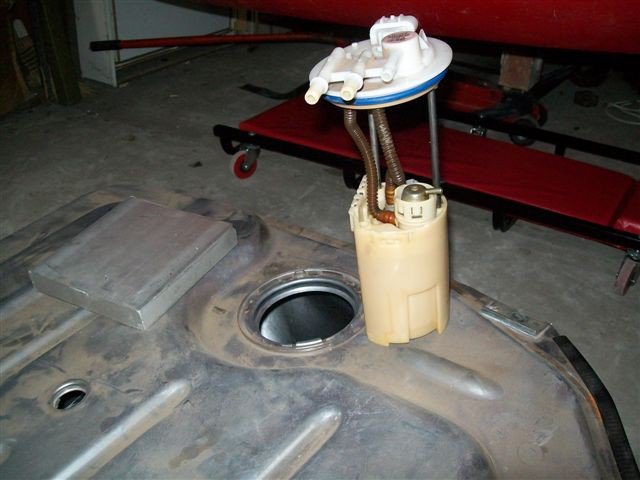
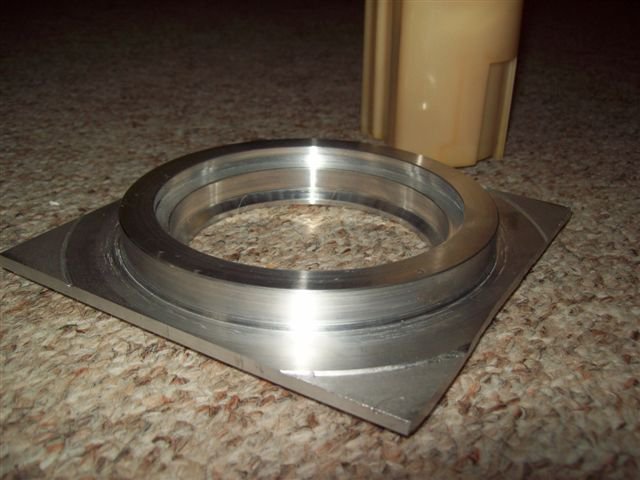
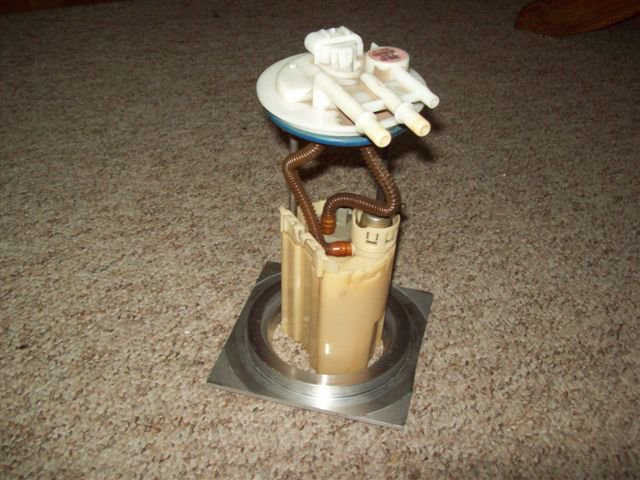
I machined up an adaptor for the standard GM in-tank pump/regulator that came from the donor car. I still have to make the aluminium tank (narrow to allow duel exhaust) but I think it should work okay. It utilises the standard circlip. I particularly like the idea of all the fuel lines being above the tank and away from potential damage by road debris.
-
You guessed wrong! Read what I wrote.
-
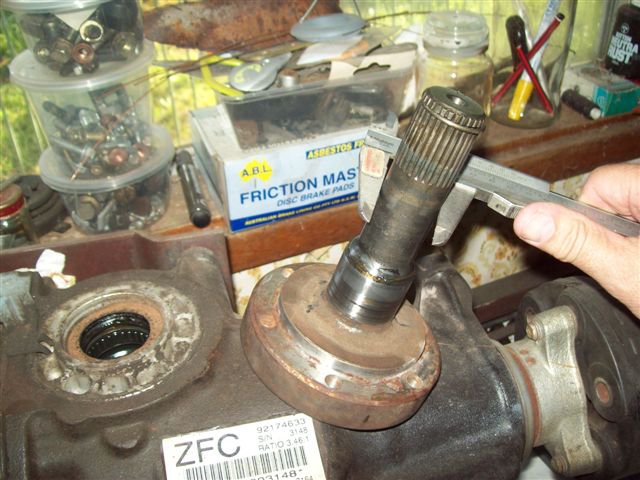
I understand there is no known application of the GM IRS diff in the US other than the Pontiac GTOs and G8s, so this is probably of little help. I have just measured the output shaft from a GM diff in my LS1/240Z at 30mm. Rather than speculating of the capability of a diff you might want to consider its design as part of your assessment. I acknowledge there are other factors but judging by the photo in the first post the shaft dia is critical.
-
From one 'Shire boy' to another, I doubt that many members here would know the Aussie acronyms you're using. You would probably do better asking on VicZcar. http://www.viczcar.com/
-
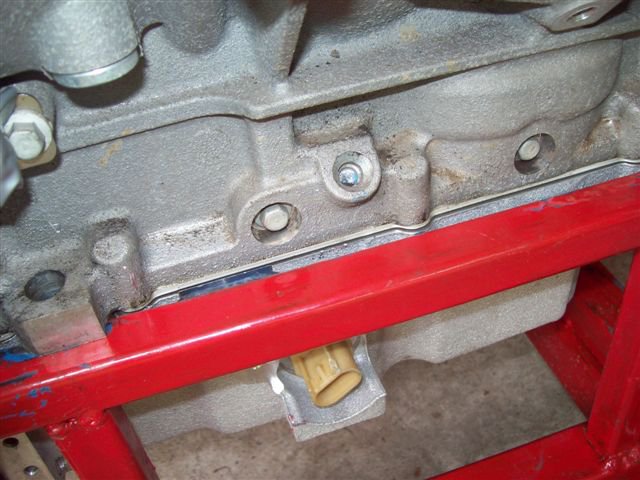
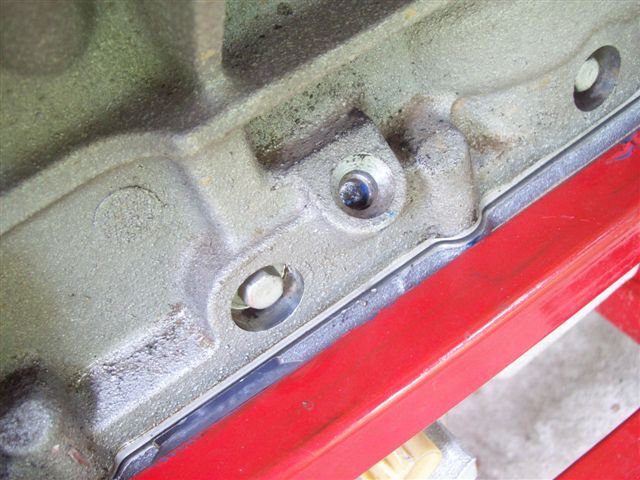
I have now received advice from various sources that it is a plug that can be knocked out with a punch from the inside, i.e. no drilling required. The engine was fitted to an Aussie car and the pan had a deep sump at the front which would foul on the crossmember.
-
My LS1 came with an oil pan not suitable for an S30 installation. The original pan contained the dipstick hole. I now have the correct pan and wish to fit the appropriate dipstick. Measurements of both dipstick outers tubes and the bore of the hole in the original oil pan are all 3/8". My first concern was whether I could just drill a 3/8" hole or should I go undersize and finish with a reamer. How critical is this fit - has anyone had trouble with leakage? Secondly. I took a couple of photos to illustrate this and now I'm not sure whether it is just a plug in the hole that can be punched out - any ideas?
-
Looks great. Is the car lowered at all and if so, by how much?
-
I'll remind you of that statement in 3 years time! Welcome aboard. Coming up to my fourth anniversary and here is my progress.
-
That looks very impressive. I've sent a PM but I'm sure others would also be interested to see photos of how you cut the original fibreglass panel and how you repositioned the sections. Thanks.
-
Could you please explain this process in detail and post a photo taken from the side - at about door handle height. Thanks
-

any regrets after shaving drip rails?
Boy from Oz replied to adam78280z's topic in Fabrication / Welding
Did mine last week - the lead is a real pain when welding. -

Any tips for mounting a fuel cell?
Boy from Oz replied to Roostmonkey's topic in Fabrication / Welding
I wonder why you don’t mount the cell below the floor rather than protruding 1” above. Are you planning on making a complete cover for it? It is a requirement down here that the cell/tank be completely isolated from the cabin area for fume and fire risk reasons. It’s one regulation that makes plenty of sense to me. Maintaining the original floor profile might make more room to carry a spare tire. The big downside I see from cells is the usual need to fill them from inside the car. With your known fabrication skills I wonder why you don't fabricate your own tank with a rear external filler capability - that's the path I'm taking. -
Firstly, thanks for the excellent photos on this thread. Did you use a butt or lap join along the transmission tunnel edge and, if a lap, did you used any bonding material? If no bonding compound, how do you propose the seal the join between the weld runs. Thanks. I'm just waiting on my clecos to arrive before replacing mine.
-
I support your sentiments about giving it a go but your approach to shaping suggest a lack of understanding on metal forming principles and appears fundamentally flawed. If you watch the video you will see that you never stretch metal by hitting it over a buck - that is counter productive - you need to shrink it on the concave surface. Hit a bit of scrap with a hammer and you will see it curves towards you. That's not to say you cannot 'lever' larger flat sections of metal by pulling it over a buck. Here is what proper technique can produce.
-
Like so many tasks, when you see an experienced person do it they make it look simple, but it isn't. You simply cannot form metal without the right tools and equipment, knowledge and experience, and expect a good looking item. My advice is to make a cardboard and tape mock-up of what you want (and a drawing with measurements) and take it to a small fabrication shop and have them make it. Tell them what you are making and they may even help to change the shape for strenghtening e.g. suggest a roll or joggle, etc. They usually don't charge much and it will look great. It is VERY VERY important to make sure you have the EXACT MEASUREMENTS. Metal is very hard to reshape and the guys at the shop will be really peeved if you come back wanting alterations. If you really want to get into this field there is a terrific DVD set by Peach and Tommasini here in Oz. Here is a sample of their regular show on TV. http://video.google.com/videoplay?docid=-4771868096671569058#docid=1764353741694655482
-

Lets see your V8 in your Z.
Boy from Oz replied to CJBrian's topic in Gen I & II Chevy V8 Tech Board
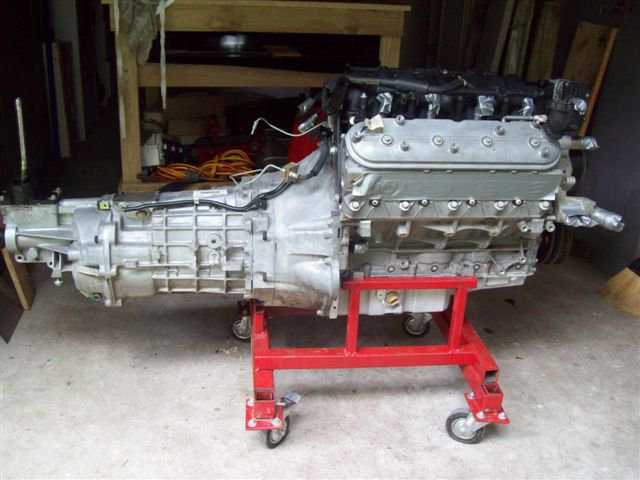
Would anyone have a similar image of the standard 240Z engine so that we can present the images juxtaposed? (edit) Oops... Sorry, just realised this is the Gen I-II forum. Still, I think it's technically interesting from a V8 perspective anyway, but I'm happy to remove it if anyone objects.

