boosted300
-
Posts
302 -
Joined
-
Last visited
-
Days Won
1
Content Type
Profiles
Forums
Blogs
Events
Gallery
Downloads
Store
Everything posted by boosted300
-
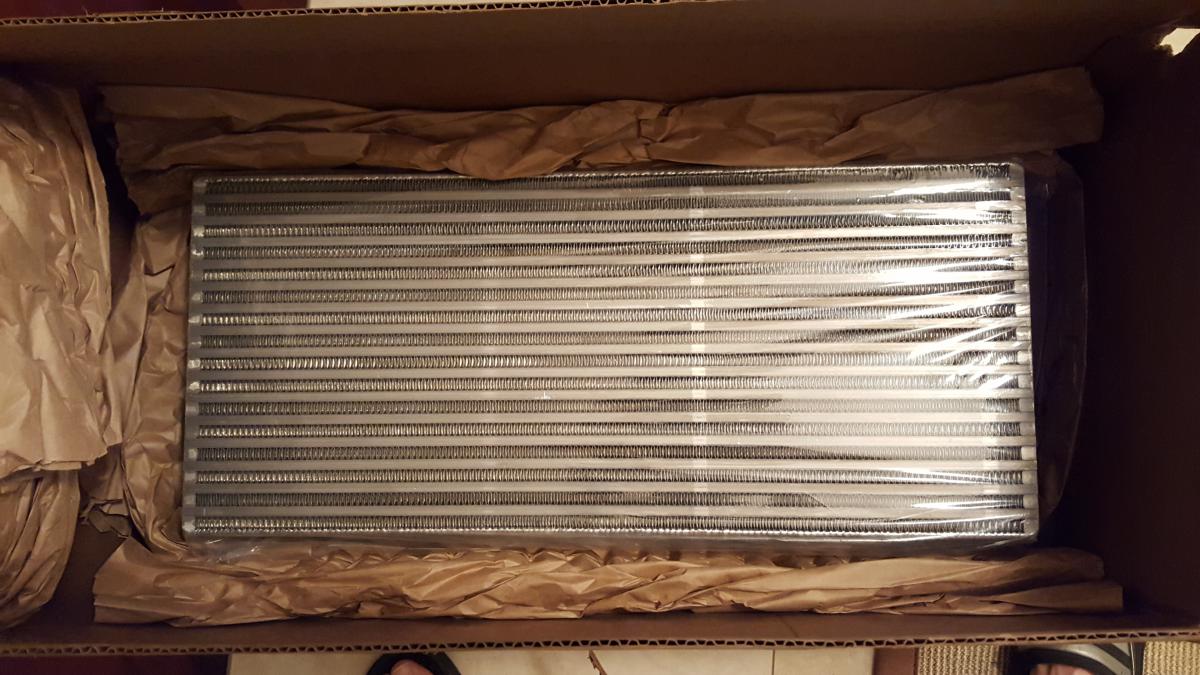
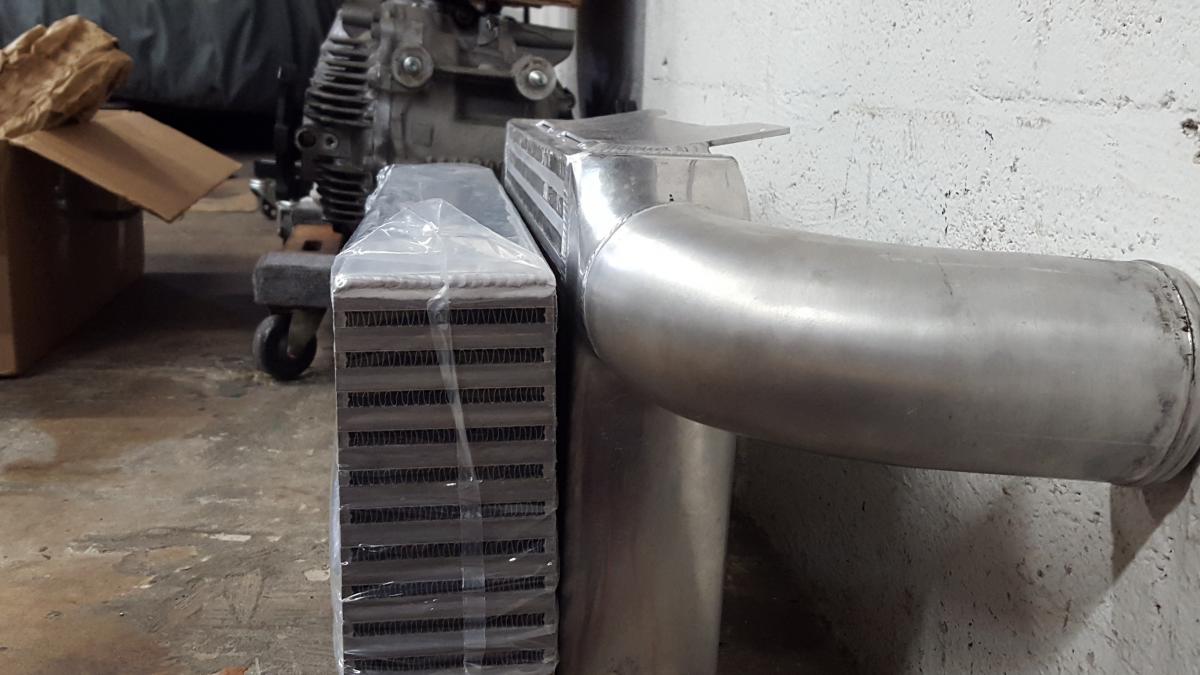
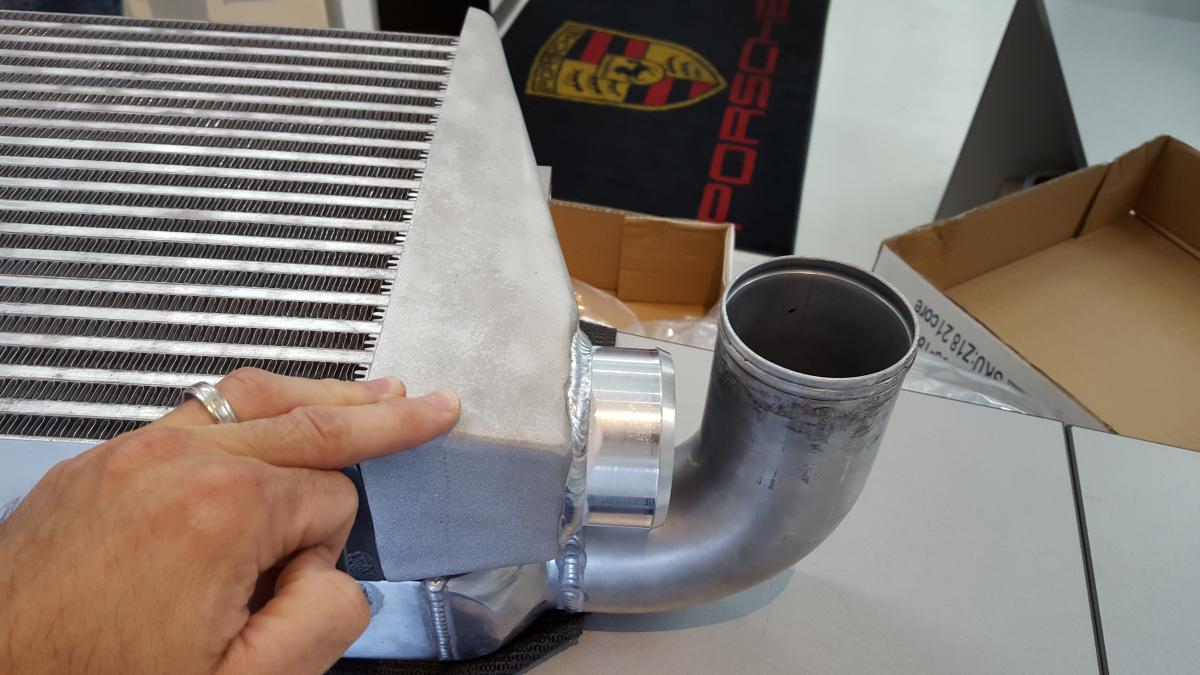
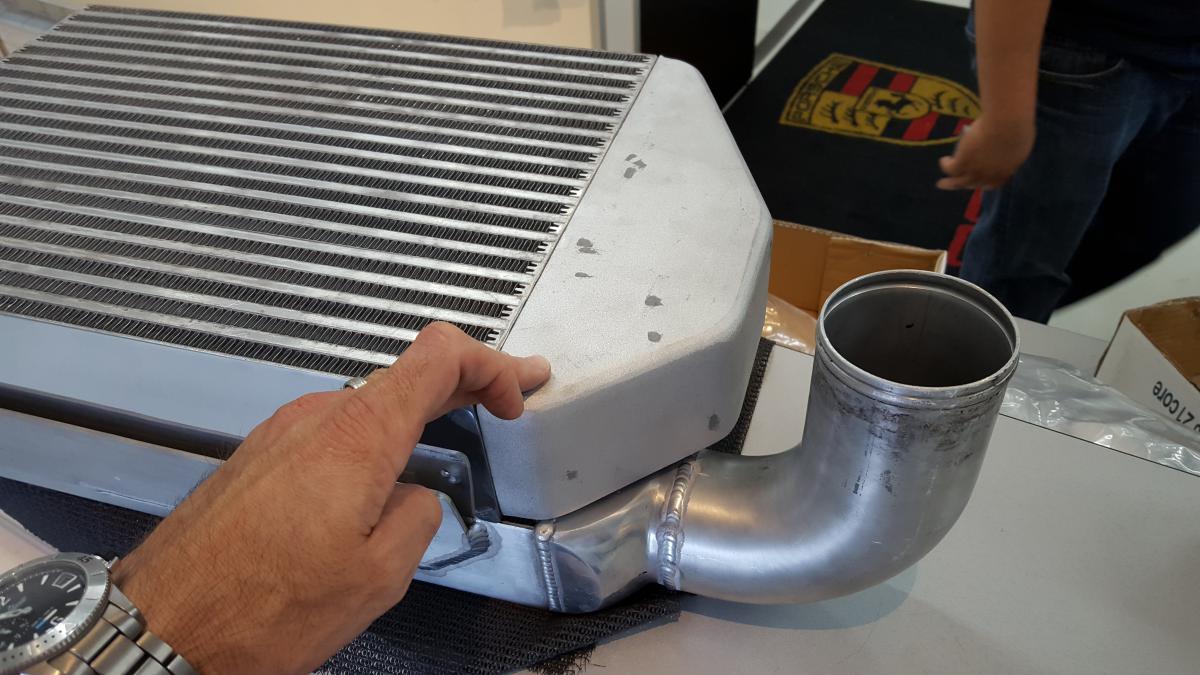
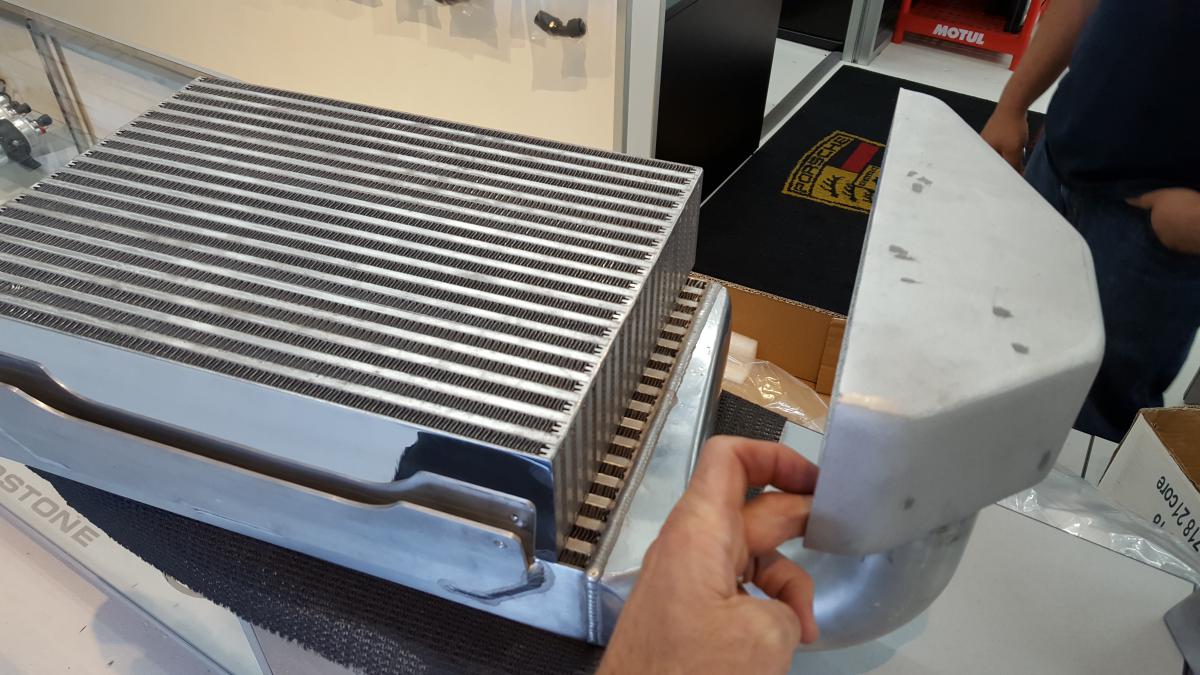
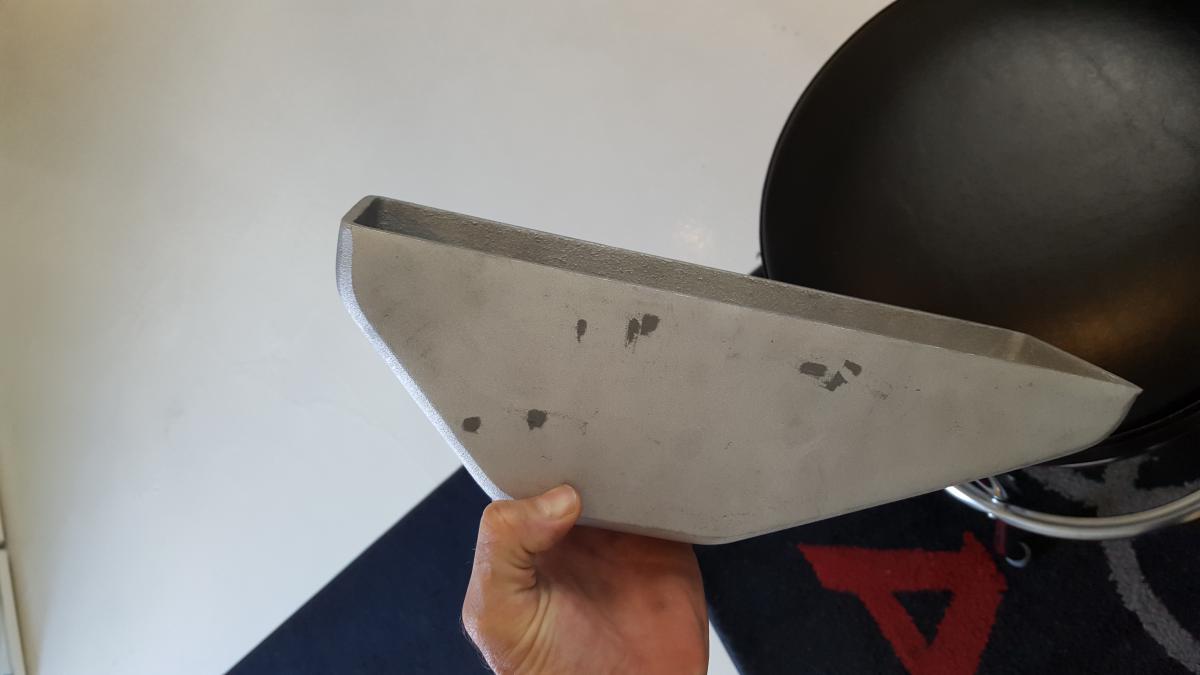
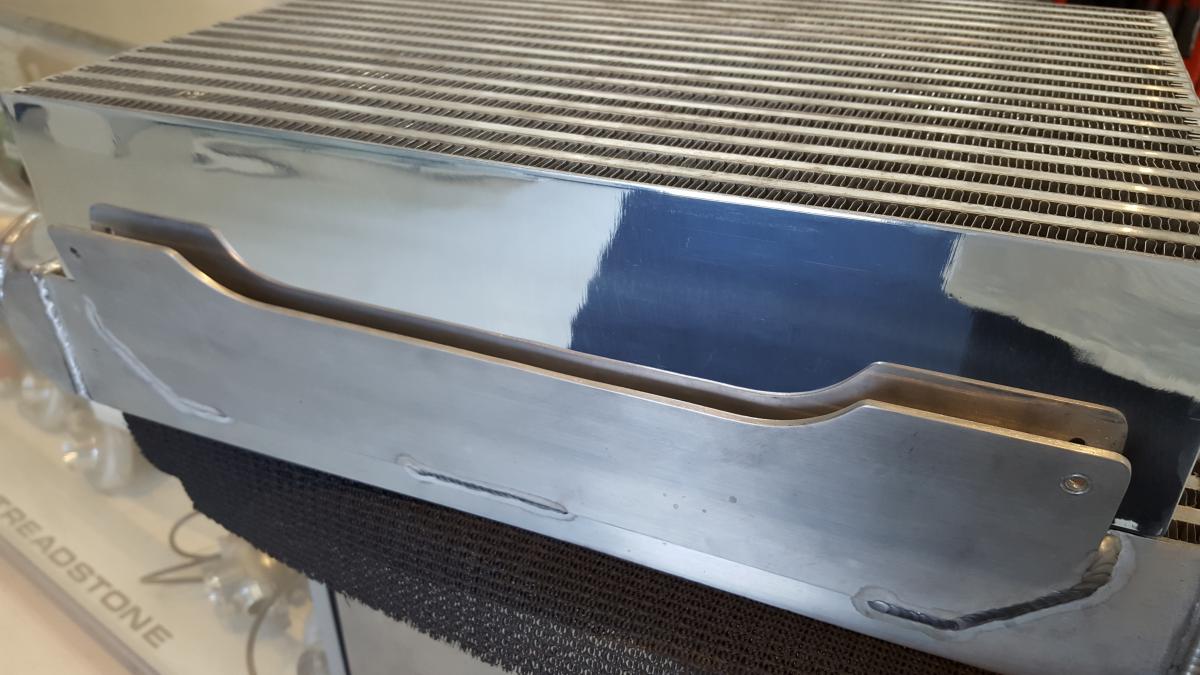
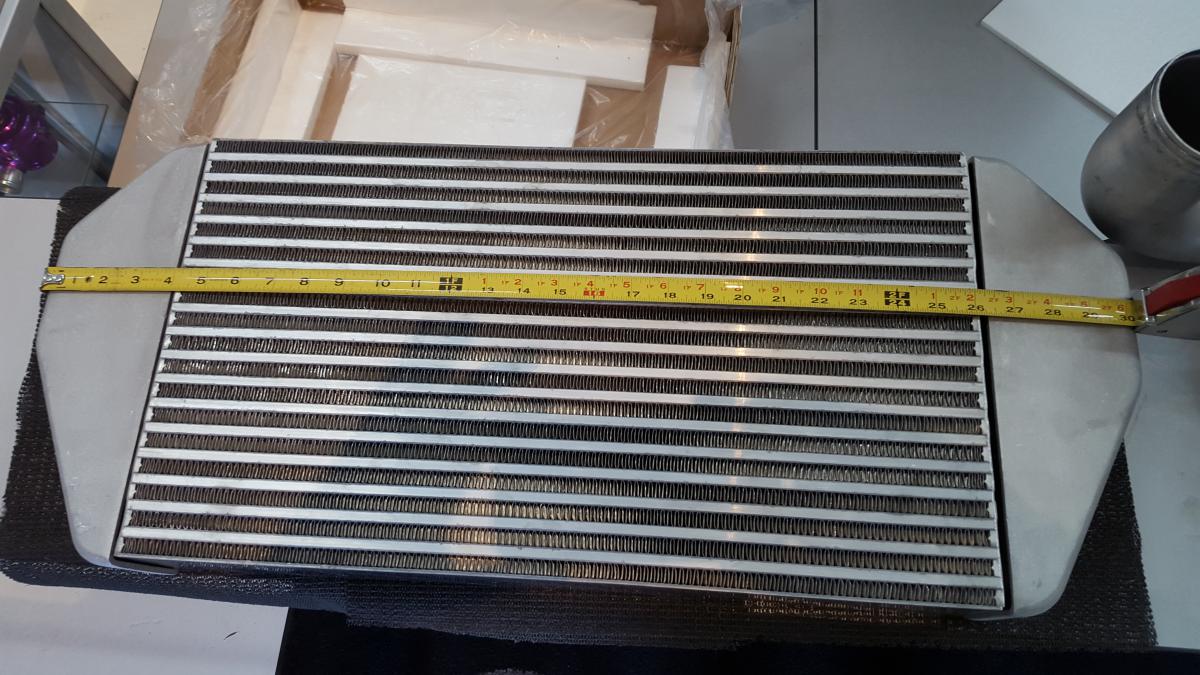
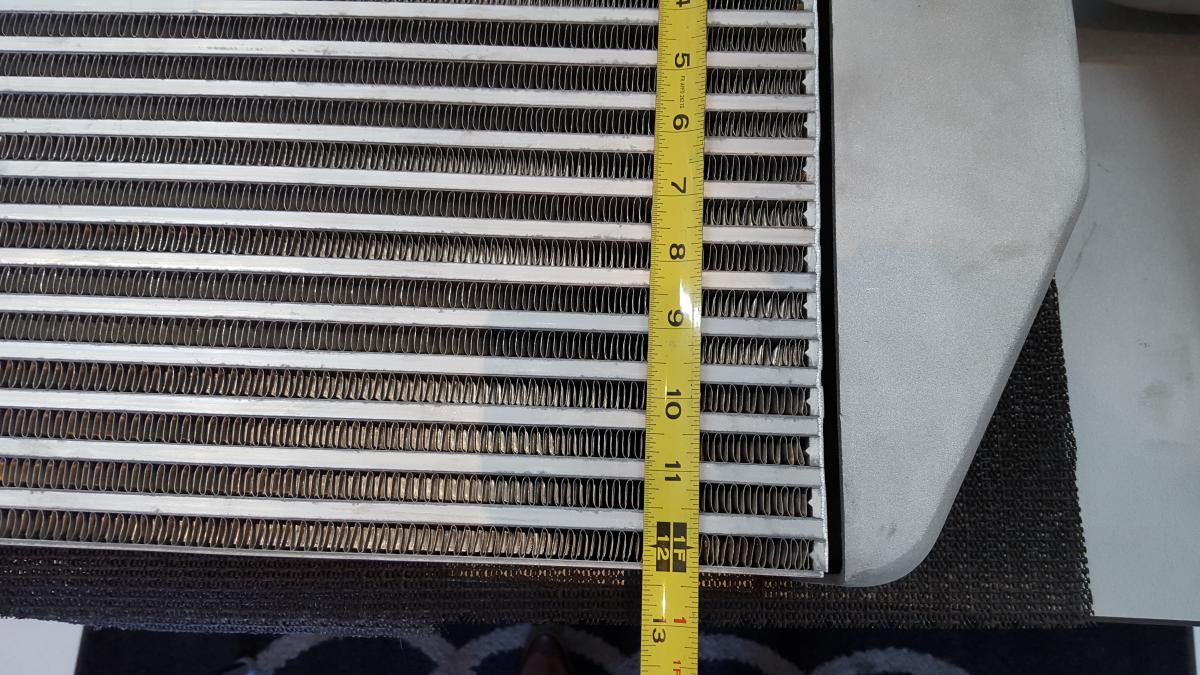
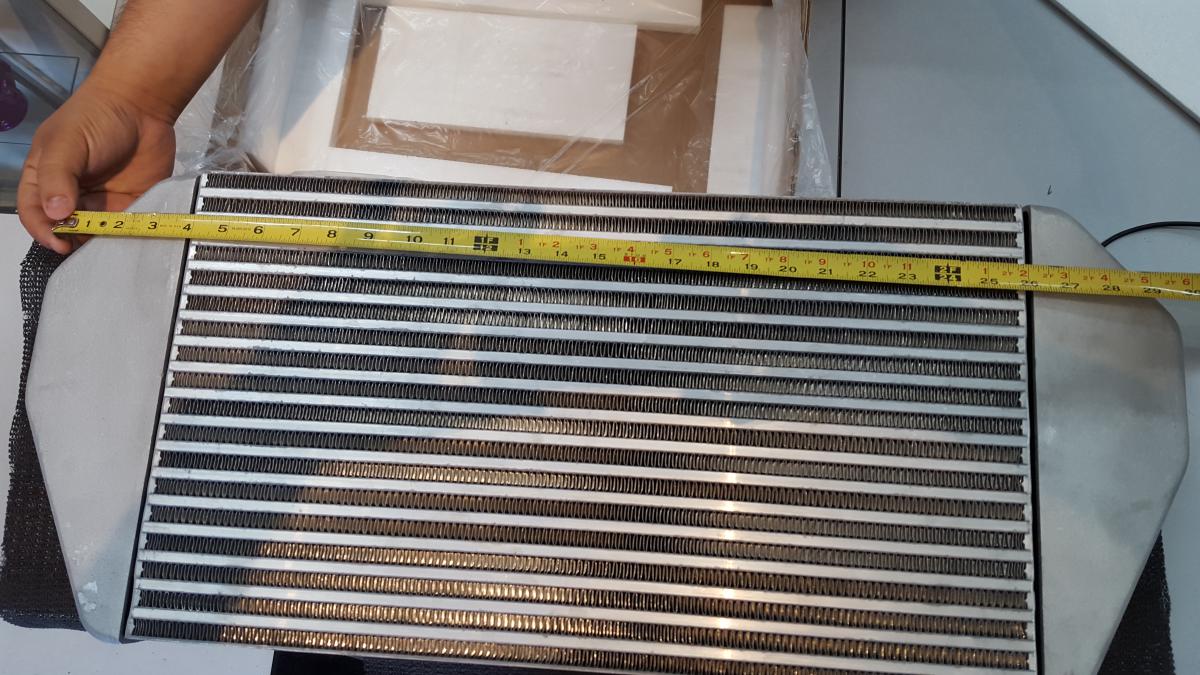
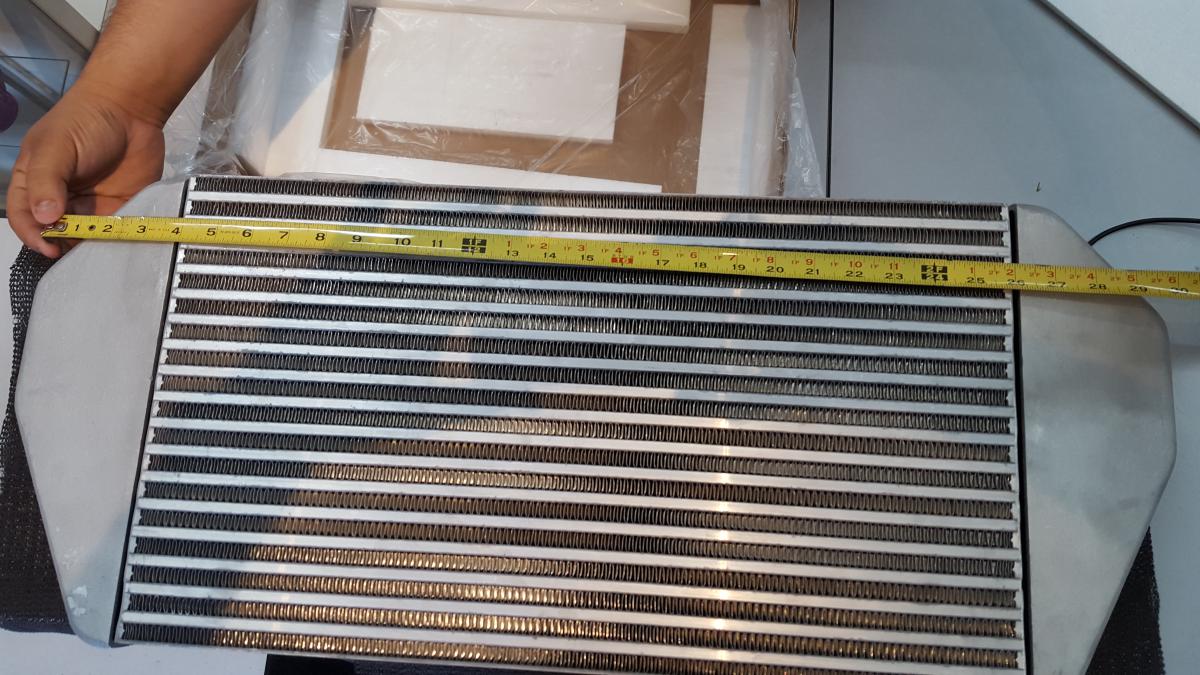
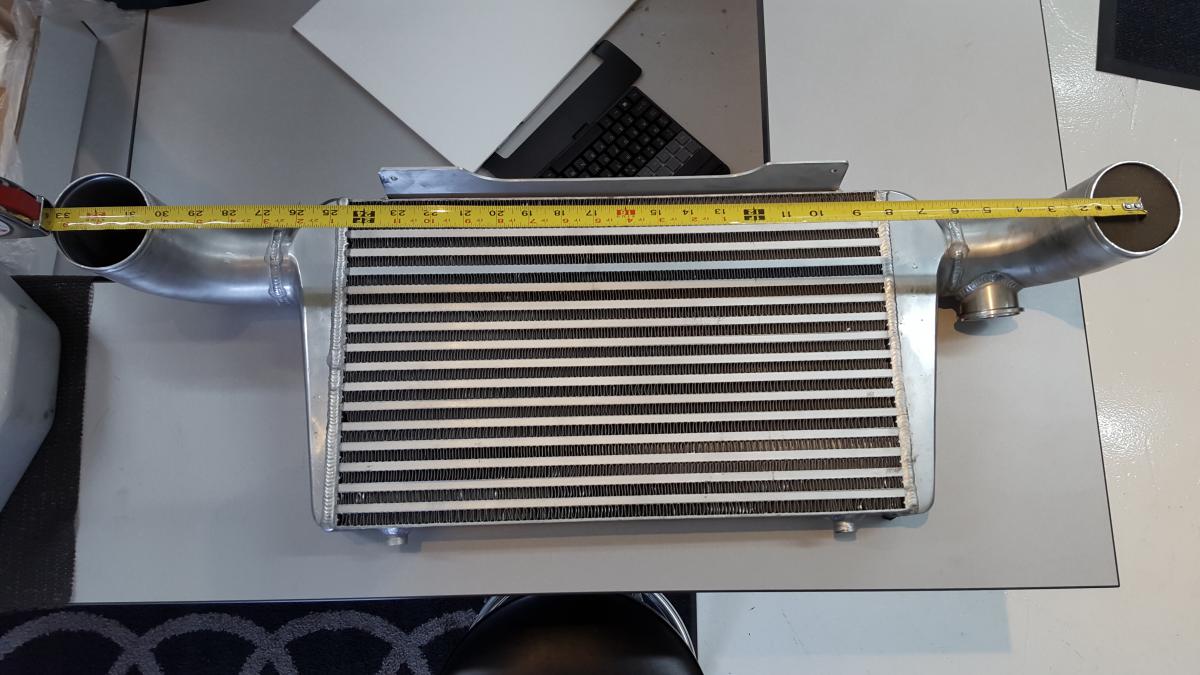
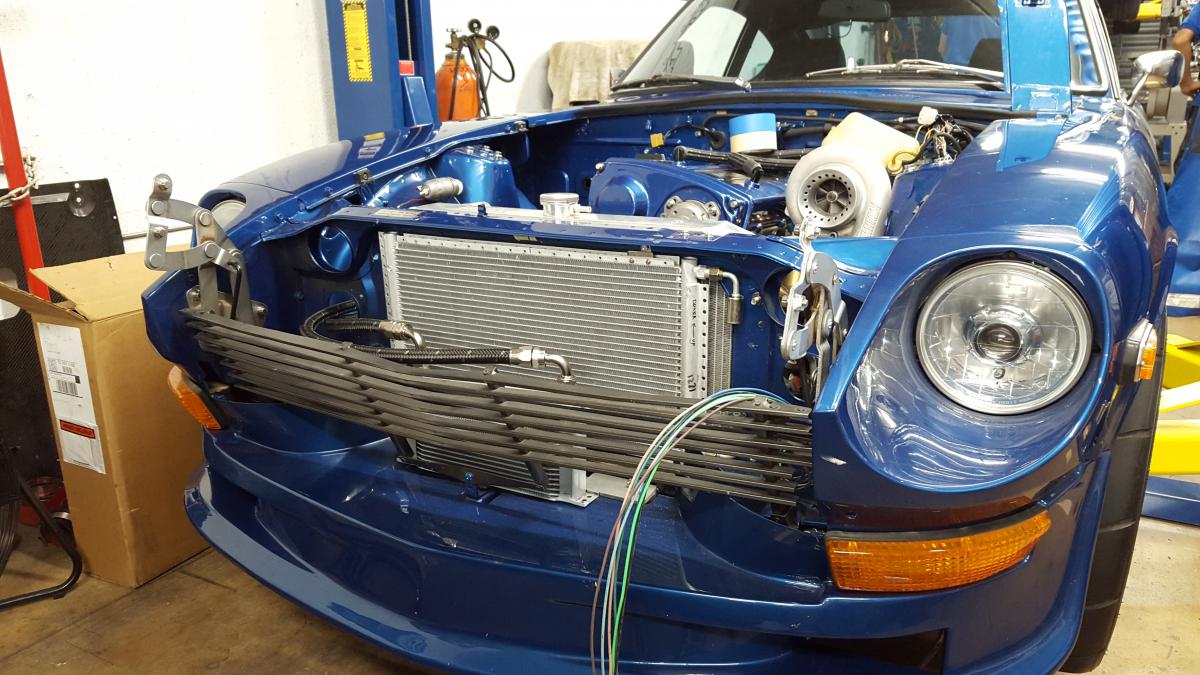
After literally months of this...I decided to go with a core from Bell, and some customized end tanks. Now these days, the Chinese have changed the market producing almost anything for automotive performance at hard to believe prices. Entire intercooler systems can be had for $500-$600. I almost pulled the trigger on a CX Racing unit that was close to the specs I wanted...but just not close enough. Bell cores are not nearly as inexpensive...but I chose Bell not only because they make top of the line heat exchanger cores...but also because they do it in practically every size imaginable...literally. Call me crazy, but damn I don't know what it is about an aluminum heat exchanger that I find so sexy! I went with a core that was shorter than the Mckinney, but longer and wider to make up for it...

-
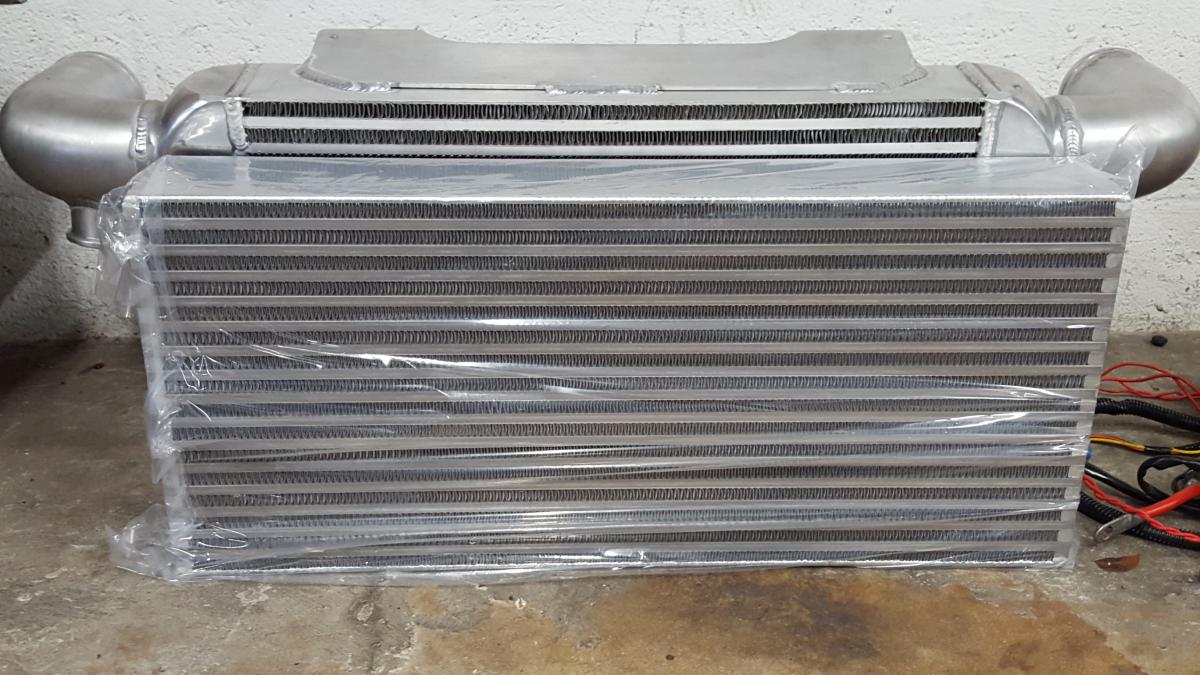
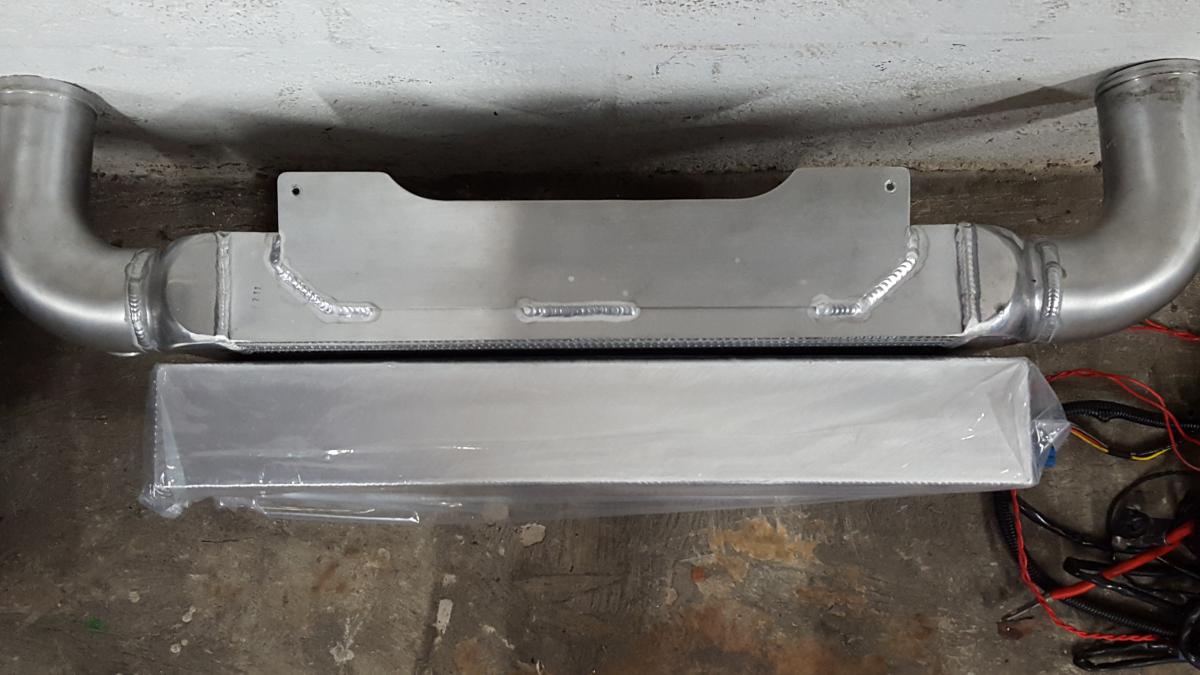
Back to some more fun stuff... Because we put the condenser in, it meant that the McKinney intercooler would have to move forward a bit, however with the slope of the hood, the clearance was already next to nil...this would mean moving the intercooler down a bit as well, meaning the inlet and outlet would have to be cut and re-angled... Rather than go through that, I decided to go with a whole new unit. After measuring, re-measuring, measuring some more...and then measuring again (like 6 more times!) I came up with an overall size that I felt would work. I searched on the net extensively for an existing unit that would work, but I couldn't find anything I was happy with. I went at this for months while the other projects were being worked on until I finally decided to just fabricate a custom unit. For anyone who's ever done this you'll know what I mean when I say it's not nearly as easy as it sounds. Measuring, measuring, measuring, brainstorming, more measuring, experimenting...did I mention measuring? and changing directions and concepts at least 5-6 times. I went to Treadstone and experimented with all sorts of cores and end tanks looking for just the right combo...
-
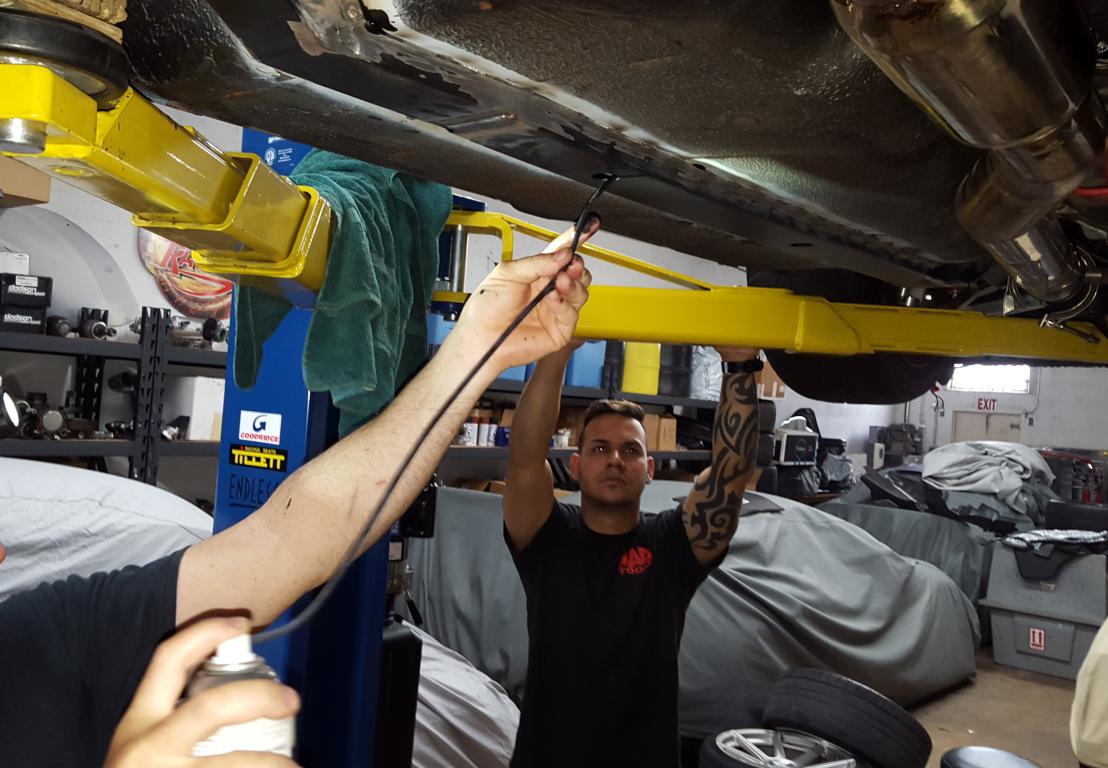
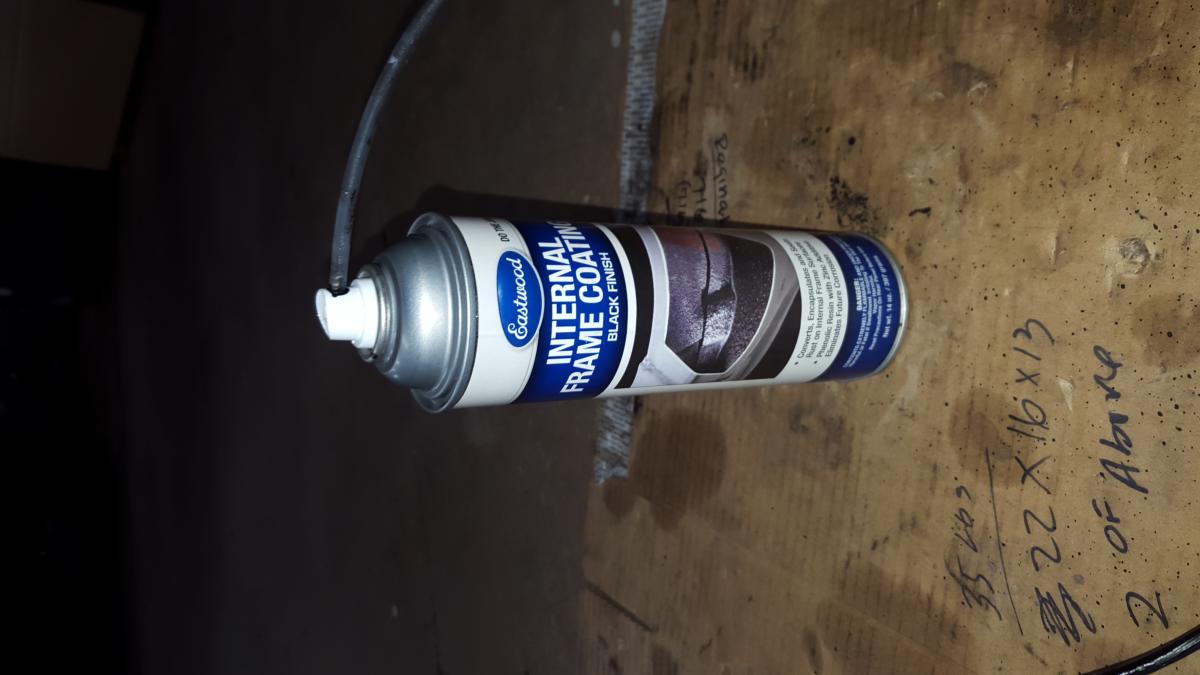
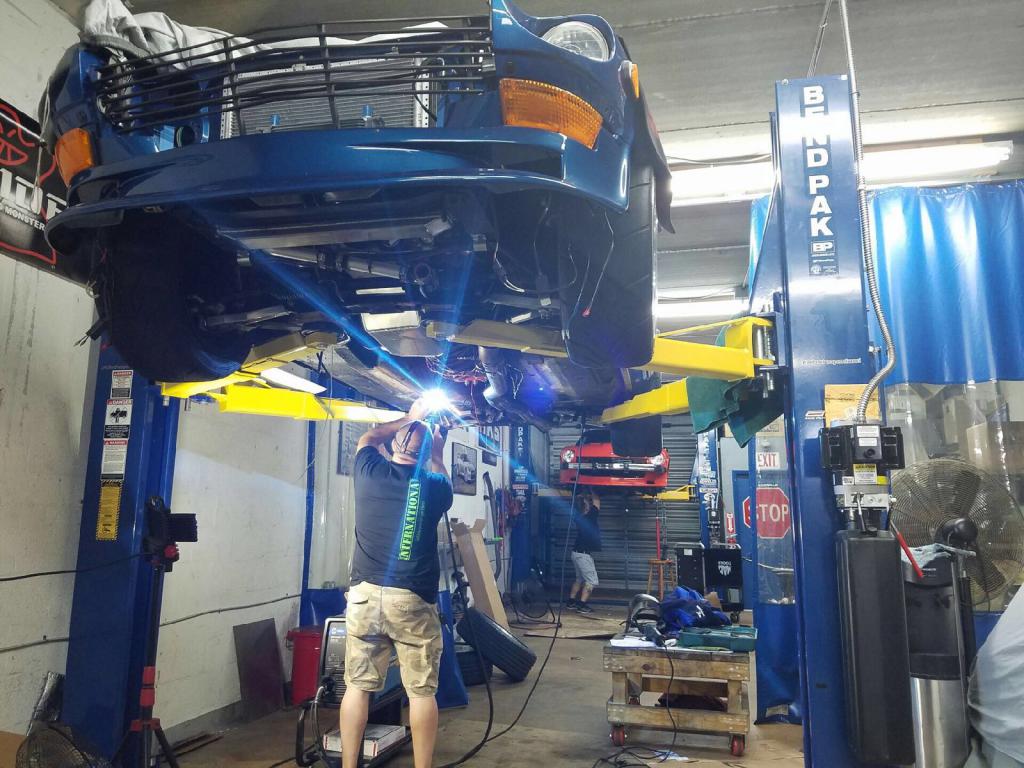
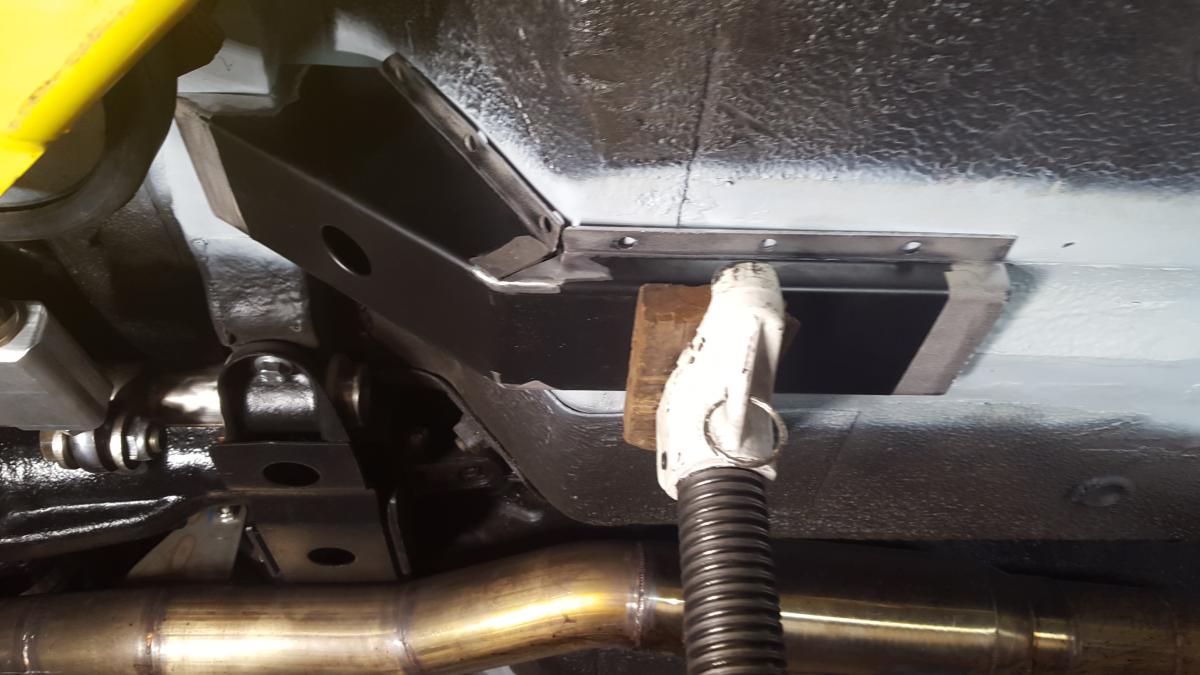
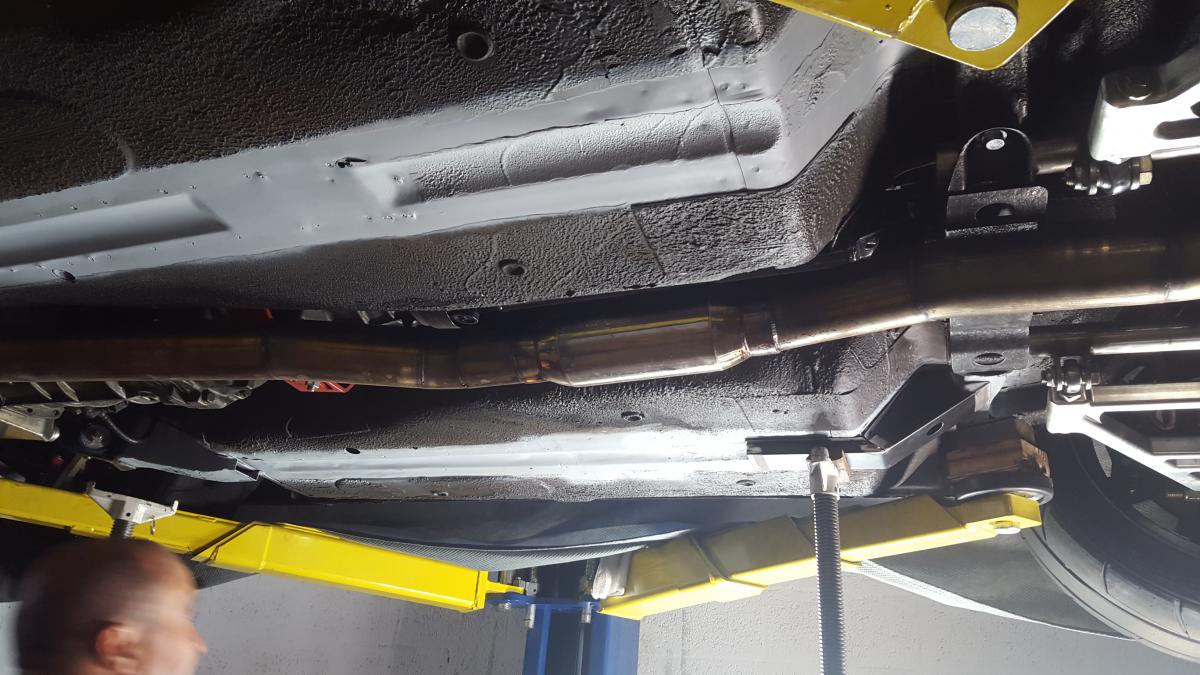
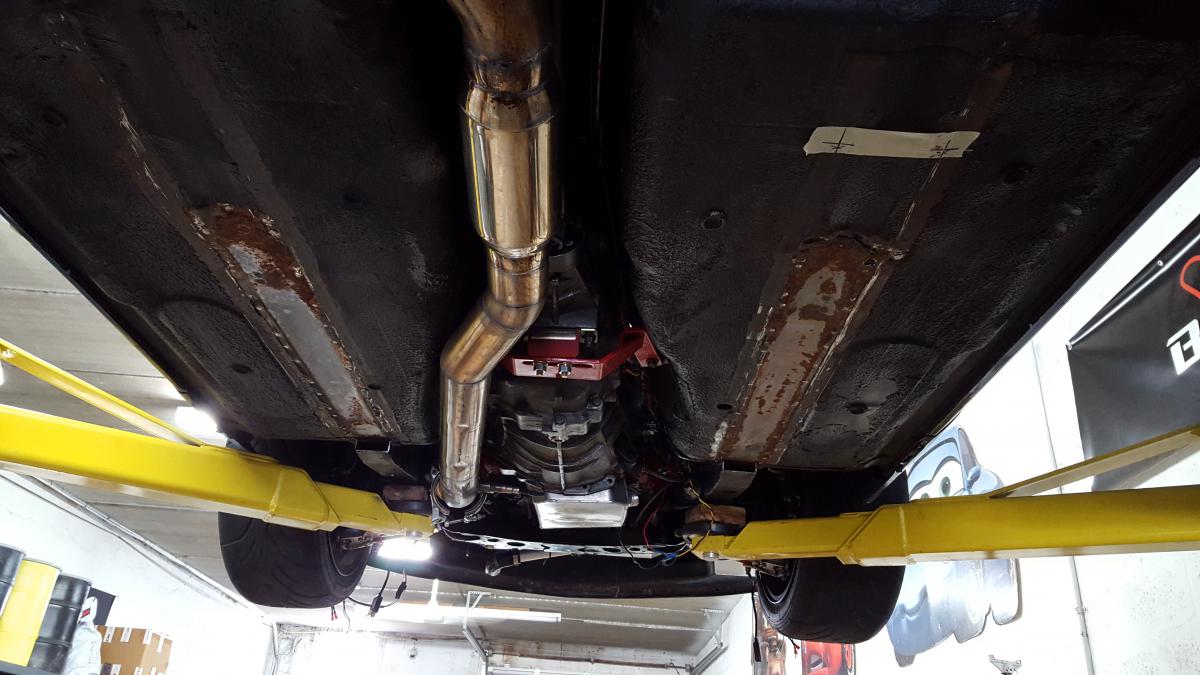
Welding them in...(while a fellow HybridZ watches in the distance) And for safe measure...some Eastwood internal frame rail coating... And a quick coat of Eastwood rubberized undercoating to finish it off... That project ended up being far more of a mission than we anticipated! But it had to be done.
-
Test fitting...
-
-
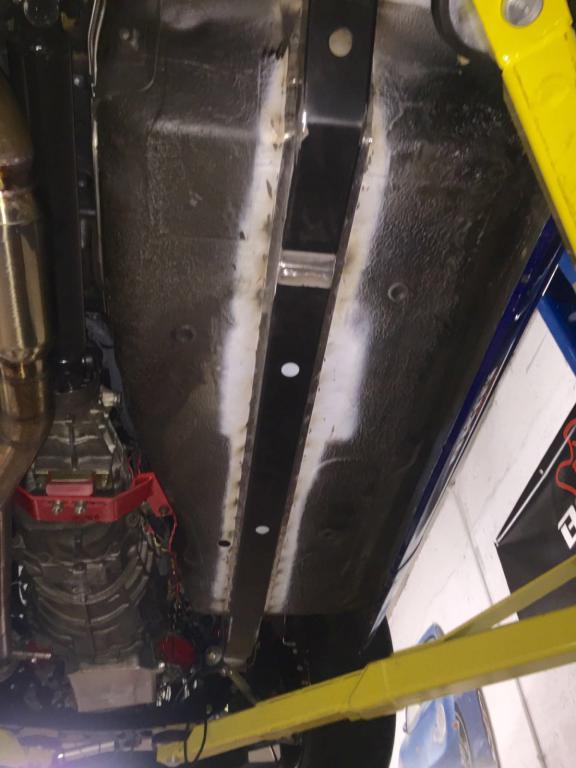
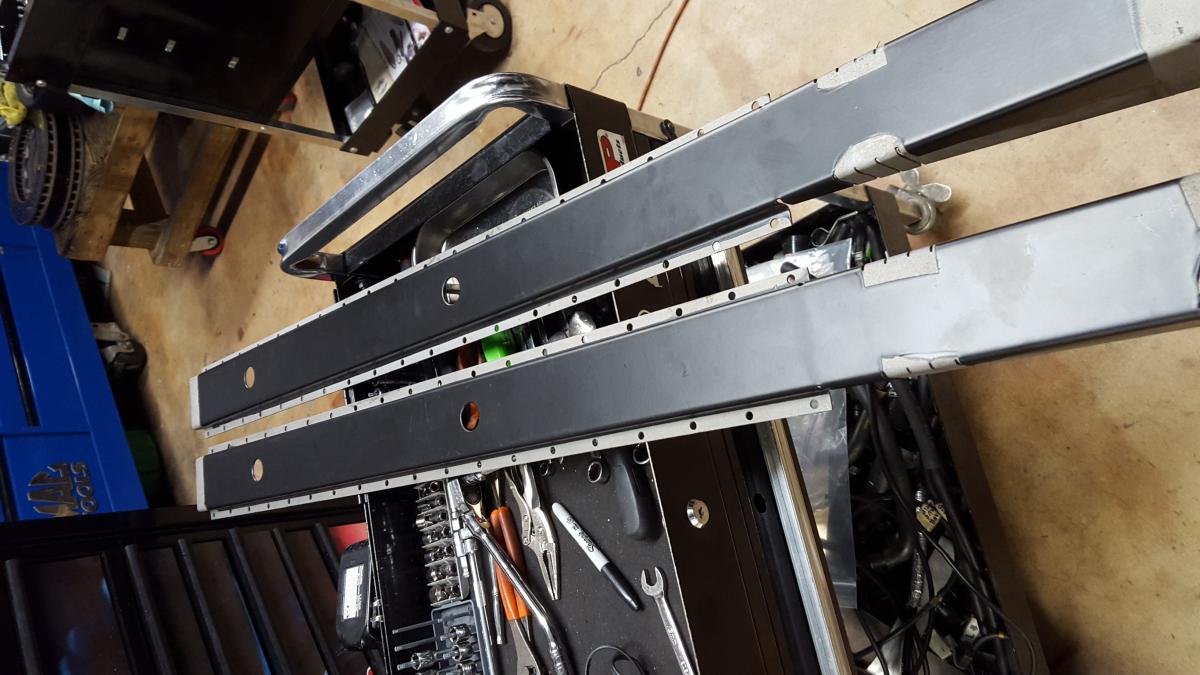
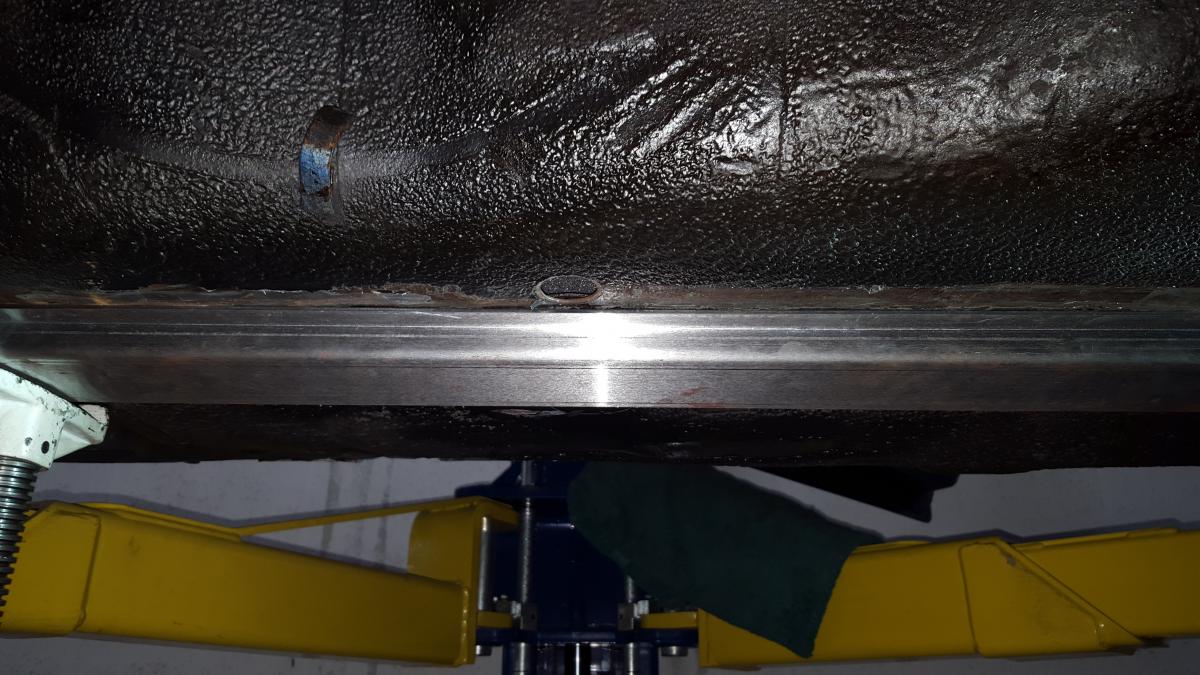
While painting/undercoating would have been much easier, I decided to have the rails powdercoated... I taped up the edges to facilitate welding...the one on the left still has the tape in place...
-
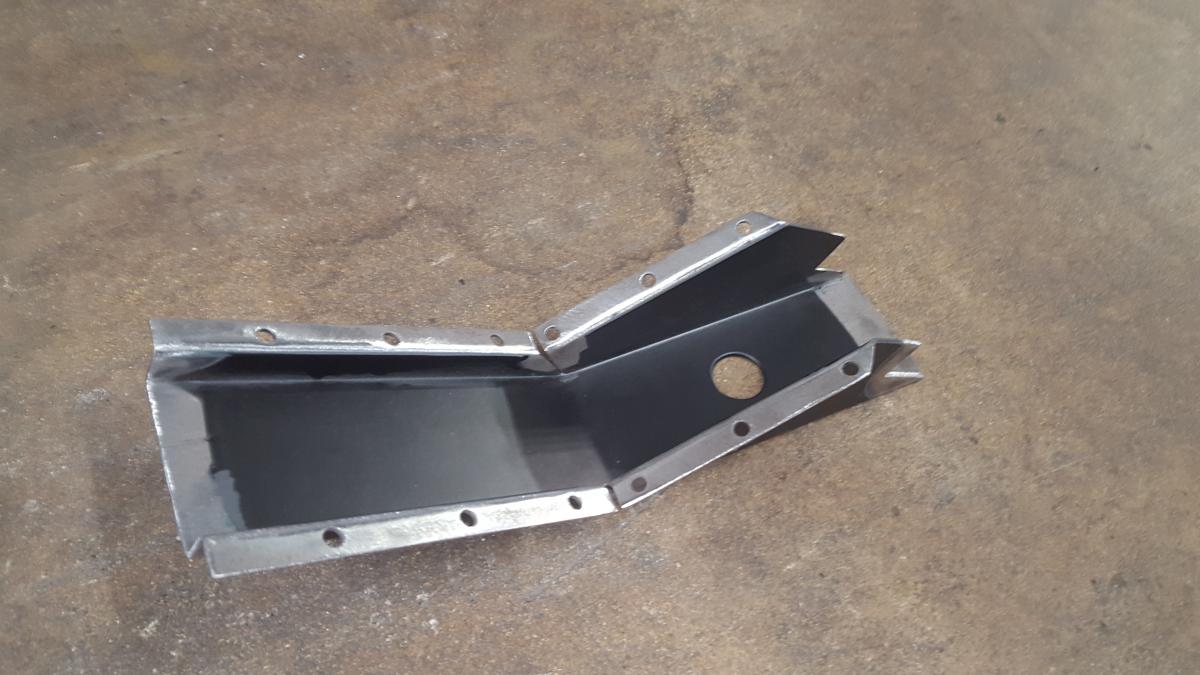
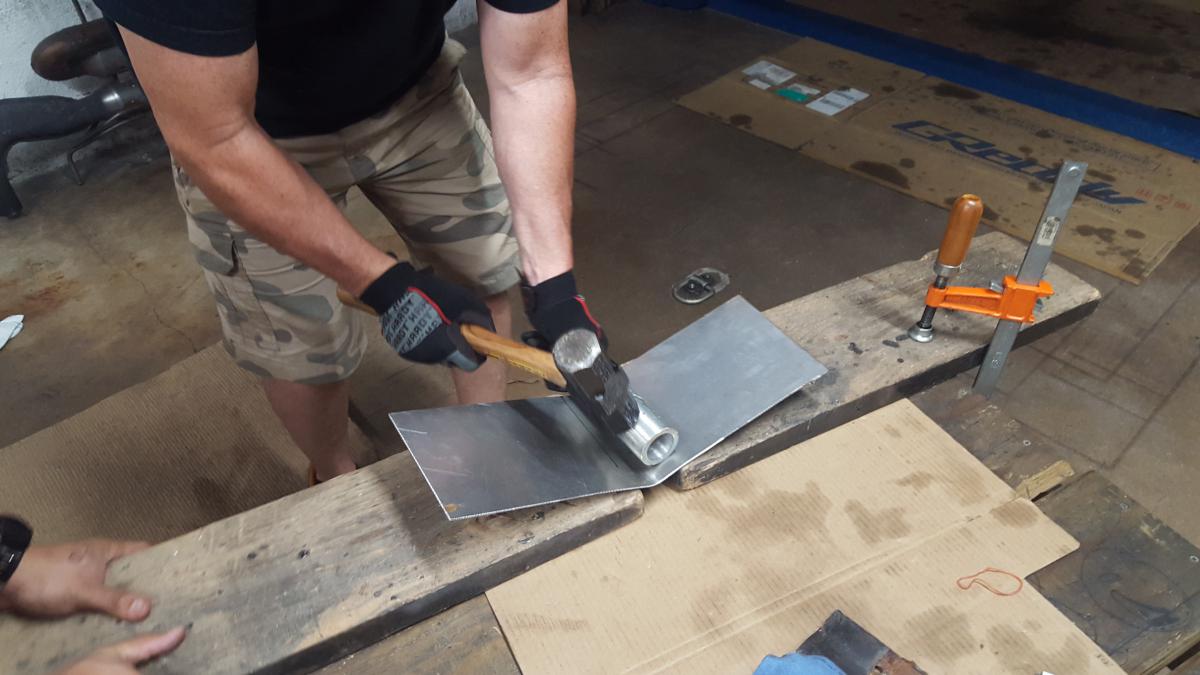
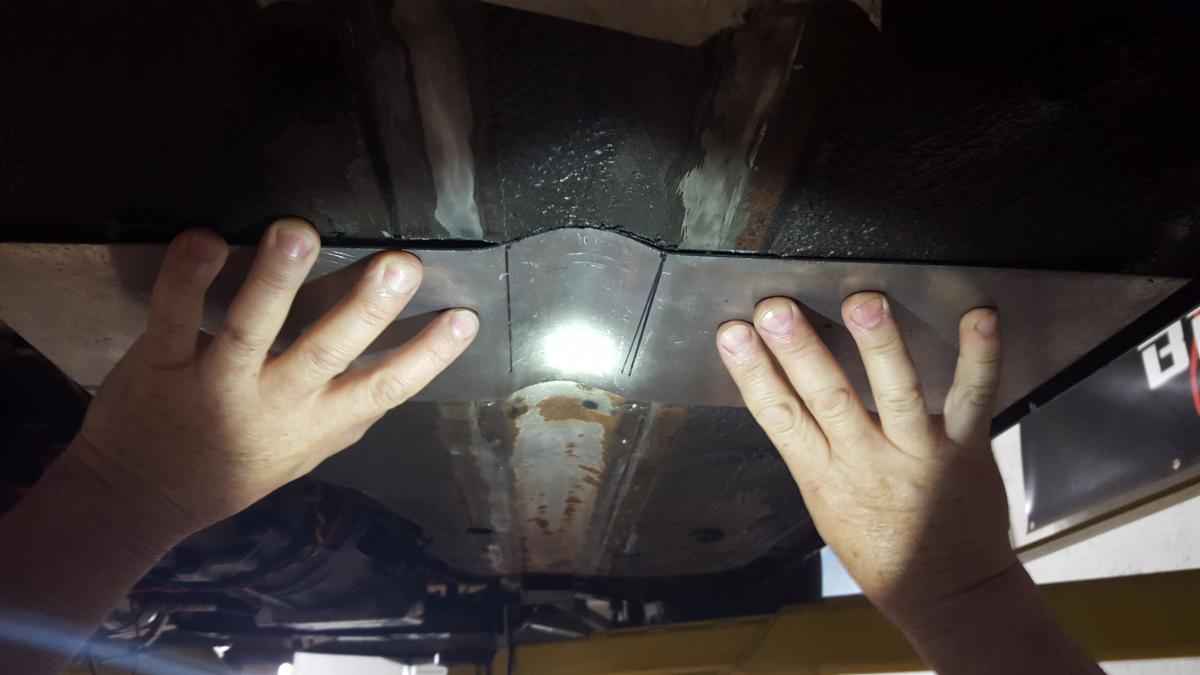
We got some fresh sheet metal and Doug formed it into shape... matching it to the original piece... All done, and primed for welding the rails...
-
~73 Turbo L28 to N/A RB25 240z Project~
boosted300 replied to ~KnuckleDuster~'s topic in S30 Series - 240z, 260z, 280z
Looking good! -
My 240Z with supercharged BMW engine
boosted300 replied to TeemuM's topic in S30 Series - 240z, 260z, 280z
Cured the shroud in the sauna...now that's thinking outside the box...love it! -
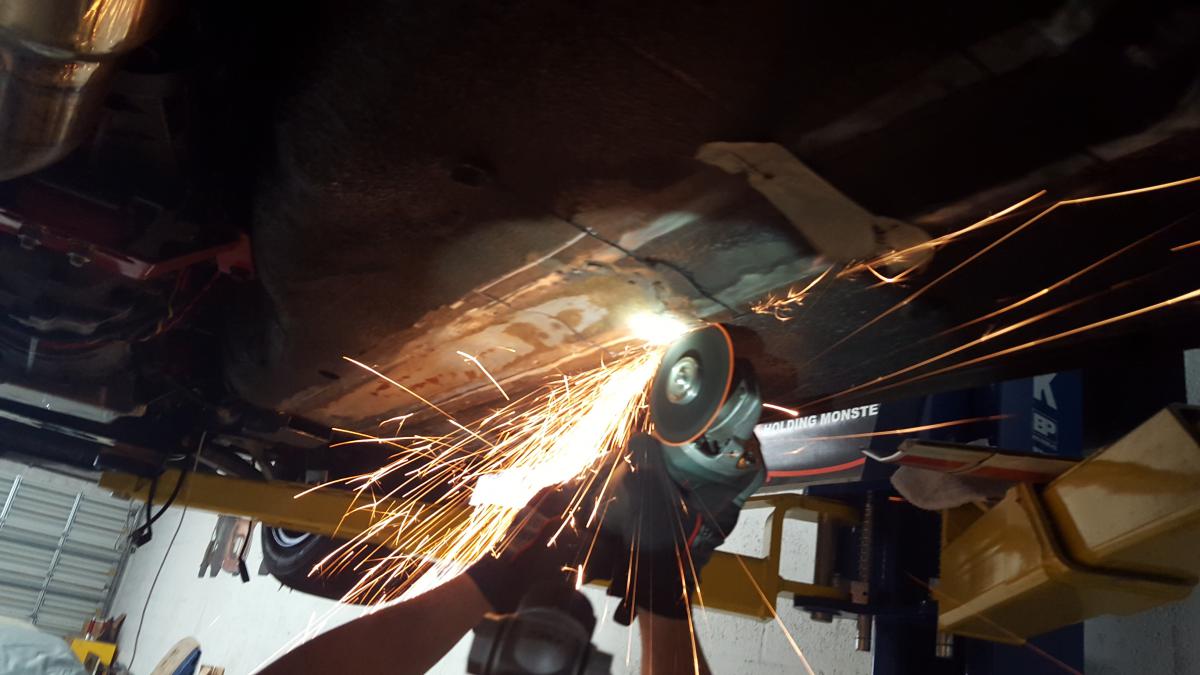
First cut from the bottom... Then drilling out the spot welds from the inside...
-
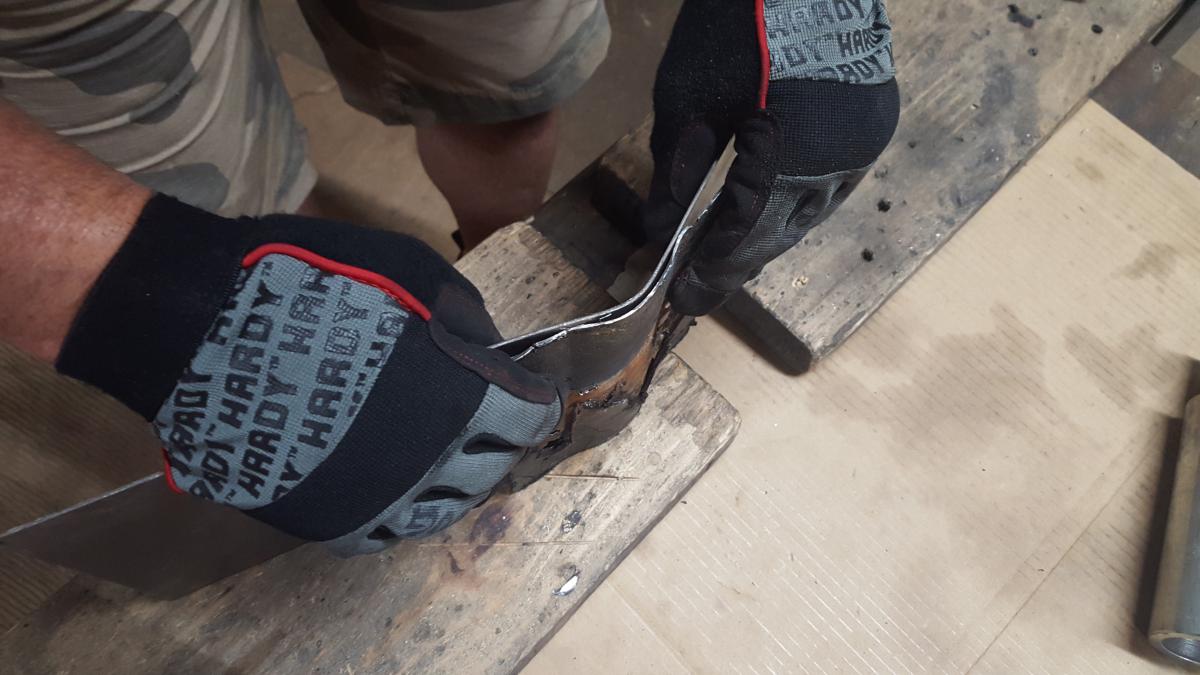
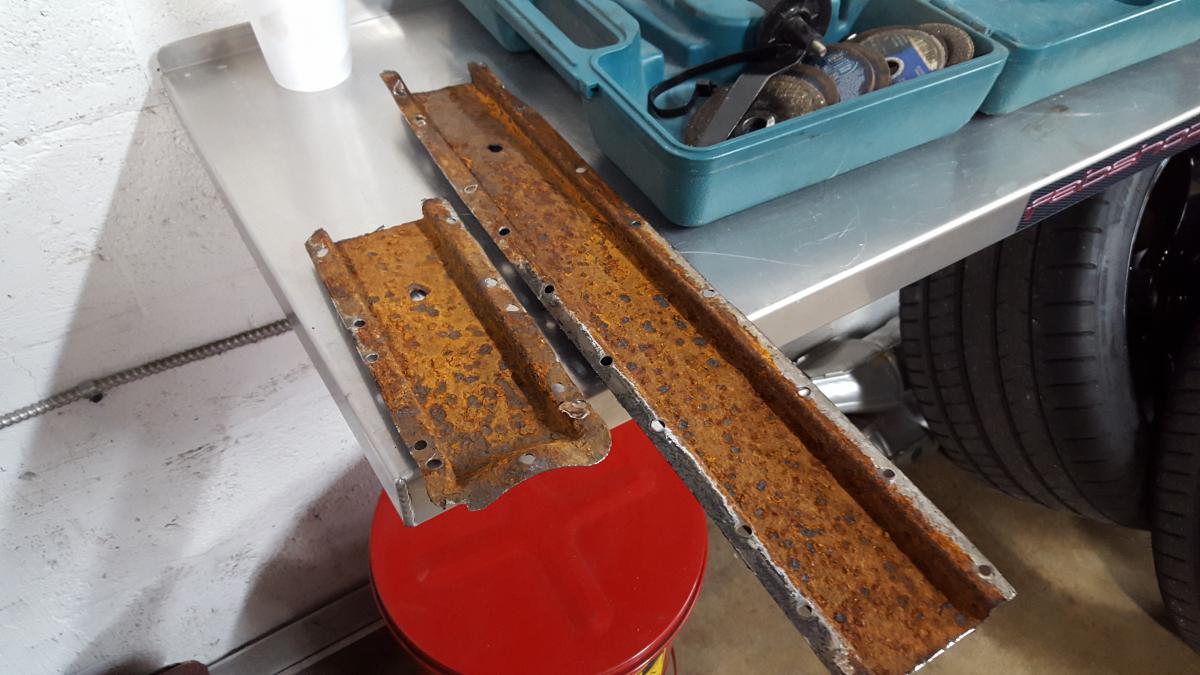
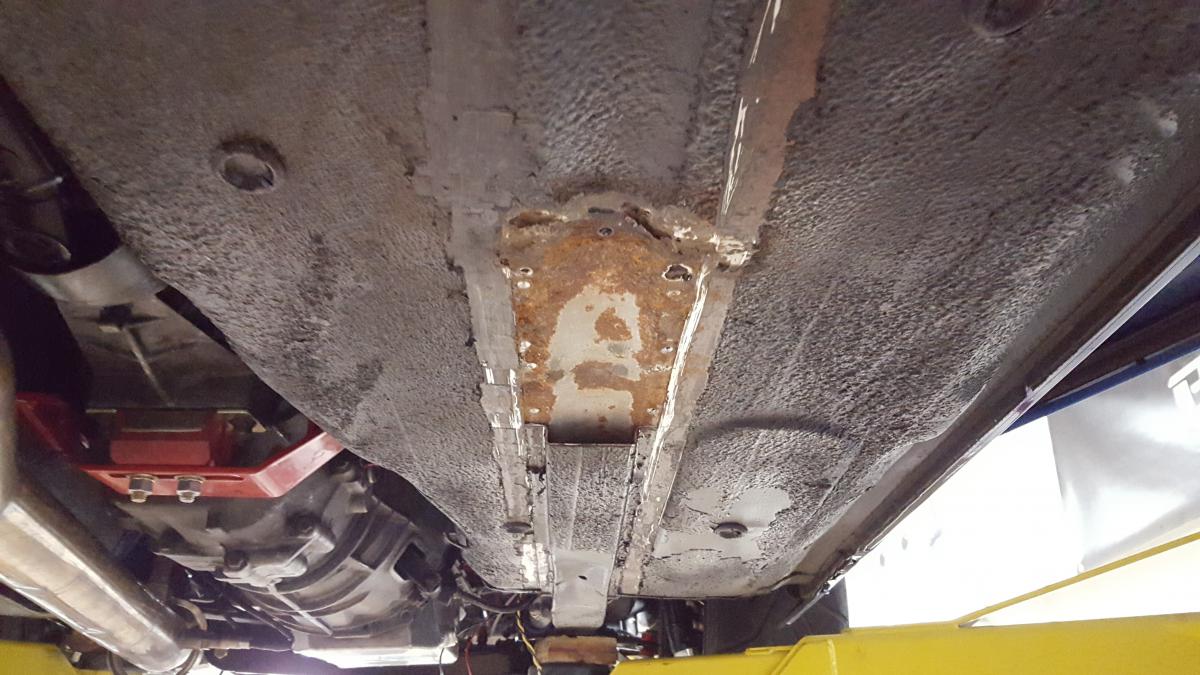
Now to address the area most affected by rust. Once the area had been stripped and cleaned, we decided that the existing metal was just not up to snuff. So we decided to completely cut out the cancer.
-
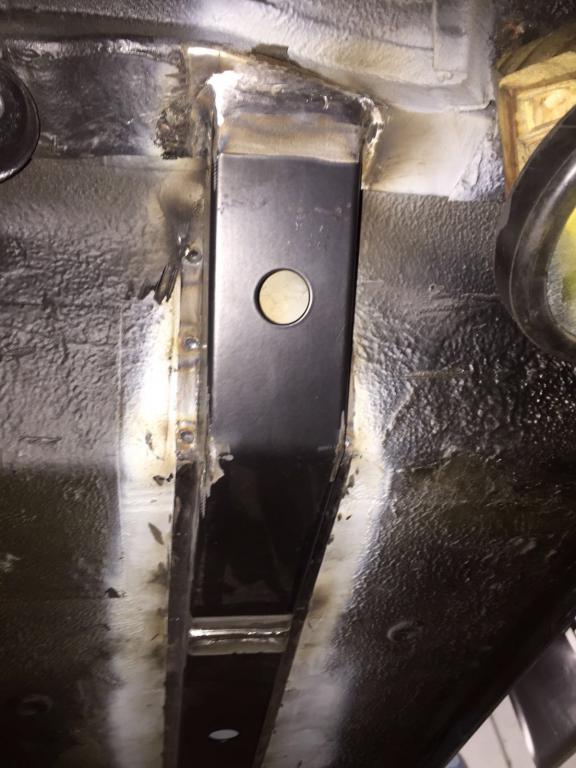
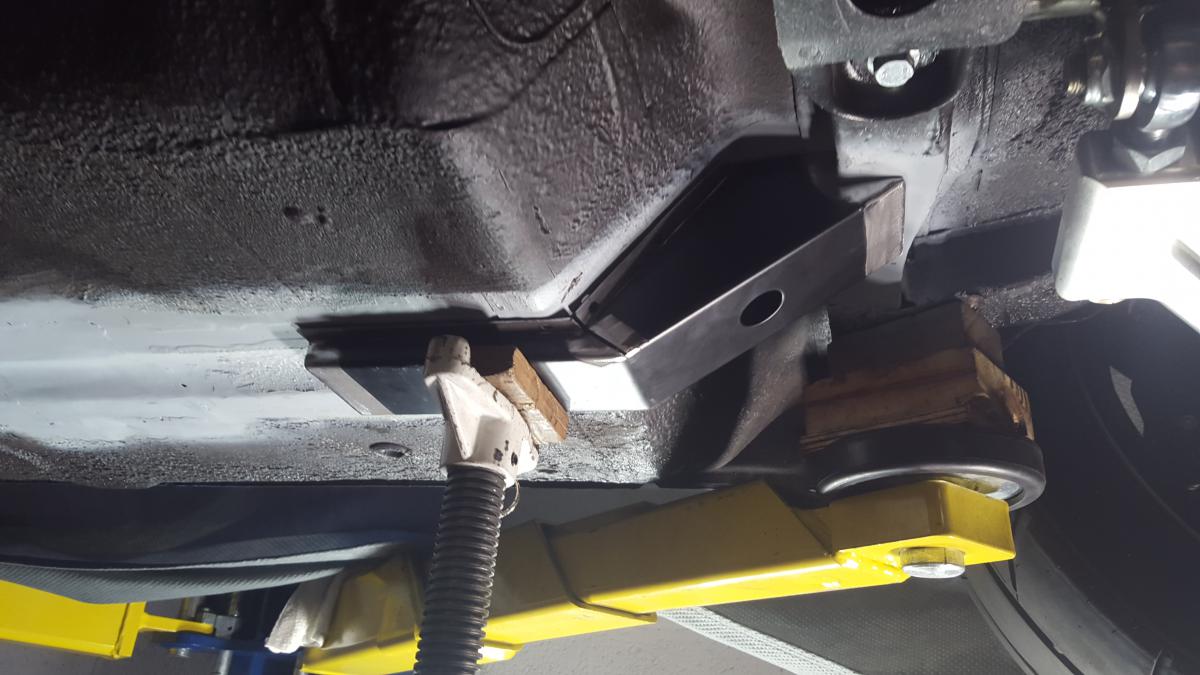
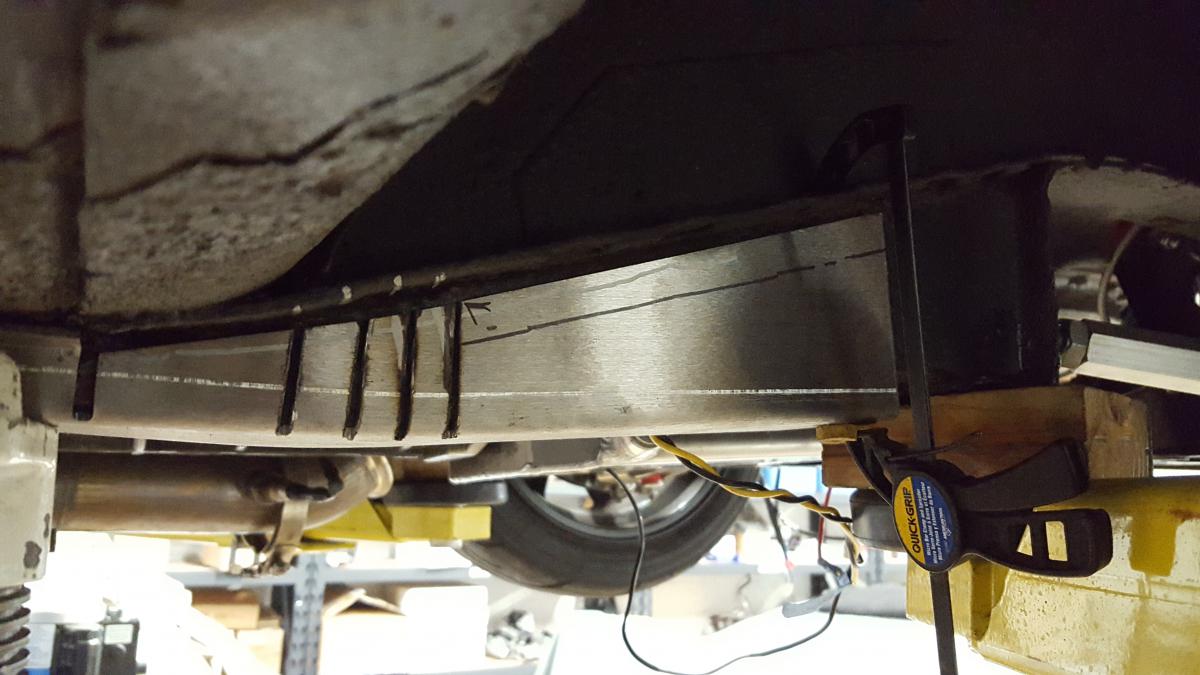
Again….you are never complete until you modify your modifications… The frame rails are not “Bolt on” and we had to do some work to get them to fit right. Doug cut some additional grooves in the rails to allow them to flex and follow the curve of the existing frame rails toward the front of the car.
-
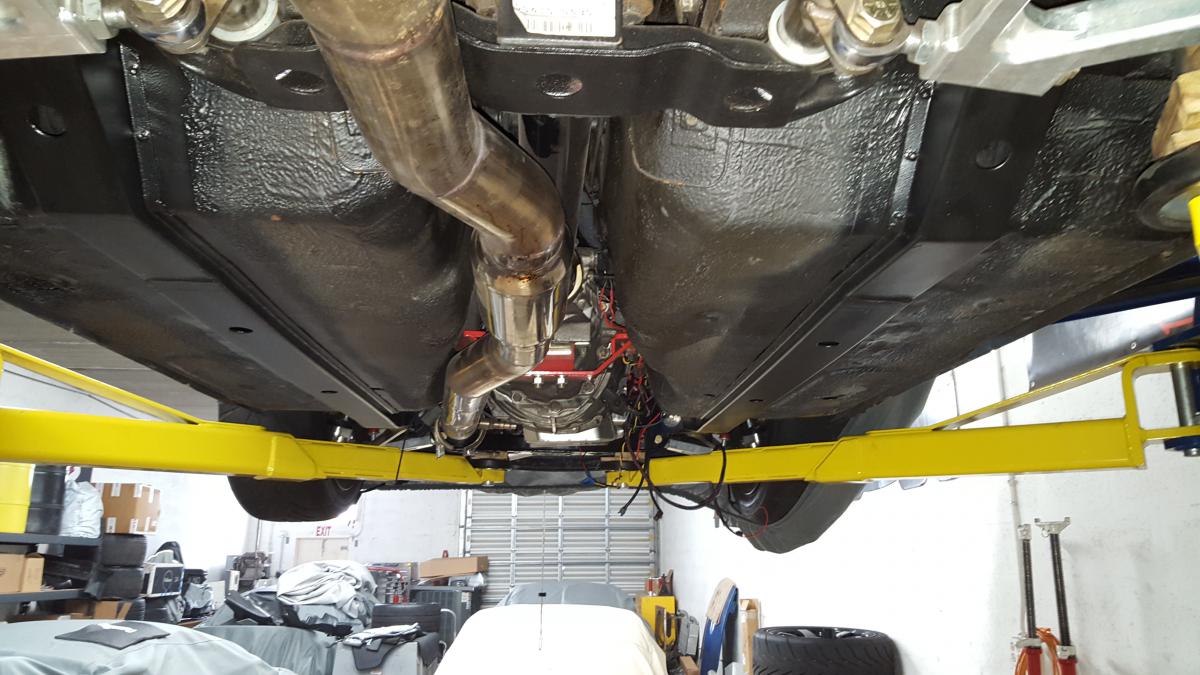
Test fitting the bad dog rails...
-
At this point, it made no sense to me to leave the factory ones in place and weld the rails on top of them for rust to continue to spread unseen until it was too late.
-
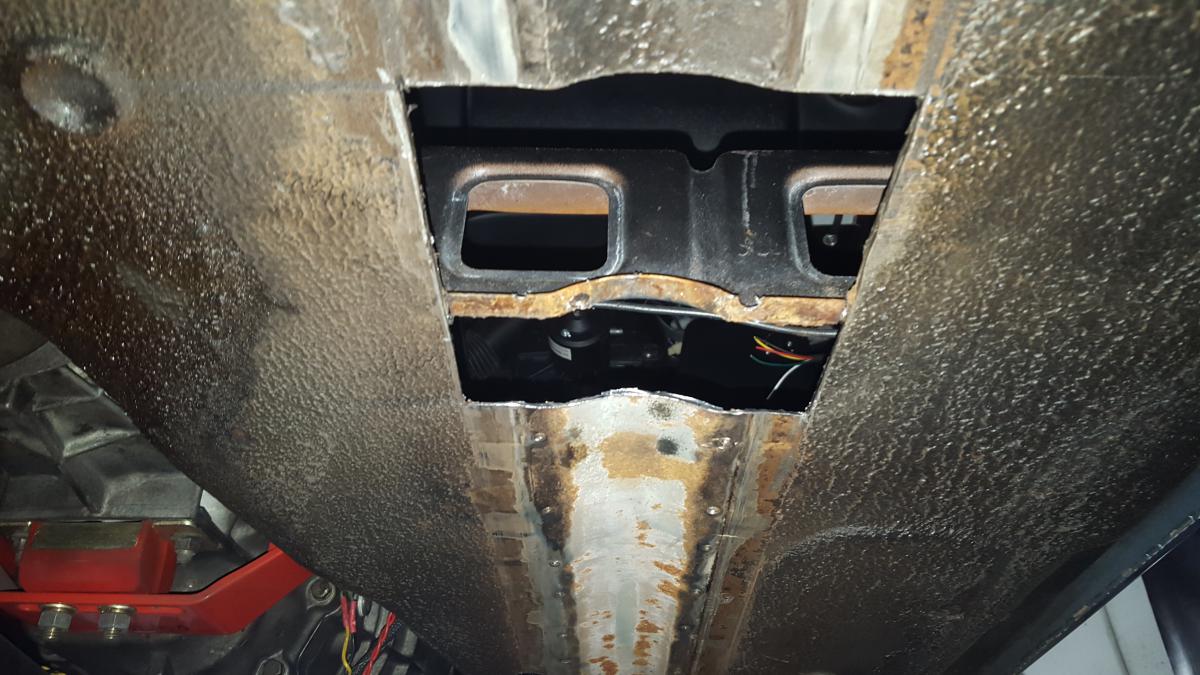
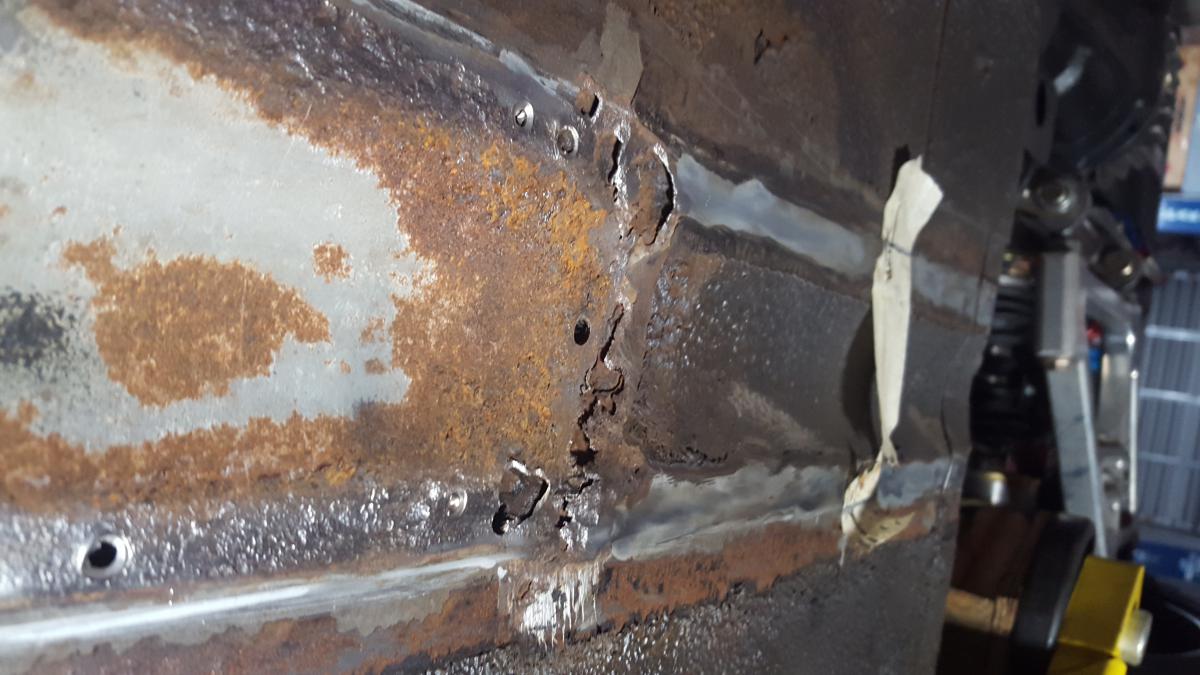
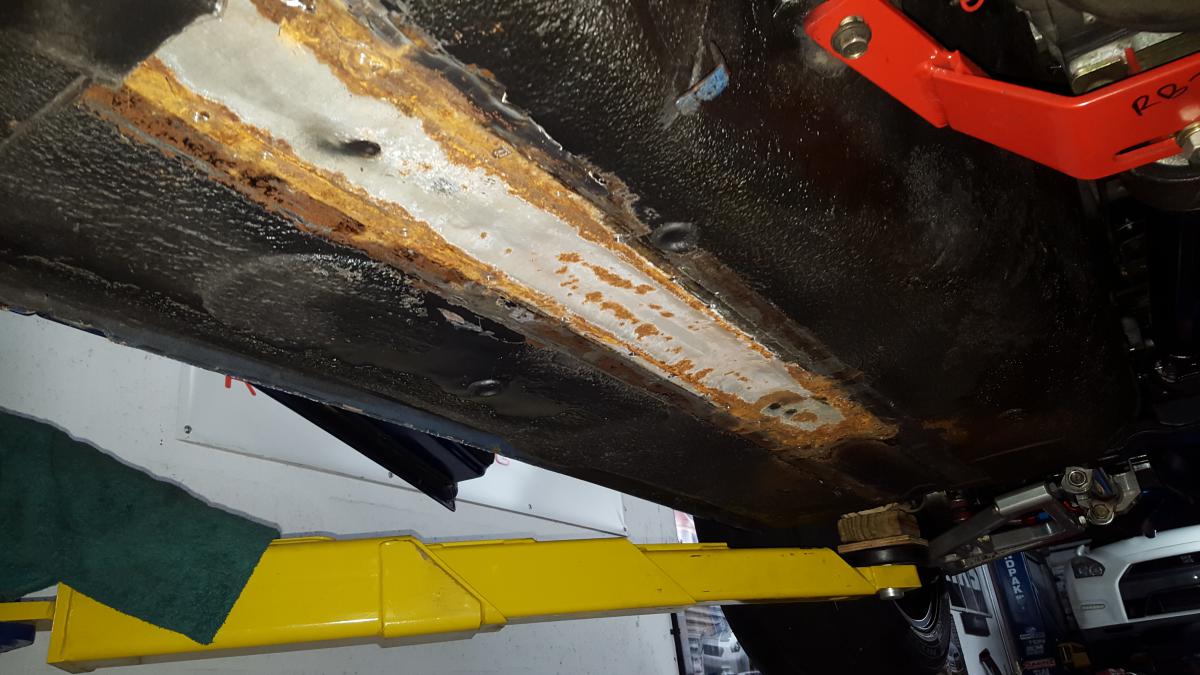
Well now we couldn't just stop there... Not great...but I suppose it could have been worse.
-
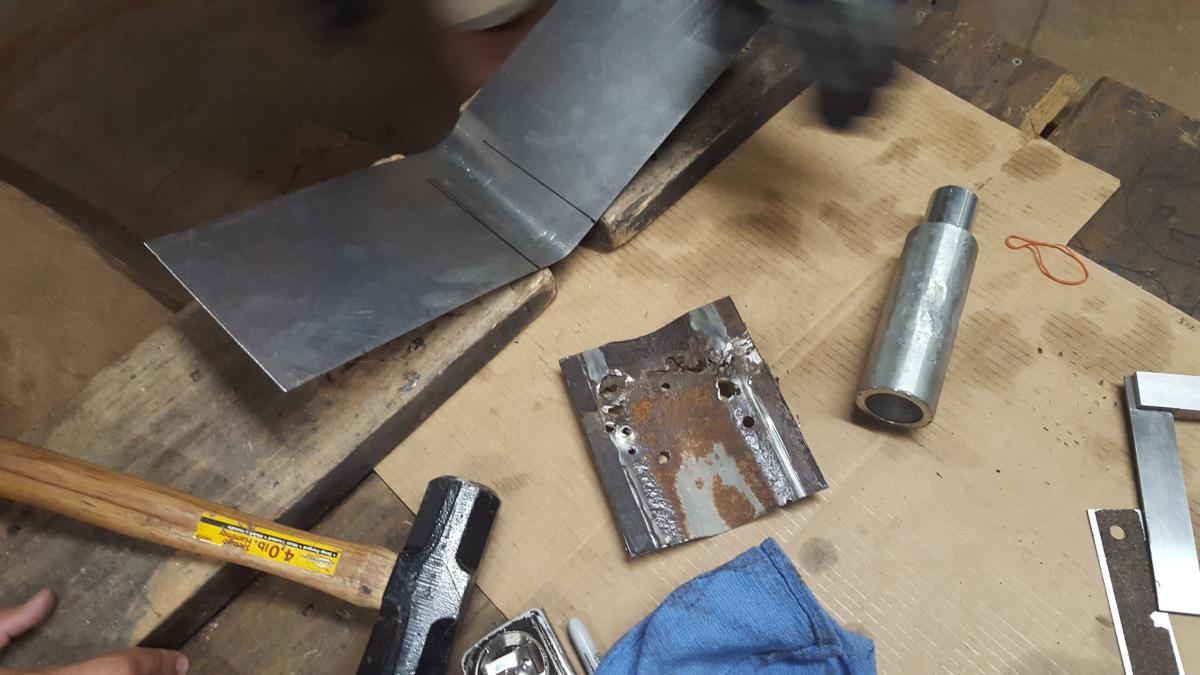
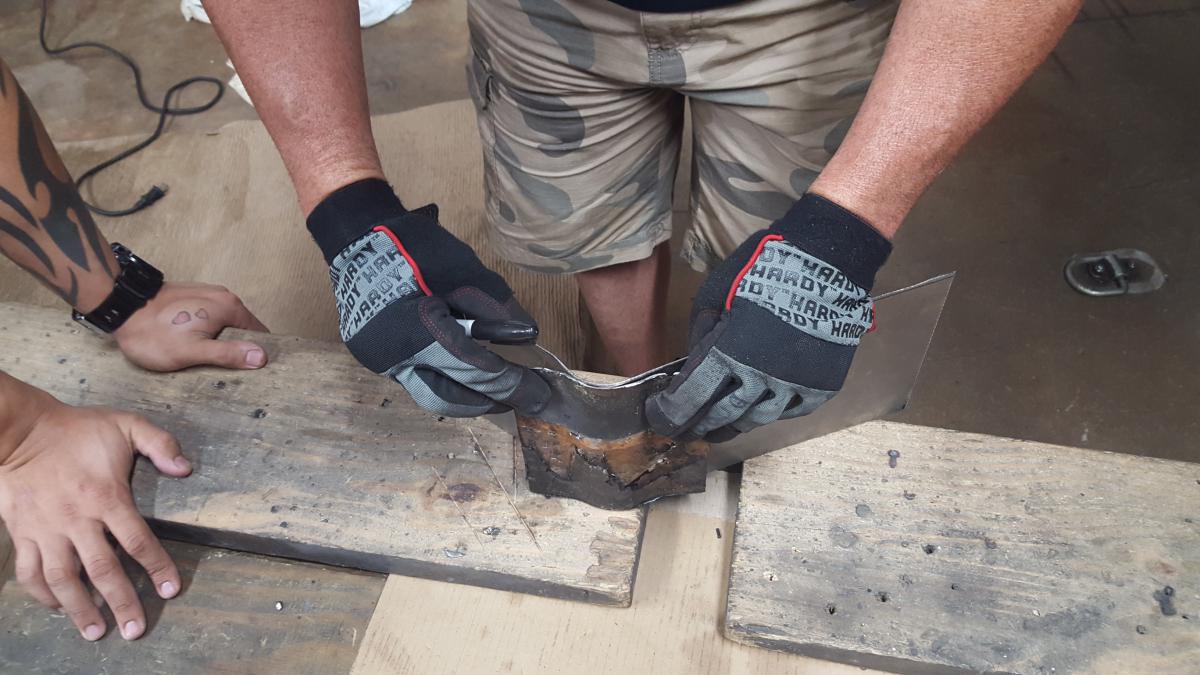
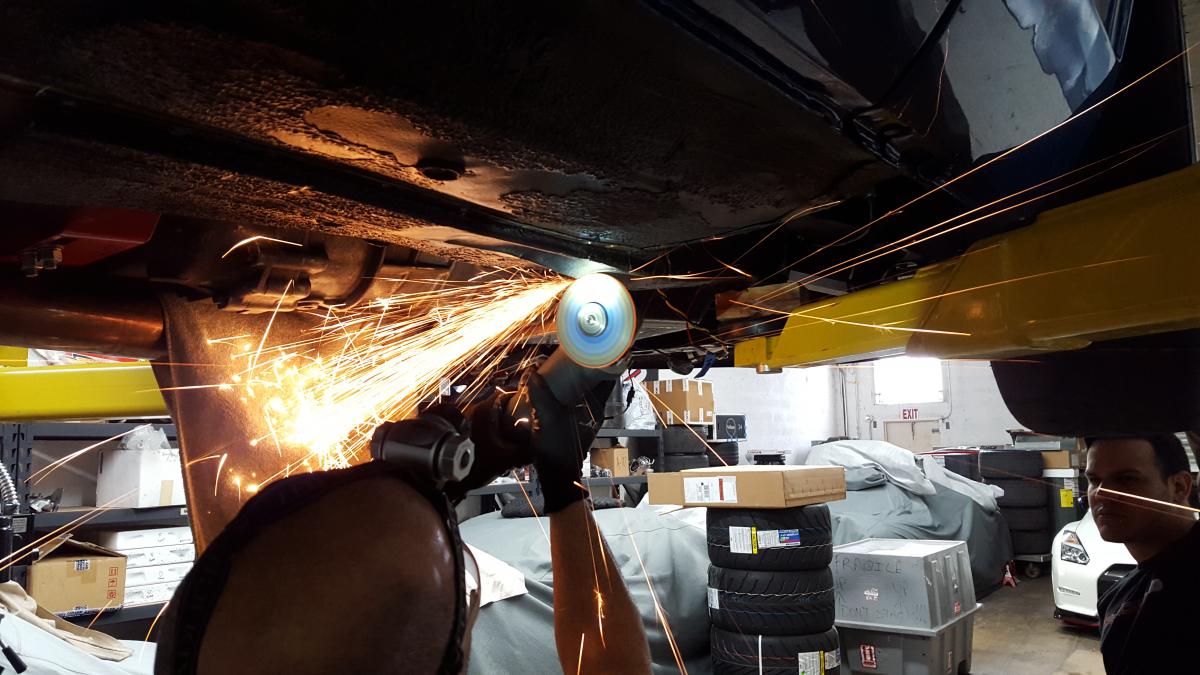
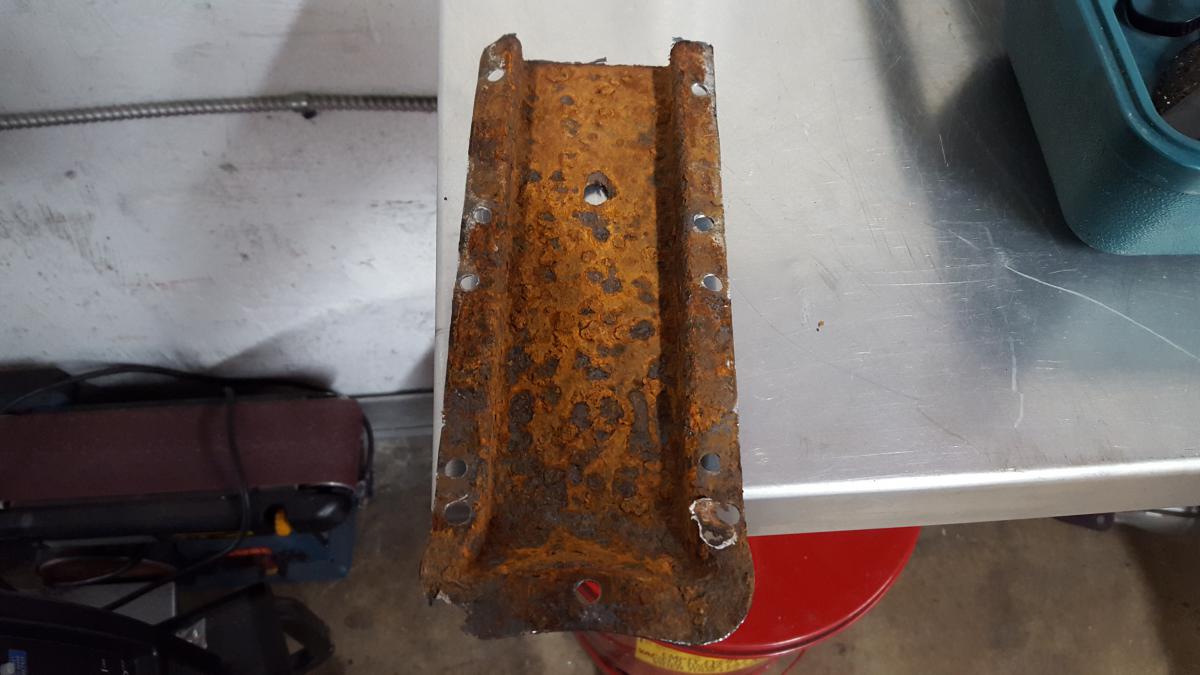
I quickly discovered how much fun it is not to scrape off undercoating. In the process, I discovered the mortal enemy of early Z cars...rust...on the rear edge of the passenger side factory "half" frame rail. This was not only surprising, but disappointing in that the car had been advertised to me as a "rotisserie" and had no miles on it to have developed this much rust, this fast...deeeeeep siiiiiiigh. Hoping that it was very minor I began chipping away...and soon it was apparent that it wasn't really minor and extended under the factory rails. I got a mallet and began banging on the rail and could hear the sound of what I was sure were rust chips rattling around inside....ugggggh. We cut the piece off to get a better look... Sure enough...
-
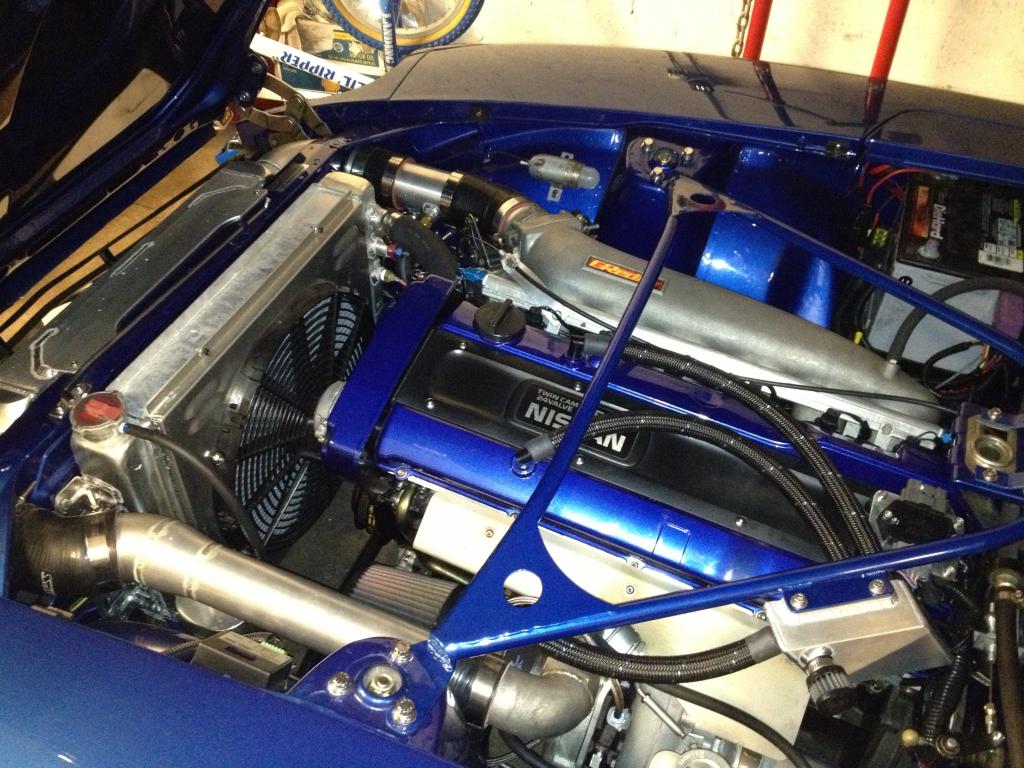
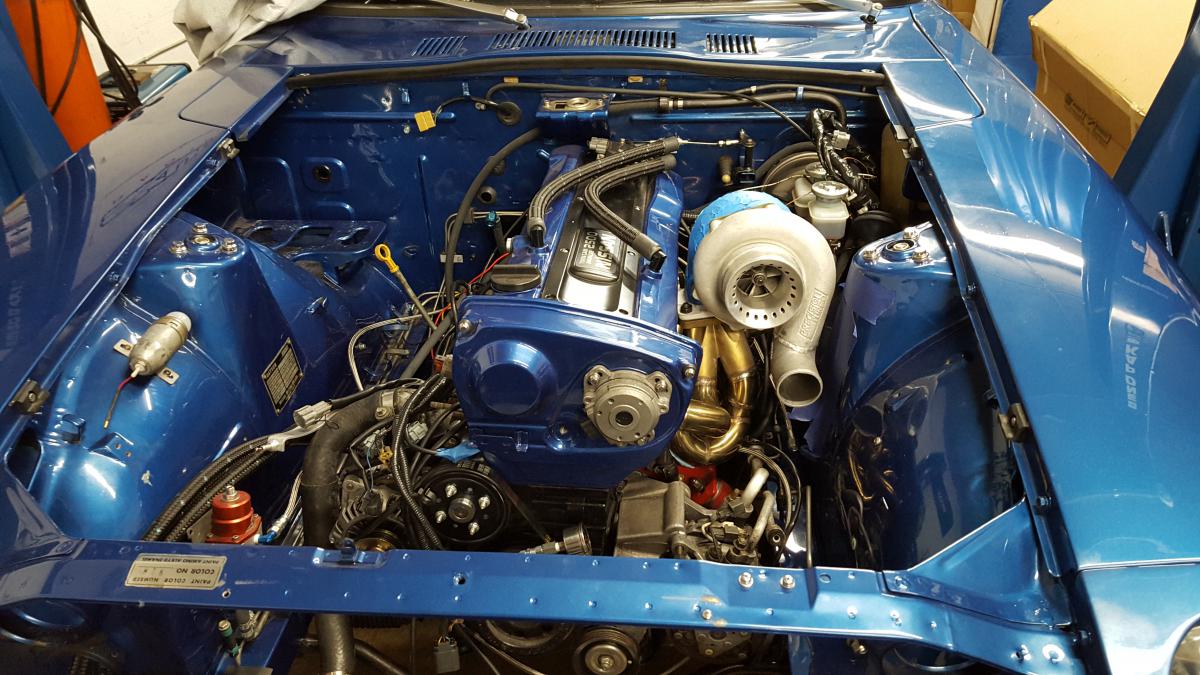
Throughout all of this, chasis integrity has always been in the back of my mind. In fact, I have the Chasis prep thread on my favorites toolbar. Ultimately I want to install a roll cage, but in the meantime The car only has a strut tower support in the rear and a triangular version in the engine compartment. Here's the front strut brace from an early pic... Knowing that I was going to be making more power in the future, I knew this obviously wasn't enough. Since the roll cage is a down the road goal, I felt the most bang for the buck I could achieve in chasis reinforcement for the time being were frame rails. I mean pretty simple...just weld 'em on right? Riiiiiight.
-
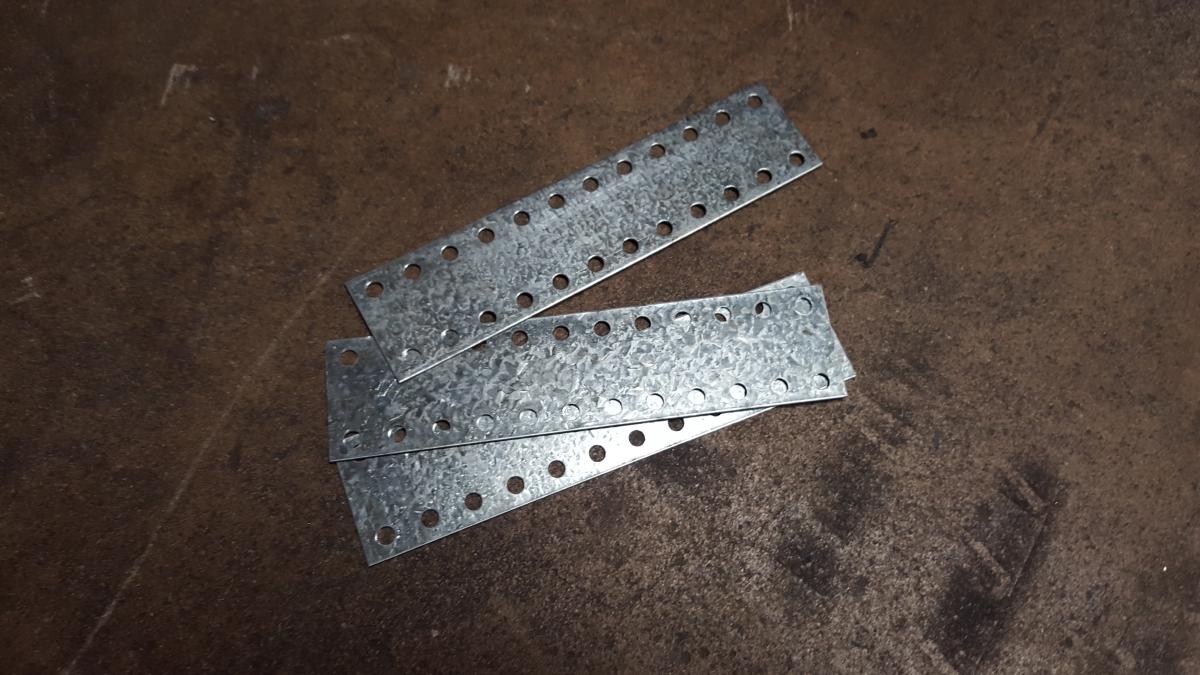
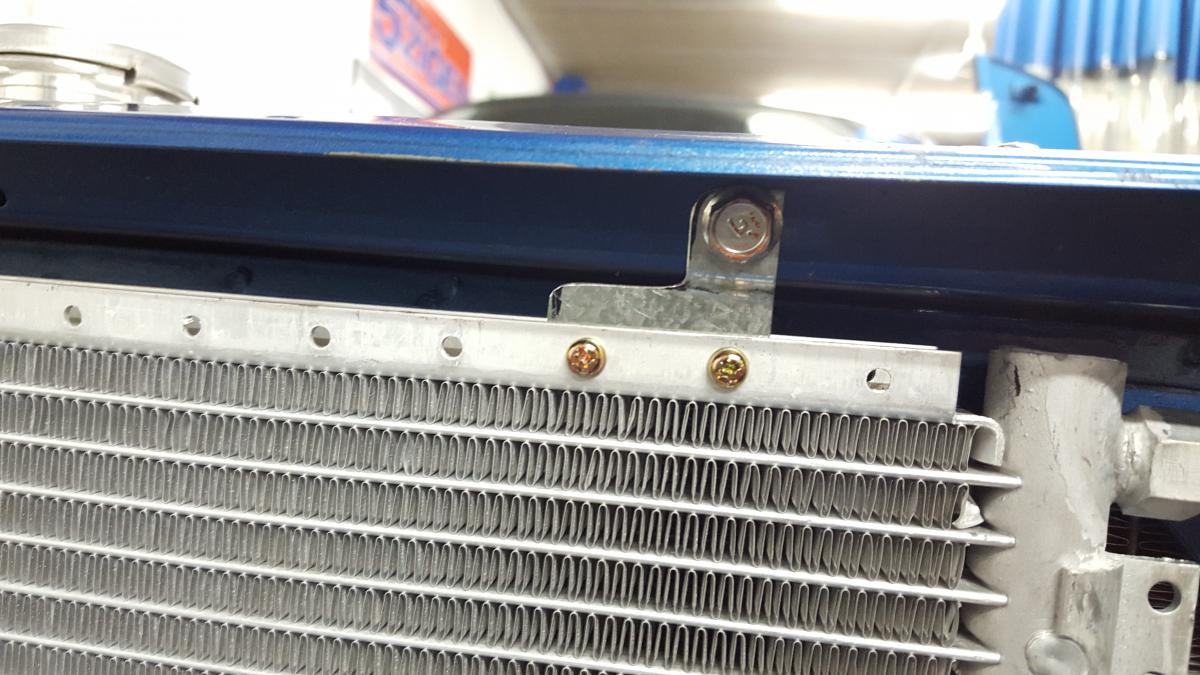
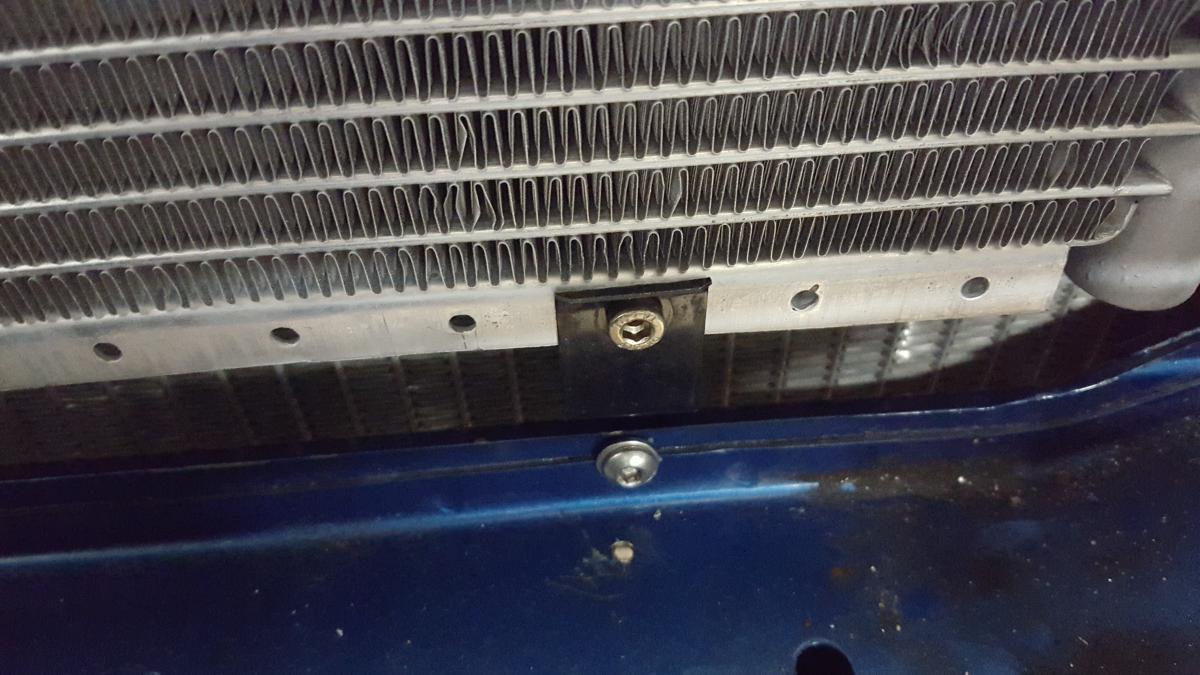
Time to mount the condenser... Using some generic bracket material... And some factory holes Fabbed some small brackets... And mounted the condenser up
-
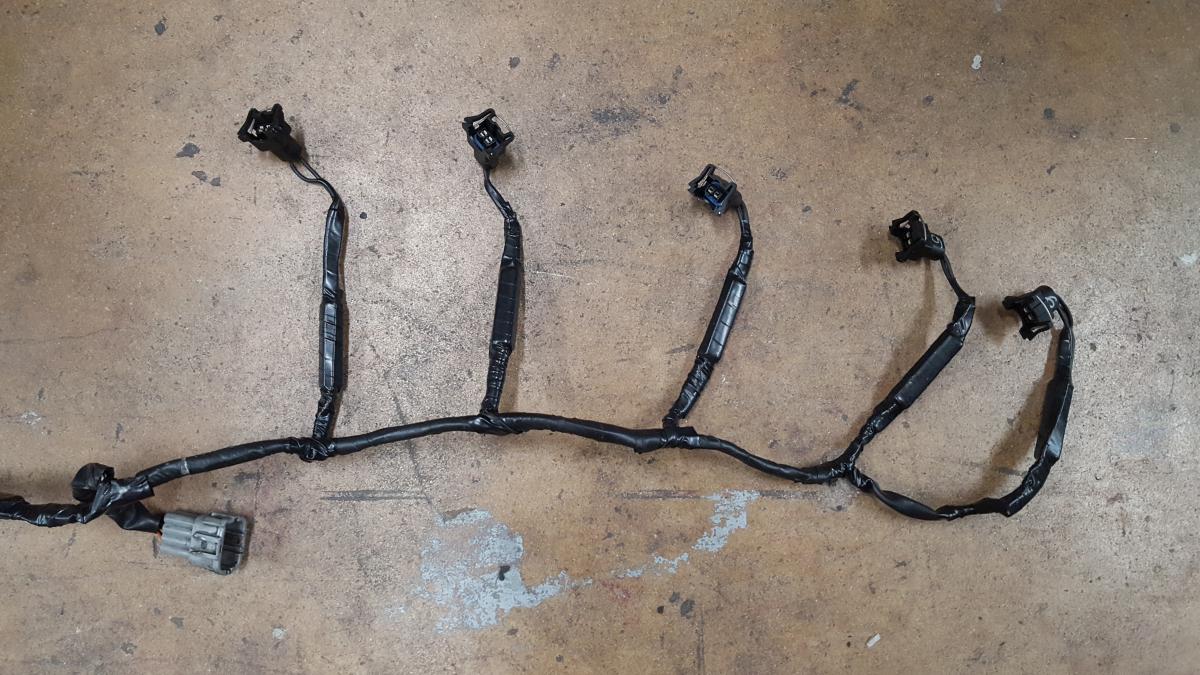
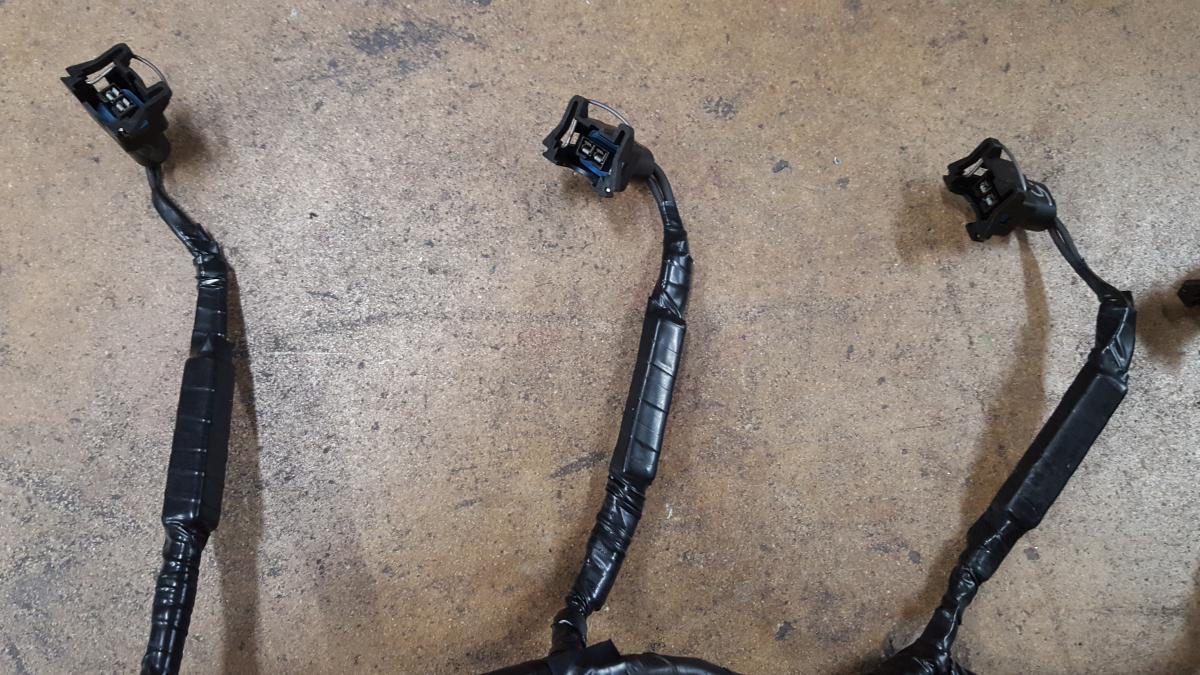
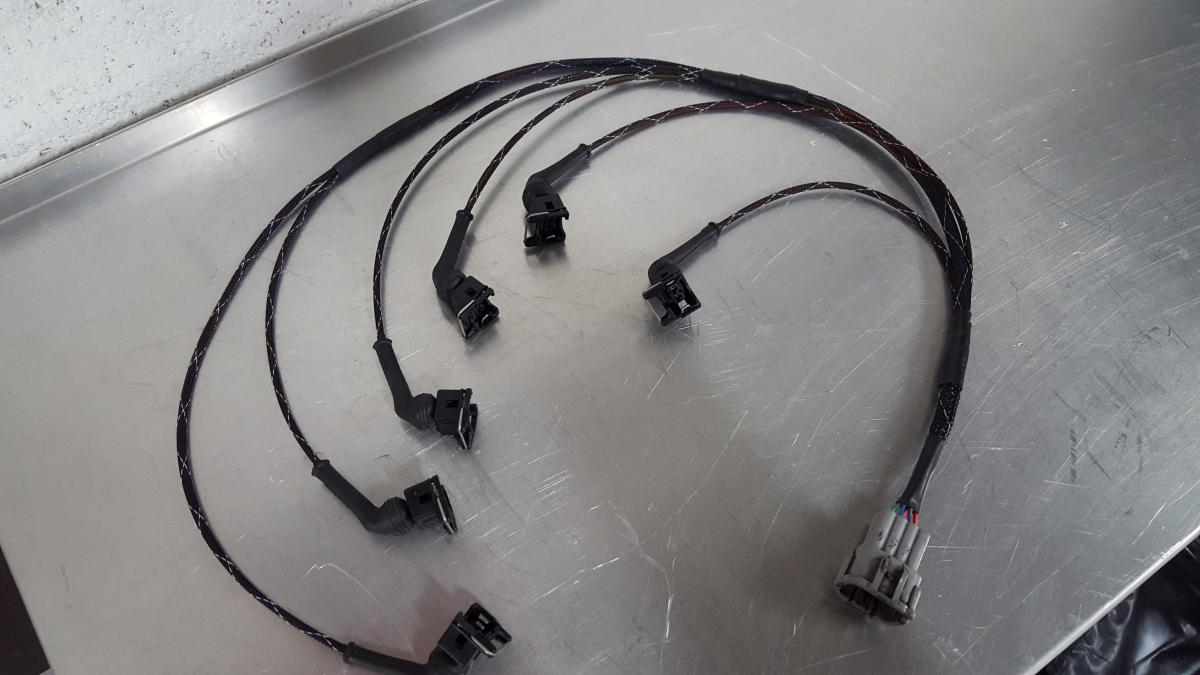
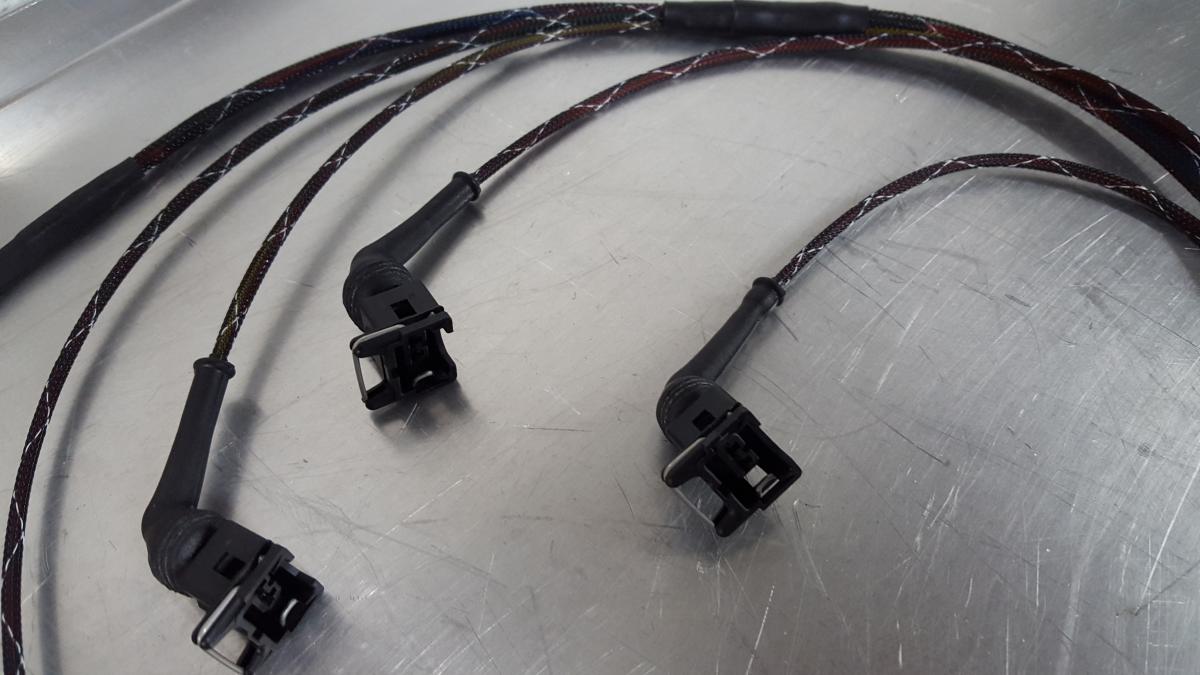
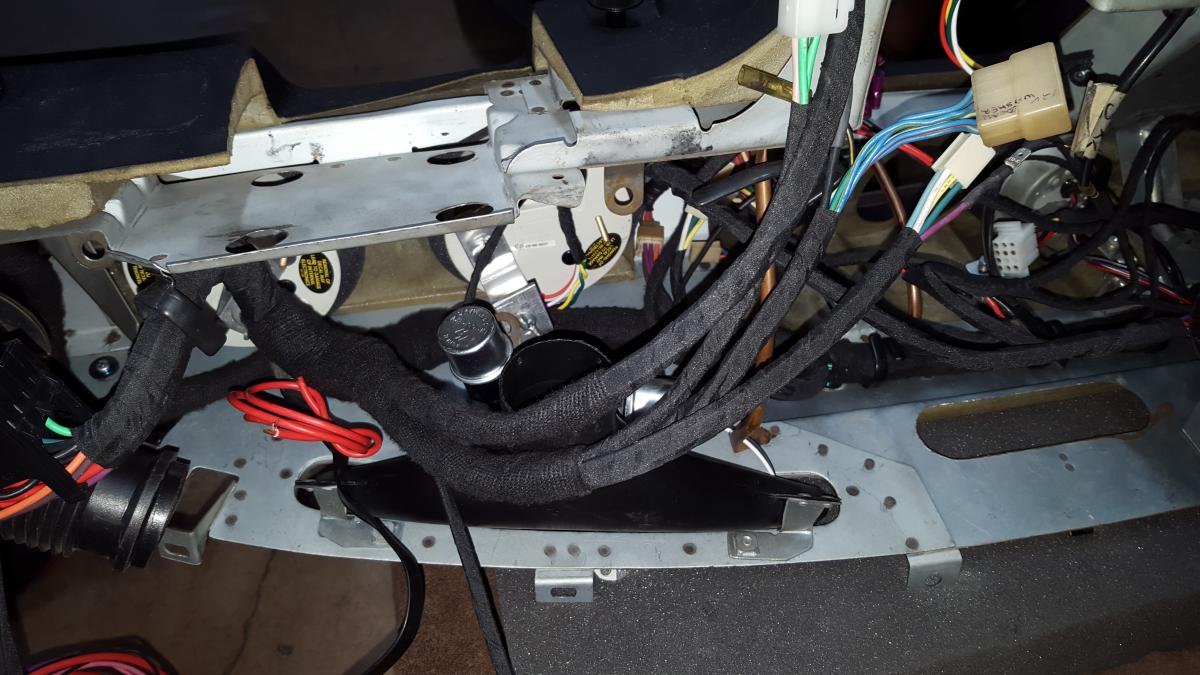
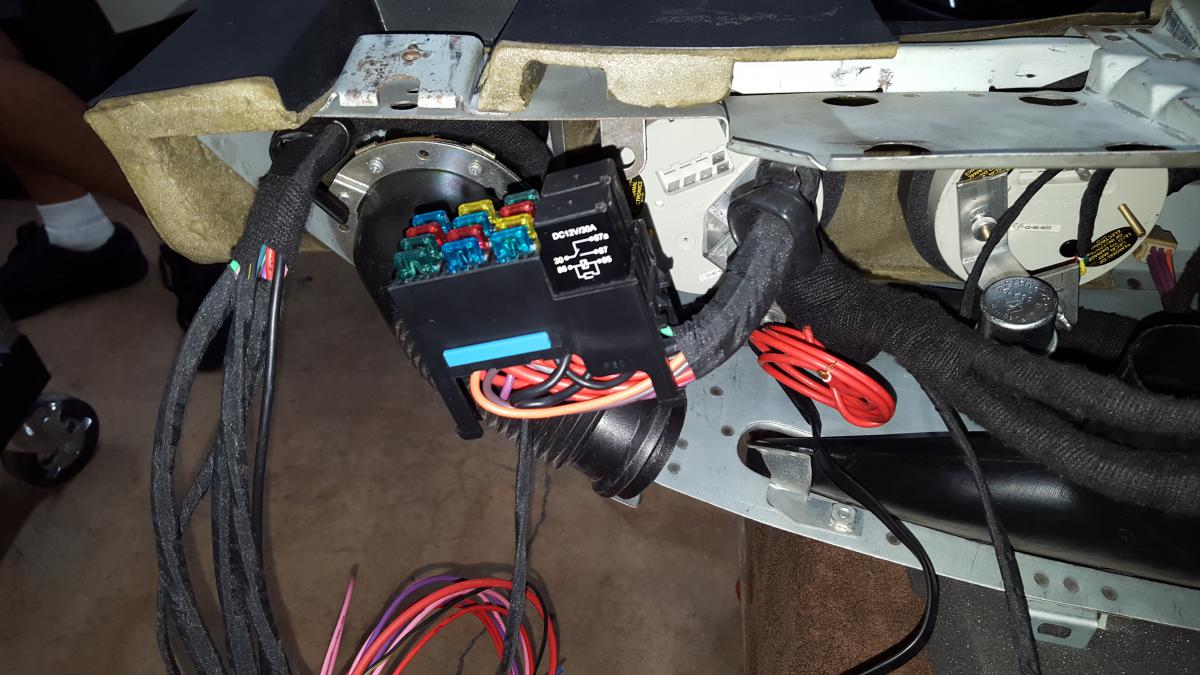
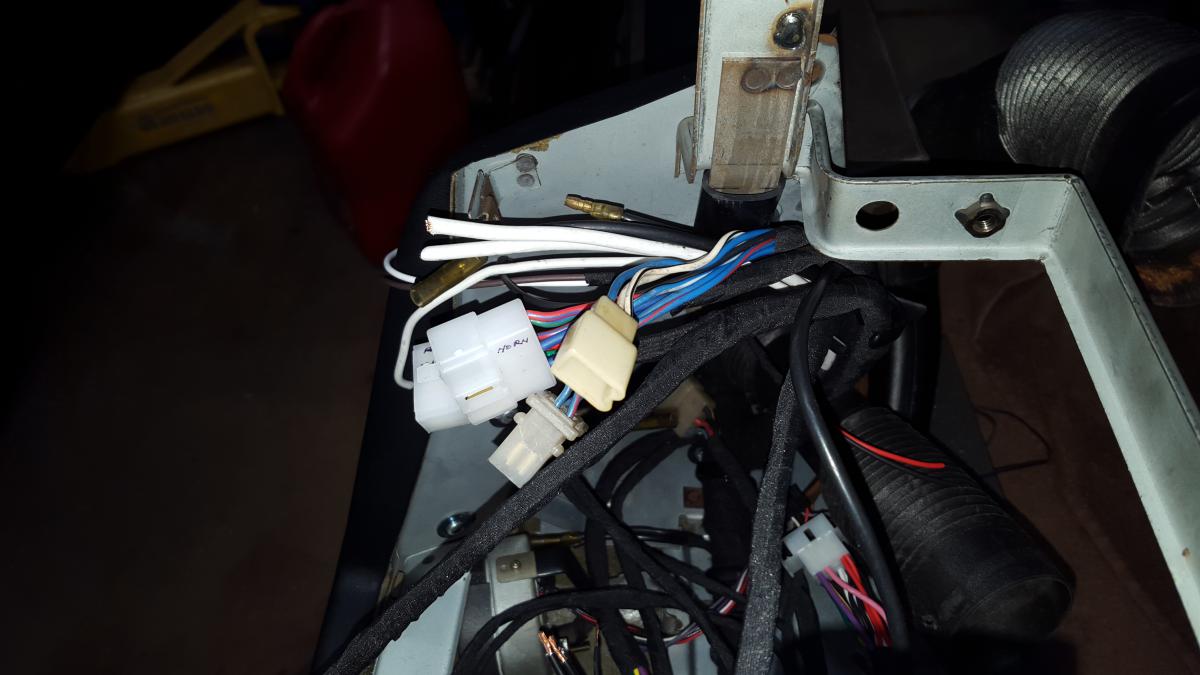
Meanwhile...more progress on re-wiring... Old injector harness... New and improved harness...
-
What an incredible build...clap clap clap!
-
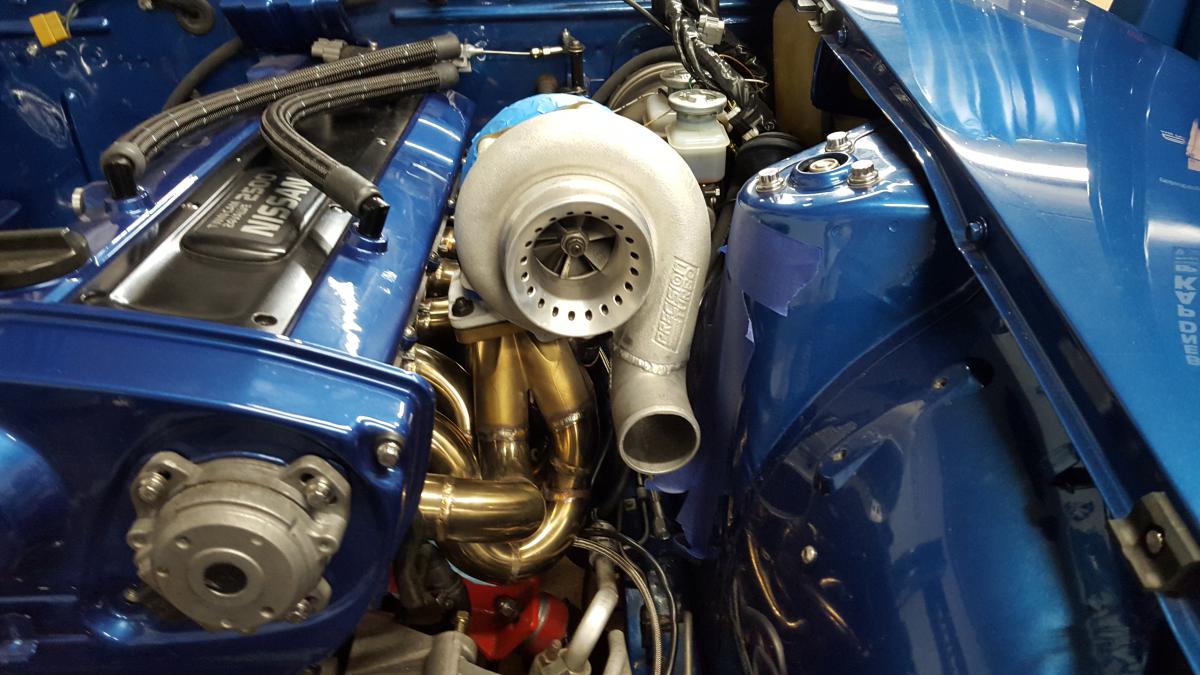
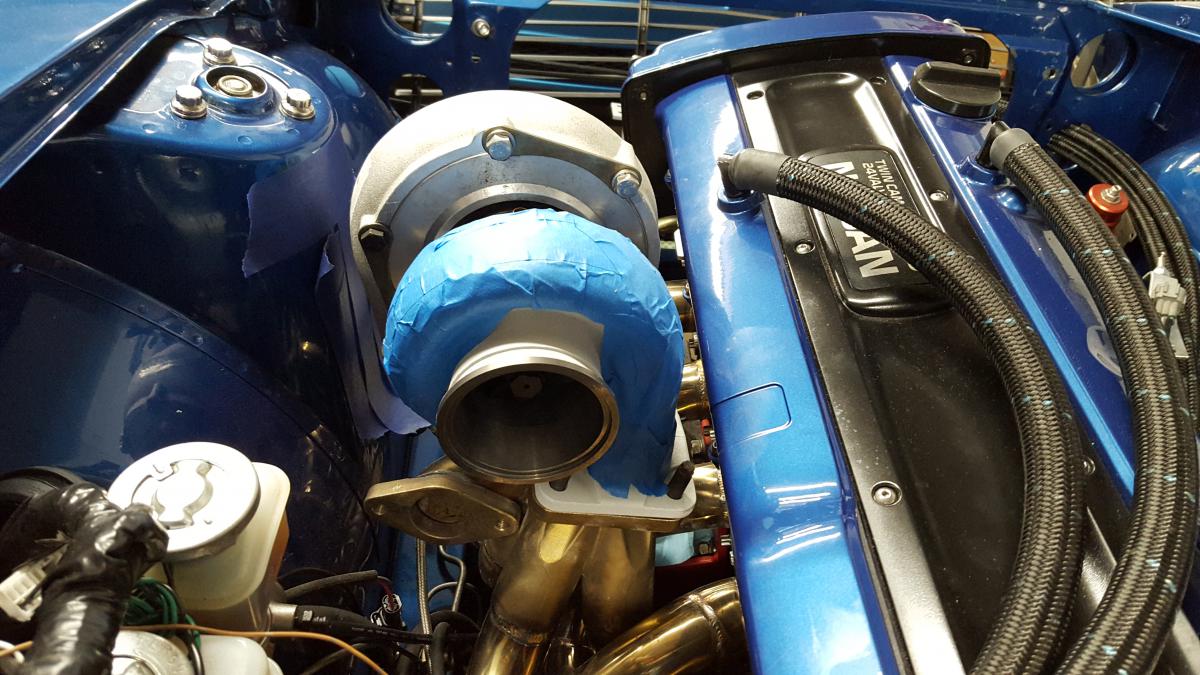
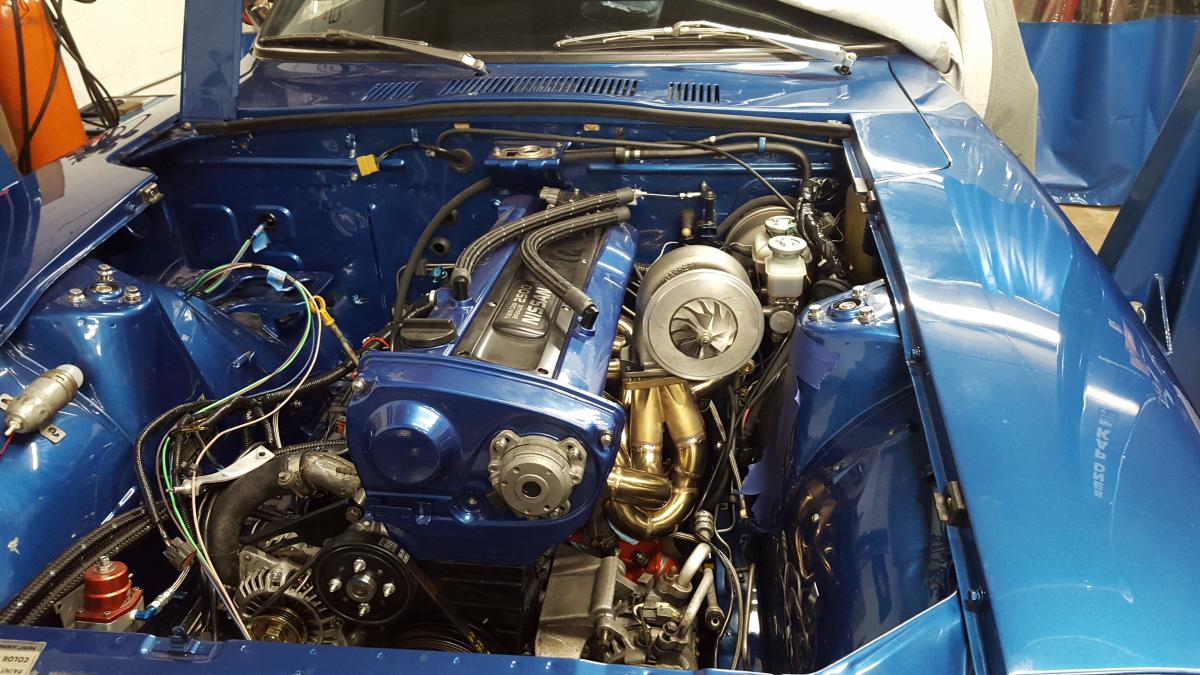
Some more test fitting...
-
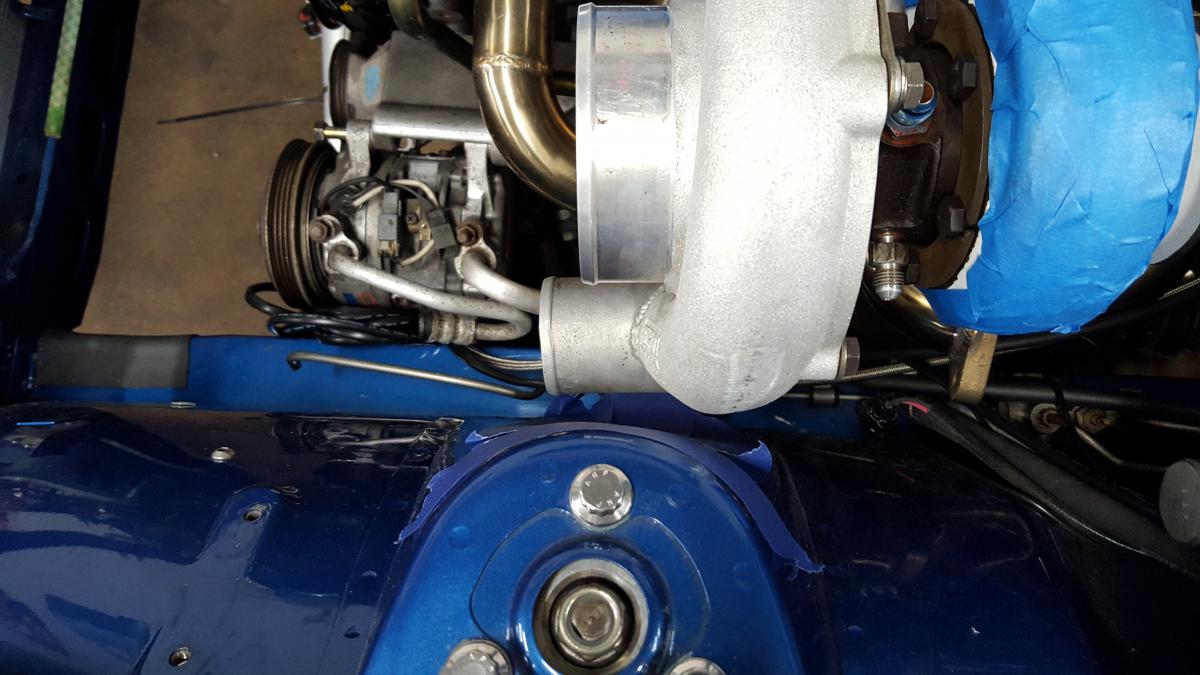
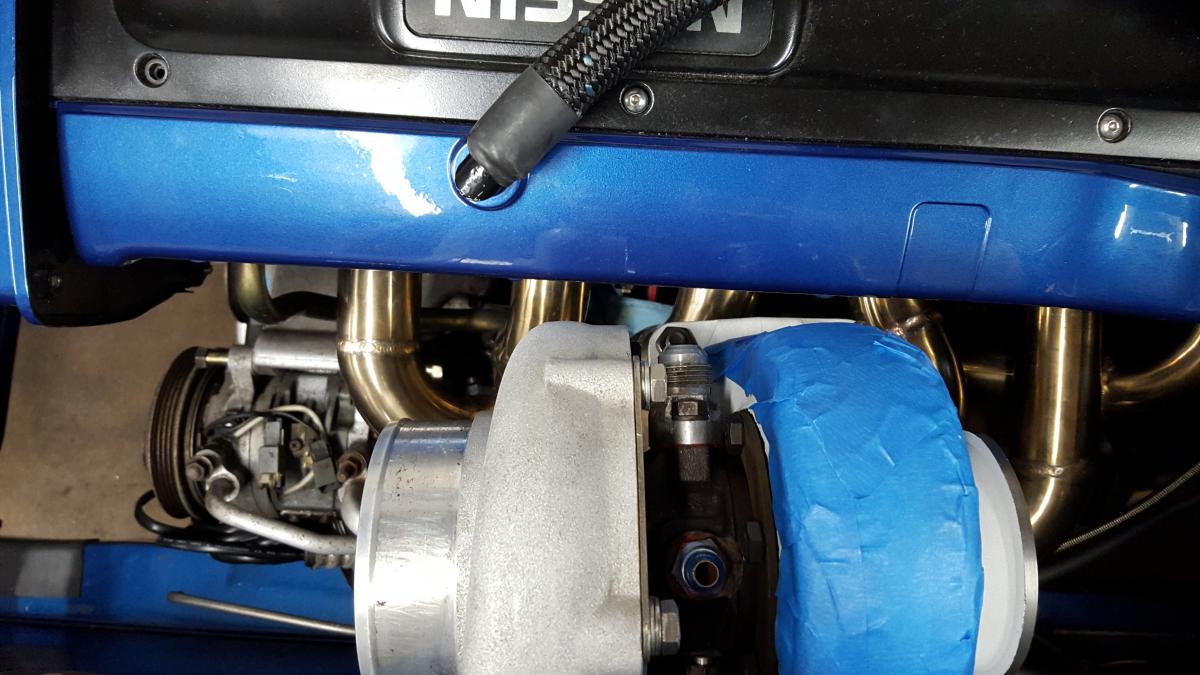
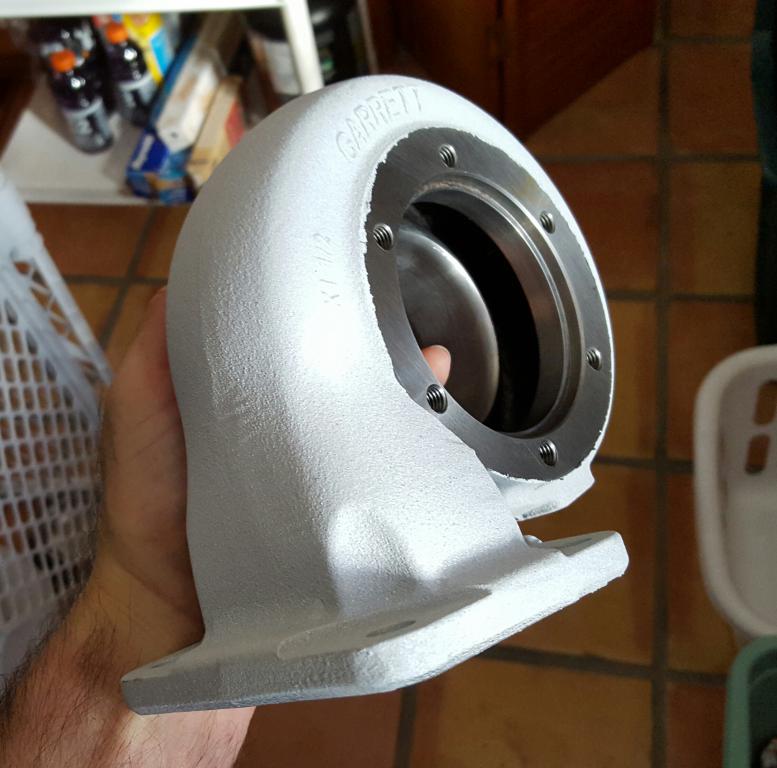
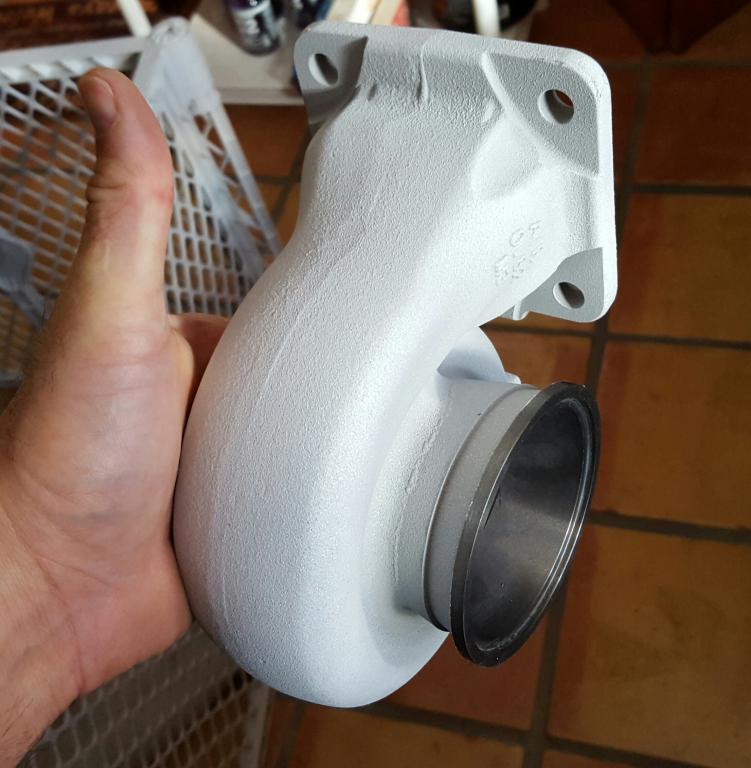
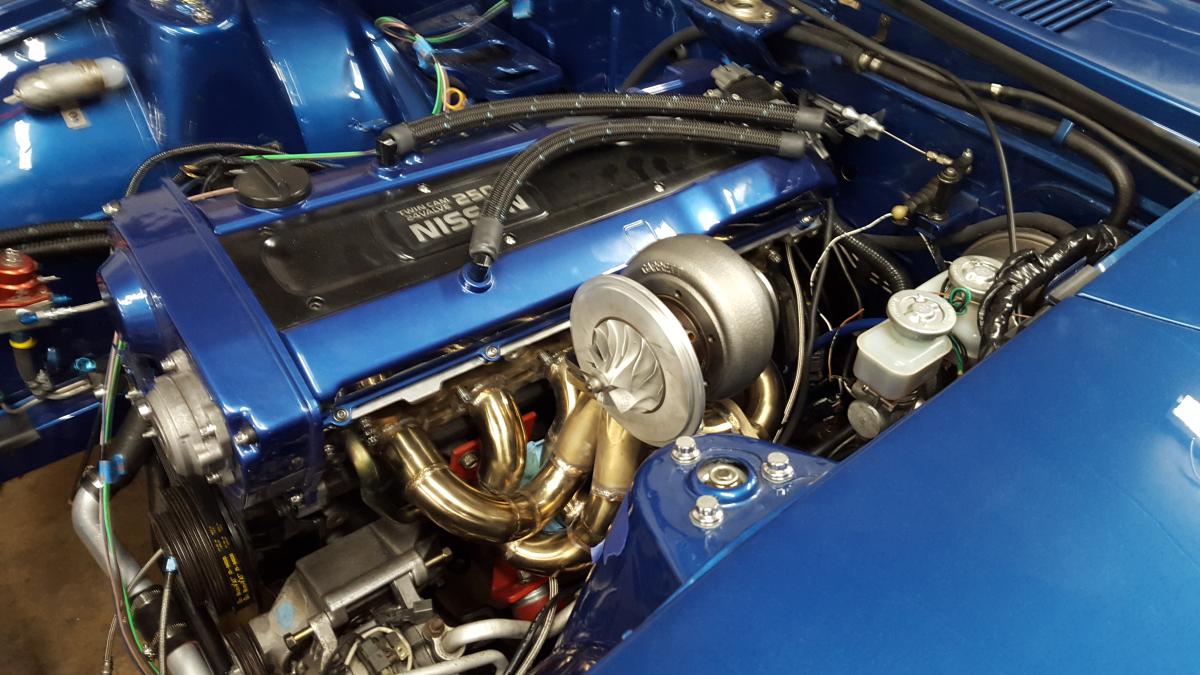
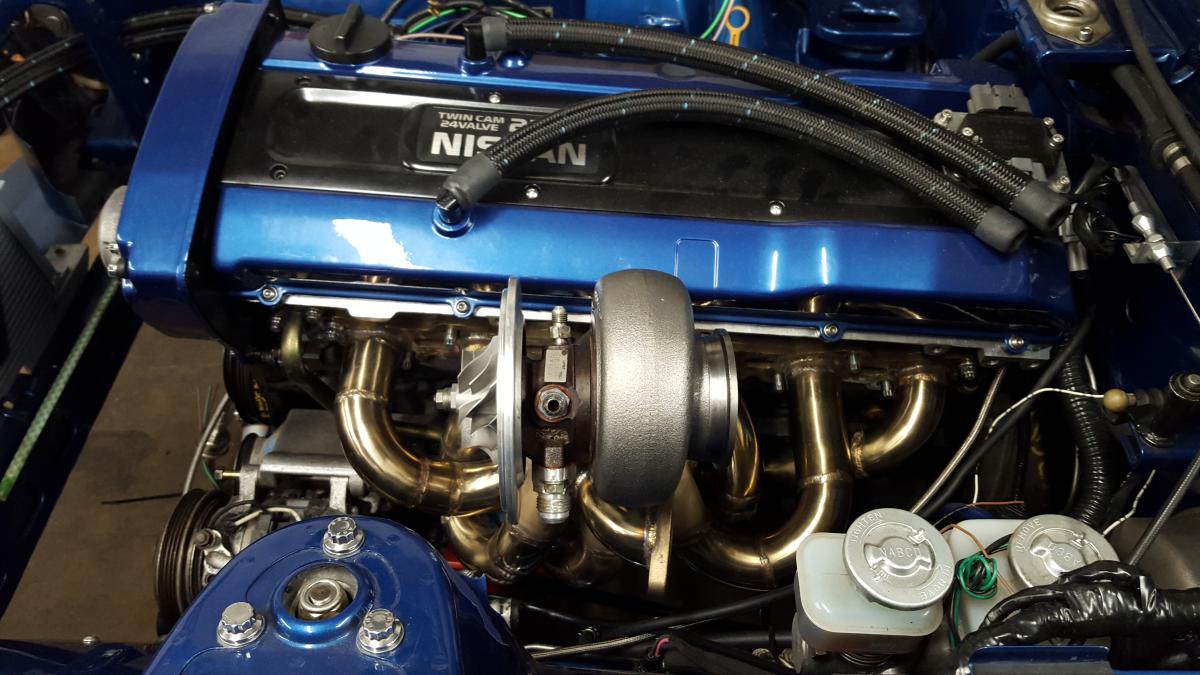
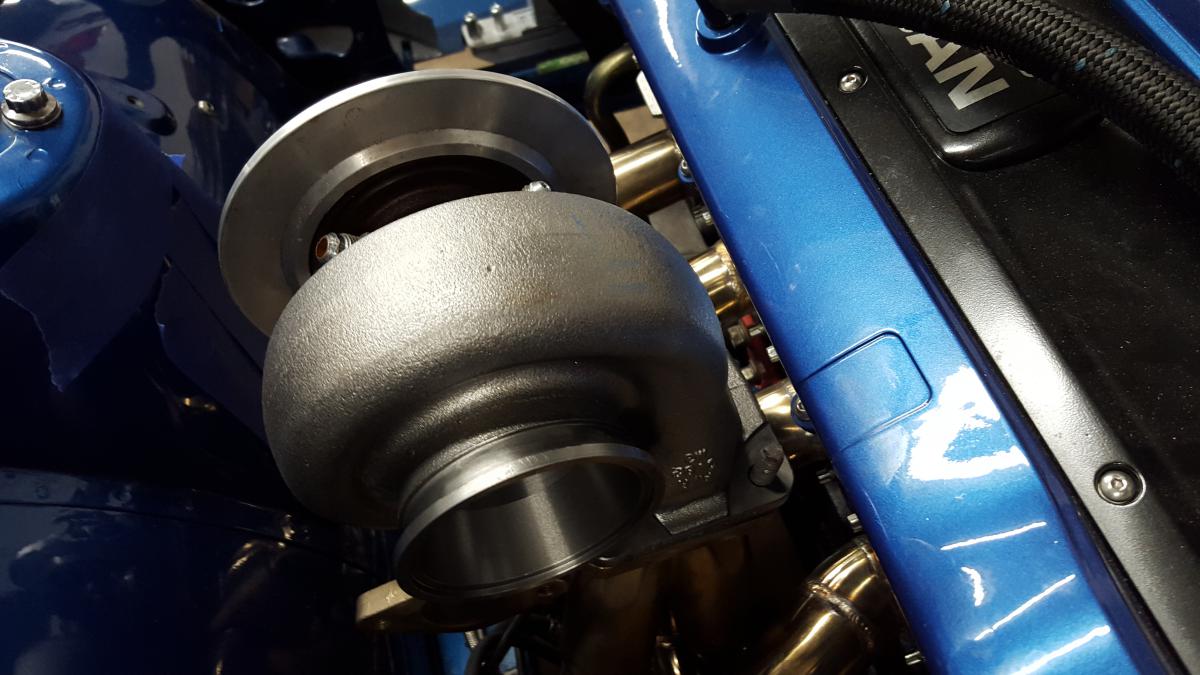
Exhaust housing clearance looking good...I sent it off to Swain Technologies to get ceramic coated...
-
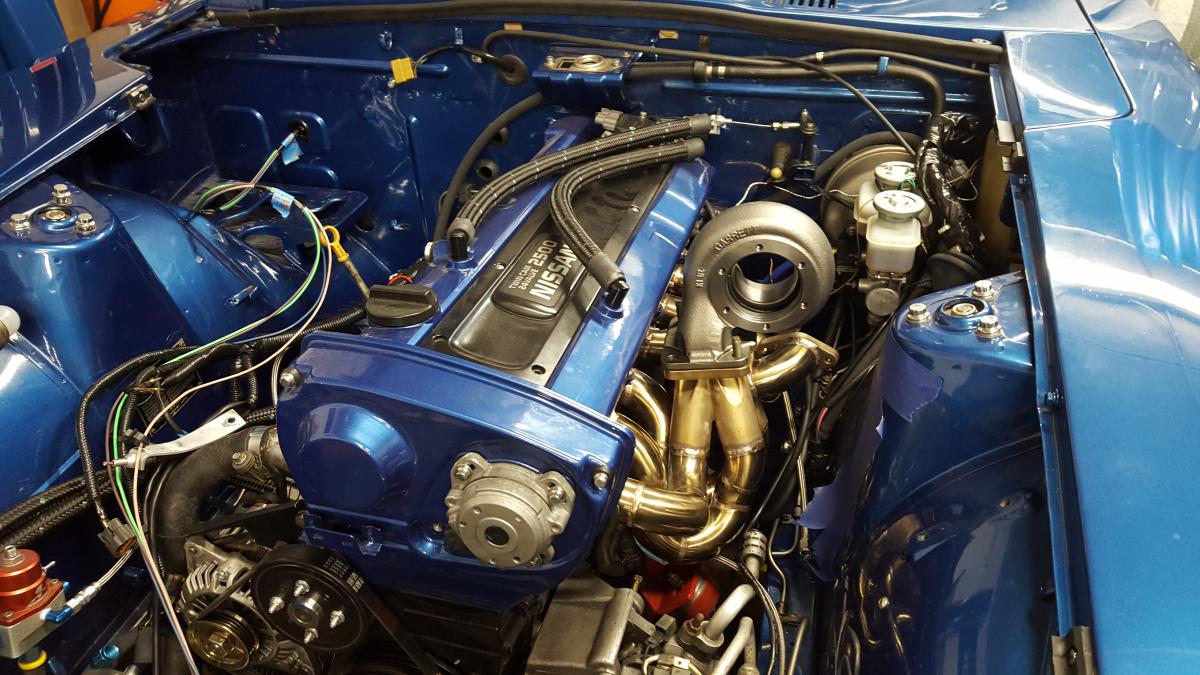
Test fitting the assembly to make sure clearances are good... This was the one I was most concerned with but all good...
-
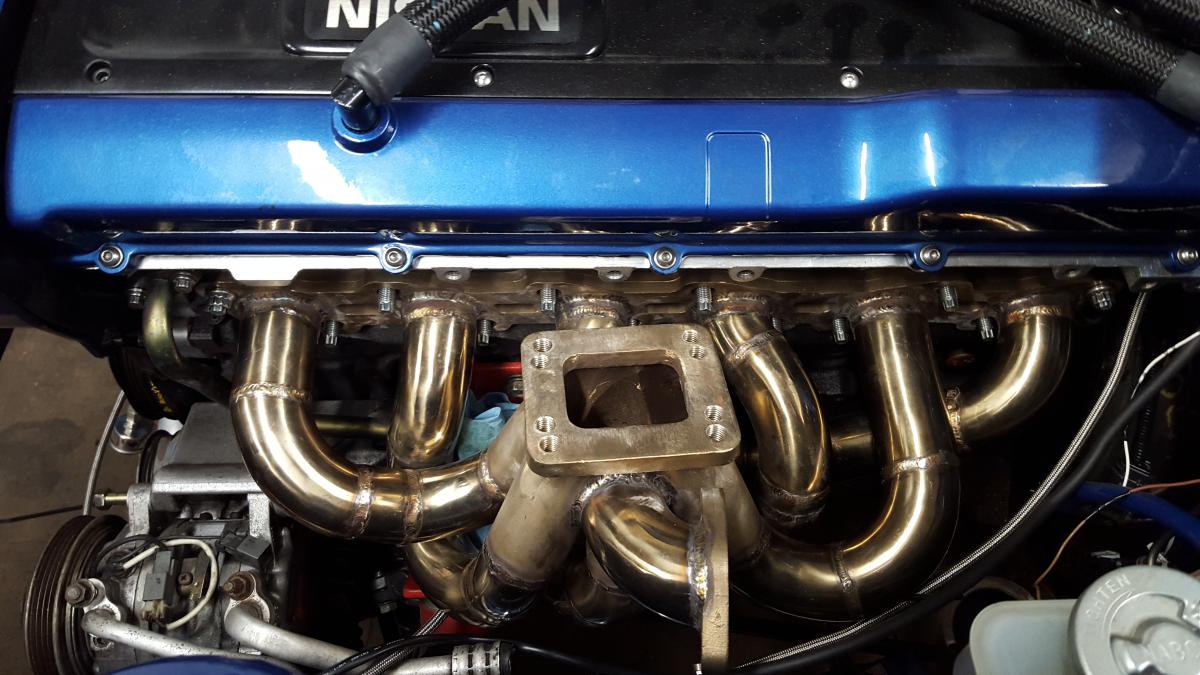
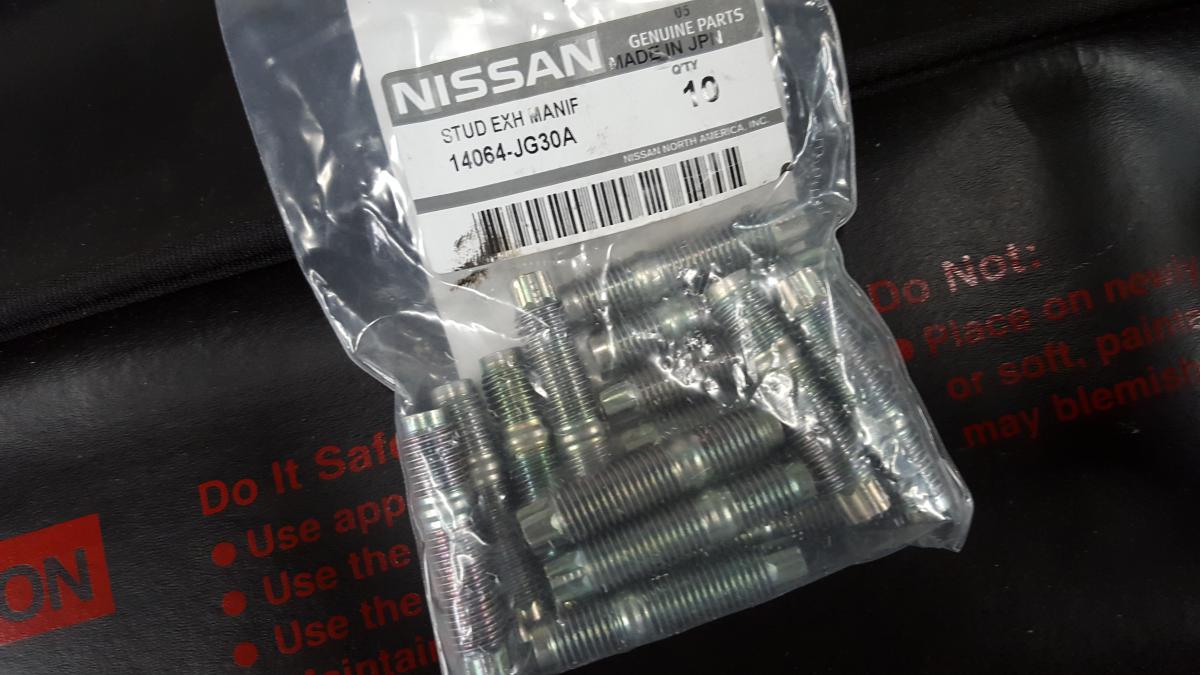
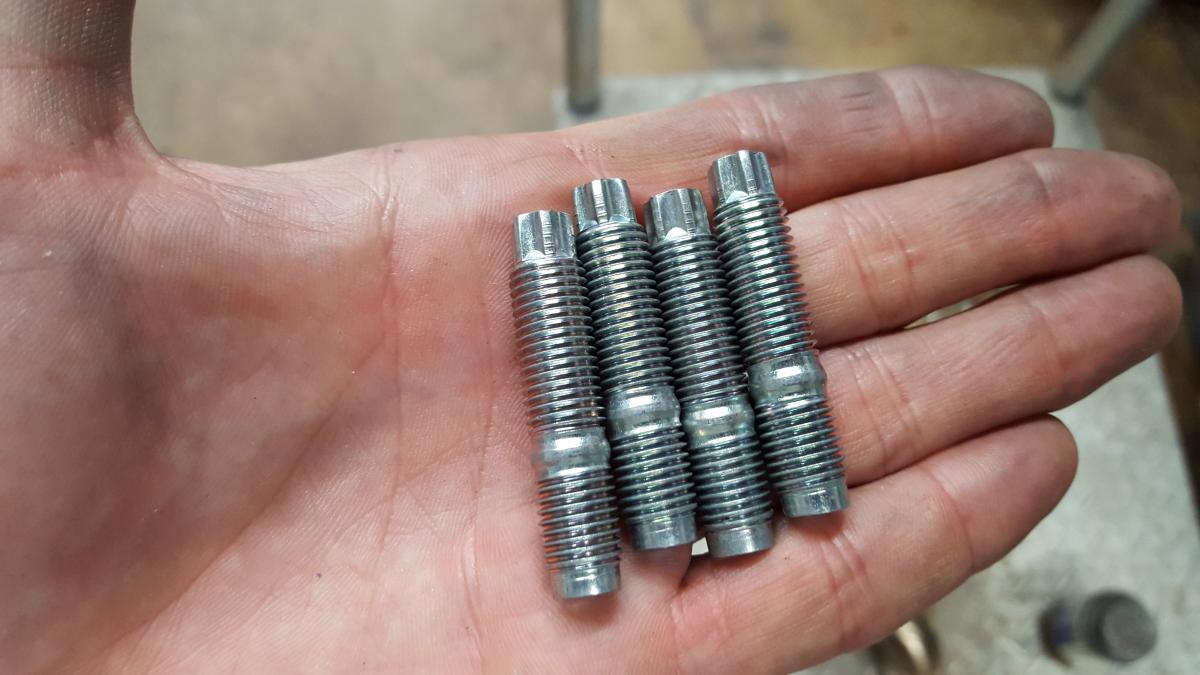
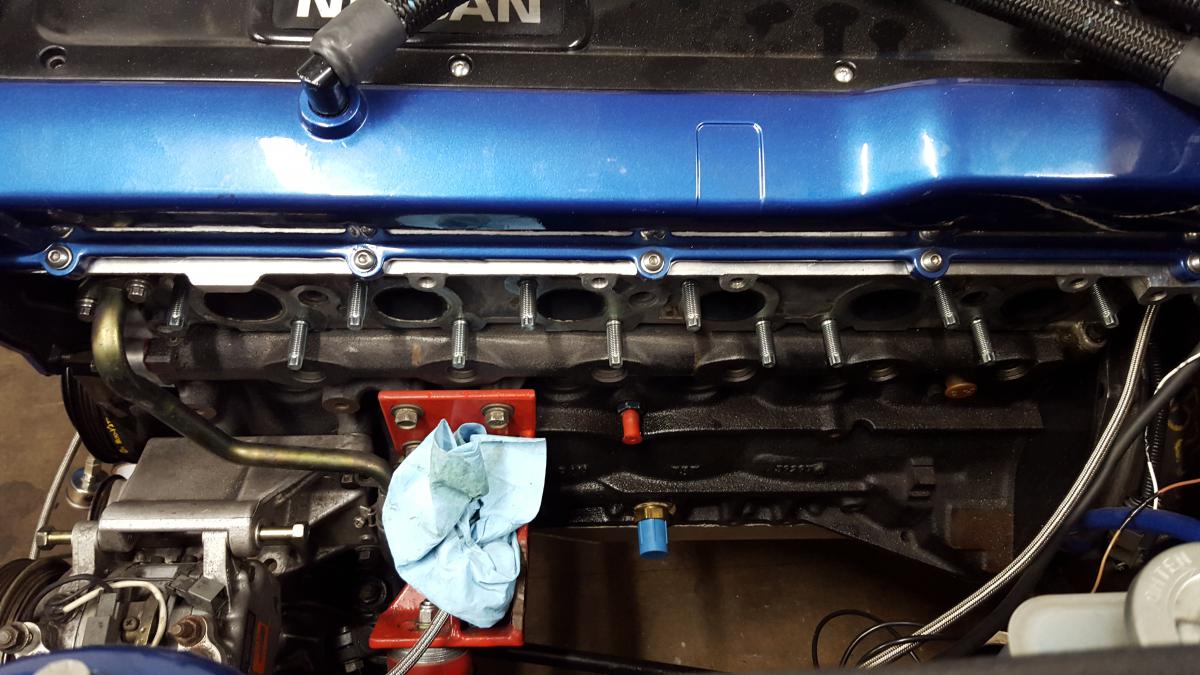
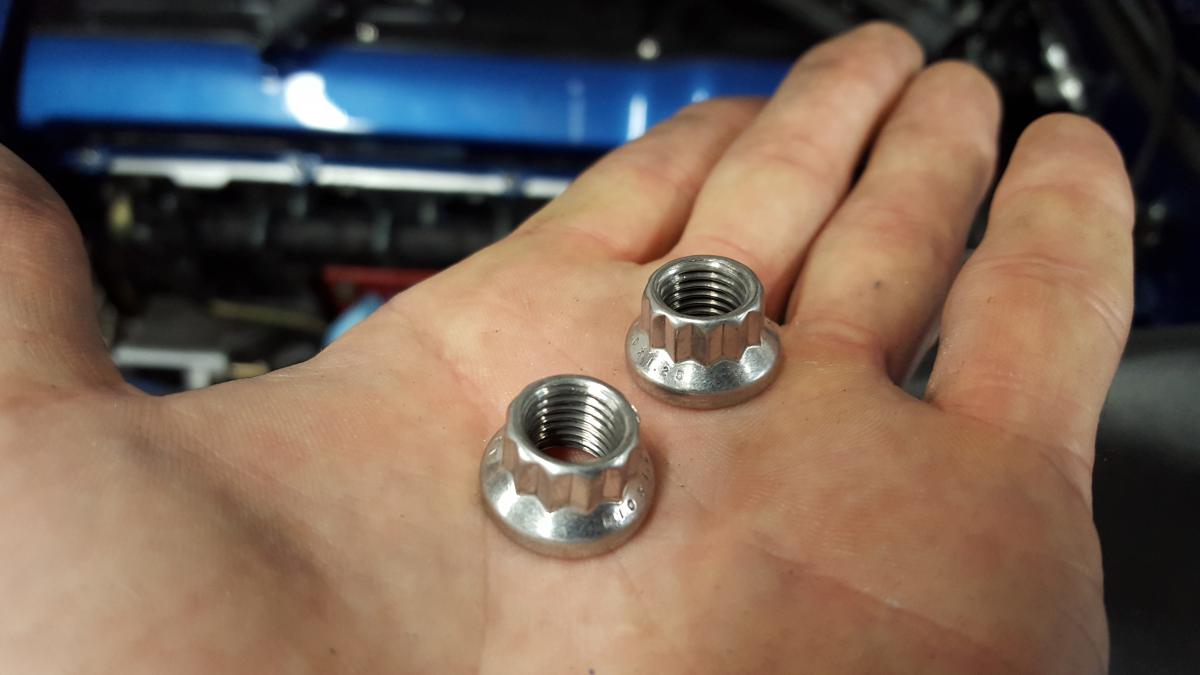
The previous owner for some reason used bolts for the exhaust manifold rather than studs… for those that have had the unfortunate experience of stripping a head, it was not the best decision. A trip to the Nissan dealer and consultation with a friend who is the parts manager there yielded me some very nice exhaust studs that were exactly the right size, from a Sentra of all cars. And everything buttoned up with ARP of course...
-
On the re-wiring front...some progress had been made in the behind the dash harness... What a difference...