ktm
Donating Members-
Posts
1725 -
Joined
-
Last visited
-
Days Won
3
Content Type
Profiles
Forums
Blogs
Events
Gallery
Downloads
Store
Everything posted by ktm
-
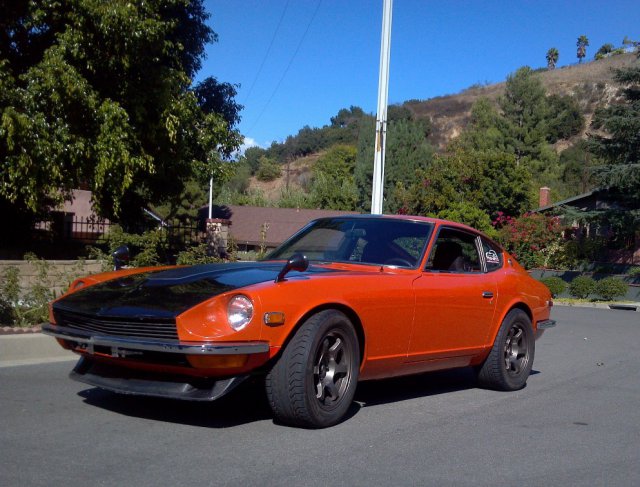
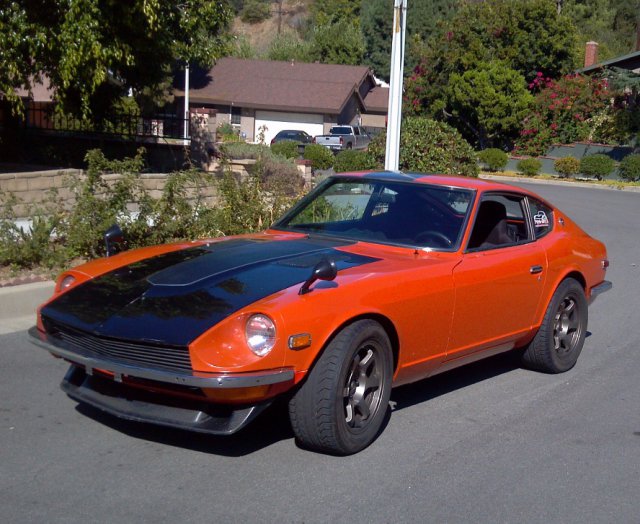
While not Arizona Z Car springs, I am using the 280z Tokico springs on my 240z which have the same spring rate. The ride is definitely firm but not harsh. Harsh was the old 240z Tokico progressive springs which were coil bound. I kept thinking that my struts were going to blow out the strut towers at times. Are you running the QA1s now in the rear and the Arizona springs in the front? Have you considered that it is the rear spring that is the problem? You have 250 lb-in. springs in the rear coupled with 180 lb-in springs in the front.
-
Love'n it. The L28ET is a great engine, but there is nothing like the effortless torque of an LS1.
-
-
They'll burn through in under 150 miles. I, like many others here (after a quick search), developed two large exhaust leaks at each header collector gasket. The JTR headers have a floating flange that does not lie flush with the flange on the exhaust pipes. The flange floats on the sealing "ring" of the headers. This ring provides around an 1/8-in. sealing surface which is not enough. I burned through my gaskets in under 150 miles. Save yourself some grief and install either dead soft aluminum or copper collector gaskets.
-
My Complete LS1 Install Documemtation with Pics
ktm replied to a topic in Gen III & IV Chevy V8Z Tech Board
As a counterpoint to this, my temperature sensor located in this same area reads 5 to 10 degrees HOTTER than what the PCM is reading. -
I use wire cutters to cut my zip ties though my cutters are bit more robust than the one linked by John. It cuts the zip tie flush with the head.
-
280z Tokico springs into a 240z - measured stack height
ktm replied to ktm's topic in Brakes, Wheels, Suspension and Chassis
Considering I must be one of the only ones on the forum that has done this modification, I'll add my results here. I replaced the old Tokico 240z springs with the Tokico 280z springs per John Coffeys FAQ, which can be found in the FAQ section. I wound up cutting off 1.5 coils if you include the top flat coil on the front springs. In other words, my cut is 180 degrees opposite the end of the coil after one full winding. I did not have to cut the rear coils at all. I ended up with a wheel gap of approximately 1.5 inches front and rear. Keep in mind that this was for my setup. Your results may vary. I have no idea why I did not do this modification sooner. My old turbo setup was riding far too low (less than a 1/4-in. wheel gap) and I could barely get my floor jack under the front crossmember even with the insert removed. After the LS1/4L60E swap, the weight distribution was shifted to the rear. I had minor rubbing issues before, but after the LS1 swap it was much worse. The ride is now so much better. It is certainly firmer but I am no longer crashing over bumps as I did with the old Tokicos. I suffered from coil binding in the front as well and the rears could not handle the shift in weight distribution as well as the added weight of the 4L60E. My rubbing issues are long gone. I rolled the fenders a bit more, but the stiffer spring and significant increase in wheel gap are the real fixes. For those with 240z's not wishing to spend the money on coil overs but wanting a firmer ride, as well as addressing the coil bind issue, I highly recommend the Tokico 280z springs. Yes, it takes around 6 to 8 hours to complete the installation (install, set on ground, measure stack height, jack back up, remove springs, cut, install, set on ground, cuss that you chickened out and did not cut enough, etc.) but in the end it is well worth it. -
I just finished installing the 280z Tokico springs in my 1972 240z. My car has an LS1 and 4L60E along with an Z13 CLSD R200. I measured a stack height of approximately 8 inches in the front on both the drivers and passenger side. The gap between the top of the wheels and the fender lip is right at 3 inches, and my ride height is 8-5/8 inches. I am going to cut 2 full coils off the springs, but before I do so I was wondering what others who have done this modification have measured on their setup and/or how many coils did you cut. Thanks.
-
So do I, but with the dash and harness still in the car when I first installed a 280z voltmeter, soldering and heat shrink were not an option. However, when I installed the Speedhuts, I eliminated that connection. I've rewired my car as well since this install. That alone was well worth it.
-
You need to hook them together. The amp meter is the worst part of the 240z electrical system. If you look at the wiring diagram, that is how the battery gets its charge from the alternator in a 240z! Make sure this is a SOLID connection. I kept melting my butt connector and you would see smoke periodically.
-
I drilled and tapped my vent tube coming out of the engine to fit a threaded PCV valve. I took the tube down to my local parts store and spent 10 minutes perusing their selection, matching up the diameter of the tube to the diameter of the PCV valve. I then verified the direction of the valve and all was well. If you are boosted, such as in this application, the PCV valve does not function. Well, it is functioning as intended. The valve will close under boost so that the crankcase is not pressurized by the manifold. The PCV valve only functions under manifold vacuum conditions such as cruising.
-
I don't think that you can leave the potentiometer in place as I believe the lights are LEDs. I pulled mine earlier when I converted the stock gauges to LED lighting, that, and the potentiometer was not functioning throughout the range of motion. You can always tap the heater console lights into the potentiometer themselves and just wire up the Speedhut gauges separately. The lights on the Speedhut's are not that bright as to be a destraction.
-
If I may make a suggestion, wait until the engine is in the car to worry about fabricating the intake piping. Things are not as they always seem. It is very easy to engineer a solution if you know the constraints.
-
As of right now the support comes from the throttle body and the tight fit through the radiator support. I have not touched the rubber fittings of my cold air setup, though I know I'll have to in the future. My setup came with one tube section as well. You have to cut it to fit your application.
-
I have the JTR cold air intake. I had to trim the radiator support (the upper large hole on the passenger side) to get the 3.5-in. (IIRC) diameter aluminum tube to pass through. Unfortunately there is no other way.
-
New wiring harness for LS1 swap?
ktm replied to formula_raider's topic in Gen III & IV Chevy V8Z Tech Board
When I first did my L28ET swap for my 240z, I used the stock harness for the dash and lights only. I made my own EFI harness as I wanted to eliminate the possibility of 40 year old wiring bugs causing me issues. I've since rewired the entire car following a small fire incident related to the stock harness I left in-place. The swap itself only requires around 8 wires. I would run a small supplementary circuit just for the swap. Even though I am now using a Painless fuse block, my LS1 swap utilizes a small secondary fuse block/circuit dedicated to it. -
My 76 280Z is serial killing batteries
ktm replied to ttodhunter's topic in S30 Series - 240z, 260z, 280z
I would get a new battery, since you have to anyway, and then do a draw test on the car. Disconnect the negative cable from the battery and place a digital multi-meter between the battery negative post and the ground. Your amperage should measure under 35 mA or so. If it is more, then you have a drain some place. Keeping the DMM in place, start to pull fuses until the drain drops or disappears altogether. You've then found the circuit causing the issue. http://www.popularmechanics.com/cars/how-to/repair/how-to-stop-car-battery-drains -
OMG....my LS1 sounds like my old L28ET or vice versa
ktm replied to ktm's topic in Gen III & IV Chevy V8Z Tech Board
Flowmaster 40 Series, no cat, 2.5-in. back from the JTR headers to a y-pipe, then 3-in. pipe to the muffler and I do not have a resonator at this time. -
They will friction fit into the stock trim bezels.
-
I forgot to capture a vid of the start-up, but needless to say the car is ALIVE! Damn, this feeling never gets old. Pray, turn the key to on, pray, turn to RUN, feel your heart sink as it's not catching....and then......VROOOOOOOOM! I just need to tidy up the wiring, clear some more DTCs, and then off for the exhaust. My poor AGM battery has had it though I think. Regardless, it's alive!
-
Not if you run the IC piping under the engine like I did.
-
LS1 Heater Outlet/Inlet Ports - Loop or Blockoff
ktm replied to ktm's topic in Gen III & IV Chevy V8Z Tech Board
RebekahsZ, thank you for the tip. I picked up my part from NAPA (part #10777). Gates makes all of NAPA's belts (per the guys at NAPA) and the Gates part number is 18777. The Autozone part number is Kelly-Springfield 4354; Dorman is #02253 and Dayco is B87629. -
Header/Exhaust Clearance and 4L60E Coolant Lines
ktm replied to ktm's topic in Gen III & IV Chevy V8Z Tech Board
Fast is relative and those are old pictures too!. Serpentine belt it on, all engine connections wired up, fuel line system replumbed from my old turbo setup, fuel rail swapped over to passenger side, LS6 intake installed, etc. I just need to wire up power to the PCM for startup before I route for final placement as well as finish routing the coolant lines for the transmission. It took me damn near 4 hours to get the engine and transmission into the car from the moment I hooked it up to the hoist to the time I could disconnect the hoist. Dear god that was a PITA and I had a 360 degree swivel hoist with a load leveler too! Raise, lower, tilt, push back, push to the side, push back to the other side, pull forward, lower, raise, cuss, lower, tilt, push back, curse the LS1 gods, etc. -
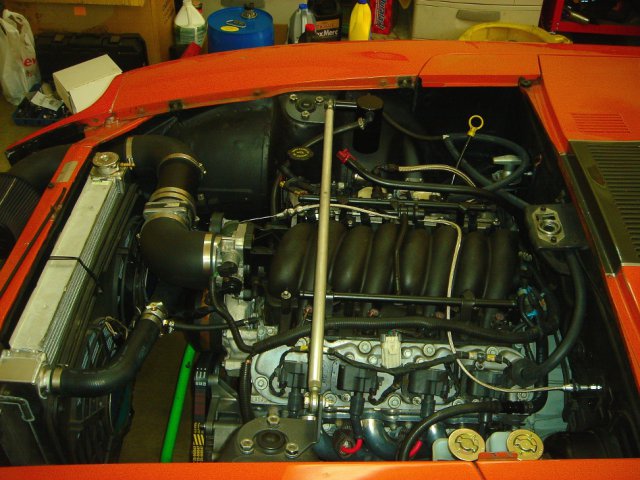
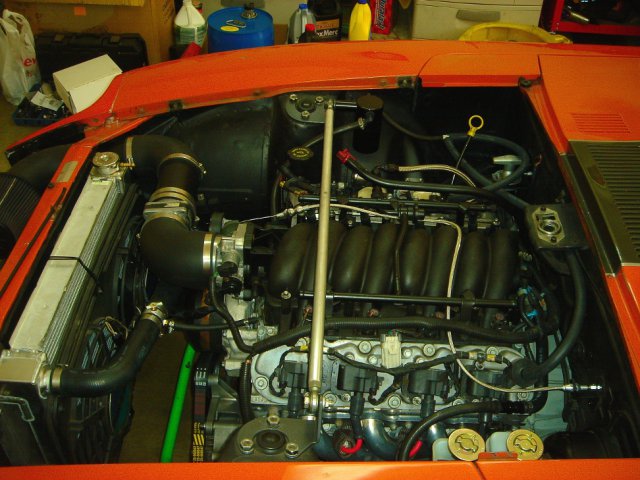
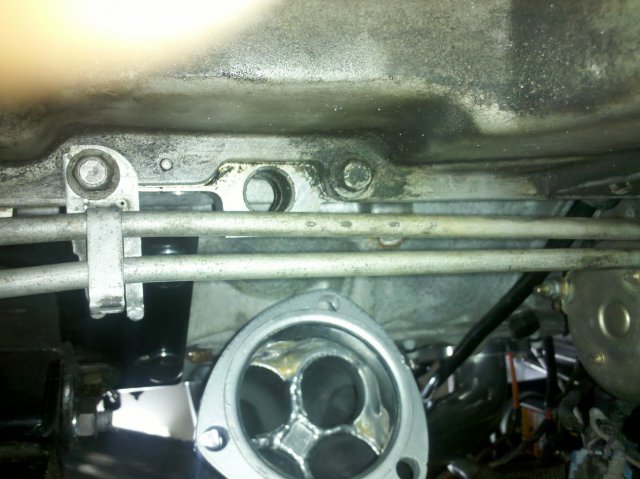
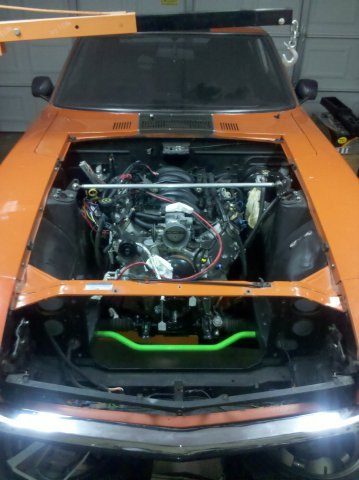
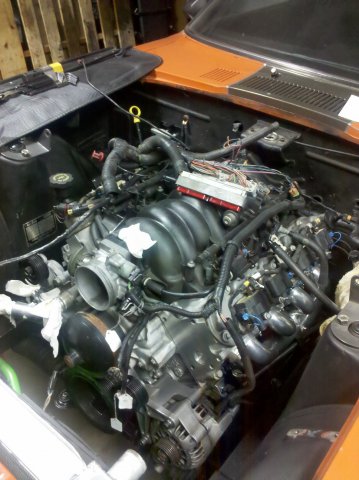
I am in the final stages of my install and am looking for guidance on exhaust/header clearance with the 4L60E coolant hardlines. I am using the stock lines and cut them right before they make the turn in front of the engine. Below is a picture of the clearance between the header and the lines. The lines site about 3.5 inches below the header in the picture. I can wrap the lines with a fire sleeve, etc. because I really like the placement where I've cut them. I will relocate them if necessary however. How does the exhaust connect to the header at this point? Should I go ahead and cut them further back? Gratuitous engine pix included. Thanks!
