-
Posts
1337 -
Joined
-
Last visited
-
Days Won
48
Content Type
Profiles
Forums
Blogs
Events
Gallery
Downloads
Store
Posts posted by Derek
-
-
As you can see Derek, you are almost up there with my daddy. The reason why you are not passed him is because he is my daddy and he's pretty cool. Does a lot of cool stuff yah know... However he hasn't built his own EFI system which was the real boost for you, otherwise such high approval ratings would not be possible.Also, DragonFly would be passed you, after all, he did balance his valve train. Daeron, you're up there because you helped me through my stroker build. TonyD, you're up with the big dogs too because you are the king of big dogs. Don't have any hard feelings about people beating you, just remember that I still love you.

You're doing awesome Derek!

Josh you crack me up! It will be interesting to see the graph after I post a video of it running.
Derek
-
Josh
I'm 49 and have had my Z since 1980 or 81. In that time I've had 5 or 6 girlfriends and one wife. The wife loves riding in the Z and there's never a question as to what car we're taking when we run errands together.
And that's why she's the wife and the others were girlfriends!
Derek
-

P.s: Derek, you're making us drool telling us it's so close, but not putting pictures up!!!! c'mon! Good deal getting the manifolds basically done! Congrats on that, you're so close, I can hardly wait to see your install day picts! shouldn't take too long, (depending on your extra cleanup work I suppose, gotta clean your engine if I remember correctly)
Hi Phar
Well it really looks the same as in post #226 except the butterflies are in and there's springs on the bottom of the shafts.
Install is going to take longer than projected. The only way to do the heat shield is remove the header from my car and mount it on to my mock up head with the manifold. Then I can accurately fabricate the heat shield. Also I'm not going to put much time in cleaning the engine compartment as I have to pull the head eventually so I'll just wait for that.
I have a major list of things I need to do on the car at the same time so the cars going to be off the road for a few weeks.
And work and reality just got in the way. I pretty much chewed up all my allotted time and then some! I need to kick out a few patterns and then I can get back on it. Probably going to be the third week of January before I can install the manifold.
Sigh.......
At least with the throttle springs on I can periodically walk by, snap the throttles and go "woomba woomba". Hey it's all I got right now!
In other words, run it with what you have, and if you have a problem FIRST try to increase the fuel pressure to 60 psi and see if that cures the issue. If not, then return lines or other methods for gietting cooling flow to the injector pintle fuel line may be required.
Good info an good advice! Fortunately it will be cool here for a few more months so I won't have to deal with it right away.
Seriously my SU's are such crap none of these problems are going to be any worse than I'm dealing with right now.
Derek
-
A central distribution block in between the manifolds would be cool but being as the lines are done I'll be sticking with what I have!
I'll be using a fuel pressure regulator at the distribution block with a return line to the tank.
Well I made some good progress today. All of the butterflies are installed, The return springs are installed, and the linkage is adjusted and installed.
So technically speaking the MANIFOLD IS DONE!!! I think.
I still have to put in the vacuum stuff but unfortunately my parts didn't arrive yesterday. But all of the main machine work and assembly is completed.
I'm also about halfway through the surge tank. I'll finish it up in the morning and then jump on the vacuum log when it arrives in the afternoon.
We're almost there!
Derek
-
Well I got the fuel lines done. Man That was tedious! The clips I ordered are nice but they have a molded strain relief into the plug and they will hit the fuel lines. I ordered another set that just has wires. Soon as I get them I can make the injector clamps.
The foundry cast the vacuum log today hopefully I'll get it on Friday.
Still to do:
Machine fuel distribution block.
Machine vacuum log
Machine injector hold downs
Machine and fit butterflies.
Figure out return springs
Work out PCV valve
Make surge tank
Yea I'll be done in January....January 2010!!!
-
I was picturing some sort of heat shield as well, and who says you can't run a heat shield and a fan?
Is there anyone in the southeast who could dedicate some studio equipment to get a nice recording of these horns on an L when he gets it finished?? Digital camera audio just doesn't do it justice in my mind....
My mom lives in Jupiter and I'll be driving the car down to Fort Lauderdale as soon as it's running well. I'm sure I can figure a way for you West palm guys to get up close and personal with my manifold....Ok maybe not that close and not that personal....
but a person like Derek has probably thought of every angle.I wouldn't go that far! But I have burned up a fair amount of gray matter on this thing.
-
Here's a little teaser!


I'm still using the too tall caps for the mock up so the lines will drop down about .25" or so. There is a .75" gap between the lines and the valve cover.
I test each flare at 125 psi before I do the bend.
I hope this works in the summer as it get's pretty darn hot .
Derek
-
Hey looks good, I see how you've routed your intake fuel lines. that makes pretty good sense, though aren't you worried about heat from the head boiling the fuel? that's what I was trying to get at, but I guess we won't know till you try it, much like they were saying, you build it, then work out the practical application afterward. The stainless may make it a non issue.
Hmm the air filters. how about the idea of inverting the bulbs then putting the filters deeper in the throats maybe with something to keep them away from the butterflies. that way it doesn't take anything from how your trumpets look. fully up to you, looks great already....
I'm really glad this project has already started turning into steady work for you. You deserve it, you've done an awesome job.
Phar
Hi Phar
I have a real concern that the gas may boil but the look of it is so cool that I had to try it. If this doesn't work then I'll run short stainless lines to a fuel rail and have more of a traditional style delivery system.
I tried flipping the air filters around and it just doesn't do anything for me. I personally like the way it looks and the air filters will be an option.
I domed them to get the most surface area I could.
This is one of those "see how it works in application" deals!
Derek
-
Here's some really good spray glue at a good price
-
Anyone have any experience with these?
http://www.expressfuelpumps.com/autoteq-adjustable-fuel-pressure-regulator-universal-p-3802.html
Thanks
Derek
-
-
I need to buy one!
like everyone I'm looking for something nice but cheap. Must be silver in color. Can anyone recommend a brand.
Thanks
Derek
-
Derek,
You will have low pressure lift pump, correct? This pump will always be circulating fuel from the main tank to the surge tank.
Fuel on the lift pump circuit should flow like:
Main tank -> filter -> lift pump -> surge tank -> main tank
The high pressure circuit should be:
Surge tank -> EFI pump -> filter -> fuel rail -> regulator -> surge tank
This will keep fuel circulating from teh main tank.
Pete
Yes i have a low pressure lift pump. All right then everything in the top. That makes it a lot easier.
Thanks
Derek
-
I guess I don't understand the question.
Is the surge tank going to be outside, or inside the main tank? If outside, you can put all of the fitting on the top plate of the surge tank. All you need is a feed and return to and from the main tank, plus the high pressure feed from the Walbro pump. These can all be on the top.
If it is in the main tank, it must touch the bottom of the main tank, and there should be at least couple 3/8" holes supplying fuel to the surge tank.
Pete
Hi Pete
It's an external tank. mounted in the rear. My only thought on dumping everything in the top was at extended idle situations won't there be the potential for the fuel to get kind of warm since there won't be a lot of replenishment from the main tank.
Thanks
Derek
-
Last week I made a set of press dies to form the air filter screens. The dies came out great but I wasn't at all happy with the results.

Since I don't have any parts I decided to work on my technique and see if I could come up with a workable solution. Needless to say I'm very happy. They look exactly like I had envisioned and you can't ask for anything more than that.


At this point I think I'm going to retain them with an oring stretched across the front of the screens.
Now I need to make a set of dies to form the inner basket to support the foam.
I sure am glad converted that lathe to CNC!
Derek
-
Ok since nothing showed up UPS on Friday I"m kind of at a standstill on the manifold. I figure I'll get started on the surge tank next.
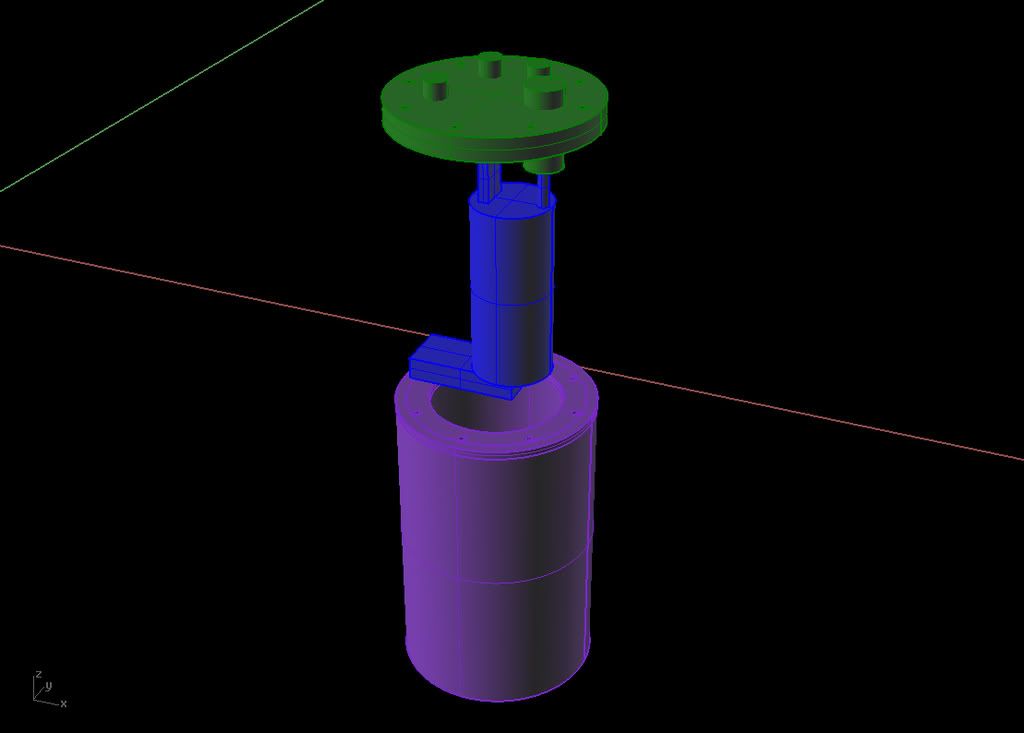
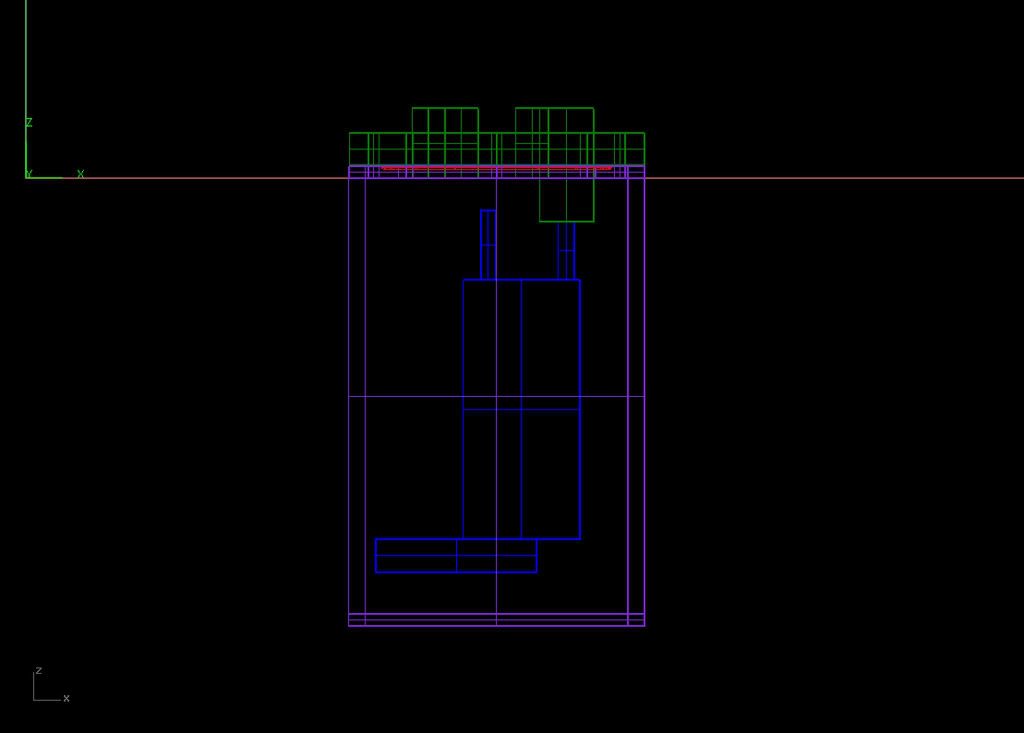
I've got some 4" ID 4 1/2" OD aluminum pipe in stock. The plan is to make a surge tank that will house an Walbro in-tank pump. I'll weld in a flange that's drilled and tapped and grooved for an o-ring. The top plate will house the fittings as well as the insulated lugs for the fuel pump wires.


Should I put the bung for the inlet on the side towards the bottom so that cool fuel from the tank is supplied to the motor?
Derek
-
Actually I temporarily removed the block heater when I installed the EDIS and have missed it ever since. The car is harder to start, runs poorly, and get's terrible mileage since I only drive 3 miles to the shop. I haven't put it back in yet because I was waiting to finish the EFI install but it WILL be going back in!
Derek
-
I just wanted to say first that I deeply admire the courage you have to undertake such a project. Anybody who does something 100% custom is an amazing individual in my book.
I know it's VERY late in the game to mention this, and I hate to be the only one with anything "negative" to say amongst all of the congratulations, but it may be something you might wish to consider in your next casting.
The first thing I noticed that is the angles of entry into the head varies by a rather large amount. Seems #2 offers the air the straightest shot, and then #3, followed by #1 with the greatest angle of entry into the head.
Someone mentioned earlier the splayed horns on the old gassers or Can Am cars, but if you look closely on those motors, the designers/engineers go to great(and I mean HUGE) lengths to get all the runners of an equal length, and of identical shapes. Or, at least humanly possible. All engines will make the most power if each cylinder is drawing an identical amount of air and fuel. With such large bells causing the need for wildly varying angles of entry, I would venture, humbly, to say cylinder #1 will make significantly less power than cylinder #2. When the entry is not smooth, power in that cylinder goes down very fast. Air accelerating towards the speed of sound doesn't much like to bounce off of port walls.
I would hate to see you invest this massive quantity of time and love into such a great idea, and have it make less power than a set of triple 40's...
Just something to briefly ponder.
Again, I think what you are doing is nothing short of AMAZING, and AWE INSPIRING!

Well at least you gave me a little honey first!
Well as far as performance goes this is my design criteria from my first post: http://forums.hybridz.org/showthread.php?t=121021
So here's my design criteria:
#1 Look Cool
#2 Look Really Cool
#3 Actually Run
Realistically as long as it makes the same power as a stock 280 injection manifold I'll be happy.
The runners are all the same length. The #1 and #6 runners obviously have the worst angle of attack but I tried to minimize it by gently curving the runner inside the casting. So in other words the casing may look straight but internally it curves.
I'm glad that people actually take the time to look for potential problems in the design. My biggest fear is that some one points something out that's a deal breaker on this. Especially this late in the game.
I started this project to show potential clients what I could accomplish as a pattern maker using modern 3D computer design and CNC machines. To this end it's been a huge success for me. It moved me into another class of pattern makers and that has translated into steady work!
In hind sight it seems silly to put all this work into this manifold and not try to squeeze every bit of power out of it. But the reality is most of these projects never get out of the discussion stage and I didn't want to fall into that trap. At some point you need to pull the trigger and actually build something.
But at least it looks cool, and looks really cool. So two out of three aint bad!
Derek
-
Derek... Why are you holding back on us... You cannot hide your photobucket from me. I have seen more pictures of the beauties mounted on the head.
 Looks sexy. In fact, so sexy that photobucket my ban the progress pictures!
Yes the photobucket has a lot of stuff I didn't bother posting. I figured you guy's would only be interested in the cream of the crop!
Brass Screws may stake nicely, but a button-headed Stainless Steel Screw won't discolor!Just thread a self-locking SS Nut and small washer underneath the flange on your injector 'fuel cap' and run it up close to the underside. Once you have it set to the height you want, run the nut up tightly against the bottom of that fuel cap while holding the screw secure.
Can't turn, can't unscrew from the manifold, and the injector fuel cap is permanently fixed at a set height (which you can adjust at any time) by the jam nut.
You really want the injector to be able to 'float' inside the base and cap so it can grow with thermal expansion. If you screw the things down tight, there will be a bind on the body when the injector and all the metal expands as they warm up.
Why does this come to mind so quickly: Great Minds Think Alike. This is almost the identical method that I used on the SU Throttle Body Conversions I made, and that's how I set the fuel hat to proper height within the float bowl!
Screw Brass and Staking them! Just put a nylock nut, or an internally toothed lockwasher and jam nut (they are 8mm in my application...) on there.
I use Allen Headed Screws for the sanitary look, and because the button-headed ones are smoooth and polish out with jewler's rouge to look like chrome.
OK you've just confused the crap out of me! Maybe too much nog.
So if the the injector needs to float (makes sense) I'll just machine some tubes to length and put them between the cap and the manifold, then torque them down.
The staking I'm referring to is the butterfly screws. Is this what your rambling.... i mean talking about:-|
I'm so confused!
Derek
-
Merry Xmas everyone!
The old diesel injector look..Nigel
I like to think of it more of a racing mechanical injection look as opposed to an old diesel look!
I sir, bow before you, the project completion god. as soon as I saw this, i started my own version, and poured my initial castings from old L28 pistons. After seeing your latest work, those castings have re-entered the remelt pile...That's why I quit poring my own stuff and started concentrating on the pattern work. Professional foundries are set up so much better than backyard foundries for proper melting and degassing techniques. There is so much voodoo involved in pouring metal.
I was actually talking about the Injector clips for the electrical. Just make sure you have enough room to get them off and on before they hit the fuel line.Oh THOSE clips...... I didn't have any clips-connectors when I did the design so I was conservative with the amount of spacing I left. Unfortunately they sit really high. I have clips coming on Friday so I can finalize the design.
Classy x 10,000,000, I should have guessed.Have I mentioned that you kick some serious ass??
Thanks Daeron.
Hopefully in a few weeks we'll be hearing it run!
If I can just shake this freeking cold.
Derek
-
Wow, yeah those injector holders look nice. though, I was thinking you might want to drill them at like 35-45 degrees (0 deg to the head) for the fuel barb/fitting since they're kind of close to the head. L28's as you know are a little hot headed, though the exhaust heat shield may be enough to prevent any issues. another idea is running your fuel like below the injectors, basically flipping that clamp 180. Maybe not enough clearance I dunno.
Do you know anyone that can TIG you up a hard fuel rail which you could then have chromed? wouldn't that be pretty?
As for Brass Screws, yes you can use them. a little locktight is a good idea though since they will expand and contract with the engine heat. Matching your screws to your butterflies material will help prevent them loosening, though locktight should keep your engine from eating one...
Phar
P.s: how hard would it be to round the top of those injector clamps about 5-10%? get rid of those sharp edges and stick with the round theme. polished up would look amazing. maybe like this:
Hi Phar
I'll be throwing the injector mounts in a tumbler that will break the edge.
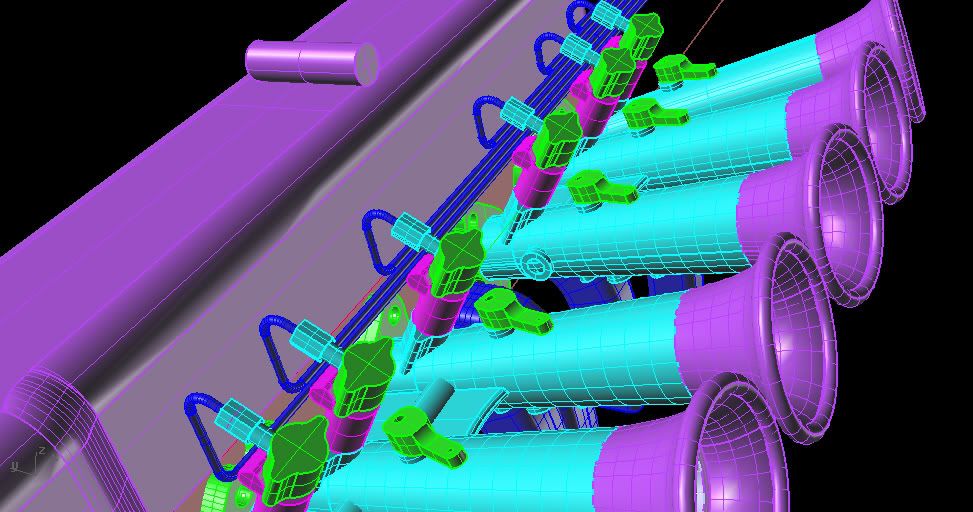
Here's what I'm planning for the fuel lines.

I have stainless tubing for the lines.
Derek
-
Hey Tony
Can I use brass screws. They would be a lot easier to stake.
Thanks
Derek
-
I really like these:
I'd be interested, and I'm sure others would be too, if we have a bunch made up. The only thing I would change is having it un-drilled for the hose barb or compression fitting. Then you could choose a right angle or straight configuration. This is a great way to use O-ring injectors with hose barb rails.
Very nice!
Pete
Thanks Pete.
Sorry only available with the purchase of a manifold!
No problem. I can make up some for you guys. I need to stretch them out a hair if you want them to fit the stock bolt pattern.
I agree VERY trick looking. Just make sure you can get your Injector clips on and off easily.Hi Jeff
Thanks. Wait till I get the lines on!
No clips. The 2 screws compress the injector to make the seal.
-
Starting to feel better the last couple of days so I put a little time in on the manifold.
Linkage complete

Injector hold down clamp. This ended up being a prototype as I didn't have my plugs in yet. I thought I had everything figured but they're a little high. I should have the plugs in on Friday and I'll do redesign.

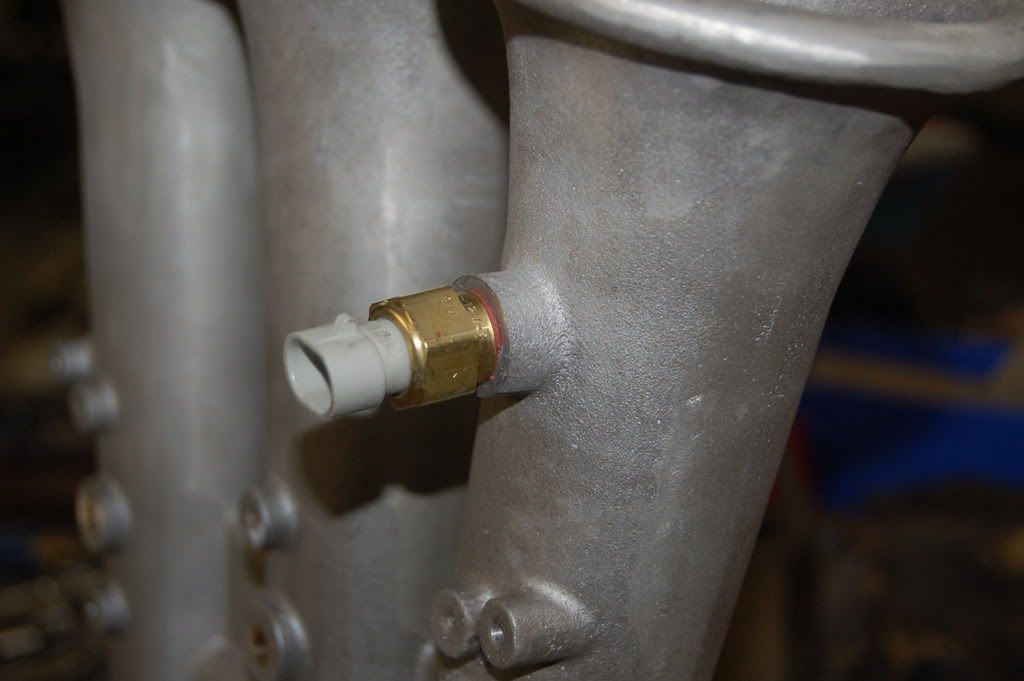
Air temperature sensor bung worked out perfectly.


I also made my butterfly jig for the lathe. Worked like a champ. I did a couple of test pieces and the fit was much better. I still have a tiny crack of light but I'm hoping I can get that figured out.
All the machine and hand work is done to the manifolds. I'm headding down to another foundry on Friday to throw them back in the Wheeabrader machine for a final finishing. Then I can start the final machining of the butterflies and the final assembly!!!
I'm getting scarred. I might actually have to put this on my car soon!
Got a question on the butterfly screws. Any problems using brass as they'll be easier to stake?
Thanks
Derek




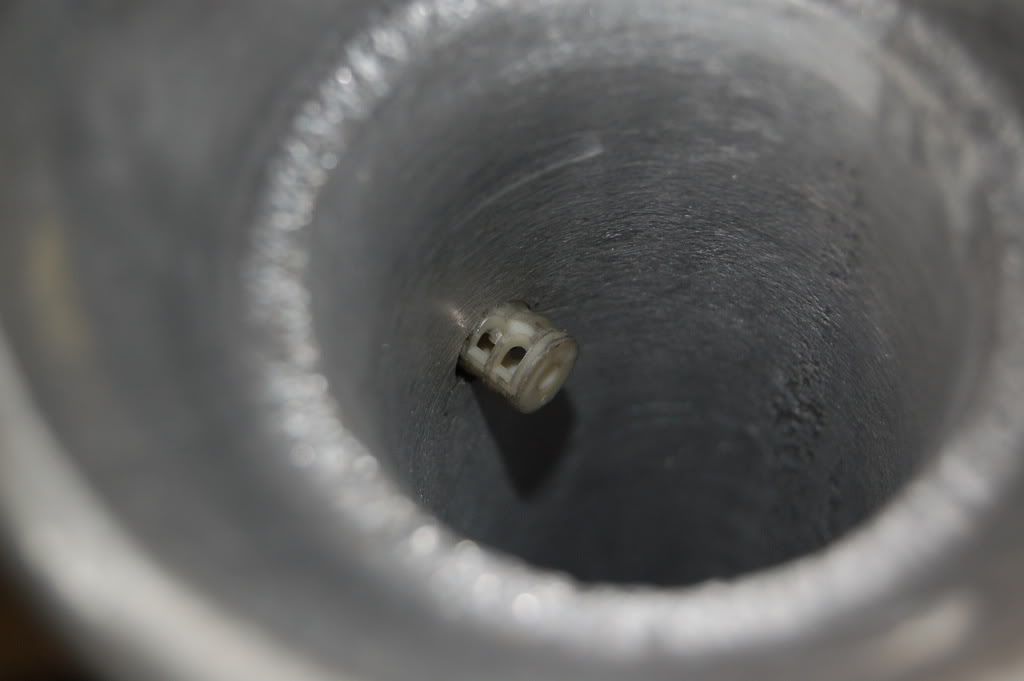
Making my own EFI intake... The First Casting
in Nissan L6 Forum
Posted
Ok I went back and re-read every single post on this build. One thing that jumped out at me was that I may be screwing up with the way I'm introducing idle control vacuum. As it's designed right now I'm just dumping it into the balance tube at the end of #6 runner. I'm starting to think this may be a mistake as this will cause #6 to run lean.
Would a better solution be to run 6 individual lines to each runner to introduce the vacuum. I haven't machined the log yet so this would not be a big problem to do
Any thoughts on this
Thanks
Derek