-
Posts
239 -
Joined
-
Last visited
-
Days Won
2
Content Type
Profiles
Forums
Blogs
Events
Gallery
Downloads
Store
Everything posted by 240z72
-
Tossed in the driveshaft today. When I bought the tranny, the guy sold it with the old output shaft and half a u-joint. When I use the JCI drive shaft I get a knocking on an up and down motion. Side to side is quiet. I reinstalled the old tail shaft and there is slight movement but it very minimal. Heres a vid of it. Over hand grip is up down, under hand is side to side. If anybody could let me know if they have this play, please let me know if and how bad. ThankS. I posted this on LS1-TECH, but I thought Id throw it on here as some people might have the JCI shaft. http://www.youtube.com/watch?v=H9K7z8gqkYI BTW I WANT MY HEADERS!!!!! MUST....START....CAR!!!!
-
Awsome. Can you get me a pic of the lamp and trim please along with a shipping quote? Thank you.
-
I have one. Shoot me your zip code and ill.get a quote for.ya.
-
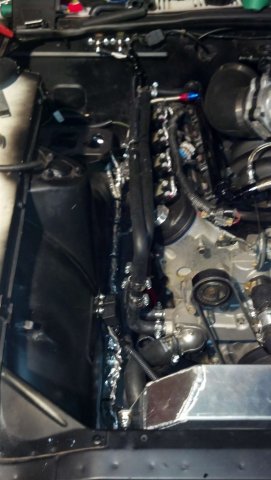
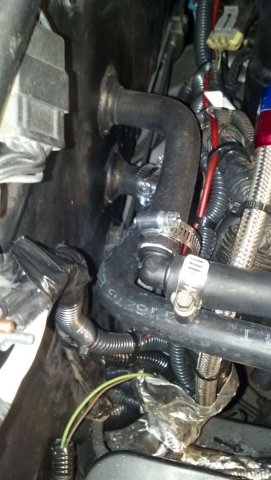
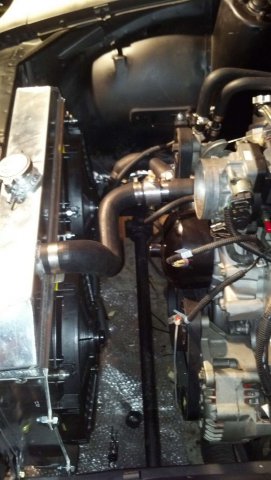
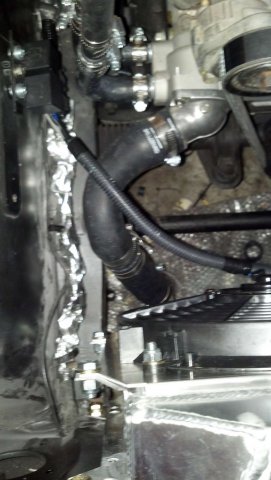
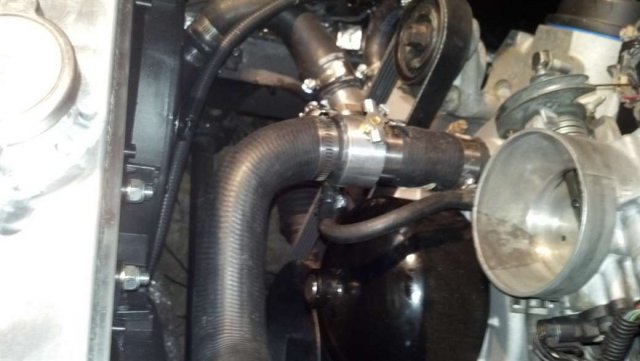
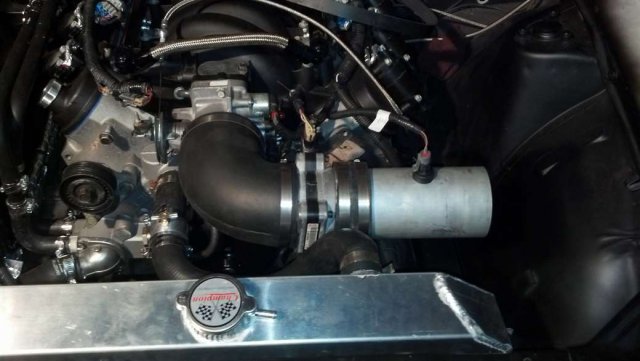
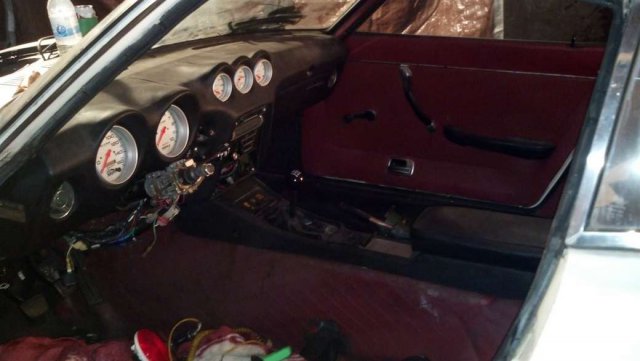
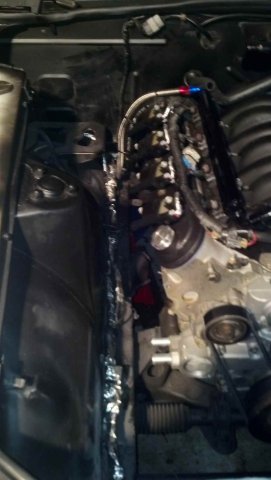
Moving on! Today I was able to finish up my cooling system. For the heater hoses I bought some long 5/8 ID hoses with a 90* bend at one end. I also bought some 90* fittings to use to plum to the stock hoses. The stock return line out of the fire wall is bent perfect for the ls1. All I did was extend it to the front of the motor and strait down. The feed had to be cut just off the fire wall and 90* out from the back of the head. I used a total of 3 of the long 5/8 ID hoses. One with the 90* bend at the back. That was attached to the feed. then the other two had the 90* bends up front. I used one splice in the middel of the feed. At the water pump end I bought some randome hoses that were small cheap and had 90* bends. One was 5/8 ID the other 3/4 ID. I used them to come off the water pump and 90* strait up. I used one splice to got to the 5/8 hose and a adaptor to go from 3/4 ID to 5/8ID hose. I did this setup to minimize clamps. Ya you could use 10 90* fitting a bunch of strait hose and 400 clamps but it wpuld look horrible. Heres a few pics how it came out. Still needs to be improved on but it will work well. I was able to use a hose I got from A buddy on here to finish my bottom radiator hose. It went from 1-1/2 to 1-1/4 but it was ment for a radiator with a port that points strait out. I cut the hose and ran a strait pice down over the 90* bend in the radiator port. Used a splice from the parts store to do it. Went great. Installed my sight glass/bleeder T also. Heres a few pics. I then made a temp. intake setup with all my sensors hooked up. No filter but my goal is just to start it. Also started running a large cable from my alternator around the front of the motor to the starter terminal. Waiting on some parts to finish that up. Im now in a spot where I cant do really anything to get closer to starting this beast until I get my headers. They will ship out on monday. SO I started putting my interior back togeather. Got the control panel in for the heater and did the dash limbo to hook it all up. Wouldent be the first time I was upside down under the dash..Also installd my center consol and shifter. Love the feeling of the shifter compared to the the stock z transmission. All I need to do is fill the motor and tranny with the right fluids and hook up my battrie and starter the see what happens! Interior hasent been this complete since I rolled it in the backyard. Heres a pics of how its looked now for weeks haha!
-
Im in need of a few things: 1. Center dash light with good lense and trim pice. 2. Control knob for heater control levers. The things you grab to change the setting. Just need one. 3. Shifter boot. The one thats attached to the center consol. 4. Ashtray Please let me know what you got. pics will be required so please send them. PM me with pics and price. please quote me shipping to 95020 (CA). Thnaks Z heads!!
-
Keith: Thanks man. Its just some people are the type that you have to do everything perfect. Or your not doing it right. O well haha! I ordered an adaptor from JTR last night. So I hope to get that next week. Im out to try and finish some stuff up!
-
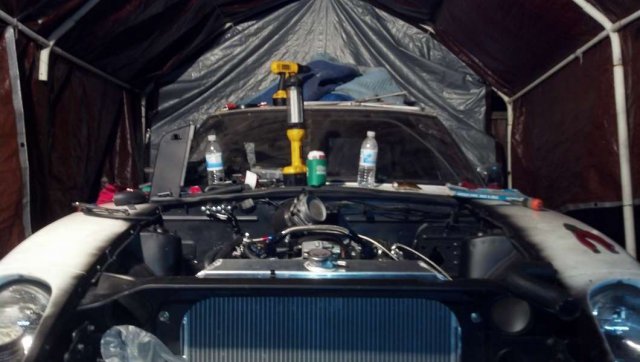
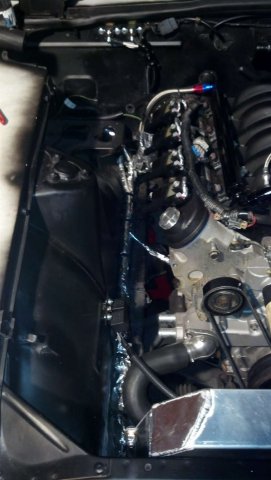
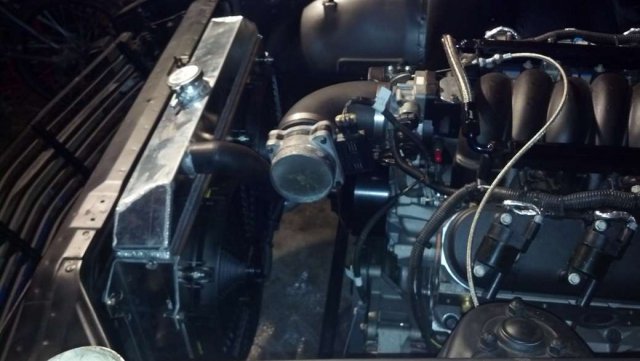
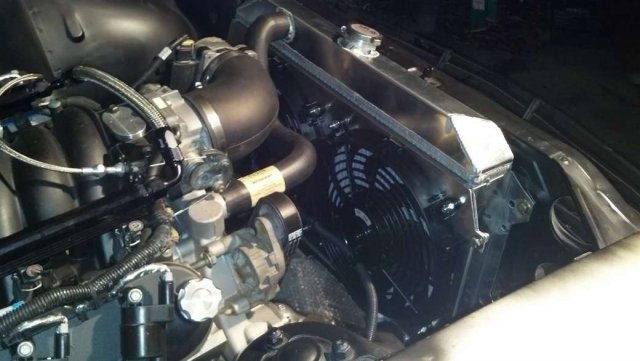
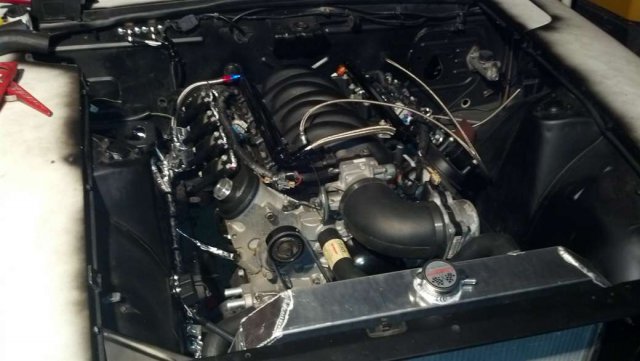
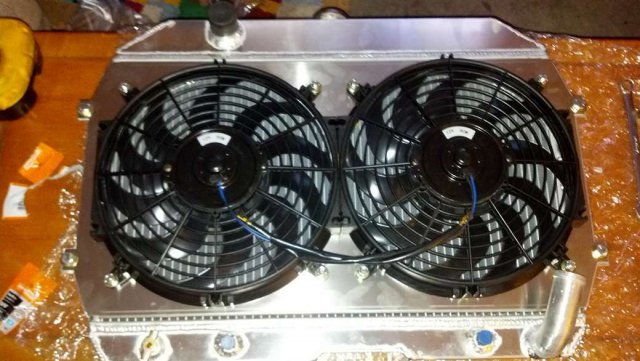
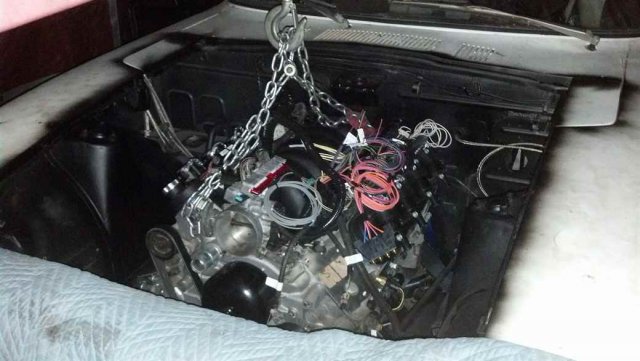
Update time. The gen 3 thread was getting quiet so I thought Id update on my progress. I got the radiator and fans installed in the car. Very good fit. Had zero fitment issues. Hints "direct fit" haha. I setup some wiring for it threw two relays. One for each as the harness has a primary and secondary. Odd thing is the wires running to the fan motor that came with the setup are 14 AWG. I was kinda of surprised about this. I dident take any chances and rane nothing smaller then 12 AWG to the relays. I belive my main power wires to the relay are 10 AWG. I have a ton of wire I get from my work for free, so why skimp. I installed some circut breakers on the fire wall for my ignition relay and my fan relays. I will see how the one 30 amp holds up for both fans as the company says each fan is about 10 amps peak. So we will see how that works. I also wrapped the fan wires in plastic insulation and then wrapped it in thermal tape. All I have left on the electrical is reverse lights, power wire hook up to circut breakers and to the pcm wire. Also have to run a positive cable off the alternator. With the old battrie cable from the doner car I should be able to make a nice cable. There is some other things I will do later like indicator lights for turn signals, high beam and hand brake. I have wires already extended for them just need to setup some LEDs. I test fitted my intake hoses and installed the MAF sensor. I also testfitted the radiator hoses. Top one fits good after some trimming and tweaking of the MAF sensor. But the bottom is going to be tuff. As the port on the radiator is smaller then the one on the water pump. I will see what I can come up with. JTR makes nice adaptors. I may use that for now as Im honestly just trying to get this thing started befor I finalize everything. I hope to get my heater core hoses done this weekend. Along with finishing my oil pressure guage. I boutght A nice copper line that I will run to the guage. Heres some pics. Its looking so good. IMO this motor looks so awesome in these cars. Besides all the dust and tools and overspray I love it. Just hold your toung and wait till I get this thing cleaned up haha. Fan wiring. Radiator. Heres a couple of the motor in the car. Its getting there!!!
-
EDIT* Payment sent!!
-
Sunny: Thanks! OTD it will be 400 with the hardware I bought. Keith: No issues yet. I will need to do something about the size though as I have two different size ports. JTR sells nice adaptors. I may get one of those or have some welding done. I dont known of anyone near me so it might be more cost effective to just use the adaptor and steam vent t-fitting. Although id like a cleaner look of one hose vs a chopped up one.
-
I might just do that unless i find a good stock one for cheaper.
-
Looks nice. Alot better then mine. When you grab it at say ten and two can you move your hands like a motorcycle throttel. Thats best way i can describe it. Like is the padding detached from the steel tube inside?
-
Looking for a nice 280zx steering wheel. I need one in a dark color. Like greay black or dark blue. No rips and the grip part is not loose. Let me know what you got and send me a pic please along with a price with shipping quoted to 95020.
-
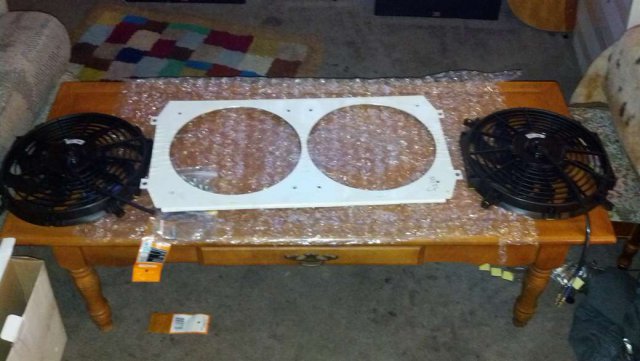
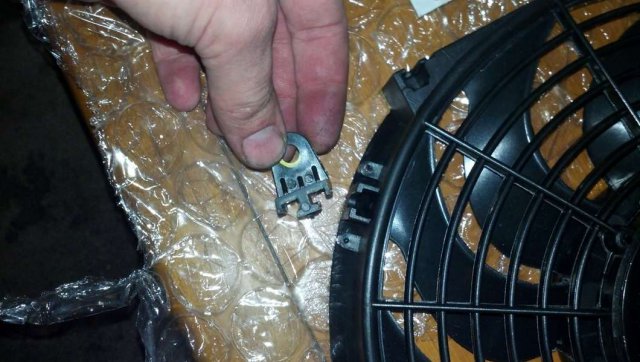
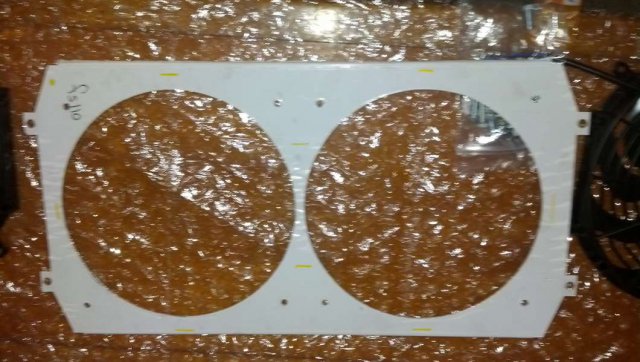
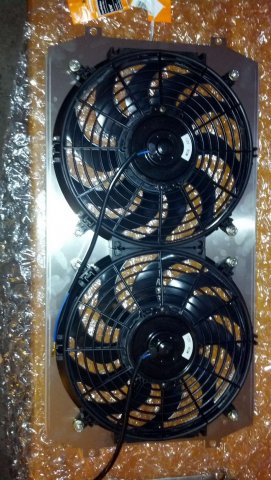
Just thought Id show you all my fan setup and how I assembled it. Keith (RebekahsZ) is using this same setup. He also gave me some pointers on assembly. (Thanks buddy!!) So here it is: Champion 3 core all tig welded aluminum radiator. No plastic tanks! Its also a direct fit into the S30. Heres the polished aluminum shroud and the twin 12" fans. I already drilled hole for the fans. Also there is protective wrapping on the shroud. First you need to assemble the brackets that hold the fan to the shroud. these are the brackets. Then insert them into the fan in the littel slots. Congrats! Take a week off work after that mission. Next just lay the fans on the shroud. Dont remove the protective lining yet. Once you do the line up the fans the best you can for max flow. Mark the holes and try not to move the fans at all. Then center punch and drill out your holes. I chose to use bolts to mount the fans as Keith reccomended. So i drilled for 5/16 inch bolts. Now its time to be careful. Remove the protective liner. Lay down the fans and put the bolts in from the back. As to make enough clearance. Next bolt the shroud to the radiator. Once you do that your done with assembly! Thats all I managed today haha. Tomorrow I plan on installing the radiator and finising up some wiring. More to come!
-
The coating ran me 295 shipped to my door. Thats backed by a lifetime warrenty. For the first year if you need to make a repair (weld a crack ect) they will pay to ship them back and coat them for free. After the one year they will coat them for free as long as you ship the item to them. In your case that your headers are alreay coated they will chage a fee to strip the coating. I feel their coating is one of the best you can buy. They prep and clean the headers and coat the inside and out.
-
Keith: Ya I just kept at it and it went smooth. Alot of it is shirinked wrapped too. I think it was the way the harness was reworked that made it so easy. Headded out today to tidy up some stuff. Got a call from Jet-Hot. my headders are done! That was fast! Will get some pics when they arrive!
-
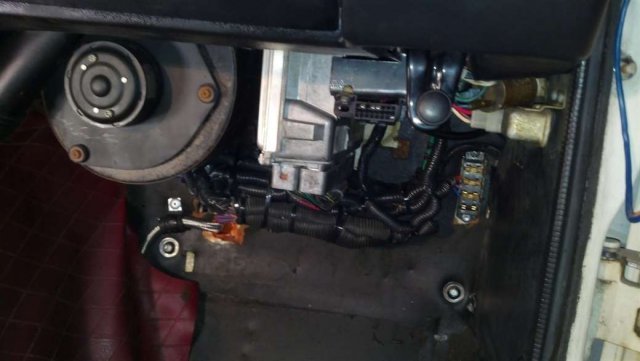
Well 10 hours later and Im DONE with the harness wiring. All thats left is to hook up the constant power on my battrie. I used two relays to control my ignition wires.(one for guages and one for pcm) I fed them directly off the battery. I used the a/c wire as the signal, as I wont have a/c for now. Its nice cuz its ign. on and fused already. I did have to re-rout a few wires but it wasent all that bad. About 15 feet of plastic insulation and 400 zip ties later I got all the wires tucked up on the passenger fire wall. Its not the best looking but it works. I will play with it more down the raod but Im not worried about it at the moment. As long as its safe and not gonna short or rub out. I also mounted the OBD-2 port and the fuse box on the right side. I just need to hook up my oil guage. Im using a manual guage so im going to run a copper line under the dash. All thats left is to setup my fan relays and thats about it. I hope to get the radiator and fans sometime this week so I can get that done and move right on to my headers when they arrive next week. After that its fluids, safty check, prime and hopefully Ill be able to fire it up!! The time is getting close. Heres a pick of the harness,fuse box and OBD-2 port, with the check engine light. Later on I will delete some of the wires and move it up to the right so the people sitting in the passenger seat dont kick the crap out of it. It dosent hit your feet unless you have 13's like me lol.
-
Latest test & tune session LS2/T56/240z
240z72 replied to RebekahsZ's topic in Gen III & IV Chevy V8Z Tech Board
What did you use for the passenger side mount? You have the JCI mount kit right? I may swap mine out for polys down the road. When the two-step kicked on I couldent really hear the car haha. Then once u launched I figured out what was going on. Hope the wheather hold up bud! Go get em! -

Latest test & tune session LS2/T56/240z
240z72 replied to RebekahsZ's topic in Gen III & IV Chevy V8Z Tech Board
Love that two step...car hooked up well and you were gone! Also the car dosent seem to be that loud when your just idoling. -
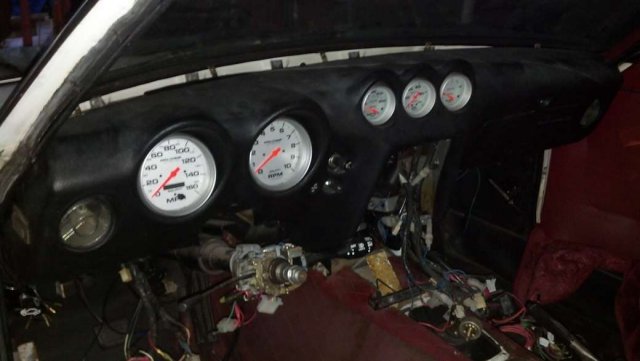
Yup Sunny is right they are the Ultralights. Silver face. Just sad about the color filters. I dont want pink guages! Well I figured out my issues with the lights. Just had a broken connector on my hazard relay and had to run power to the turn signal switch. Done and done. Im going to install a set of relays to run my ingition on stuff. I dont feel good tapping into the already stressed stock harness.
-
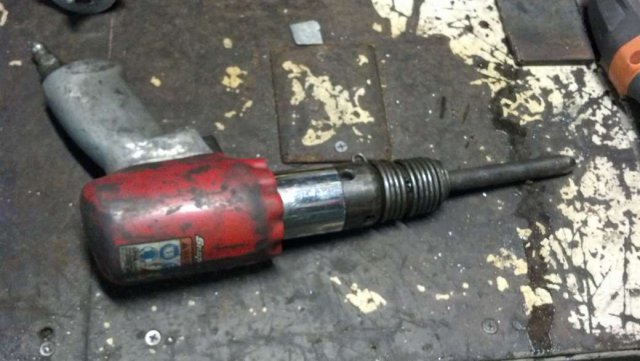
Domzs: Thank you! I will. Trust me, I can see light at the end! Or smoken tires haha. Keith: Thank you too! Heres a pic on my air hammer. Its a Snap-on. The tip i used was just a round end punch tip. I dident hold it solid against the metal as I thought it would punch threw the thin metal. Instead I held it back a bit and lightly hit the metal with the punch. The angle with the tranny in the car made it impossible to hit it hard enough with a hammer or even with a puch and hammer. Well today I cleaned up the harness a bit and installed my dash. Sorry Keith I dident cut it up for a cage yet. One day Ill do a cage and Ill just pull the dash. Then Ill label the few wires I was ushur where they went haha. Most of the connections are easy and only go one way. Buttt there was a few I wasent shur about. I did get most of it hooked with no issues. I then wanted to test things so i hooked up a battrey to the cab feed and turned on the lights and accesories. No smoke! Heater fan works great. All dash lights work well. Brake lights work and headlights. Honestly kinda sad about the color of my guages. I used red filters for the bulbs. My old guages I had befor looked great in red but the filters from Autometer are basically pink. So I am most likely gonna swap them out. Sadly I did have two issues no turn signals and no hazards. I know I messed something up with the connections because they both worked when I tested the car when I first got it. So I will be going over everything trying to figure out whats up. The odd thing is when my hazard switch is off it sends power to the flasher. When its on the flasher is dead. I must have a connection wrong. Blinkers are dead there is no power going the the switch at all. Fun fun fun fun. But for some better news I got the PCM mounted. I used some strap and bent them at 90*'s and drilled 2 small holes threw the cooling fins on the PCM. Welded the straps to the fire wall and hung it with a few bolts. After I took the pics you see I used zip ties to secure and clean up the wires feeding the PCM. Over the next few days ima see what I can do for finishing up the electrical. I will try and figure out hwat I did wrong with the hazard and turn signals alond the way. I want to keep moving forward on the build and not get stressed out but electrical issues. Heres the PCM. Its crooked in the pics because it not tightened down yet. Dash installed! First life this cars had in quite awhile. Its nice to see it commen back to life.
-
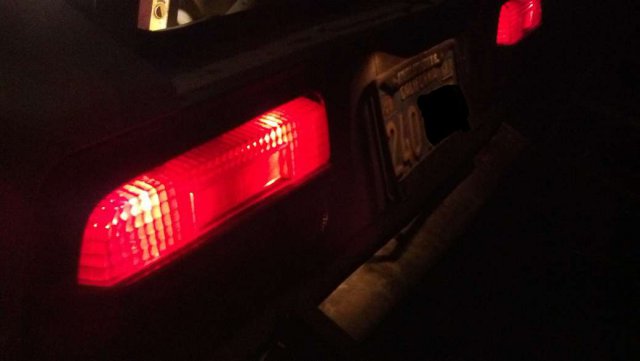
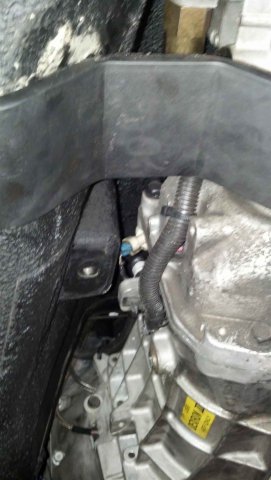
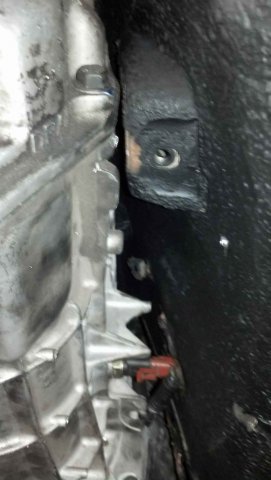
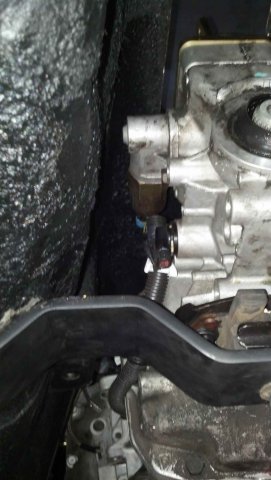
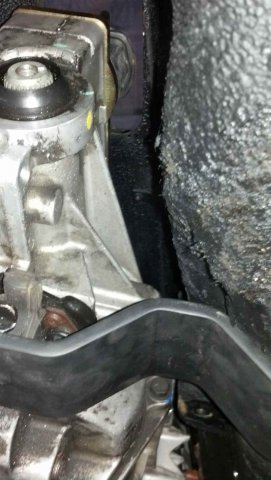
Thanks Keith. Yes you read right. I did not have to remove the stock mounts that are in the trans tunnel. But the right side is very close. (see pics) I dont think it will give me problems if it dose hit under a load I dont think it will do anything. Heres a few pics of the clearence. Heres the clearence for the tail end and only the reverse light sensor that had to have the trans tunnel air hammered out a bit. Reverse light. The pic is upside down. Heres the harness passed threw the firewall and the fuel line finished up. Also reinstalled my fuel rail. I finished all the mounts and torqued everything for the motor and trans. Next Ill start the electrical and install the dash. Everything seems strait forward except for wiring up my alternator. Its on the other side and Im not shur if i just need to run a positive and ground off it. As the harness came with the connector that pops into the the back of the alternator. My guess without looking into it would just to run a positive cable to the battrie and run a ground to the block and ground to the body.
-
Big step made today. Went in with the tranny and motor. For good I hope. I tried my best to set it up so I wouldent have to pull it out again. On the 72 240z I dident have to remove the trans tunnel mounts for the stock crossmember but I did have to pound out a recess for the reverse lights sensor. I also had to pound some area for the tanny mount. I used some 1/4" steel plate for added strenth for the floor as I will be drilling four holes on each side for the mount. I dident mount it in yet. Went to a friends house to use his drill press to drill the plates and it got late. Will finish up the mounting tomorrow and start on the electrical.
-
Id weigh you options. Cost of what it takes to keep the stock tank vs a nice sumped fuel cell. You will have to use aftermarket fuel lines anyway. Good luck on the project! Jim
-
Good stuff keep at it. Also just keep hawking craigslist for a t56. Just make shur you get the right one. Id go for the camaro one over the gto as its shifter is better. Also learn the measurement of the imput shaft for the ls1 motor and bring a tape measure with you so you dont buy the wrong one. I like the raw metal look. Just clear it! Hahha that would be a rare sight. Id honestly just buy the JCI mounts they are well made. Unless you good at fabing metal. They also sit the motor well in the bay. I think you have the aame DA sander i have. Things awesome!

