walkerbk
-
Posts
227 -
Joined
-
Last visited
-
Days Won
10
Content Type
Profiles
Forums
Blogs
Events
Gallery
Downloads
Store
Everything posted by walkerbk
-
Hey now, as I said, the pics don't do it justice. There have been several times that I don't even notice that it's not stock. If I find a decent one at a junk yard now that I know this will work, I will go back and redo it, but until then this one stays as is. She might be ugly, but she has an LS under the hood. Maybe one day she will get a nice coat of paint.
-
I have the DBW setup in my car, used the link from above to set it up. It is so nice to have cruse control, used a few switches and have them all mounted right under the radio by the 4 way flasher switch.
-
LS SWAP 280Z e A few questions for the wiz's
walkerbk replied to TheZkid's topic in Gen III & IV Chevy V8Z Tech Board
I have the cx racing kit in mine and it is very nice but I really don't like the engine mounts, kind of just seem weak to hold the motor. I have the long tube headers from them as well and although they are nice they are a pain to fit in there, there was no mods that had to be done, but I pray I never have to change the starter because it would be a week long job. I am now wanting to turbo my car and can't because of the long tube headers. If I had to do it over again, I would do the jcI kit as it mounts better and I think would fit better than the CX racing kit. The camaro oil pan will fit and hang about 1" below the cross member. Not an issue for me because my exhaust is lower than that. -
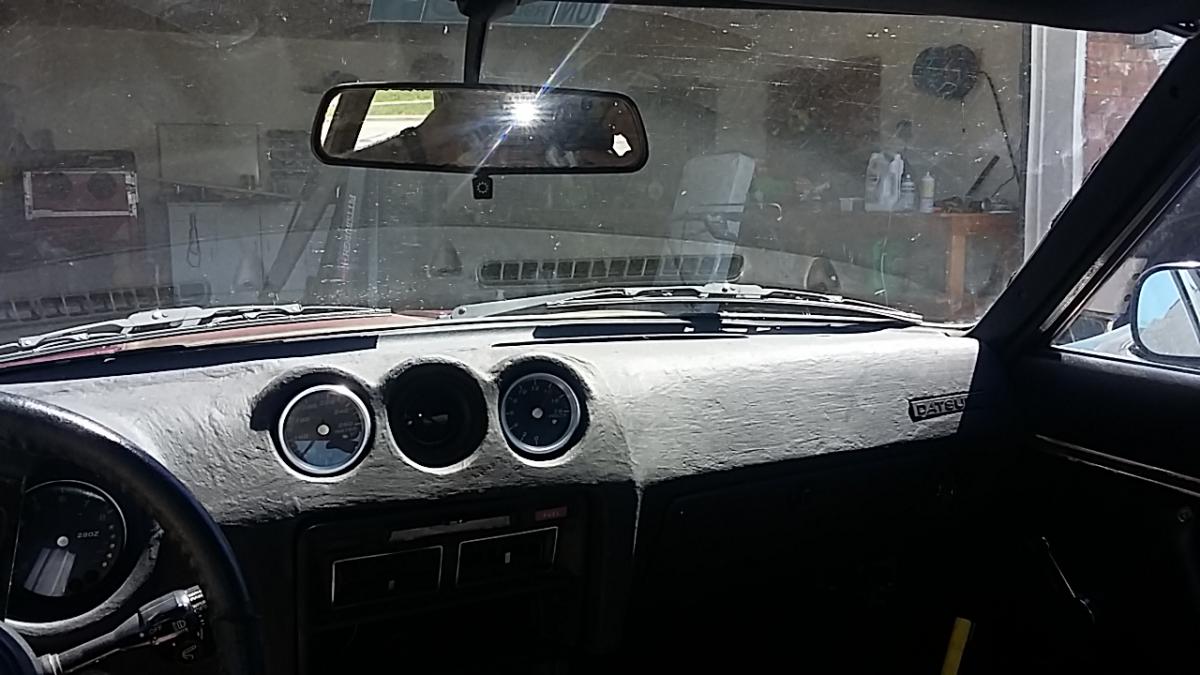
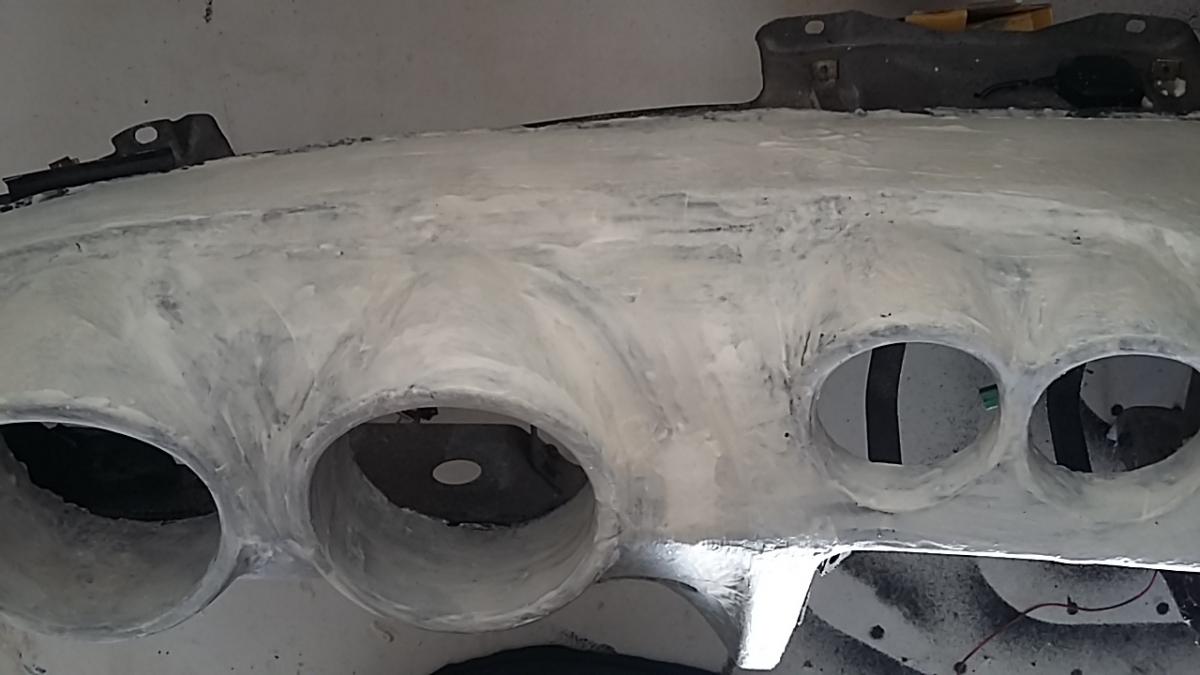
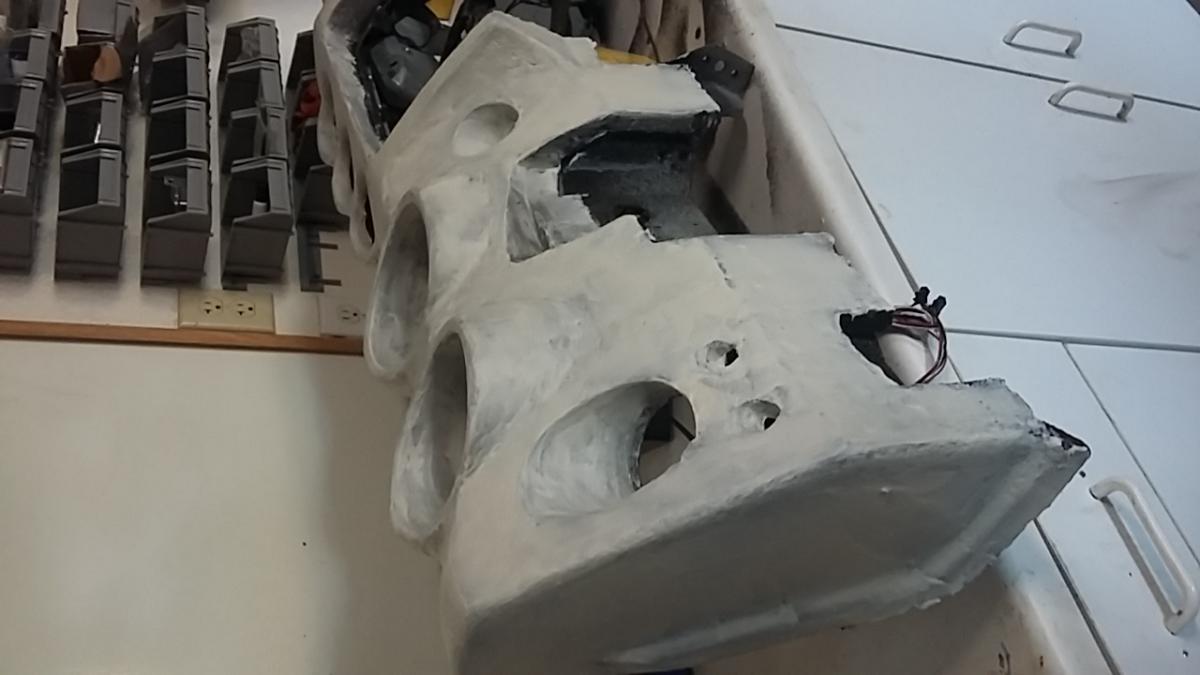
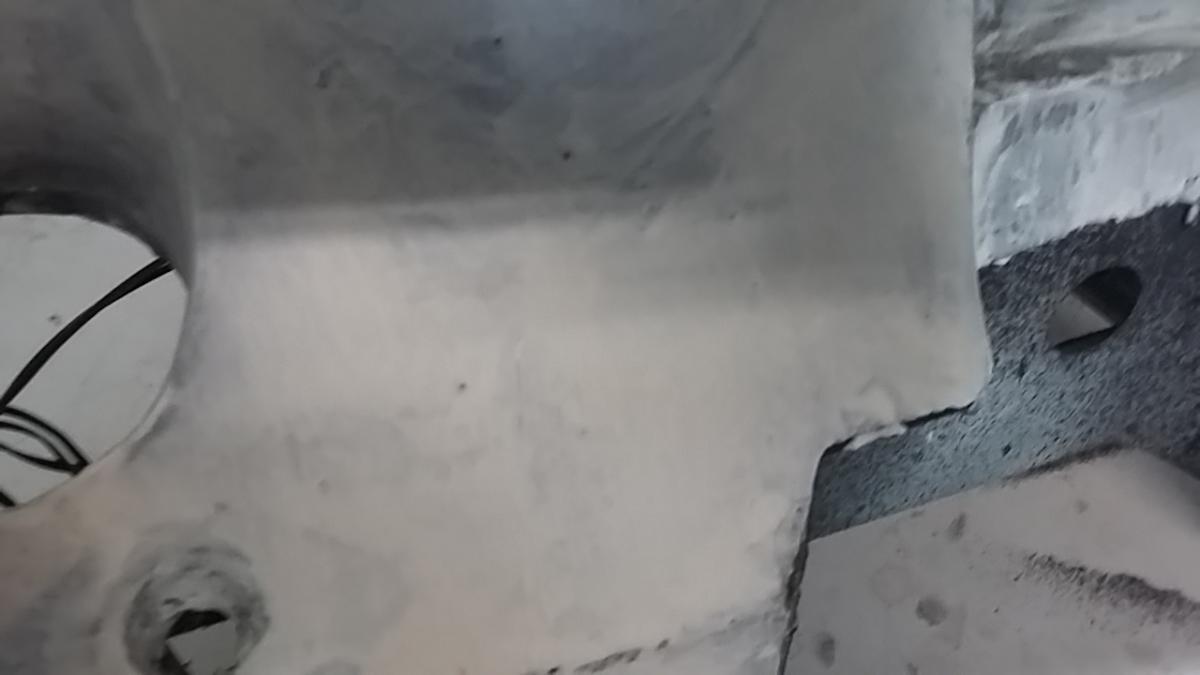
Sorry it has been so long, I forgot about this post. Well it survived the lovely texas winter and we are now getting into the 80s and low 90s so we will see how the summer goes. So far it is looking great for what I did. I am sure if I spent more time on it, it would look much better. I believe that the 2 things that I didn't do that I should have is. 1, sand it down better. The caulk is sandable so you should be able to get a smooth finish. 2, I think that you could probably add water to the caulk to thin it out to make it flow over the dash better. This would remove the brush strokes. Again, overall I am very happy with it and I have had to tell everyone that has ridden in the car that it is not original (they aren't really car guys though). The attached pictures don't really do it justice but here they are. If anyone has any questions let me know. Btw, the reason I did this is because the fiberglass cracked. Plus if you are ever in a wreck, a fiberglass dash is not what you want to hit your head on. After the summer, I will be redoing the rest of the interior. I will be applying great stuff foam and sanding it to get the exact shape I want and then doing this over it instead of vinyl.

-
So as all good stories start out... so, there I was... After sitting out in the Texas sun for all these years, my dash had bit the dust, many cracks had become small canyons and had been filled with RTV by the previous owner. While I had the car apart for my LS swap, and my dash was out for my Speed Hut Gauge install I figured I would rebuild the dash. I had heard many people say they just "fixed" the cracks and went with it, but I wanted to make something that would last so after reading about how I could cover the foam with fiberglass, I decided to give it a try. Removing the old PVC crap was easy work with a heat gun, the whole thing took less than an hour. after that, I spent a few days coating it with fiberglass... BIG MISTAKE, DO NOT USE FIBERGLASS. Let me explain this; first, in the case that you are ever in a car crash, your face would be met by a very soft plush fiberglass wall... not good. Second off, living in Texas, I am assuming that it had to do with the heat, the dash had bubbled and cracked within a few weeks. So what was I going to do. I spent many hours with the heat gun removing the fiberglass and many more hours patching the foam with spray foam. So I was left with a uncovered foam dash with very few options. I could cover it with leather but that to would have problems in the heat over time. So I was on the hunt for something that would flex, handle heat, and be cheap to buy. I found a few people had success at patching parts with bumper repair and then it hit me... CAULK. I know I know you are all thinking I have spent to many nights in the garage with the car running, but after a hour of walking around Lowes, I bought a few things of exterior caulk and took them home to be tested. After testing them all, I found something I like, Liquid Nails Extreme Heavy Duty. It spread somewhat thick, but it leveled out a little to reduce brush strokes. It is paintable, flexible, heat tolerant, and can fill gaps up to 3/8". so any flaws could be filled in plus it is sandable. I used a cheap trim brush from walmart (its the red one in the attached image) and it worked very well, I also tried using a regular paintbrush that I trimmed the end off to make it stiffer, but this didnt work as well. I think I trimmed it to short. I have put four coats of this on the dash and it has become somewhat thick (maybe 1/8" thick on avg). I can push my fingernail into it and it will flex but return to normal. I started painting it tonight but do not have any pictures of it at this time. So, I might be crazy, but I fell this is going to work much better than the fiberglass. Let me know what yall think and I will keep yall updated.
-
I have looked at both of those. WOW, I didnt even think about measuring from the "parting line". Well I guess that solves my problem. thanks for the help. Ill post about the distance and if it fits or not when I get the measurements.
-
I have a 77 280z with a 4 speed transmission that came from the factory. I am trying to replace it with a 5 speed out of a 240sx. The main reason for the swap is my transmission is old, and I will be putting a turbo motor in soon. I know I could go with the T-5, but this from what I have heard is a better transmission and it is easy for me to find (and cheap). I know that the counter bearing hole and the shift rod hole (I am not sure about the names, but I know which ones) need to be enlarged. The problem is, I have read that there are two different types of 4 speed transmission bell housings, one of which you have to move the reverse light switch. I am trying to find out when they switched bell housing so I dont find out mid build that I have to drill a new hole in the side of my new transmission.
-
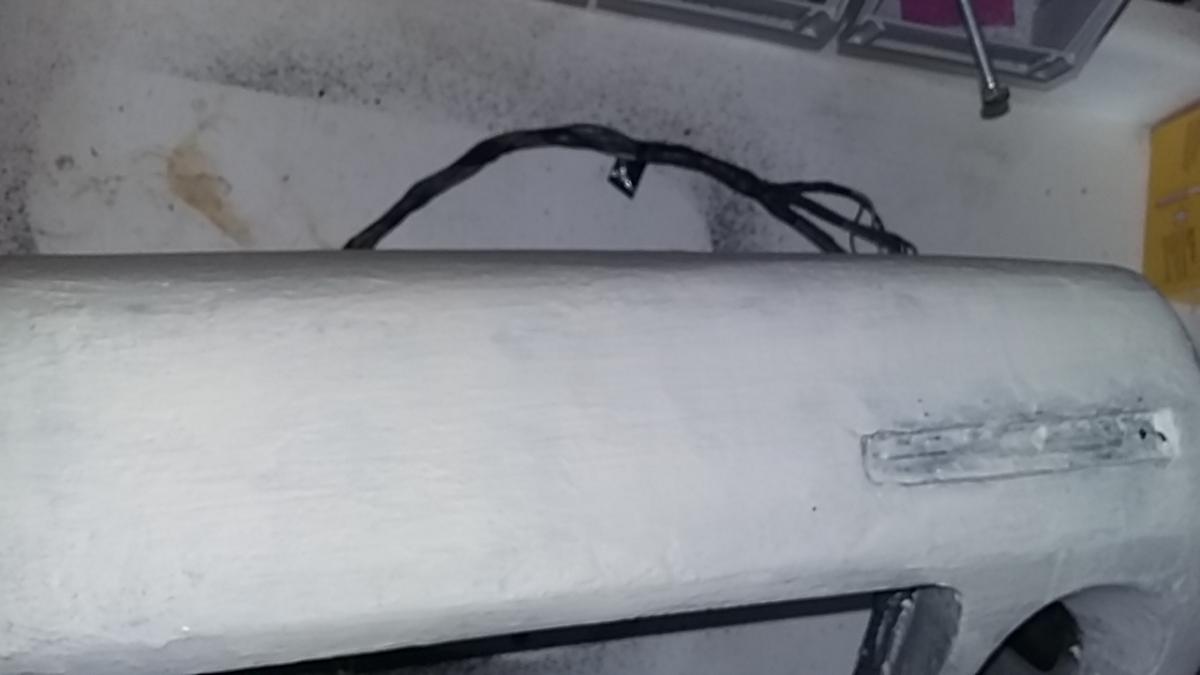
From the other Z door locks that I have seen they should not be any different (I say SHOULD NOT, so dont come blaming me if they are). I have a 77 2+2 as well and have looked for door locks in the past before repairing them with a clothes hanger. Most of what I found had a picture of a door lock that looked like the trunk locking mechanism. I dont know if this is because they are selling a product that they are unfamiliar with or if they are using a stock image. PS, I do however believe the 240 came with a different door lock.
-
I have always found drums hard to get off. The best method I have found to remove them is to get them nice and hot... how you ask... Jack the wheel in question up and turn the car on and put her in gear. pull the parking brake, or dont in your case, and give her some gas until she starts smoking a little. take the tire off and the drum should just fall off. Always works for me