walkerbk
-
Posts
227 -
Joined
-
Last visited
-
Days Won
10
Content Type
Profiles
Forums
Blogs
Events
Gallery
Downloads
Store
Everything posted by walkerbk
-
A musician's therapist (The $300 Z)
walkerbk replied to Zetsaz's topic in S30 Series - 240z, 260z, 280z
I never understood why people complain about the old Datsun wiring that doesnt have relays and then when people replace the wiring, they use a harness without relays. That is a very nice relay board. I am planning on linking a relay board into the speedway motor wiring harness (very similar to all the other universal ones but good reviews). -
D2 Racing Street Coilovers
walkerbk replied to ubergumgum's topic in Brakes, Wheels, Suspension and Chassis
didnt realize you were not in the states. makes sense then. -
D2 Racing Street Coilovers
walkerbk replied to ubergumgum's topic in Brakes, Wheels, Suspension and Chassis
never heard of them but they sound to be the same as the BC coilover. If you dont want to spend the money on the BC coilover ones, buy the CR Racing ones. They are again, a knock off version of the BC Coilovers but are around $800 and have been around a little longer than D2 Racing. The spring rate does seem a little high. I believe the aluminum construction they are talking about is the threaded tube. The main body is steel as you cannot weld aluminum to steel (you can braze but it is much weaker). -
Those look very nice and the price is very reasonable. To bad I already have the rocket bunny kit.
-
your build looks good. I was going to lower my battery on my build too. you mind posting some more photos of the battery tray?
-
Help: Fuel Setup Stock Tank 280zx
walkerbk replied to OldZNewLife's topic in Gen III & IV Chevy V8Z Tech Board
the fuel being sucked up the feed tube will be under vacuum since it is before the fuel pump (you did say external fuel pump right). the return line will be pressurized but that is only due to flow restriction of the line (i.e. the line is the only thing holding the fuel back which creates pressure). The return line shouldnt be more than 10-15psi at idle which is when it will be its highest. I say replace those old crusty lines with some new f.i. rated fuel line from the parts store and you should be good (you could keep the current lines too). -
Let's talk brake system design
walkerbk replied to 280Z-LS3's topic in Brakes, Wheels, Suspension and Chassis
ride height very much so effects the brake setup. longitudinal load transfer takes place when you apply brakes... that is, weight from the back of the car shifts to the front of the car. This transfer of weight is based on the reduction in speed in the form of -g's, the wheel base of the vehicle, and the height of the center of gravity. The suspension plays into this calculation because the center of gravity is changed with the suspension. from my research, the center of gravity should be about 3/4 the way up up the block. -
Thats exactly what I am thinking about doing. I can then route my electrical far enough above the battery it wont be an issue or I can pass them behind the fender to clean up the engine bay. Thanks for the photos.
-
Hoke Performance LS2/T56 install starts today.....
walkerbk replied to mrk3cobra's topic in Gen III & IV Chevy V8Z Tech Board
If you get lucky, you can buy a electric power steering (EPS) unit out of a 2006-2011 Toyota Yaris - (Without ABS) and connect it to your VSS. Most EPS units get the speed signal via CAN BUS but the 06-11 Yaris without ABS received a standard VSS which allows for it to easily be swapped into other vehicles (supposedly). I bought a unit a few years ago but havent installed it yet as Im in the middle of my own rebuild... Ill let you know how it goes in a few years. https://ls1tech.com/forums/suspension-brakes/1848775-35-electric-power-steering-fail-safe-no-ebay-module-no-caster-issues.html -
Im actually writing a 30+ page paper on the math right now which means I cant share the paper until i turn it in or it will get flagged for plagiarism but the basis is this: Longitudinal load transfer = Acceleration (g's) x Weight (lb) x (CG Height (inches) / Wheel base (inches)). this will give the amount of weight that is transferred under certain braking conditions. most drivers can only control a car around -.7 g's. This calculates the load transfer from the rear to the front which then allows for the brake bias to be calculated (the purpose of the paper). Whenever I am done with the paper, i will post the whole math problem but, the lower the center of gravity, the less weight is transferred. This is not going to be a full track car, just a weekend racer. part of my goal is to lower the CG the other is to just make more room in the engine bay. I dont like how much room is lost.
-
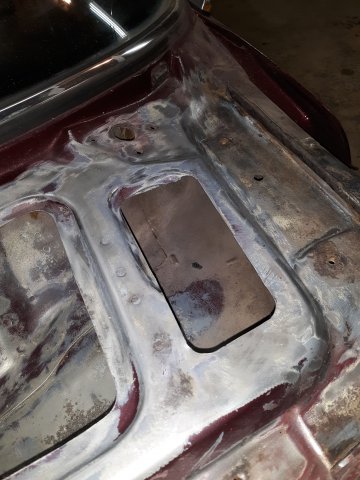
Im working the math on the effects of lowering the 40lb battery 6in should result in around 10ft shorter braking distance due to less longitudinal weight transfer. As for the side to side weight transfer, im not sure but it would for certain be less. I know an alternative would be to replace the battery with a smaller unit and I am for sure going to do so but Im thinking that I will still build the battery compartment for the original size battery.
-
Replace stock wiring with universal wiring kit?
walkerbk replied to billyjones454's topic in S30 Series - 240z, 260z, 280z
I have been researching replacing the body harness as I already did a LS swap and gunked up the wiring and Im now going back through and doing the body work. I believe the hardest part of swapping the wiring as stated is the wiper system. As such I kept the original wiper wires and will have to only provide a ground and a 12v switched. The second hardest I believe is everything else in the column (lights, starter...) but there are several you tube videos on that. From watching you tube videos, I believe it is easier to do a complete harness rebuild when conducting a swap than it is to integrate your gauges and engine harness. -
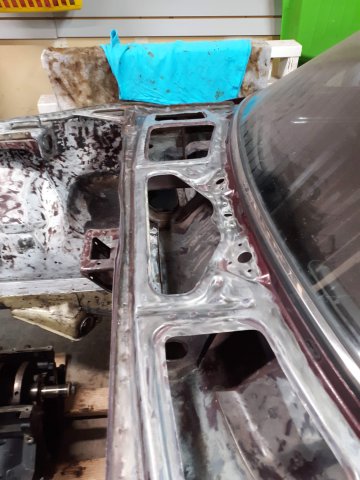
My battery tray area is rusted and needs to be replaced. I have removed the old battery tray and started thinking about mounting the battery lower than before. My thought is towards lowering the vehicle center of gravity as the lower, the better braking and suspension will work. Could I cut out the body right below the battery tray and lower the battery mounting location? making a U for the battery to sit in maybe about 6in deeper than the stock location.
-
Jumping into the deep end!
walkerbk replied to billyjones454's topic in Gen III & IV Chevy V8Z Tech Board
I utilized the 4l60e in my LS swap and also had fitment issues but on a much lower scale than you currently have. I had to cut the ears off the original transmission mount and hammer the area in by the shift solenoid on the passenger side. I then later on found out that my transmission cooler lines were up against the body which ultimately resulted in their failure (every time the engine torqued over they slammed into the transmission tunnel). That being said, the 4l60e is still a smaller transmission that can be built to handle the amount of power the LS engine will be putting out. There are three factors that kill the transmissions, h.p, torque, and vehicle weight. Since the 280z is so much lighter than most cars out there, the 4l60e is more reliable. The ECU is going to be sent off any ways since you will have to get VATS removed and such. swapping the transmissions within the tune is super simple (I dont even think people would charge for it because they should already have a 4l60e base tune). If you need help with the wiring check this site out. http://lt1swap.com/index.htm -
That is the exact thing that I did. finished a LS Swap, didnt like how the wiring and body turned out and am going back and redoing it.
-
I cant give recommendations outside of the mil spec connectors as that is what I have purchased for my build. I however, to keep costs down went through Mouser and bought all the individual parts which cost me around $60 for a 47 position connector. Here is the link to one half of the main body that I have. https://www.mouser.com/ProductDetail/Amphenol-SINE-Systems/AHDM06-24-47SR?qs=sGAEpiMZZMs7eK6h2EBtKqQk8GnQtRA37MqQIdktcjc%3D
-
Stitch weld it as is. if you want the extra welding, weld it from above as well. Keep your welder focused on the frame rail so that the majority of the heat stays away from the floor pans and you dont end up punching holes through them. weld nice smooth U shapes building up a puddle at the top of the U (on the frame rail) and then dropping down to the frame rail and back up. this will also help prevent distortion. And when i did mine, i welded the frame rails together to make one solid piece prior to welding to the floor pans to ensure the joints were not weak. Once you are done seam seal it and call it a day.
-
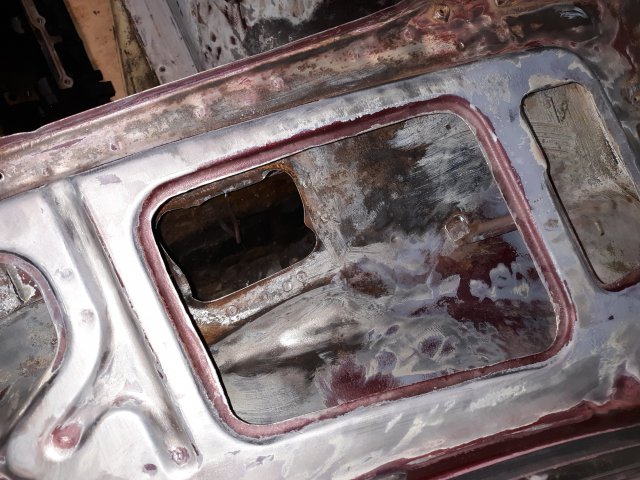
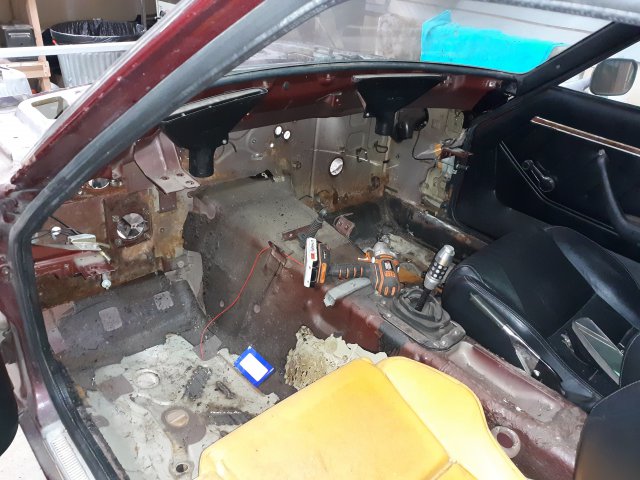
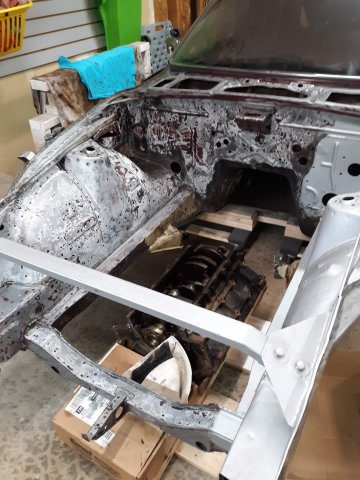
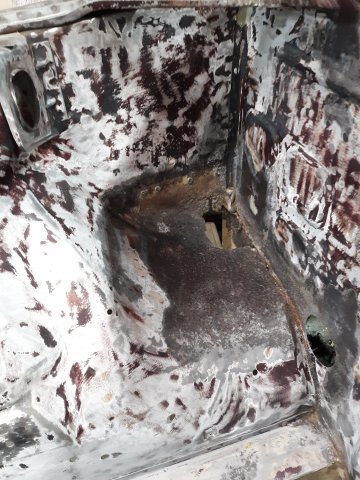
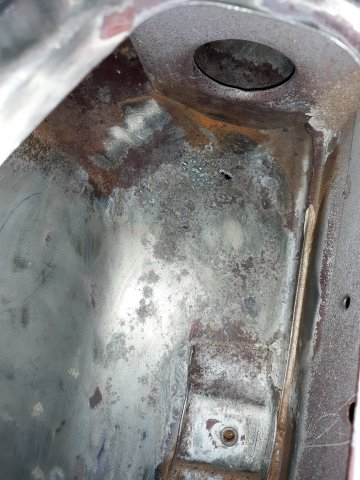
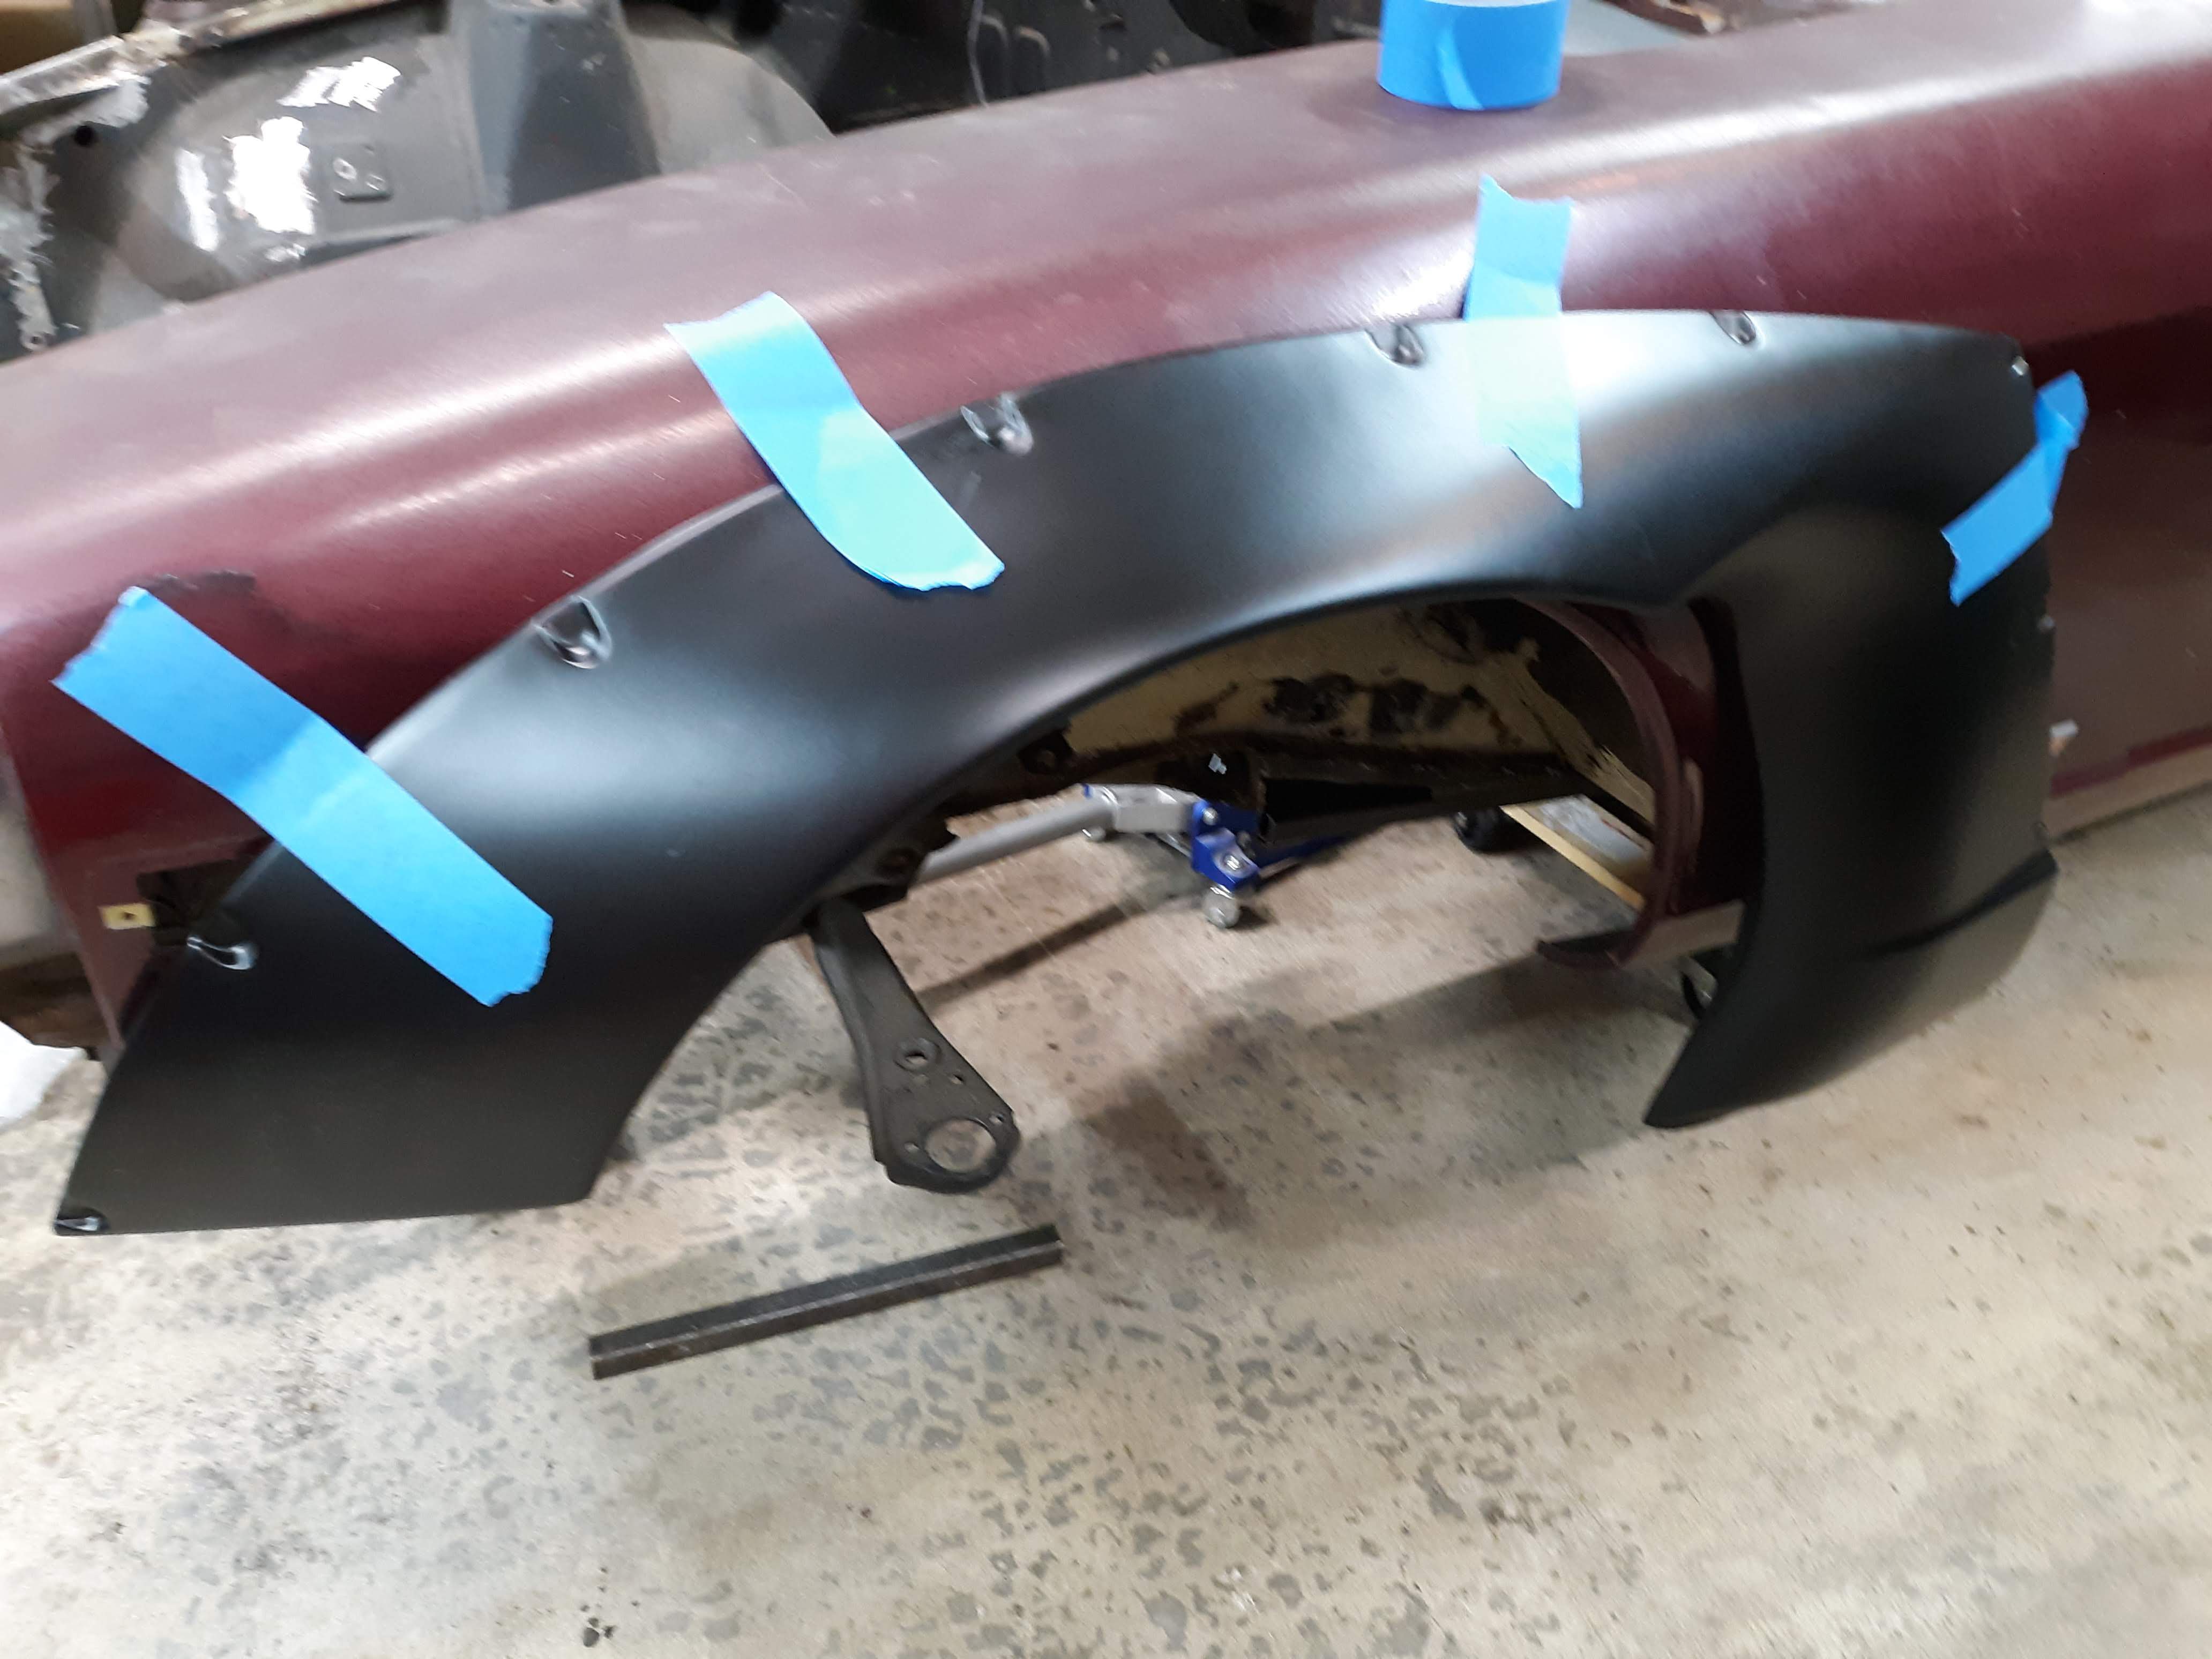
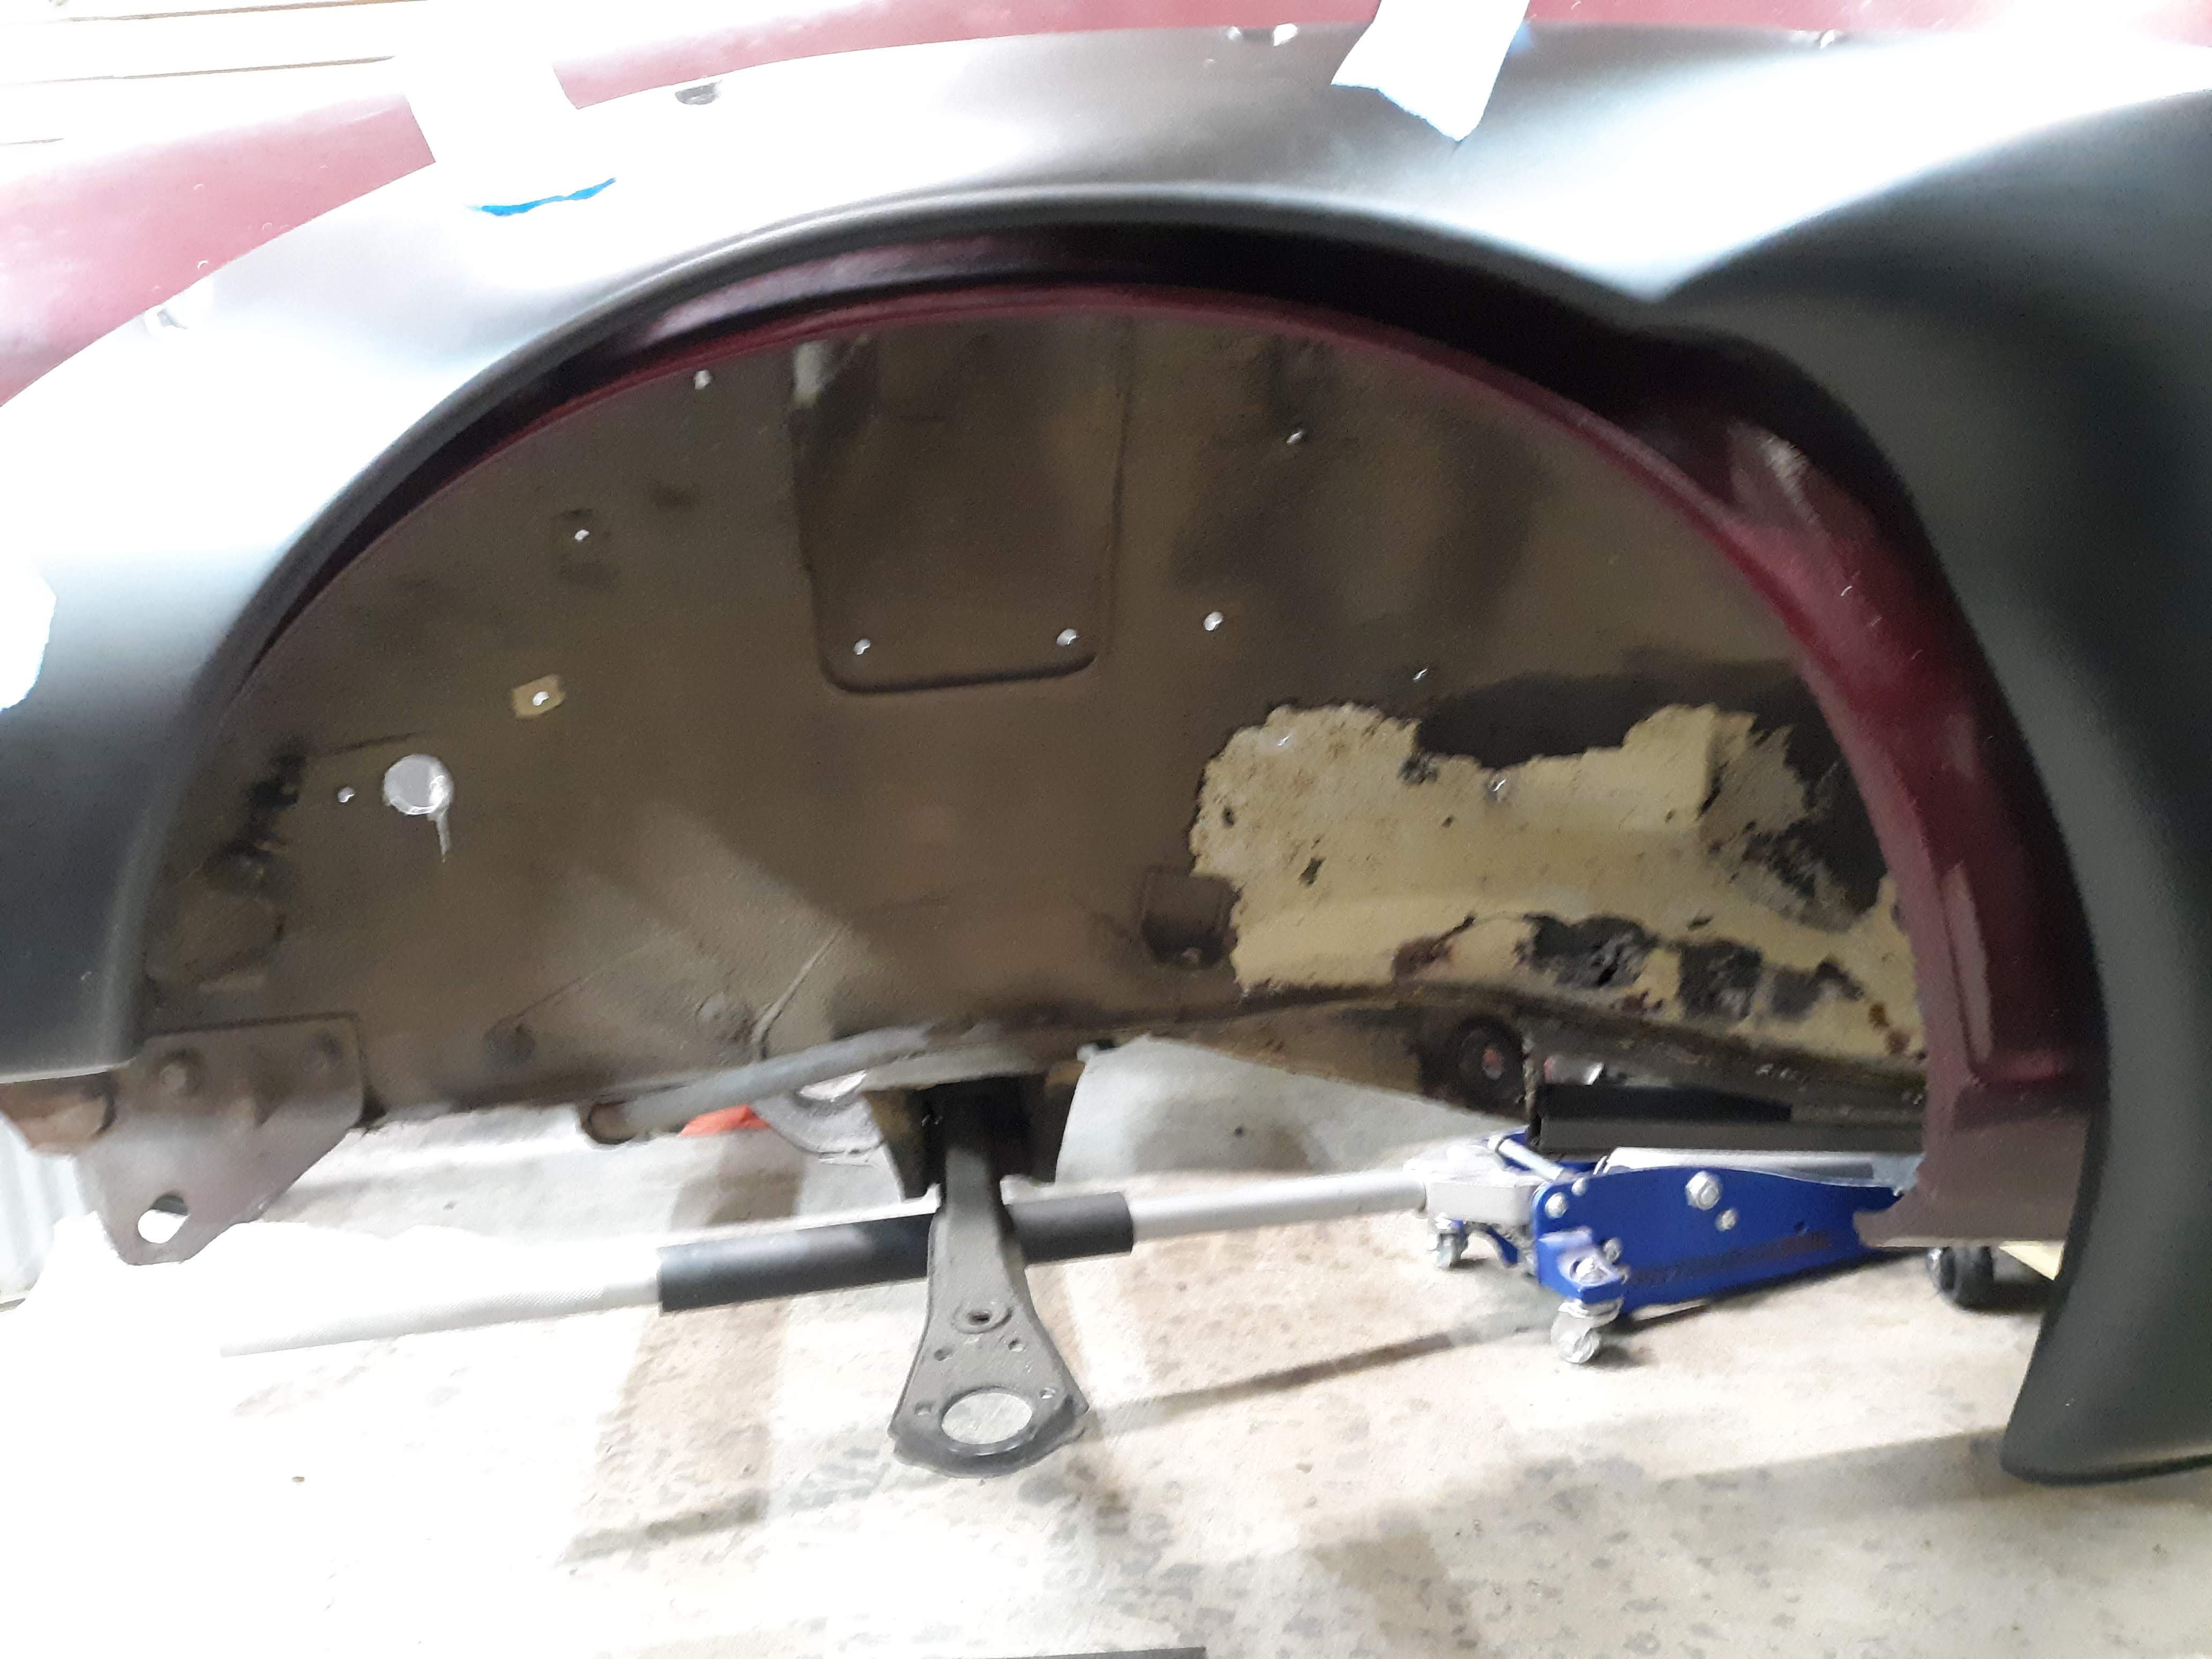
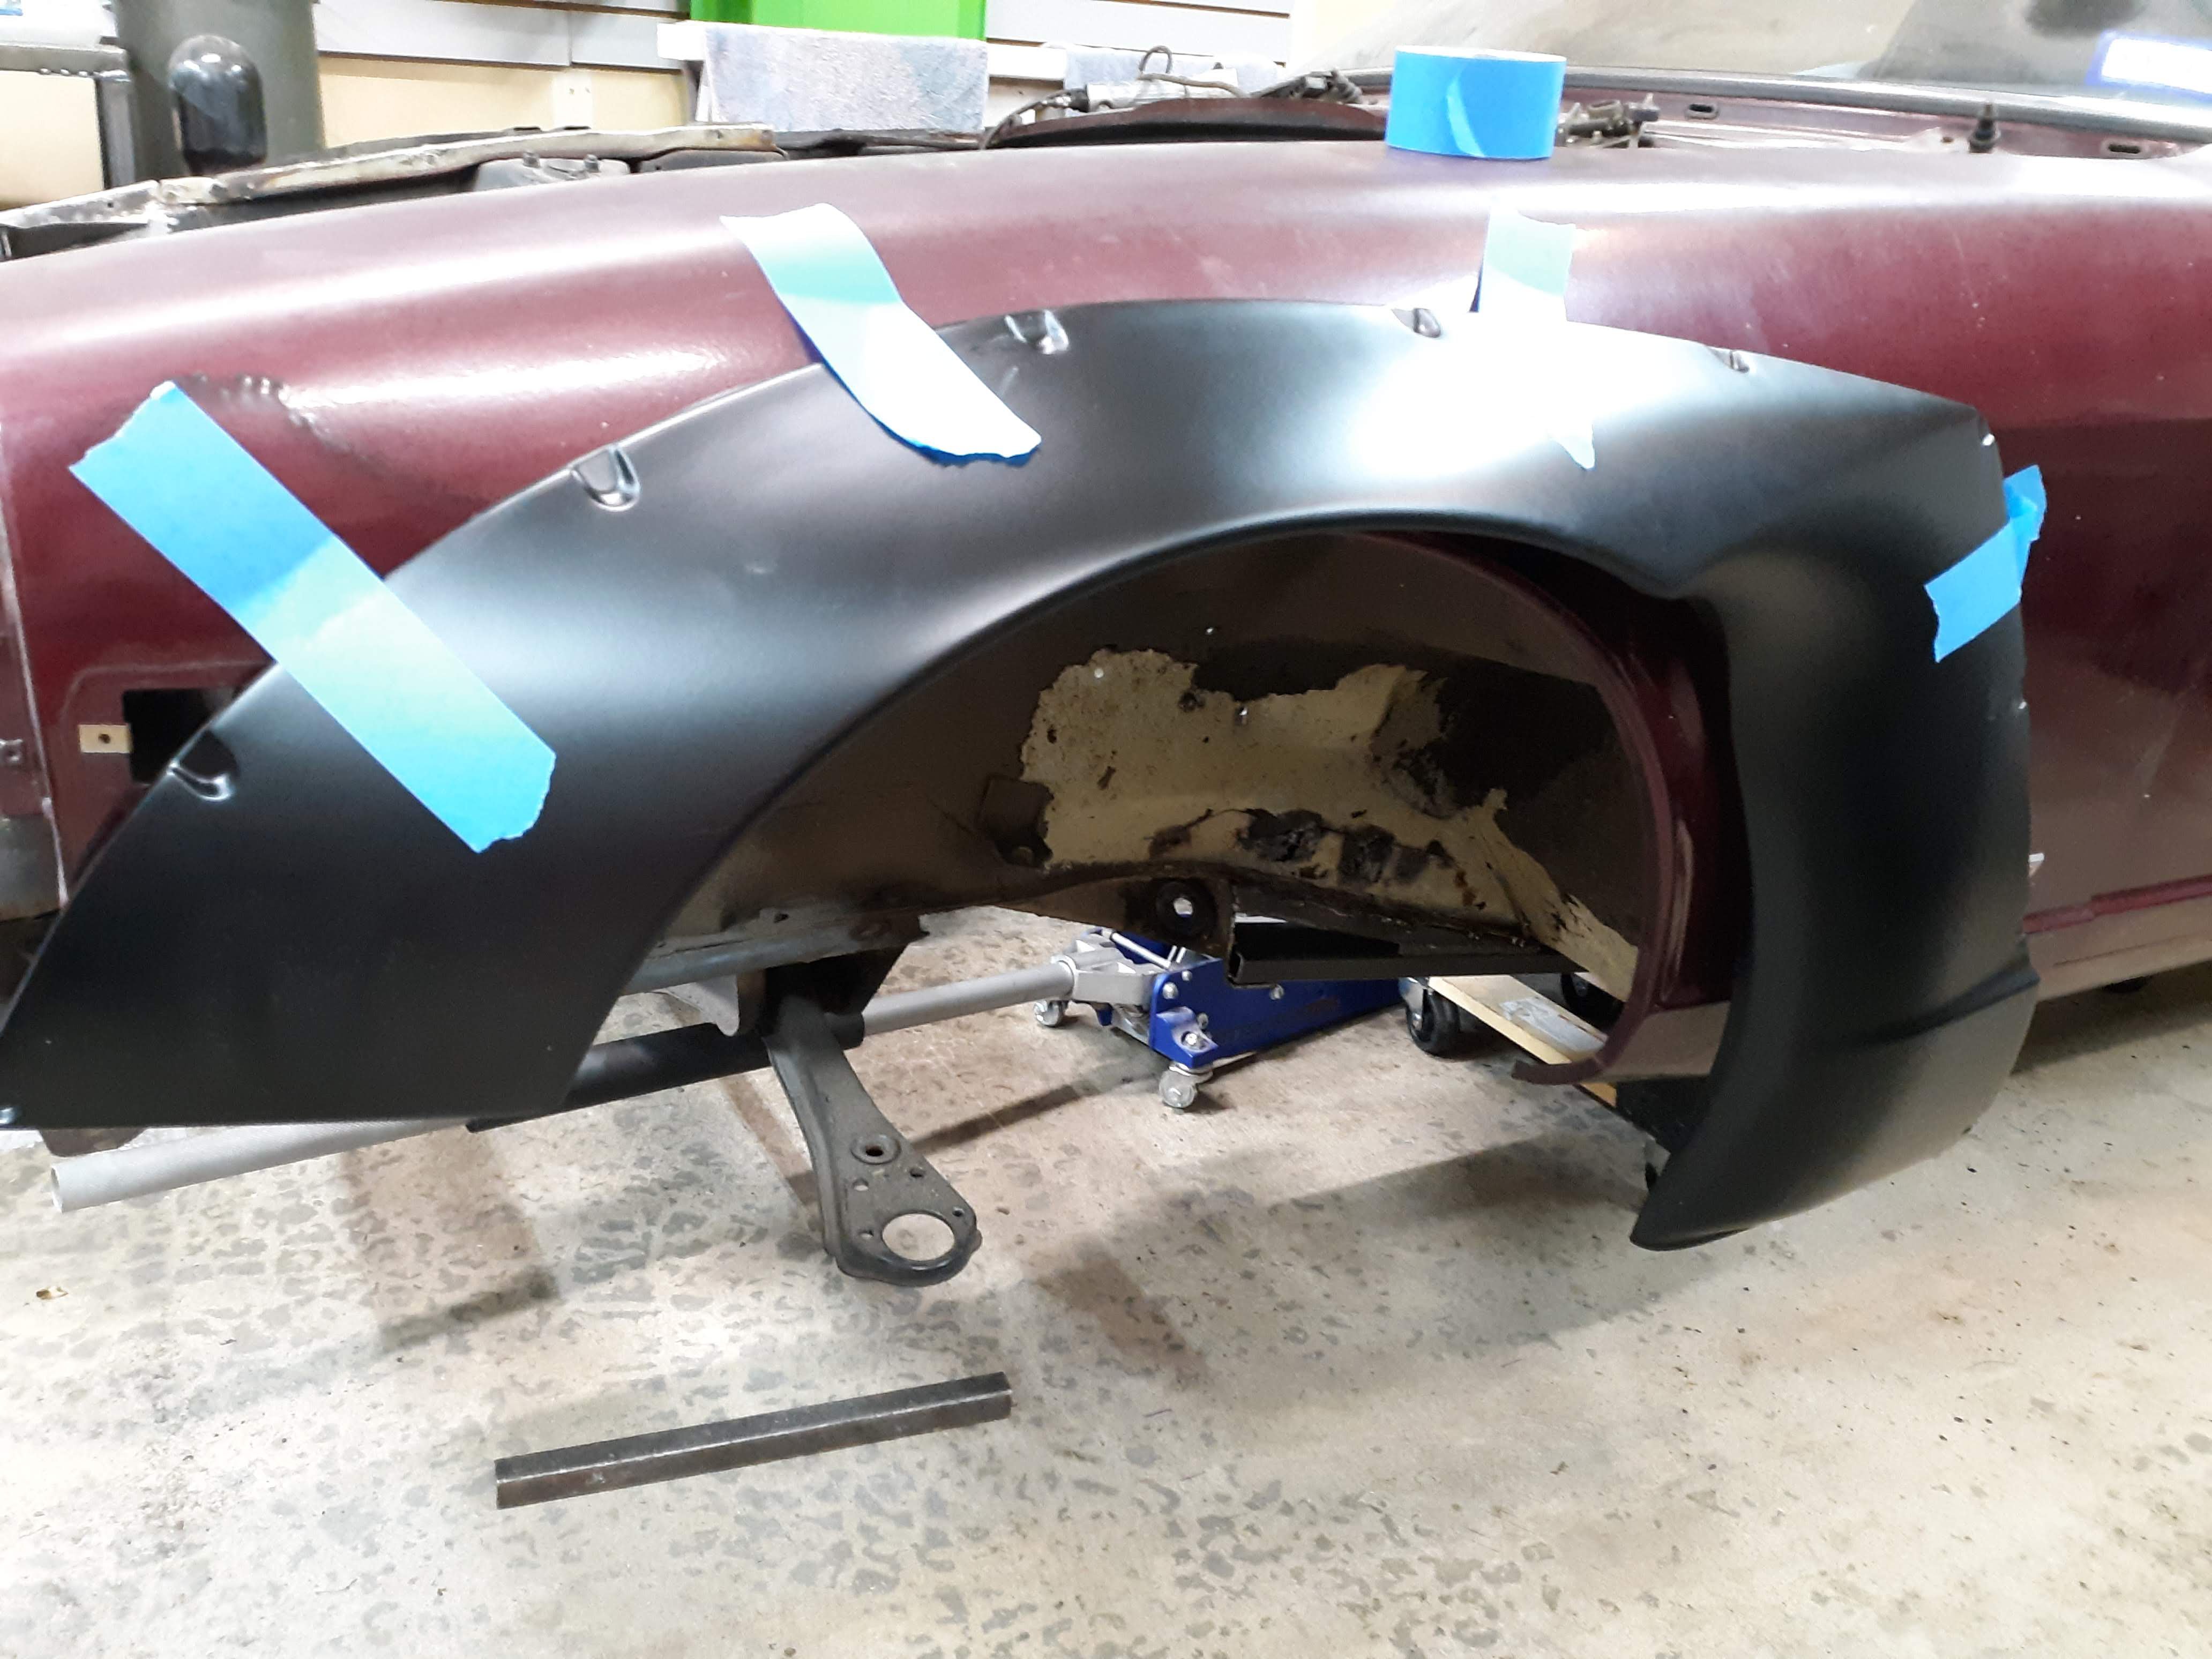
Currently home on R&R leave seeing the family for the first time in 7 months. While I was gone, the wife had another kid making it two kids, one boy who is a hell monkey and a girl who will not sleep. Being the great wife that she is, I have been able to put some work in in the car. I have been focused on working my way front to back continuing to strip everything off the car. I was able to completely strip the engine bay down to bare metal and get the front wheel wells stripped. Best thing I found to strip the old sound deadening material was an air needler. It made quick work of the material and just requires a quick touch up with a wire wheel to finish off any remaining bits. I also removed the dash, mounted the front fender flairs, finished removing the wiring harness, picked up an LQ4 and tore it down to the bare block. I am going to be replacing the wiring harness with an EZ harness but will be also building the harness for the LQ4. The only stock wiring that will be retained will be the windshield wiper wiring as the system is complex stock and I have already upgraded mine to the Honda motor. As such there is one wire that goes to 12v pos (I believe acc) and two ground wires (one at the relay and one at the motor). I might in the end pull that wiring as well and replace the “wires” but keep the setup. I also got everything that was sanded wiped down with metal prep from master coat. It is a rust killer and it has a zinc phosphate in it to prevent future rust. This will go in the engine bay, interior and under body as it is supposed to be covered with their rust encapsulater primer. The rest of the car will have to wait to be sanded. My eventual goal is to paint the underside and inside black with the master coat paint and then coat the underside with a truck bed liner. The topside and engine bay will be primed and painted with a base coat clear coat system. Current plan for paint is to sand until I expose all the rust and the majority of the bare metal, fix any rust issues (both rear wheel wells, battery tray, both rear corners, weld over the fresh air intake, and anything else I find), epoxy prime, poly prime, block sand, sealer coat, base coat, clear coat. After I get the epoxy laid on, I will mount the engine and work on the electrical prior to paint so I don’t have a lot of nicks in the paint from doing all that. Let me know what yall think.

-
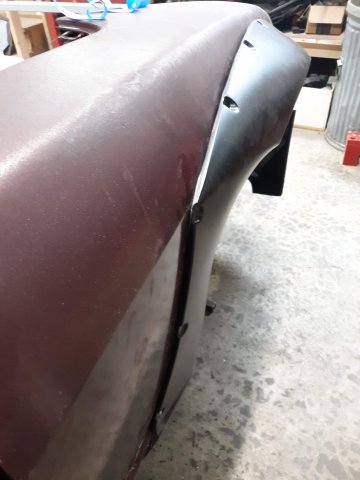
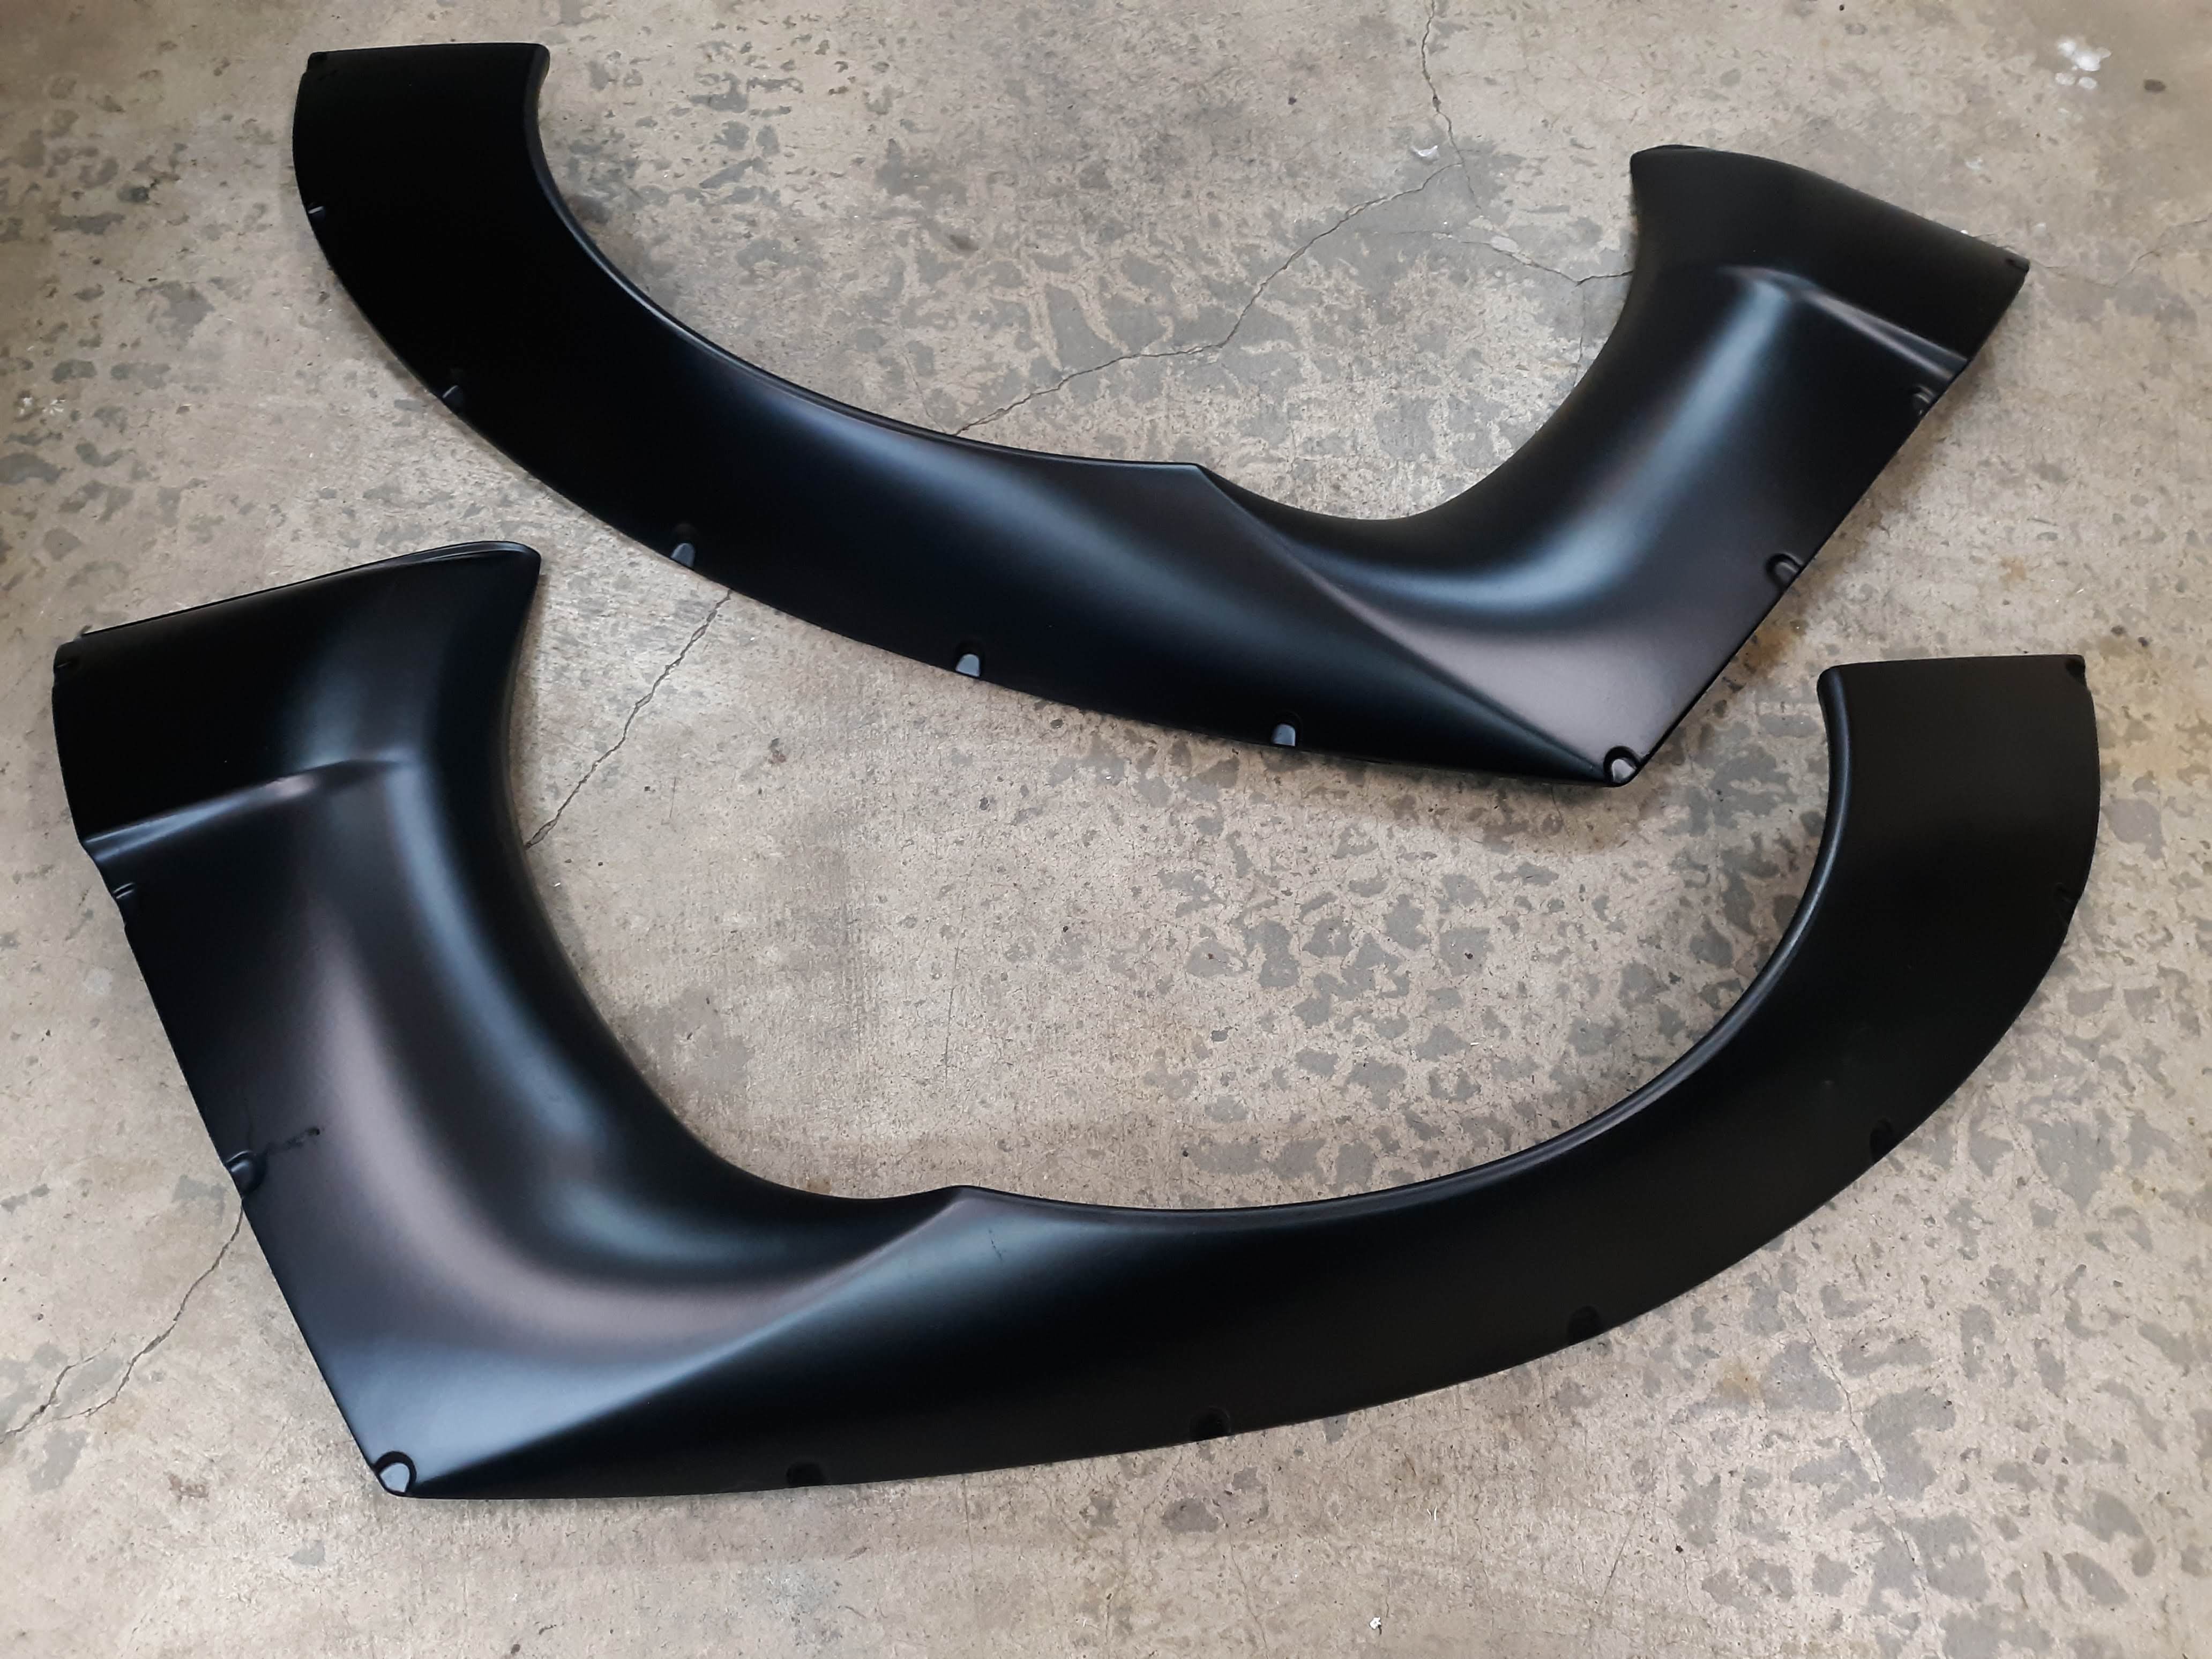
Hey everyone, im back for a few weeks and wanted to give an update to the quality of the kit. So far, everything seems to fit better than expected. I am working front to back and was able to get the front air dam mounted, and the two front fenders mounted. The front bumper does not line up perfectly but will not take any modifications (maybe a little sanding) to make fit (just the dimples for the screws don’t line up perfectly). I believe I mentioned in a prior post that the front bumper was cracked; there is a small hairline crack along the leading edge which is going to take a little reinforcing from the back side and then just clean up the gel coat. The worst part so far looks like when they trimmed the fenders, they did not get them perfectly straight and is going to take mounting them, marking areas to trim and then taking them back off to be trimmed. Over all again, for the price, I am very happy so far with what I got. It should also be reiterated that my car is a 2+2 so the rear fenders are going to take me a while to get mounted and I’m going this while on R&R and will be headed back to Afghanistan here shortly (another 5 months). Let me know if you have any questions. BTW, Im mounting them with SS ¼-20 nut inserts with SS button head cap screws to match.
-
Front brake upgrade with slip-on rotor
walkerbk replied to calZ's topic in Brakes, Wheels, Suspension and Chassis
There are a 1000 different calipers out there to try, just havent found the right one yet. Keep looking as I'm sure there is a caliper that will allow for a simple adapter to work. -
It is surprising that the red locktight didnt work, that stuff is a pain to get off. I have 12.9 grade hex bolts with low profile heads (from fastenal) with lock washers and I havent had this issue. I wonder if it could have something to do with the CVs binding? did you shorten the axles?
-
If the roof is that bad i would hate to see the rest of the car. Was it stored under water???
-
Slow Build 240Z LS1/MN12 - Build Thread
walkerbk replied to JoeK's topic in Gen III & IV Chevy V8Z Tech Board
I can help with part of the problem. Im not sure about the squealing pulley but I believe i know whats going on with your fuel system. I ran into a similar issue a few years back with my LS swap. I did the Camaro fuel tank and pump and then used a Corvette fuel fillter/ regulator. I found out that the Camaro fuel pump had a built in regulator and when you double stack regulators you get half the gas (or maybe it was double, its been a few years). I ended up pulling the Camaro fuel pump out and bypassing the regulator (should be on the return line). The other option is to run a "U" from the Camaro fuel pump output to the Camaro fuel pump return and the "T" off of it somewhere along the "U" bend. that line (the "T") would then run forward to your fuel rail. The third option is depending on your fuel rail to run a fuel line and a return line all the way to the fuel rail. I hope that all makes sense. If not ill try to better explain it. At the end of the day, if you stick a fuel pressure gauge on the rail, you will see what im talking about, you will be way off the 56ish PSI that your supposed to have. -
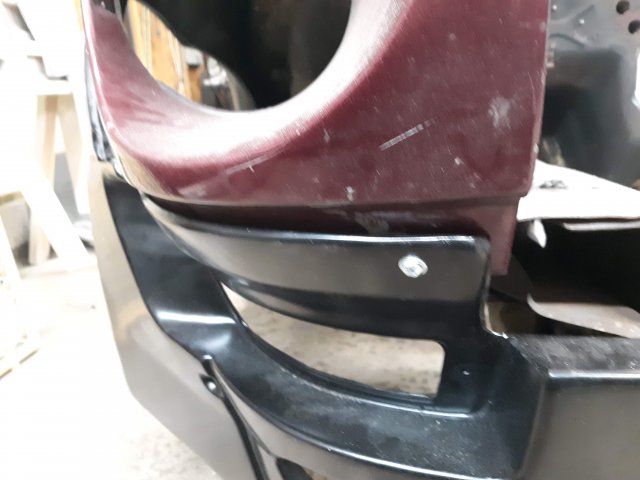
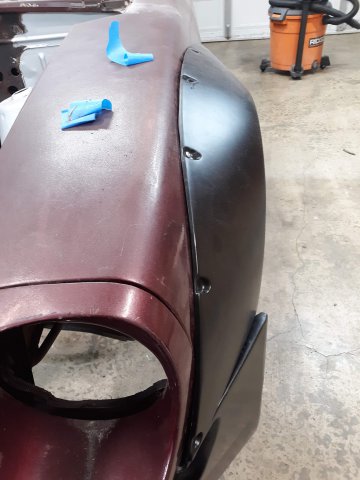
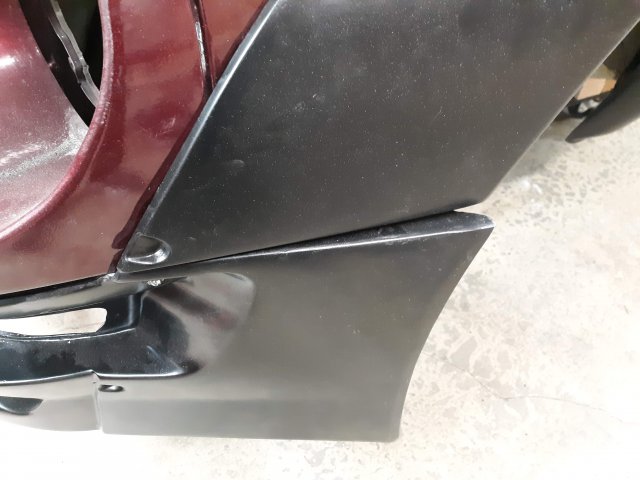
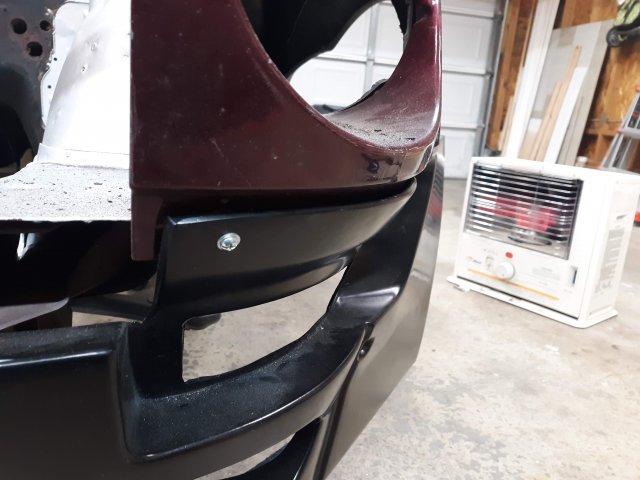
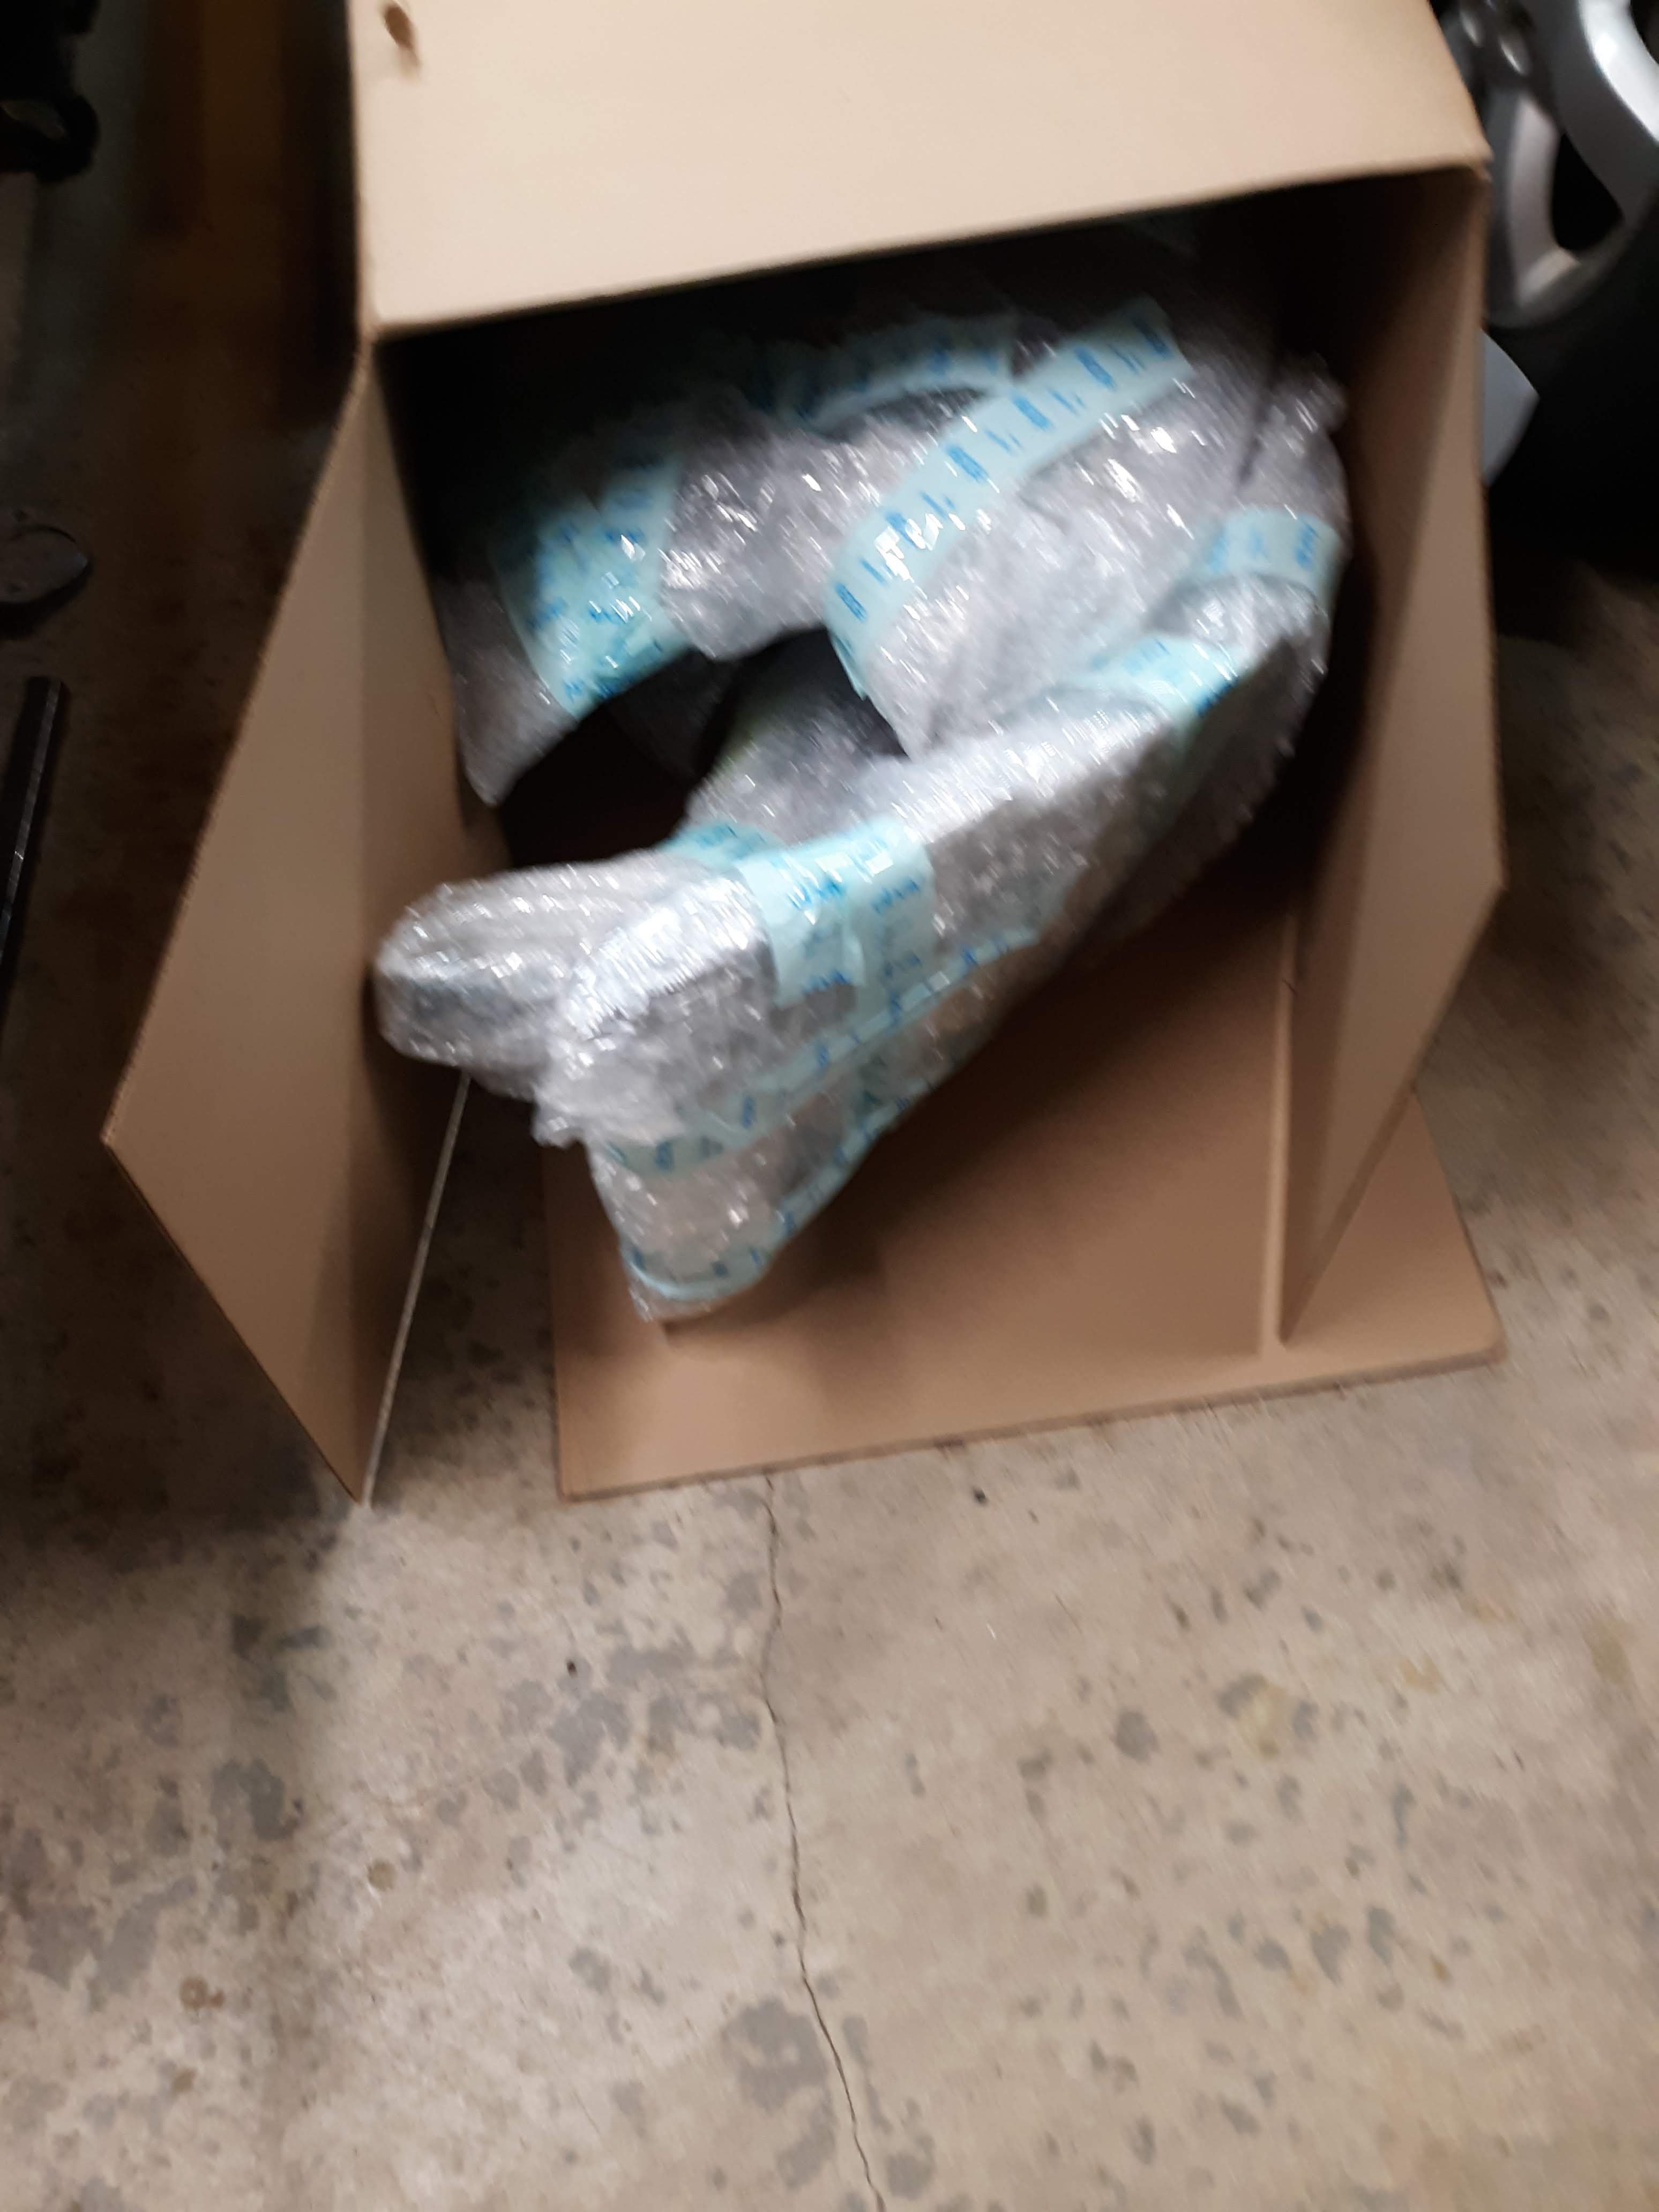
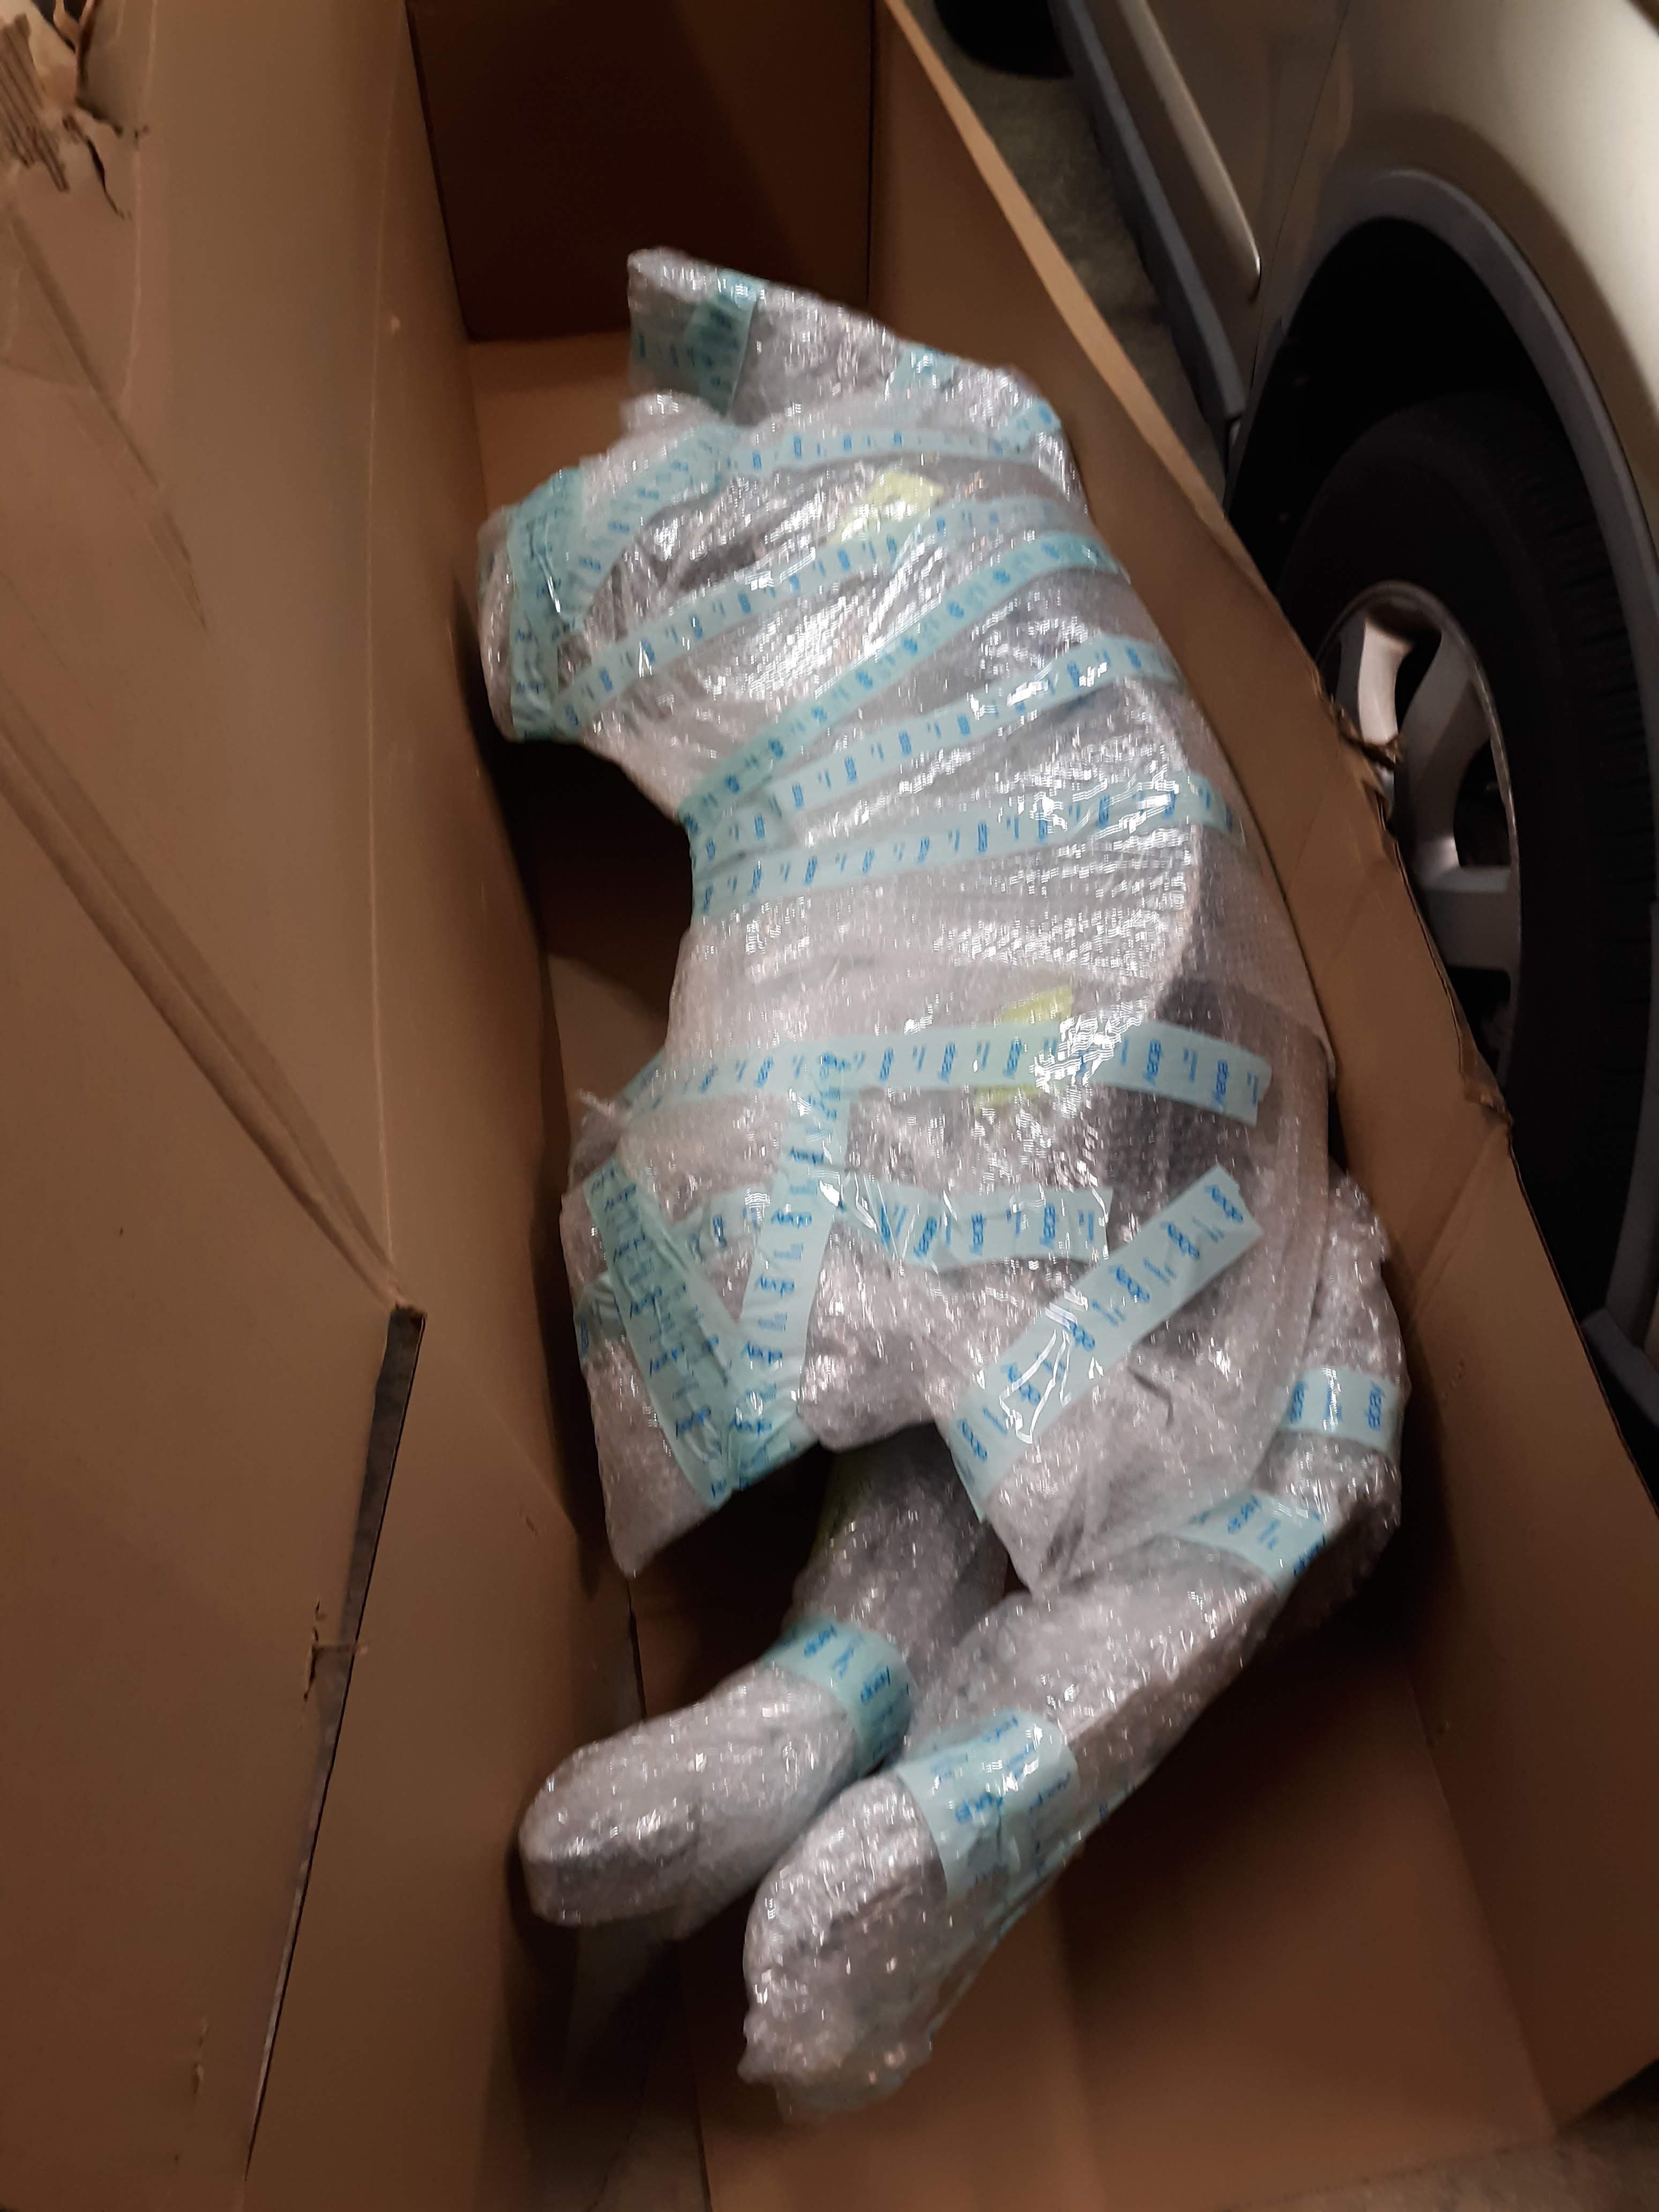
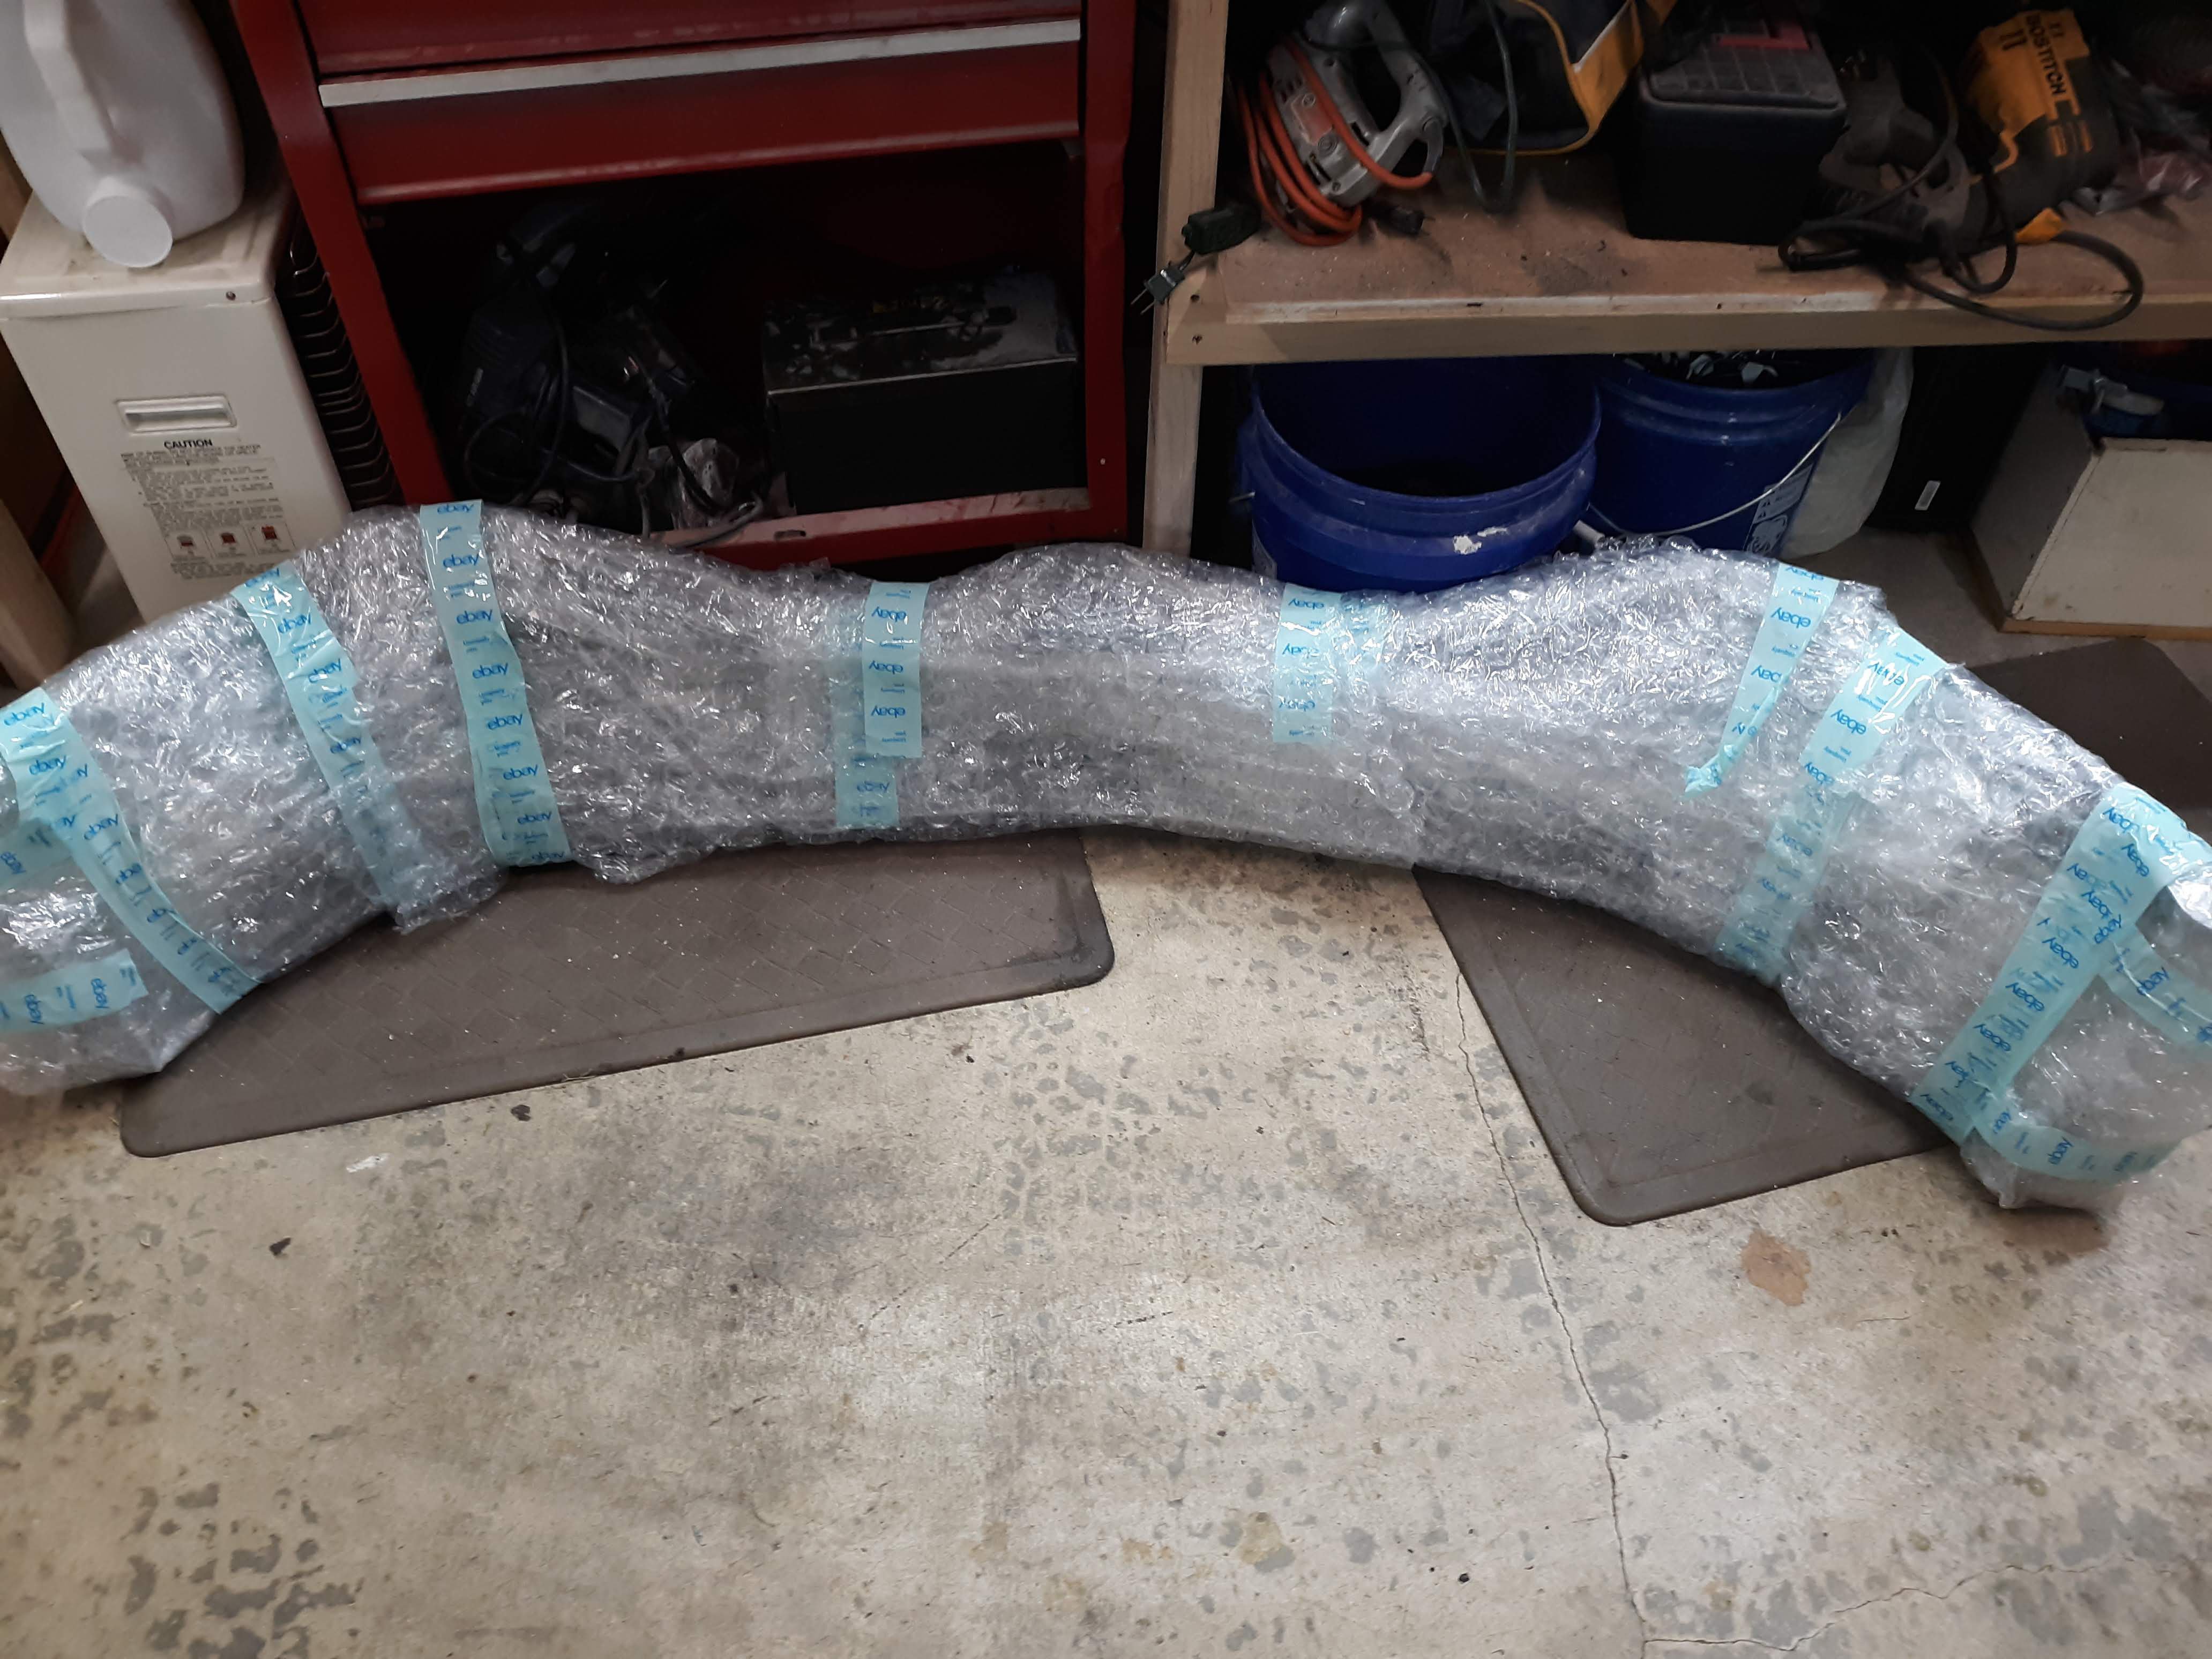
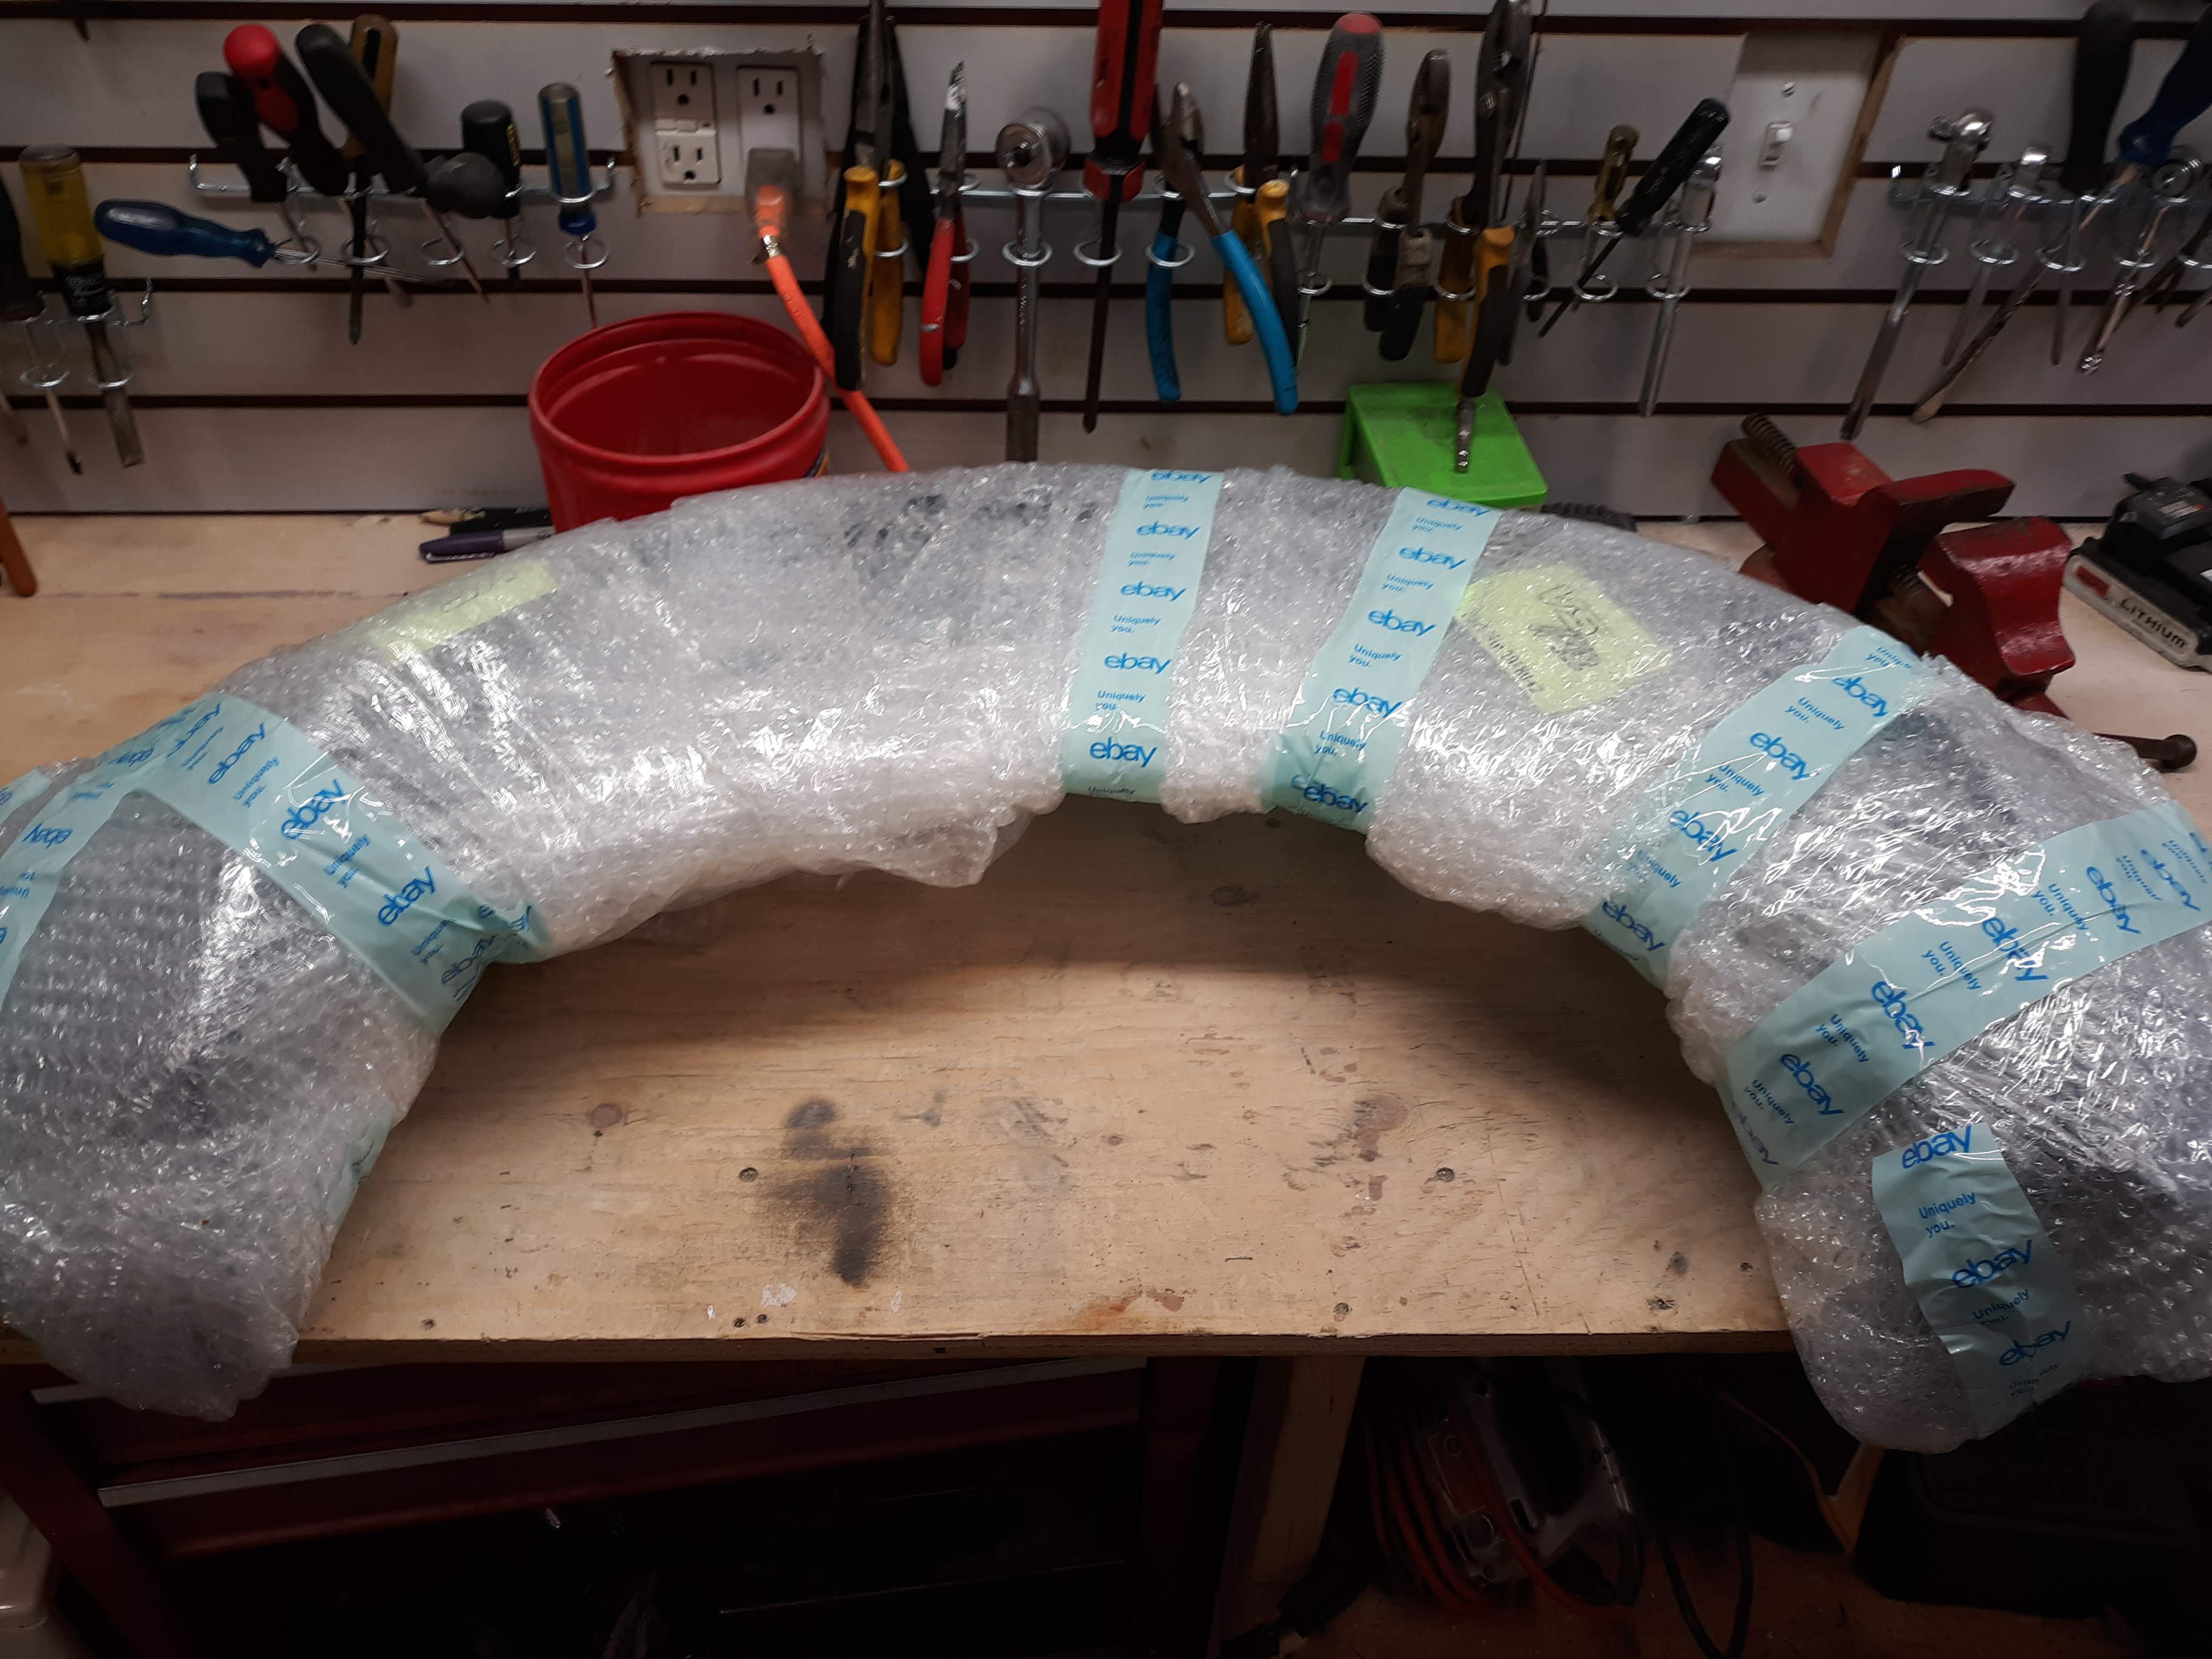
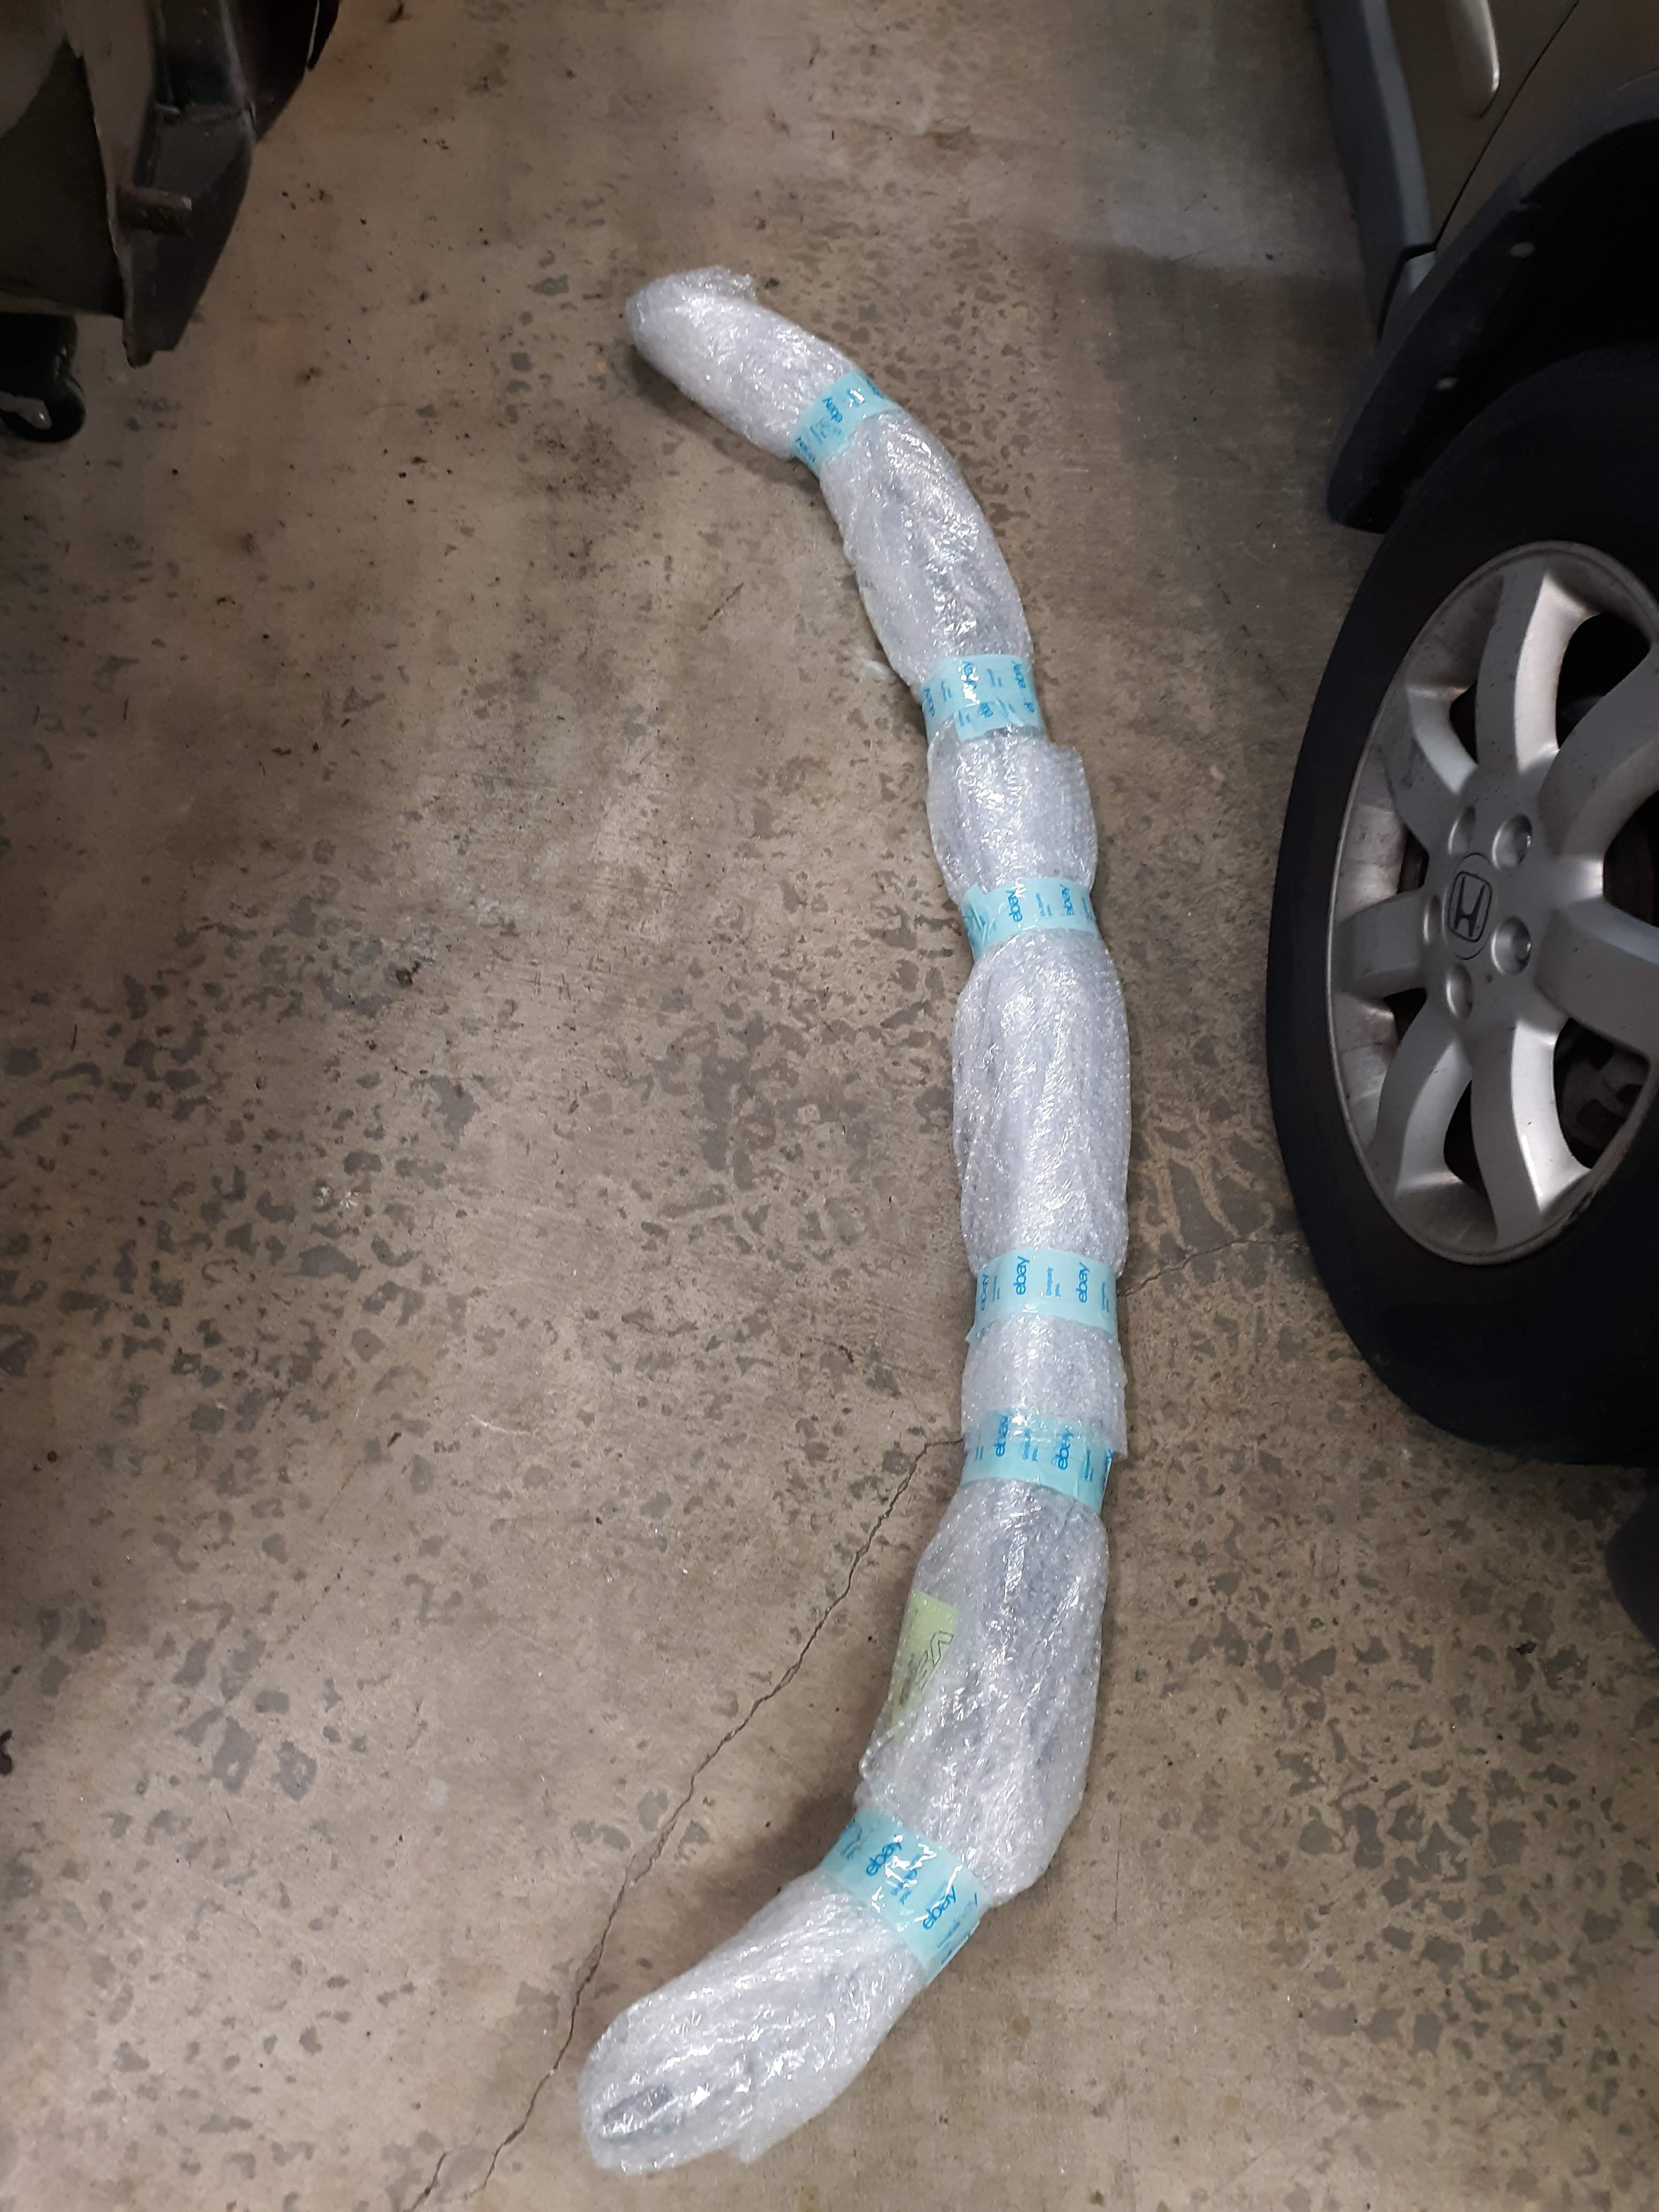
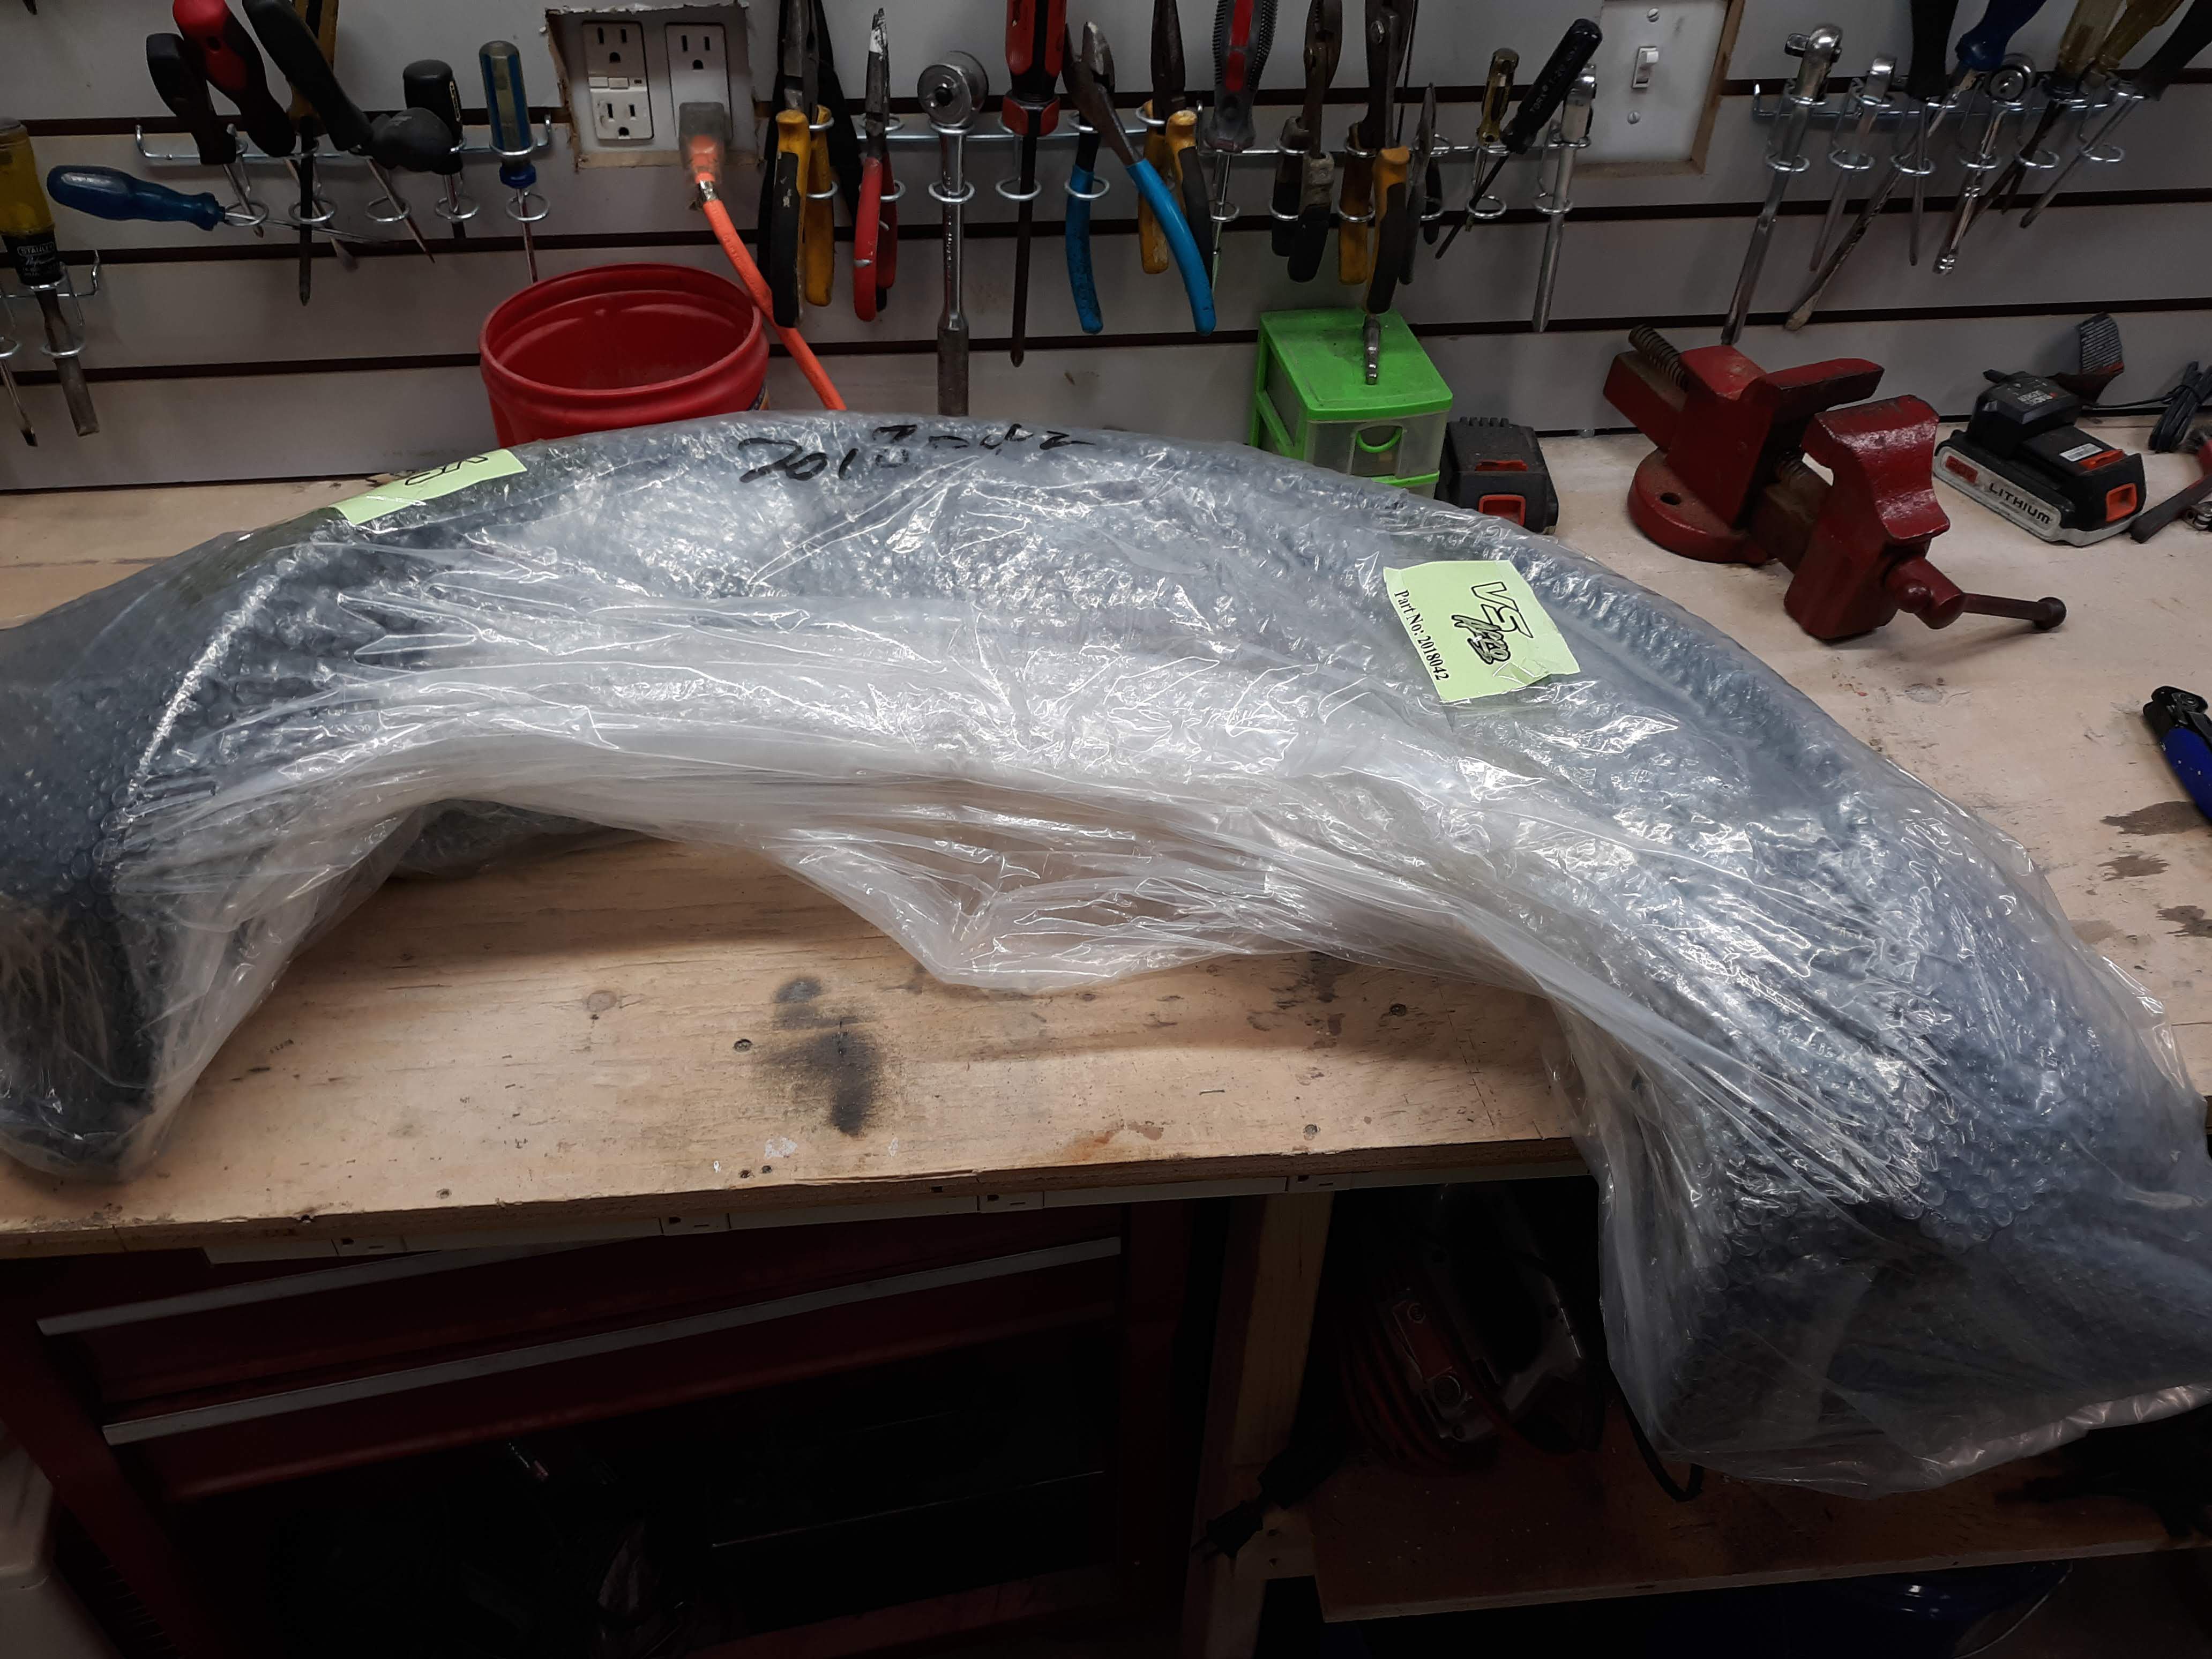
So my wife just test fitted the parts as best she could (6 months pregnant with a 2 year old running around) and took the following pictures. Now before saying they arent going to fit, i believe the part of the fender flare that "rolls in" in the back behind the tire is making direct contact with the metal not allowing for it to be fully seated. I believe that once the fender is cut away, the flares will fit properly. she is going to try the rear fender flares on later.
-
So these are the photos my wife was able to take. she didnt have time to get them taped on the car for fitment.