walkerbk
Members-
Posts
227 -
Joined
-
Last visited
-
Days Won
10
Content Type
Profiles
Forums
Blogs
Events
Gallery
Downloads
Store
Everything posted by walkerbk
-
I had the exactsame thing happen to me. Im not sure if the mms axles will fit, i wasnt even going to chance it since the tripod design is weaker. The Autozone ones are made by the same company so they won't work either. I ended up buying a OEM set used off Facebook marketplace. It took like 4 hours of me dragging a bubble around the U.S. to completely search for them, but I got them. I ended up buying them from Marcos autoworks located in Walkertown, NC (336-577-7128) for 175 shipped. I then shortened my axles per someone else's idea (see below). He however only shortened one end, I shortened both ends and flipped the cages... I have about 3/4 of an inch with it fully dropped and just over 1/3 an inch with the jack under the control arm. Hope everything works out.
-
Also, what are you doing to the edge? It looks like it is currently just unfinished. Are you going to use a bead roller once complete or leave it as is?
-
Those actually look very good. What all did you do to form them? English wheel, slight bending here and there?
-
Below is the full email I received. Hi Bryan they are VERY sturdy Cut from 20Gauge Cold Steel Seam-Less Sheet roll. When installed and welded they are very sturdy we hundreded of Metal flares sold we have had a zero complain on the thickness However we can step the size up for an additional cost to a 18Gauge . I don't rely count 20 gauge as being sturdy but 18 gauge would I believe with a nice roll in it. I also don't believe they do any form work to them... they ship them flat and you have to form them which would result in poor quality... this however is only a guess.
-
Never thought about it but it but it would work... I love how at the end he says "now you have seen how easy this is to do". That looks like 4 days worth of work for 4 corners.
-
The ones ment for the datsun look like they are made from tin foil which is why i looked at some other ones and figured the mustang ones might be made to fit. Maybe it's worth a email to them to get the metal thickness.
-
Drawing closer to starting body work and paint, I'm looking into fender flares in order to put more meat on the ground while not looking like a bag of ***. I do not want to use fiberglass or carbon based off of fitment issues and I would like to have an all metal body free of cracks. Looking online, I see there is a company I haven't seen before Ssworx who is making metal fender flares. Although I am not sold on the look of the 280z flares, but if they fit the body well, I could be happy. I also looked at some of their other flares that look like they could be manipulated to fit very well like the 65-68 mustang kit http://ssworxs.com/shop/ssworx-parts-and-accessories/ssworxs-metal-fender-flares/ford-mustang-aggressive-fender-flare-kit/ which can be bought in 18 gauge. My question comes down to this, has anyone used them? What are talks thoughts?
-
1st, I wish i had your abilities to work with carbon fiber. Very nice looking stuff 2nd, being in the military, I moved 6 months ago and will be moving in another 6 months. For this reason i had to sell my sand blaster (bought it for 50 and sold it for 50) which was the biggest mistake ever. If I can find another one for cheap I will pick one up to assist in preping parts for powder coating.
-
74 260z 5.3 resto mod
walkerbk replied to 5.3swapped260z's topic in Gen III & IV Chevy V8Z Tech Board
No idea about side windows. When I painted I just rolled them down and covered then holes where paint could get in -
74 260z 5.3 resto mod
walkerbk replied to 5.3swapped260z's topic in Gen III & IV Chevy V8Z Tech Board
On the front window, you can use a razer blade and run it along the inside at a 45* angle cutting towards the glass. This should cut right between the glass and the metal. If your windshield has been replaced, I have had good success with using a flat head slipped under the seal from the inside and "pushing" the windshield out without damaging the glass or the seal... but that was on a new seal that had been on the car 2 years not the oem after 40. -
I saw your thread and your work looks amazing. I would love to do the same thing but I don't want to cut perfectly good floors out.
-
I do believe powder coating is going to be the way that I want to go. The only problem is since I am military moving a random oven around the U.S. and getting set up wouldn't make to much since. If that is the best route, I might try to pick up and scrap a oven every now and then. Has anyone tried mastercoat products? They have a very interesting rust converter with zinc phosphate in it along with the normal phosphate acid (which by itself is awesome). http://www.masterseriescoatings.com/index/
-
I have my 77 280z 2+2 just the way I want her, brakes, suspension, engine... everything has been upgraded and I am getting ready to take her apart to paint and weld the frame and maybe a 4 or 6 point cage. My question is what do you guys do with small parts, strut tubes, control arms other smaller brackets... Do you paint them and if so, what paint? Rattle can rustolium, actual 2 part paints... I am planning on getting a powder coating setup but am not sure if that is the best route (size of parts, chipping). I am tired of playing keep up with keeping parts looking good and protected.
-
Possible 5.3L engine swaps question
walkerbk replied to Whitley_280z_2+2's topic in Gen III & IV Chevy V8Z Tech Board
http://www.johnscars.com/zcar/zcar.html Looks like they are still there to me. -
Possible 5.3L engine swaps question
walkerbk replied to Whitley_280z_2+2's topic in Gen III & IV Chevy V8Z Tech Board
You can not keep the stock intake, it is to tall. You have to take everything and swap it over to a ls1 intake (I used a metal typhoon intake since one day I will boost it). I didn't know that jcr isn't selling any more. I'm not sure about jags that run. Maybe someone else can chime in. -
Stiffer drop mounts and moustache bar
walkerbk replied to EF Ian's topic in Brakes, Wheels, Suspension and Chassis
The stiffer everything is, the more vibrations are transferred to the frame. In some cases, weaker parts of the frame were not ment to handle the stress (solid dif mount, tc rods) and can do more harm than good. Might not hurt with the rear though... lots of people run them. -
Possible 5.3L engine swaps question
walkerbk replied to Whitley_280z_2+2's topic in Gen III & IV Chevy V8Z Tech Board
I did the 5.3 iron block in my 77 2+2. Wish I would have gone with the 6.0 now myself. They will mate up to the t56 but since they never came stock with one you have to source it seperatly and then they are generally mated to a 5.7 or bigger so you might as well go with it. It also means that the ECU/ wiring is already made for that setup. One note, if using the stock wiring (not that hard), add all your extra stuff, drop the engine in with the stock wiring, then go to town on it. I redid the wiring outside the car and although it fits the engine right, it doesn't match up to the engine bay the best... plus I kept adding extra wires for gauges and electric fans after finishing the engine harness. My 5.3 was out of an 04 truck and was drive by wire. I kept it that way and wasnt all that hard to do so. I tucked the wiring under the dash and chopped my gas peddle off and welded it to the truck peddle arm. The reason I did this was to keep the cruse control which I use seeing as I have since driven her cross country twice now since the swap. DO NOT USE CX RACING FOR A 2+2. Just my opinion after doing so. They are not made for it nor are they made for the 4l60e that I got in. I ended up cutting up almost the entire kit to make it work. Next time I will use the jcr kit and do forward facing headers with a single turbo. -
Stiffer drop mounts and moustache bar
walkerbk replied to EF Ian's topic in Brakes, Wheels, Suspension and Chassis
It depends on the application and how much power you have. Someone might say otherwise, but a little flew in drag racing is good vs. Road racing where you want minimal amounts of flex. -
I was looking at something like that earlier. My car is currently on stands and I always put a 1x1 square tube between them and the car to help distribute the weight. The 1x1 fits up under the side very nicely with only the smallest amount showing. I'm thinking redo the rails as planned or add in 1x1(1x.5 wouldn't be seen at all) welded to the perimeter tied into the rails and the front/ back.
-
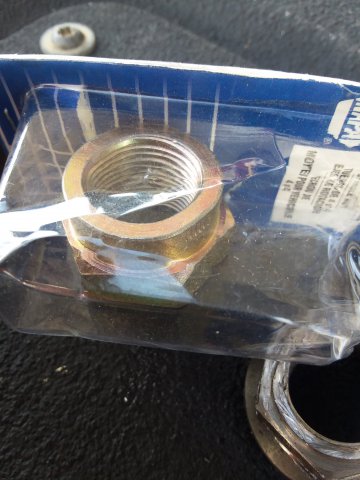
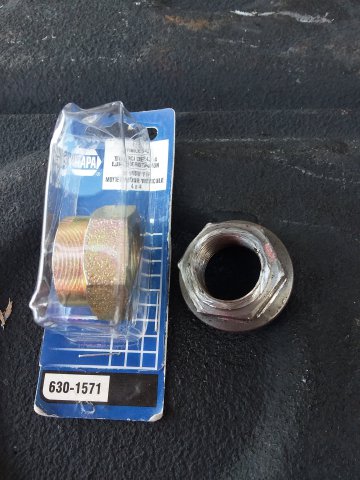
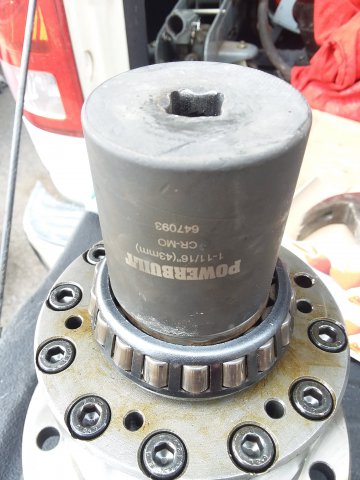
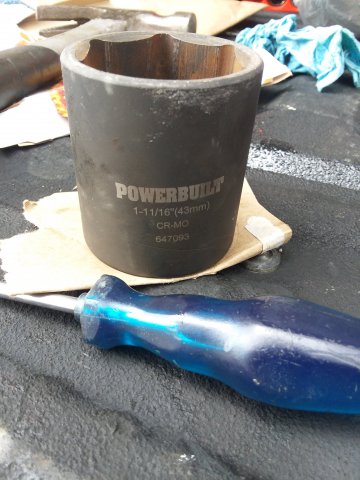
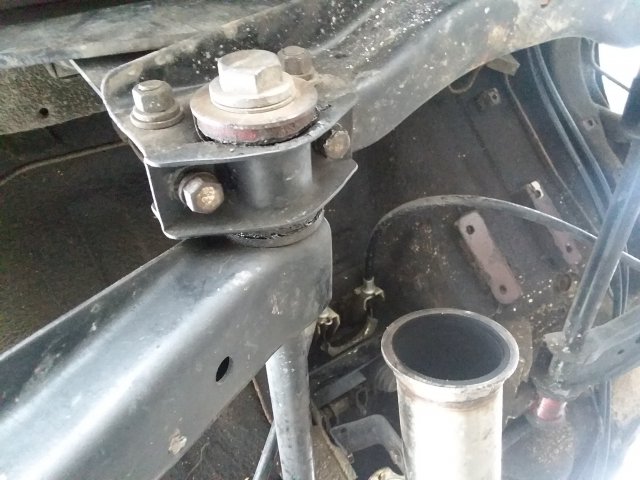
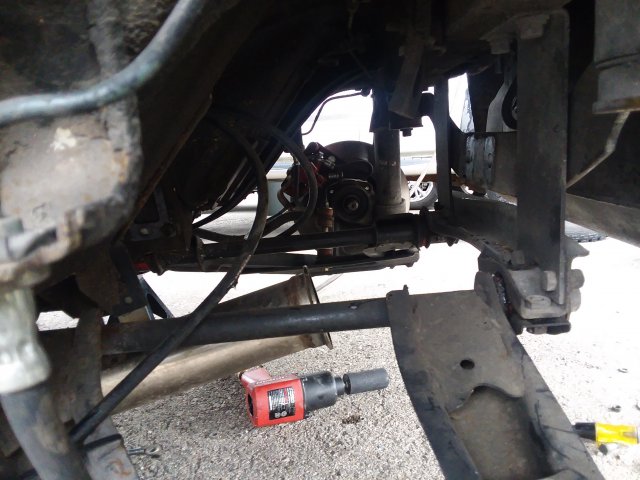
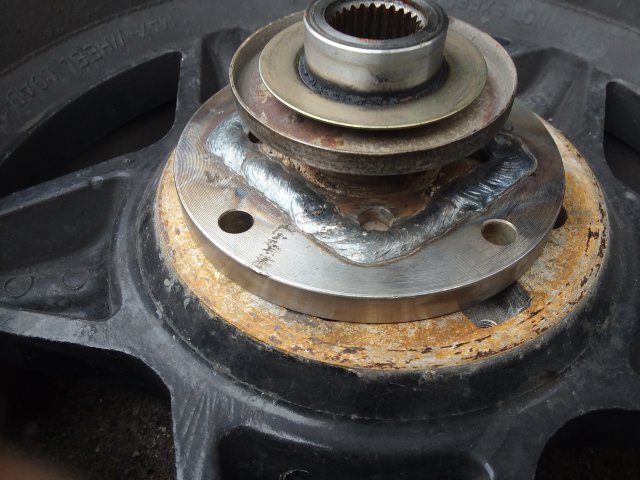
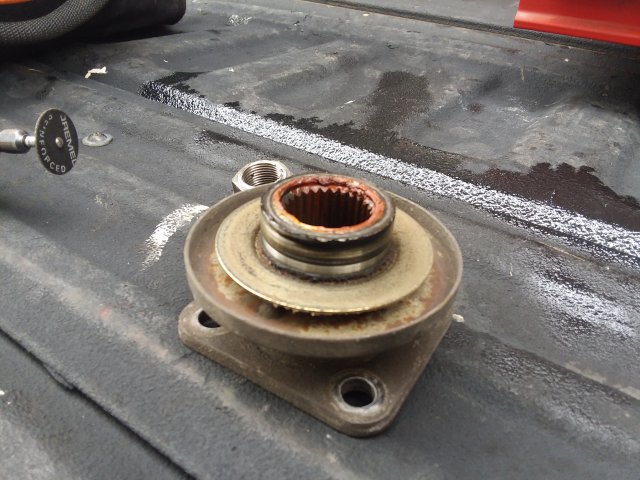
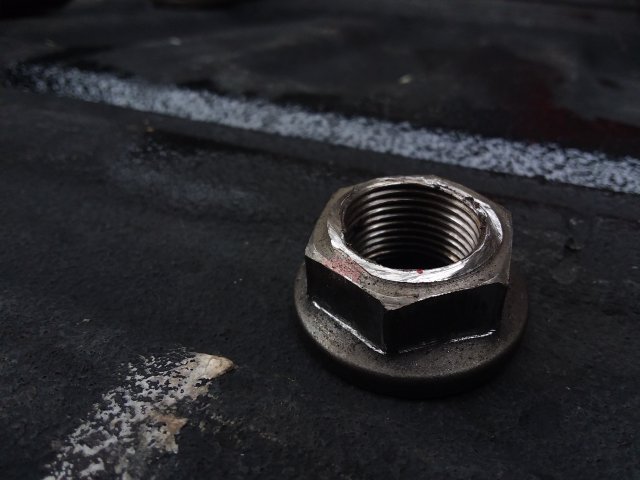
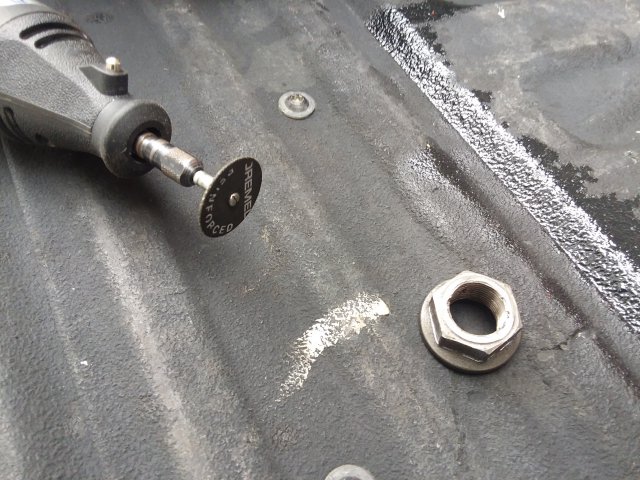
Well got everything pulled apart which wasn't as bad as I thought it would be. Took about 4 hours to get both companion flanges pulled off, and the differential dropped. Cutting the stub shaft bolt wasn't as bad as I thought, 10 min with a drimal per side while spinning the disk break to get a nice cut all around. To replace the nut, since I do not have a nissan dealer near by, I went to Napa and the parts guy went back with my 20x1.5 nut and 15min later came back with one for some 4x4 vehicle (part number in photo). After welding everything up with 7013 rods on my home made welder (yes, home made) I am 100% sure these will hold without a problem. With the diff out, I went about cleaning. By the looks of it, the oil was never changed (300k miles). Thick as mud and took forever to drain but I got it emptied and cleaned. Took it to the car wash to get the road grime off then Al's cleaner from doller tree (very cheap degreaser) and brake cleaner. Worst part of it all was removing the carrier bearings form the old unit and then putting them on the new one. Luckly I had the perfict size socket (1-11/16) to assist with the reinstalling of the bearing. Only things left now (that I see) is c clip instal (can't get the old ones out) and painting (waiting on an order of phosphate acid to clean the rust off). Then it will be time to reinstall everything.
-
I just thought that the frame rails in the photo werent complete... never even thought someone would leavr them like that. As for welding to stainless steel and all, most stainless does not have the strength that mild steel does, but they can easily be joined. The proper way would be to use stainless wire as it will weld exceptionally to both metals. Turbo 930: sounds like you have some dealings with the 280 floor. Do you think my method will work. Push up with jacks, pull down with bolts and a hammer where needed?
-
I don't mind using 1x3 or 2x3. Whichever ones fit better. My understanding on the flooring is that the 240s had flat floors and the 280s had some flow to them. If this is incorrect, then I guess it's hammer bashing and all to get them flat.
-
Just checking to see if anyone has ever replaced the fame rails on a 280z with stock floors with 2x3 or 1x3 tubing. I know people do it with the replacement floors but mine are still in great condition. The problem I see is the stock floors have a large amount of contour to them to assist with rigidity. With that, a flat surface isn't just going to mate up. I'm figuring after pulling the interior and cleaning out the old rails, put the new ones up there and hold them in place with a few jacks to help push up the low spots. Then from the inside bolt down through the floor and the new frame rail some 1x1 tubing to pull any high spots down. Again, I have been searching for a few days and hadn't found anyone yet. The main reason for replacement is I have finished an LS swap and would like to increase frame strength and do a 4 or 5 point cage.
-
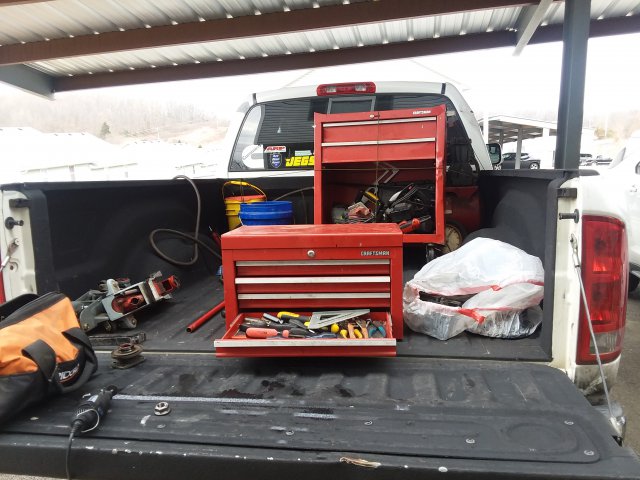
So, getting ready to pull everything apart in the apartment parking lot since I have moved from my lovely 2 car garage to a very small apartment with a car port and I figured i would post up on here. I have a 77 280z 2+2 with a 5.7 iron block/4l60e. Trying to keep it held together now I am upgrading the diff and half shafts. For the diff I have purchased a obx unit and have rebuilt it per the instructions with new washers. I still have to take it back apart once more to swap the circle clips from my current unit into this one. I am going to try to reuse the old carrier bearing since they are expensive and mine i believe to still be good. I have 2 bottles of synthetic 75-90w to go with and a new set of seals. For the half shafts, I have been having a very bad vibration on the highway so one day I jacked the car up and very carefully had the wife inside while I was under it watching for the movement... The driver side half shaft jumps around like a kid on candy. To rectify this, I will be swapping in the 300zxt cv shafts. I have ordered adapter plates from cave built performance for $220. They are 1/2 in steel that have a reses machined in to allow the companion flange to sit in and be welded together. After talking to the maker, I will not be flipping the cage but I will be checking travel by removing the spring and flexing the suspension to ensure it doesn't bind. And in the end, everything will get a nice coat of paint to make it look good. So to summarize, 300zxt cv shafts with custom adapters, and the obx unit that has been rebuilt.

