z2go
-
Posts
361 -
Joined
-
Last visited
-
Days Won
3
Content Type
Profiles
Forums
Blogs
Events
Gallery
Downloads
Store
Everything posted by z2go
-
I love the onion. They tell it like it is. Thanks for distracting me, I just spent 20 minutes watching clips when I SHOULD have been wiring the car!
-
Last day for my ebay auctions, a 280z Speedo that's been rolled back to zero, still only .99! Brand new in box factory fuel pump, only at $10! Supertrapp polished stainless steel muffler, less than $50! Auctions end tonight around 6pm Pacific. http://cgi.ebay.com/ebaymotors/ws/eBayISAPI.dll?ViewItem&item=220772512112&viewitem=&sspagename=STRK%3AMESELX%3AIT#ht_500wt_1182 http://cgi.ebay.com/ebaymotors/ws/eBayISAPI.dll?ViewItem&item=220772512115&viewitem=&sspagename=STRK%3AMESELX%3AIT#ht_500wt_1182 http://cgi.ebay.com/ebaymotors/ws/eBayISAPI.dll?ViewItem&item=220772512111&viewitem=&sspagename=STRK%3AMESELX%3AIT#ht_500wt_1182
-
I took my car to American Stripping as omgtofu mentioned. I had the underbody, engine bay, all body panels in and out, entire exterior, and half of the interior done for about 2500, three stage media blasted and epoxy primed. They are indeed great people, and they treat your project as their own.
-
If you get frustrated and fed up with the stainless tube, I second the comments made by zgeezer. The Cunifer tubing is amazing, I used it for everything.
-
Get a roll of solder, the thicker the better. It will bend exactly how you want it to, and won't cost much, and will hold its shape pretty well (at least in small sections).
-
PM if interested.

-
One option is though J&P Cycles, I ordered stainless steel ones in a 10pk for a little less than $1 a piece. The ones at Lowes are not necessarily stainless (at least they weren't here), and were a little more pricey. I used 1/4" zinc pan head machine screws with matching nuts (bought a 50 pack at Lowes) with a washer on the inside, and some blue loctite. So far so good. Just need a helper to hold the screwdriver on the inside while you tighten the nut on the outside.
-
Glad to help. I would agree that the stainless is impossible to bend by hand. Do you have any extra tube to practice on? I would do some practice bends, see how far you can get away with bending the stuff before it kinks, and how gradual you need to make the turns. There's really not a lot of bends you need to make through that tunnel. However, I see a lot of time spent on your back with tube benders underneath the car in your future Seriously though, I would practice with the stuff as much as possible, make some funky shapes, see if you can make sharp bends all with one swoop, or if you have to make small incremental bends until you get the desired shape. Like most things, the tools will probably make the difference in the ease of this project. The adel clamp solution works really well too, I was very pleased how well they secured the lines, and exactly where I wanted them, too. Be sure to update, I'd like to see your final solution.
-
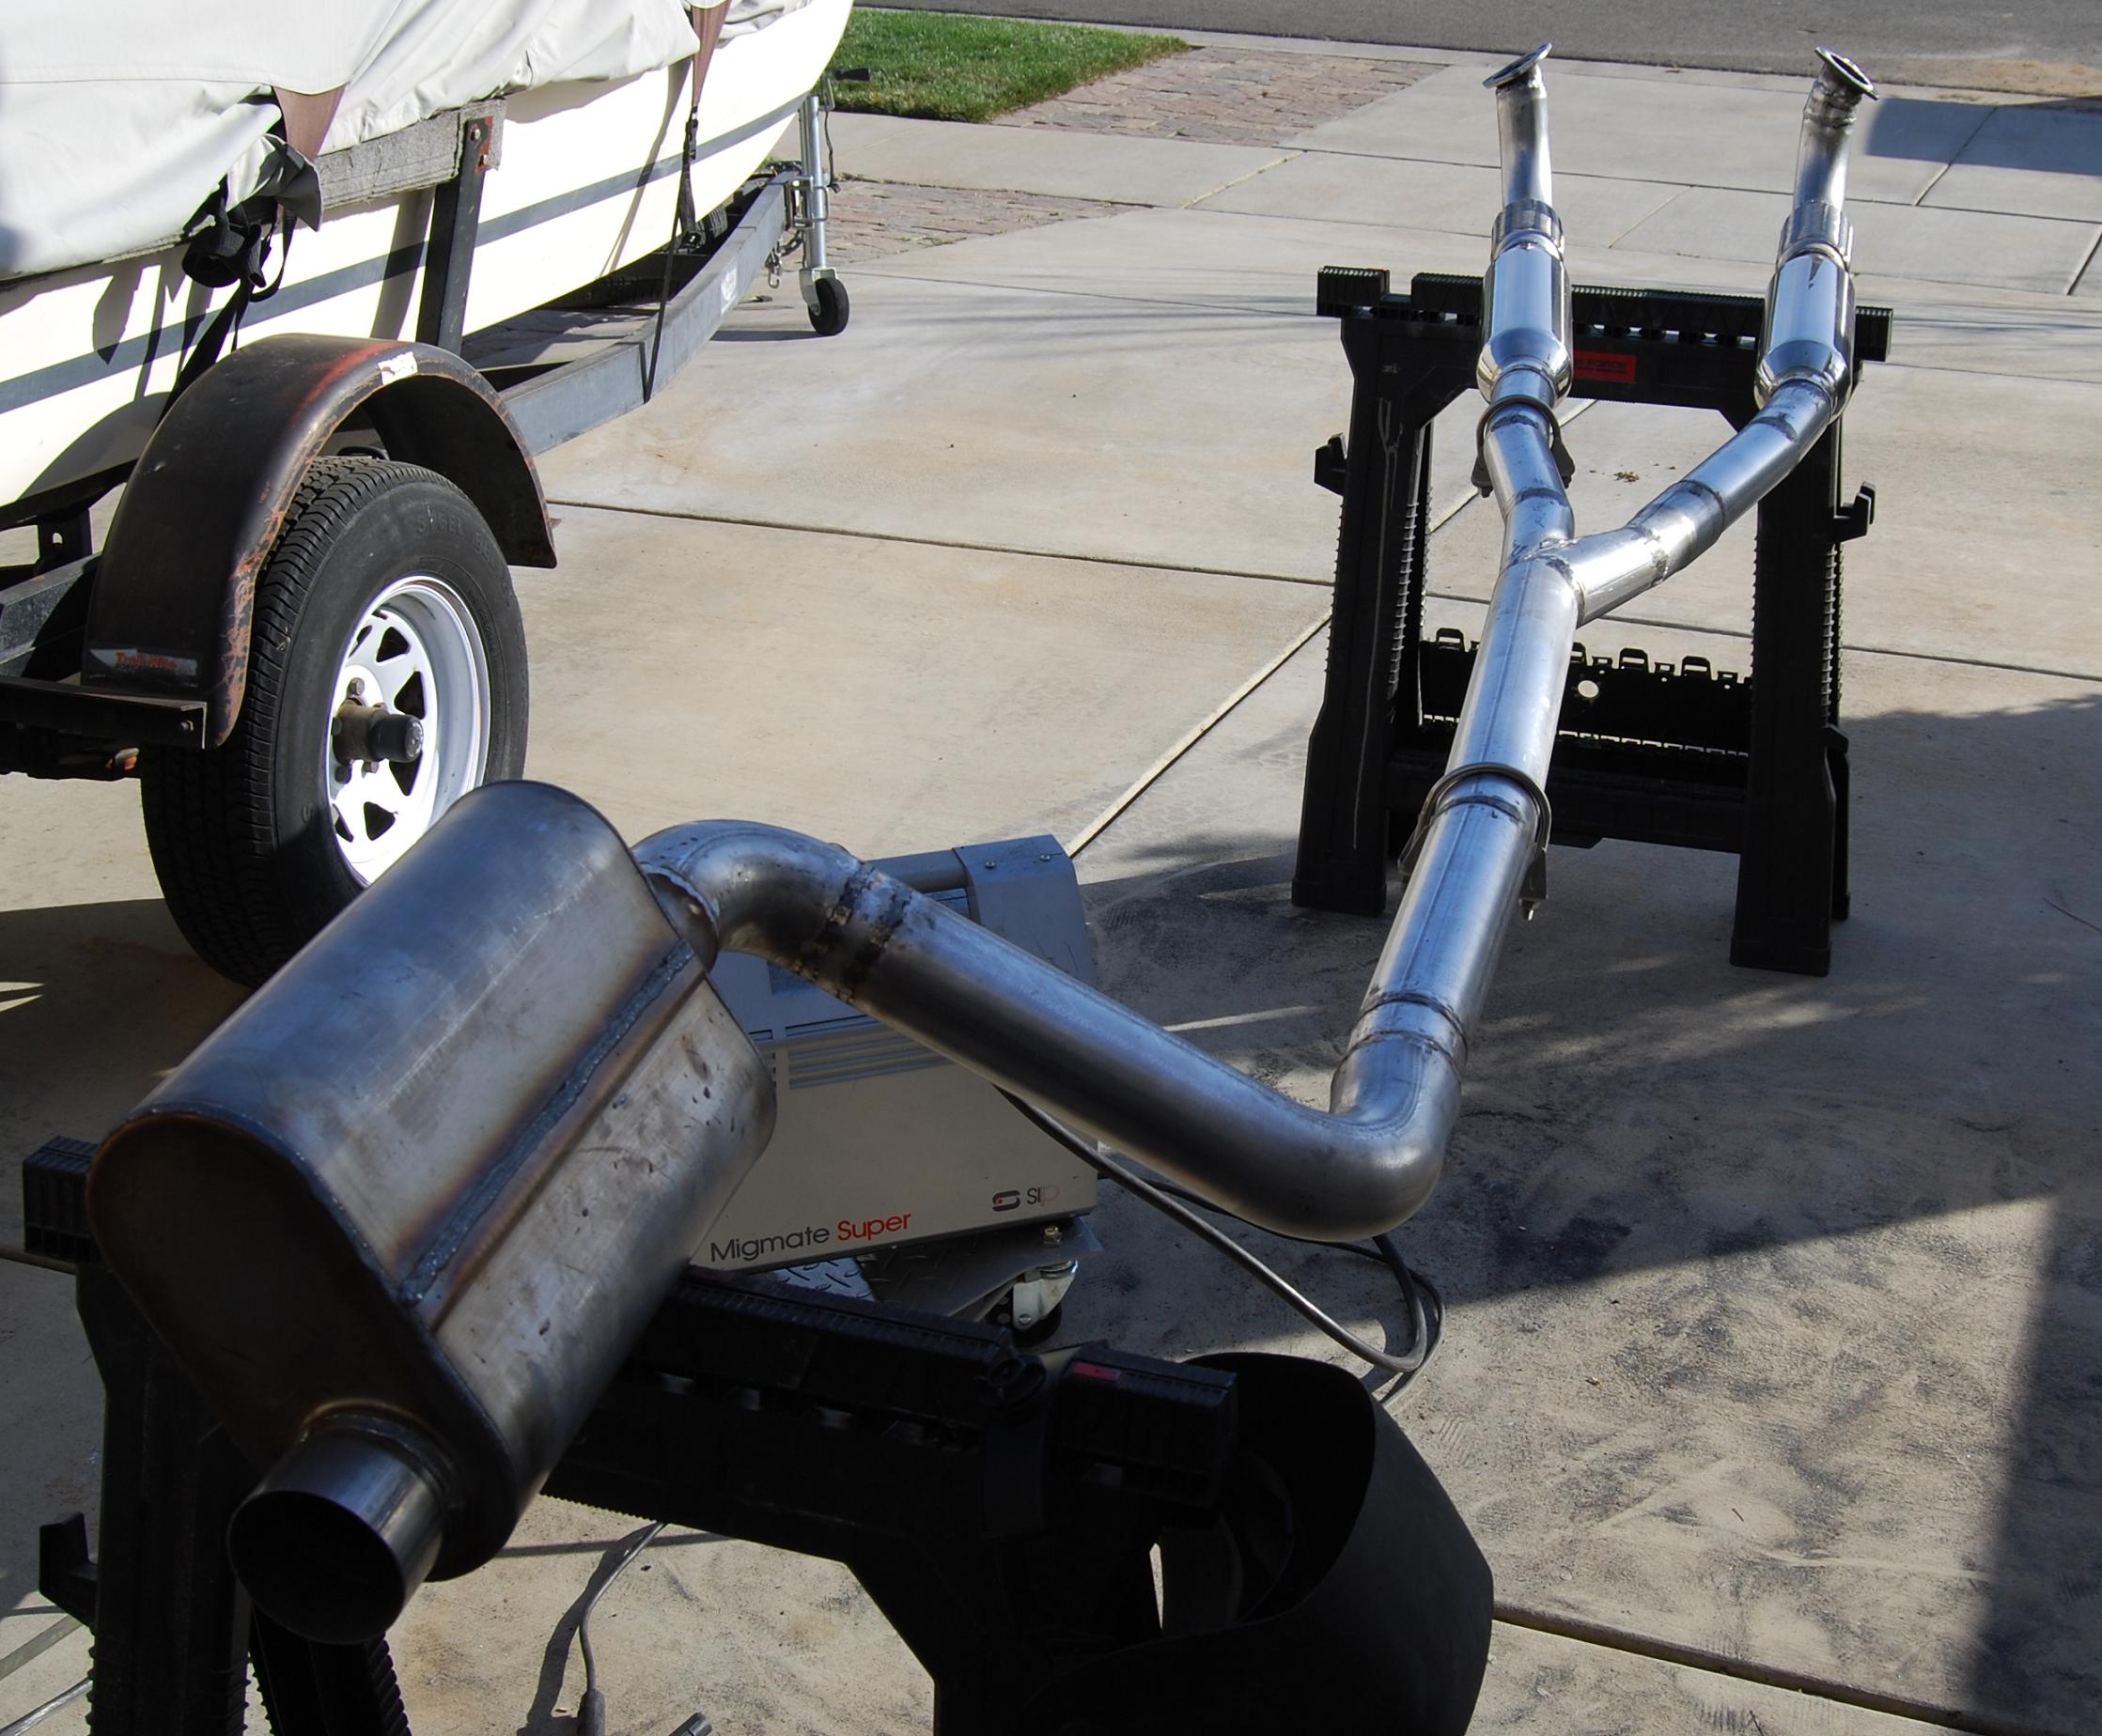
It's not Borla, but I have a 2.5" to 3" setup with an offset Dynomax SS muffler. As you can see in the picture, it's angled to the left to allow maximum tuck, and when you look straight from the side, it follows the lower lip of the rear end pretty close, and is pretty well hidden. It's a pretty big muffler too, I think 19 inches long. Of course, you will need two 90 degree bends to make it work, especially with 3" pipe. In my opinion, it's not worth it to get a shorter muffler to try to make the bends less extreme. I think center inlet/offset outlet is the best way to get it tucked under there for minimal visibility of the muffler. This is only based on having first bought an offset/offset muffler, and after an hour of trying to find a configuration that would work (it wouldn't clear the wheel well for the inlet, and also allow the outlet to be at the proper point/angle). I didn't even try for a center/center muffler. The 90 degree pipe bends around the rear diff mount well, and tucks right up and bends before the wheel well. I have clearance around everything, and it hangs without bouncing against the body. **EDIT** Correction, the overall length is 19", the muffler case itself is 14". It's a Dynomax Ultra Flo welded stainless steel muffler.
-
I give it three thumbs down. I would venture to say they focused on the wrong things with this build... which is why they are selling it right now. You would think they would have attacked the hatch sill rust when they had the car apart? No, sorry, shaved door handles are more important.
-
This is what I did with mine, running a 3/8" feed line and 5/16" return. I also routed new 3/16" brake line, and I did not run a vapor recovery line. I ran the 3/8" line on the other side of the tunnel, and it gave me a lot of room to work with. It cleared everything just fine. It looks like I have a lot more room to play with around the transmission (Camaro T5) but in looking at your pictures, I think it could work too. I found that the biggest thing is getting everything out of your way when running the new lines. The less crap to hang up on, the better. I don't know what kind of lines you are using, but I was using Copper/nickel alloy lines, which can be bent by hand without kinking. That made it really easy to get them to fit where they needed to... I would secure one end of the line where it needed to be, and then bent around to the next point, mounted it, and so on. Regardless, best advice I could give is to drop the tail of the transmission to give yourself a lot of room to work.
-
I have one that is in OK shape, how perfect of one are you looking for?
-
I'm thinking a thin flexible piece of plastic that you can slip past the edge of the speedo, make a circle around the speedo to clear the edge of the dash cap. It would create a sort of ramp for the edge of the speedo to clear the cap, without having to destroy the dash cap or the speedo in the process. Think of it like a shoehorn...
-
Looking for windshield rubber alternative
z2go replied to z2go's topic in S30 Series - 240z, 260z, 280z
That is an option I have considered, just wondering if anyone out there has a solution otherwise. -
I'm looking for an alternative to the original style windshield gasket/weatherstrip/seal. The only thing that I have found is from Vintagerubber.com, who are in the process of creating what they call the "Cal" or "California Style" seal, which is a seal without the channel for the chrome trim piece. However, they have been working on it for quite some time, were planning on having it ready by this time this year, but still nothing. With all of the other weatherstripping alternatives out there, I would think someone has to have put a non-Z windshield gasket in that worked. I want the same for the rear hatch, the look of a solid black trim with no chrome piece, yet more finished looking than simply leaving out the trim.
-
Soft brake pressure fixed—sharing info
z2go replied to studioti's topic in Brakes, Wheels, Suspension and Chassis
Interesting. Glad you figured that out and shared it. Maybe the guy who successfully bled his brakes with the bleeder on the bottom had a shop force-bleed his? That might make bleeder position completely irrelevant. Not an expert here, just a thought. Question: Did you use speed bleeders by chance? Curious if that would help mitigate the bubble trapped at the top of the brake. -
Very nice! Do post the link once it's updated. That's gotta be a great feeling
-
1972 240z SBC V8 and complete restoration project
z2go replied to z2go's topic in S30 Series - 240z, 260z, 280z
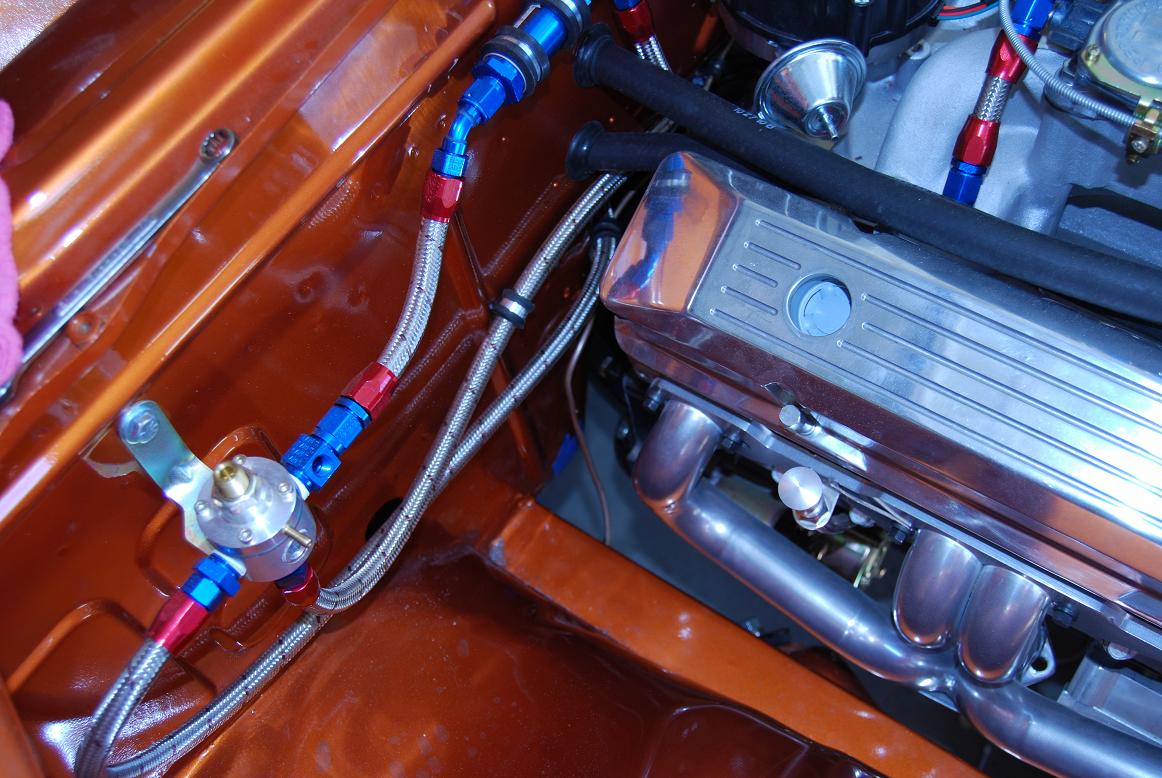
You are right. The header is ceramic coated, but the down pipe is not. I am ordering a bunch of heat shielding soon to protect the fuel lines in the back, I am probably going to address the issue in the front as well. -
1972 240z SBC V8 and complete restoration project
z2go replied to z2go's topic in S30 Series - 240z, 260z, 280z
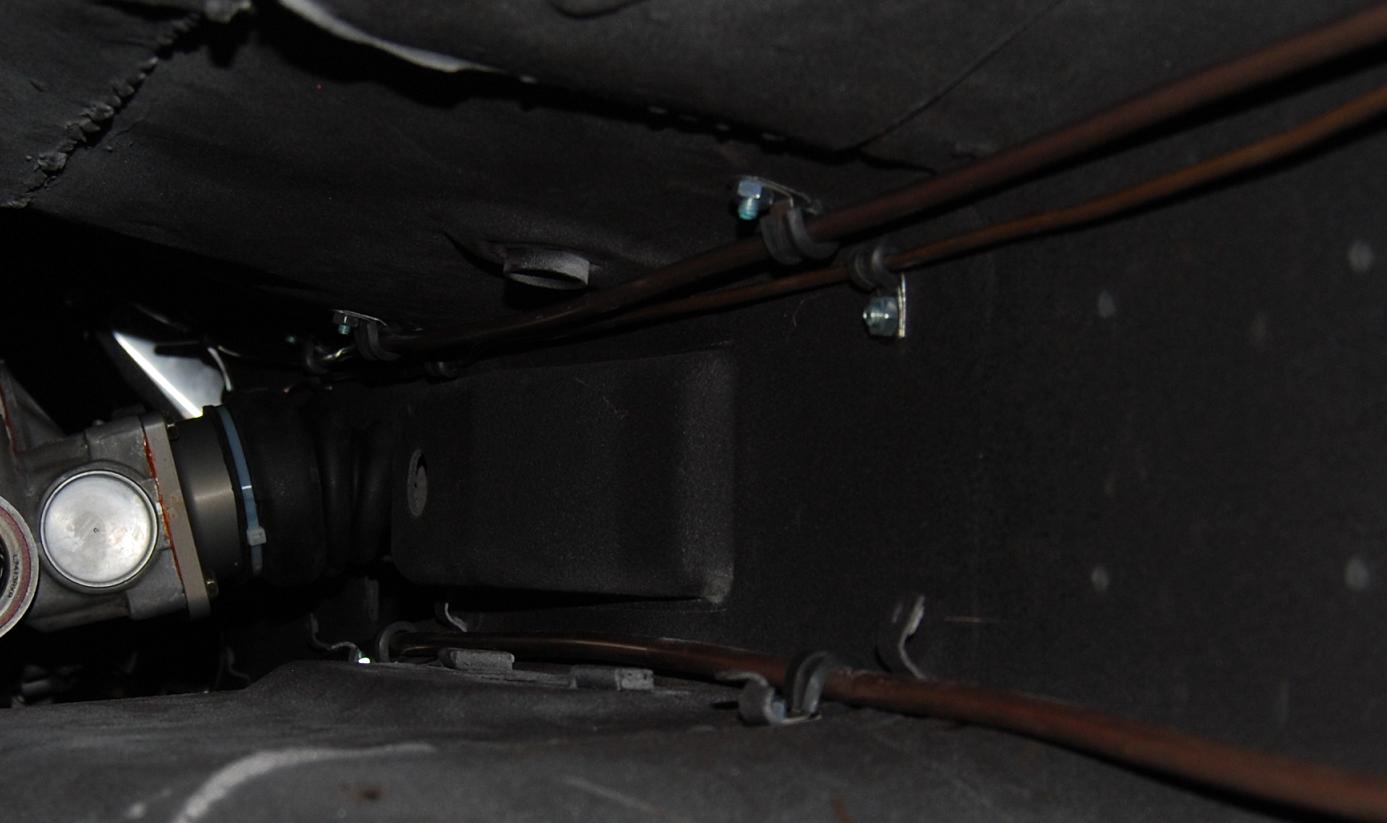
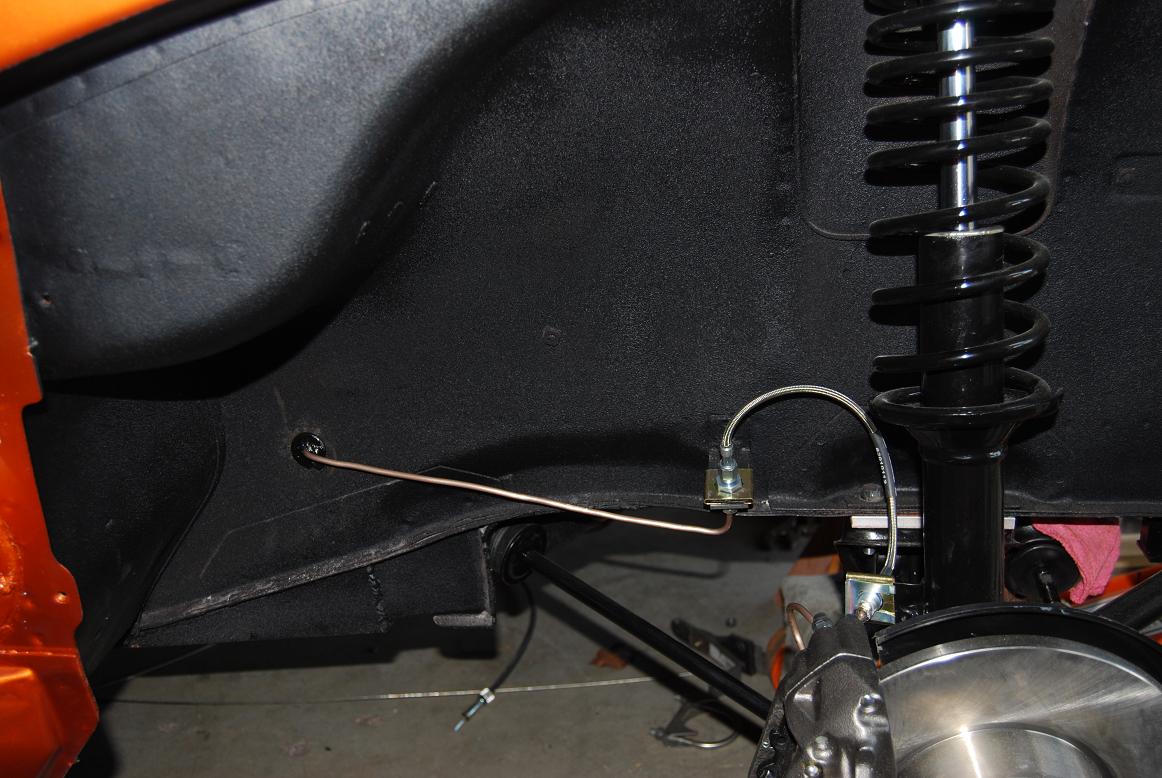
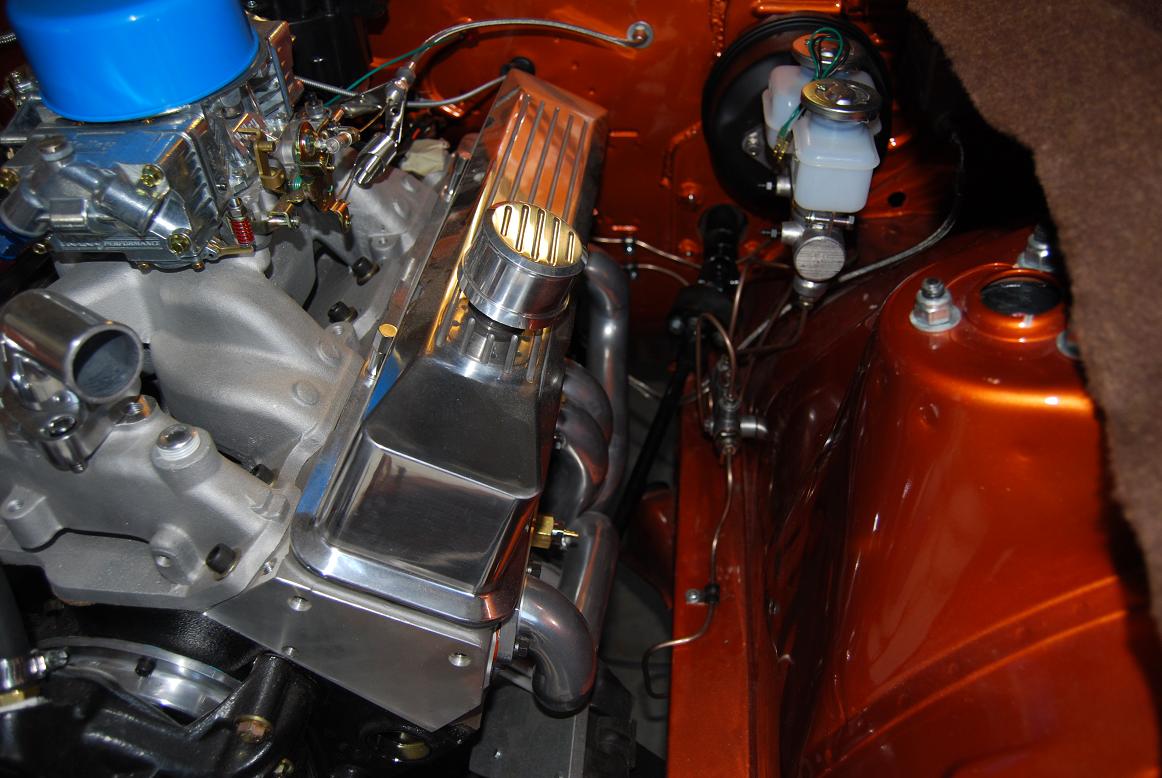
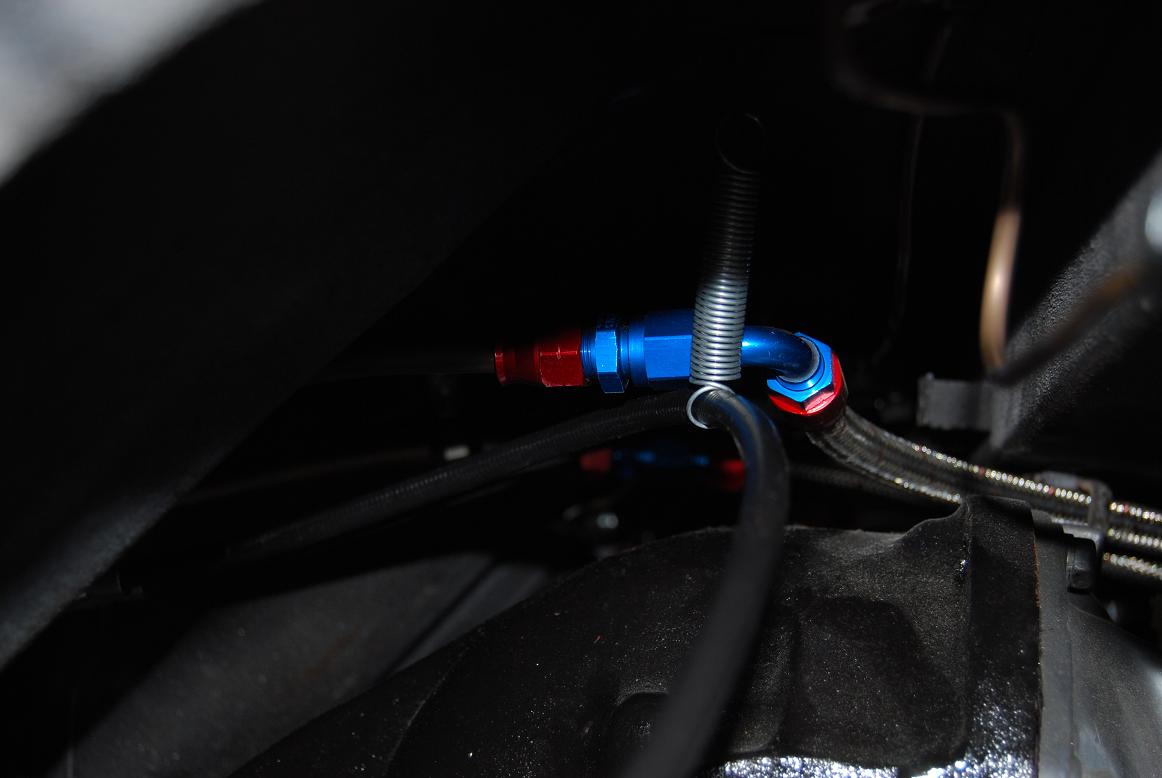
Thanks for the complements as always, guys. To answer the questions that were posed... I used a similar method to that of the dash repair thread that I found on here, and is also on some other Z sites. I used expanding household door and window sealant for the filler, which you can find at Lowes or Home Depot. As far as the other materials, I found them all at a local automotive paint store. The SEM products should be pretty easy to get ahold of, which I used all according to the directions of those who have done the repair before. The only difference was the texture coating. I'm not sure how durable it is in the long run, but it seems to be pretty strong, and dries to a flexible plastic feel. I've since only had the dash inside on the carpet, but with the handling so far it has held up nicely, so I'm not too worried about being gentle with it. One of the reasons that I popped the brake line through where I did was because of where the header comes down, if you look in the picture where you can see the fuel regulator, you see that too much further forward, and I would have a lot of heat on the brake line. Also, I'm not worried about rubbing on the tire, because the tire would hit the body seam that sticks out right there about the same time it hits the brake line, giving me a far bigger problem than wearing on the brake line So, the less it was in the engine bay the better, since the engine is set to the passenger side and doesn't leave a lot of room for anything on that frame rail without heat shielding. Hope that answers the questions/concerns! -
1972 240z SBC V8 and complete restoration project
z2go replied to z2go's topic in S30 Series - 240z, 260z, 280z
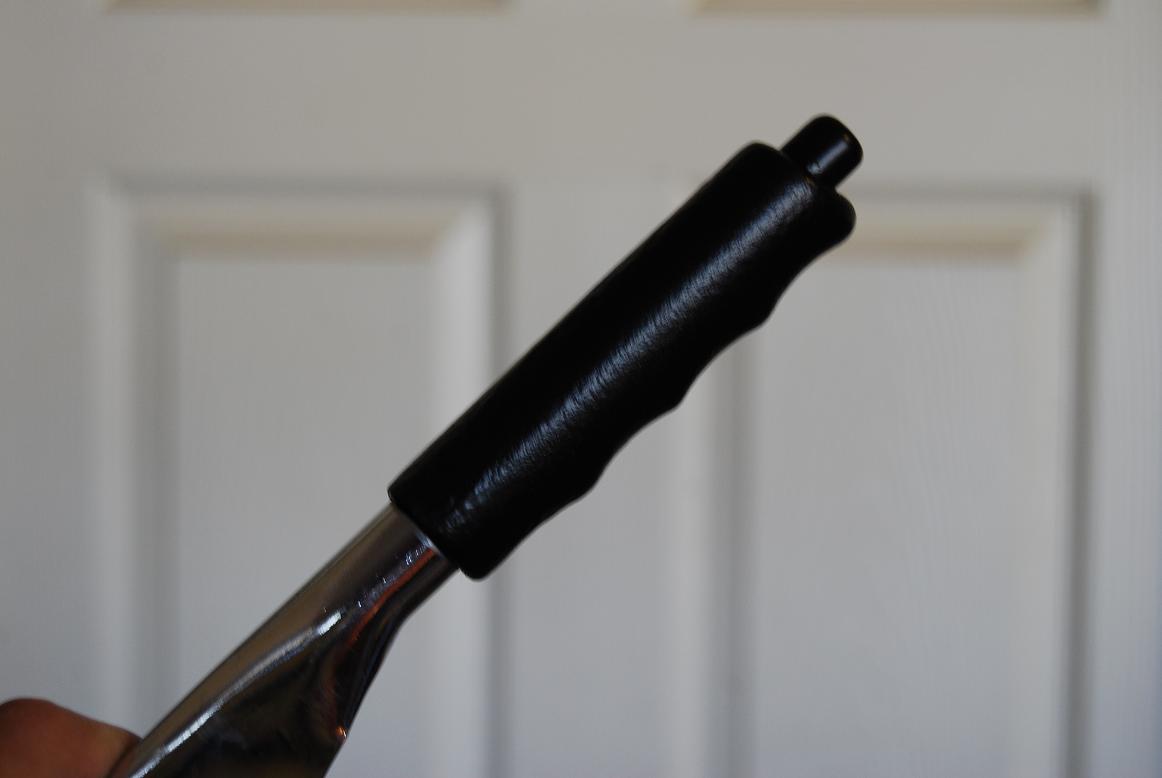
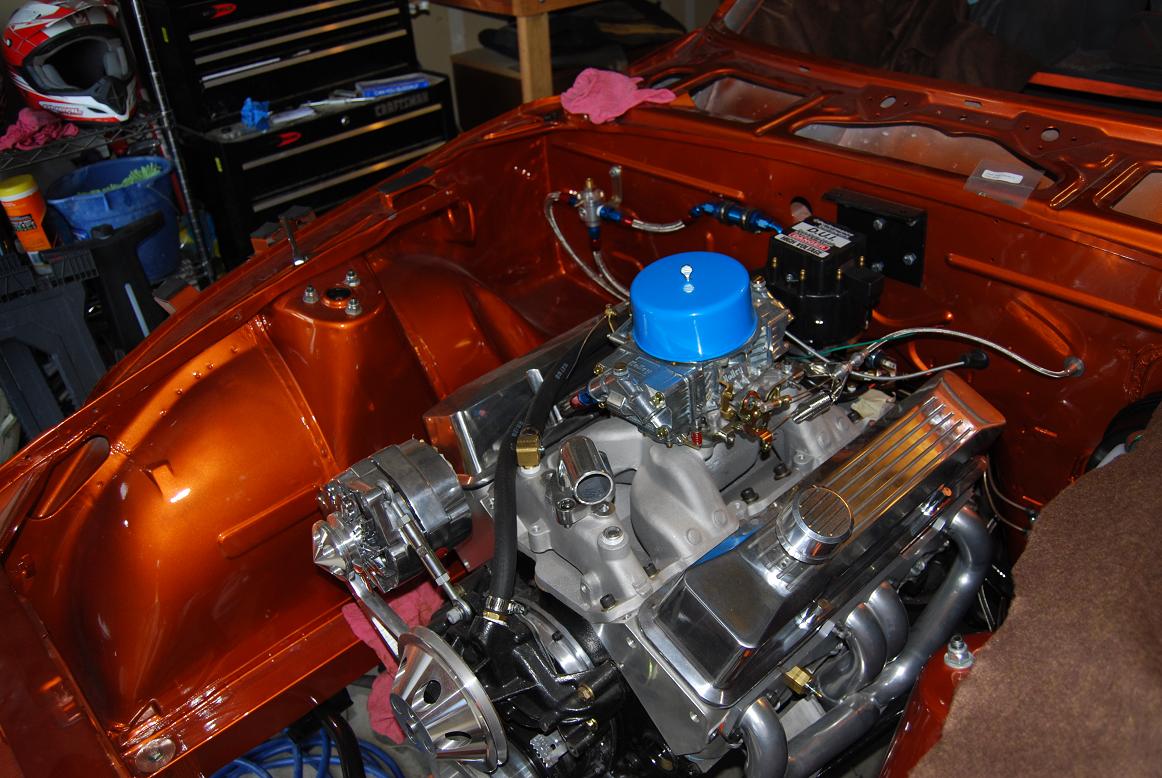
So, it's been a little while since an update. I had a couple of weeks where work was killing me, so I didn't have much time to work on the Z. Last weekend I was able to finish the brakes, all they need now is bleeding. The fuel lines are all 100% ran as well. I had to modify the right front brake line, as you can see from the pictures. Partly because I re-routed the line for aesthetic purposes, and partly because the header is so close to the stock location, I decided to avoid the 'hot' area and just go through the frame rail. I used some rubber grommets and sealed around them as well. Word to the wise - it's a pain to run these hard lines with the motor already in! I also used a universal lokar emergency brake cable kit to fabricate a new E-brake for the car. I used the stock lever/pull system, but used the original line bracket location to bolt on a modified hangar. The location works perfectly with the r200 nose in the lowered RT style position. The cable housing ran very well to the 240sx caliper brackets, which I also modified to take the original E-brake bracket (the 240sx bracket was a little fat to work very well). It's nice being able to modify just about anything with a little bit of welding. Other than that, I spruced up the E-brake handle, which was sun bleached and pitted... I used the same texture material as on the dash to give it a new feel, just spraying closer to imitate a sort of leathery look, and painted with the same black trim paint. We will see how well it holds up. Among other things, I have modded the heater blower motor for the honda motor, and started polishing and sealing all the latch hardware. Other than that, I've been working on the dash wiring, which should be done soon (probably the biggest pain of this project so far, beside the spindle pins!). Once the dash wiring is complete and dash installed, all the other wiring will not take long, and after tying up the loose ends... maybe it will be time to fire it up!
-
That was awesome. I love the gratuitous explosions!
-
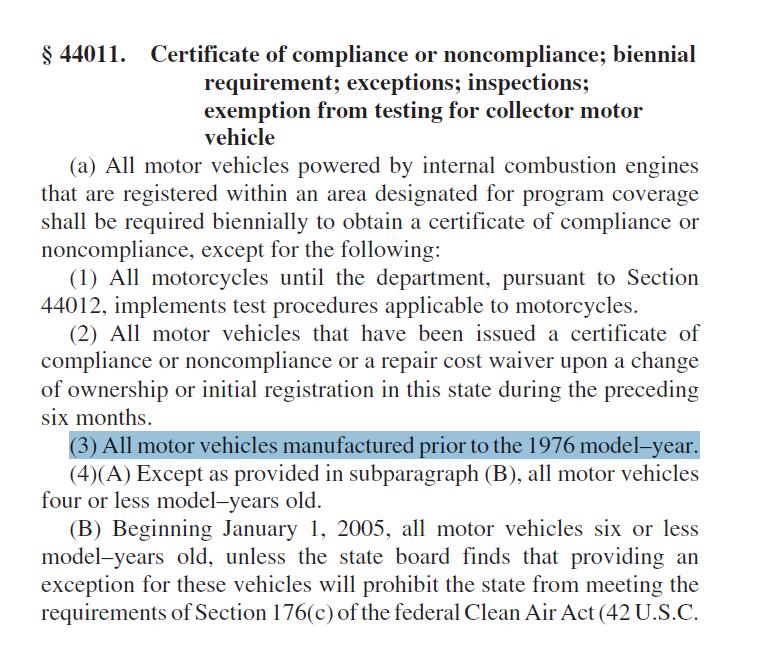
So... we've established the rules for engine swapped vehicles, and smog for pre 76 vehicles... which all makes sense. However, what about a pre 76 with a custom built V8 that you can't pin to a particular model vehicle? The block that I have could be out of any number of vehicles... even after doing the research on block identification, etc.
-
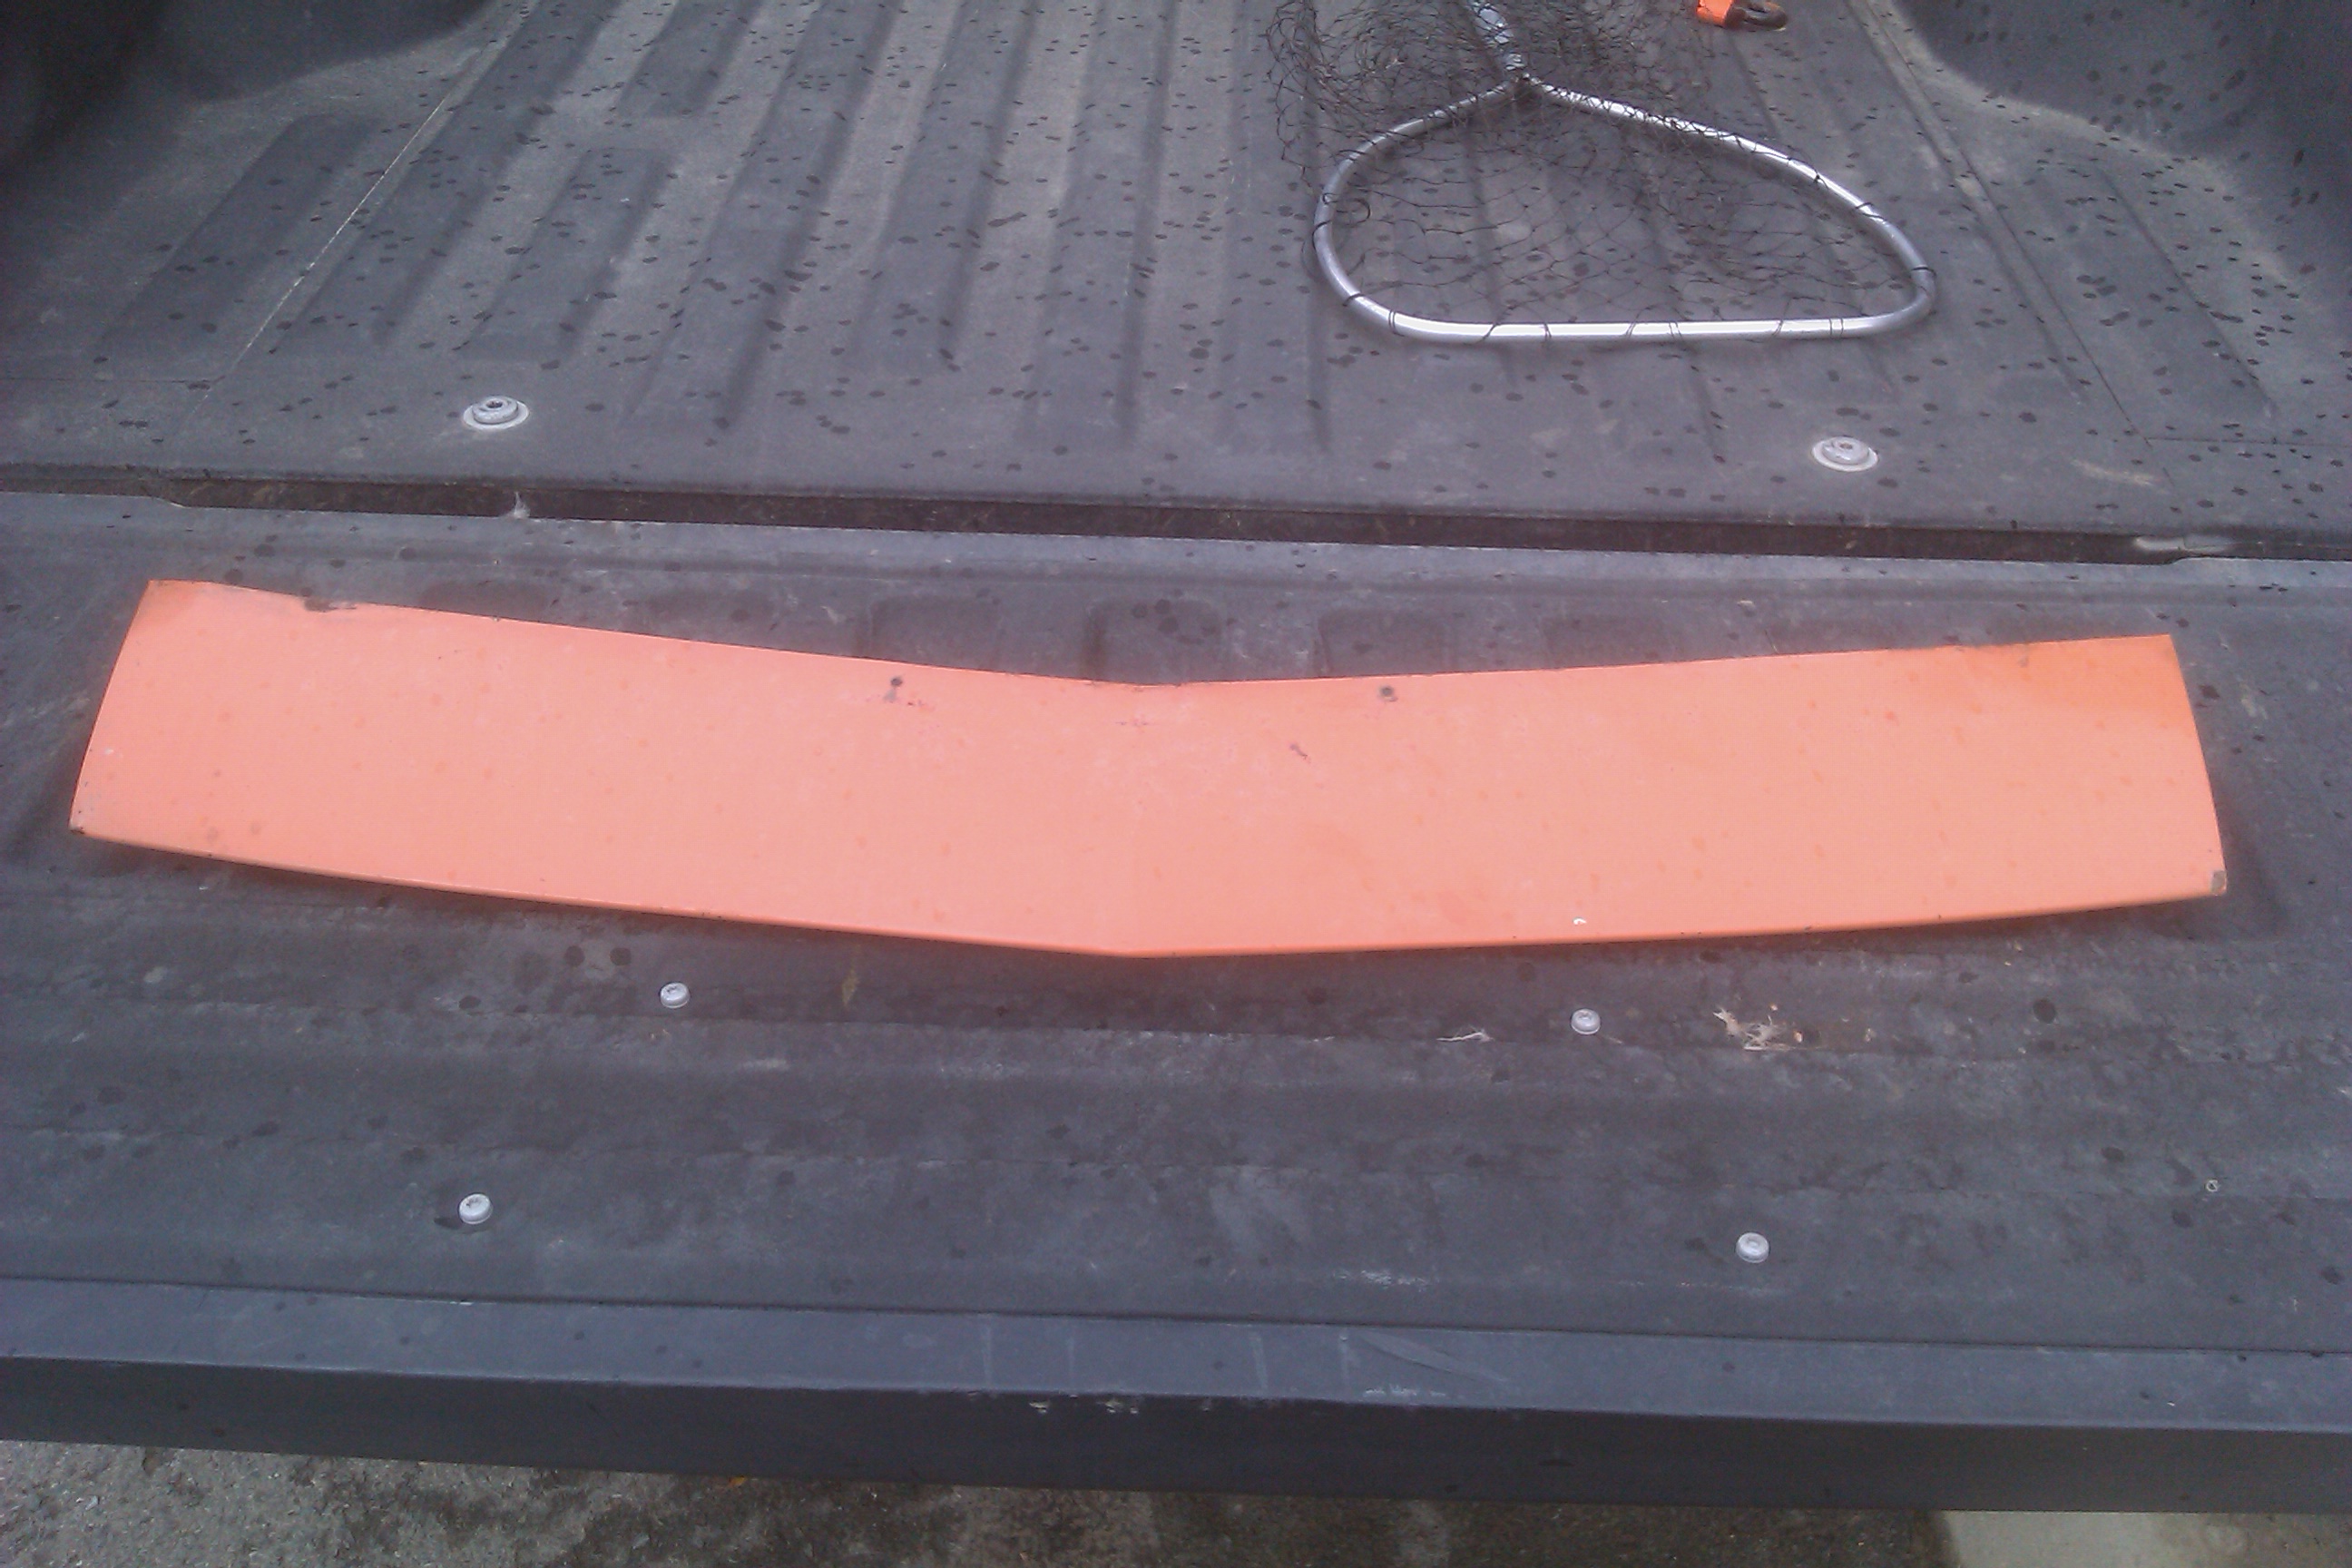
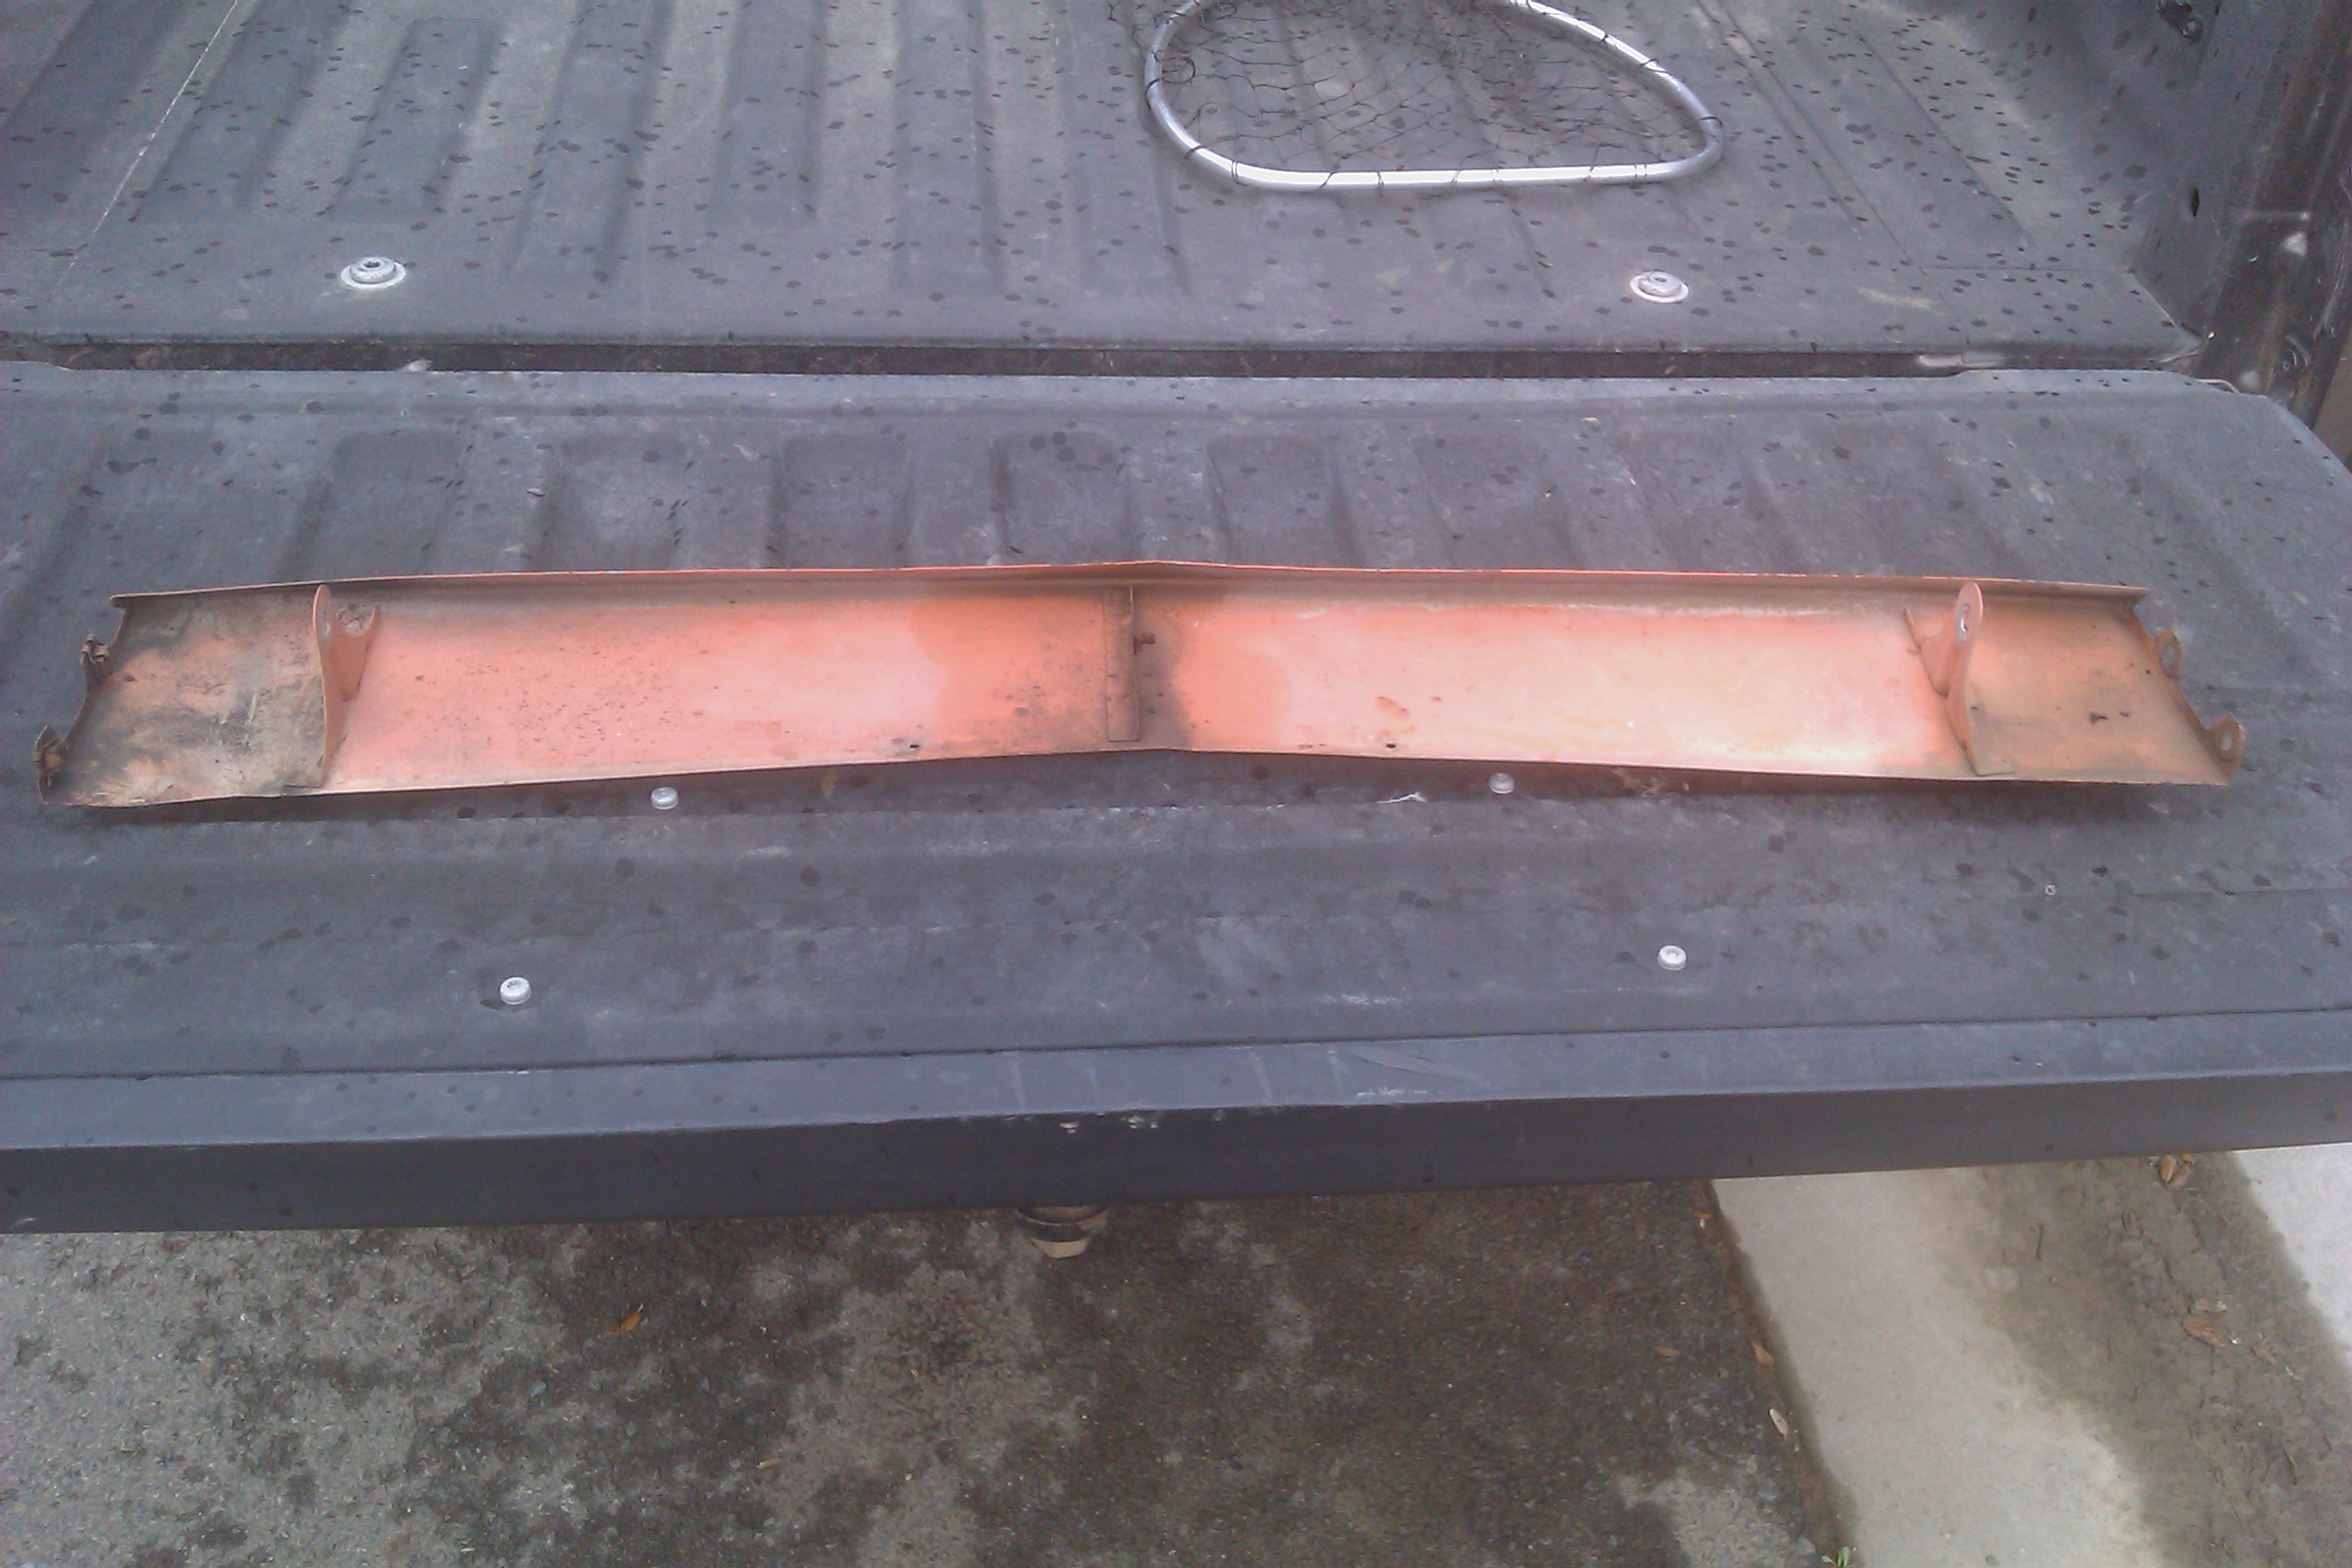
Wrong. See attached picture.
-
Tony D is gonna burn you. Our 72's are only exempt from biannual inspection, not from following any laws about smog. Common misconception.