

tube80z
-
Posts
1402 -
Joined
-
Last visited
-
Days Won
31
Content Type
Profiles
Forums
Blogs
Events
Gallery
Downloads
Store
Everything posted by tube80z
-
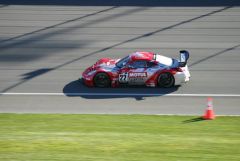
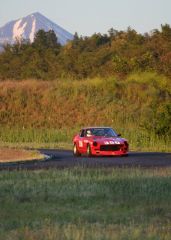
From the album: Z cars
-
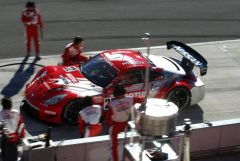
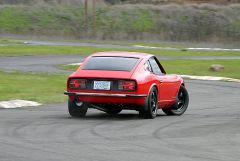
From the album: Z cars
-
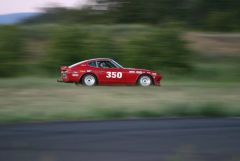
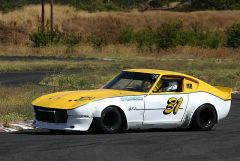
From the album: Z cars
-
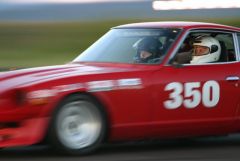
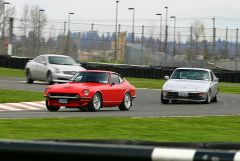
From the album: Z cars
-
From the album: Z cars
-
From the album: Z cars
-
From the album: Z cars
-
From the album: Z cars
-
Years ago I weighed a VG30DE (complete) with custom lightweight headers and a really light clutch and flywheel. It was 424 pounds. This was done using a bathroom scale and lever system. I've told Paul I'll weight this engine again as I still have it but with real scales this time (race car scales). I'm going to weigh a shell with a cage because I've never seen a weight posted for one that seemed realistic. What about something that looks like scissors. You put a spring on one side and the crane mounts to the other end. When you lift something it compresses the spring and you measure the compression. You pick a few known weights, measure deflection, and put that in excel and create a normalized curve. Seems a lot cheaper and close enough. I'd guess it would be 5 pounds accurate. Cary
-
I don't have a picture of it but I saw a sentra with a cow in the backseat. I about crashed from laughing so hard. It's head was sticking out one window and the backside out the other. Some old lady was driving. Cary
-
Aerodyn wind tunnel results!!!
tube80z replied to bjhines's topic in Windtunnel Test Results and Analysis
I had a airbox like that on my car. It also helps with cooling by slowing the air going into the radiator. Another option if the rules don't allow hood vents is to open the inner fenders and vent there. Ideally you should not have the tires sticking out in the aristream and a proper flare covering this. This is how most GT cars are done. Cary -
C5 Corvette Chassis Swap
tube80z replied to JustinOlson's topic in Brakes, Wheels, Suspension and Chassis
You do realize the main hoop diagonal isn't straight in your model don't you? Are you trying to create a half cage for a street car? Cary -
want to learn more about suspension
tube80z replied to a topic in Brakes, Wheels, Suspension and Chassis
Staniforth's competition car suspension is a really good book to start with. There are a number of calculations given on the back of the book you can put into a spreadsheet and use to help make decisions. Bare in mind it's a little data but highly recommended. Adam's book has some useful info more on the chassis building side and is in general a disappointment. You might take a look at the following website, http://www.racing-car-technology.com.au/index.htm. They have some good information but don't bother with paying for their weight transfer worksheet. They give you all the info you need on the site and you can finish the rest with what you get in staniforth's book. Another idea is to see if you have any local shock or data experts. Many of these people put on weekend seminars to help out beginning racers. Being able to ask questions is a huge help. And once you have a good basic understanding you can go to the mother of all seminars by optimumG (http://www.optimug.com). Hope this helps, Cary -
C5 Corvette Chassis Swap
tube80z replied to JustinOlson's topic in Brakes, Wheels, Suspension and Chassis
In that size I'm not sure if they even make 0.065. It may depend on your steel supplier but I think the thinnest I could get was 0.095. That may dictate what size tube you end up with. My personal feeling is 0.065 would be about the same as the stock rails. I'd start by measuring how thick they are and keeping close to that thickness. Cary -
Jon's 2 year roll cage saga...
tube80z replied to JMortensen's topic in Brakes, Wheels, Suspension and Chassis
You could always switch to SUs if you wanted to go fast, worked for me I don't think you need to add the gussets in addition to the tube you have. I used a number of these to add weld area on my old car since the PO wasn't a very good welder and had a tendency to due some scary stuff with body filler. I do think a good location for them is the halo to main roll hoop if you decide not to do a small tube there. Cary -
He used bathroom scales
-
C5 Corvette Chassis Swap
tube80z replied to JustinOlson's topic in Brakes, Wheels, Suspension and Chassis
Build a simple model using balsa and glue. If you put an X into the ladder design it will be a lot better. If you integrate a cage and keep building triangles that hook the front and rear suspension together it will get better. Don't overlook bolt-in structures that cover the engine. I'd recommend you try and find a copy of Costin and Phipps masterpiece on racing and sports car chassis design. It may be old and out of print but has all the relevant info you need. My personal feelings are the 2x3 connectors in 0.120 wall or heavier tubing or a waste in the Z. It sounds like someone is trying to build a half ton truck. I think the bad dog rails or similar or more than enough. Closing the bottom of the tranny tunnel to the rails would help to increase the strength. Then this starts to look more like a backbone design. There's lots to learn and building models, virtual or real, is a good way to see what works and what doesn't. GRAPE is a shareware FEA program you may find useful. Racetech had some articles on how to use it. Cary -
C5 Corvette Chassis Swap
tube80z replied to JustinOlson's topic in Brakes, Wheels, Suspension and Chassis
My personal feeling from having been a long ways down this road is you'd be better off cutting the front and back off the shell and using a cage to tie a couple of suspension cradles together. Getting a tube car sealed up to deal with weather is a major pain and you already have all that done. Sure it might be lighter but you'll fight leaks forever. I spent far more time dealing with the passenger compartment on my build than I did on the front or rear suspensions. And if you're like me you may end up building two. Because you'll see better ways everything could be done and your skills will get much better. I really like 74 5.0's car. It is a good example of a street car with tubed front. He's got a lot of great pics in his gallery to look at. Cary -
C5 Corvette Chassis Swap
tube80z replied to JustinOlson's topic in Brakes, Wheels, Suspension and Chassis
Are you trying to put the entire drivetrain into the 240 or did you really want to put a Z body on the corvette chassis? The examples you have listed are really more putting the drivetrain into something else. Both frames are poorly designed and will have much lower torsional stiffness compared to the corvette chassis, which will lead to poor handling compared to the original corvette. So this ends up being a lot of work that has no more payoff than just putting the drivetrain into the Z. I'm not trying to dash your plan but you need to be aware that there's a lot more to how the vette handles and getting that same level of handling in a Z. Cary -
Jon's 2 year roll cage saga...
tube80z replied to JMortensen's topic in Brakes, Wheels, Suspension and Chassis
Well I got hosed on the bag I bought then I really only make the large ones I need, like where the A-pillar bar bends near the door, another idea for your gusset party. I've also seen them done where the halo meets the b-pillar. Cary -
Jon's 2 year roll cage saga...
tube80z replied to JMortensen's topic in Brakes, Wheels, Suspension and Chassis
You can buy them but they only come in a couple of sizes and aren't that cheap. To make them you cut out flat pieces then use a press the pushes these between two bars that have enough space for the thickness of the metal. It's not hard, just a little time consuming. I have a pattern for my plasma cutter that makes this easy. Cary -
Advice on tuning out understeer
tube80z replied to Zmanco's topic in Brakes, Wheels, Suspension and Chassis
You don't need camber plates to slot the towers. That would be a cheap option. My guess is the car is losing camber at front and this leads to understeer. Softening the front will not solve this issue and only lead to chasing your tail. Cary -
I'm sure it's safe but it sounds like you're trying to build a 3/4 ton truck rather than a sports car. Cary
-
On the front these hook where the bumper mounts and come out. Similar on the rear. My car didn't have a front or rear bumper so I made simple hooks for these locations I could hook into with tiedowns. Cary
-
JohnC's trailer above is very similar to mine. I bought a used steel trailer and rewired it with much better wiring and LED lights because I got tired of dealing with the normal lights being out before I'm about to leave for the weekend. In addition to a well laid out tool box I added a nitrogen bottle to mine and will plumb the trailer with airlines this year. I also spent a lot of time figuring out how to get the car on and off quickly. It's nice at the end of the day to be able to load the car and be gone in 15 minutes or less (when it's really hot out). External tie downs on the chassis are a lot easier to deal with than climbing under a really hot car. I also found that having the rear ramps stay hooked the trailer and fold down was easier for me to deal with and a lot quicker on the load/unload sequence. There definitely seems to be two schools of thought on how to tie a car down. One says by the tires the other says to tie the chassis. I fall in the latter. Cary