silverado22c
-
Posts
45 -
Joined
-
Last visited
-
Days Won
2
Content Type
Profiles
Forums
Blogs
Events
Gallery
Downloads
Store
Everything posted by silverado22c
-
PM sent
-
Ean, yes they are a bit pricey, but well worth the final result. Like you said, that you head thru that way, doesn't hurt to stop in and see 1st hand the results of others vehicles.
-
I no longer live in California, but I would recommend Jake Tomlinson & Company, out of Auburn, Ca. When I lived in California, I sent both my dad and aunts vehicles there. To go along with the vast amount which were referred during my time at Land Rover Rocklin. For years, we would send vehicles to Jake's, even though the Niello company had its own body shop. Might be a bit further than you are wanting, but would not be disappointed in the results.
-
Hey Ken. I'm on vacation and will be back Jan. 8th. So I can let you know then about the shipping rate. I think the heat shield might have surface rust, but is in good shape. There might be a picture of it, but I'll send new pics when I get back.
-
Sent you a PM, working on a box and shipping quote for you
-
post bump
-
240z l24 rod knock - advice needed
silverado22c replied to alex44's topic in S30 Series - 240z, 260z, 280z
Check the exhaust manifold as you put it back on, just to make sure you don't have a crack -
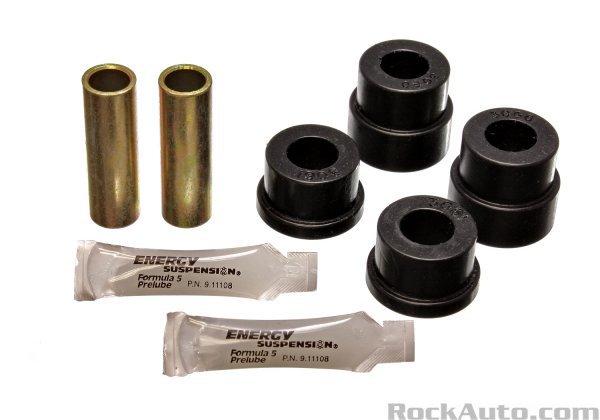
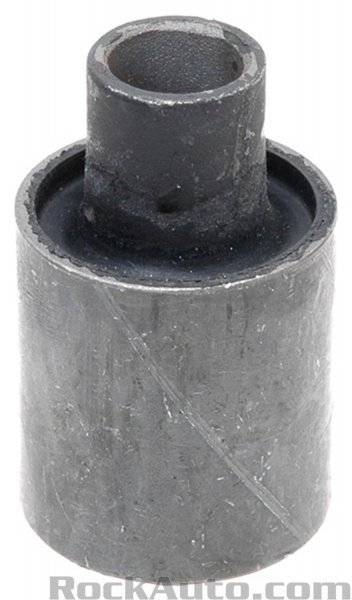
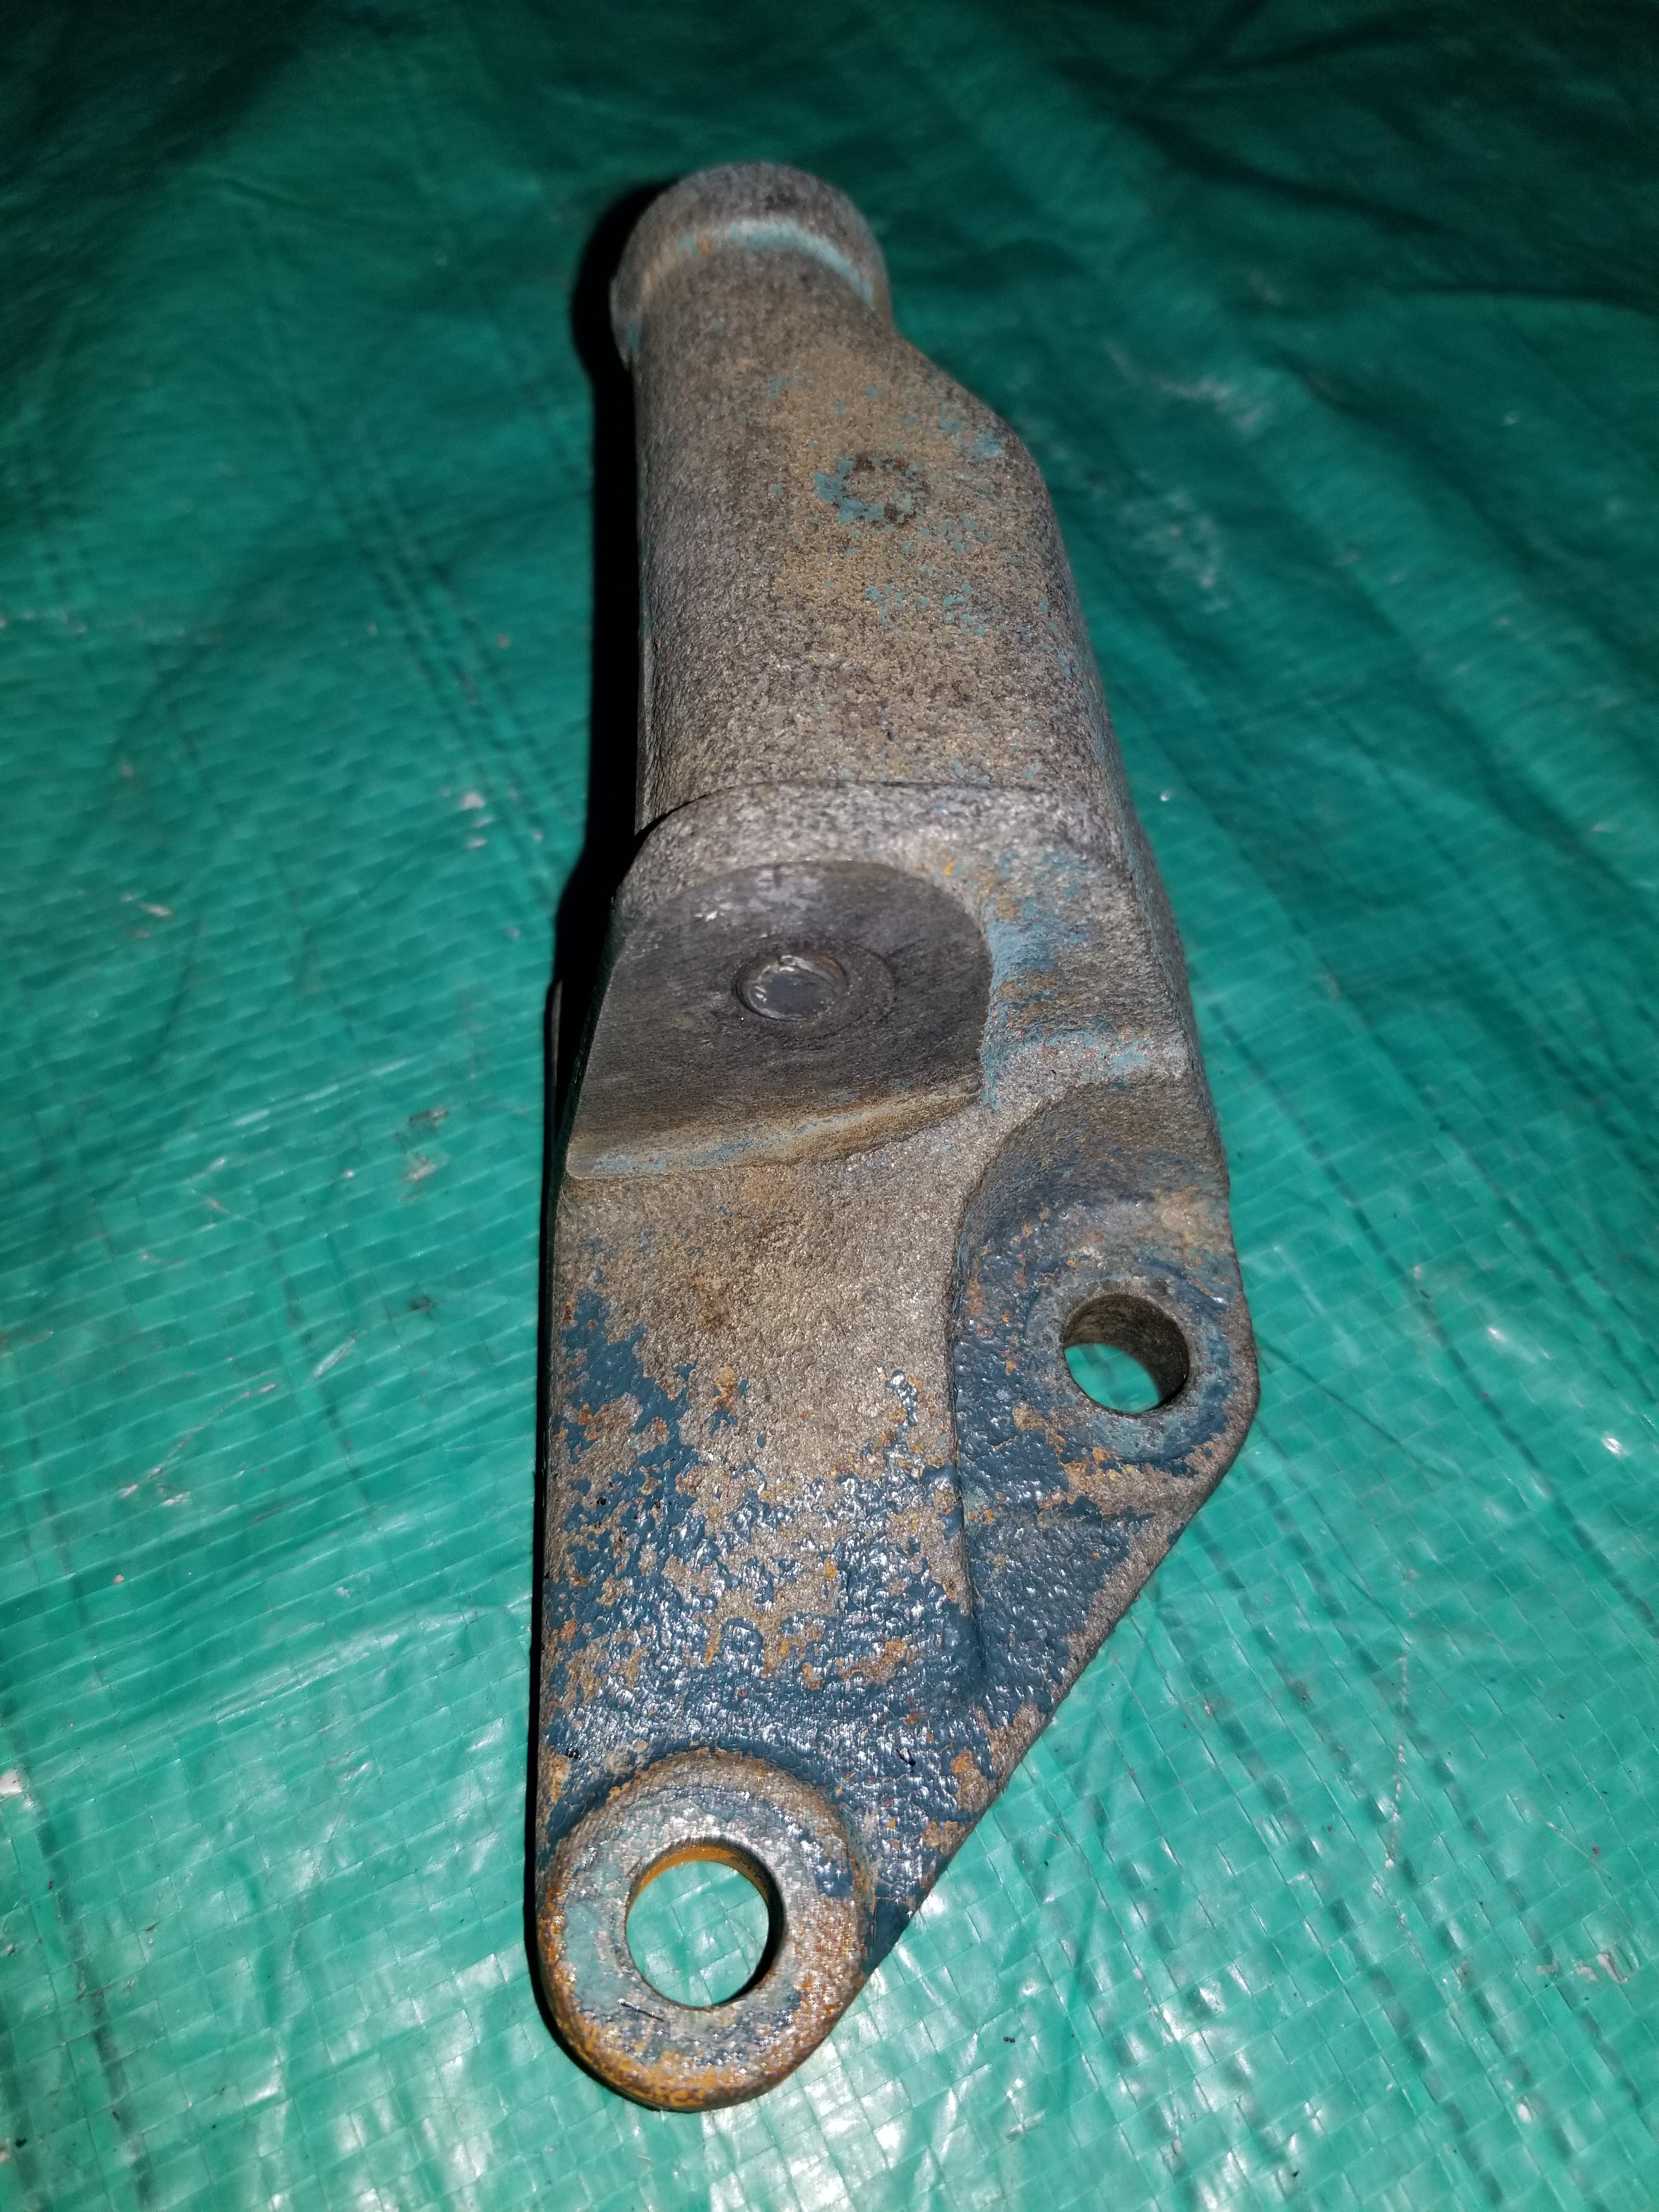
Front Control Arm Bushing Issues
silverado22c replied to PatD's topic in S30 Series - 240z, 260z, 280z
Really need someone on the forum who has dealt with the front suspension to speak up, as I have not. I am wondering, as the poly bushings simply fit in the control arm only being spaced by a sleeve, if the fitment needs to be tight for the stock style bushings? You state the new and old bushings slide thru, which should not occur with pressed in style bushings. I the spacing excessive or close enough where you really need to push the bushing thru. On second thought about the polys, it looks like that step up is a lip to keep the control arms centered. I'm thinking really your cheapest way to move forward would be poly bushings. As you don't know if new stock style will be slightly larger to fit correctly or will be the same and slide thru. Then it is cost prohibitive to go with other control arms. -
Can you post more pictures? wide view of all the parts removed, close up of others. Much easier to view something, then trying to diagnose by what someone says. Not trying to be an ass, just was frustrating when customers would only state what they think was wrong, but would never ride along with us technicians to better express what they heard or felt.
-
Could you possibly have a brake booster that is leaking brake fluid, getting pulled into the vacuum port that is close to the rear cylinders?
-
The vacuum seems low. You can either smoke the system, to see smoke coming out, showing a vacuum leak. Or you spray carb cleaner at items near number 6, trying to locate a vacuum leak. The engine will some out when consuming the carb cleaner.
-
Do you have any pictures of the spark plugs? Also, pictures of the cam shaft and valve train would be helpful. Possible a cam lobe that has gone bad or maybe a damaged valve guide, that was not installed correctly when you had it rebuilt.
-
Maybe the ECU is commanding #6 more than it should. If you replaced everything and still have the same issue, look at what controls it all and that is the Megasquirt ECU. Look into your files, see if your settings are the same. I have no experience with mega, just being a technician and looking what controls it.
-
Aftermarket Fuel Sending Unit?? (280z)
silverado22c replied to Zeestroyah's topic in Trouble Shooting / General Engine
Zcardepot is a little cheaper than MSA, if you go with the early years sending unit. The early is only 2 wire and does not or may not illuminate the low fuel earning lamp, but level will work the same. -
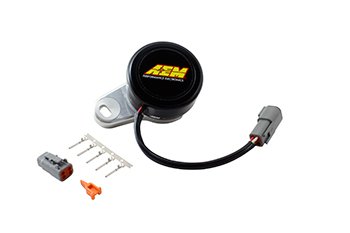
List of Options for Crank and Cam Position Sensors
silverado22c replied to cockerstar's topic in MegaSquirt
AEM's EPM provides precise engine position using dual zero-speed optical sensors, which offers the advantage of immediate signal generation regardless of engine speed. The EPM easily adapts to any positive-drive, half-engine speed device such as a cam or distributor drive, and can be used with any aftermarket engine management system that recognizes a 12-tooth crank 1-tooth cam pattern.
-
Front Control Arm Bushing Issues
silverado22c replied to PatD's topic in S30 Series - 240z, 260z, 280z
If it is top left, those are poly. If it is top right, then they are stock style and need to be pressed in. The item that is having something pressed in or out should not be damaged, if done correctly. So, need to see pictures to tell if they used the wrong die to press out the old bushings and possibly increased the diameter of the control arm opening on accident.
-
Front Control Arm Bushing Issues
silverado22c replied to PatD's topic in S30 Series - 240z, 260z, 280z
There are no new rubber stock bushings, most likely you are using polyurethane bushings with a separate internal sleeve. Is the fitment excessively small or allowing the poly to slide thru by simply placing the bushing in? If you were to use stock style, then you would be having the same shop press new bushings in. To me, nothing is damaged. Just fit the bushings in and put back on the vehicle. Please provide photos of the bushings and control arms, that way we can give you better answers to help you out. -
Did you just disconnect connectors on the amp or did you cut wires to remove the amp? We can't tell you if easy to connect back up and for your issues to go away, because you didn't state how you removed the amp. Providing pictures are always best the more vague questions are. You might have had a 12 volt ignition source that was connected to the amp when the vehicle was in accessory or on position.
-
They attach to the hatch, with hinge at the top and latch at the bottom I believe.
-
Sent you a PM. Wasn't able to make it storage today, but will be heading there tomorrow.
-
Street Fire Ignition Control XR700
-
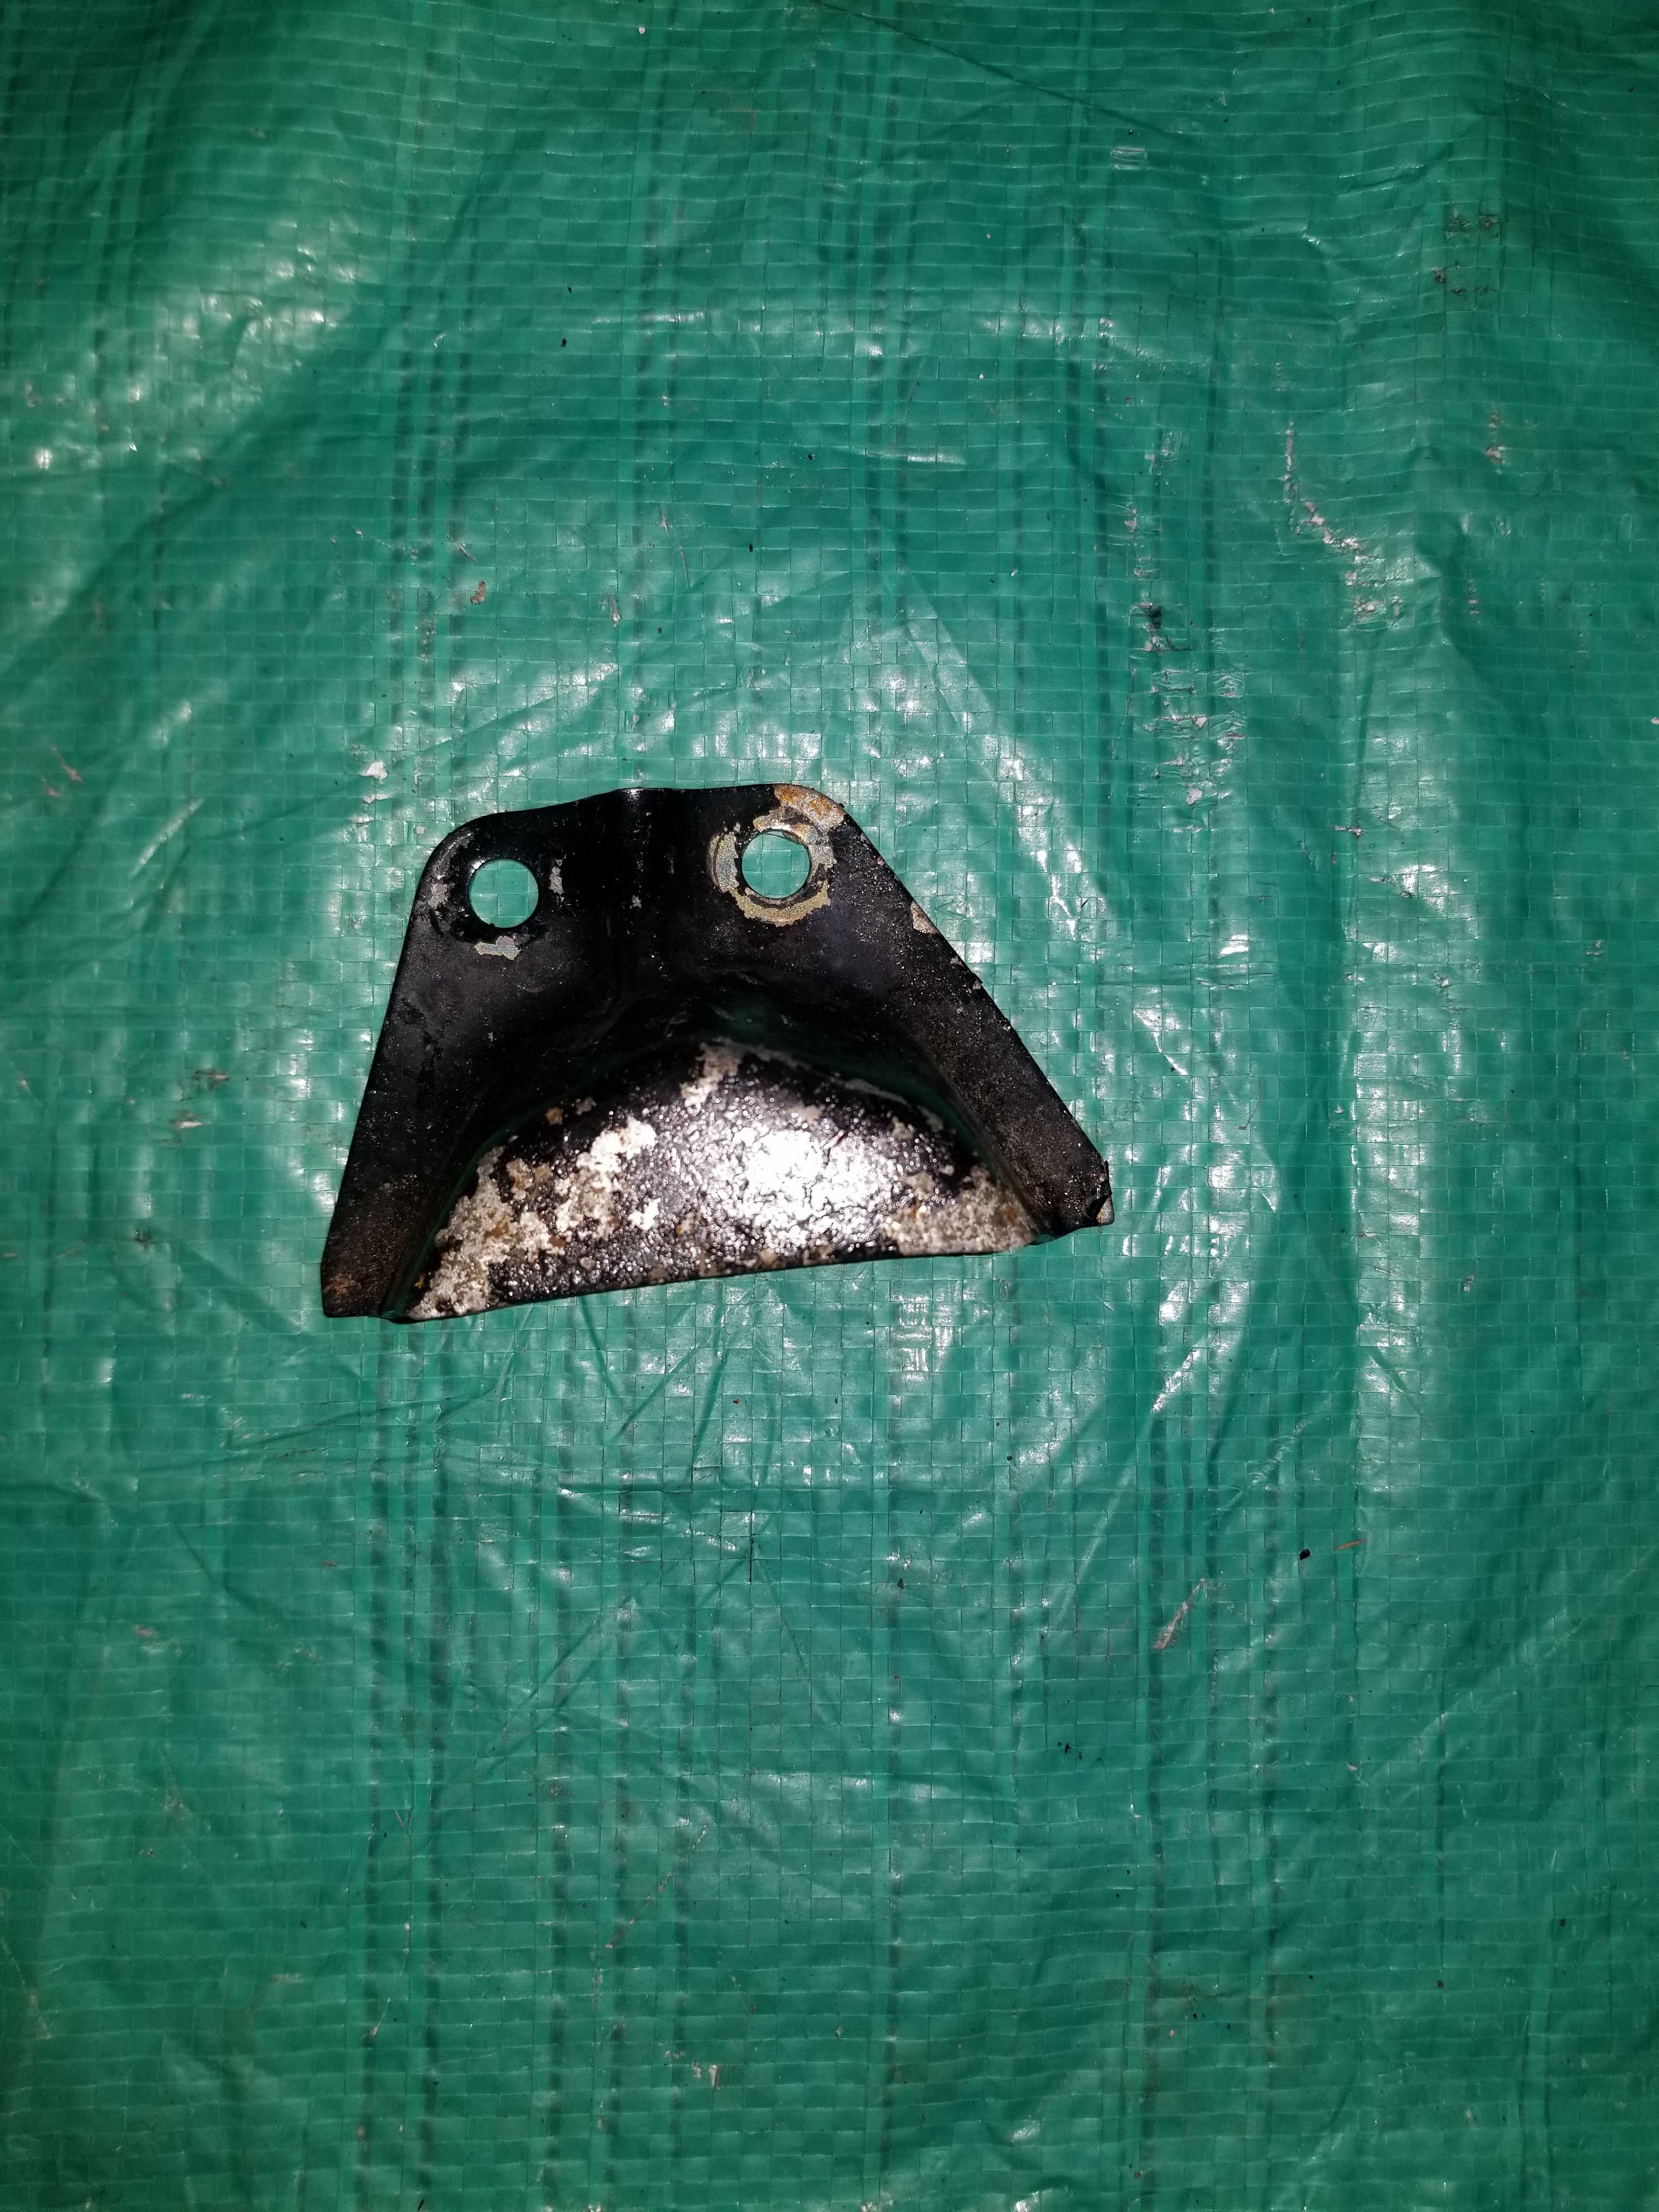
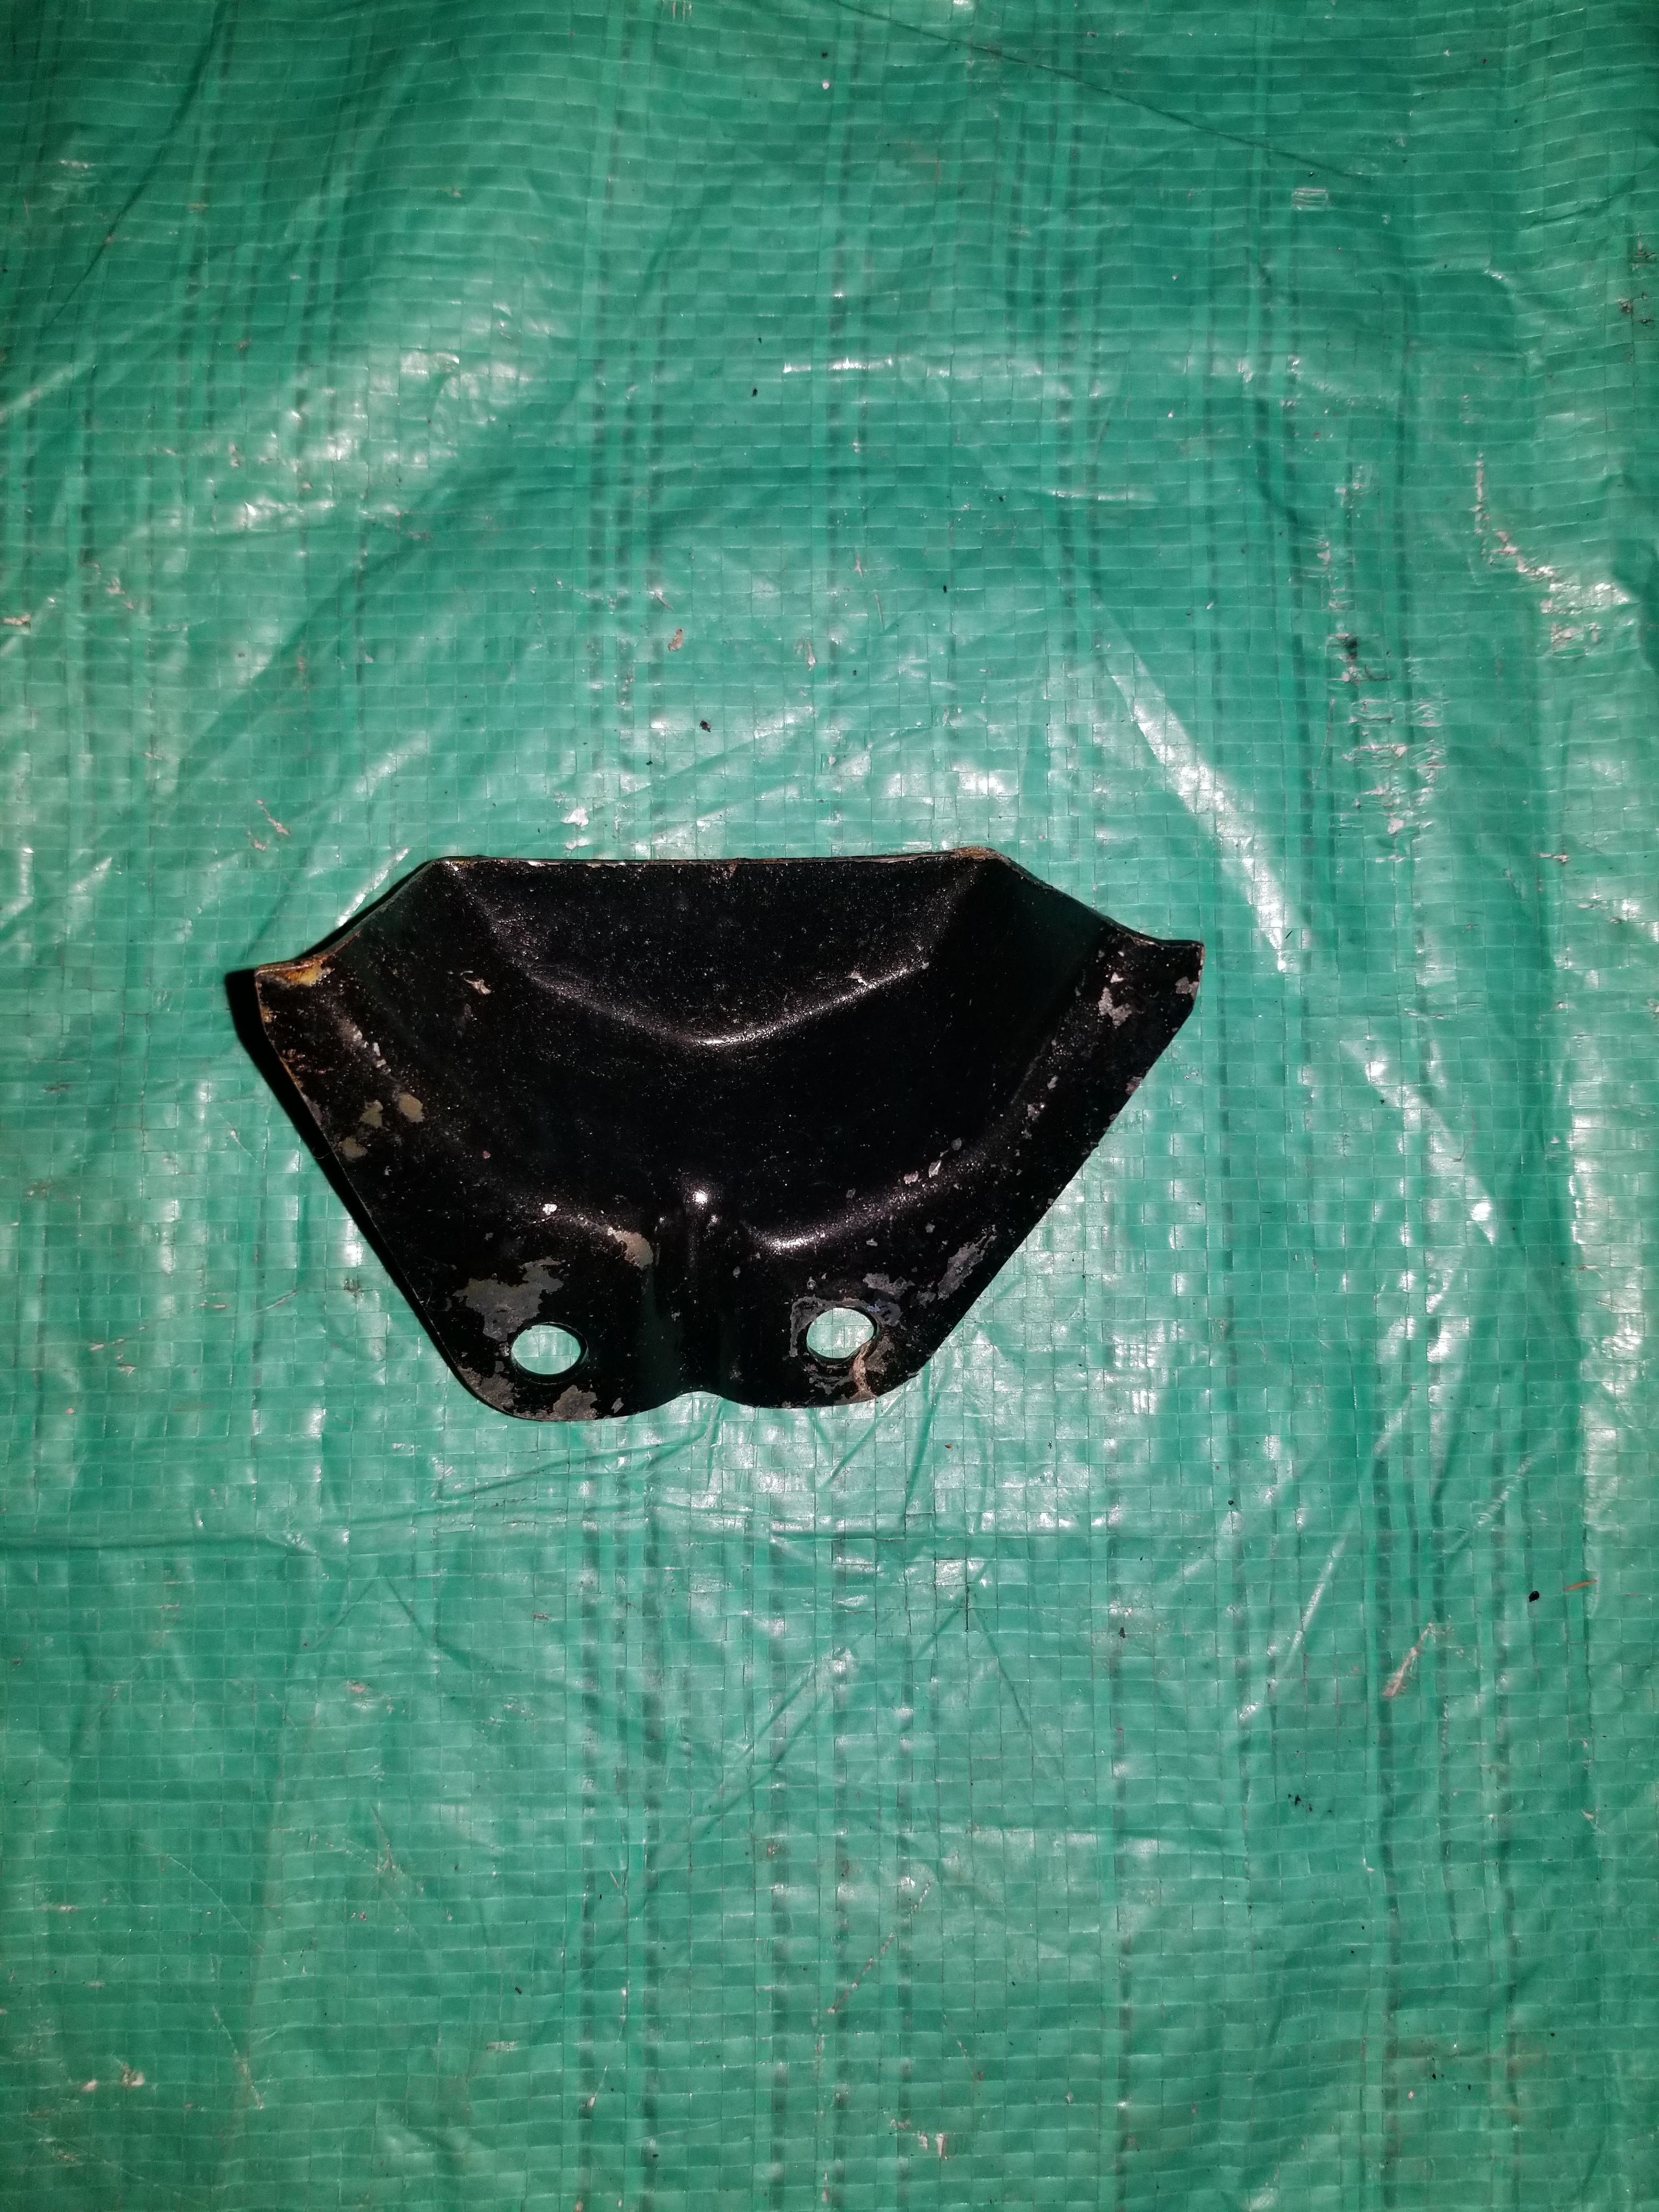
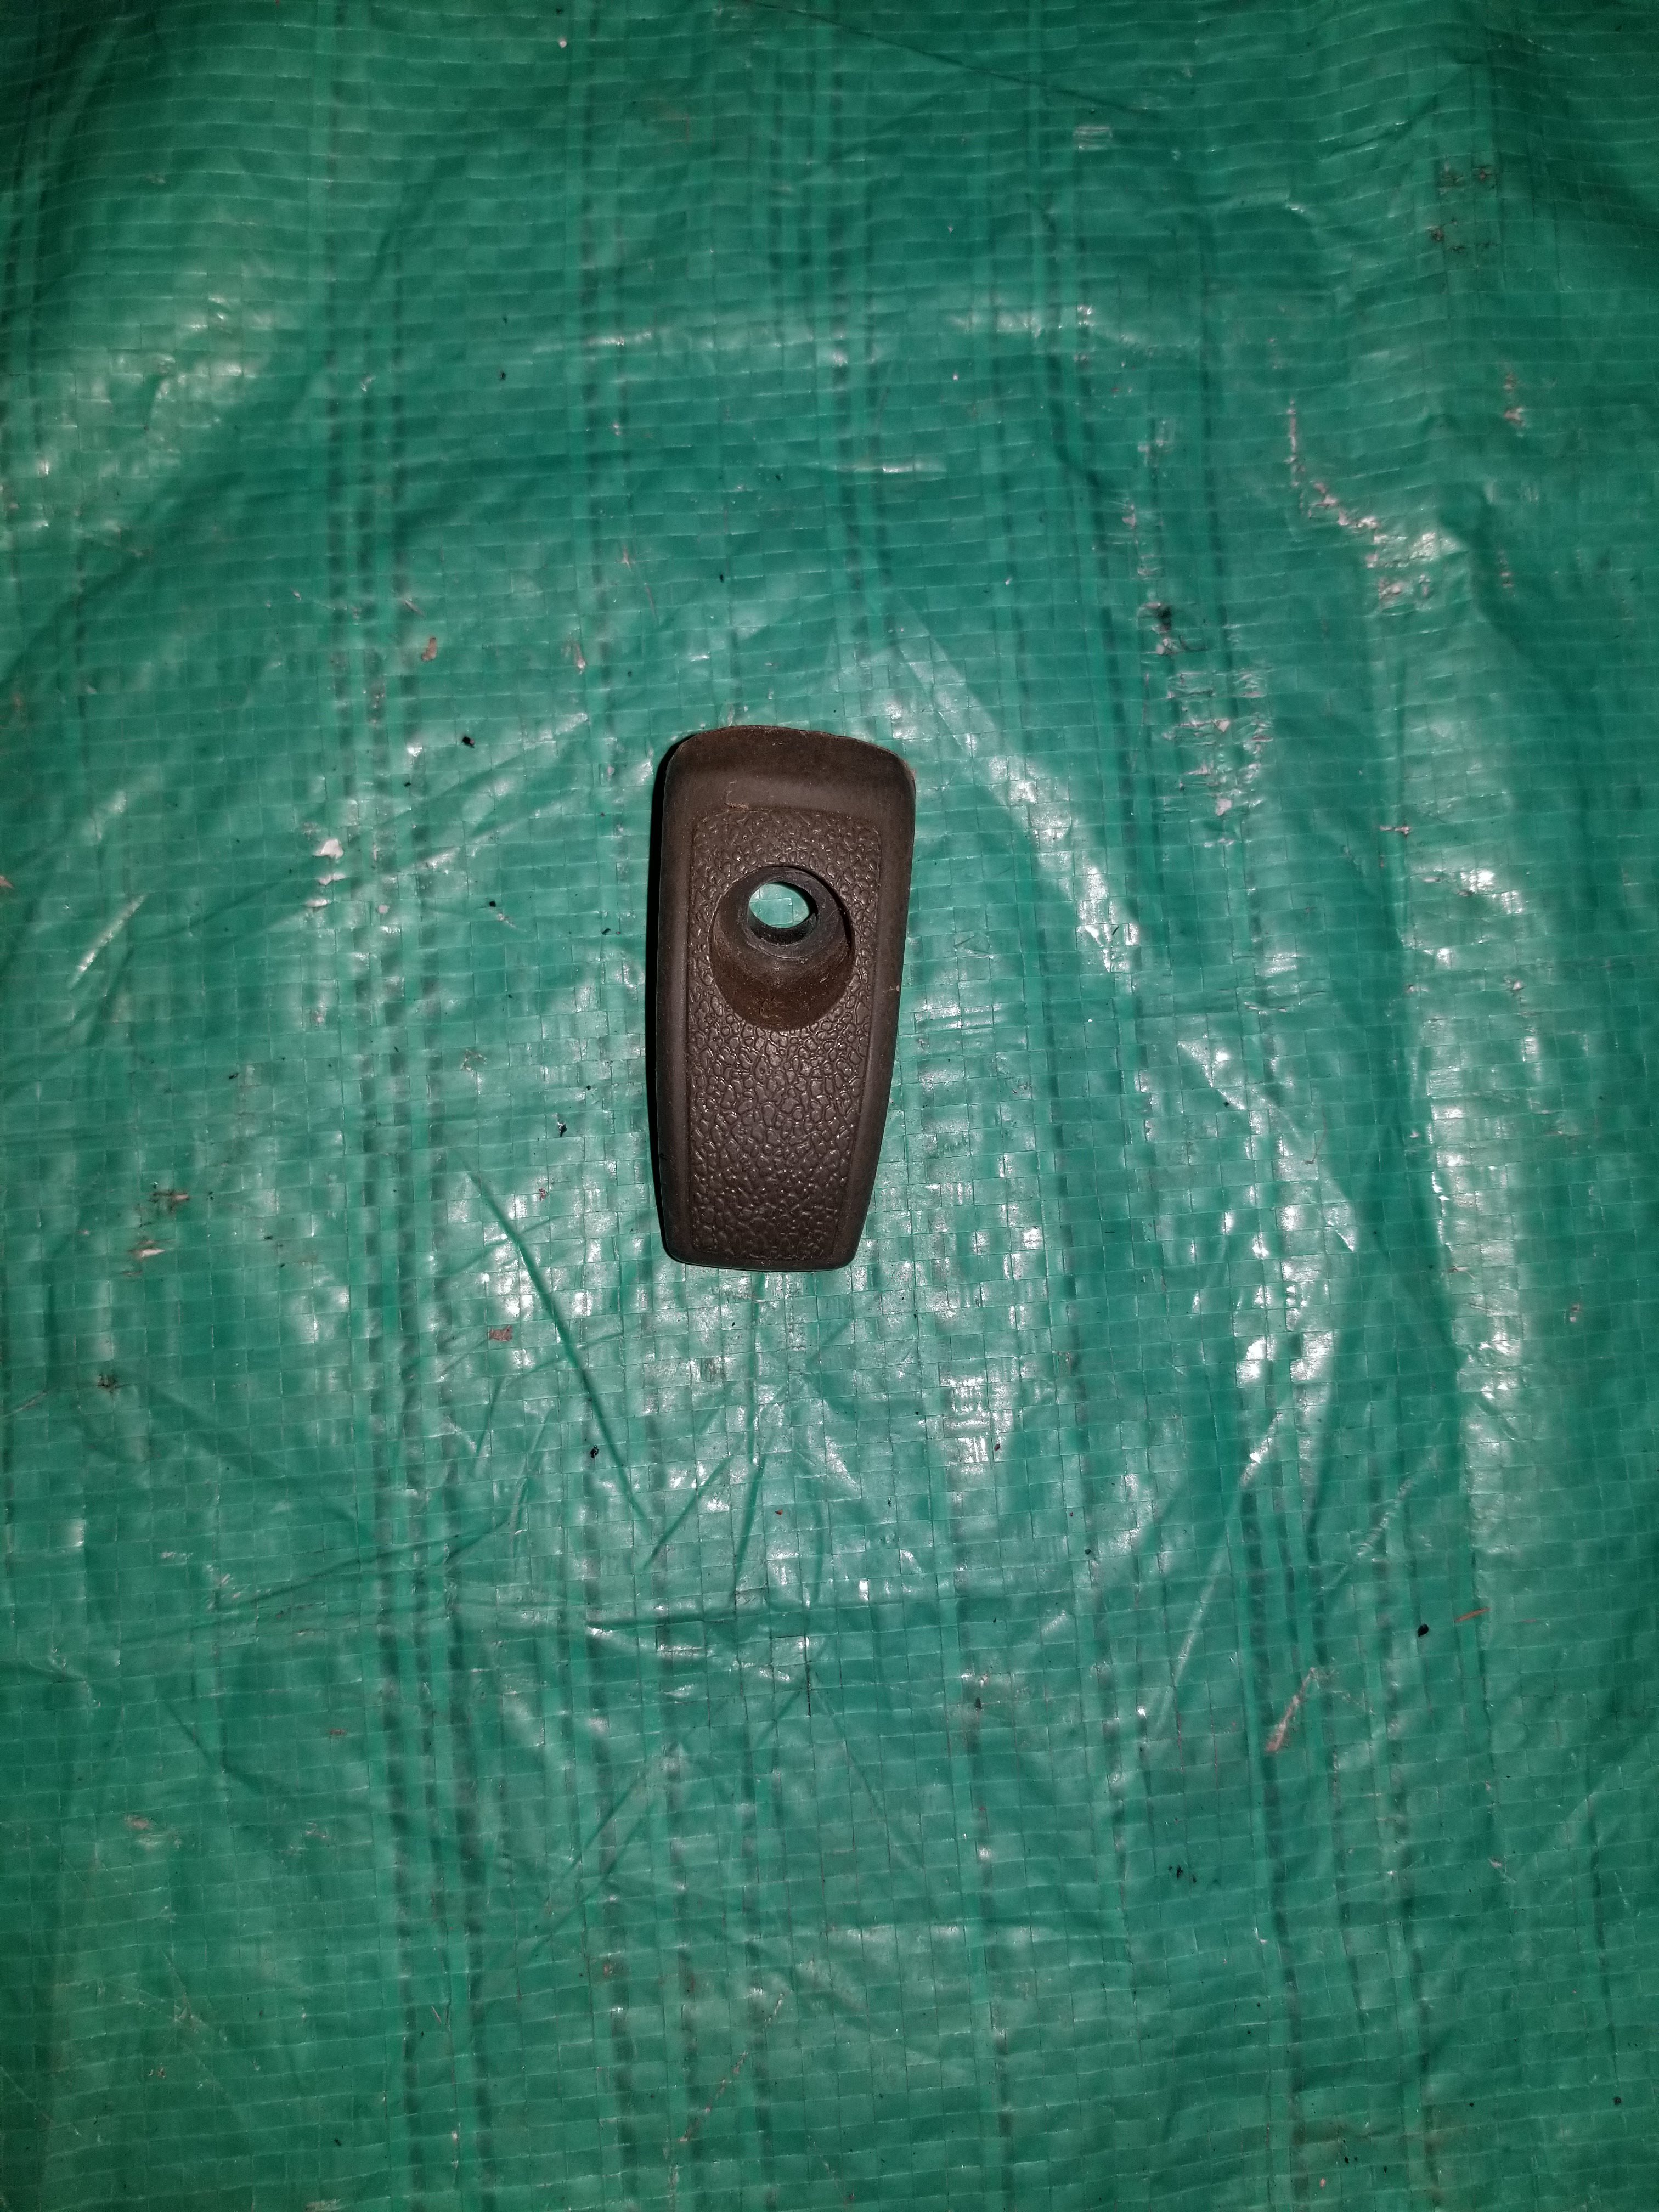
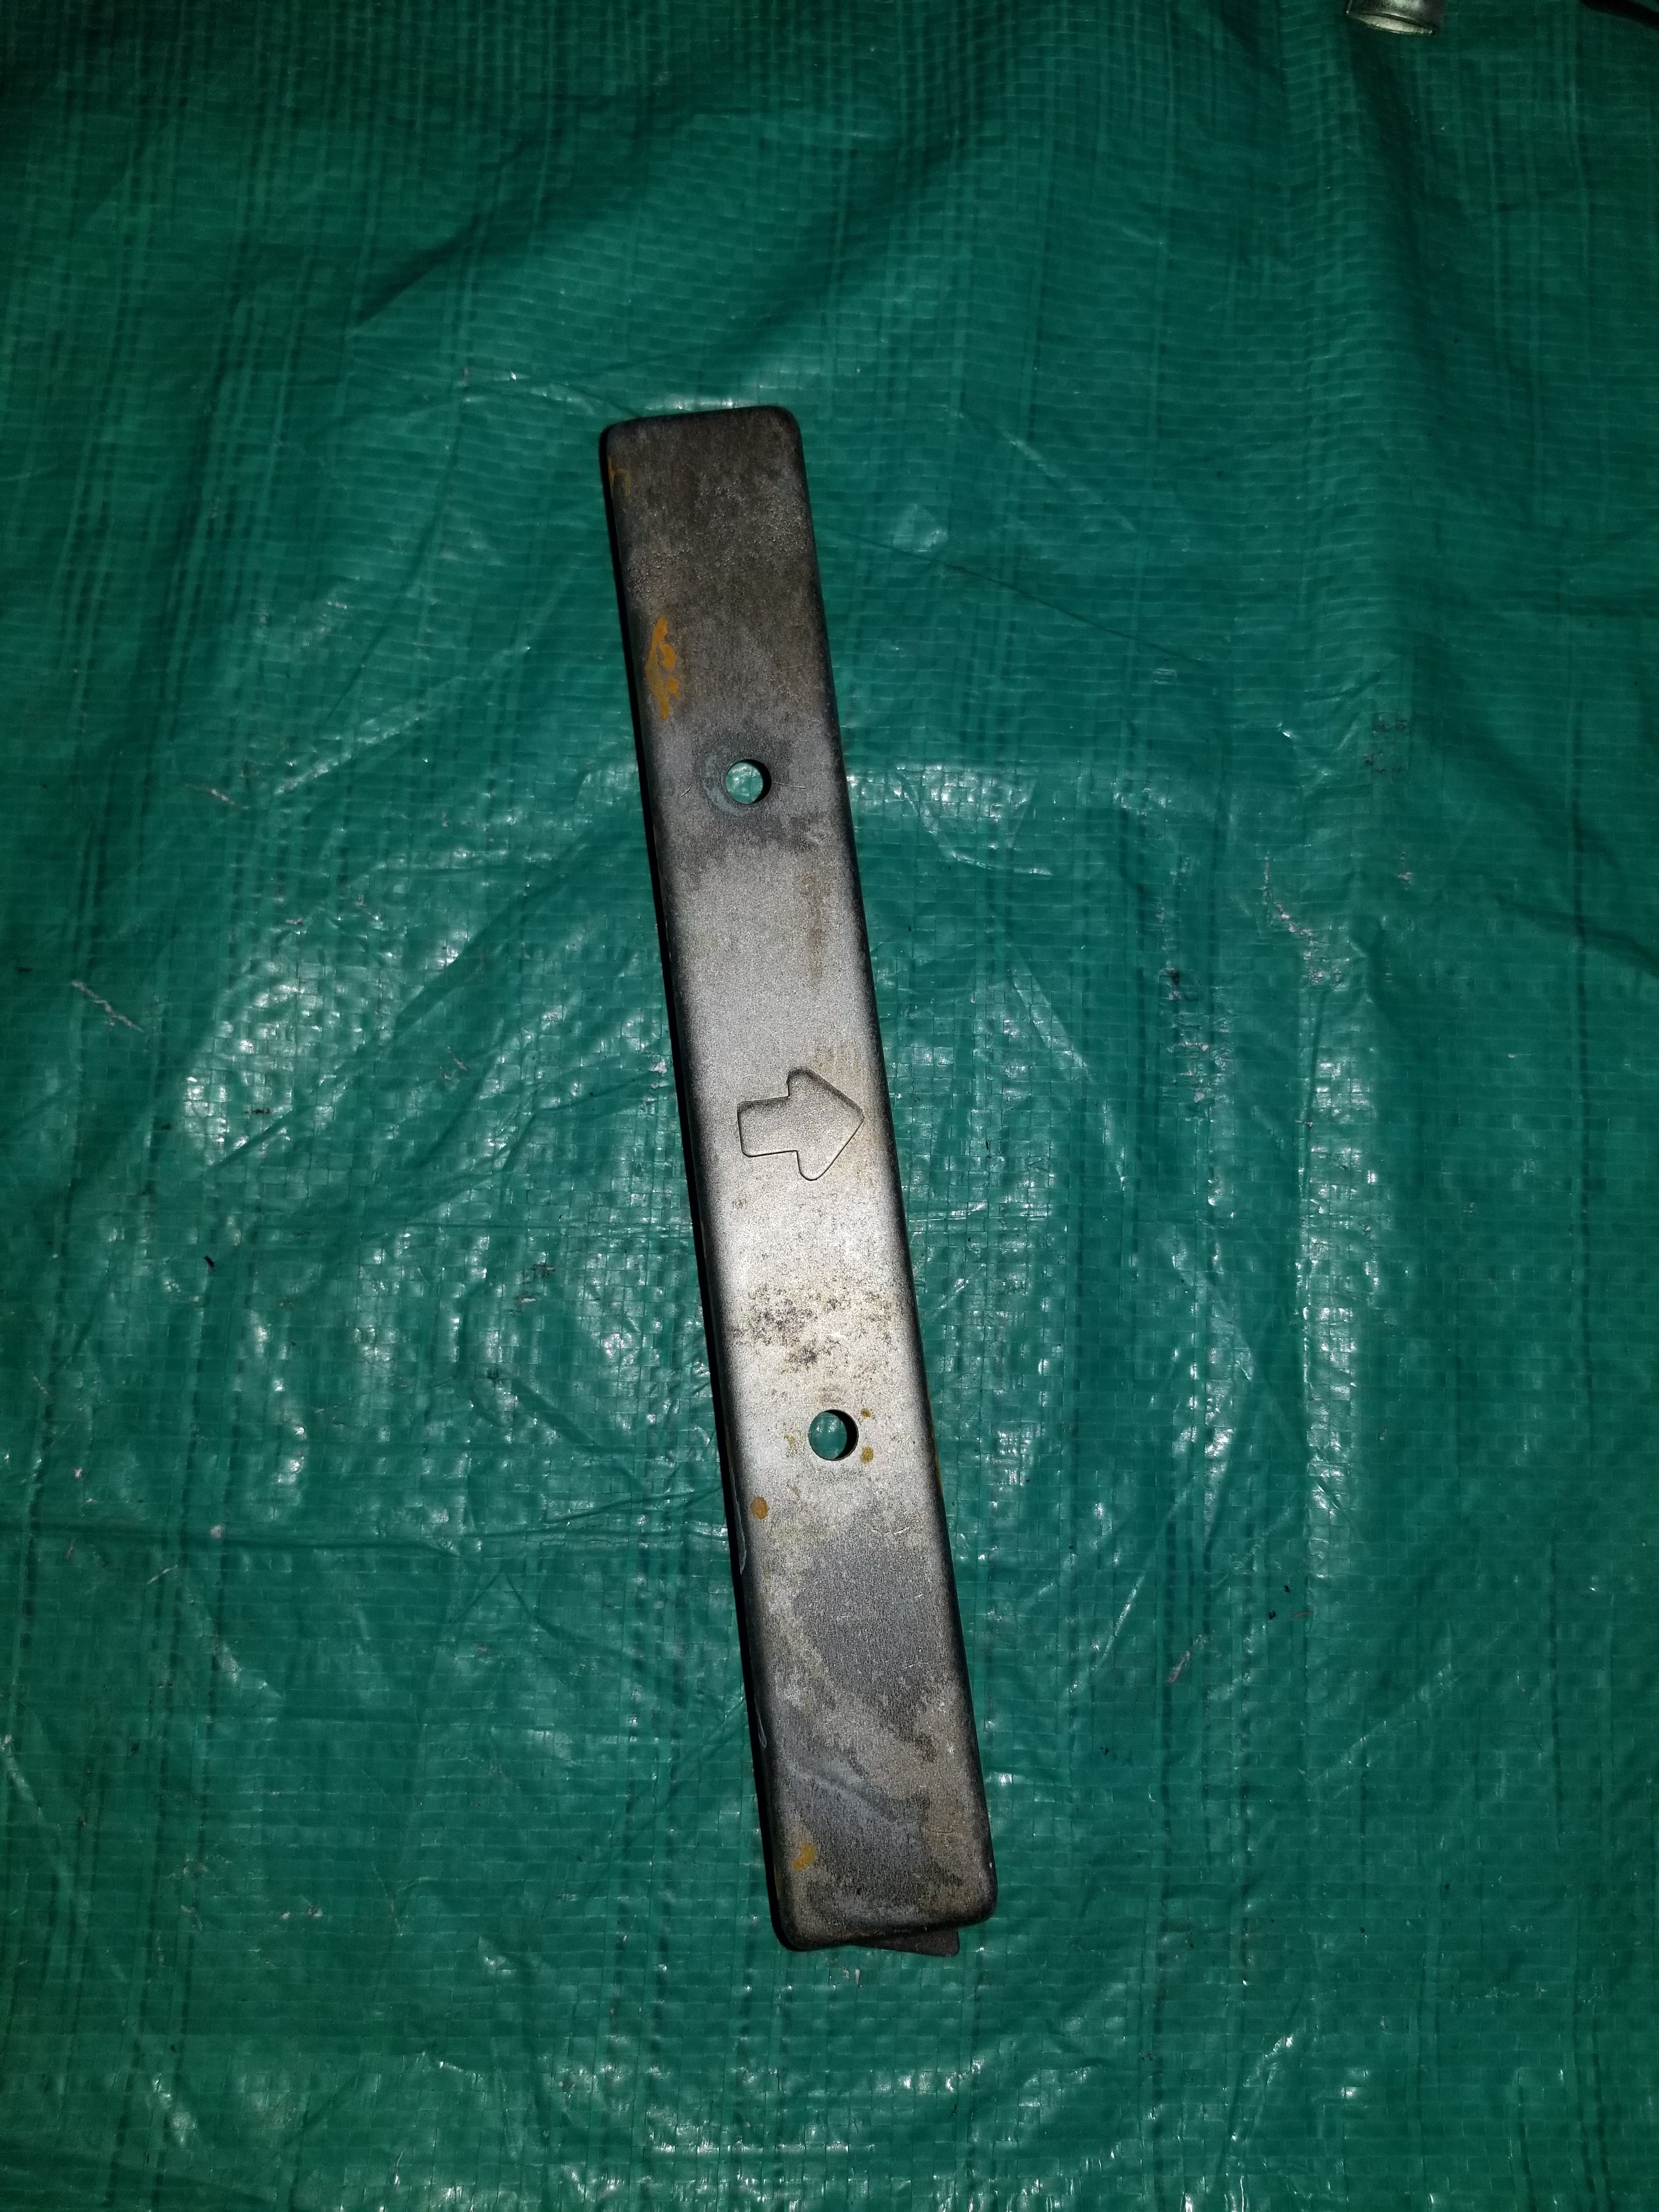
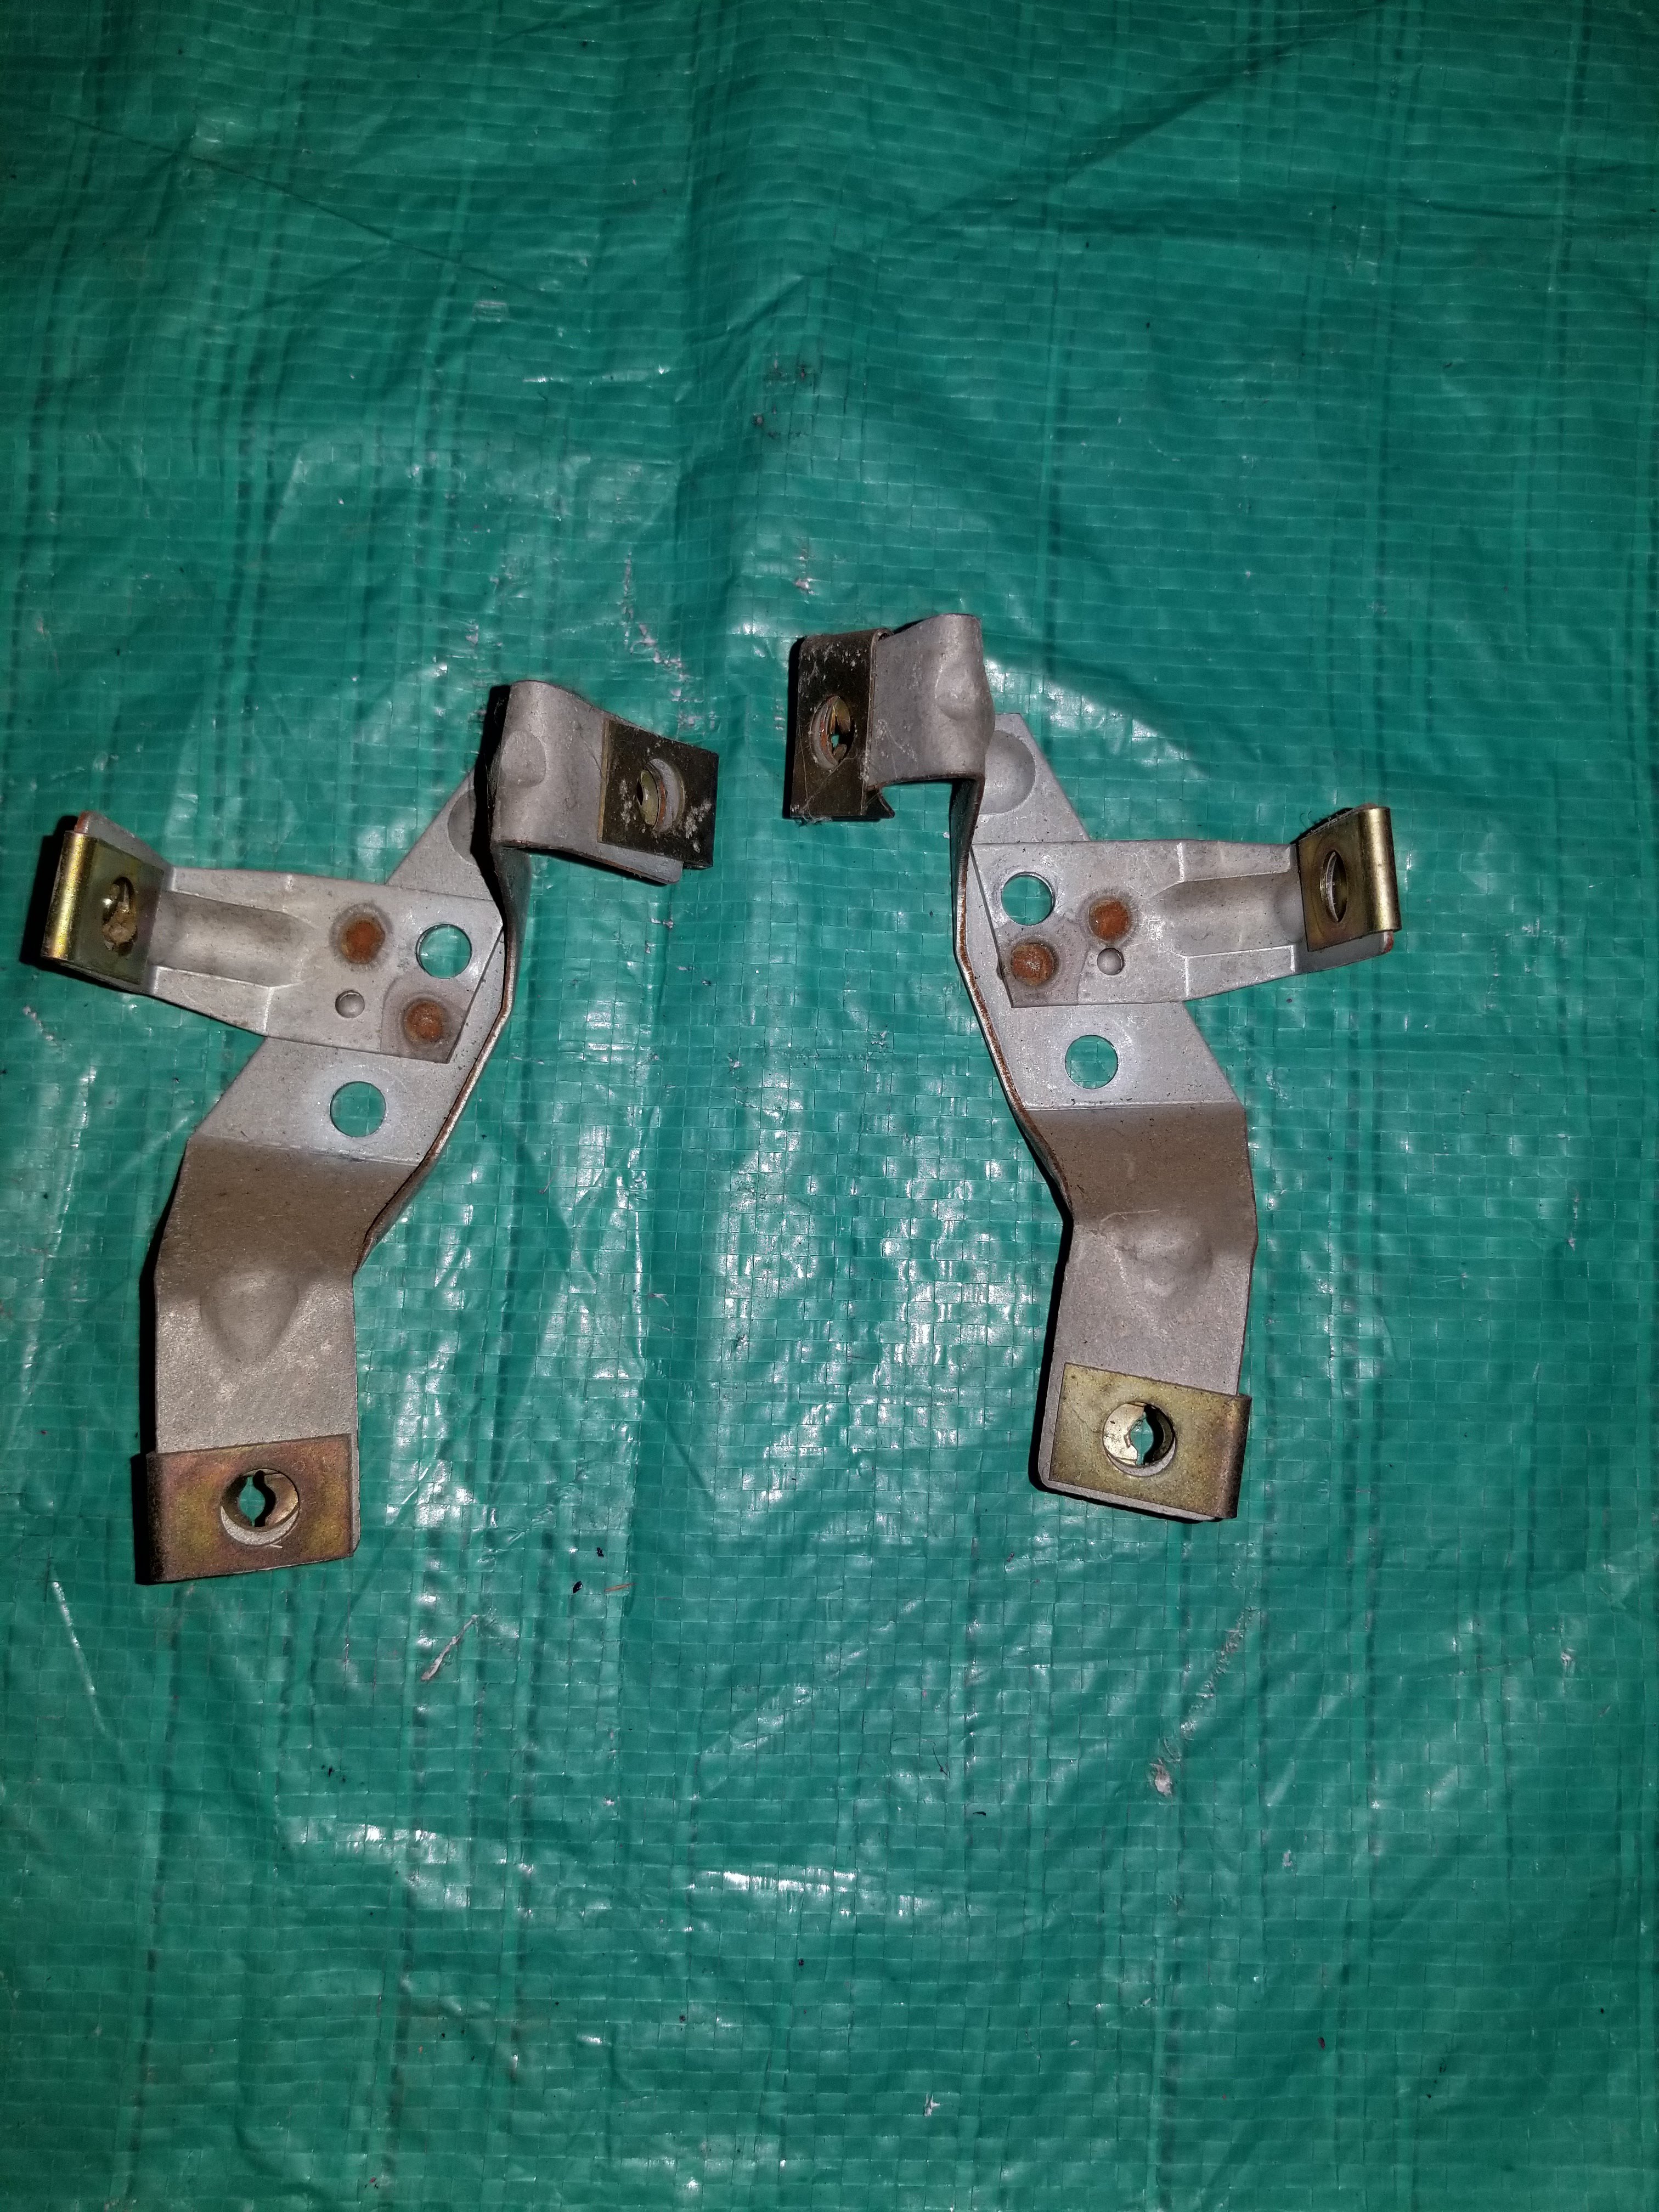
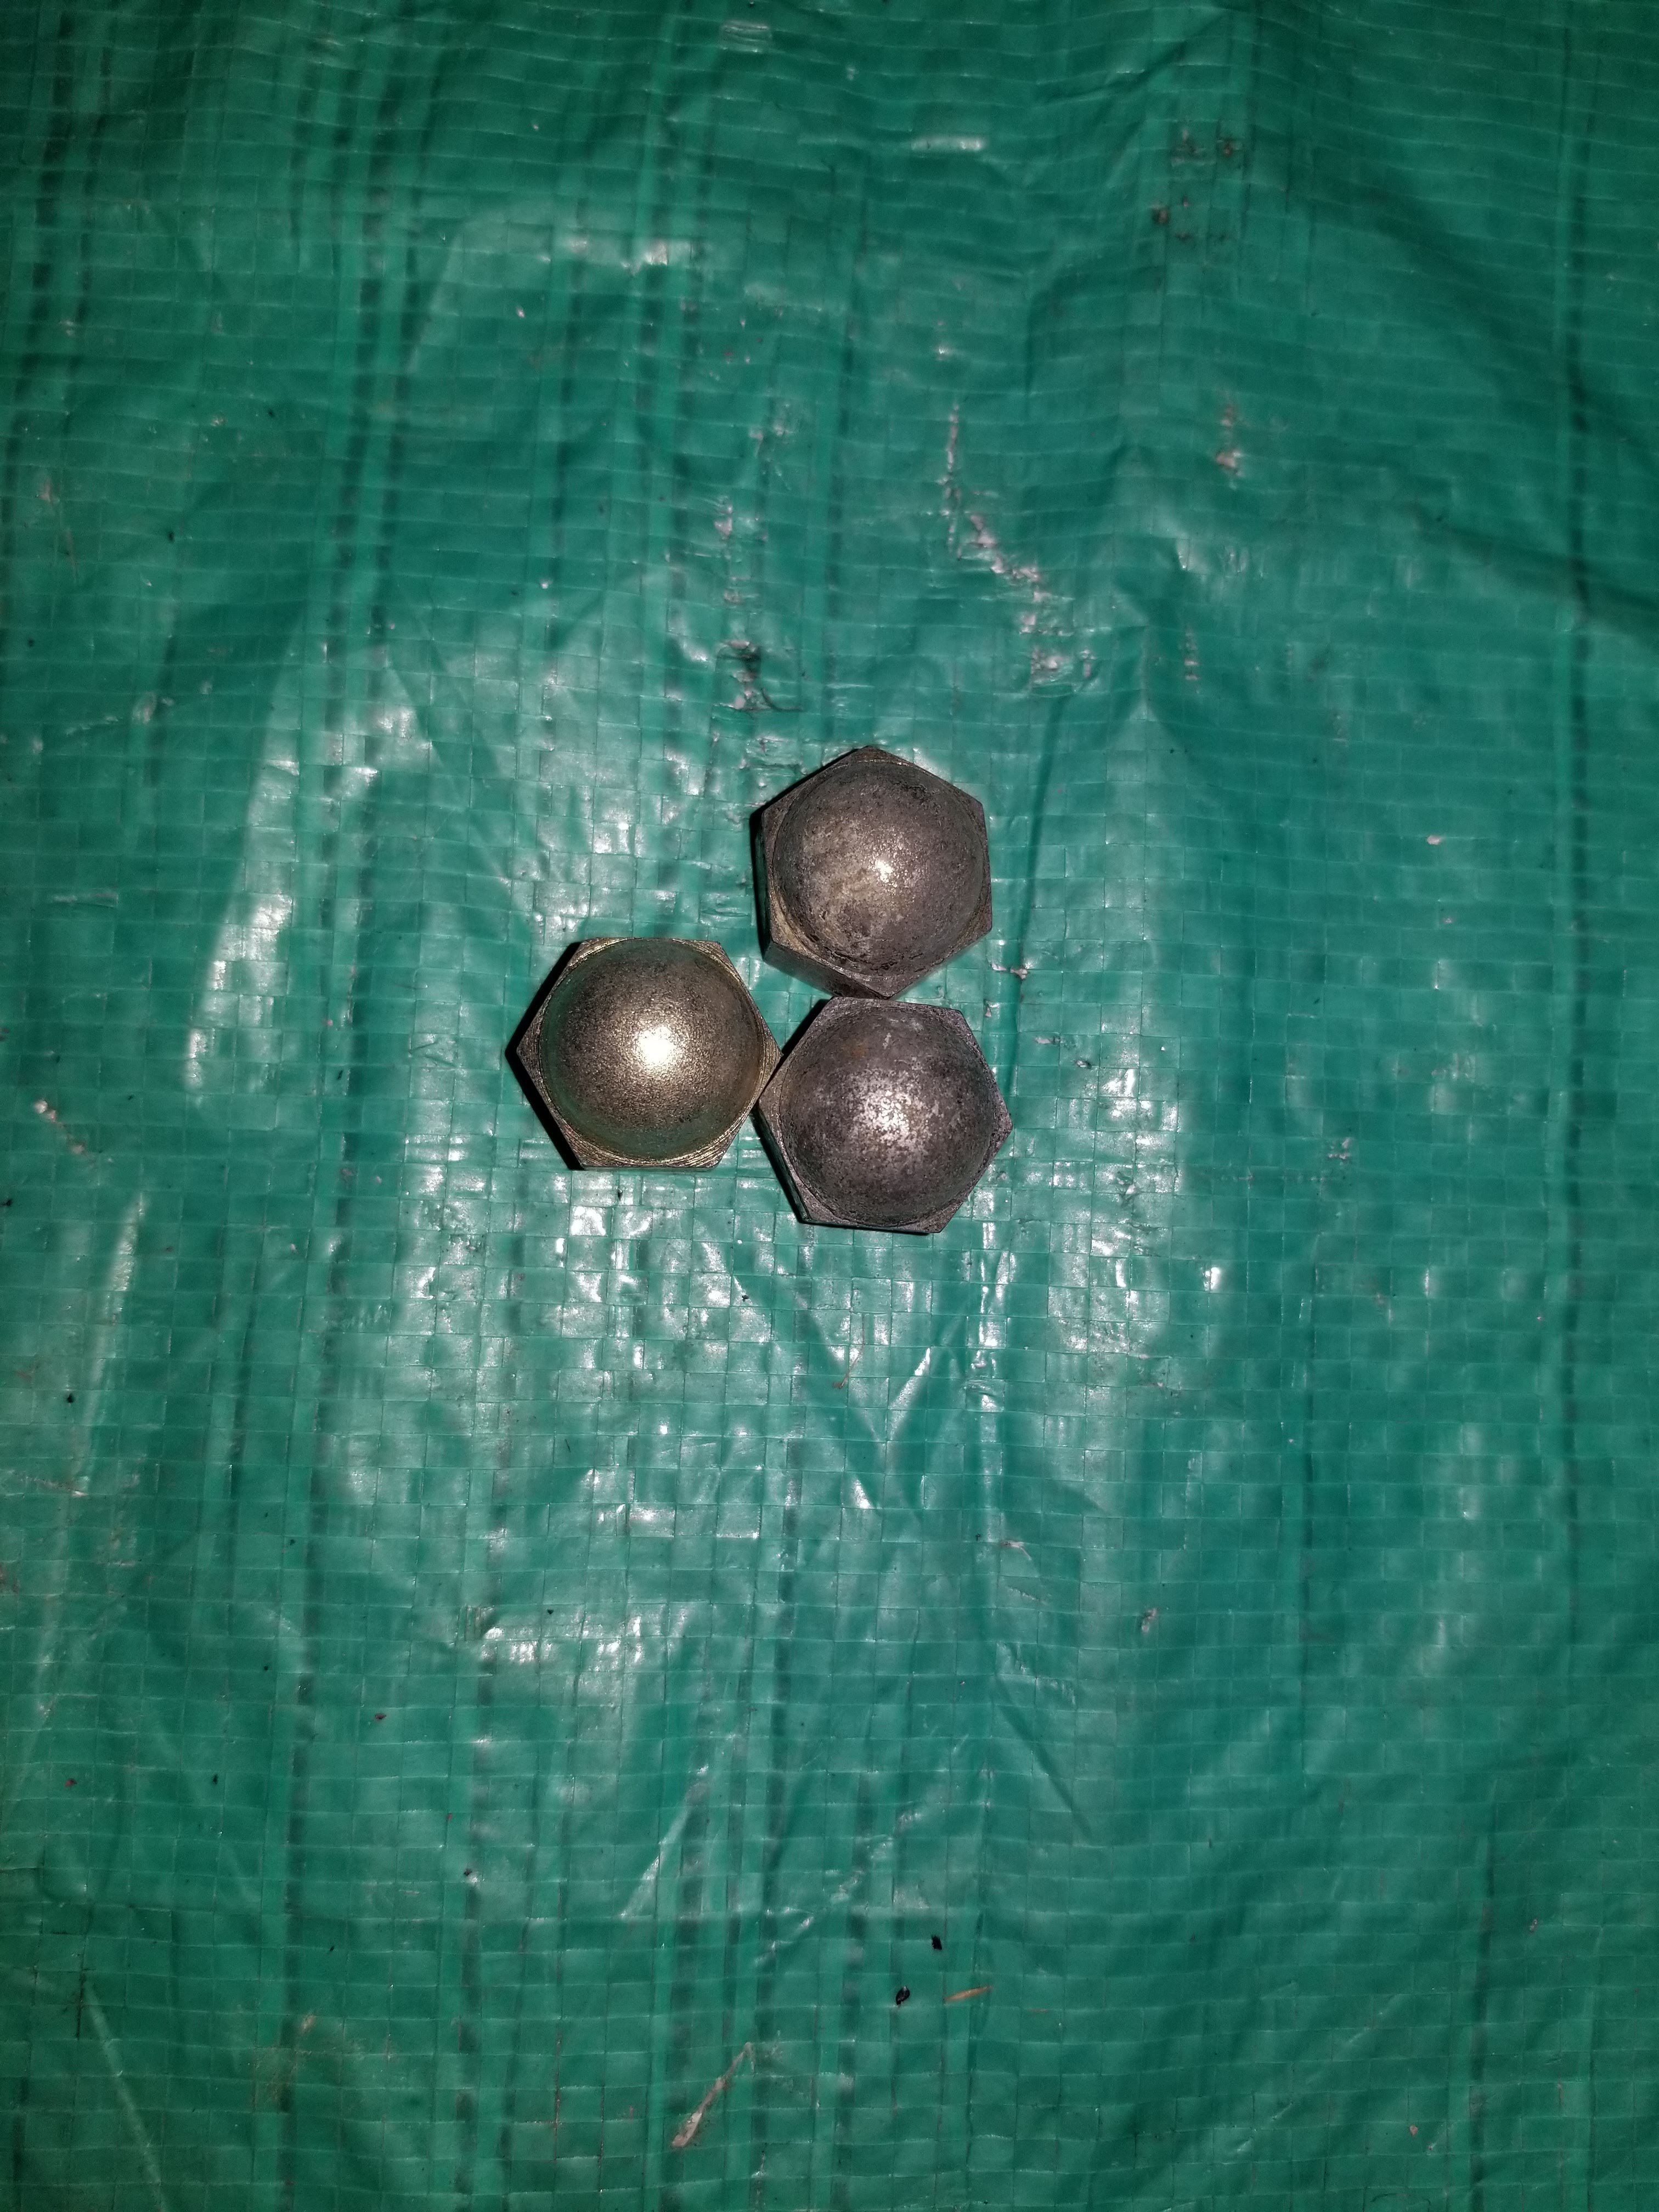
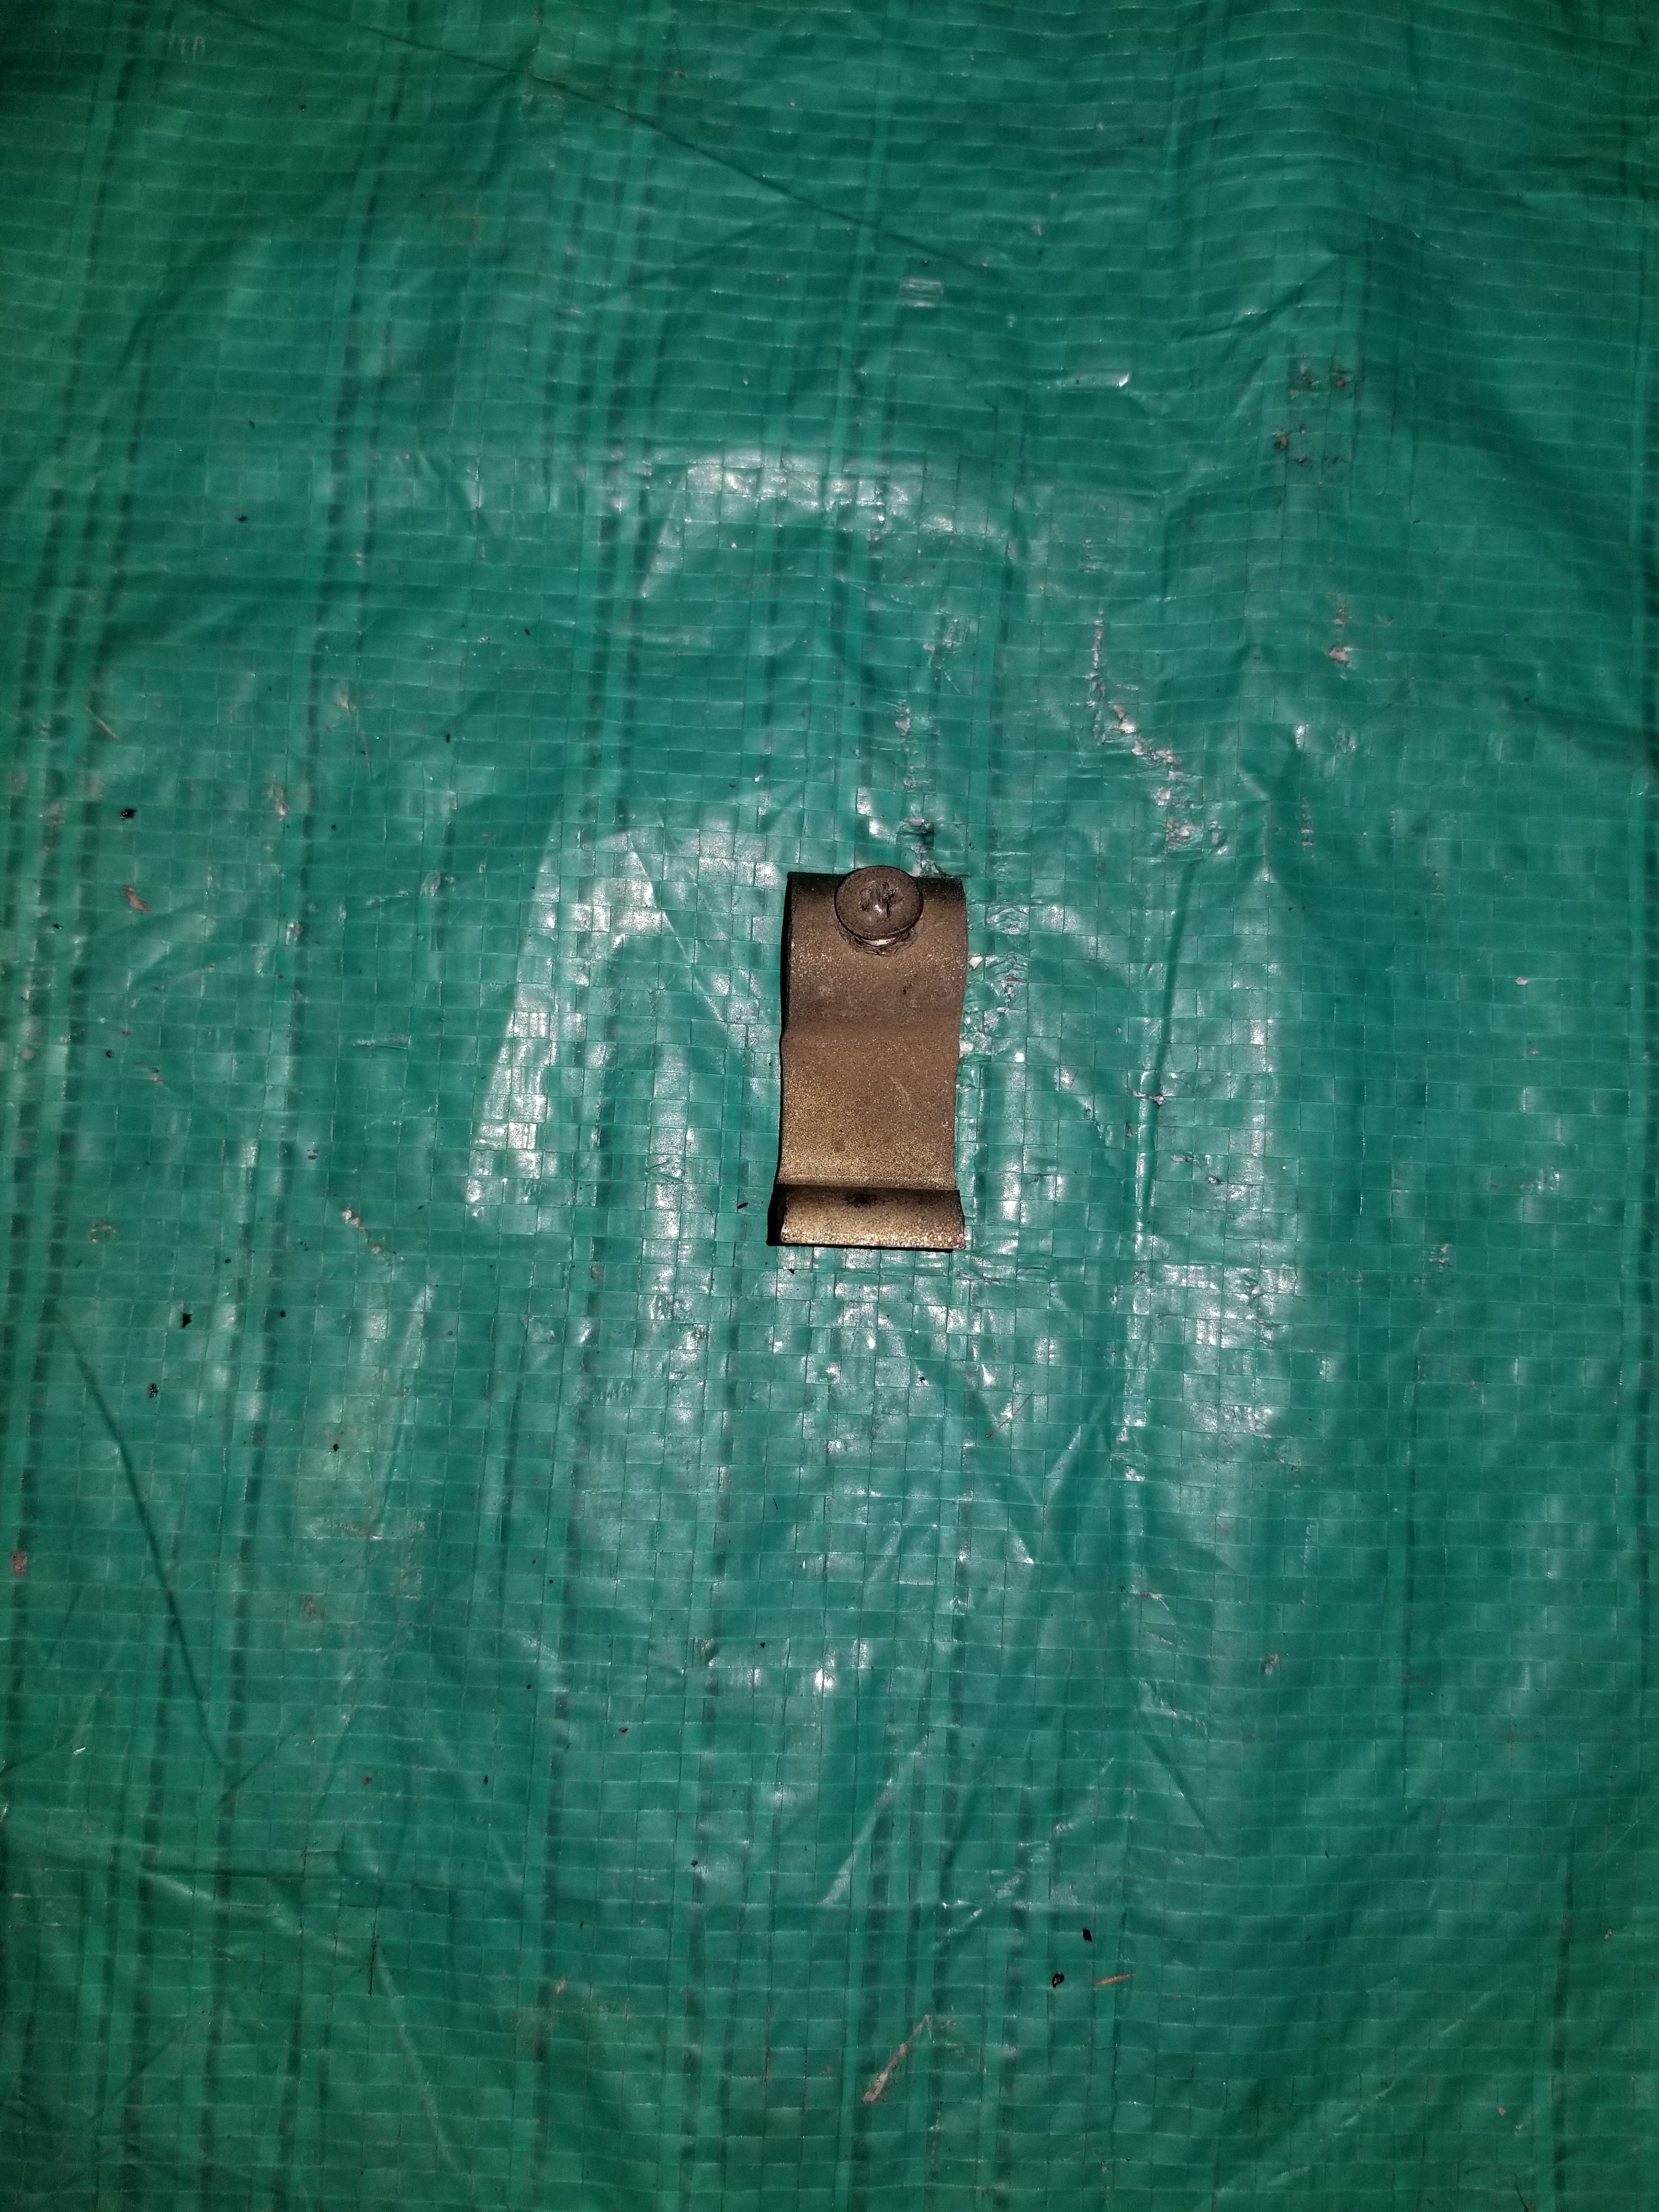
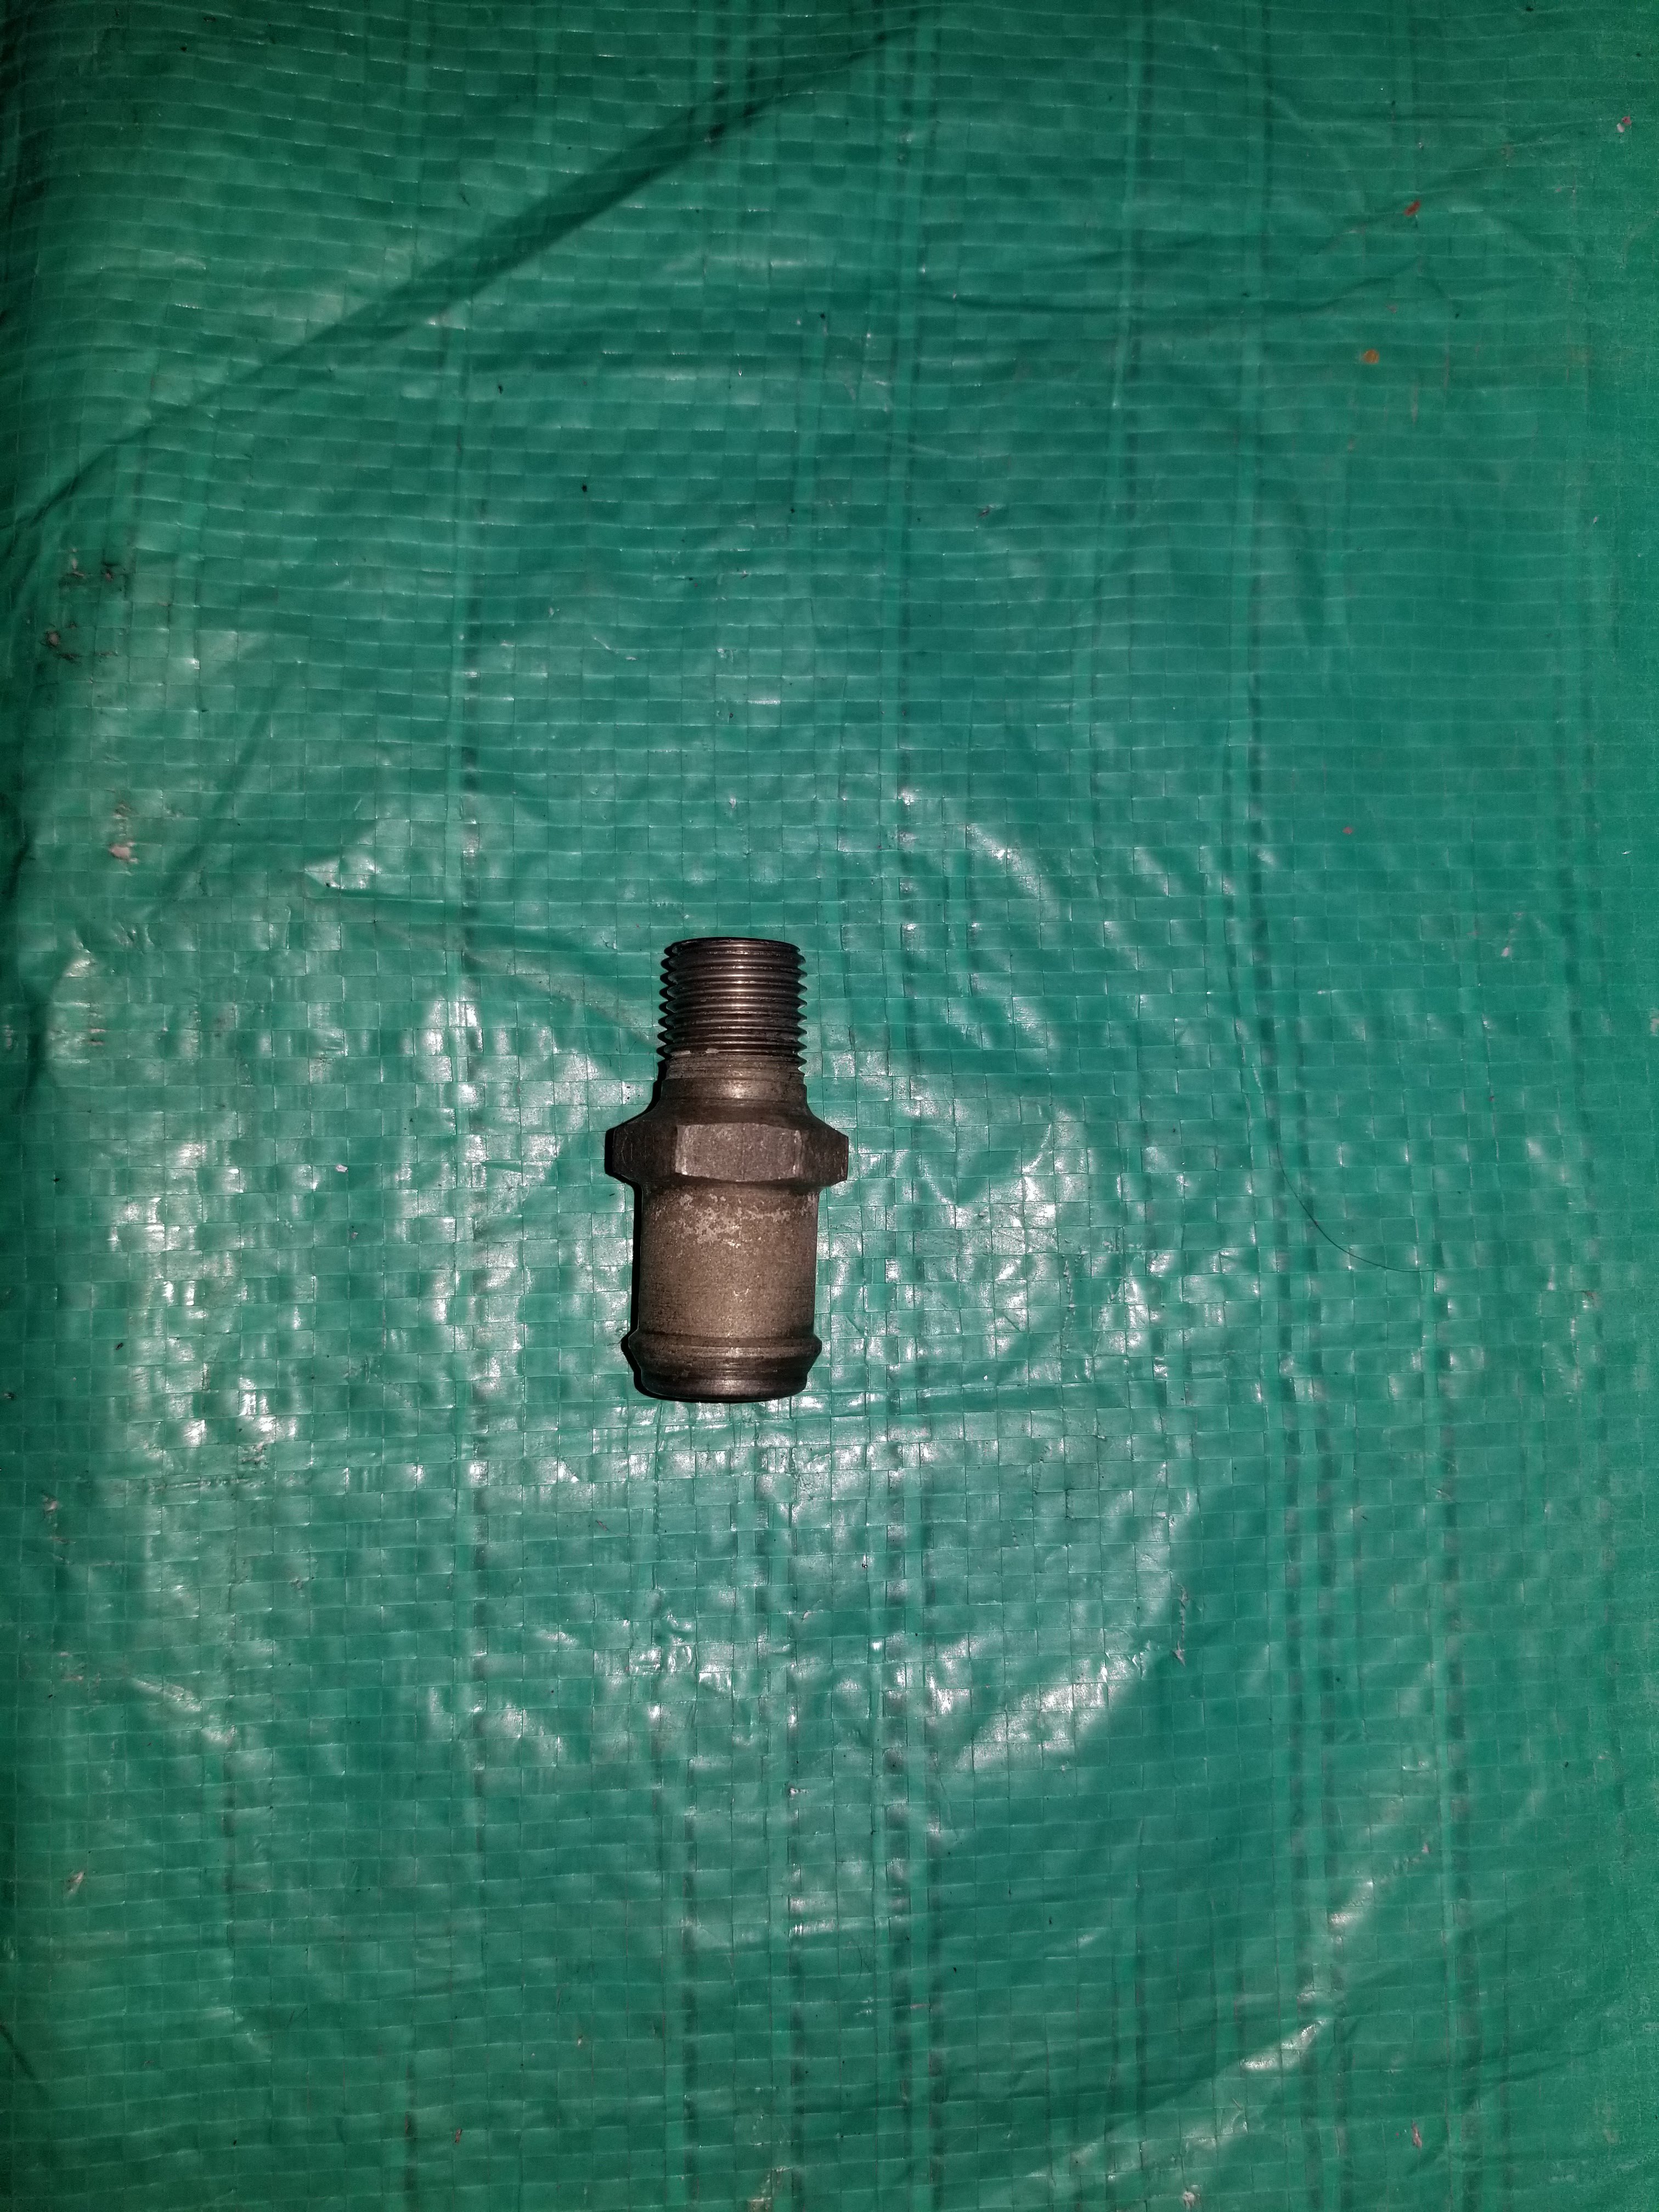
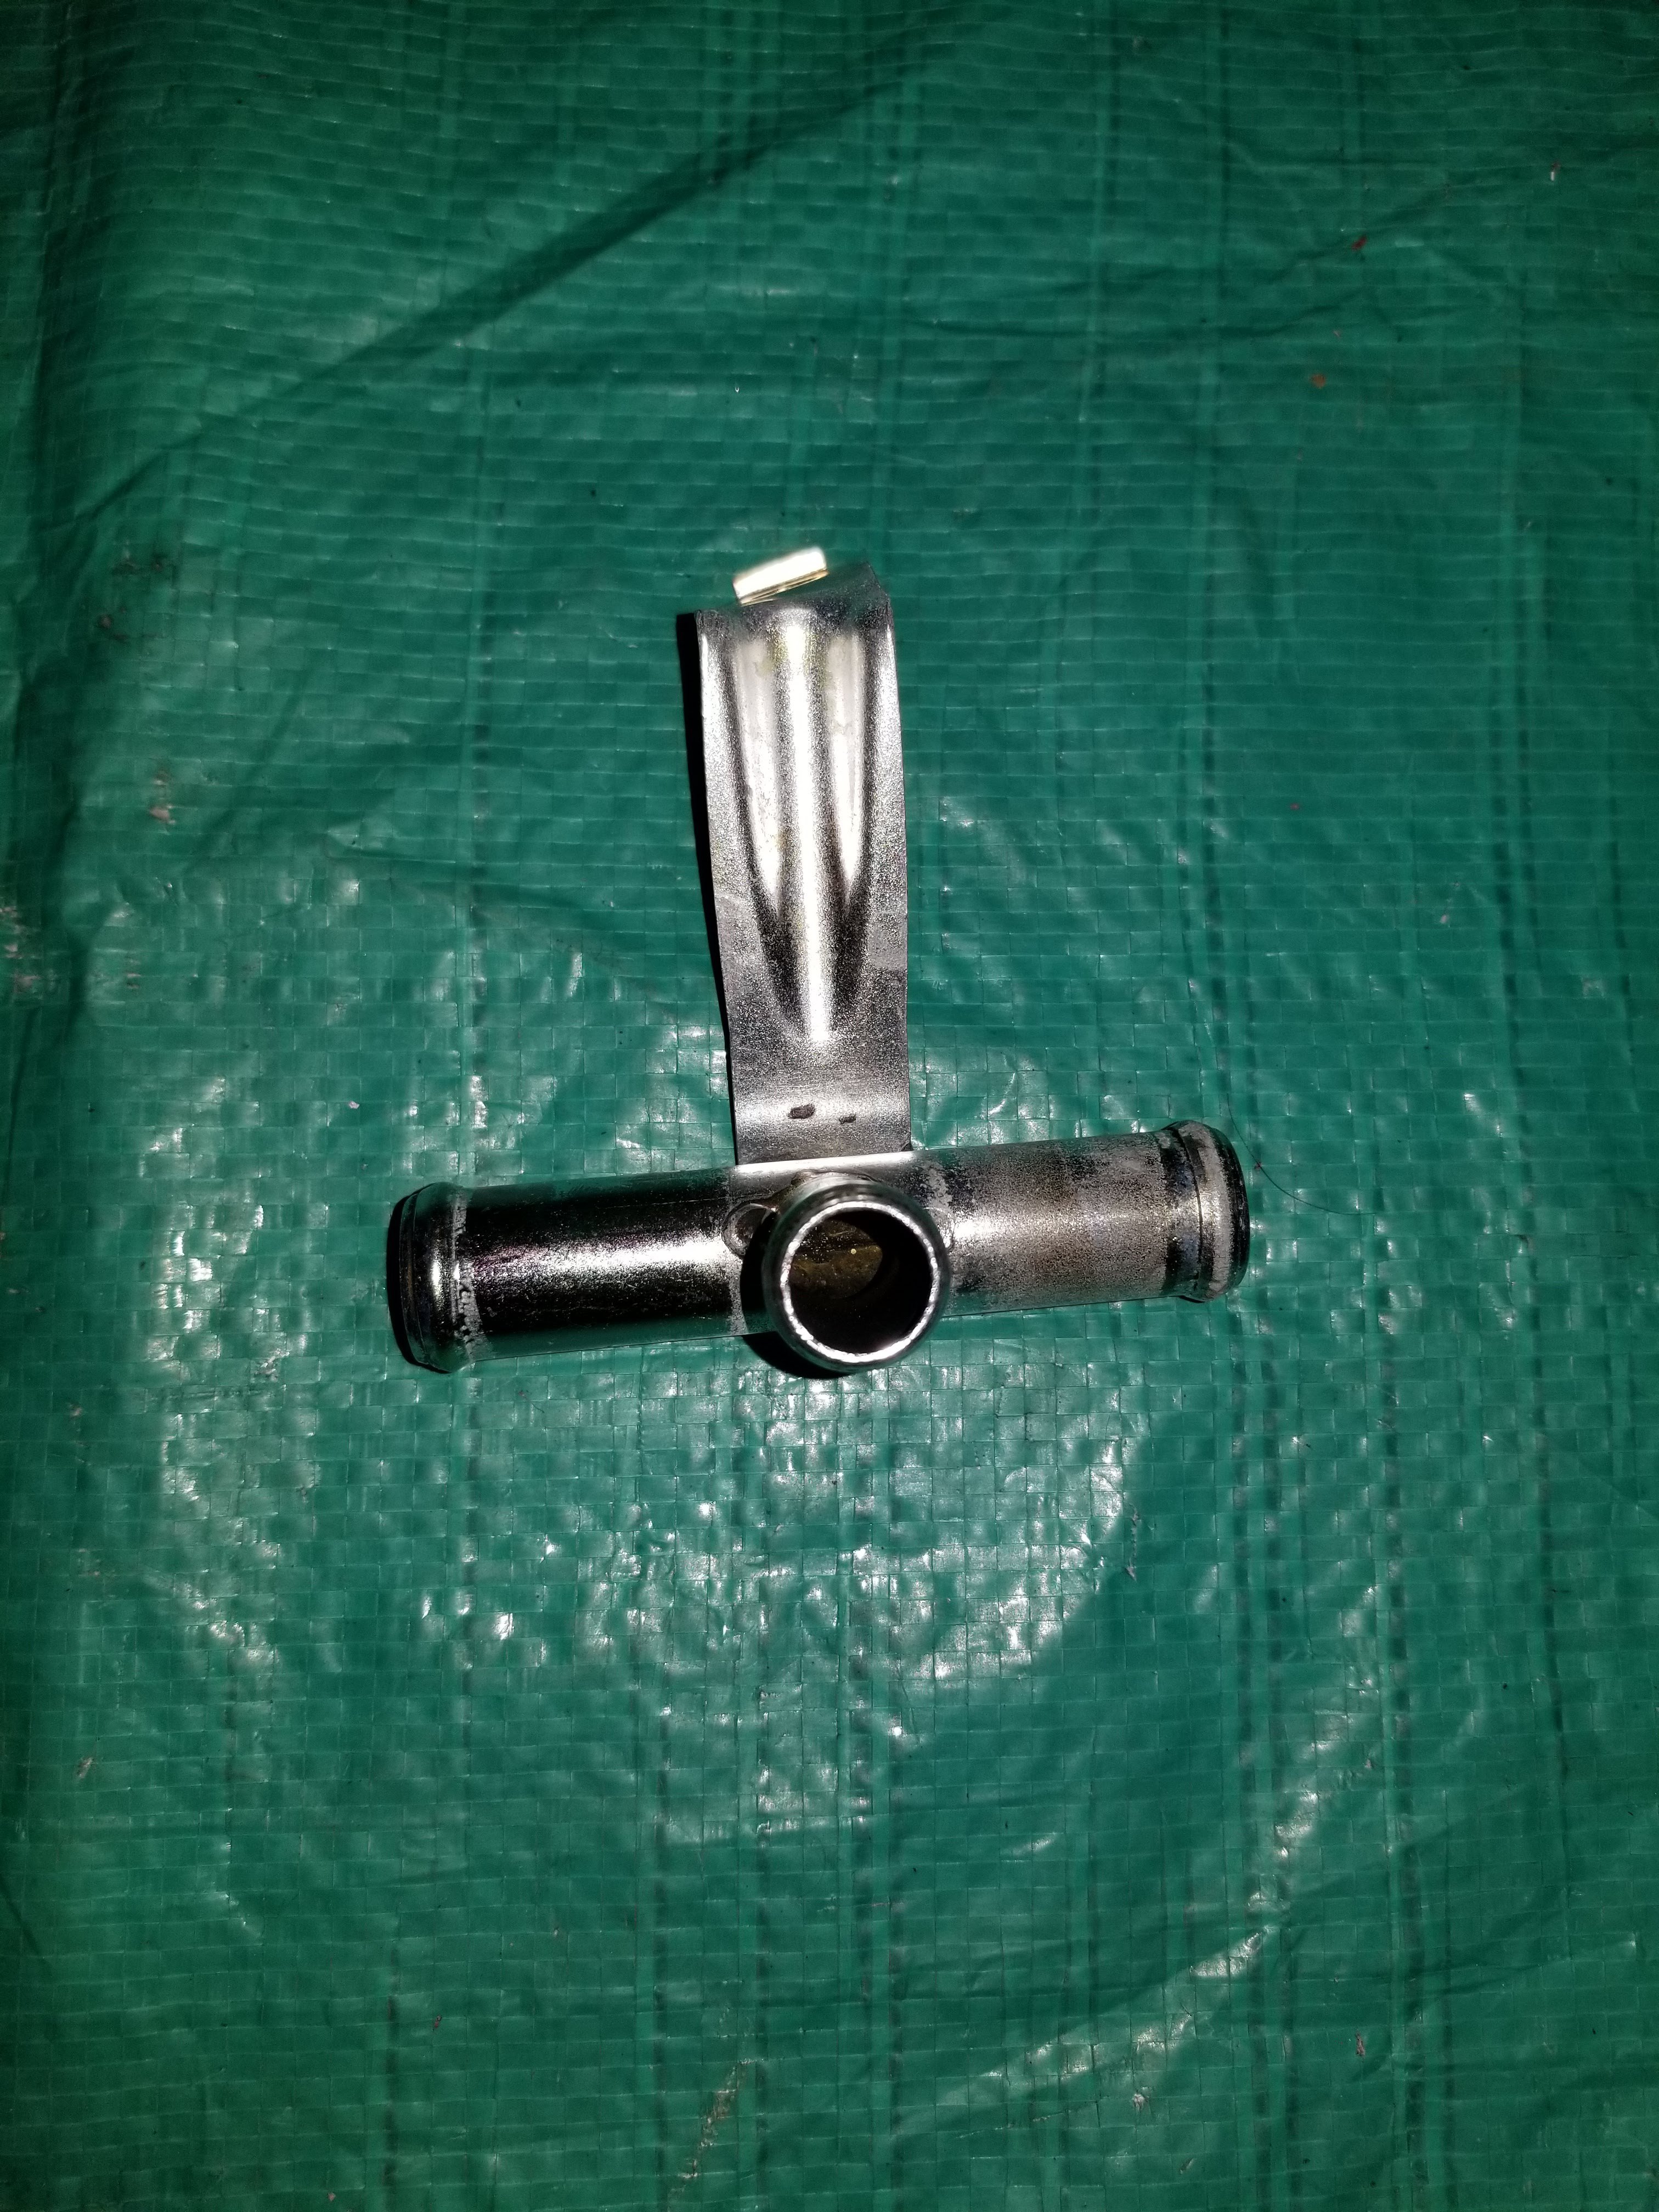
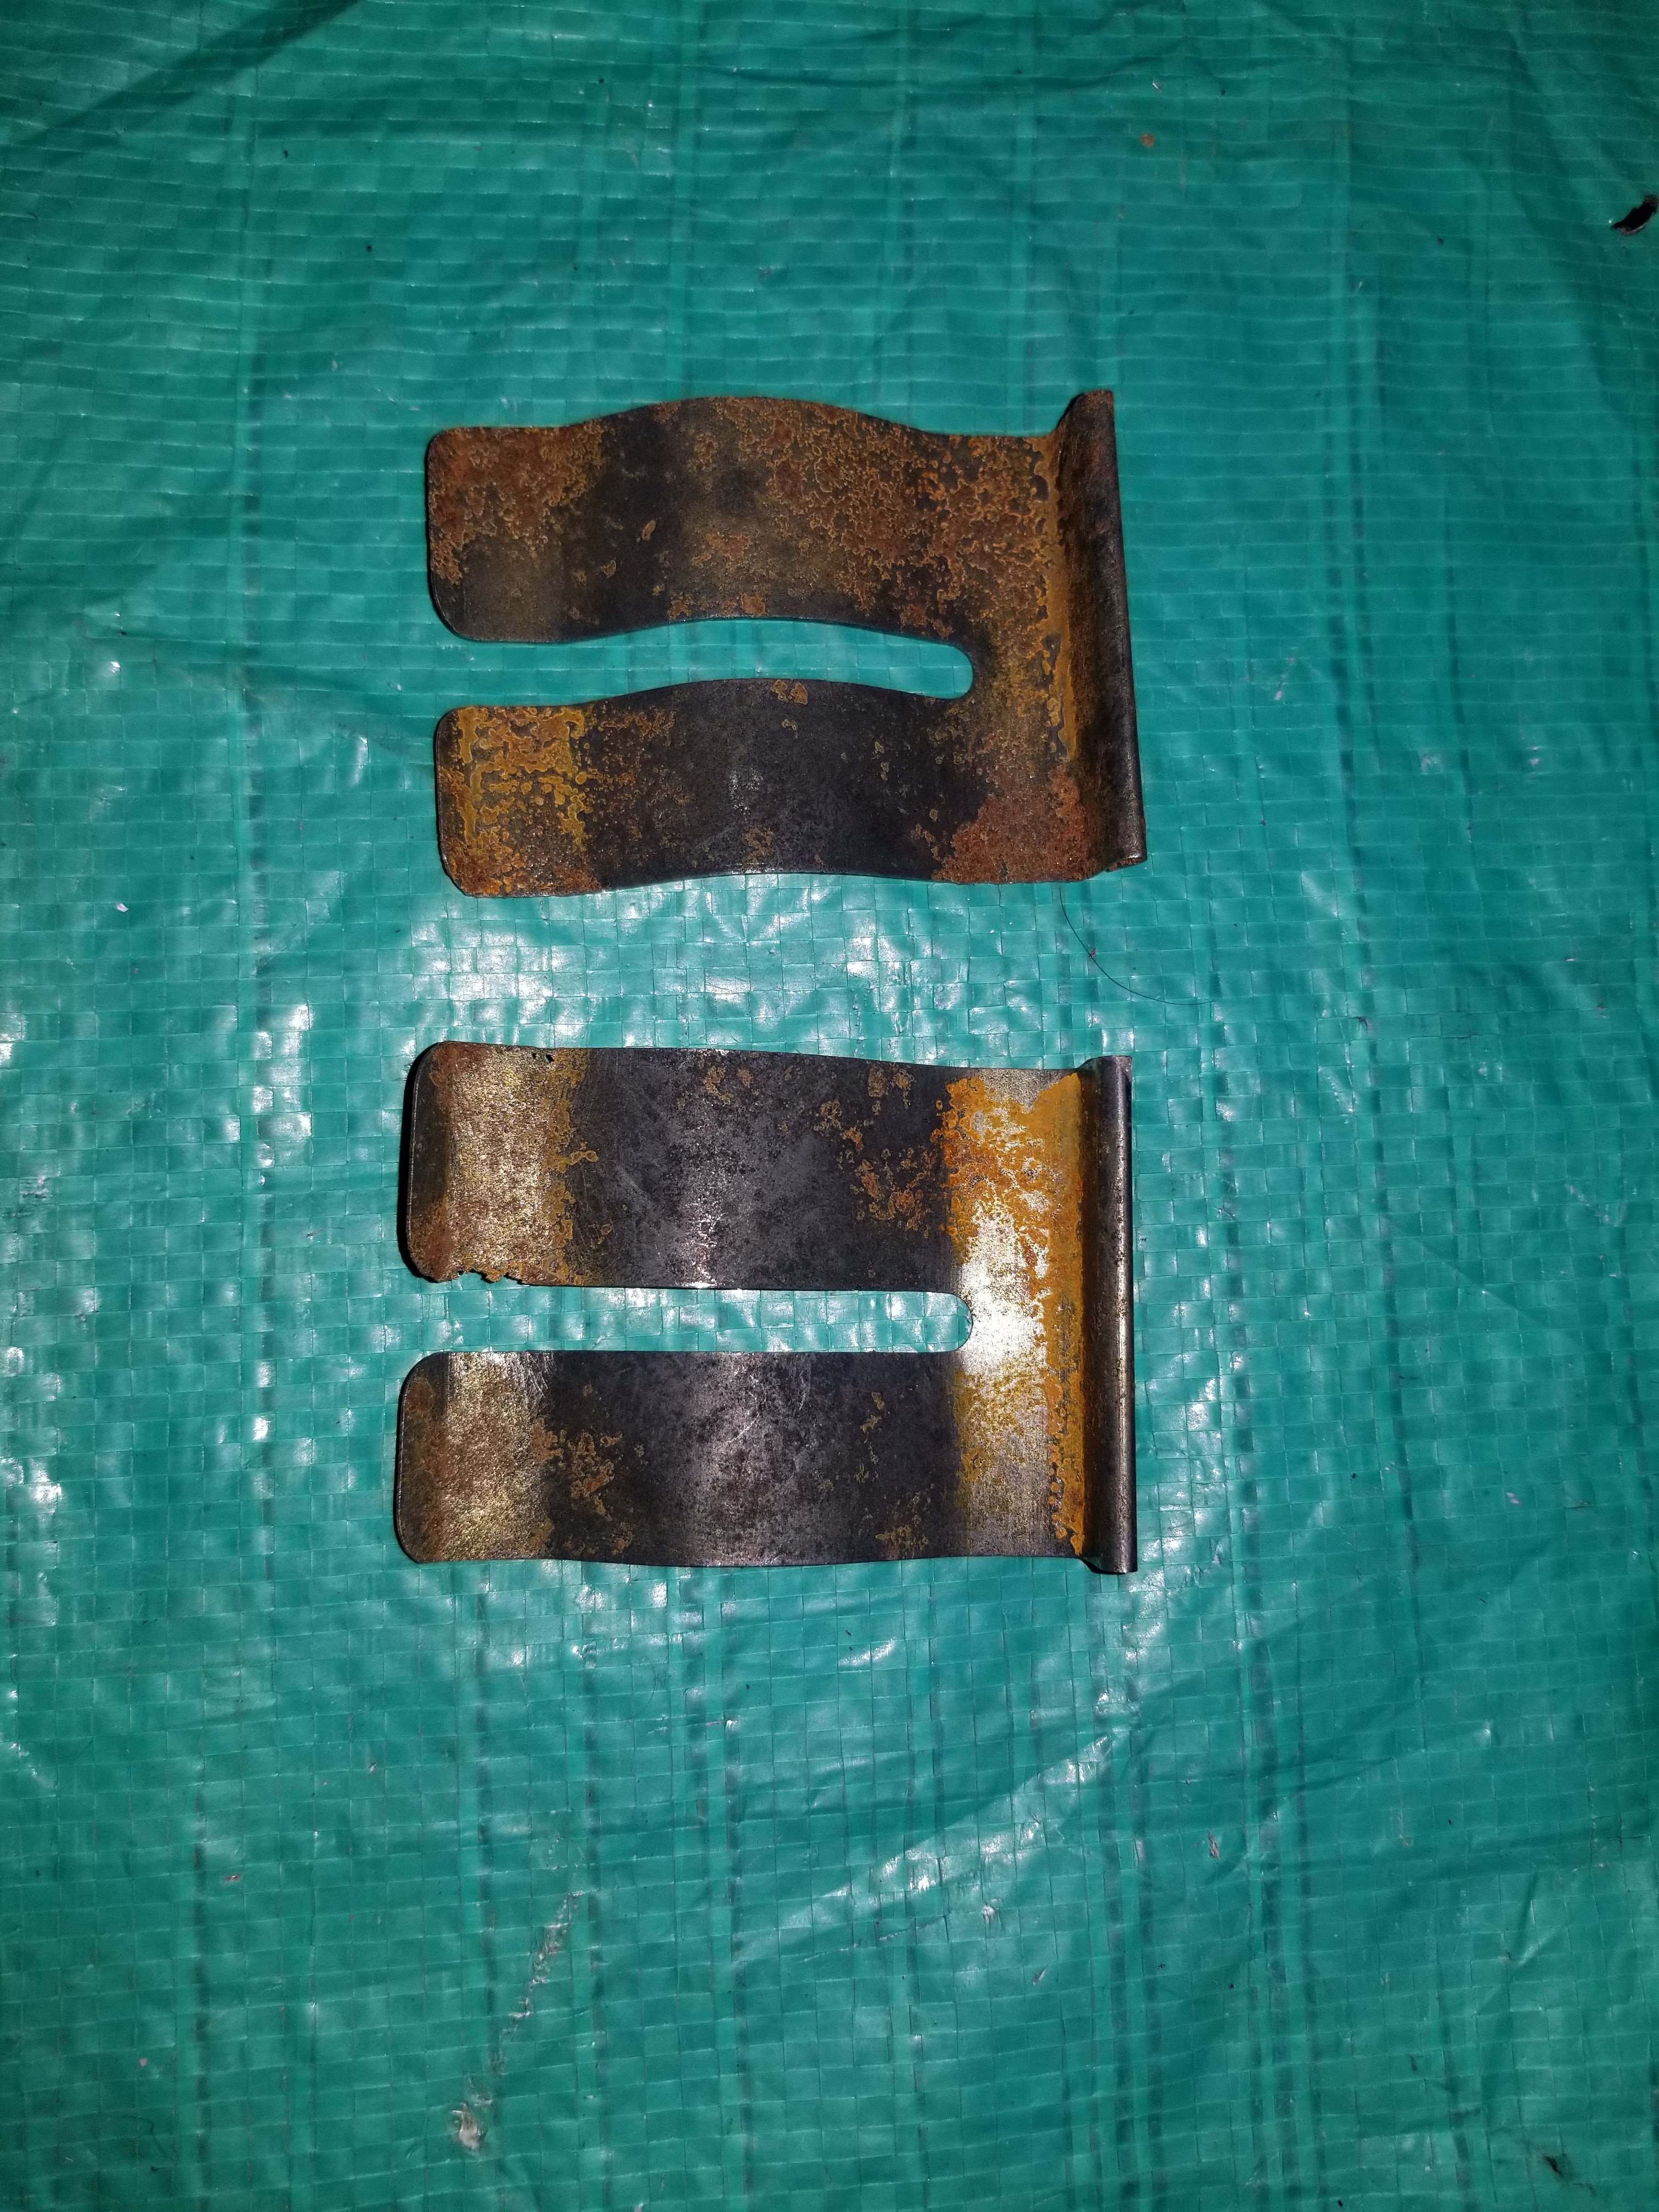
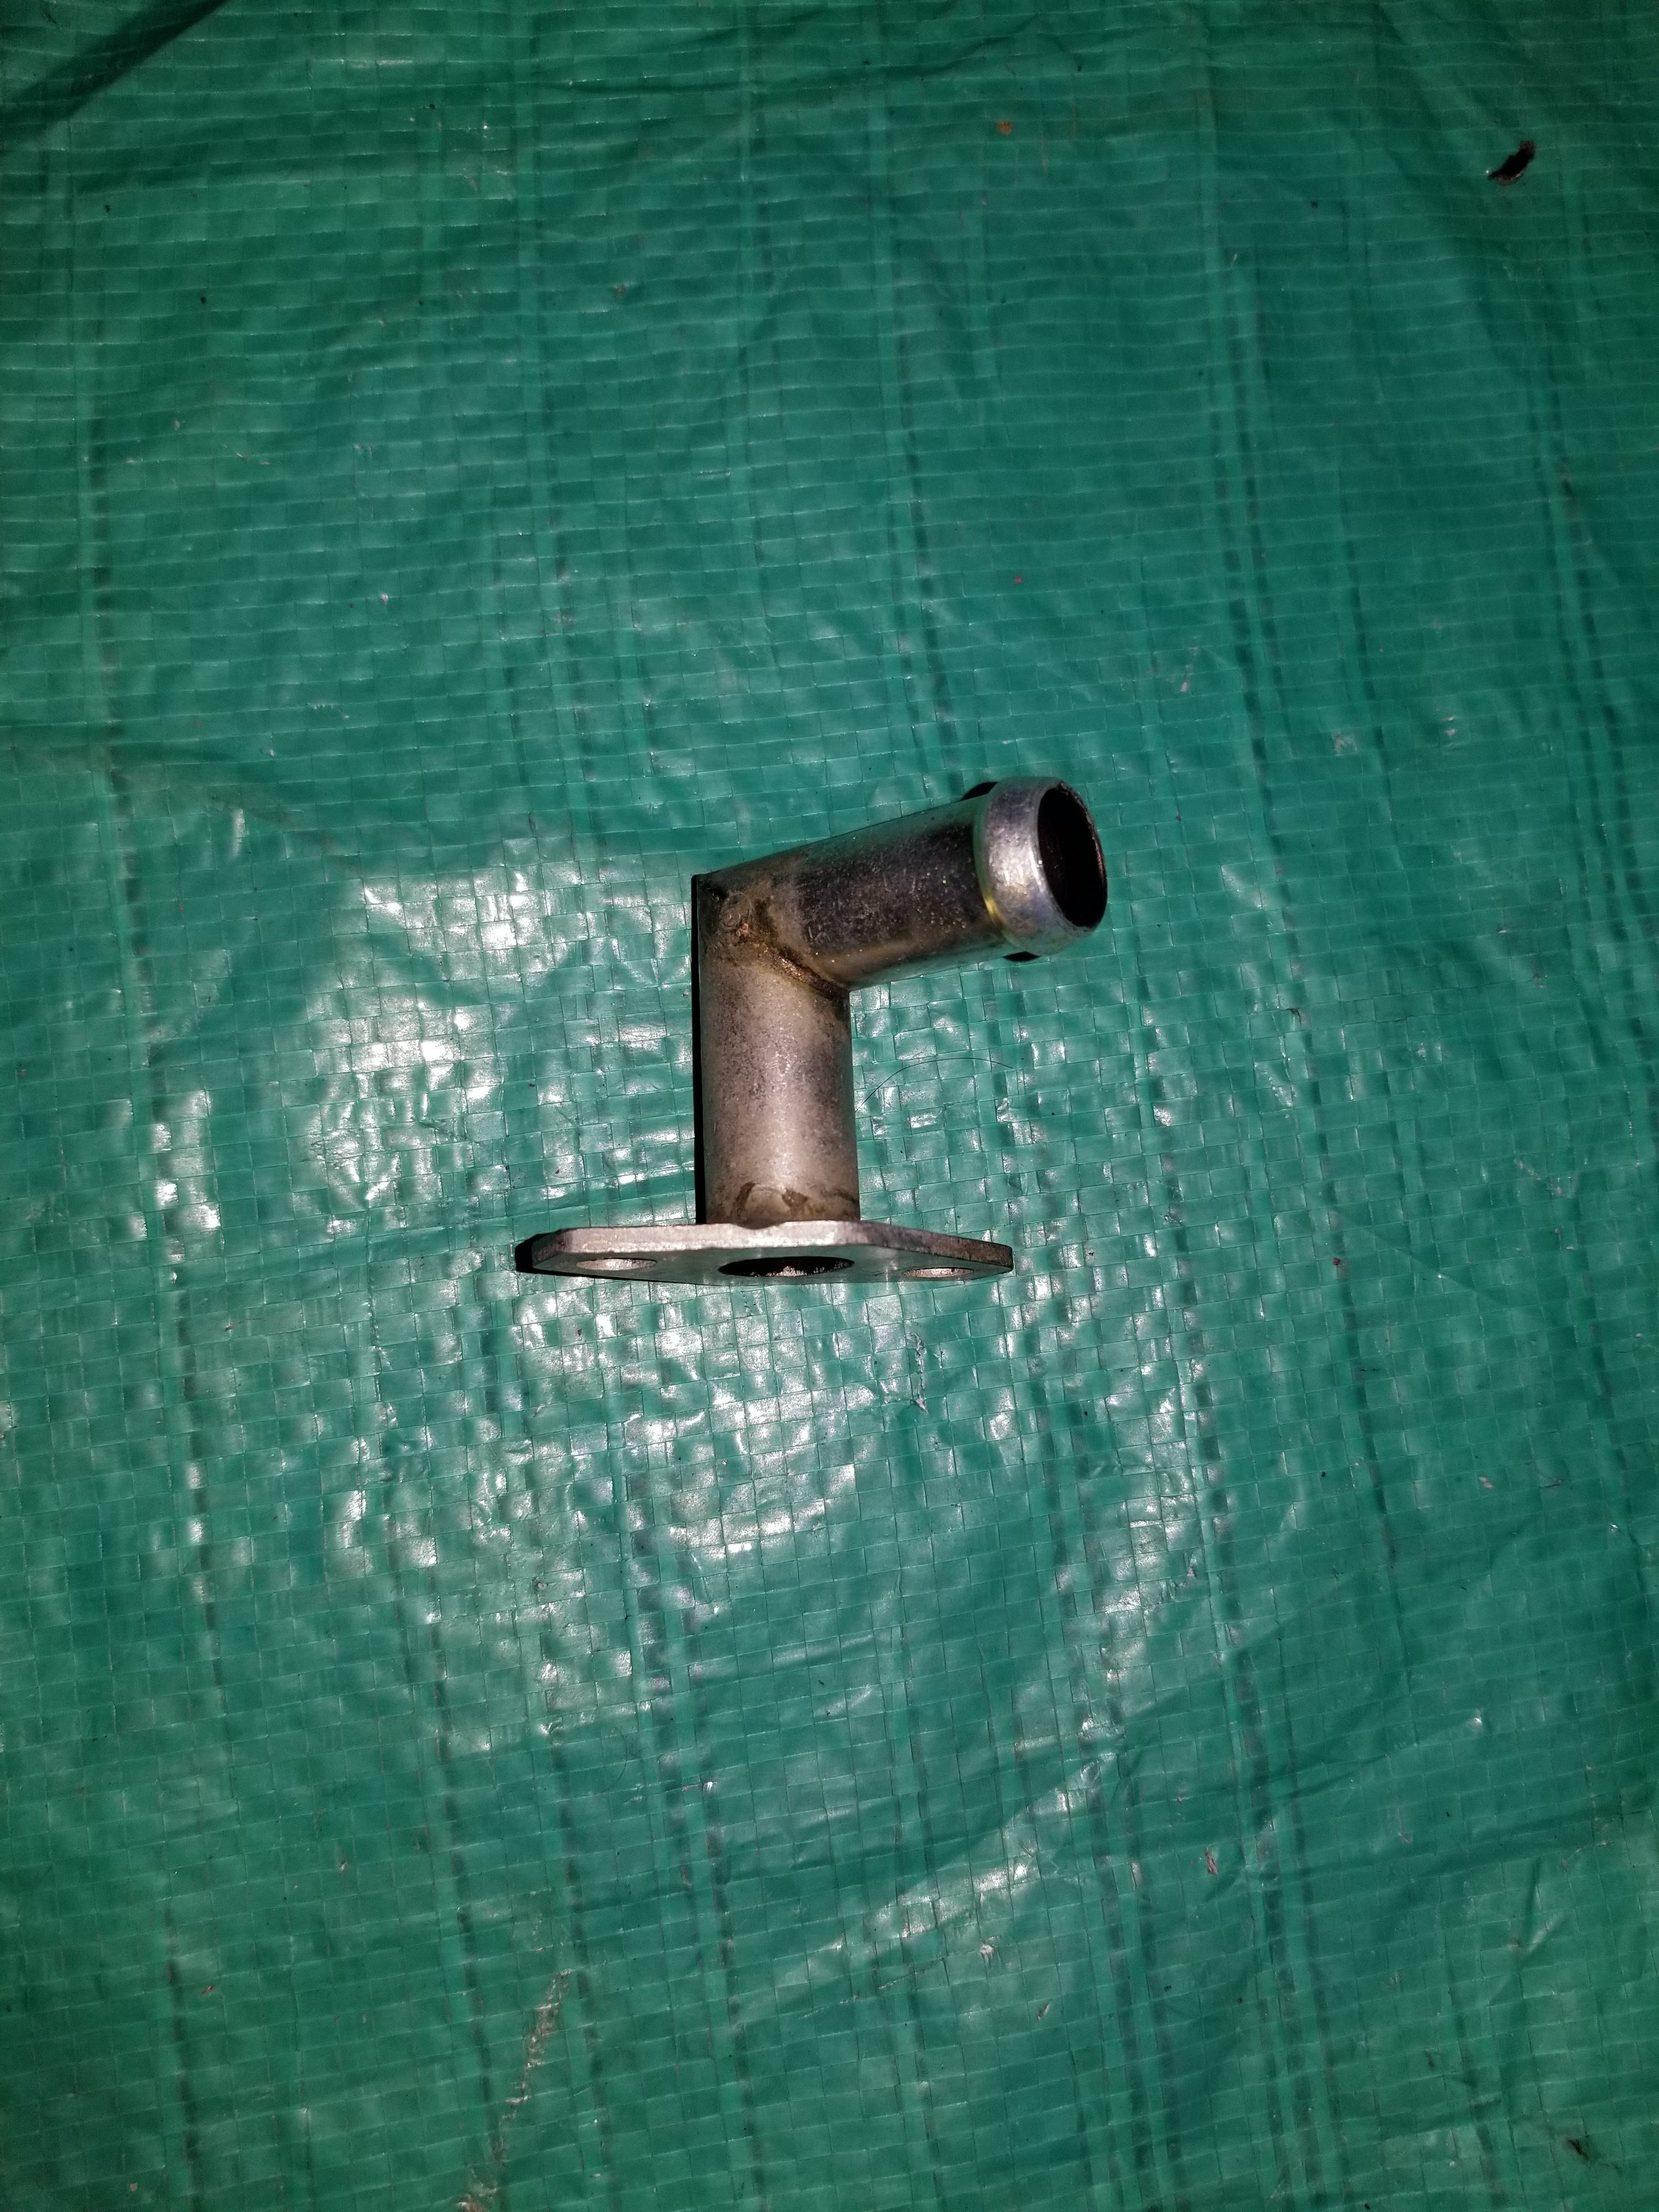
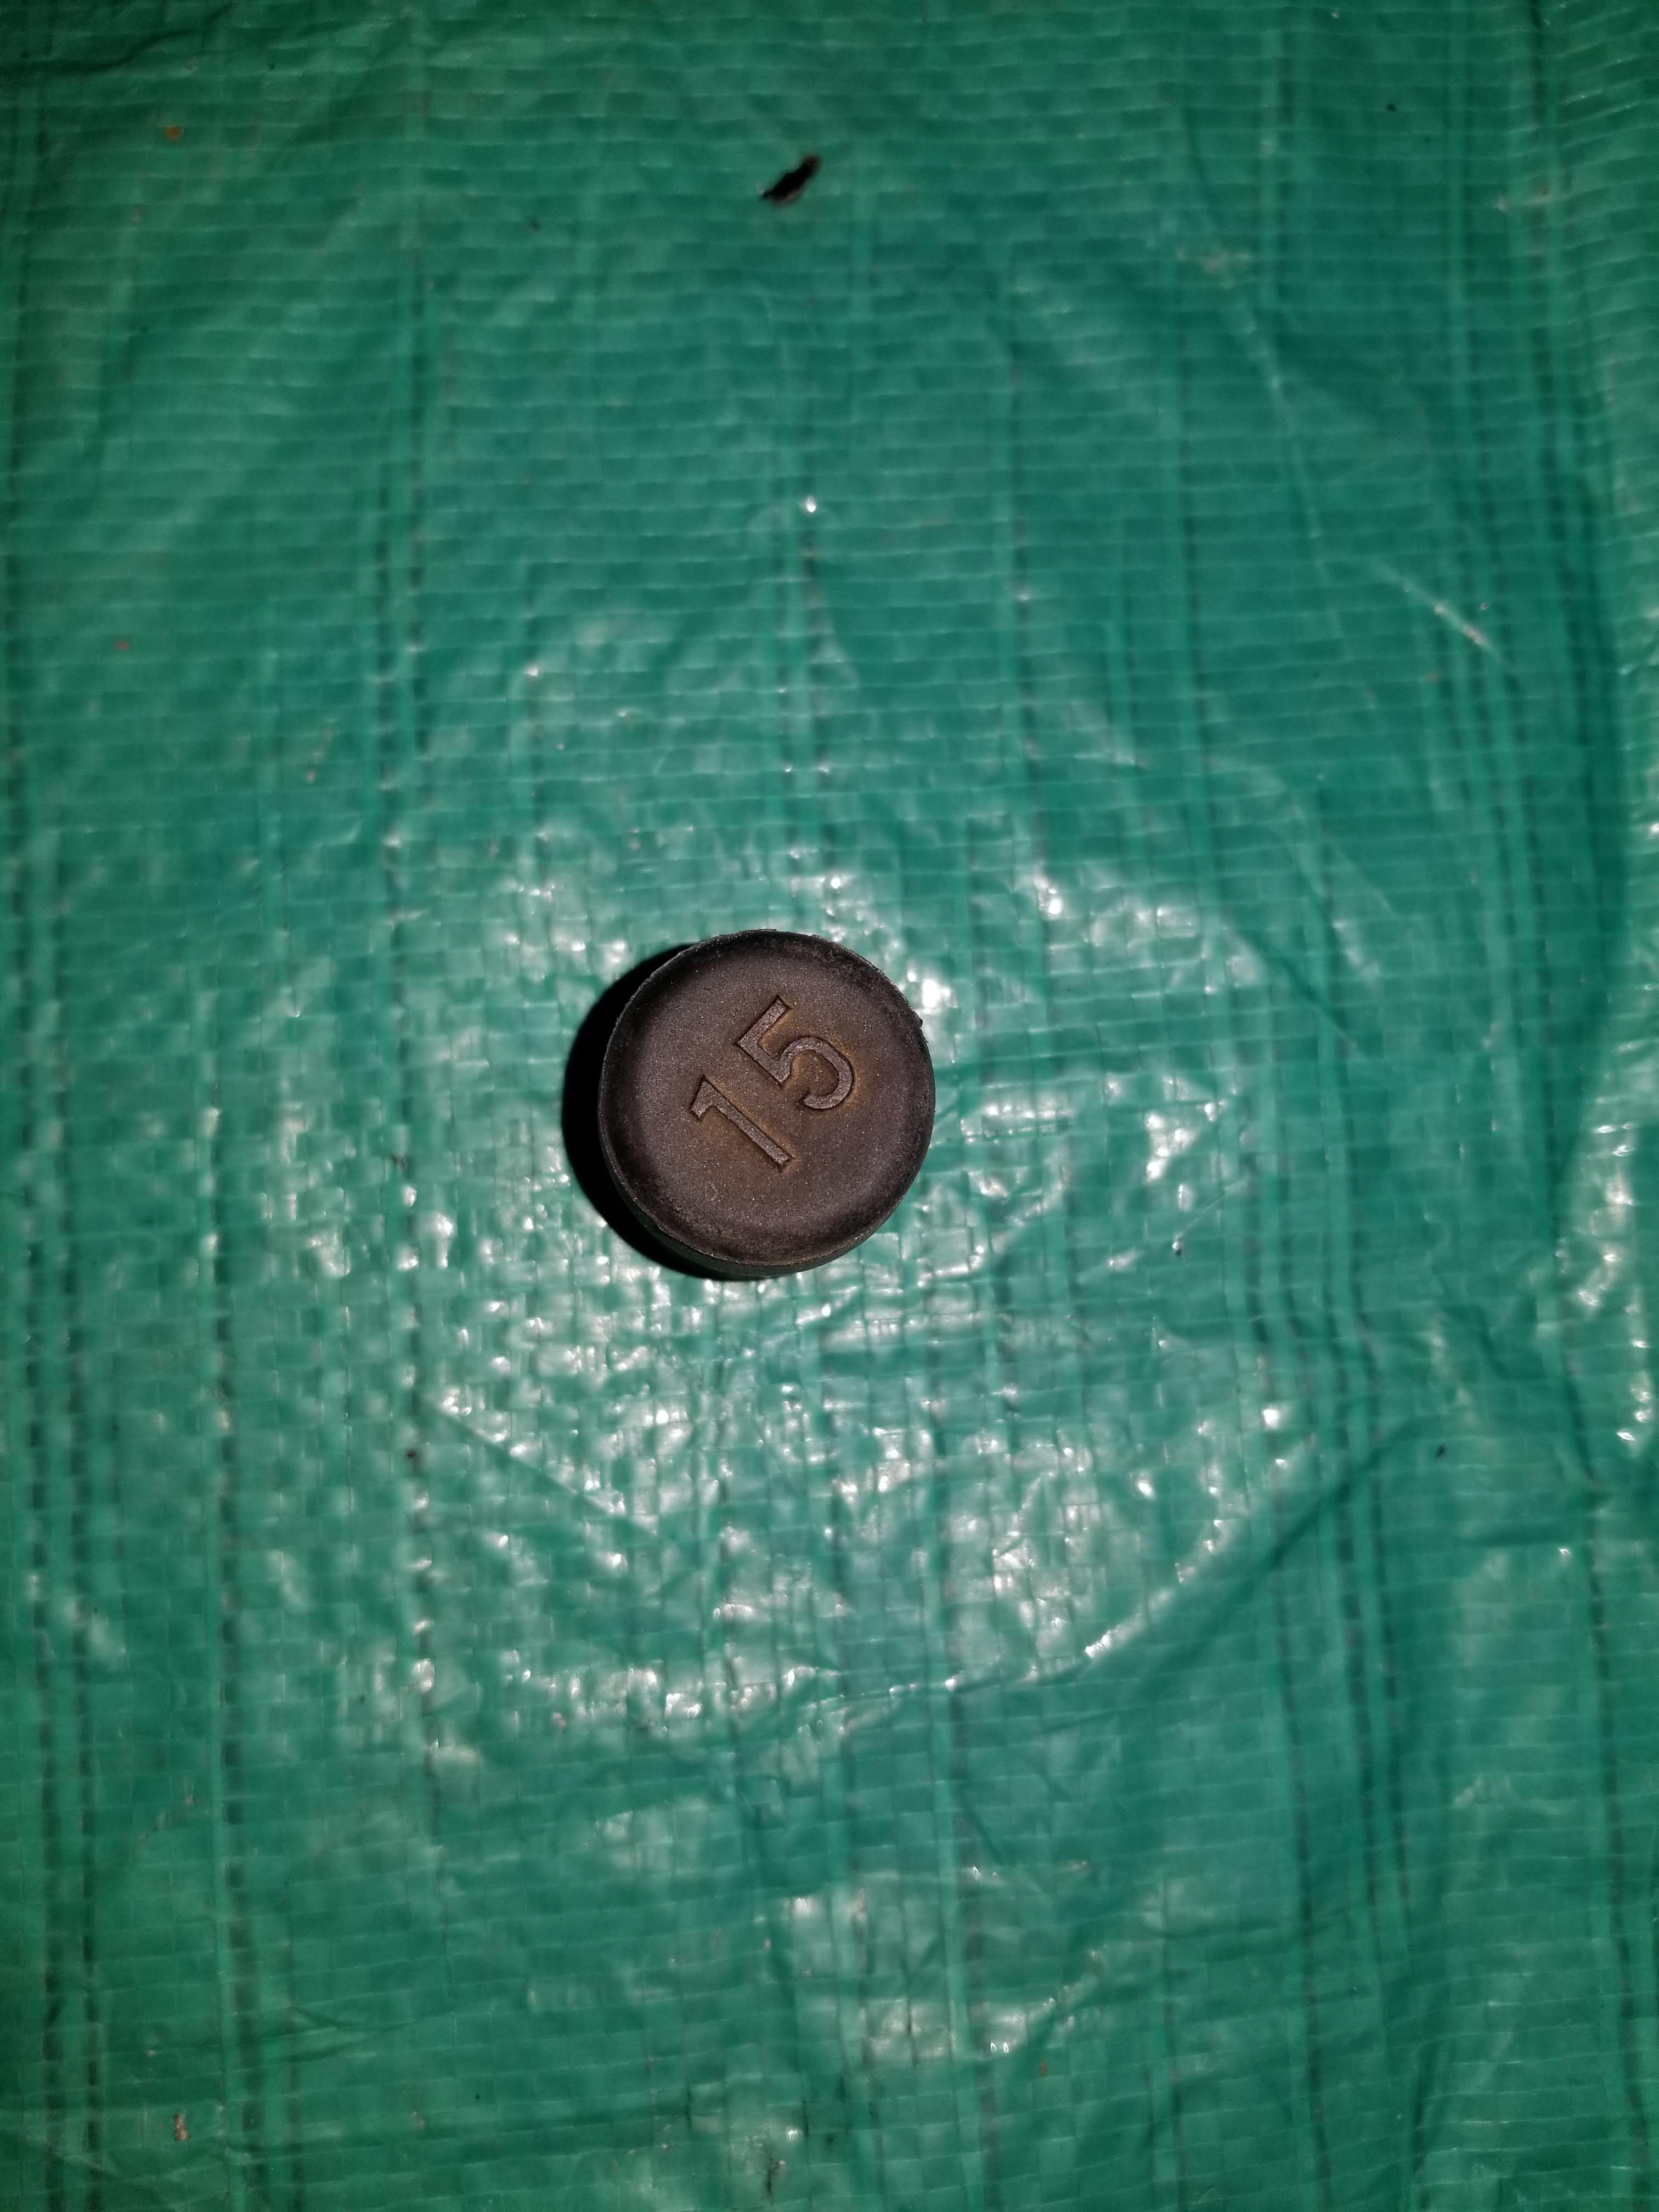
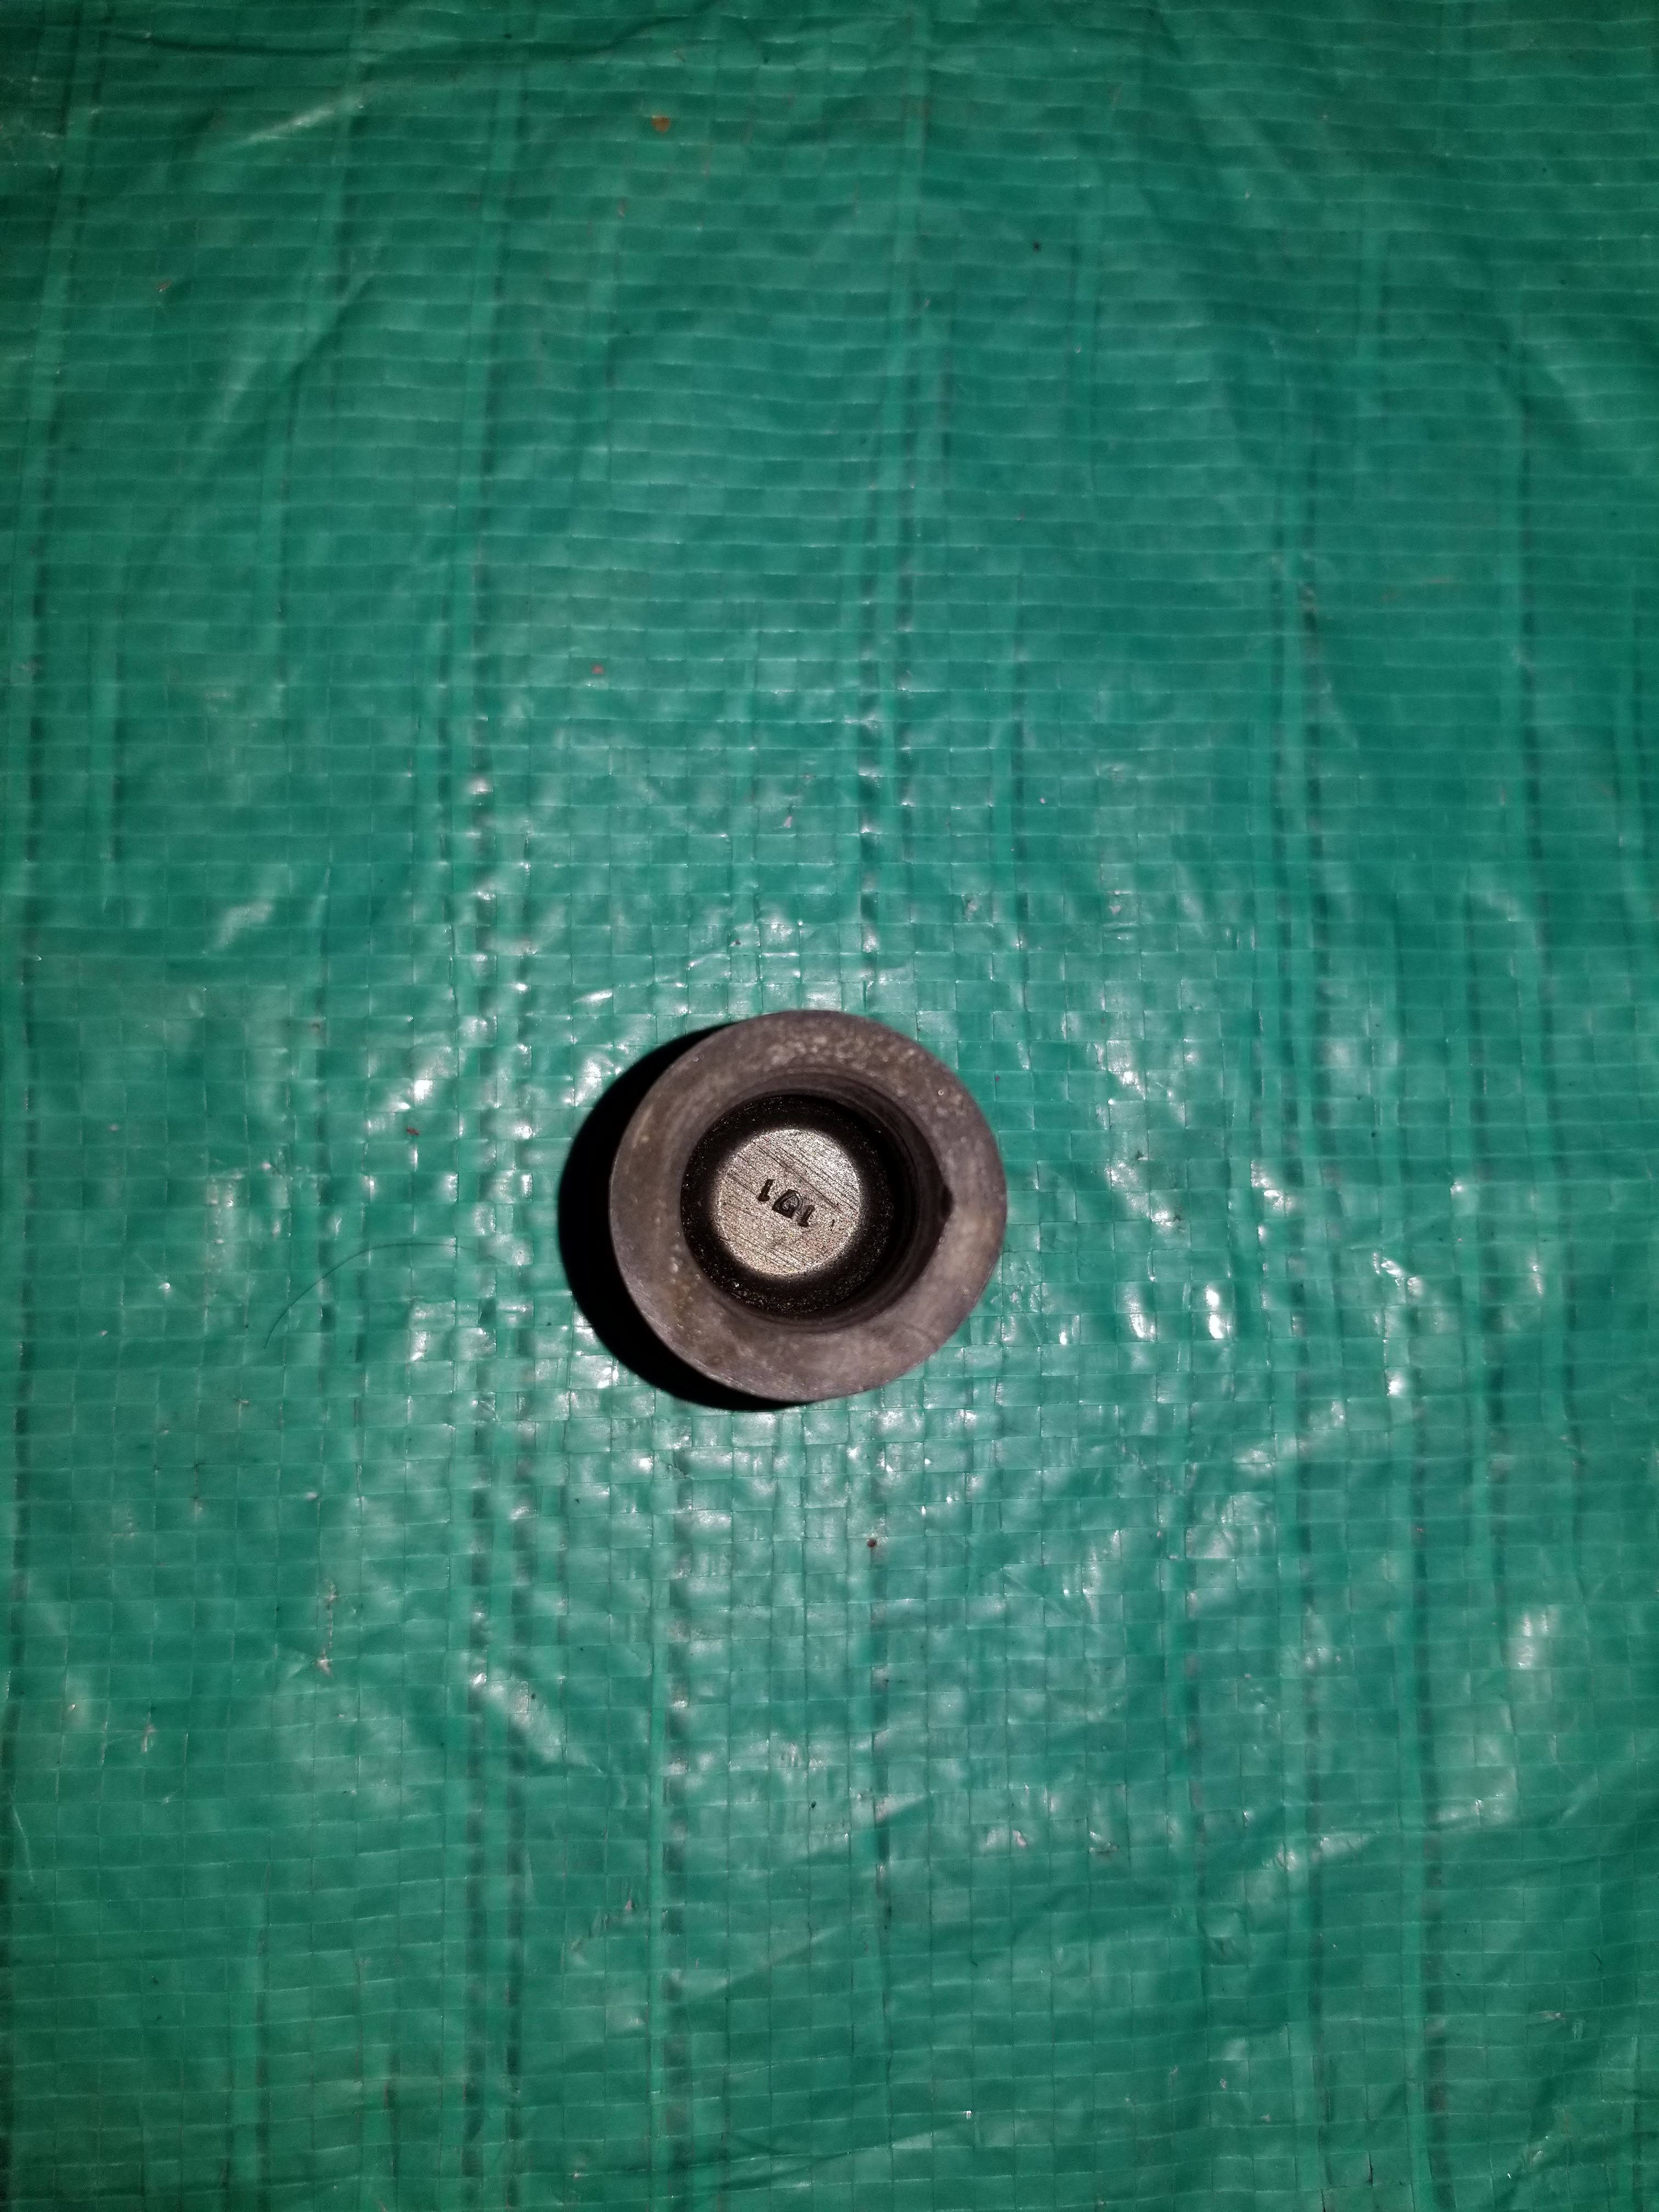
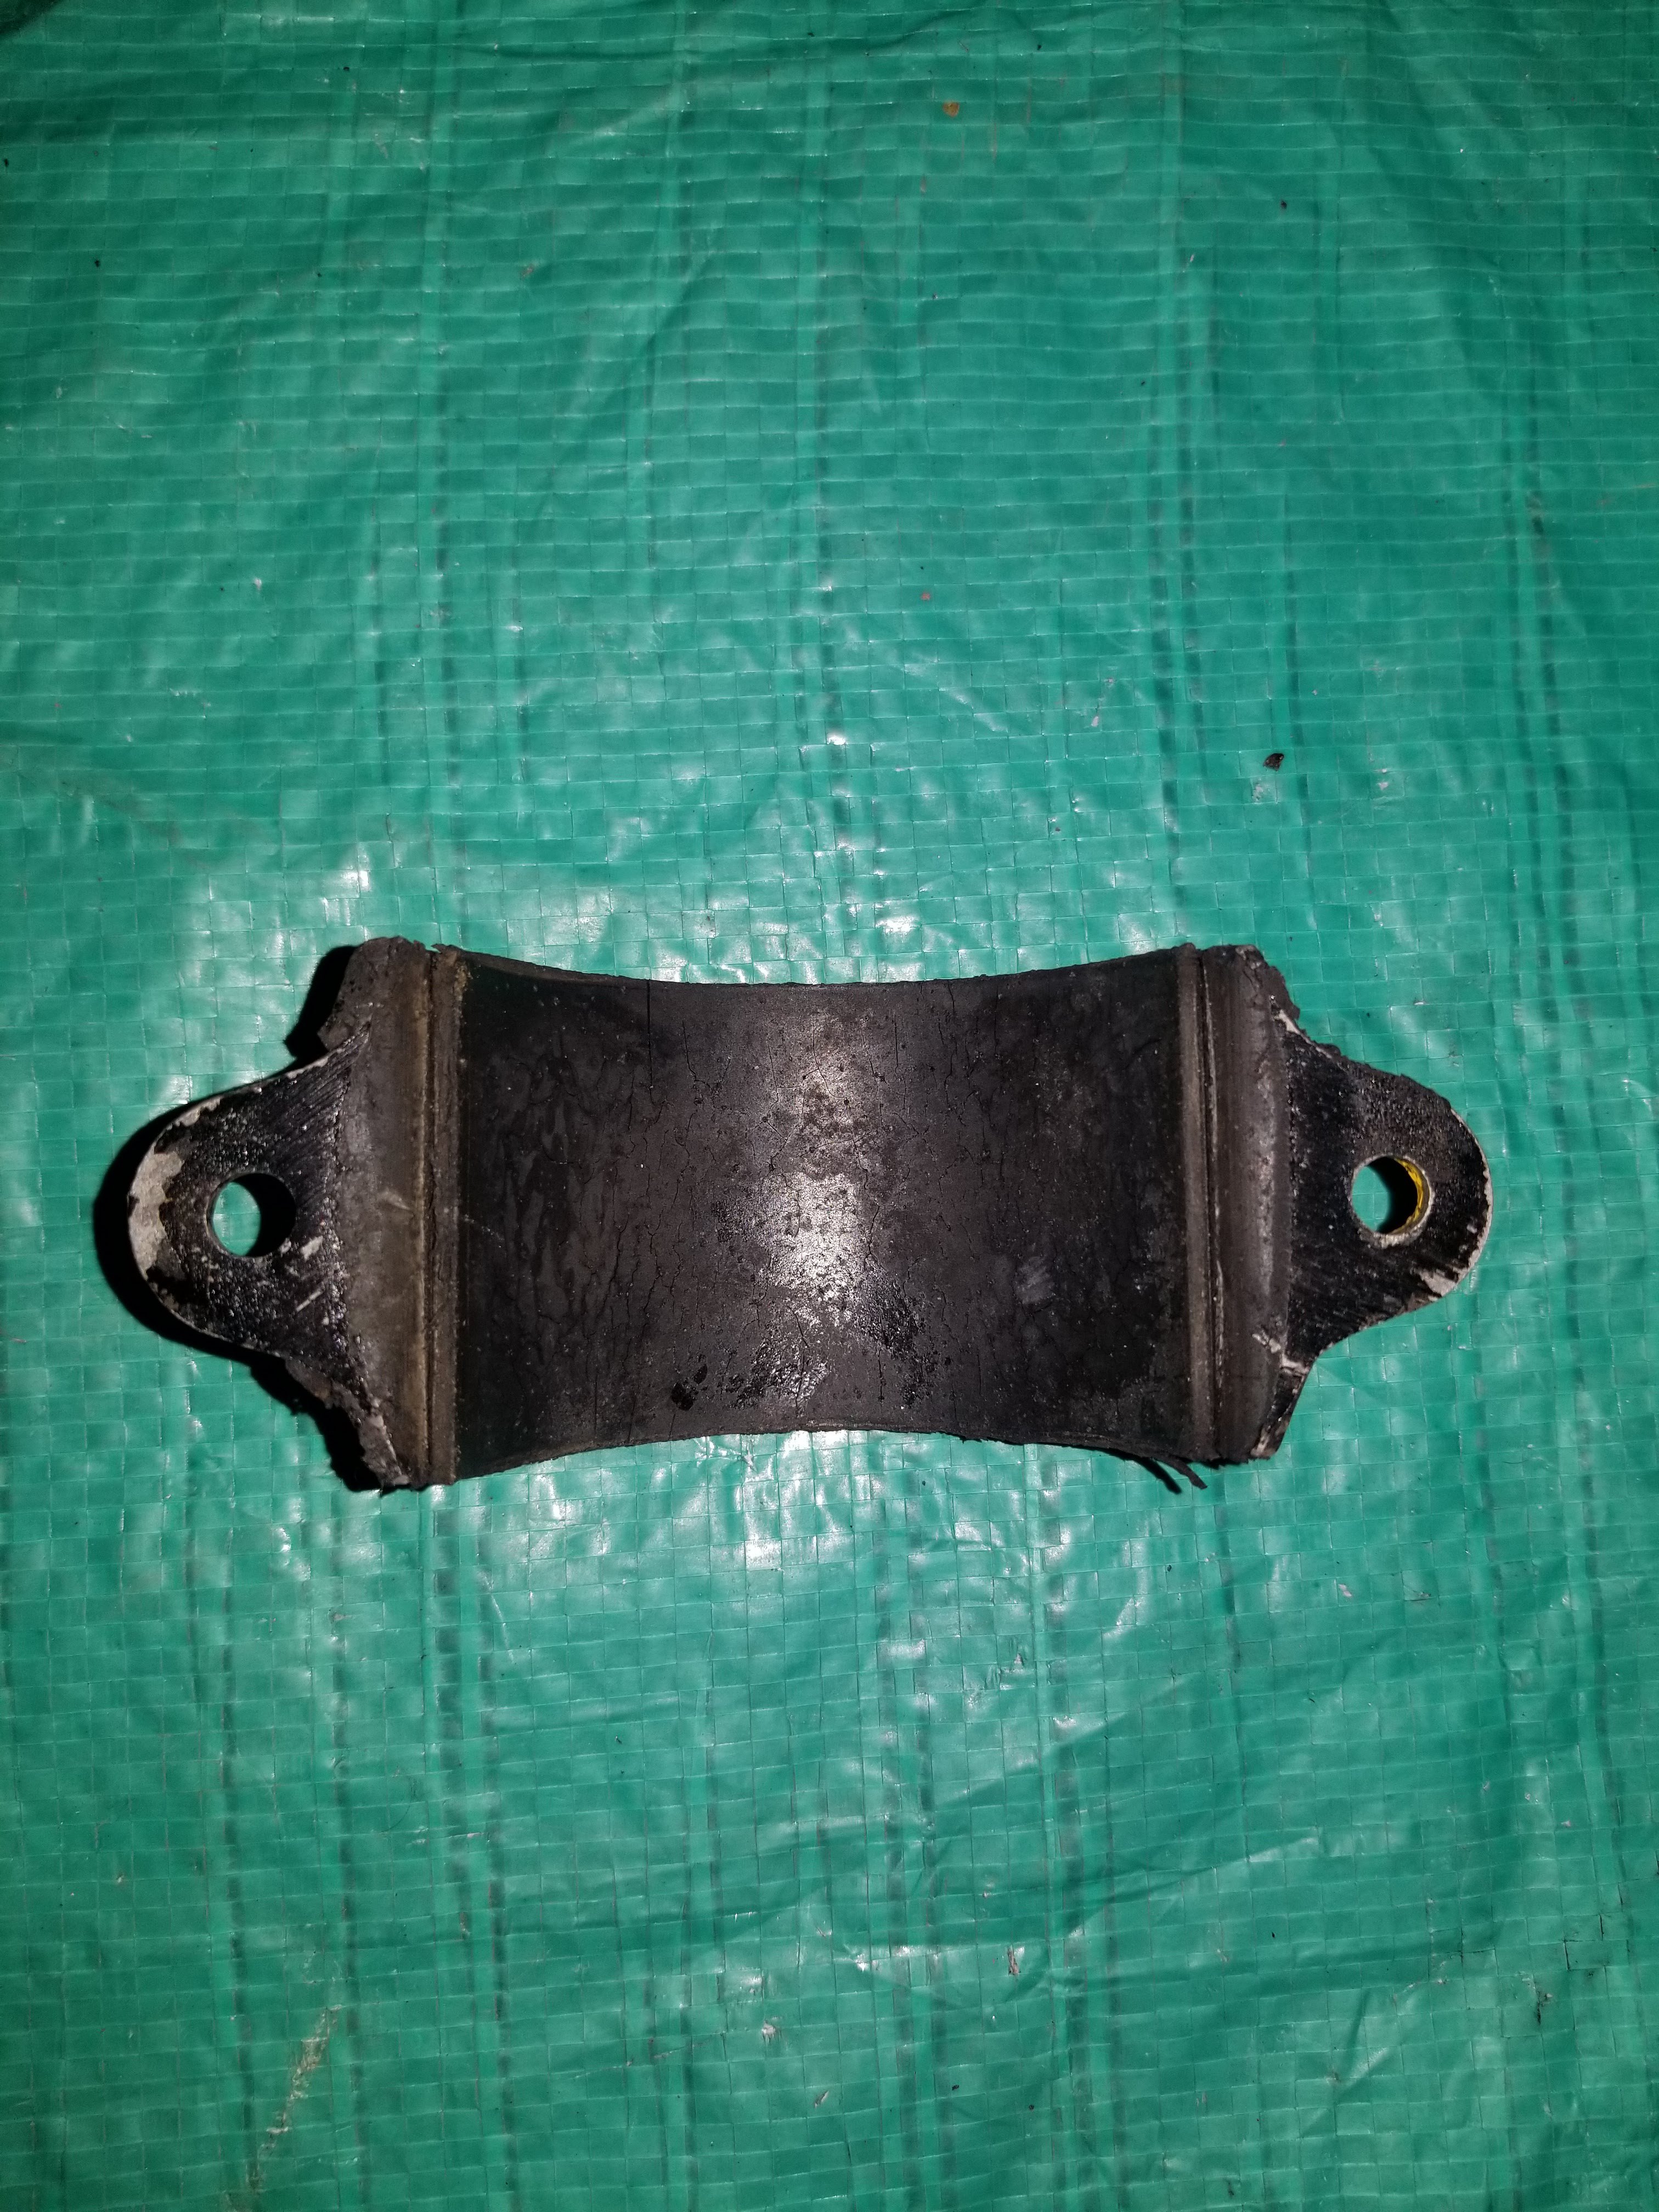
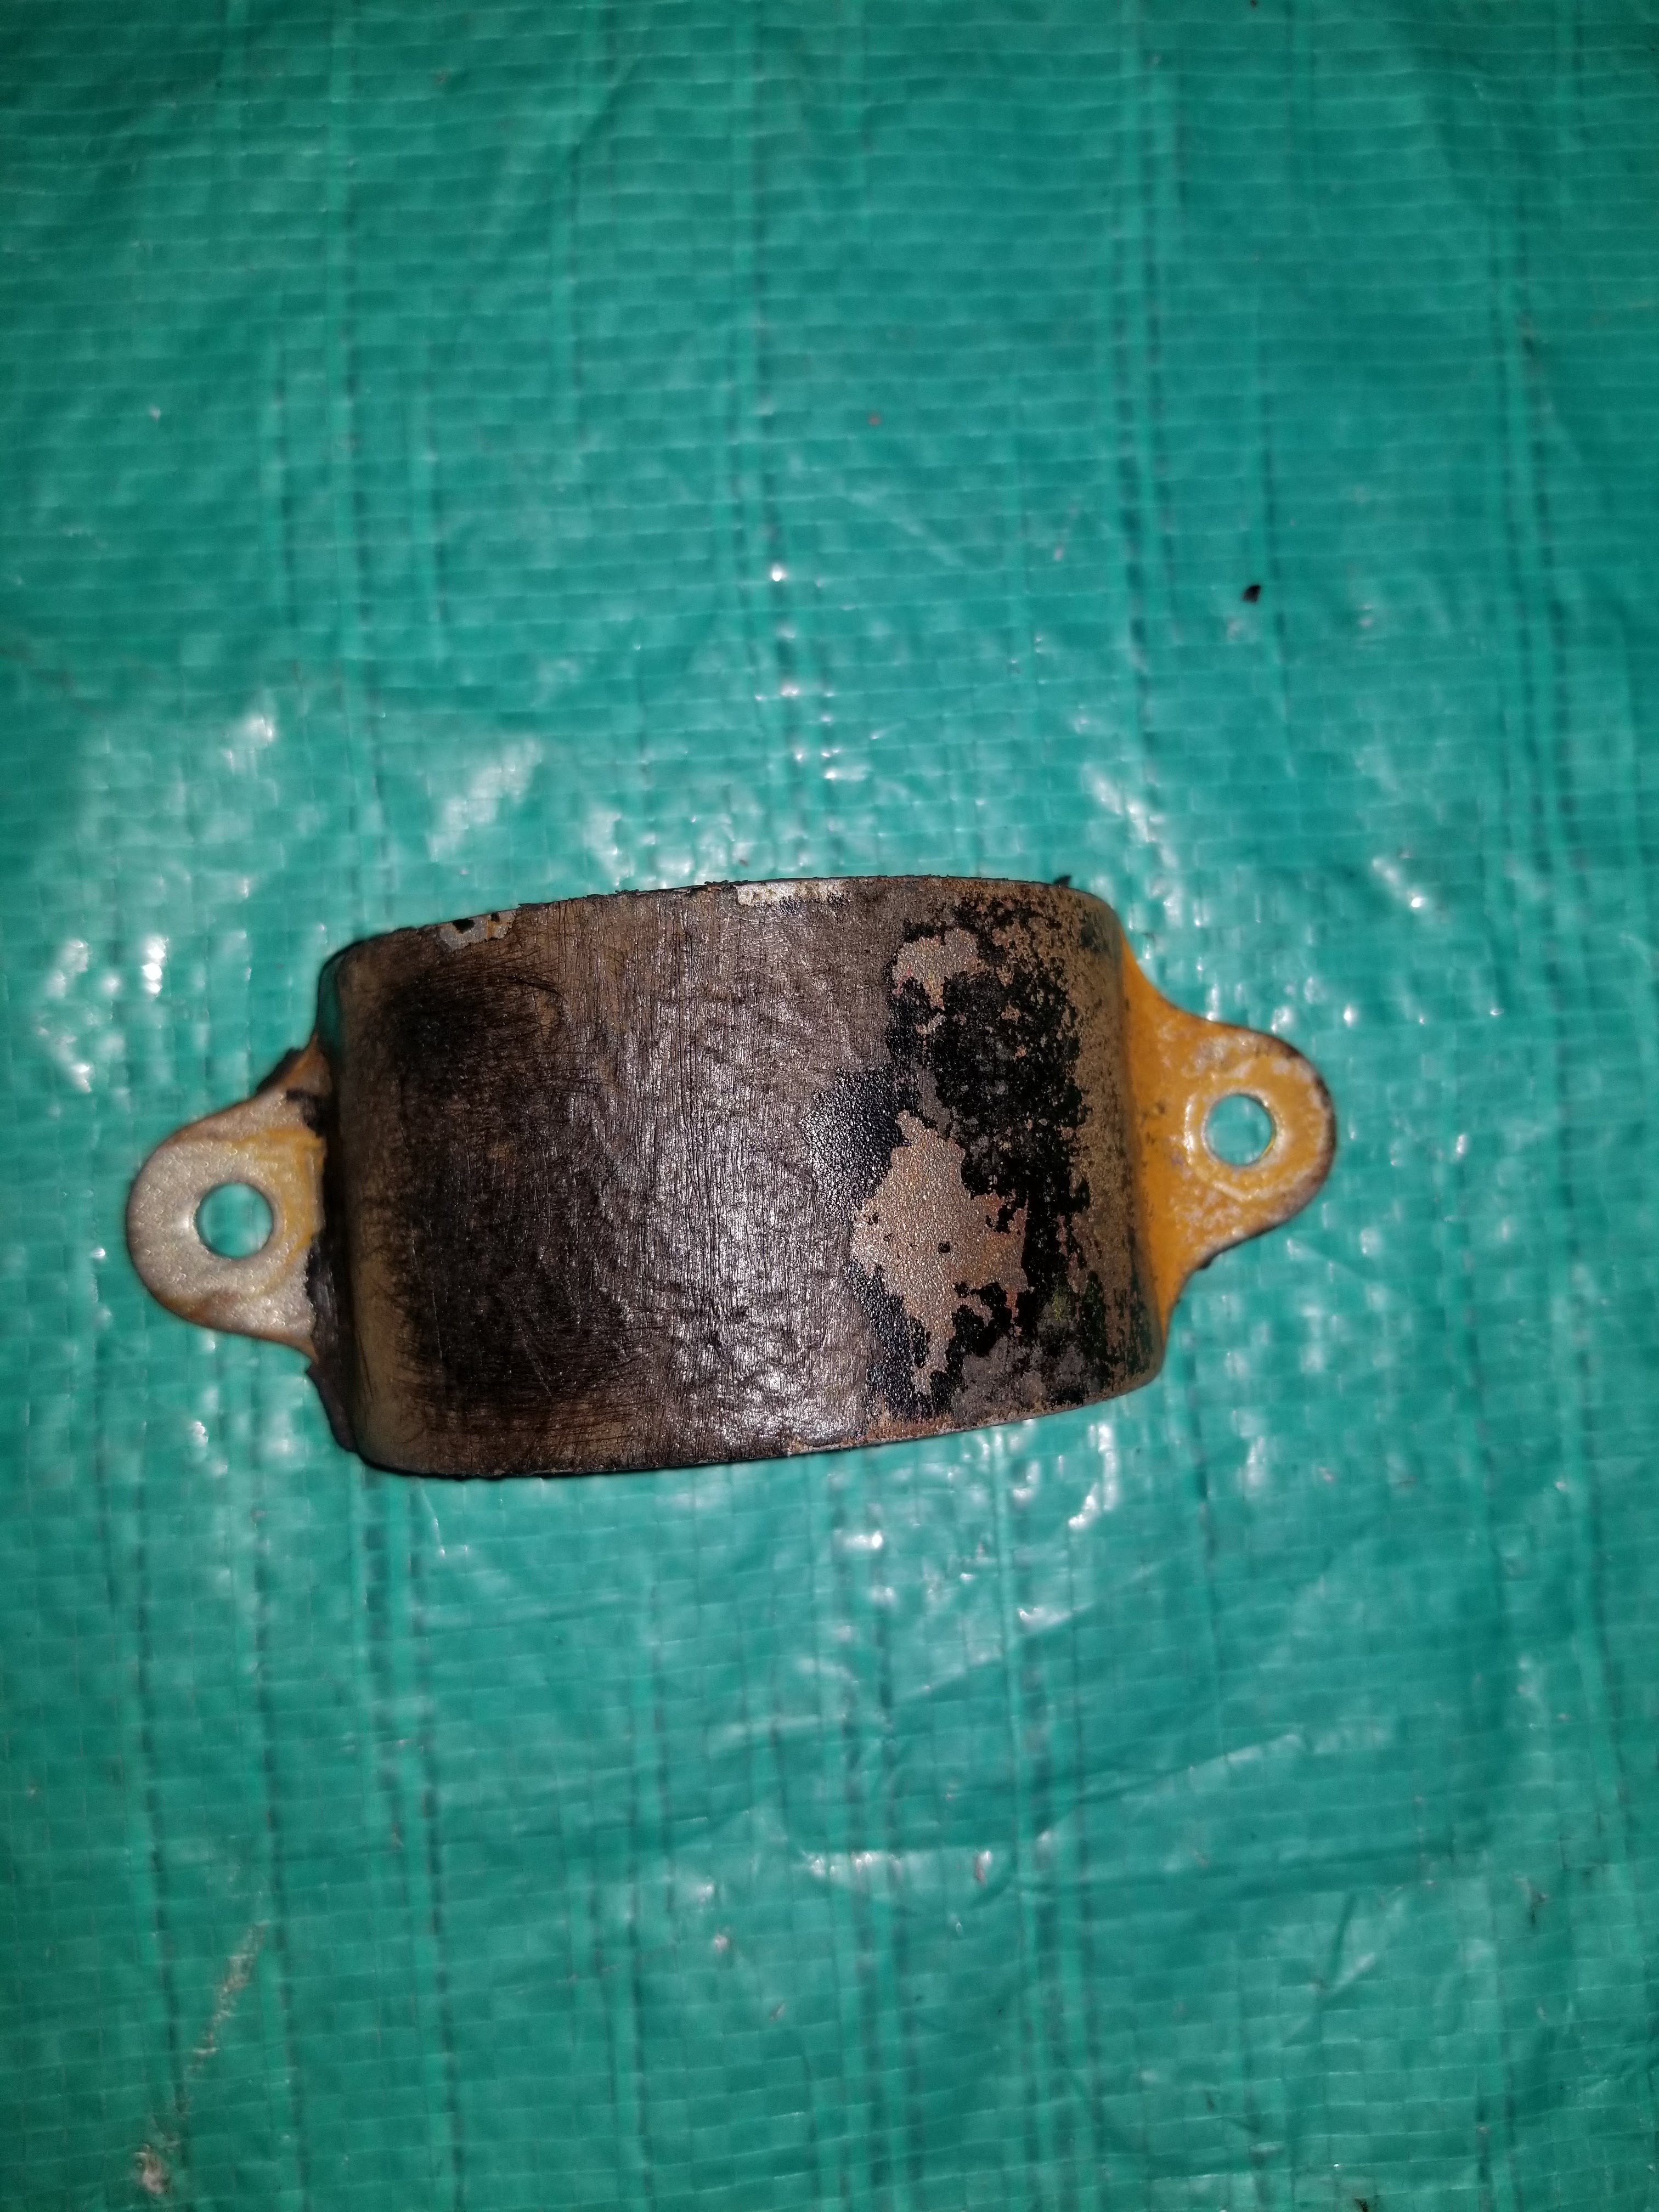
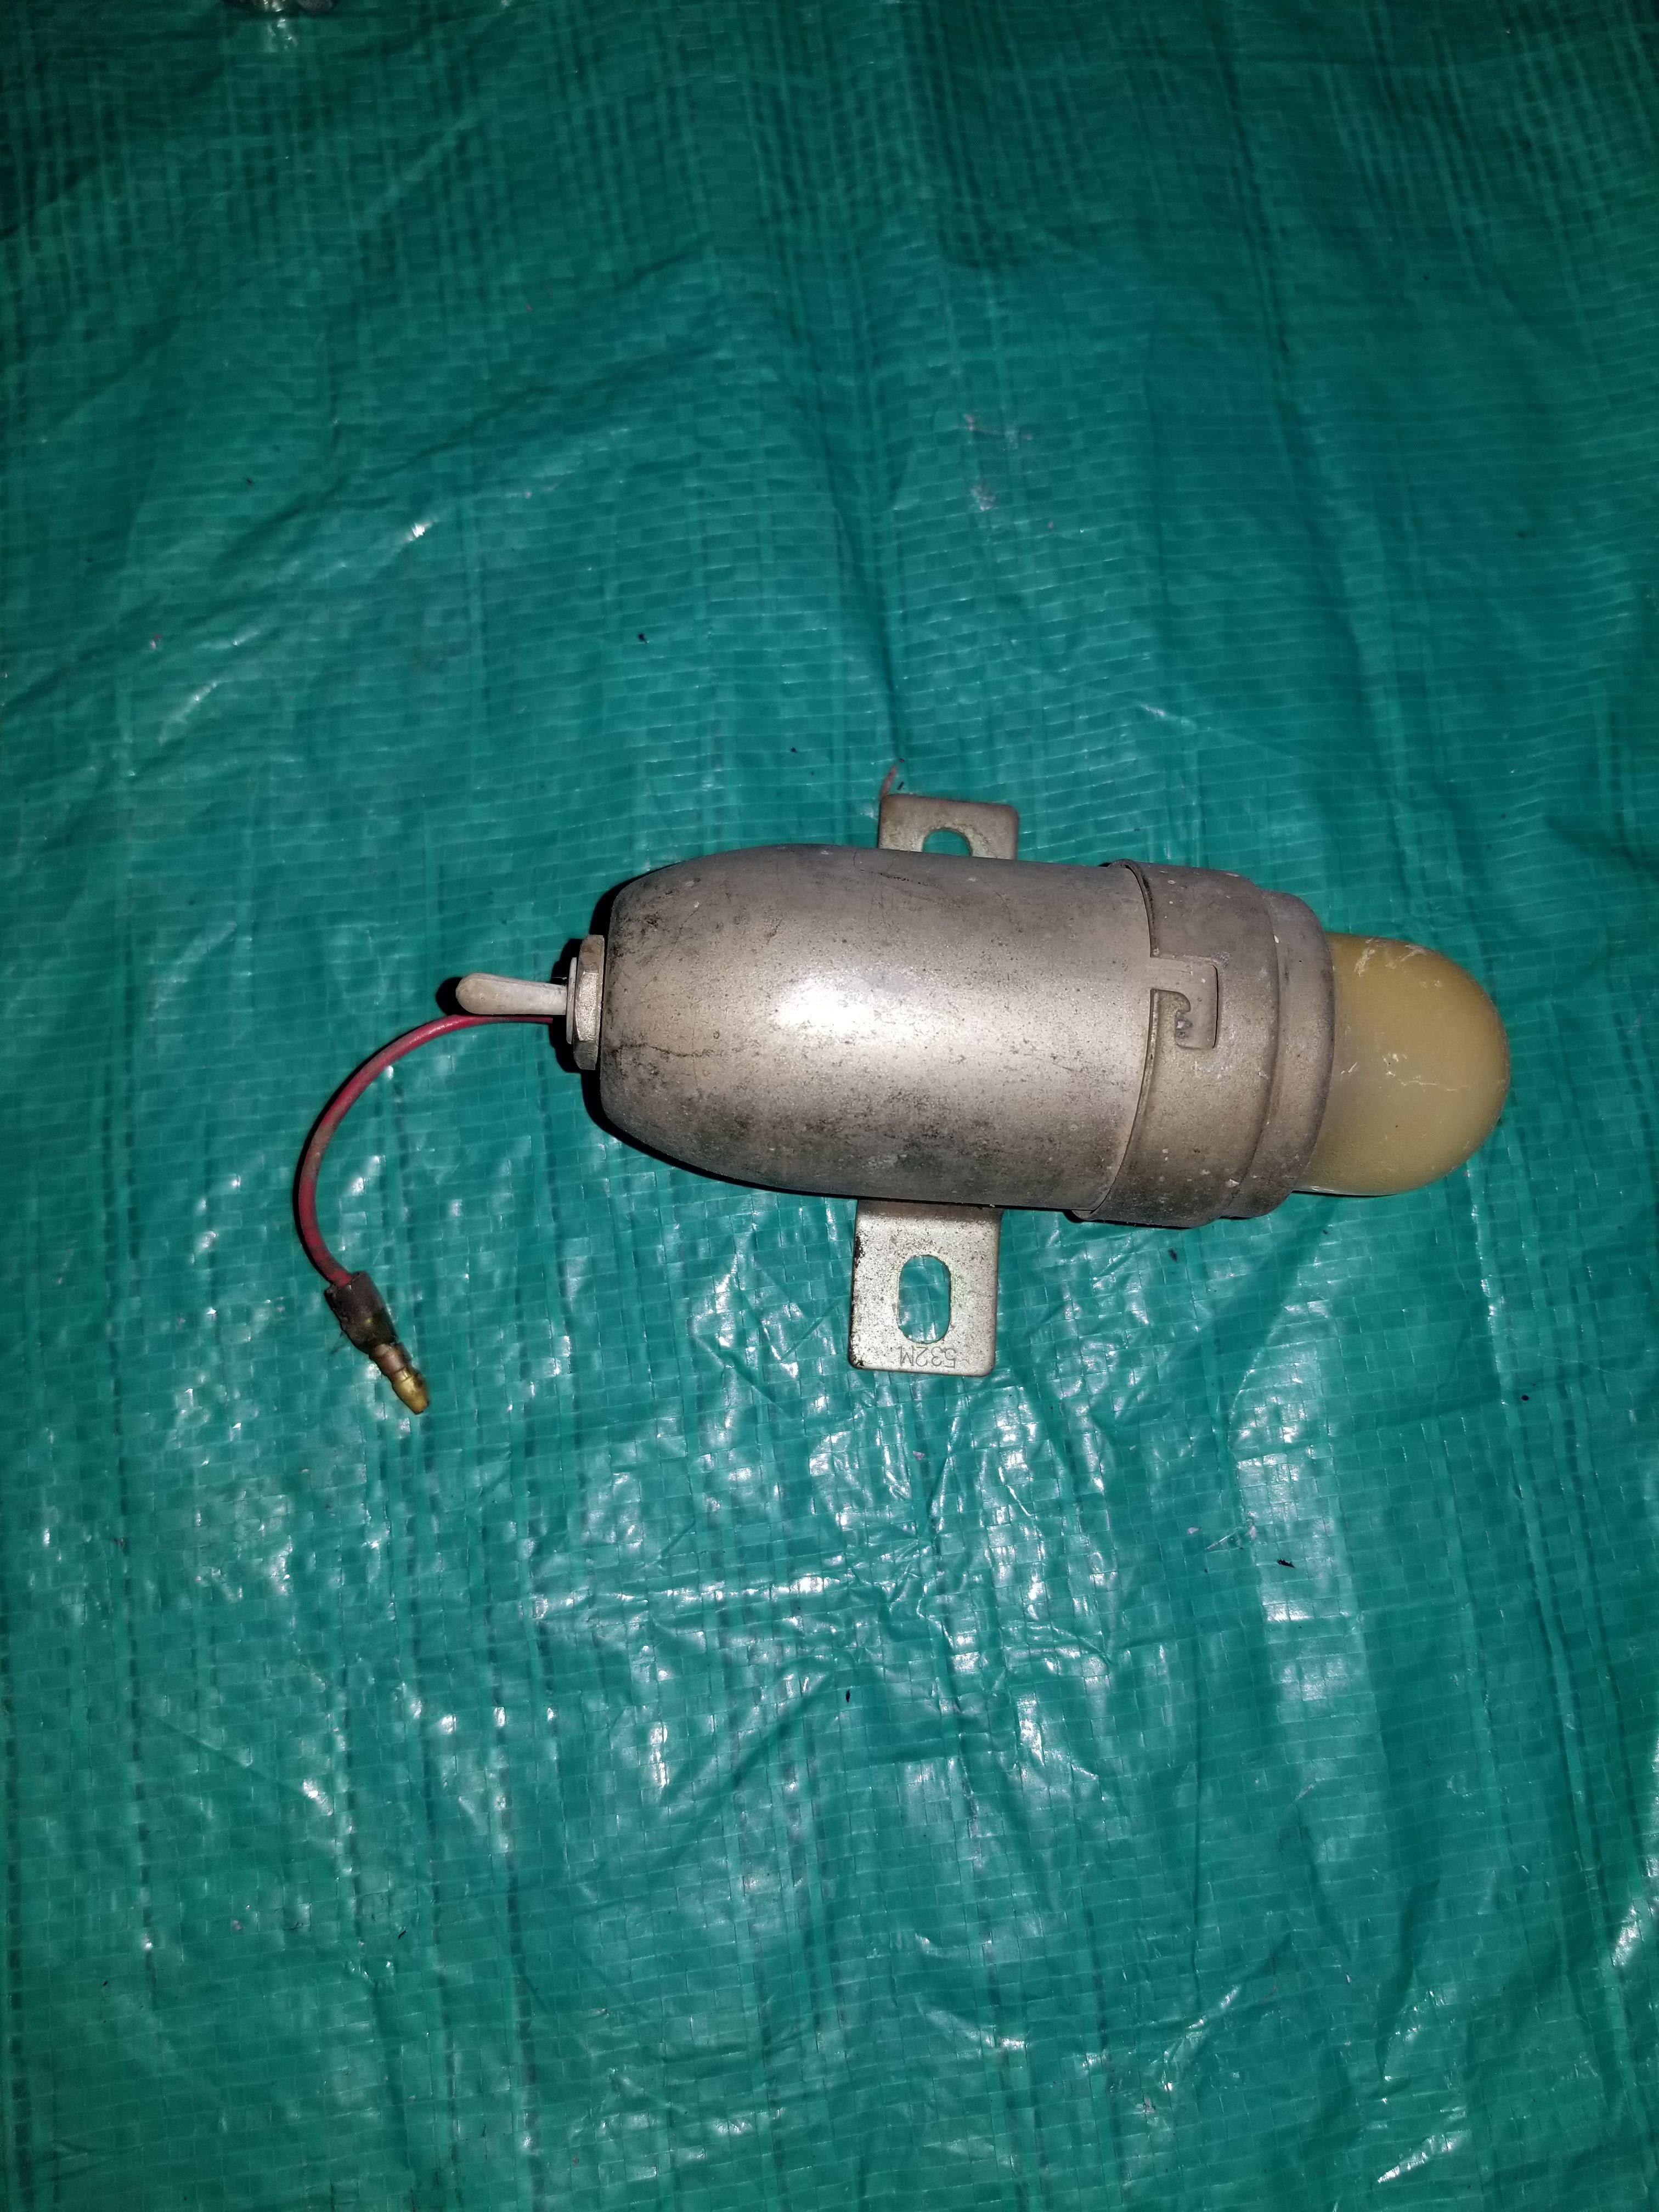
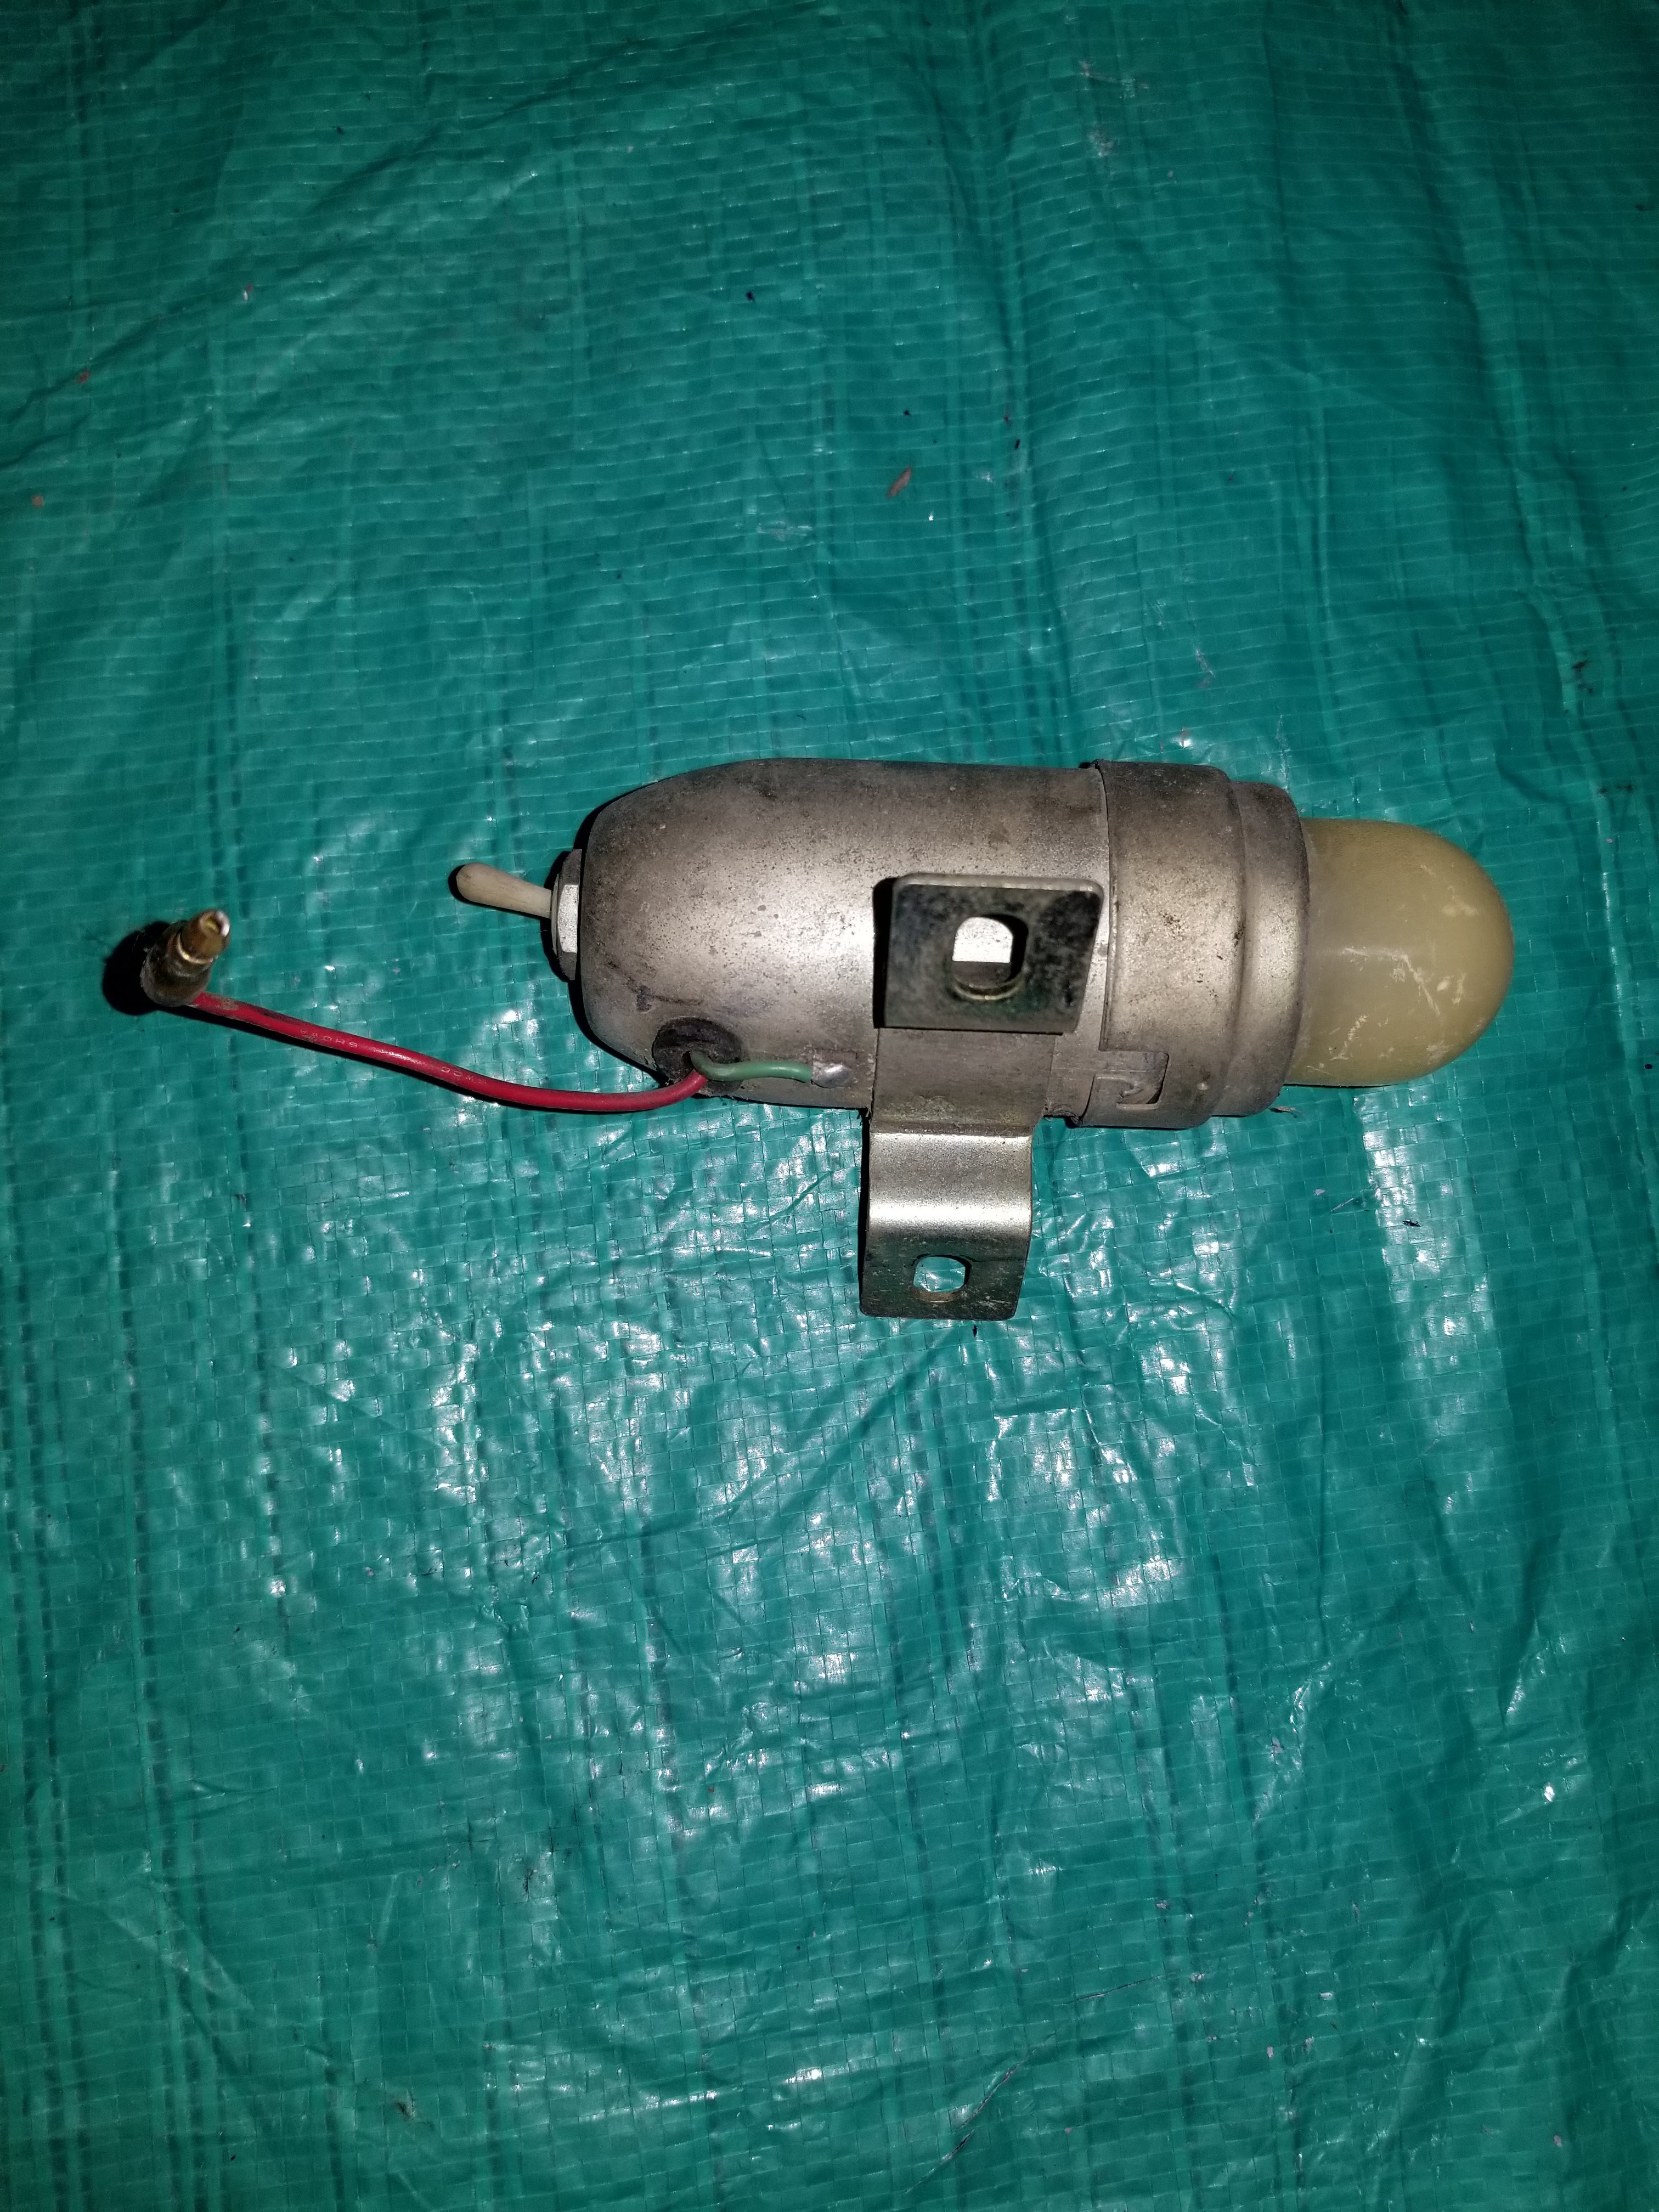
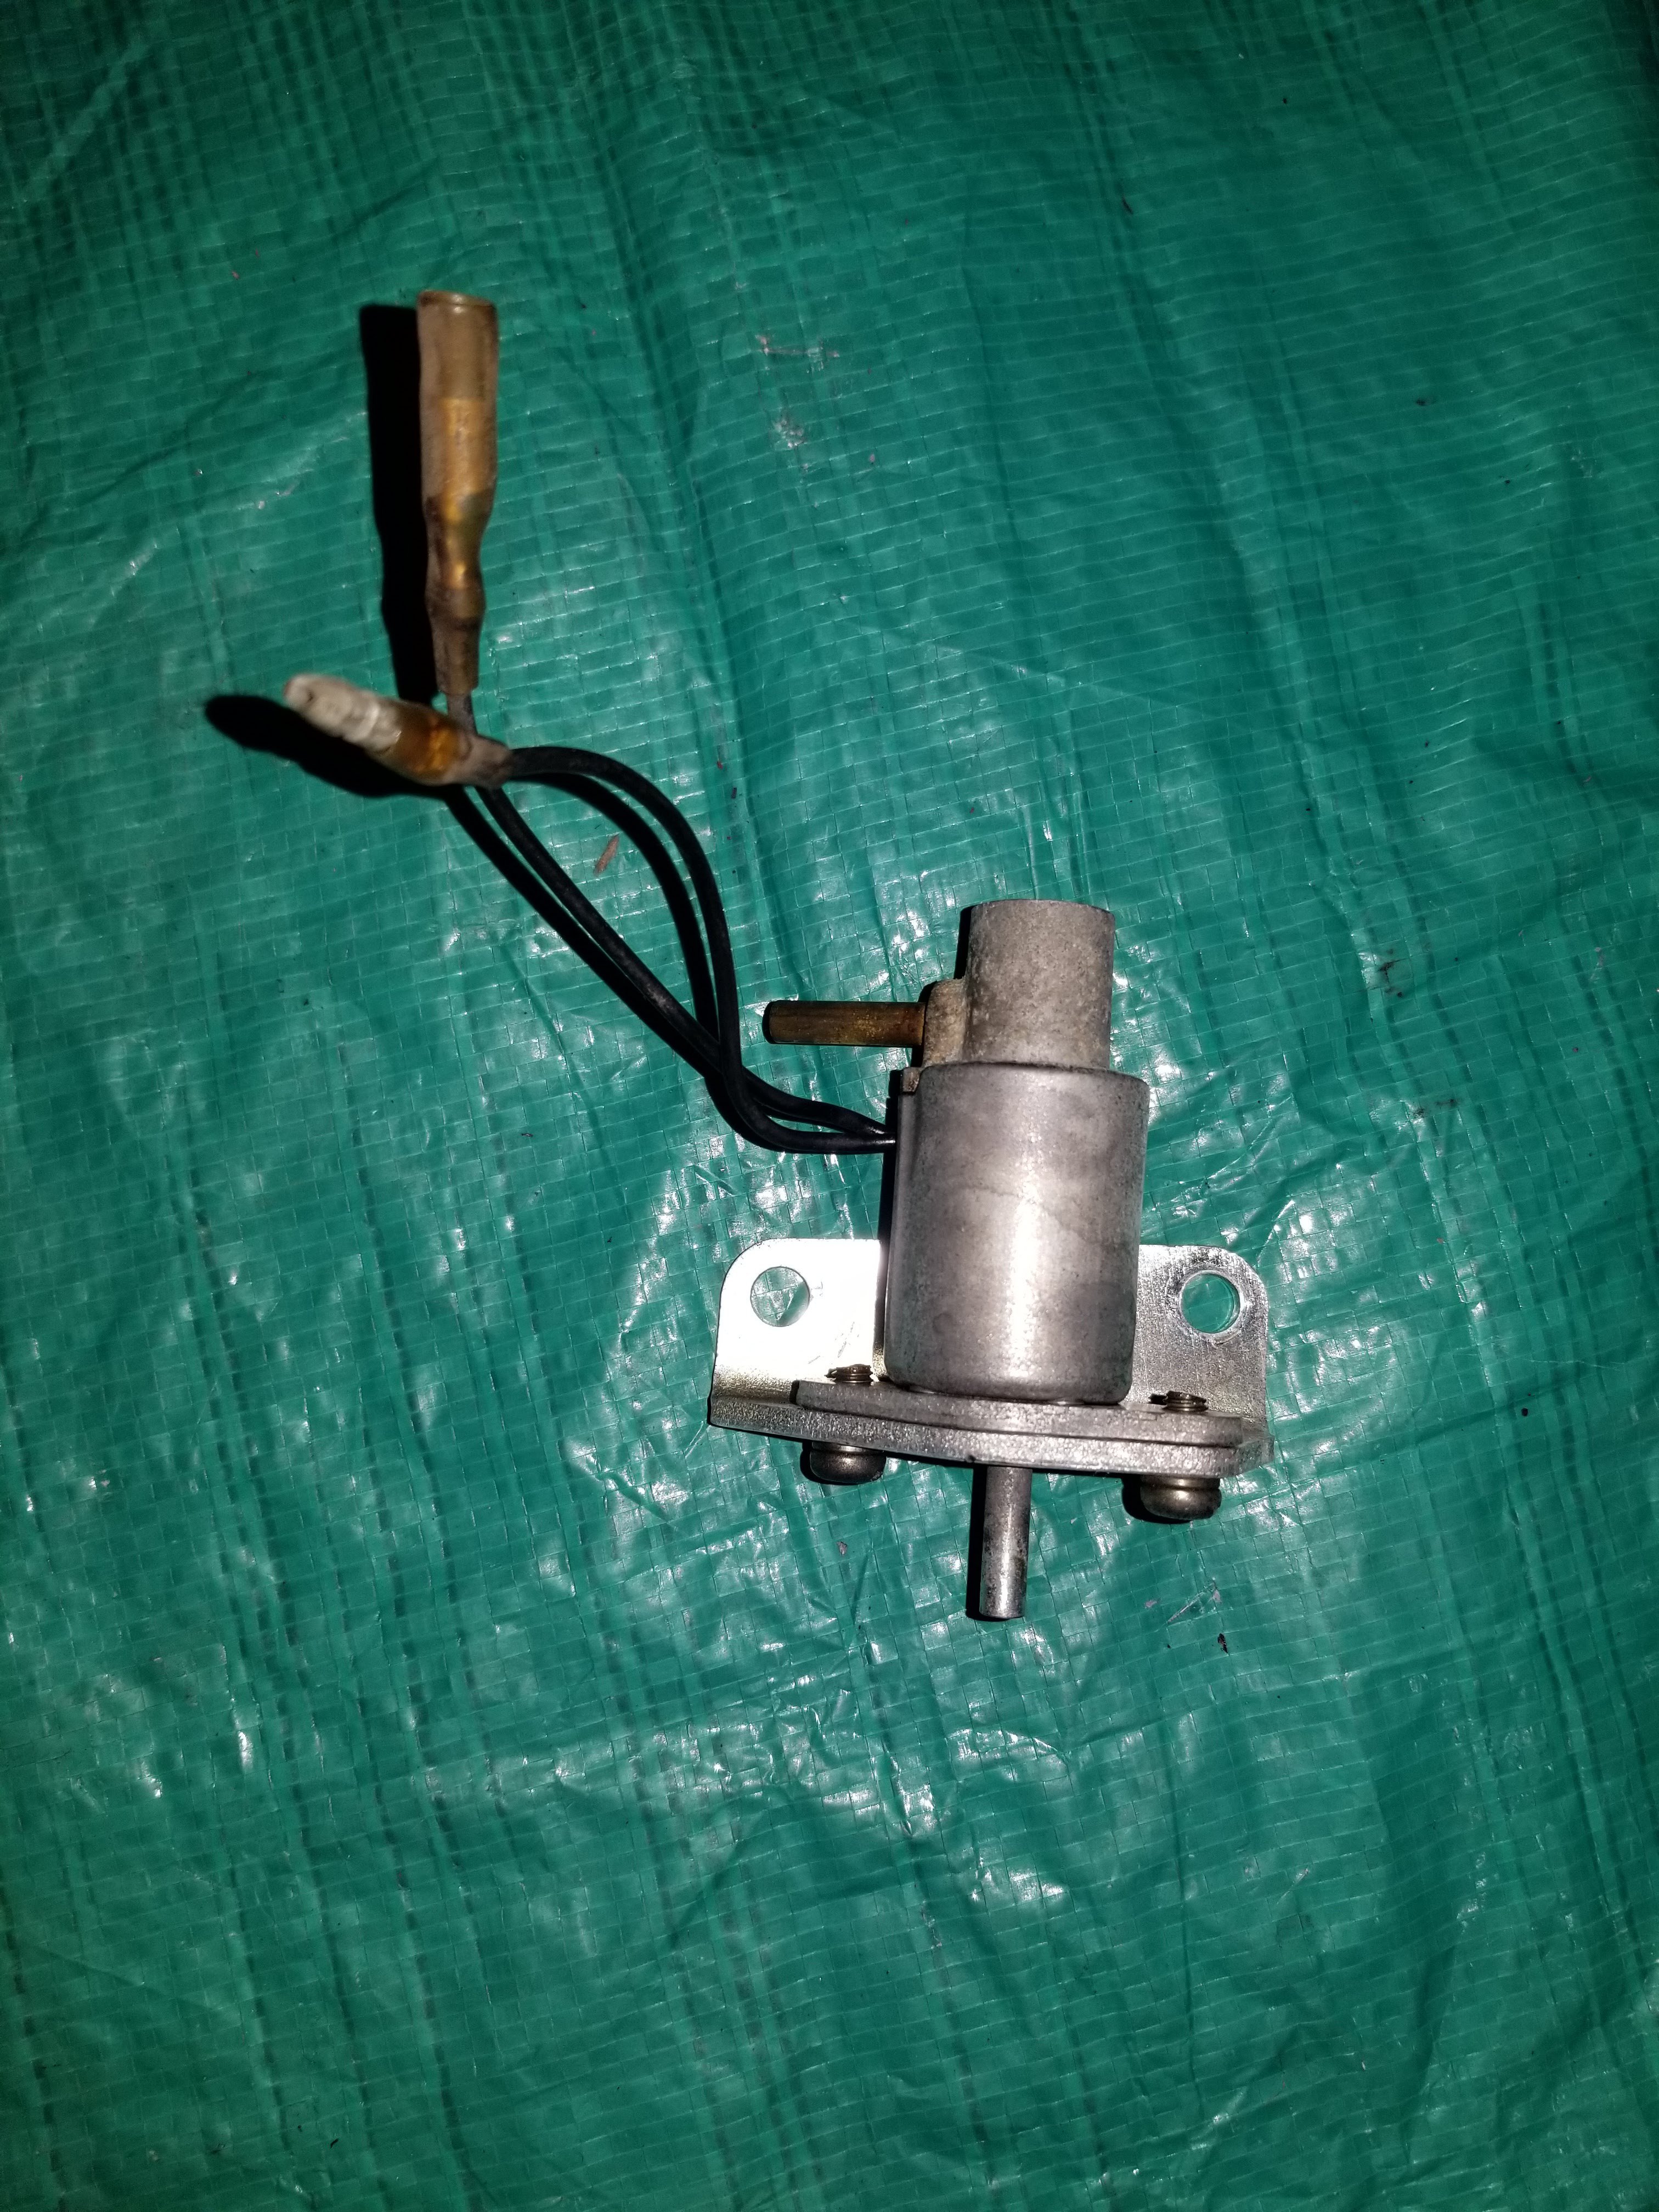
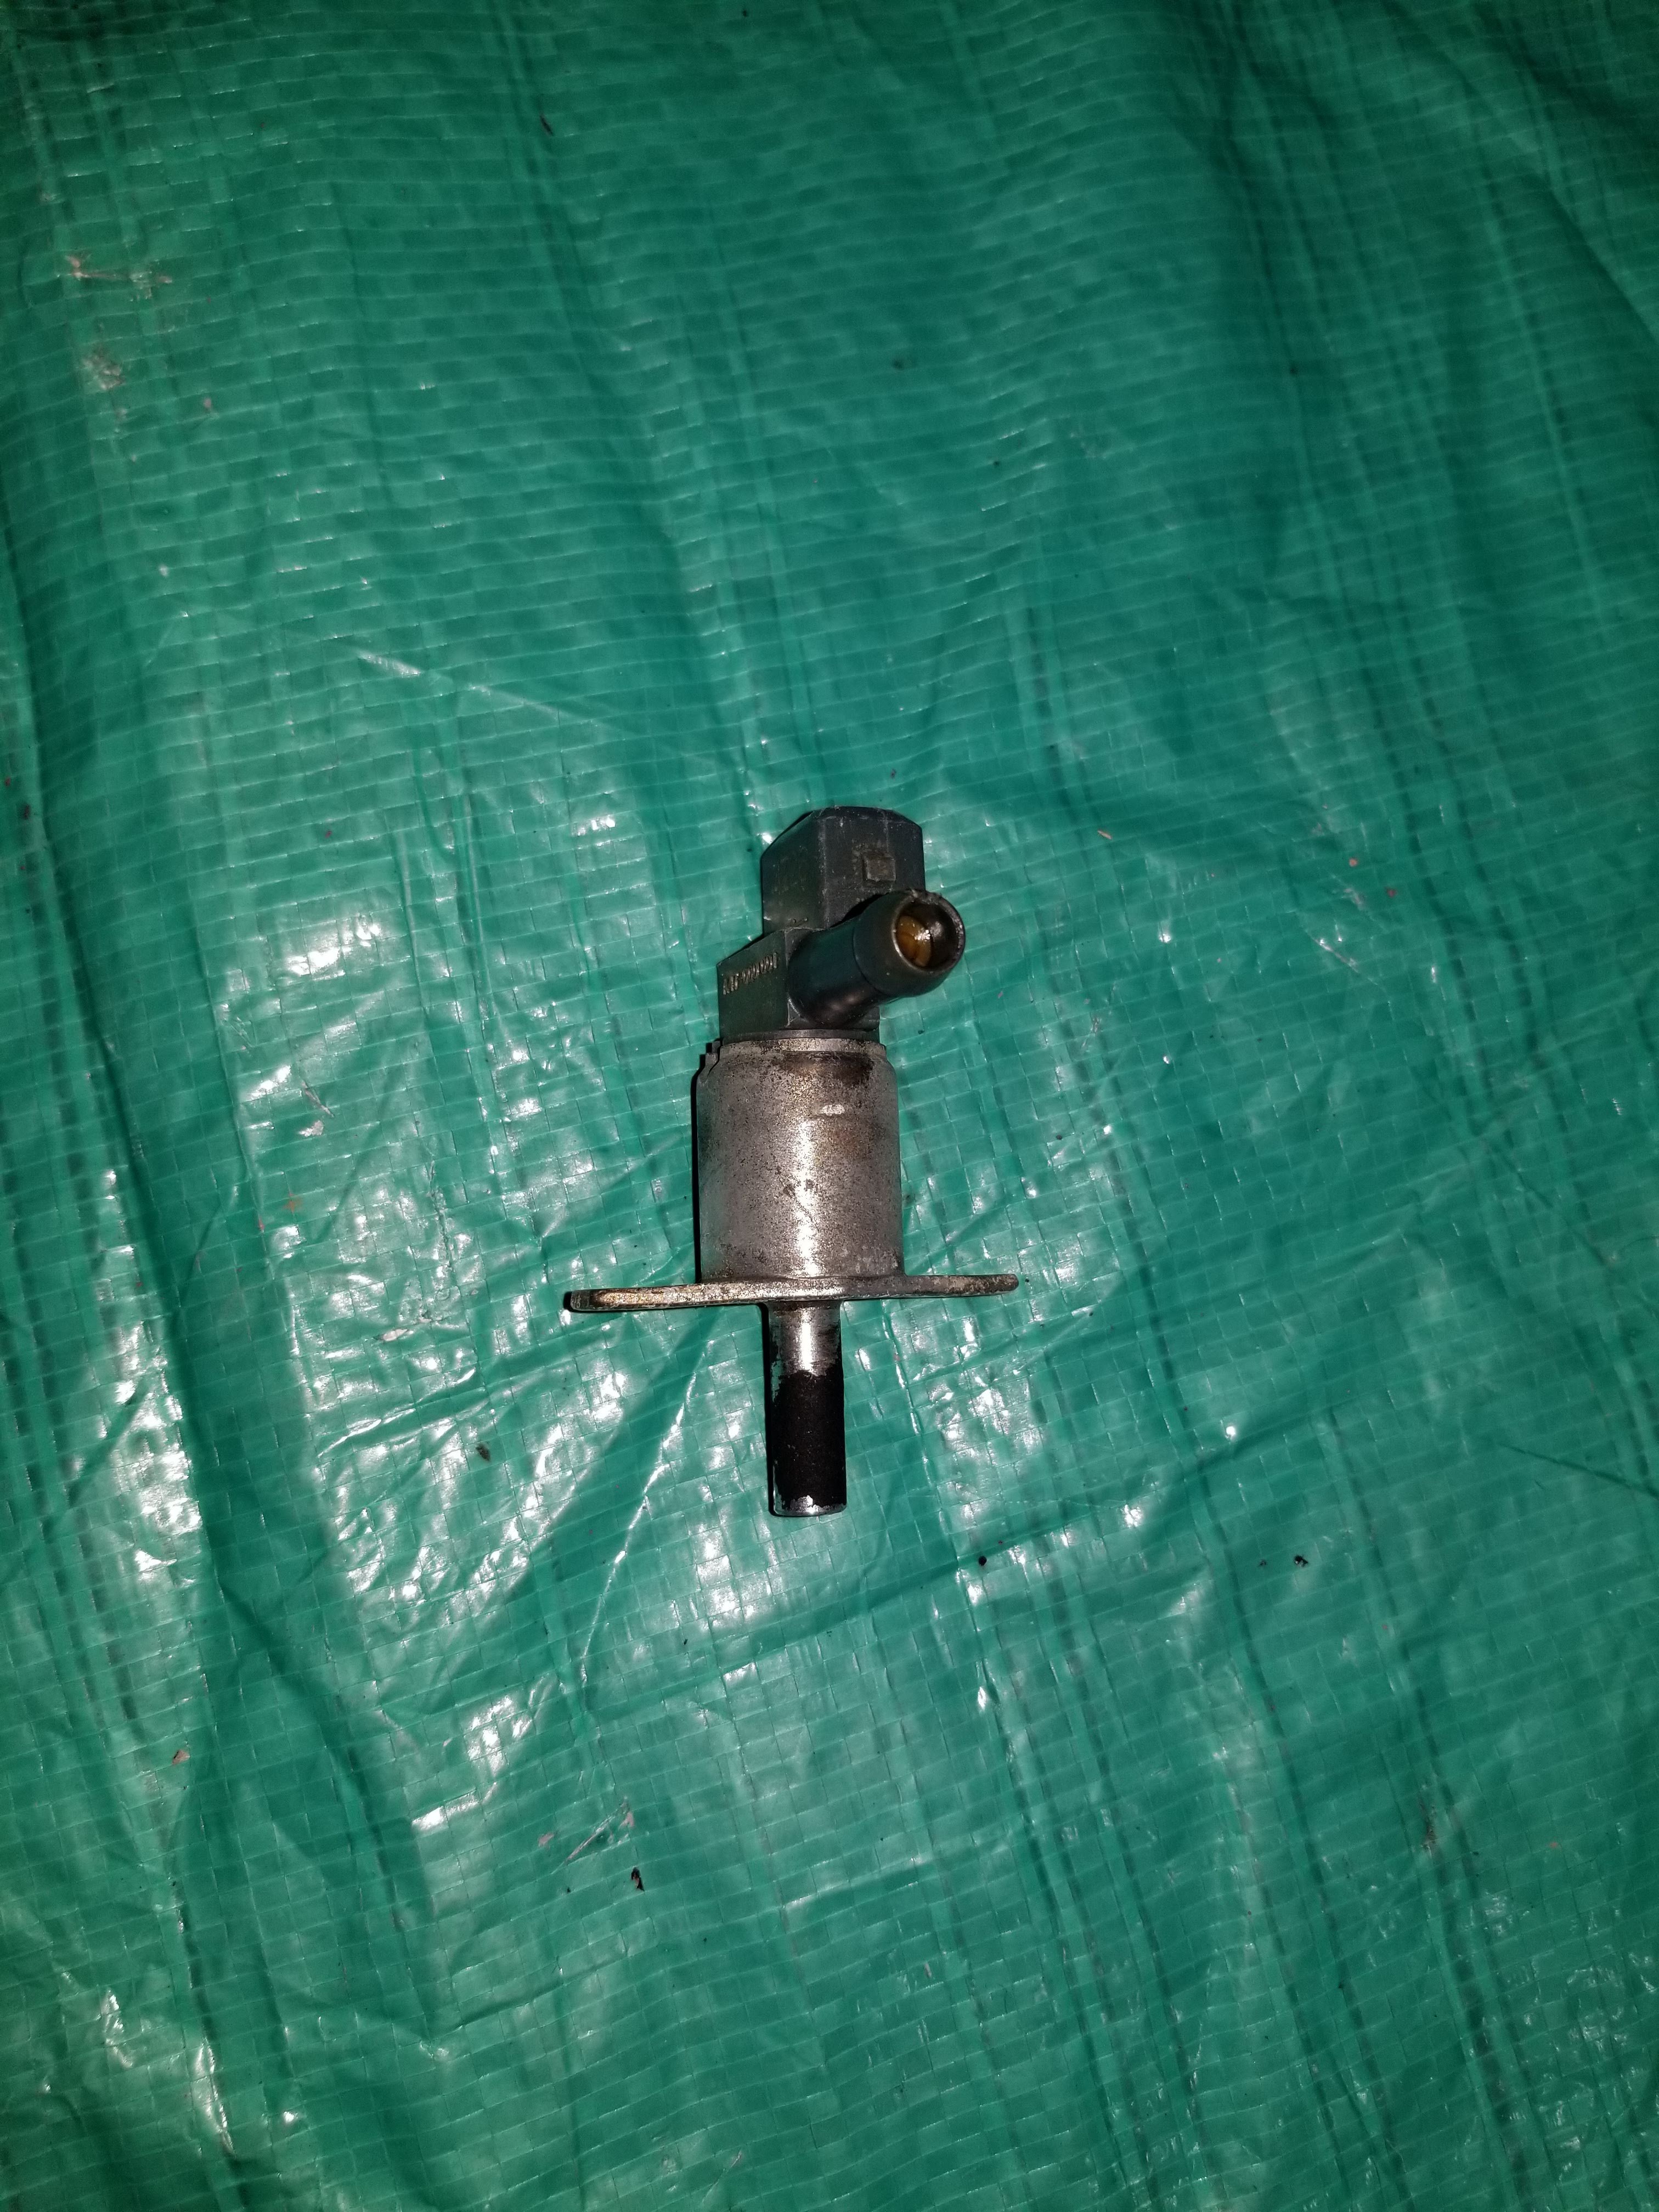
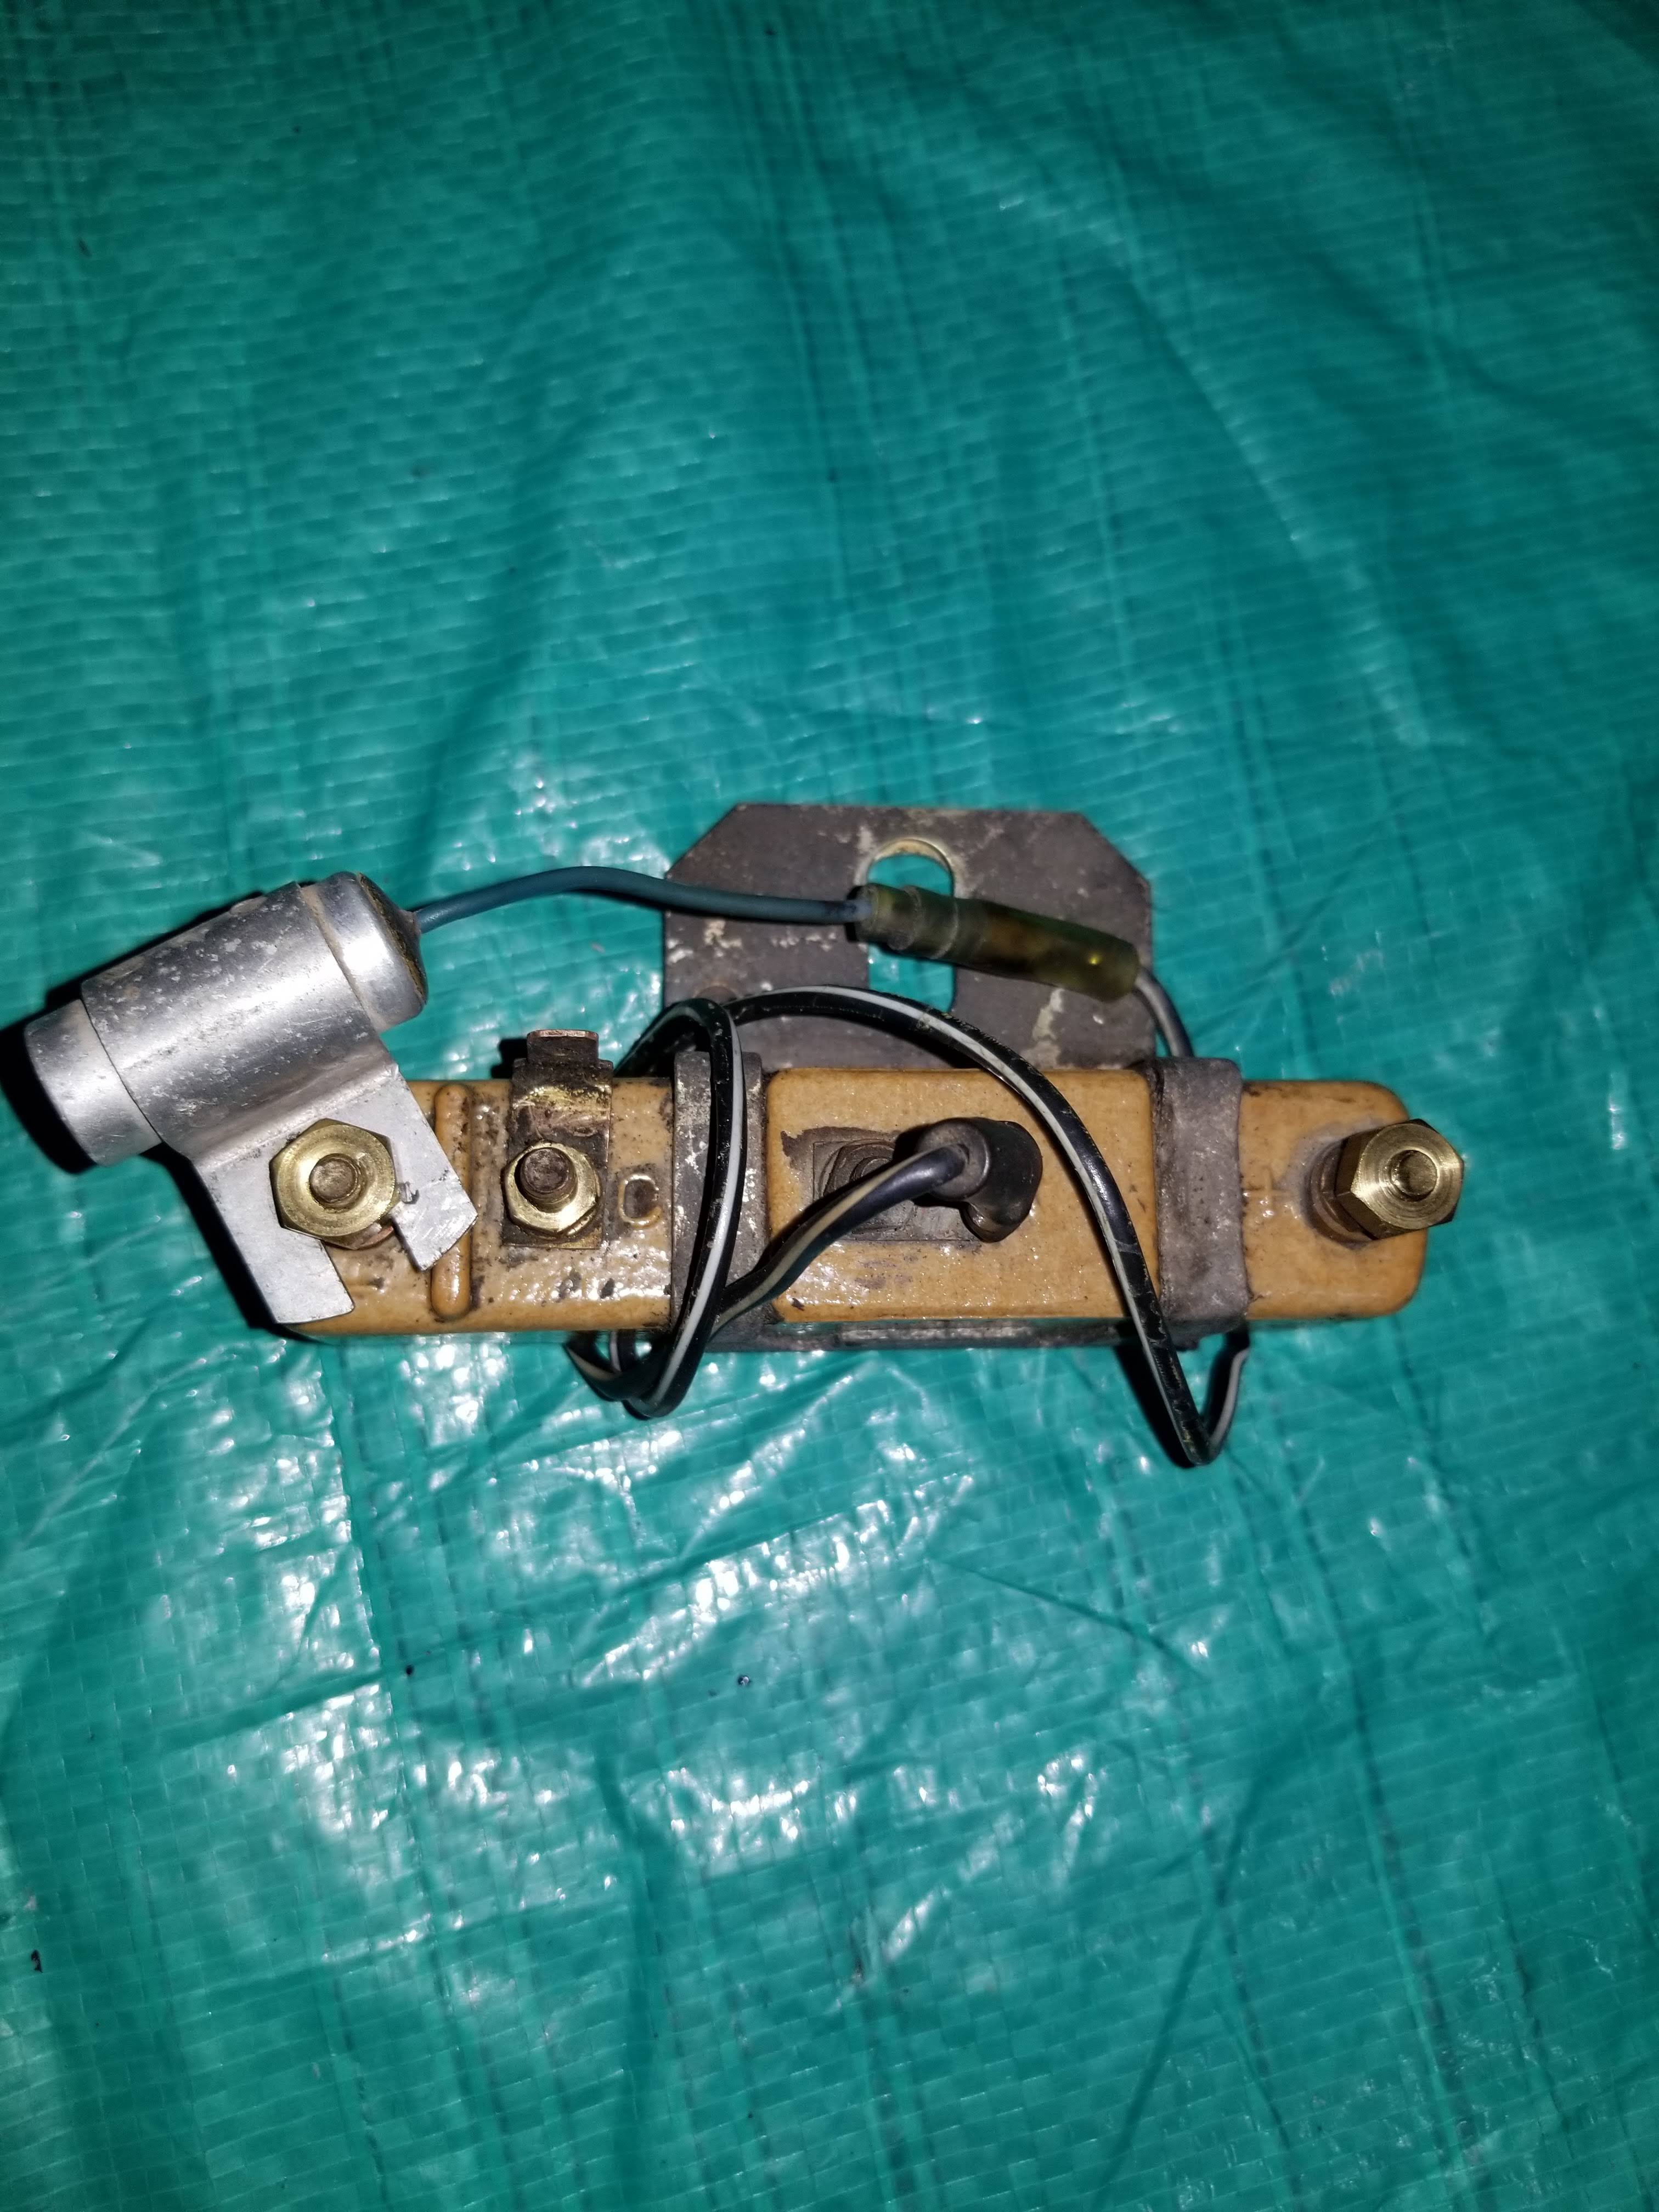
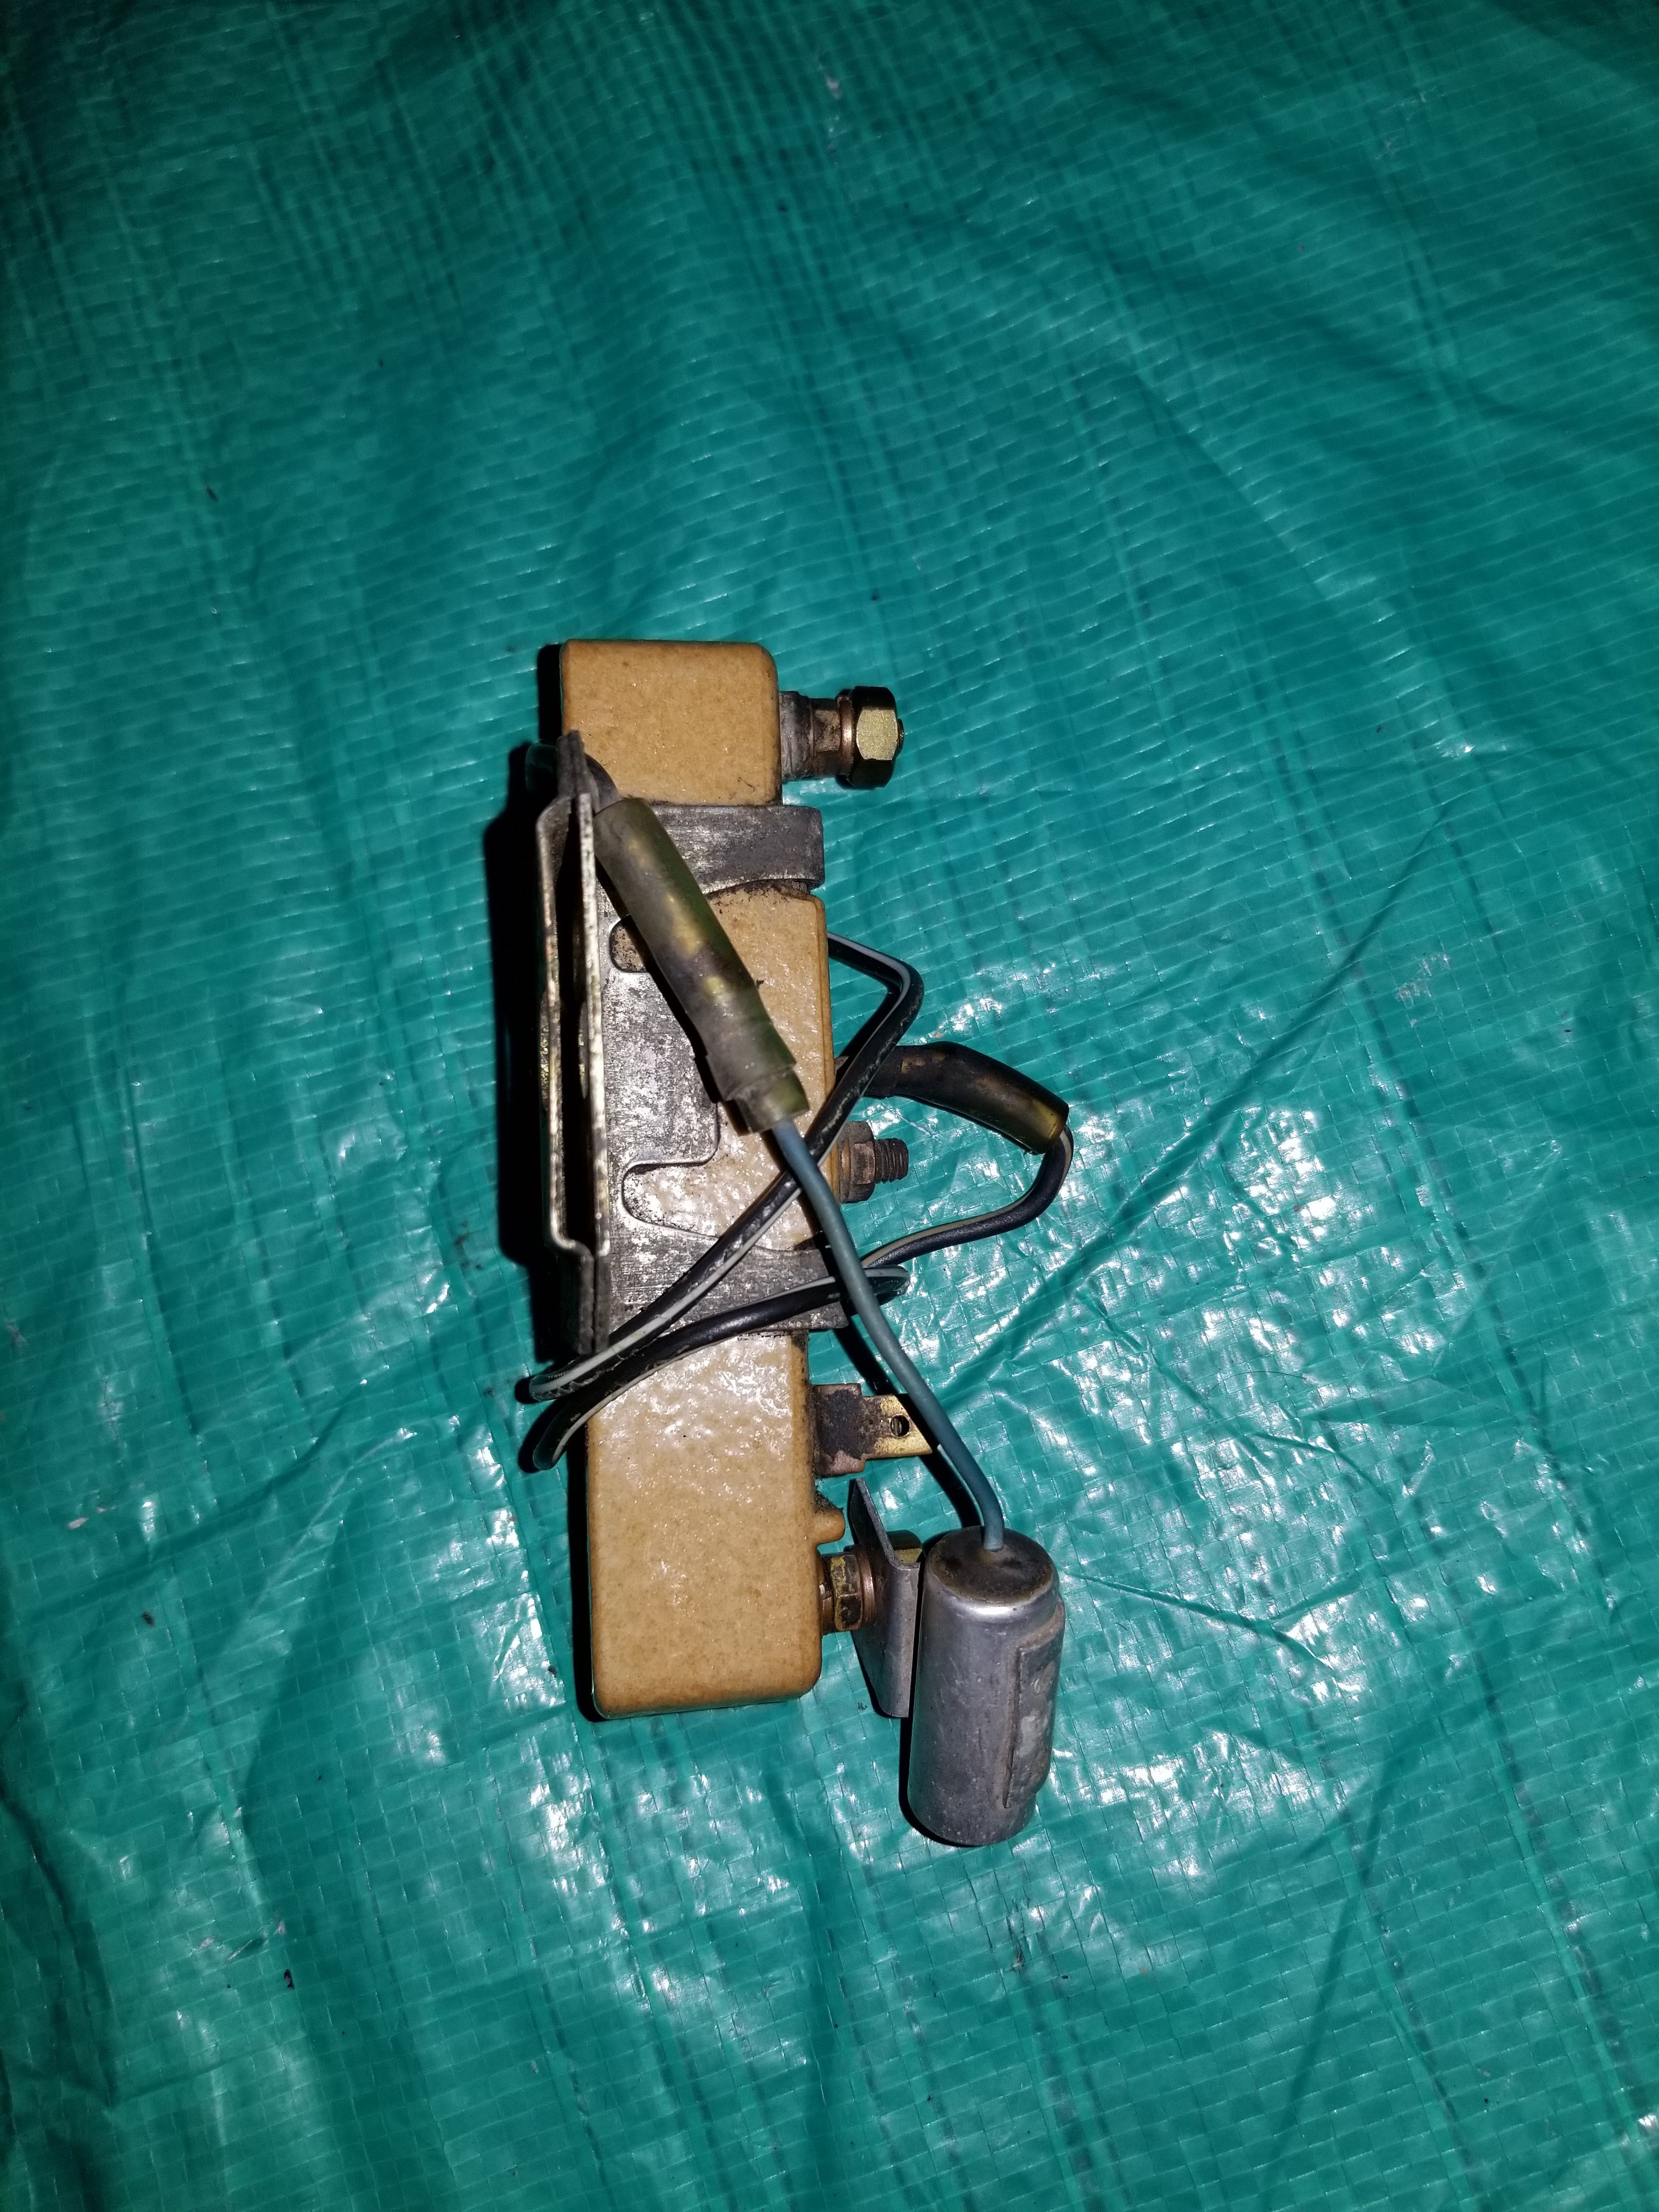
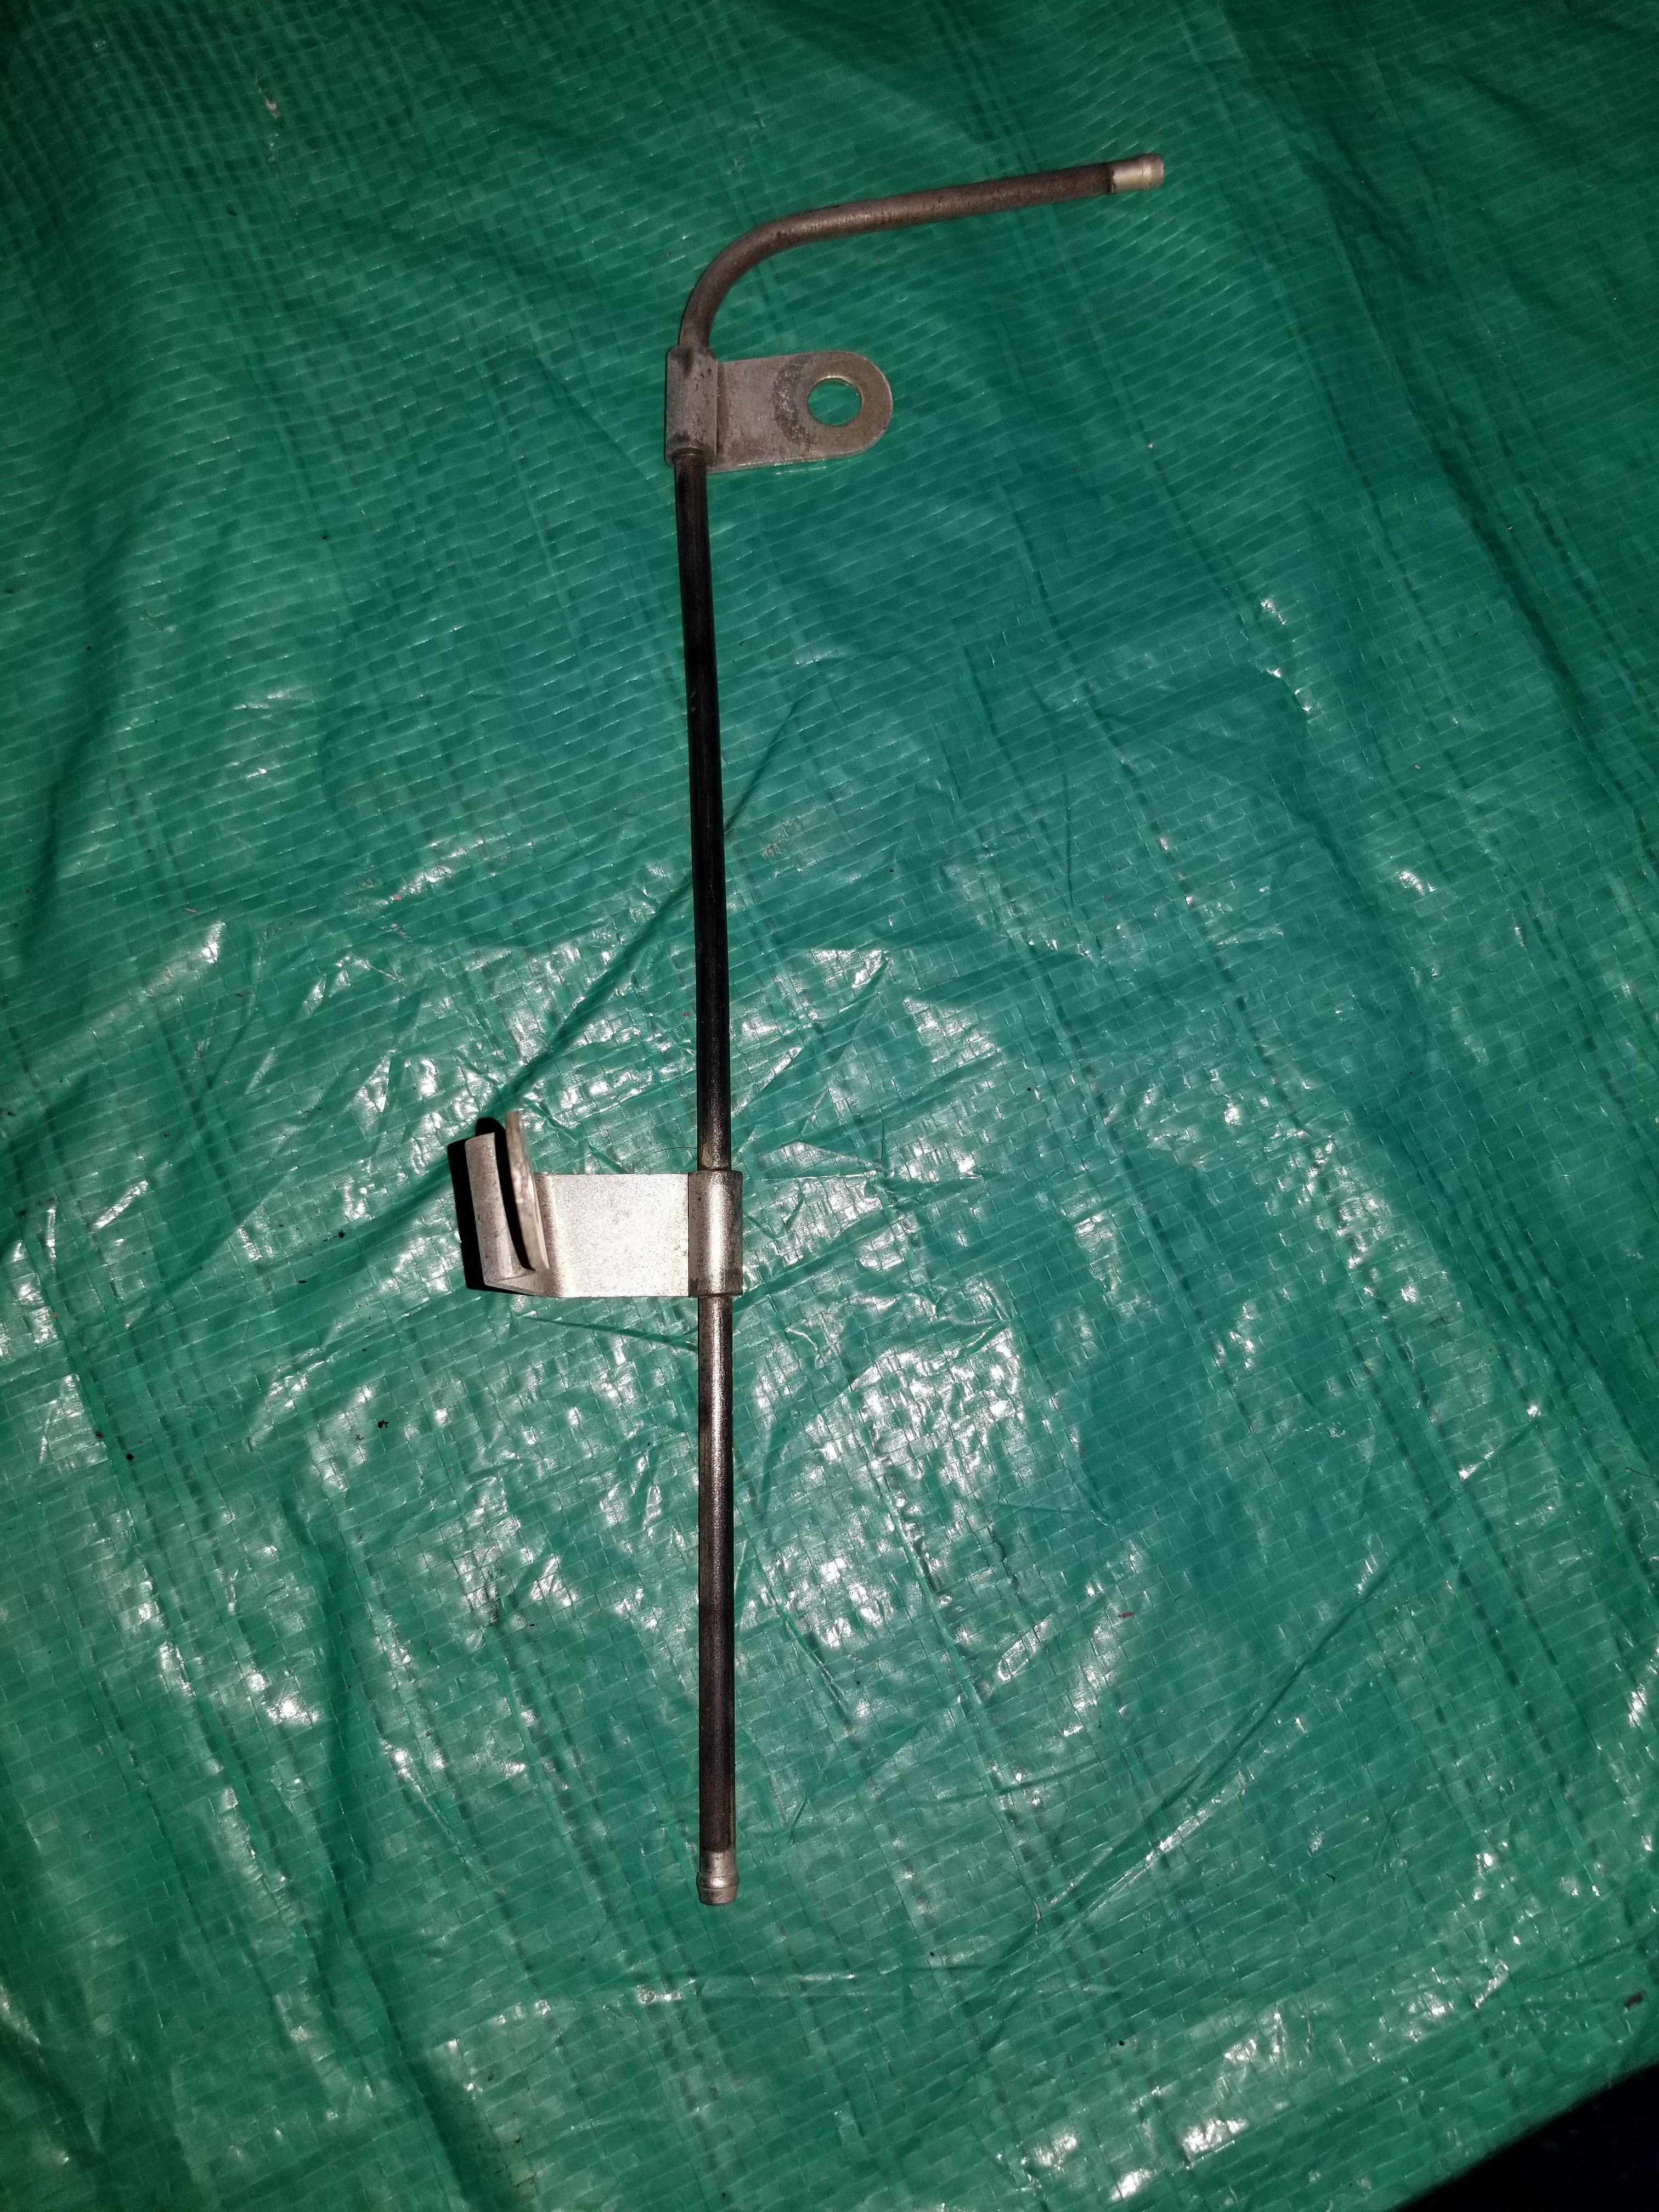
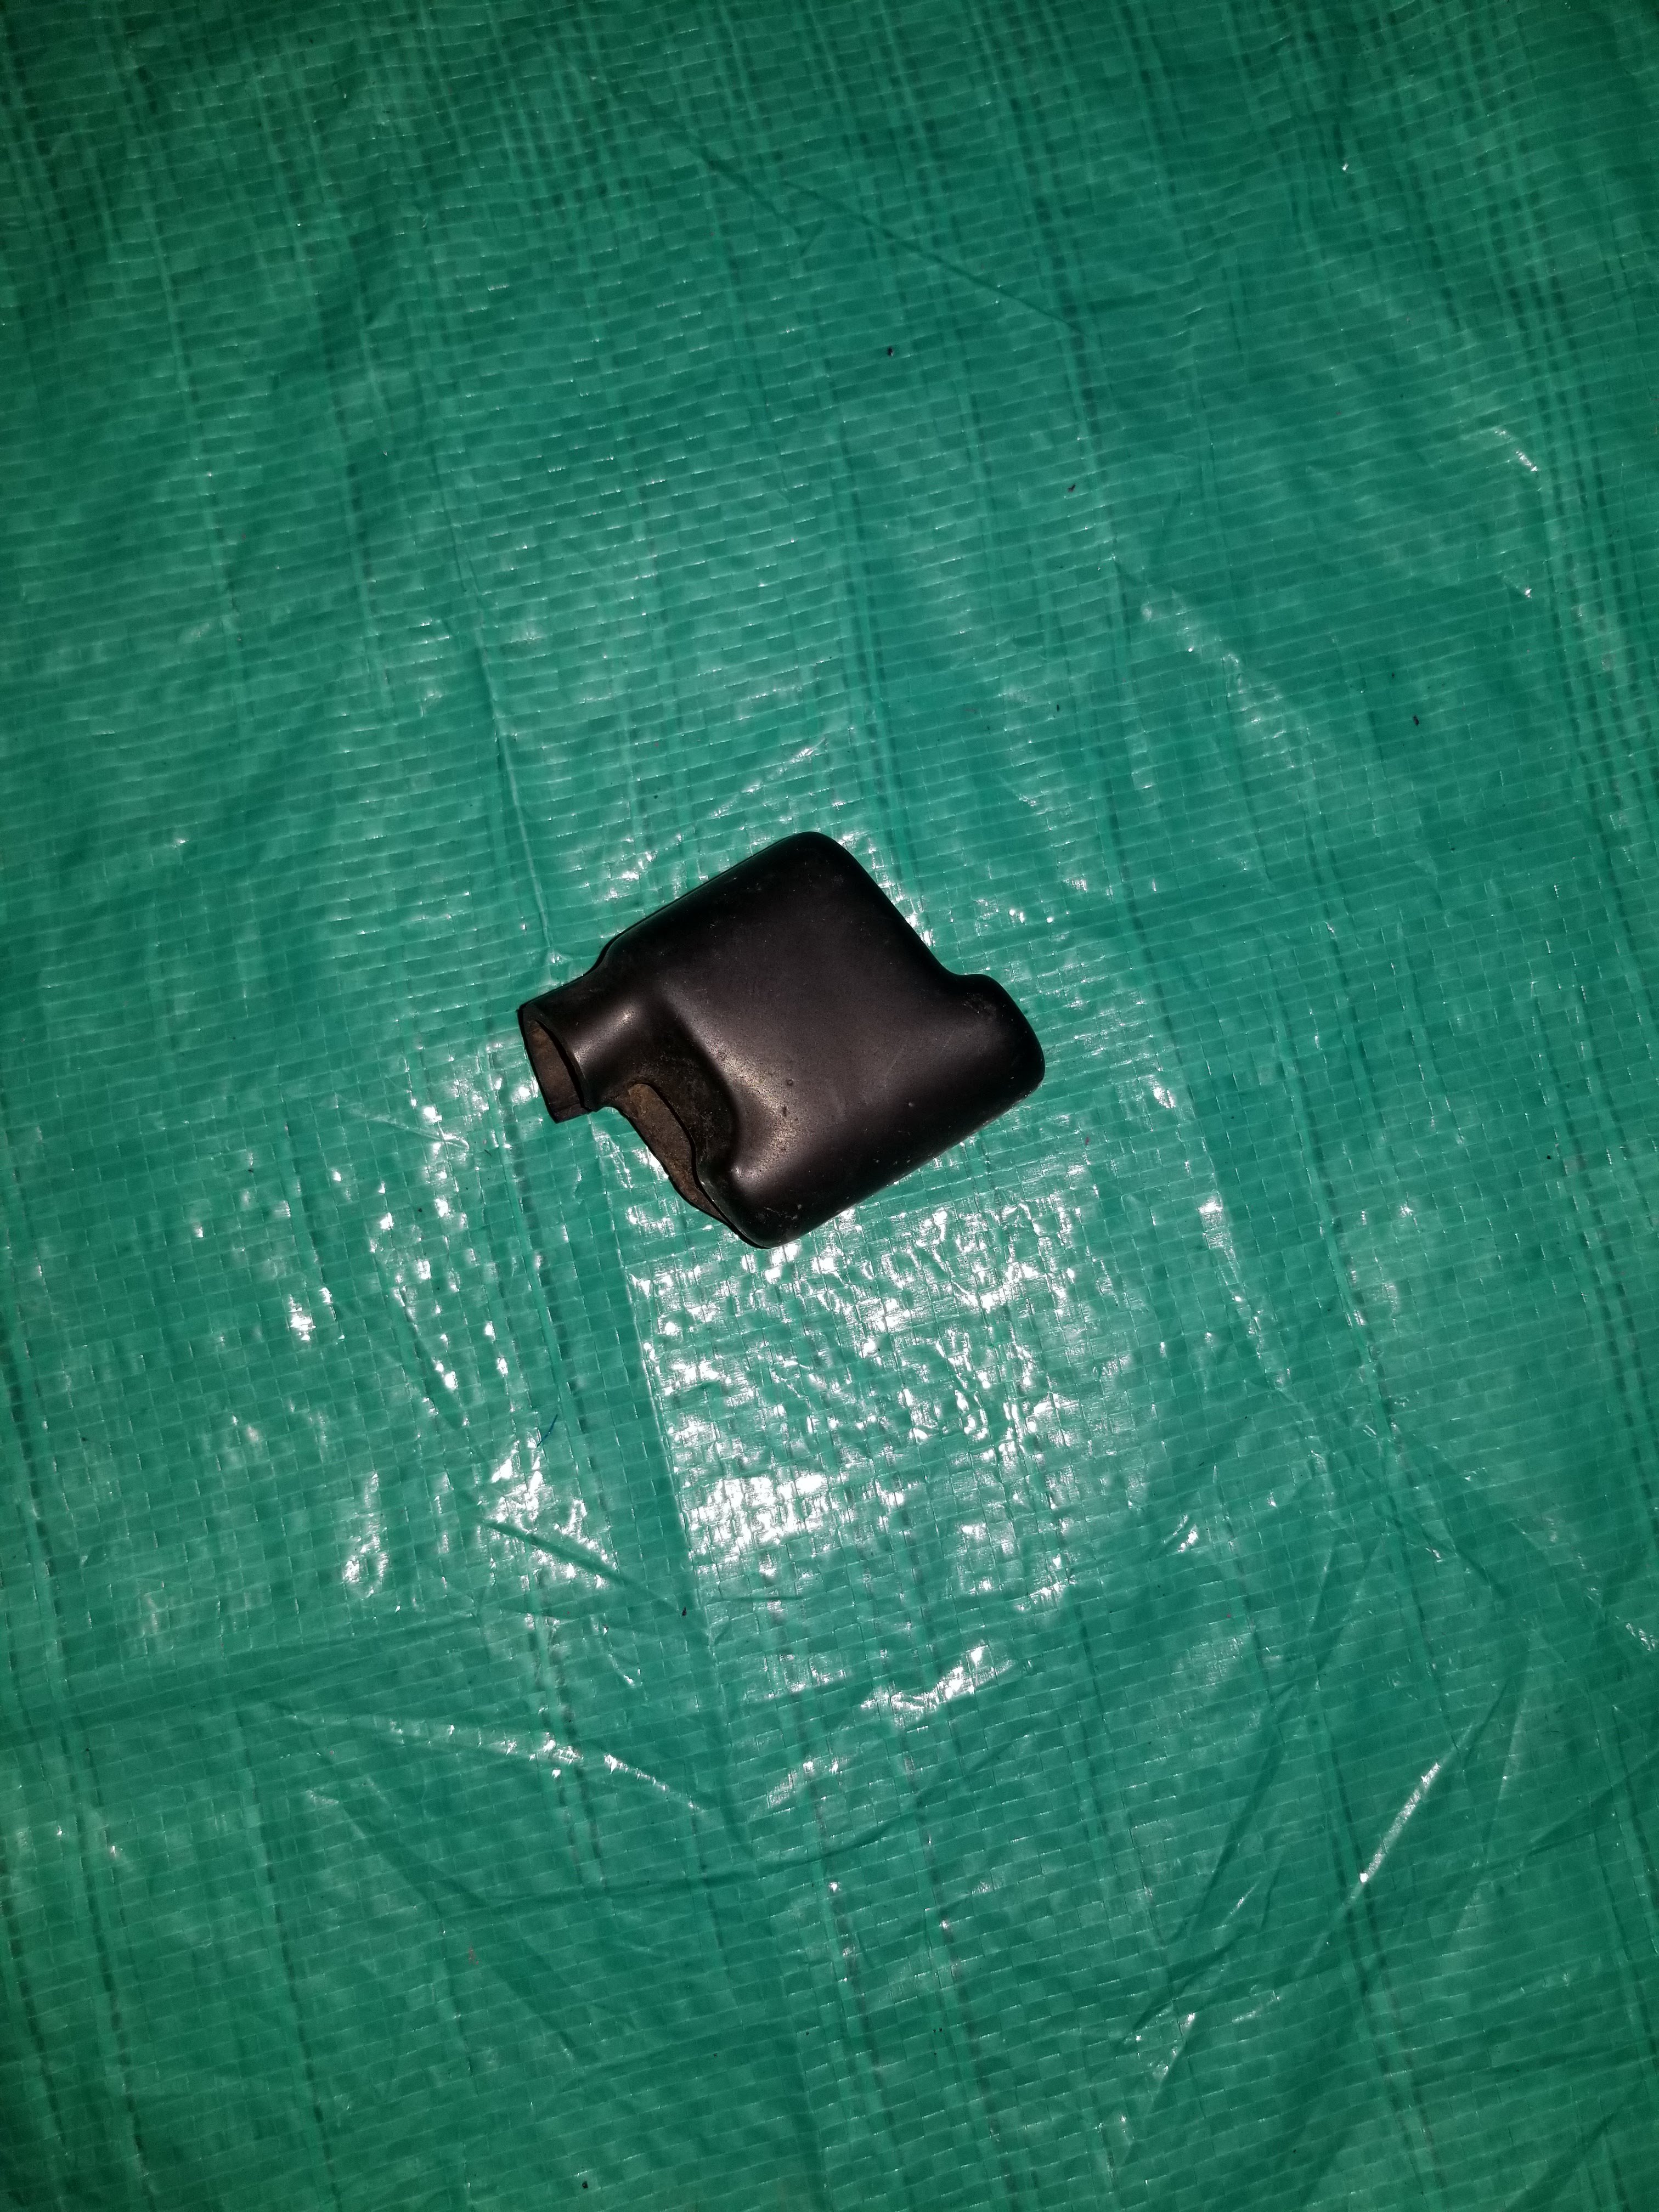
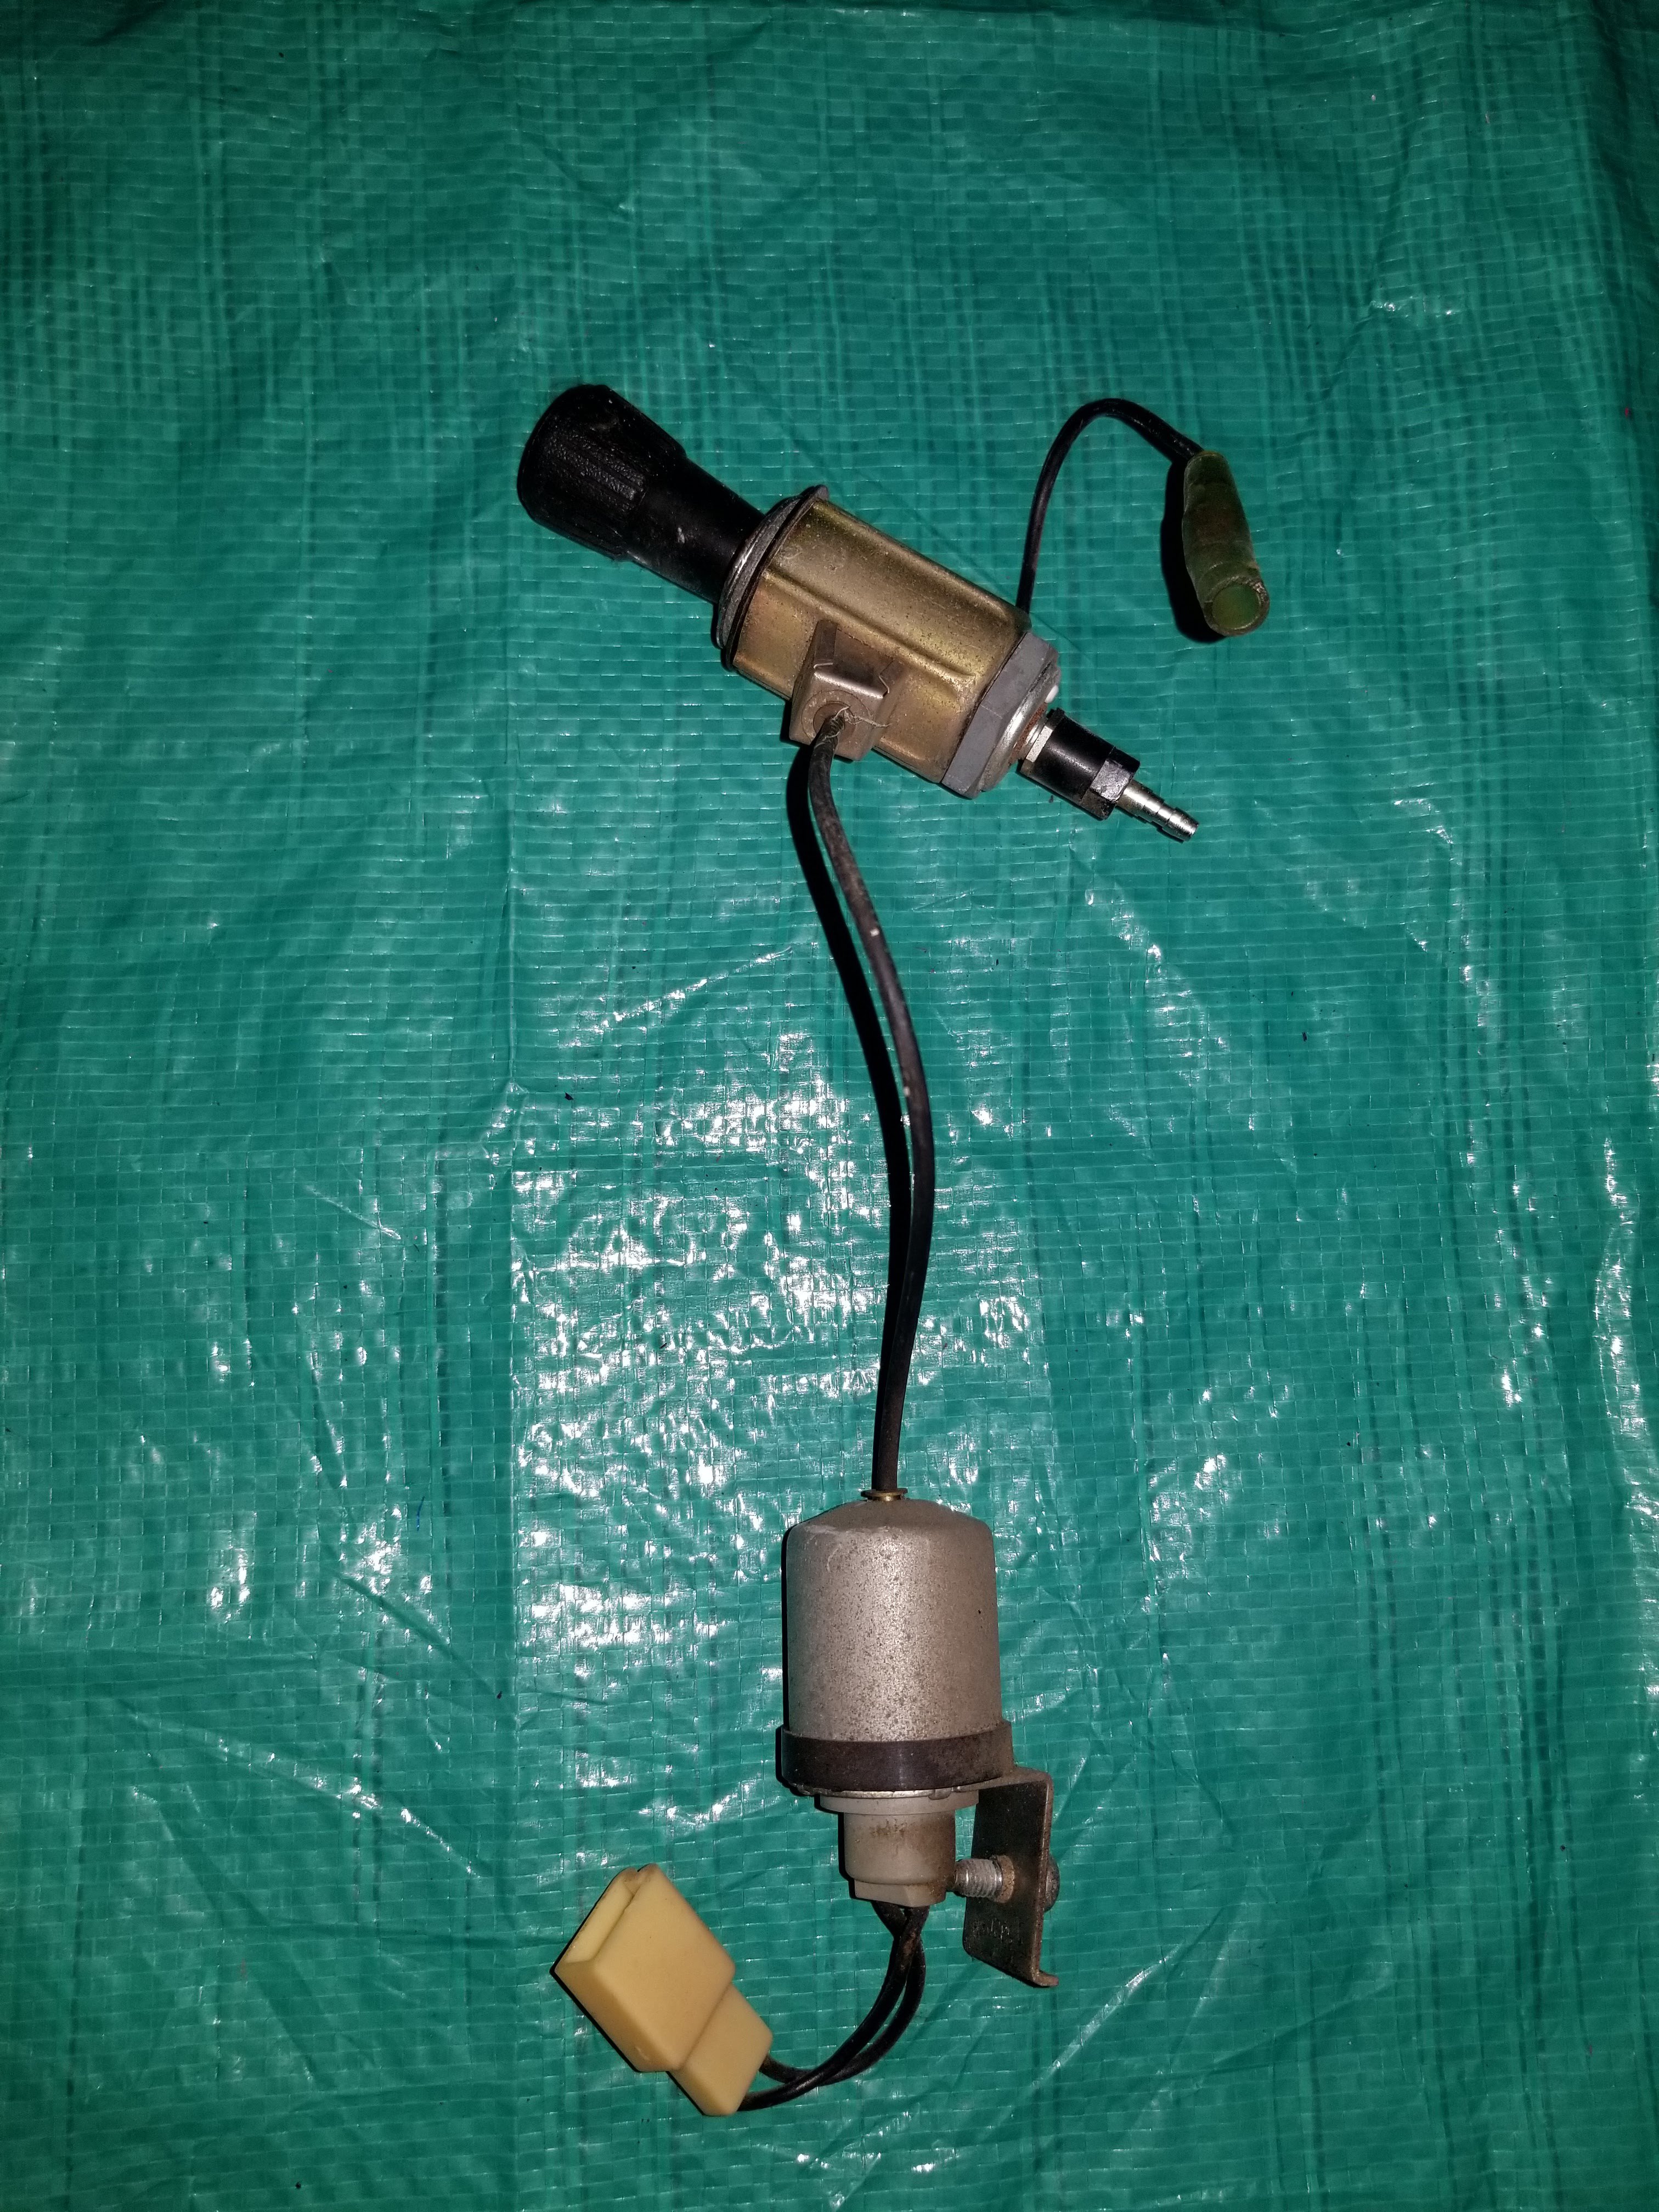
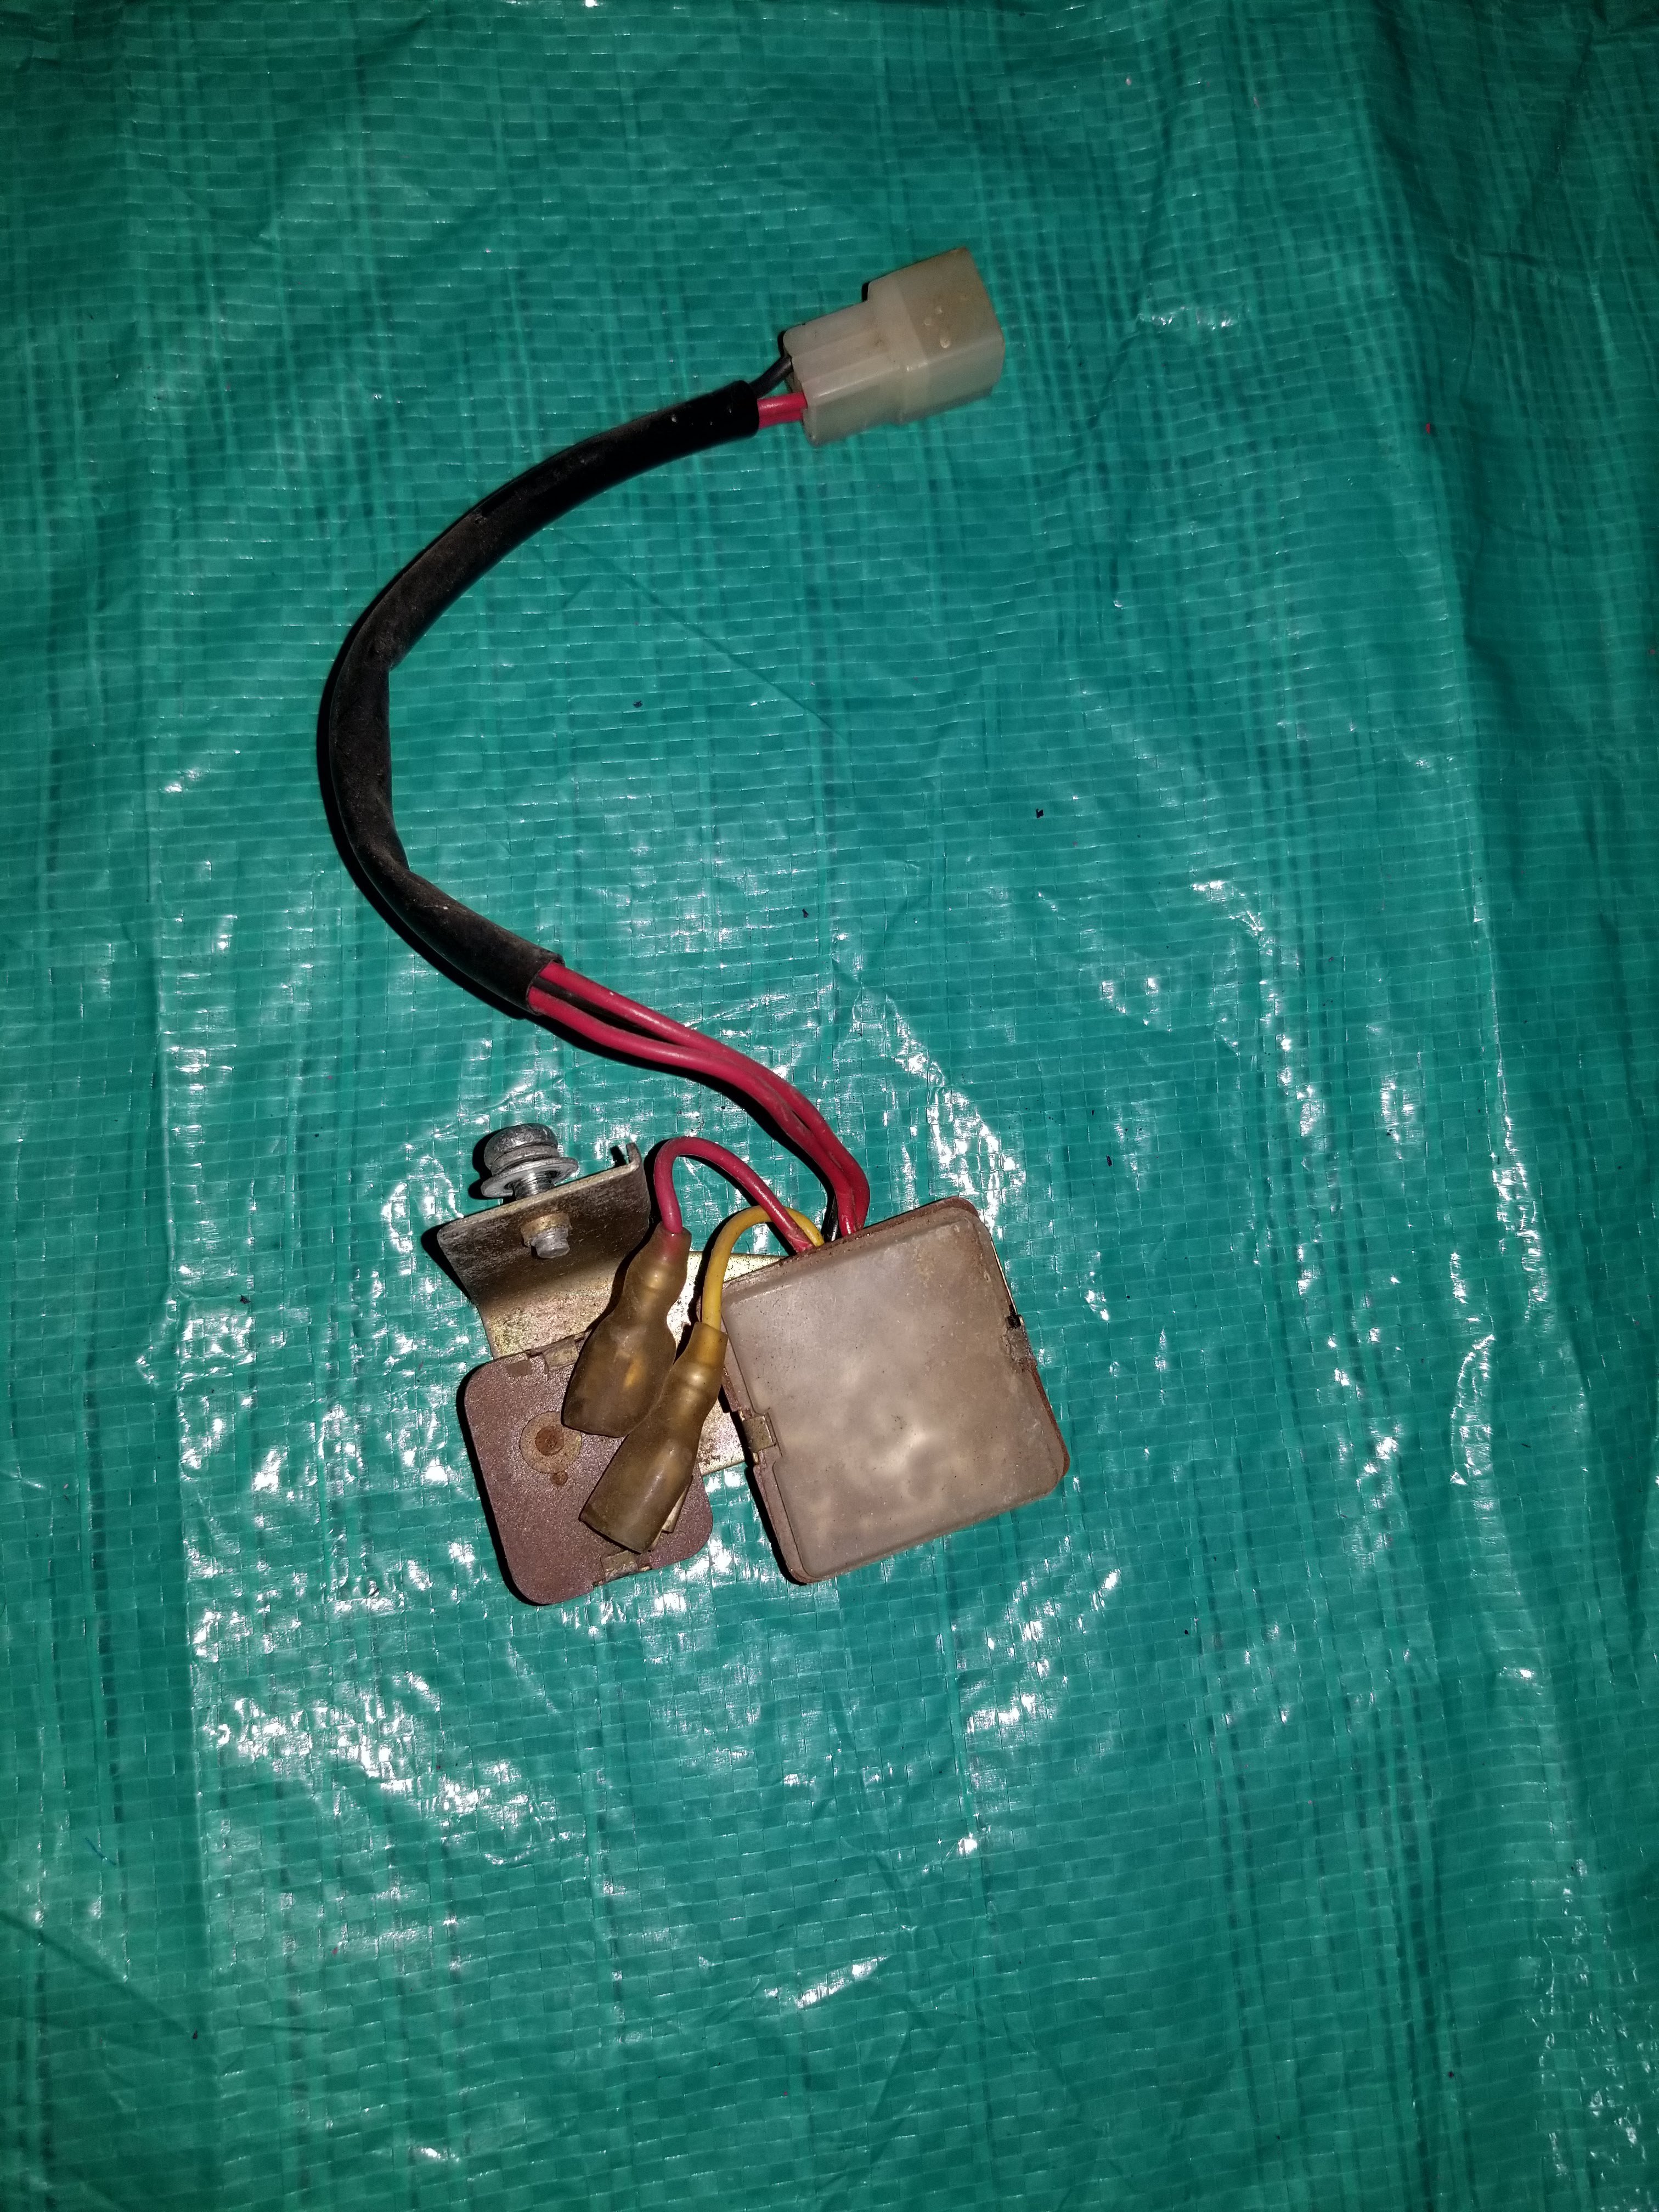
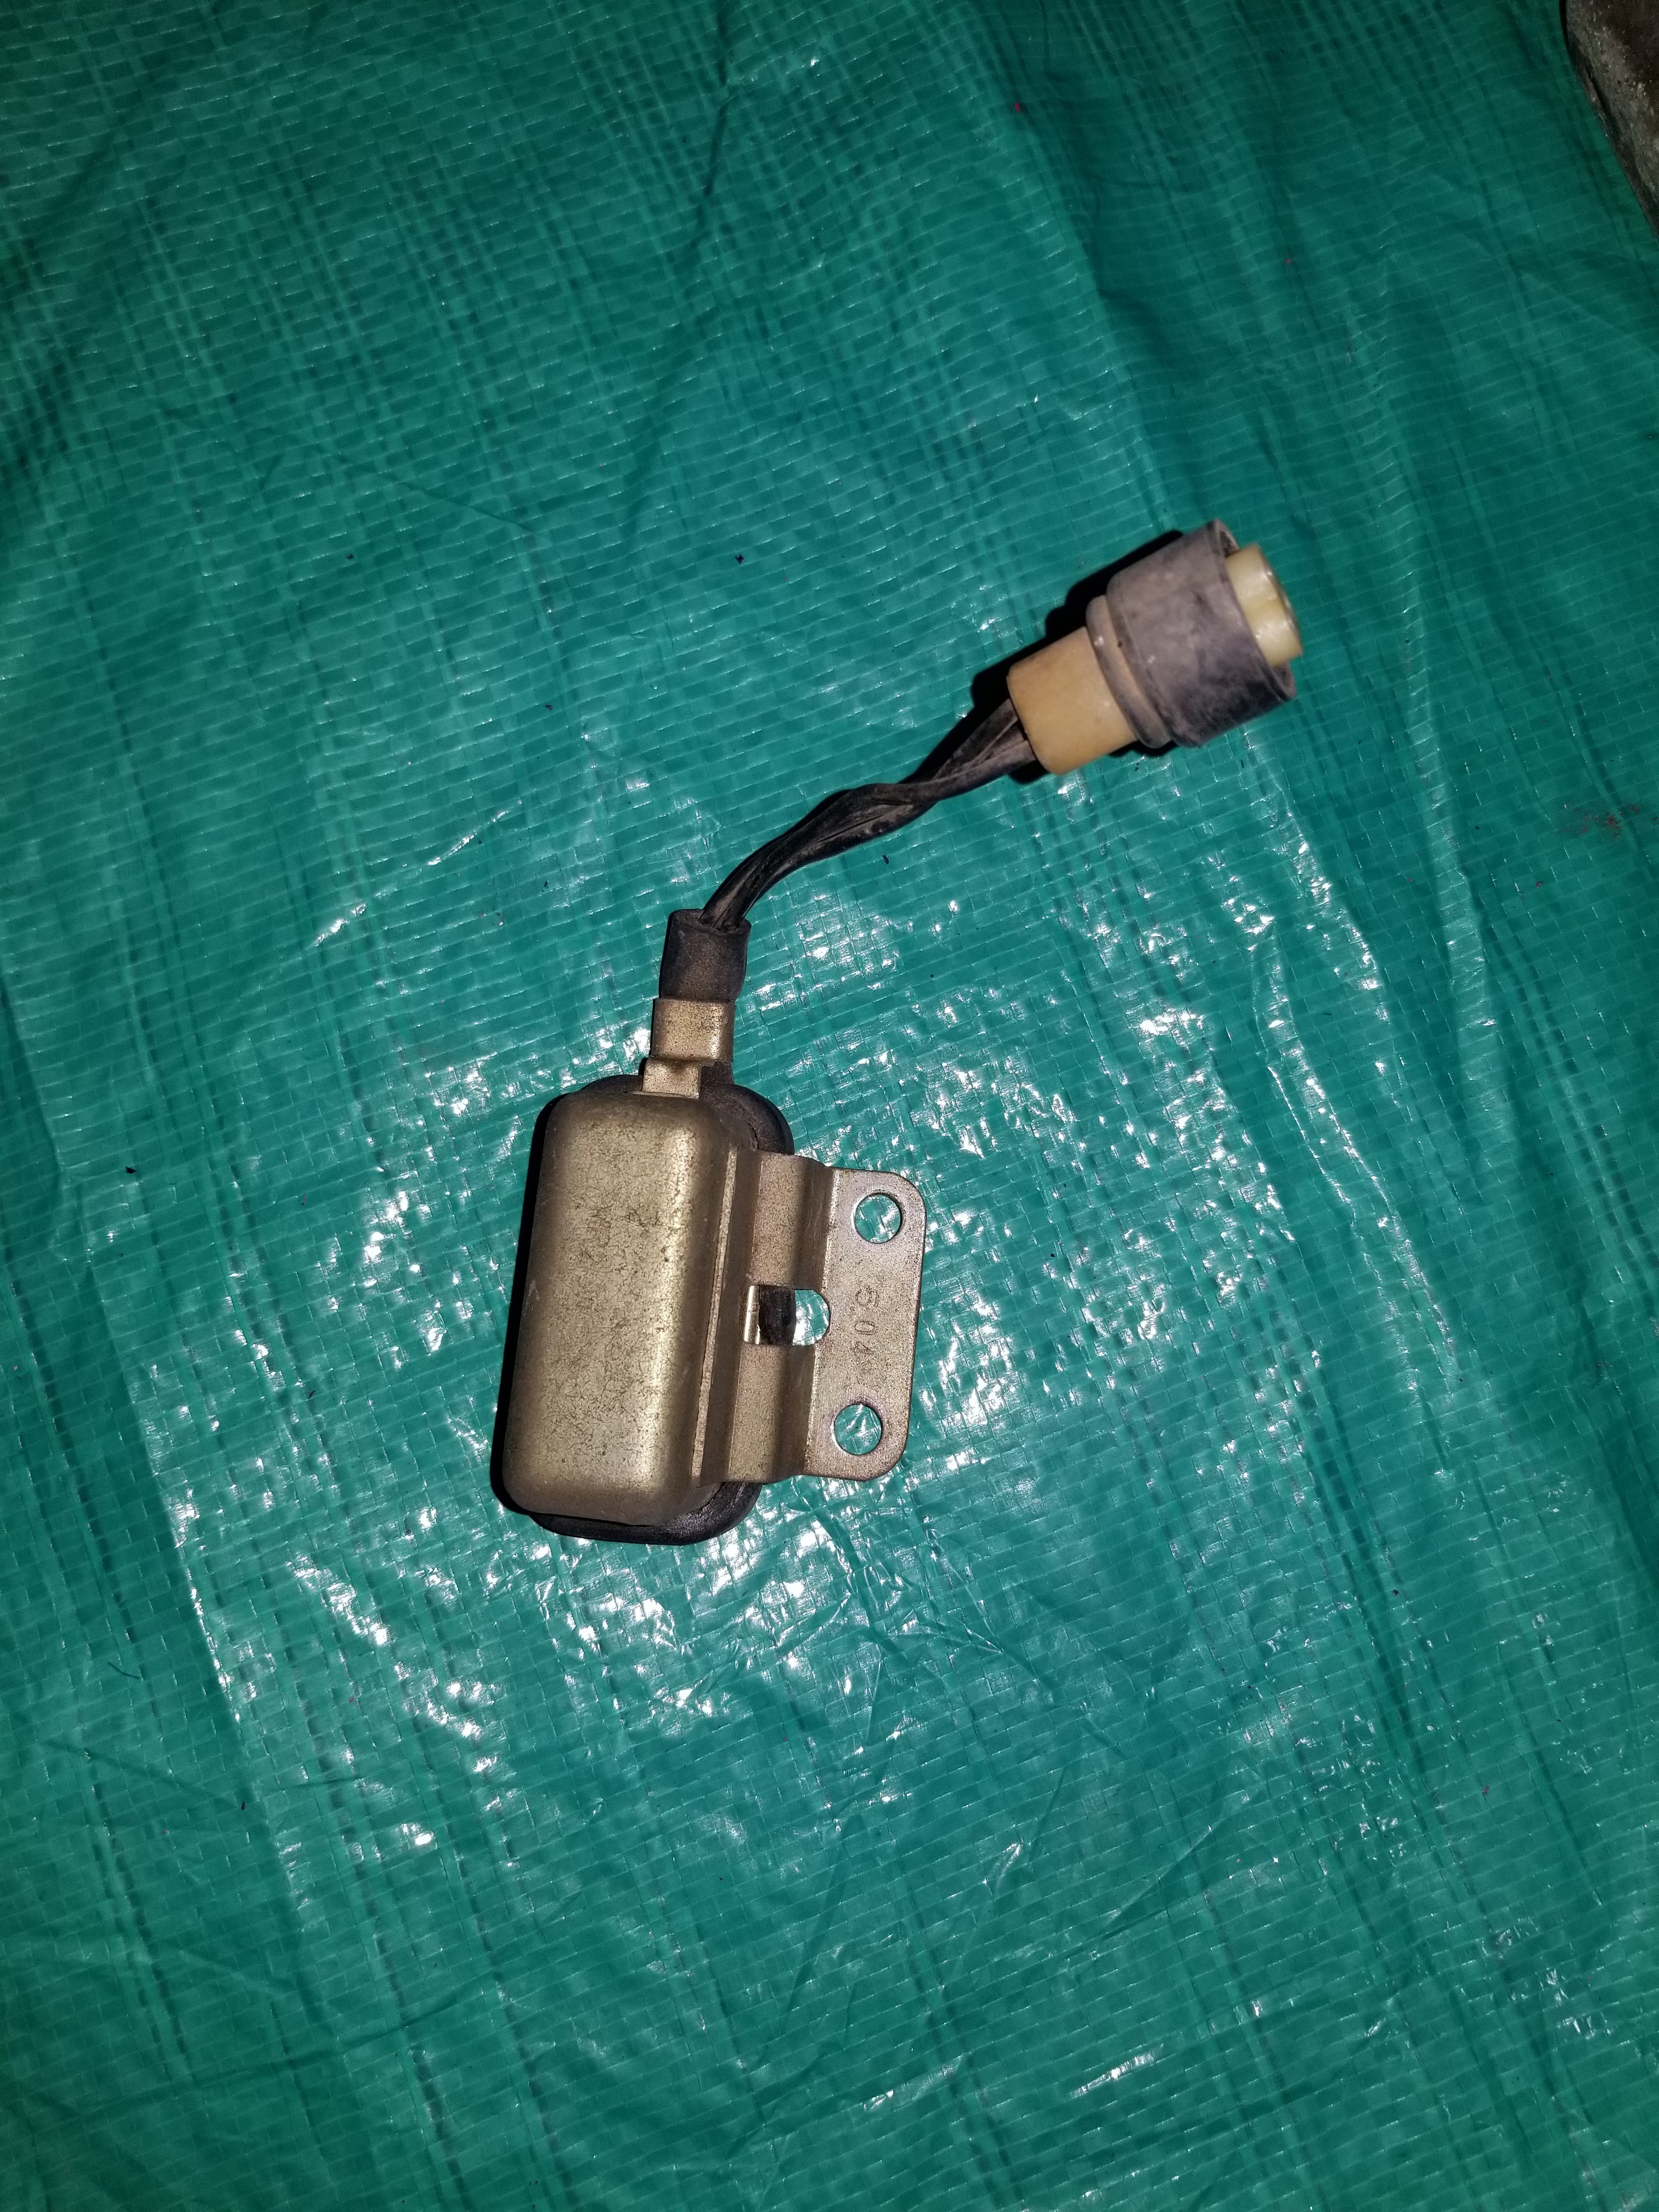
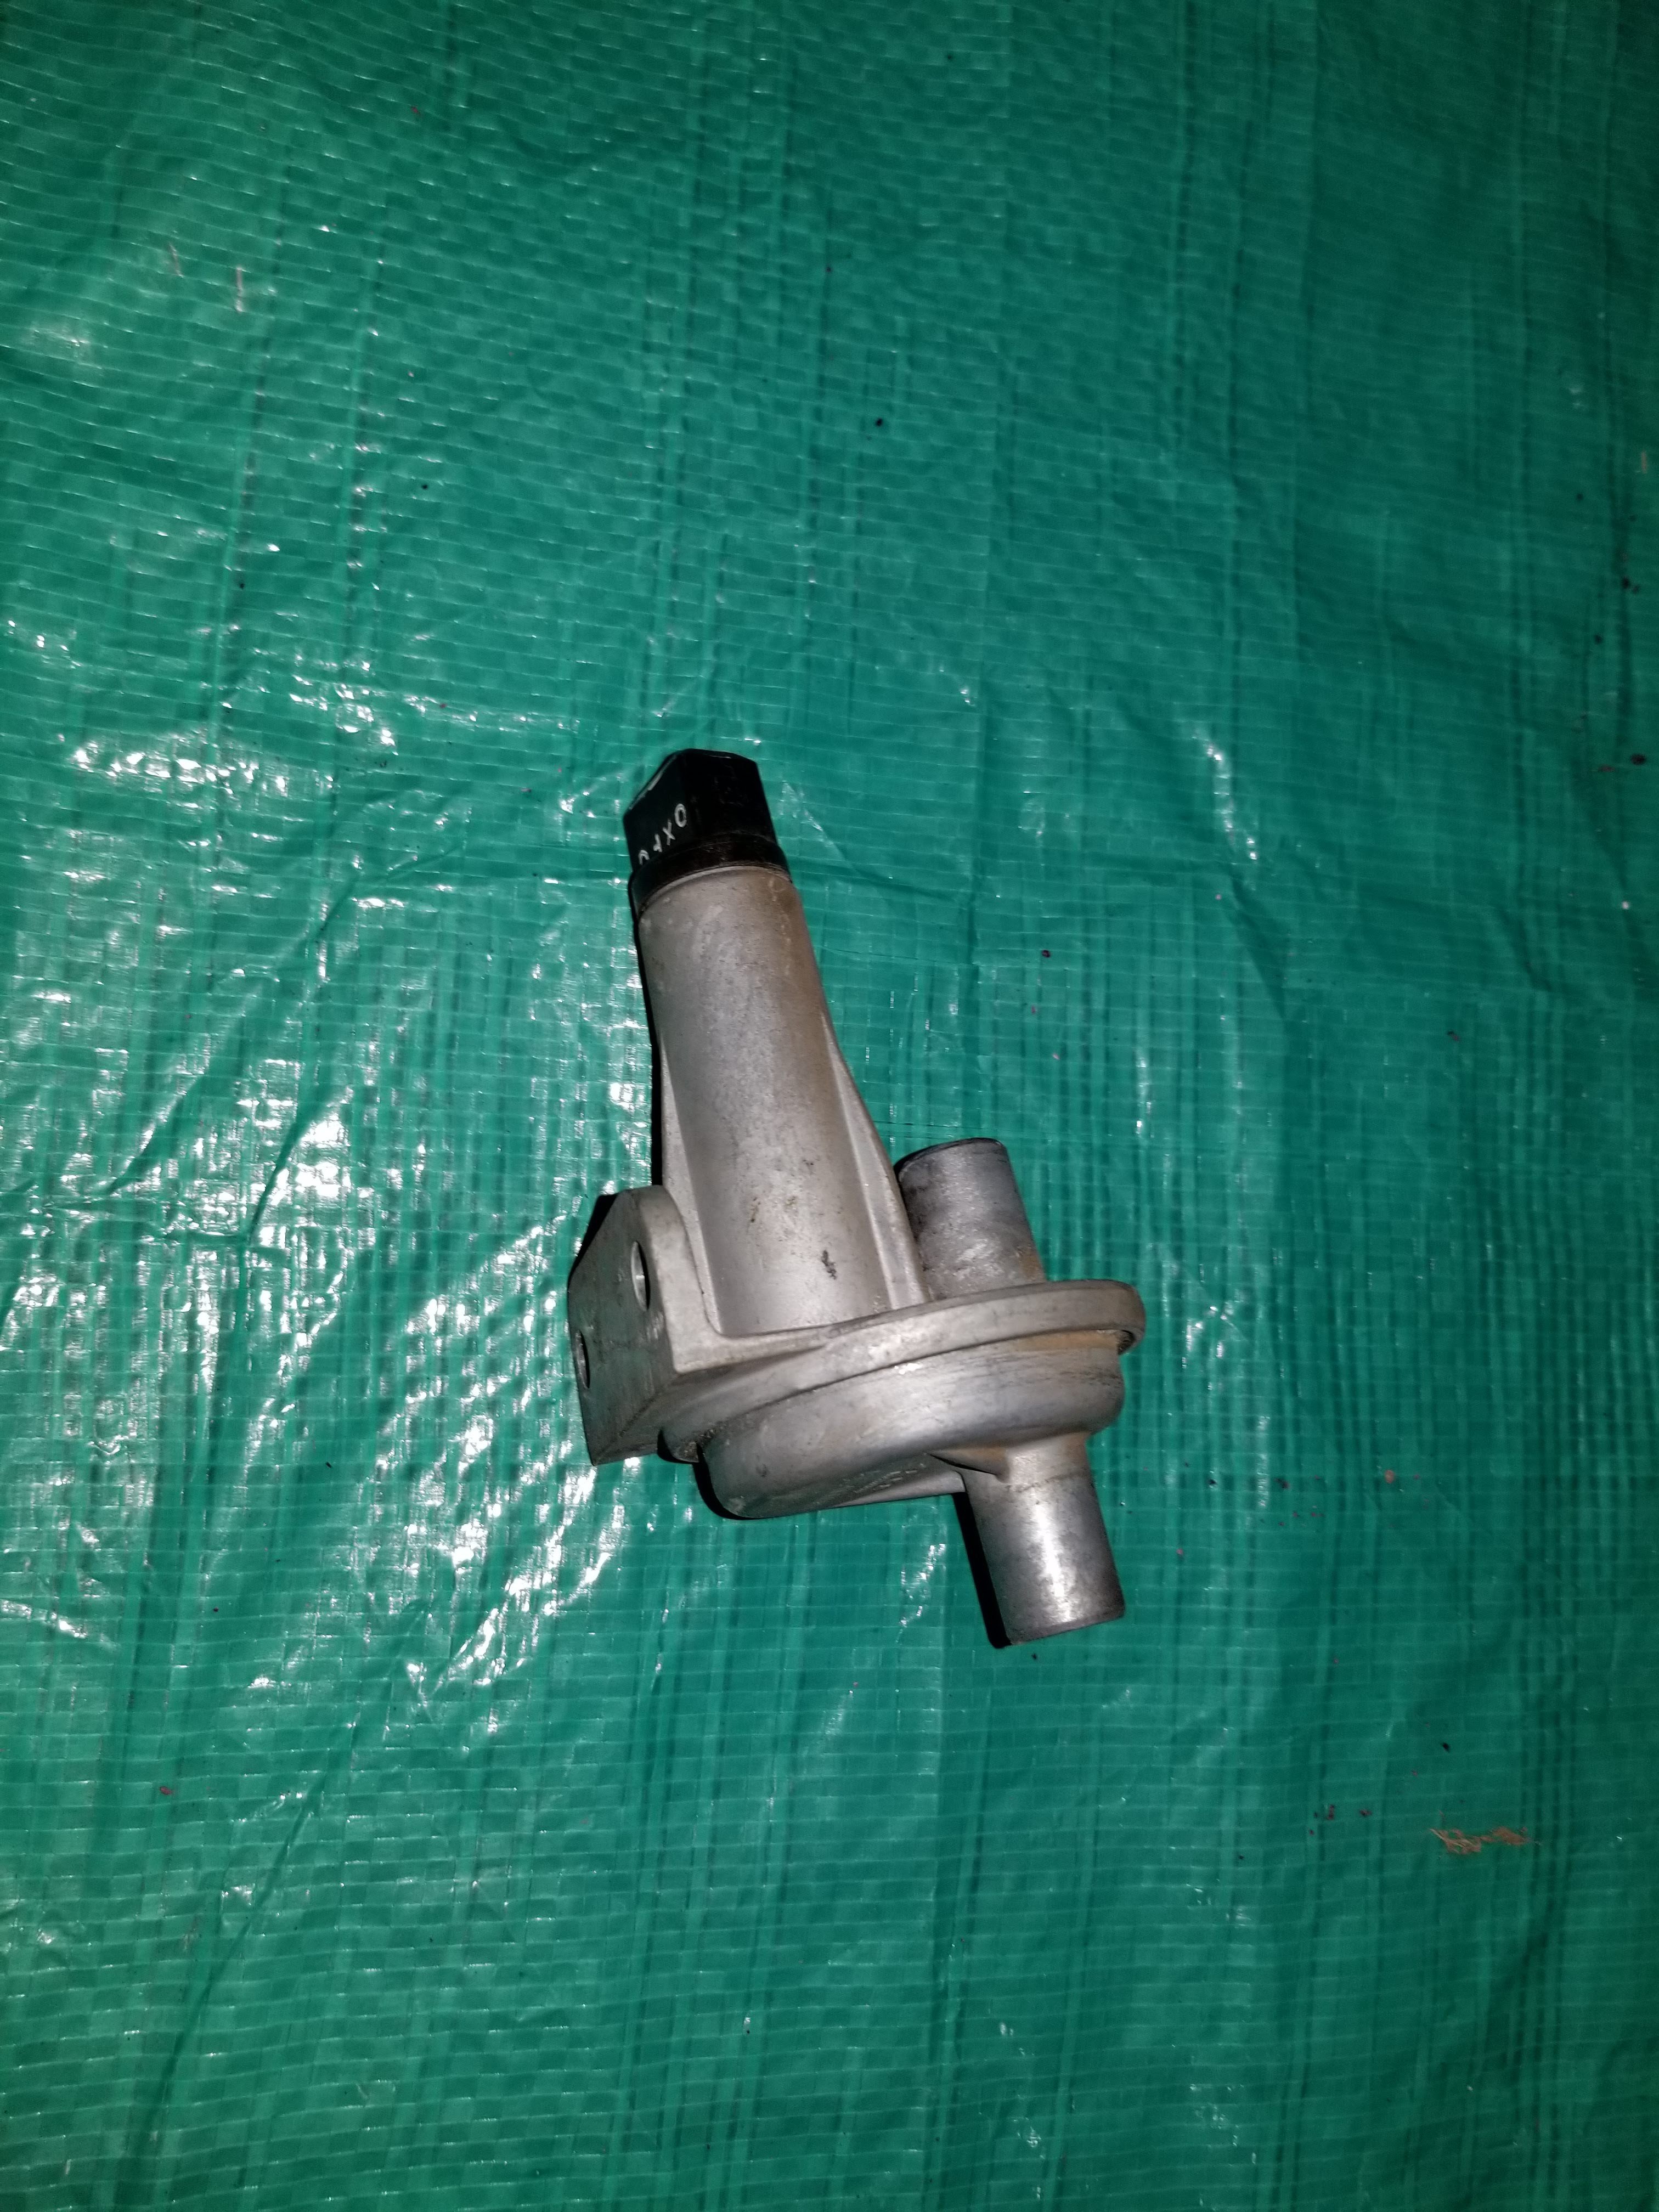
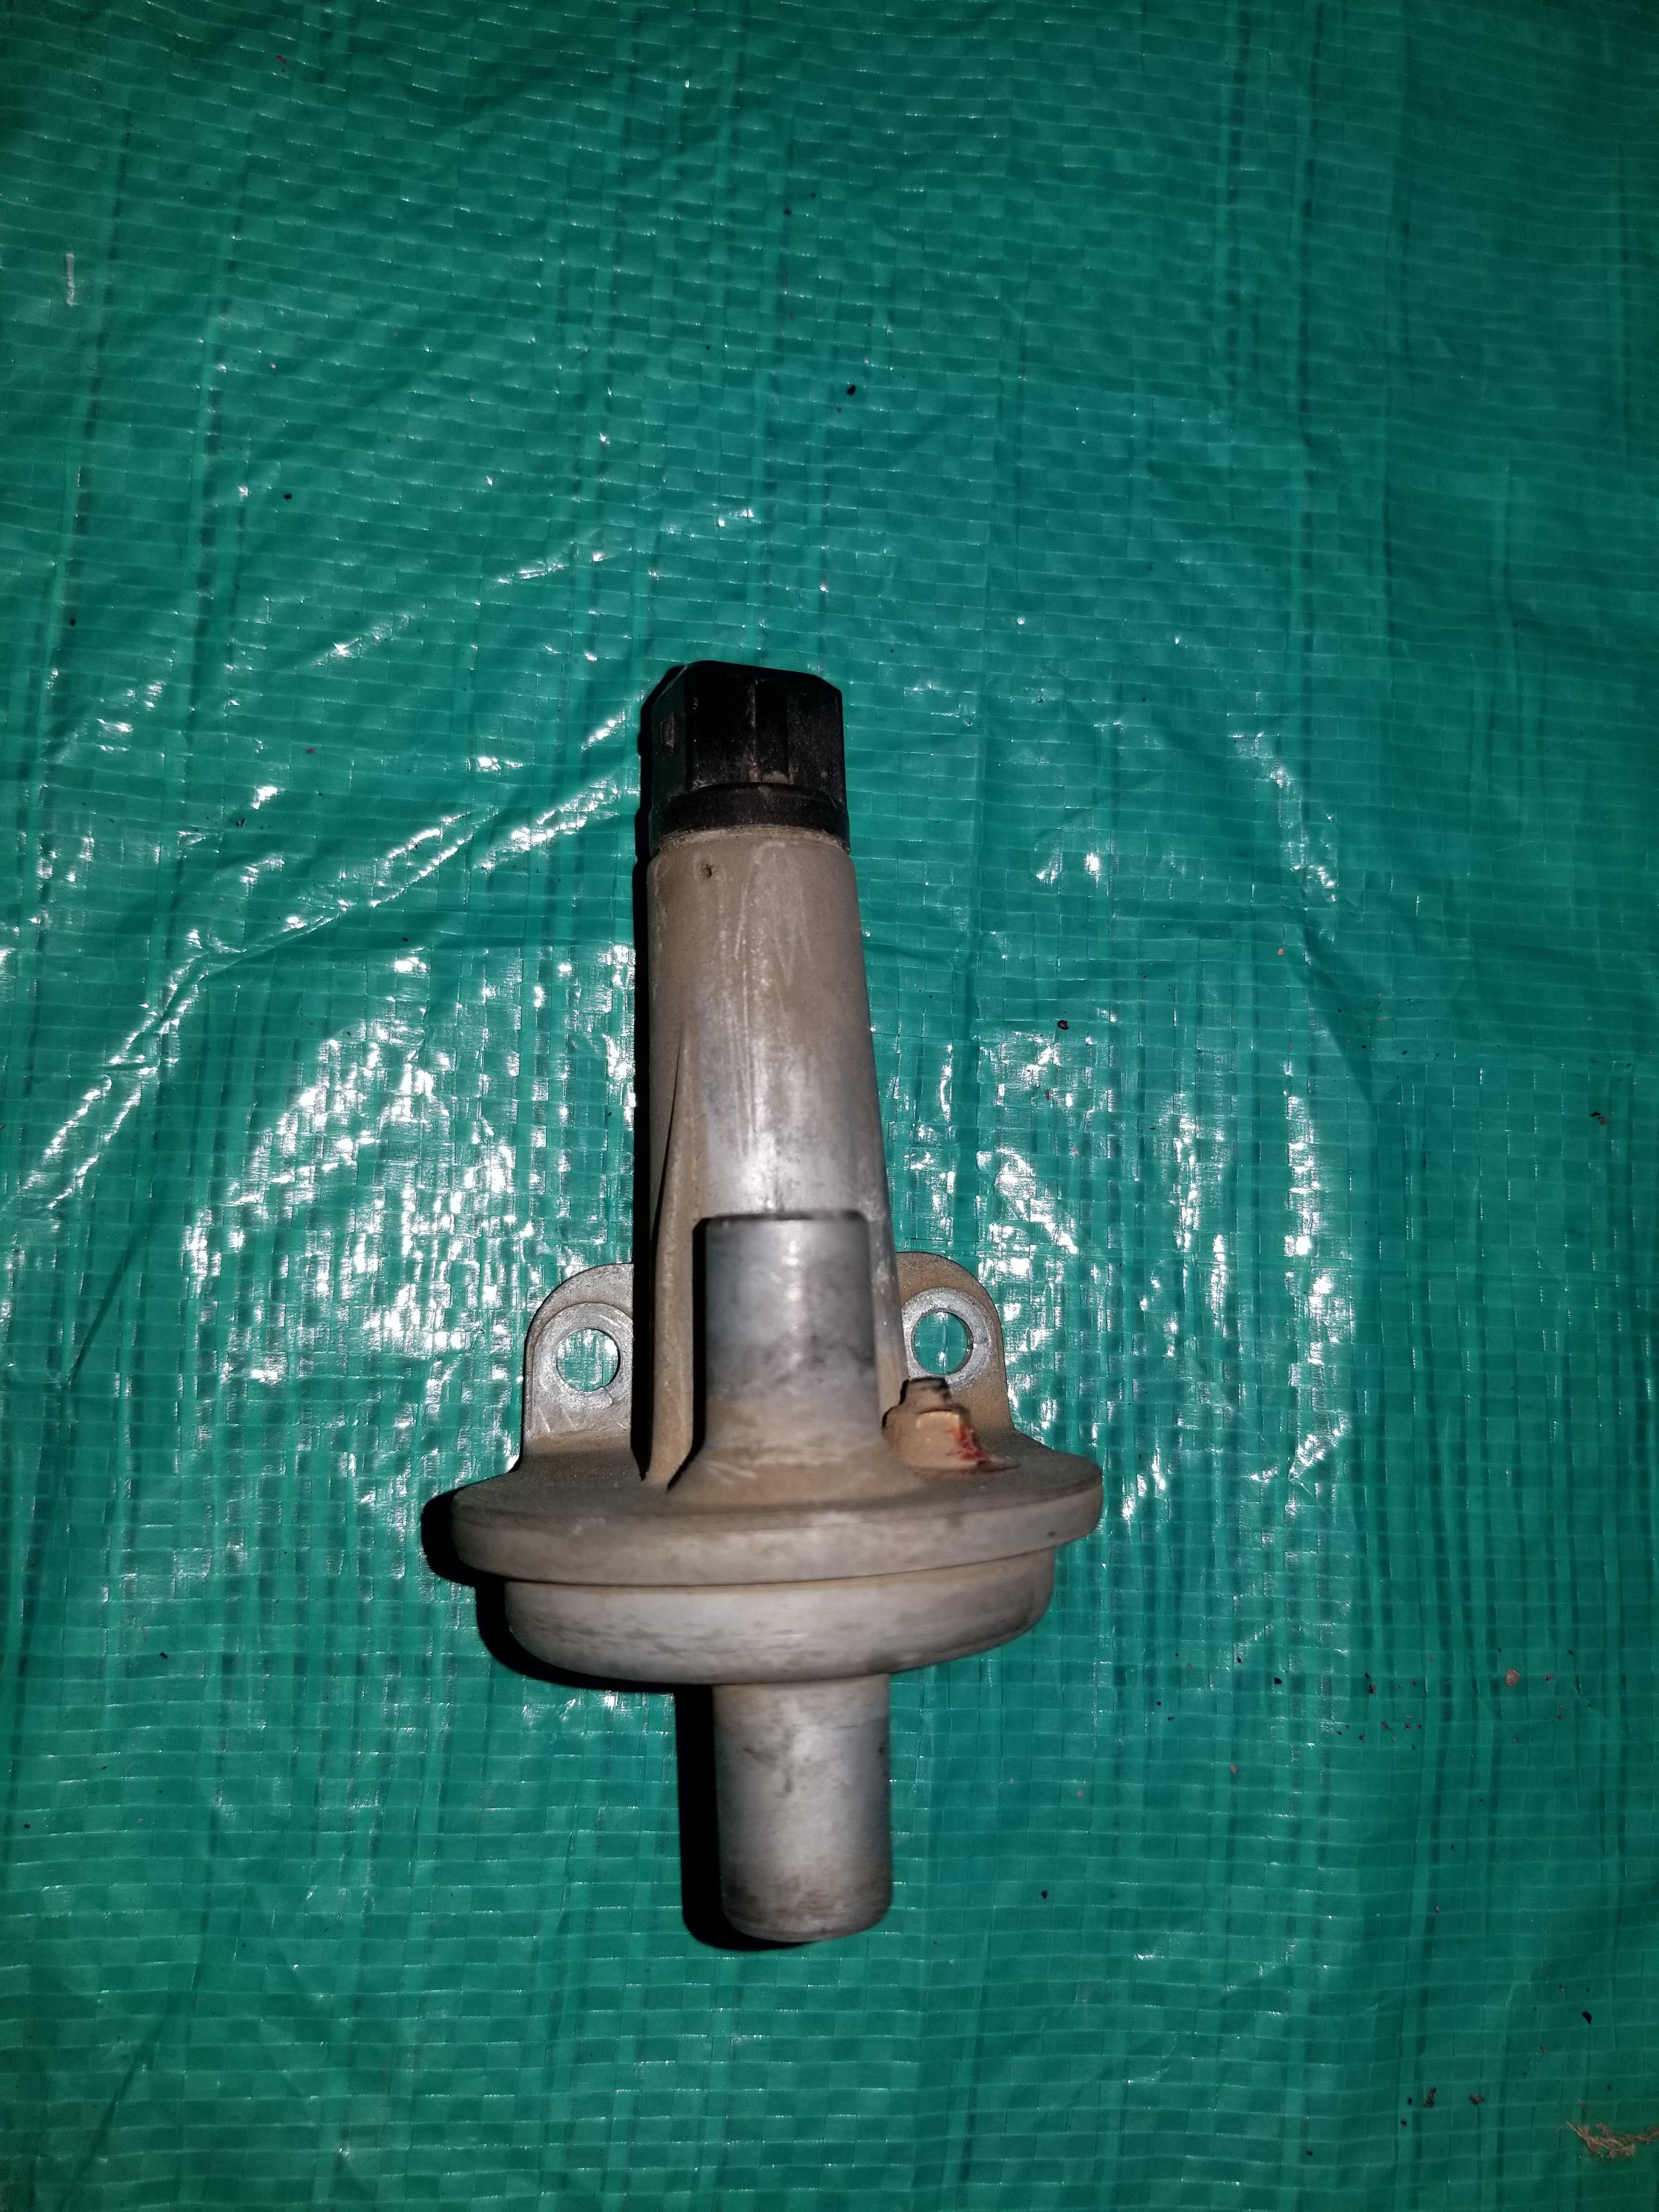
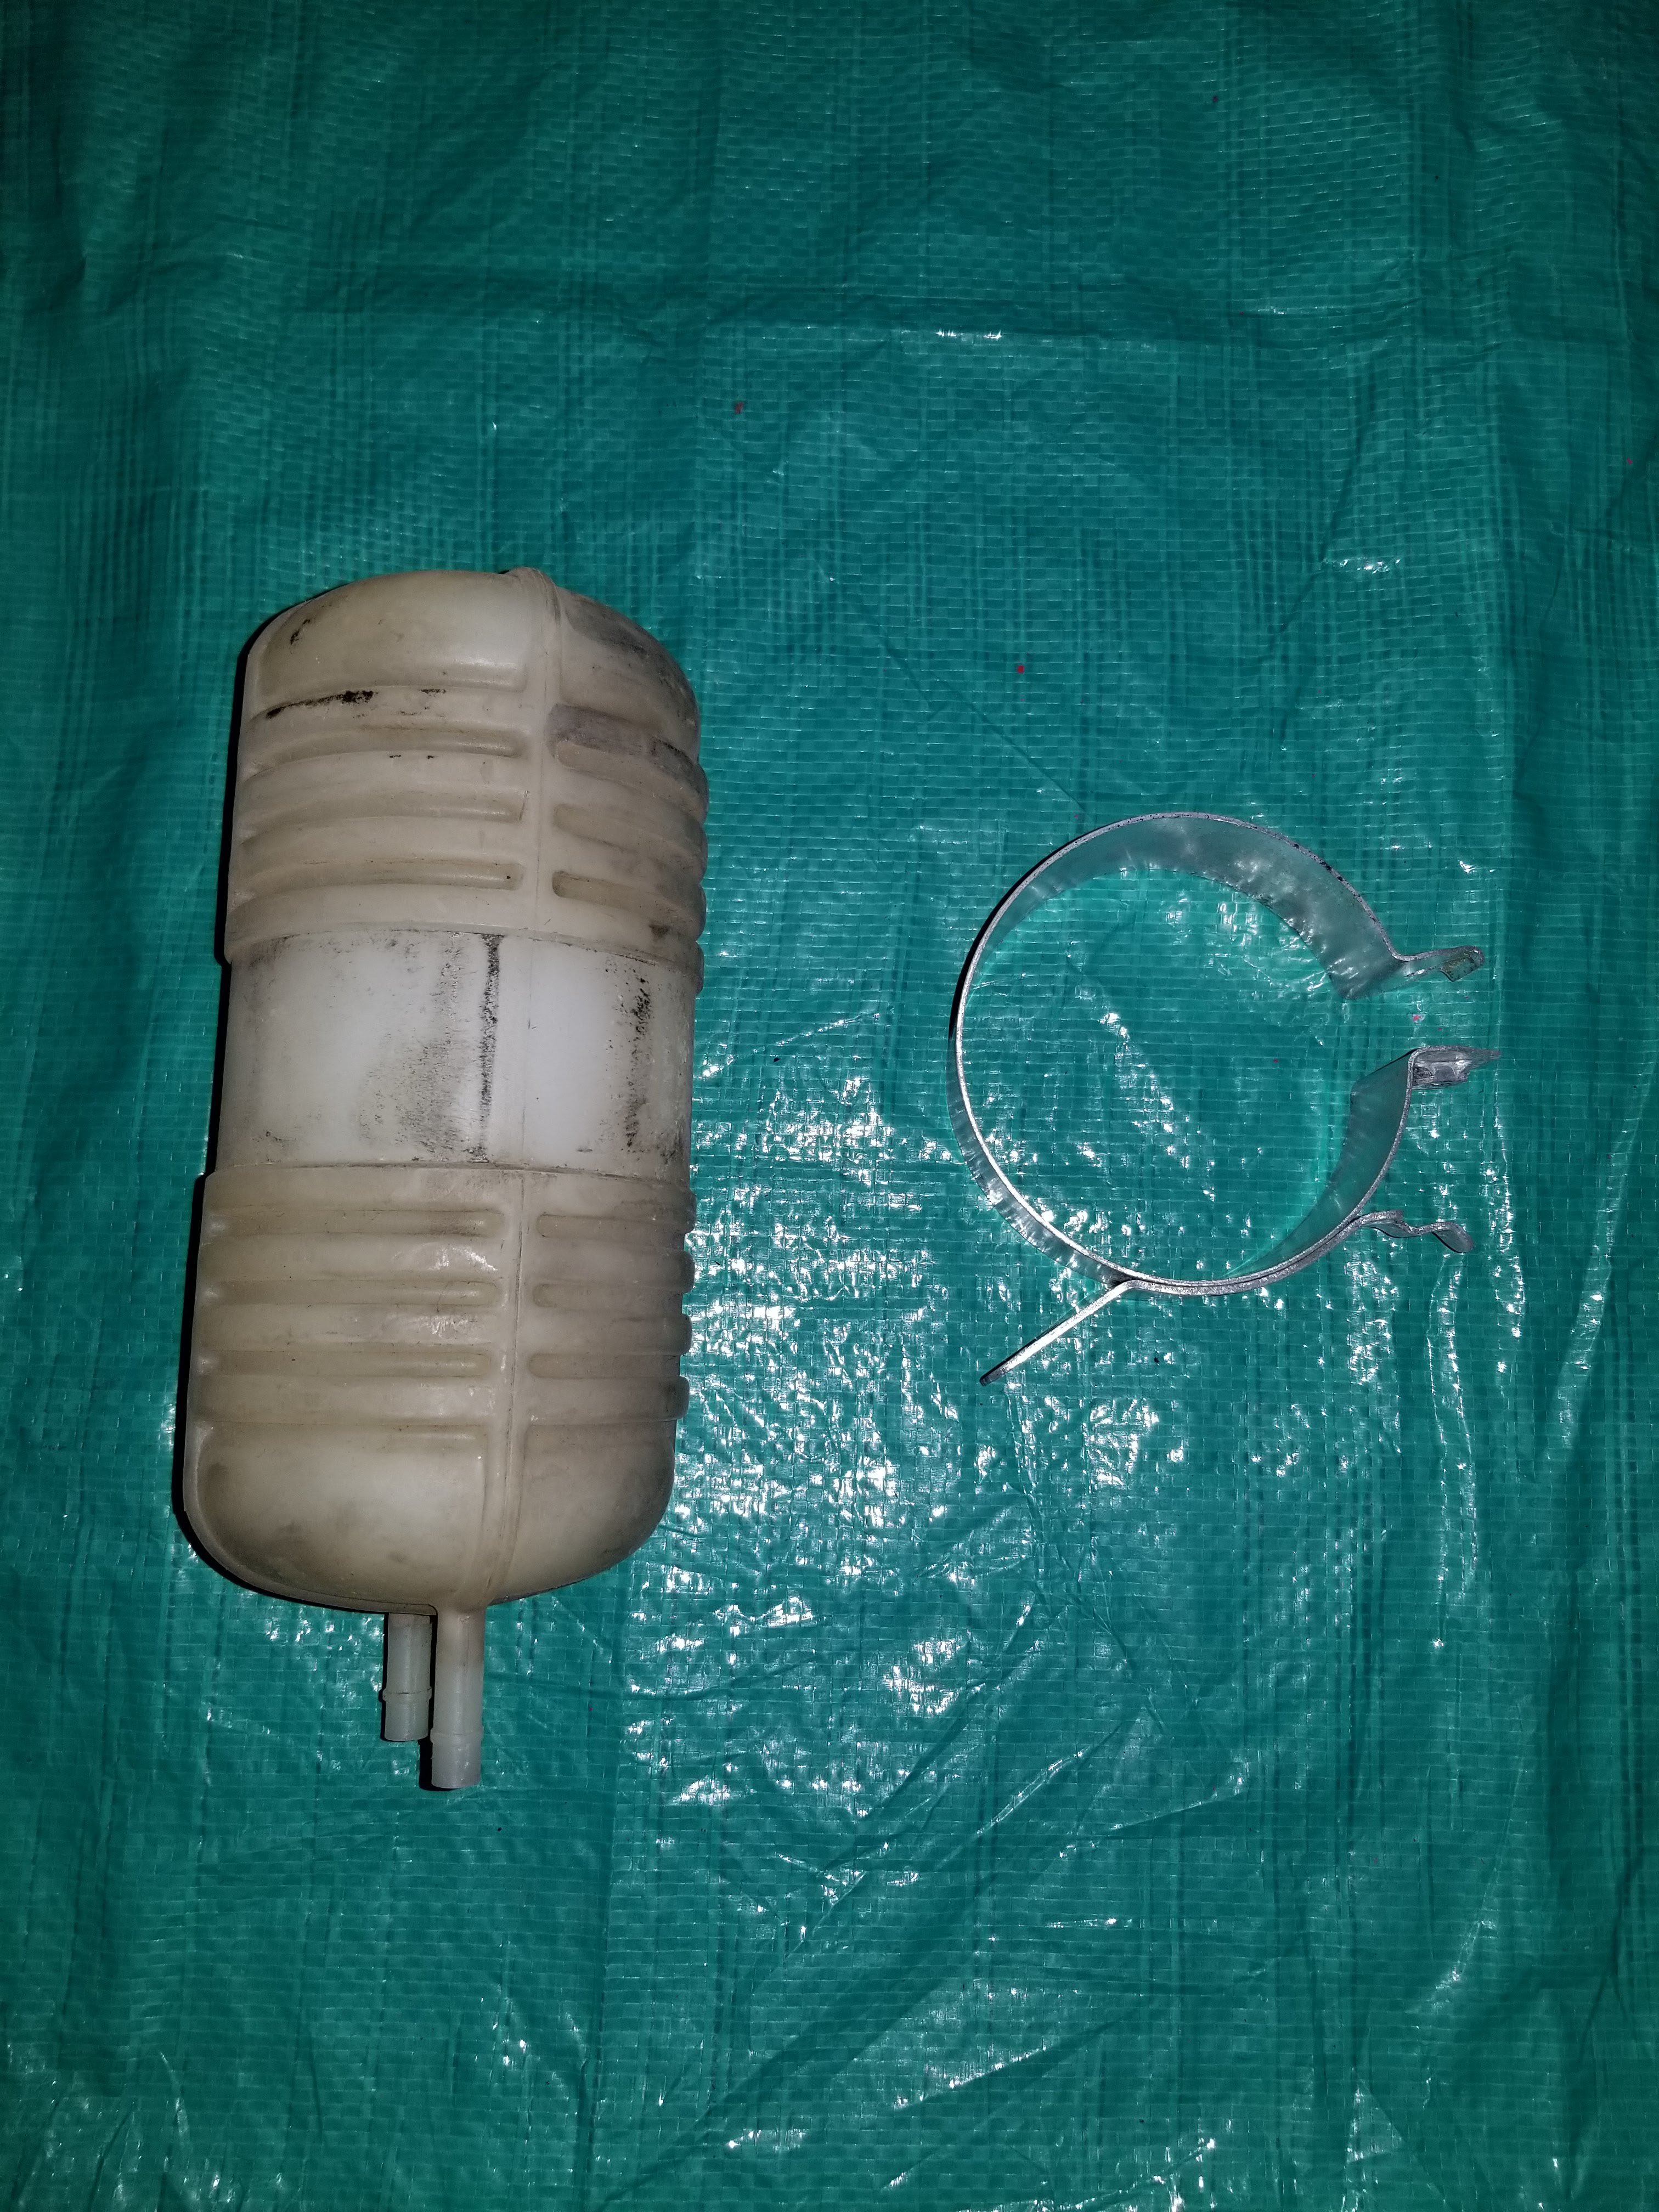
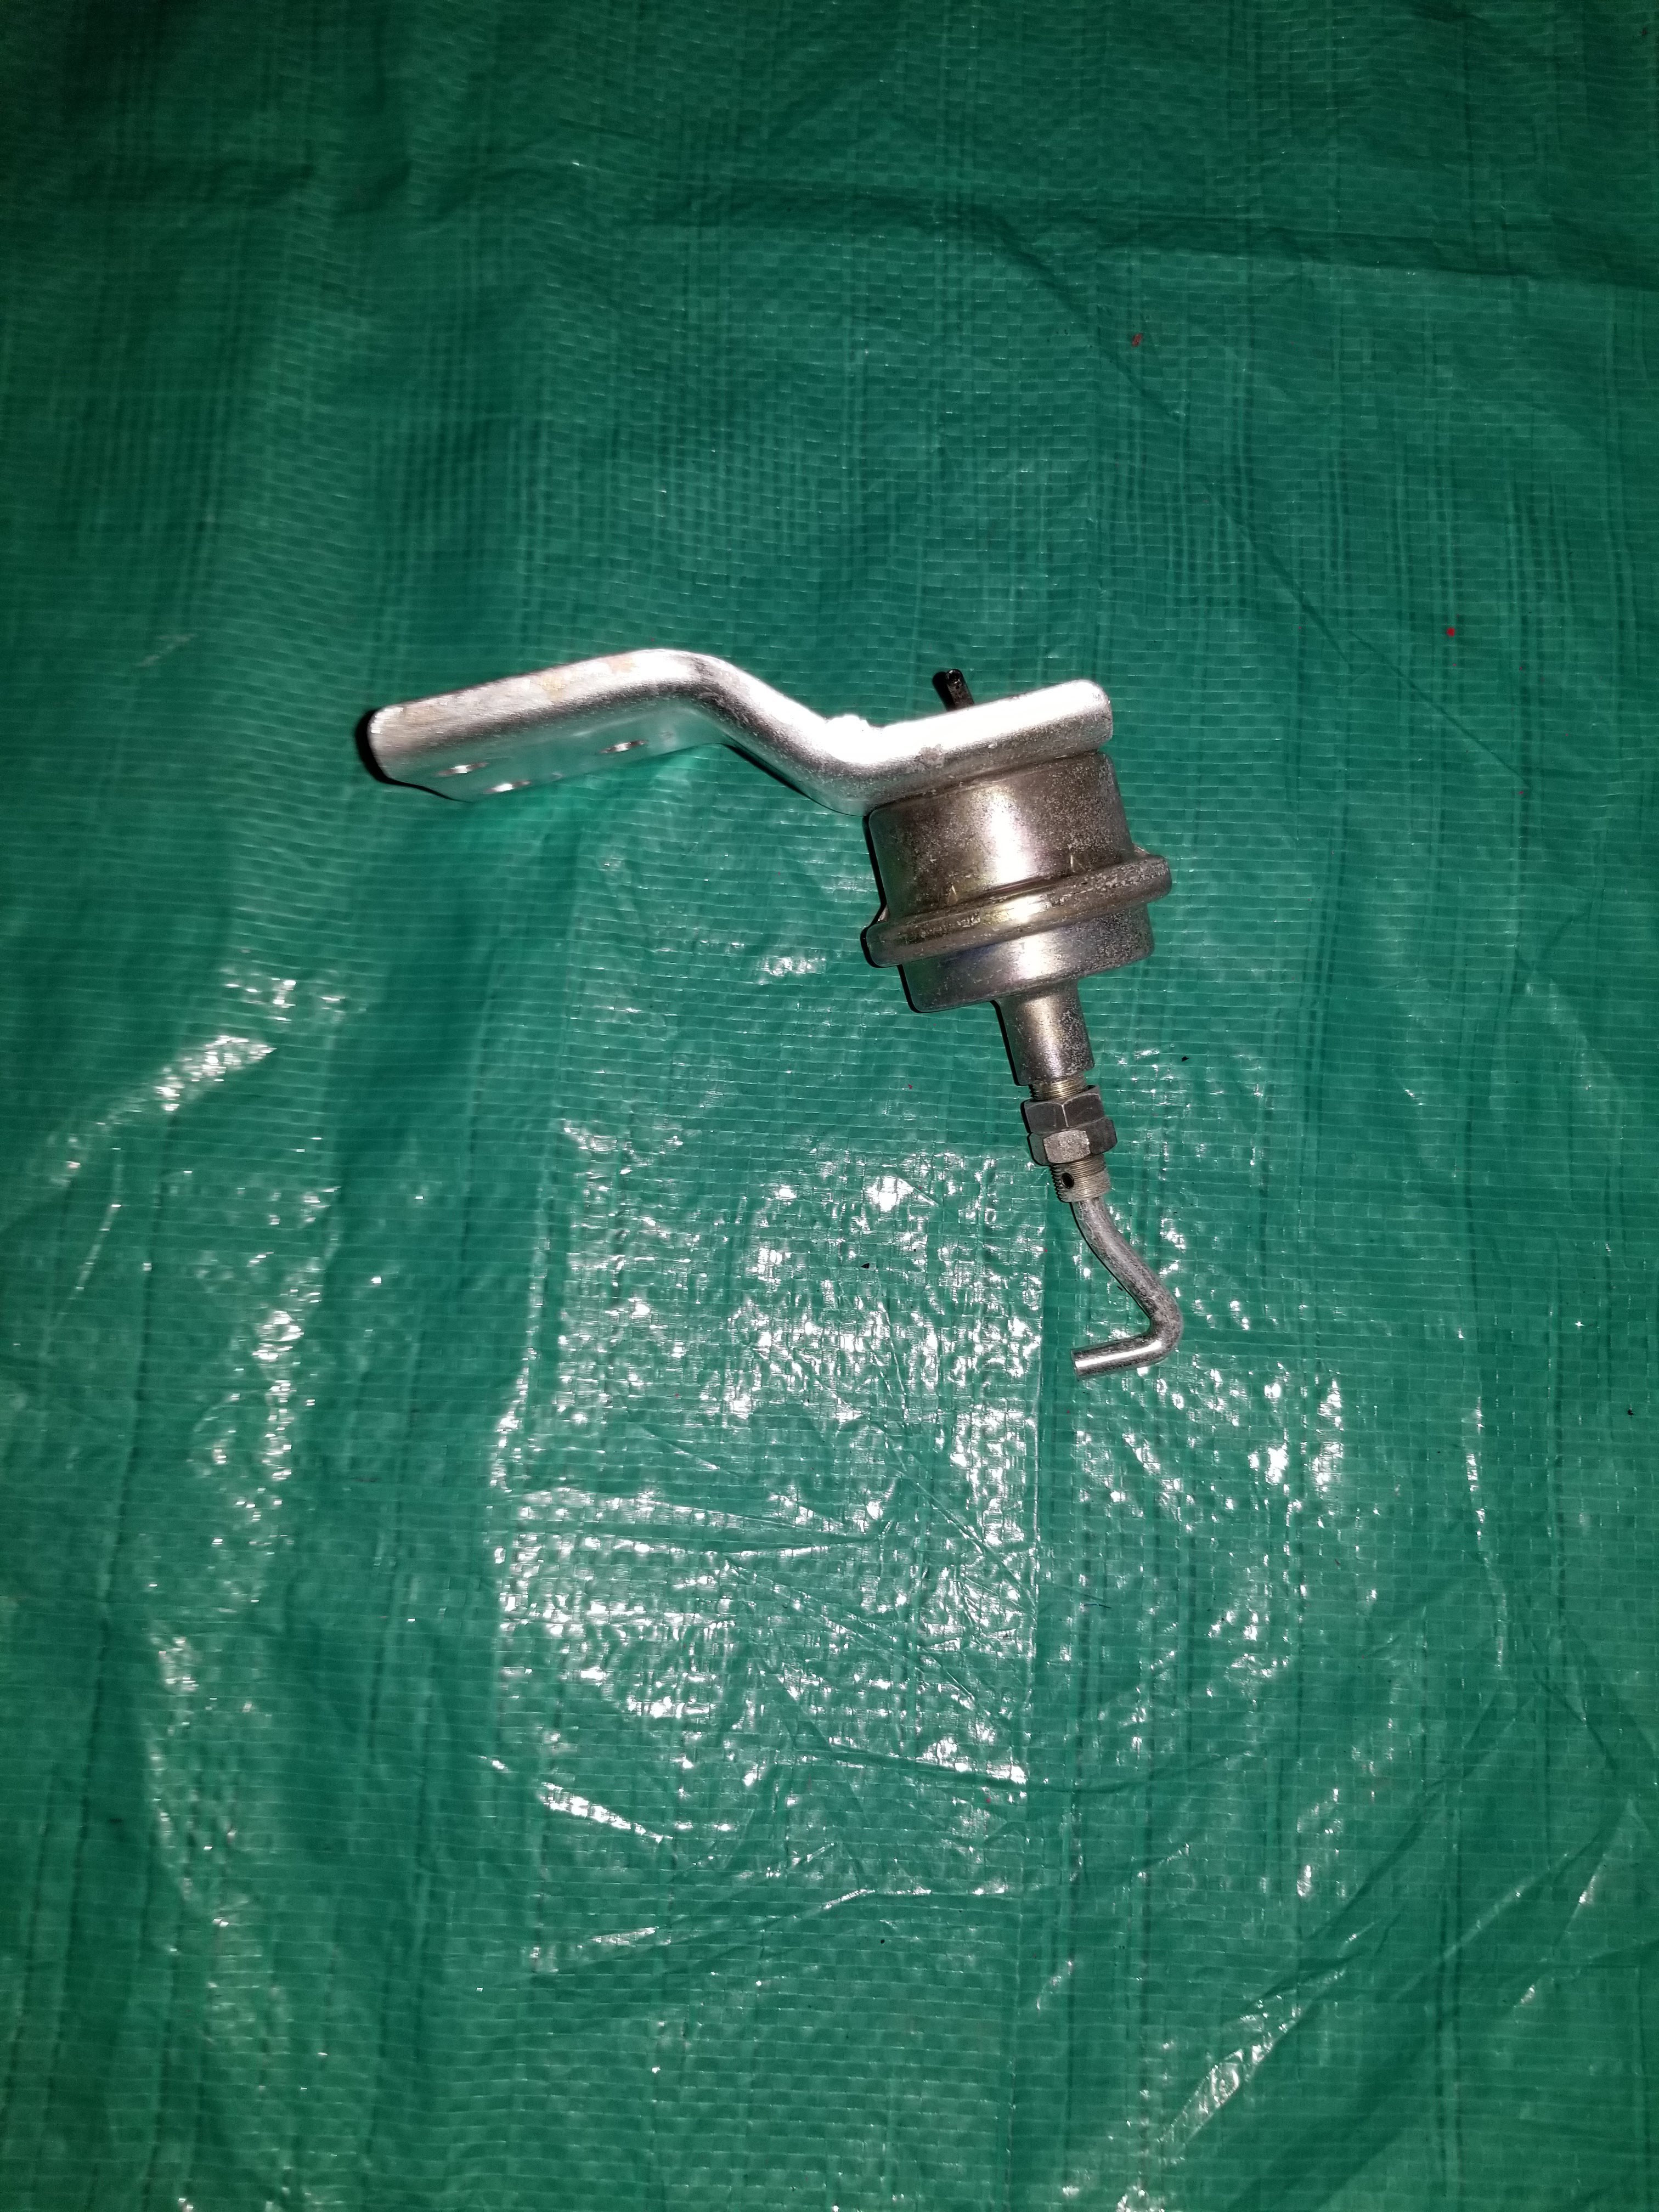
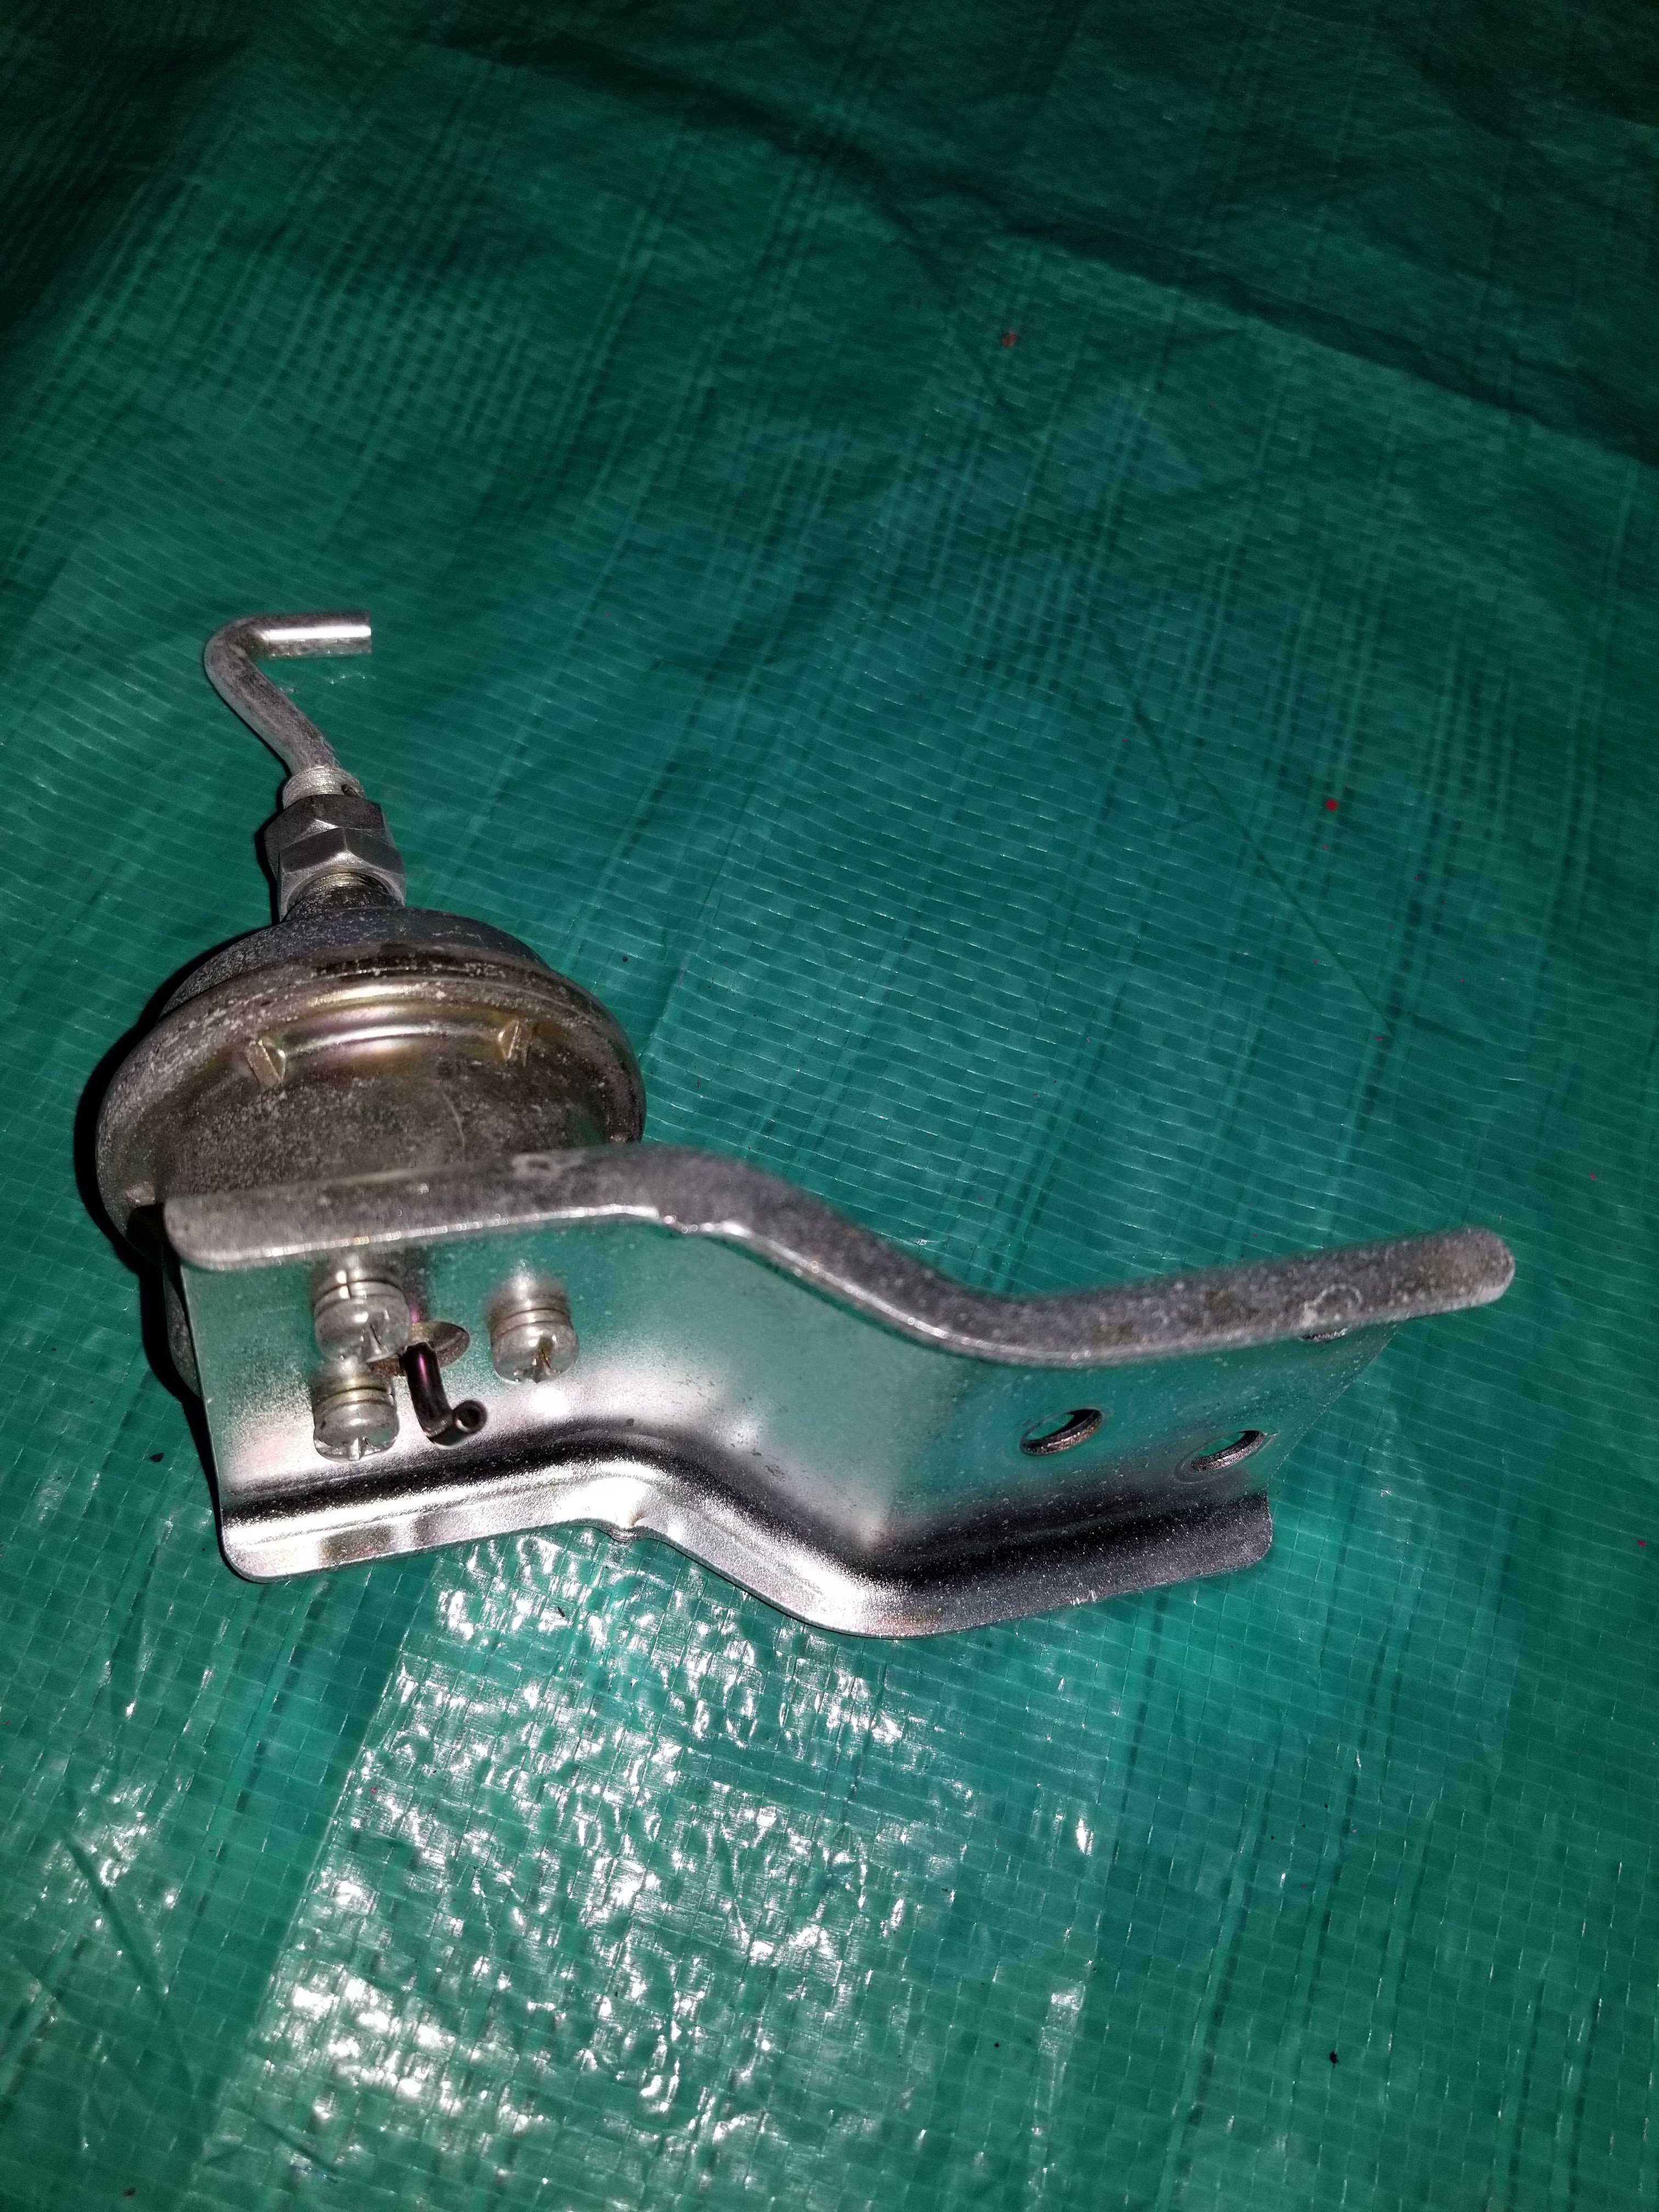
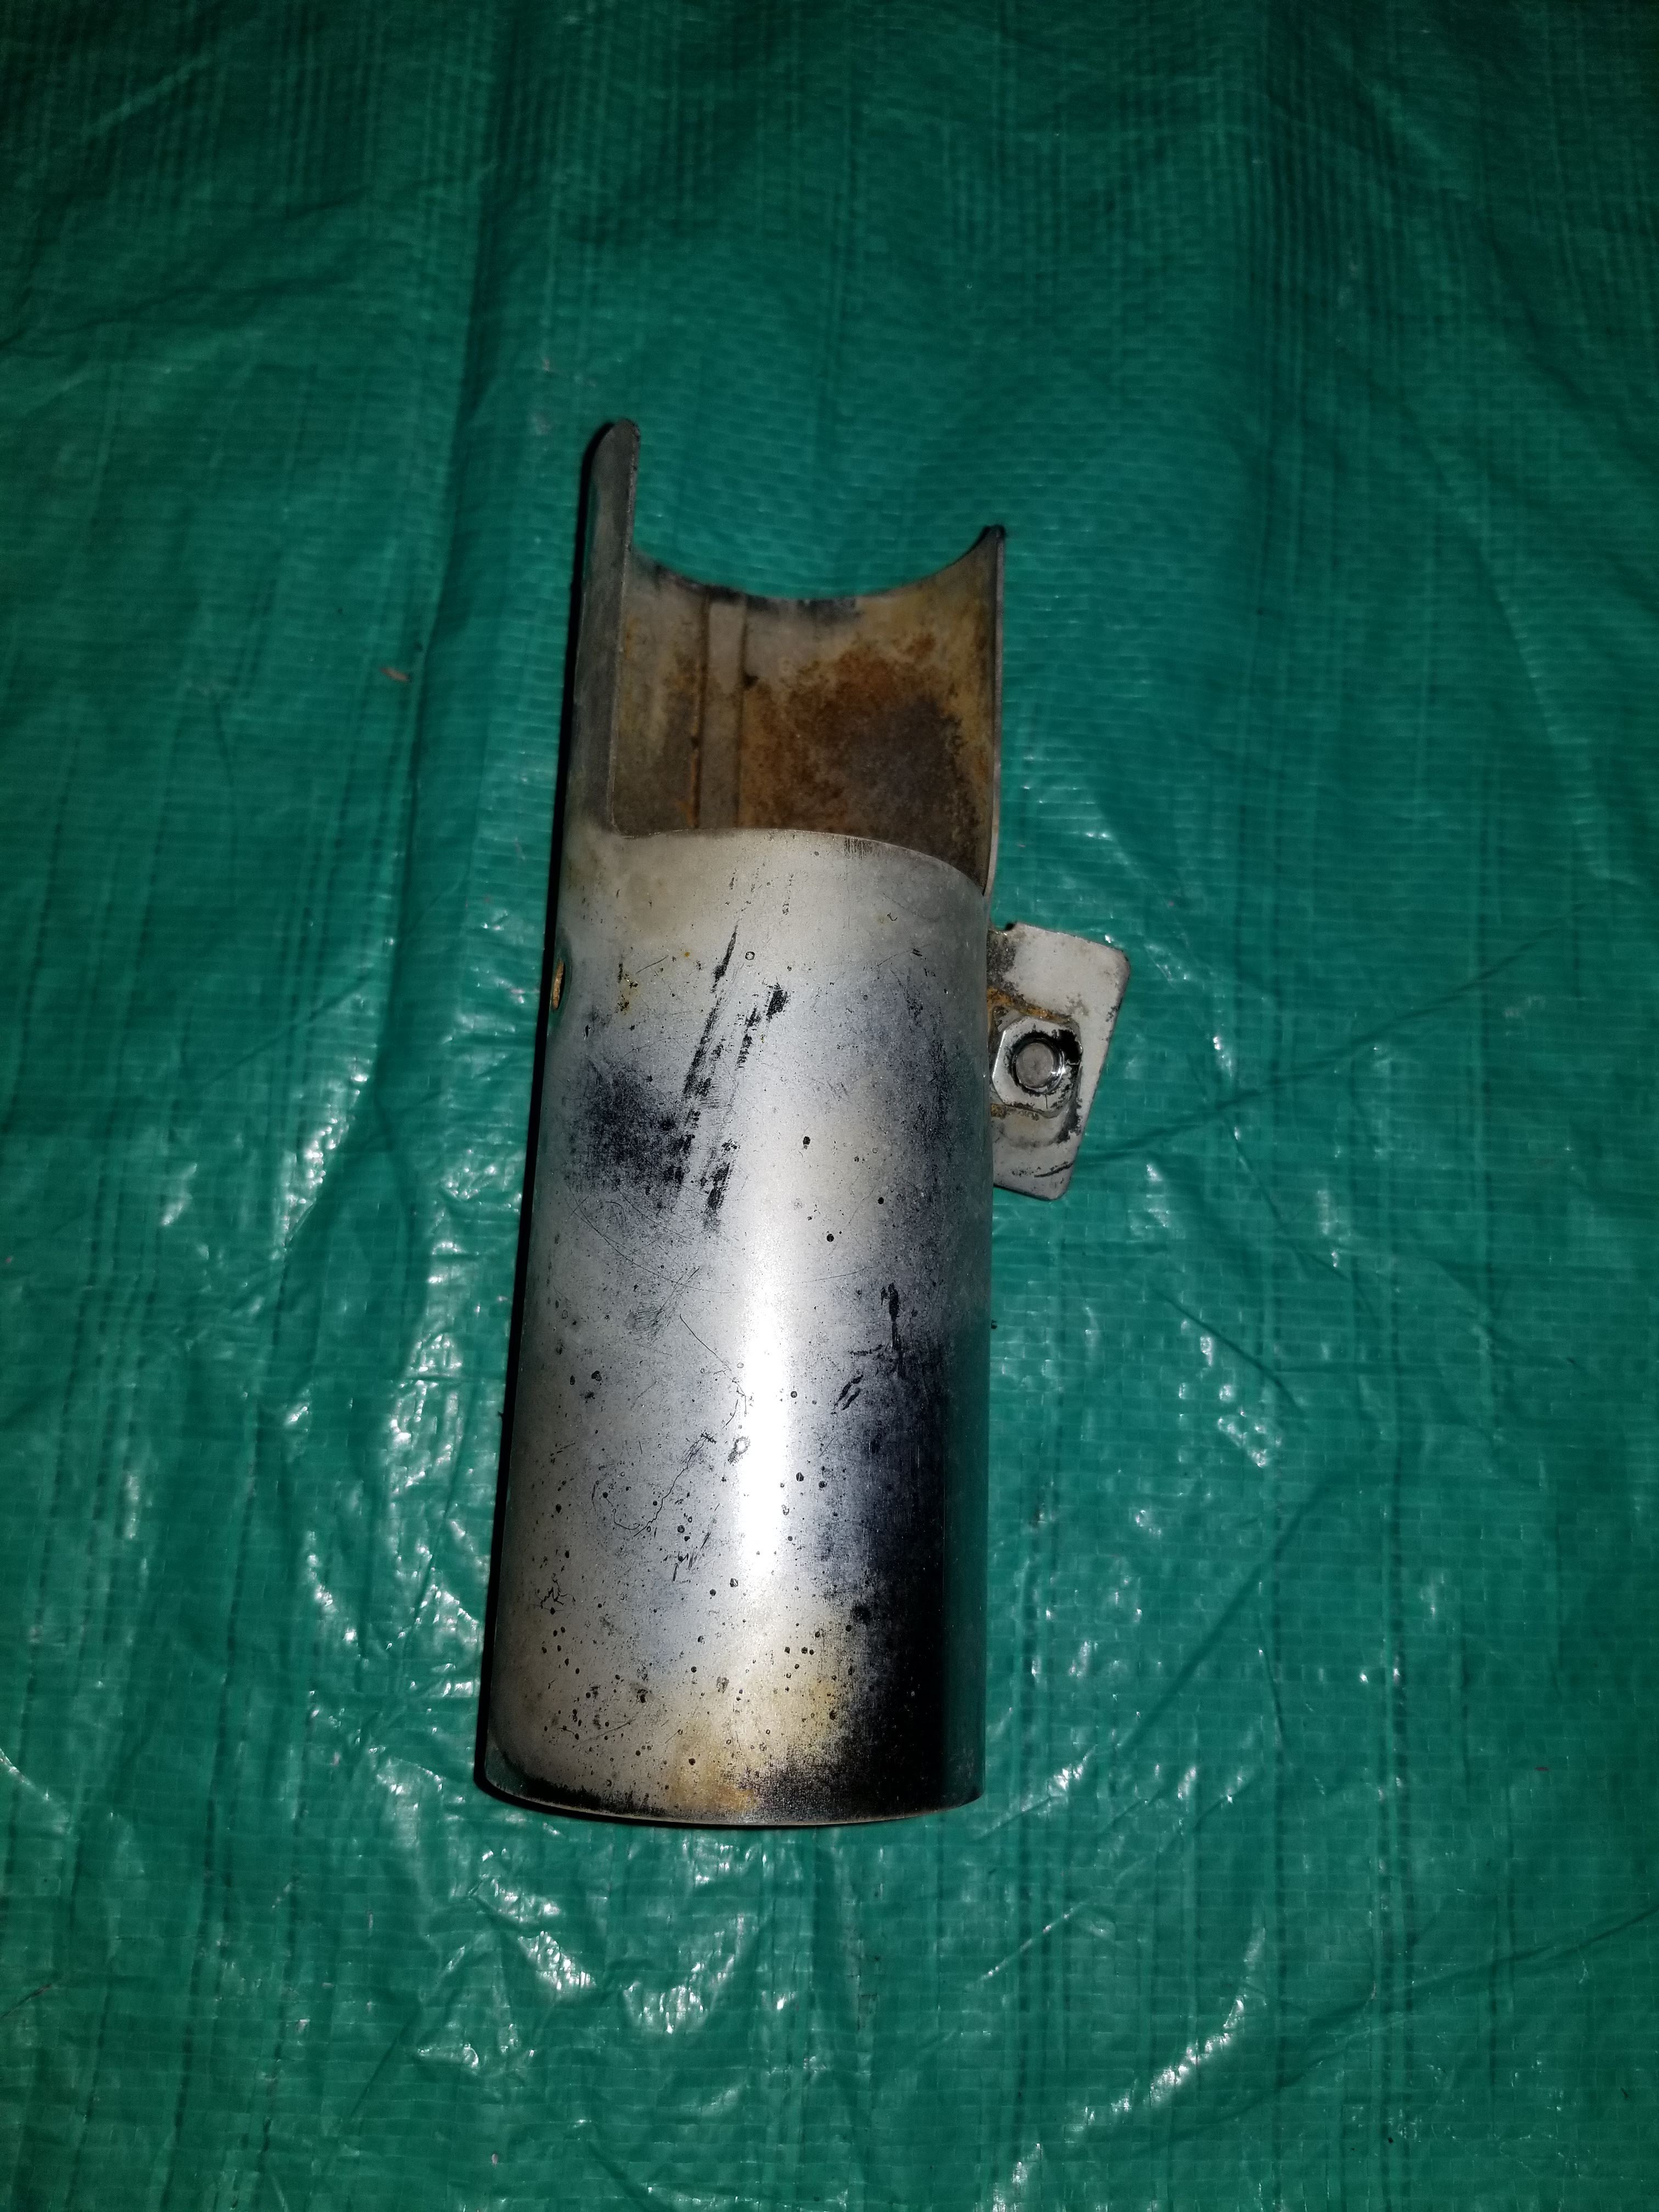
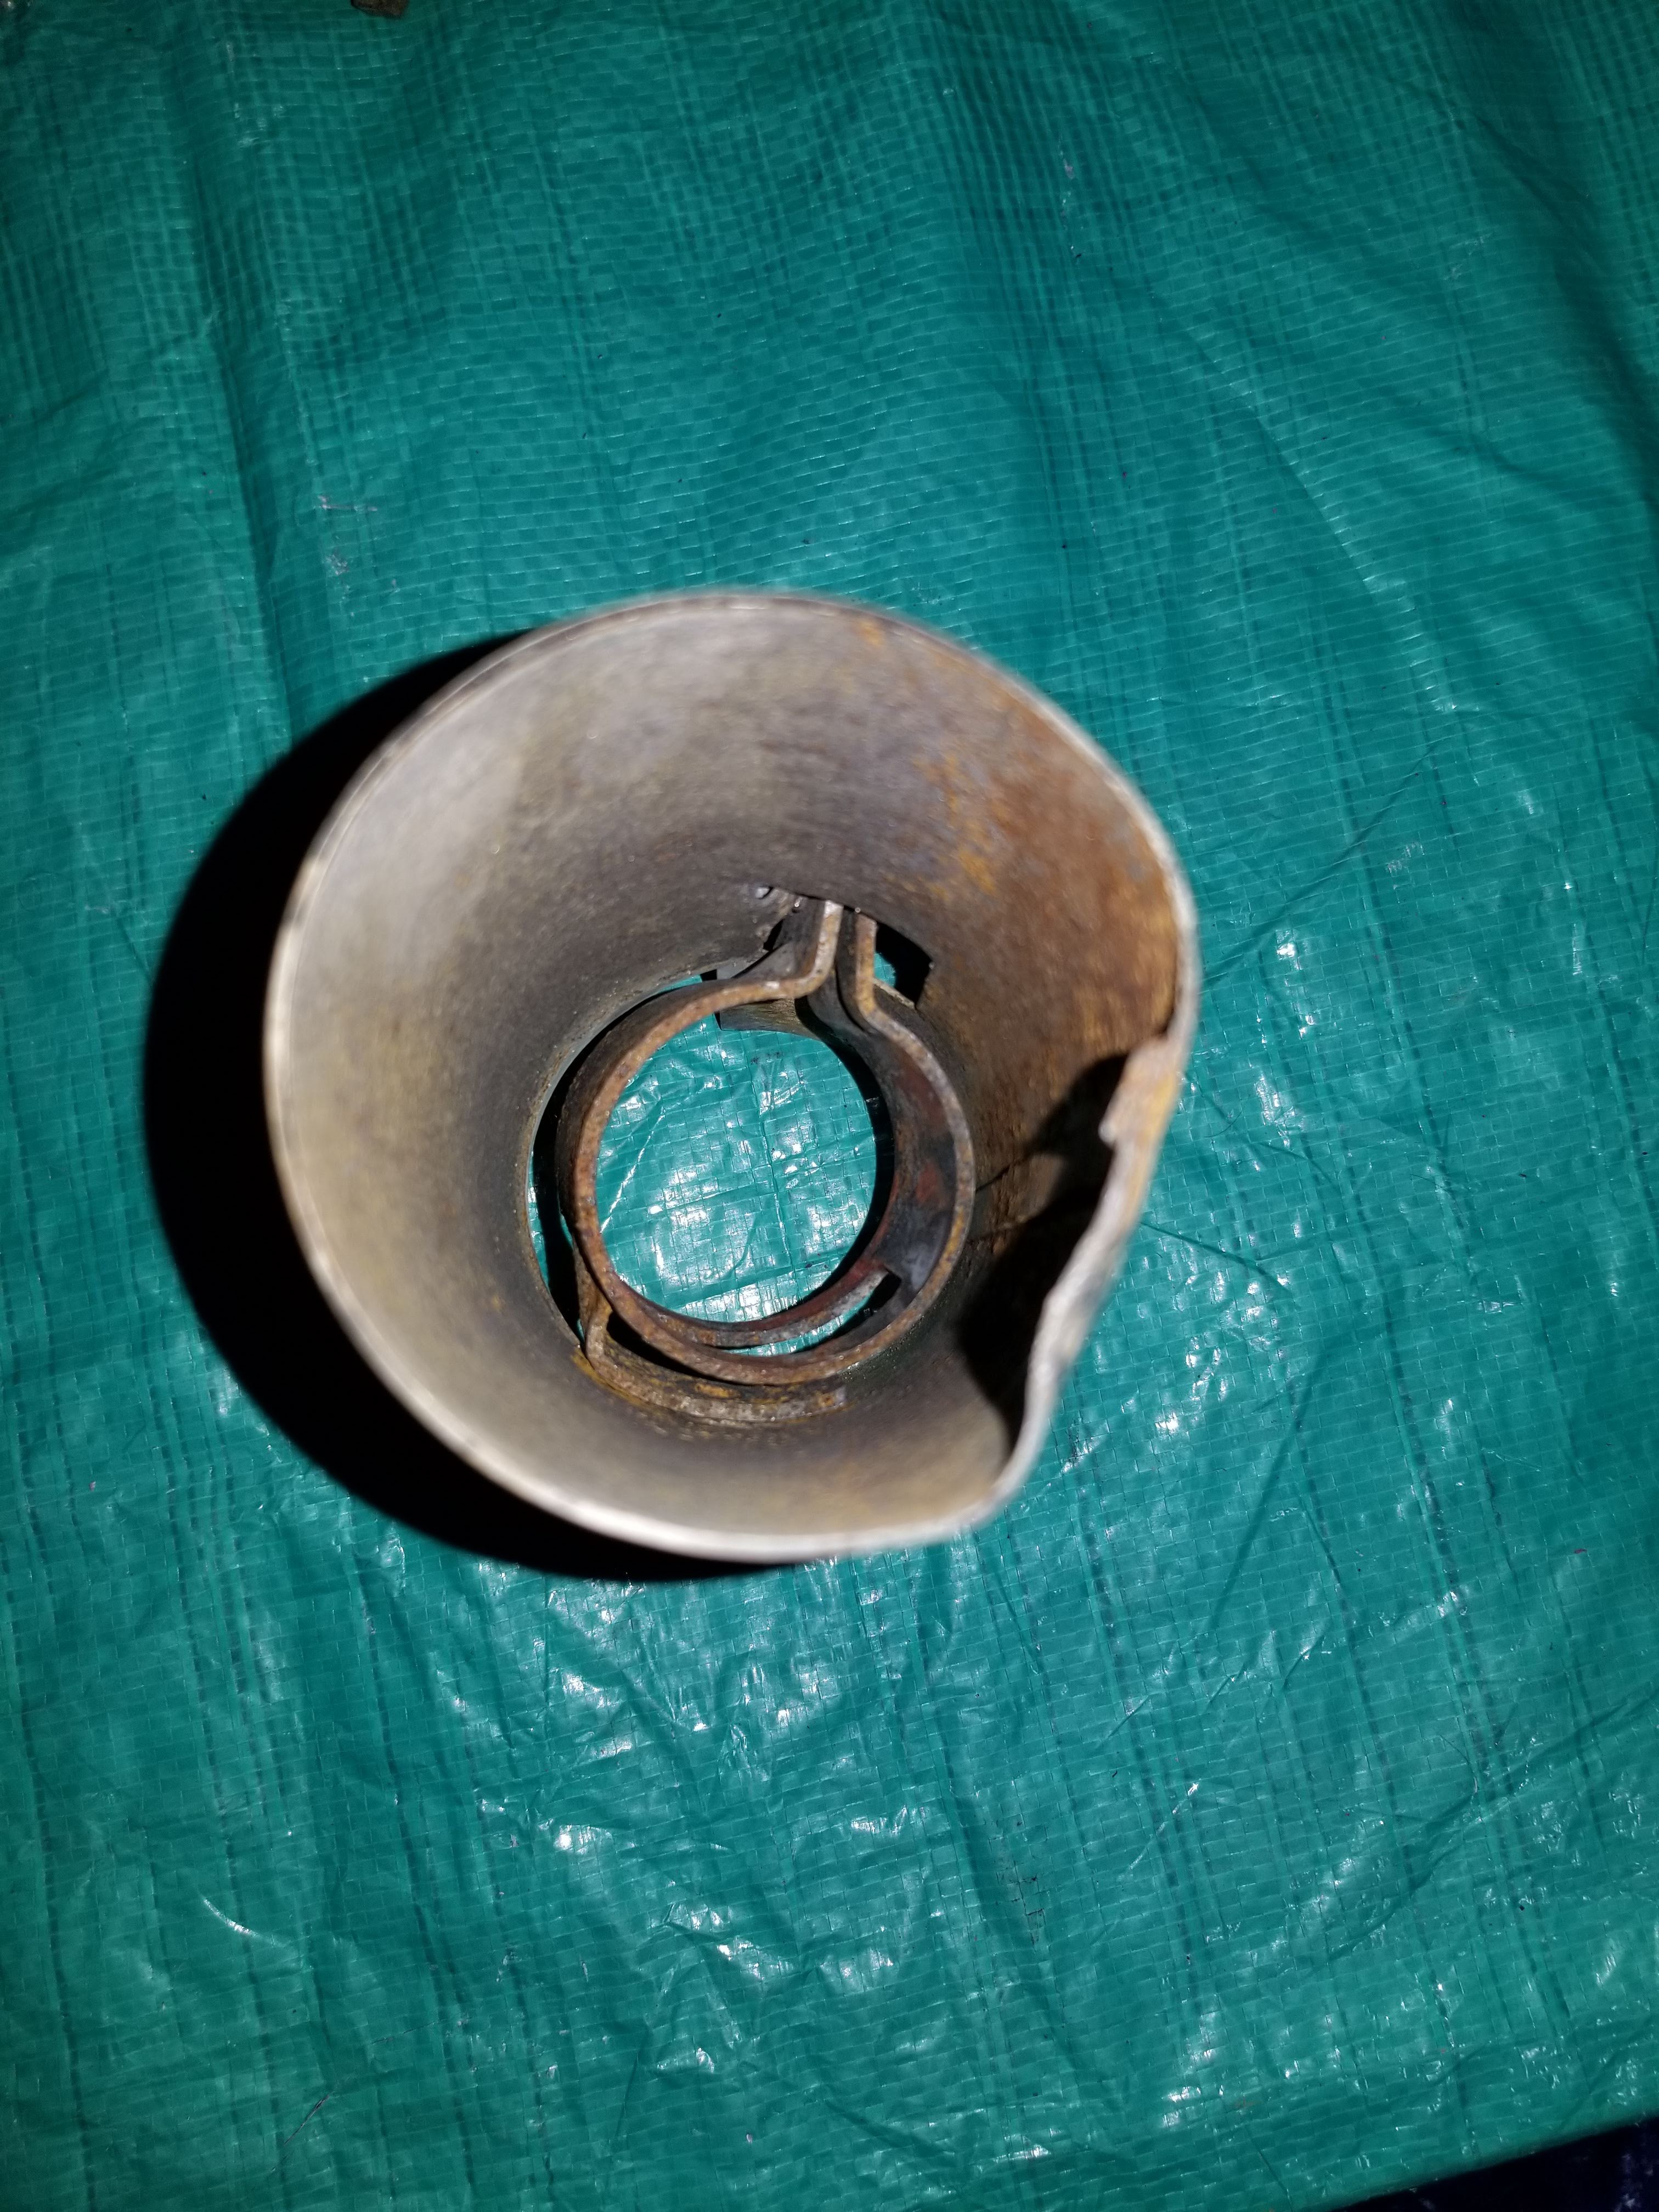
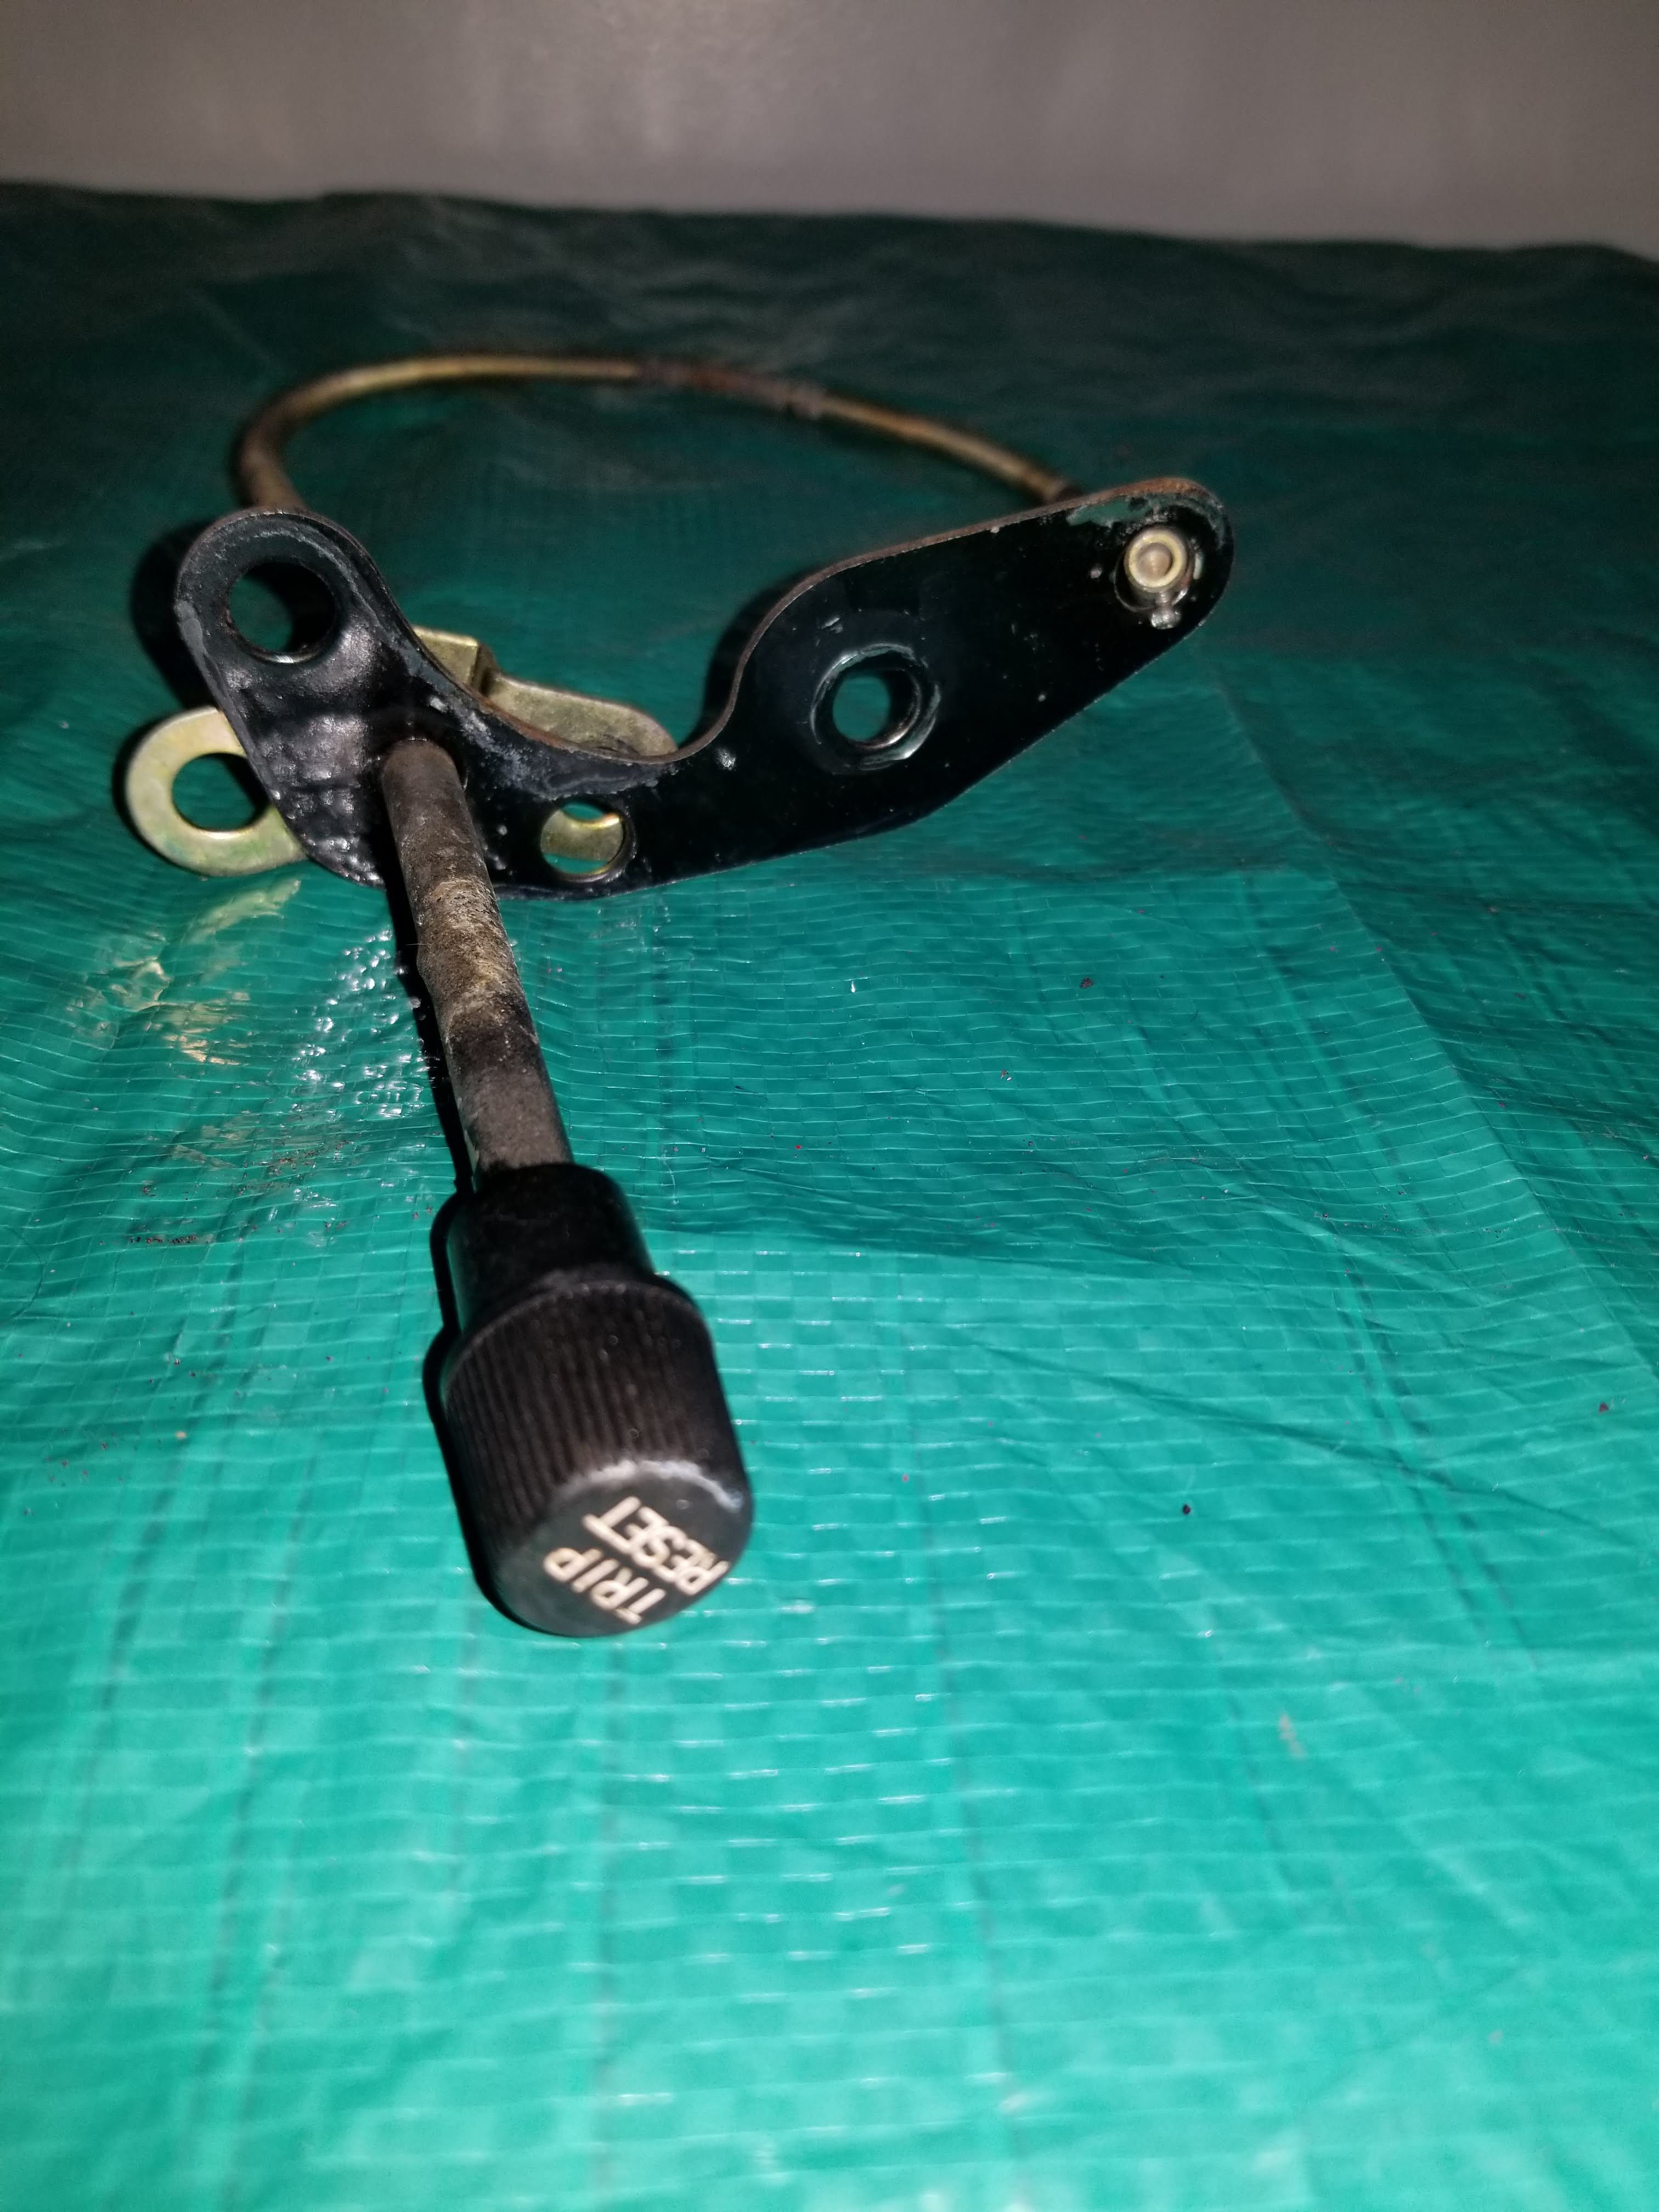
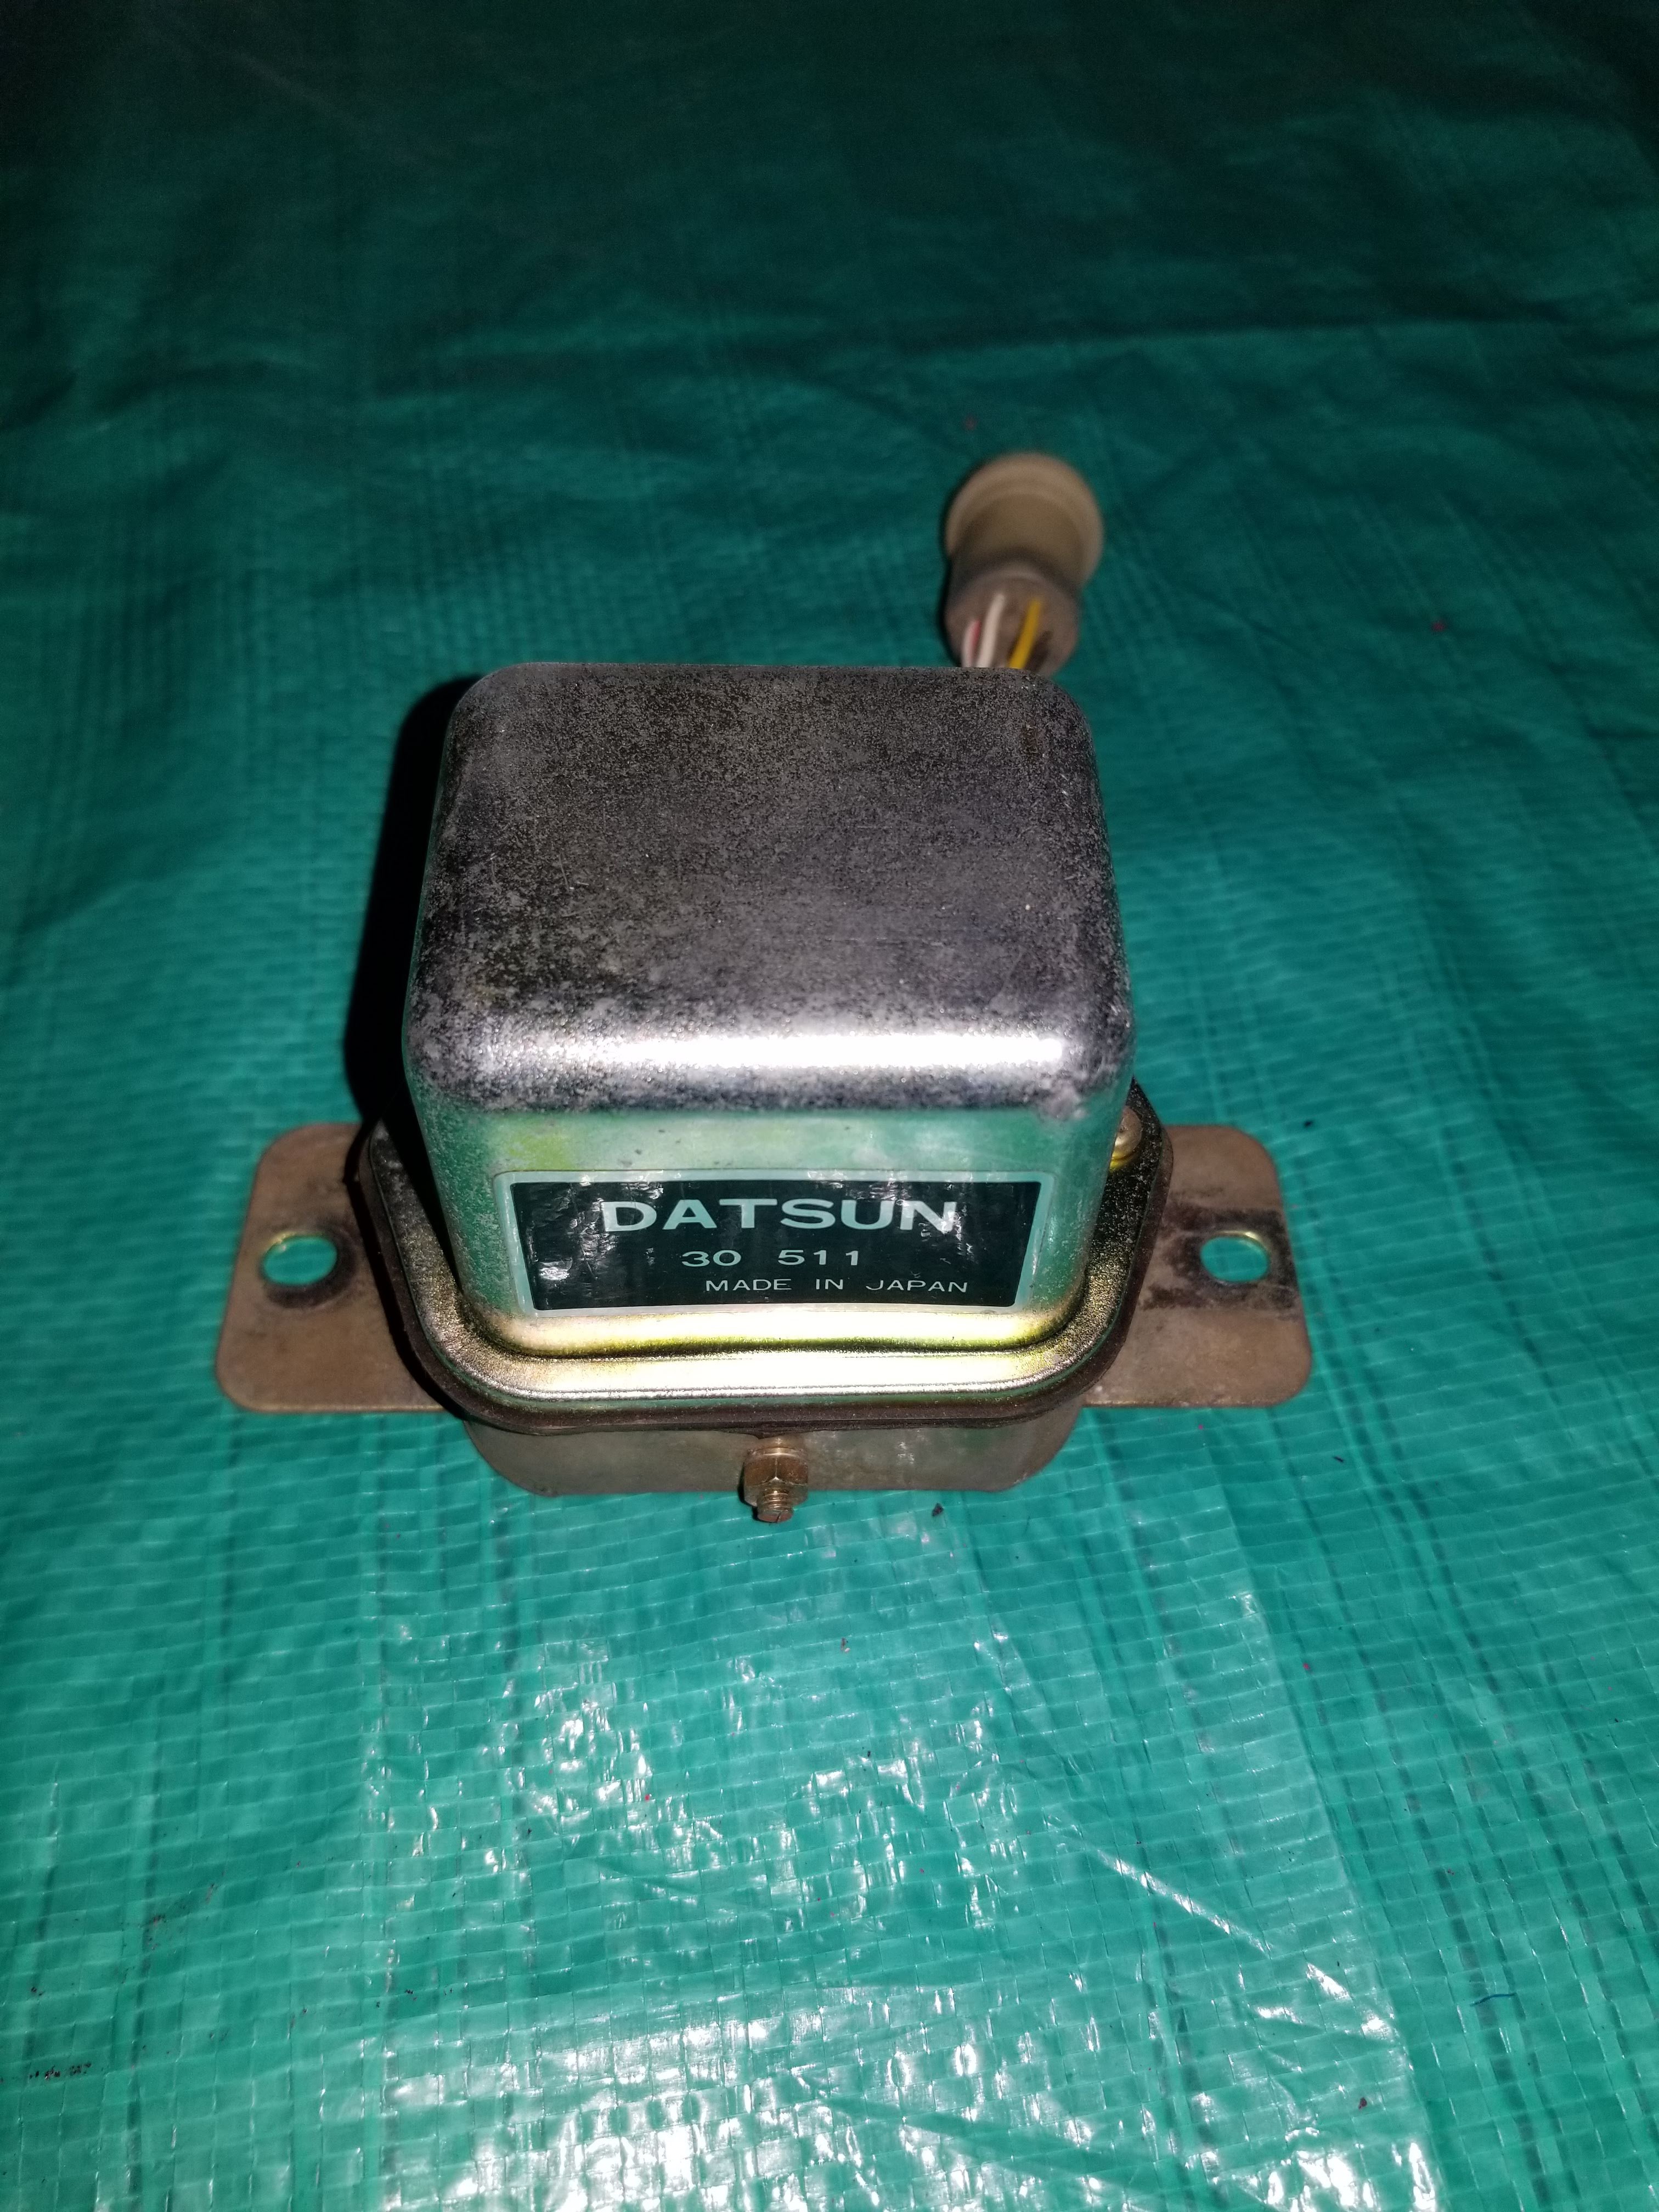
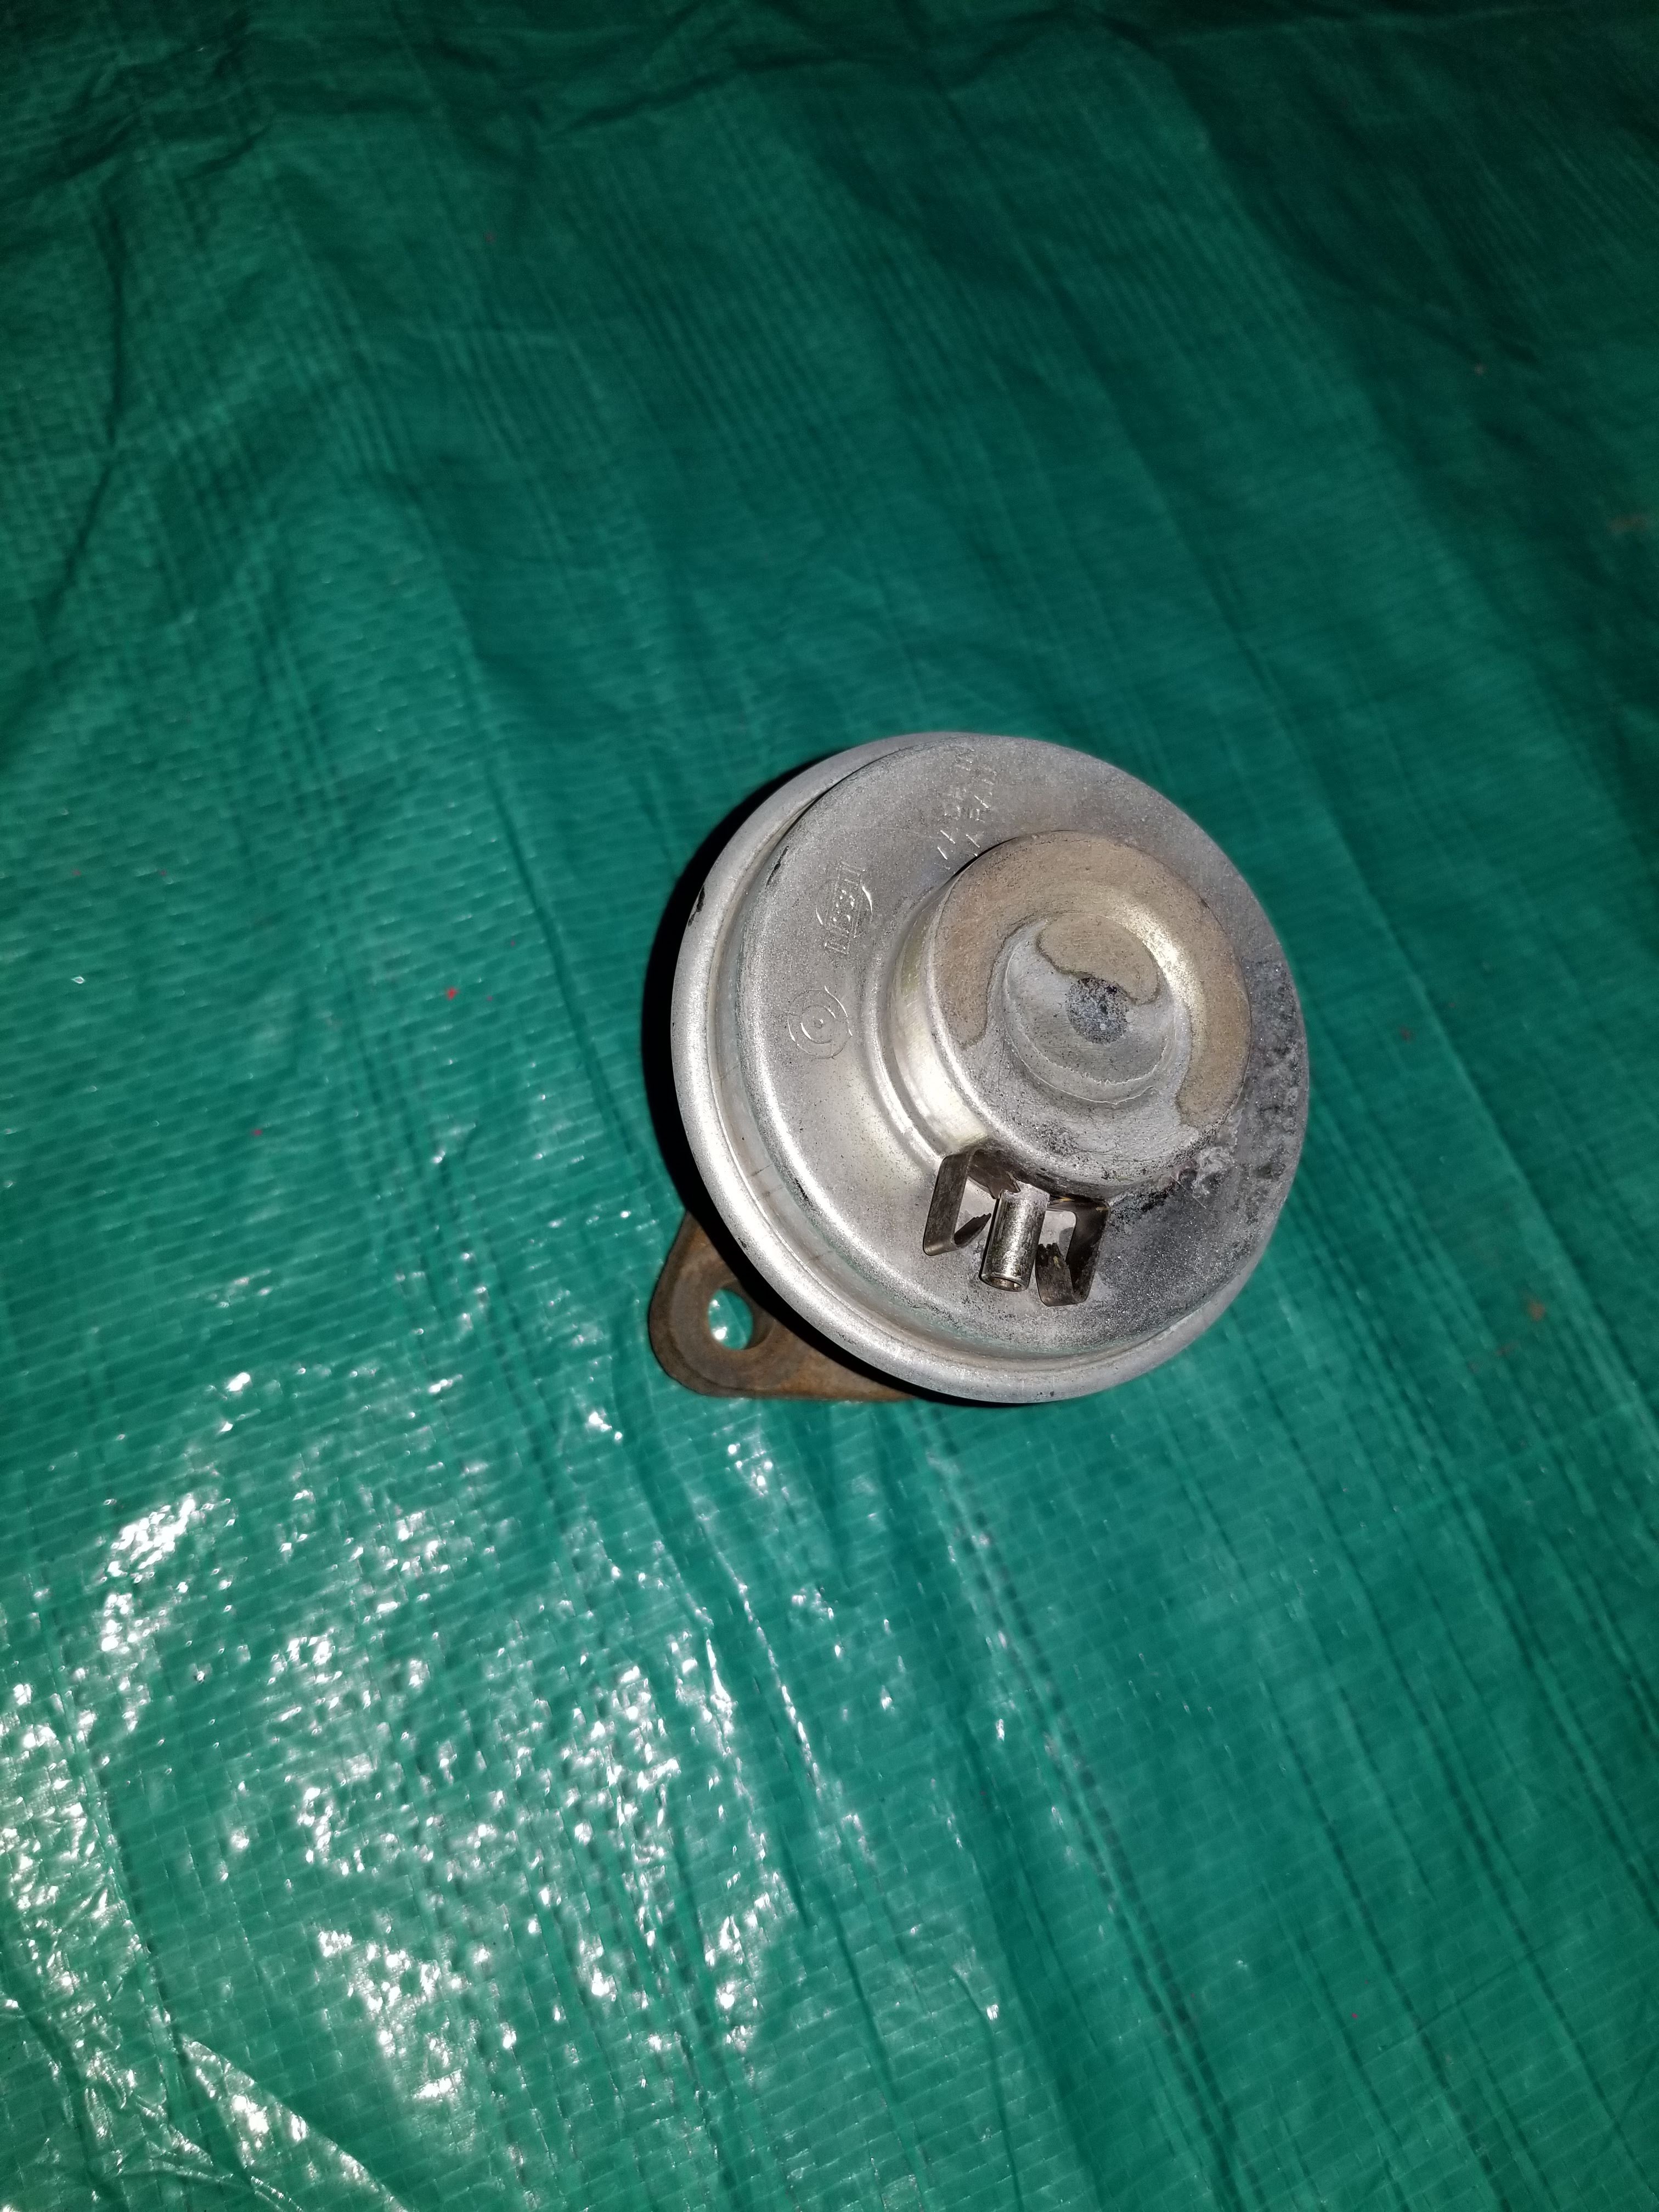
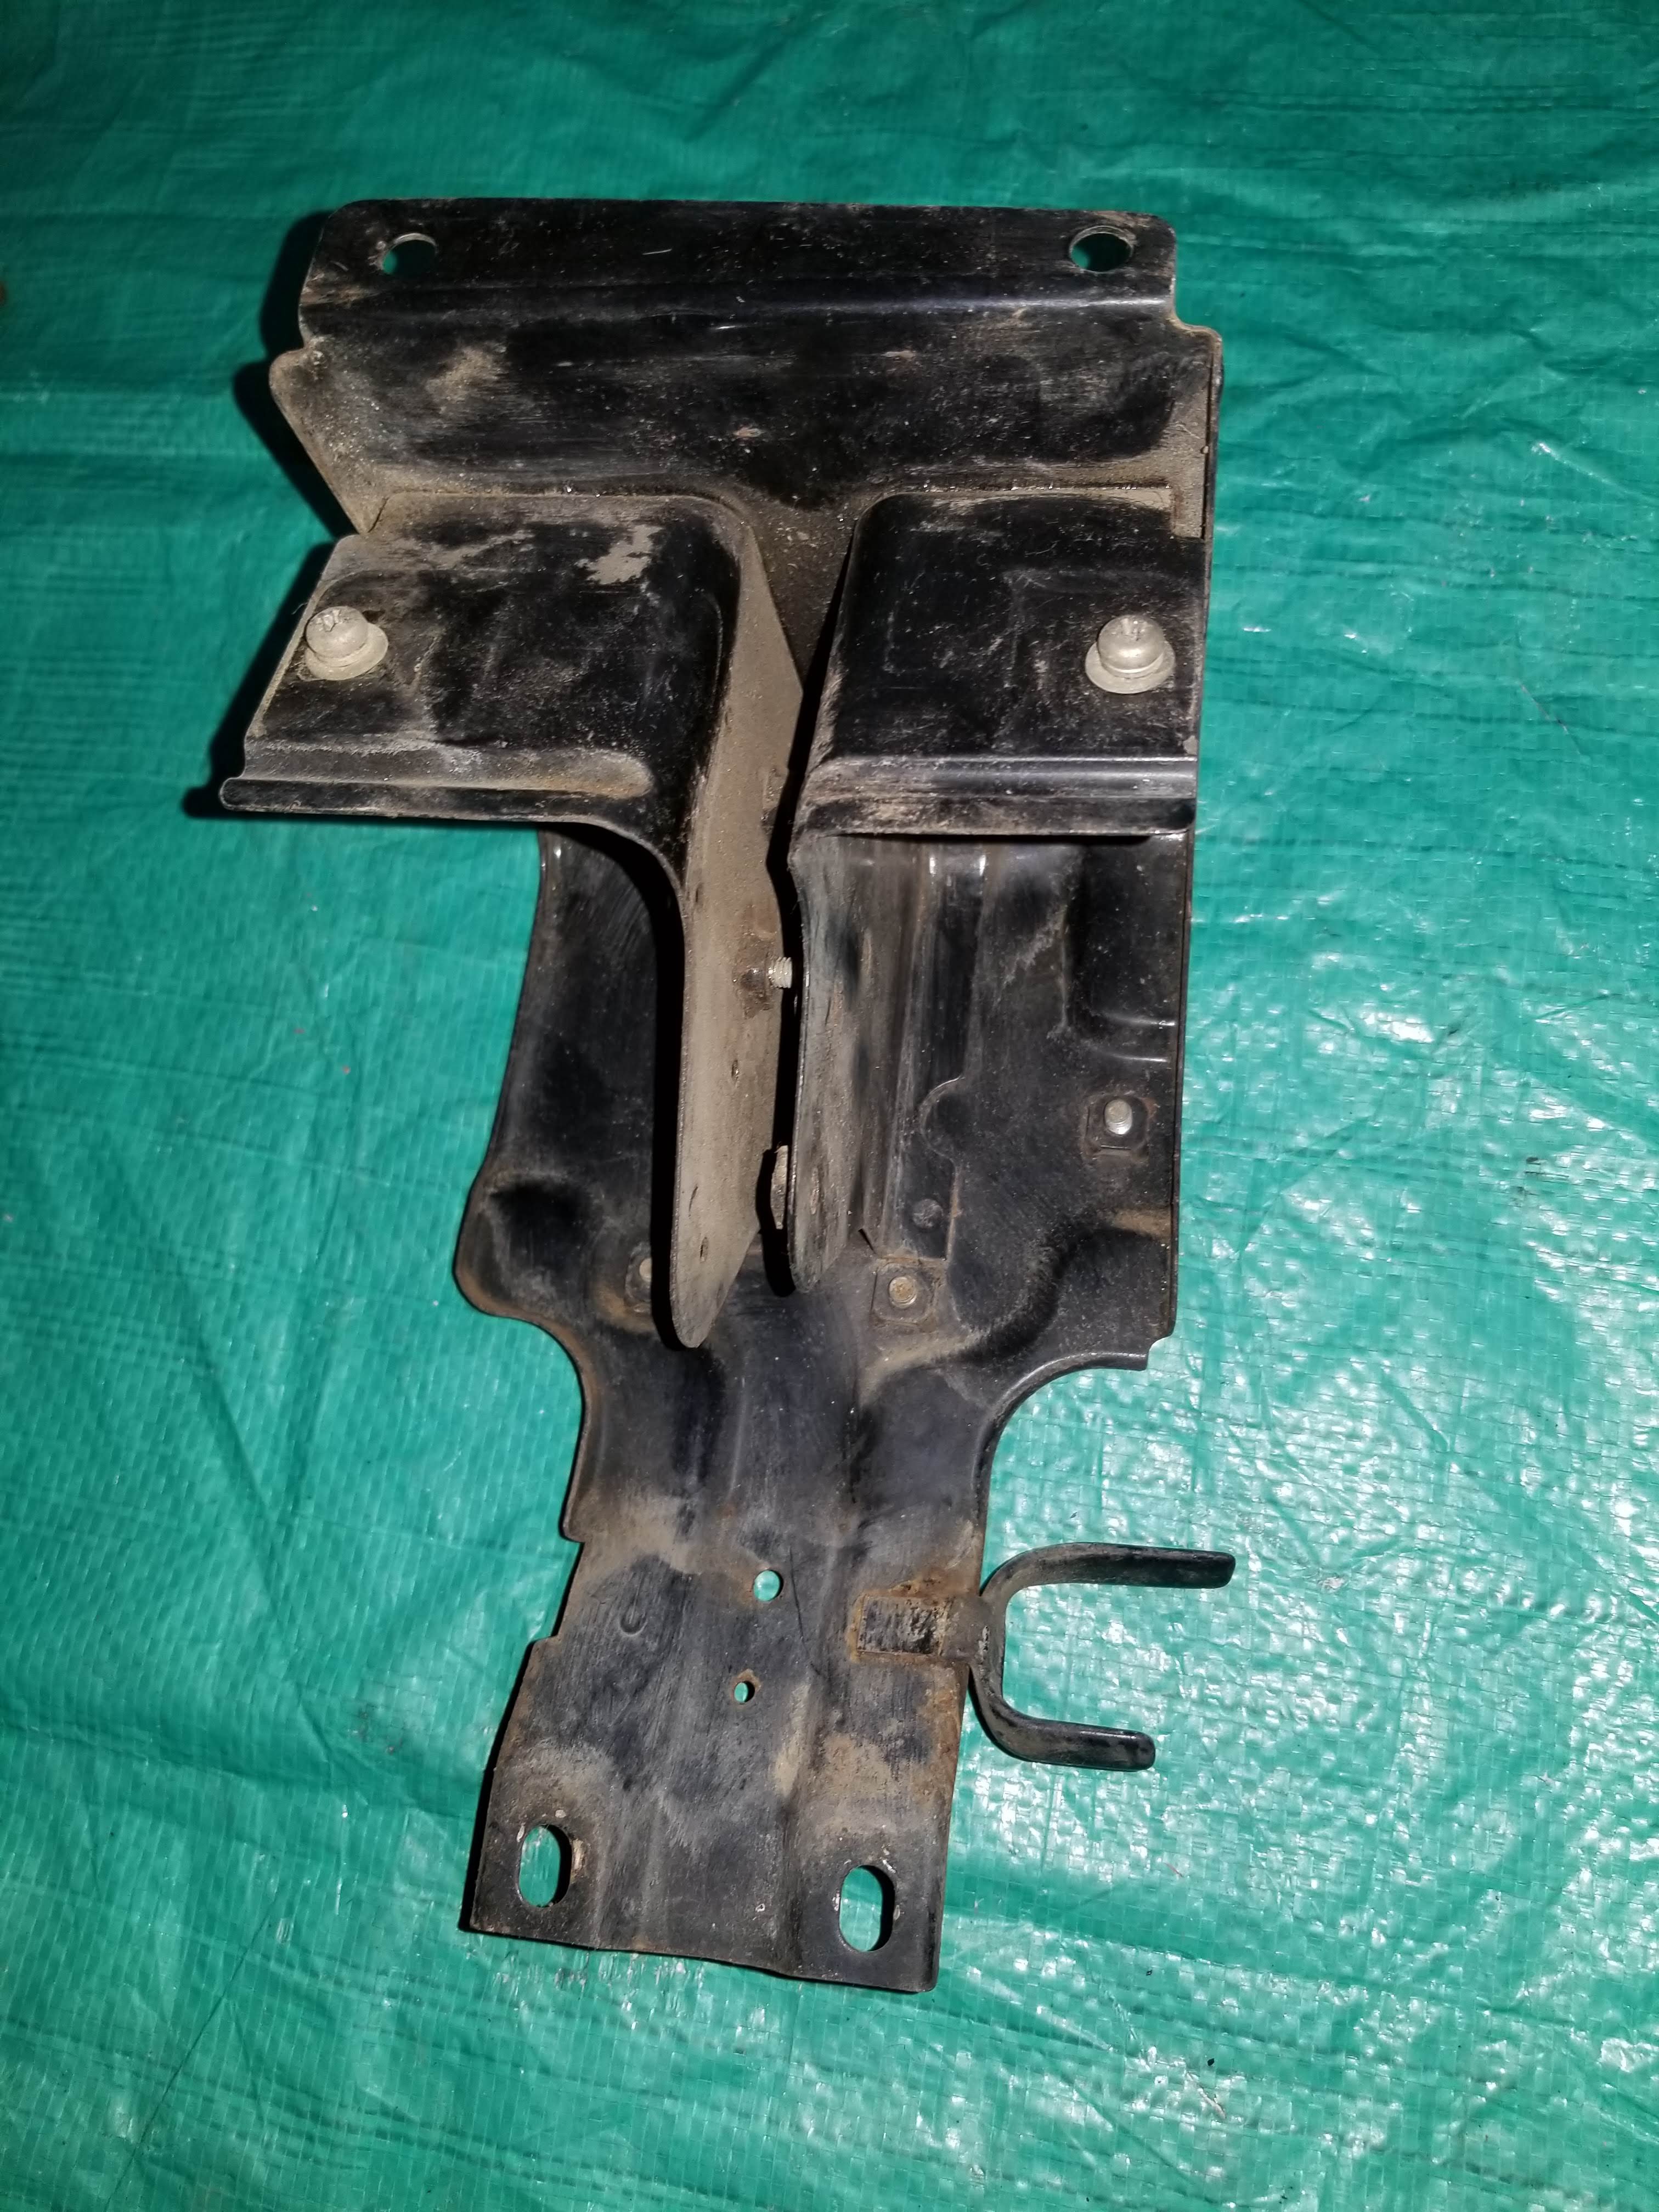
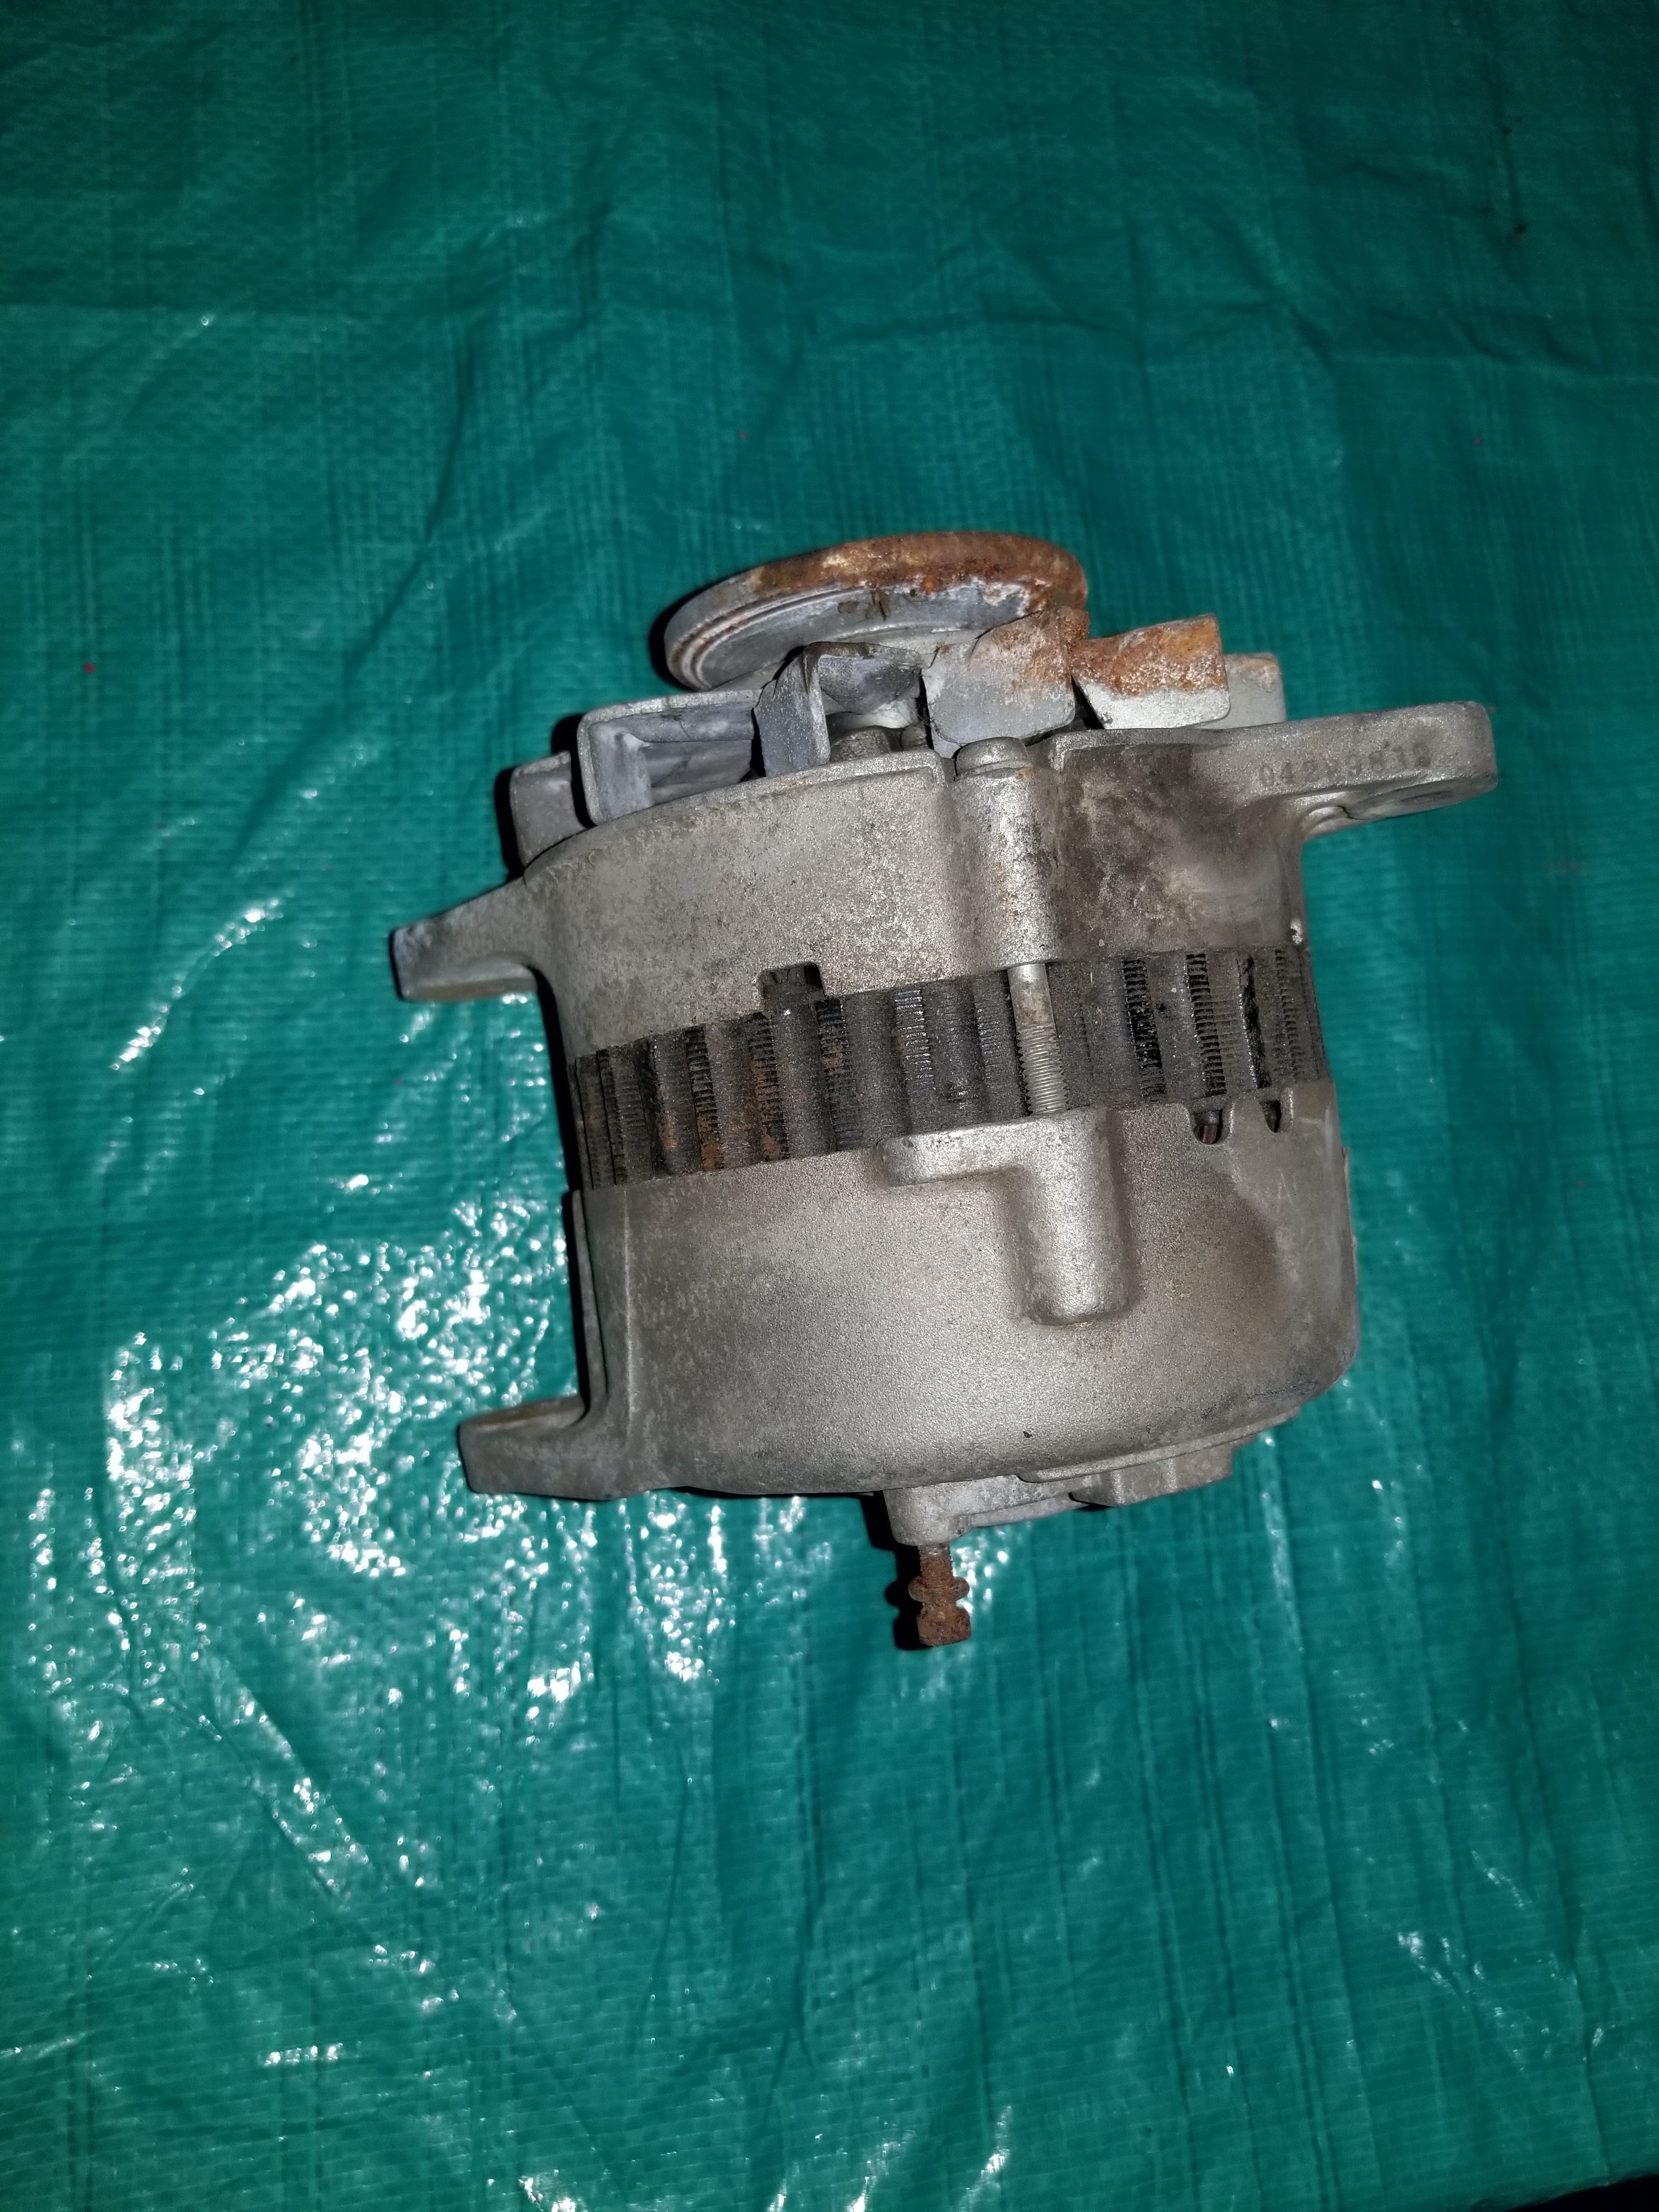
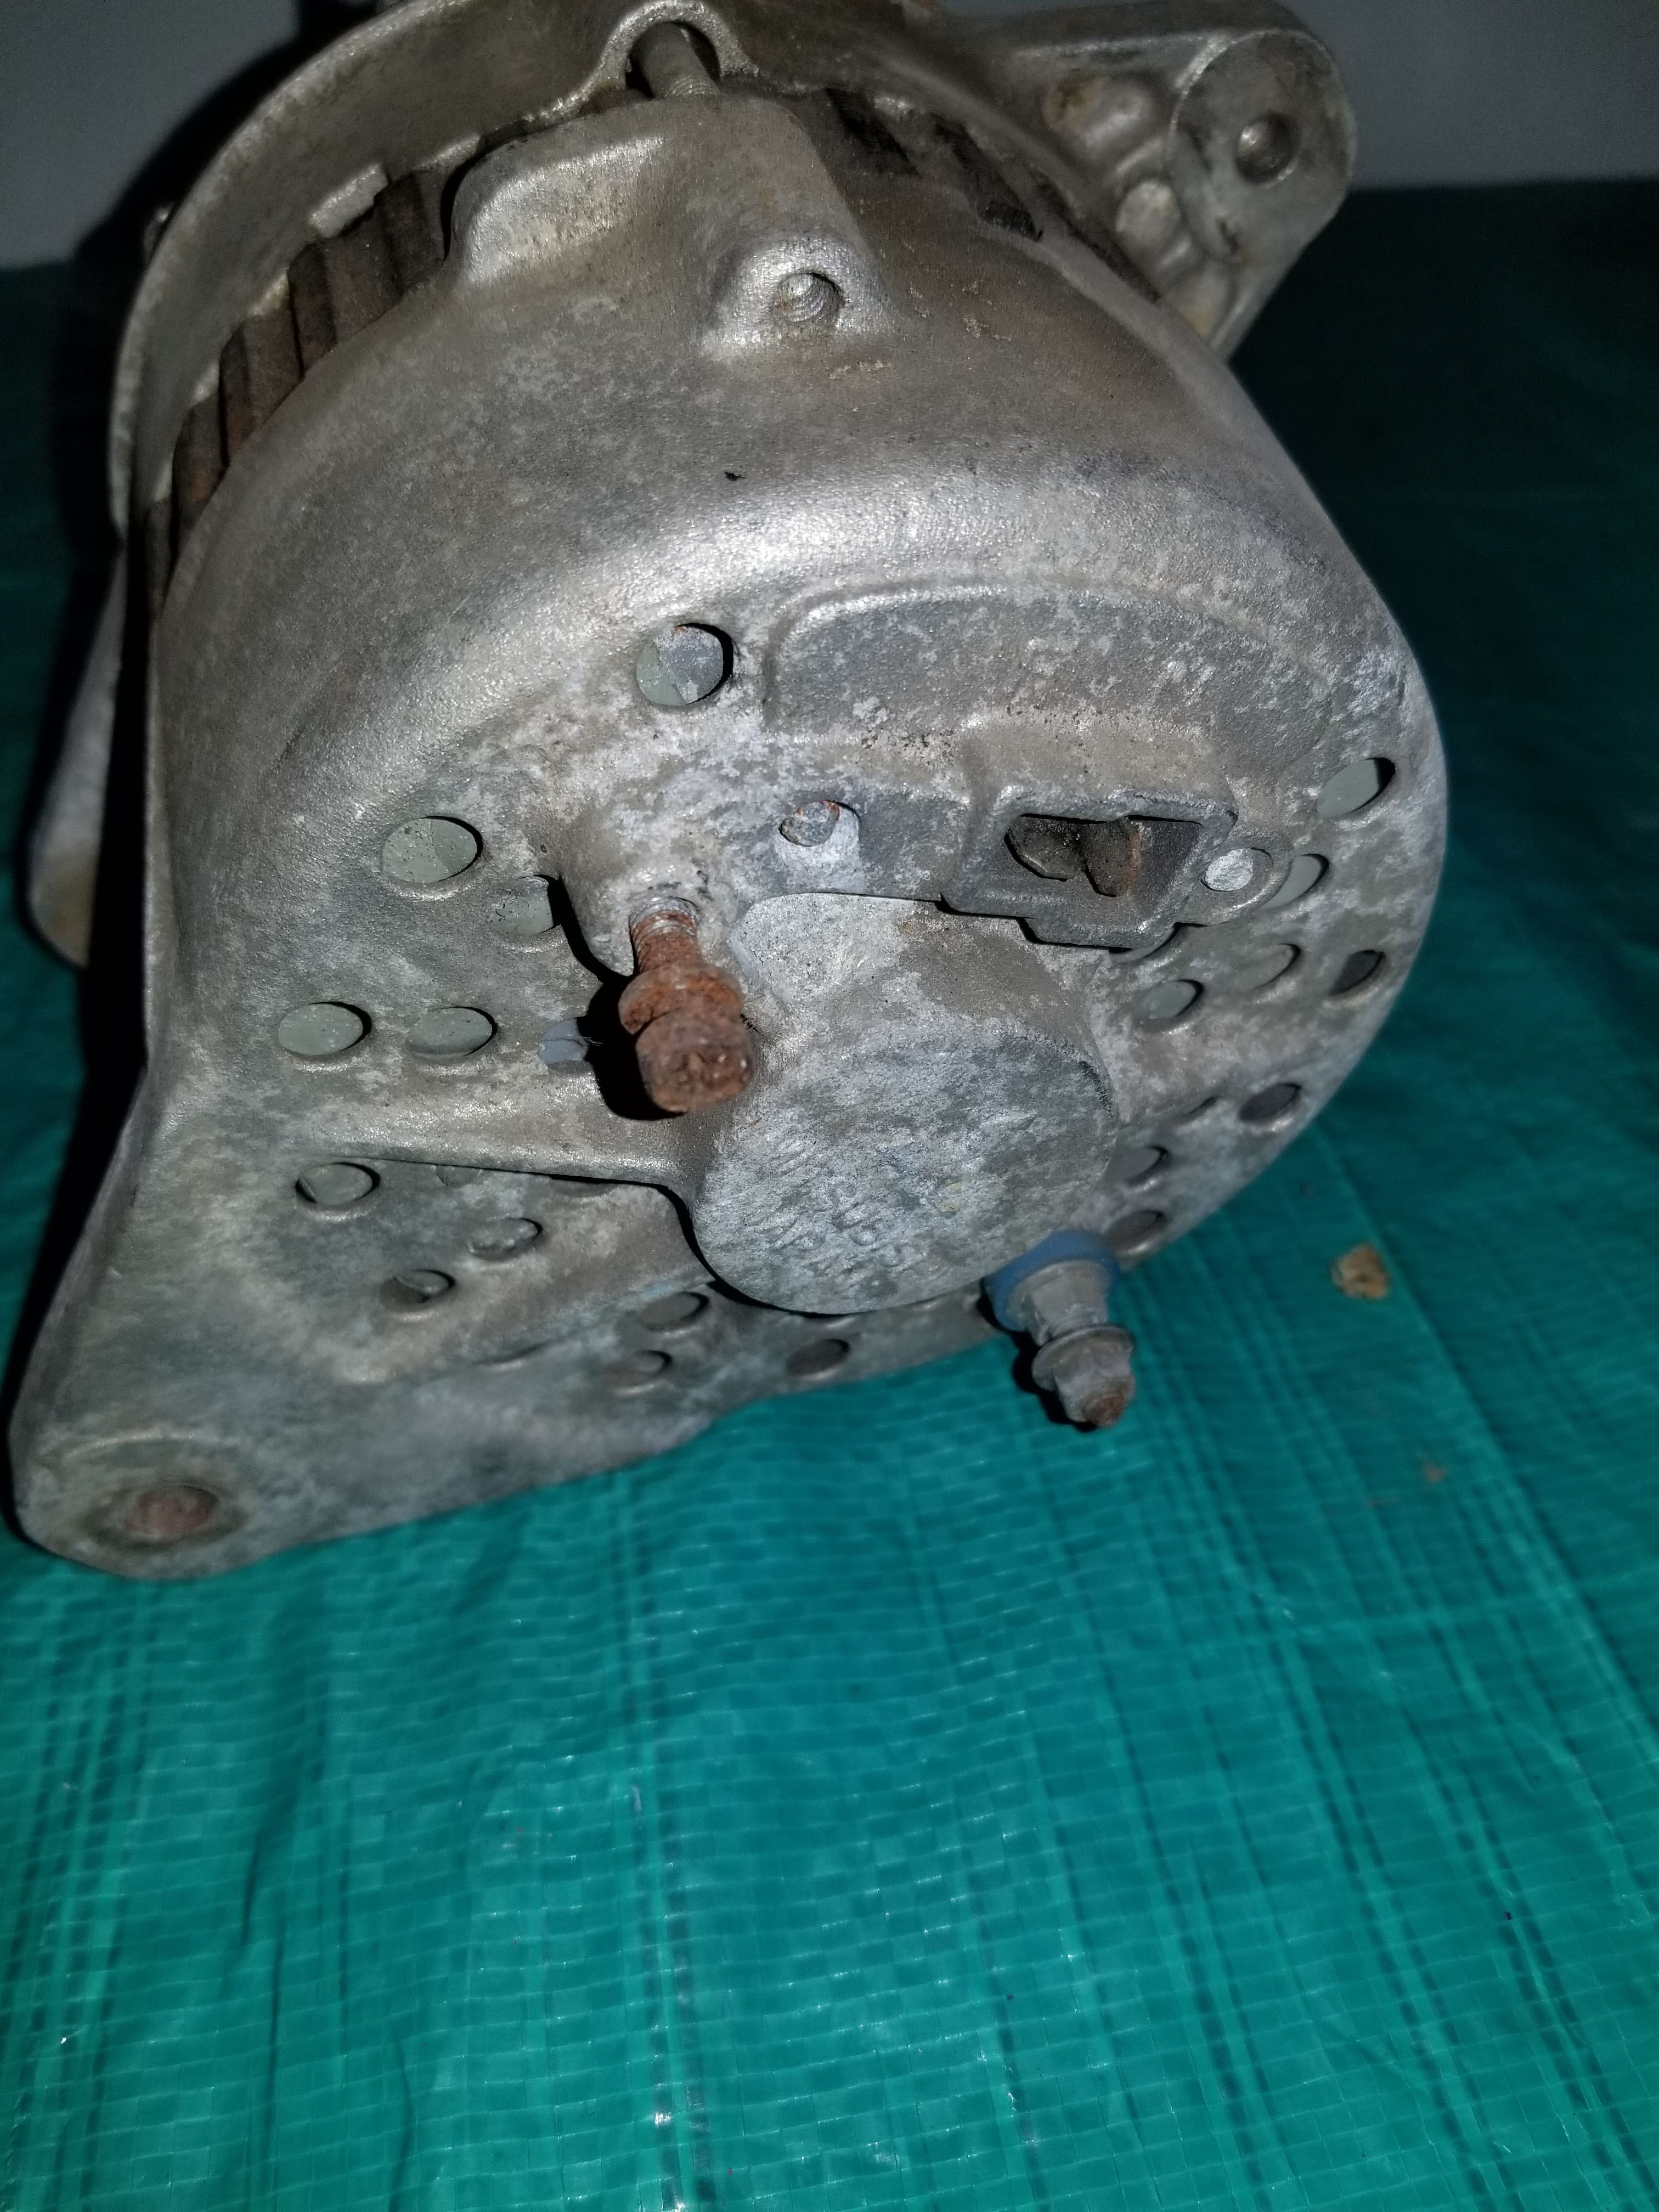
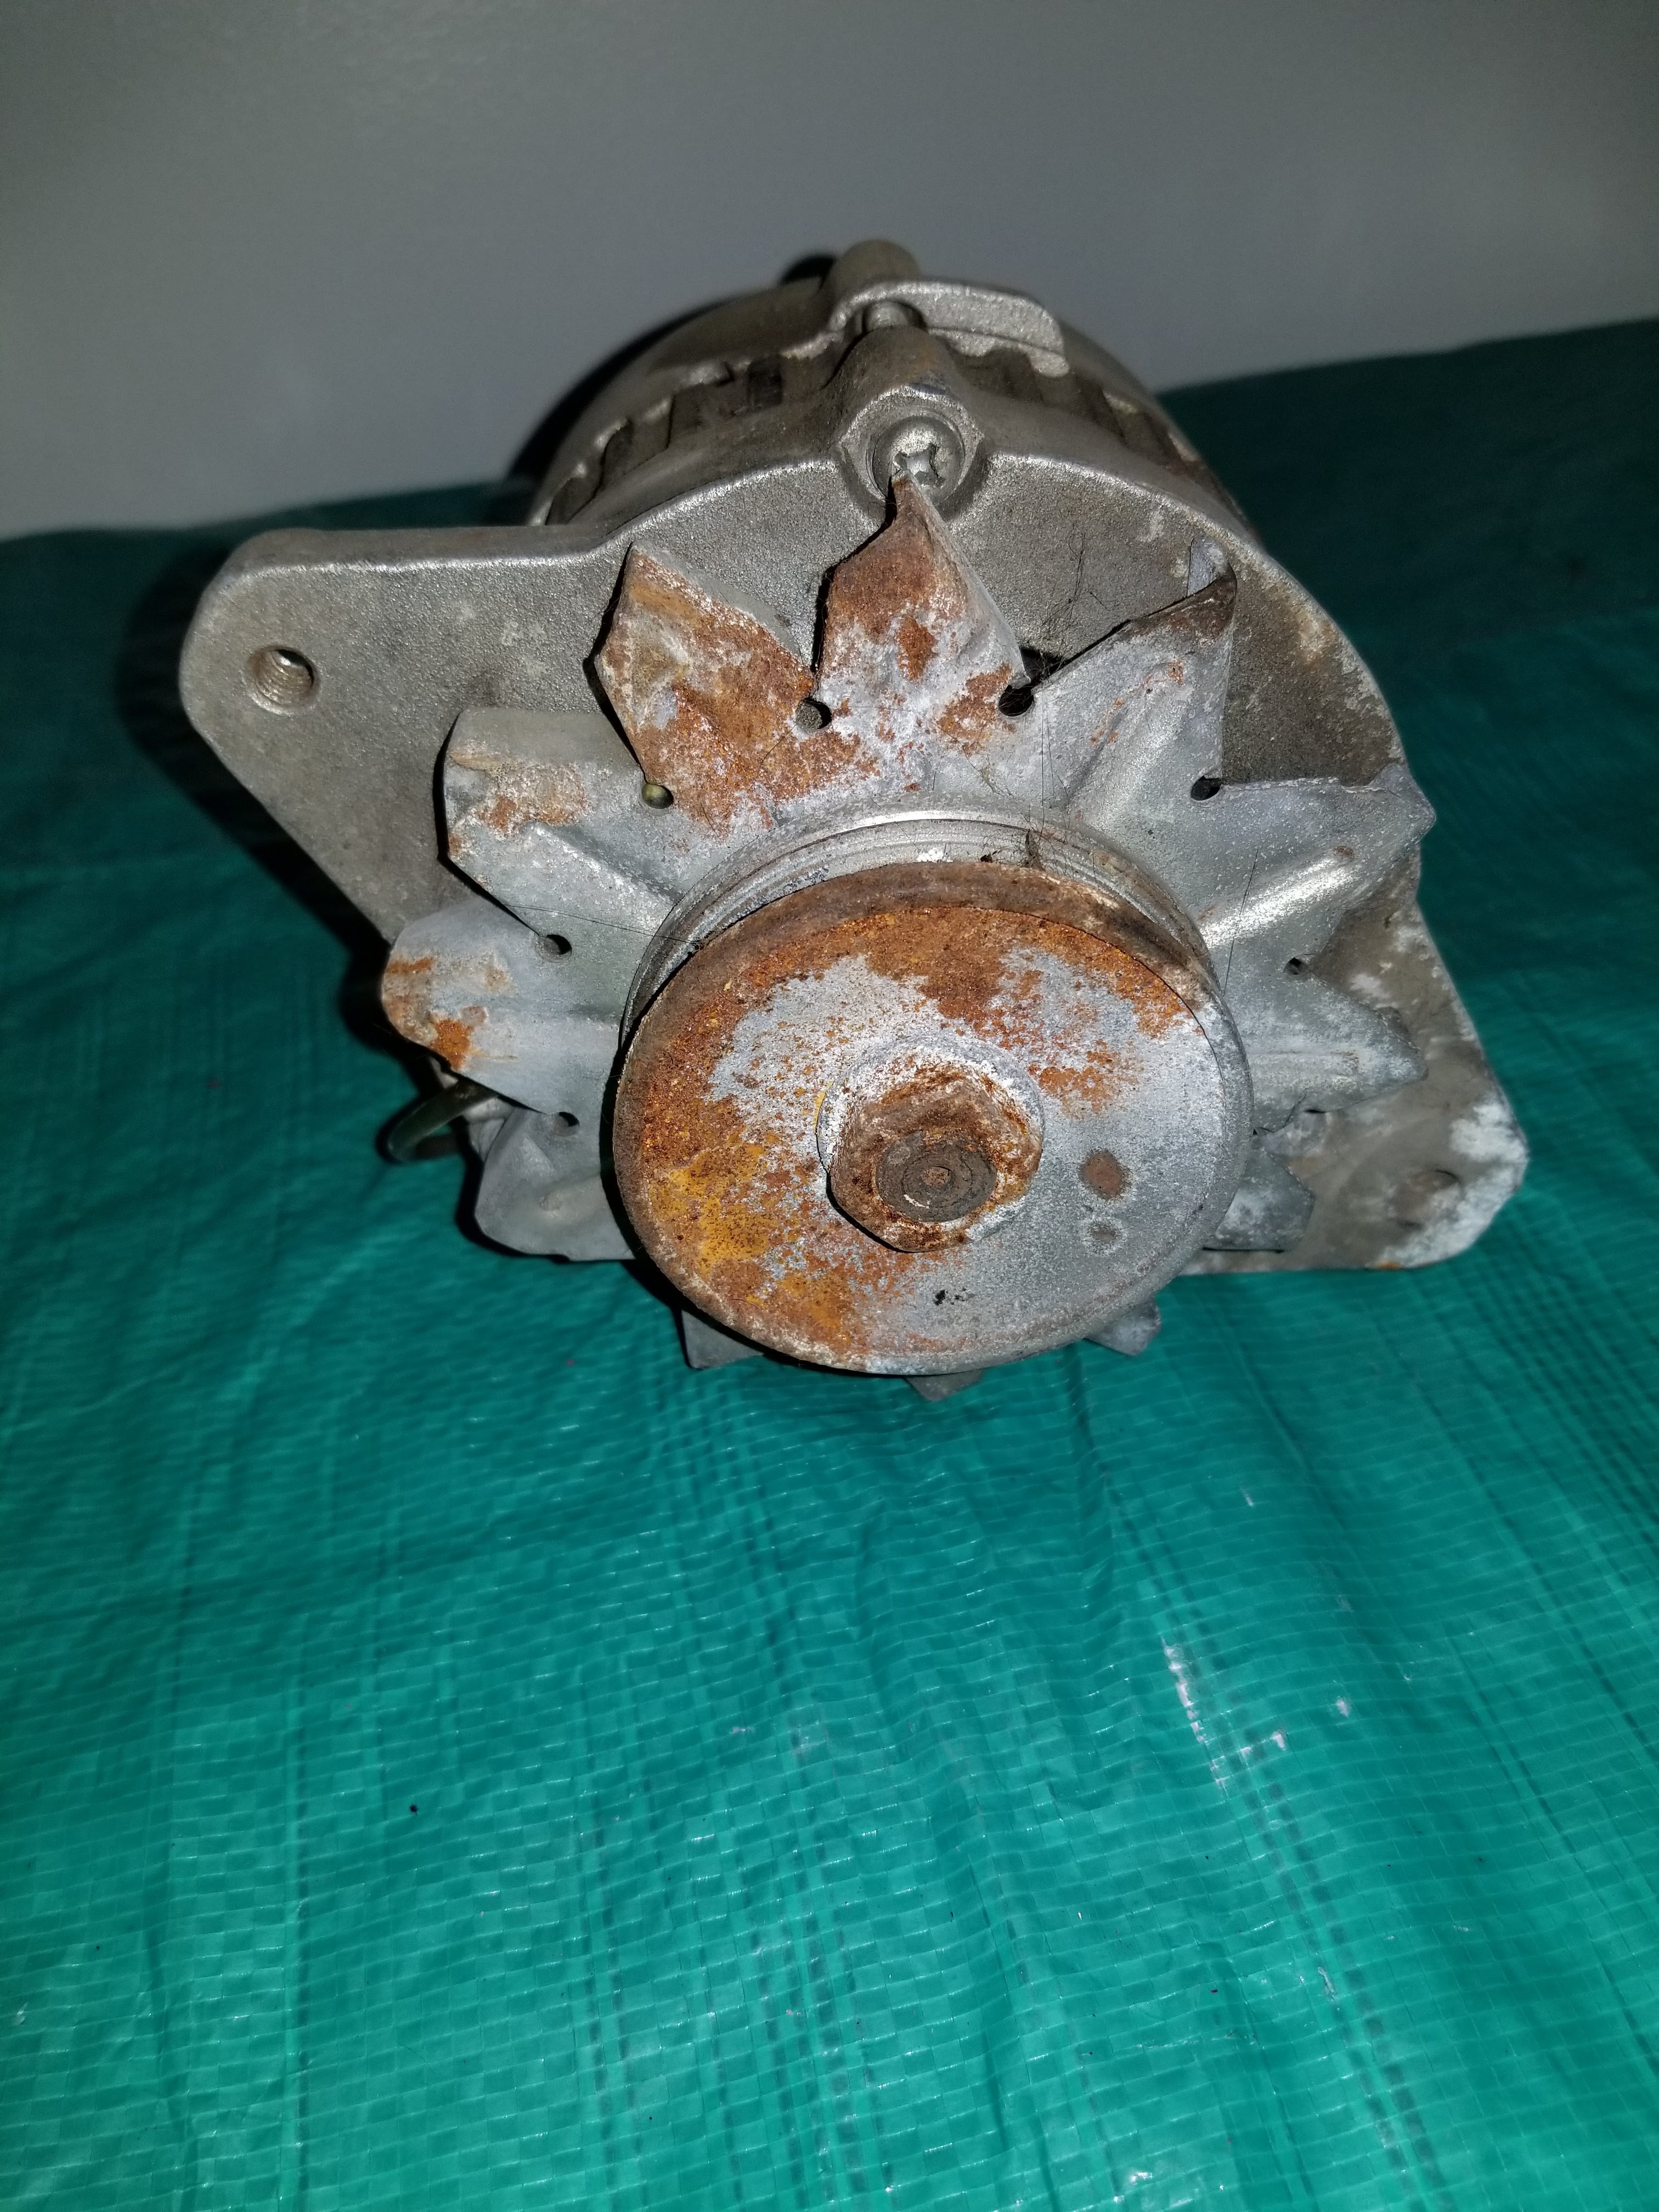
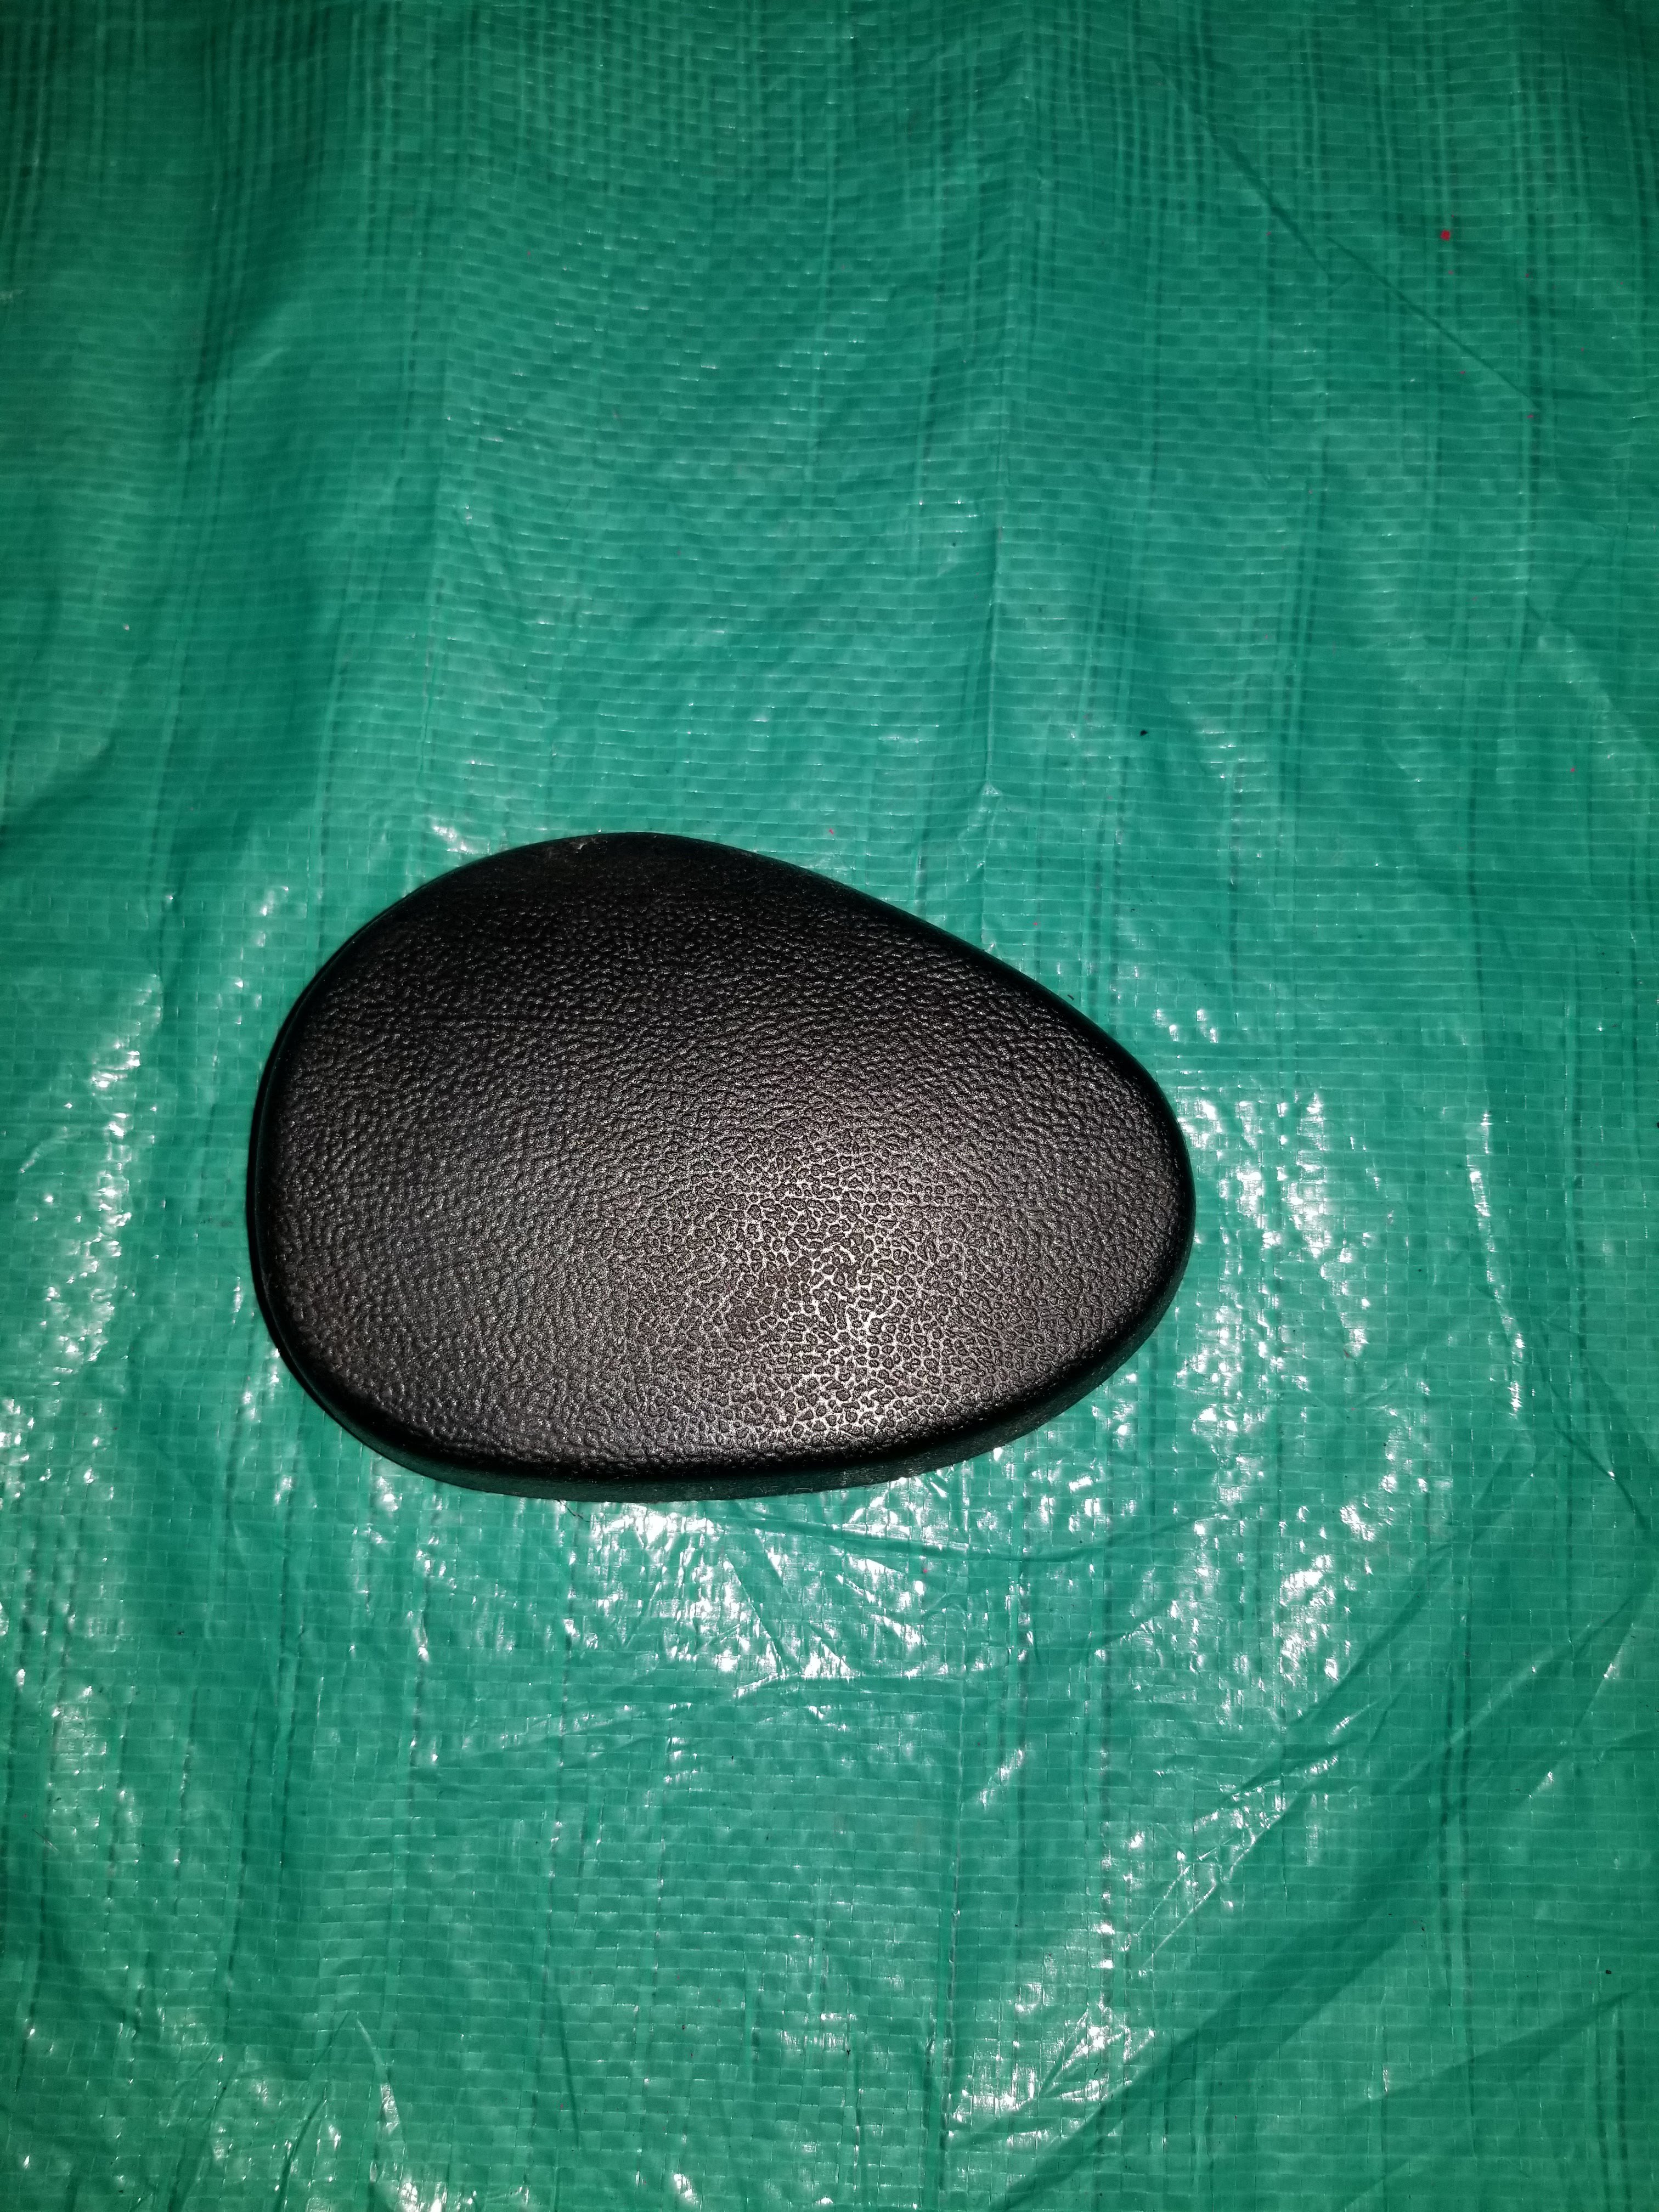
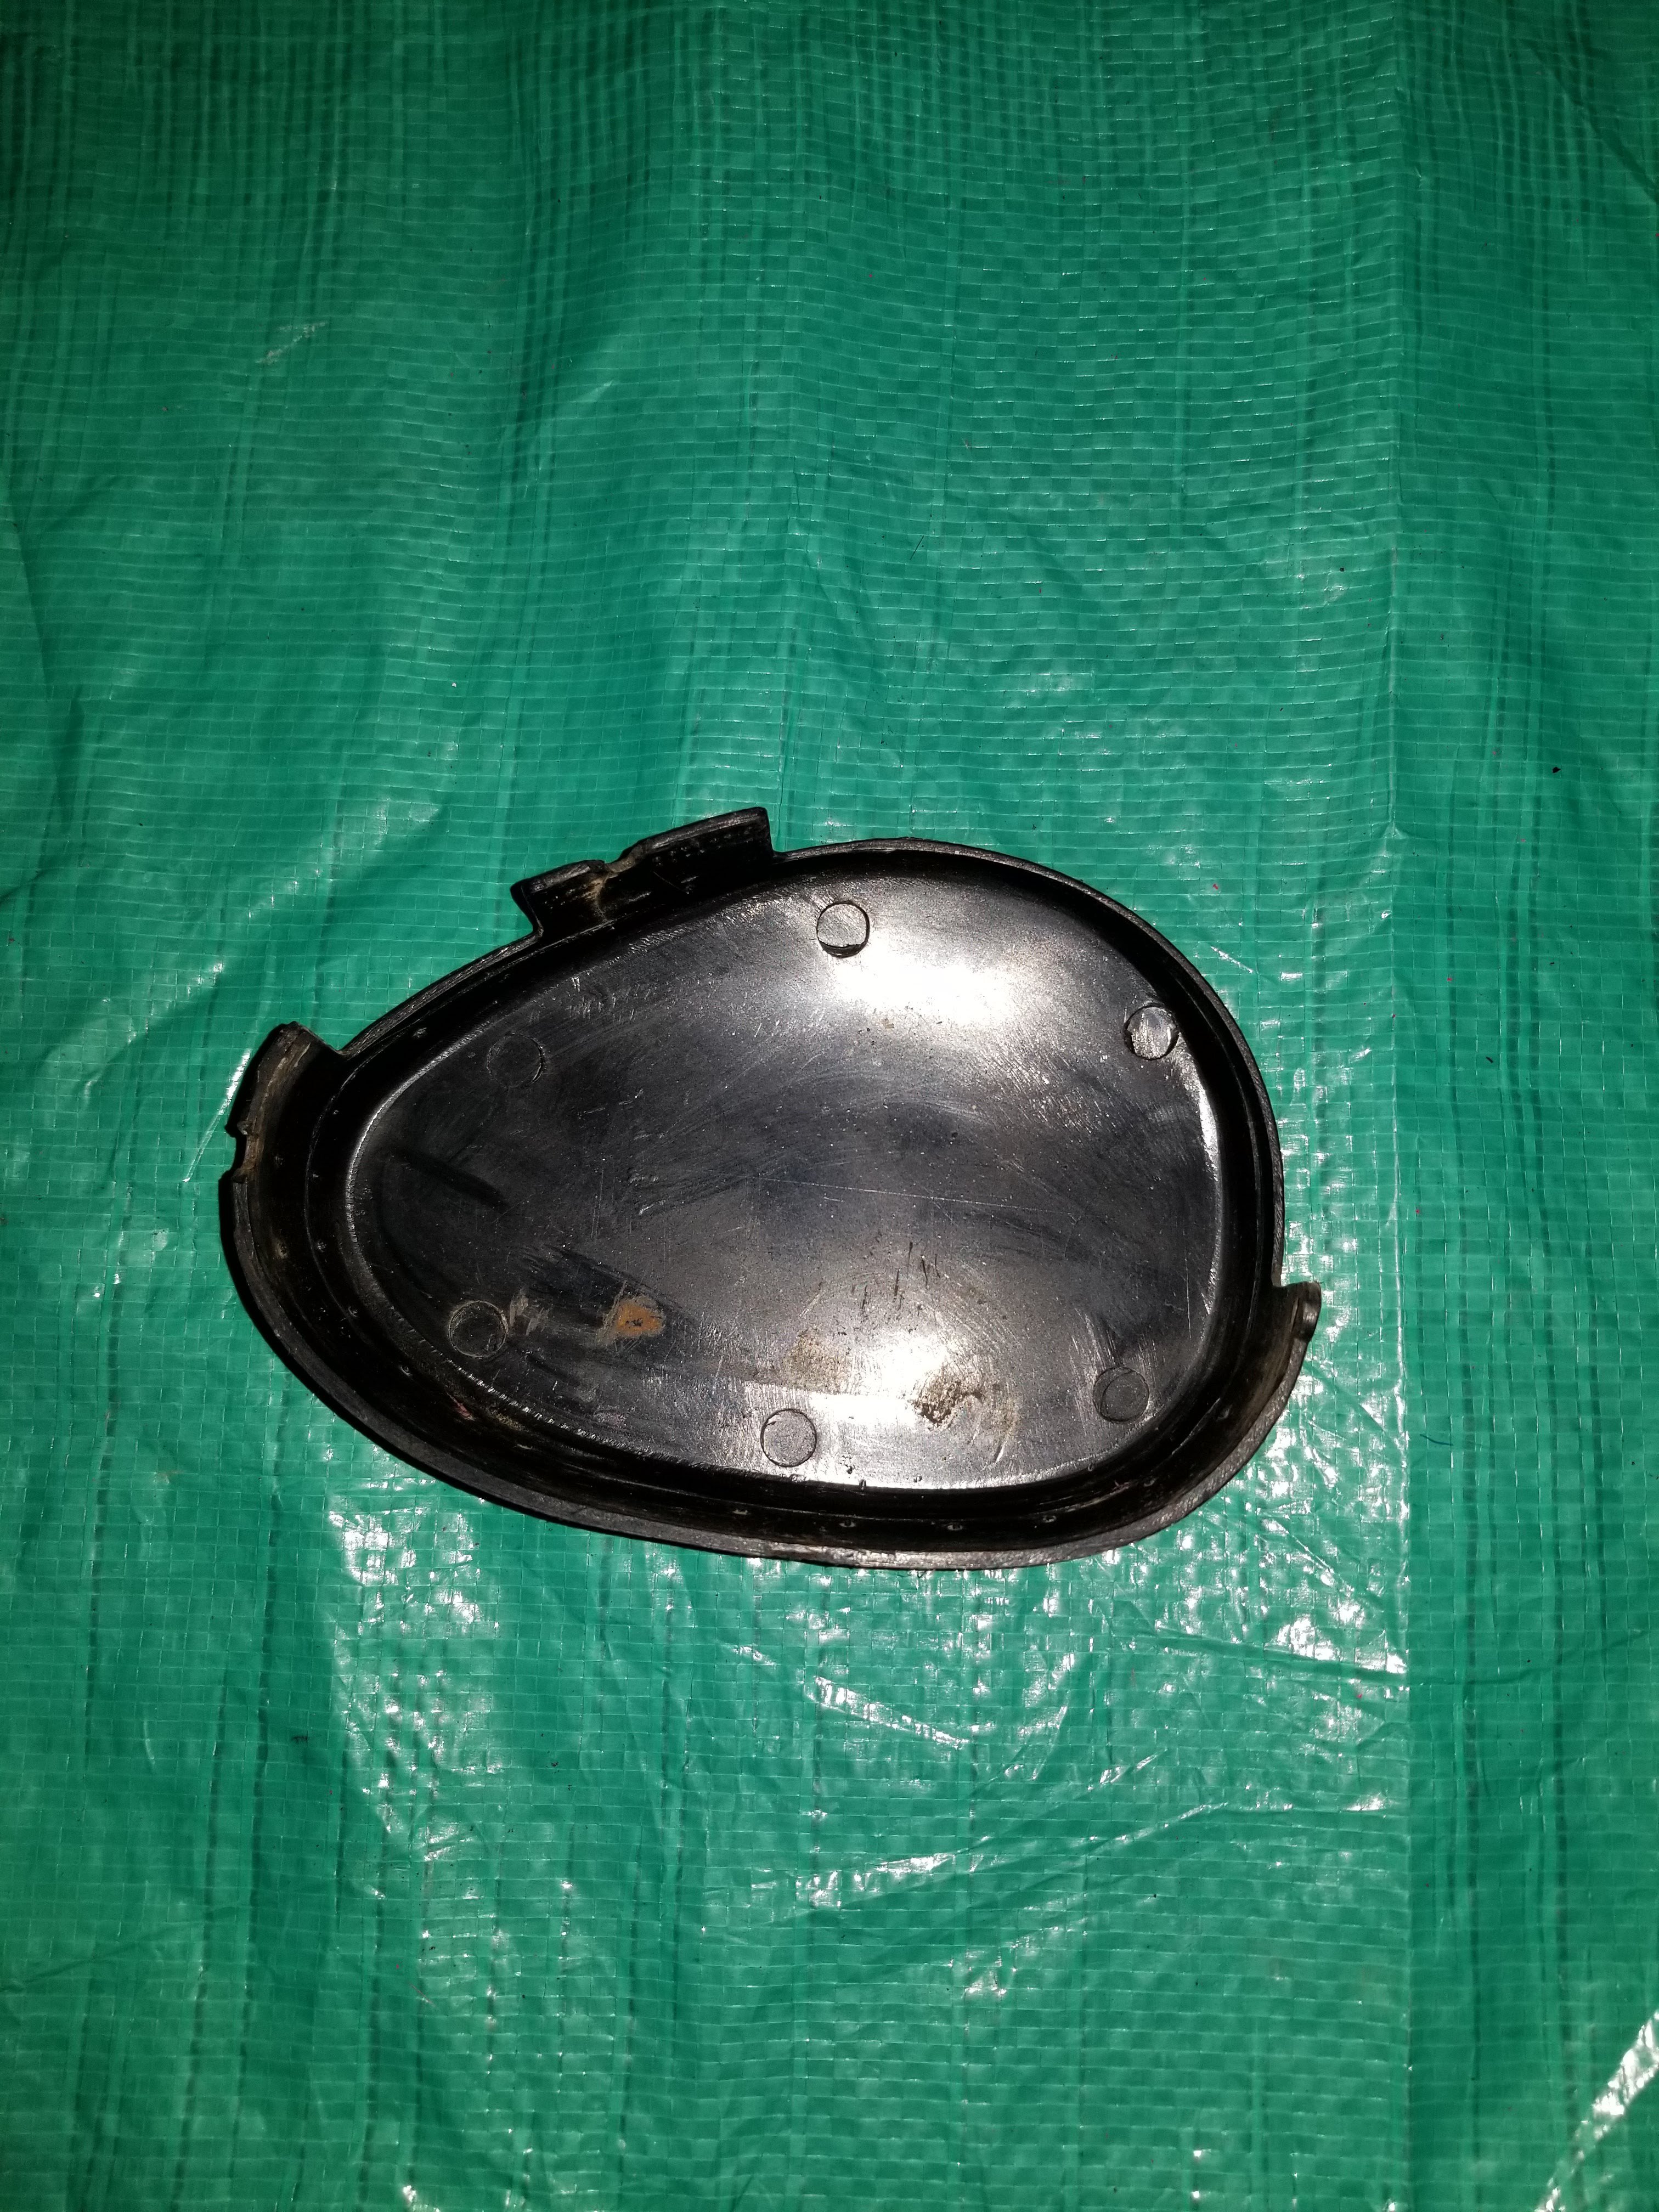
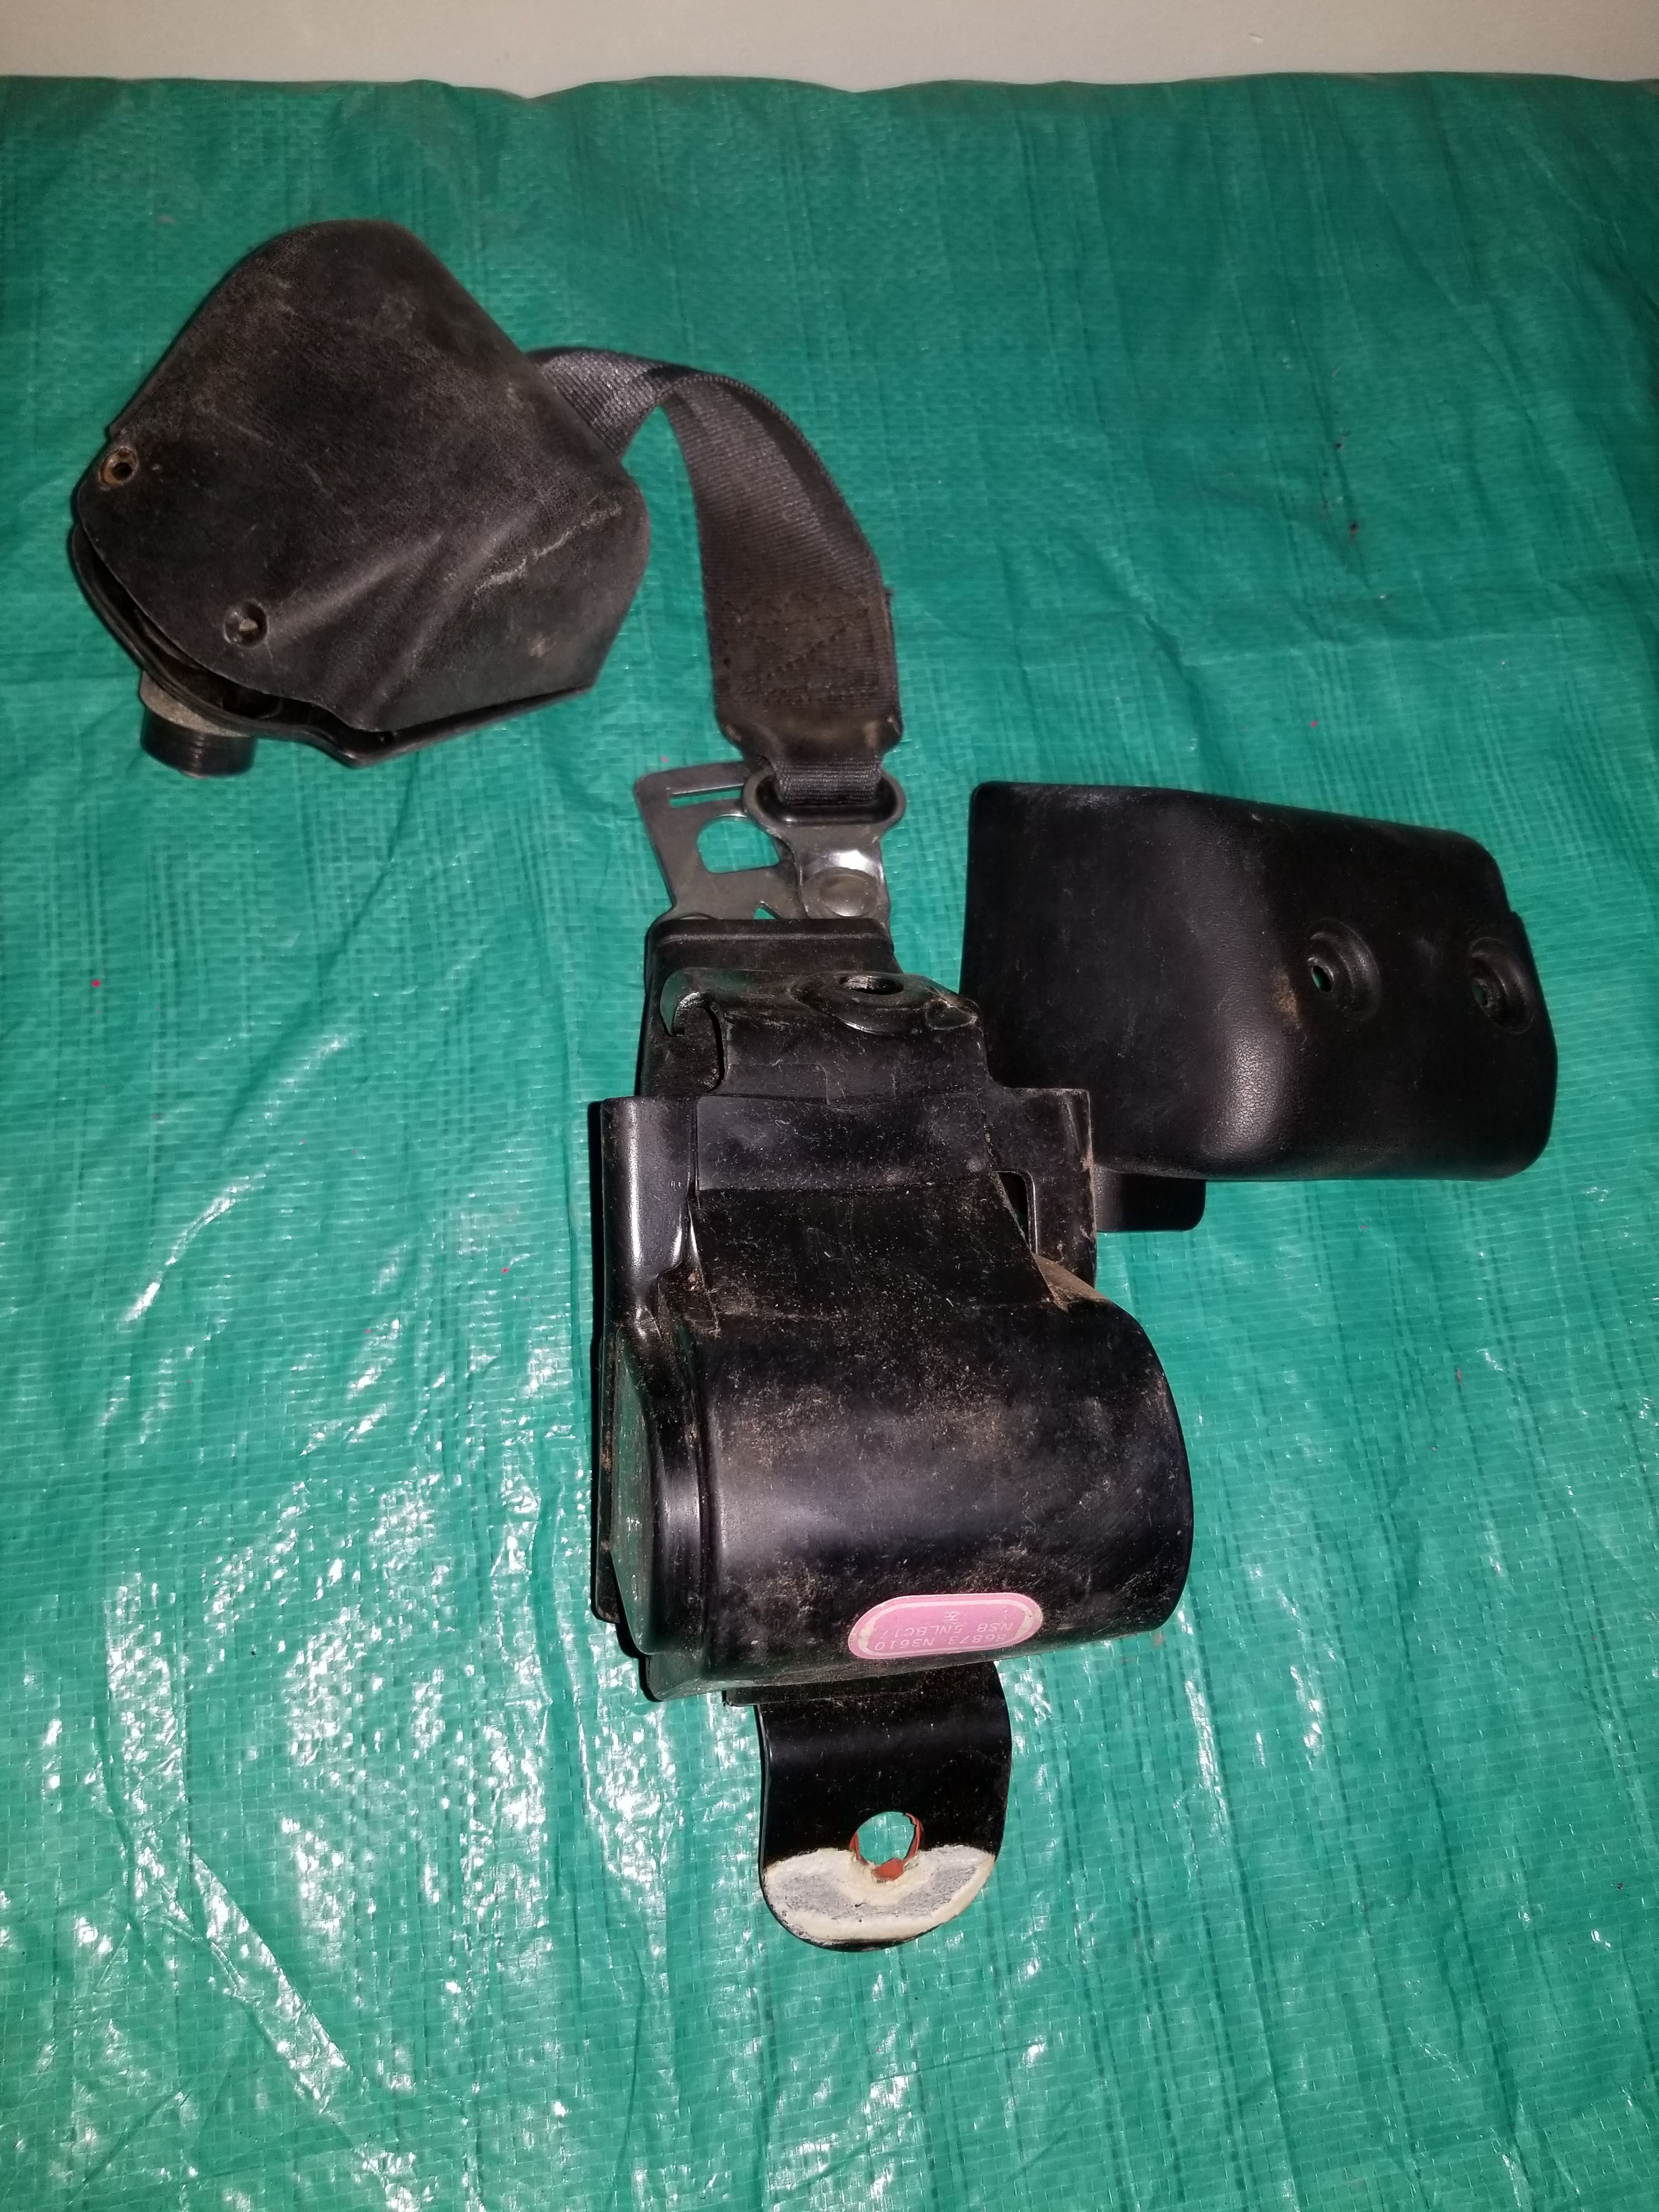
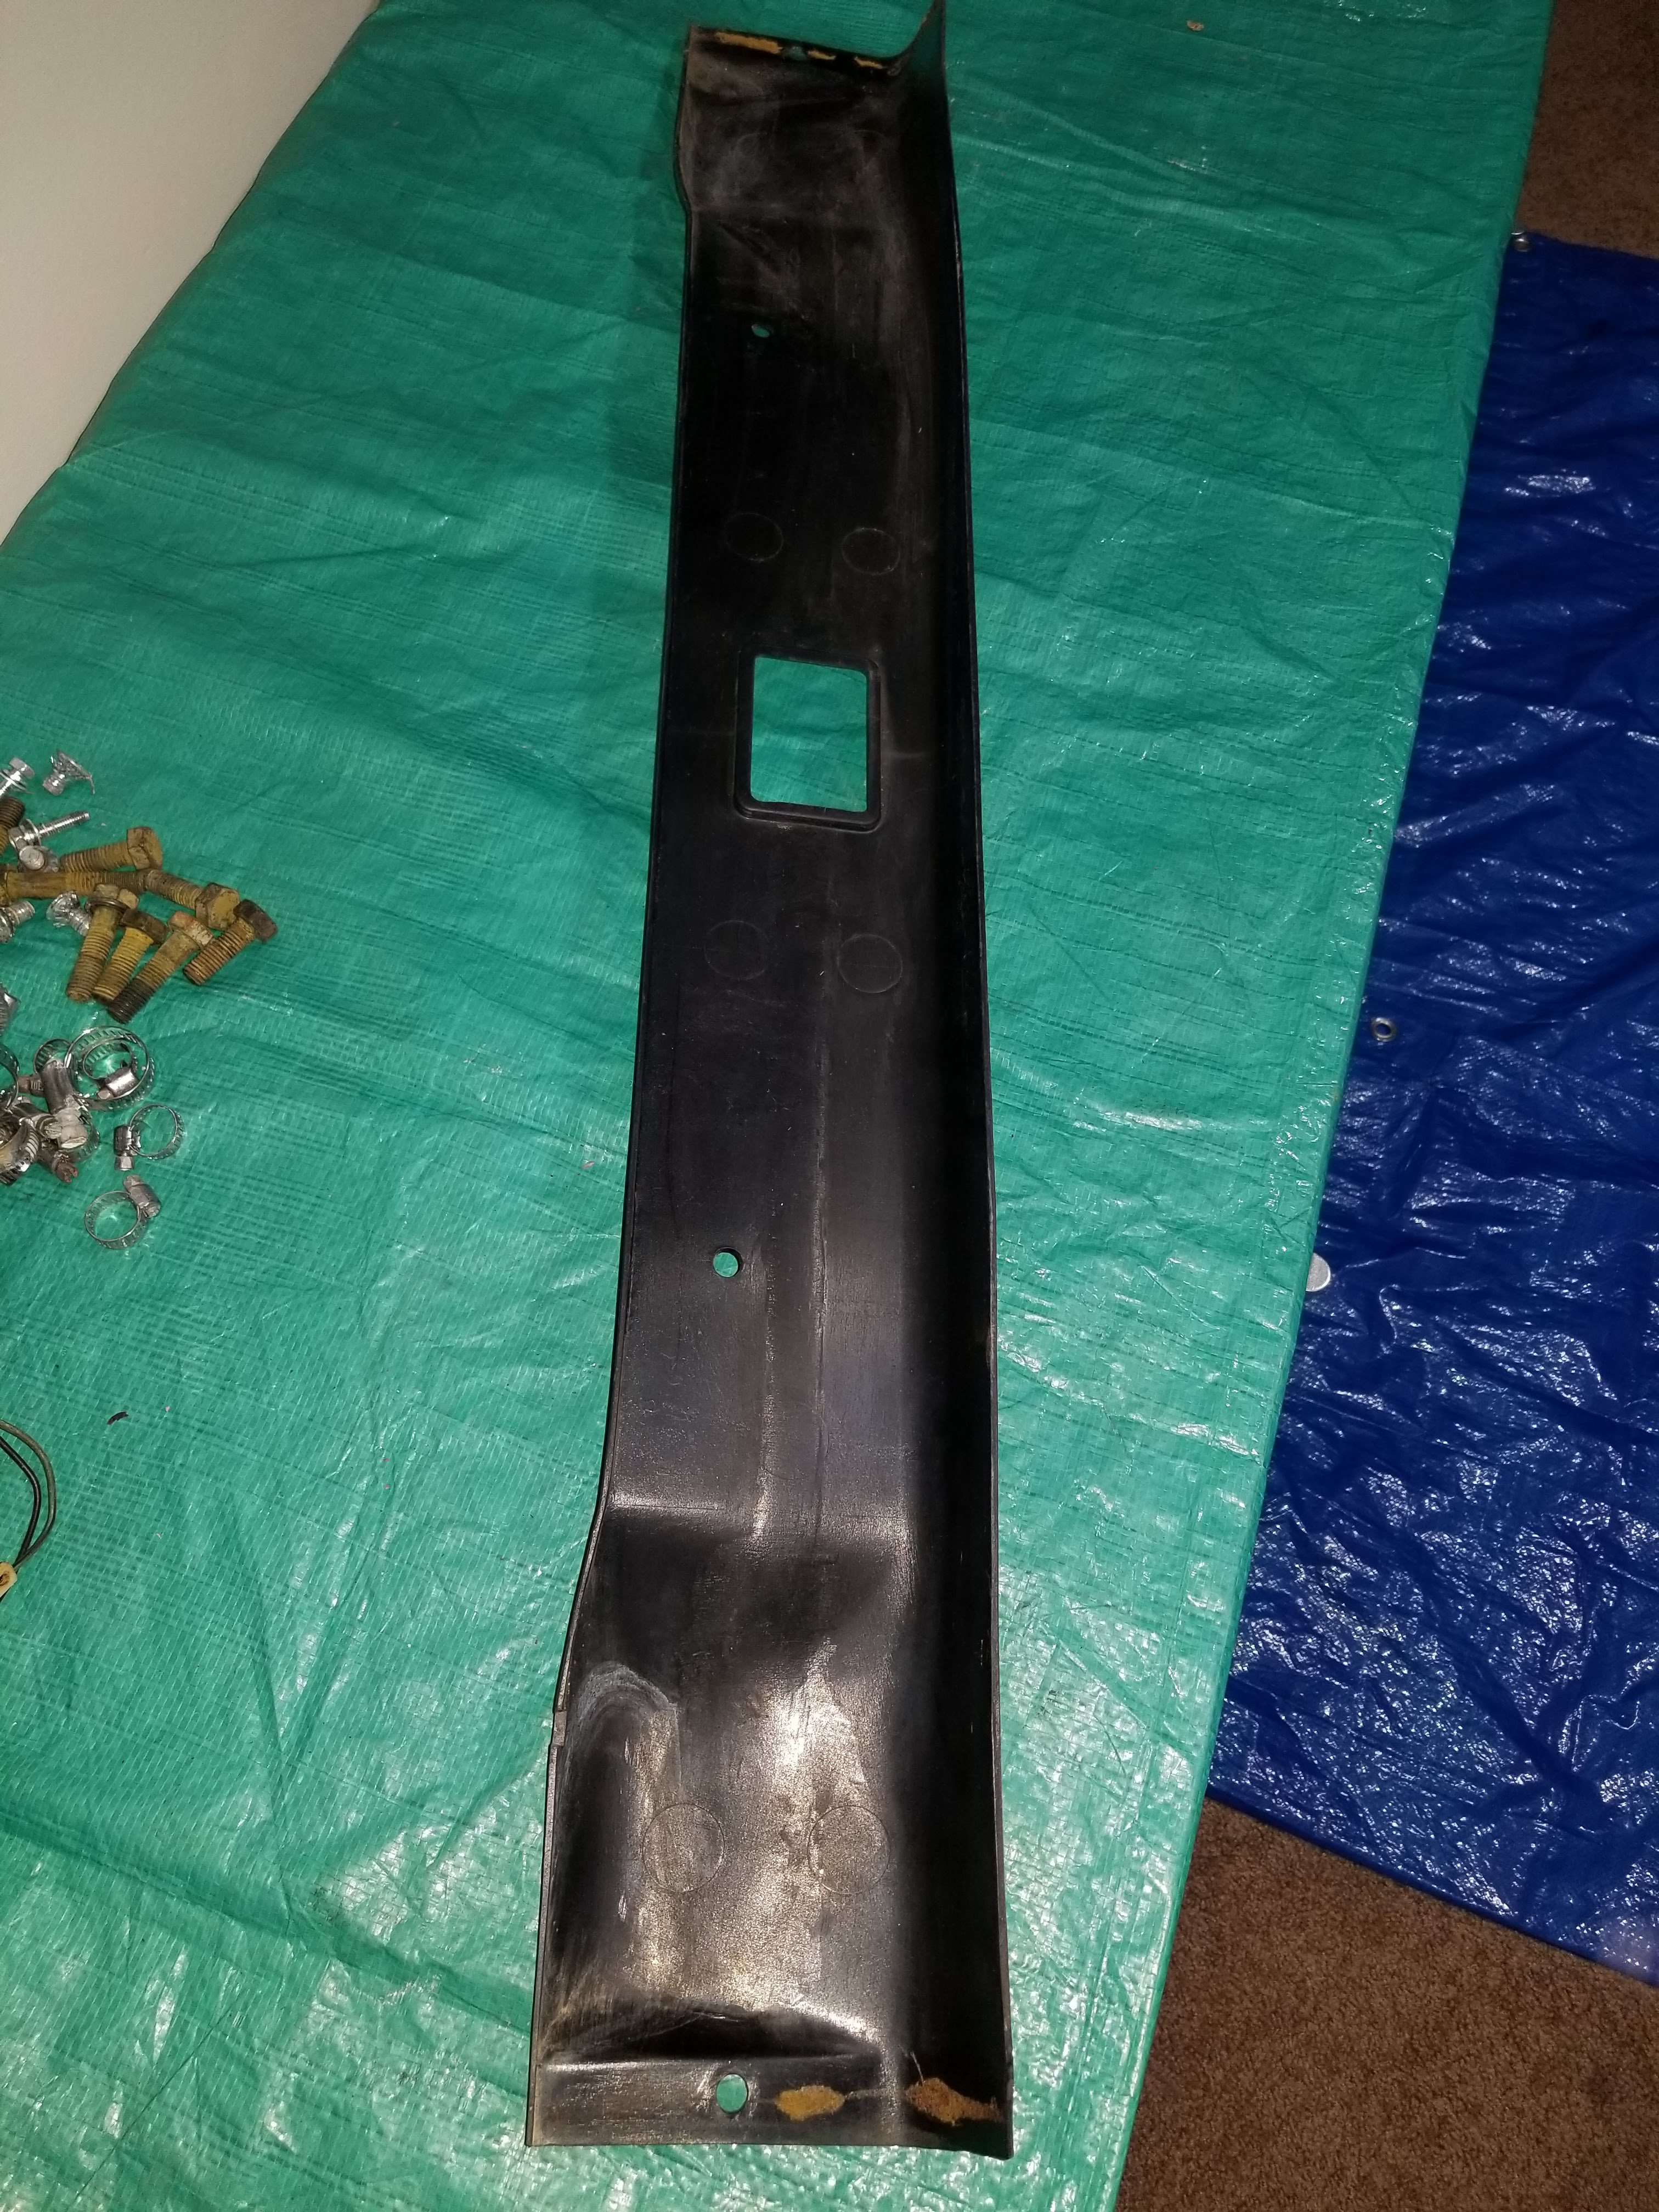
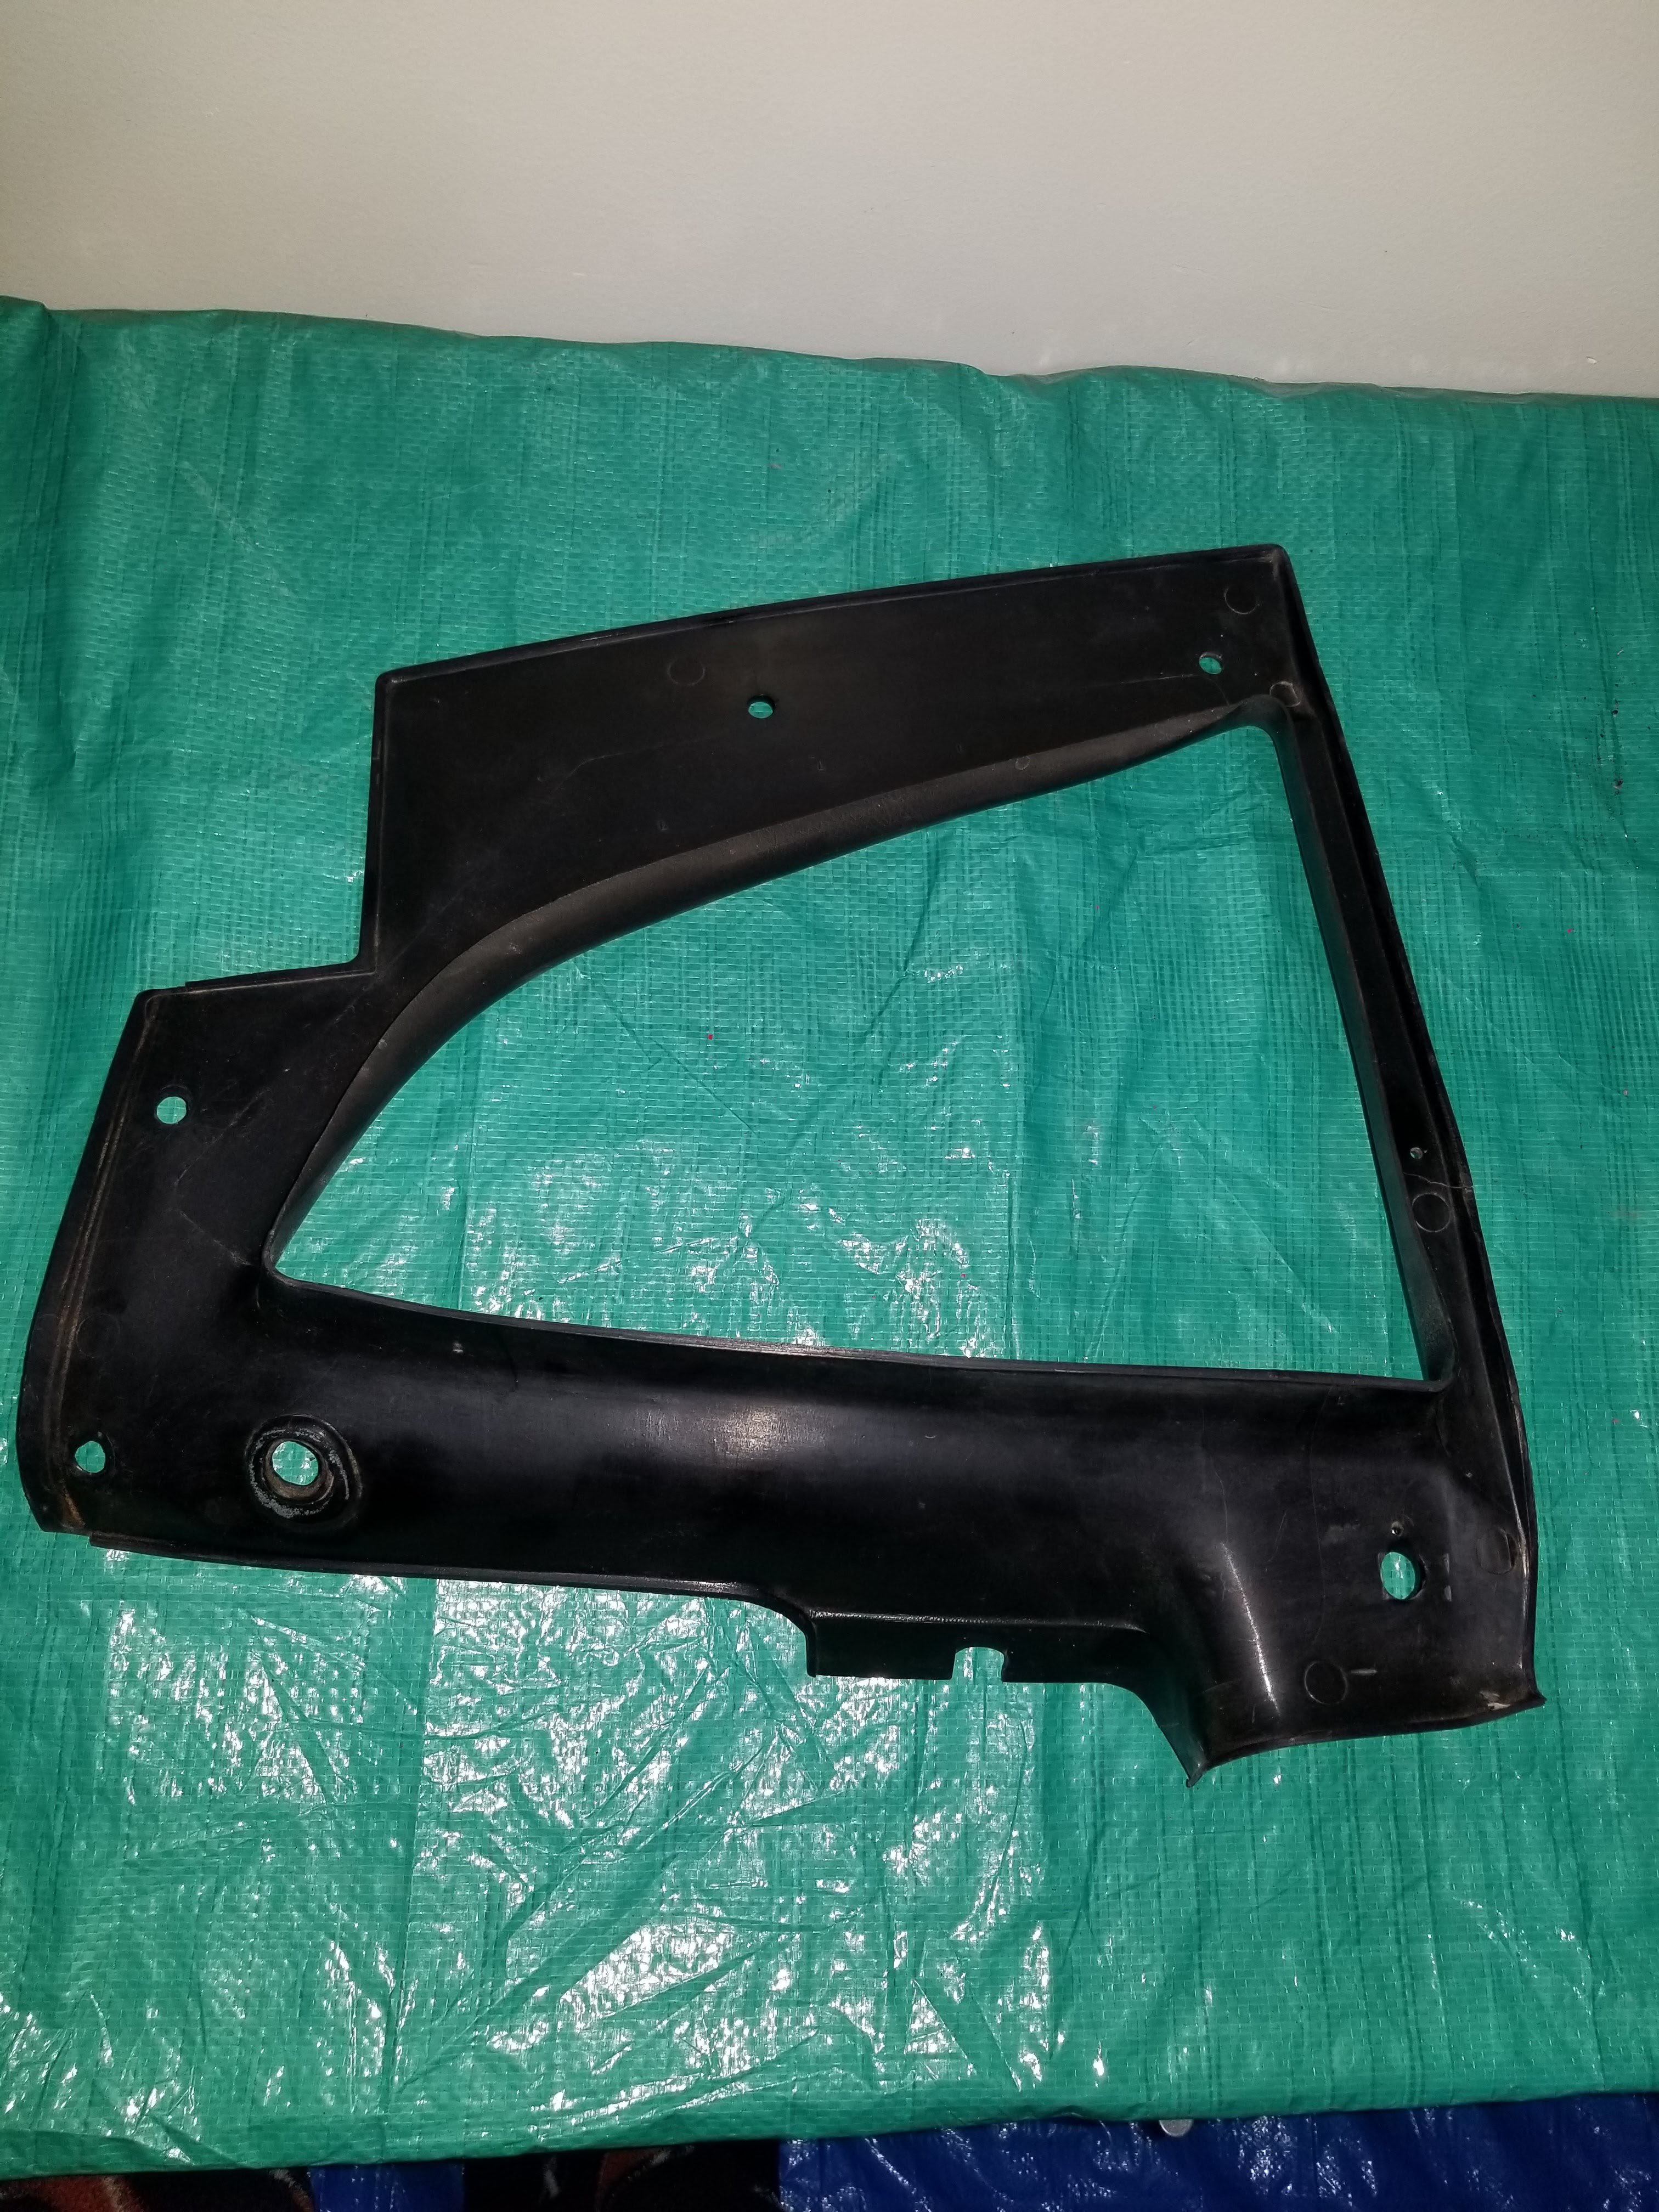
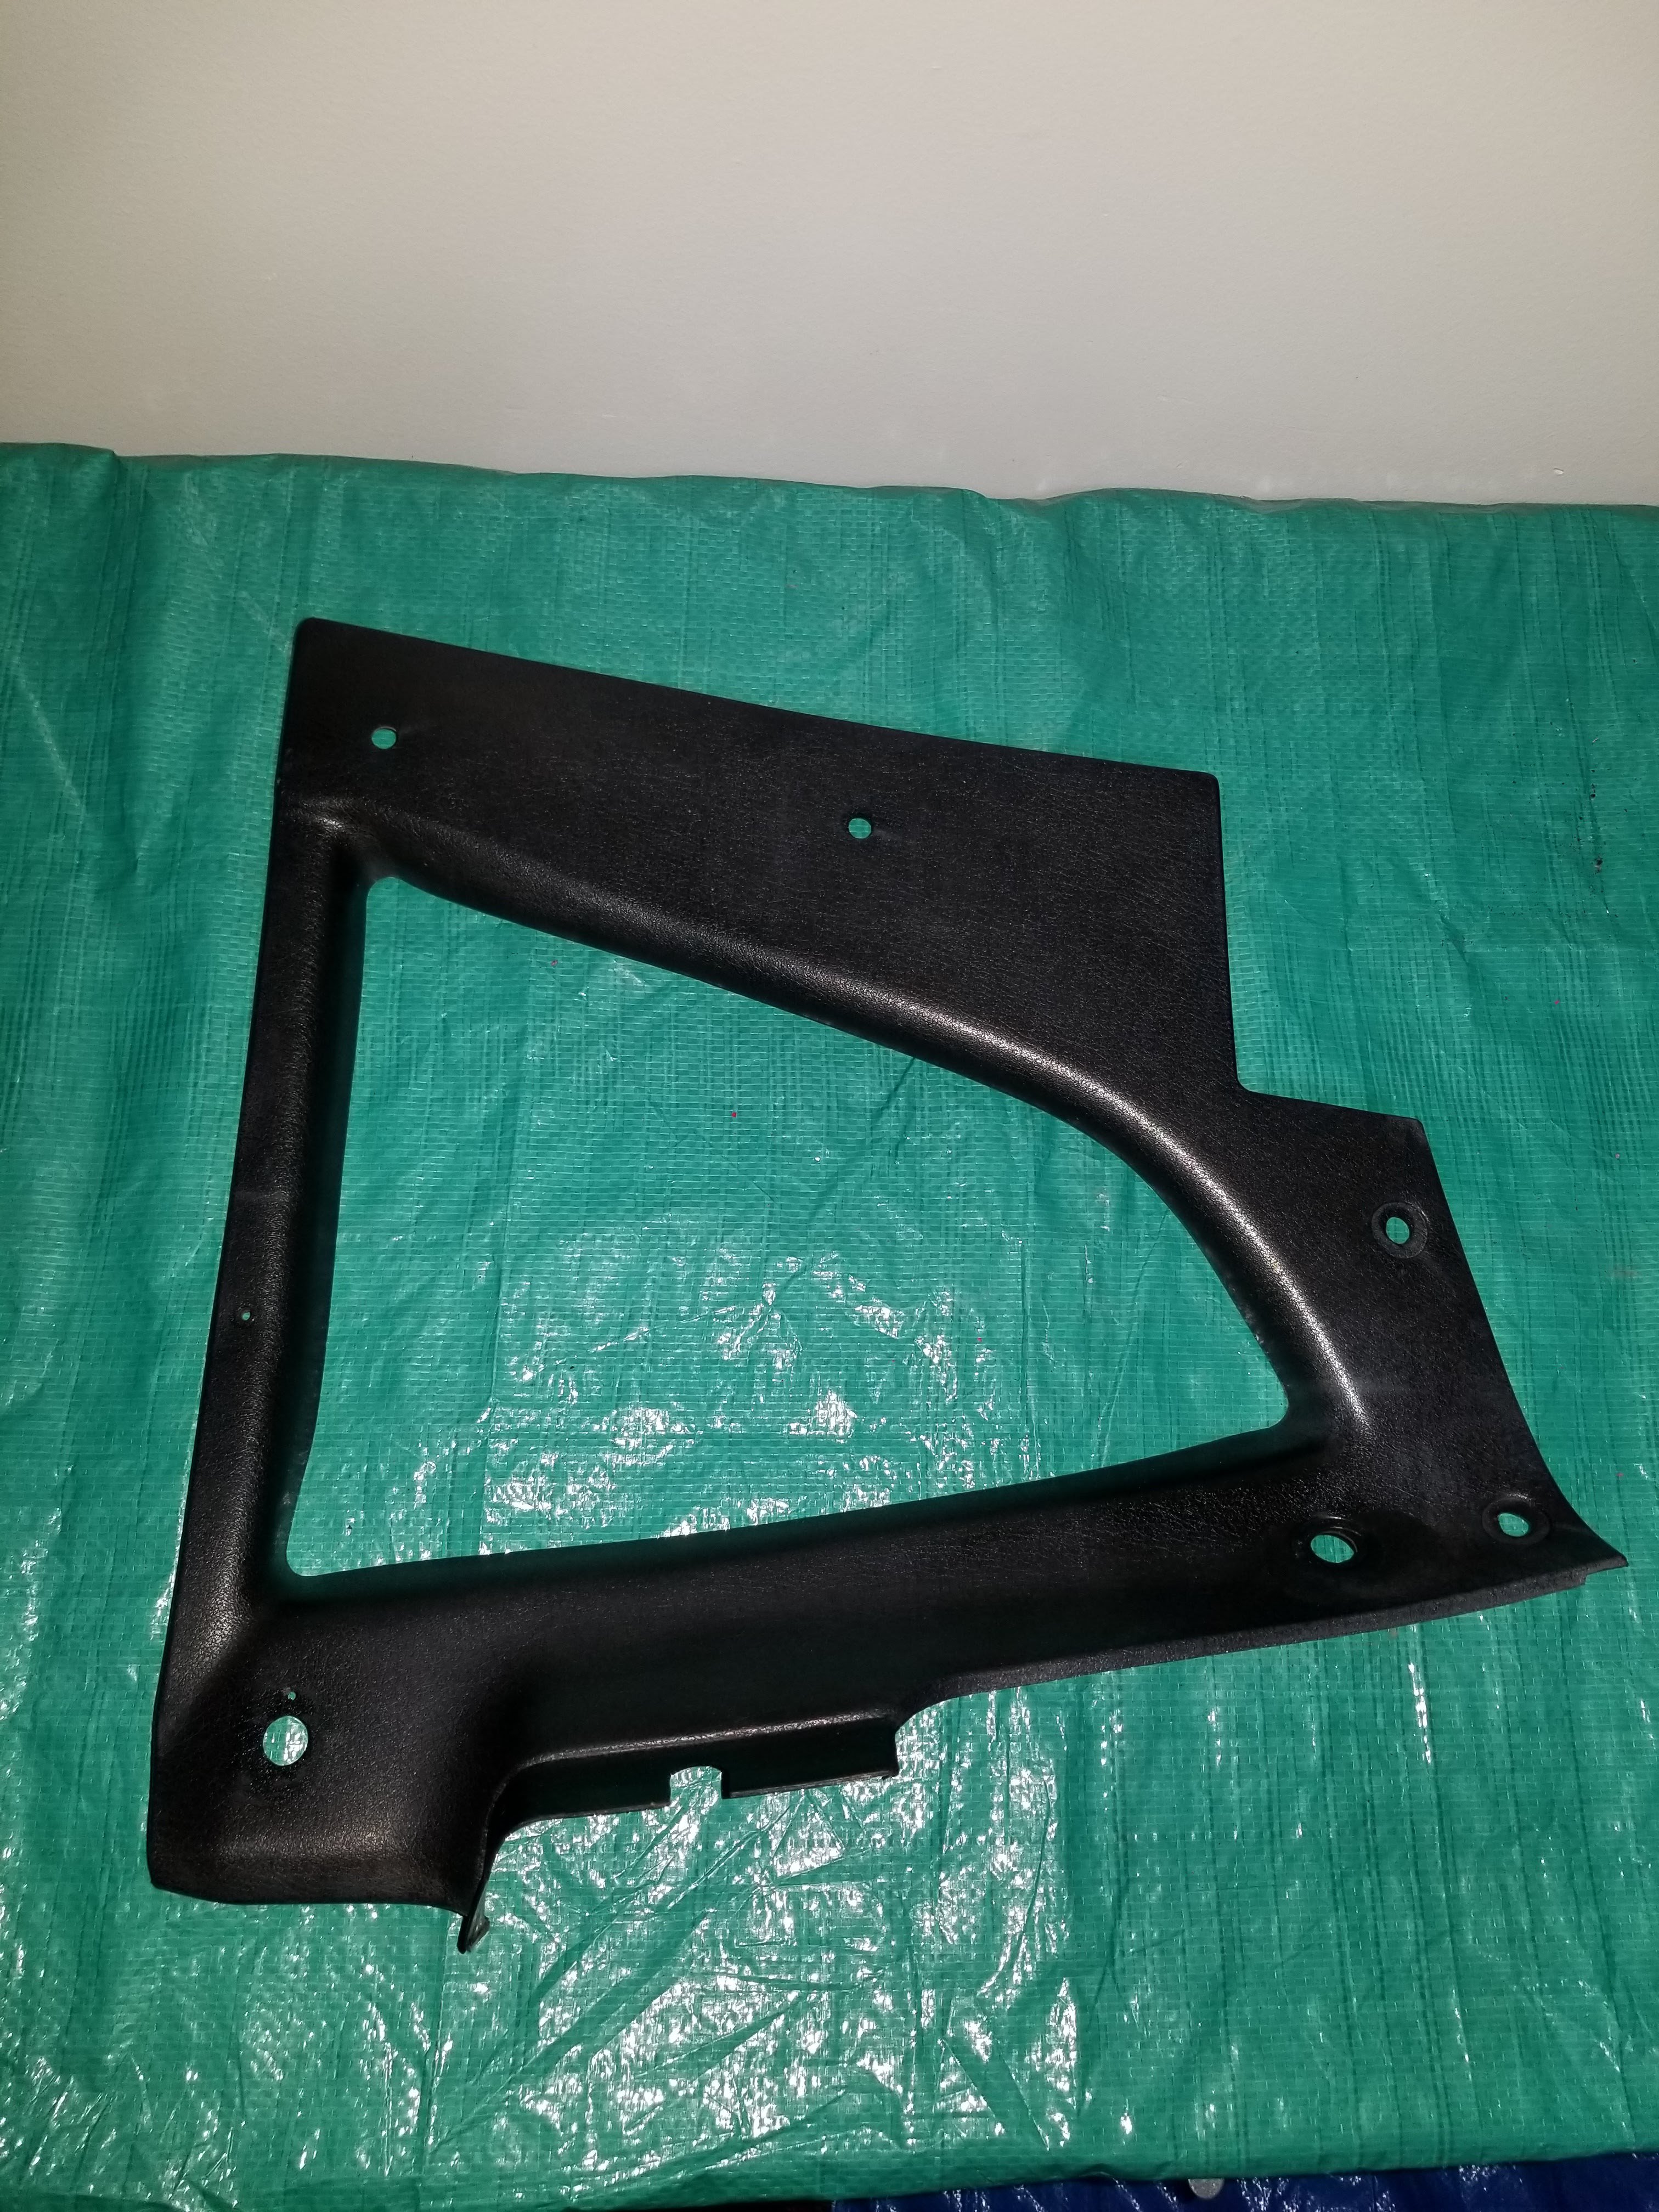
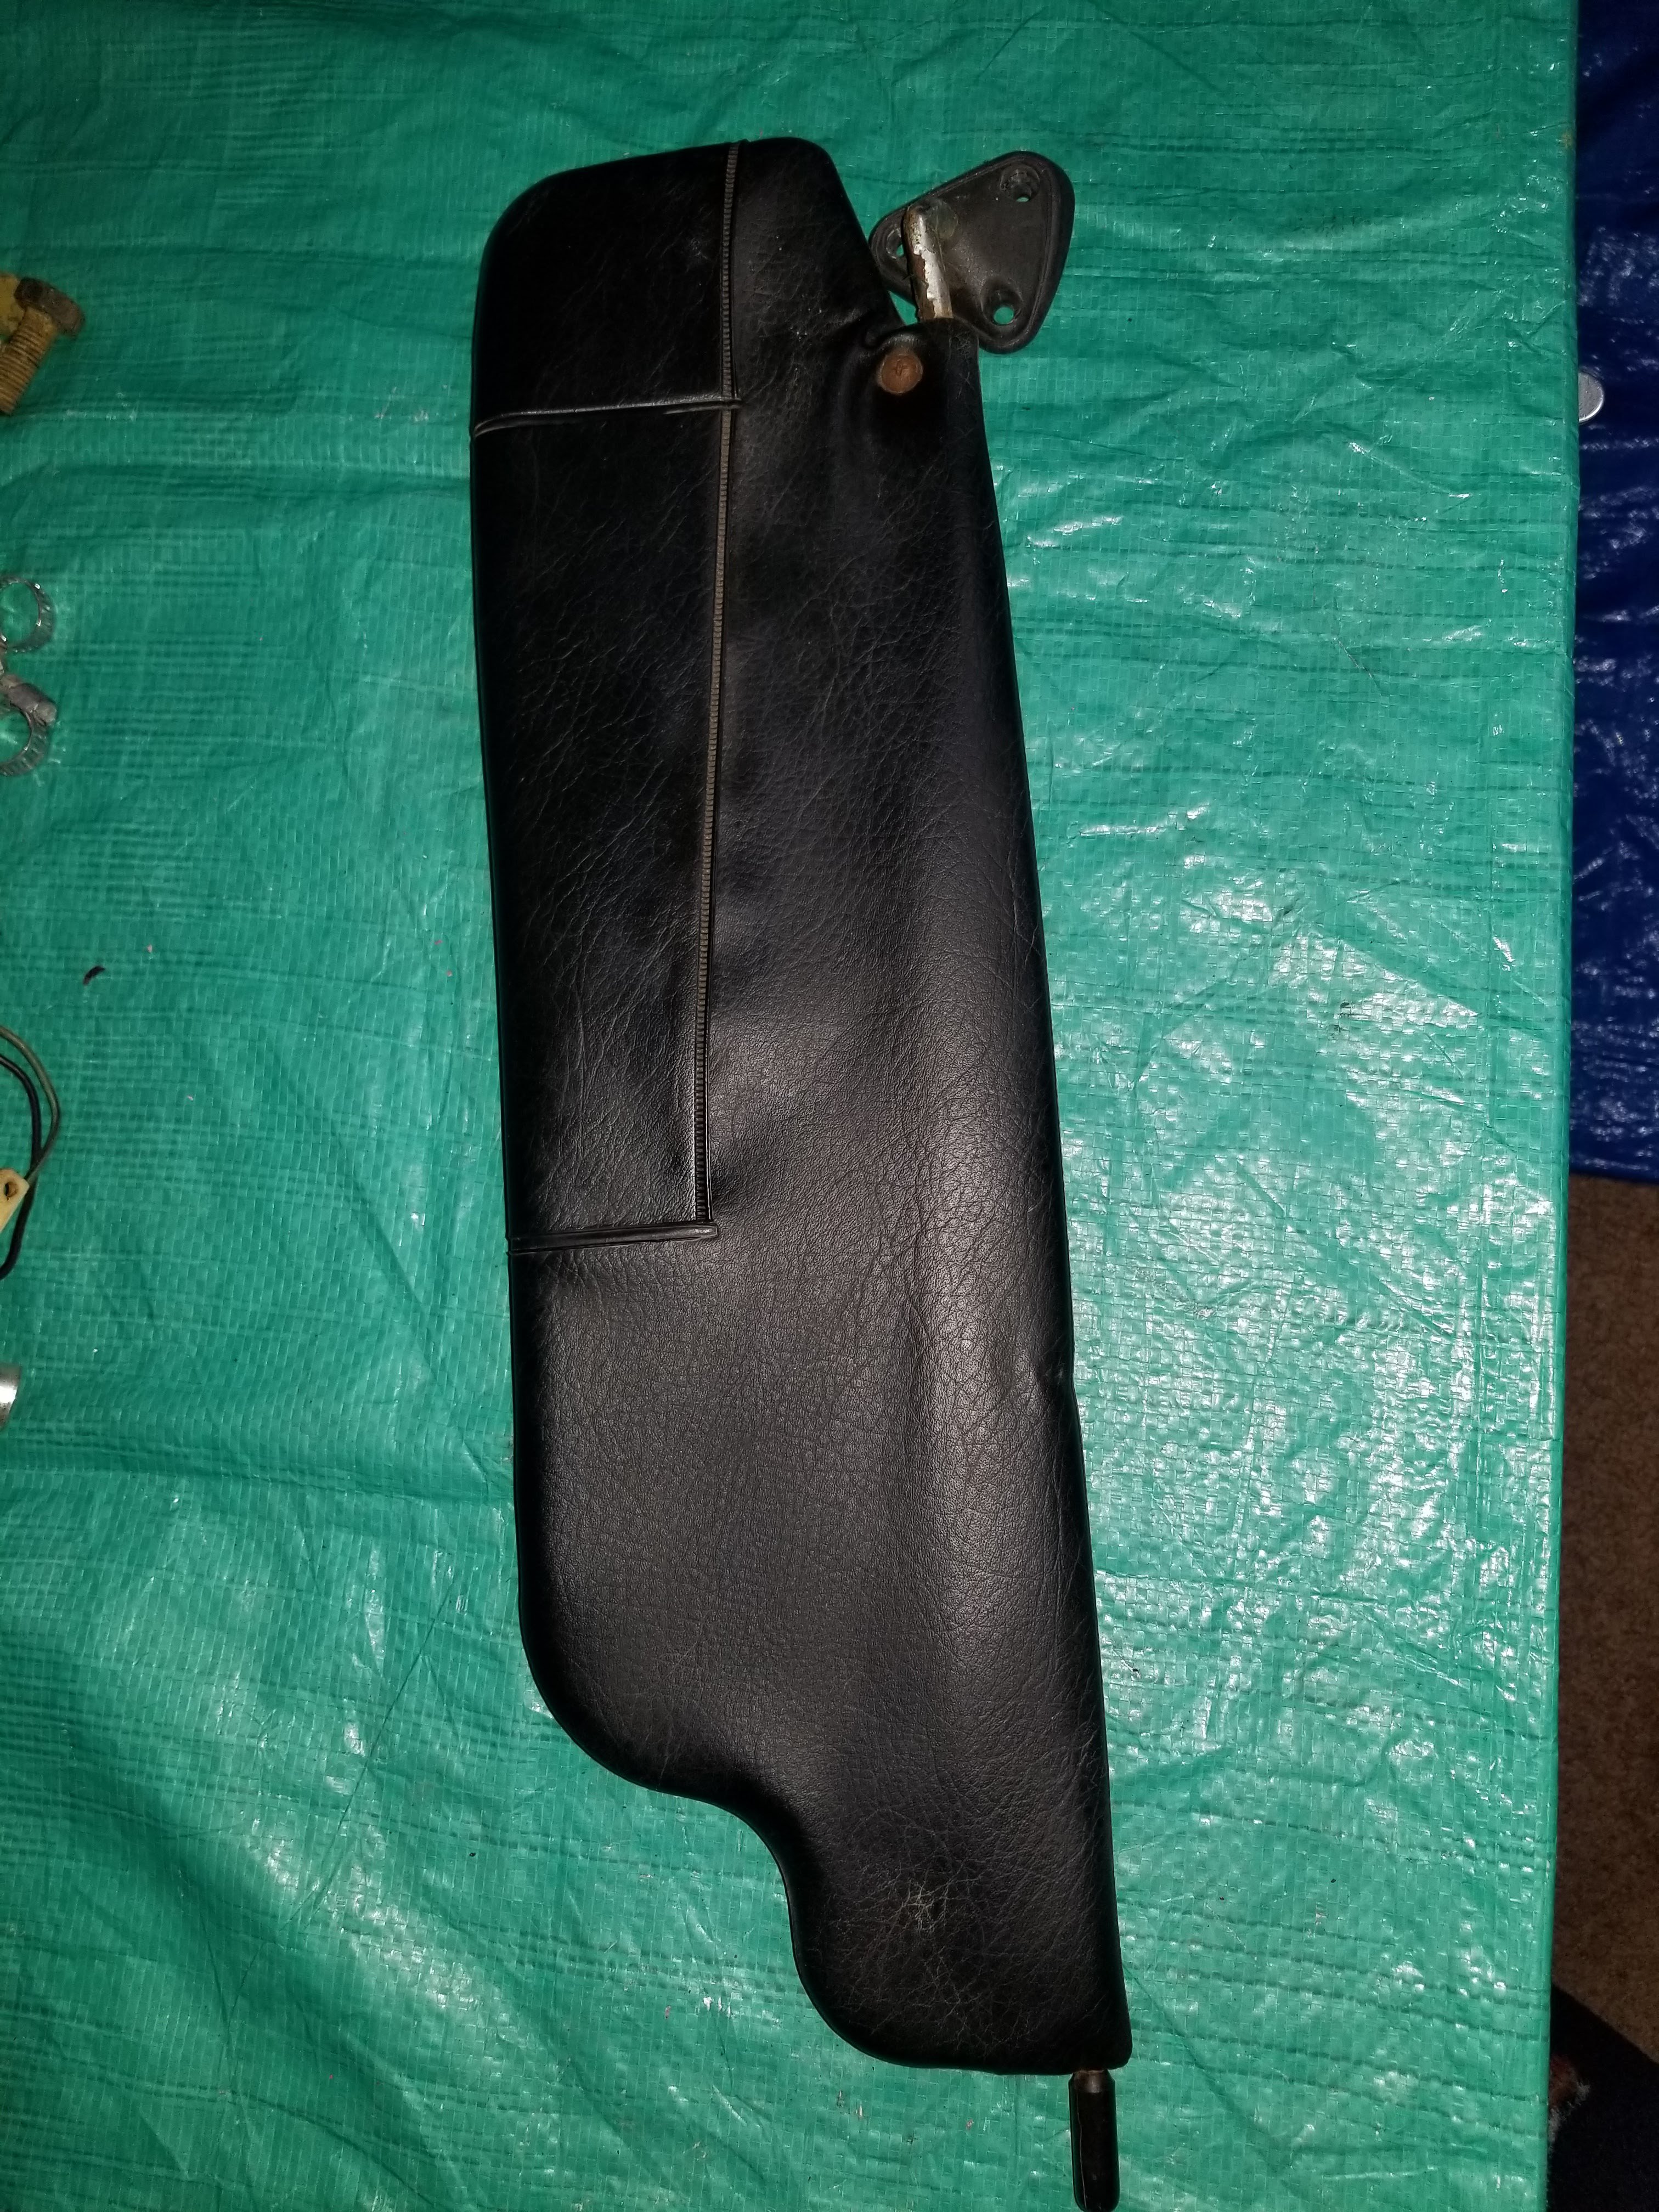
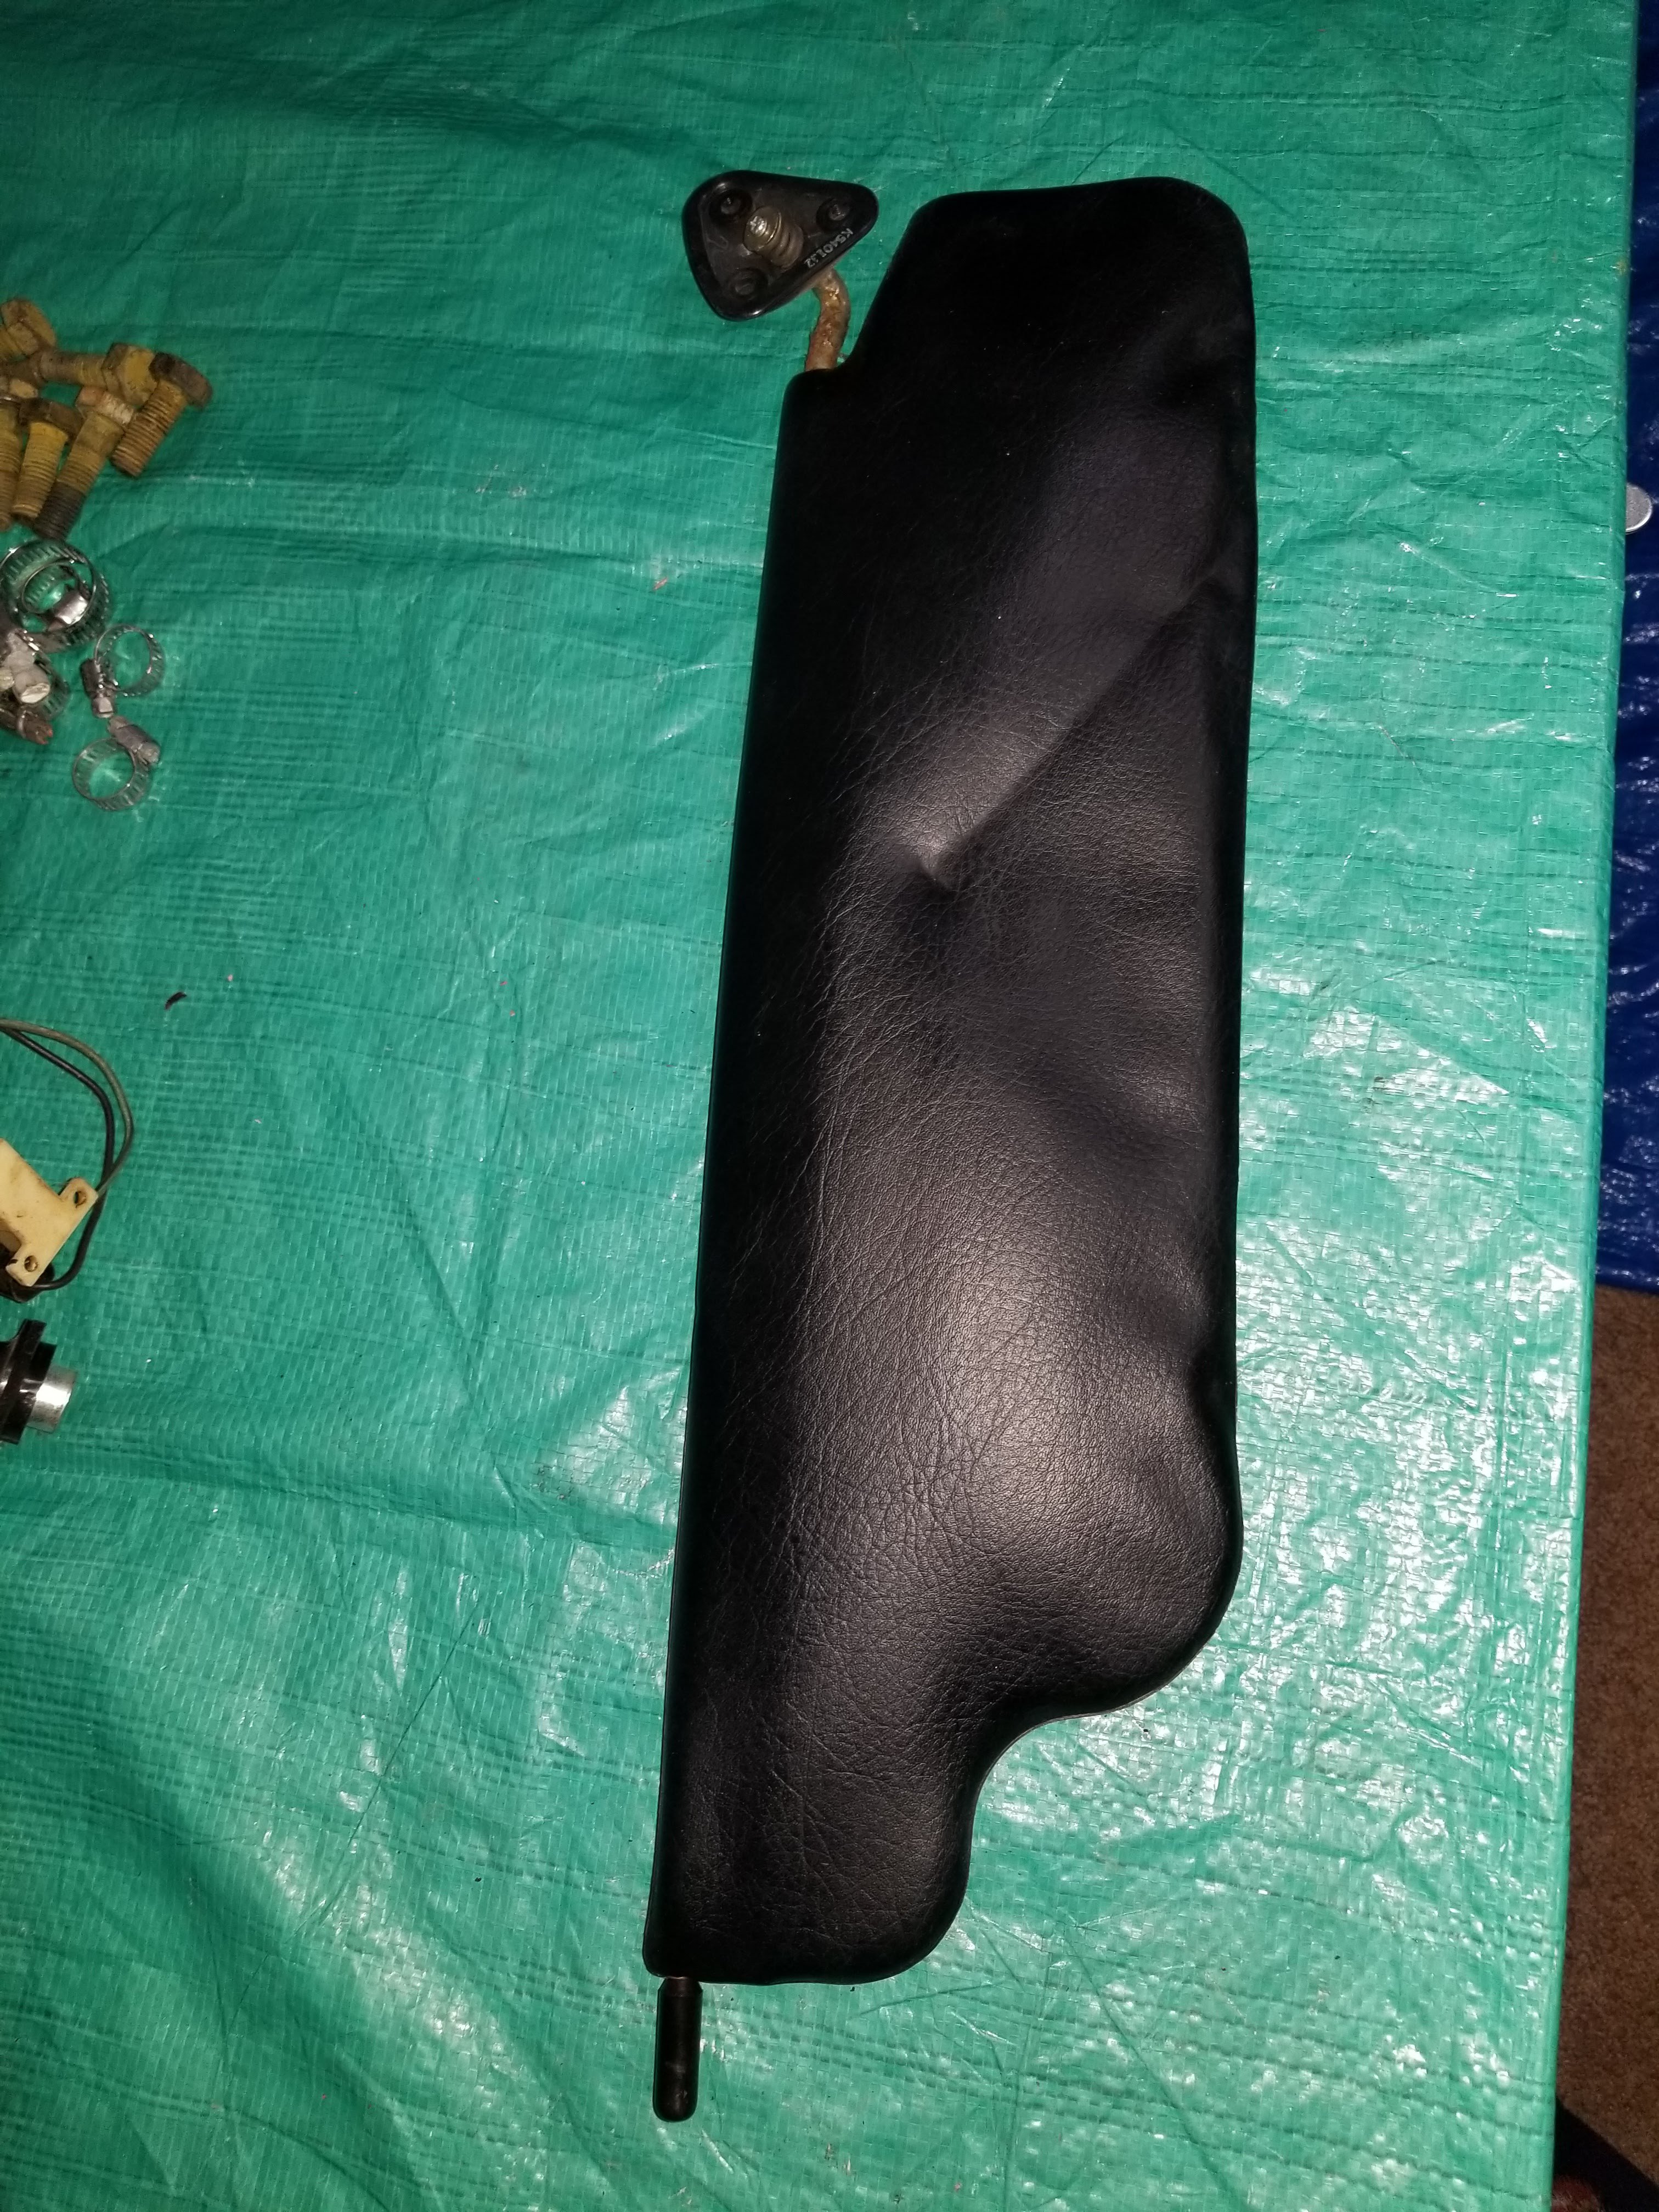
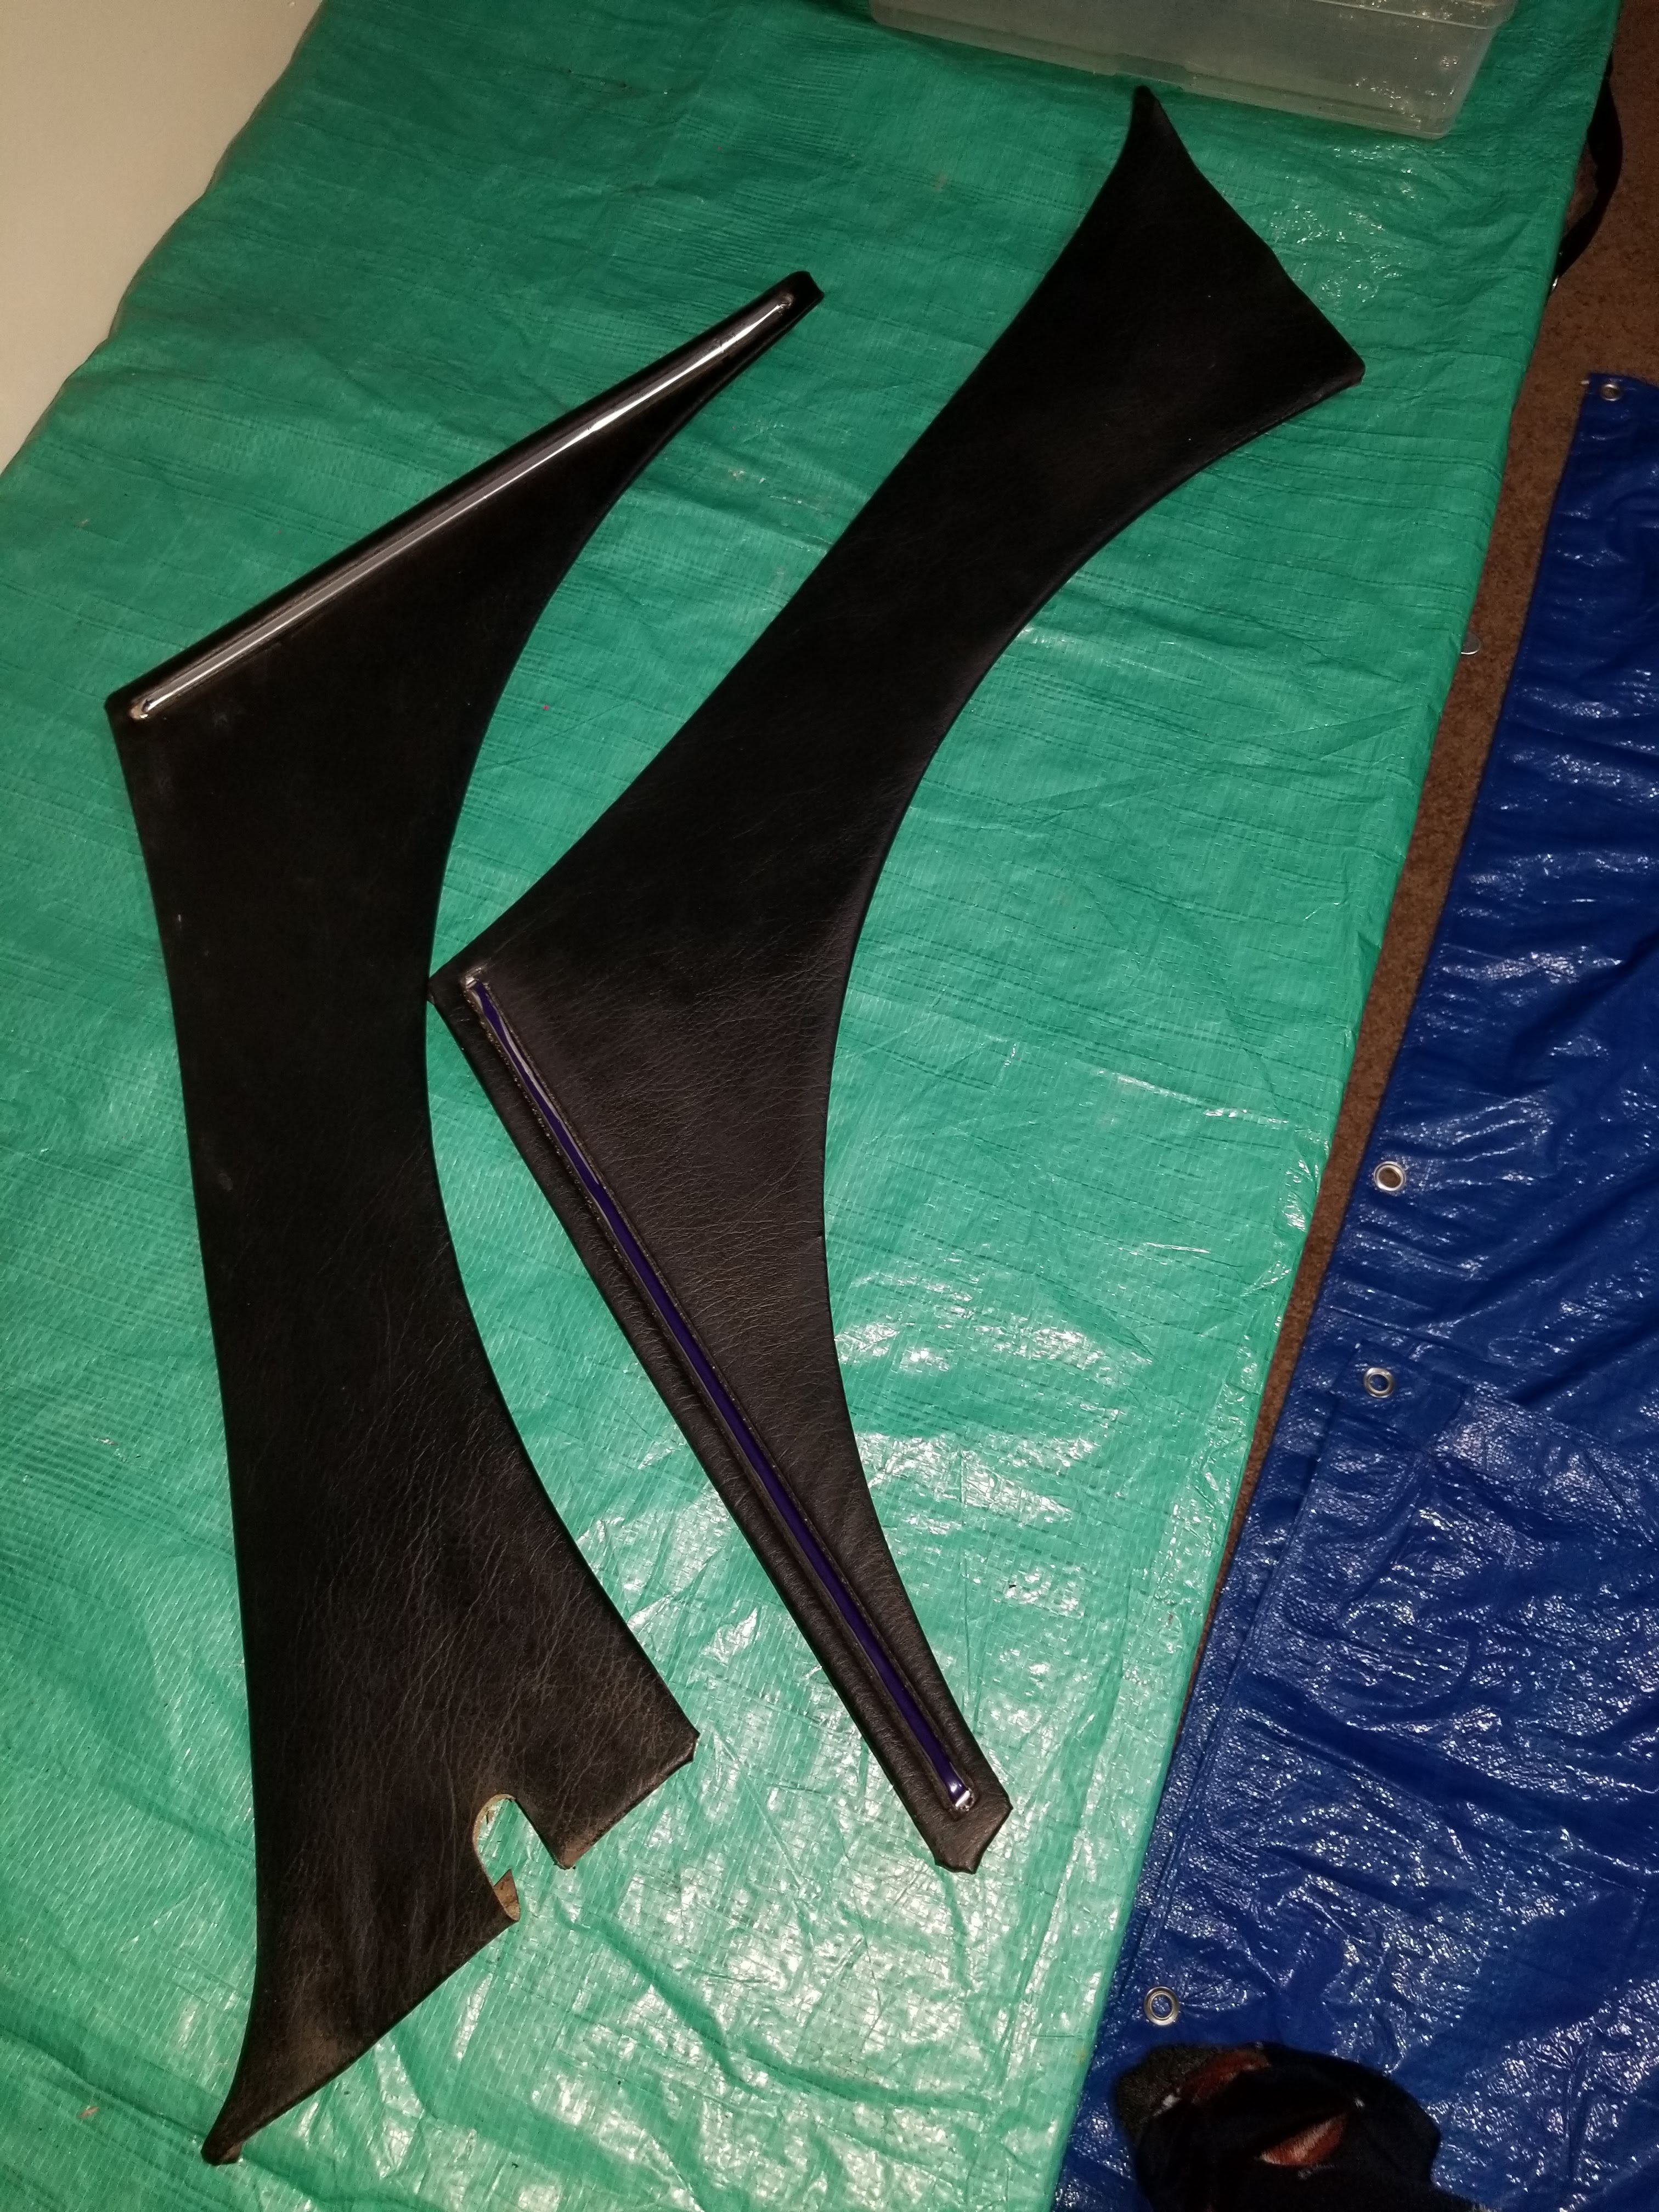
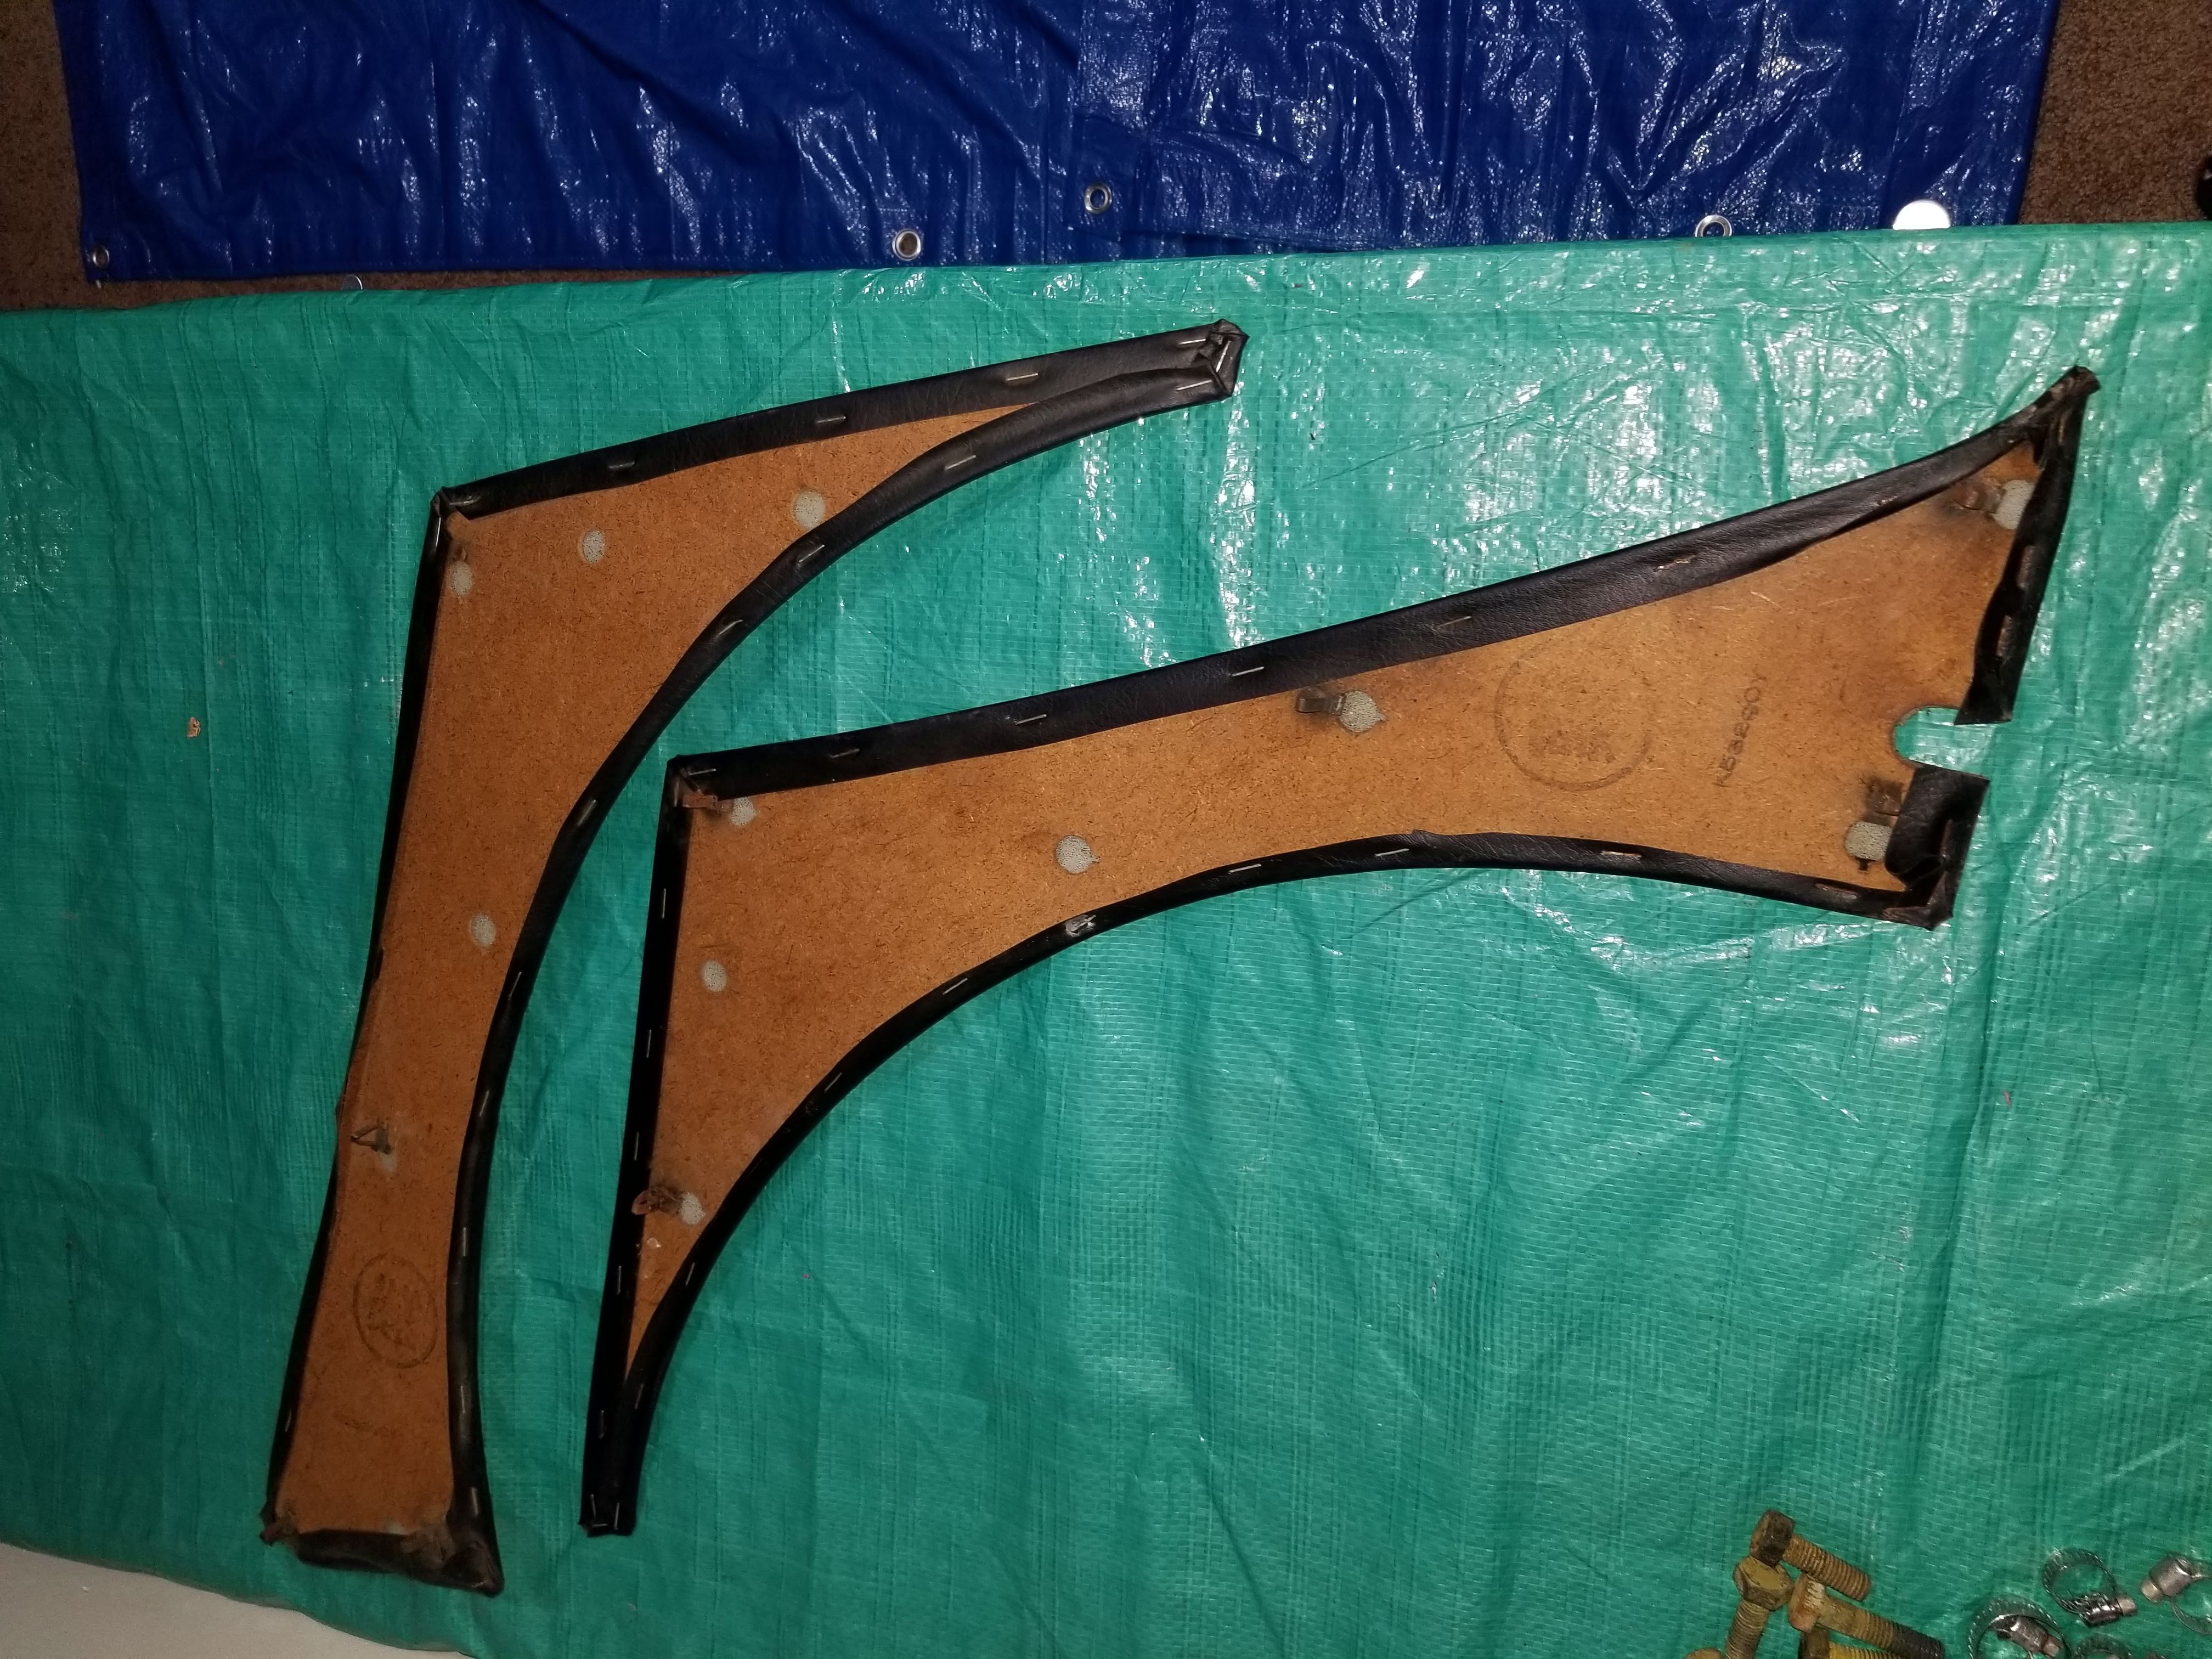
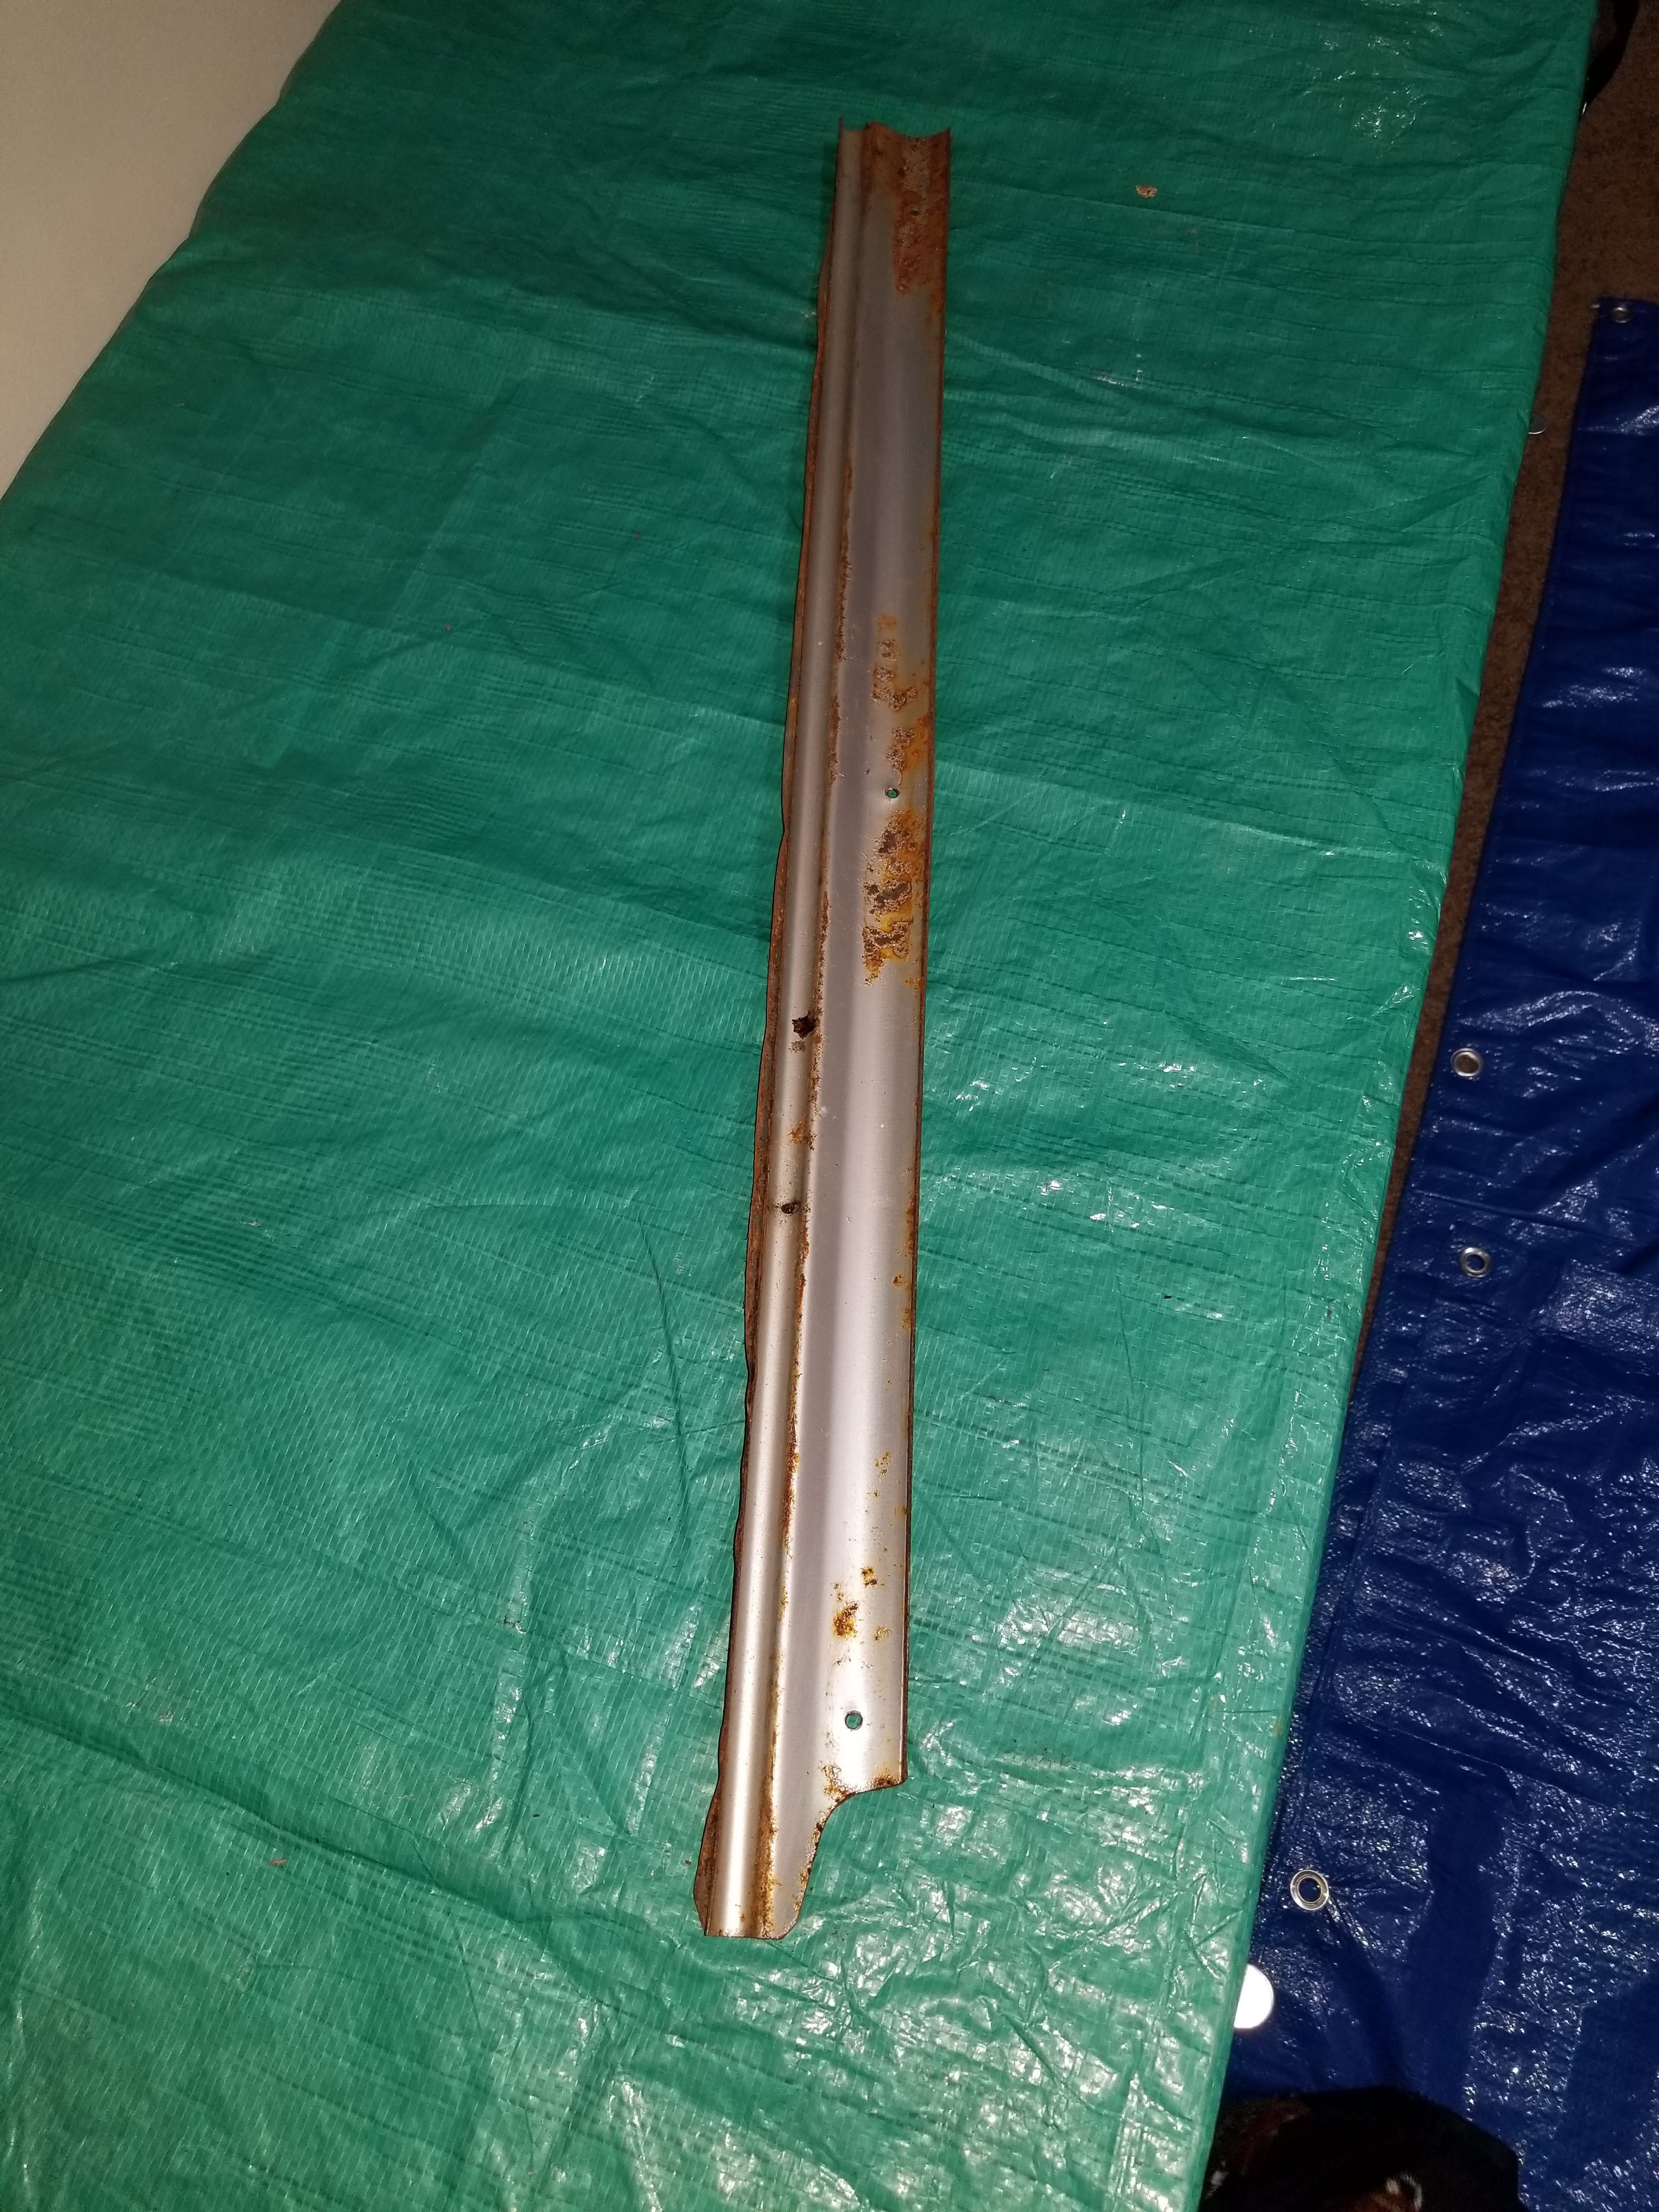
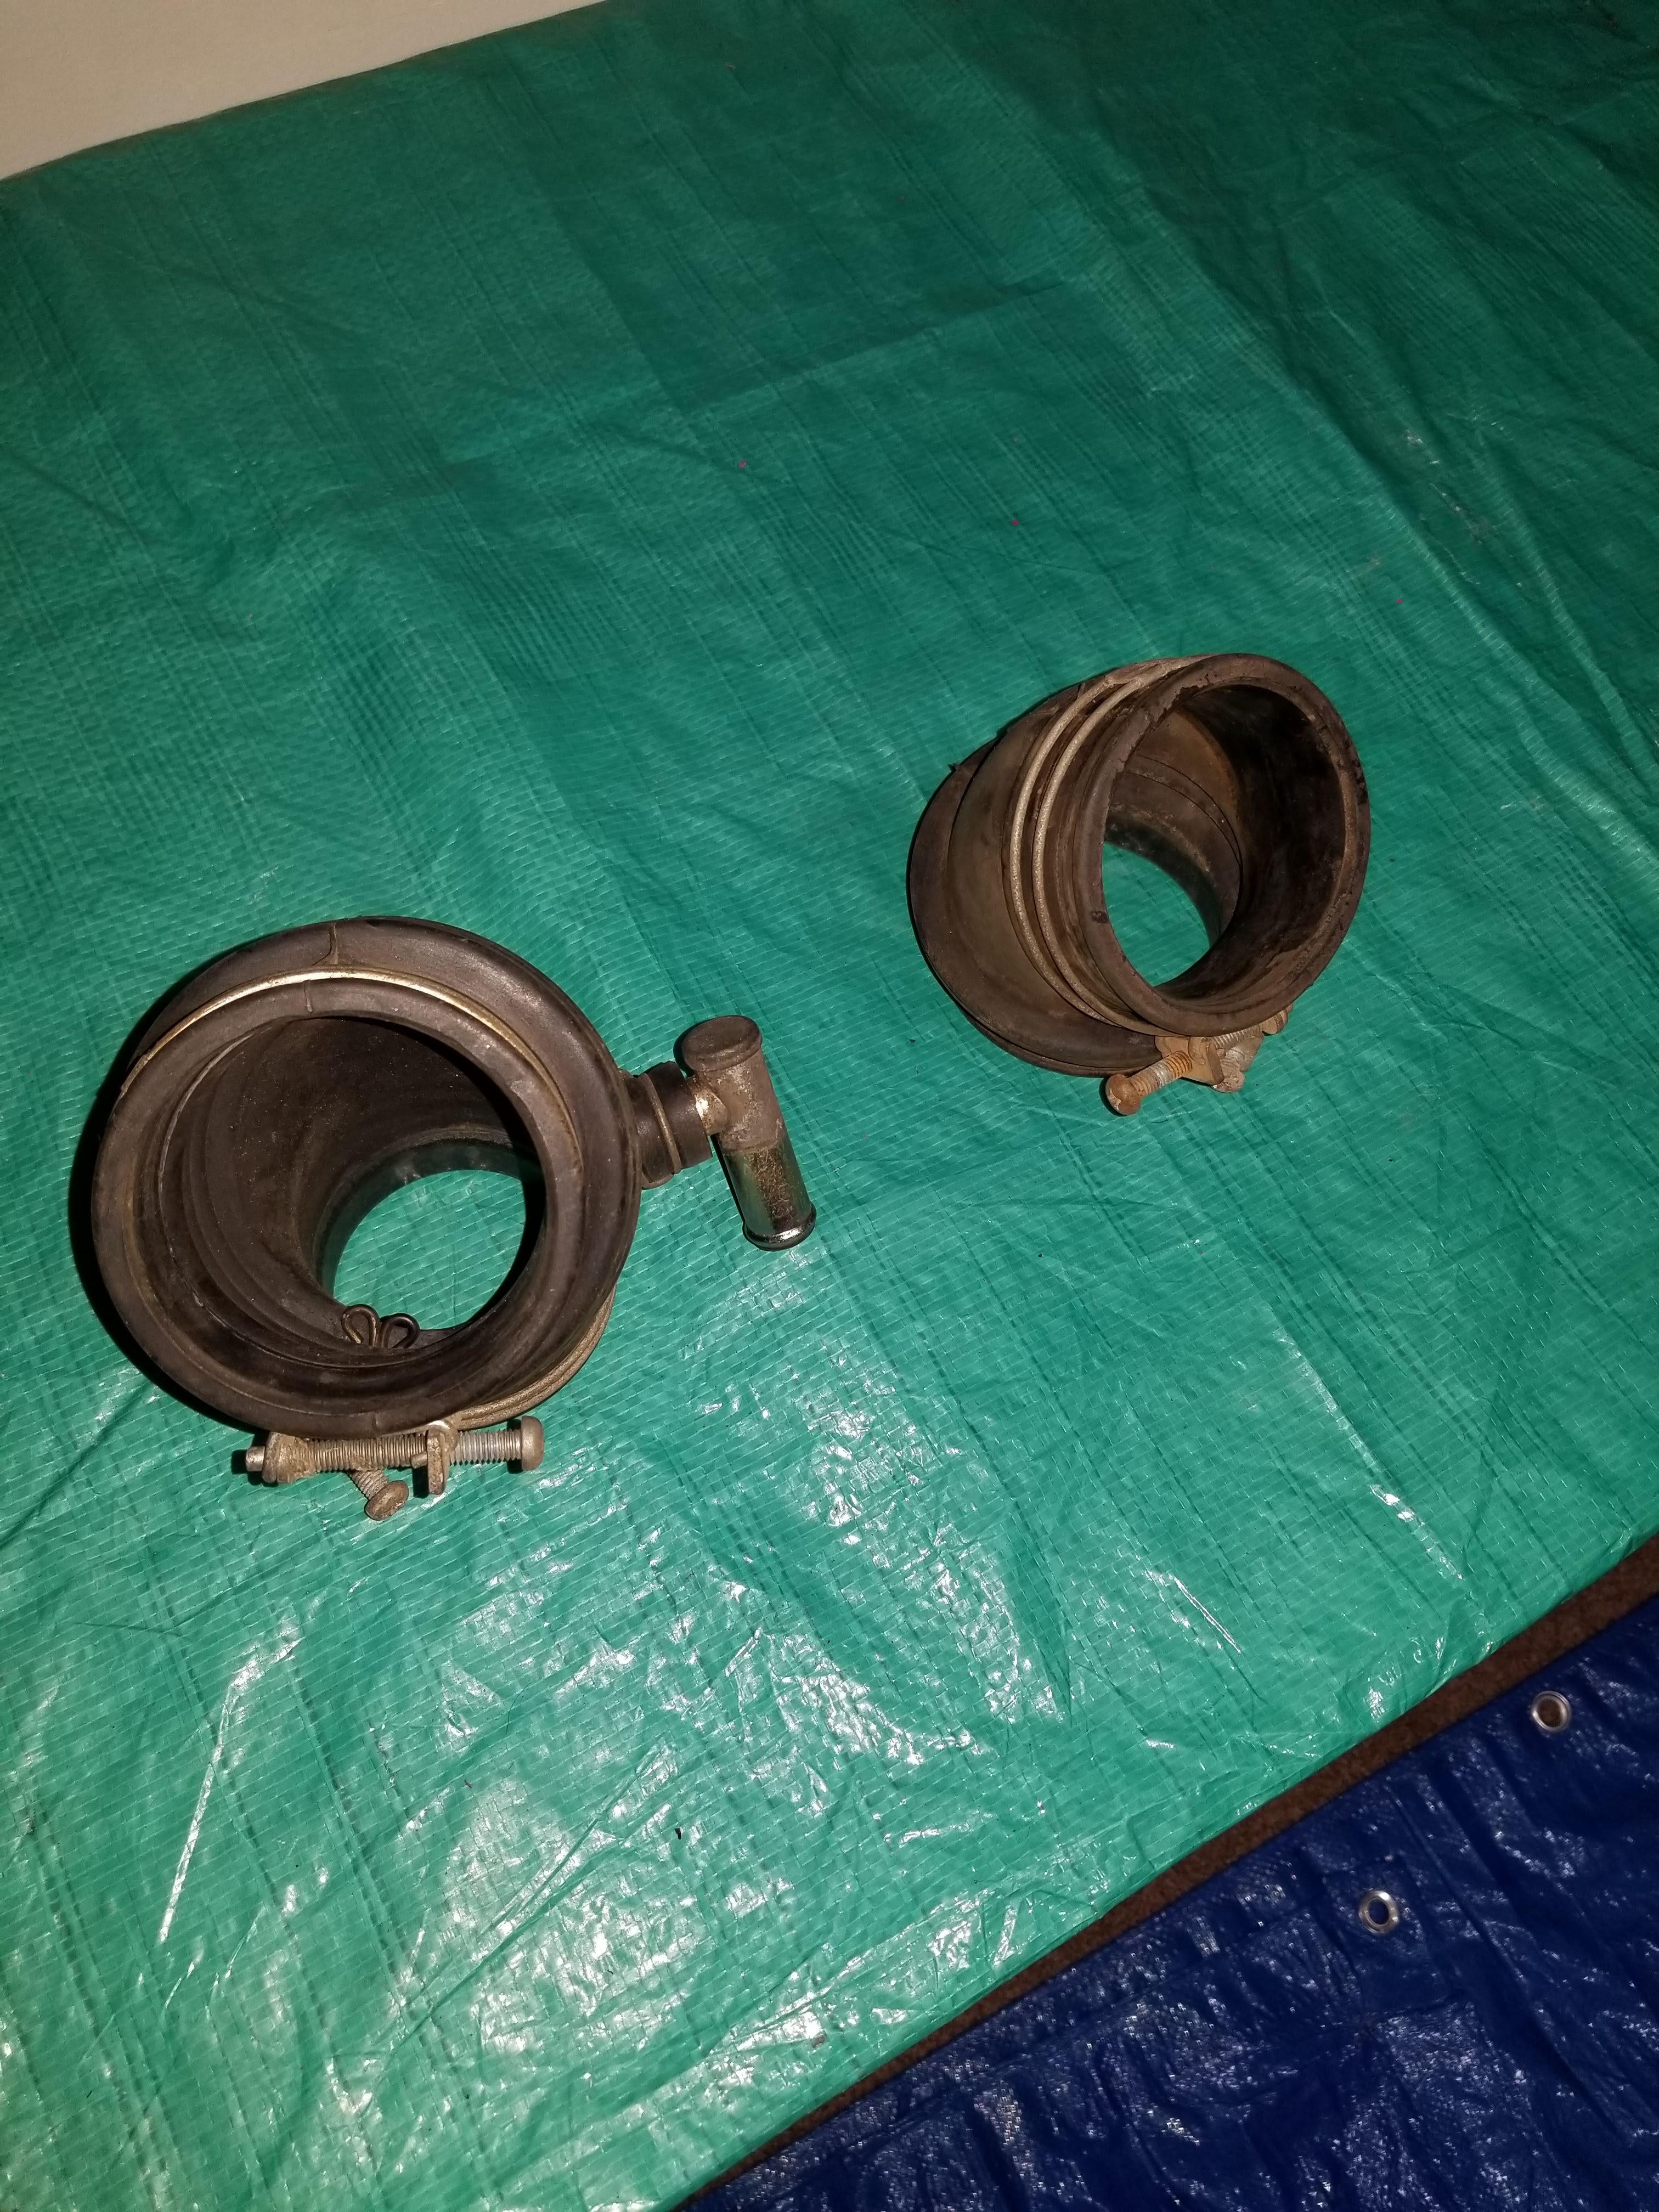
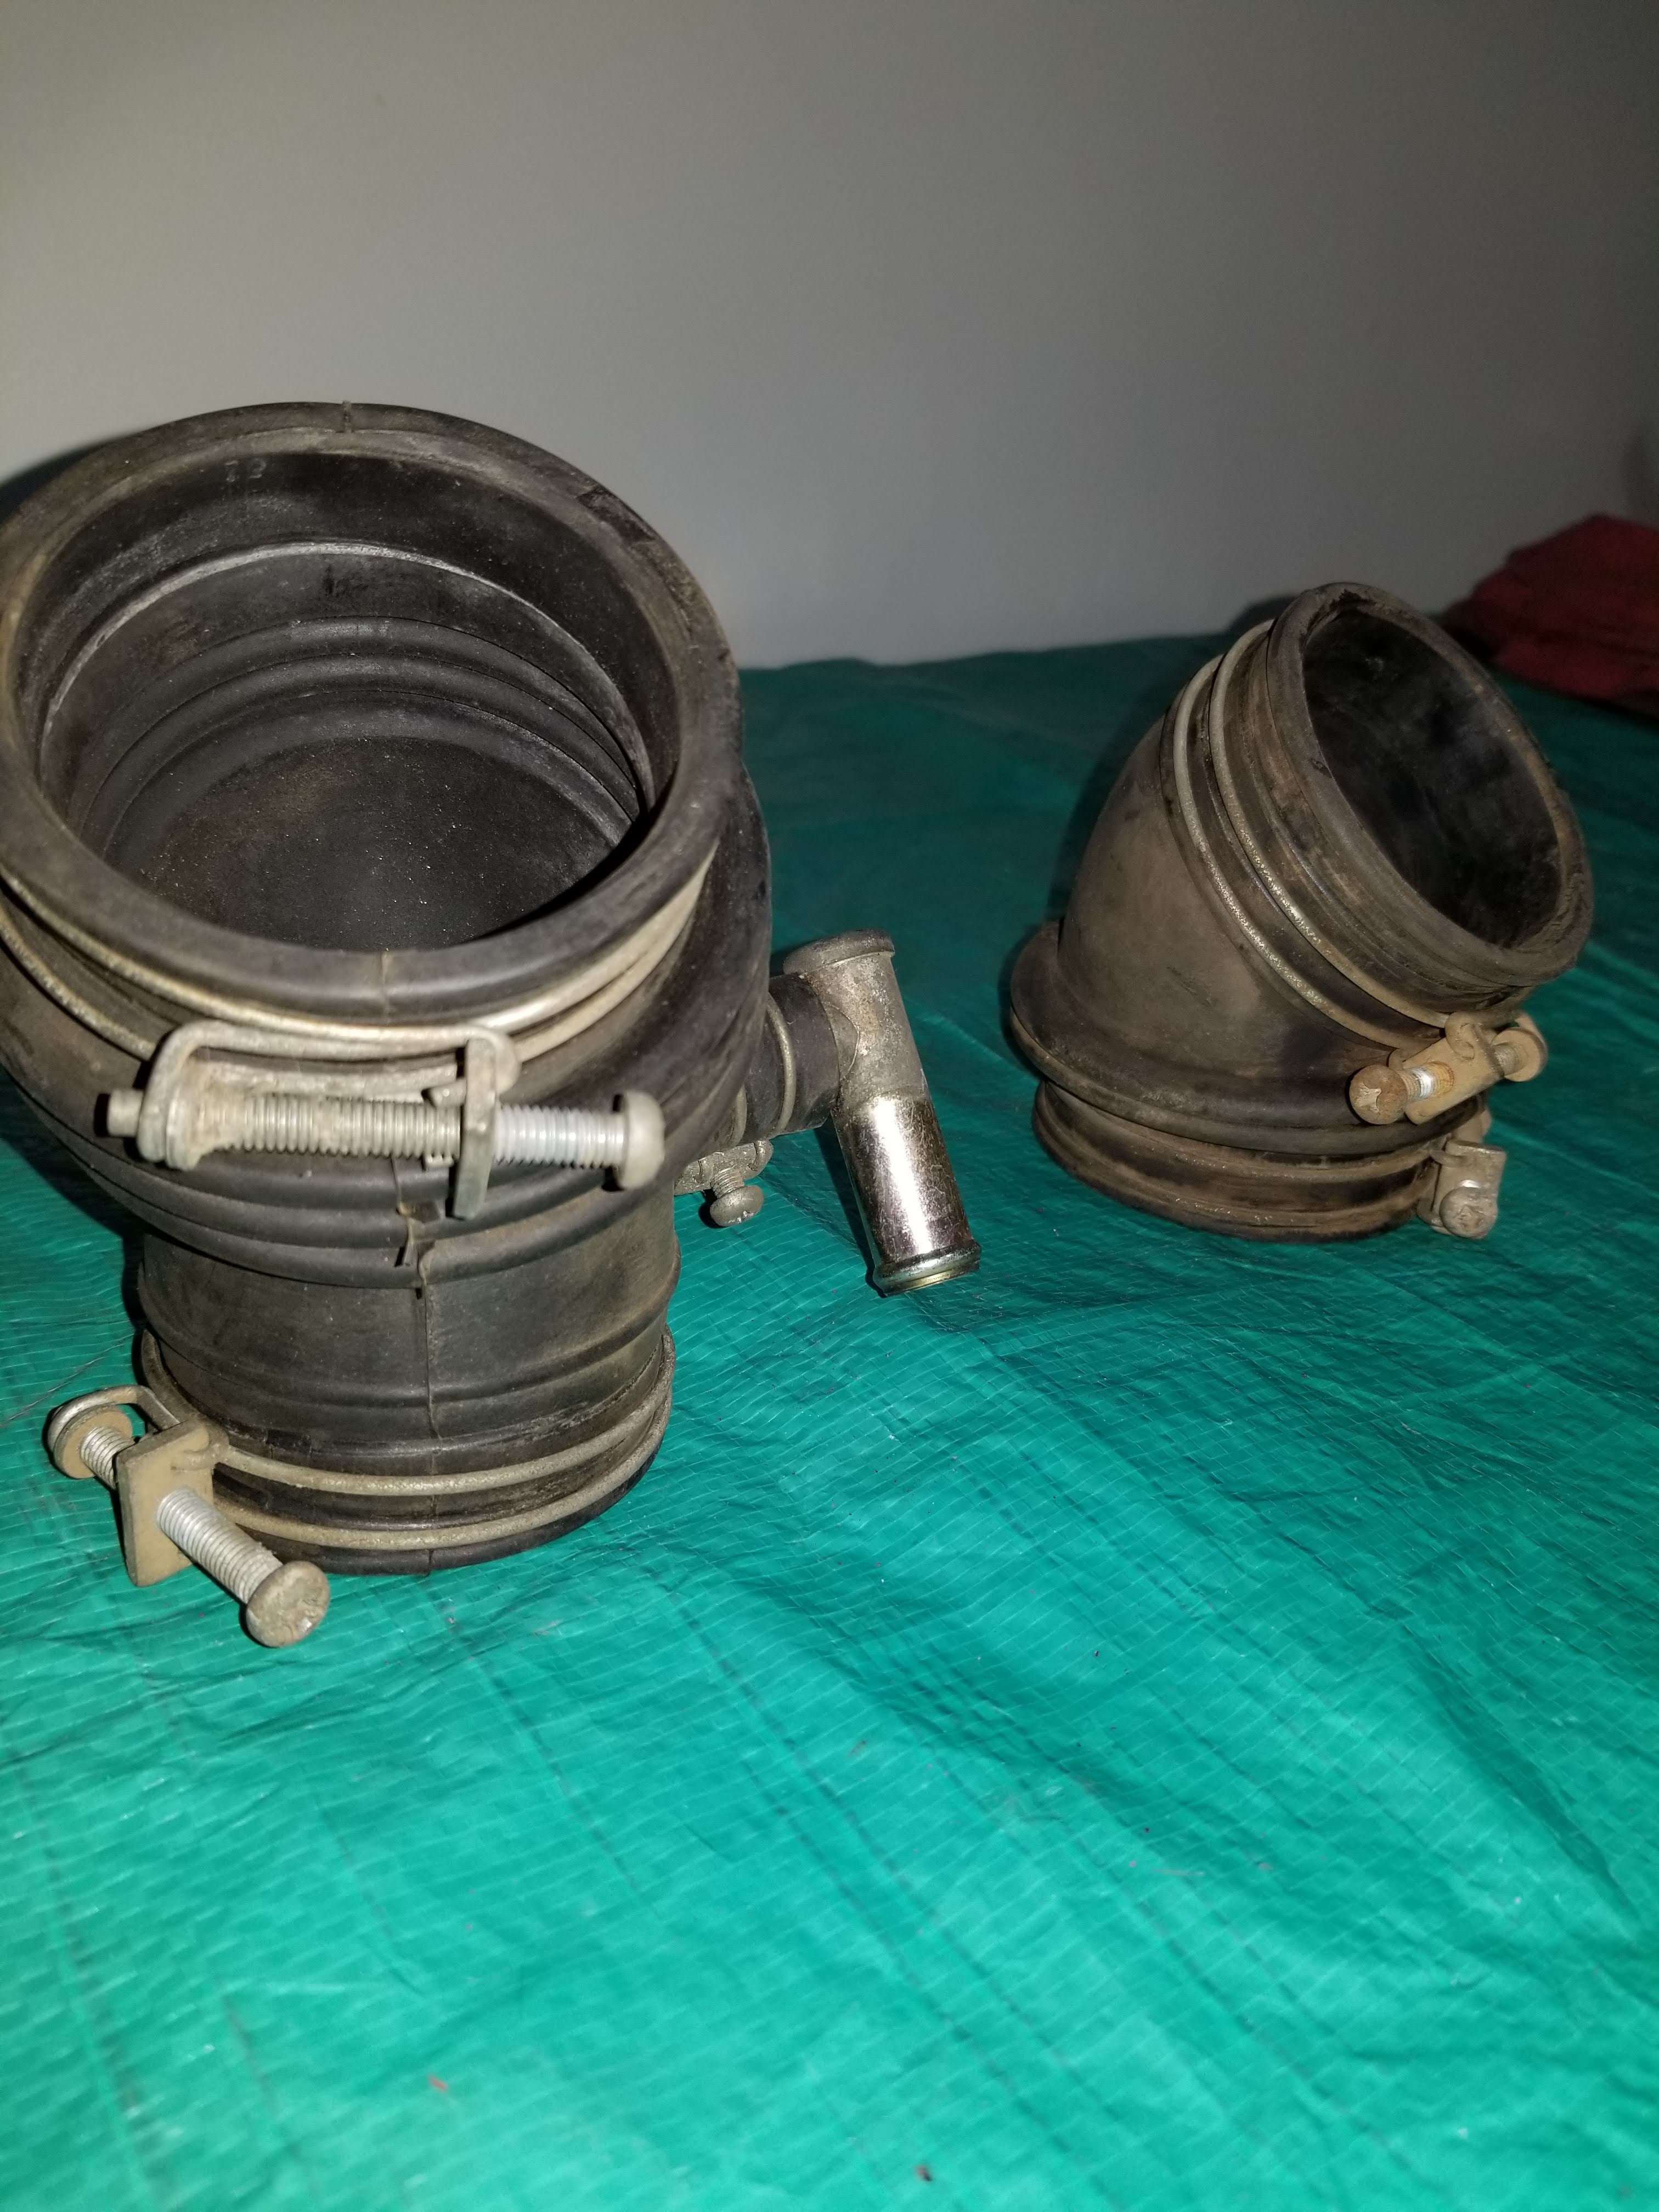
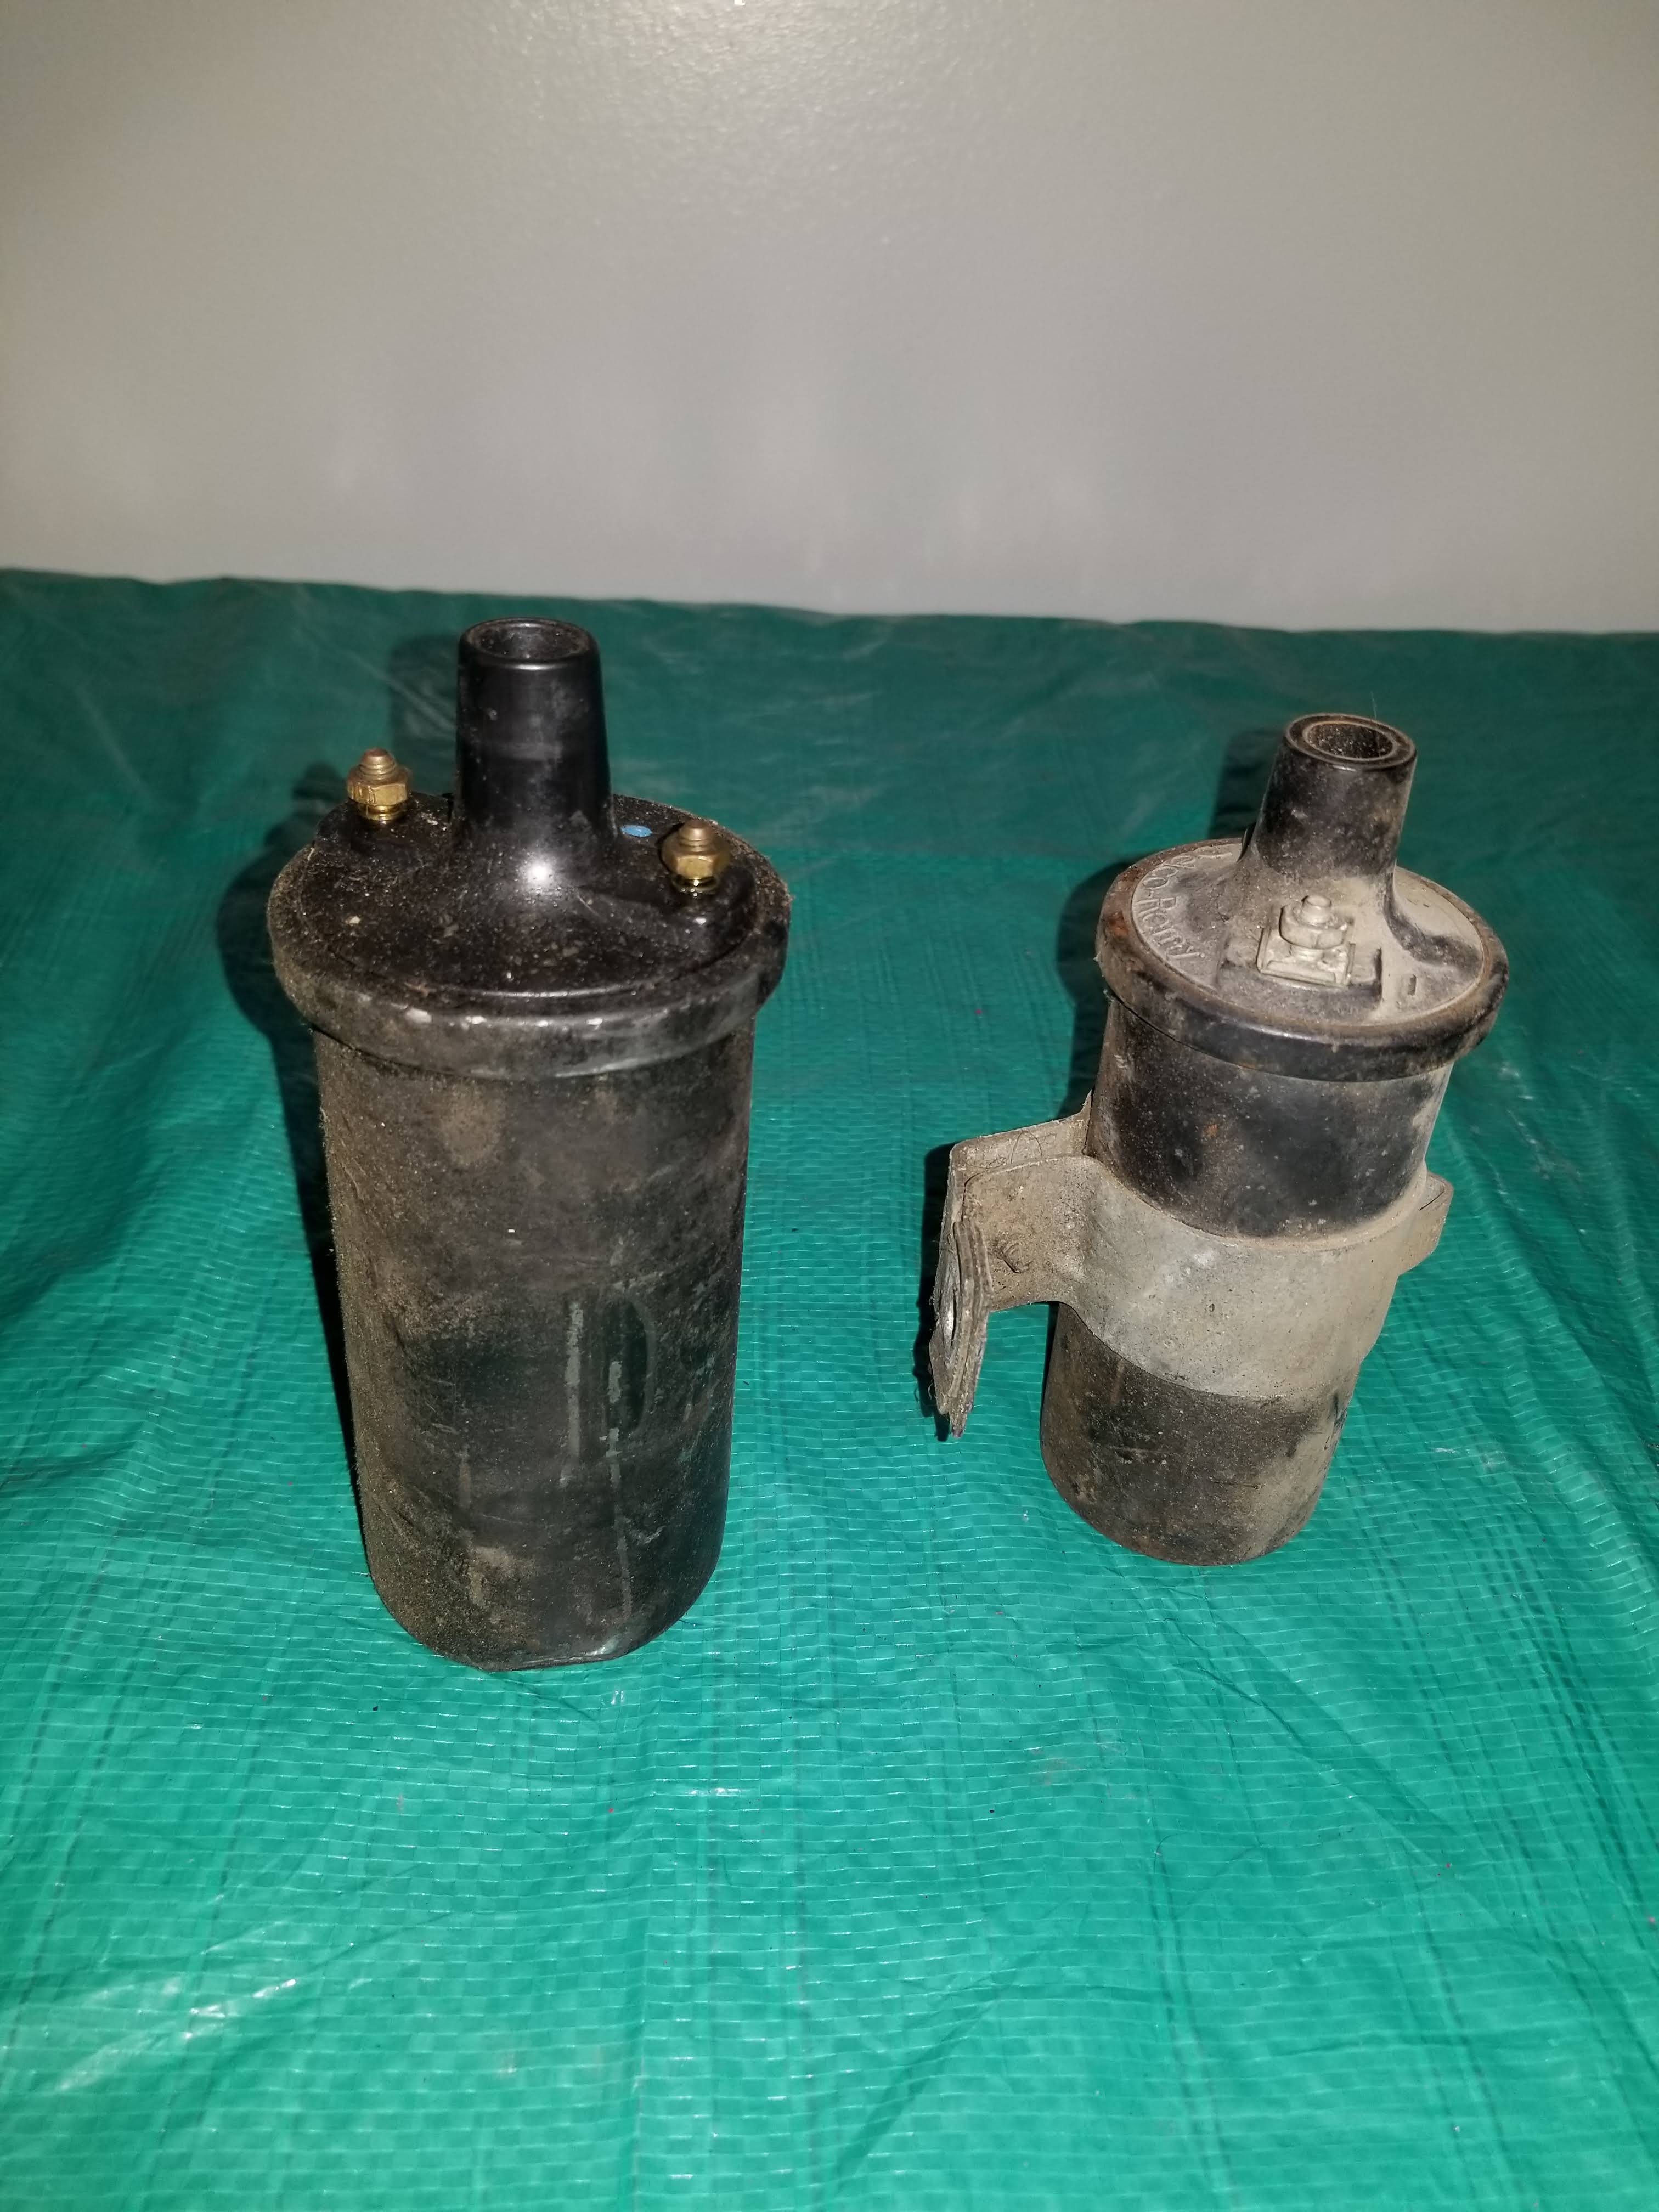
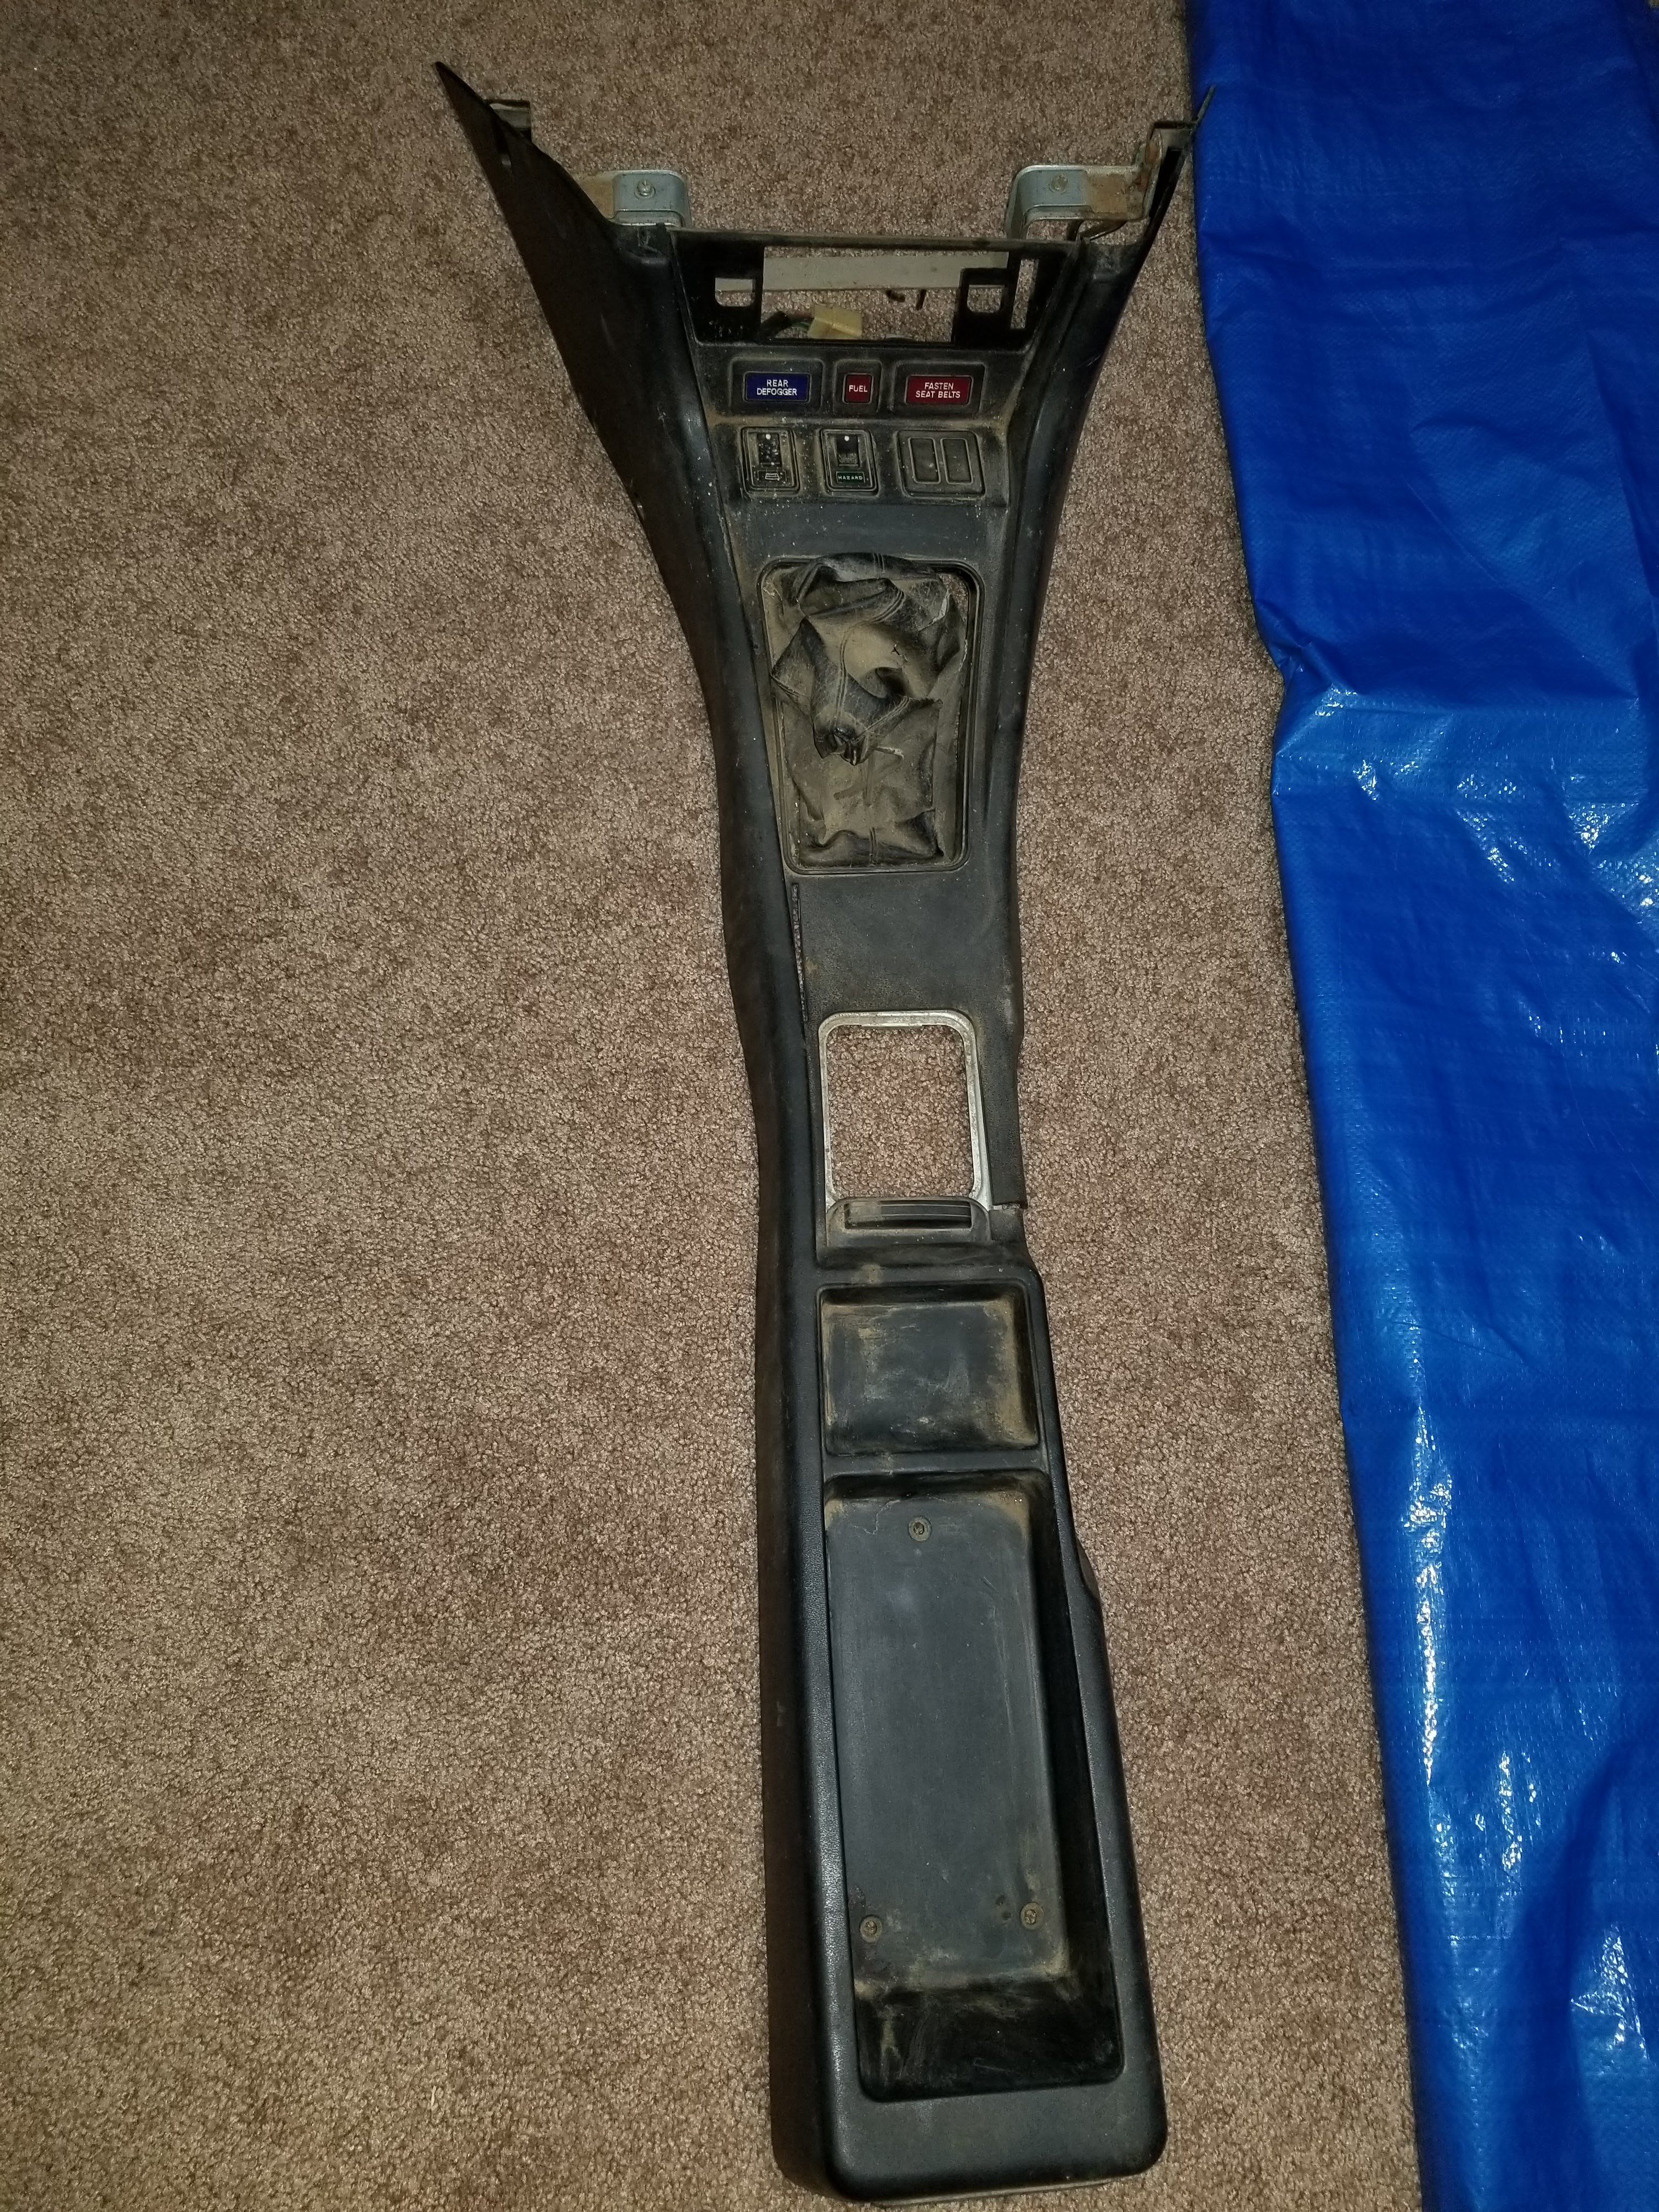
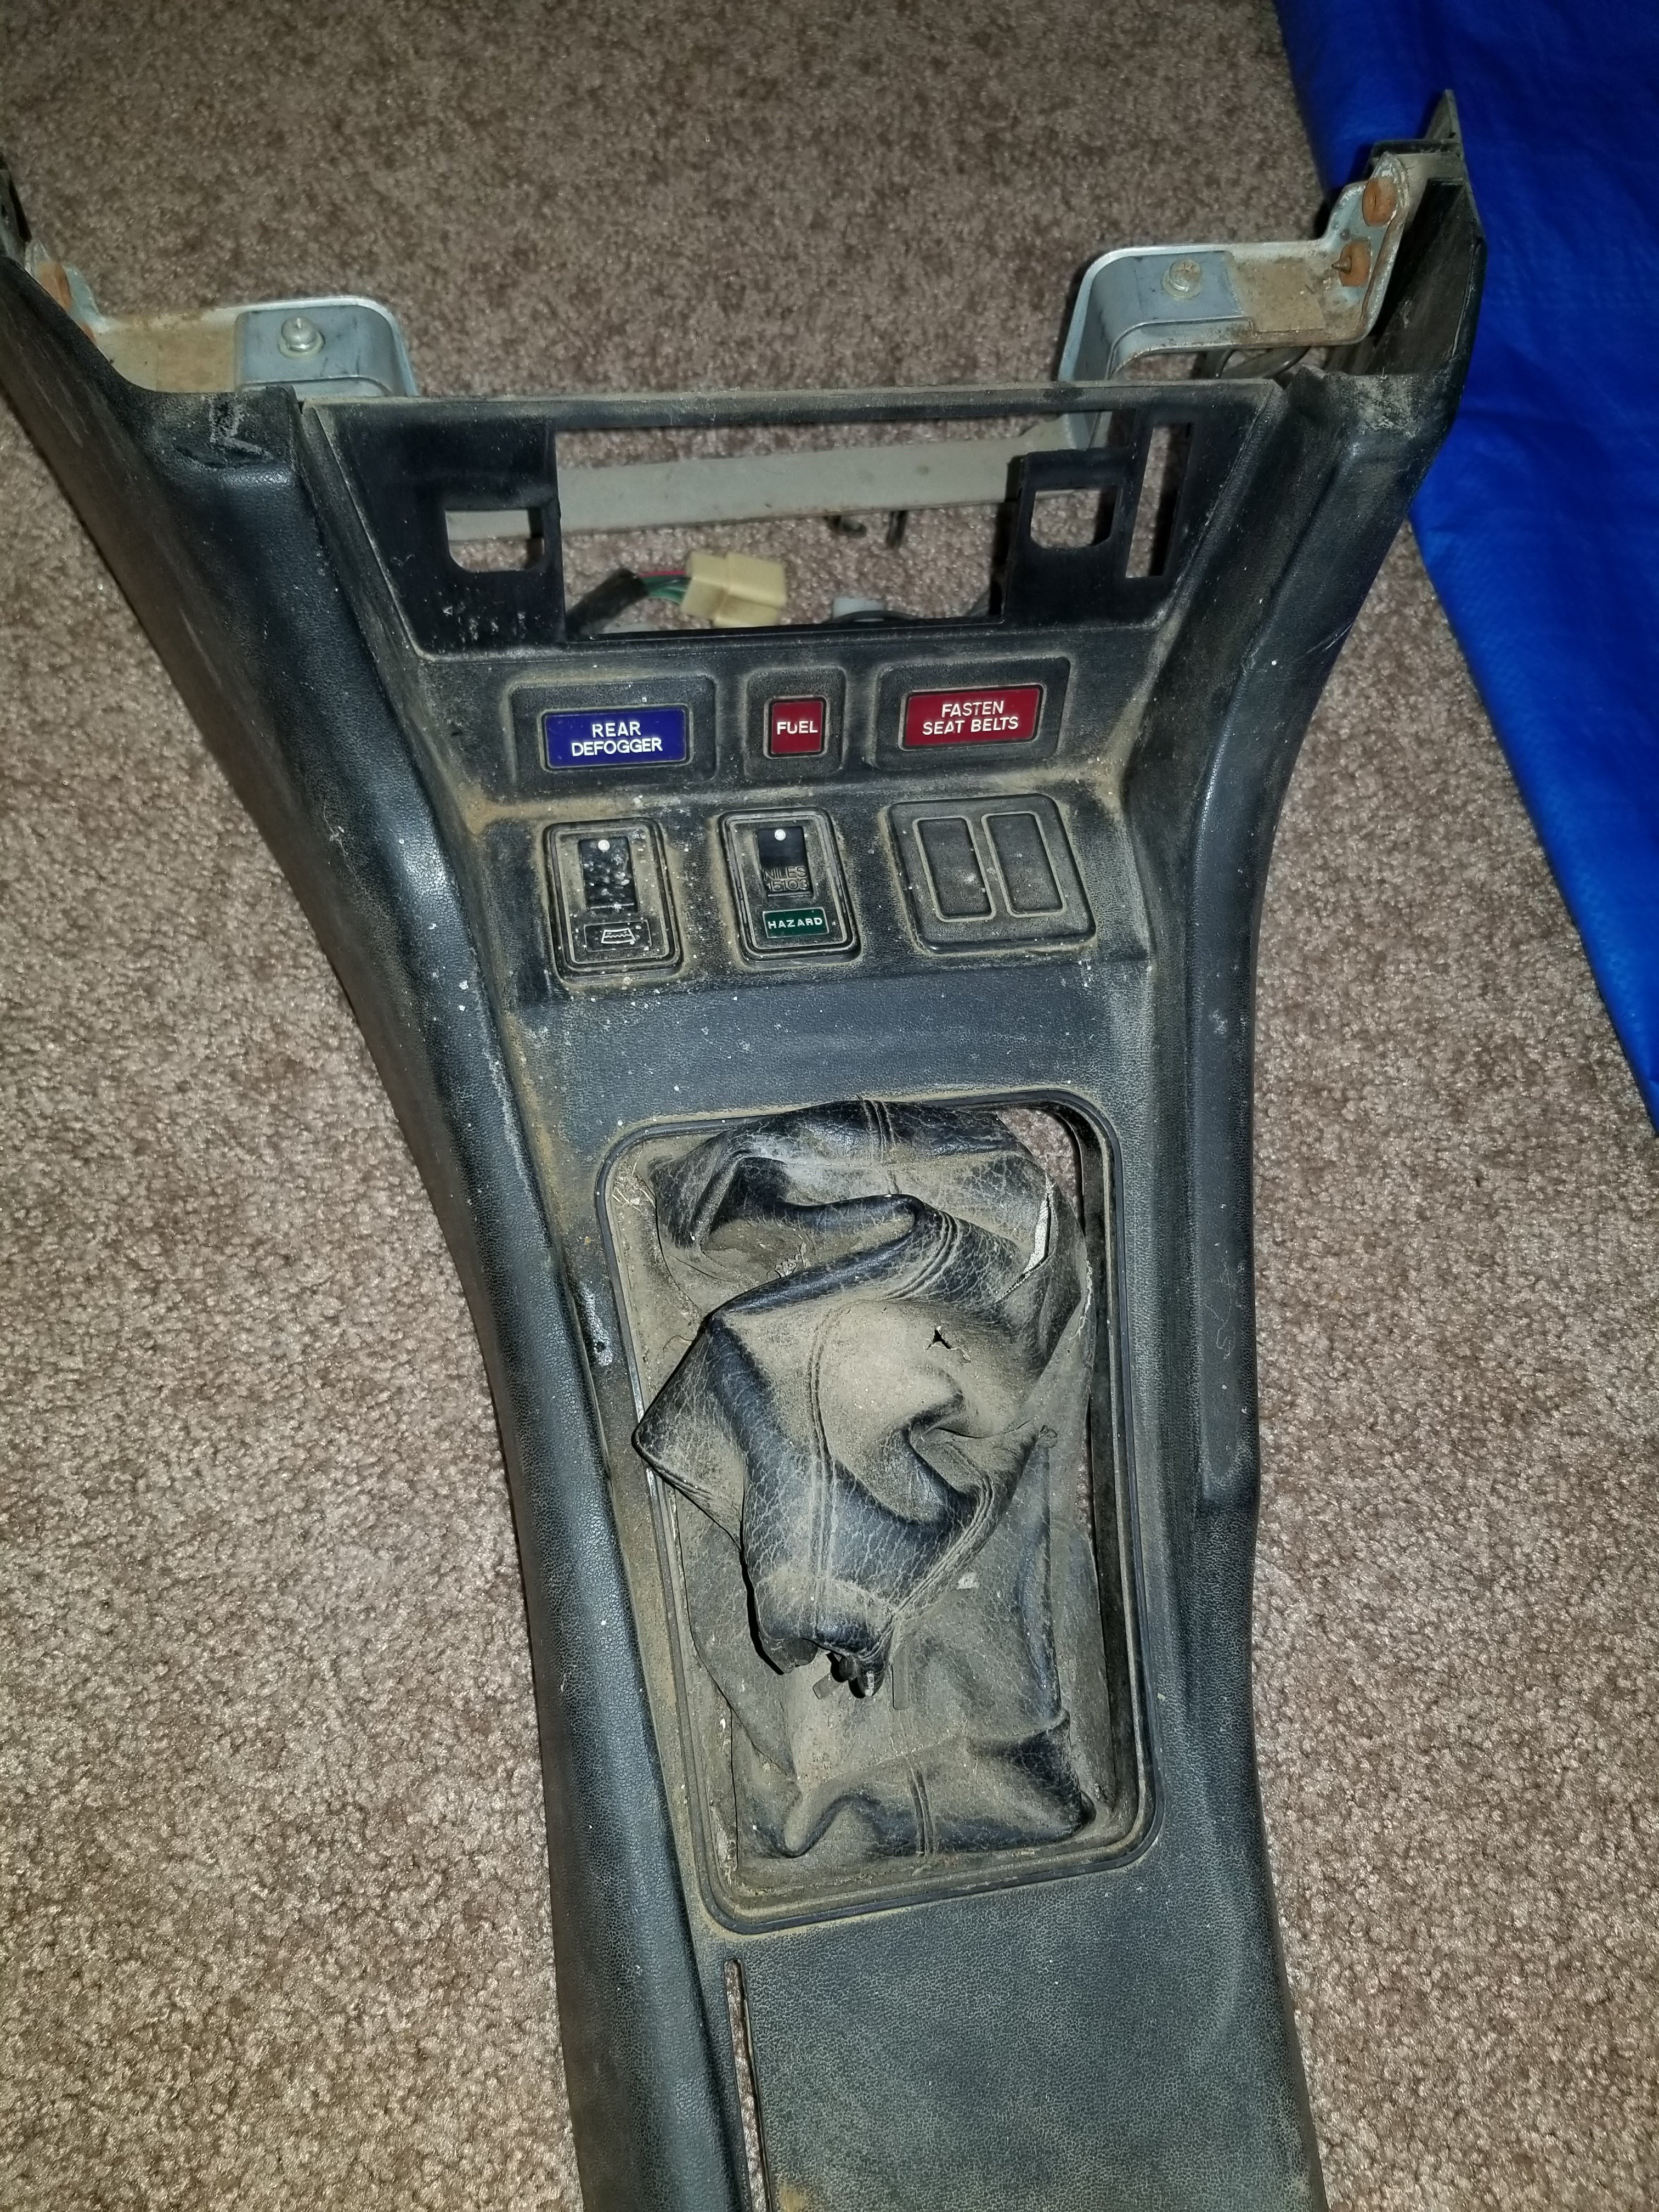
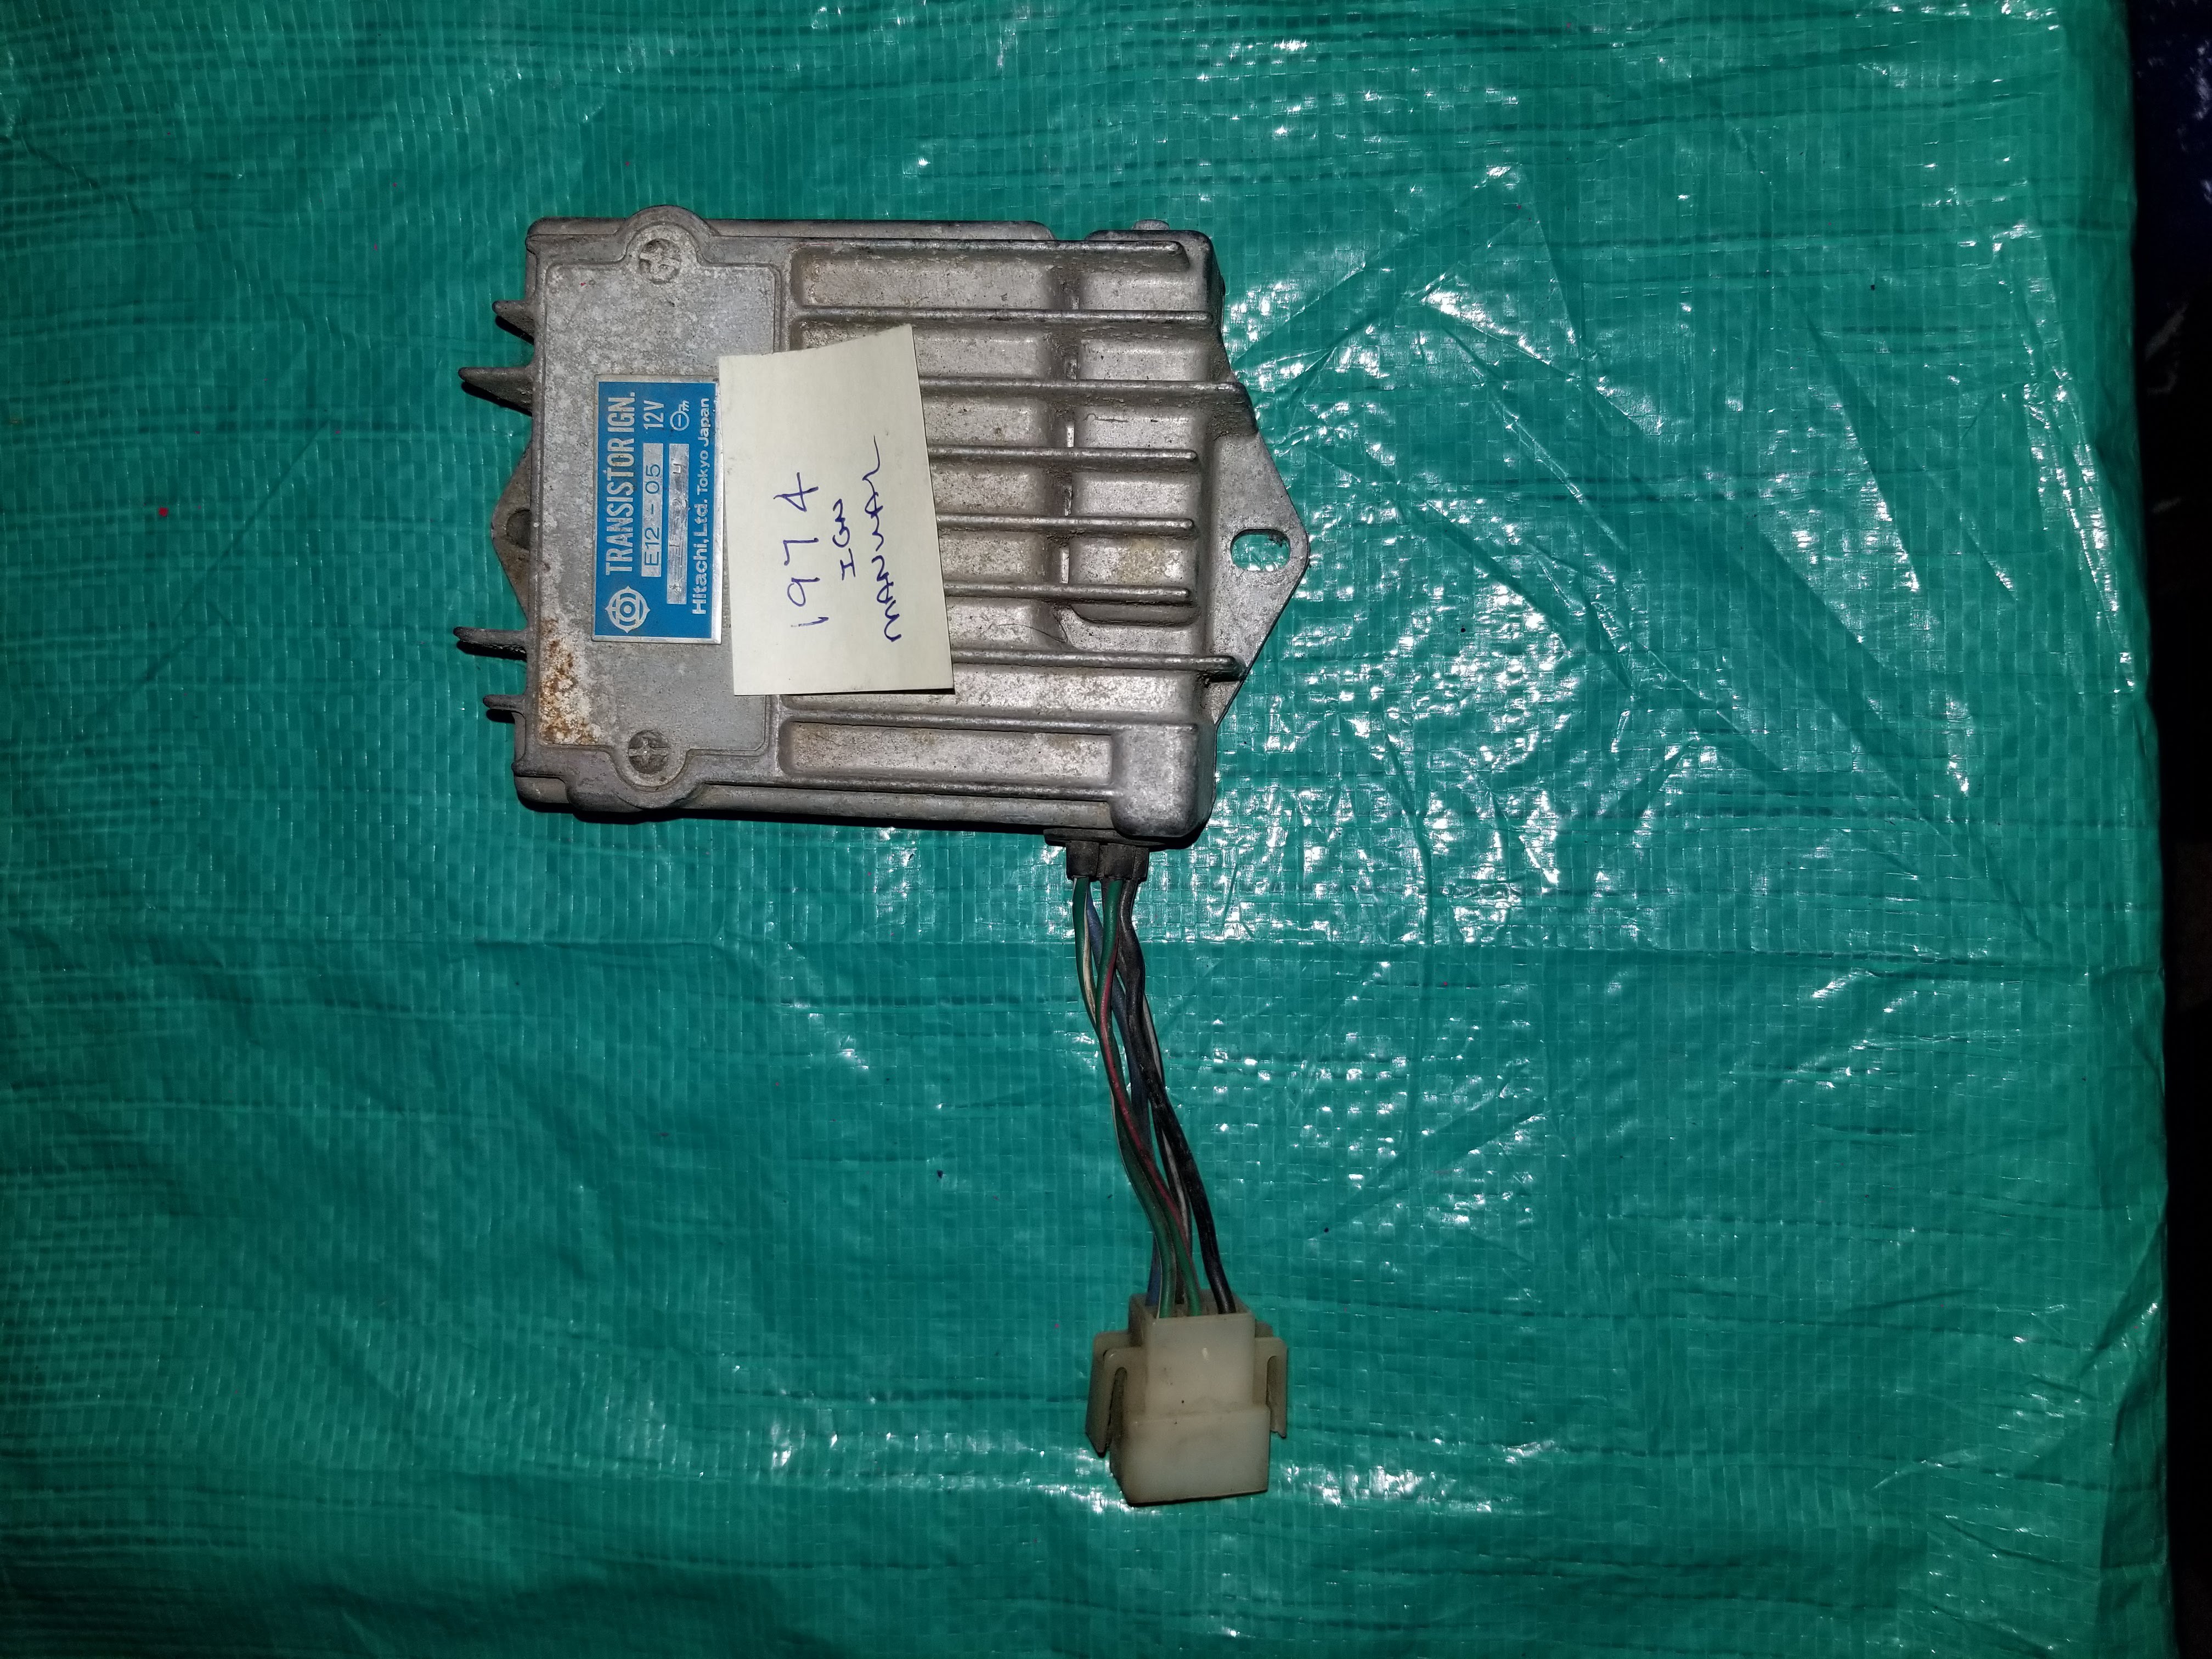
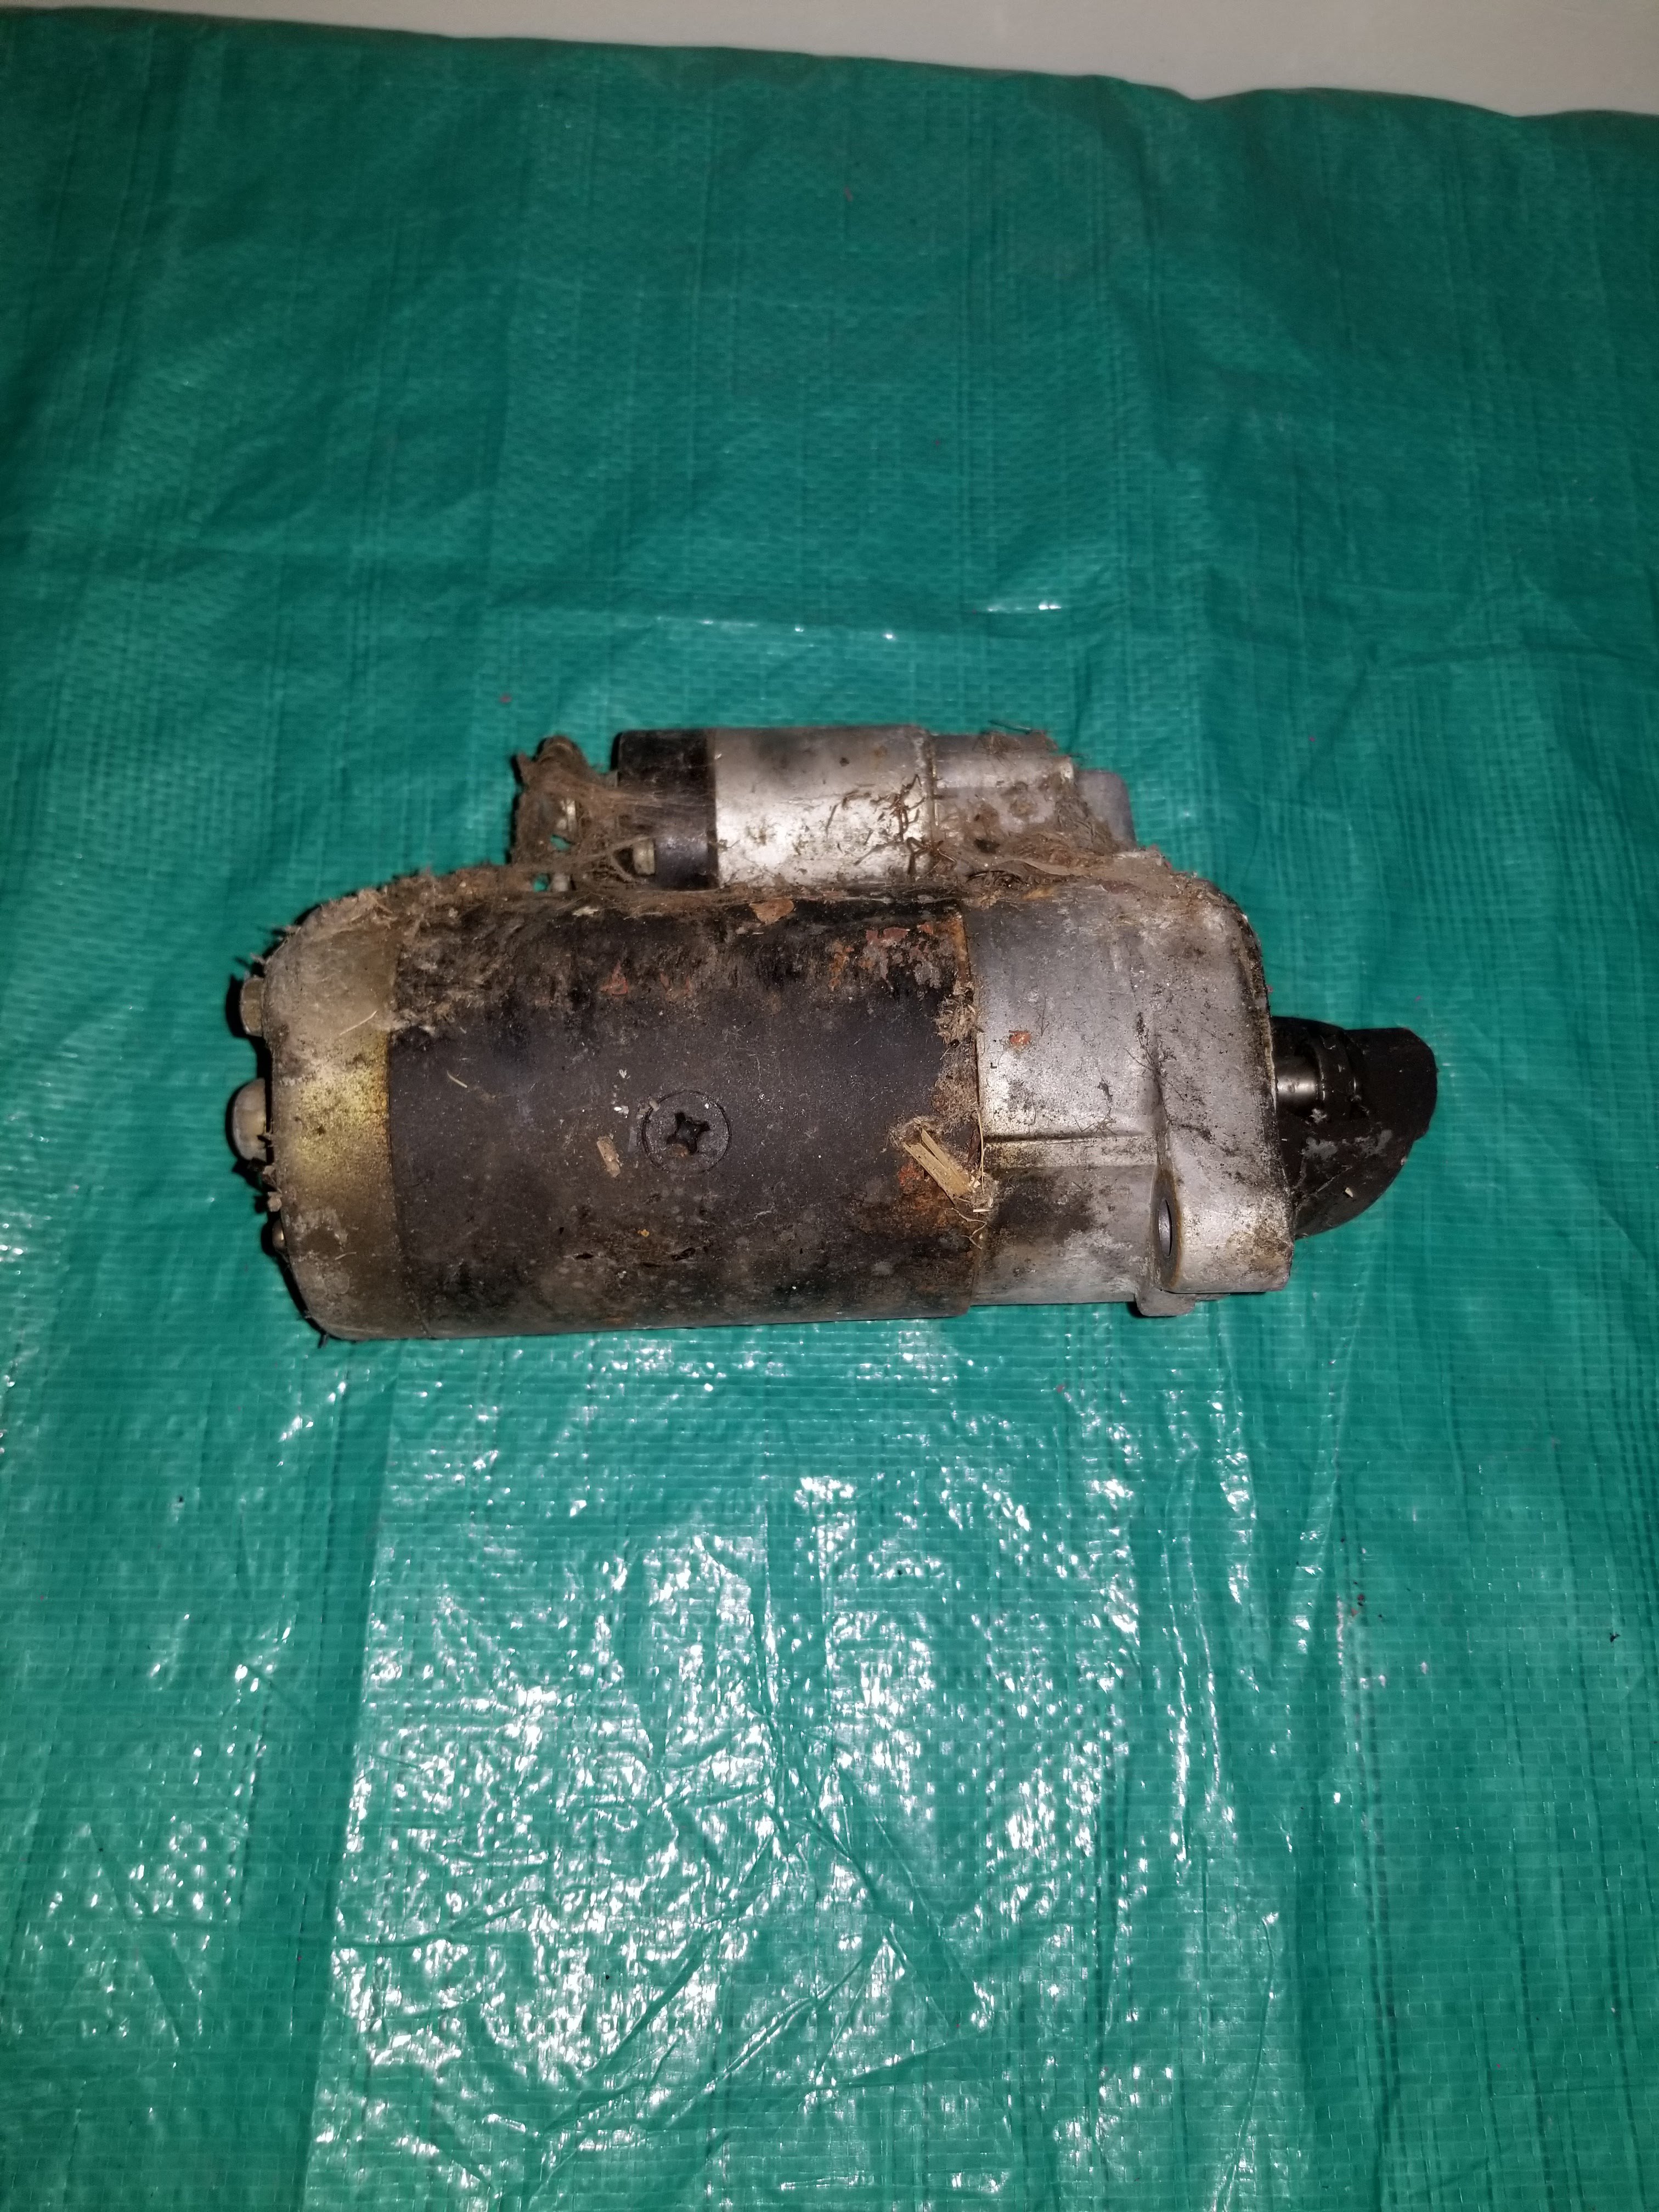
I have a 1975 Datsun 280Z, from California. I live in Nashville, TN. Part prices do not include shipping. Will use Paypal and Venmo, so I am not scamming you. Can post pictures on request. Prices are set for condition and what others are selling for. I am parting out, to make this an autocross vehicle. So I am not selling body parts or other items needed to have a running vehicle, just the parts below are what is for sale. But don't hesitate to PM with questions and I may be willing to sell other parts from the vehicle, if I can find a suitable replacement that could benefit me when building up my vehicle for the track. Parts I've sold from the list are - * Radio * Jack and tool set * Hazard switch * Center console small covers * Coil Cover * Under intake heat shield * Coolant cross over tube *Left and Right rear quarter trim pieces *Taillight cover interior *Starter *SPARE TIRE HOLD DOWN *B-PILLAR UPPER TRIM *L QUARTER WINDOW TRIM *R QUARTER WINDOW TRIM PART NAME (ADDITIONAL DESCRIPTION) PRICE REAR GLASS LOUVERS (A FEW SPOT WELDS LOOSE, NEED TO VERIFY IF LOCKING OR NOT AND OTHER ISSUES TOMORROW) $150 BUMPER SUPPORTS (STILL 1 ON RIGHT REAR OF CAR) $100 EXHAUST MANIFOLD (RUSTY, BUT GOOD CONDITION) $50 HVAC SYSTEM (MAIN UNIT STILL IN TRAILER) $500 IGNITION UNIT (1974 MANUAL ONLY) $30 IGN COILS (UNKNOWN IF ORIGINAL) $10 DEFROST COVER (RUSTY, BUT GOOD CONDITION) $25 BUMPERS AND TRIM (STILL IN TRAILER) $250 ENGINE ELEC BLACK MOUNT $25 AFM BOOTS W/ FROM AFM TO FILTER $25 AIR FILTER HOUSING $25 SPARE TIRE COVER $25 EXHAUST TIP (DENTED ON TIP) $10 EGR VALVE $25 HIGH IDLE VALVE $25 DRIVERS SEAT BELT ASSM. $150 DRIVERS SEAT LOCK (SELL WITH BELT) PASS SEAT BELT ASSM. (ON VEHICLE) $150 PASSENGER SEAT LOCK (SELL WITH BELT) B-PILLAR LOWER TRIM – L (CHROME STRIP PEELING) $15 B-PILLAR LOWER TRIM – R (CHROME STRIP PEELING) $15 TRIP RESET KNOB AND ASS $15 ALTERNATOR $25 VOLTAGE REGULATOR $30 FUEL LINE TO T-SECTION (USING OTHER FUEL RAILS) $50 VACUUM TANK AND BRACKET $15 WARNING BUZZER $10 CIGAR LIGHTER ASSEMBLY $20 HORNS $100 FUEL PRESSURE REGULATOR $40 AIR VALVE $100 FUEL DAMPER $30 BATTERY CABLE COVER $3 AC VACUUM BLOCK $30 ENG COMP LIGHT $50 EGR VACUUM VALVE $25 COLD START VALVE $50 FLASHER RELAY $10 RESISTANCE BLOCK $15 VACUUM TUBE (FRONT OF ENGINE) $15 HVAC/HEATER HOSE COVERS $10 CARPET HOLD DOWNS $5 BATTERY HOLD DOWN J-HOOK $2 PCV T-SECTION BRACKET $15 SMALL DIAMETER VACCUM PORT $5 PCV T-BODY CONNECTION $10 PCV VALVE $3 5/8 BLOCK OFF PLUG $1 IGN COIL HOLDDOWN $5 HVAC CONTROL BRACKETS $5 FUEL INJ CLAMPS $1/EACH COOLANT/EVAP CLAMPS $1/EACH WIRING CLAMPS $1/EACH MISC. CLAMPS $1/EACH CENTER CONSOLE (1 CRACK AT ASH TRAY) $200 HVAC CONDENSER (ON VEHICLE, SELL AS SET) PASSENGER SEAT (GRIME) $250 DATSUN DOOR TREADS $20
-
Well, this is a Datsun Z site. With many using all forms of motors and transmissions and everything else under the sun. If the motors flow the same as the L28, then the rear goes to the inlet or top of the heater core and the other line looping to the front connection.
-
Not the most knowledgeable about Datsuns like some others are here. But I believe the heads for the Z are interchangeable, with same sprocket used from 70-83. The head you took off, the cam retainer plate bolts are loose and let the cam walk. The new head, the cam is retained properly. Are the lobs centered on the old head or are they offset, showing the cam has pushed towards the front? Why are you changing the head?
-
Go back to the link. Look thru the manual for your year until you get to the Body Electrical - Wiper section. It has wiring diagrams, a connection diagram, and what color wires do what. Pages BE-15 to BE-17. The below colors for the wires look the same for the connector at the combo switch. So you need power and ground for the motor to work and the switch connected to low to have it actually operate the wiper motor. At firewall connector Blue/Red - Power Black - Ground Blue/White - To relay Blue - Low Speed Blue/Yellow - High Speed