-
Member Statistics
33371
Total Members5167
Most Online
All Activity
- Today
-
 Hi All, I have been restomodding my very first Z (early 260), and probably did things way out of order. Got the car (rusty, needed work, half disassembled but told the engine would run, gas tank in the hatch, no airbox, etc) and it went straight into body and motor work/build. I wish I had gotten it running first, to appreciate how it ran and handled, but the rust gave me pause, so I went the full resto route first. All that said, this is not my first engine build, but my first L series and first car with carbs. Now that it's done, I need to work out what's keeping it from running better. The motor is a frankensteined together L28 (F54 block, N47 head), roughly 9.2:1 CR based on (Priddy - Cometic) head gasket and (flat top) piston combo. Steve Bonk stage 1 cam, stock hitachi/SU carbs (rebuilt with SM needles and rebuild kit from ZTherapy), cleaned up balance tube with N36 intake manifolds. Early 280zx close ratio 5sp trans,3.9 R200 rear end, stock (l28 appropriate) clutch/flywheel combo. The shop that did the body/resto work dropped the motor in, and got it running, but it I'm pretty sure it should be running a lot differently (read: better). It's idling around 5-600 rpms, lumpy, and feels pretty underpowered considering it's a light car with a modded L28. Did the break in drive in which I didn't take it over 5k RPMs, ran it decently hard with solid acceleration and engine braking across gears to seal the rings, did the oil first oil change, and all that jazz. This is where you come in - I'm hoping that someone here who knows the L series is up for a half day of walking me through confirming that the (mechanical) timing is set right (the easy part, I've done this with my other cars but appreciate a second set of eyes), then wants to help me make sure I don't do anything stupid trying to set the idle and balance the carbs. Looking to learn from one of you gurus so I'm not messing up a fresh motor in a fresh car. Anyone in the Bay Area want to come to Novato and help me out in exchange for beer, lunch, and the opportunity to mock me while you help me learn this motor? Thanks in advance! Robert
 -
https://i.imgur.com/SKO8gwQ.jpeg soldering connector did nothing, tail fuse still gets hot. i swapped pins on white connector, dome fuse is now park tail. you can really tell what is the hot fuse, color has changed
-

280z 1jz track build from a pile of parts
flatout replied to flatout's topic in S30 Series - 240z, 260z, 280z
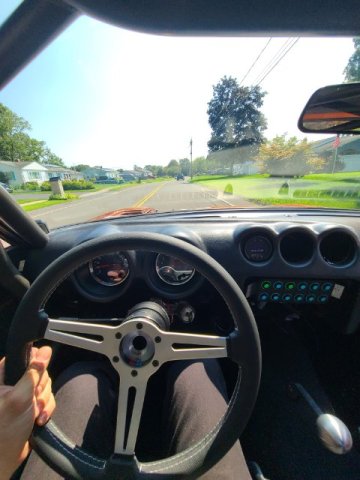
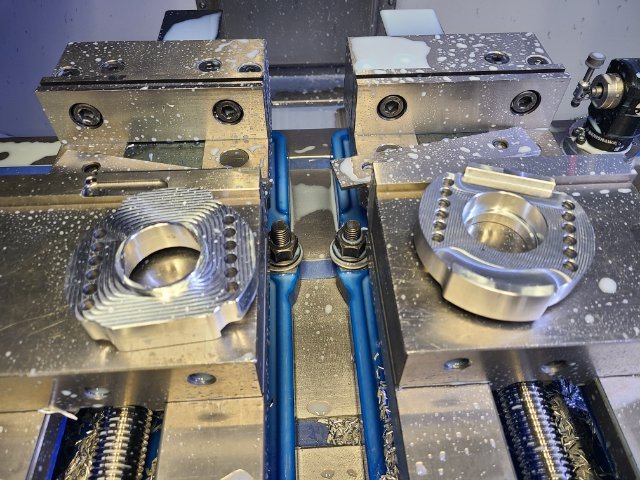
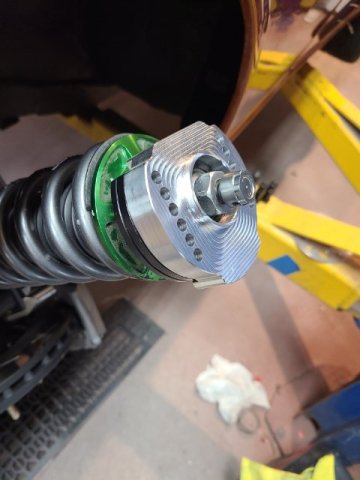
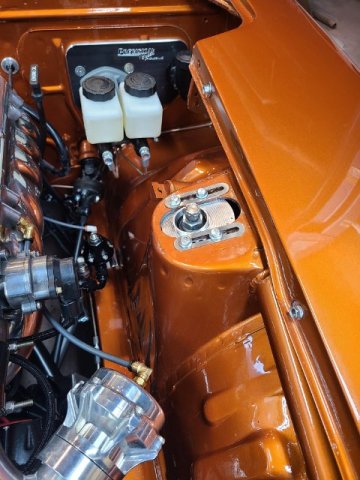
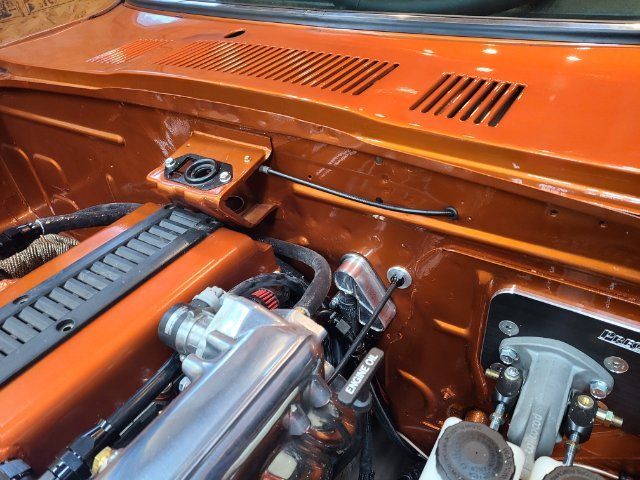
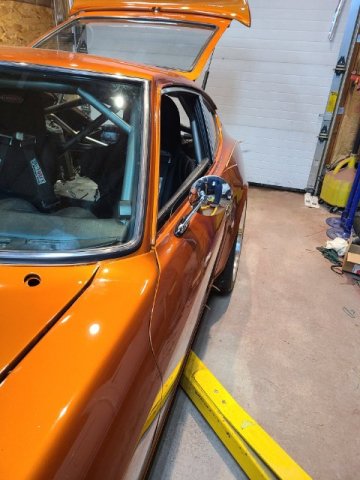
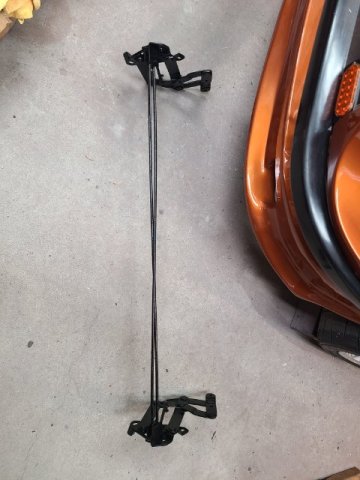
car is officially registered and insured so i spent the weekend trying to button up a few things to make it a bit more "street friendly". did managed to put about 10 miles on it. I have a few things i need to address before racing it but it drove on the street decent. After the initial drive. did a nut and bolt check. then did like 4, did another check, and then another 6ish and everything is looking good. Got the driver mirror on. I wasn't 100% confident id like the round mirror so i designed and 3d printed an adapter to use the factory holes in the door rather than drill new holes i'd regret later. Its growing on me. I may buy a better quality mirror but the round is looking decent. Will still hook up electronic boost control but for now i just put 10psi springs in the wastegate and gave it a vacuum source. When I moved the strut towers back and inboard, i forgot to modify the hood to accept the new position of the strut tops so I designed and machined strut top spacers to push the adjuster down and hopefully clear the hood. I could make them a little thicker as i still have some ride height adjustment on the coilover but i think this will be enough. I'll go slow when closing the hood for the first time. I hooked up the hood release cable. decided to be a little fancier and routed it thru the wiper cowl instead of having the cable extend all the way across the engine bay. need to make a new handle for the cable pull as mine is MIA. Got the hood hinges cleaned up and painted black. fedex lost my order for replacement couplers to move my air filter to clear the hood tension bars so i didnt get the hood on this weekend.
-

A musician's therapist (The $300 Z)
Zetsaz replied to Zetsaz's topic in S30 Series - 240z, 260z, 280z
Haven't done a whole lot to the Datsun, but it's partially due to lightened sense of urgency. I've officially moved back to the use so I feel less rushed to get things done. Mexico was great for four years and time will tell if I regret leaving. I loved living there and will probably be making constant comparisons but mostly moved back for a better job and being closer to family. I bought a boring daily for commute duties. Still debating if I should have just committed to something much much cheaper with a bit more character, but I've enjoyed it so far and it already got me about 3k miles on my summer road trip. Didn't do the summer road trip in the Datsun due to a coolant leak. Was already doing some summer practices and parades with my new students so I didn't have a chance to track it down and didn't want to risk such a long drive in the well above average July heat. Finally had more time and still couldn't track down the coolant leak. It was only happening when hot, so figured I'd retorque the head bolts and see if it helped. Head gasket seemed like an unlikely failure right now, but I installed the block completely untouched so I figured it might help. Most of the nuts on the arp studs moved about 45-90 degrees to get them to spec! I power washed some of the greasy parts of the engine bay afterwards in case I still had the coolant leak to make it easier to track down. Seems bone dry after about a half hour drive. Don't know if they weren't retorqued after initial heat cycles and have just slowly gotten worse or maybe the head gasket is actually failing but I think it'll at least hold me over until I finally rebuild properly with more adequate compression and a better cam for earlier boost.
-
well, you could look it all up on their website plstics4performance. The hatch glass actually isn't flat, it has a crown to it. It isn't just plexiglass. it is Polycarbonate, with a special hardened coating, and the vents and everything are a custom deal. I wanted it professionally done. I waited for you to volunteer to do it for me, but you never did, so.... Yes it is made in England. Cheers.
- Yesterday
-

Fast Floridian's 240Z Track Build
FastFloridian replied to FastFloridian's topic in S30 Series - 240z, 260z, 280z
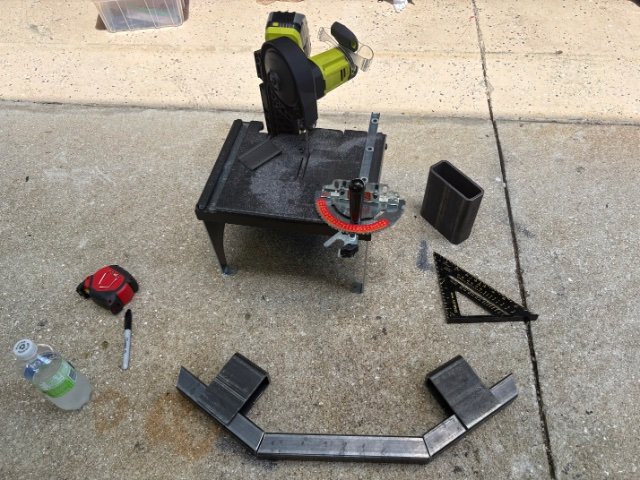
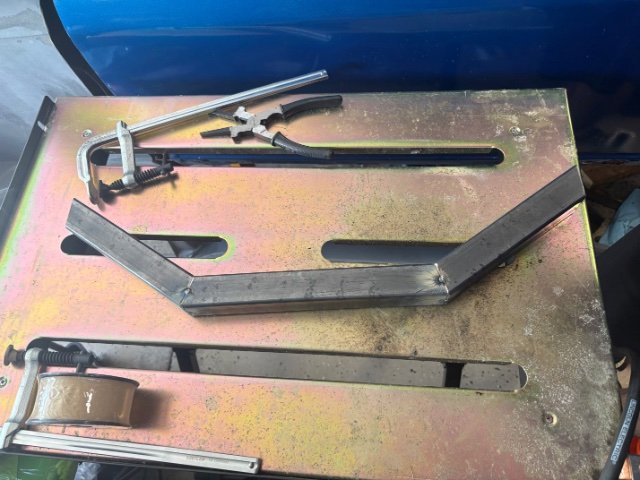
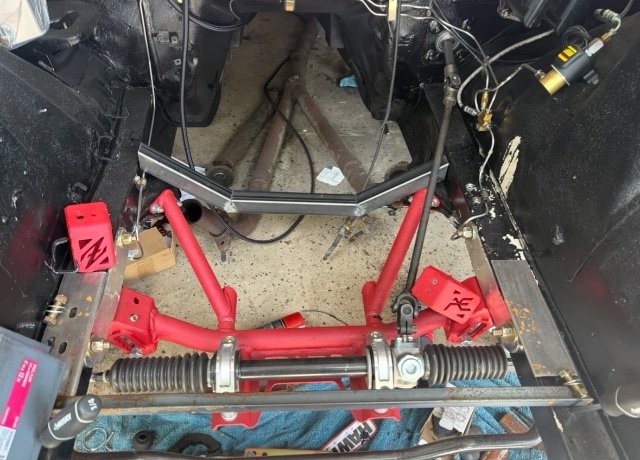
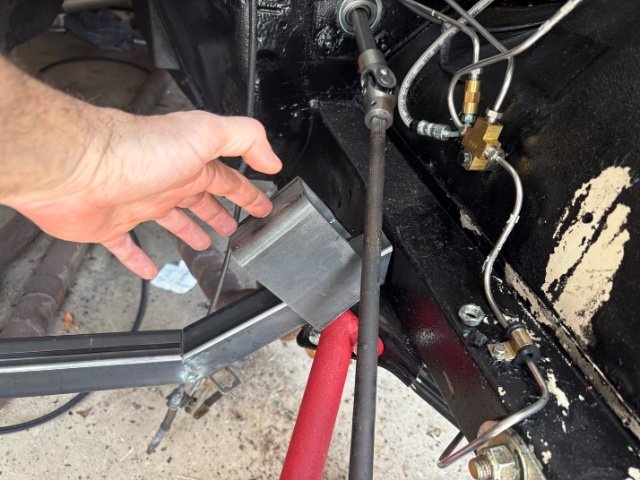
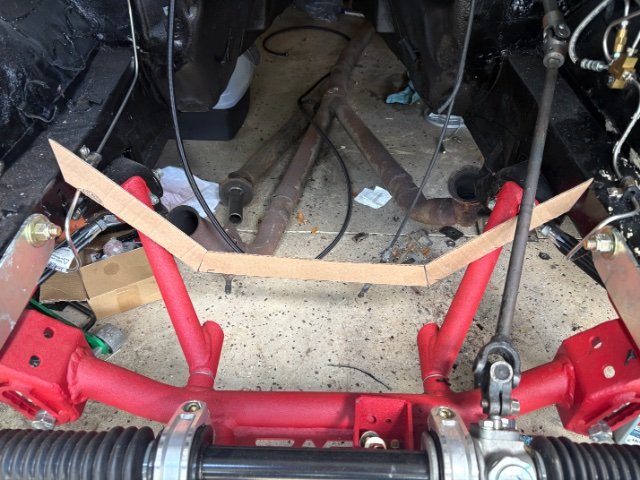
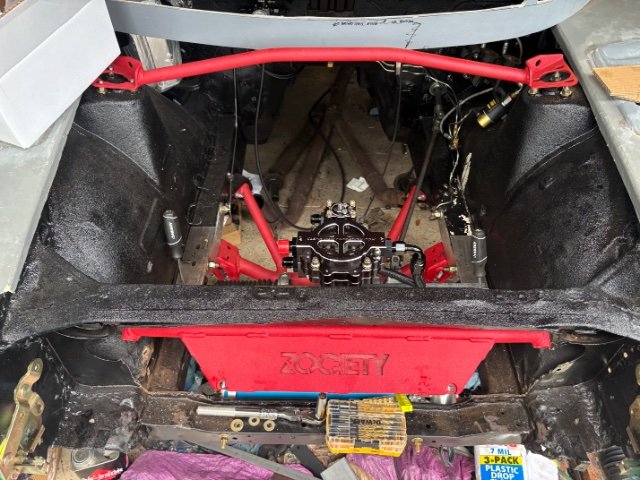
Started working on the cradle this weekend. Laine’s design was a good starting point, had to change some of the angles to work around the apex subframe bracing, but it looks like the 1-1/2” square tubing will work. I’ve got it tacked together now to test fit. I need to do some more measurements and figure out the where to put the vertical part and the correct angle. Hopefully get it wrapped up next weekend and then test fit the motor the following weekend.
-
You're getting this made in England? What's the shipping cost? It's not that hard to make polycarbonate windows using the glass as a pattern.
-
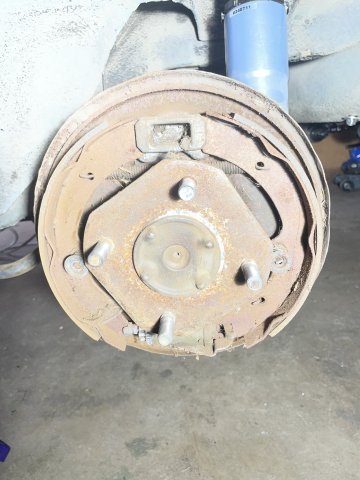
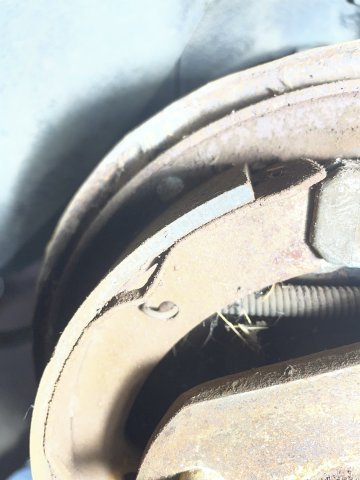
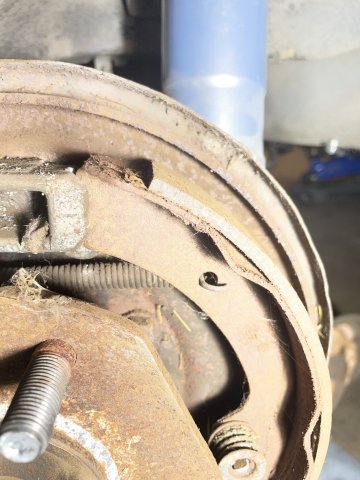
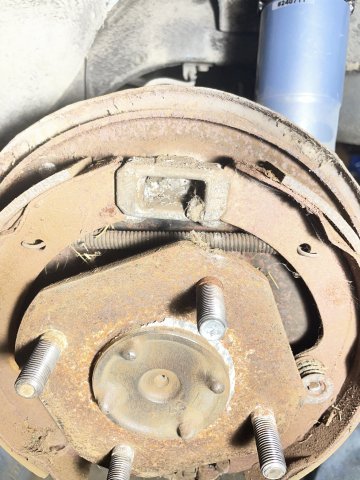
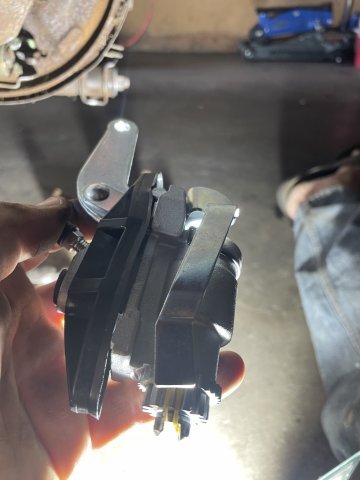
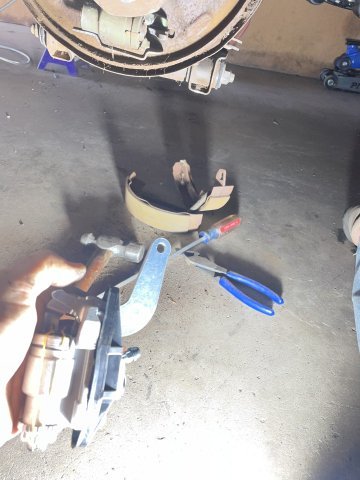
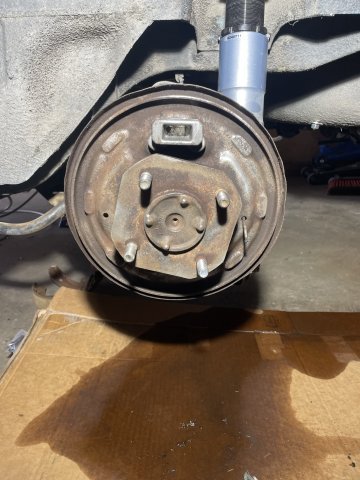
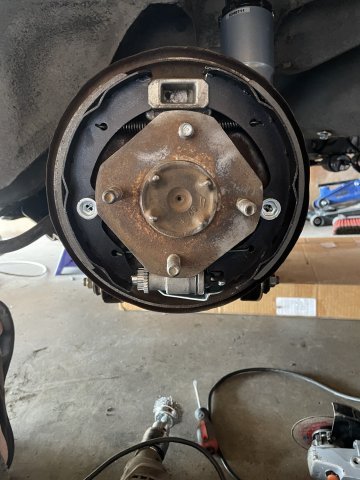
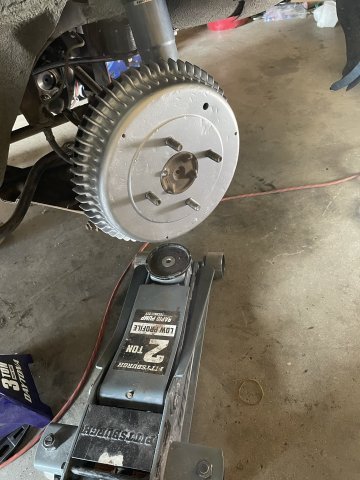
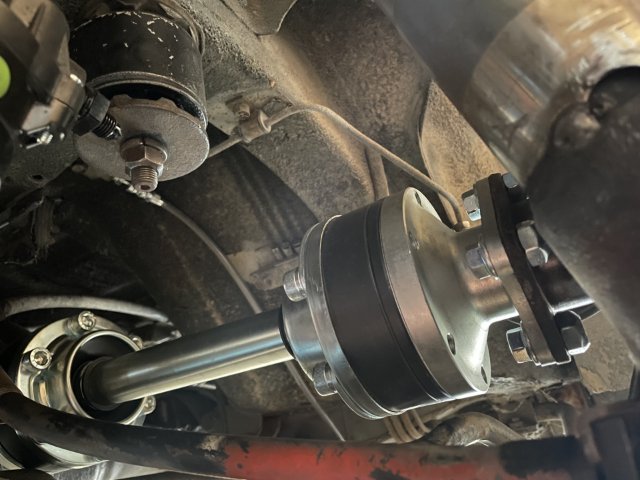
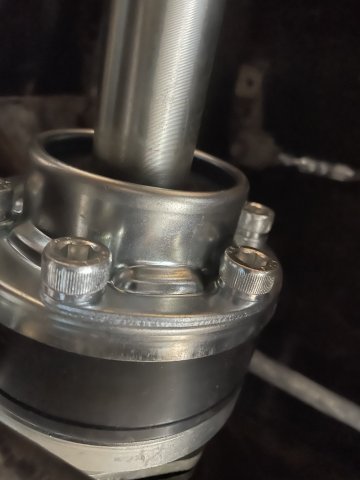
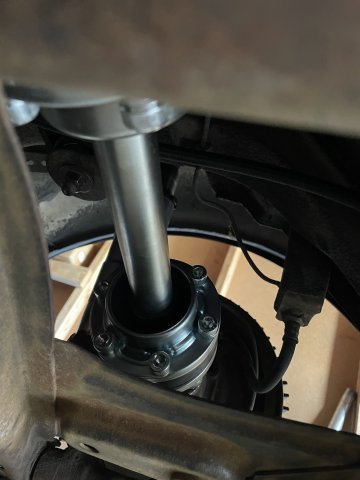
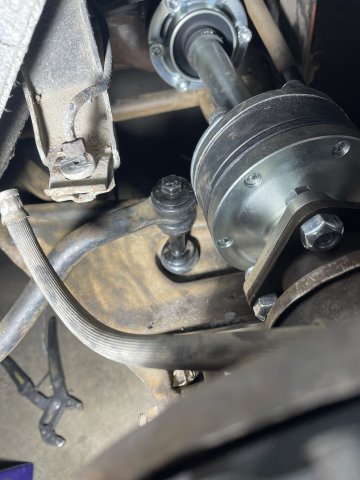
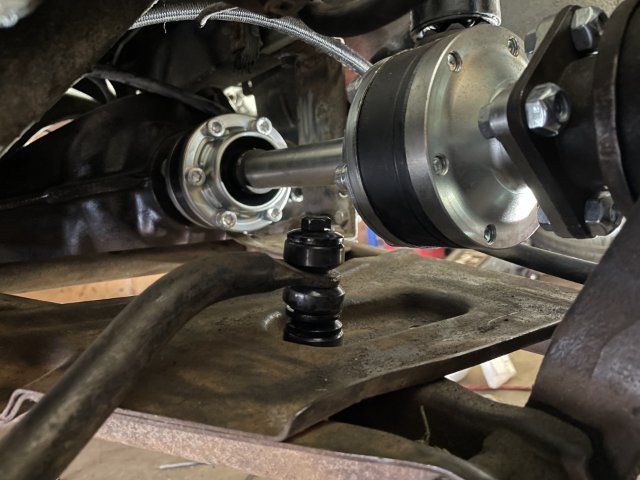
08-15-2026 ATLAS Z UPDATE. I went ahead and "restored" or rather just rebuilt the rear brakes with parts from Z Car Depot, and then installed my Techno Toy Tuning (TT3) axle shafts. As all these cars settle and move in the 50 odd years they have been around, I had to do some grinding / clearancing. I also grabbed the new rubber sway bar end link bushings I had and mounted them on the sway bar, and did so, so there is clearance from these BIG axle shafts. Inside these beautiful alloy pieces are Porsche 930 Turbo CV joints which will take more horsepower than I will ever throw at them. Dirty work, but surprisingly fun day. Progress is happening. PICS.
- Last week
-
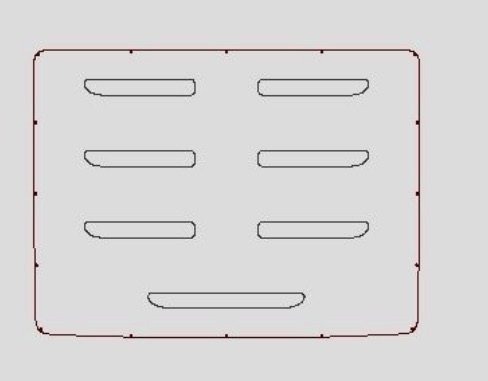
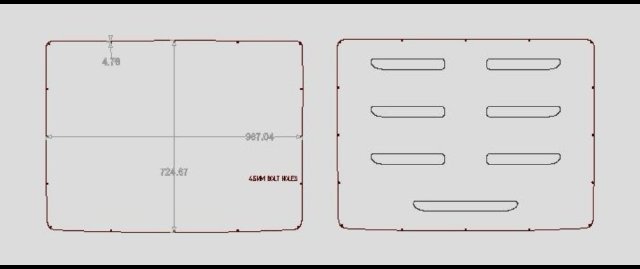
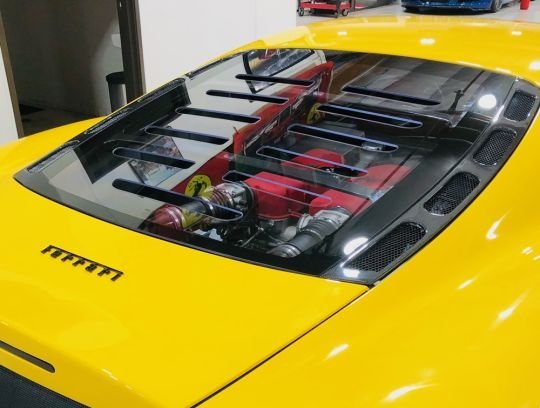
08-14-2026 ATLAS Z UPDATE/. Plastics 4 Performance has sent the final draft for my polycarbonate rear hatch "glass" for my approval. It is ready for production! The vents are to give the car an even more open air feel, which is what I want with this build. should look pretty cool. 8/32 bolts will be around the edge with a thin rubber layer between it and the lip on the hatch. Ferrari uses the vents for engine heat.....I used them because I like the look and as I said the open air feel.......no glass at all looks too unfinished to my eye. PICS:
-
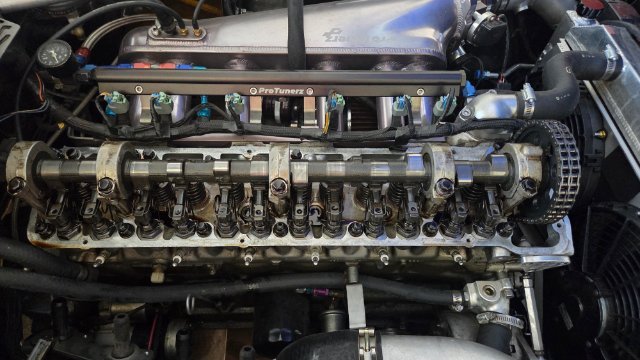
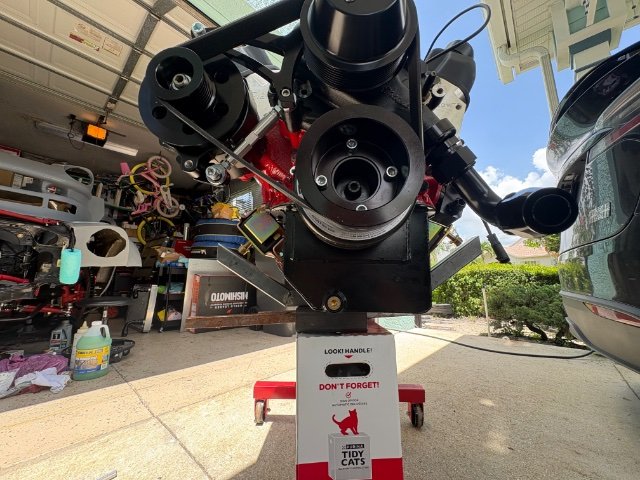
I didn't like where the intake was sitting so I did what I wanted with it. It's not for cold air, my intercooler and water/methanol injection provide plenty of cool. The entire build is done the way I want it......no thought has gone into doing what other guys would do honestly. If someone wants me to do something a certain way, that can be done, via monetary donation.
-
Whats with the cold air intake? You already have a giant hole in the hood all around the turbo
-

Fast Floridian's 240Z Track Build
74_5.0L_Z replied to FastFloridian's topic in S30 Series - 240z, 260z, 280z
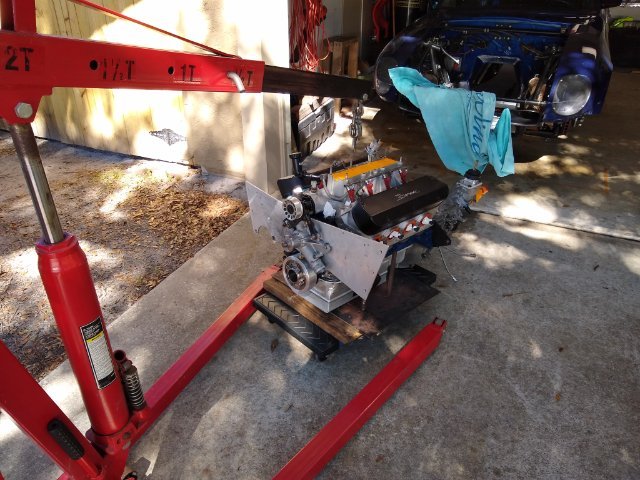
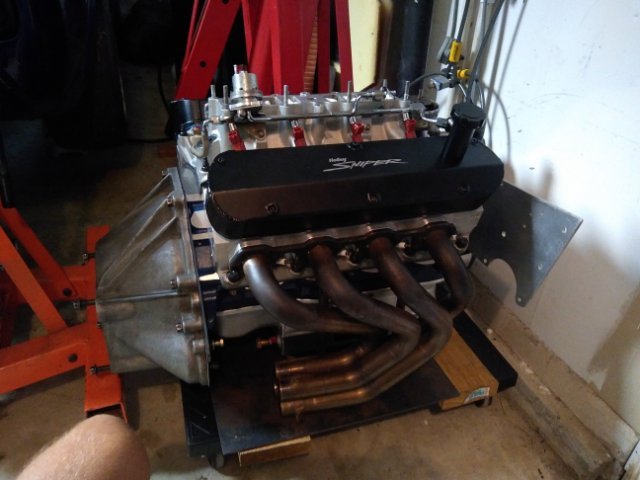
A few pictures from the last time the engine was out
-
Fast Floridian's 240Z Track Build
74_5.0L_Z replied to FastFloridian's topic in S30 Series - 240z, 260z, 280z
-
Fast Floridian's 240Z Track Build
74_5.0L_Z replied to FastFloridian's topic in S30 Series - 240z, 260z, 280z
The front plate mid plate set-up was way easier than regular motor mounts. I originally used stock mounts, but switched to the motor plates when I decided to make it purely a track car. The front plate is 1/4" aluminum and sandwiches between the water pump and timing cover. The rear plate is .090" steel and sandwiches between the block and bell housing. The front plate on mine attached to tabs welded to tubes at the front strut towers. The mid plate is attached to two tabs welded to the frame. I use a regular rubber transmission mount. You can buy front and mid plates for the SBF that have the water pump and bell housing bolt patterns already machined. The plates come with a lot of extra material that allow you to trim to fit about anything. -
Fast Floridian's 240Z Track Build
FastFloridian replied to FastFloridian's topic in S30 Series - 240z, 260z, 280z
I’m not too familiar with plate mounts, I looked it up a few months ago after looking at your engine bay pics and wondering what that plate was for 😆. Was it easy to attach to the frame? I’d have to take my accessories off, but it’s a good option if I can’t make the cradle work. Thanks. -
Fast Floridian's 240Z Track Build
FastFloridian replied to FastFloridian's topic in S30 Series - 240z, 260z, 280z
Thats a good idea, I have some rectangular tubing I could cut into c-channel and weld into the notch. I’ll explore that option this weekend, thanks. -
1977 280z driving project from the Netherlands
Mitchel0407 replied to Mitchel0407's topic in S30 Series - 240z, 260z, 280z
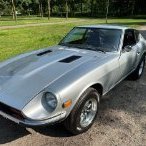
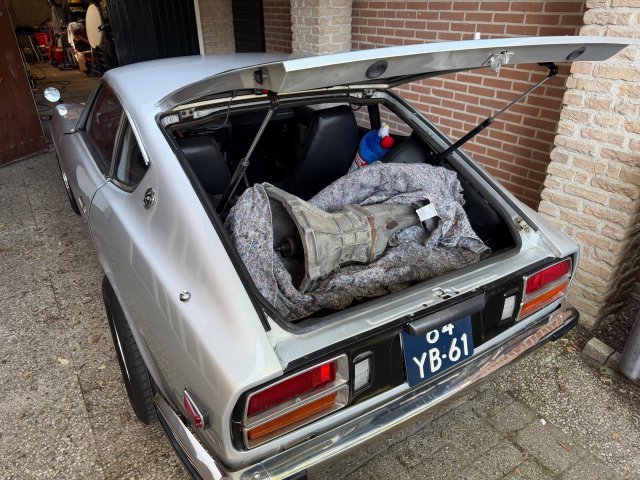
Finally had the time to head south and pick up the replacement transmission and enjoy a cup of coffee while we were at it. And what better way to pick up a transmission for the broken one in your Z then with said Z! 😂 All jokes aside she still drives fine except for a worn out syngro on second gear and a missing fifth gear. The replacement gearbox is a >80’s FS5W71B 5-speed from a 280ZX that’s been in storage for a long time. I’ll be ordering some new seals and transmission oil before switching out the gearboxes for some peace of mind.
-
A tale of two Z's - NA vs Turbo
Mitchel0407 replied to MONZTER's topic in S30 Series - 240z, 260z, 280z
Got to love a fresh coat of paint, she looks amazing! -

A tale of two Z's - NA vs Turbo
jeffer949 replied to MONZTER's topic in S30 Series - 240z, 260z, 280z
That is just beautiful. As great as always to see your posts. -
Fast Floridian's 240Z Track Build
74_5.0L_Z replied to FastFloridian's topic in S30 Series - 240z, 260z, 280z
I love my front plate/mid plate mounts. It opens up lots of room under the engine and stiffens the front structure. The downside is that you hear and feel everything from the drive line. -
Fast Floridian's 240Z Track Build
flatout replied to FastFloridian's topic in S30 Series - 240z, 260z, 280z
how much of a "notch" would your cradle need to sit down? maybe notch it and attach it to the those apex supports aswell as the frame? - Earlier
-
Fast Floridian's 240Z Track Build
FastFloridian replied to FastFloridian's topic in S30 Series - 240z, 260z, 280z
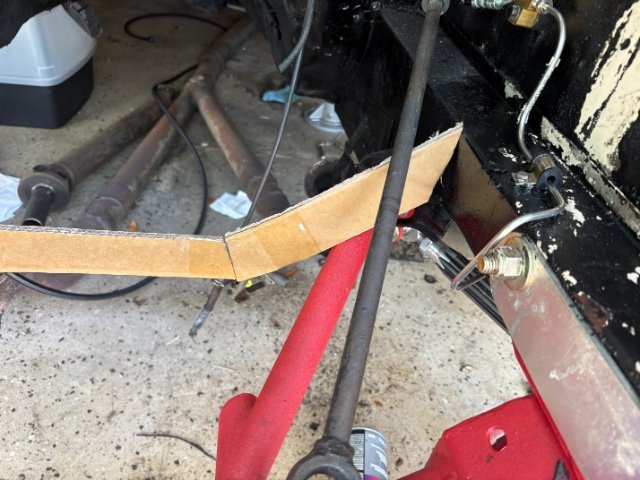
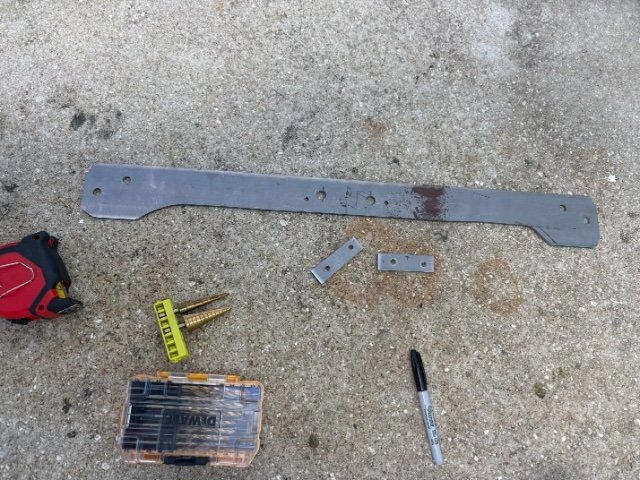
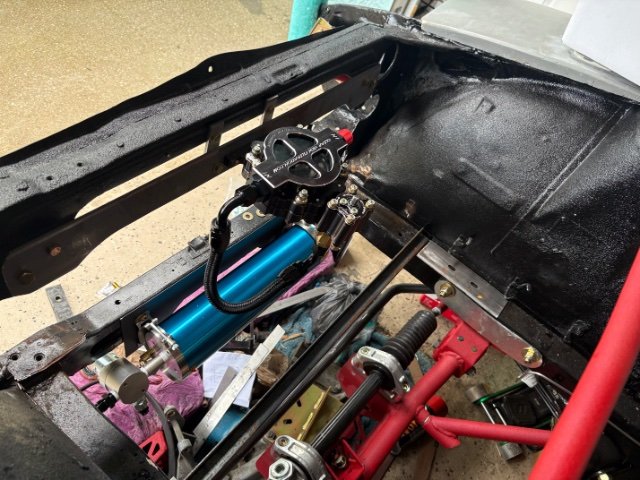
Well bit of a bummer this weekend, I made a mock up of the engine cradle out of cardboard and it doesn’t fit, the extra bracing on the Apex track attack kit interferes. I made a mock up using 1-1/2” instead of 2” and it might work, still a little tight. I’m going to try and make it with the 1-1/2” and change the geometry a little, hopefully it’ll work. Since no fab/metal shops were open over the weekend to get the 1-1/2” tubing I decided to make a bracket to mount my clearview remote filter. I’ll get it painted and re-mount it. Not sure this will be its final location, but I’m happy the way it came out.
-
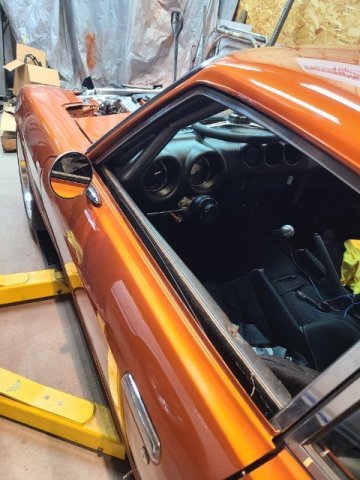
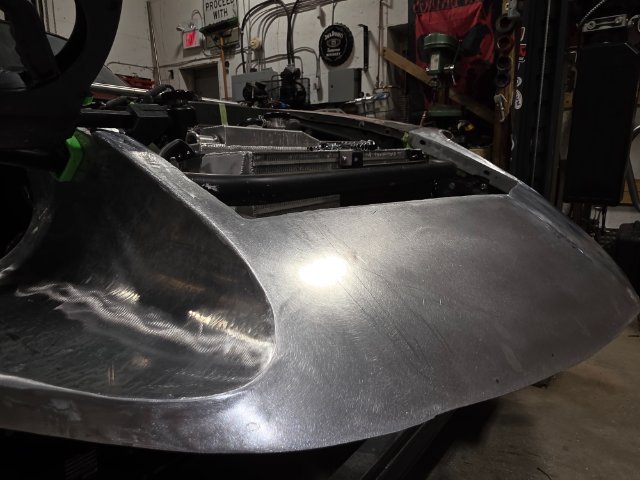
work has been to busy, small update. Headlight bucket has been welded in and planished. Everything is starting to look alot better and starting to feel like an actual car again, not just pieces.
-
280z 1jz track build from a pile of parts
flatout replied to flatout's topic in S30 Series - 240z, 260z, 280z
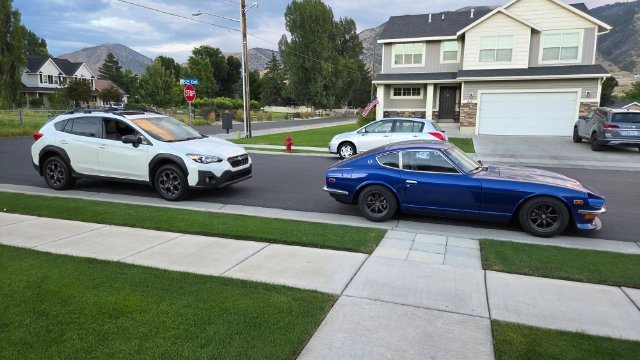
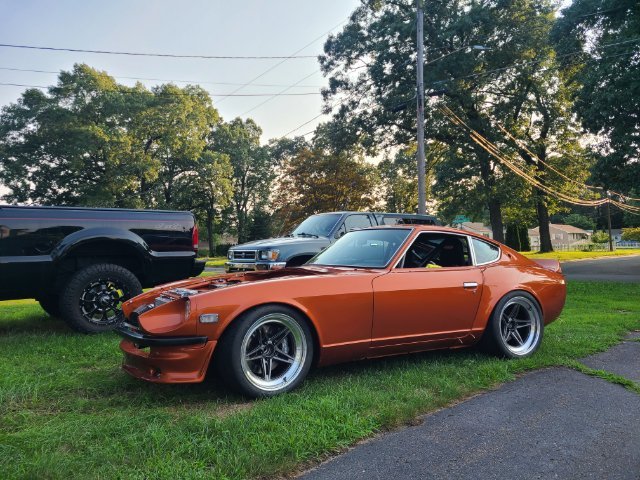
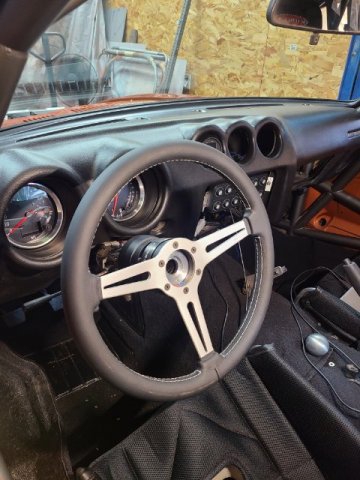
I drove the car about 3/4 of a mile around the block.... tune needs a lot of work (obviously), tires had a slight rub and it rattled a bit but was so exciting and such a relief after a year of hard work. Got the rest of the windows in as well. Wife offered to polish all the trim so I gave her some supplies and let her scrub away. also added a couple interior shots.
-
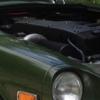
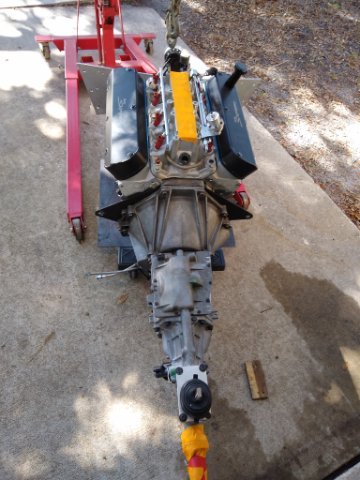
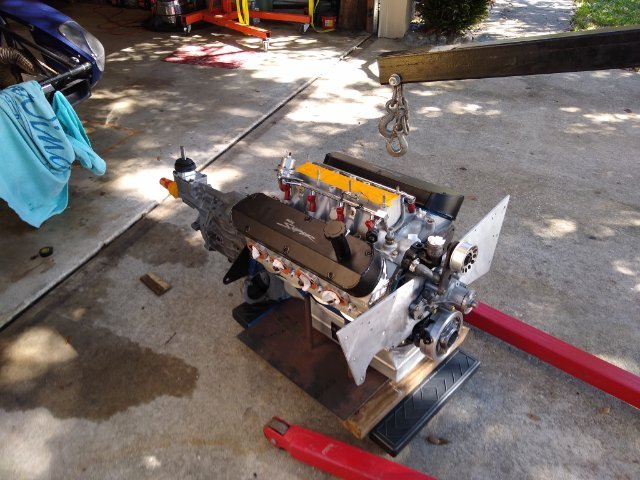
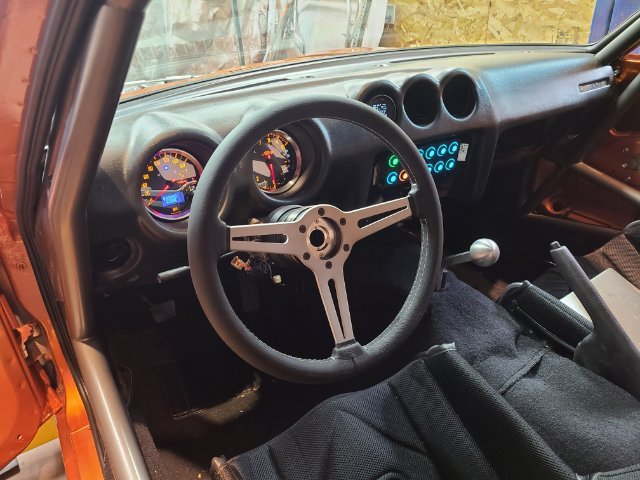
Someone mentioned steering shaft clearance? I can't see how....tiny engine in a big bay.......









-
Who's Online 1 Member, 0 Anonymous, 638 Guests (See full list)