

73ZCAR
-
Posts
153 -
Joined
-
Last visited
Content Type
Profiles
Forums
Blogs
Events
Gallery
Downloads
Store
Everything posted by 73ZCAR
-
-
Sweeeeeet!!!
-
Choosing a camshaft.. and how to match a turbo
73ZCAR replied to proxlamus©'s topic in Turbo / Supercharger
Thanks for the correct info , JM. Mike. -
Choosing a camshaft.. and how to match a turbo
73ZCAR replied to proxlamus©'s topic in Turbo / Supercharger
Hey Prox, Take a look at the stage 3 (17044) Turbo cam here. (Bottom of page) http://www.schneidercams.com/cams/50.htm It's a .488 lift so you may have to get the upgrades for the springs and retainers, depending on what you have now. Pretty good duration, and with the wide lobe centers I think it may even pass emissions. Pretty good prices too. This is probably the cam I will use. If you look at the specs for the stage 1&2 cams they look VEERRY similar to the MSA cams. Hmm. Cheers, Mike. -
Do You have one of these I can buy please!!!
73ZCAR replied to RB26powered74zcar's topic in Drivetrain
That was Quick. Sheesh. I was gonna offer mine but rick beat me to it. Mike. -
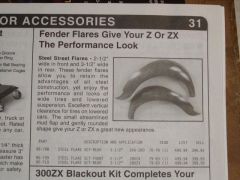
VERY NICE, I like the flares with the G-nose. Just out of curiosity What are the wheels? They look very nice on the car. Mike.
-
1:3 scale running ferrari model. A must see!
73ZCAR replied to ihatejoefitz's topic in Non Tech Board
Unbelivable. I can't imagine selling something like that. Even to finance another build. Mike. -
-
-
-
-
-
-
-

-
-
problems limiting results on the hobby
73ZCAR replied to grumpyvette's topic in Gen I & II Chevy V8 Tech Board
GRUMPY, I finance my project with E-bay sales. I buy used audio equipment in pawn shops and thrift stores, and resell it. It's not a lot of money but it keeps me going. MICHAEL, You must realize that one of the best ways to overcome the fear is to just dive in and get your hands dirty. Most of the time if you have a manual and a little patience you can get the job done, and after your'e finished you'll be wondering why you didn't do it sooner. Mike. -
LOL Check out the "rare of the rare" Recardo seats. Mike.
-
Hmm, I gotta go back to "posting pics 101" and do a little reading. Mike.
-
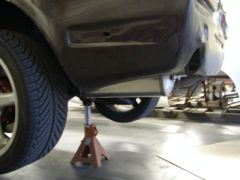
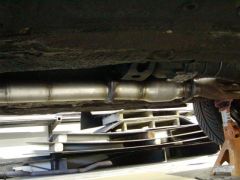
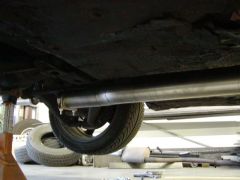
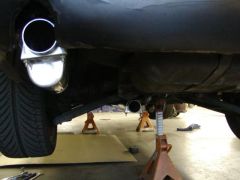
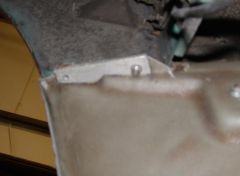
Ok, J.V. Here's my little trick. On the underside of the airdam where it will meet the headlight buckets there are two small flat areas for your fasteners. Get some cardboard from the back of a pad of paper and make two patterns that fit in those spots. Transfer these to some aluminum flat stock, (I used 1/8")and cut them out. You may have do some shaping of the mating surfaces so that they fit into the corner of the airdam tightly. Then using the high strength marine grade epoxy that you already bought at the local autozone, glue them in place. After the epoxy has cured (a day or so), clamp your airdam in place and mark your hole locations from the top, through the hloes in the headlight buckets with a short pencil. Drill holes and bolt in place. Mine looks like this. Many people have made supports or pans for the bottom of the car that support the airdam on the bottom also. I haven't done this to mine yet, but may in the future. Your type III dam's design makes it easy to add a splitter/support to the bottom. Like "Redbird", A very nice execution of this idea. Hope this helps. Mike.
-

-
-
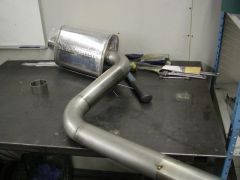
I did a standard air dam from MSA a year ago. Have a little trick to show. The car is up on jackstands right now in a friends shop. I'll take some photos, and post some pics tomorrow for ya. Mike.
-
Mmmmm, That silver Z is..... SICK. Mike.
-
JM, As explained to me by a friend who builds dwarf cars. If they are flat slide carbs, they open like a guillotine*sp*. Shafts and butterflies are not there, and threrefore do not obstruct/ disturb the airflow through the intake at full throttle. Mike.