Dat73z
Members-
Posts
851 -
Joined
-
Last visited
-
Days Won
8
Content Type
Profiles
Forums
Blogs
Events
Gallery
Downloads
Store
Everything posted by Dat73z
-
240z SCCA vintage race car, restoration
Dat73z replied to AydinZ71's topic in S30 Series - 240z, 260z, 280z
Yes you do see the fender lips a bit on the bottom like that. I think you have them close enough where I'd say position where you think it looks right and go for it. When you trim the fenders, leave the bottom portions alone such that when you look at the car from various angles it'll retain the stock body lines at those lower areas. If I can find some pictures I'll send them to you -
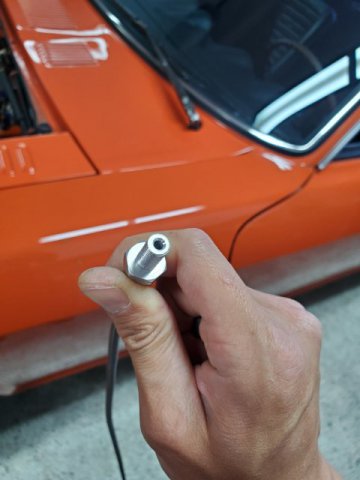
Thanks @AydinZ71. After thinking through your points, I ordered a 1" 4AN straight adapter to space the oil line off the hot side. I also decided to sheath the water lines as well. I'm not sure if it'll help but I thought I may as well since I'm still waiting on some parts. It will also keep the line from abrading items around it. You can call me Dat73z, Eric or whatever Lol. I'm also on some FB groups and IG.
-
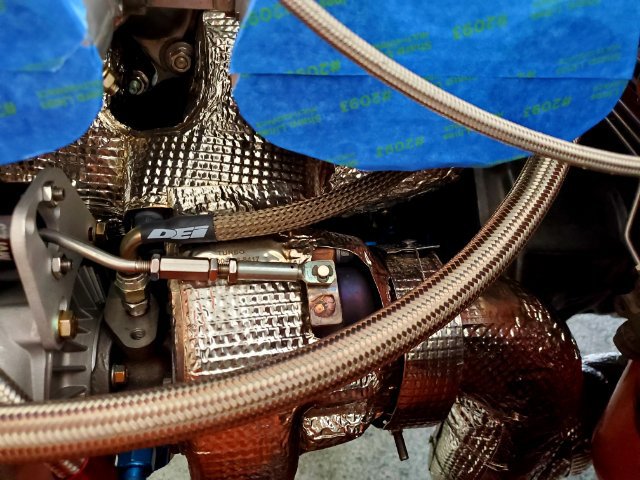
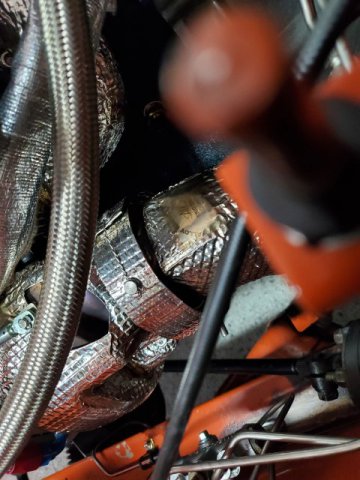
Over lunch I picked up my heat sleeving material and resleeved my oil feed line. Supposedly the DEI Titanium sleeve can withstand 2500F of radiant heat. Not sure if it'll hold up but I like it better than the aluminum sleeving I had on there before.
-
240z SCCA vintage race car, restoration
Dat73z replied to AydinZ71's topic in S30 Series - 240z, 260z, 280z
Can you hammer and dolly out the patched area? You have another Z right? I'd template the curvature for that area in paper and match it the best you can. The hammer and dolly work will save you days, try and get it to just a skim coat. Edit: also I recently examined a set of marugen shokai flares in person a couple weeks ago. Your fitment looks a bit off on the front but maybe that's due to the patches on the rear. If you can, I'd recommend fitting them on a 100% OE body as a reference/0 point and transferring them from there. -
And after playing with the new cable a bit and starting the fitup/trimming process it is fairly apparent the SS cable is much higher quality. I ordered some DEI titanium insulation sheath from my local O'Reillys that said they can get it in tomorrow. I'm already missing driving the Z so hopefully I can get this all back together before the weekend.
-
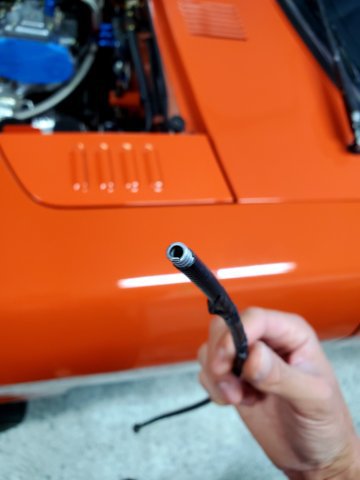
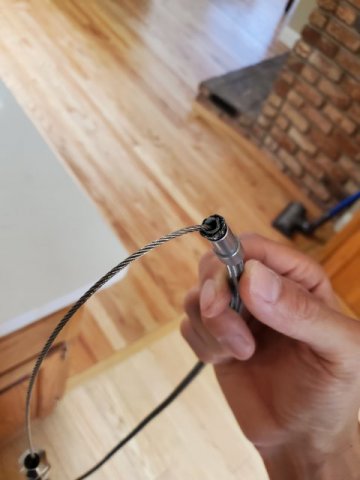
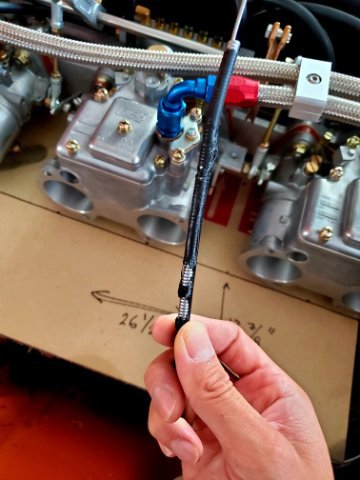
Tonight I was able to pull the old throttle cable off with the assistance of my wife and inspect a bit closer. Surprisingly it looks like there's no liner in this lokar cable or maybe it melted off over time, I'm not sure. I think I installed it maybe 7 years ago and recycled it over a few setups so it's about time for a refresh anyways.
-
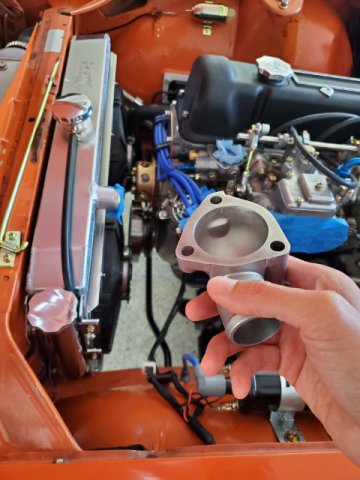
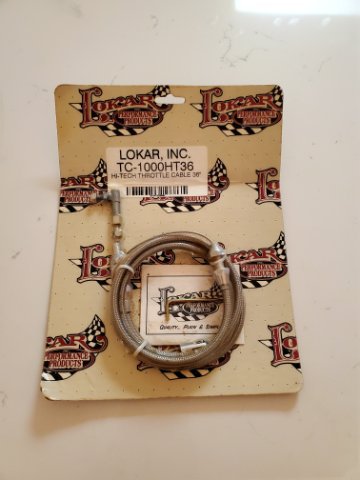
I got most of the cooling system back together last night but I'm still waiting on the new thermostat to come in which is apparently still delayed before buttoning it all back up. My lokar cable came in today so I'll see if I can get started back in on that later tonight. Not sure what the inner liner is made of or if it'll melt but I'm thinking I should heat wrap the cable as well once I get it in.
-
You could also likely clean up the routing a bit as well and gain some space in that area. The muffler was added due to California Vehicle Code 27150 I believe which requires all street vehicles to be equipped with a muffler
-
On my friend's former turbo nitrous LS he dumped it out the pass fender. I'd rather do that than the hood. It'll keep fumes down and your windshield cleaner.
-
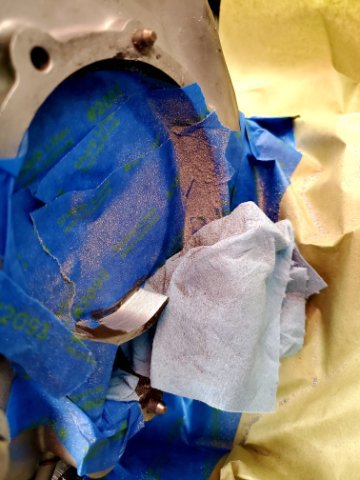
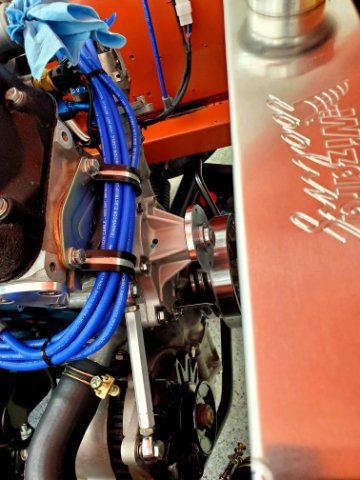
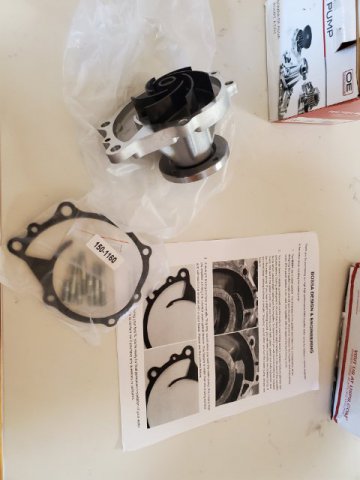
This afternoon I installed the new water pump. The cut water had to be slightly modified to clear the new impeller. Hopefully my thermostat comes in tomorrow and I can button everything up and get back to street tuning.
-
Another busy weekend but I managed to squeeze an hour in this AM and pulled the water pump. Comparing the Bossa water pump to the stock cast impeller unit is impressive. Supposedly the Bossa will outflow the diesel pumps which are nla and keep temps 5-10deg cooler. After driving around this past few weeks it has become apparent I need to do everything I can for cooling and heat shielding. Hopefully I can modify the cutwater and get it back together tonight. Tomorrow the thermostat comes in and the cooling system reconfiguration will be complete.
-
This afternoon I was able to fabricate the new turbo to tstat coolant line. The entire run now gradually rises uphill so hopefully there won't be anymore backflow boiling issues...although I'm now wondering what happens if I park on a downward slope 😂 My Bossa Design water pump came in today so tonight I'll start installing it.
-
I had a 30 min window this PM so I made a new line for the block coolant feed. Hopefully I'll have an hour or so this evening to wrap up the Tstat line as well.
-
This AM I started draining the coolant down and started back in on bracket fab. I think for the throttle cable I'm going to route it just in the space between the surge tank and heat shield. Hopefully with the new stainless cable and heat sheathing there will be no melting from the turbo heat in that location. Later today my Bossa Design water pump should come in, and my new Borg Warner Tstat on Mon so trying to get everything ready for that. Always something to do.
-
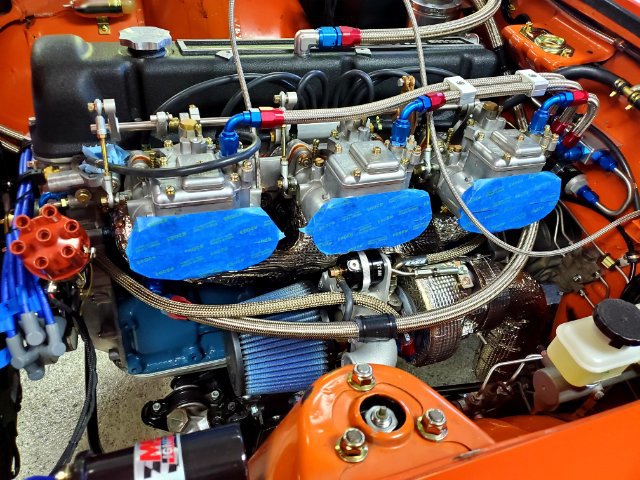
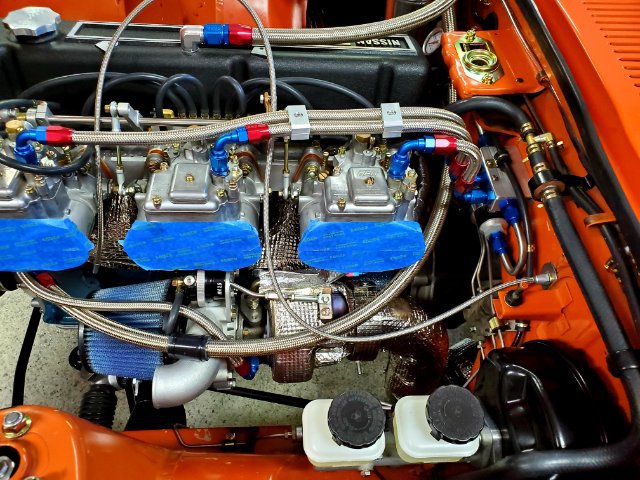
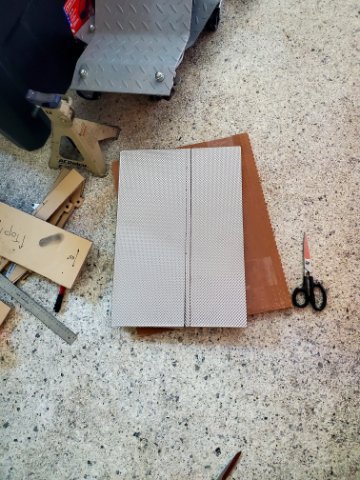
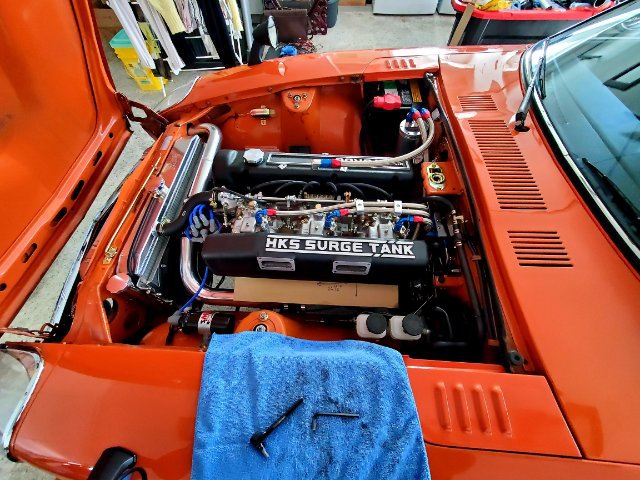
Today I was able to measure and trim the heatshield material. It was quite challenging to do as it is 321 stainless with an internal ceramic liner/air gap. Supposedly it can withstand 1800F continuous and 2000F+ intermittent. I hope it works to reflect and redirect the heat rising off the turbo into the carbs. The whole sheet needed to be unfolded, the cuts made precisely with overlap, and the overlap then folded back over. I haven't folded it back over yet as I'll need to punch a few holes in the stainless and fold those edges over for the vacuum lines, throttle cable, and mounting brackets. I decided to make this a multi-piece heatshield which will be assembled on the car as it was the only way to be able to snake it all in with the surge tank installed.
-
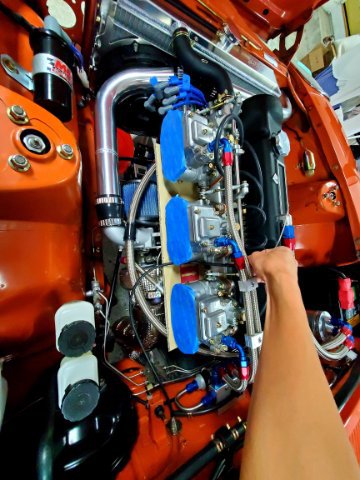
After more fitup and consideration for serviceability it is becoming clear that the heat shield dimensions will be critical. The surge tank must be bolted on before the heat shield otherwise there is no way to access all of the surge tank fasteners. I have some designs in mind, hopefully I can get to a final template later today and keep moving forward.
-
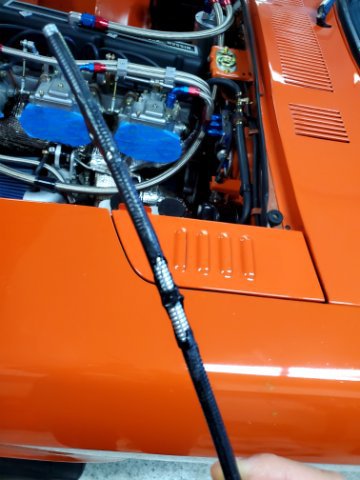
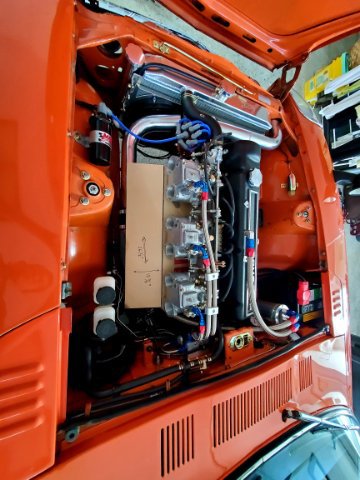
Thanks @rossman, always appreciate your insights. My AN fittings come in today and I get today off so hopefully I can get that back together. This morning I received notice that my heatshield material may be delivered early so I started templating things up. I think I'm going to fabricate some brackets to hang the heatshield off carbs 1 and 3 since carb 2 holds the throttle cable for which I'll need to make a new bracket for that as well to move the throttle cable away from the turbo. As always, everything on this setup is ridiculously tight with considerations to clear everything and serviceability. I've also attached a pic of the radiant turbo heat carnage on the throttle cable. I'm hoping the stainless cable, relocated away, and heat wrapped will be ok but we will see. I thought I was done with fabrication but I have to remind myself that just a couple months ago the car was in pieces on jackstands with no driveline. Just need to keep pressing forward and developing/improving the setup.
-
@rossman also I'd like to try the lower rad hose area as you suggested but I want to try the block first. Mainly because I don't want to run a line under the oil pan but I'll do it if the block feed strategy doesn't work.
-
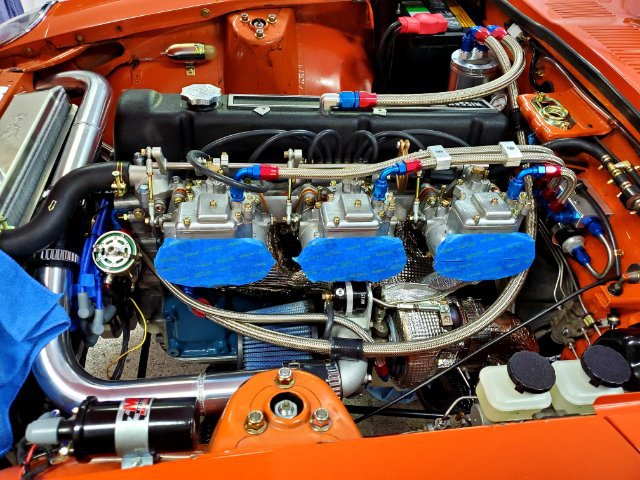
@rossman a minute or two after shutdown the boiling from the CHRA starts. I think my issue is actually how I have my lines routed. You can see in the pic I drew on above, my turbo coolant line runs from the pass side, over the hot turbo and into the side closest to the DS shock tower. The return is lower on the opposite side. At shutdown the hot turbo heat rising into that line isn't helping either I'm sure and I think with the way that line is routed, instead of pulling cool water from the PS side it's boiling back over to the heater core branch... I'm going to swap around the lines with one feeding from the block, and the other from the DS shock tower side back to the tstat housing first. Just waiting for parts as usual. For the heat soak I've decided to go all out on it. This AM I safety wired in the vband shield. I also ordered some of this to fabricate a large heatshield under the carbs: https://www.heatshieldproducts.com/inferno-shield I will also do a brushless ducted fan or two to run after shutdown, similar to how I've seen some triple carb guys in Japan/tropical environments do to deal with the heat
-
I went for another long shakedown drive yesterday for an hour or so of mixed driving between traffic and high speed running. It is apparent one of the pitfalls of these setups is the extreme turbo heat. I noticed the plastic Lokar throttle cable I had recycled from my other build began melting from the radiant heat of the turbo. Also after long duration high speed running, if I don't open my hood at shutdown the fuel will boil in the carbs. I've ordered a stainless lokar cable and will relocate it away from the turbo along with additional heat sleeving and shielding plates under the carbs.
-
After a nice long drive, I'm still getting the coffee maker turbo boiling. I have some AN fittings coming in tomorrow so I'll need to wait on those to make the new lines. I'm really pleased though with how smooth the car is running now. Every time I take it out I've been refining the tune a bit more. I'm hoping it'll be ready for dyno tuning in a few weeks.
-
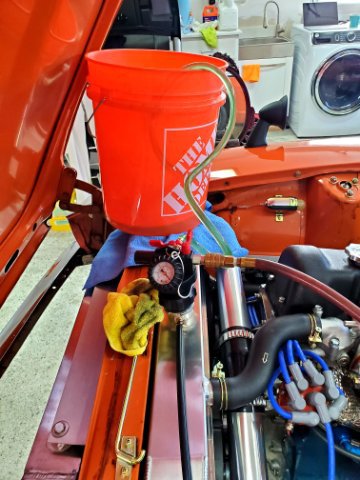
Early this morning I pulled vacuum on the system and held it at -25inHg for a couple hours. I have now both pressure tested and vacuum tested my system and am confident there are no leaks. I then filled the coolant via vacuum with the nose of the car elevated maybe 2 feet so the filler neck/coolant source was above the tstat housing. I reused the coolant + water wetter that I drained as it looks absolutely clean. I don't think I will ever traditionally fill a cooling system again if I can help it. Absolutely no mess and filled the system within 5 minutes. I will take the car out for a nice long drive over lunch to establish a baseline before making further changes to the cooling system.
