-
Member Statistics
33367
Total Members5167
Most Online
All Activity
- Today
-
You want to do mine next?
-
For me it works more often, and when it does work it's very snappy. When it's slow, I just hit refresh and go to a different tab for a moment and it'll be back by the time I return. It's still not perfect, but I think it's better than it was.
-
LMCUES joined the community
- Yesterday
-
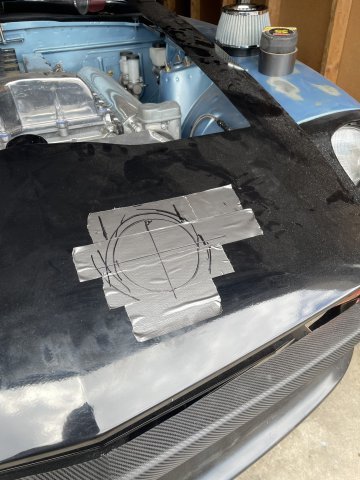
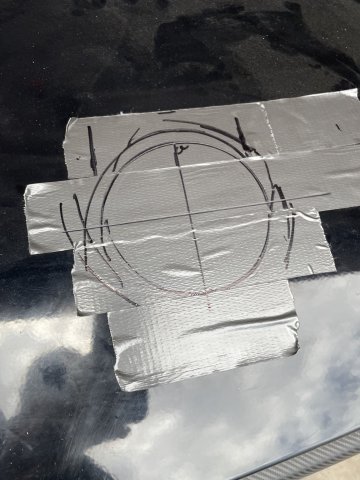
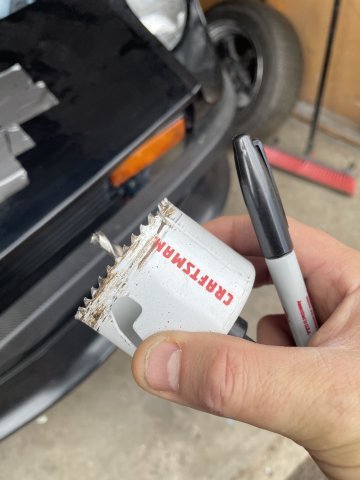
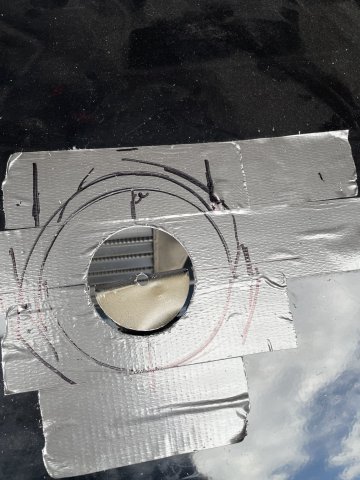
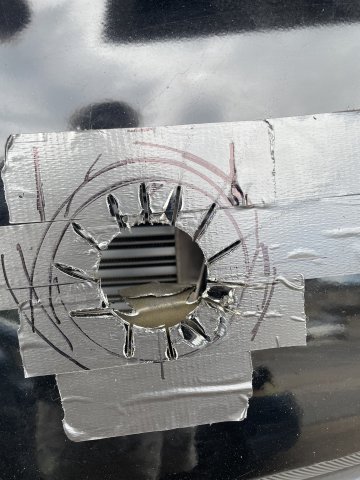
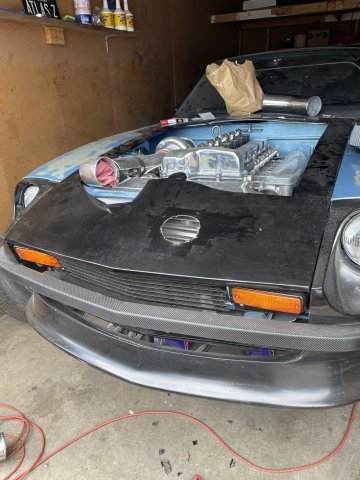
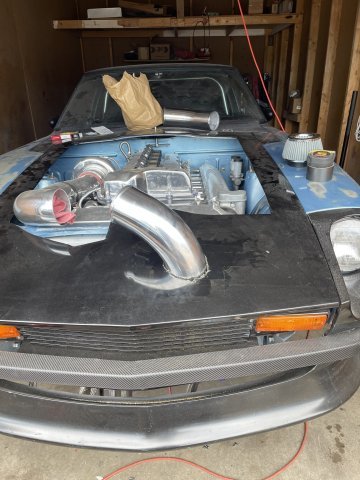
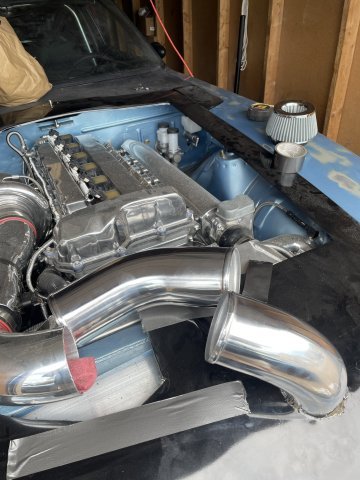
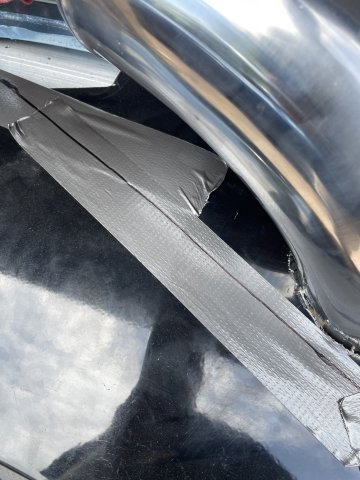
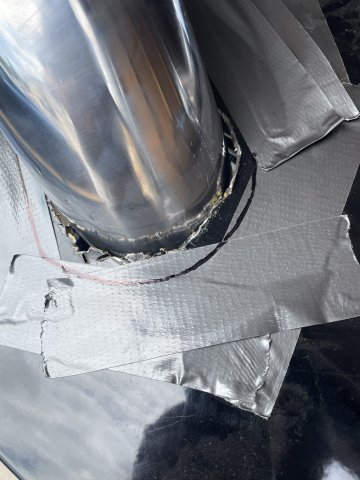
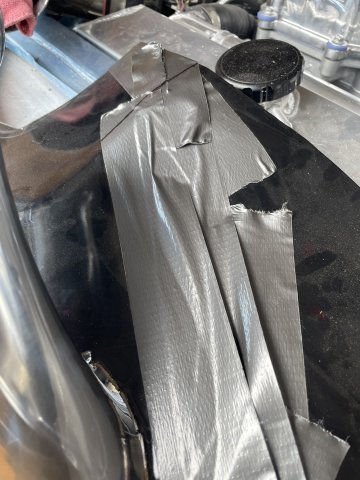
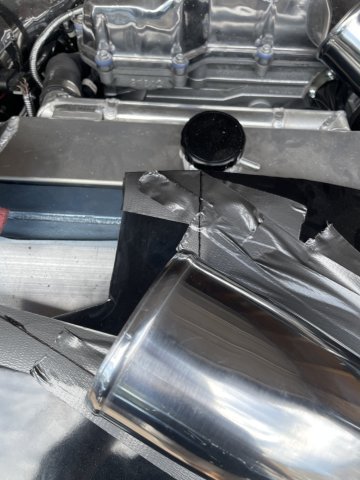
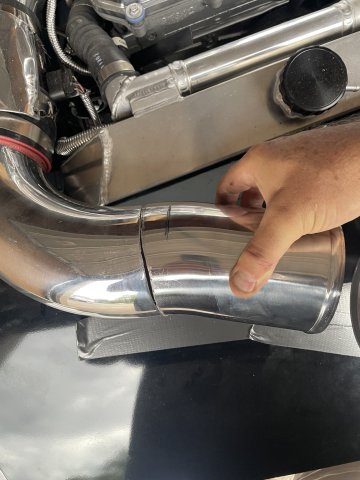
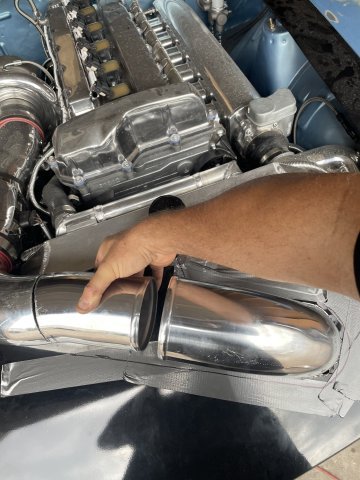
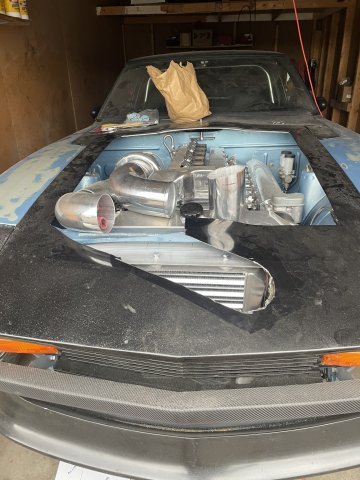
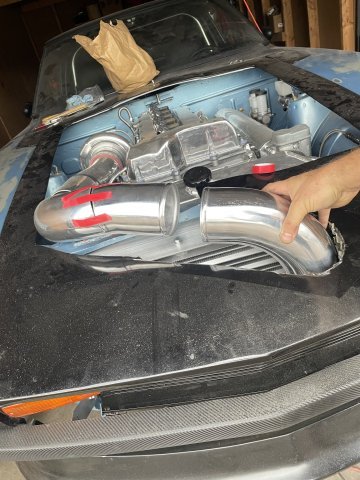
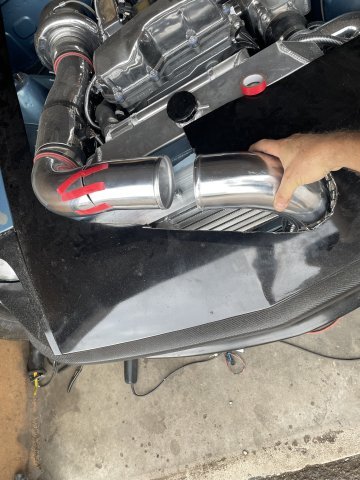
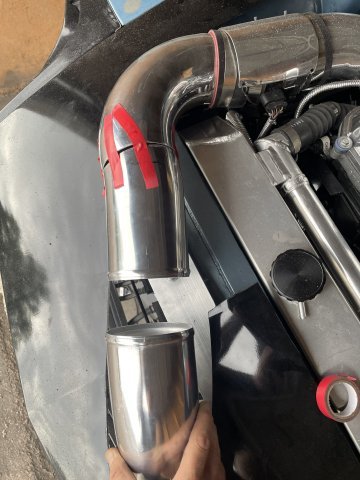
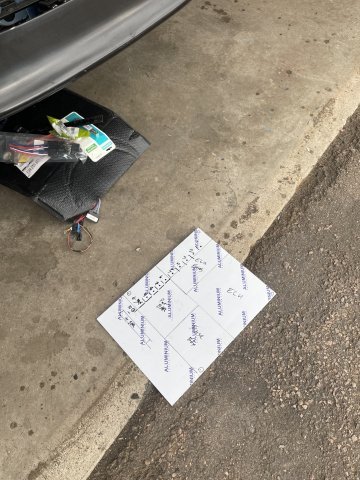
07-29-2026 ATLAS Z UPDATE: I went ahead and ordered up some 4" pipe from Silicone Intake Systems (SIS). marked out where I wanted the turn down and the filter to sit behind the grille and jumped in and cut the path! I then cut the 45 degree offset piece into the shape needed. I ran out of time today and material actually also....I need some straight pipe, but good progress. Next is the sweeper 90 and some straight piece to put the cone filter right where I want it. You can also see I began the process of a new layout for my electric panel. Once the piping is laid out, I will once again, have it welded , sanded smooth and polished. PICS:

-
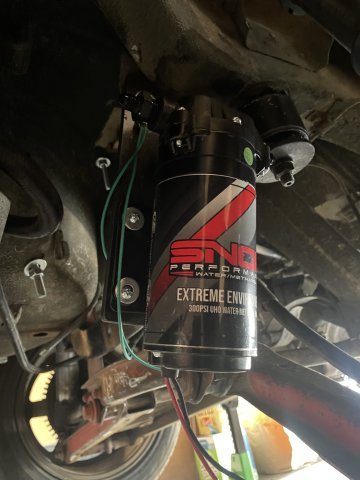
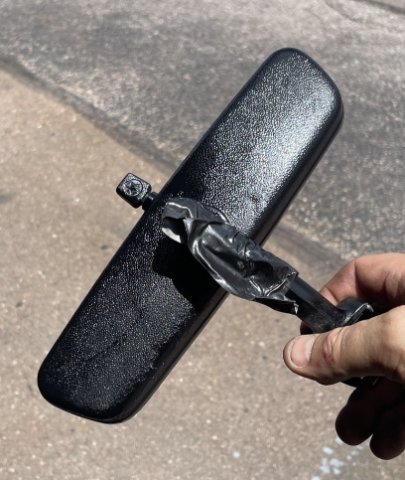
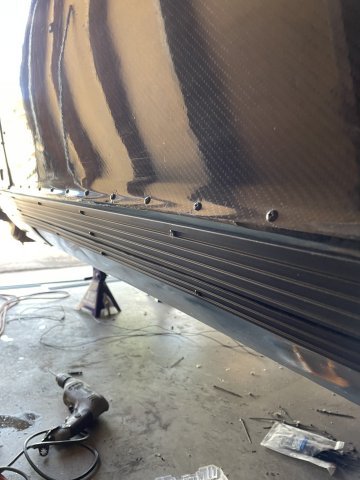
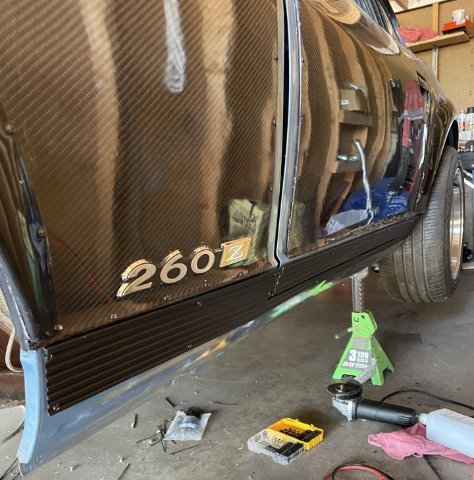
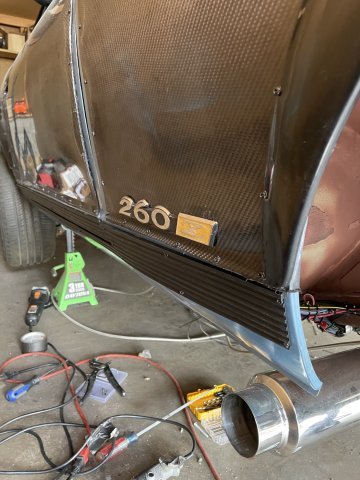
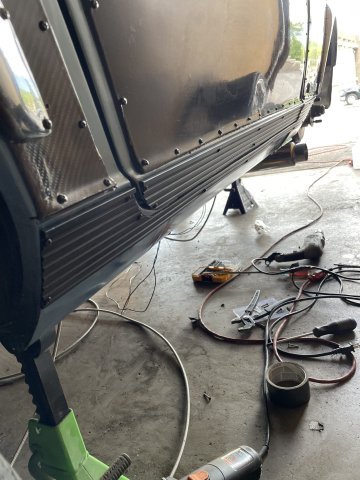
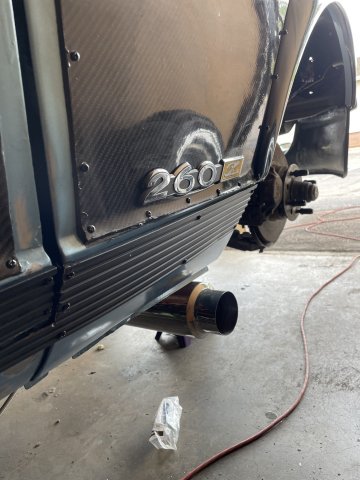
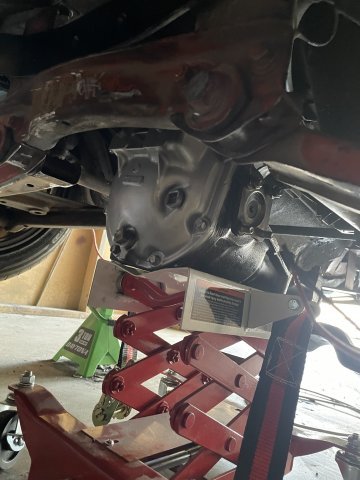
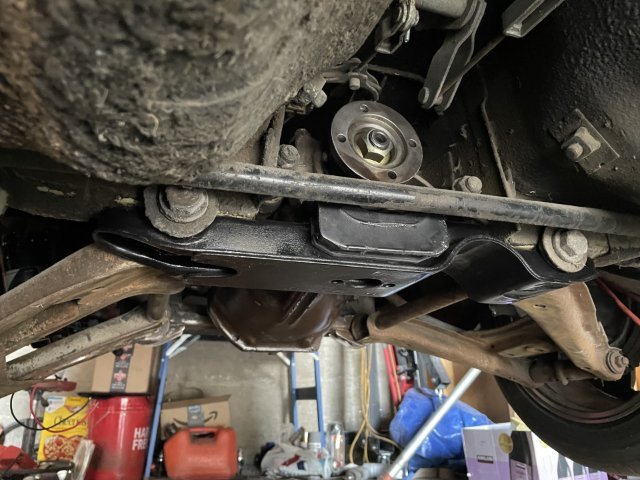
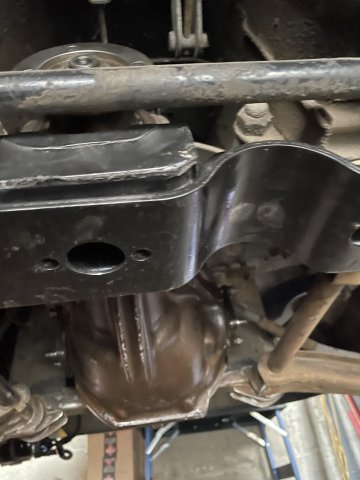
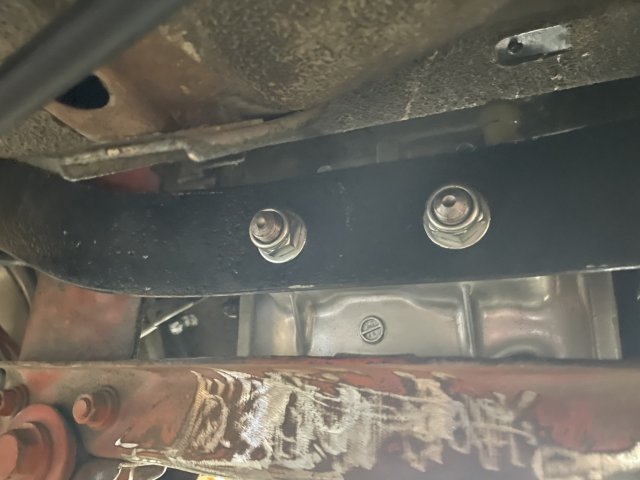
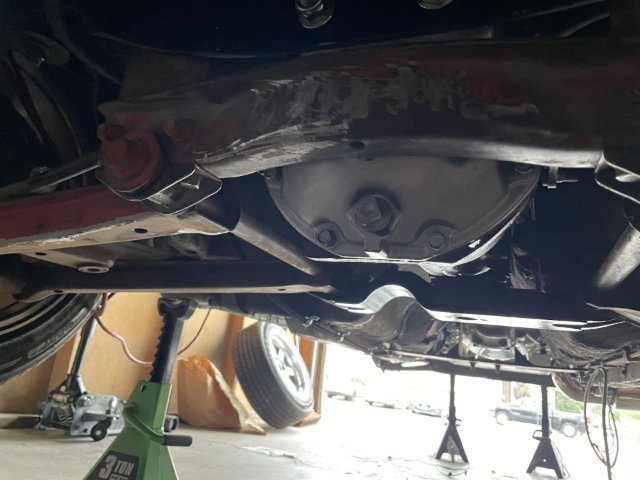
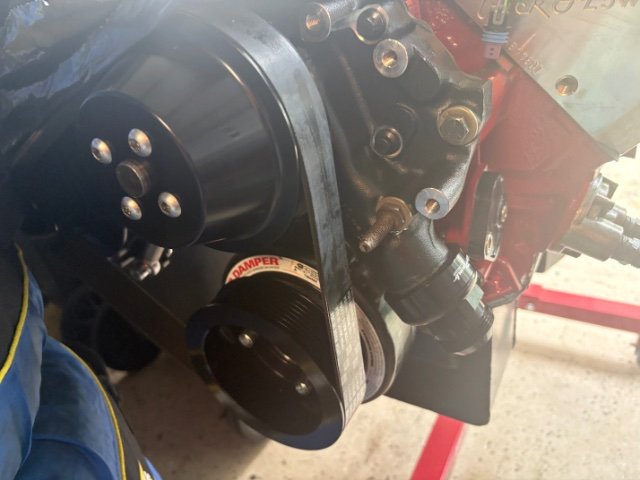
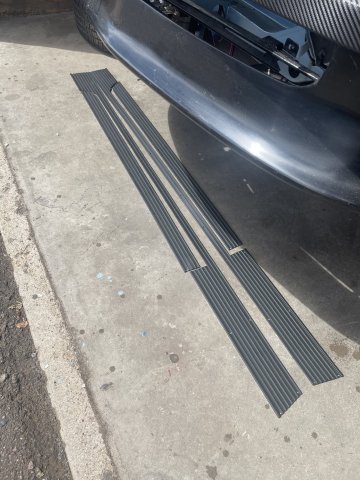
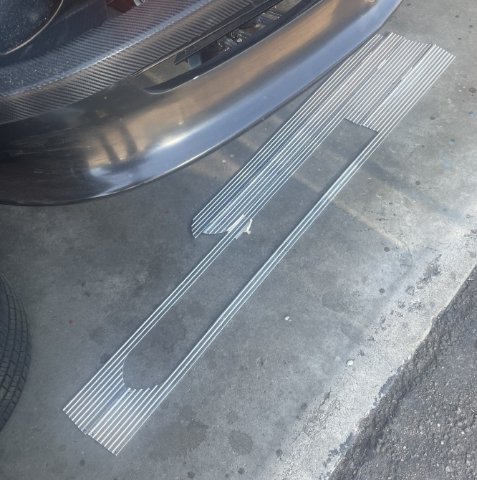
07-26-2026 ATLAS Z UPDATE: Today I switched it up a bit and worked on some other items first. I cleaned up and interior painted my rear view mirror with the SEM Landau BLack interior paint, then started the install on the Snow Water-Methanol pump in the back. I have it loosely hanging there for now as I have a few other items to finish before final install. Then I decided to install the Dealer option fluted aluminum rocker trim. I had it powdercoted in flat black, and now was the time to install. After getting it on the way I wanted and getting the bottoms of the fenders tied down, I decided to try out the serpentine belts I got to see which one will work. Well, my measurements were off, and I decided the best way to fix the problem was to just cut the belt I had on there and pull and measure it to get an accurate measurement. 78 1/4" with the tensioner relaxed. I think I will try a belt at 78" length and see how it goes. After doing all of this, I decided to push the rear diff under the car and get an idea of how much work was waiting for me.....well, it went right in! very nice to have it done and glad Jesus let me have it go well! PICS: SportsCars
-
I still get a site not responding when I go to it and have to wait more than 30 seconds for it to load. Clicking among sub forums takes a while as does loading threads. Whatever he's doing isn't working ..
-
I think "exhausting month of hardwork" is an understatement. Great job. starting with a fresh slate is so nice but so much work.
-
-
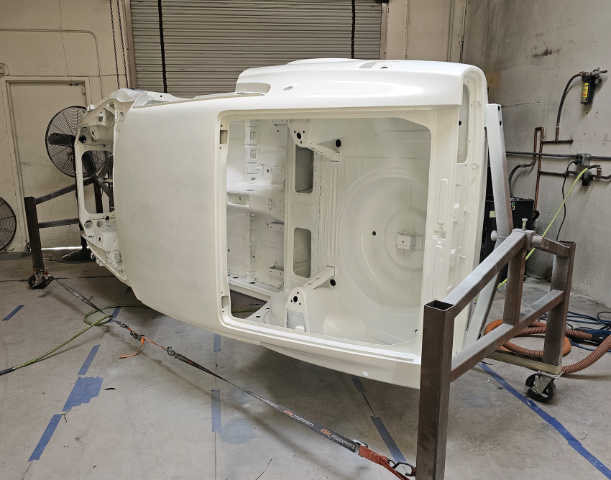
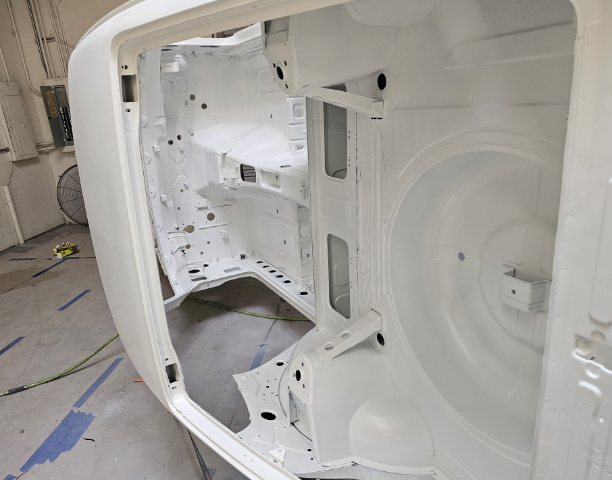
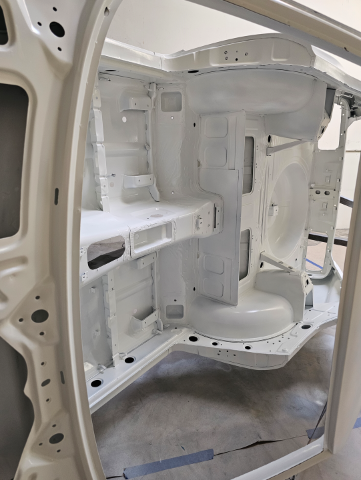
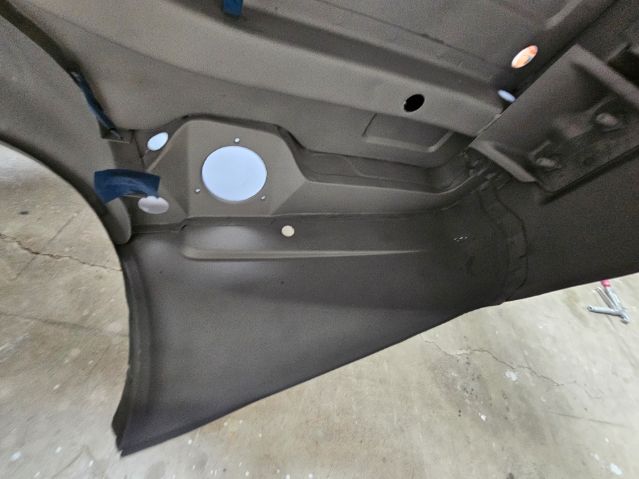
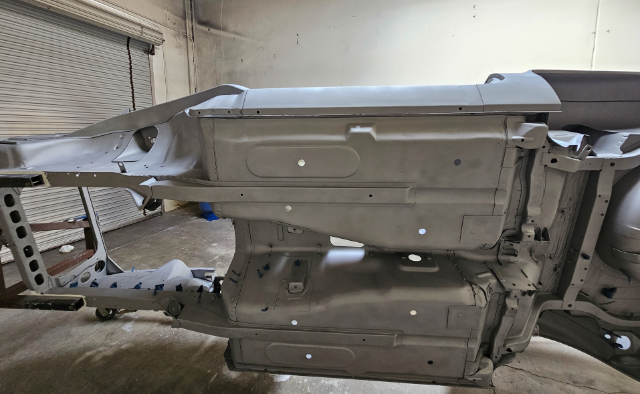
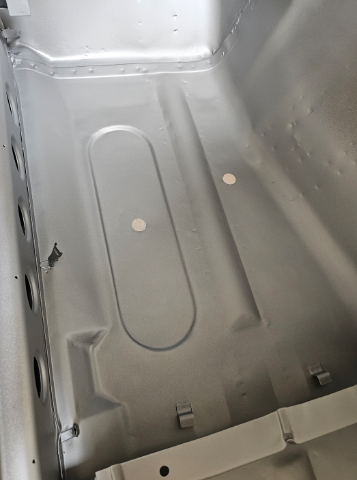
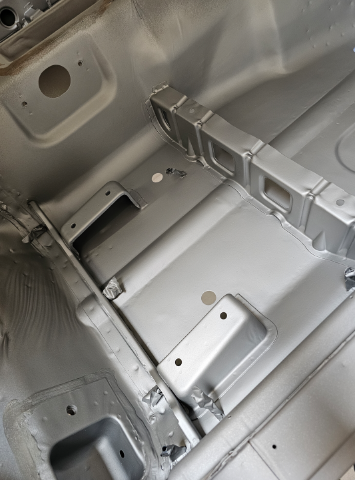
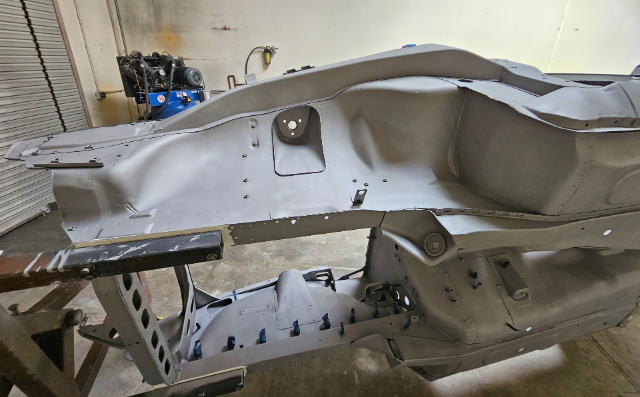
Its been an exhausting month of hard work getting the chassis in Epoxy to move it back home before the end of the month. Here is the process. 1.) strip all factory sound deadening/undercoating with a scraper, heat gun, wire brush. 2.) clean any residue with paint stripper and after-wash solvent. 3.) strip original paint from body with Citri-Strip paint stripper - again clean with after-wash 4.) remove interior tar paper with dry ice and liquid nitrogen. 5.) wash and clean entire body with Mastercoat metal prep - phosphoric acid rust neutralizer https://nomorerust.com/collections/metal-prep-rust-remover-products 6.) sandblast all seams and overlop joints. 7.) brush Mastercoat rust sealer primer into all seams and nooks https://nomorerust.com/products/mastercoat-ultimate-permanent-rust-sealer-silver-primer-original-sprayable-slim-quart 8.) lightly blast the floor pans with white aluminum oxide until white metal 9) brush 3 coats of Mastercoat rust sealer primer on to floors 10) blast the internal frame chambers clean and blow out any sand 11) spray the internal cavities ( rocker panels, rear fenders, rear internal quarter, and front internal cowl area with Matercoat using a 18 inch long extended tip spray gun https://paascheairbrush.com/collections/extension-spray-guns?shop_consented_scopes=email%3Averified+openid+pay%3Asession_token+profile+shop%3Aaccount_uuid&shop_sign_in=true using a 360 degree spray tip to coat all surfaces 12) sand the entire body removing any Mastercoat not reaming in pits or detents 13) sand the entire external body shell and underside with 180 grit and clean with wax and grease remover 14) lightly blast entire body inside and out until perfectly clean and lightly textured to promote adheision - holding the blast nozzle 12 to 15 inches away at 60psi with white aluminum oxide 15) hours blowing out the remaining grit 16) again using 360 degree long extension spray gun, paint all internal cavities and under sides with DPLV Epoxy Primer 17) Spray entire body inside, outside, underside with 2 coats of Epoxy Ridiculous amount of hours https://www.youtube.com/watch?v=y-kogRrJYJU
- Last week
-
I haven't noticed much difference but i generally refresh the page and then flip off it and do something else while it loads.
-
I've been having much faster site-response and loading times lately, when navigating the forum. It would appear that the fixes Dan implemented have improved things significantly. Are y'all seeing the same improvements on your end? @rturbo 930, @calZ, @Brad-ManQ45, @Leon, @flatout?
-

280z 1jz track build from a pile of parts
flatout replied to flatout's topic in S30 Series - 240z, 260z, 280z
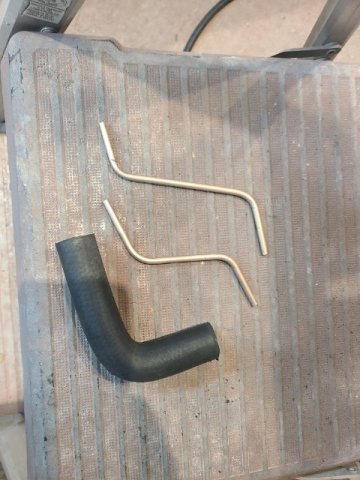
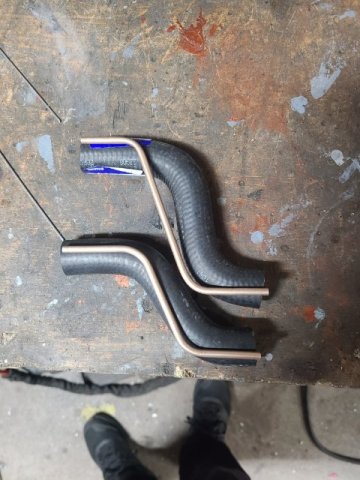
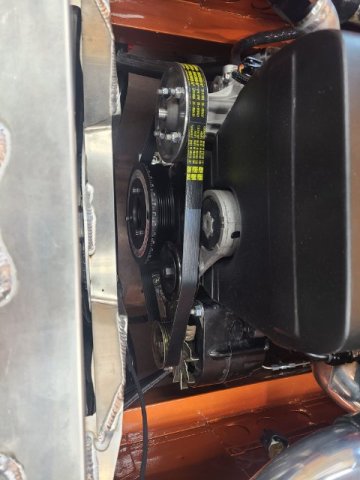
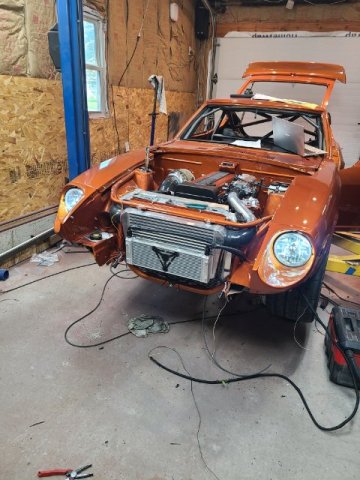
Got a little more work done. Started getting the front end together. headlights wired up. have new corner markers on the way and need to come up with a grill and turn signal. Bent up some brake line templates and headed to the parts store to try and get some pre bent heater hose. was a successful journey. got a u bend that worked for both hoses perfectly. Got the hoses on. pressure tested for leaks. found one small one at the turbo. fixed it. filled and bled the cooling system. Got the fan hooked up to the ECU thru PWM, and man does this fan flow some air. turned all the way up it might move the car like a fan boat. haha. I had it running while playing with the tune at 35% duty cycle and it CLT stayed at 172ºF when it was 85ºF in the shop so i was happy about that. will play with setting once i can get it on the road. I made the alternator bracket to move it to the driver side but having a little issue with belt routing. Currently did get a belt on but the tensioner doesn't have enough movement to work how I'd like so I'll reevaluate this later. Belt is tight and spins everything so I can run it this way for now and figure something else out later. I have the same alternator on my other car but on the passenger side so worst case I can probably get away with moving it back over there. just was trying to avoid the heat from the turbo. Also got the brakes bled. I'm real close to taking it for a spin around the neighborhood. Going to try and get the edged around the windows sanded and buffed this week so i can put the glass back in.
-
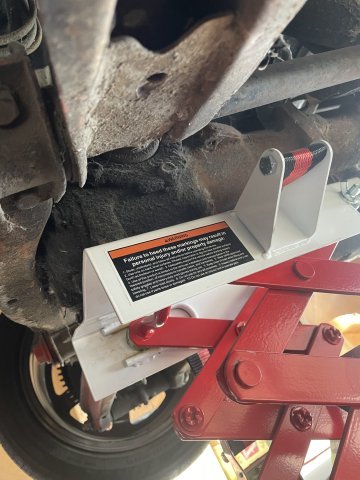
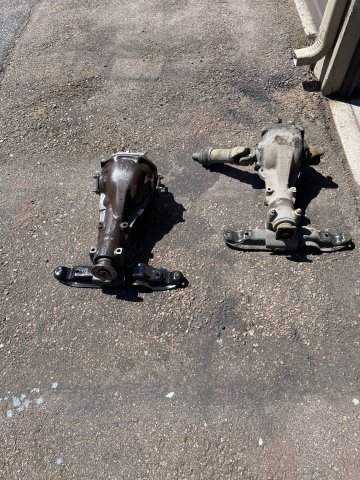
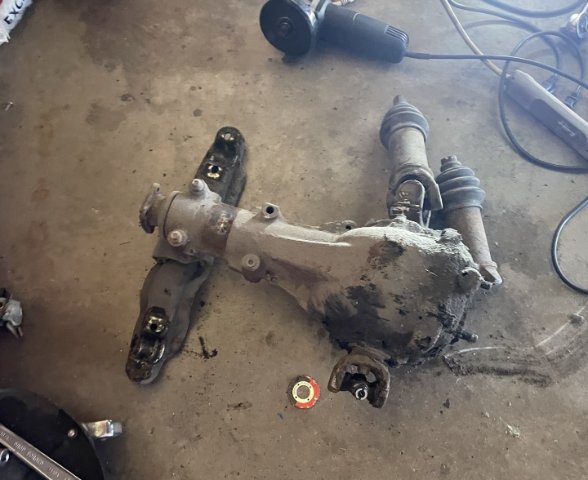
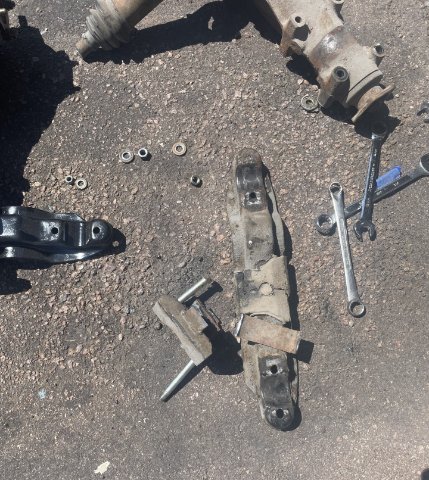
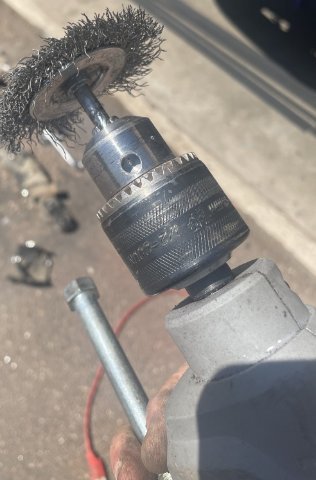
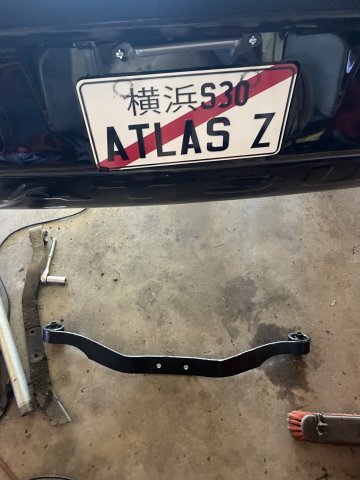
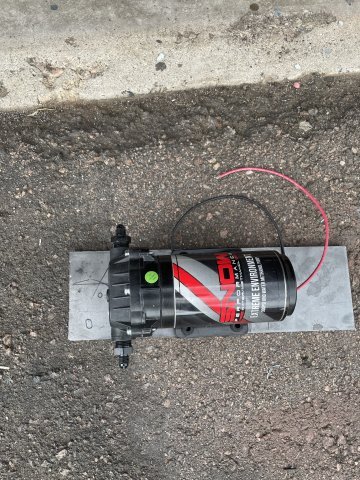
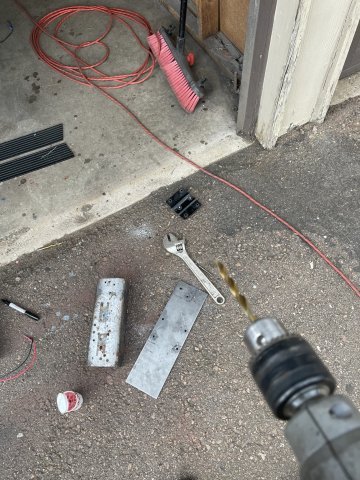
07-25-2026 ATLAS Z UPDATE: Today was brutal. Some days on the car go easy, some so so and some bad. Today was a tough one. I wrestled and wrestled and finally got the R180 to come out amidst scraping and banging fingers, etc. and leaving bruises. I then had to do a cleanup of the area, and the 50+ years of dirt, dust, grime, you name it left me with a black face like a coal miner.....but I got it cleaned up and ready to stick the R200 in. After I get it in, I will then do some detailing. When putting the mustache bar in for the R200, you have to put it in a certain way, and in my case it required unbolting and lowering the factory "box" of steel bent pieces to get it in. and I ended up having to do it twice, because the rubber pucks that go on before the mustache bar goes up and on the end before the nut....the hole diameter is not the same.......the stud is TAPERED, and the top puck MUST be flush to work....after the second attempt I was finally able to get it all up except the last puck wouldn't go....I finally opened up the hole a tad and then everything went back together. That leave me with putting the main differential carrier in later. At any rate, once the old carrier was gone ...cleanup of the entire area began........some cutting and chopping brackets etc. off......some wire wheel cleaning and some light angle griding to get it to where it can be finished after center diff install. I bought Techno Toy Tuning axle shafts (Porsche 930 CV's) earlier, and they will go in at a later date.....but it is ready to proceed. I was also able to take some measurements and drill and cut some 3/16" thick steel plate to mount the pump for the water methanol system and got it painted. PICS:
-

Fast Floridian's 240Z Track Build
FastFloridian replied to FastFloridian's topic in S30 Series - 240z, 260z, 280z
Been real busy last month or so, but got some time in the garage today. Trimmed up some bars for a harness bar and side bars with a hinge. Going to wait for the seats to come in before I weld them in. Installed the Autoplumb 20an fittings for the radiator and water pump. Permatex is curing then I’ll test some fitting out tomorrow.
-
Selling a 79 280ZX Manual. Asking 6250 Located in Deer Park Wa Here's a list of all the problems I know of: Lifter tick that needs adjusting. Missing right mirror's glass. Left mirror glass fairly scratched. Dash cover is cracked. Carpet def needs replaced. No speakers in front, but I did all the wiring for back speakers and to the head unit and put new extending power antenna in, radio sounds really good now. dome light needs bulb. Left blinker needs new orange cover. Rust in spare tire spot in trunk, used to leak from roof but I fixed the leak. Just needs sanded and re painted. The battery tray is super rusty and needs replaced. Dash backlight flickers every now and then and probably needs replaced soon. Tires had tire rot from prev owner so steering wheel vibrates at highway speed. Not bad but definitely need replaced and balanced. No A/C or heat. As far as things I've done: New rear speakers and head radio unit, new power ant, new door pulls, replaced sun visors and clips, new thermostat, new water pump, new starter, oil changes every 3k since I got it, coolant flush, brake fluid, made a spare key, upgraded shifter bushing to the brass one, completely re-sanded and polished the aluminum wheels (they look amazing) and probably a handful of other things that I can't think of. The engine and trans are both super good and running strong. She is a blast to drive and gets a lot of attention from people. Here's the link to my Facebook listing: (10) Marketplace - 1979 Nissan datsun 280zx | Facebook
-
 m1ni_kot joined the community
 - Earlier
-
 JAW joined the community
 -
260Z Seatbelt Interlock & Starter Circuit Troubleshooting I’m working through a starter‑circuit issue on my early 260Z and wanted to document everything I’ve done so far to bypass the seatbelt interlock system. I’ve followed the factory service bulletin step‑by‑step, but I’m still running into problems and hoping the electrical experts here can help me figure out what I’m missing. What I’ve Done So Far (Following the Nissan Service Bulletin) Nissan • Disconnected the seatbelt control module under the dash Removed all three harness plugs from the module. • Unplugged and removed the wiring distribution block on the firewall This is the multi‑connector block tied into the interlock logic. • Removed the red reset button on the passenger fender Pulled both connectors and jumped the Black/Yellow (start signal) to the Yellow (starter output) per the bulletin. Result: Even with the entire interlock system removed and bypassed, I still hear a click under the passenger‑side dash when turning the key. Also, when trying to start, the starter solenoid spins but the starter doesn’t engage. Second Approach: Installed a 4‑Prong Starter Relay Since the jumper bypass didn’t solve it, I tried a more direct method: • Removed the jumper at the reset switch. • Installed a 4‑prong relay on the firewall. • Wired it as follows:• Pin 30: Direct feed from the battery positive. • Pin 85: Trigger wire tapped from the Black/Yellow ignition START wire just below the ignition switch plug. Clean start signal. • Pin 87: Dedicated wire straight to the starter solenoid spade. • Pin 86: Grounded to the firewall. Result: The car does crank with the direct battery feed. But a new issue appeared: When I turn the key back to ON after START, the starter continues to crank nonstop. The only way to stop it is to disconnect the battery cable. I tried a relay with a resistor thinking the solenoid might be back‑feeding the relay coil, but the problem persists. --- Where I’m Stuck I’m not an electronics expert on the 260Z, but I’ve done plenty of wiring work on 60’s cars. I’ve searched all over the web and found bits and pieces of info, but nothing that fully explains what’s happening here. Autos& Vehicles At this point I’ve: • Removed the entire seatbelt interlock system • Bypassed the START circuit per the bulletin • Tried a modern relay setup • Still have a mystery click under the dash • And now have a starter backfeed issue where the relay won’t release I’m clearly missing something in the early‑260Z wiring logic, possibly a hidden splice or secondary circuit feeding the START wire. I’m reaching out to the experts here who have more experience with these cars. Any guidance, diagrams, or known trouble spots would be greatly appreciated. I’m stumped and would love to get this resolved. Thanks in advance for any help.
-
fresh coat of flat black powdercoat on my rocker trim for the ATLAS Z:
-
Well, this car is akin to an AC Cobra. Sunny day only....around town hot rod. I want it as open air as possible. Mostly gutted out except for some interior bits to make it look nice. Also the exhaust exits right behind the front wheel!
-
 fuelmybuildofficial joined the community
 -
Thanks for the reply. The backspacing on those wheels isn't compatible with my bodywork. I would need a zero offset (or close to it) to work. I'd never heard of Atara Racing wheels before. They look interesting. I'd be interested to know the specifications they adhere to for there manufacturing.
-
Hey, I'm gonna be putting my 280z on beadlocks here fairly soon and will be looking to sell my set of wheels on it currently. They are the graphite atara pisangs. 15x10.5 -35 offset, stock 4x114.3 patern. They have some r888's on them that are older but are still soft and hook well. Shoot me a pm if you're interested!
-
Ferraris have louvers in the rear because that's the engine cover rather than the rear window. I guess it will be ok as long as it never rains. Hopefully it doesn't suck in too much exhaust.
-
 Although out of stock currently, 240zrubberparts.com offers the fuel sender boots.
 -
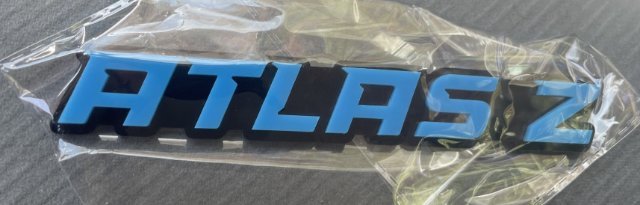
07-20-2026 ATLAS Z UPDATE: my rocker trim I got from Ace King arrived and another ATLAS Z badge I ordered showed up as well. Z Car Depot sent me a set of hood spacers as well. PICS:
-
It's a "little" thing, but progress.
-

A 2026 SEMA SHOW 260Z Build all the way from Great Britain
toolman replied to toolman's topic in Body Kits & Paint
Part 19-More Detailed Work on the Gull Wing Door More Detailed work continues on the Gull Wing Door- Drain Channels and Gapping the Door in preparation for weather stripping. -
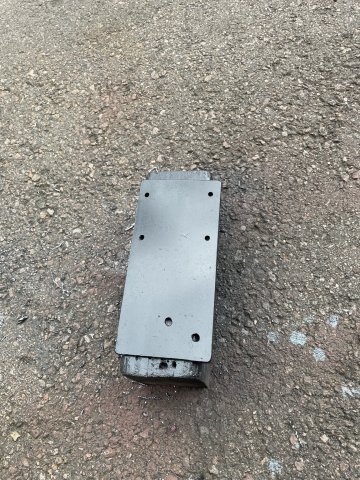
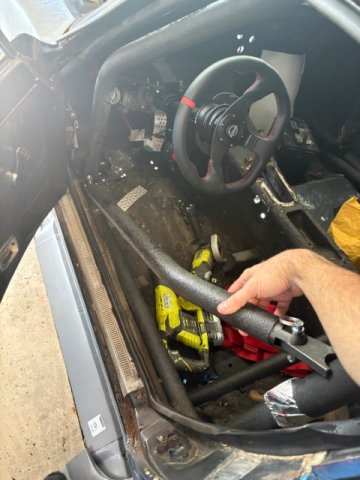
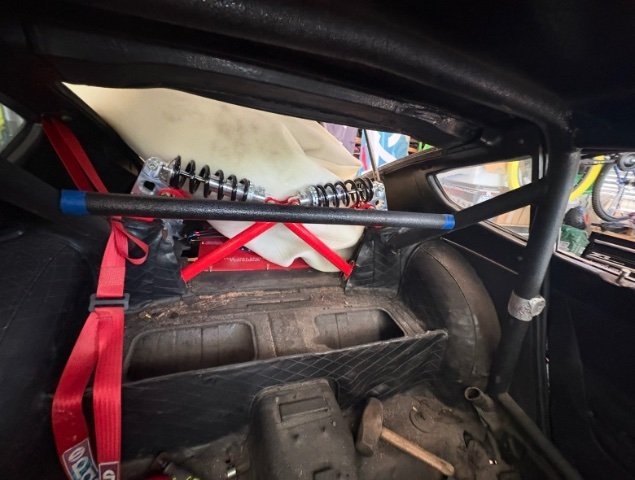
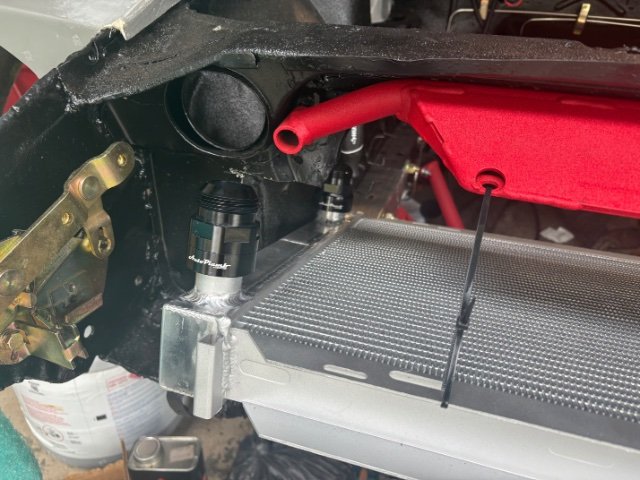
Nice Nate, keep it up! I know how family stuff goes, we have three now so totally feel you on that. I've finally primed my side mirror today to repaint it in the original grey. Getting to painting a side mirror has taken me upwards of many months so you're doing way better than me!













.jpg.df5c0fd504c56c2d4eef6152fa57d281.jpg)



-
Who's Online 1 Member, 0 Anonymous, 1874 Guests (See full list)