-
Member Statistics
33360
Total Members5167
Most Online
All Activity
- Today
-
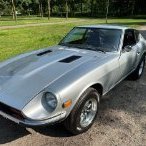
1977 280z driving project from the Netherlands
Mitchel0407 replied to Mitchel0407's topic in S30 Series - 240z, 260z, 280z
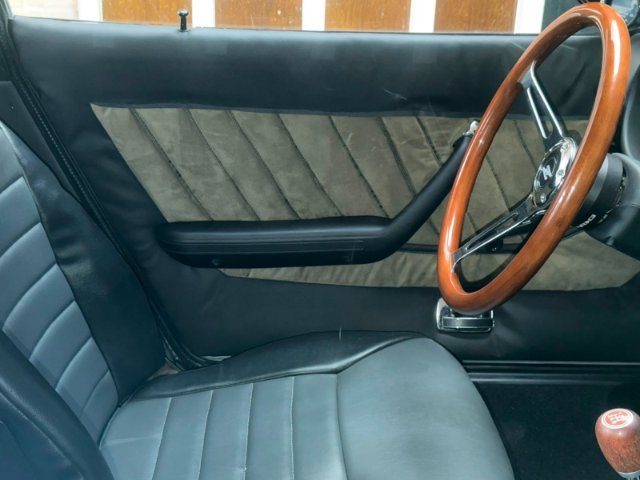
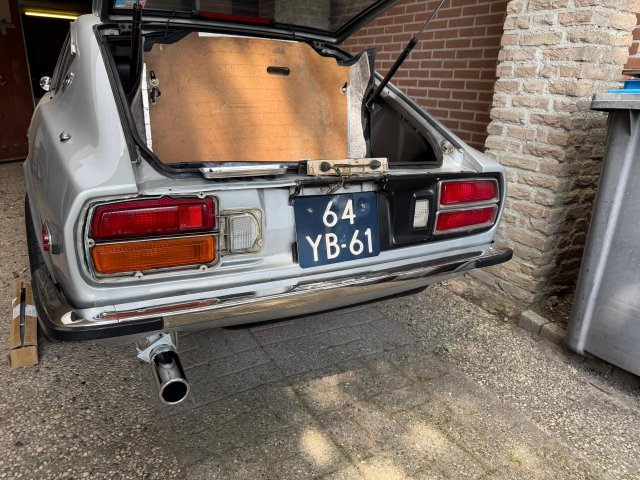
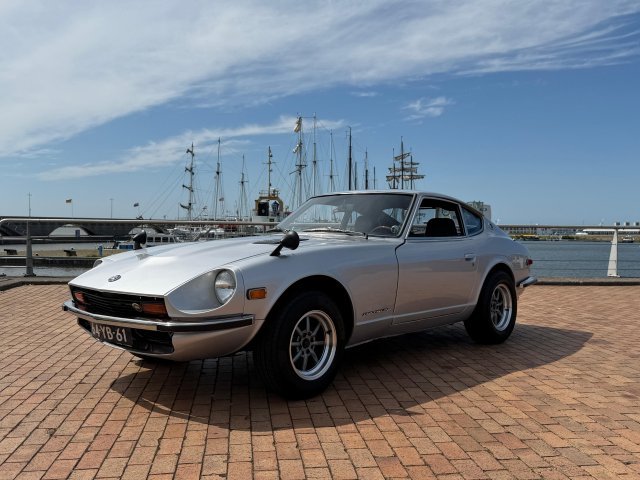
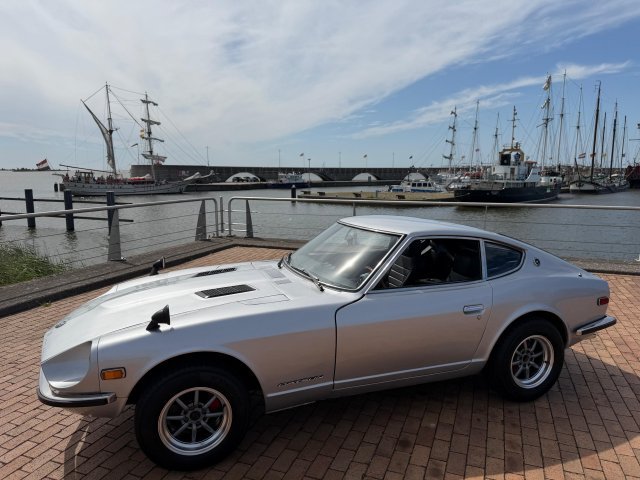
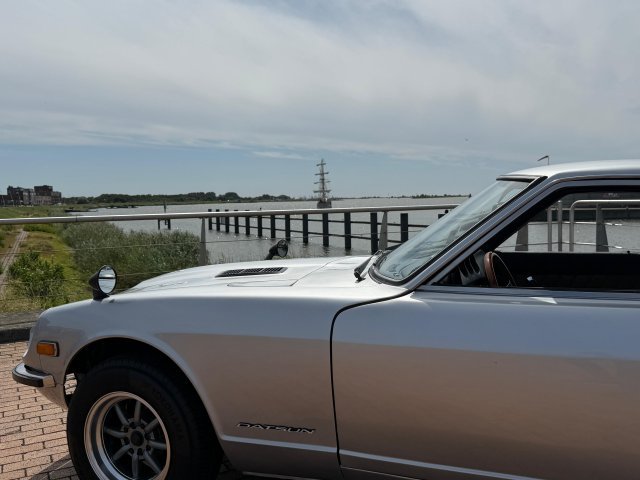
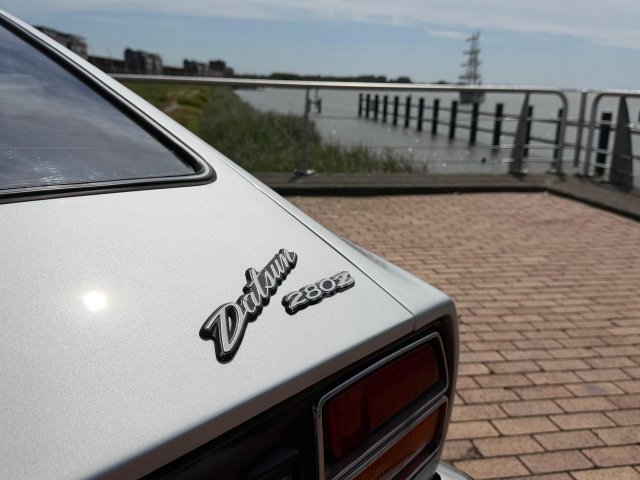
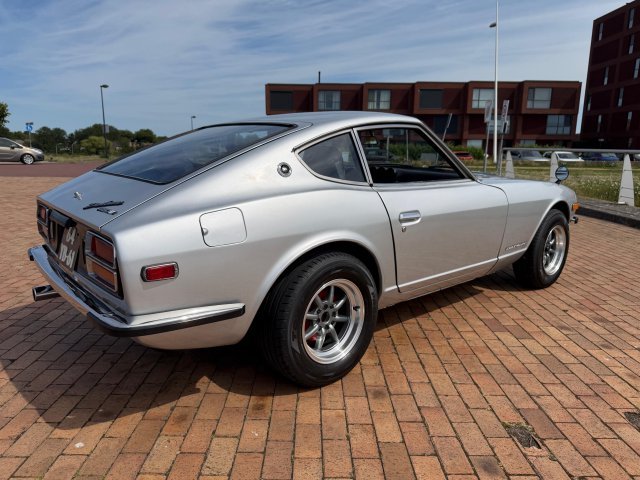
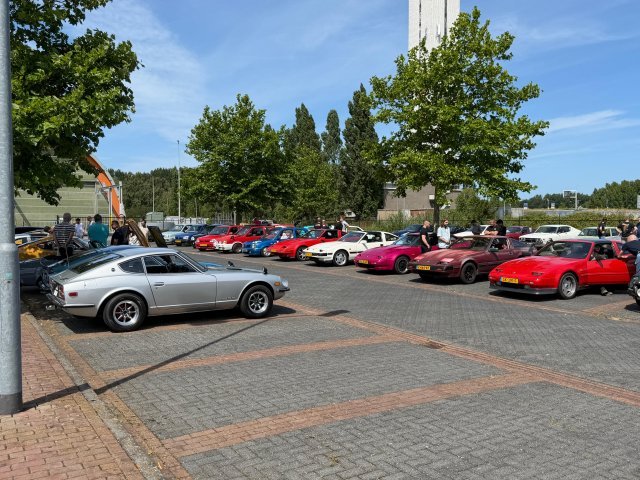
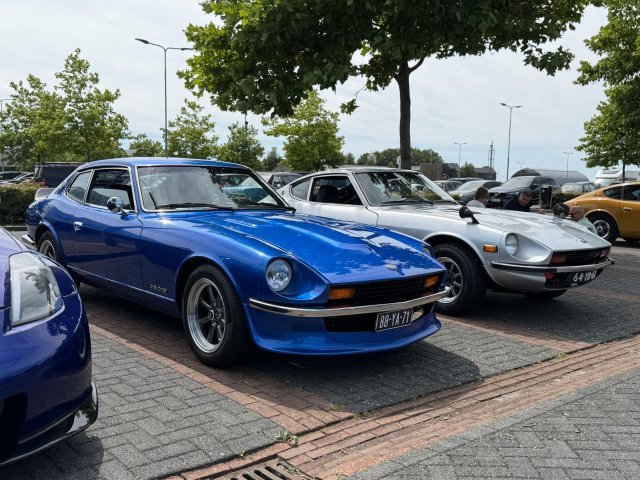
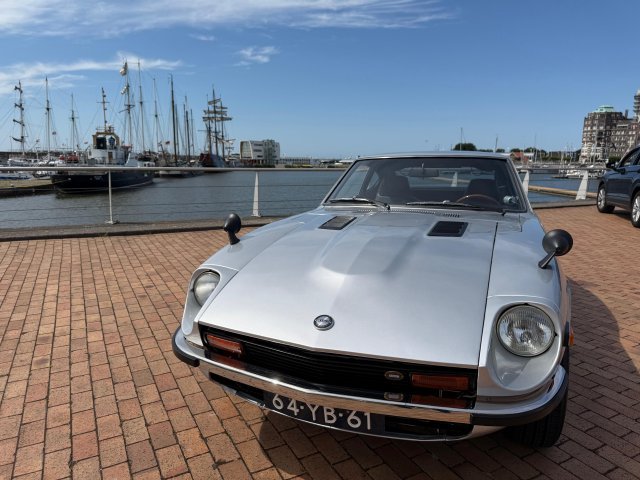
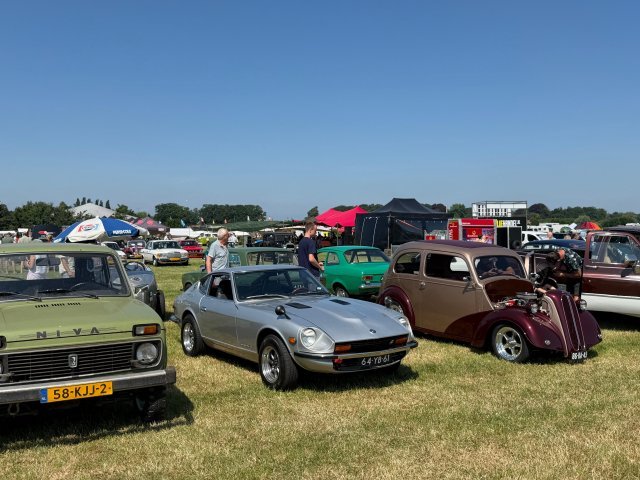
I finally had some time this weekend to work on the Z again and finish off some of the little things that where nagging me. I finished my DIY door card project and got them installed in the car. I must say that they turned out pretty good. The only finishing piece would be to add the wood trim back in but I would have to make one myself. A few weeks ago I managed to pic up a set of Euro taillights from an original Dutch 260z that where in excellent condition. So with the remaining time I had that day I quickly switched them out. Yesterday there was a small all Nissan/Datsun meet I attended which gave me the opportunity to compare my Z with others and do up some inspiration for future modifications. Afterwards I finally had the time to take some proper pictures of the car (with the car not half apart) and cruise along the dikes. WhatsApp Video 2026-07-13 at 09.15.40.mp4
-
280z 1jz track build from a pile of parts
Mitchel0407 replied to flatout's topic in S30 Series - 240z, 260z, 280z
Your engine bay looks very clean, nicely done! You really are flying true this project, keep up the good work! -
Those sleeves are really had to take out, that’s why they sell inserts that reuse the old outer sleeve. Because of this I went with polyurethane bushings in my 280z and I must say they are pretty comfortable. People always complain that they cause massive vibrations and are undrivable on the street but I really don’t know what they are talking about, they feel fine to me.
-
I can’t wait how she looks out in the sun!
-
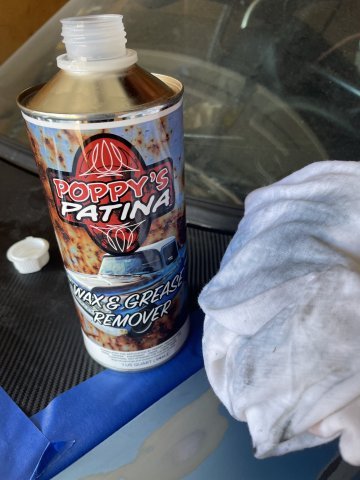
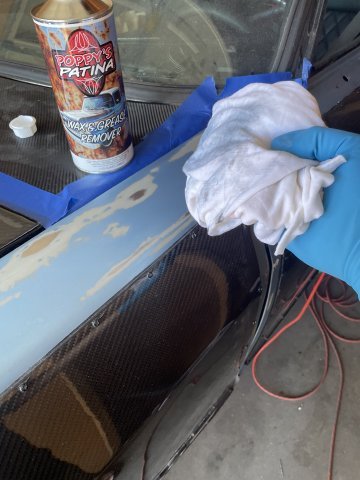
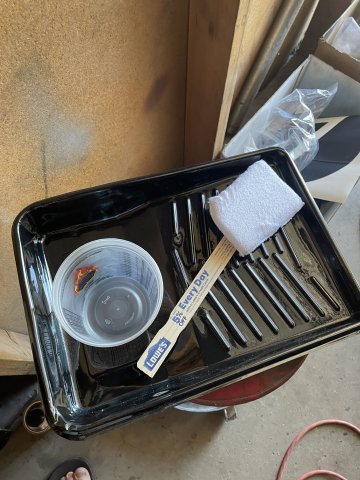
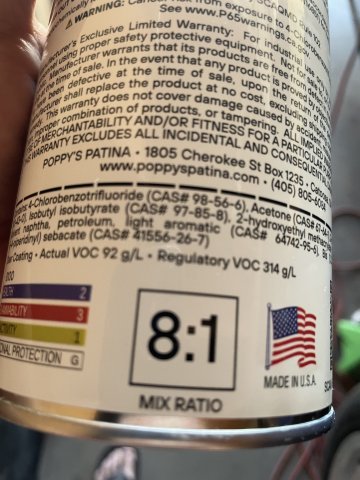
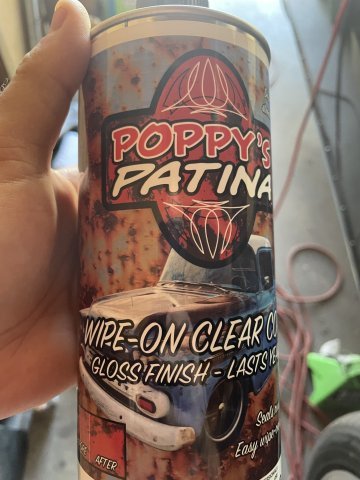
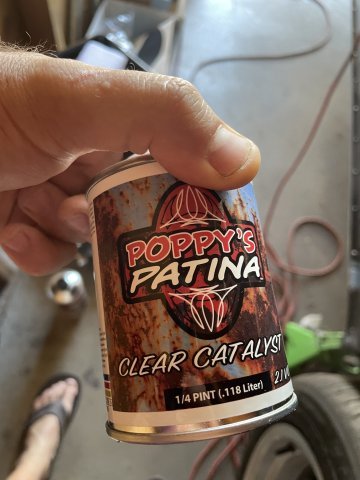
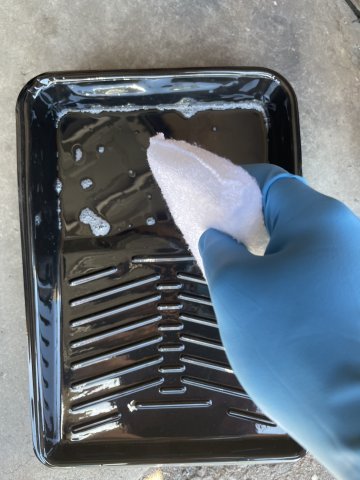
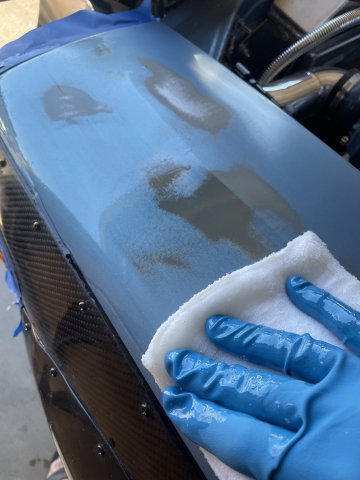
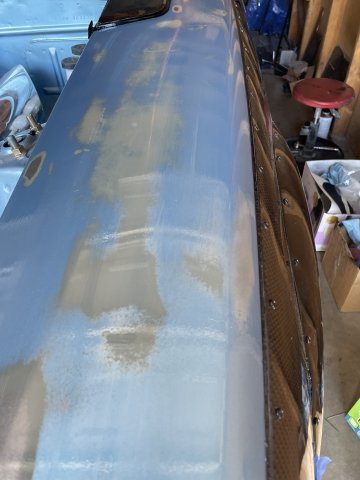
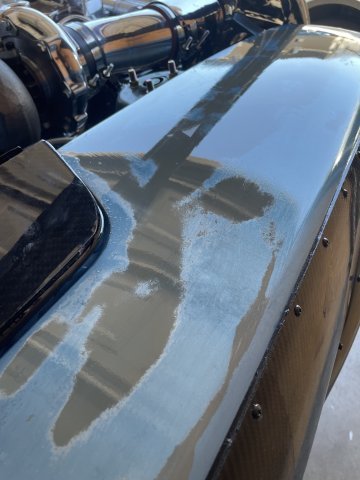
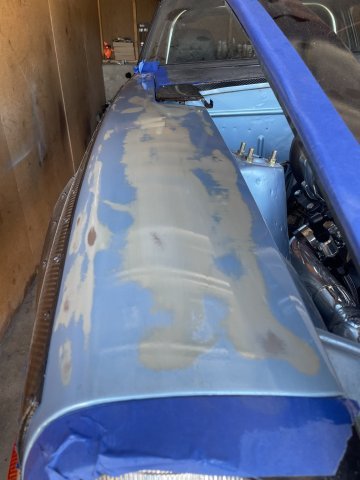
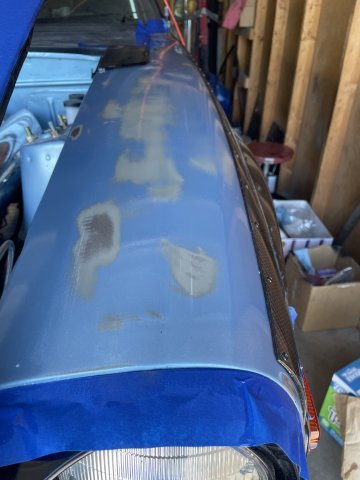
07-12-20206 ATLAS Z UPDATE: Well I started today by wiping down all the sections to be cleared with the Poppy's Patina Wax and Grease Remover. Then I went ahead, got my mrespirator ready and glove for my wiping hand and mixed the gloss clear and started wiping. It goes surprisingly quick...and I found that I was sicking the applicator into the paint and then then I LIGHTLY squeezed it out so that I had a lot of the applicator, but not dripping as much. As expected, there is a learning curve. After I was done and the hours went by, I could see spots I had missed. Normally you want until it is completely dry, at least 24 hours, but since I know I am sanding and adding a second coat, I mixed up, a small amount and went over the spots that were missed. Sure enough, it changed the appearance......so don't do it unless YOU KNOW you are adding another coat, which means sanding or at least using the grey scratch pads they send you to rough up the surface a hair before laying on a second coat. I wanted to get a coat of the stuff on there so the second coat later will be a true second coat everywhere. But, I am impressed. It is my intention to get a second good coat on, let it sit 24 hours, and any spots missed to then add where needed and let it sit for awhile....maybe a full week, before I sand it with 2000, 3000, 5000 grit sandpaper, and then use my buffer with the foam pad and some compound to bring it up to a smooth shine......then a good coat of wax. PICS:
- Yesterday
-
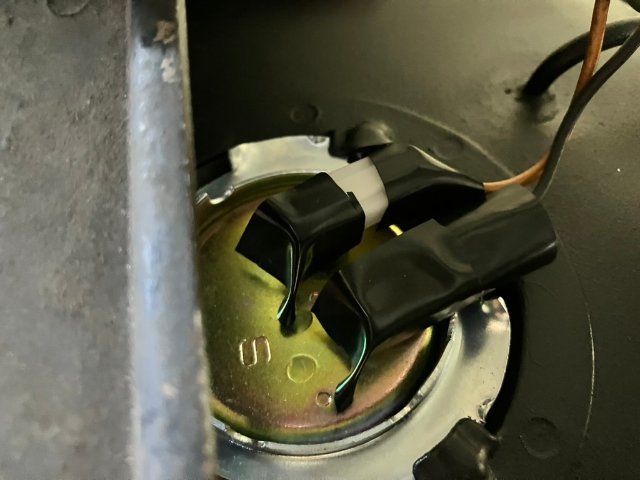
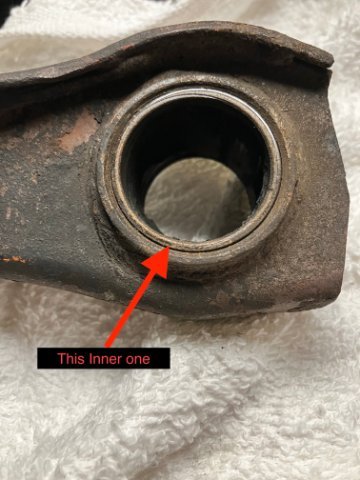
 Thanks jhm, I've ordered and installed them. I couldn't find rubber boots so I just used the sheaths they came with and covered them in a lot of electrical tape. A new gas take from S30 world went in as did new fuel sender from ZCar Depot and vapor hoses from Resurrected Classics. On another note, I'm trying to install new front prothane bushings, ball joints, shocks, springs etc.. and of course it's fighting me every step of the way. Everything seems like it's been tightened down with an impact hammer. But I've gotten the driver's side apart and when I went to press out the bushing I mistakenly only pressed out the rubber and inner sleeve. It appears this (see photo of C-Arm) is the outer part of the bushing. Am I correct? I've tried pressing it out with a 24mm impact socket, from the front end of the arm, same side as in the pic. Should I be trying it from the other? It didn't move a millimeter and it actually bent the top of my press. I could take a saw to the inside and cut through it but that's always dicey. The other thing that's fighting me is the nut securing the shock to the strut. It also won't move. I've done over half a dozen cars in my life and I've never had something like this happen. PB blaster hasn't had any effect. I'm not sure the Special Service Tools are available anymore. So, any help on that front would be appreciate. Thanks jhm, I've ordered and installed them. I couldn't find rubber boots so I just used the sheaths they came with and covered them in a lot of electrical tape. A new gas take from S30 world went in as did new fuel sender from ZCar Depot and vapor hoses from Resurrected Classics. On another note, I'm trying to install new front prothane bushings, ball joints, shocks, springs etc.. and of course it's fighting me every step of the way. Everything seems like it's been tightened down with an impact hammer. But I've gotten the driver's side apart and when I went to press out the bushing I mistakenly only pressed out the rubber and inner sleeve. It appears this (see photo of C-Arm) is the outer part of the bushing. Am I correct? I've tried pressing it out with a 24mm impact socket, from the front end of the arm, same side as in the pic. Should I be trying it from the other? It didn't move a millimeter and it actually bent the top of my press. I could take a saw to the inside and cut through it but that's always dicey. The other thing that's fighting me is the nut securing the shock to the strut. It also won't move. I've done over half a dozen cars in my life and I've never had something like this happen. PB blaster hasn't had any effect. I'm not sure the Special Service Tools are available anymore. So, any help on that front would be appreciate.
- Last week
-
Super common with the L series engines. When setting the distributor spindle by mounting the oil pump the drive gear turns the spindle as it engages the crankshaft gear. Suggestions: - Yup, verify TDC with a piston stop - easiest way. Remember that the piston movement slows at the top of the crank arc so the crank can travel quite a few degrees with little movement shown on the piston. If you're really good you could probably ferret out TDC with a straw, pencil, screwdriver, etc. down the #1 spark plug hole, but piston stop will nail it when used correctly. Mark it correctly on the pulley if actual TDC doesn't match the indicator. - The pictures in the FSM of correct spindle alignment cause more confusion than enlightenment. Also rarely do you get a good picture at a proper angle from anyone else. I've found it easier to set the approximate spindle position (with the top angled slightly left) and then set the distributor on temporarily and see where the rotor points. You can mark the distributor cap #1 wire position on the distributor body. At TDC, the rotor should be coming in contact with that #1 cap position. Notice that there is a wide arc to the rotor contact and quite a bit of adjustment in the distributor so what you think may be "close enough" may well be the exact thing you need. I'm usually dyslectic about which way to adjust the spindle when putting up the oil pump and it generally takes me several tries so I never bolt it down with a four bolts. I use one bolt, snugged into position, until I'm pretty sure the spindle lines up correctly. There it helps to have a helper who knows how you want it to look after you've pushed it up...
-
 Just ordered. $12 but shipped "free" - so... I'd like to source the rubber boots - they don't last here in Arizona.
 -

280z 1jz track build from a pile of parts
flatout replied to flatout's topic in S30 Series - 240z, 260z, 280z
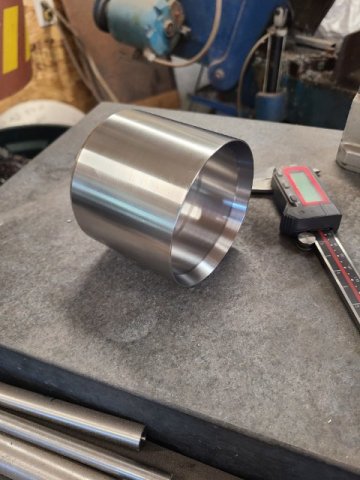
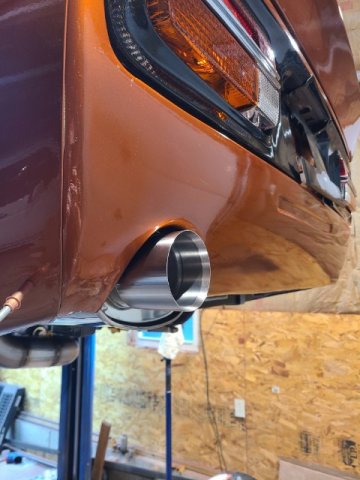
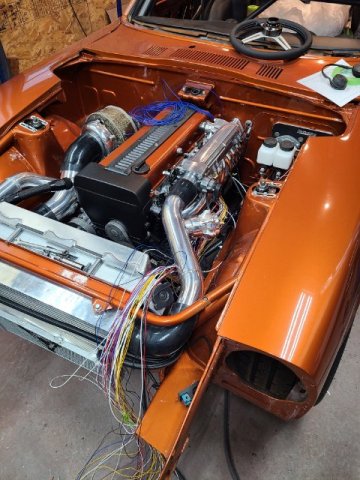
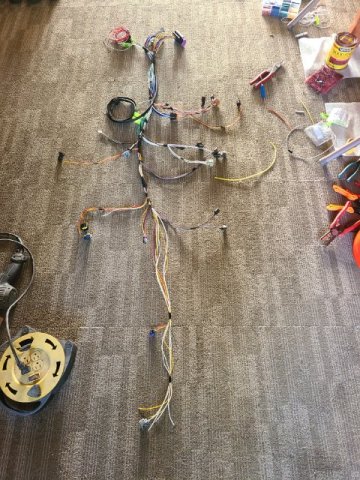
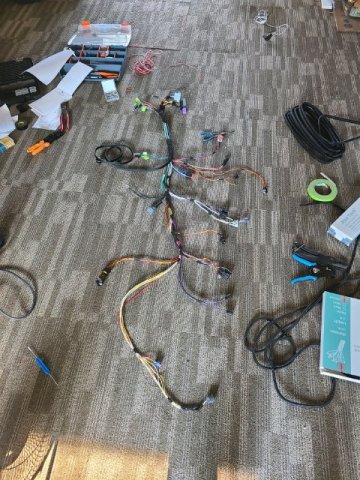
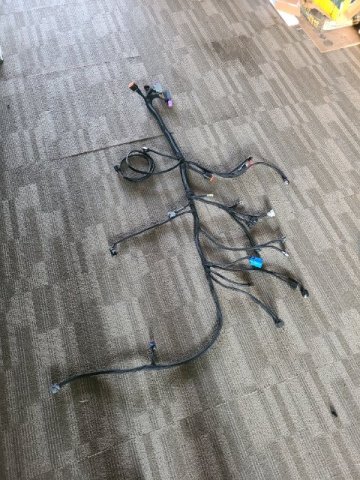
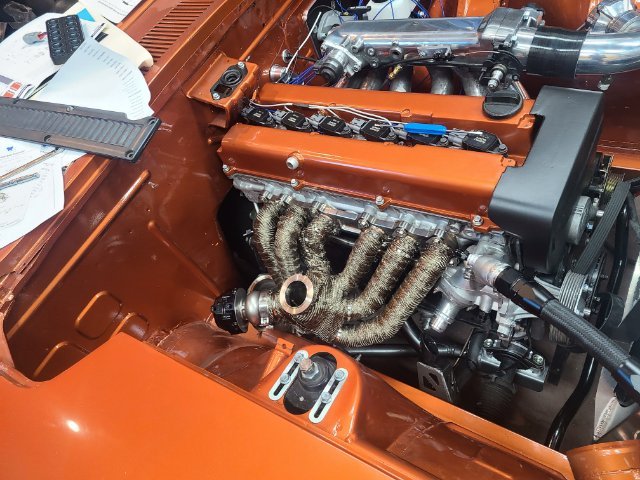
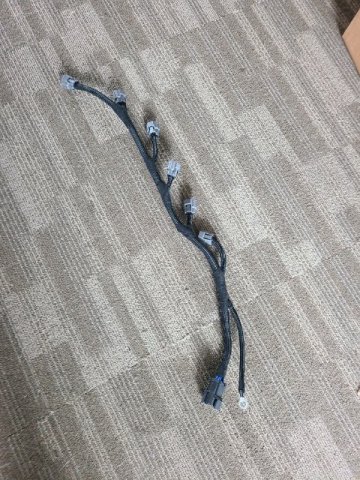
can't believe its been almost a month since an update. got the exhaust done, made a tip from stainless. Got the wastegate tube recirculated, header and downpipe wrapped. Have been wiring away. Running an ecumaster emublack ecu and a hardwire electronics PDM25. Both of which are new to me. Got the engine harness done and chassis harness started. thinking thru everything has been a challenge but so far so good. Have the PDM powering all the lights and the ECU functions. Have the factory blinker stalk controlling the blinkers, and high beam functions. Factory brake pedal sensor for brake lights and Blink marine 12 button can keypad controlling some other functions. A couple days ago i did get it to start and that was a huge relief after this long process and "freshish" engine. oil pressure is great. engine is quiet. so very motivating. 20260707_210144.mp4
-

1972 240Z Fuel Level Sender Wiring Terminals / Connectors
jhm replied to jmendez72's topic in S30 Series - 240z, 260z, 280z
@senna21, how about these? https://jdm-car-parts.com/products/fuel-sender-wire-connector-2-pc-set-for-datsun-240z-260z-early-510-620-720?variant=29670929727597&country=US¤cy=USD&utm_medium=product_sync&utm_source=google&utm_content=sag_organic&utm_campaign=sag_organic&srsltid=AfmBOorswWtJKDRvuU-hfe5UDlY1phSIFSARxMWNfFZ-r4scgyYypB9VdXI When I've needed new connectors for mine, I've usually just fashioned them from standard female blade electrical connectors. Not the most elegant solution, but they haven't failed yet. -
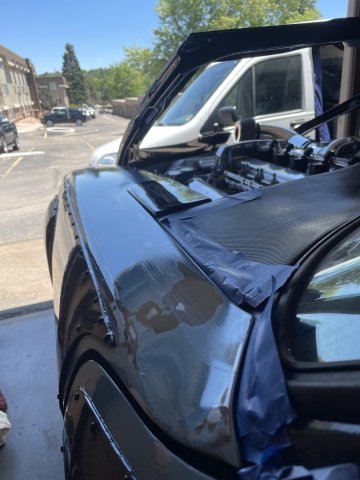
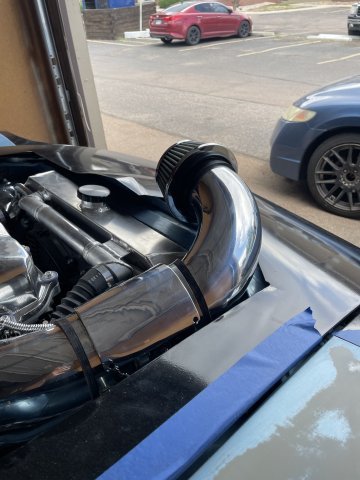
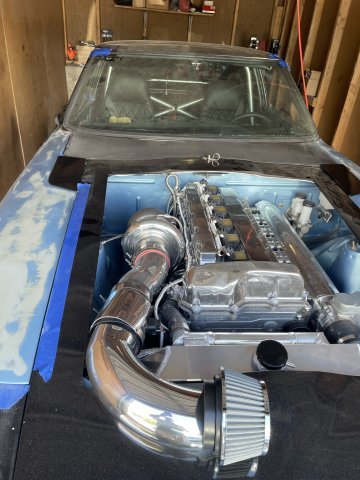
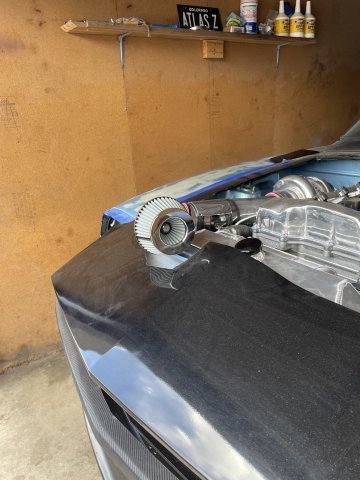
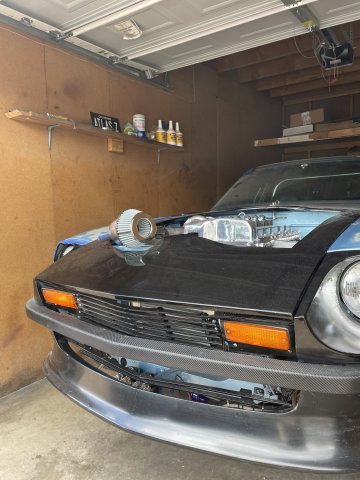
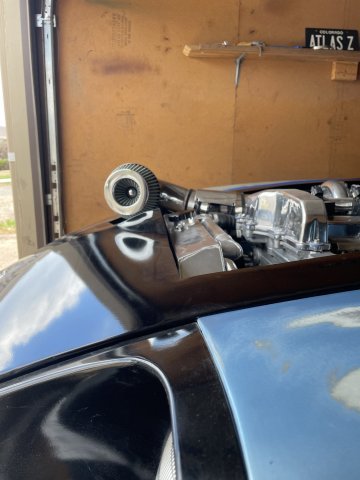
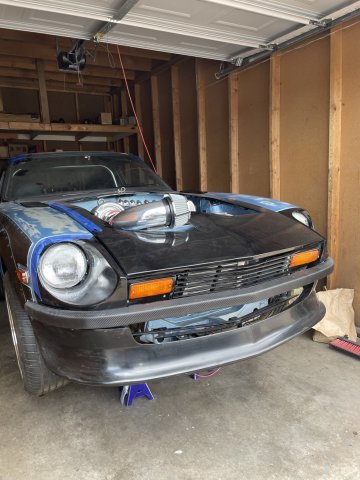
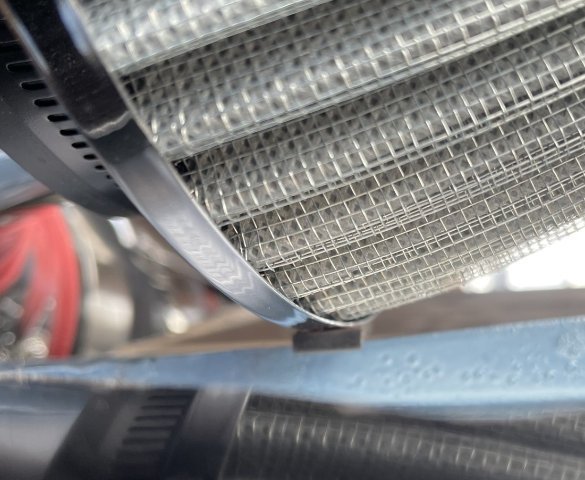
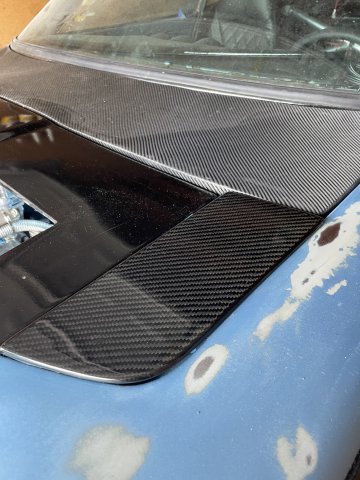
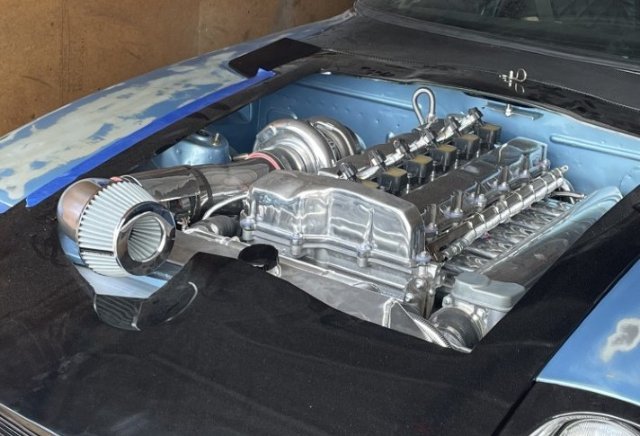
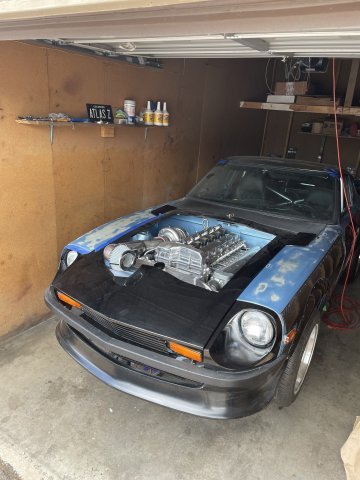
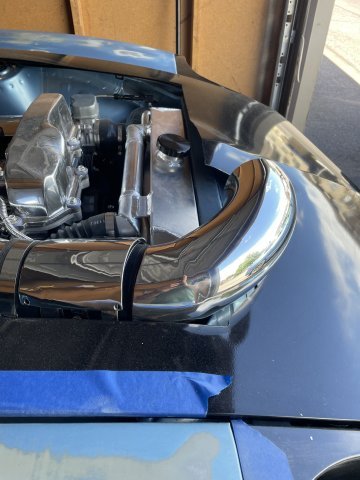
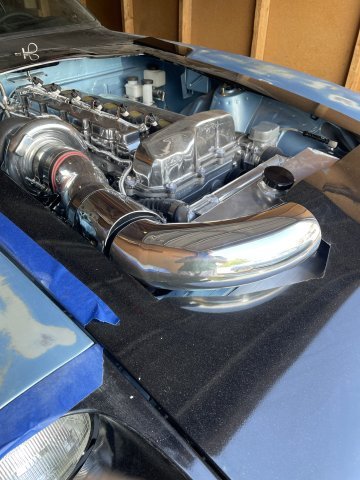
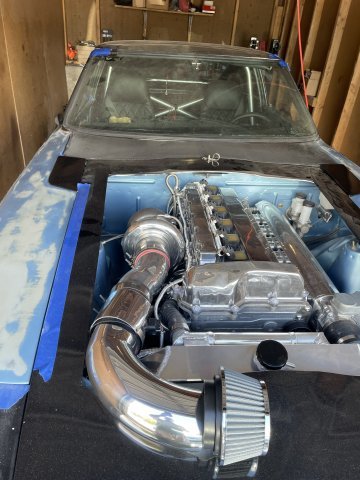
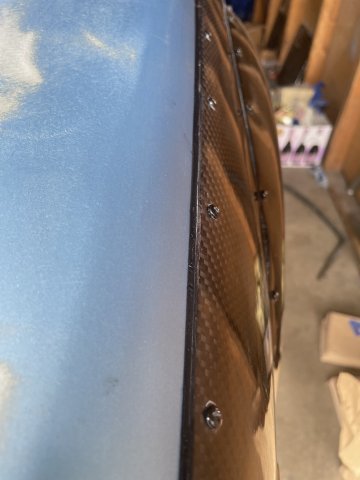
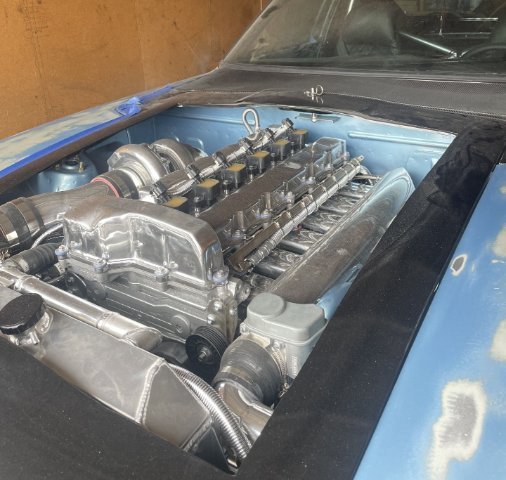
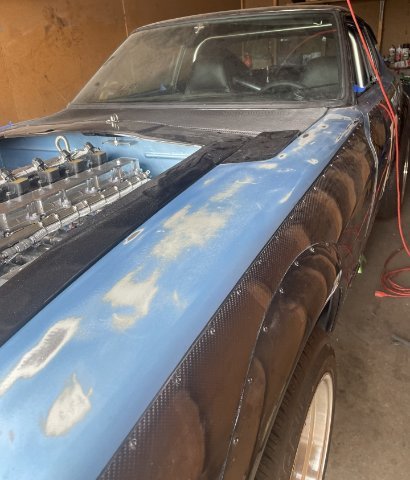
07-09-2026 ATLAS Z UPDATE: Installed the intake piping. You can see the inspection door covers on the car from ZOCIETY, still just laying there I haven't bonded them down yet. Time to finish caulking in the carbon panels and then clear coat over the blue patina paint. PICS:
-
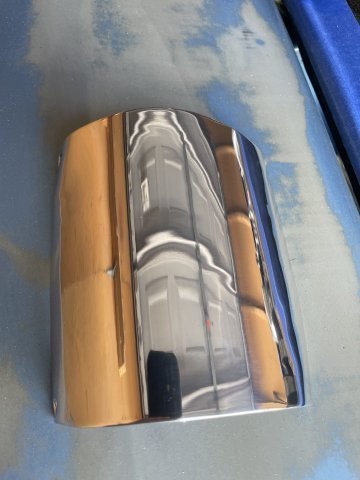
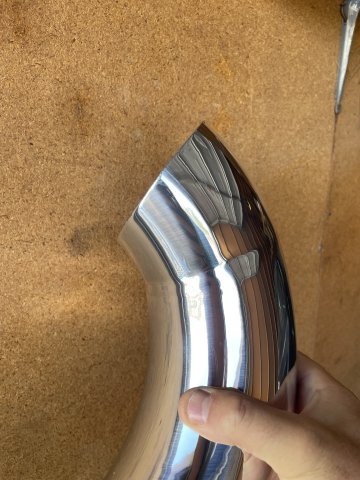
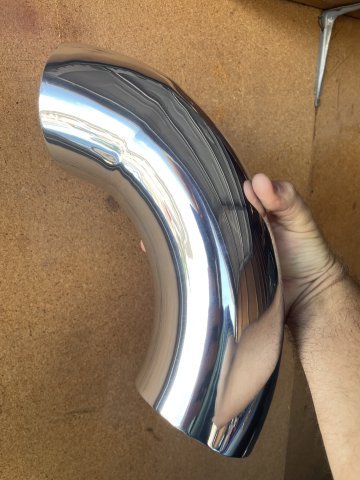
07-08-2026 ATLAS Z UPDATE. I picked up my intake pipe and MAF Meter cover plate from my polisher, J&S Polishing here in Colorado Springs today. int he pics, I just laid it in place, not installed yet. His ability to take my cobbled together crap and make it look fantastic is true magic. PICS:
-
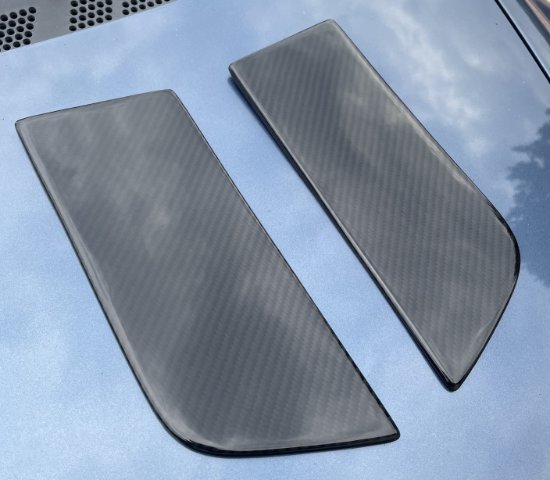
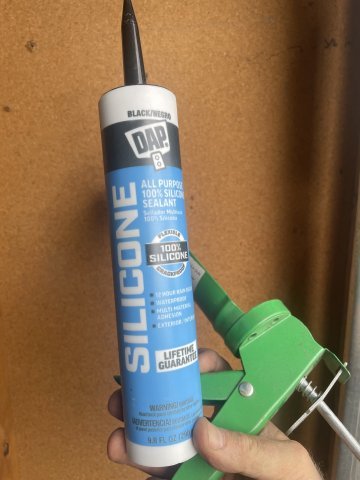
07-07-2026 ATLAS Z UPDATE: I picked up a set of carbon fiber covers for the hood inspection doors from ZOCIETY. Many ways to attach them, I will try silicone first. Since my inspection doors are powder coated, I will do a light scuff and then bond them on with pure silicone, taped down overnight. By the way, they are TOP QUALITY. $360 bucks.
-
globeclk joined the community
- Earlier
-
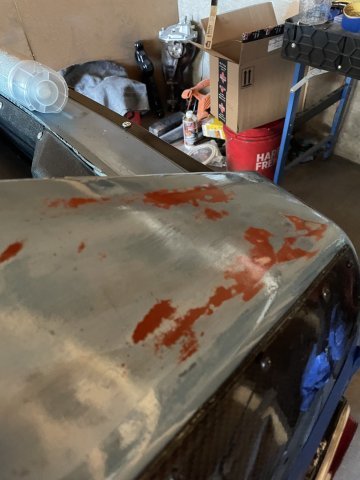
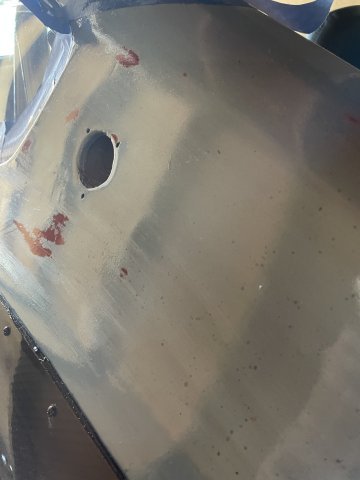
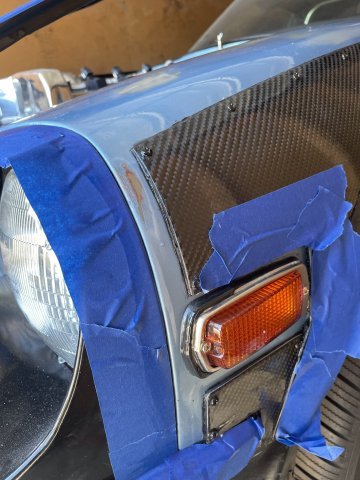
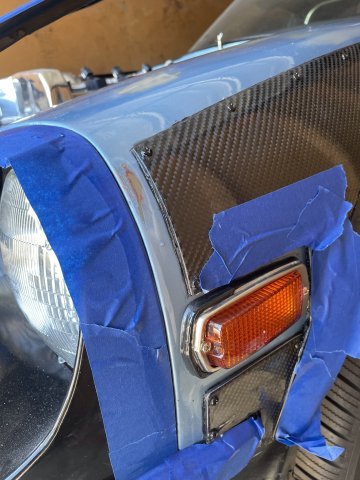
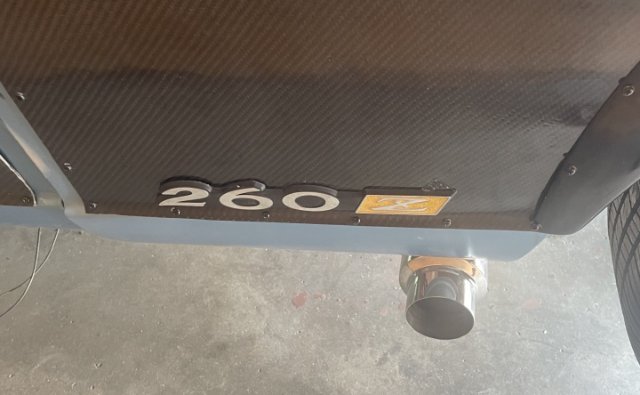
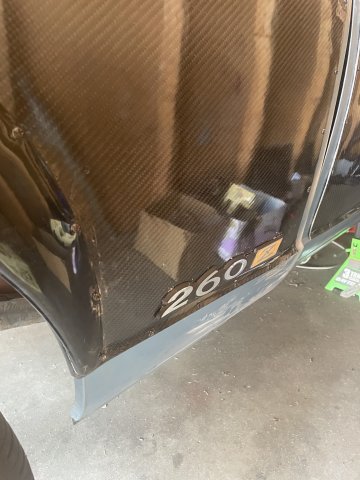
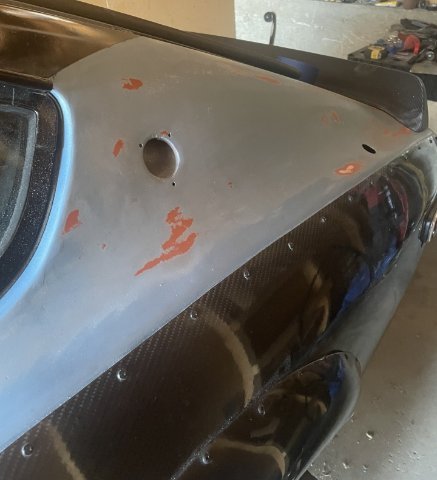
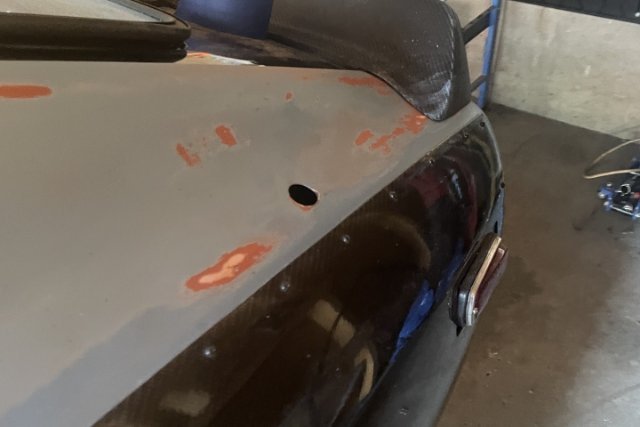
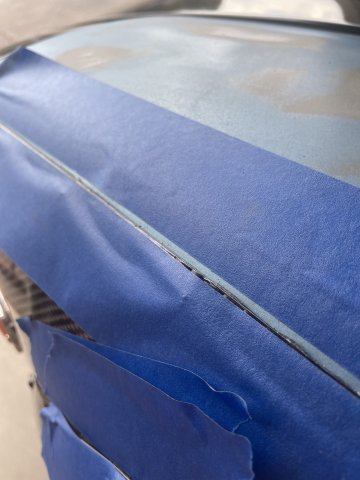
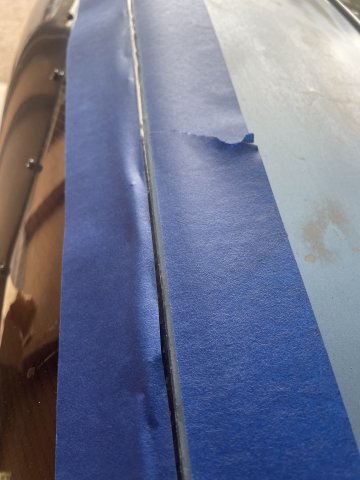
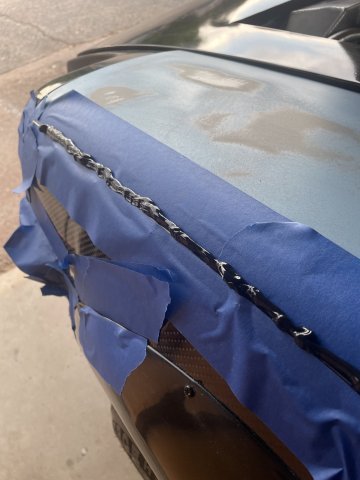
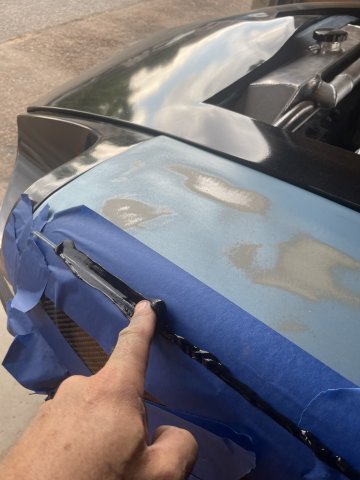
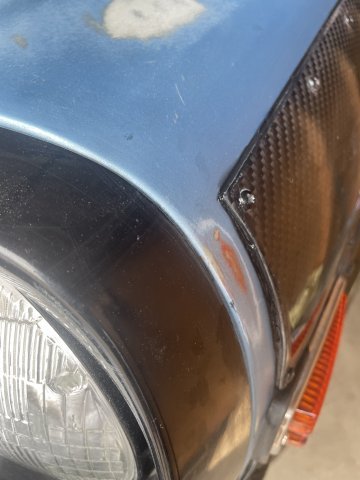
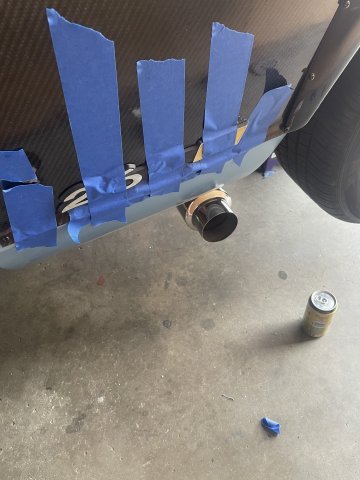
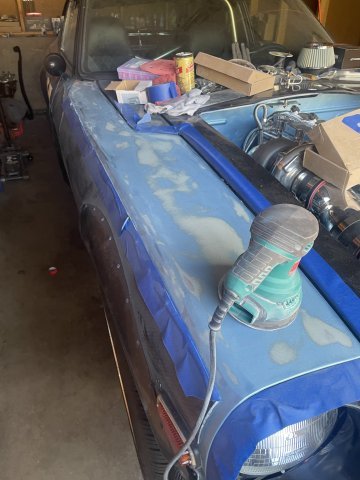
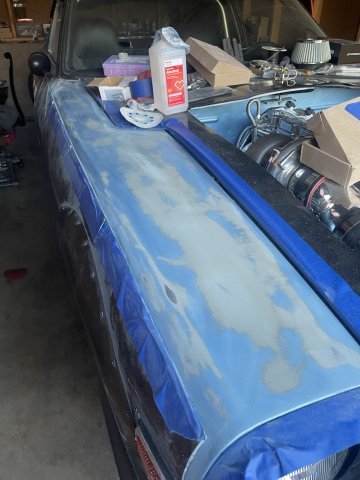
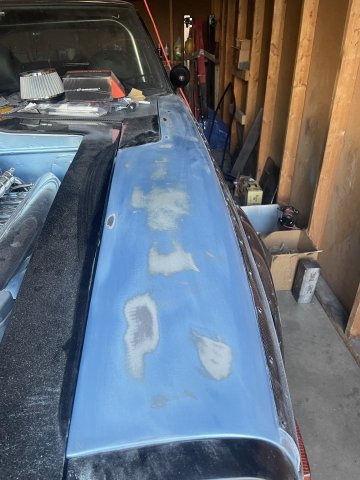
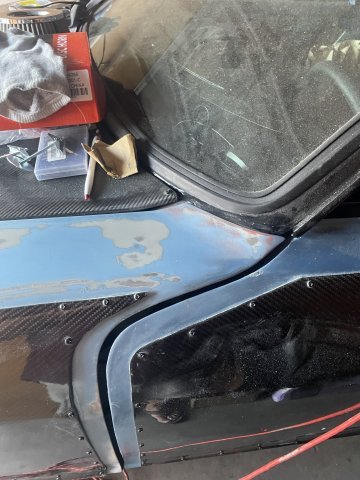
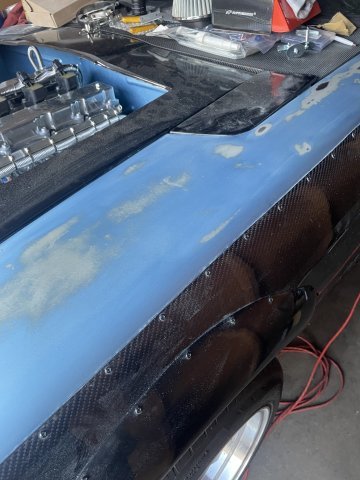
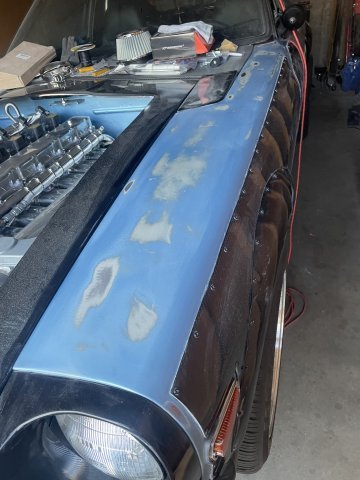
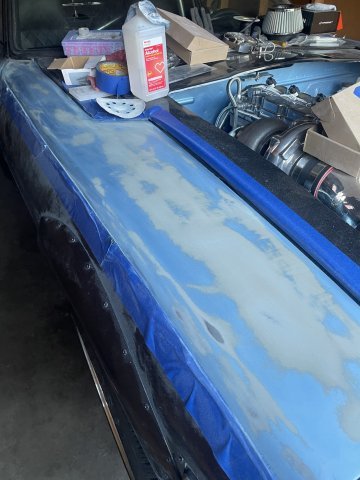
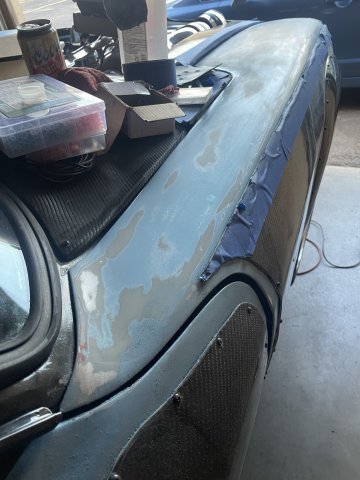
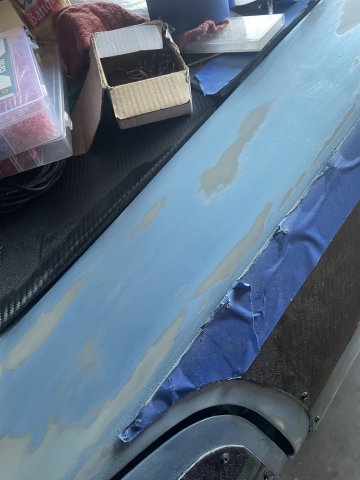
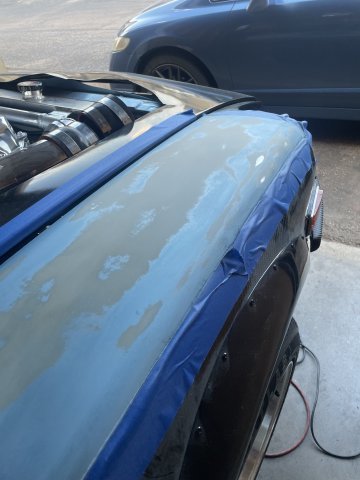
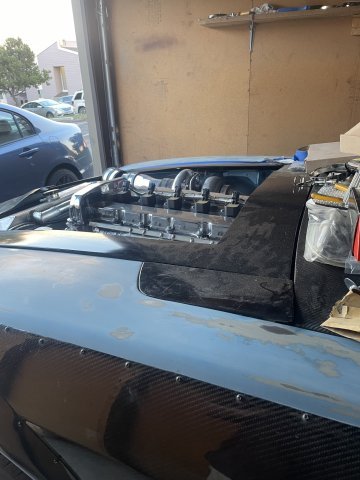
07-05-2026 ATLAS Z UPDATE: I finished feathering out the remaining blue paint, got it nice and smooth, then blew the car off and taped up the front fender and went ahead and caulked the seams. 260Z Fender Badge placement on the fenders looks good. Poppy's Patina Gloss arrives tomorrow, so we continue on! PICS:
-
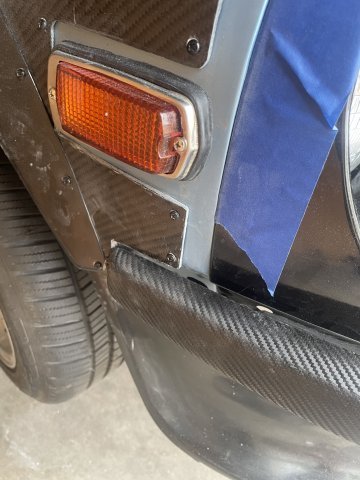
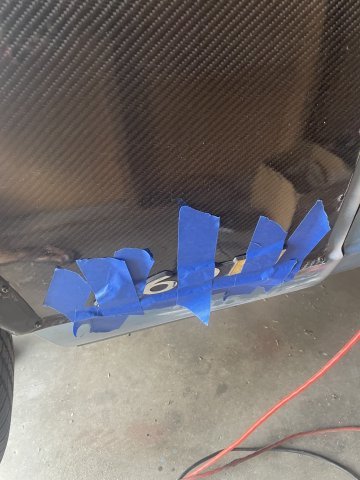
07-04-2026 ATLAS Z UPDATE. HAPPY 4TH OF JULY! I removed the front bumper and traced out and cut some spots in the carbon fiber to allow it to fit properly and re-installed the bumper. The edges will be hidden under a thin line of black silicone caulk. I also cut some aluminum stock I had and placed it under the intercooler and Tek screwed it down. it is basically just helping to support the weight. The 260Z fender emblems are on, taped to sit overnight and let the silicone cure. The rest of the day was spent fixing the other Z car I have. PICS:
-

Early 1974 260z build
juggernautjoee replied to juggernautjoee's topic in S30 Series - 240z, 260z, 280z
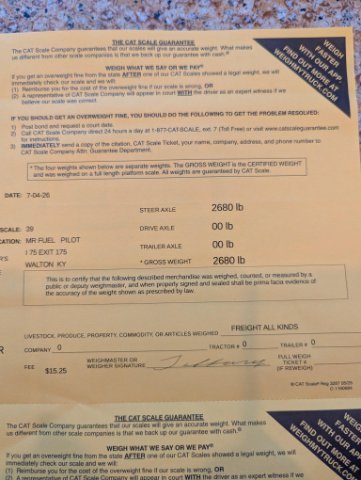
I stopped by the CAT scales to finally weigh this thing. 2680lbs It's an early 74 260z I weigh ~205lbs Full tank of gas, and all other fluids obviously 240z bumpers Full carpet, interior, and full butyl matted (except for doors) No compressor, blower fan, or any HVAC components in dash This is an L28et swap, no emissions stuff, mostly everything stripped out of the engine bay that doesn't need to be there Full painless wiring harness Aluminum radiator Braille 15lb battery No spare tire 2 Acura RSX seats (I think the still have the side airbag modules in them, woops) BC racing coilovers 4runner front brakes, Maxima rears TL70 6 speed swap 16in konig wheels w/ 250 55 tires 3in aluminized steel exhaust w/2 resonators only I have probably another 10lbs in random tools, my laptop, etc..
-
I just put a Sanden 508 on my 1976 280z. I ended up using a slightly thinner Belt that fits the AC Compressor pulley properly. This thinner belt sits deeper in the Crank AC pulley, but doesn't bottom out. I used the Z Car Depot bracket. I'll see if I can find the Belt Part Number. I had to go down a little in size as well. Think I ended up with a 4L-340mm Belt
-
I looked on your site but I didn't see a product like this listed. Is there a benefit to this setup besides just not needing to change the rack? Is there a feel difference?
-
 caps8419 joined the community
 -

A 2026 SEMA SHOW 260Z Build all the way from Great Britain
toolman replied to toolman's topic in Body Kits & Paint
PART 18- GULL WINGS DOORS RUNS INTO A PROBLEM The Gull Wing Doors run into a problem with the Roof Shape turn into the Vertical Window Shape. That Tight Shape creates additional fabrication work. Another problem coming up will be how to seal the Gull Wing Doors with weatherstripping and create enough gapping around the Wing Doors. -
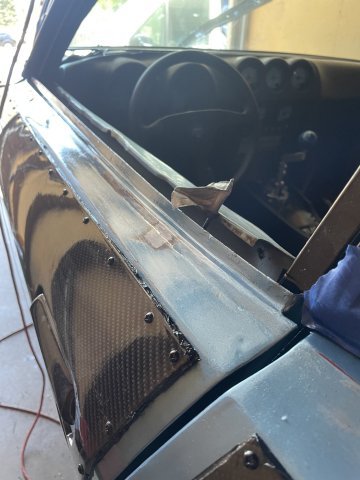
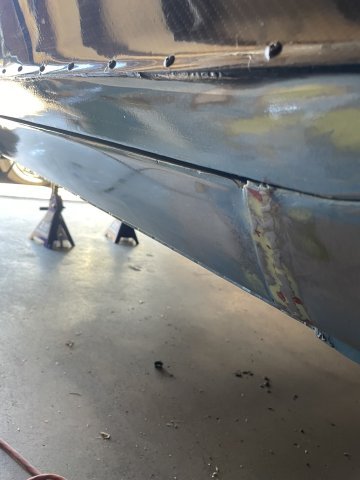
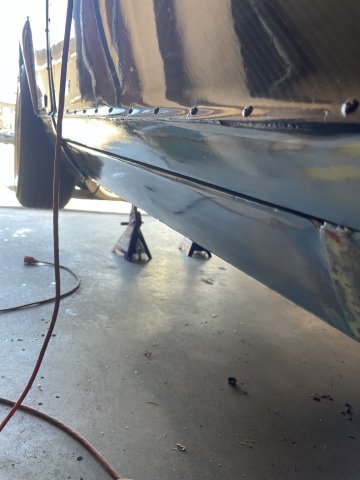
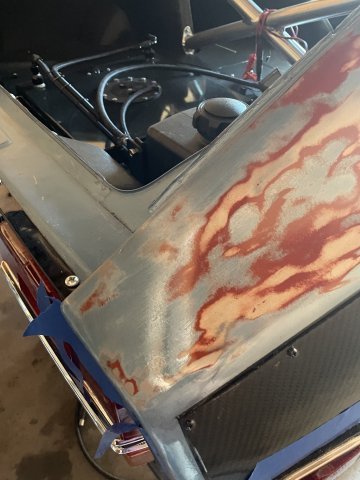
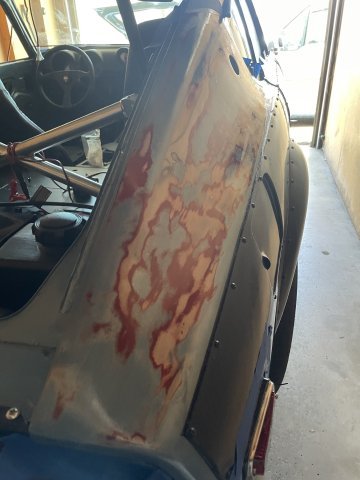
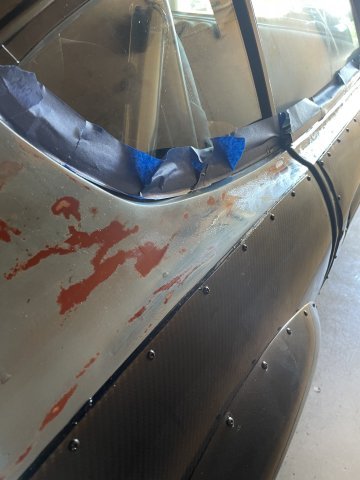
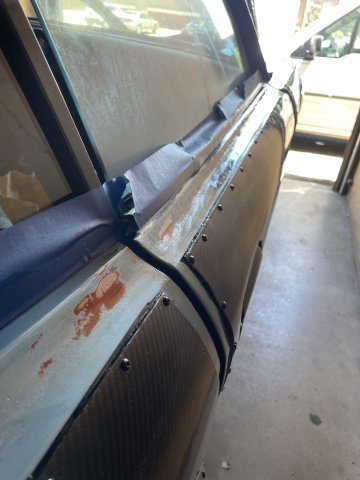
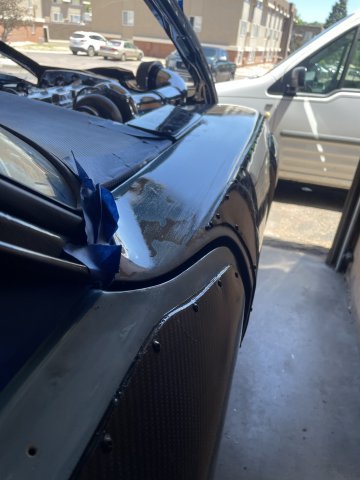
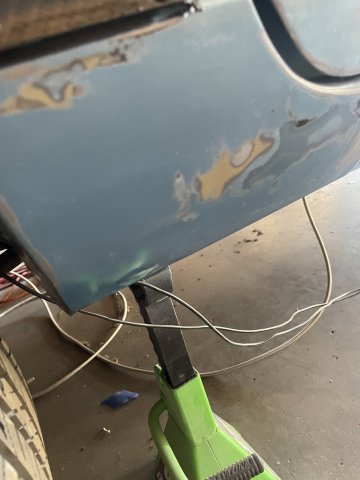
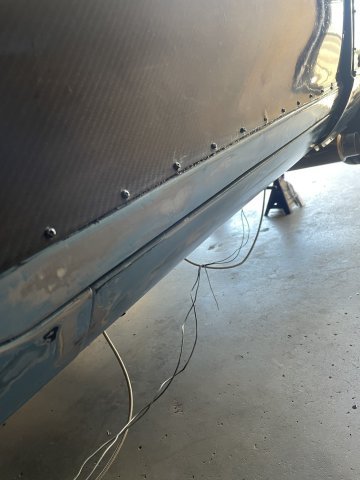
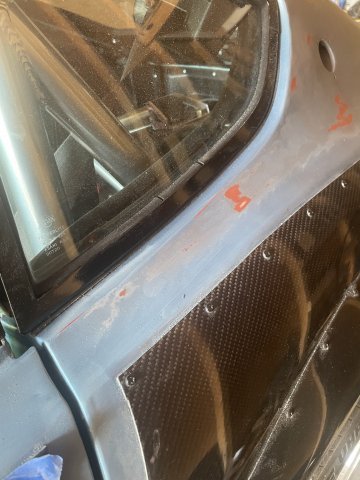
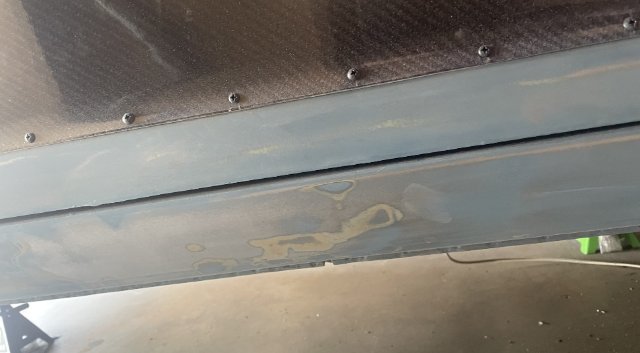
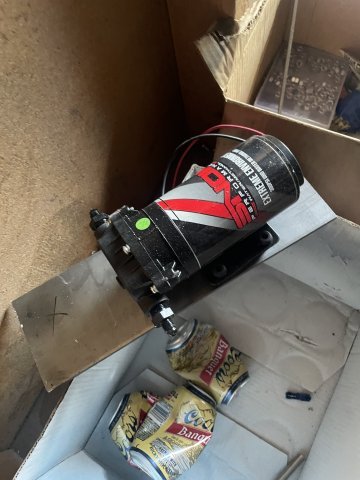
07-01-2026 ATLAS Z UPDATE: Well in between working on my other Z, I am still working on this Z car. I went ahead and started working on getting the blue painted portions of the body ready for clear coating, and caulking the border of the carbon fiber pieces. Initially I had planned to paint on a fresh coat of factory blue before clear, but I think I may go with the patina finish that is left after smoothing out the paint and getting it ready for the next step. Using "Poppy's Patina" in a high gloss finish....2 coats.....apply and then the next day apply again for 2 coats is the plan for now. This car is meant to just have fun with. It's the project car while I have the other Z anyway. my 240Z is giving me some timing issues to contend with so I have plenty to do. Also put my water meth pump on some steel to start getting the ideas flowing. PICS:
-
1977 280z driving project from the Netherlands
flatout replied to Mitchel0407's topic in S30 Series - 240z, 260z, 280z
As far as i know from being in the 240sx world is the s15 6 speed is geared better for performance driving but is weaker than the s14 5 speed but i think the nismo one is advertised as fixing some of the weak points. -
1977 280z driving project from the Netherlands
Mitchel0407 replied to Mitchel0407's topic in S30 Series - 240z, 260z, 280z
Last weekend I went to my first classic car event with the 280z which was a lot of fun. To my surprise I wasn’t the only Datsun at the event. A bit later a one owner Datsun 1200 coupe (talk about rare) and an early 300zx also showed up. On my way back home in the Z cruising along at approximately 75mph she decided I didn’t spend quit enough money on it yet and turned my 5 speed into a 4 speed transmission. What probably happened was the main shaft nut backed off. Guess this is another nice surprise left behind from the previous owners “restauration”. Surprisingly the car still shifts into reverse and doesn’t pop out, 5th gear just acts as an extra neutral now. For now I will need to find a replacement FS5W71B gearbox or modify another 71 series gearbox to fit the Z. I know a guy who bought a 280ZX 5 speed as a spare 25 years back and is willing to sell it to me for €800. It’s ether that or trying to find the correct parts for a pre 80’s 71B and rebuilding mine myself. There is a local shop that builds rally cars out of S30 Z’s who can sell me a rebuild ZX 71B or modified S14 71C close ratio transmission but those cost €4k-€6k. For that price its more interesting to swap in a modified brand new NISMO S15 6 speed from Japan. Escort makes them to fit the L series engines complete with mechanical speedo connection and CNC transmission crossmember. Anyway I guess that’s just the life with a classic car…..
-

Fast Floridian's 240Z Track Build
FastFloridian replied to FastFloridian's topic in S30 Series - 240z, 260z, 280z
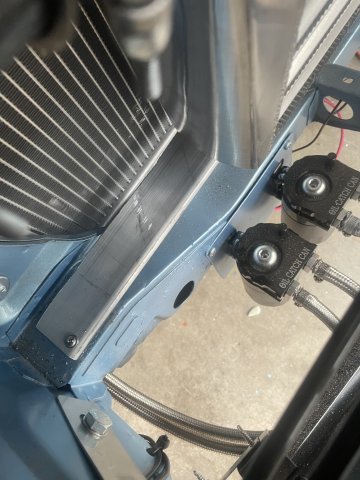
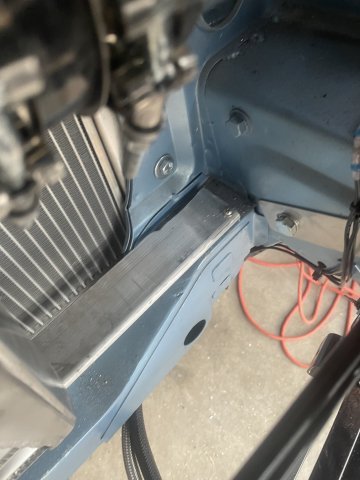
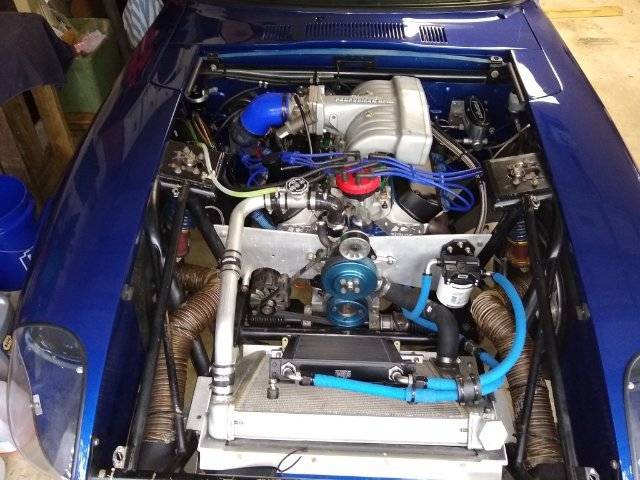
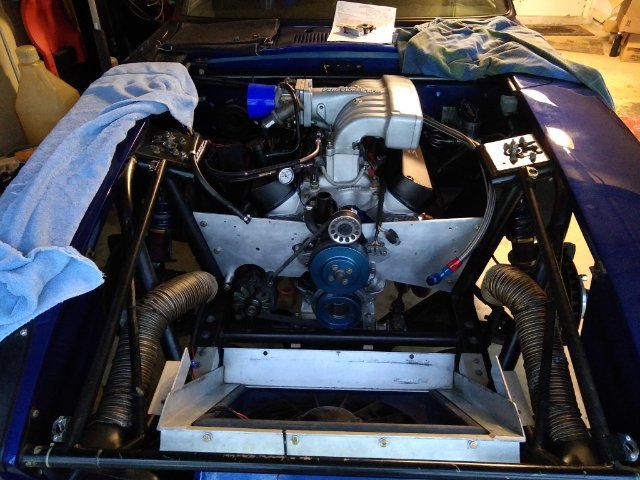
@74_5.0L_Z thanks for the pick of your radiator frame, I had thought you maybe had an intercooler stacked up from previous pic. I ended up going with a dual pass radiator so I had have both inlet and outlet on the same side. I’m thinking of going with 20AN fittings, so I’ll 90 off the radiator and cut to the driver side. -

Fast Floridian's 240Z Track Build
74_5.0L_Z replied to FastFloridian's topic in S30 Series - 240z, 260z, 280z
It looks like the radiator in your picture has the lower outlet in the wrong side. I use a Griffin 24x19 P/N 56202-XS with the driver's side lower outlet. I had them make it with the inlet angled straight out of the core rather than angled. The radiator snugly fits into an aluminum frame that is bolted to the frame rails, and is retained by the hood when it is closed.
-
senna21 joined the community
-
Fast Floridian's 240Z Track Build
FastFloridian replied to FastFloridian's topic in S30 Series - 240z, 260z, 280z
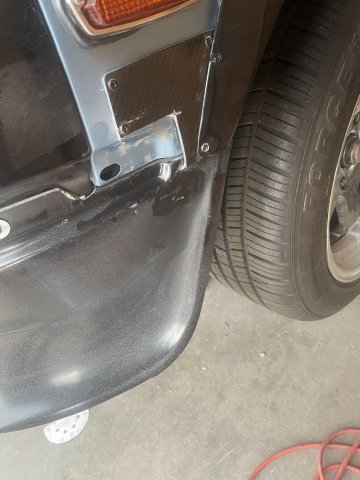
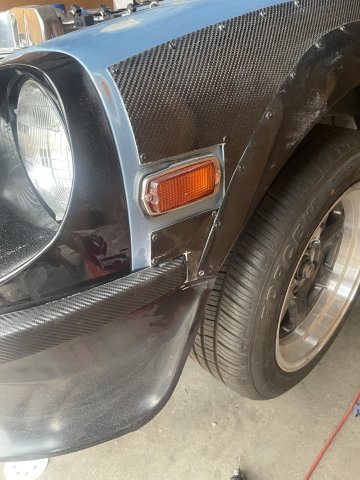
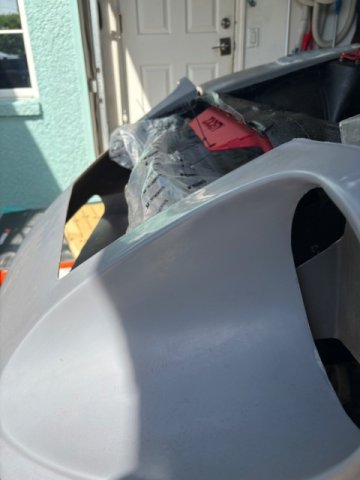
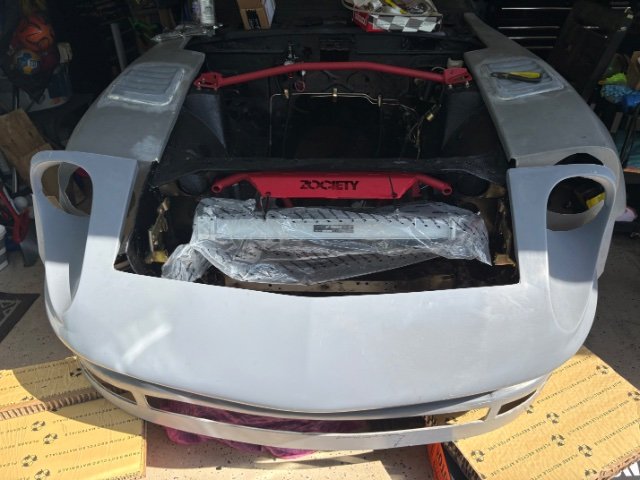
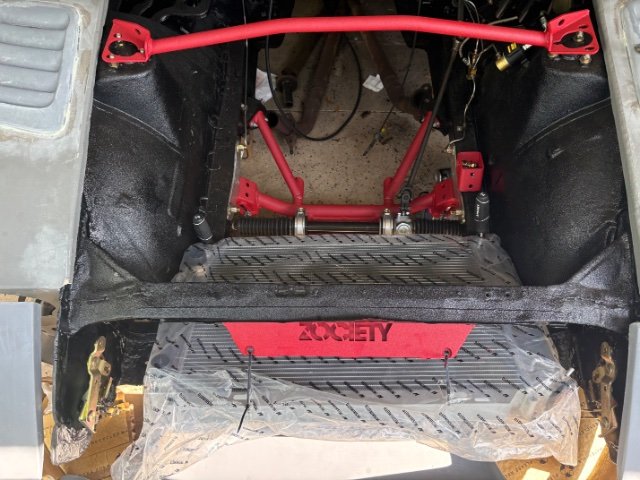
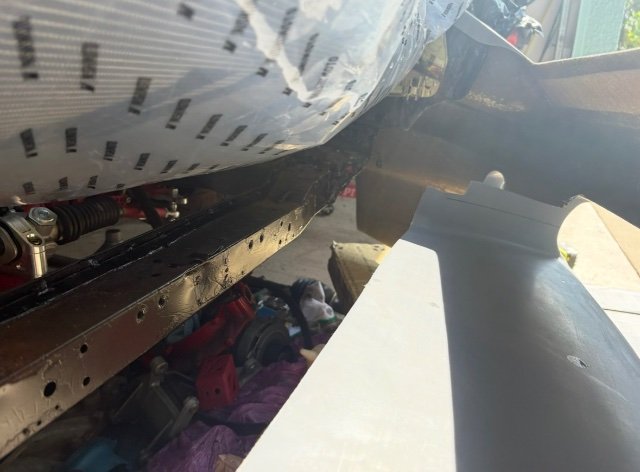
Radiator came in, made a mistake on sizing it, but I think it still works just fine sitting on the frame rails, thoughts? Or should it get something skinnier that fits between the frame rails. I like the built in tray on this bumper, I’ll add some ducting that just continues this on to that bottom rail and continue it past to the end of the radiator.









-
Who's Online 2 Members, 0 Anonymous, 1263 Guests (See full list)