All Activity
- Past hour
-
Hi all new to the forum thought I would introduce myself. I'm an old school petrol head, as in the Ford Escort and Vauxhall viva days haha, I was born with oil in my blood the entire family are mechanics, just recently sold my Lexus is200 supercharged car so I'm now car less, hopefully I will be starting a new project soon, I also created a car magazine called stance auto magazine, a place for us all to share our car builds and modified whips, so let me extend an invitation to anyone who wants to share their car build story just drop me a DM or if you have some sik photography you want to share I also have a very popular Facebook page I can share them to for you, I'm always looking of new stuff , can you drop images below in forums, lol sorry been years since I was on a forum
- Today
-
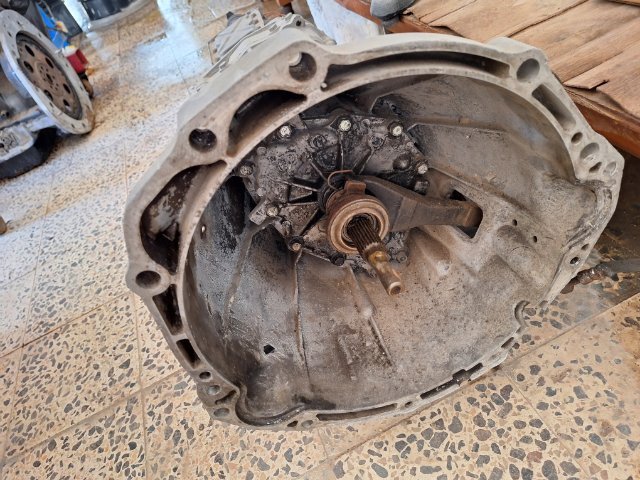
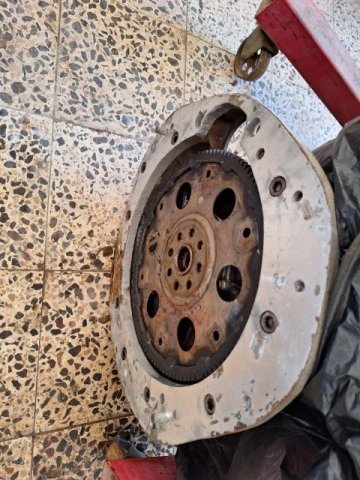
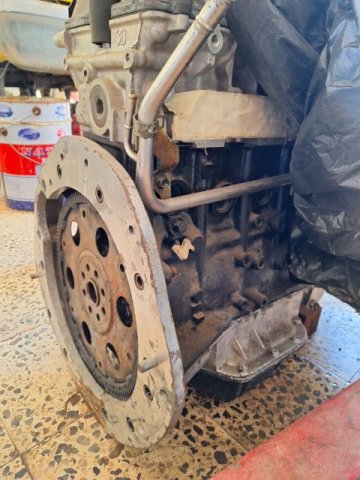
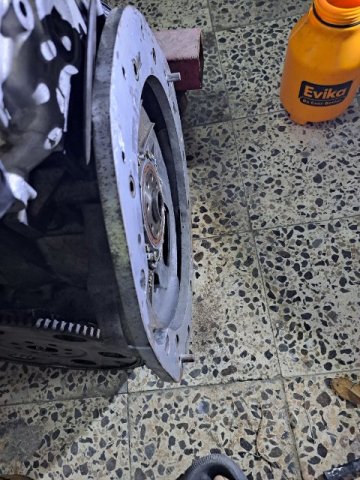
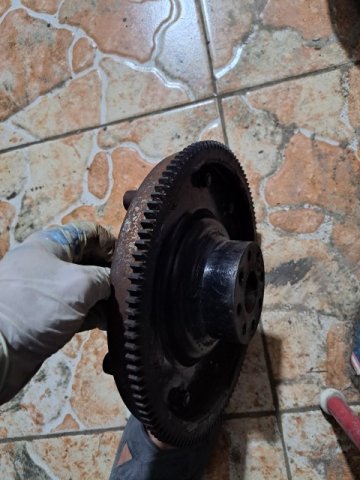
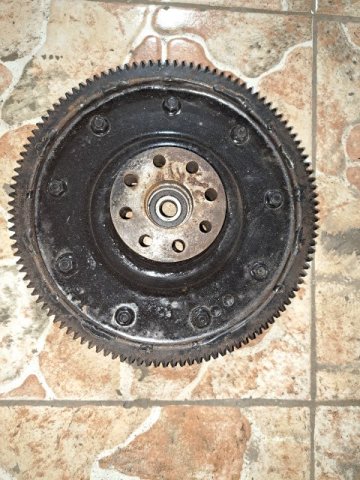
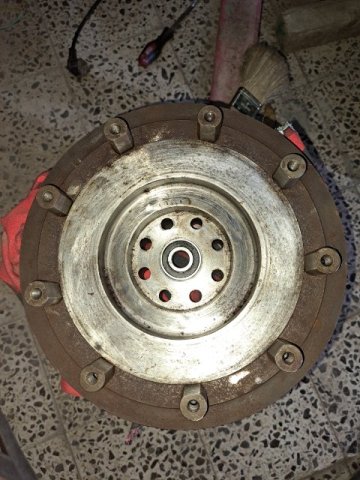
Bought c009 thrans model cb2 and RB32 double plate clutch (os copy) . Fabricated trans adapter and modify flywheel plate in local shop.Bought arp bolts m10x1.25x6mm. I have to keep engine auto flywheel for starter.
- 3 replies
-
- electrical power steering
- electrical brake booster
-
(and 2 more)
Tagged with:
-
Early 1974 260z build
juggernautjoee replied to juggernautjoee's topic in S30 Series - 240z, 260z, 280z
Finally took it around for a drive. Wouldn't rev past 1700rpm. Sync losses like crazy. Guess I need to take some logs and spend some time on other forums looking for help. My wideband was working perfectly fine for awhile, then it started sending out a full 5v or more. The AFR on the gauge itself seemed accurate, but the output was just sending 5v constantly. Tried changing grounds, etc.. but no change. I think it's dead. I'll try swapping out for a new one. -
BombshellCW changed their profile photo
-
BombshellCW started following Saved one from the crusher
-
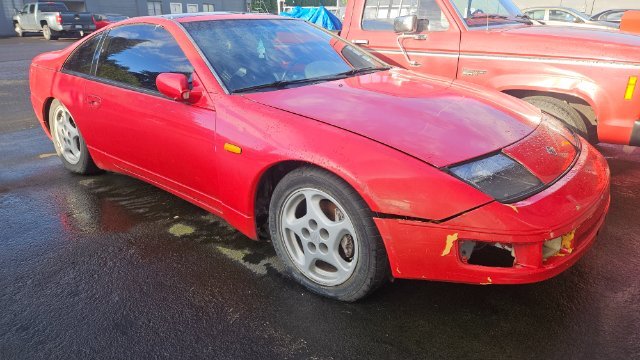
I bought this for my wife, literally saved it from the crusher. Well, from being stripped and then crushed. I have an l33 Chevy LS for it. This is her dream car, she promised to do the grunt work while I do the metaphorical heavy lifting. Not my first build, not my first LS swap. Here for the tech info. Located in Vancouver washington. Any other Z owners nearby?
-
No, Just ER70S-2, works well with the tig and low amperage, so no distortion from overheating or cracking metal like it MIG. On headers I would use silicone bronze to weld the primaries to the flanges.The heat cycling needs the ductility of the silicon bronze, but on a body panel I dont thinkit is necessary unless you were trying to flame weld and minimize warping.
-
I miss the old days of the forums. I would not call it a skill, but just some practice over the years and figuring out what works, and what not to do, usually the hard way. So dont be afraid to try and practice if you enjoy this sort of thing. Its not great work, but good enough to satify myself. I have a friend who welds, he has talant
- Yesterday
-
Are you fill welding with silicon bronze ?
-
Yet another LS 260z swap :)
christianmoller replied to christianmoller's topic in Gen III & IV Chevy V8Z Tech Board
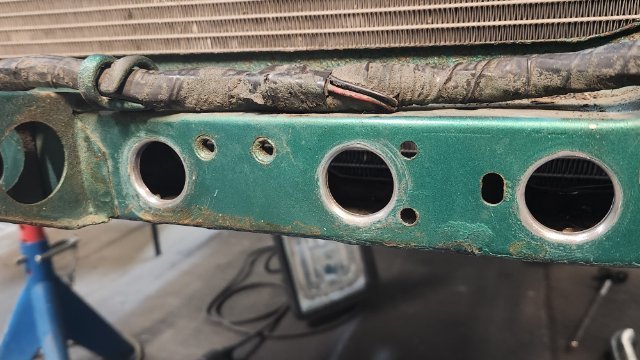
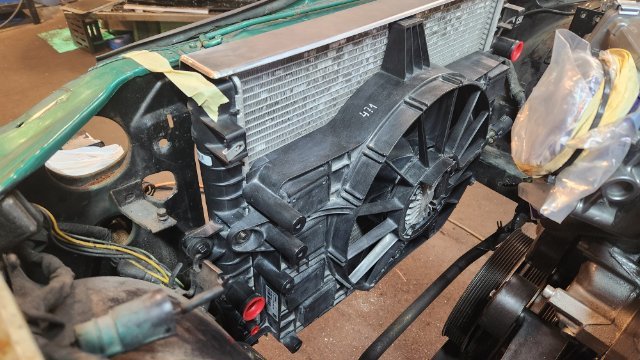
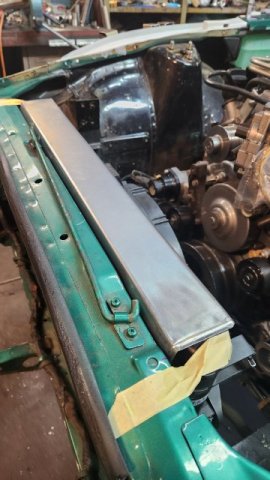
Hello, Did some work on the radiator, brackets, shielding and some stuff..... Slow progress now.😴 /Christian -
Leon started following A tale of two Z's - NA vs Turbo
-
Threads like these are what makes HybridZ special. Bravo! How did you develop your welding and metalworking skills?
-
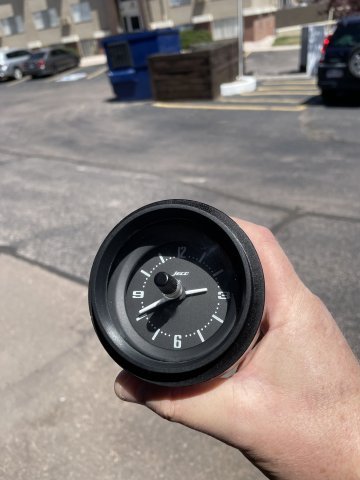
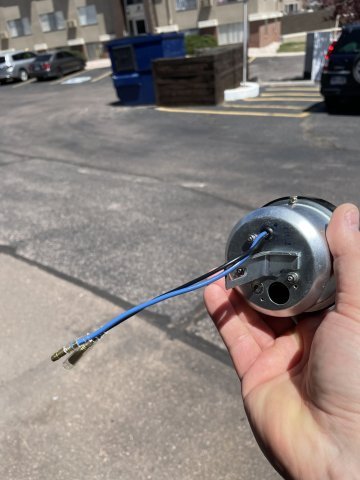
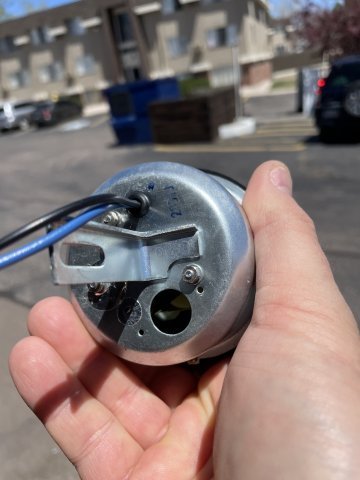
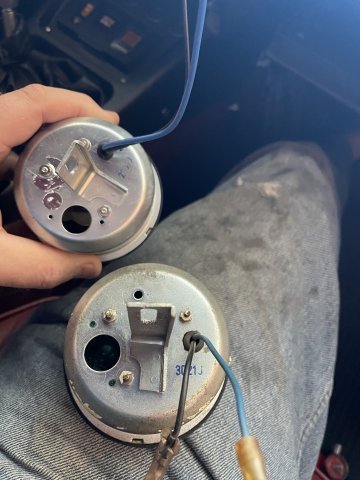
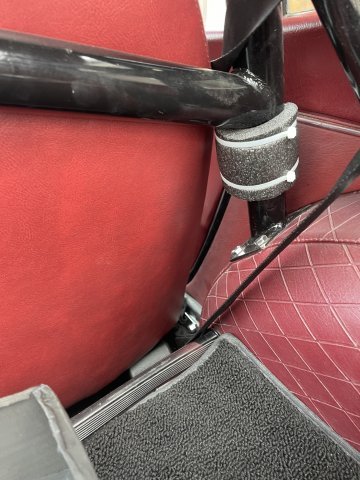
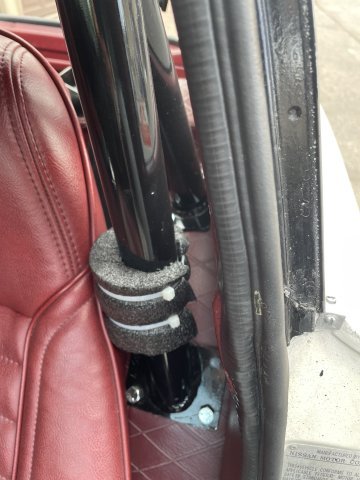
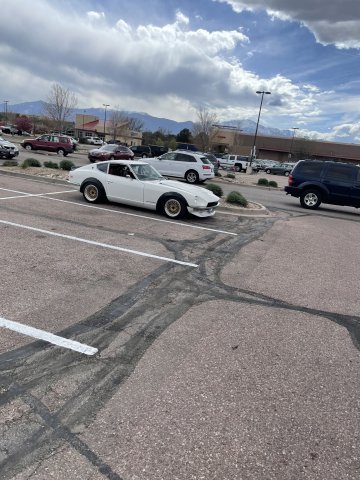
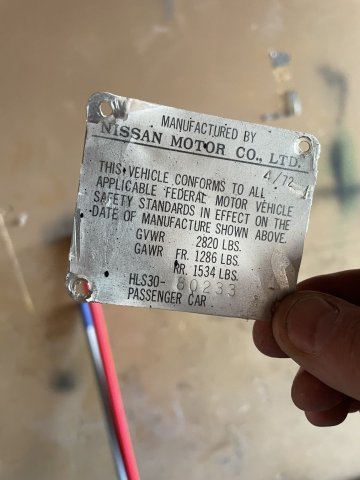
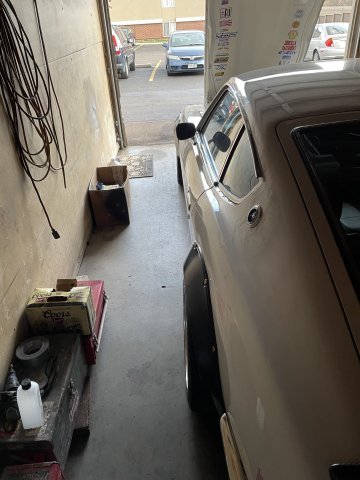
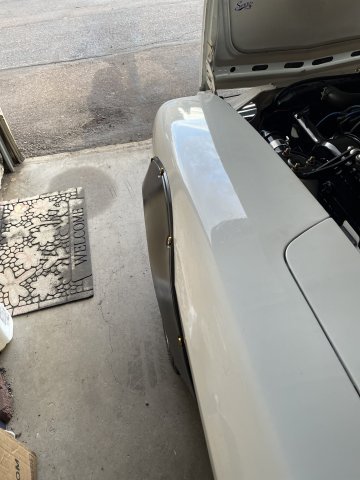
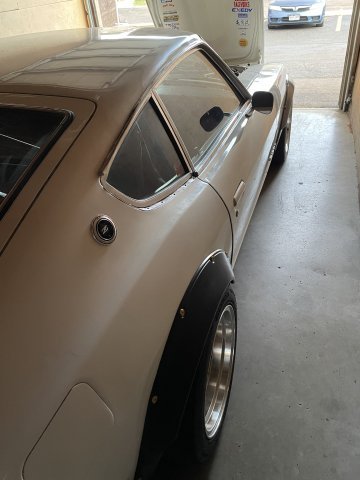
05-01-2024 UPDATE. I recevied my "new" clock from Ron at Zclocks.com. I paid extra for a quartz movement instead of the old stuff, and I had him remove the green light filter, since my gauges are all lit with a white LED setup. Anyway, I installed it today and then covered the 2 spots on the rollbar with rollbar foam where I had removed a rear brace. I then took it for a short drive, and then went about more little this and that finishing things up. I pulled the door data plate off and the "big" job left is to restore the door jambs on both sides, so I have that to look forward to. Aside from the 17" wheels arriving and setting the suspension height for them, the car is basically done. As usual, I took a few extra pics, just to look at stuff from different angles. Cheers!
- Last week
-

Heavy Duty frame rails and connectors
christianmoller replied to toolman's topic in Gen III & IV Chevy V8Z Tech Board
Nice job you are doing👍, not close to that. I,m looking at your frame rails and probably going to do something similar, seems to be a good idea to extend them all the way back. /Christian -
redef90 joined the community
-
Heavy Duty frame rails and connectors
toolman replied to toolman's topic in Gen III & IV Chevy V8Z Tech Board
Modifications to the New Rear View Mirror- After driving the car, I found that the new rear view mirror was vibrating making viewing difficult If, however, I would hold the mirror in the center, the viewing improved greatly. The solution was to provide additional support to the mirror. I would use the original rear view mirror mounting screw holes to mount a additional center bracket. First, a Template of original mirror base (consists of three screw holes)was created. The base mount would be constructed from 16 gauge steel plate. Another 3/4" x4" rectangular piece were created to make the Pivot Arm for the mirror. This plate would welded to a base 2" x 4" which would be epoxied to the back of the mirror. Mirror Mount Note- A 1/4" Pivot Hole was first drilled in the top section of this arm. This Pivot Hole will enlarged after the Mounting Bracket and Mirror Bracket are test mounted together. Then, a felt pen is inserted into the 1/4" Pivot Hole and the Mirror is turned to create its "curving path". This path will used to create the slot that allows the mirror to be adjusted when necessary. Drilling many 1/4" close together then hand filing created the arch path. Note-Arch created by Felt Pen Pic shows Arm and mounting base tack welded together for testing only until alignment is completed. Bracket angle will determined with Two small card board 1" strips- one is simulate the bracket arm and the other to stimulate the bracket on the mirror. pic showing !/4" Pivot hardware(1/4 bolt, washer and wing nuts) Assembled Version of Base Mount The Original Mirror Spacer was not used to allow sufficent thread engagement. Completed Modified Rear View Mirror Left Side View Right Side View NEXT-Roll Bar Installation -
EndlessMe joined the community
-
1979 ZX Brake Booster on 78 280Z
tim78zt replied to Jyarb's topic in Brakes, Wheels, Suspension and Chassis
Has anyone found a source for the 10 1/2 inch booster? -
Awesome, congrats!
-
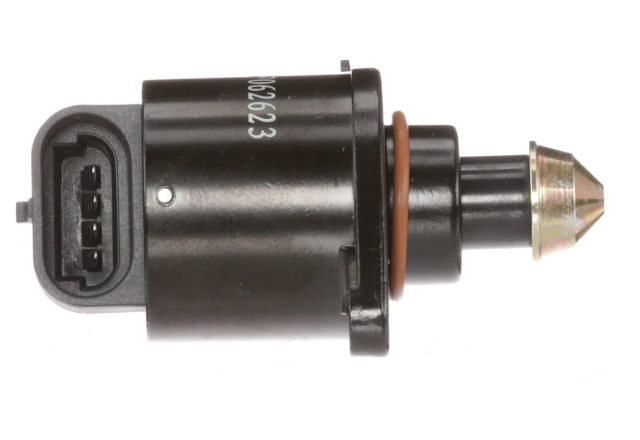
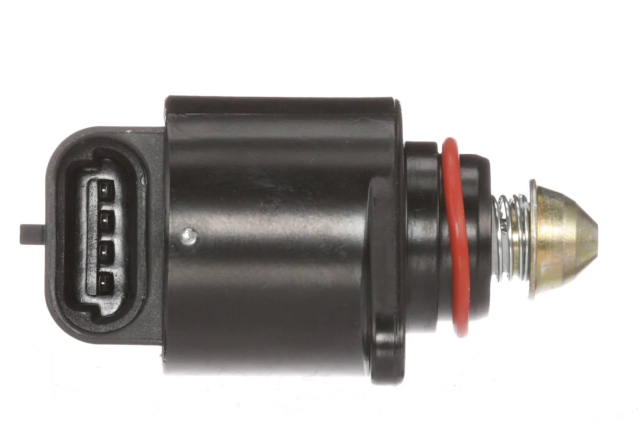
The actual bolt spacing is different too. The Jeep has a more narrow bolt spacing. Ive been reading up on some EFI support pages and I guess I need to actually watch the valve open and close to get the total steps correct . Not sure what your total homing steps are
-
cant figure out steering clunk/pop
kaibiagi replied to kaibiagi's topic in Brakes, Wheels, Suspension and Chassis
Awesome, thanks. I'm pretty sure I actually already have a poly one that came with my complete bushing kit, so I'll just pop that in at some point. -
gavins280zx joined the community
-
Here's your Jeep Stepper And a GM Stepper If it's any help this is the one I'm actually running, which looks closer to what Protunerz lists on their site. The one with the black housing I took a screenshot of technically only shows compatibility with V6 engines but I'm pretty sure it's functionally identical, just has the pins facing a different direction?
-
cant figure out steering clunk/pop
JMortensen replied to kaibiagi's topic in Brakes, Wheels, Suspension and Chassis
Yeah, that needs replacing for sure. Think you probably found it! If you don't mind the vibrations, get a poly or plastic one. People have also drilled hockey pucks and used them, if you happen to have one. -
Early 1974 260z build
juggernautjoee replied to juggernautjoee's topic in S30 Series - 240z, 260z, 280z
It's been awhile. A lot of back and forth with Godzilla to figure out what was going on with my ECU. RPM signal was not coming through. A 10k resistor was the culprit. Got everything hooked back up, configured some base settings and it finally fired up. First time in almost 2yrs. That's exhaust smoke in the picture. I really need to get it turned around so I can run it for longer to tune this thing. It smokes like crazy right now lol. Probably doesn't help that I have flex pipes and random loose clamps holding the exhaust together as well. It runs like shit, and I need to hold the throttle down a bit to keep it going, but it's a start. I can't wait to start digging into tuning and learn this stuff. -
Mine just refuses to open sometimes . I’ll try a GM before I go to a AAR
-
I've compared them side by side and it's important to note that the Jeep stepper won't open as far as the GM one based on its design. On cold starts it won't bypass nearly as much air. I have a GM stepper on my protunerz manifold and after re-pinning for it everything has been much better.
-
Agreed! I did this about a week ago, no more exhaust rattling on the diff. I've also filled the transmission with AC Delco GM friction-modified synchromesh gear oil, as recommended by the internet. I need to put some hard miles on the car to see if it helps smooth out the shifts a bit, namely, aggressive 4-3 downshifts had been a bit scratchy if not done patiently. I've also installed Keith Franck's W65 jets in place of the W60's. Tractability is now near-perfect, fantastic throttle response with surprisingly good fuel economy. I'm wondering whether this engine is better suited to yet another step up in size to W70 but I'd like to put some more miles on this setup. I'd love to finally fit those new OER's I bought a while back but there's a good chunk of work to do before that happens. Namely, port-matching and pinning the manifold as well as Rebello did with the TWM. With the Webers working quite well, I'm not feeling the most urgent motivation on this... Then there's the adjustable cam gear to install, ensure no valve-piston issues, and go have another tuning session. Step-by-step, I'm getting ever closer to where I've been wanting the car to be!
-
We did it (finally)! We have lift off. Not able to hit boost yet, but I can drive it again. A weird problem I had today was my fuel pump relay would turn on-off randomly. This caused the car to buck, and when I backed off the throttle, it stopped. It happened both on faster acceleration and braking normally. Going to replace my fuel pump relay tomorrow and keep on tuning. Thanks to all you fine folks. I'll post when I finally dip into boost, and my msq when I get things running decently.
-
Not a final version , but this is where I left it last run . This eliminated all pinging . I just started to dial in more fuel to see if I could raise timing . I also having trim tables to isolate #6 if that’s the offender
-
Can you share your ignition timing chart?
-
Who's Online 1 Member, 0 Anonymous, 161 Guests (See full list)












.jpg.5f14f8088381f84fc15baae88d755af3.jpg)

