-
Posts
2366 -
Joined
-
Last visited
-
Days Won
27
Content Type
Profiles
Forums
Blogs
Events
Gallery
Downloads
Store
Everything posted by madkaw
-
Bracket for connecting transverse links--LSD
madkaw replied to madkaw's topic in Brakes, Wheels, Suspension and Chassis
Thanks Jon, that's what I was looking for. This will give me some ideas to work on and a new Fab project. I will probably run a standard cover until I get it made, but I think I can come up with something. I like the idea of getting some adjustment out of it, kind of 2 for 1 deal! -
I have been searching for a while and i guess I don't know the proper nomeclature, but I am trying to find ideas on making a bracket that connects the rear A arms together that will work with the LSD cover. Any pics would be great. I know AZC sells a very pretty set-up , but it is too much money for me right now, I just need to fab something to get me going. I swore I saw it before on a thread , but I can't seem to find it now, so any help would be appreciated.
-
Yeh I have a great digital camera, I guess I forgot to use it. I'd ask MSA for my bracket back , but that would be a lost cause with them.
-
My Afm has 3 tapped holes, so if someone has one please e-mail me a pic to refresh my memory and I will paypal whoever to send it to me. sfinnerty@indy.rr.com
-
Well I guess I sent the retainer bracket in with the core. So anyone got one laying around let me know.
-
I must have sent it in with the core --SH%T. Anyone have one laying around??
-
-
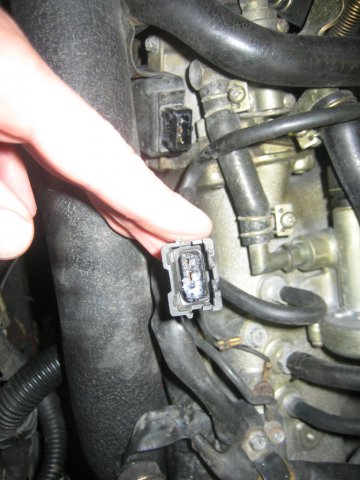
The plug end from my harness that attaches to the throttle switch is fried. Both wires were corroded and broke off inside the connector. I would think that these are about the same on all the fuel injected models.Here's apic of mine, if anyone has one laying around please help me out here.
-
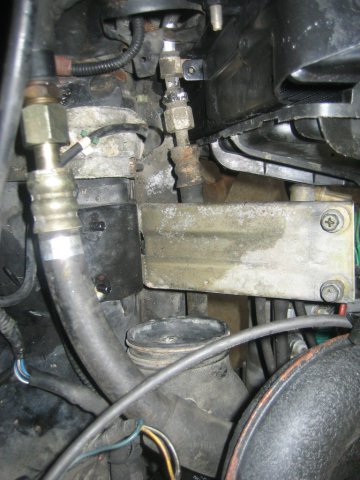
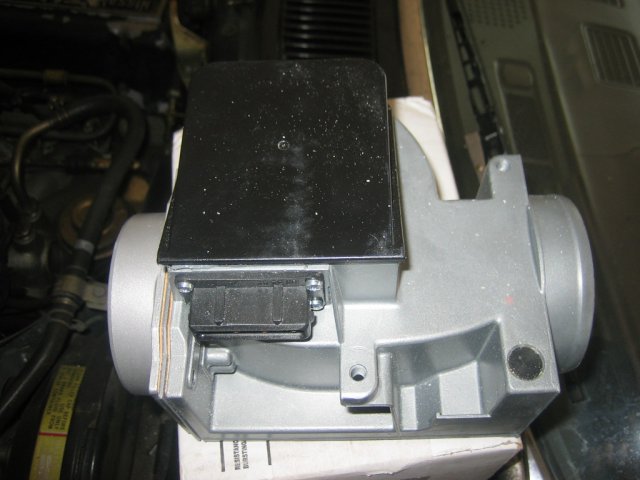
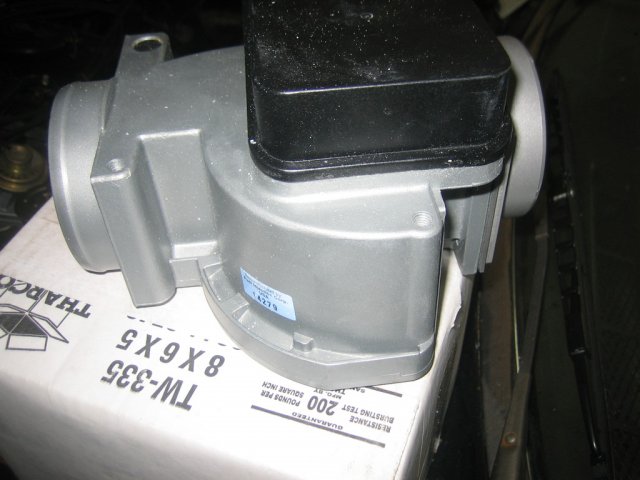
Okay so I had to replace my AFM on my 81 turbo. So I sent my core into MSA, and 3 weeks later(maybe more), I finally got a refurbished one. Now I have to rely on my memory to reinstall, and that doesn't work either:redface: I know this isn't brain surgery, but somethings not right.So I'm looking at the mount --and I'm looking at the AFM , and I'm thinking I sent the old AFM back with some kind of mount left on there. I can see the tapped holes on the top of the AFM. So please look at the pics and tell me what I am missing.
-
pm'd you
-
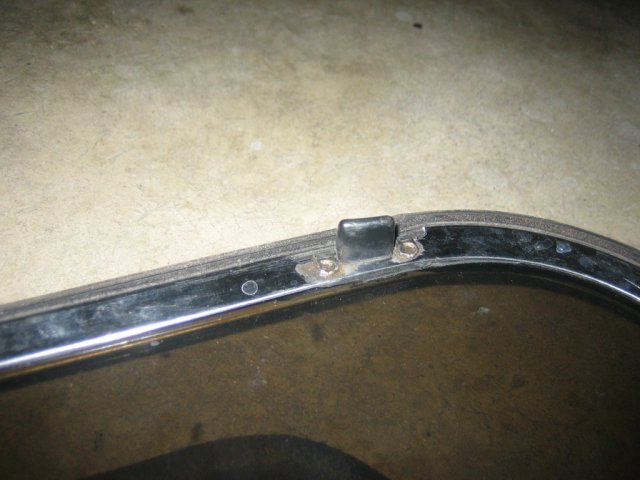
I have another request guys. My t-top is missing one of the plastic guide pin(the black plastic piece that guides the t-top into the rubber seal, there are 4 on each top). Maybe someone has a junk t-top that is broke or cracked that would pull the plastic tips off for me. This car is for mt duaghter and I need to get this car together soon, so any help would be great. I will paypal you for your time and pieces-thanks. Also wouldn't mind finding an original antenna in good shape.
-
Okay guys, I ordered the fender, grill and rear bumper from Danny's Datsun. I hate paying all that shipping, but Danny has always done me well.
-
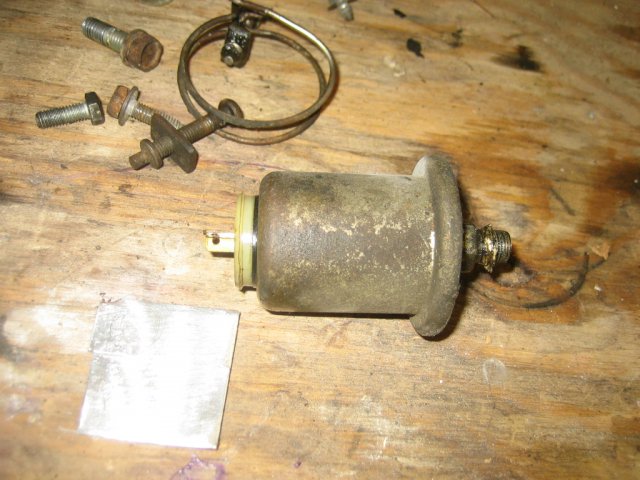
I have the pressure switch. I am still looking for: 280zx plastic grill 280zx passenger fender t-top weatherstrip t-top parts-I just need one of the black plastic guide tips on the t-top plastic holder for the hood prop rod(snaps into radiator support rear bumper-need metal backing only-no rust buckets please please send response and pics to: sfinnerty@indy.rr.com thanks
-
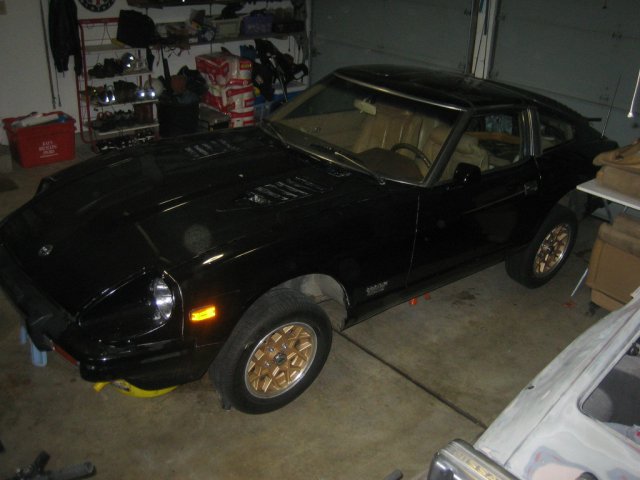
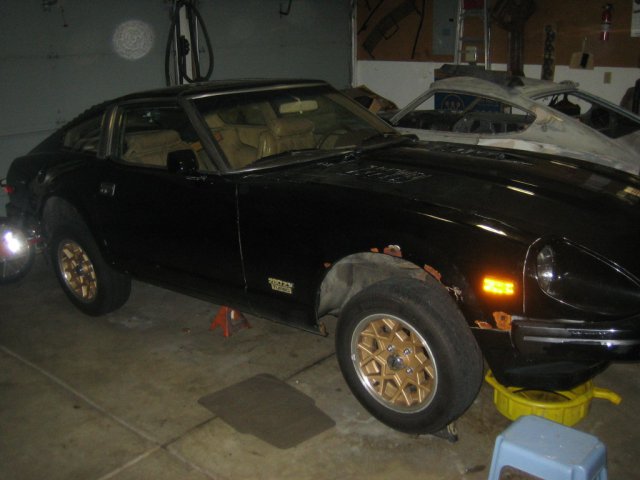
Well I have a new project now. I couldn't resist when I saw the ad in craigslist. It was kind of a selfish motive-- since I wanted to get a hold of a turbo motor to have for my car later--, but I e-mailed the ad to my daughter at I.U. and asked her if she would drive something like this. I didn't know if a 19 year old would want to be seen in a car like this , but it was a nice 20 footer and it was an automatic with AC. She responded, "are you kidding me", like I was getting her a Ferrari:) It had some issues, but the car only had 90K miles on it. We took it for a drive and it it felt solid, but ran like s#*t. The kid told me that the Nissan dealer said it was the AFM, but he wasn't putting anymore money into it because he was going to college. He said he was probably going to cry when the car left because he loved the looks he got in his black t-tops. Well I took the car home and the "project" has started. I need to get this car going and reliable in the next 2 months. The good parts are: New tires and nearly perfect snowflake rims Low mileage clean not rusty eng comp. Interior not tore up too badly-normal wear. valve cover off -Solid Lifters-cam looks beautiful Rust on body is managable The Bad The engine ran like s#*t Bad afm 200$ Bad oil leak somewhere-I believe it was the oil pressure switch-35$ Water pump bad-the kid was close to a break down-that pump was shot Rubber brake lines toast Right caliper sticking-even though it's new T-tops leaking Rust in bad places-windshield-YUK Frame rails beat to hell Prior body work from collision done by hacks There's more but I need to go. I only hope to make a reliable daily driver for my daughter that looks cool. I gave her a run down 95 Mercury Sable in HS, and I am trying to make up for that, because I am so proud of her. I'll post some more pics later
-
I would only use the POR 15 as instructed. Another words, don't try and mix chemicals. Use the marine clean, if you haven't tried it yet you will be impressed. It is the best degreaser I have ever used. I have read a lot of guys have had problems using a different prep method then as instructed. I have used por15 with good success. My only complaint is top coating with a chassis coat. I had a difficult time brushing on this finish and it looking even. Plus you only have a short window of time to topcoat after using por15 unless you use there primer later.
-
What is the best method you guys have found to jack up this car. With the front crossmember so far under there I am trying to figure out the best type jack to buy. My frame rails are already beat up from jacking the car( I assume). The rear of the car is almost worse. Can you use the radiator support to lift the car, it looks much beffier then a hs30.
-
Okay guys, I am new to the ZX world and I am trying to figure out the best jack ,and jacking method, for these type cars. Can you jack the car using the frame under the core support? Is it heavy duty enough? It looks like the P.O. used the frame rails all the time and they are smashed as hell (could be combination of rust and jacking). The front crossmember is so far under the car I'm not sure what jack would be long and low enough to reach. Any input would be appreciated.
-
-
Looking for a passenger fender-must be in good shape Oil pressure switch Rear bumper- metal backing only plastic grill facia that fastens underneath the front bumper Automatic shifter assembly windshield Rt pillar chrome trim sfinnerty@indy.rr.com
-
-
So has something changed in the format. I will respond to a thread and look for it under new posts and it's not there-where did it go? Is there a delay now, I swore that right after I posted I could go to new posts to see that the thread was bumped to the top.
-
Well can anyone steer me towards a reputable shop that can turn down a flywheel? I can't imagine with all the performance stuff that has been done by members on this site that there isn't a good reference for a flywheel lightening.
-
The bump was because the post didn't show up when I looked at 'new posts', so I thought I would bump it to see if it came up. maybe I should have waited longer. I want to lighten a flywheel and I noticed TEP does that, so I wanted ask to see if there was anyone that has dealt with them-especially for flywheel servicing?


