jkelly
-
Posts
147 -
Joined
-
Last visited
-
Days Won
1
Content Type
Profiles
Forums
Blogs
Events
Gallery
Downloads
Store
Everything posted by jkelly
-
Do you guys know what type of original factory paint (primer and topcoat) went on the 240z? Was it a hardened acrylic enamel or lacquer? I'm going to shoot a 2-part epoxy first and then bc/cc paint. I'm debating on whether or not I should take the car all the way down to metal or paint over some of the OEM primer and want to ensure paint compatibility.
-
Good idea on the box section too. I think I have some laying around here somewhere.
-
My '72 240z project -- Rotisserie Restomod
jkelly replied to jkelly's topic in S30 Series - 240z, 260z, 280z
So, I'm heavily considering doing a color change on this Z. It was originally 904 white. I was initially going to go to a Cyber Grey with the stock red interior. But now I'm thinking of going with the '70 - '71 920 Safari Gold with a black interior. This color looks amazing and still has the classic Z look. What do you guys think?
-
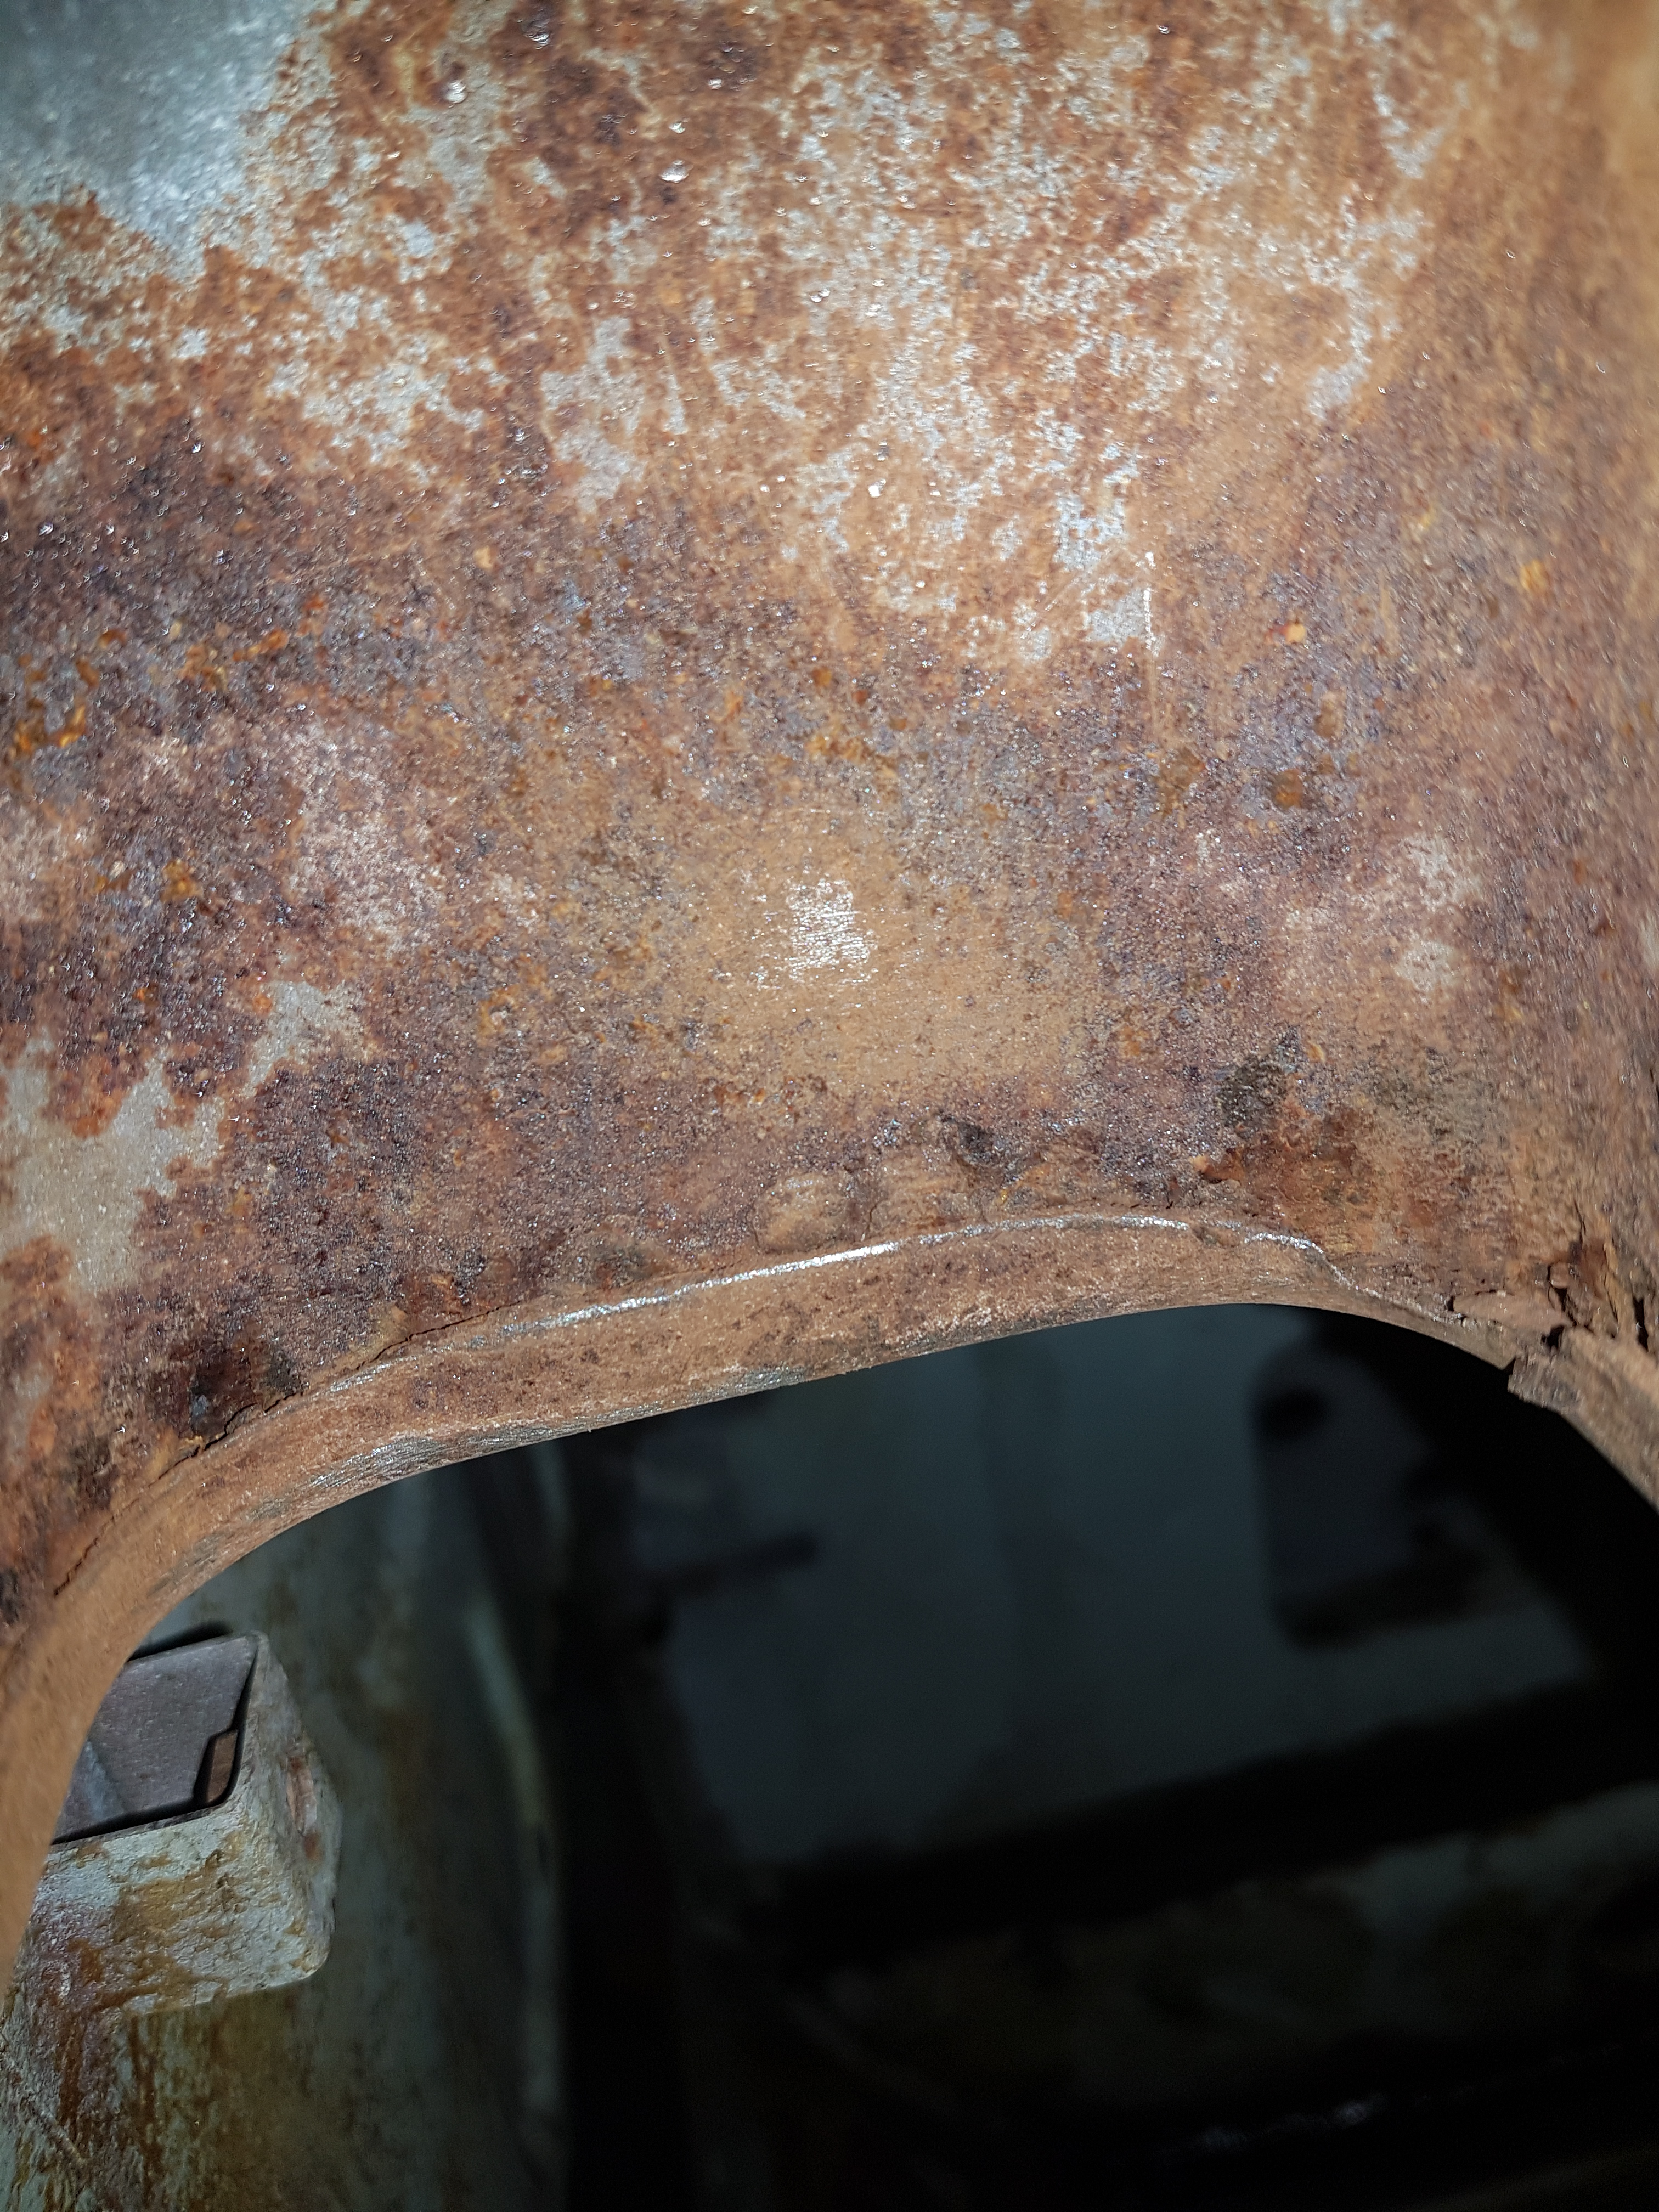
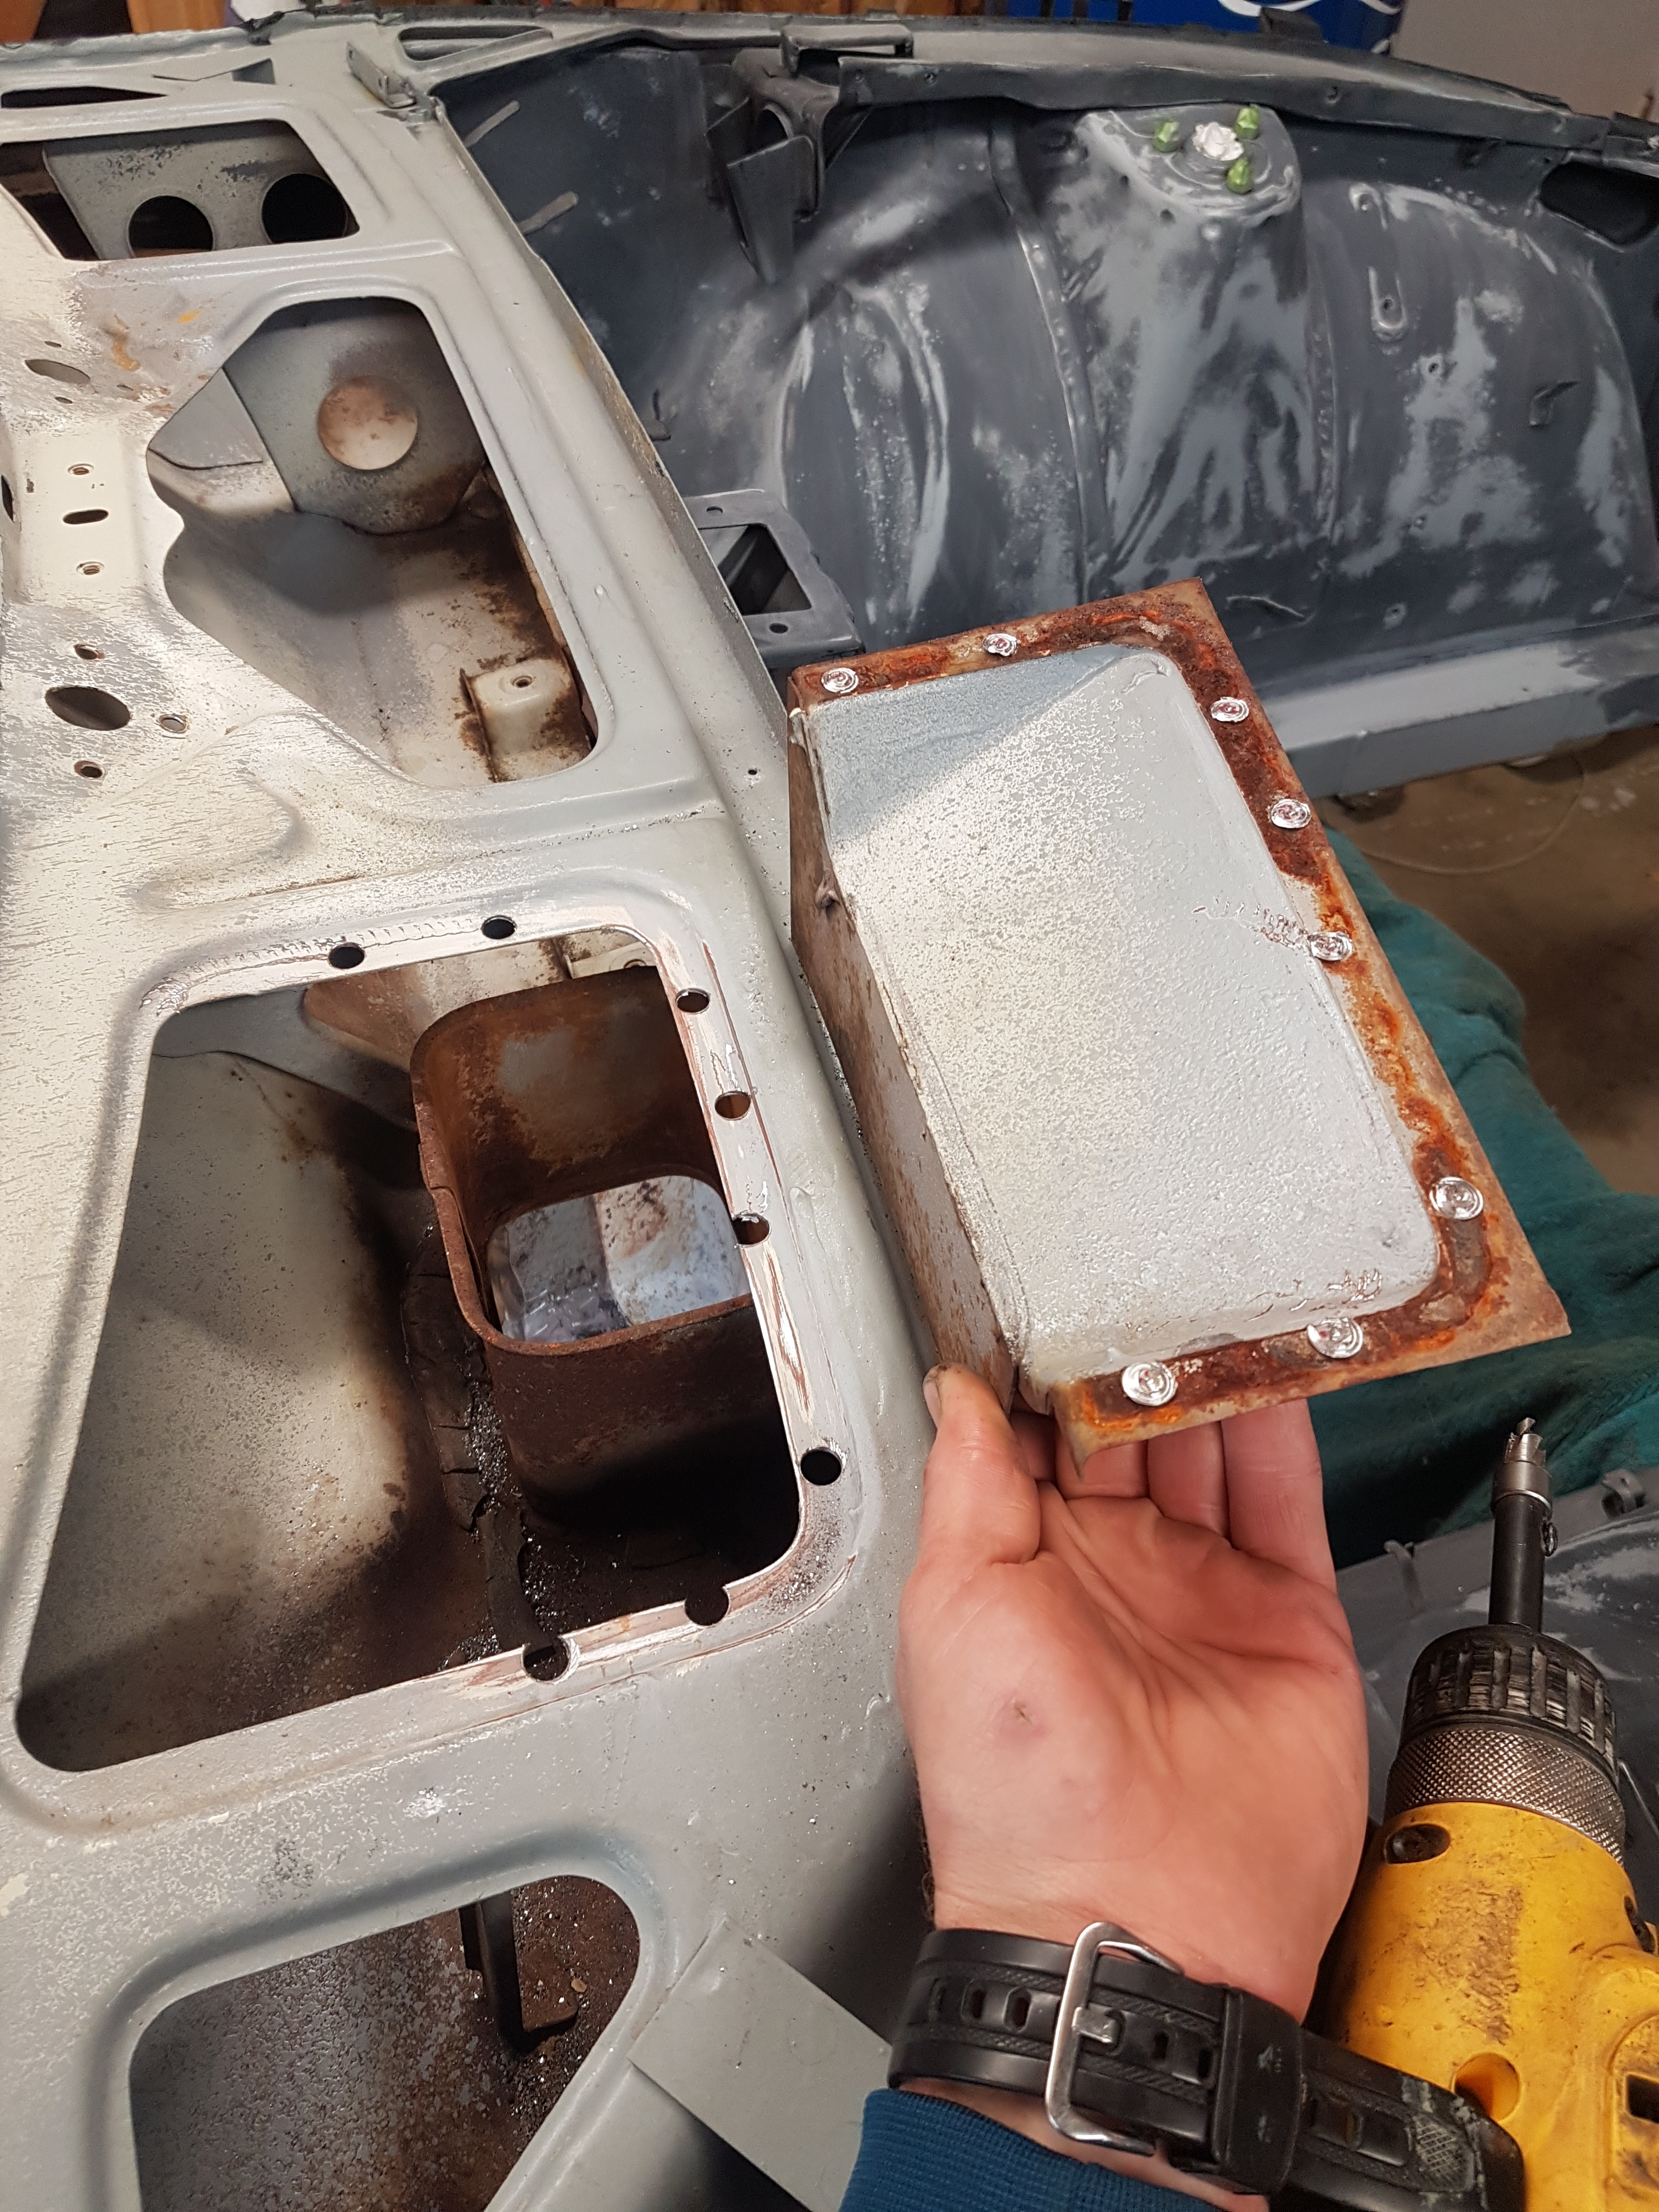
That looks good! Looks like there was probably a good bit of rust there to warrant that kind of repair! Did you guys cut away the metal covering over the entire cowl area for better access? Mine has some holes around the inside where the vent tube meets the cowl area floor.
-
I drilled the spot welds in the cowl vent cover yesterday to get a better look at mine. It's pretty rust. I'll probably cut the vent tube out and see what I can fabricate to replace the rot in there. Hopefully yours wasn't too bad.
-
My '72 240z project -- Rotisserie Restomod
jkelly replied to jkelly's topic in S30 Series - 240z, 260z, 280z
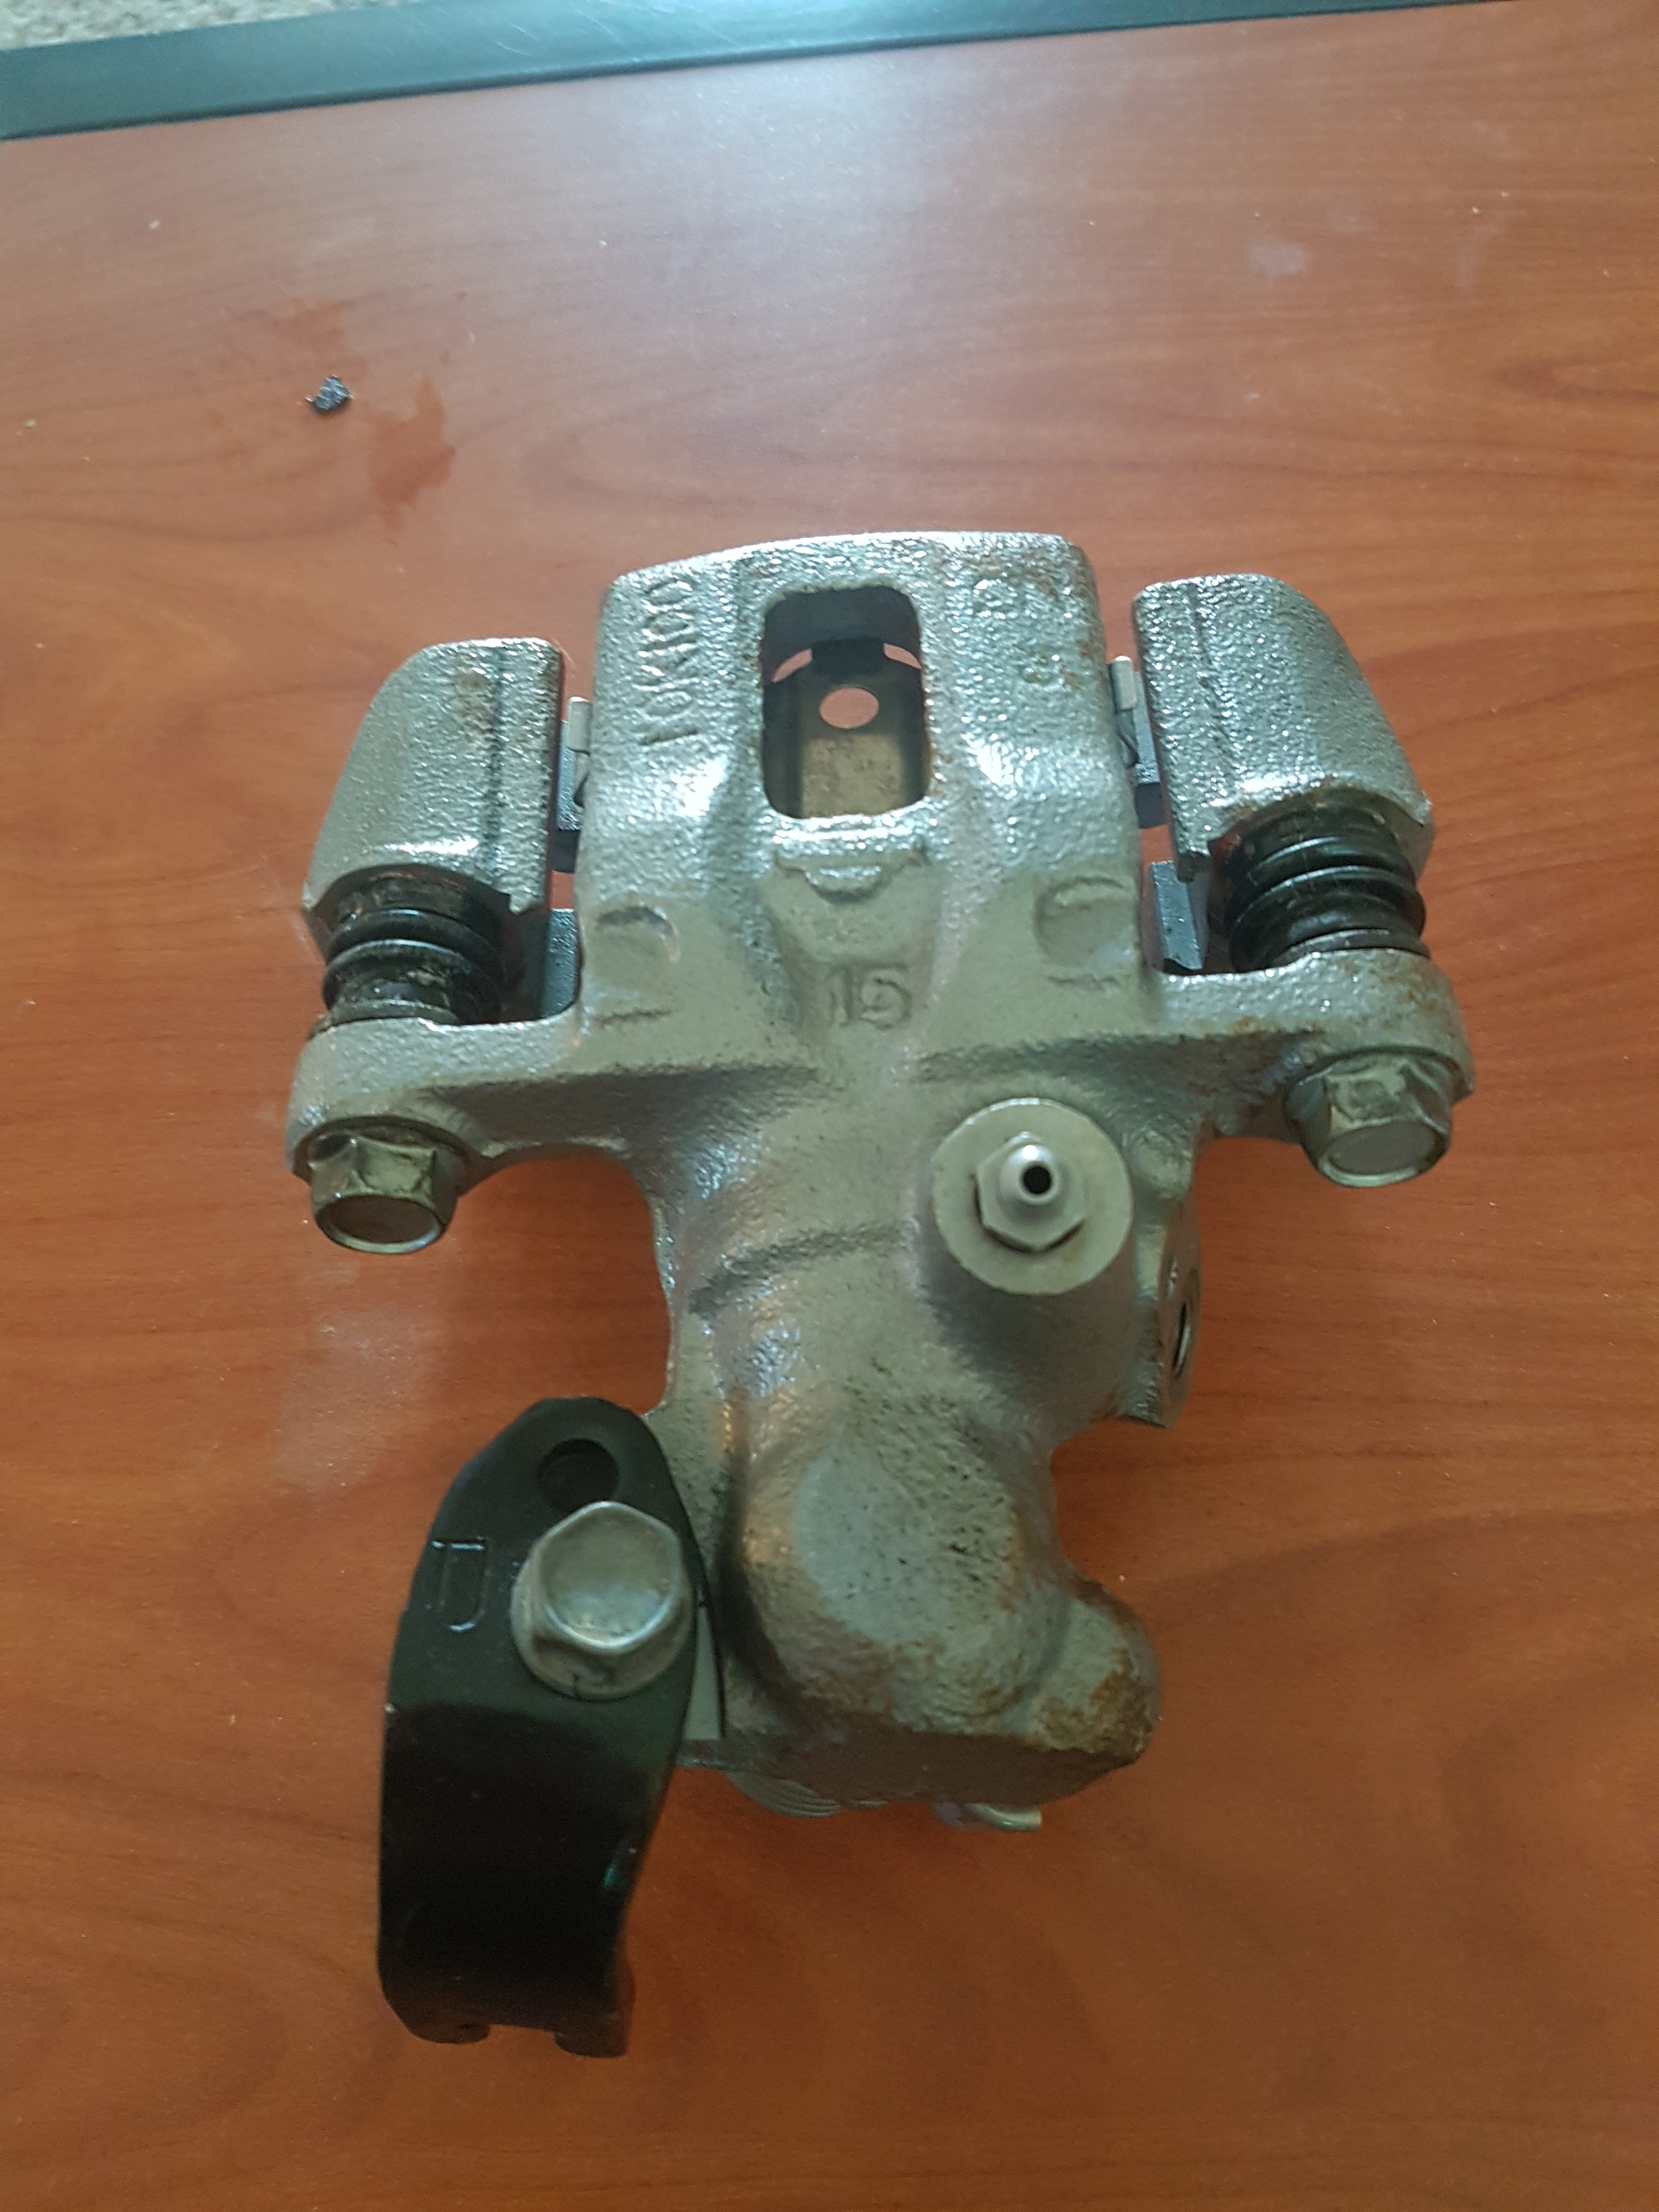
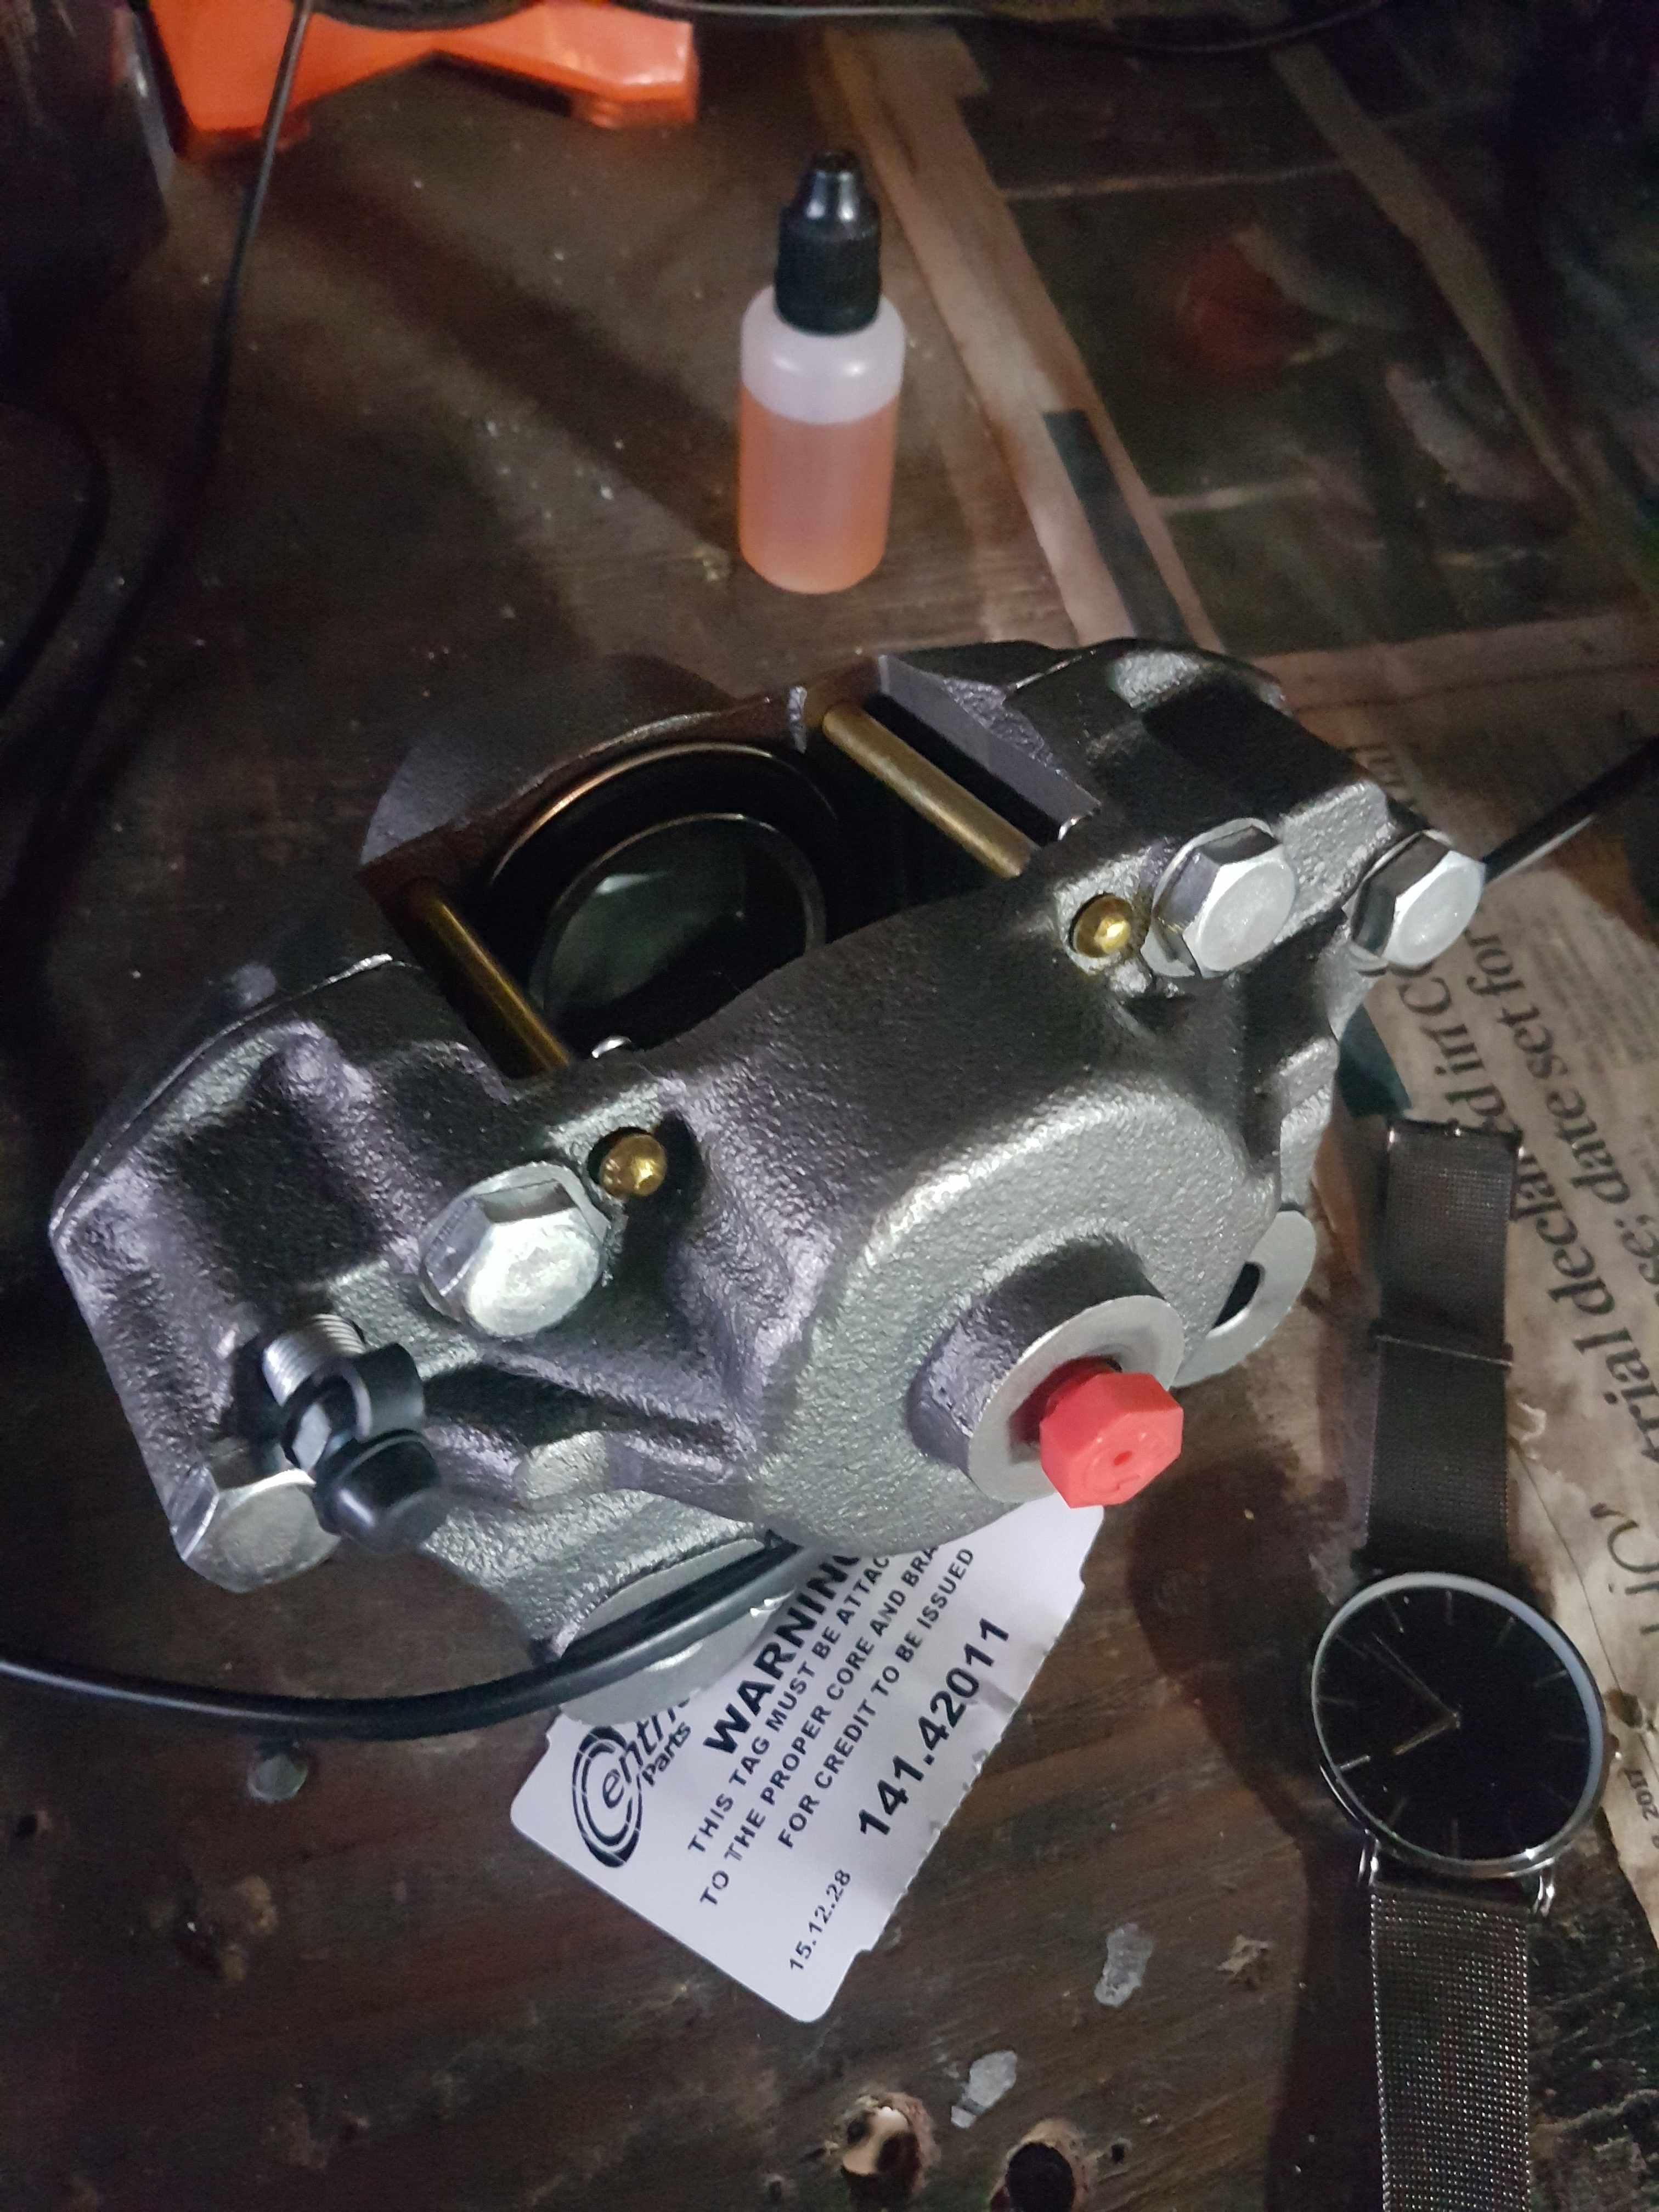
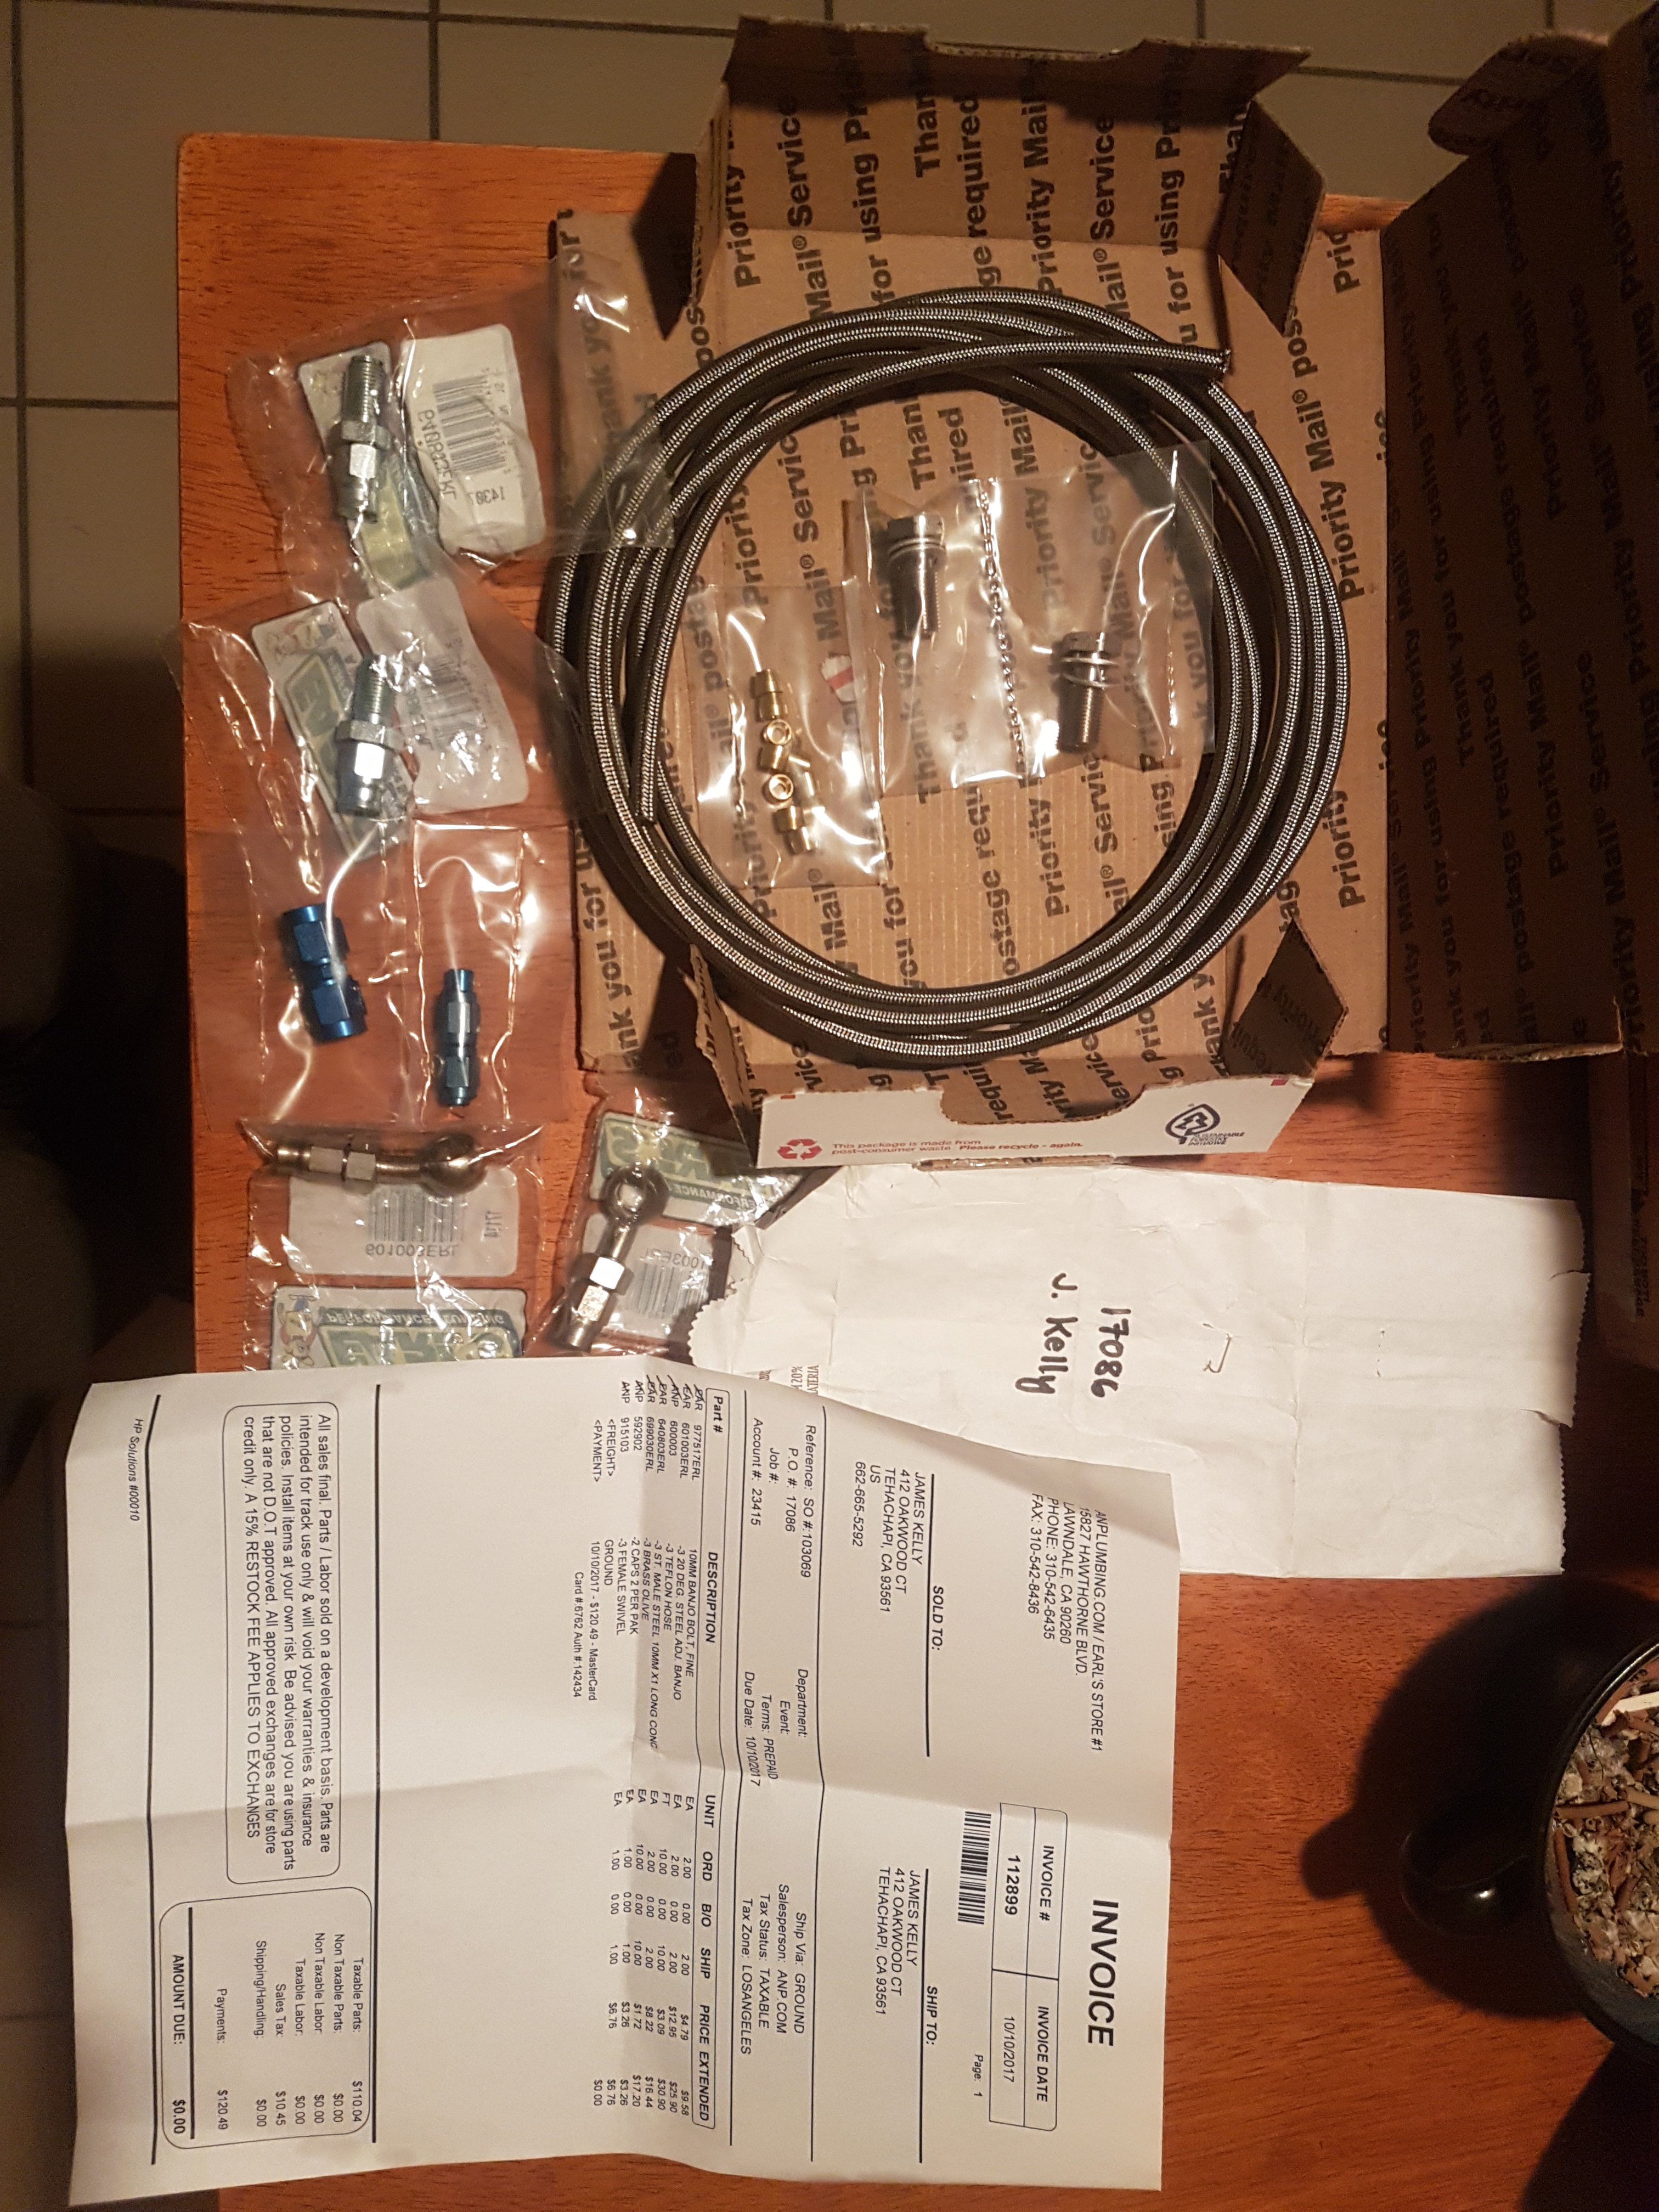
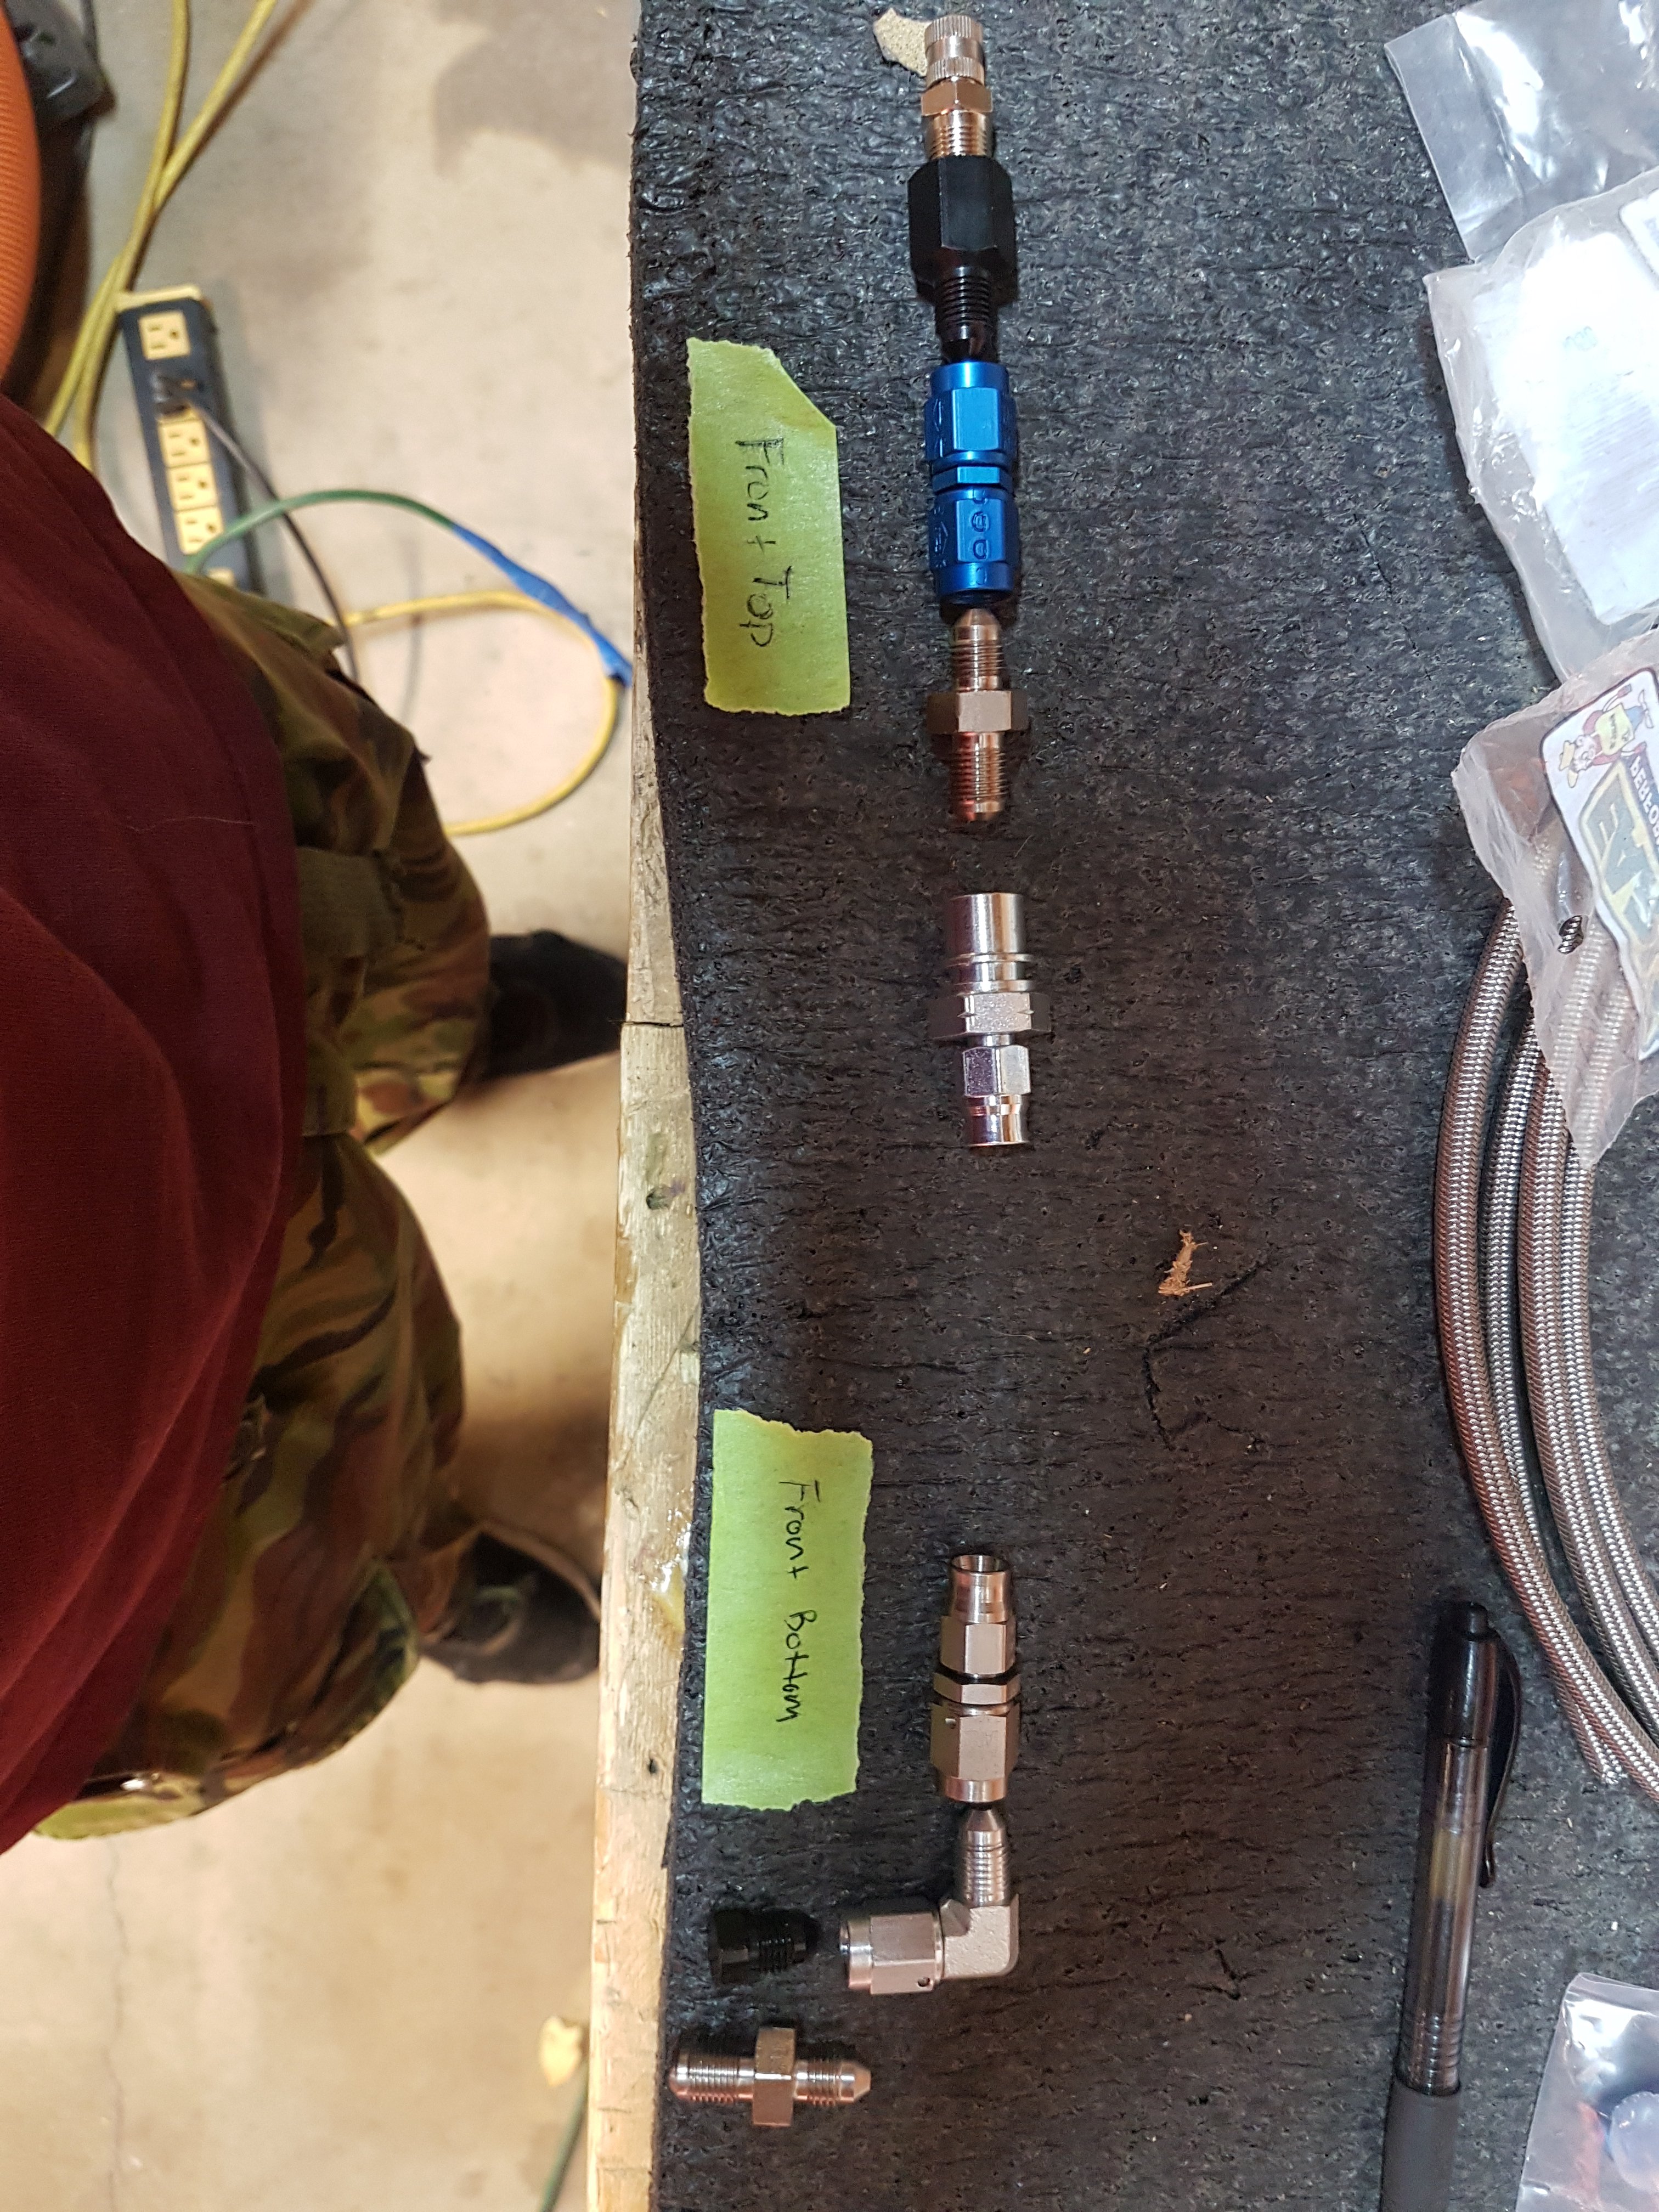
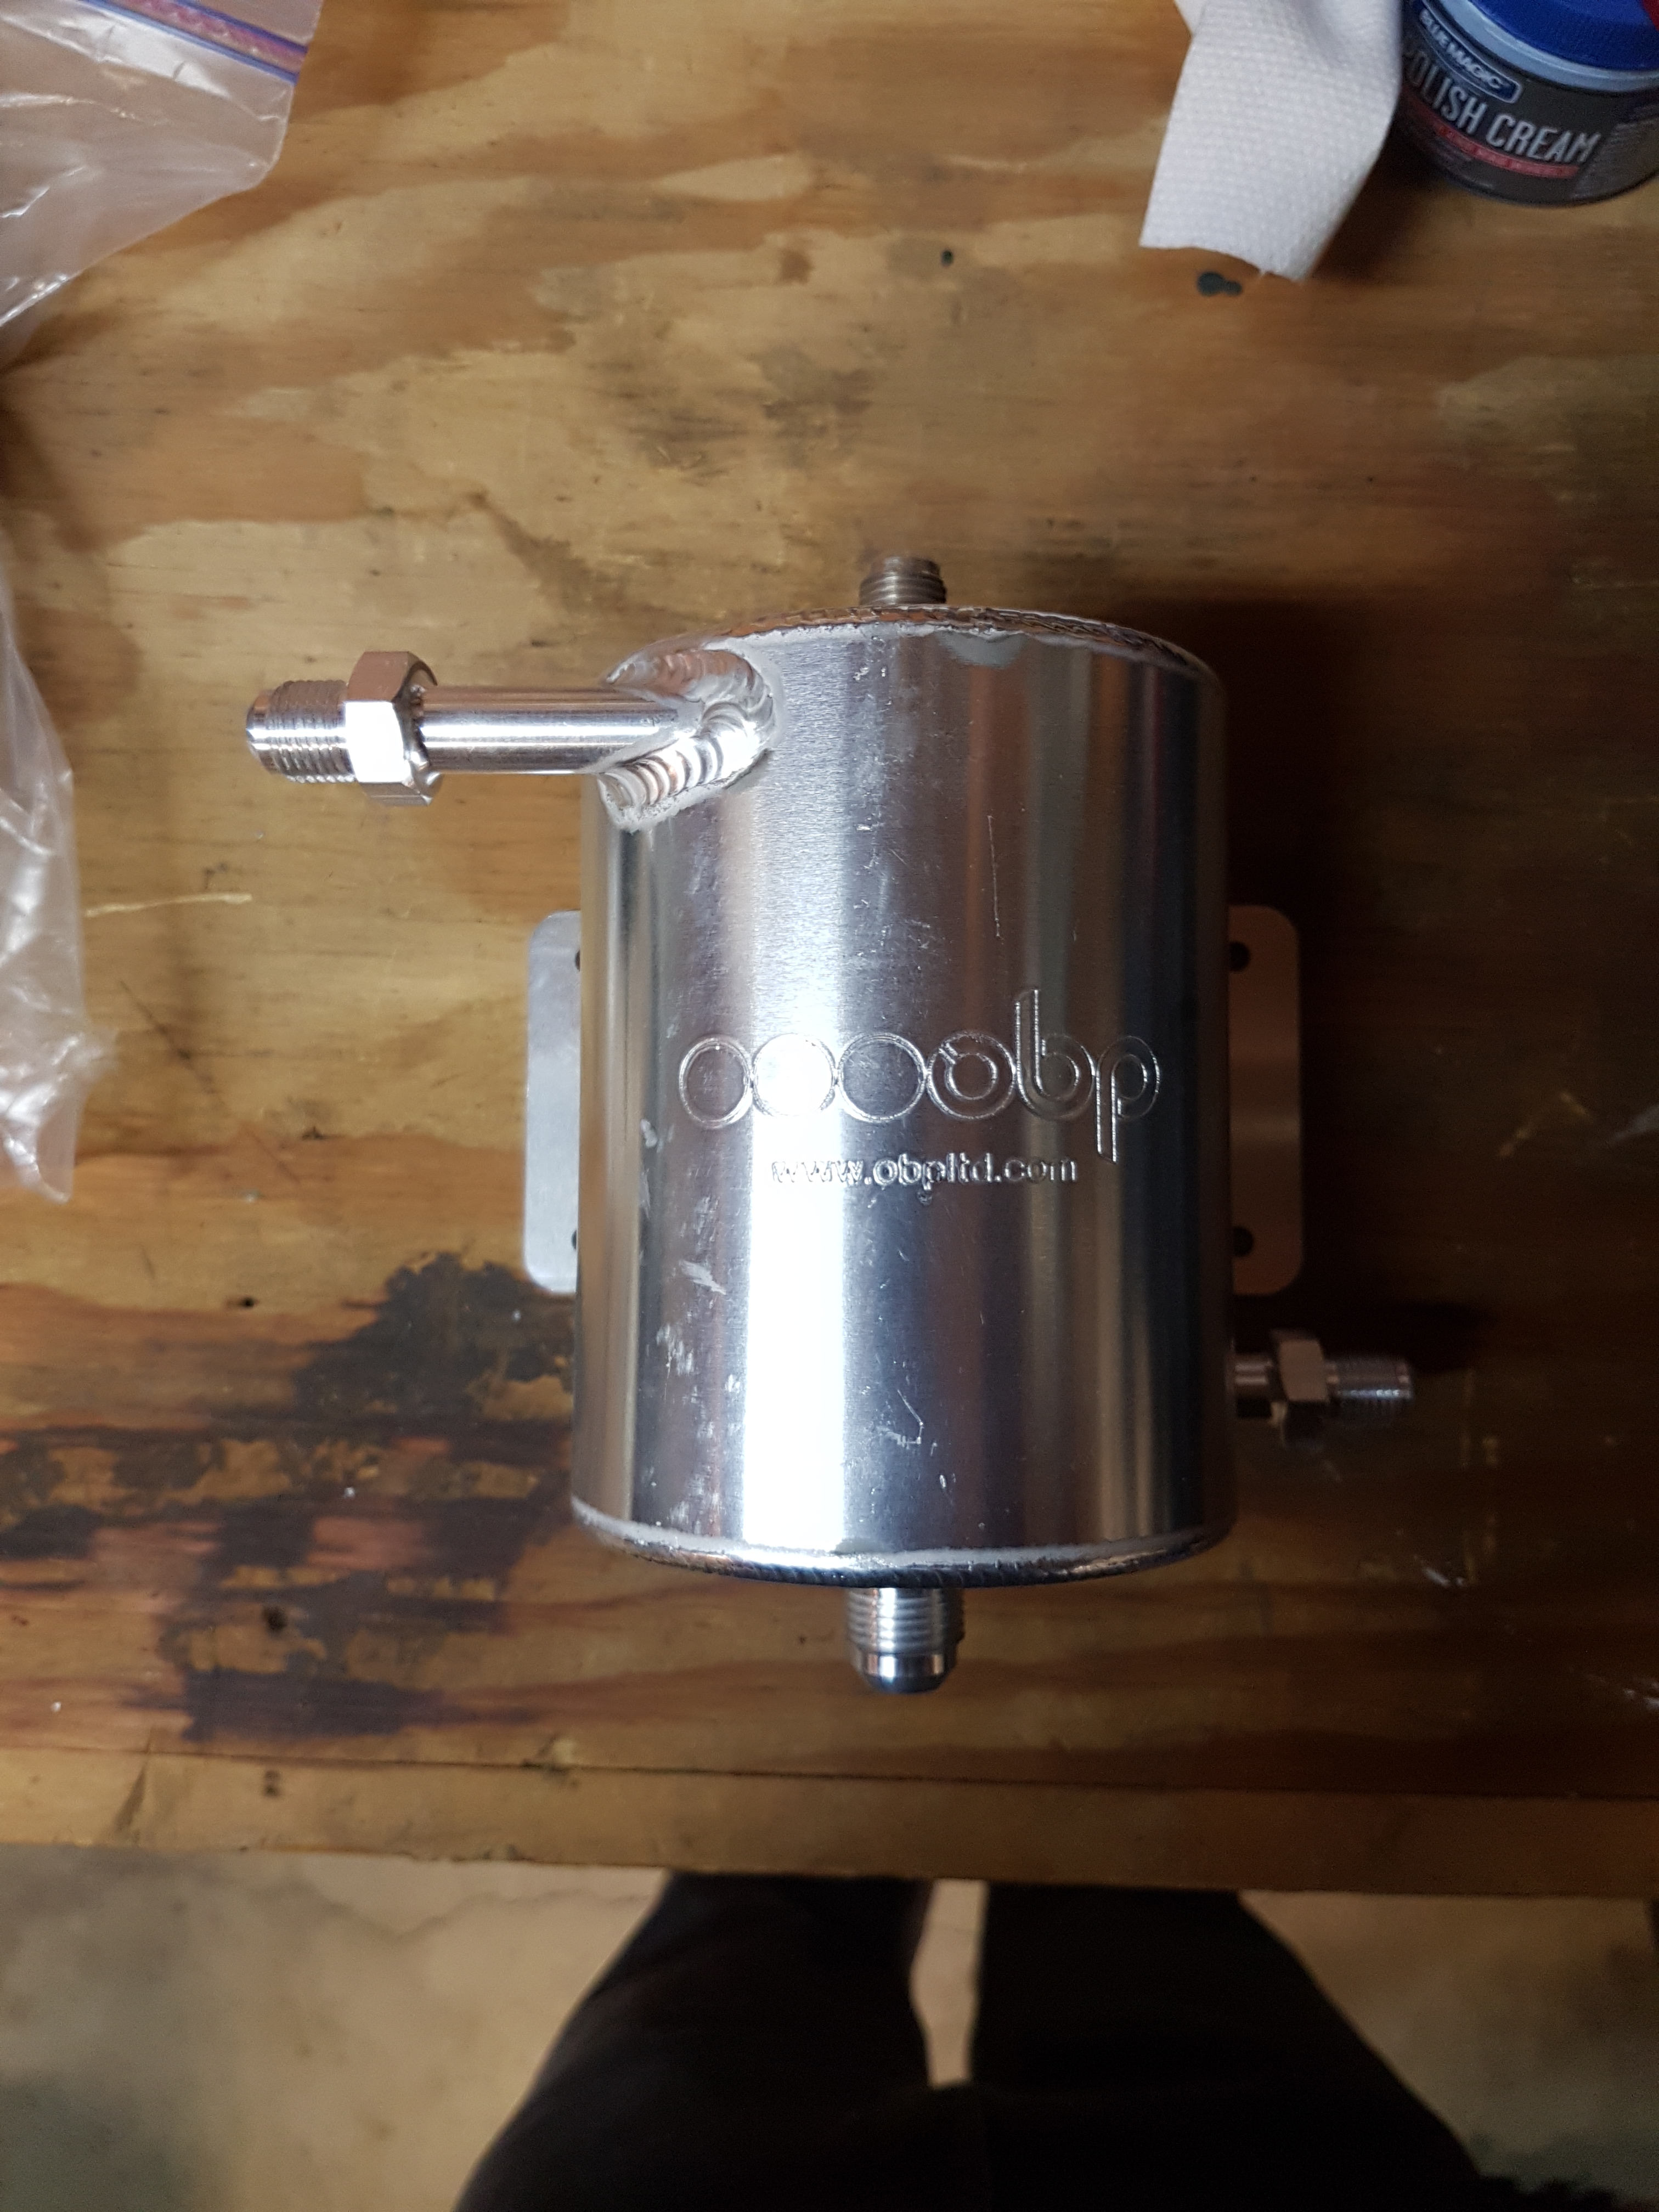
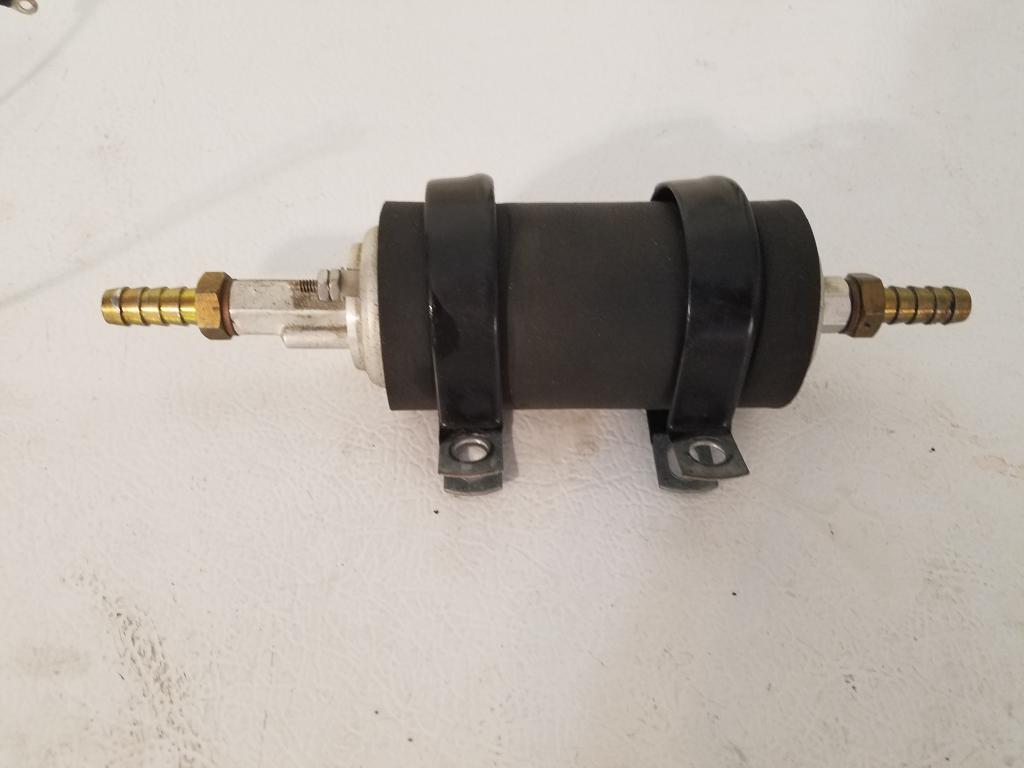
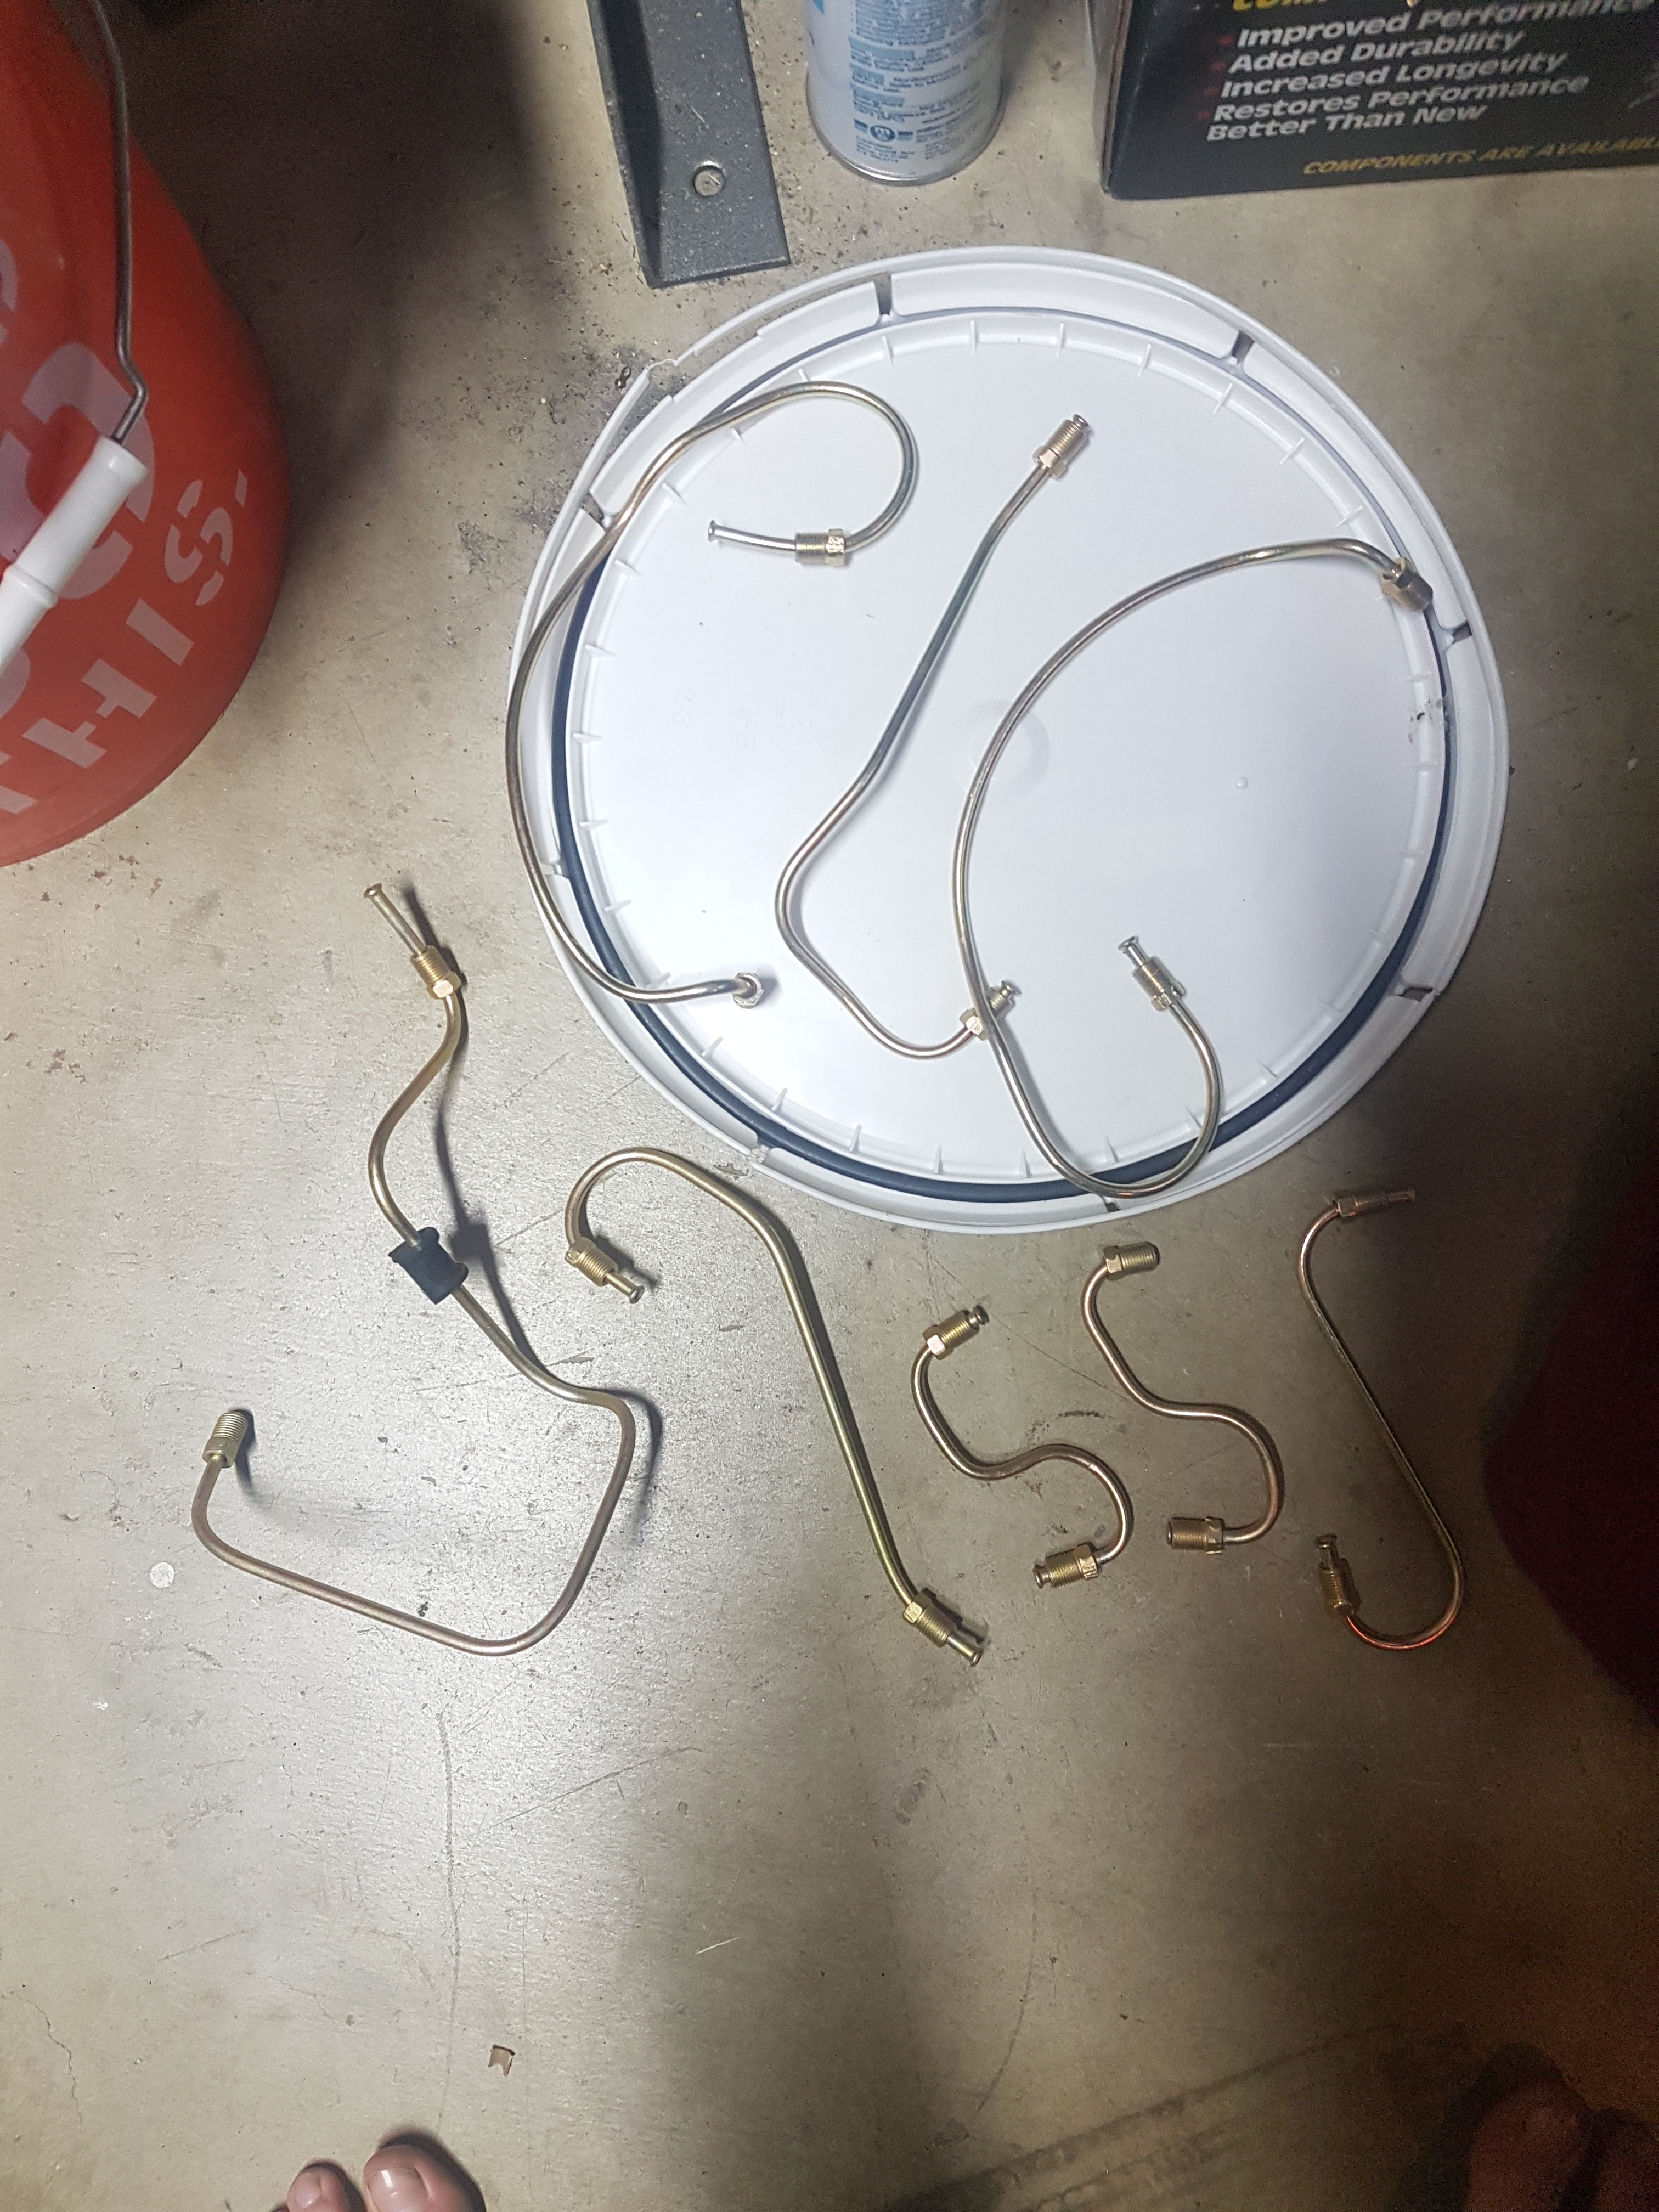
Got it to the new place and started doing some brake work. I decided to do a rear disc conversion using a Maxima kit I bought. Sent in my core front calipers to MSA and got new fronts. I painted the calipers in Cyber Grey. I decided I was going to make my own steel braided brake lines so I bought some PTFE Speed Seal line and fittings from https://www.anplumbing.com/ They have a lot of nice stuff. Just be sure you understand the differences between the fittings. The fittings on the car are M10x1 inverted flare. I think I've decided to run the front steel braided lines with a right angle coming out of the front calipers. Something like this: But using a right angle fitting shown below. I also ordered a -3 to -8 pressure test kit from JEGS to pressure test the hoses I make. P/N 100286 http://www.jegs.com/i/JEGS-Performance-Products/555/100286/10002/-1 Some of those fittings are shown below too. I also bought a stainless steel fuel and brake hard line kit from http://www.classictube.com/ and https://zcardepot.com/ I ordered two fuel feed lines. I'll use one for feed and one for return since the stock return is only 4mm (~3/16") and I'm doing an EFI conversion. The new feed lines should be about 8mm (~5/16"). Since I'm doing a rear disc conversion and want to avoid a brake pressure bias from front to rear, I gutted the original brake proportioning valve so it acts as a passthrough now. I'll run an adjustable brake proportioning valve either in the engine bay or somewhere else. Speaking of the fuel system earlier, I bought this nice bulkhead mount swirl pot/surge tank from a company in the UK. I have a plan to run this swirl pot, a Walbro GSL392 feed pump, a Carter P4070 low pressure lift pump, and the stock 240z gas tank. More on the fuel system later.
-
My '72 240z project -- Rotisserie Restomod
jkelly replied to jkelly's topic in S30 Series - 240z, 260z, 280z
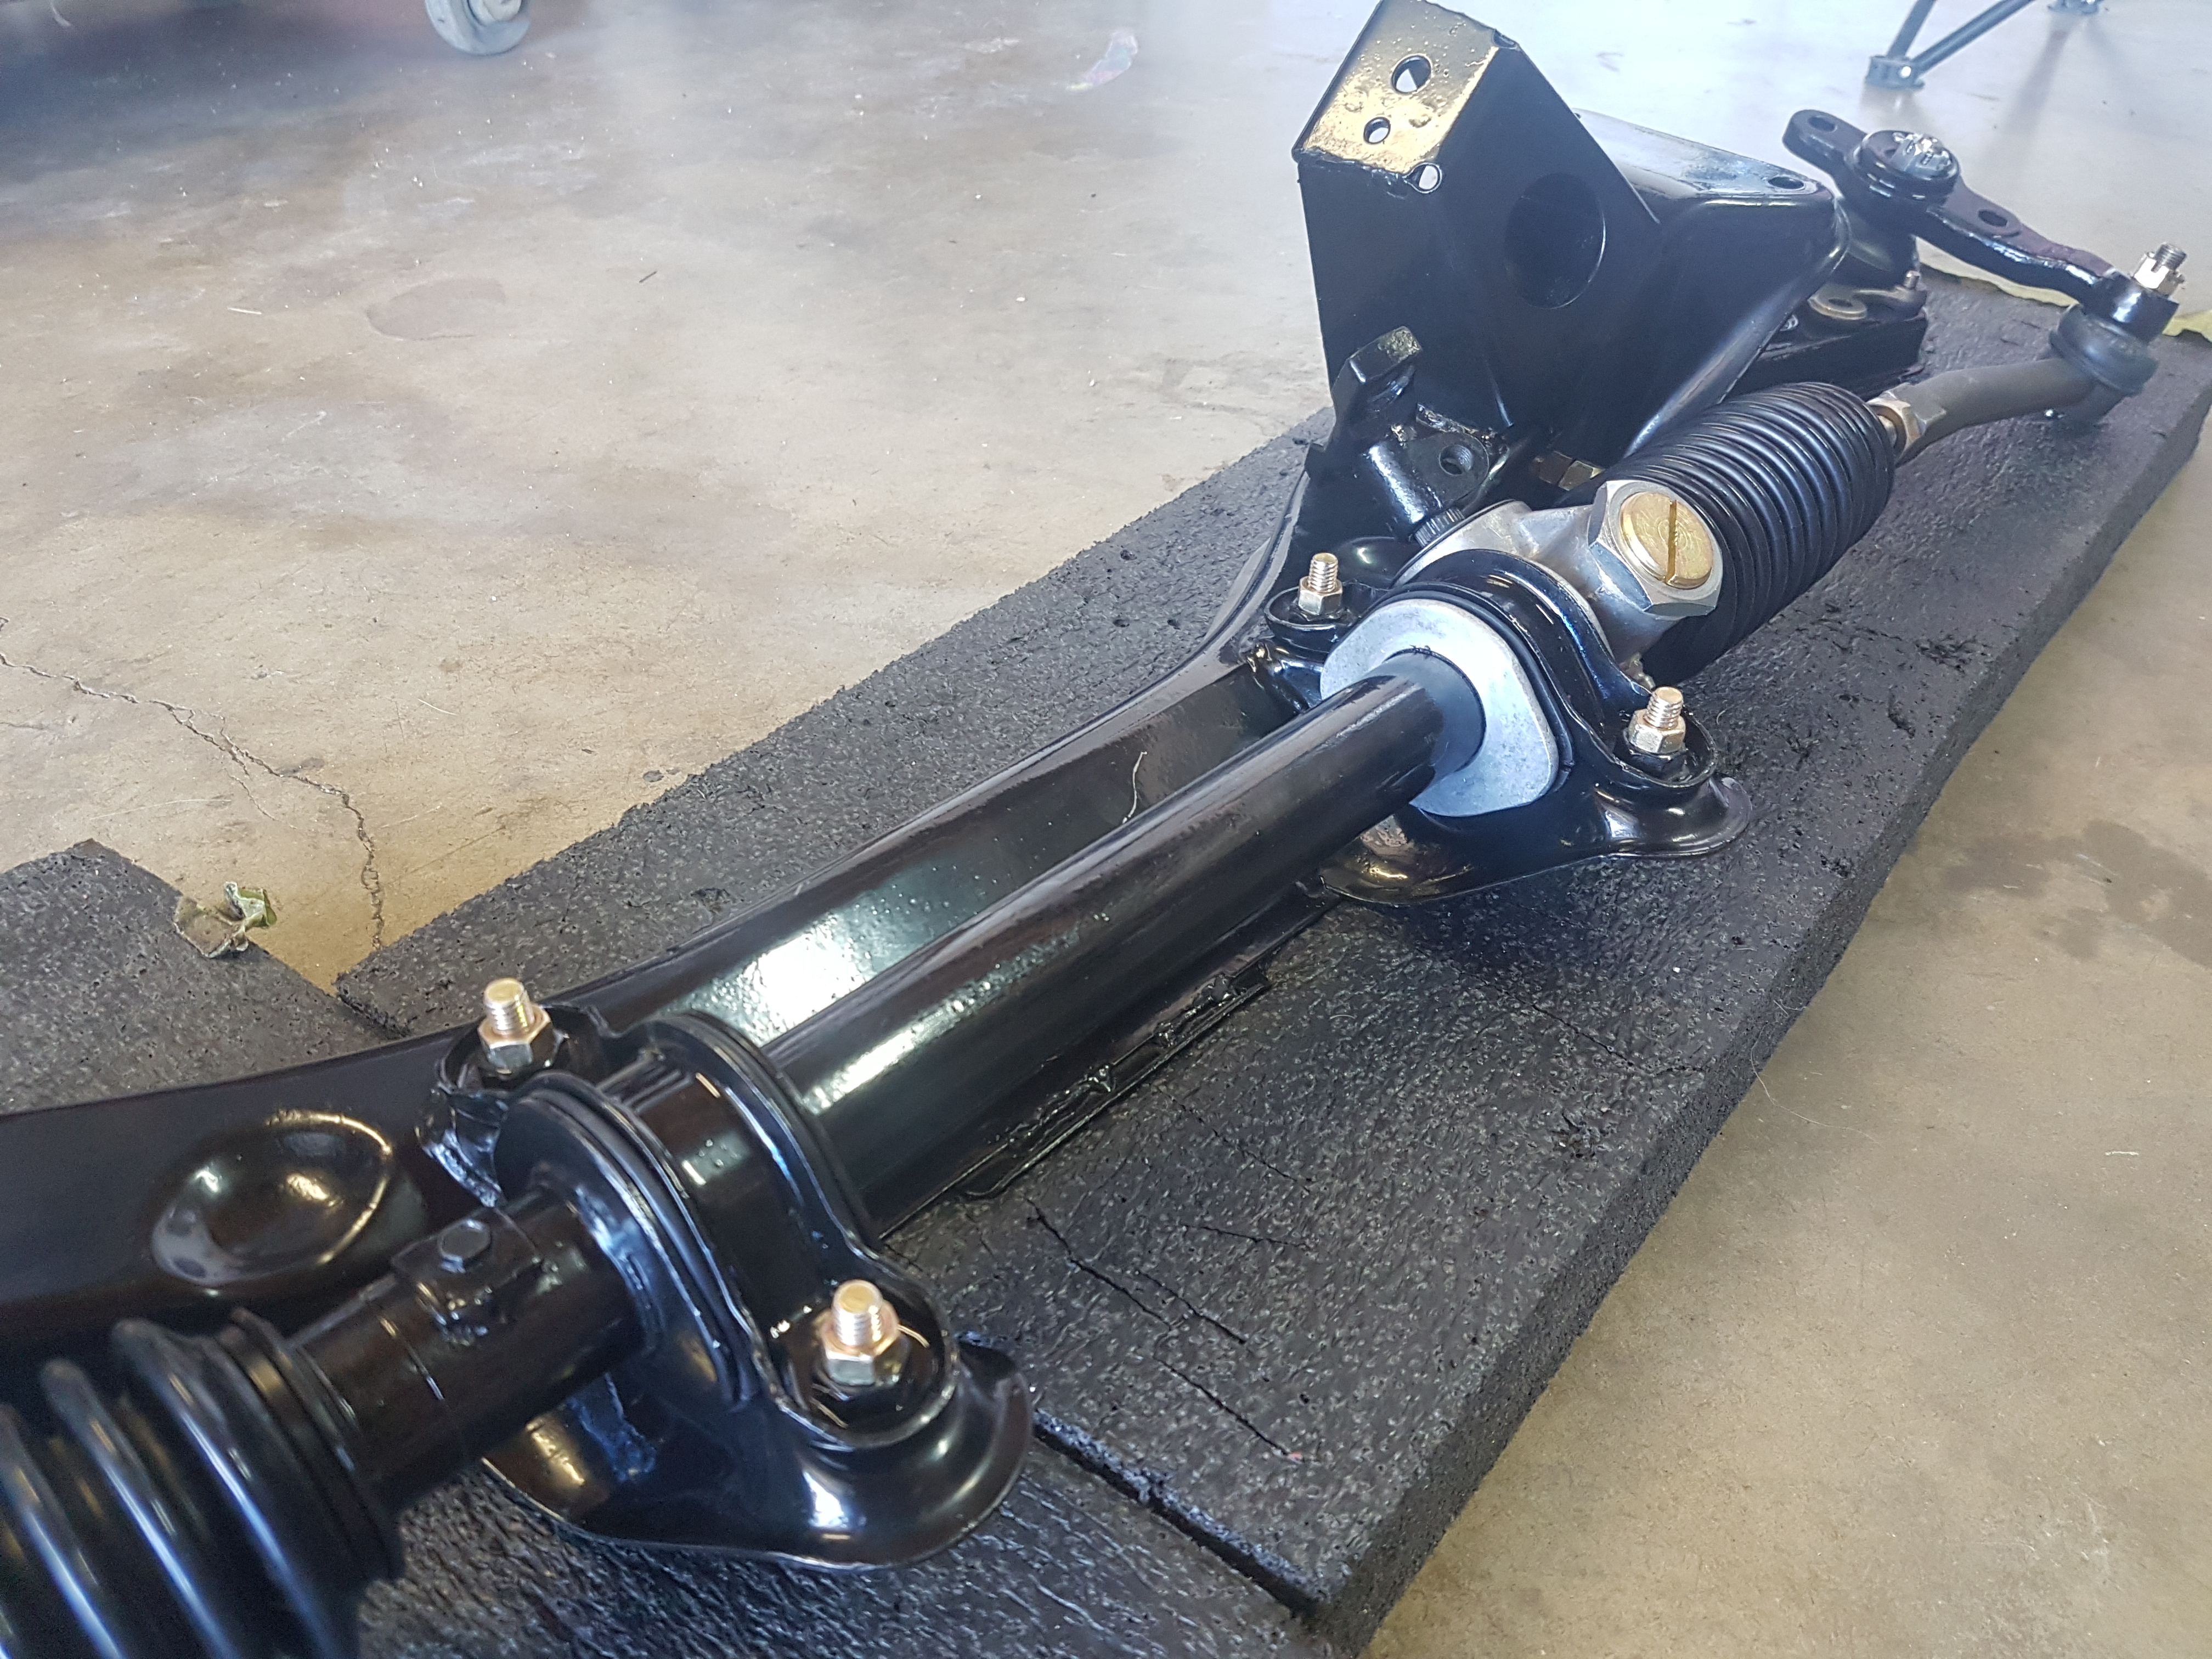
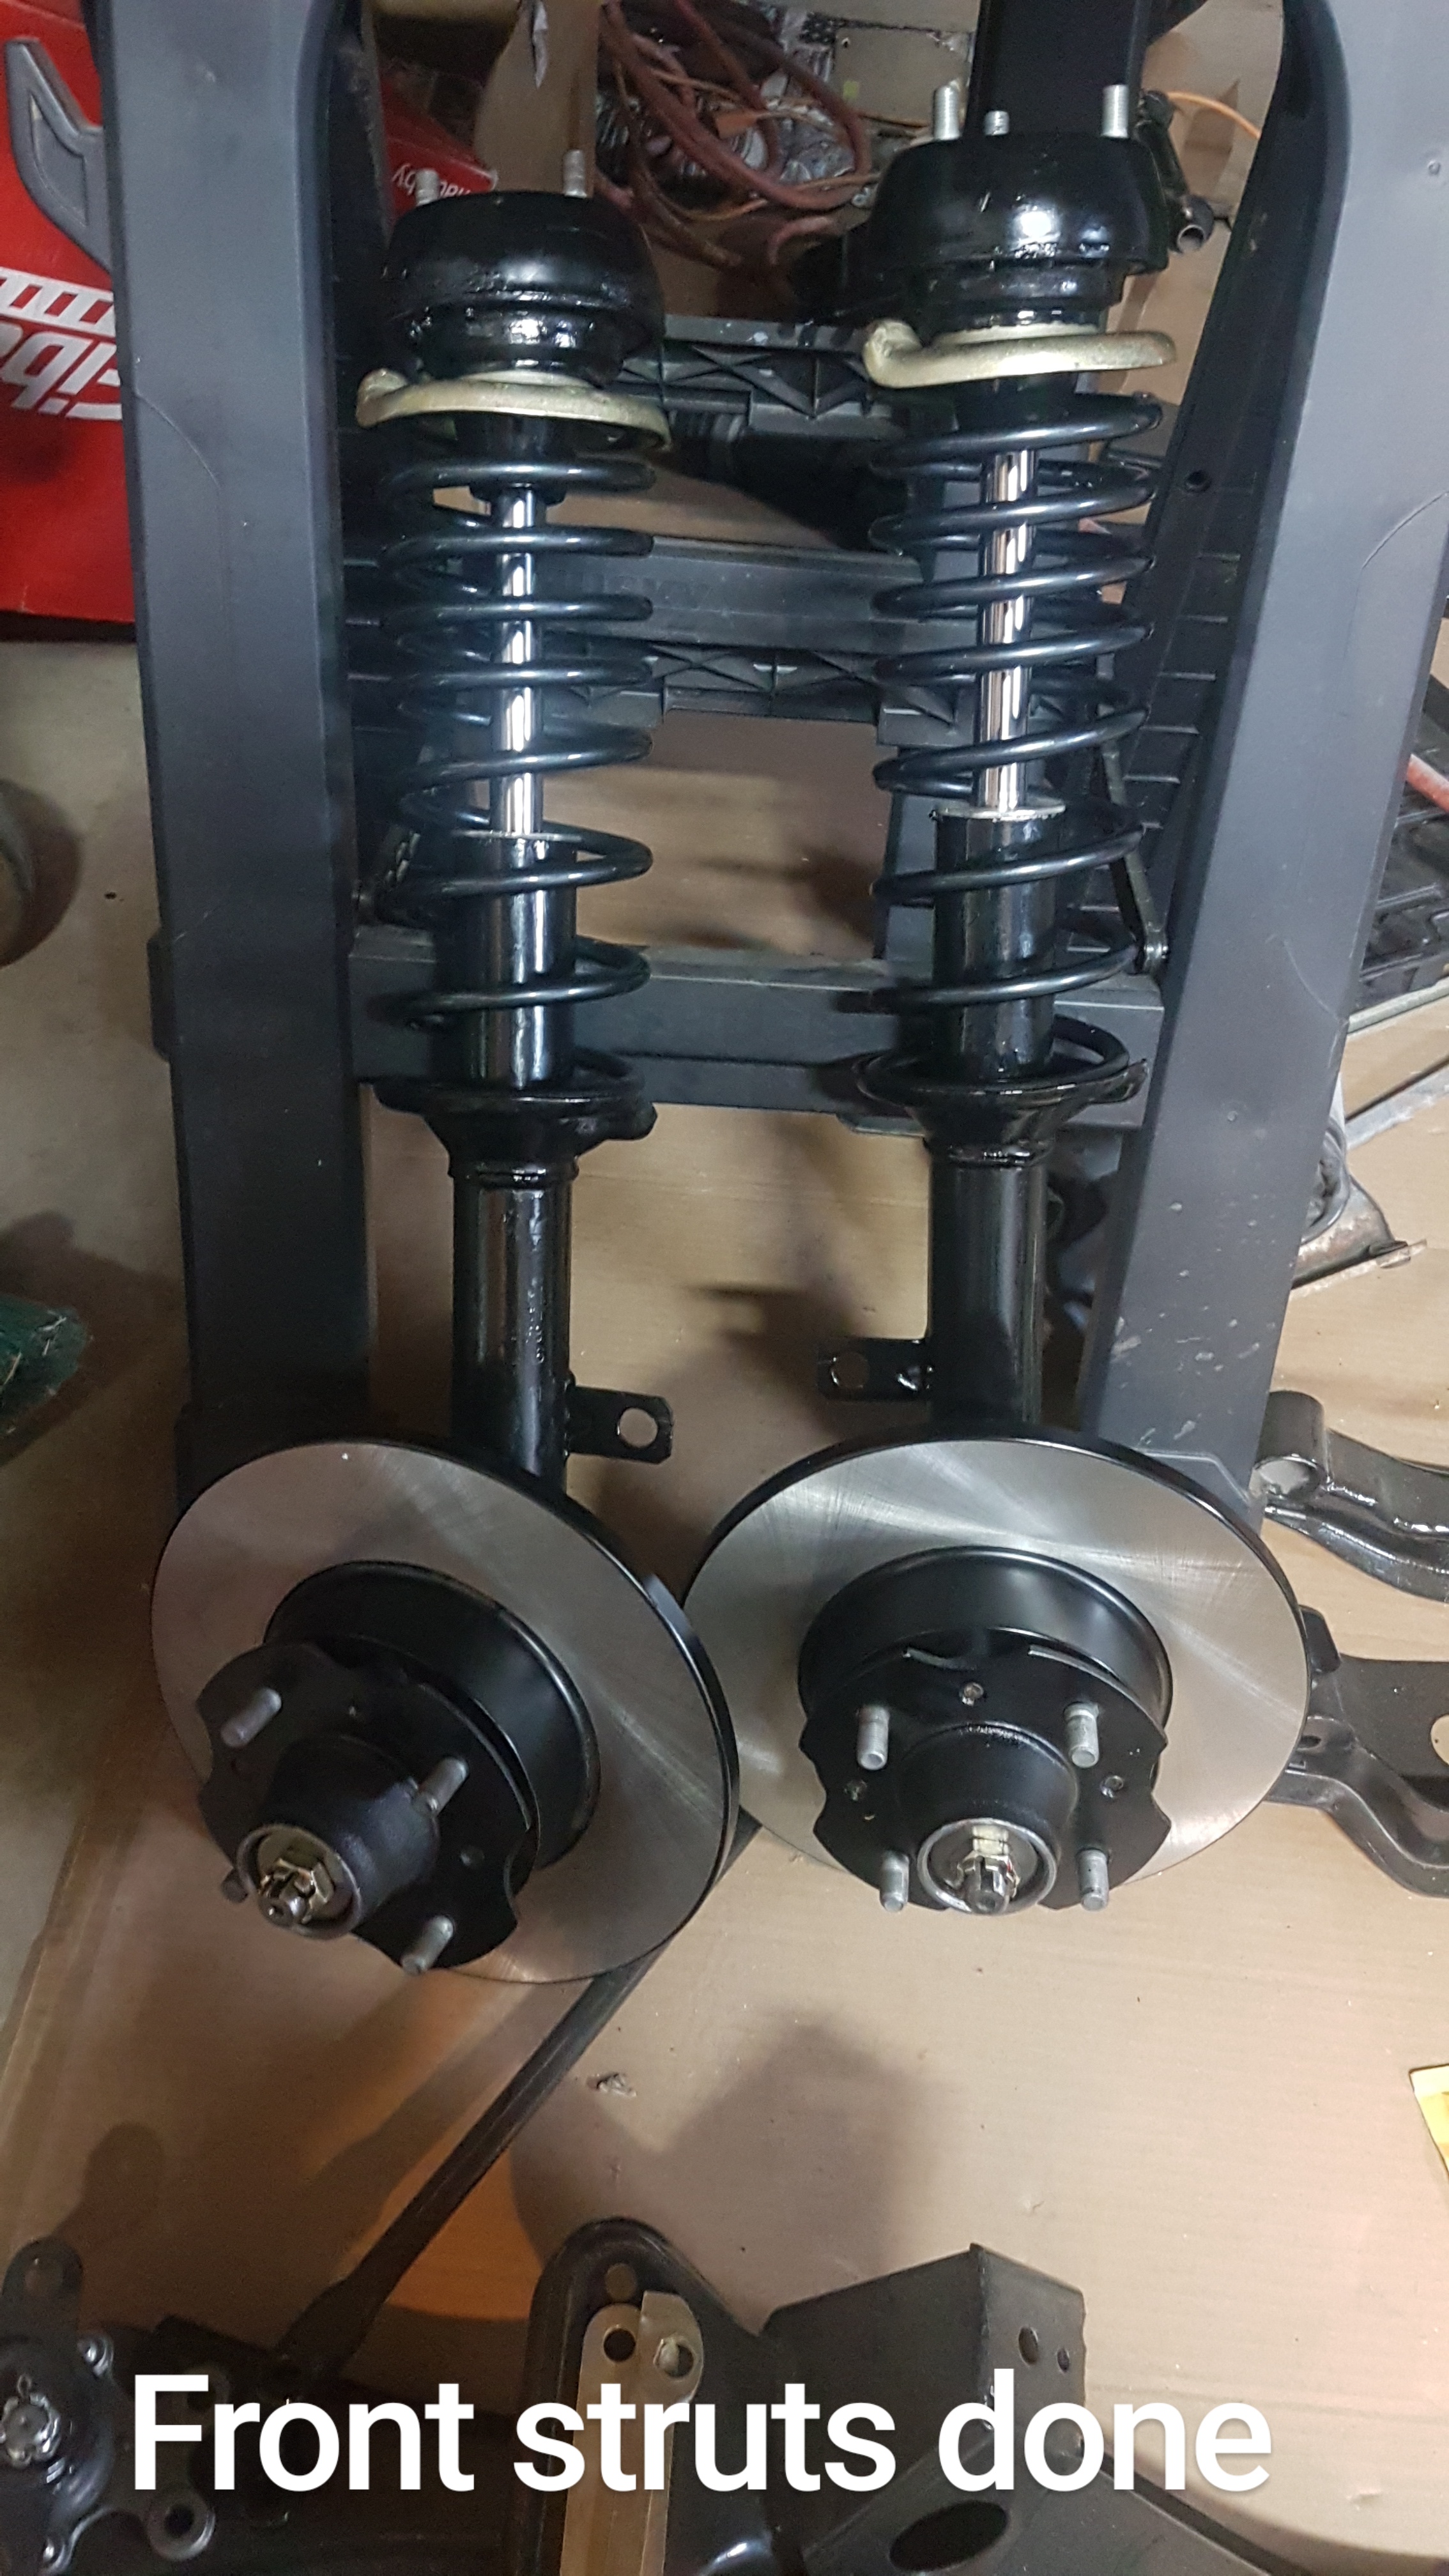
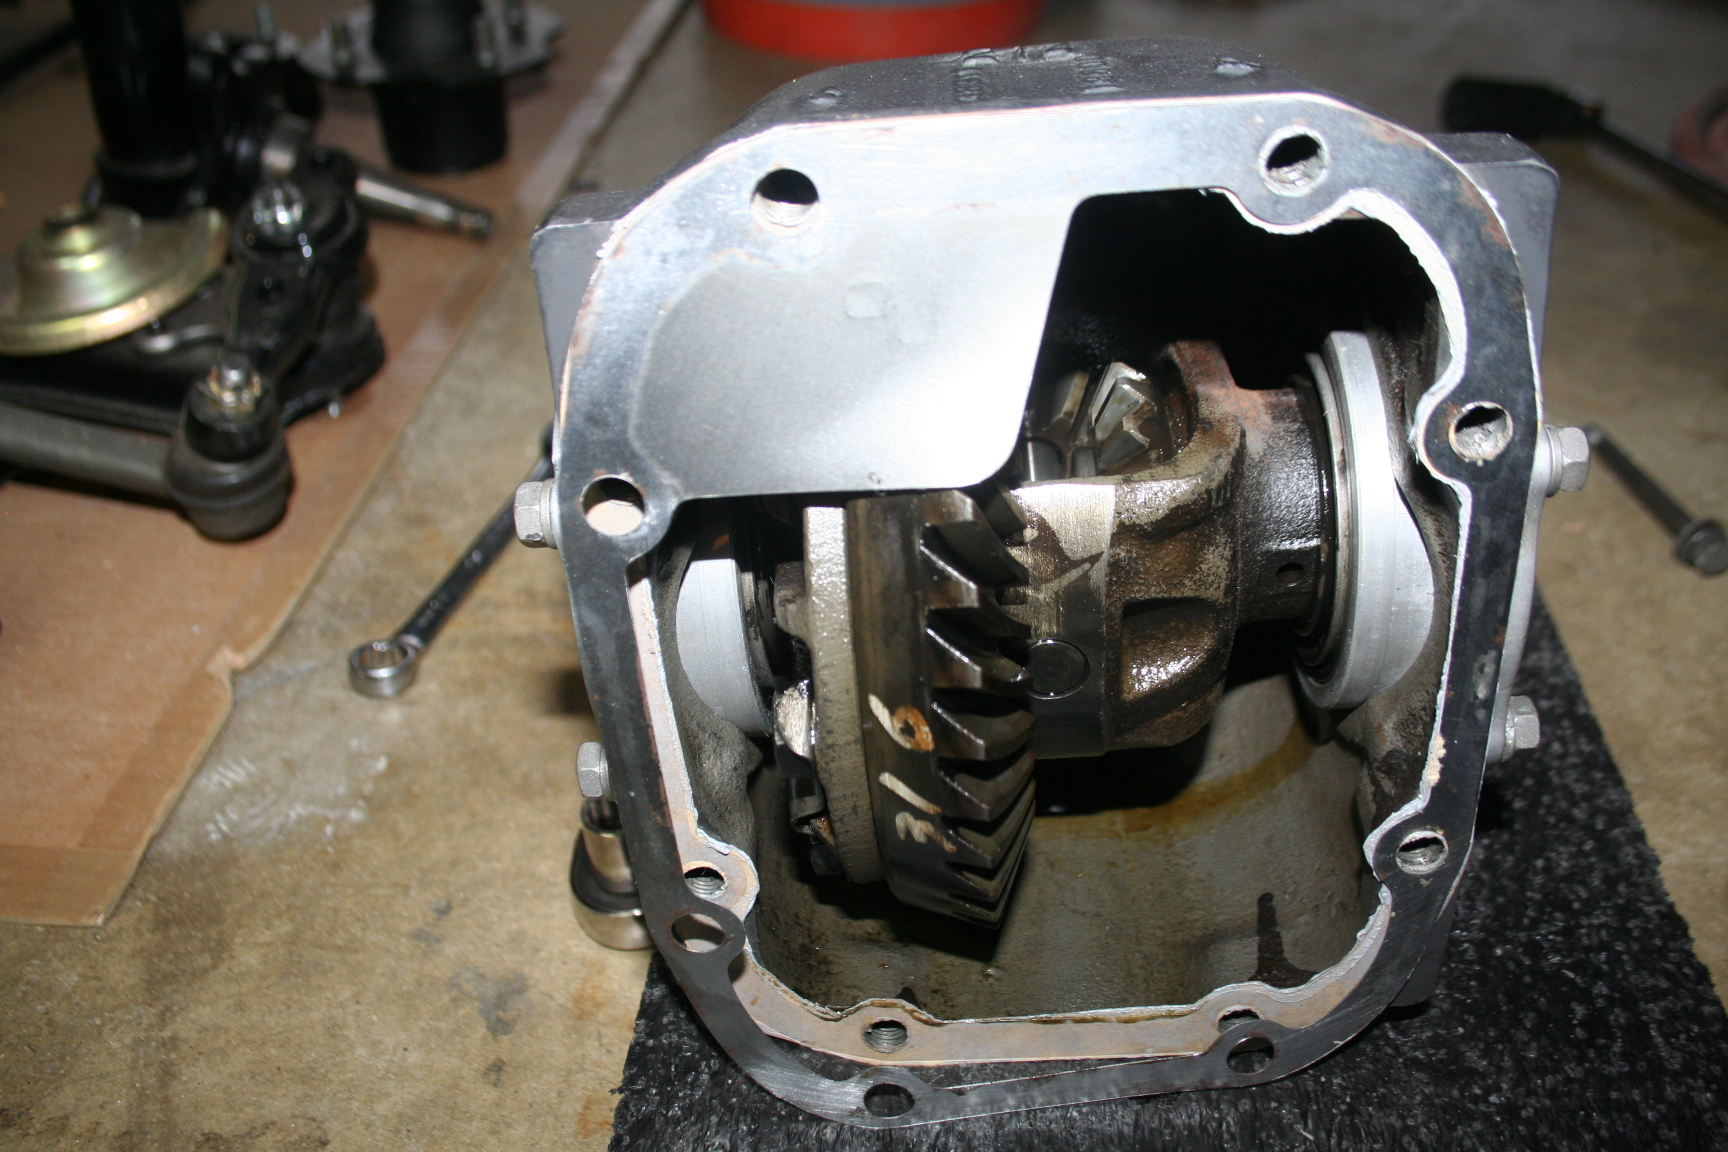
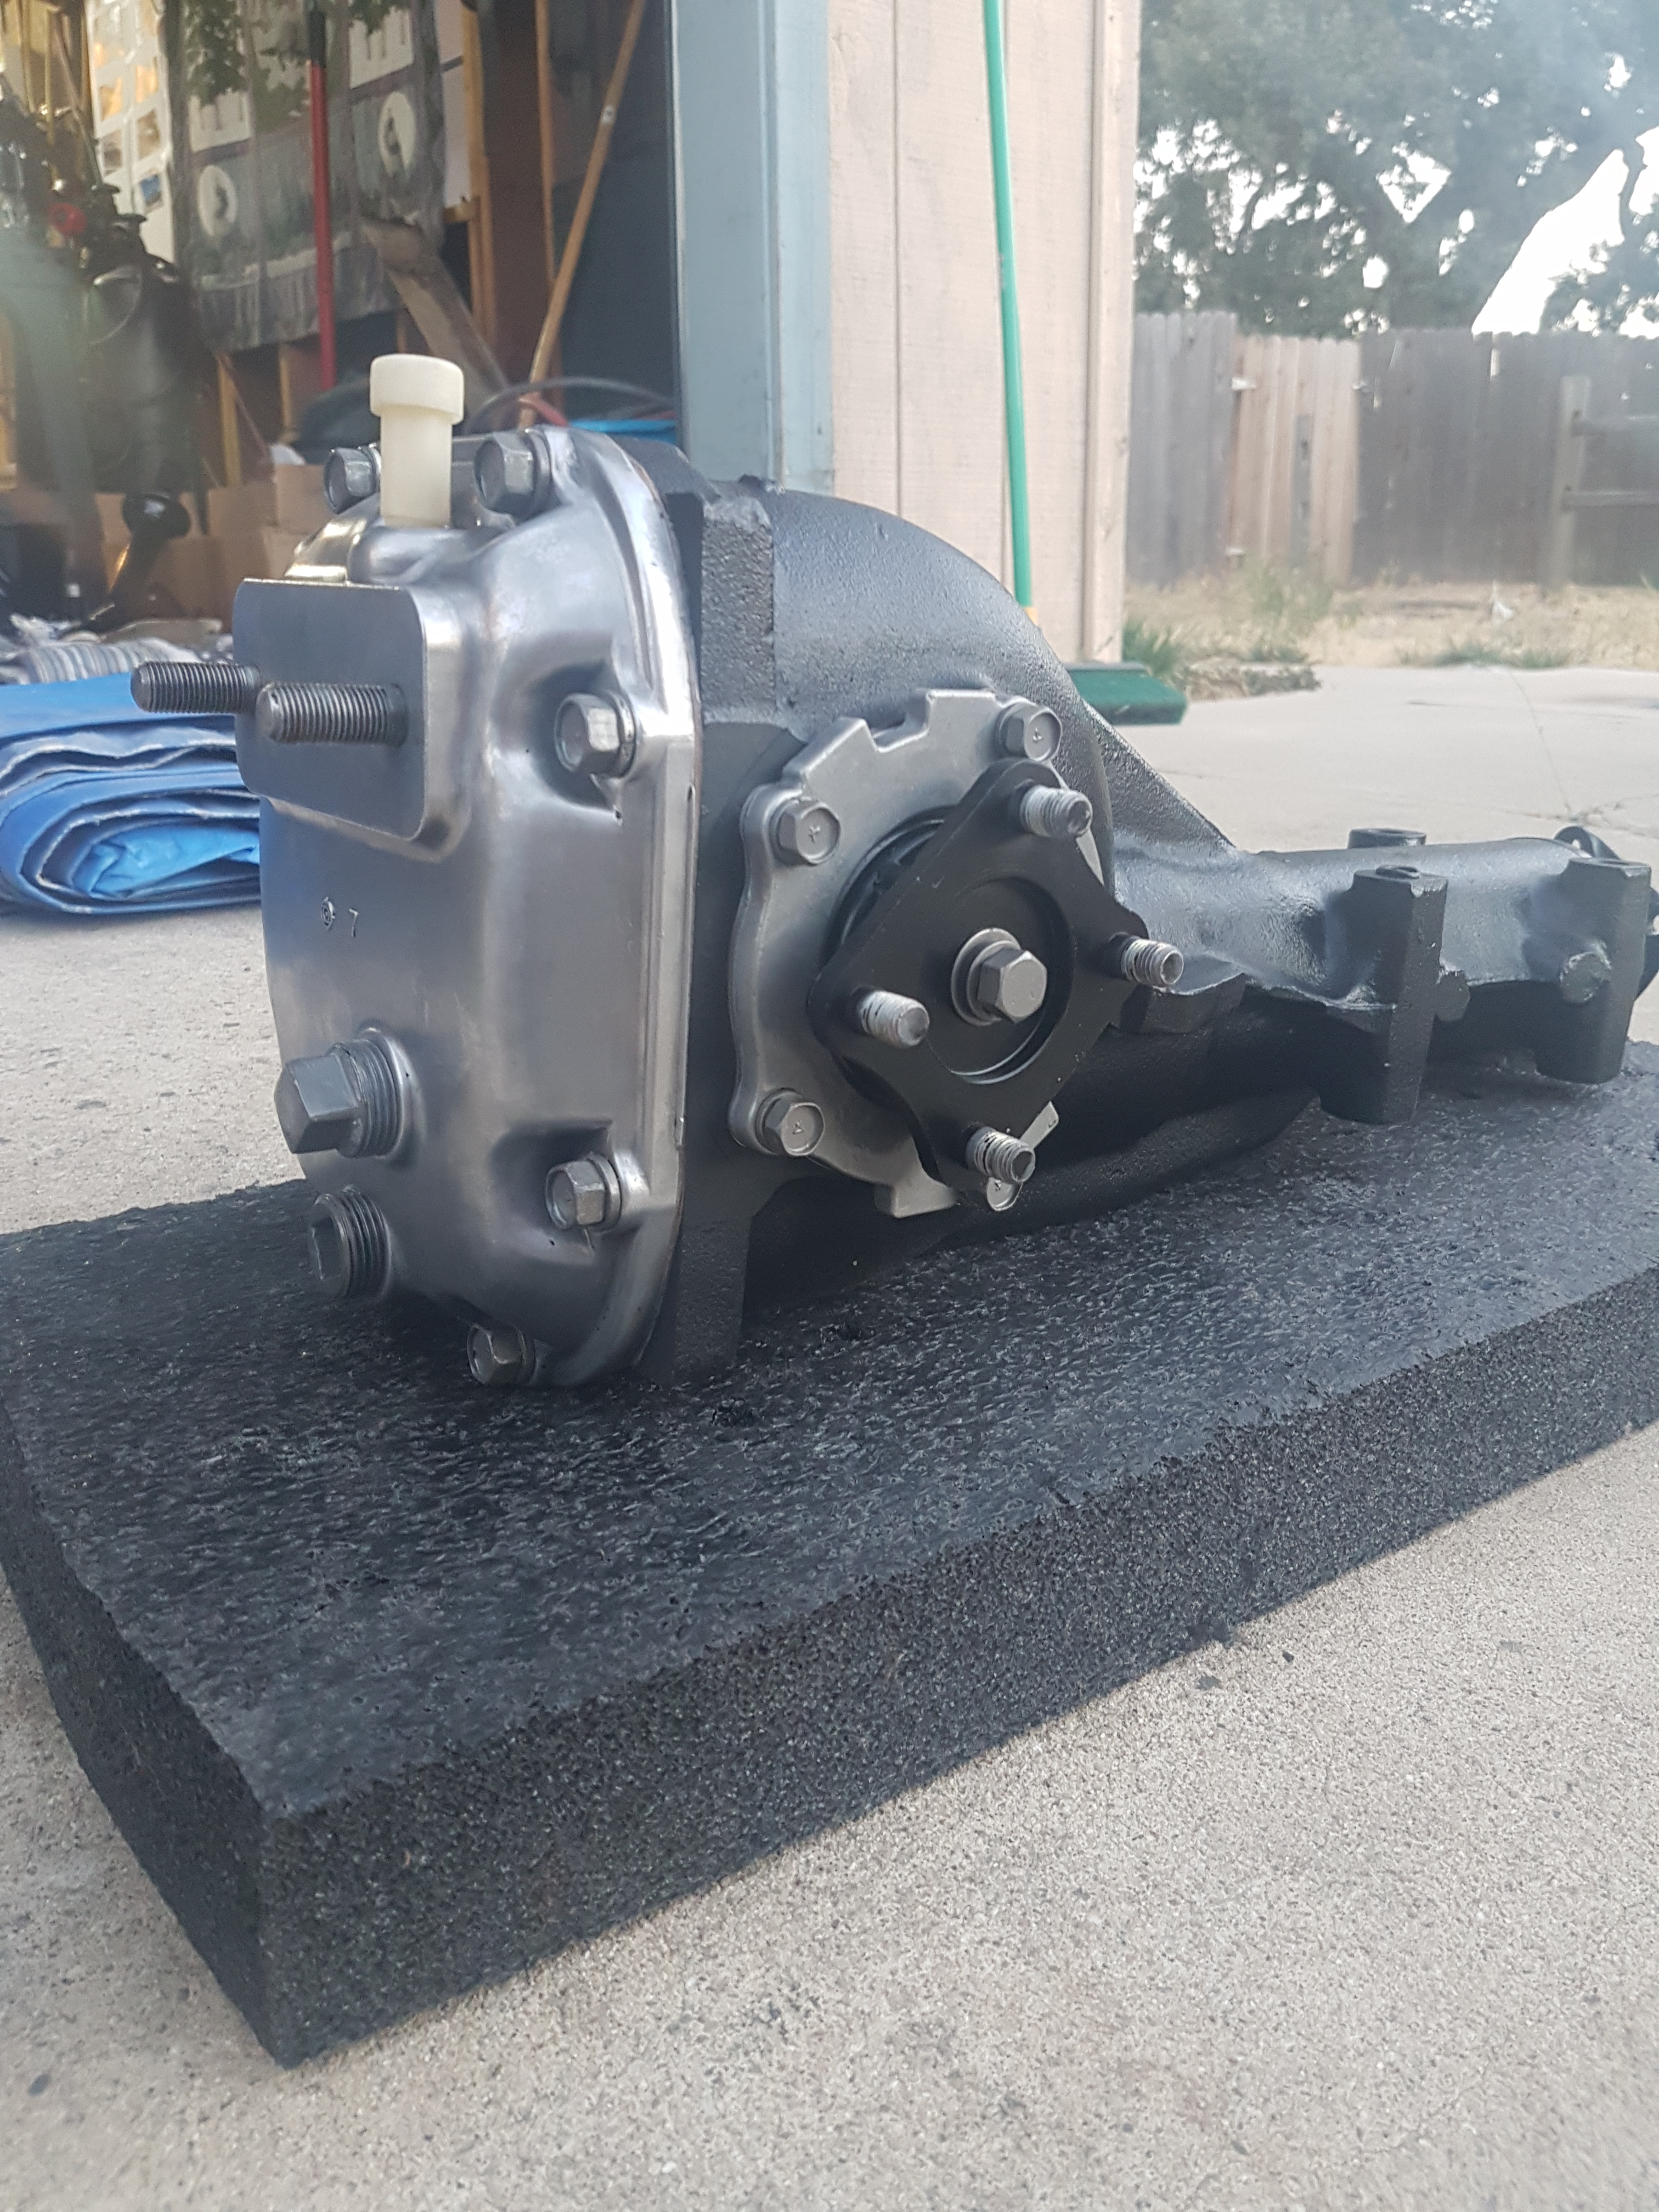
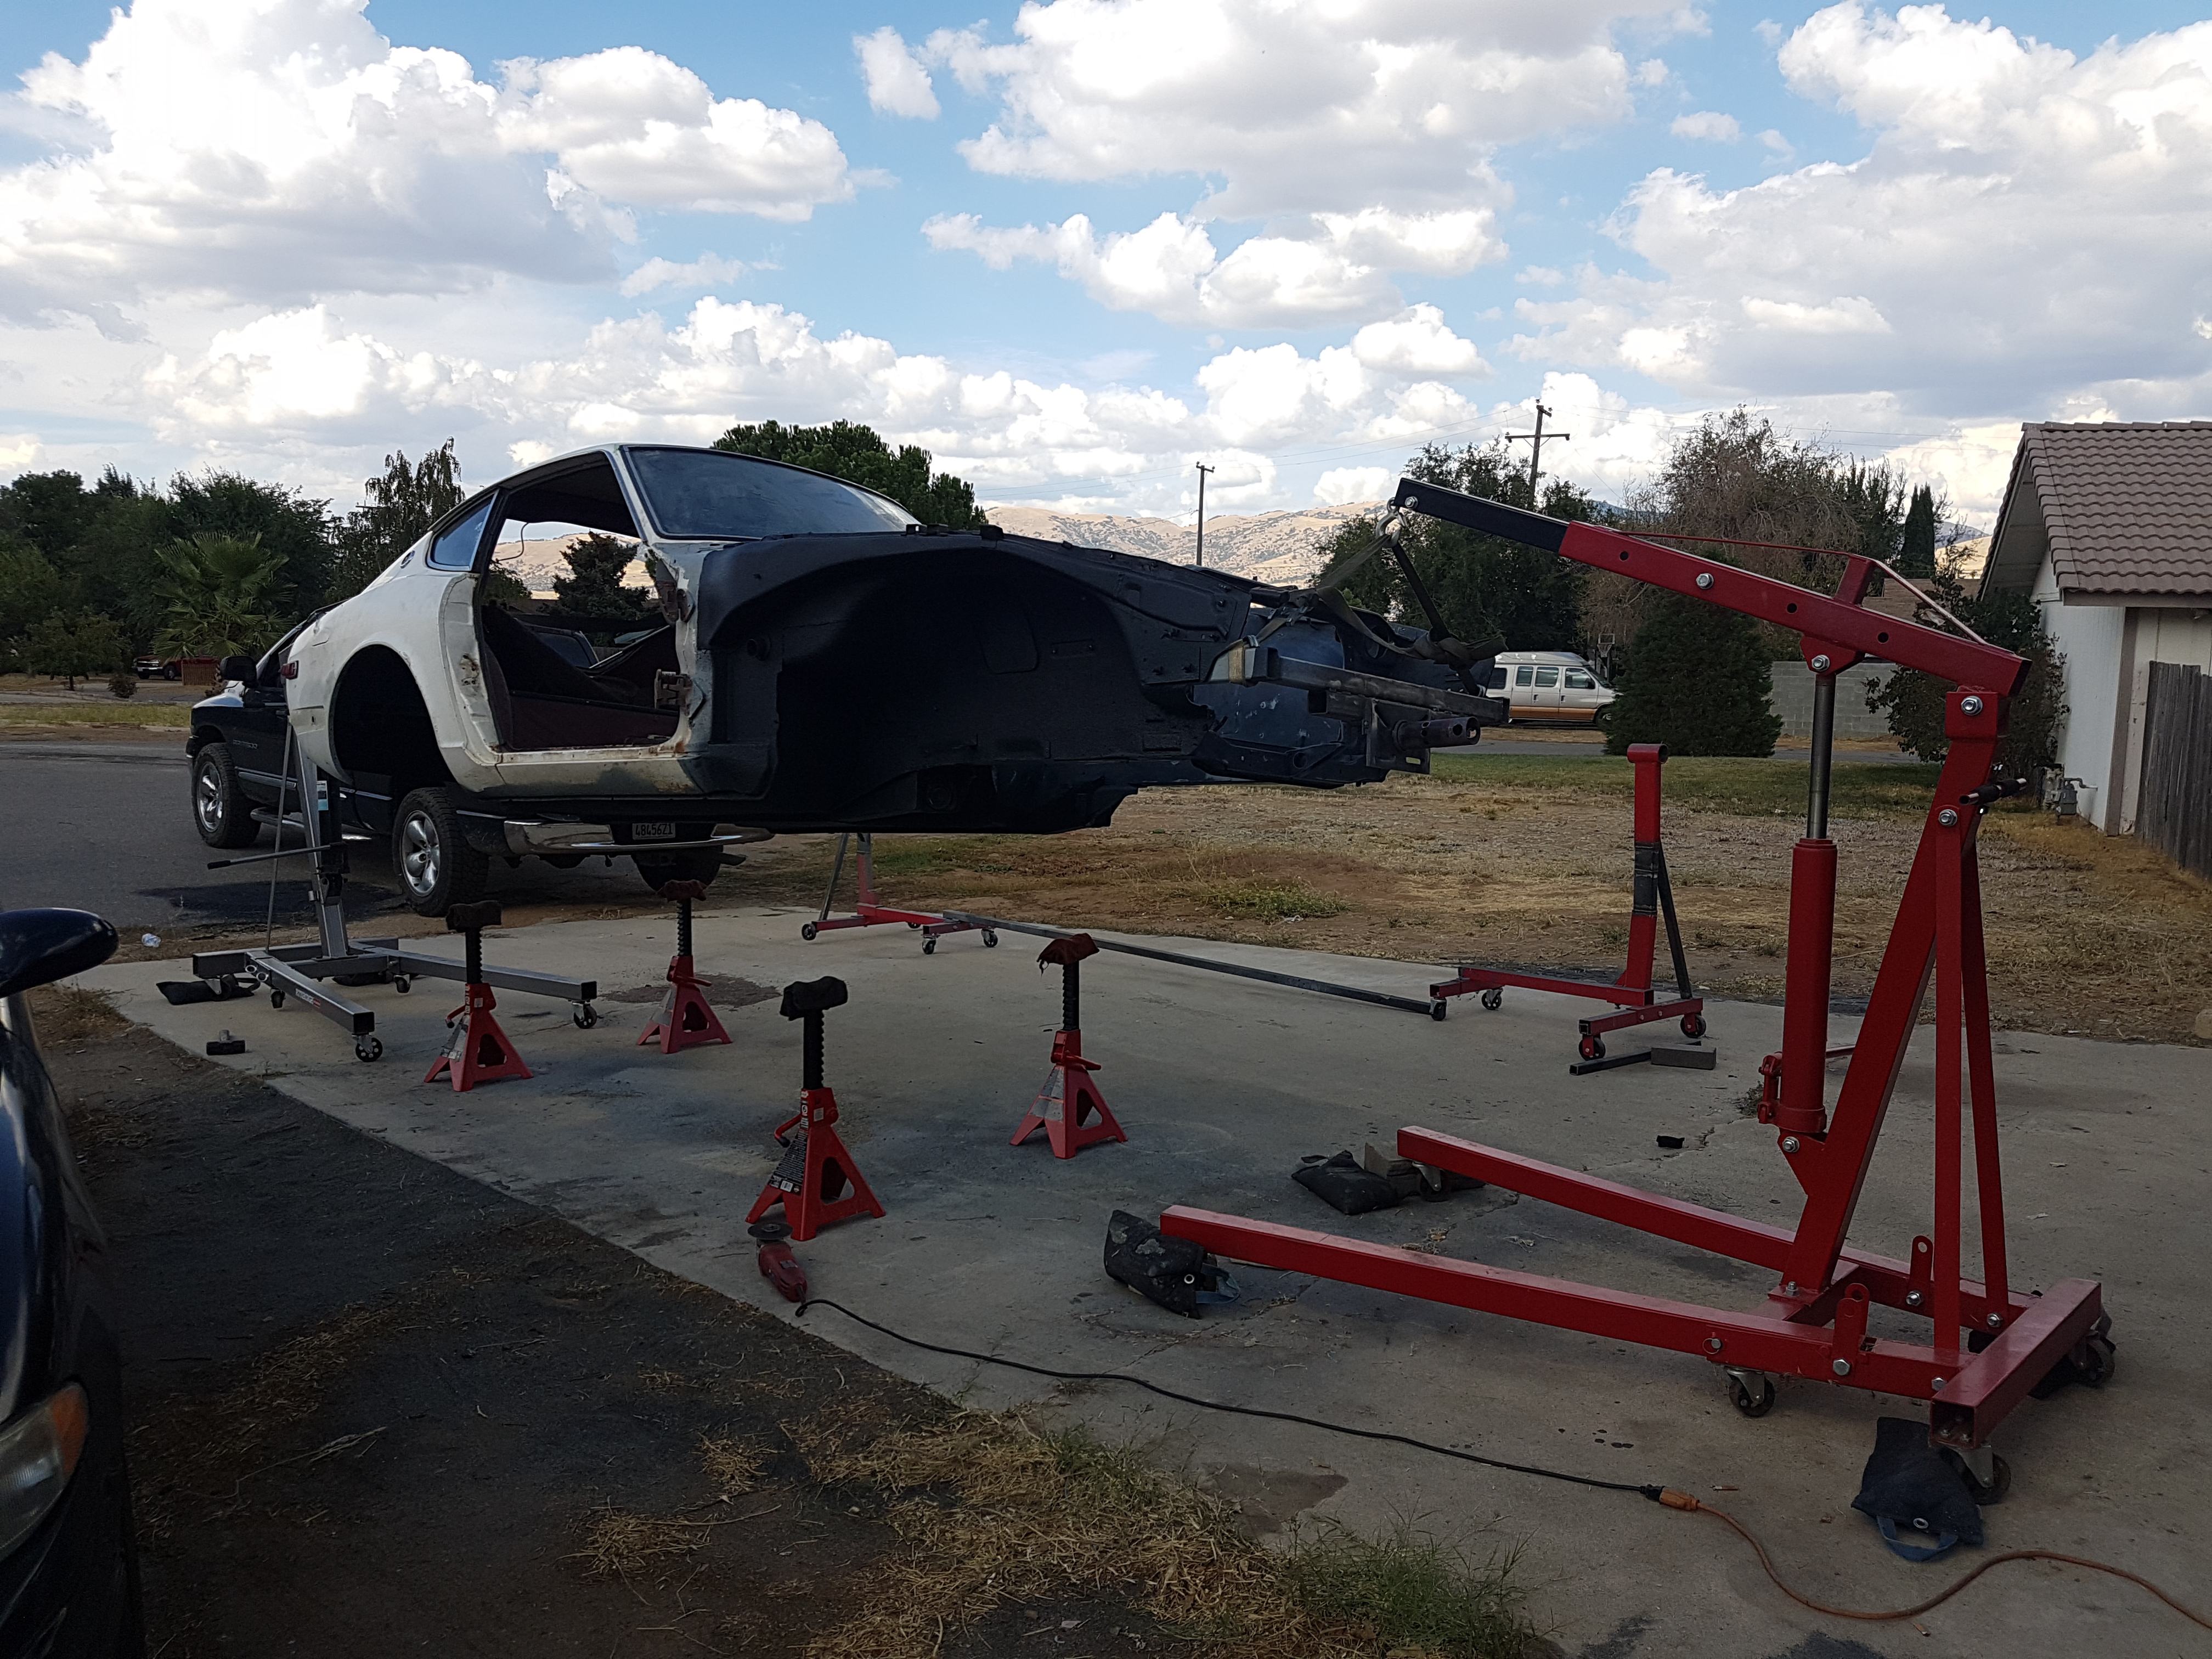
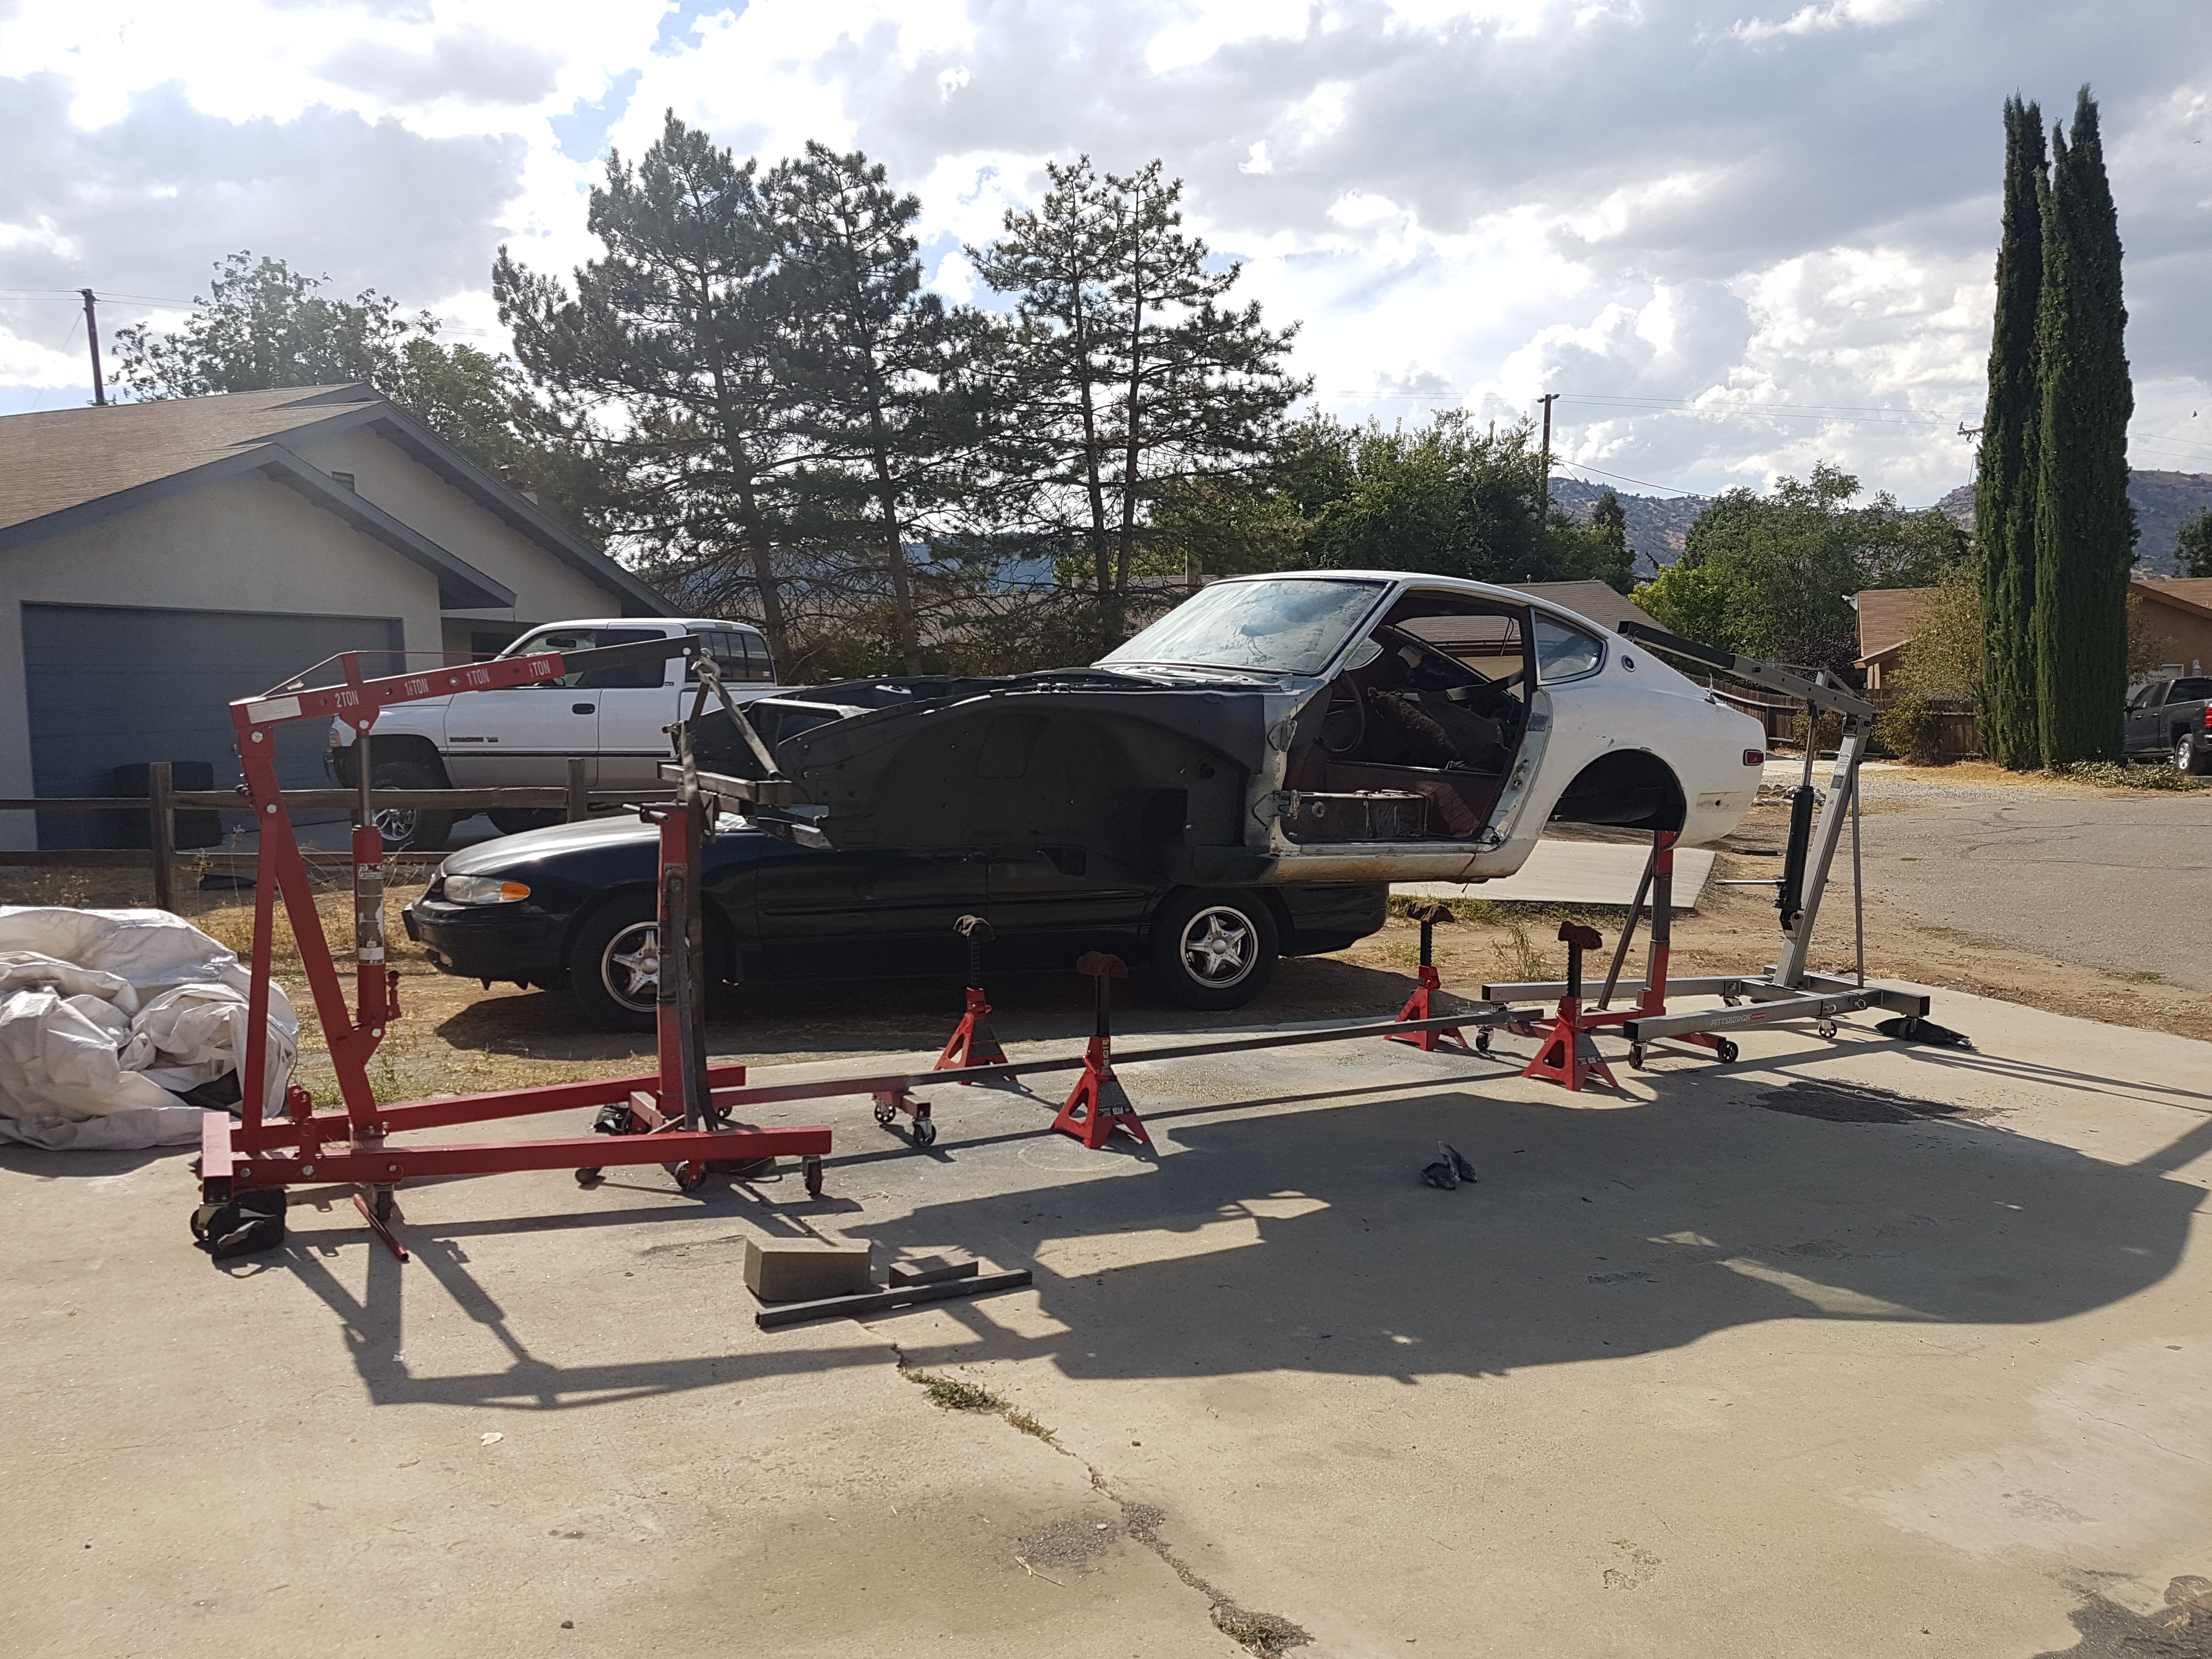
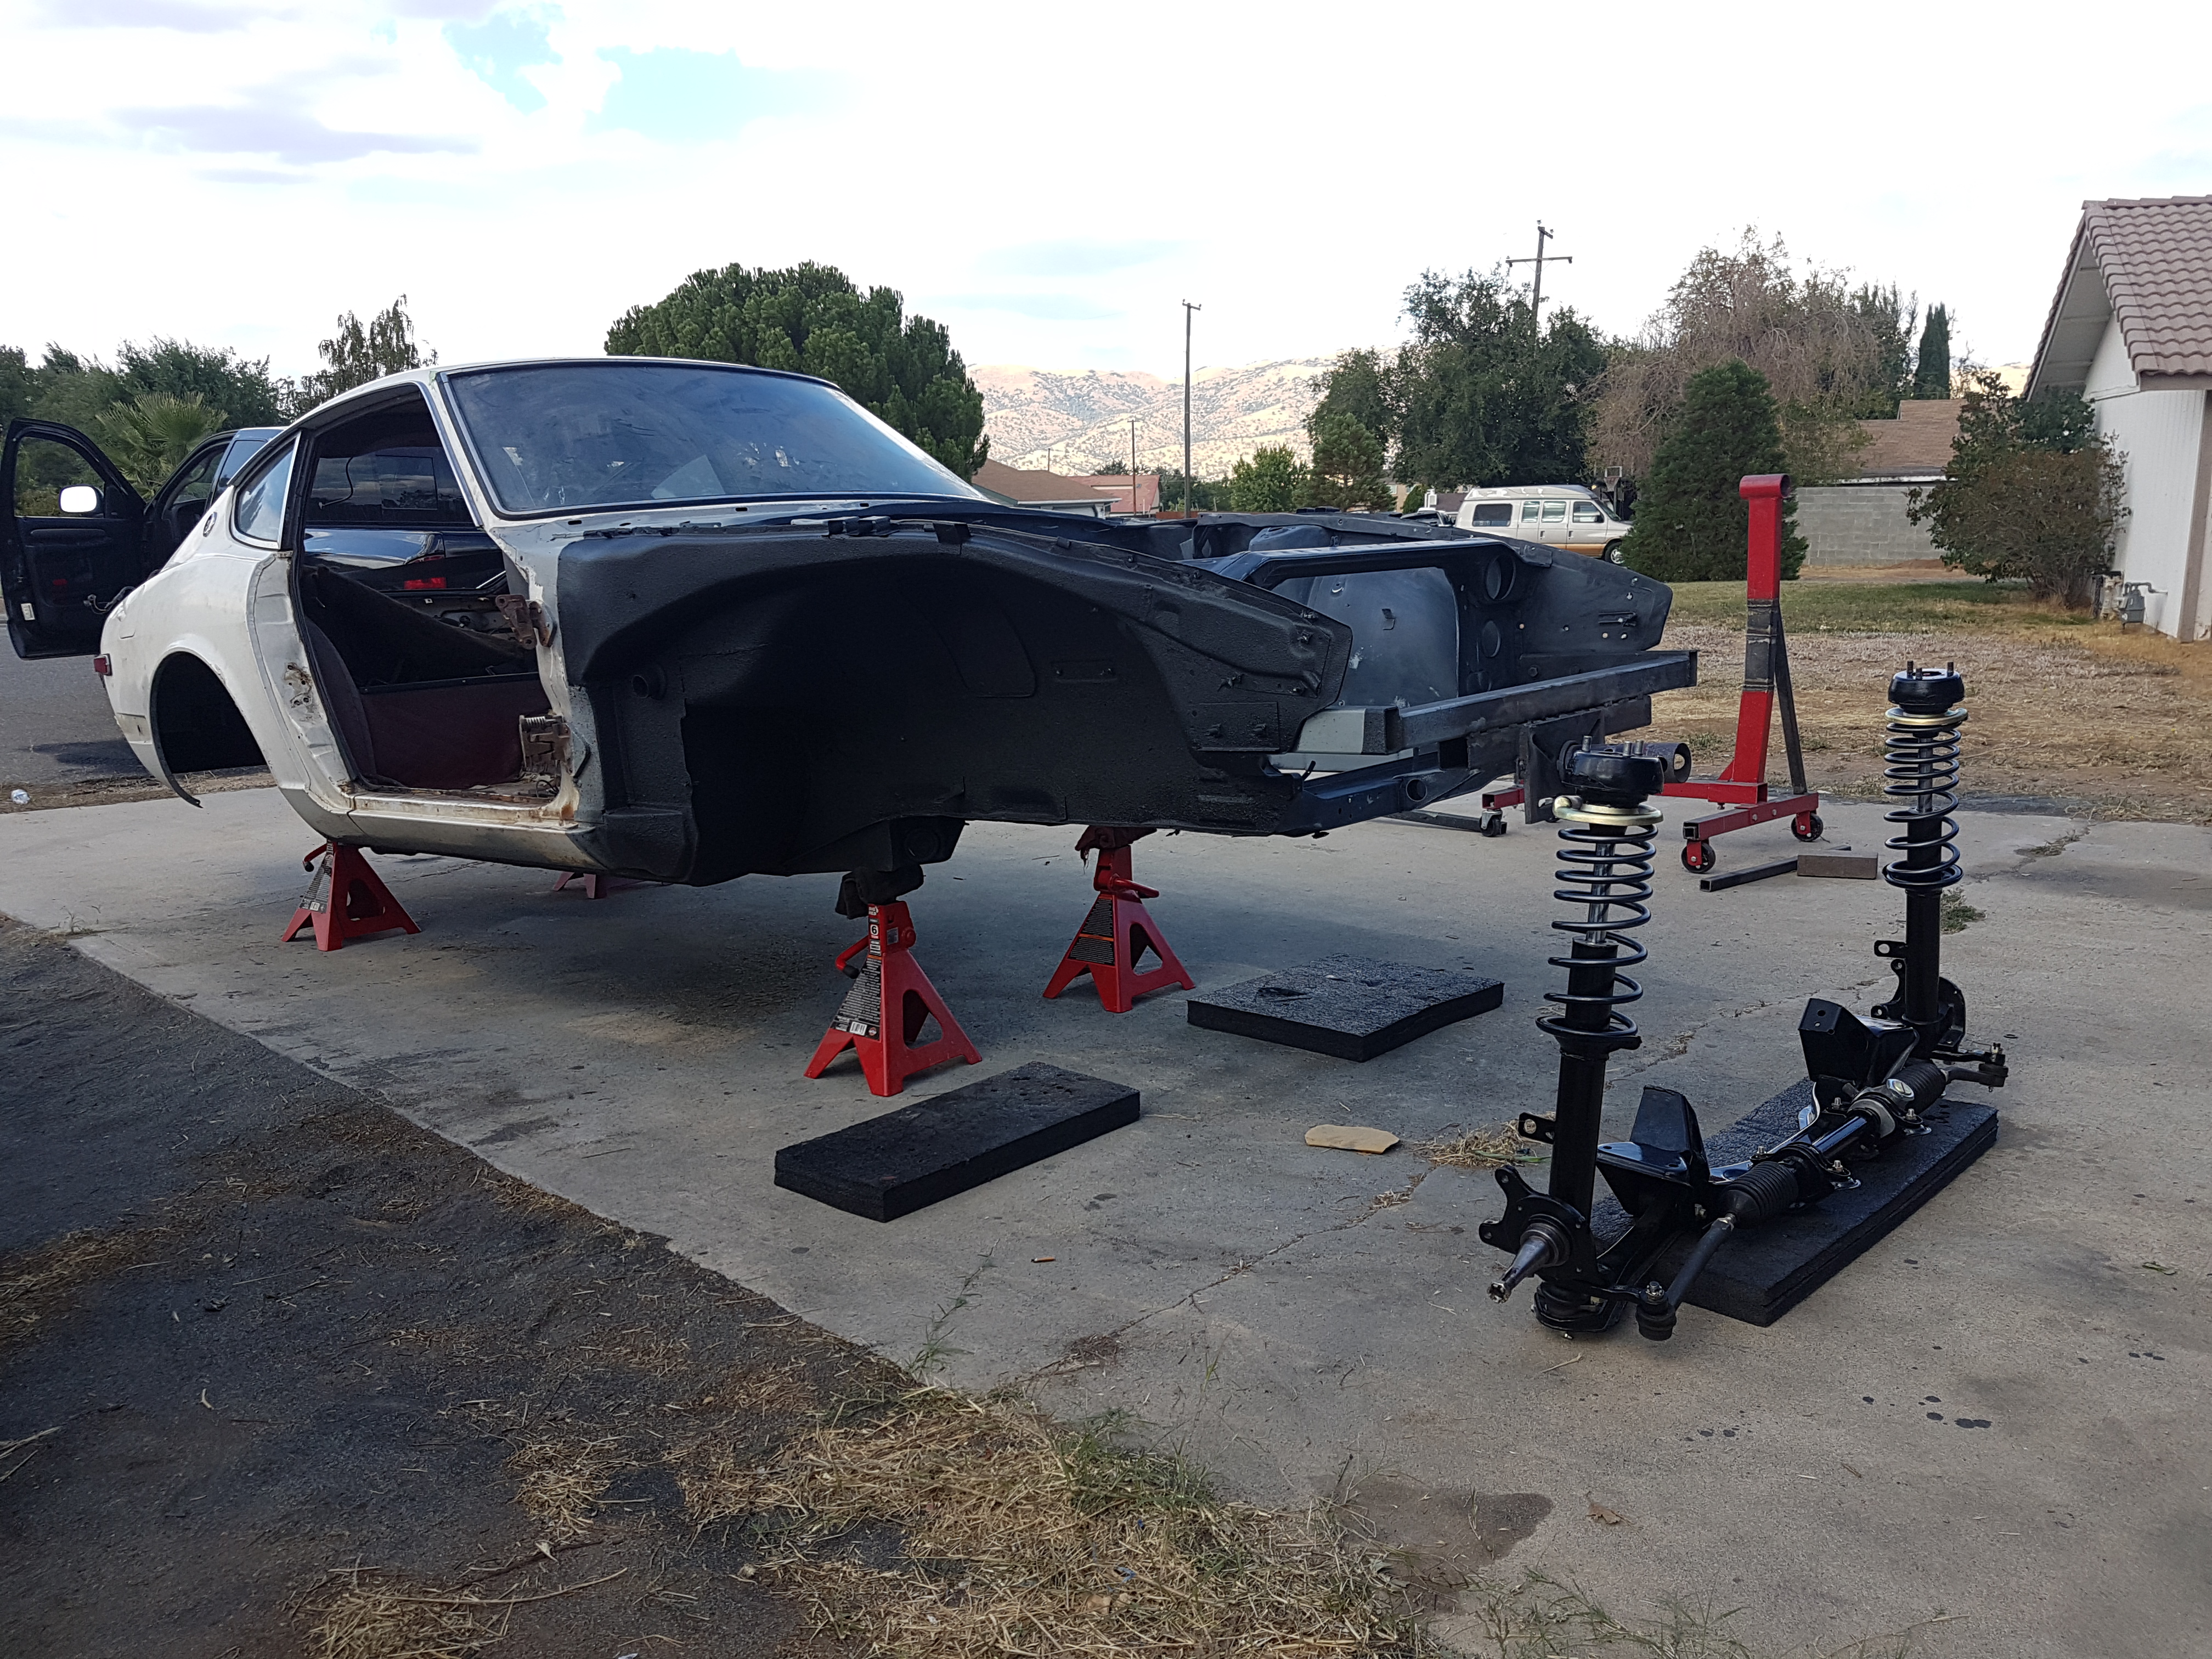
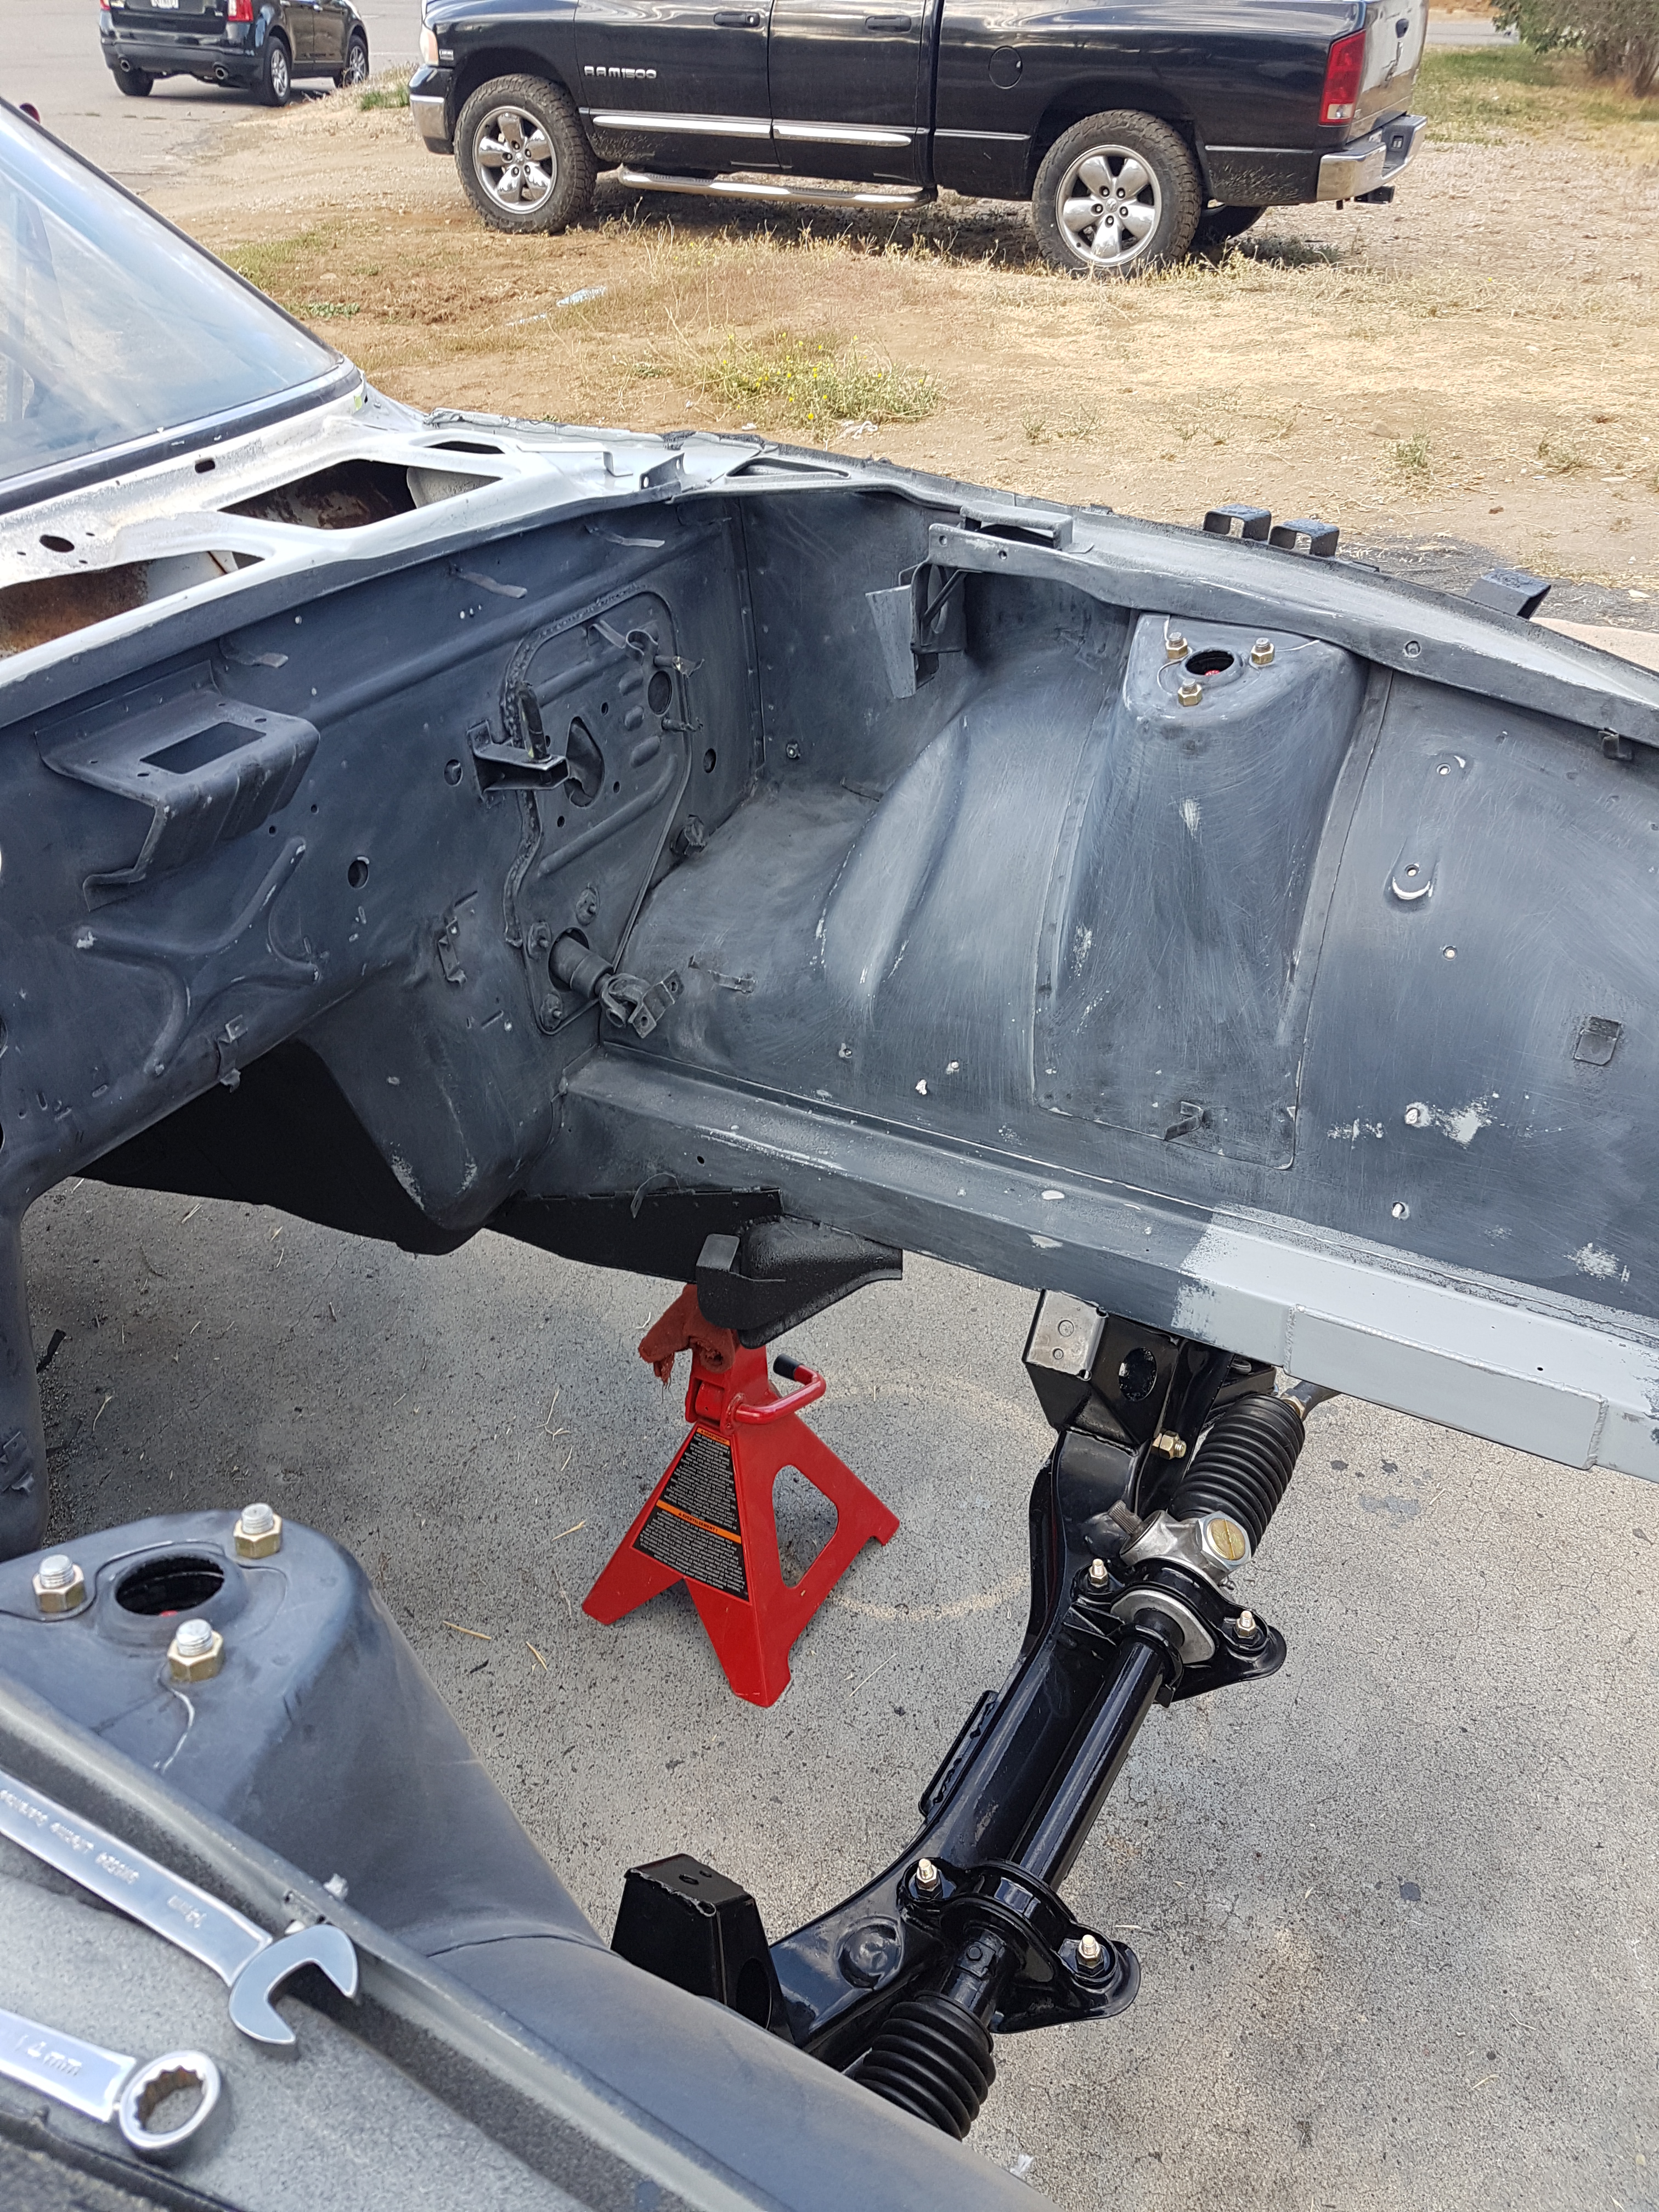
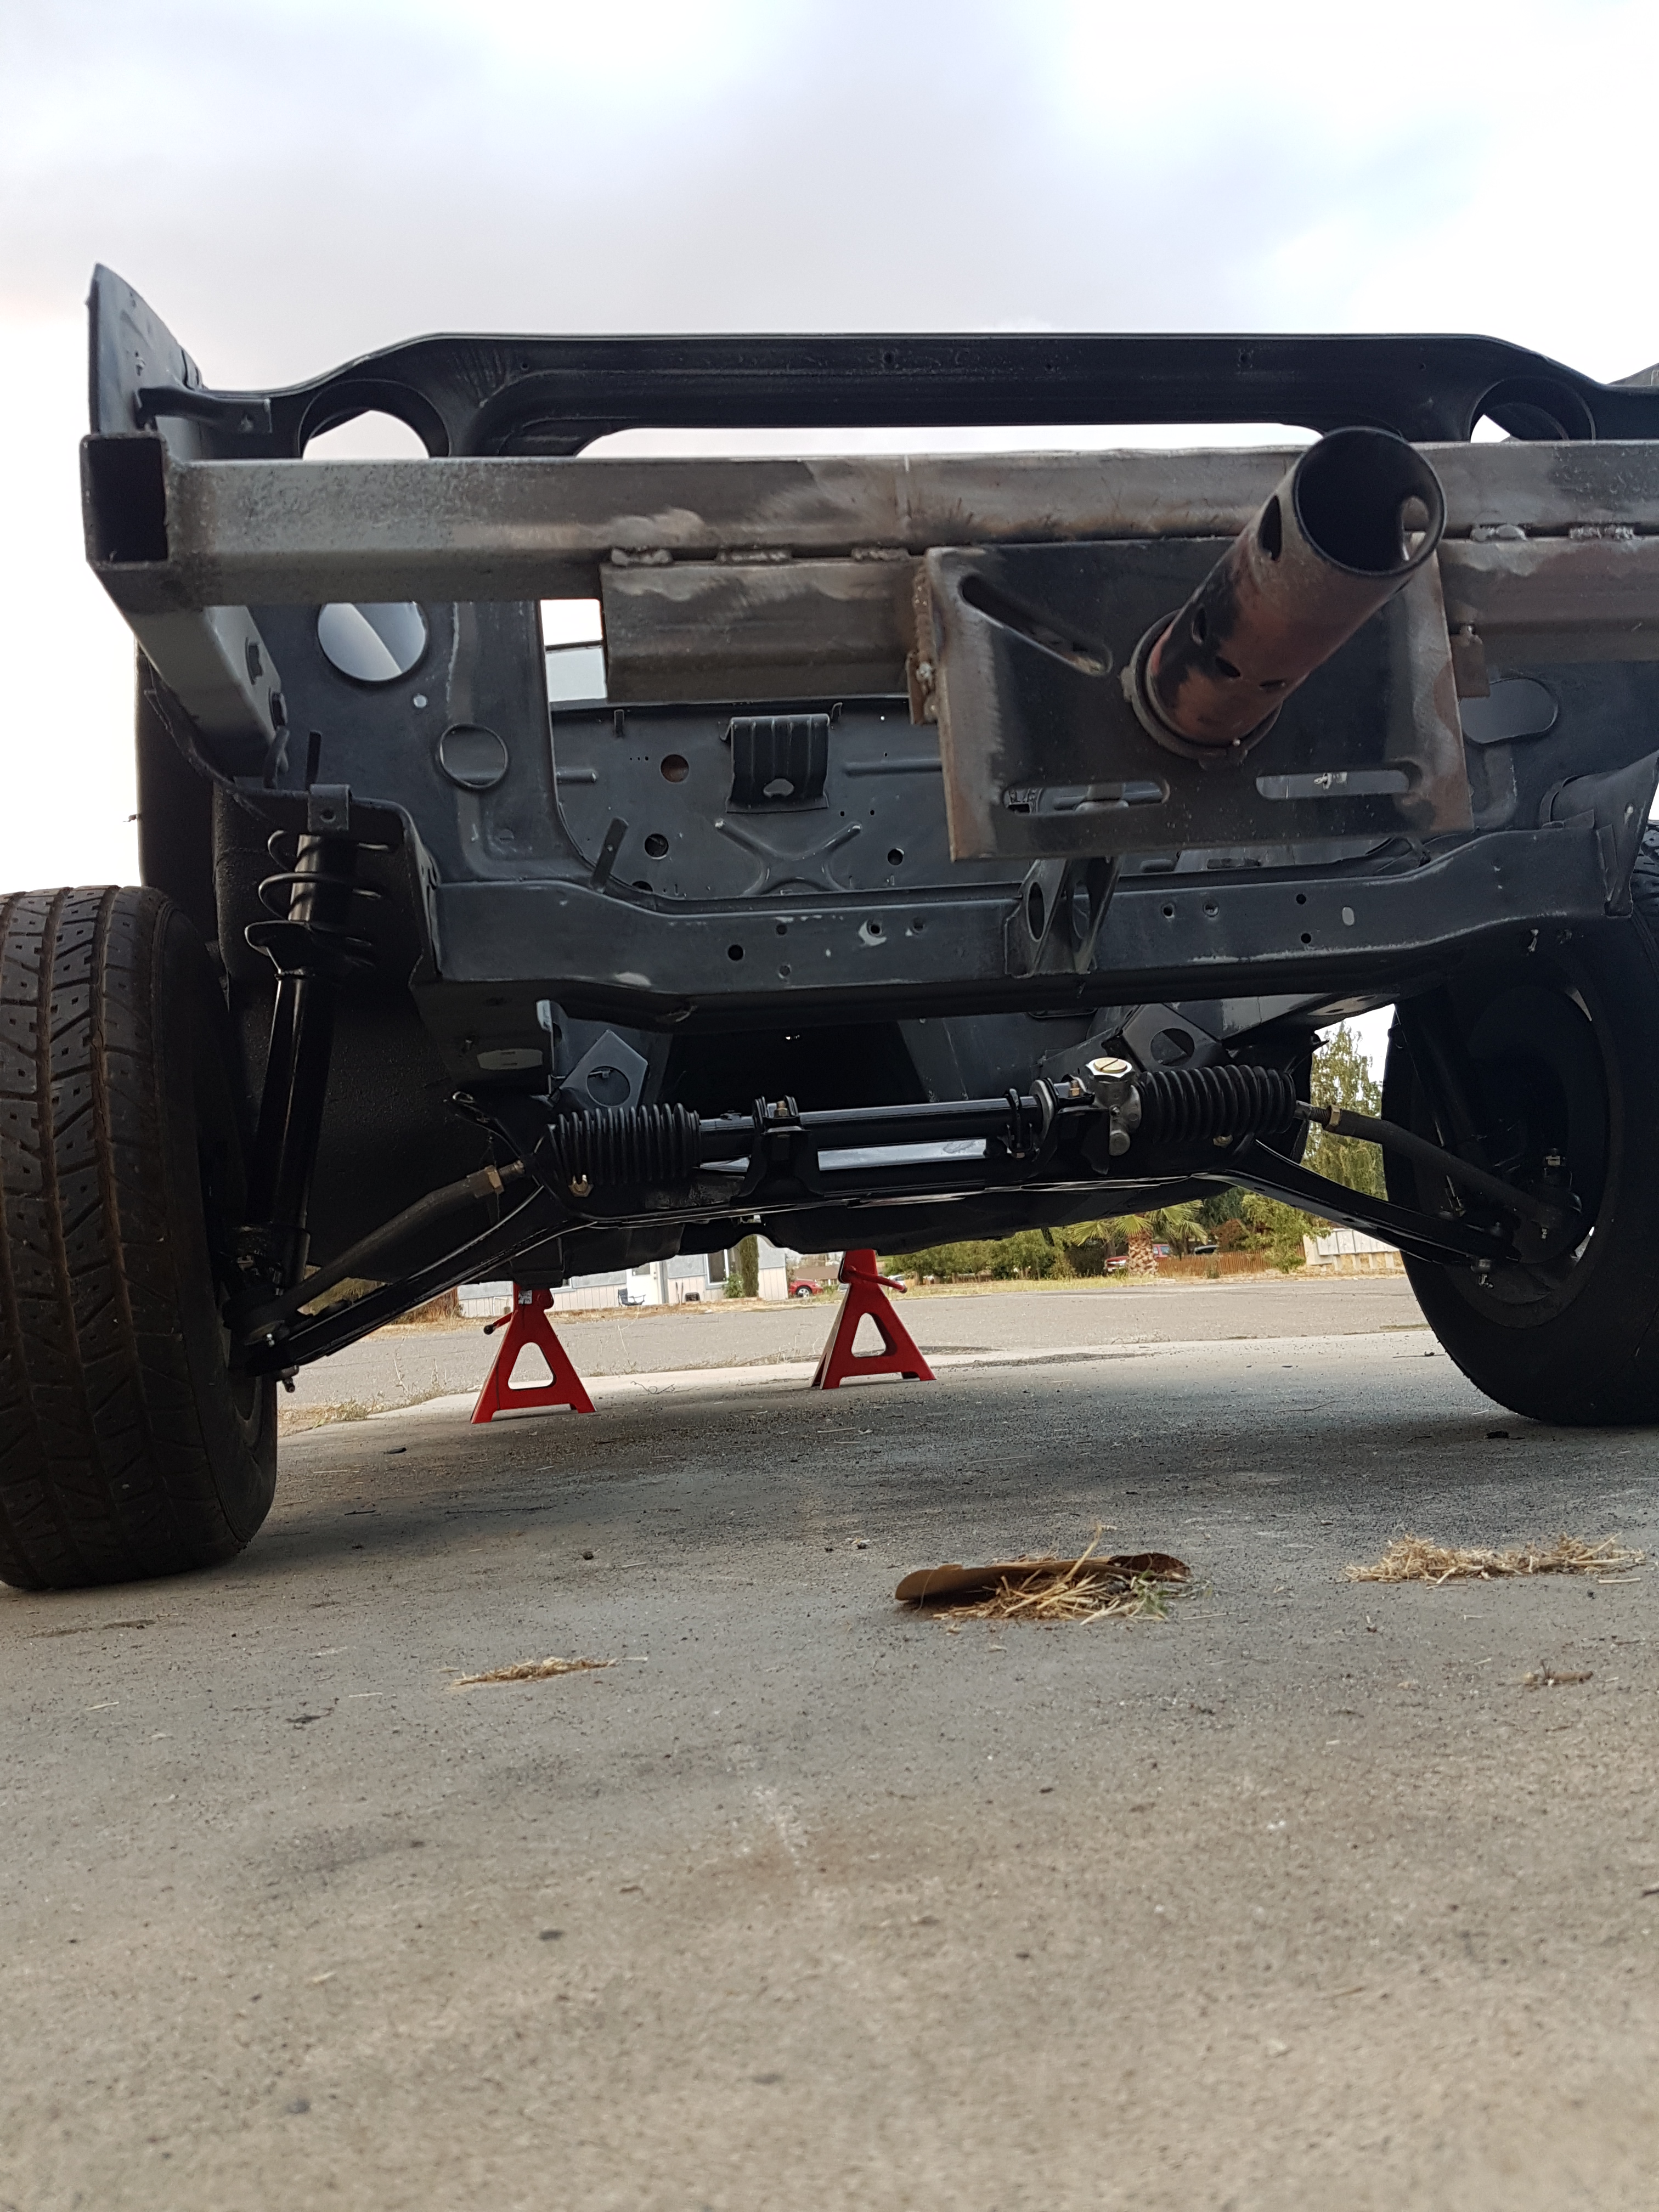
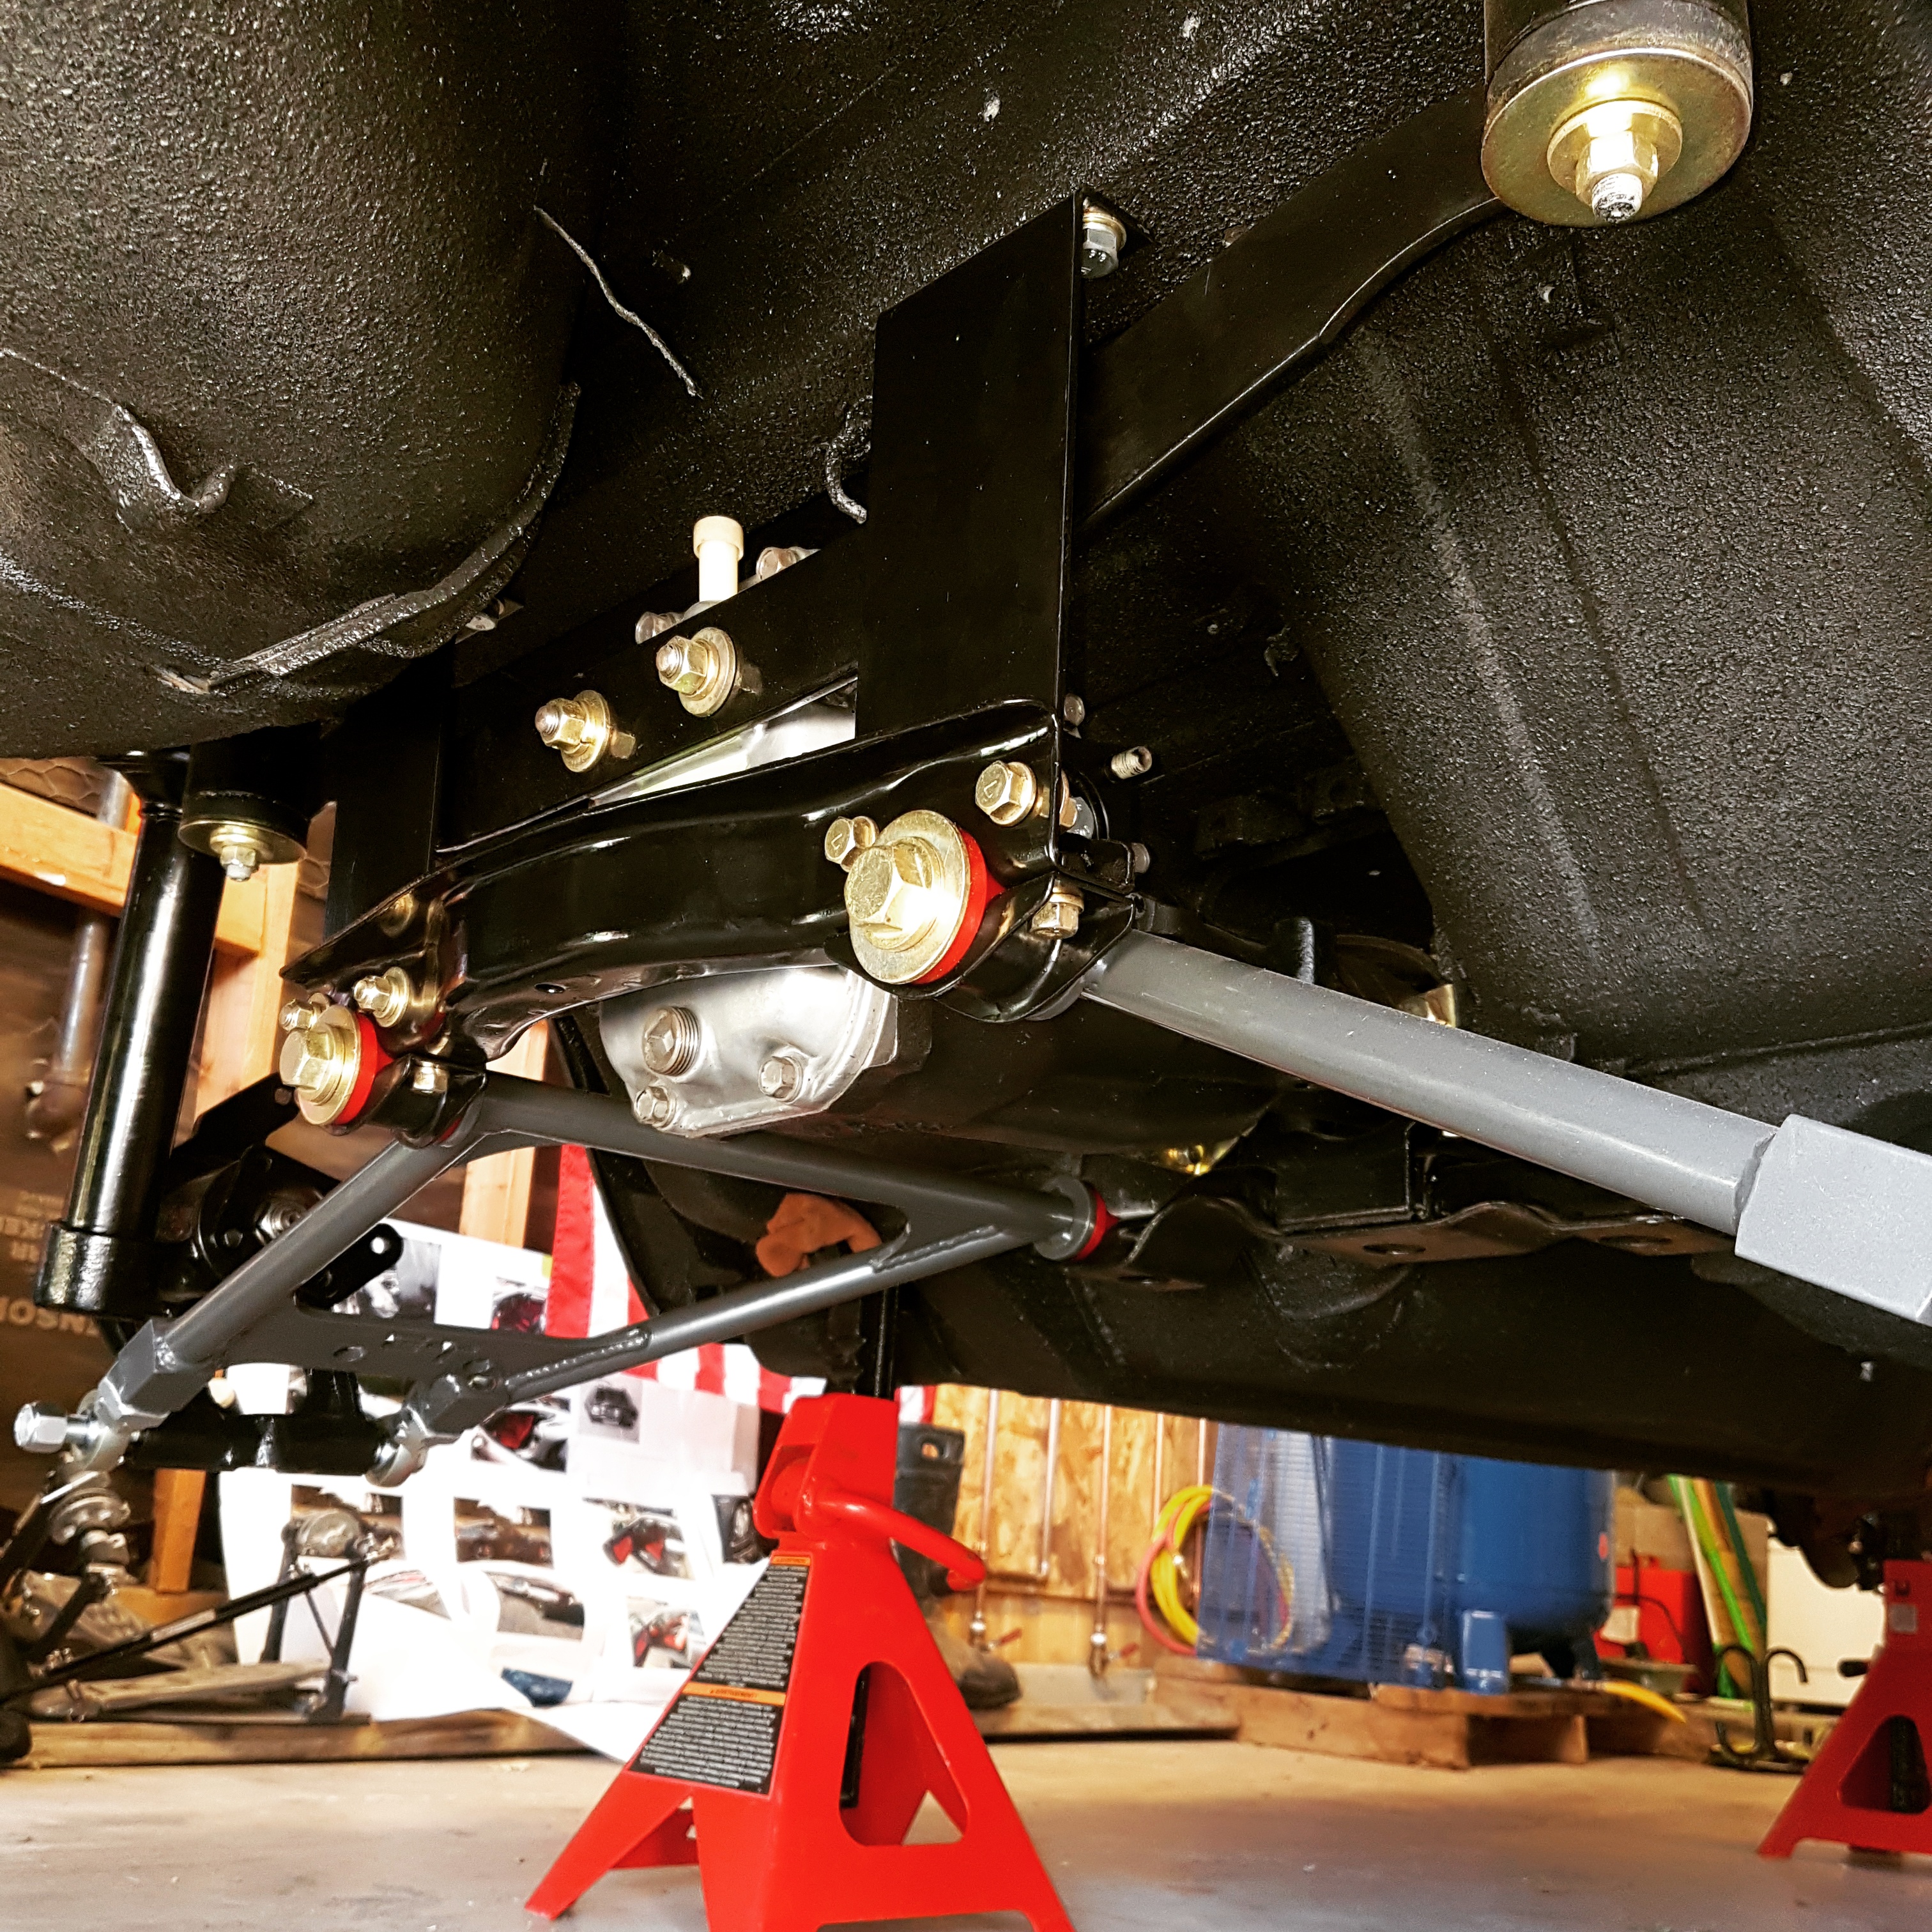
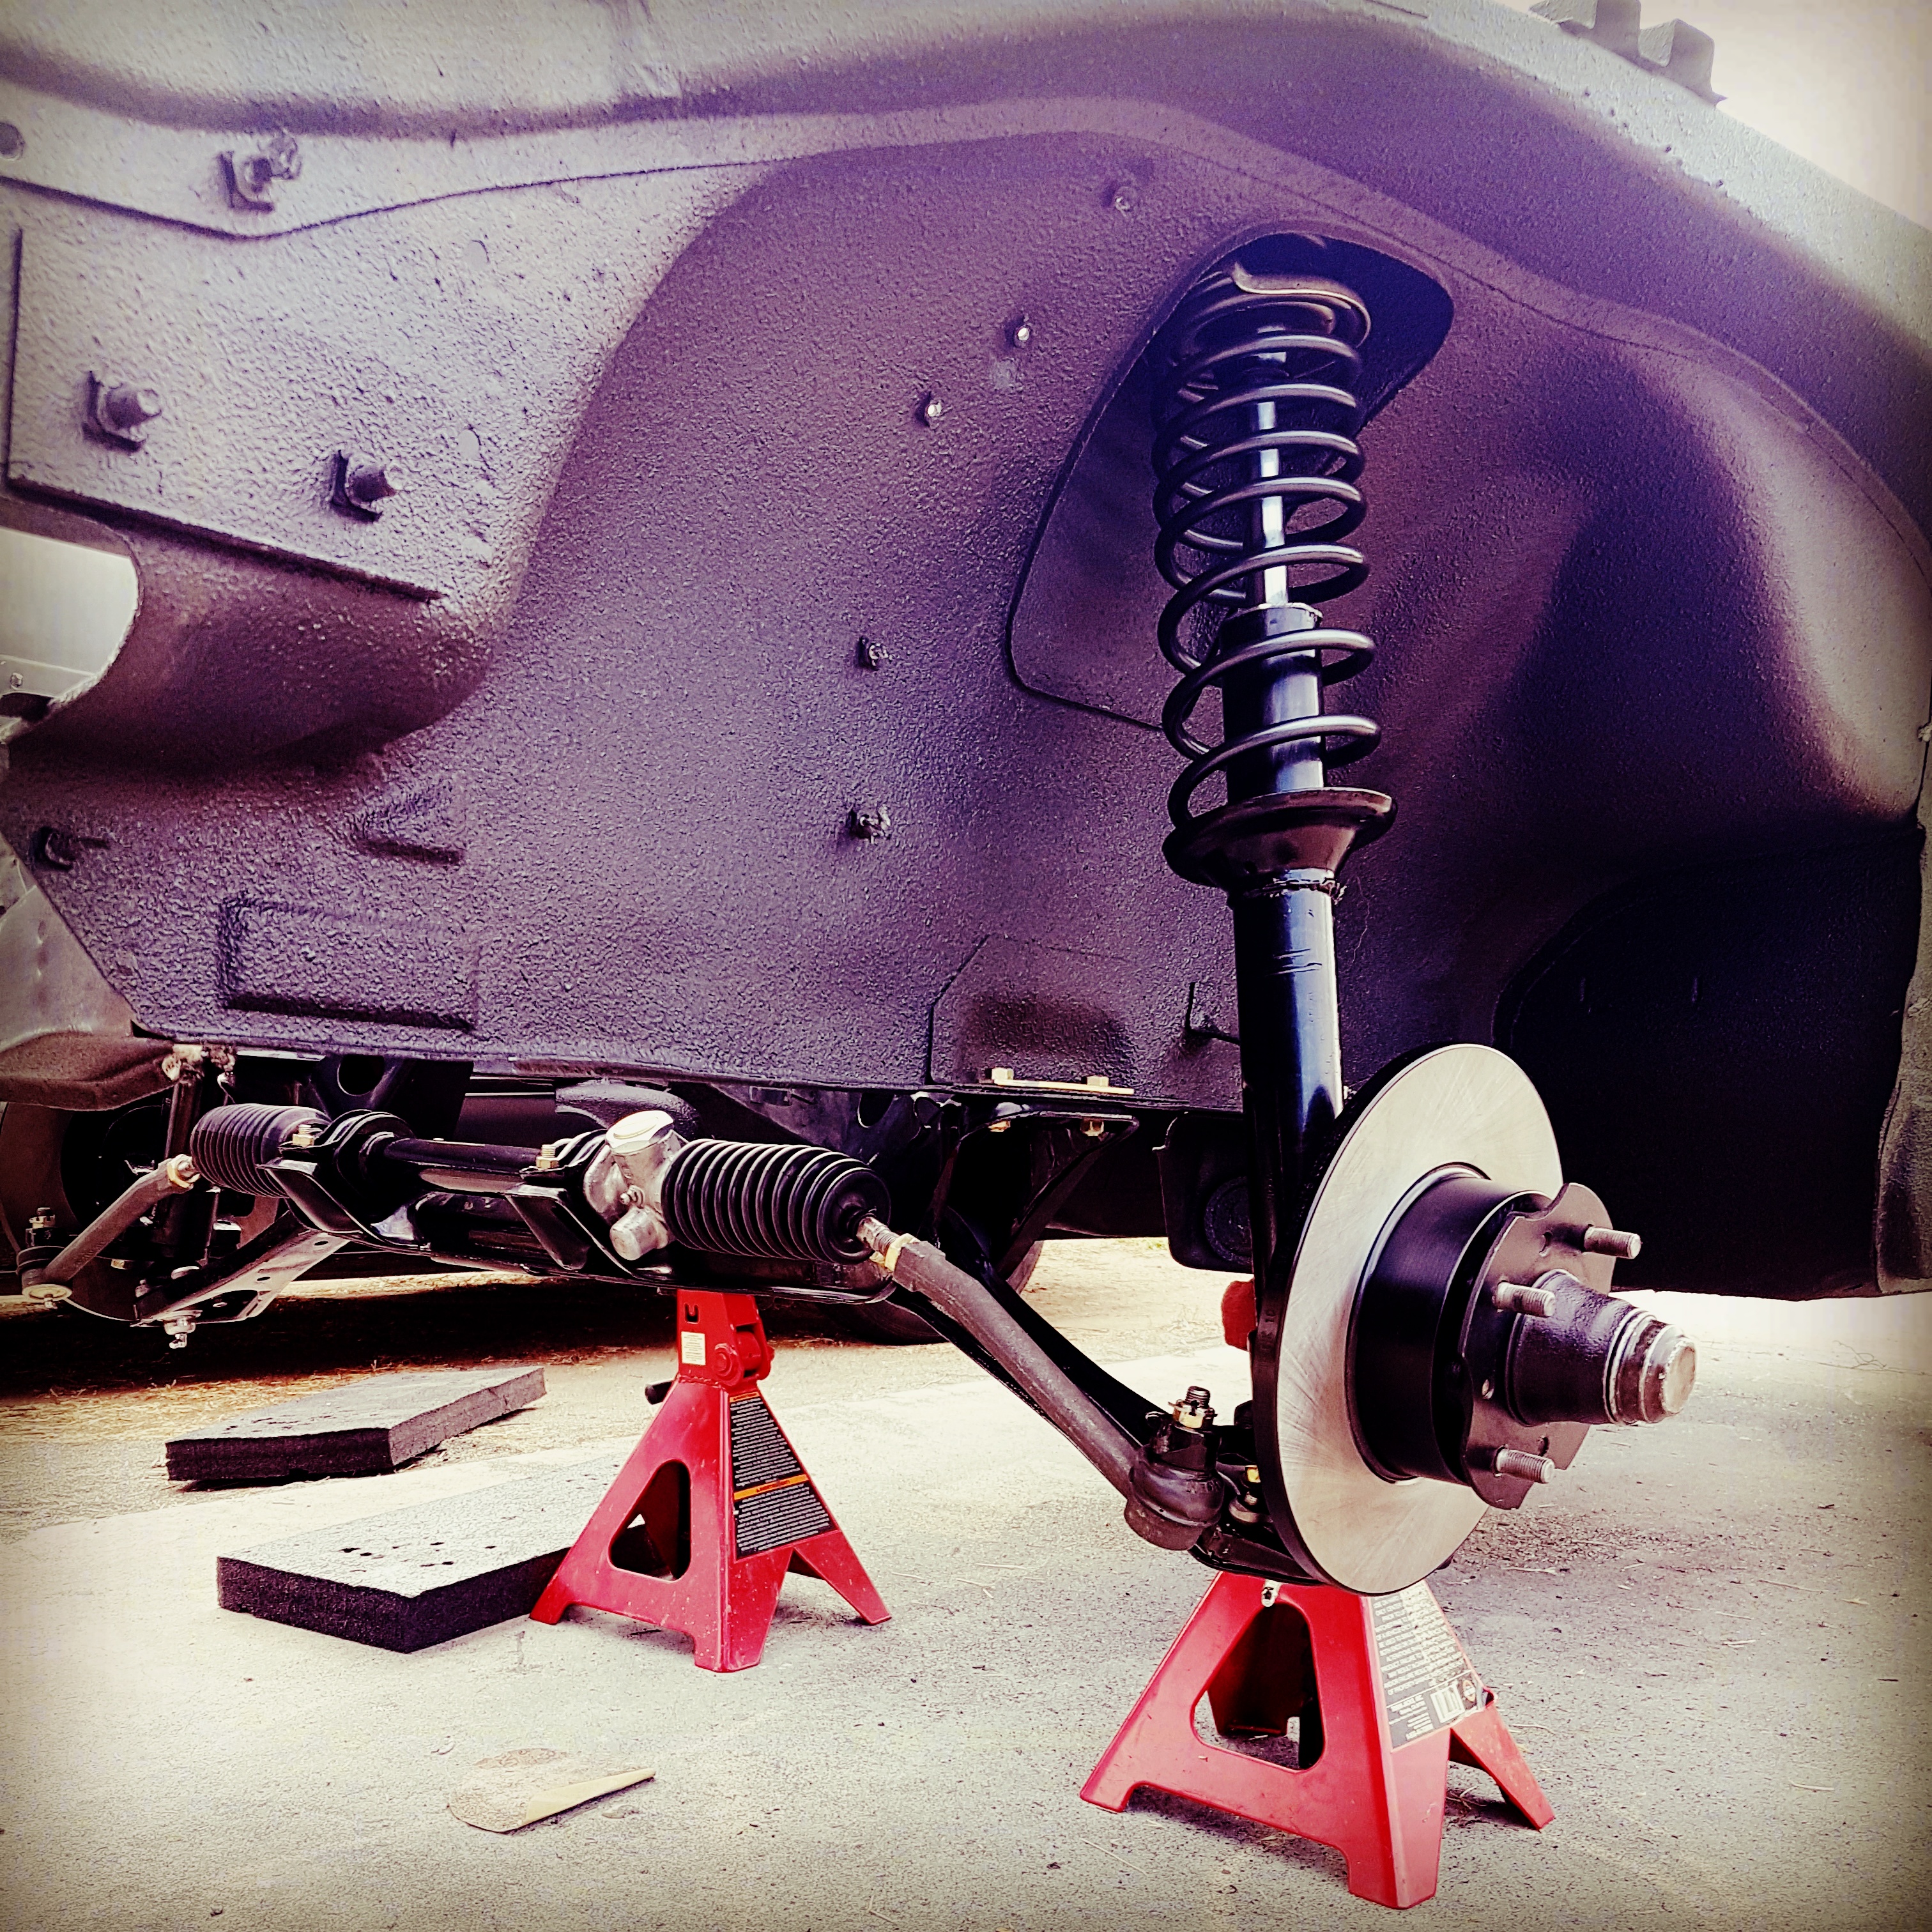
At this point I was in a big rush to get this thing on wheels and move it to my new house, the new house that I didn't even have yet, so finding a new place was on the agenda as well. I first assembled the front cross member and LCAs with new bushings and new cadmium plated parts. I did pressed in new wheel bearings for the front and rear. I installed new Eibach springs and Tokico Illuminas. Some rear suspension work. I cut my own gaskets for the rear differential since I was in such a hurry and had the material on hand. Cleaned up...kind of: DIY gaskets Cleaned up cover Painted and assembled. I ended up stripping one of the side flange center bolts and had to get a replacement. Thankfully only the bolt was stripped and not the female threads. I could heard some rubbing/grinding noise when I would turn the diff. Ended up I had the metal gasket installed upside down. Whoops Ready to remove the car from the rotisserie! This was a fun job to do solo. On jacks! Getting ready to install front suspension: I ordered new T3 rear LCAs and installed them. I got the front and rear on wheels, loaded it on a trailer and moved it to my new house!
-
I see. I'm going to have to try those purple ones. If you guys are interested check out my build over at I just posted some updates and will be posting more soon.
-
My '72 240z project -- Rotisserie Restomod
jkelly replied to jkelly's topic in S30 Series - 240z, 260z, 280z
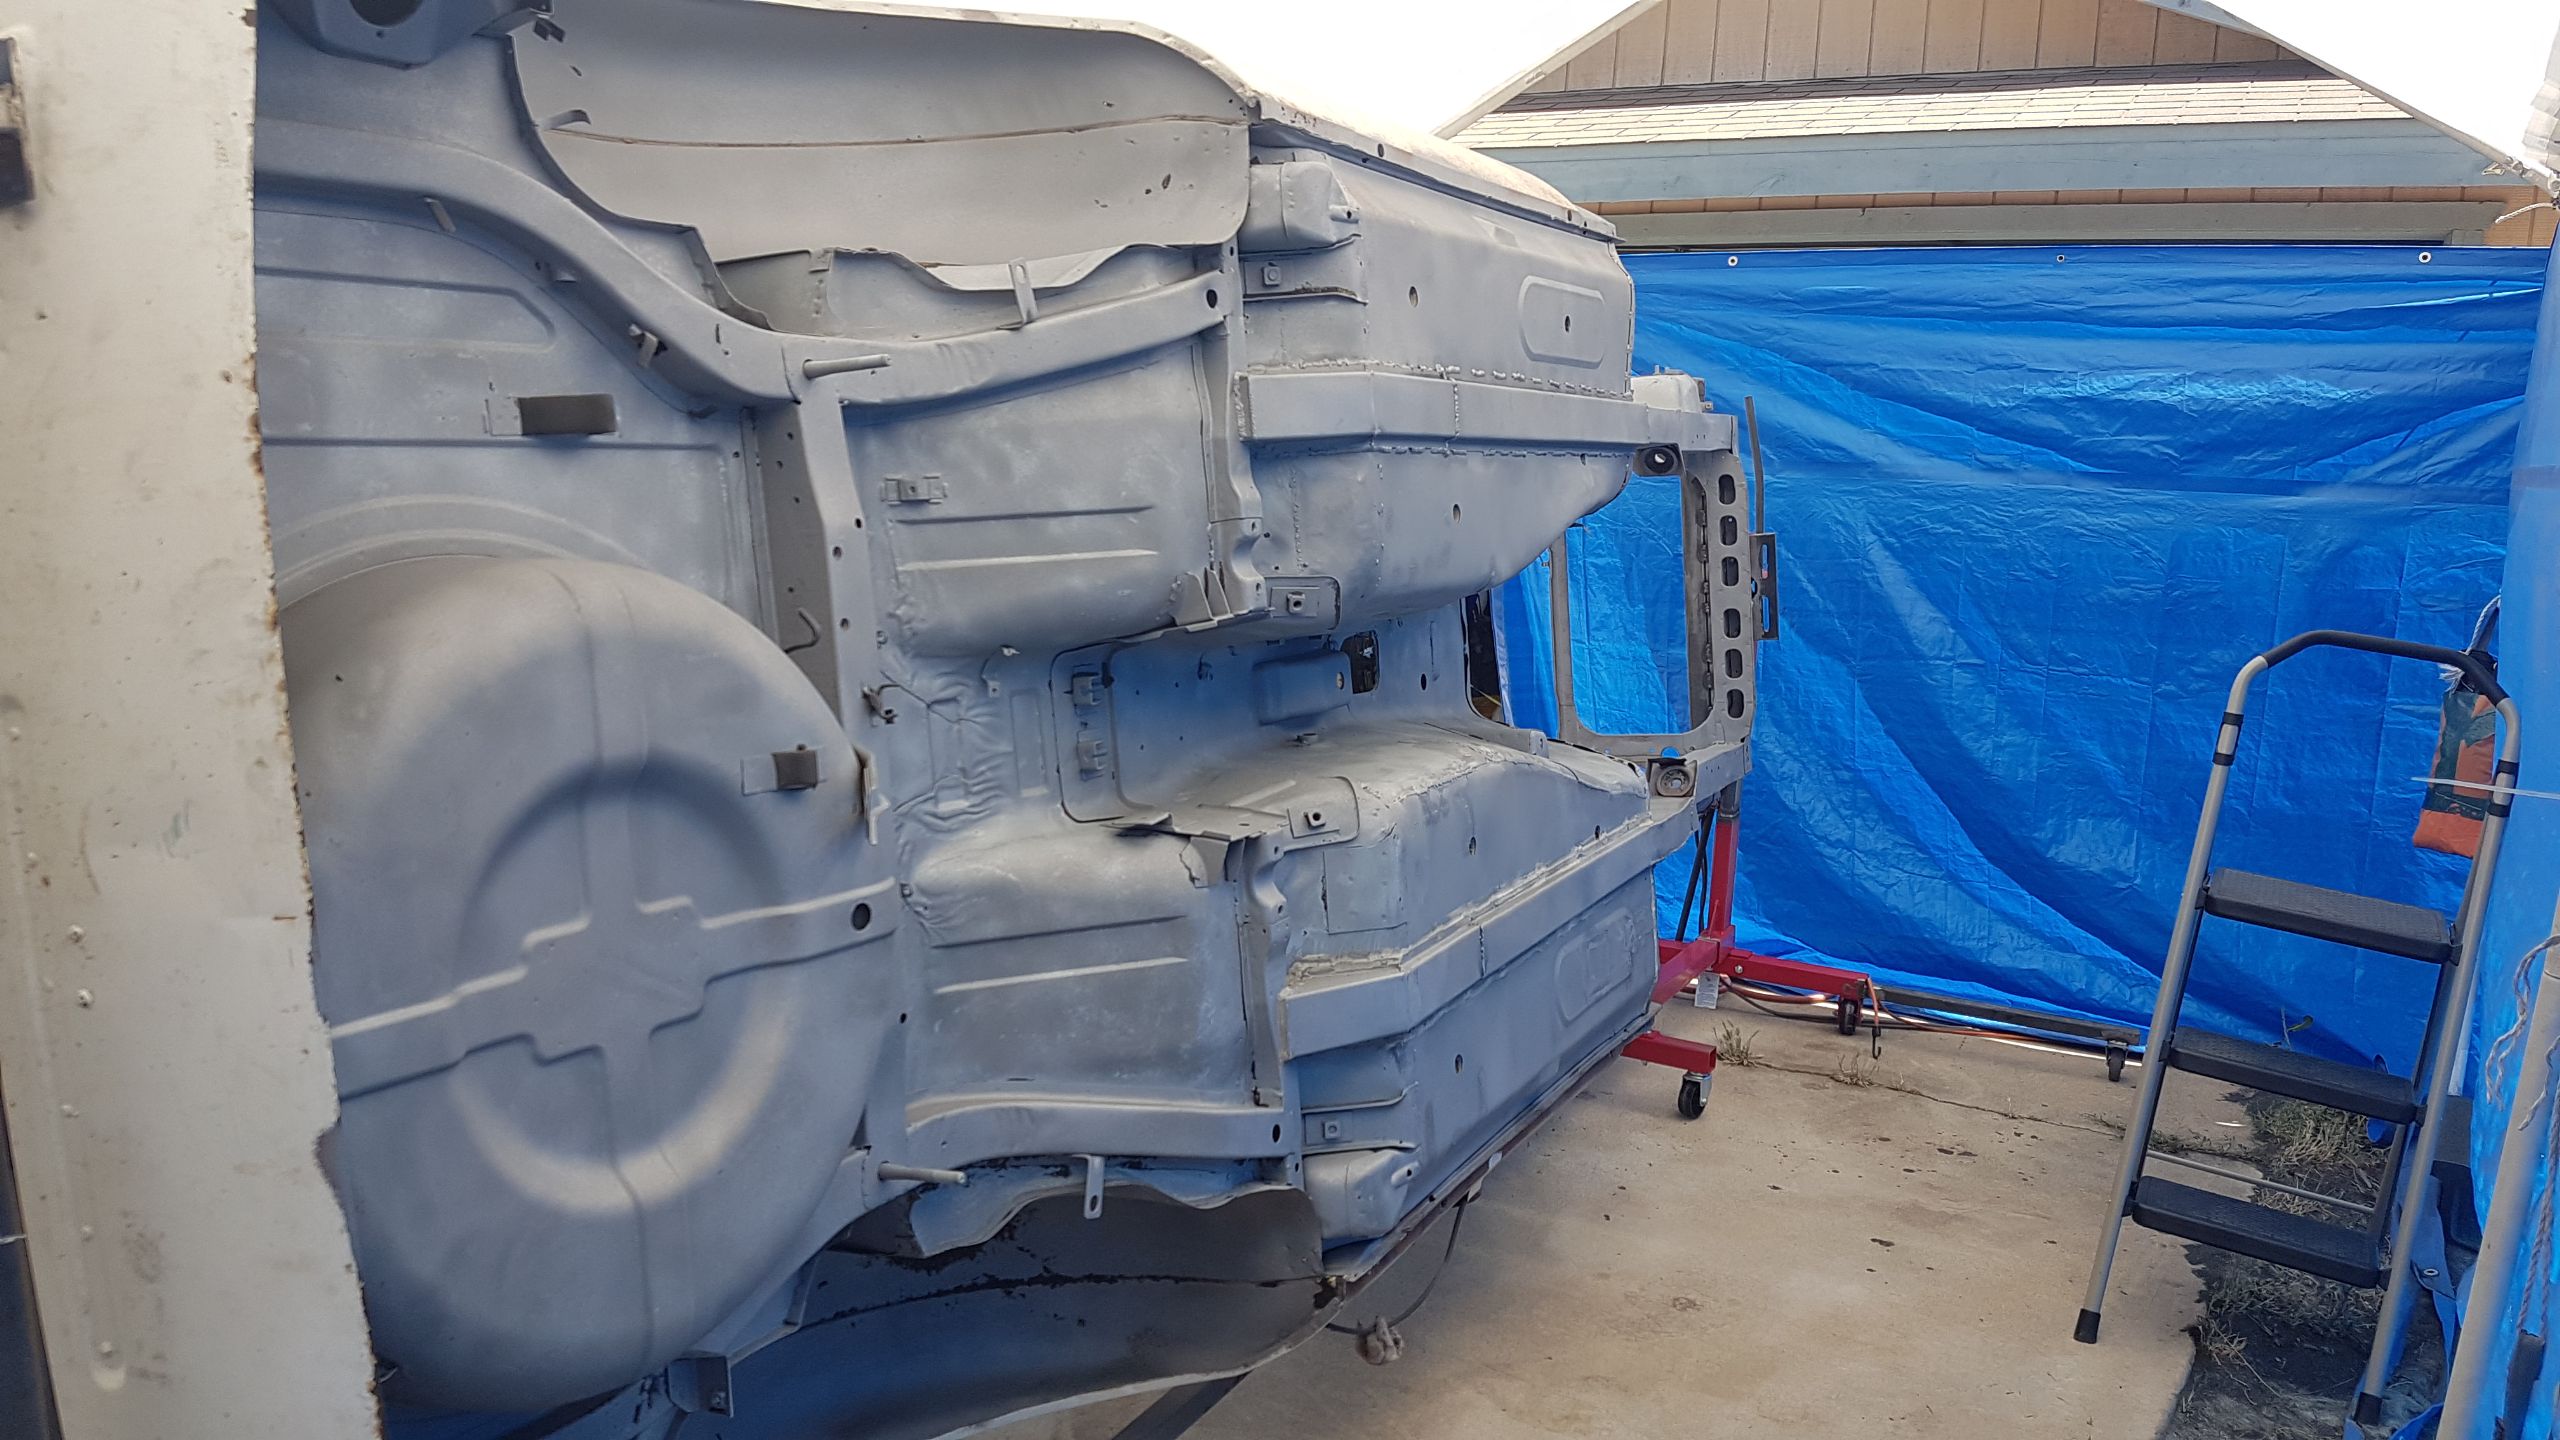
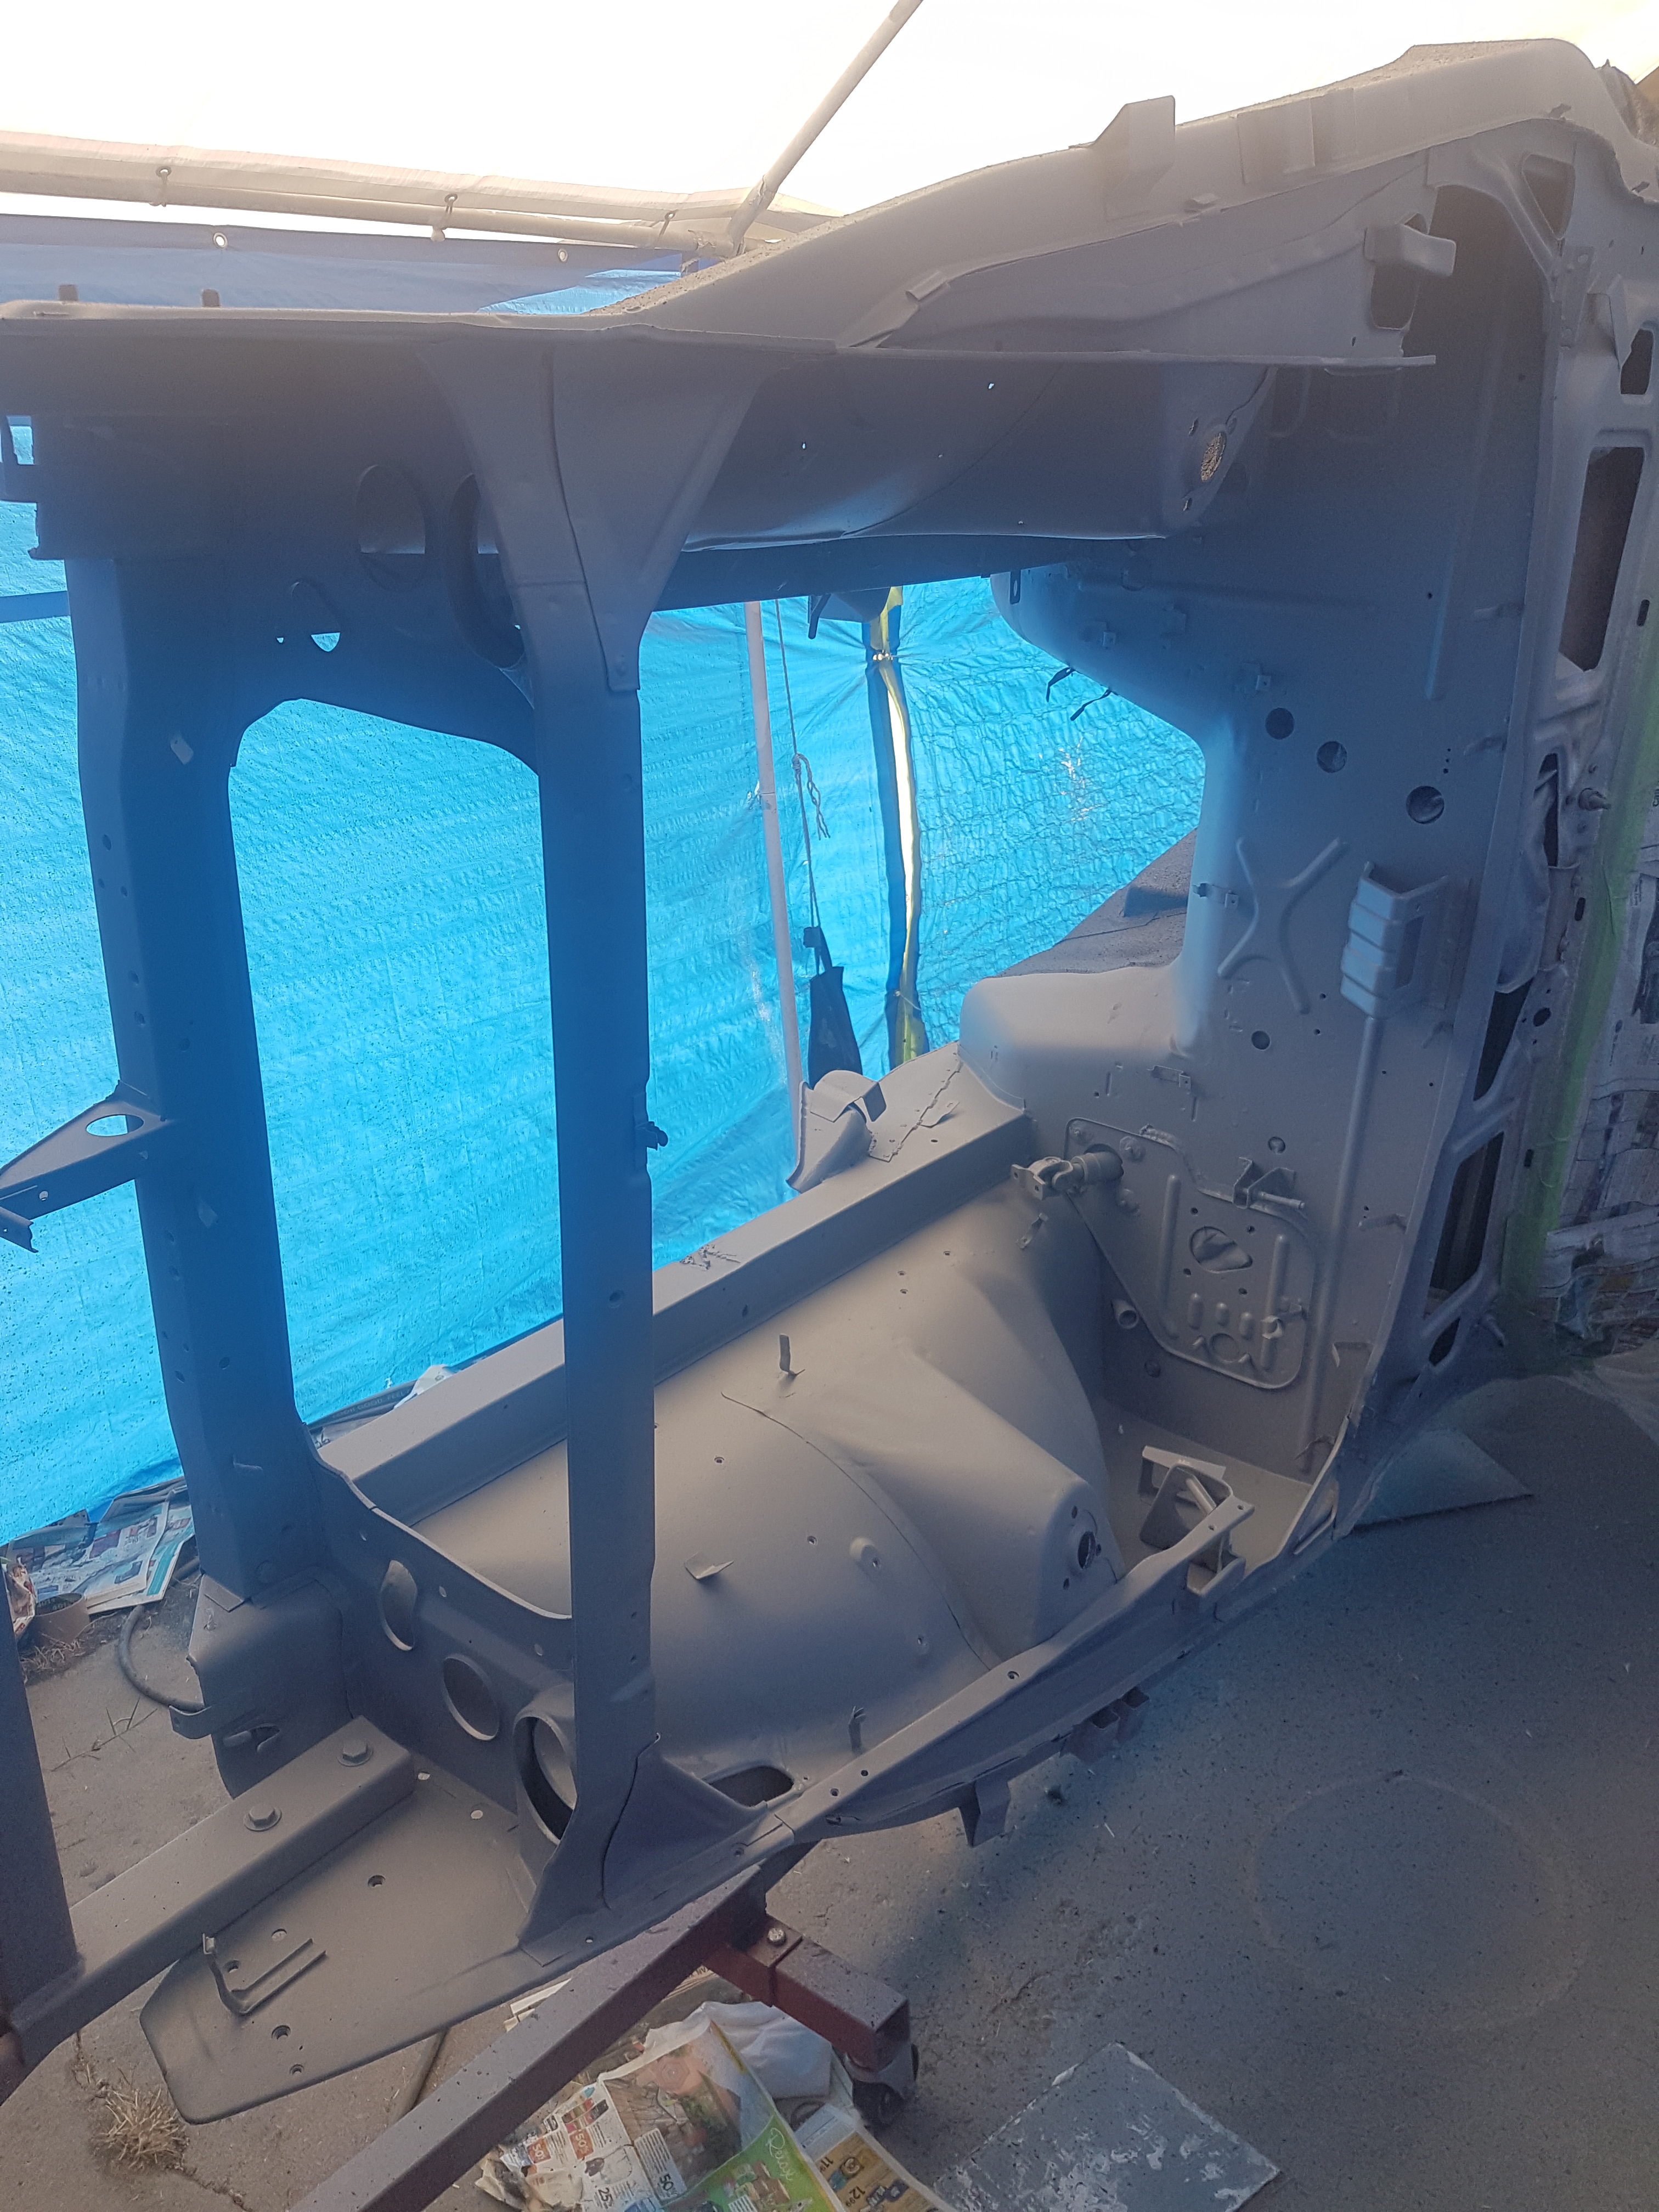
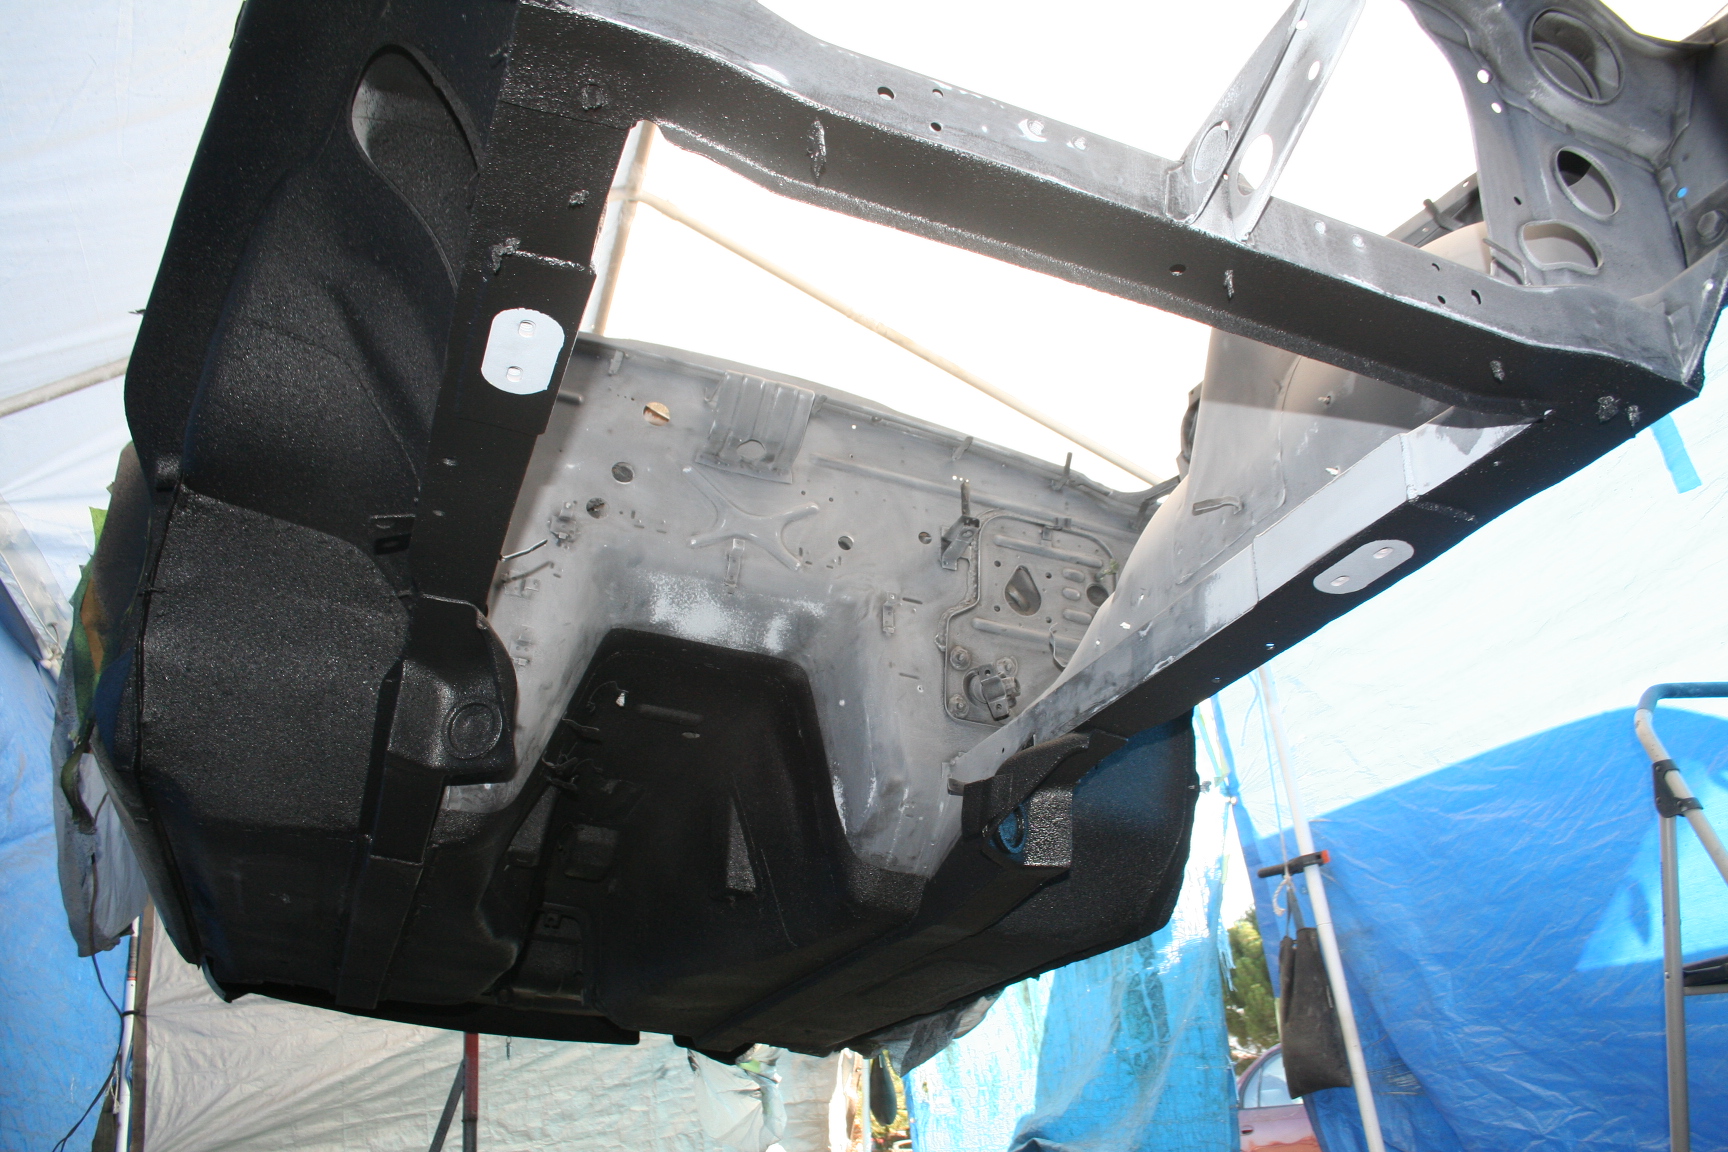
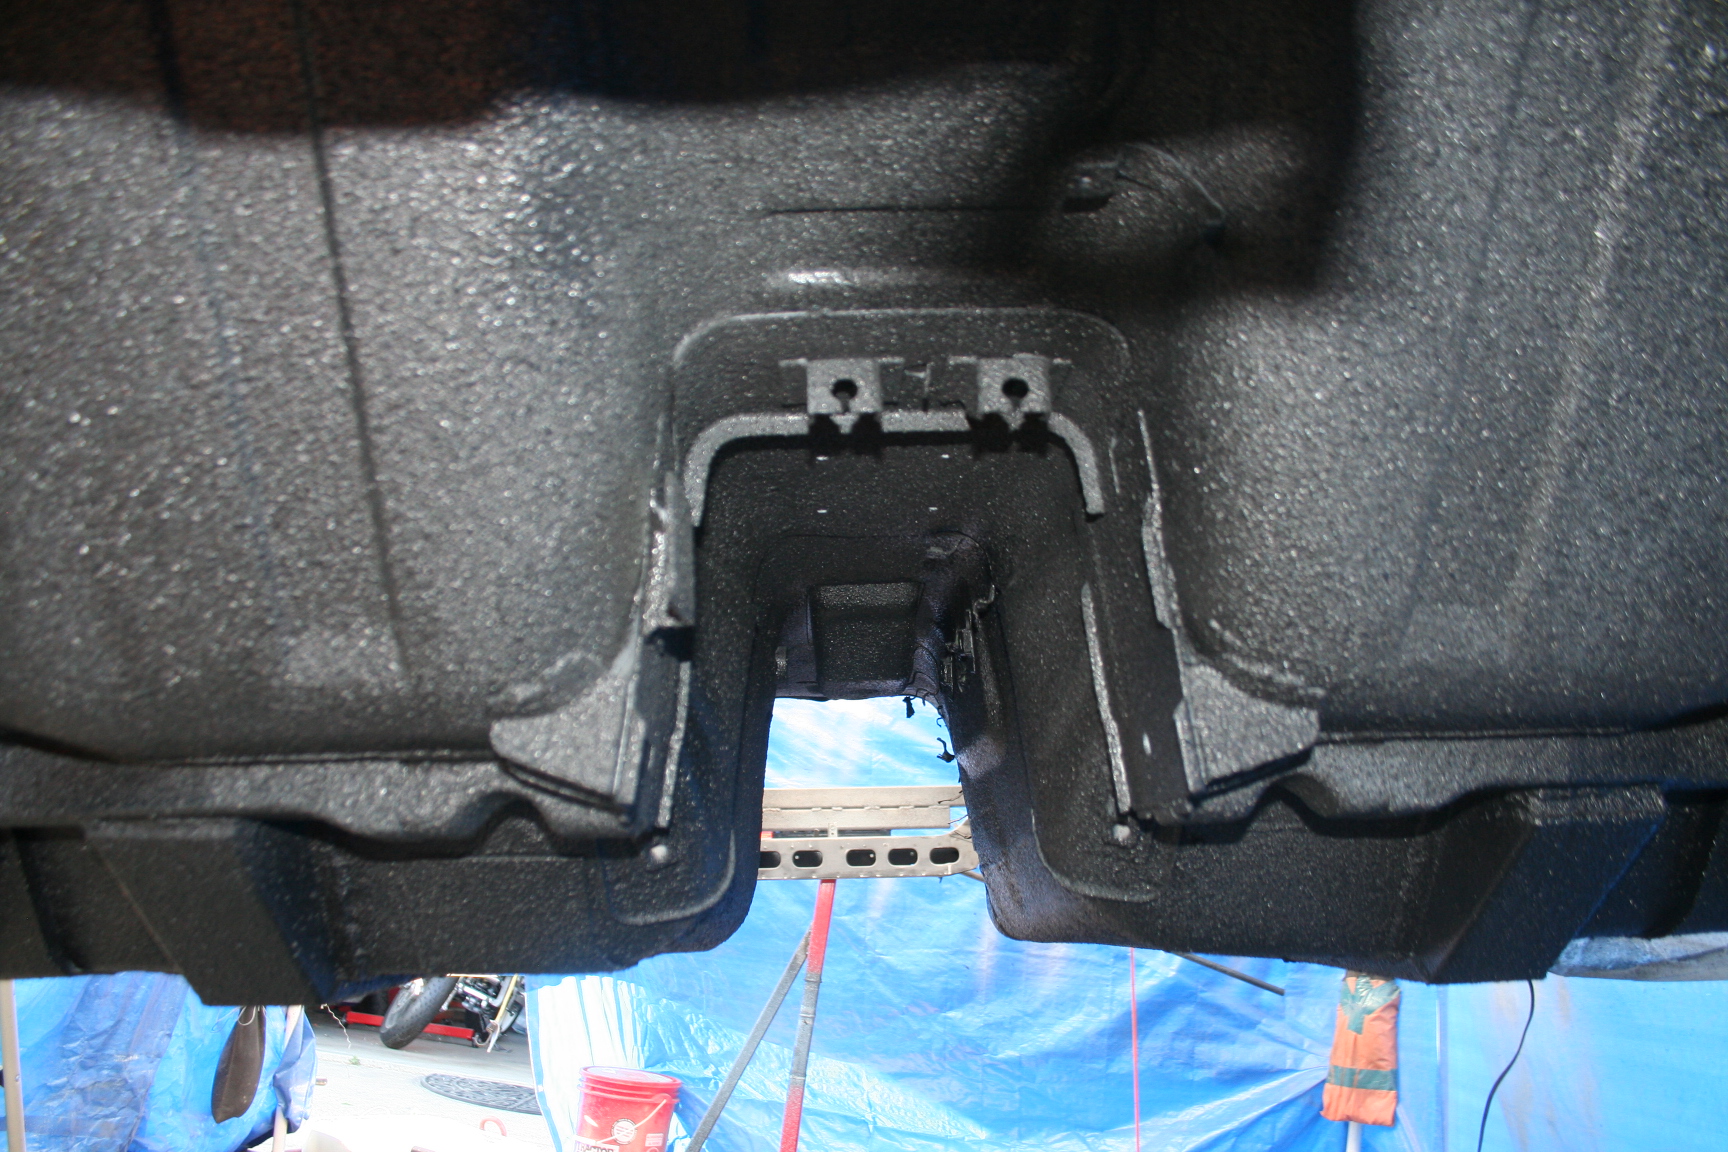
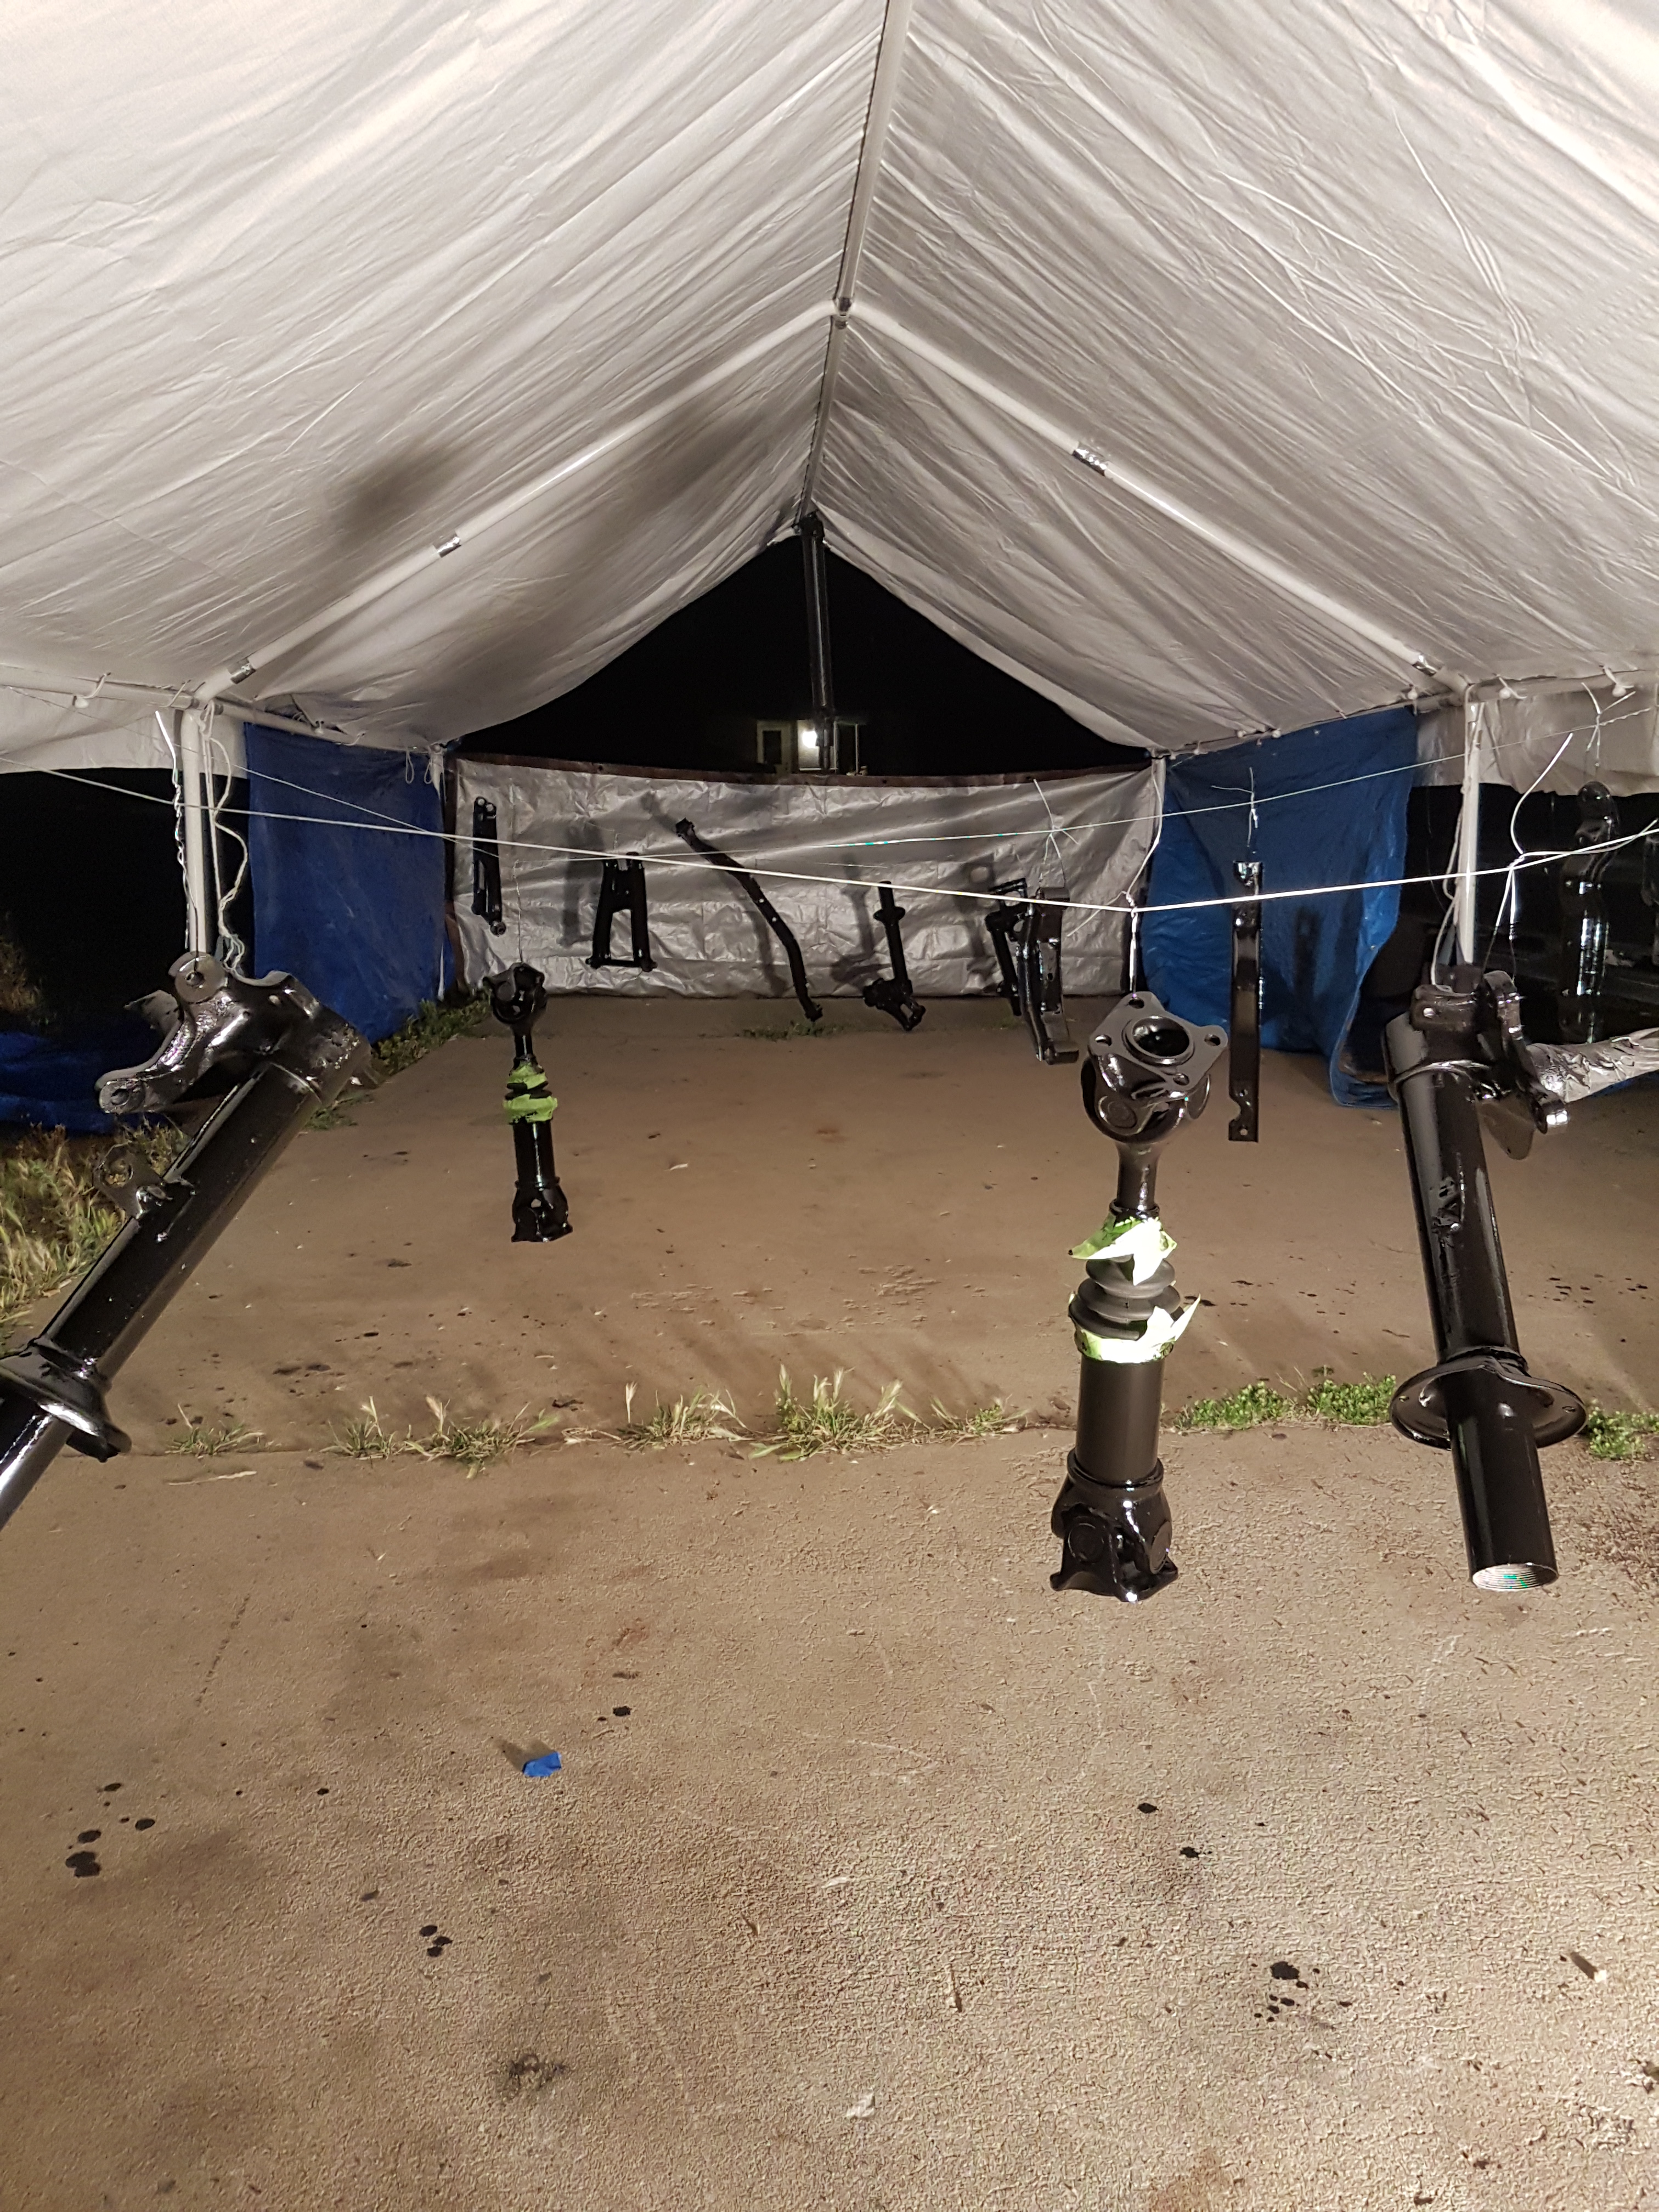
I welded in a almost rust free battery box I got from a previously mentioned guy from here at HybridZ. Thanks again! Mine was bad. The new. For the sake of before/after effect I'm skipping ahead in time on the next battery box pics. Here it is finished and primed. Bought a big tent from Harbor freight and turned it into a sandblasting booth and rolled straight out of the garage into the tent and got the bottom and engine bay sand blasted. But before I used it as a sandblasting booth I used it to hang and paint suspension parts. I also welded in sway bar reenforcements. After sand blasting I did seam sealer and shot the bottom with PPG DPLV epoxy primer and a truck bed liner. I shot the first underside coats of epoxy really heavy because of bad gun settings and just generally not knowing what the hell I was doing, so I had to do a lot of sanding. Not fun sanding epoxy primer. My tent met it's end when a wind storm came through. Perfect timing, because I needed to move, again.
-
My '72 240z project -- Rotisserie Restomod
jkelly replied to jkelly's topic in S30 Series - 240z, 260z, 280z
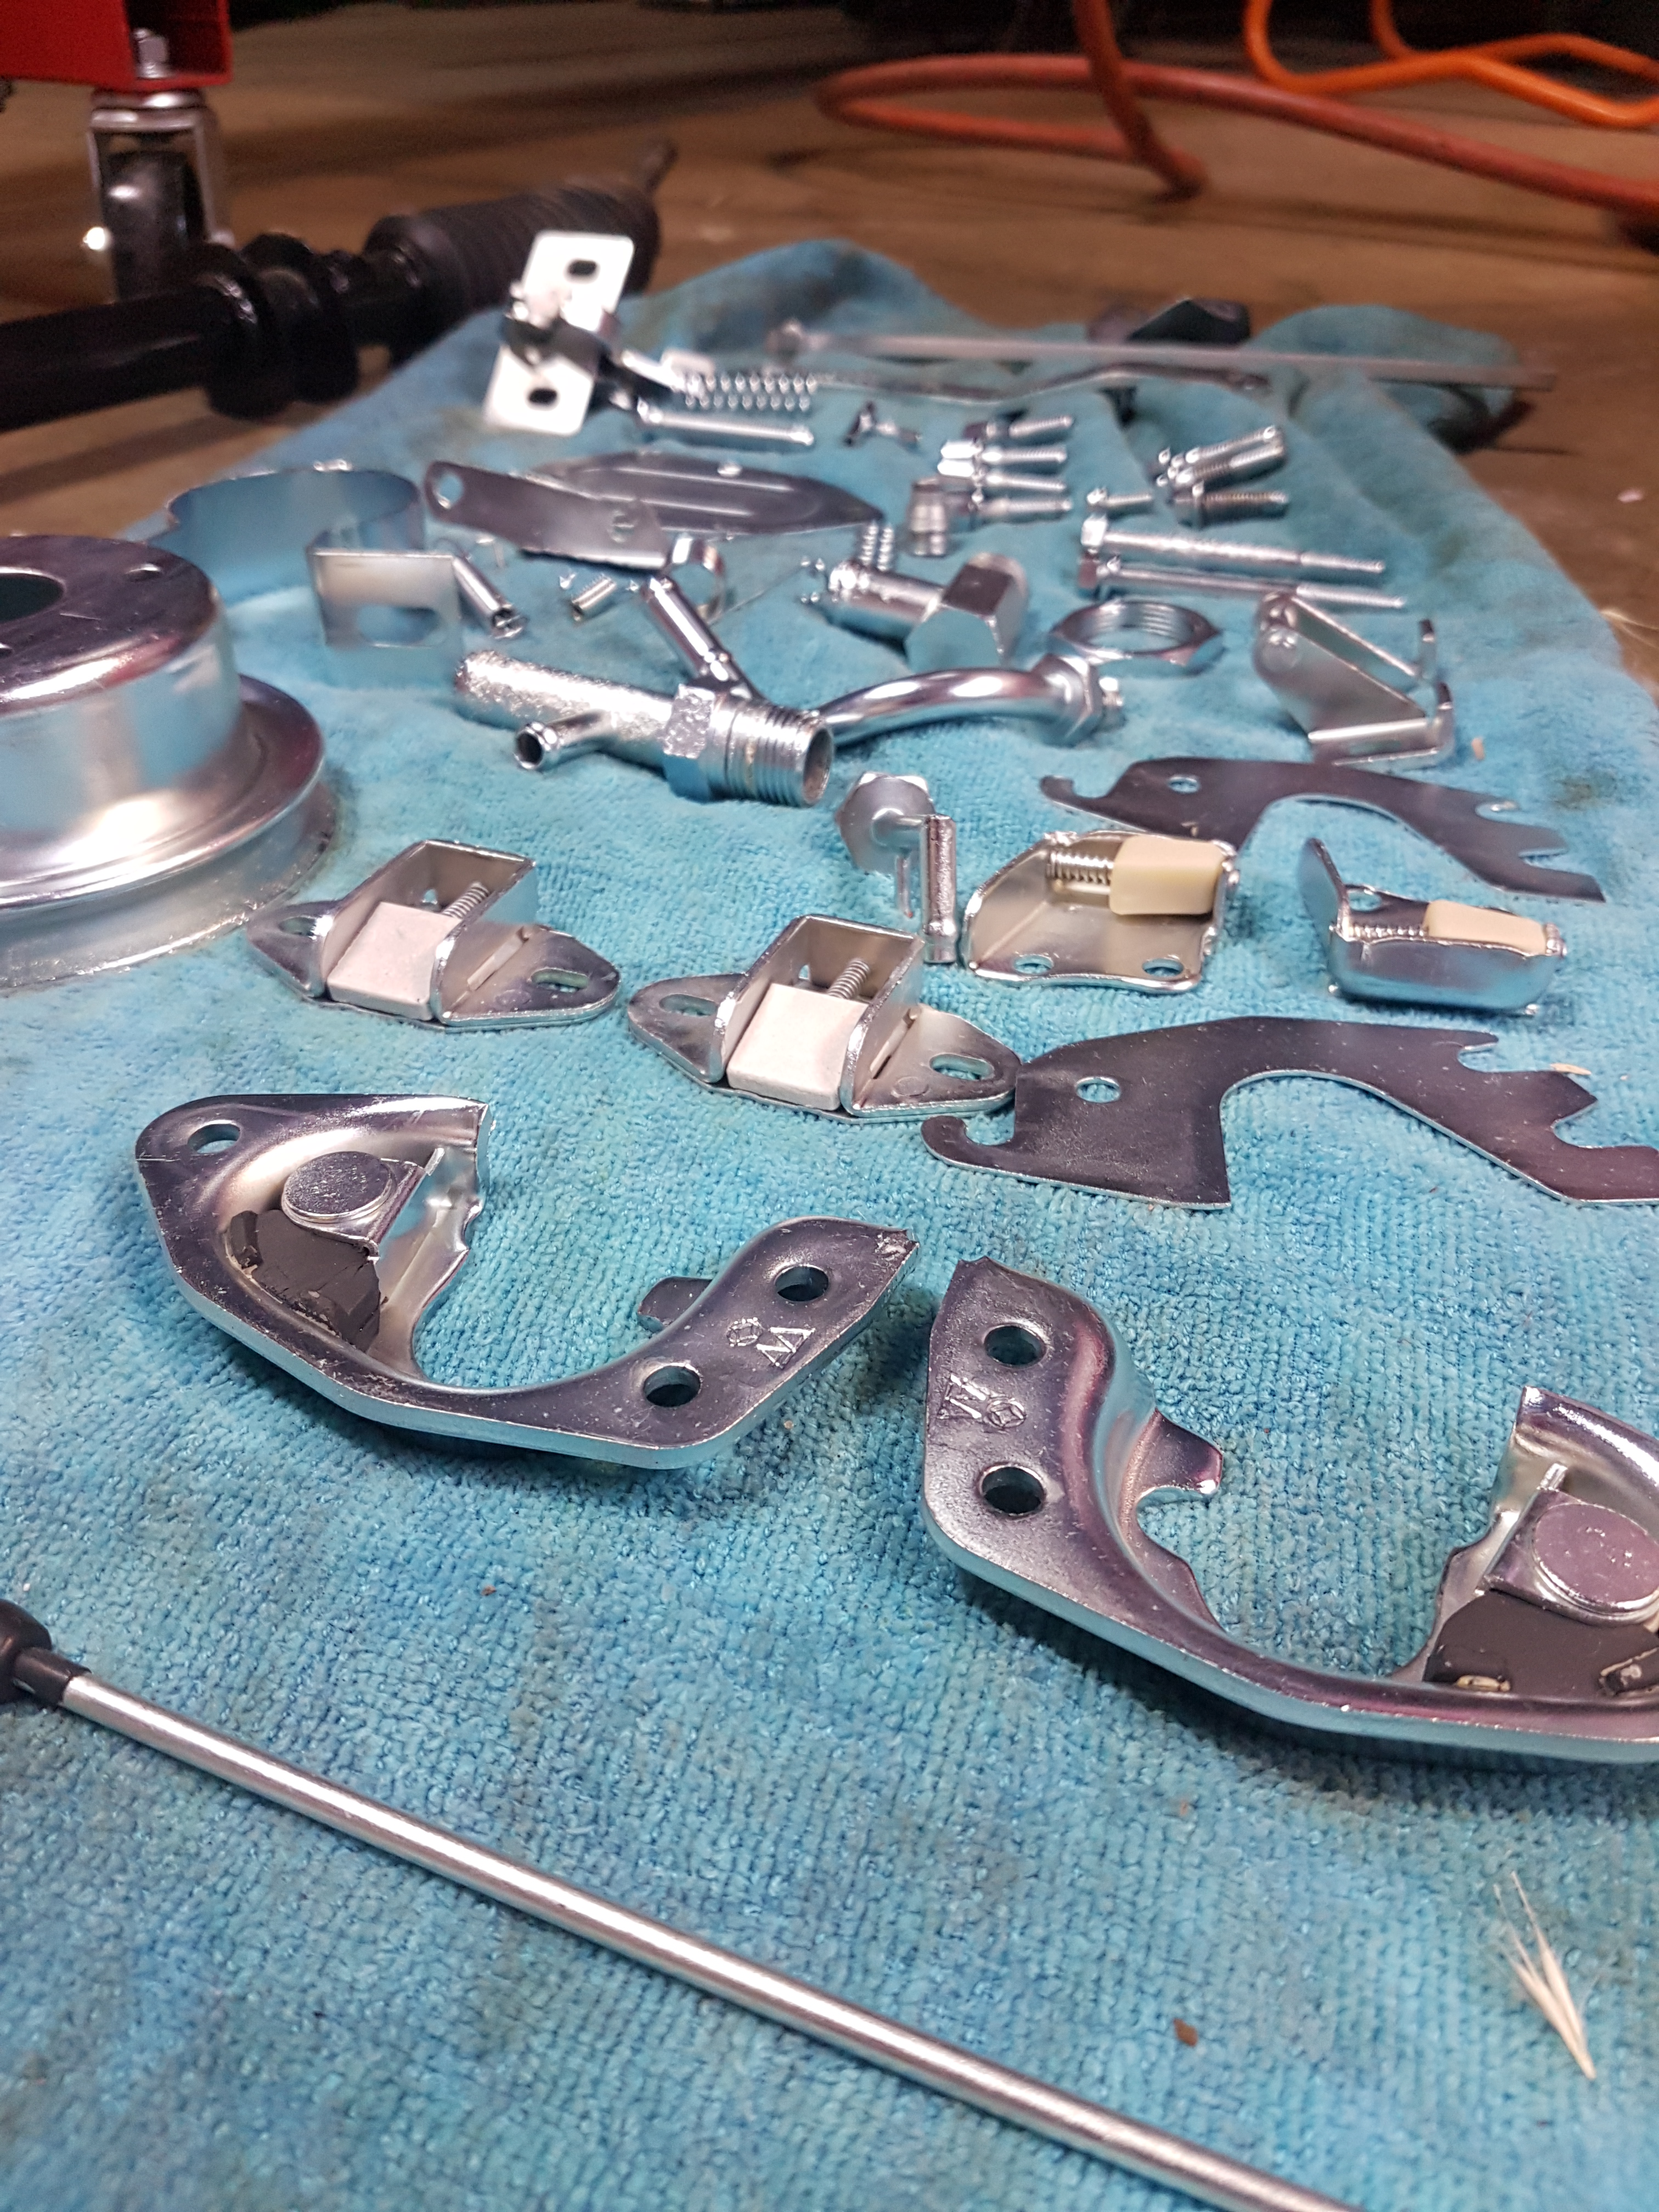
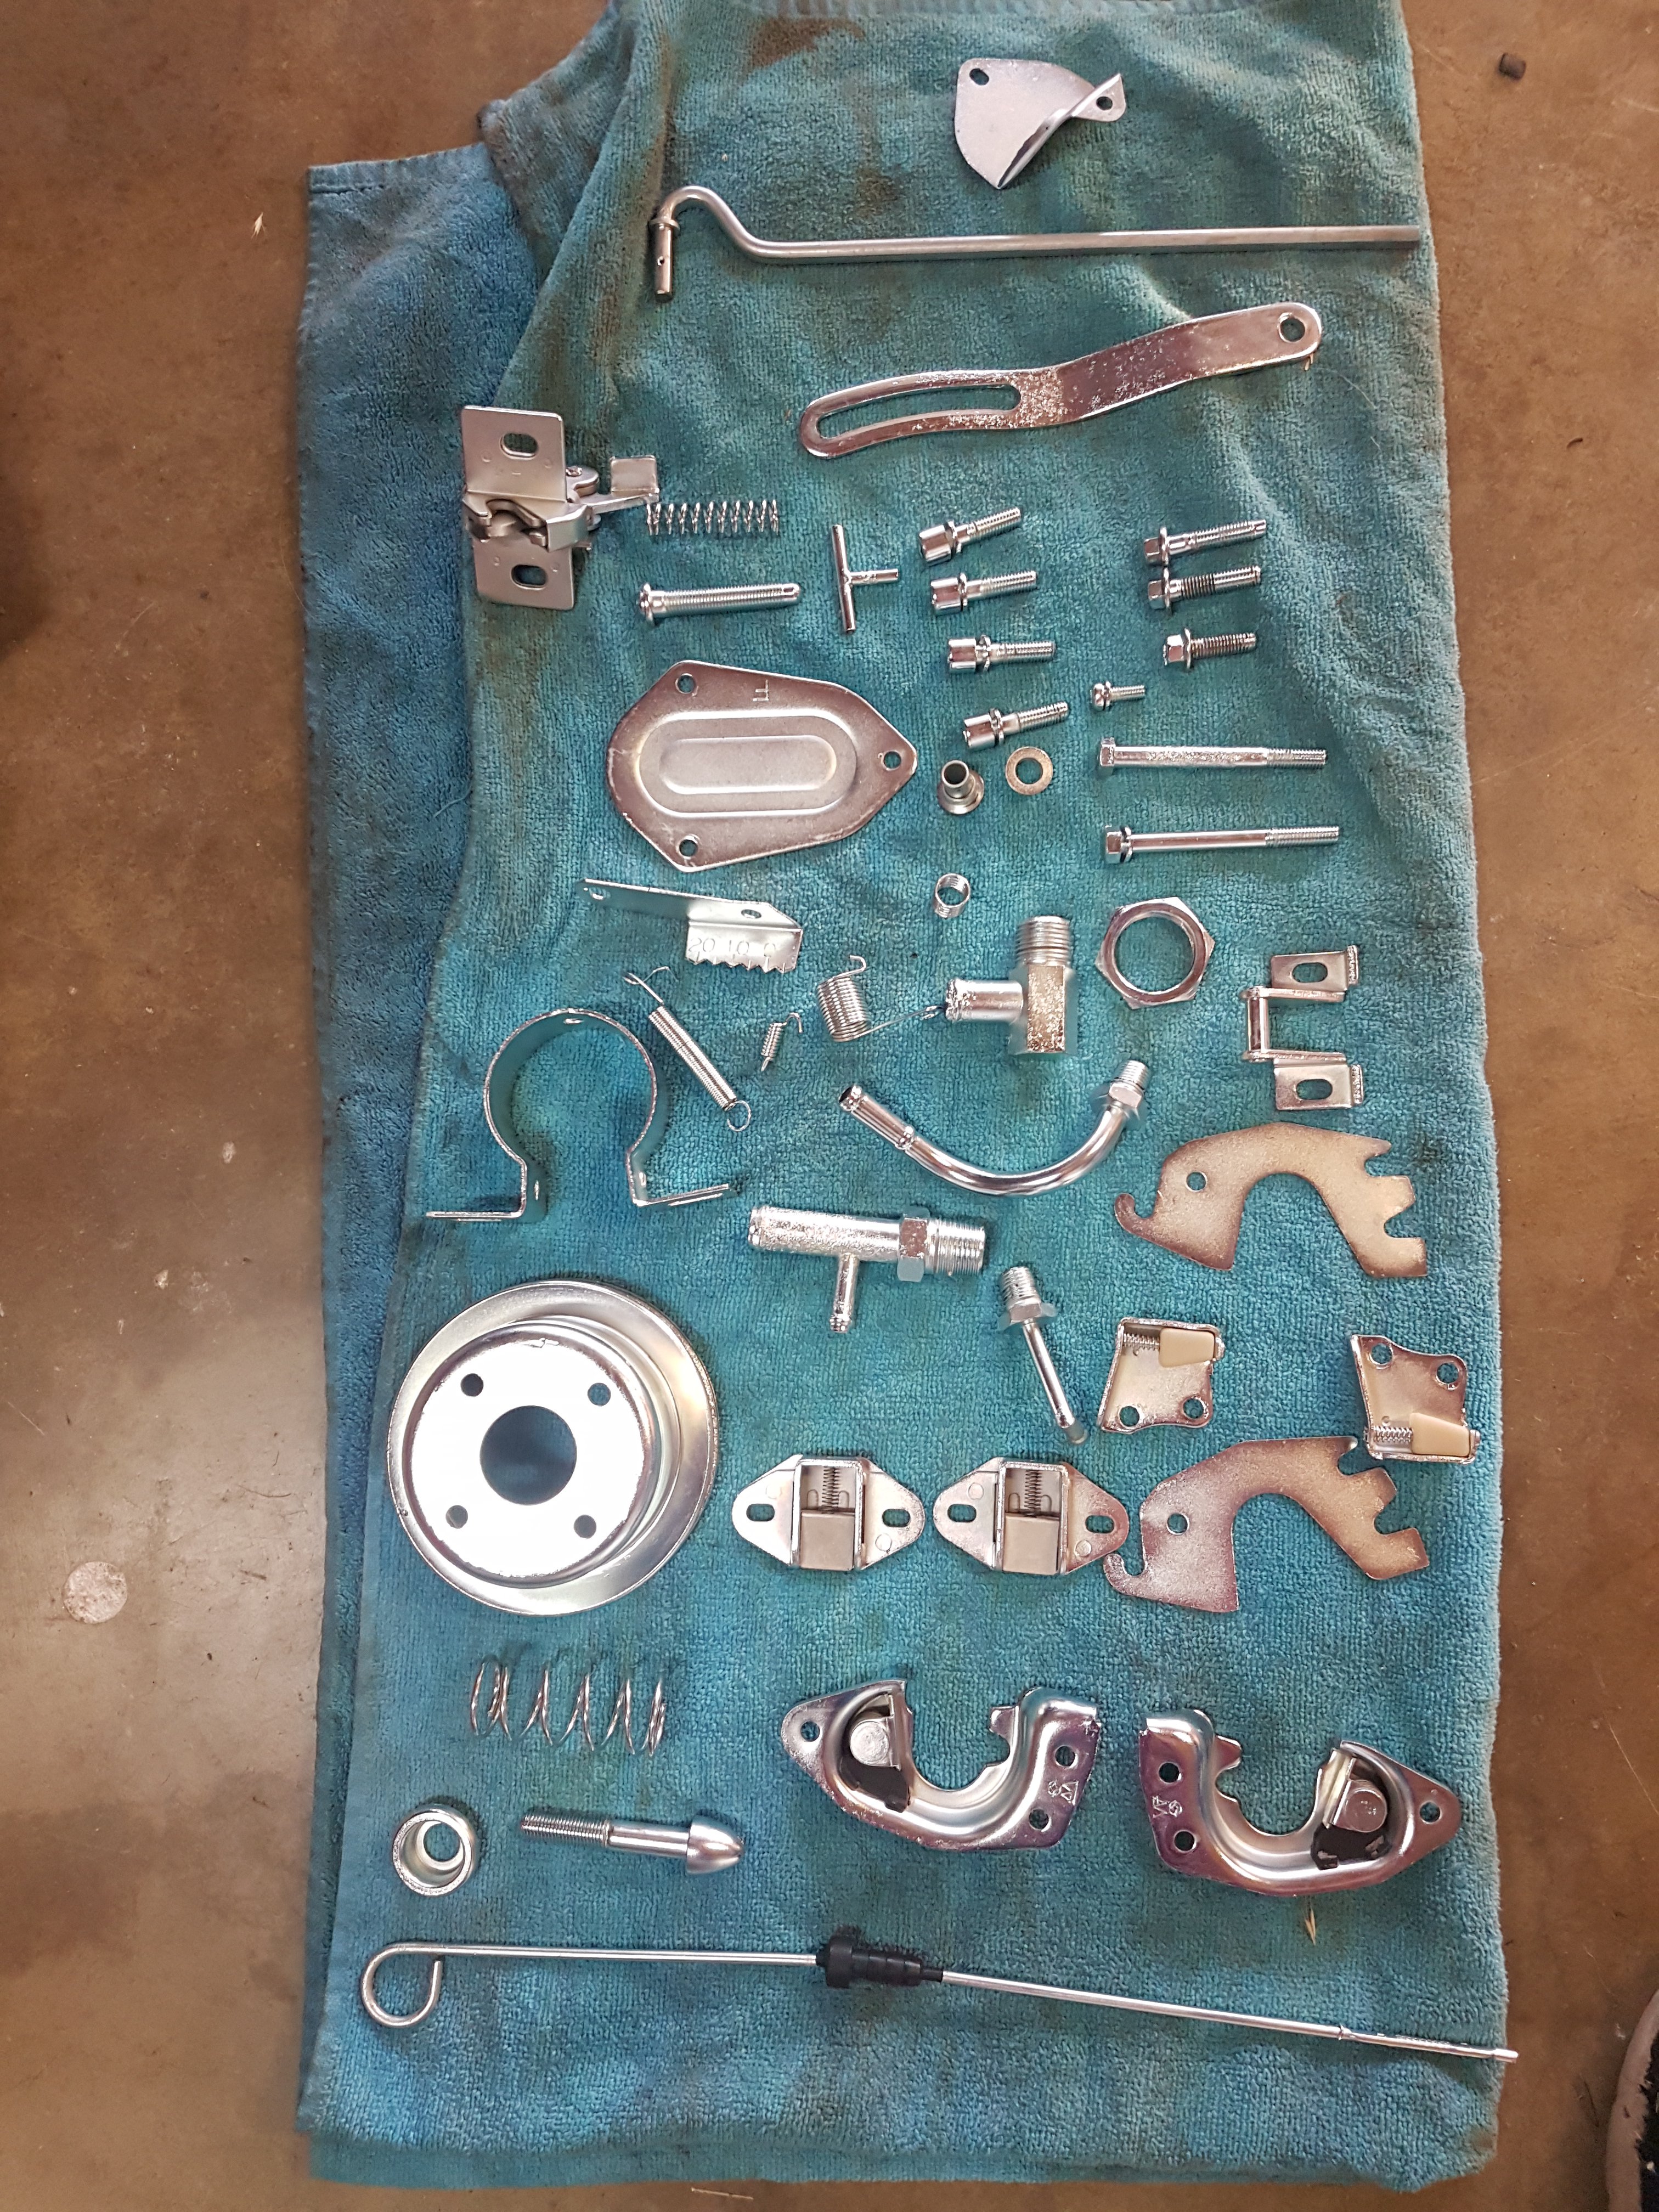
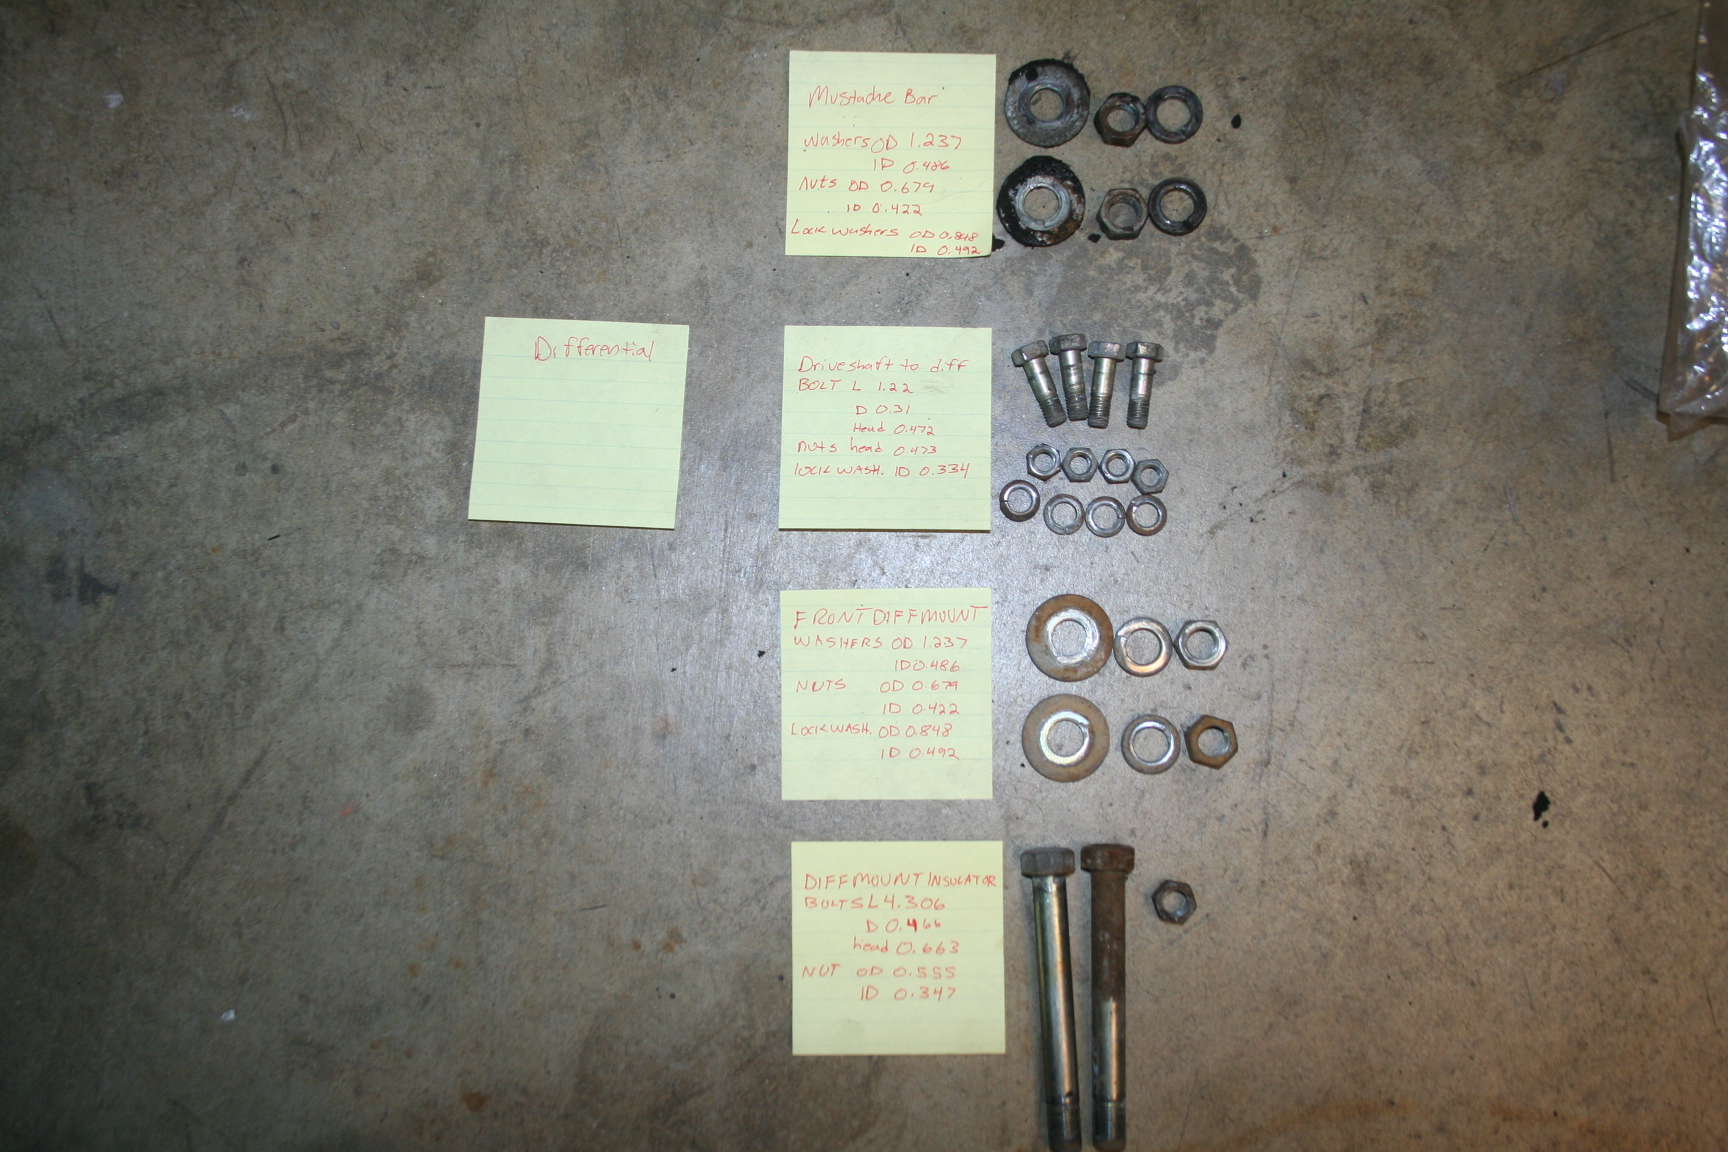
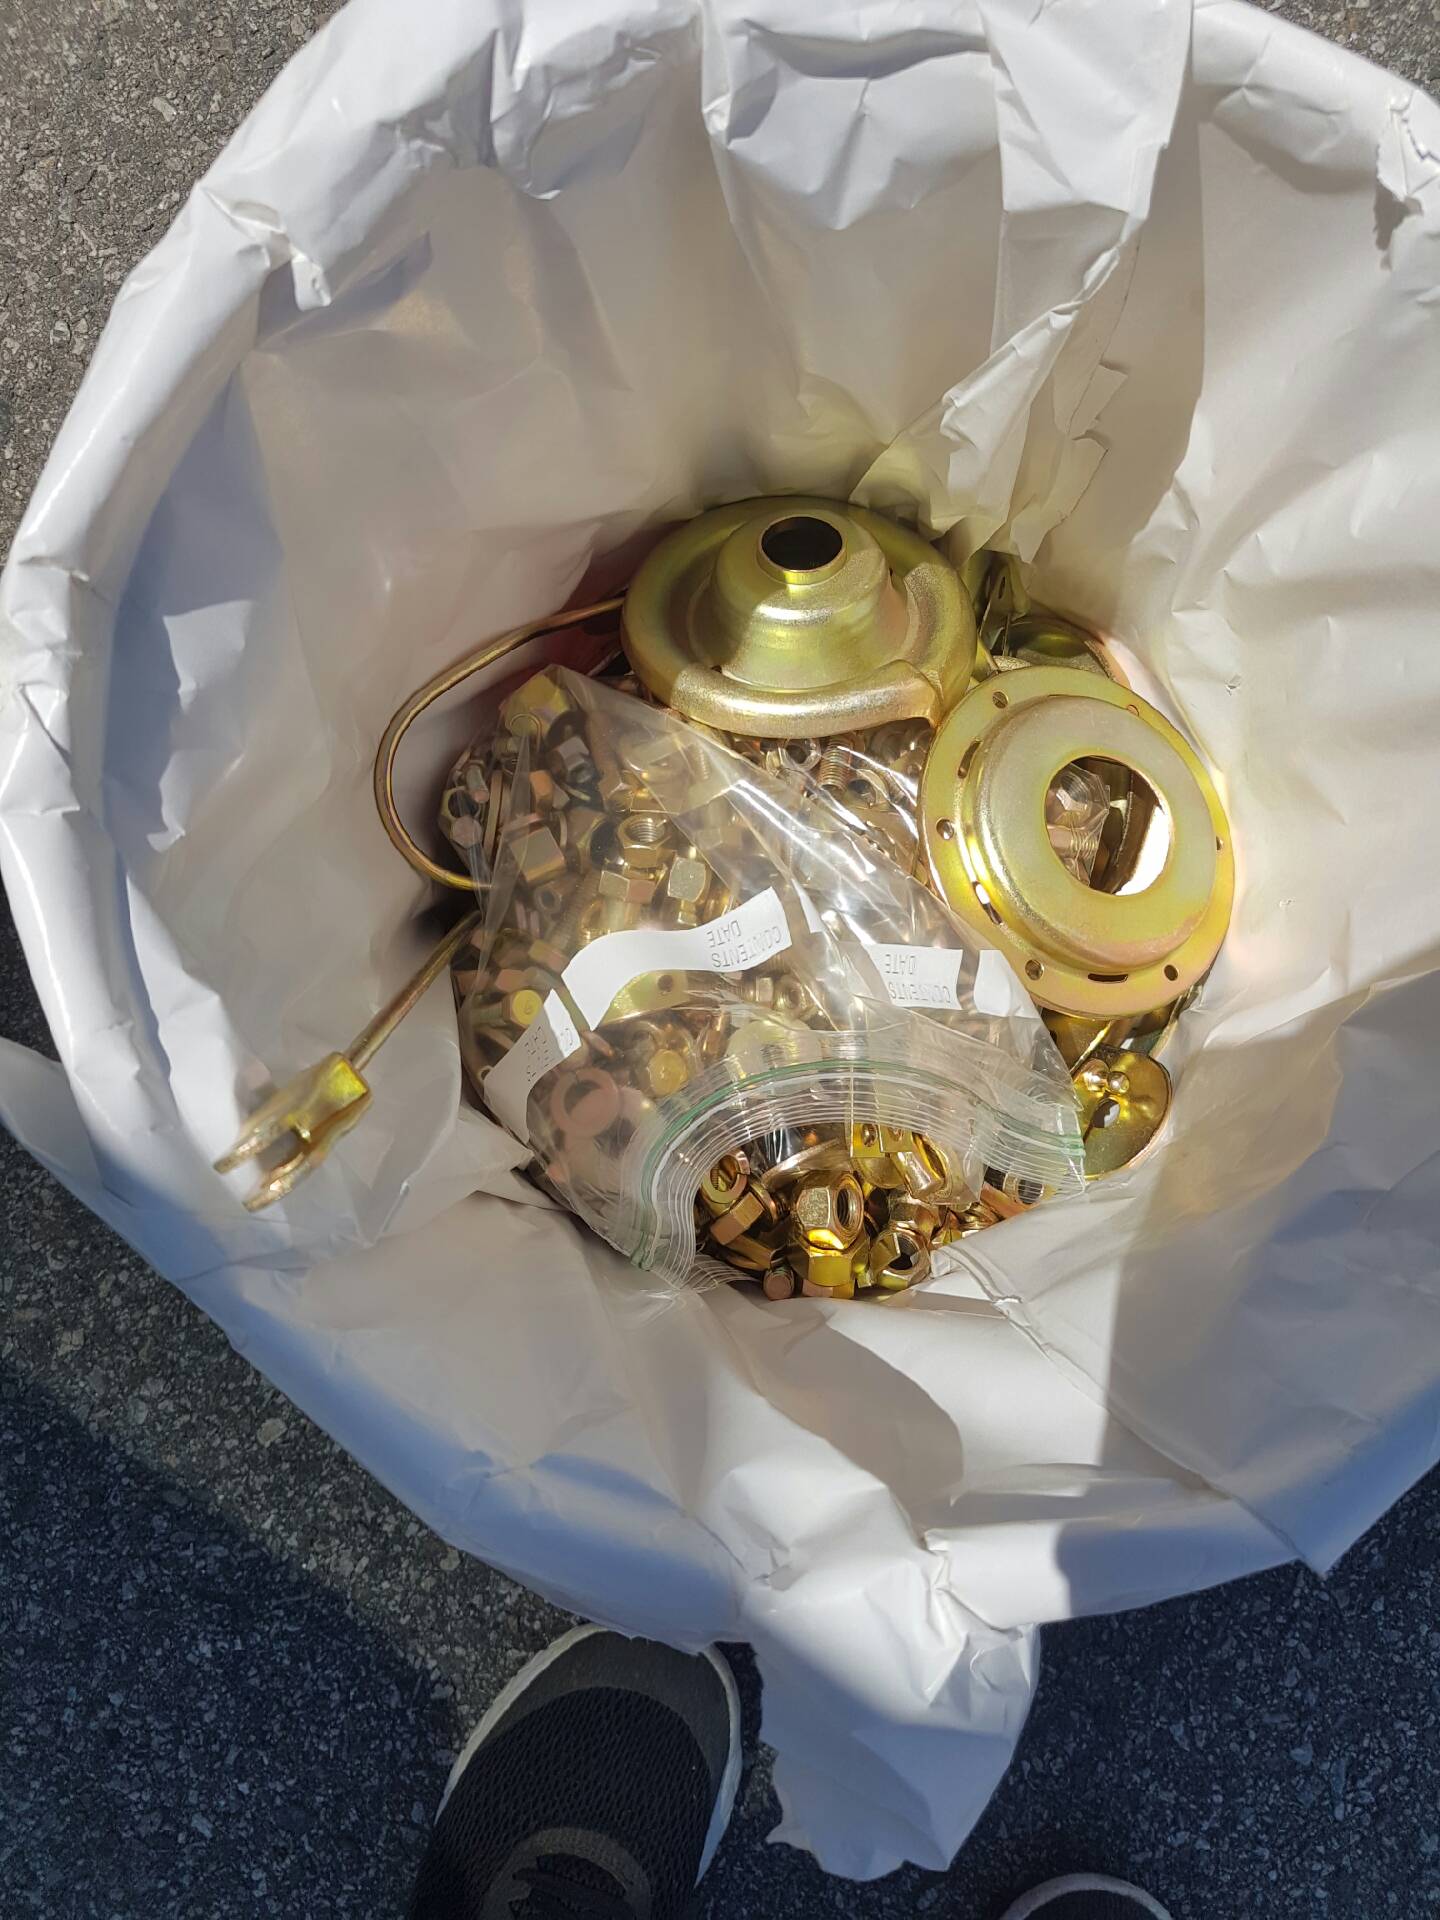
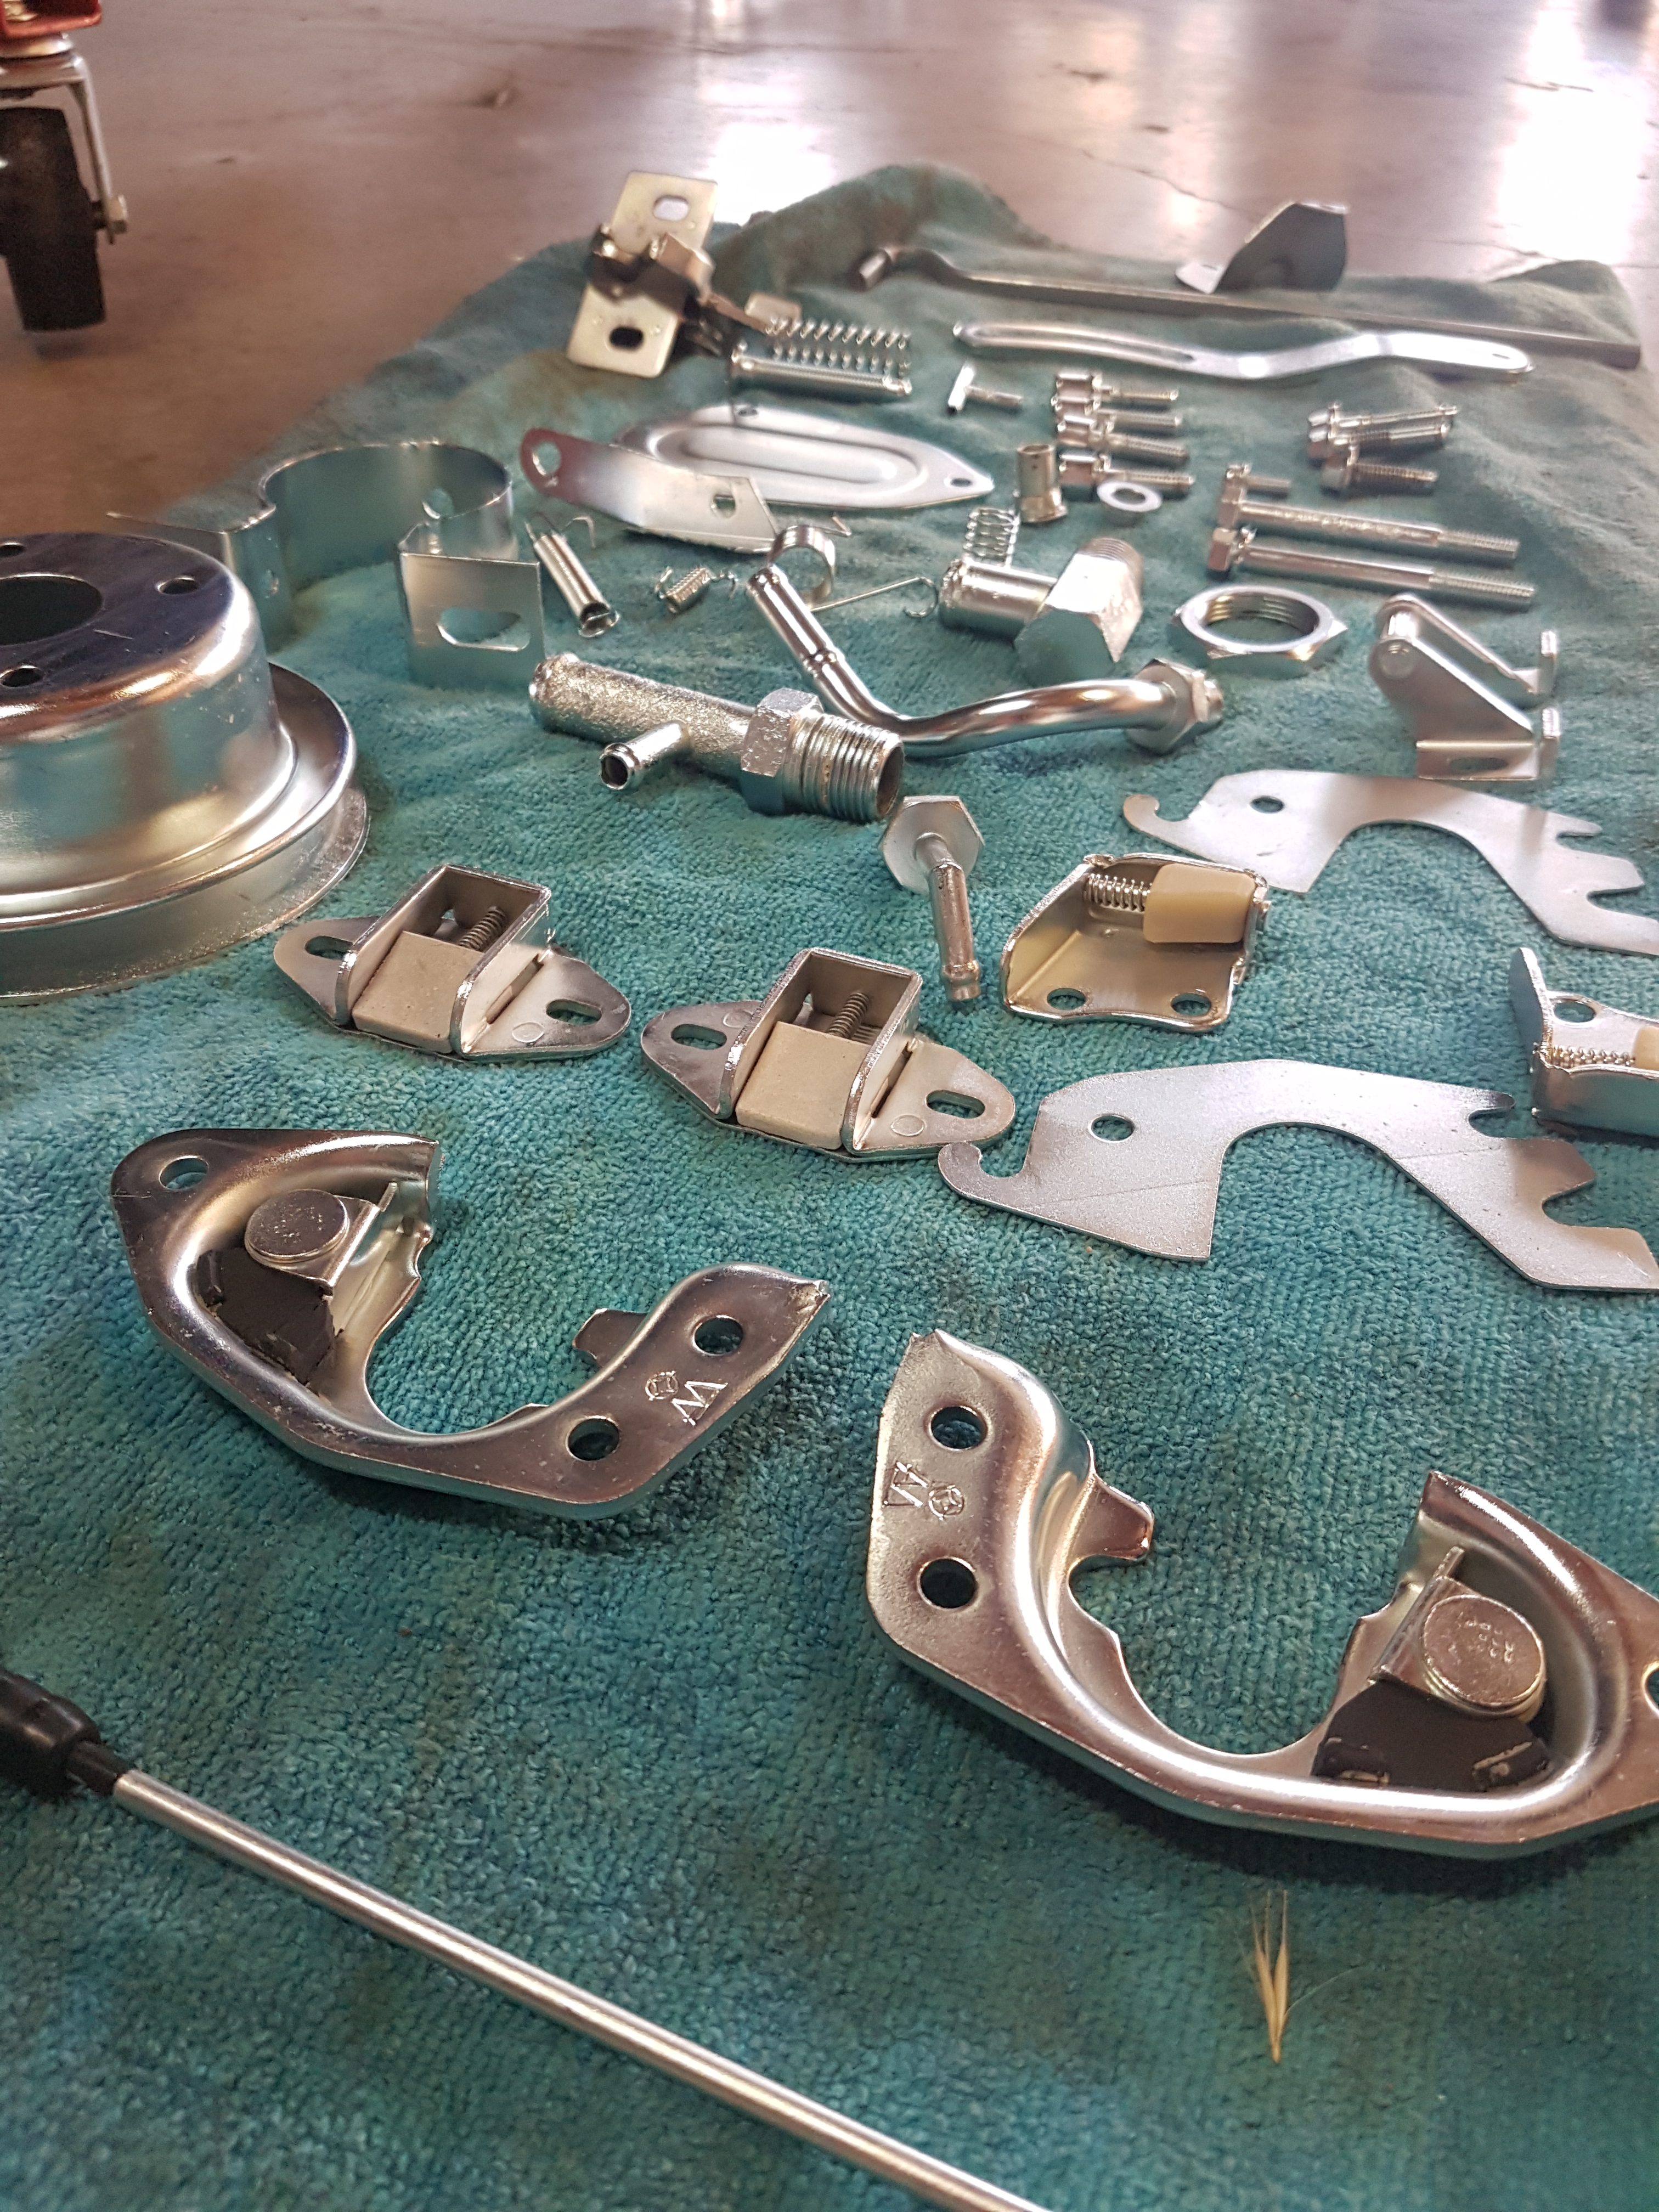
Sent out some parts to get zinc plated and yellow cad plated. I measured and wrote down the dimensions of every single fastener and part that was going to get plated. I then took a picture of that with the part. That's how I was going to track where everything went. To clean most of these parts I set up a muriatic acid bath, a water rinse, a baking soda neutralizing rinse, and another water rinse. Most parts went through that and then were coated with ATF. Some parts were just sand blasted.
-
My '72 240z project -- Rotisserie Restomod
jkelly replied to jkelly's topic in S30 Series - 240z, 260z, 280z
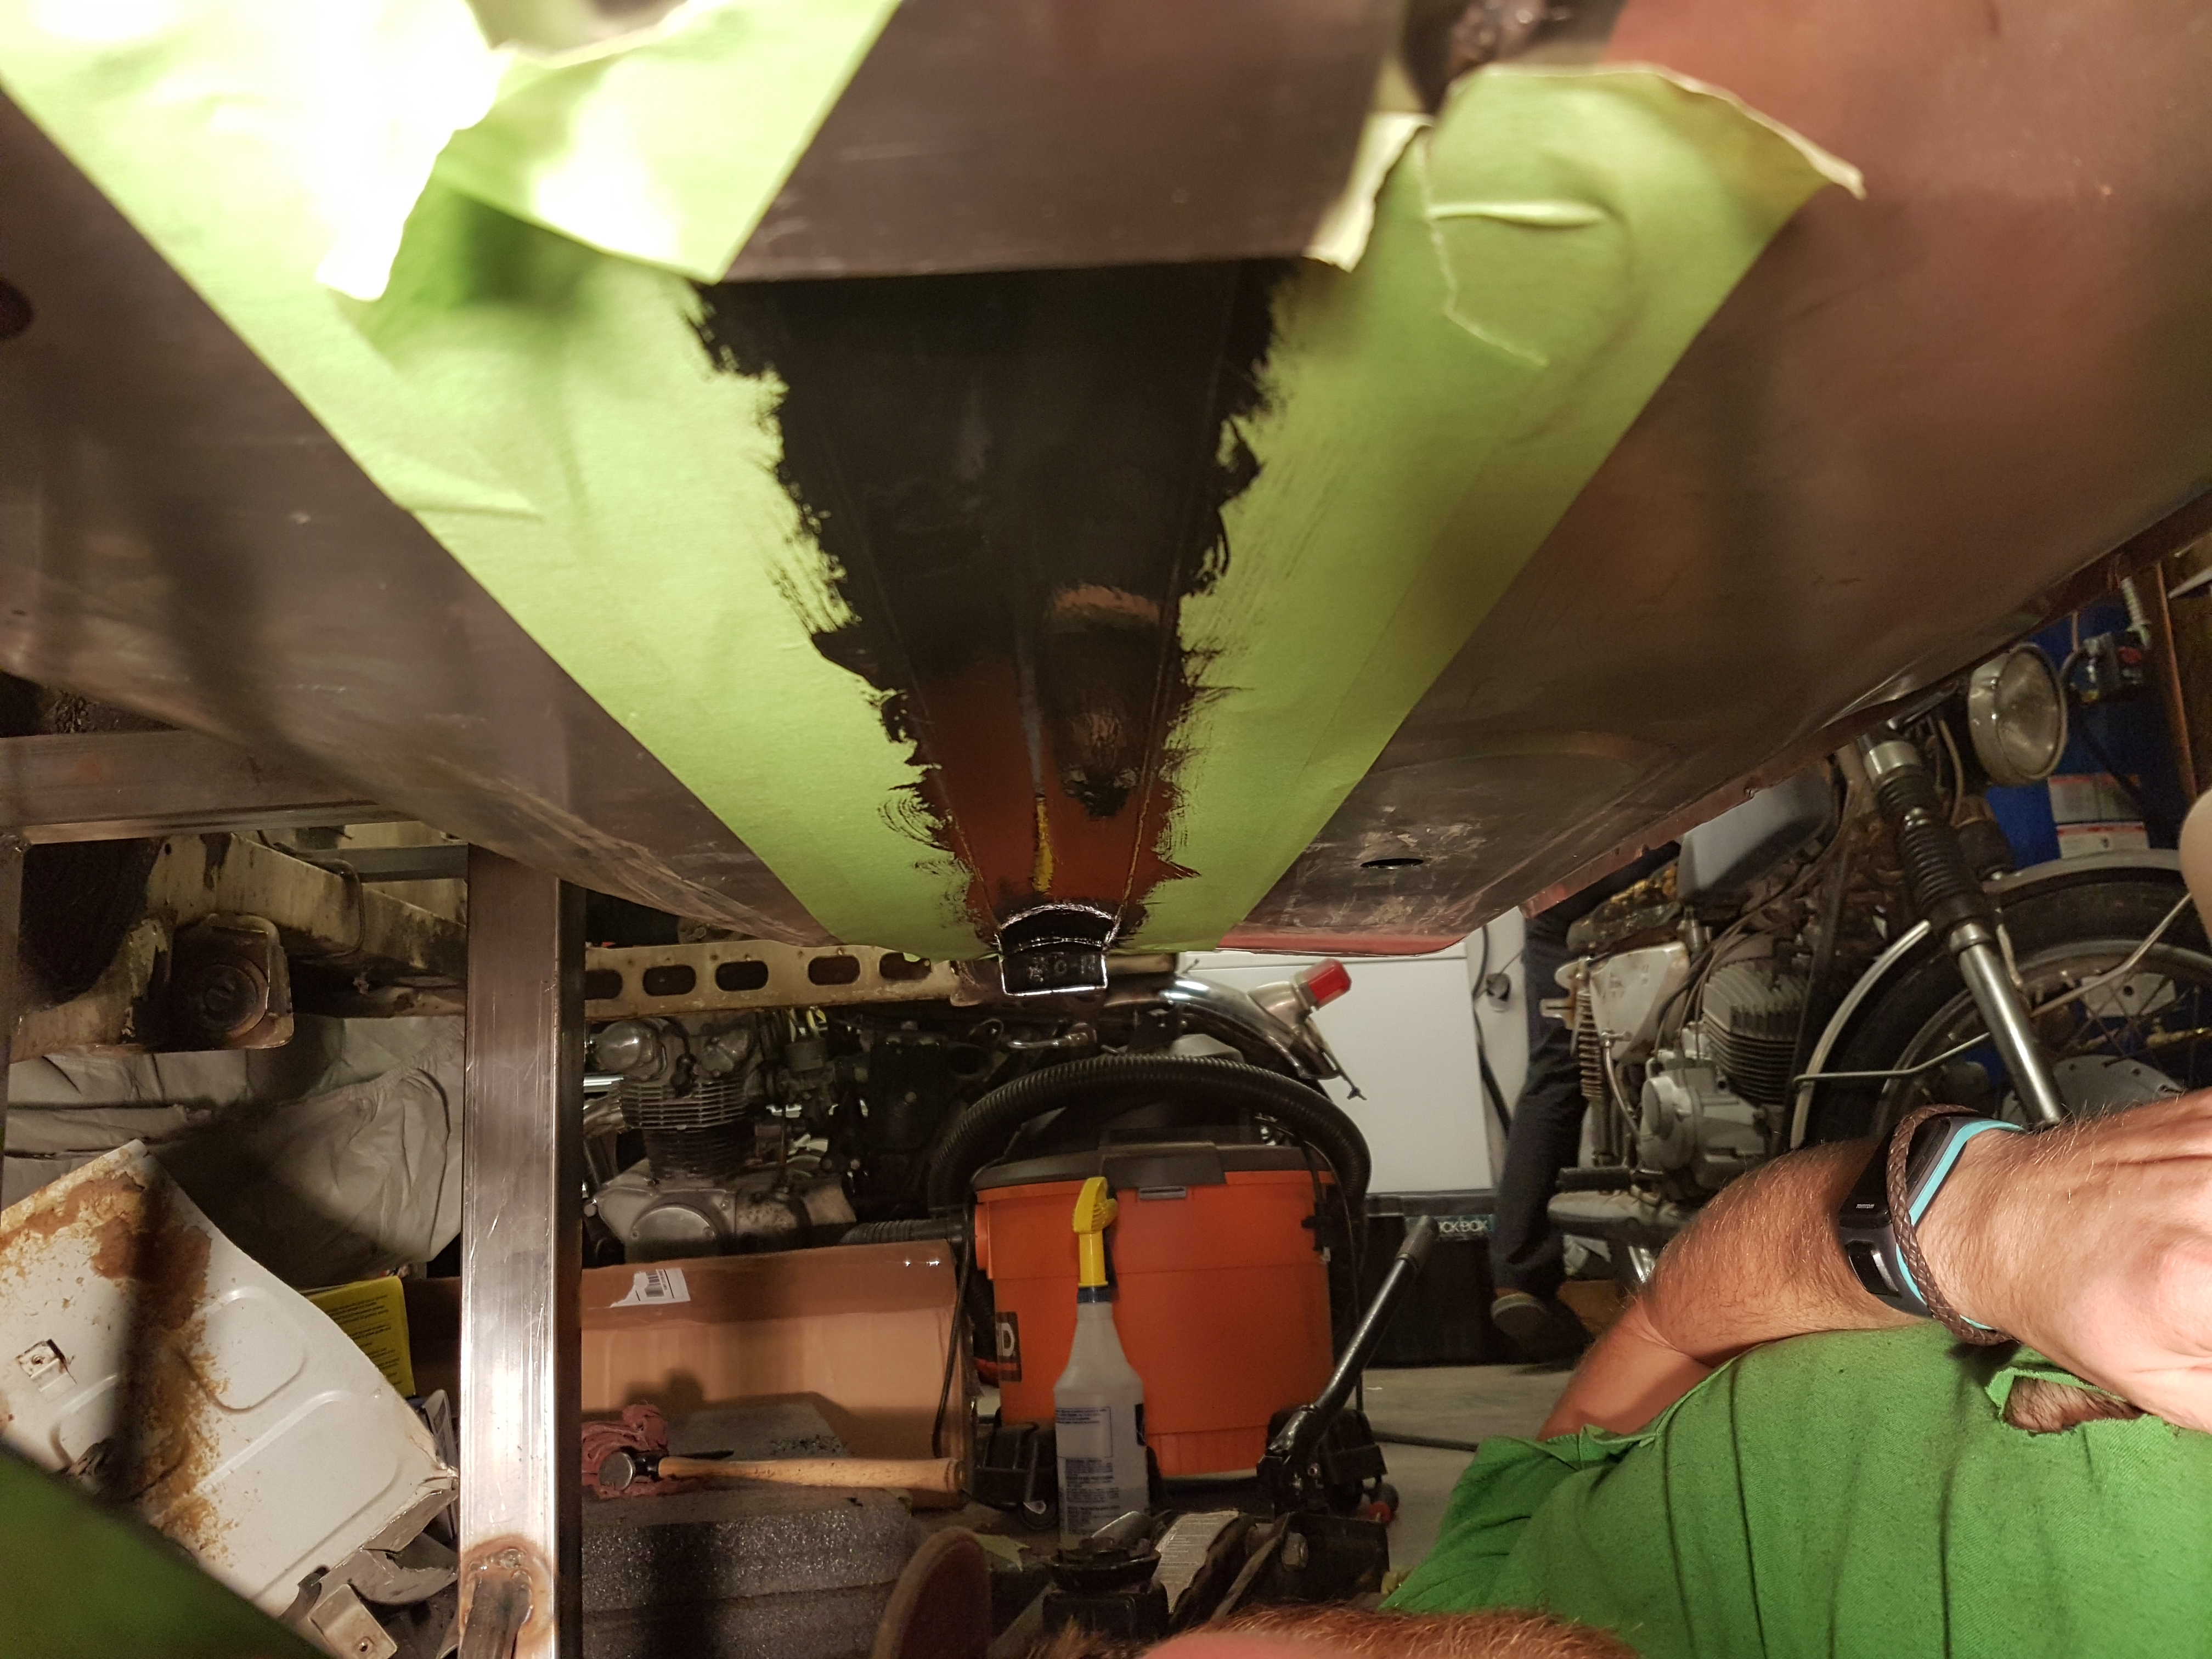
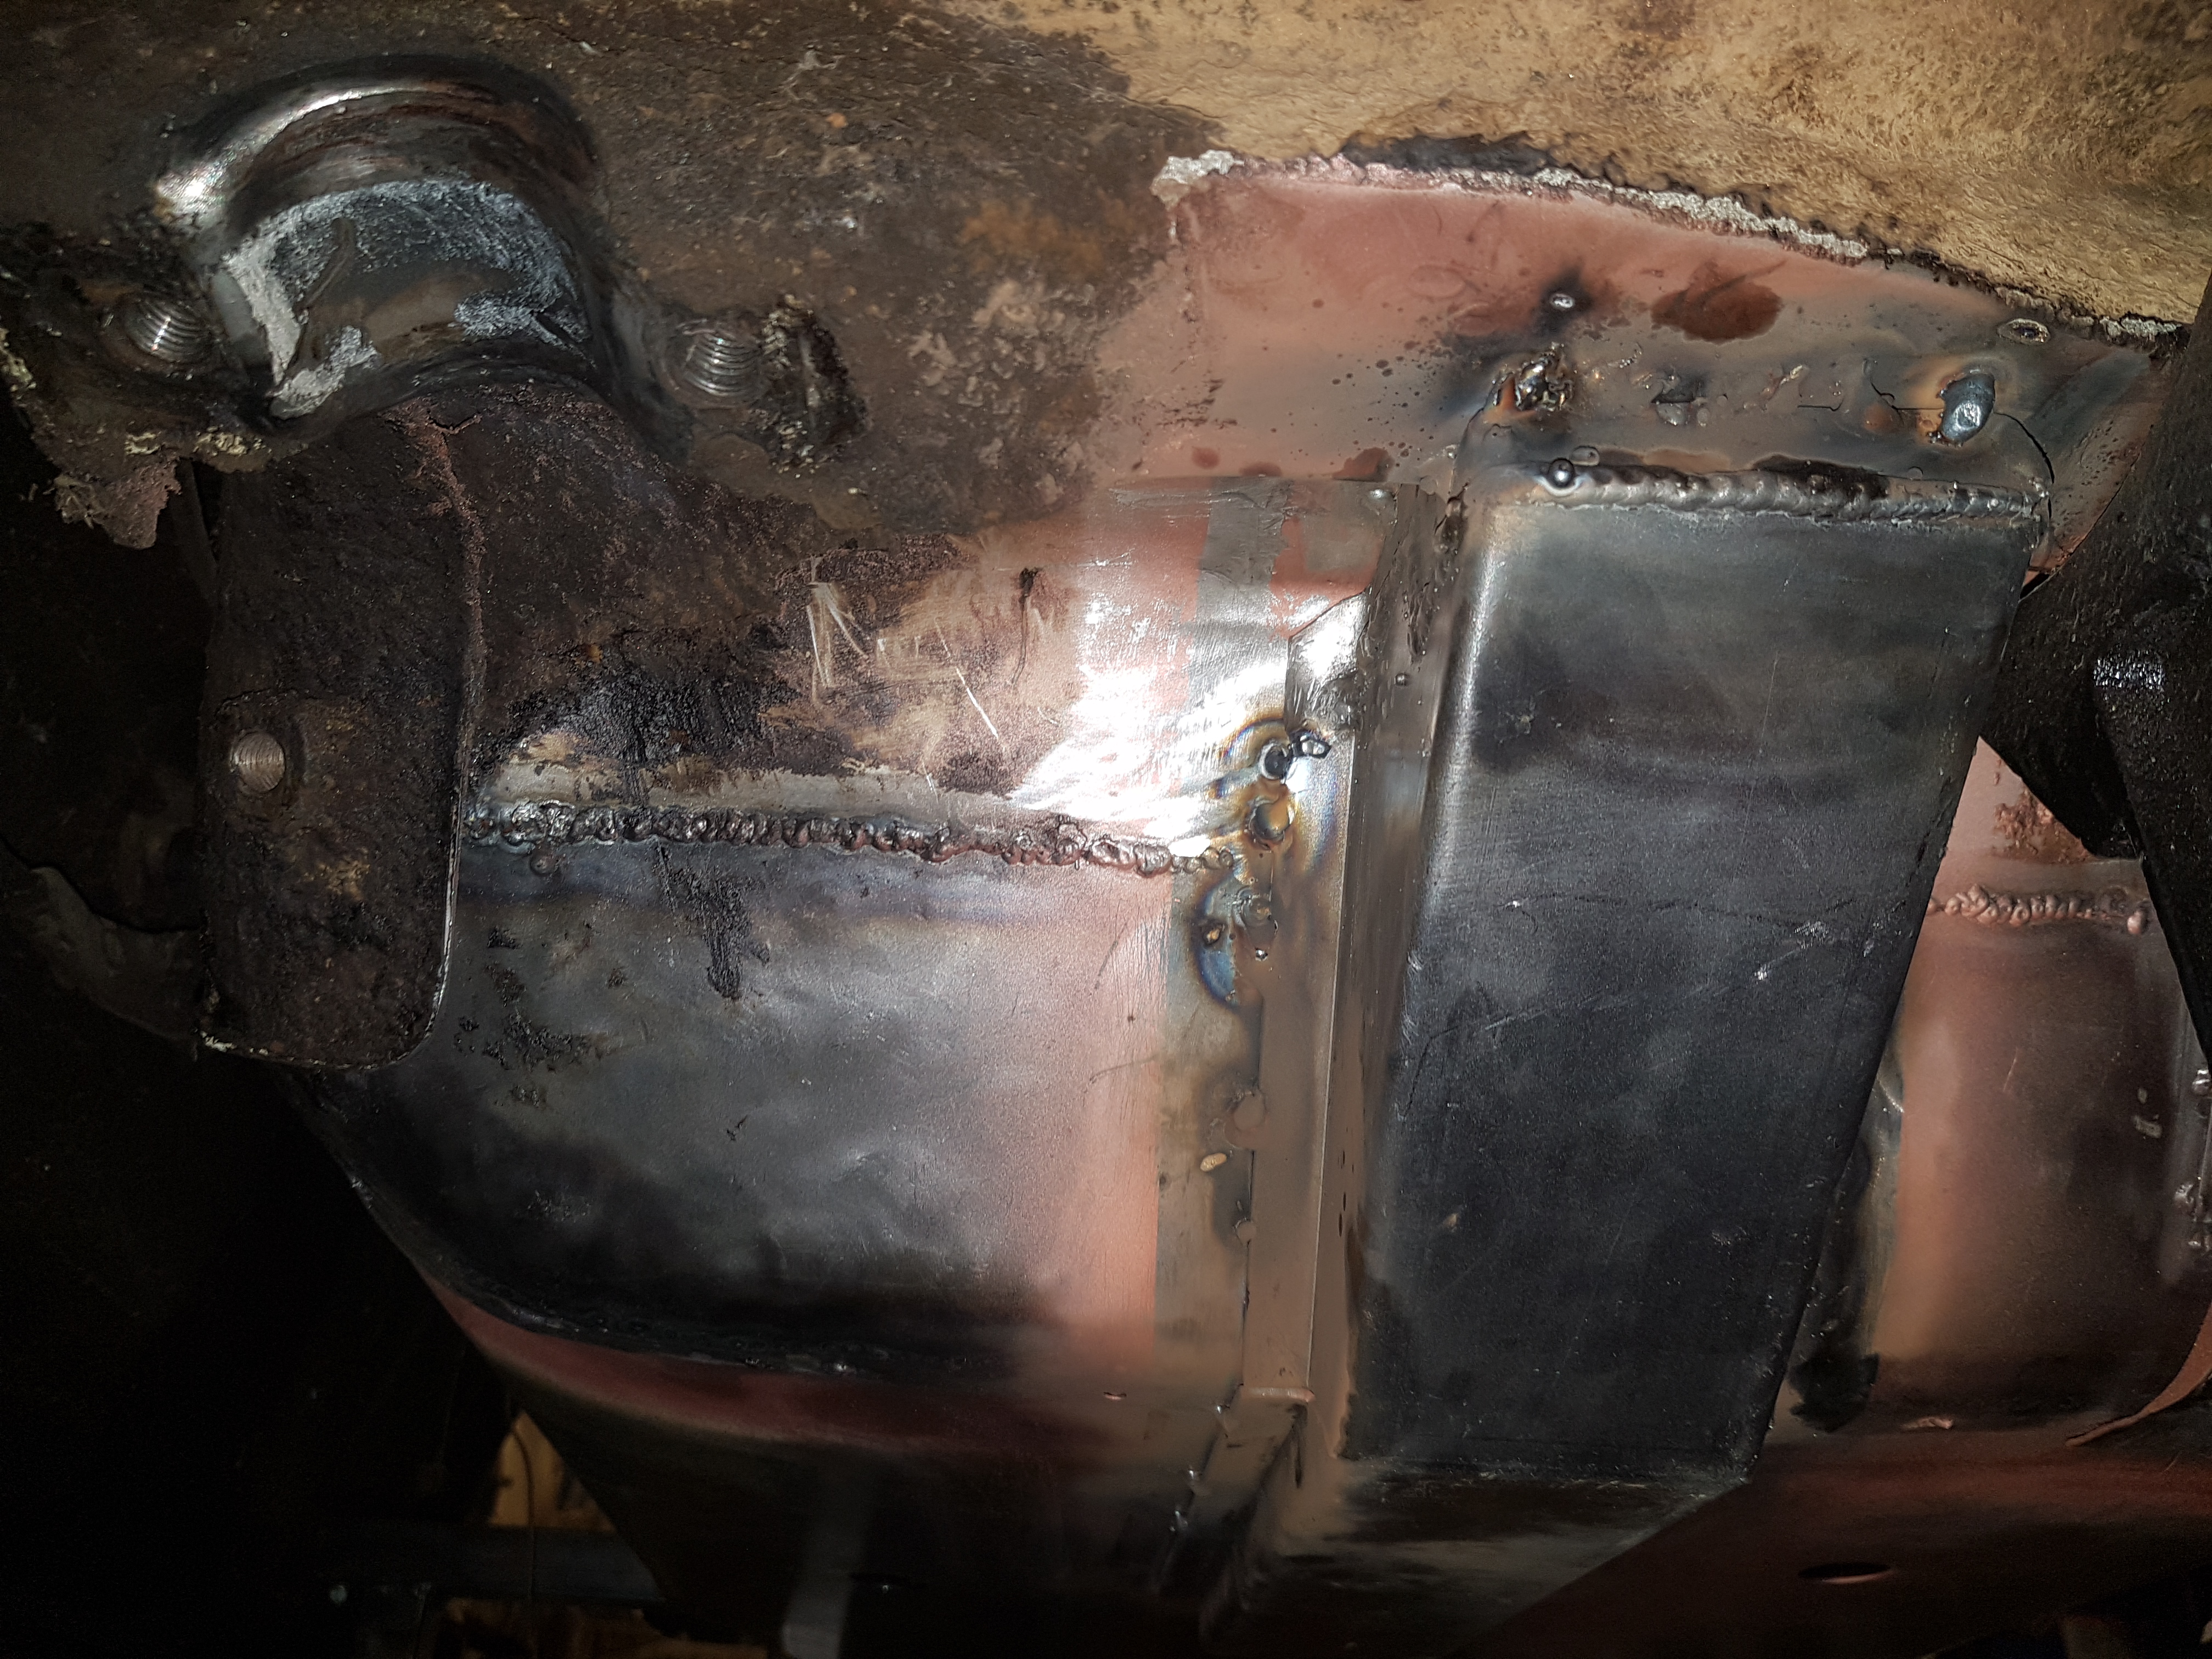
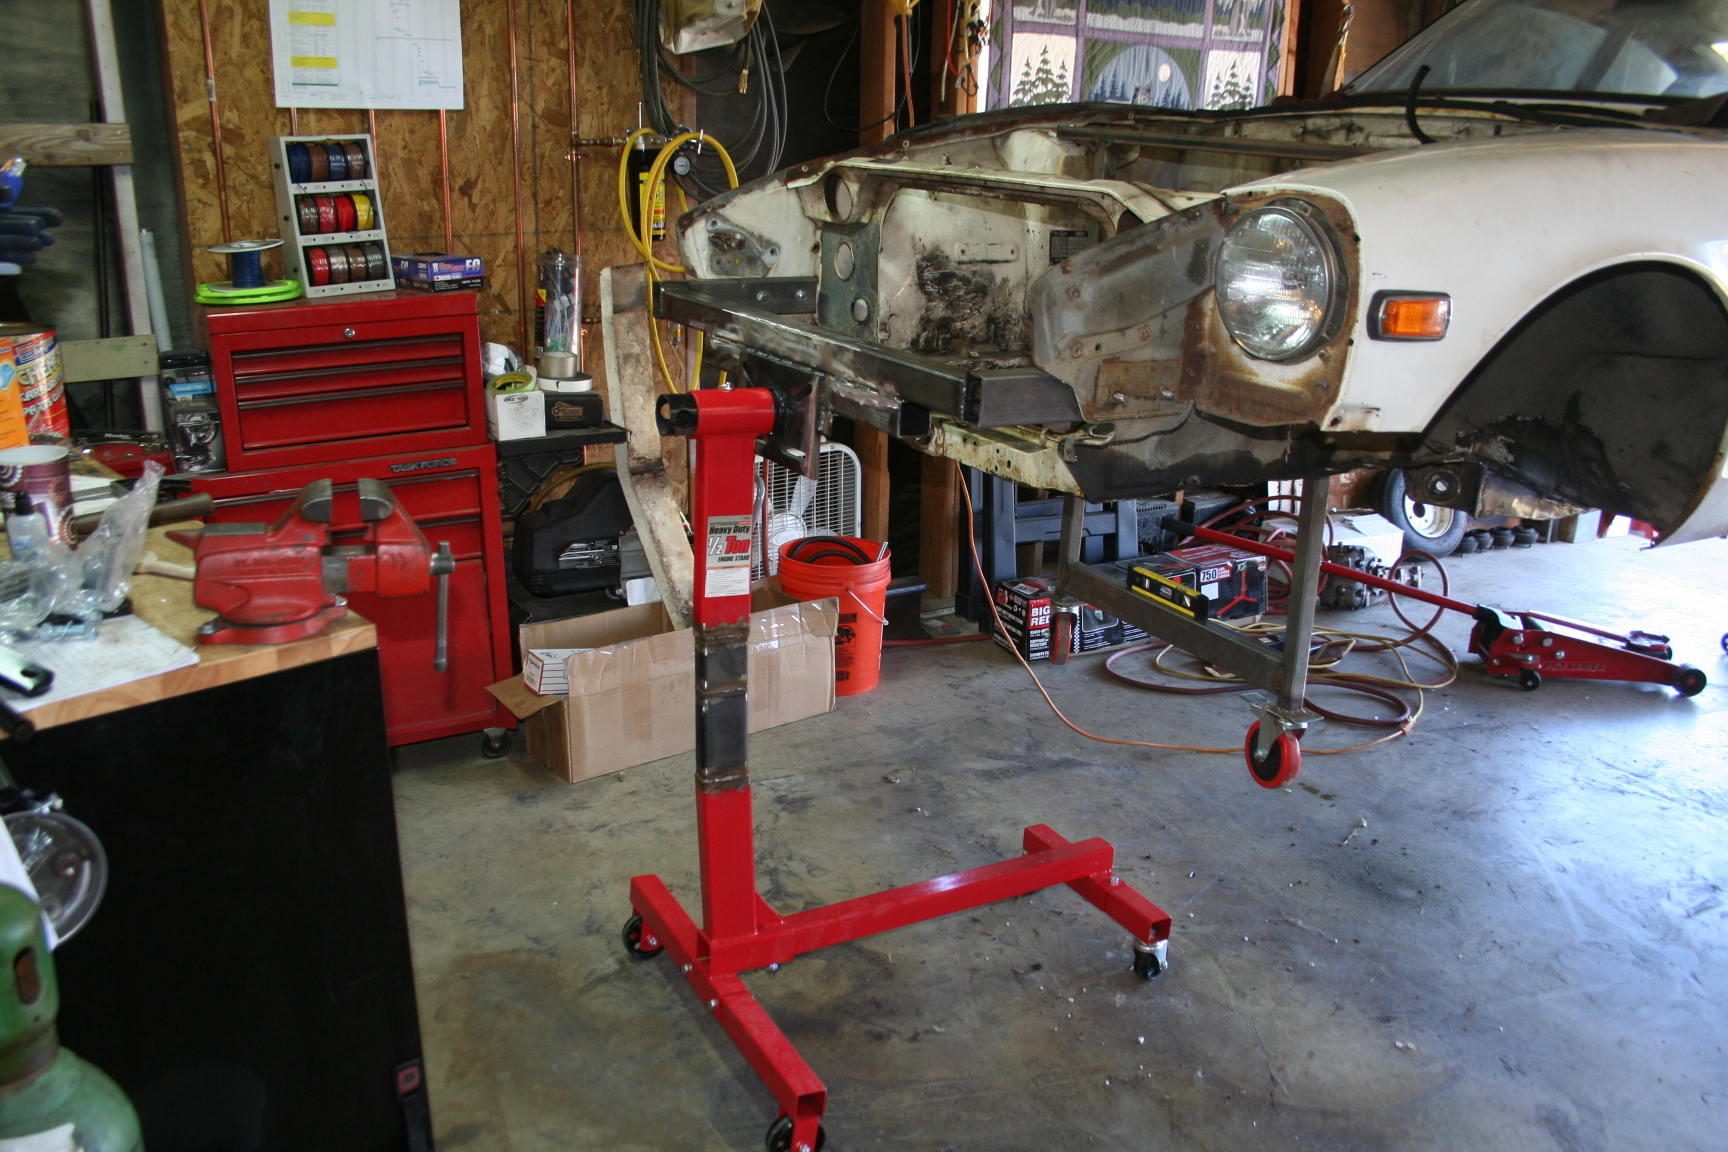
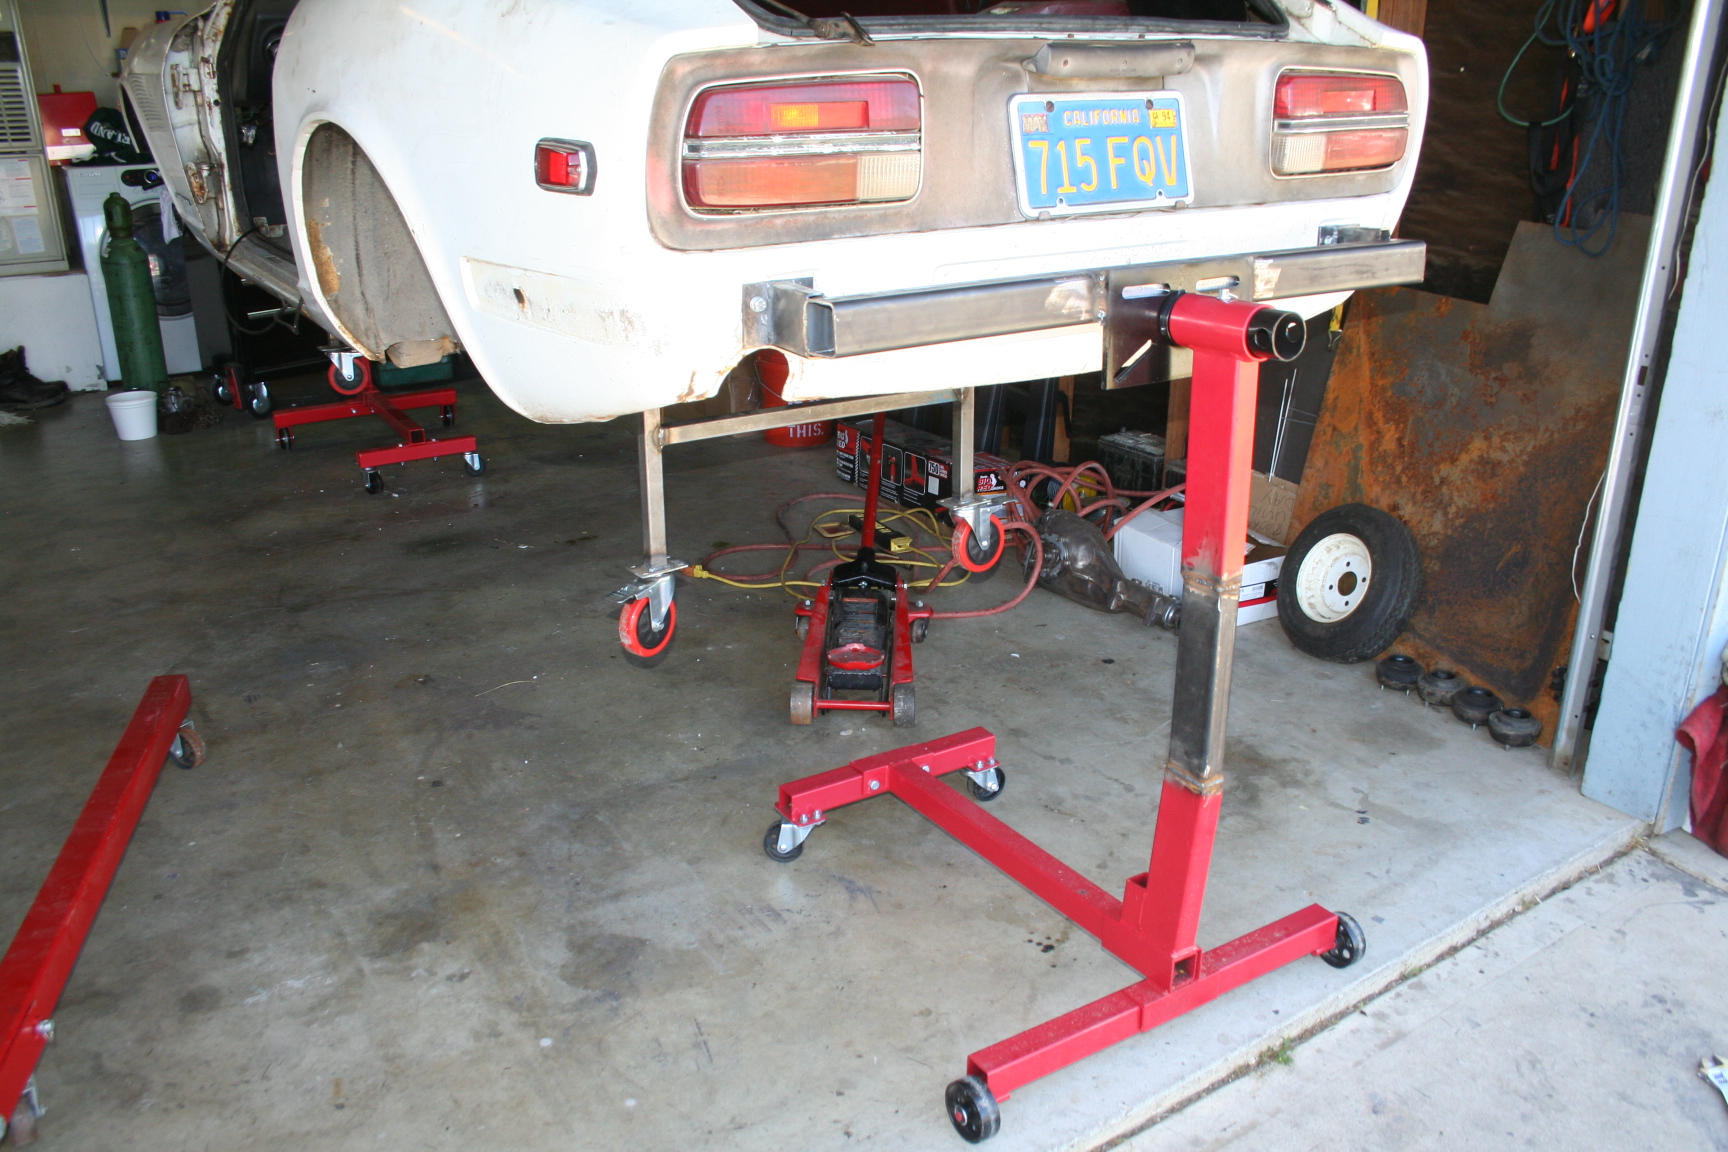
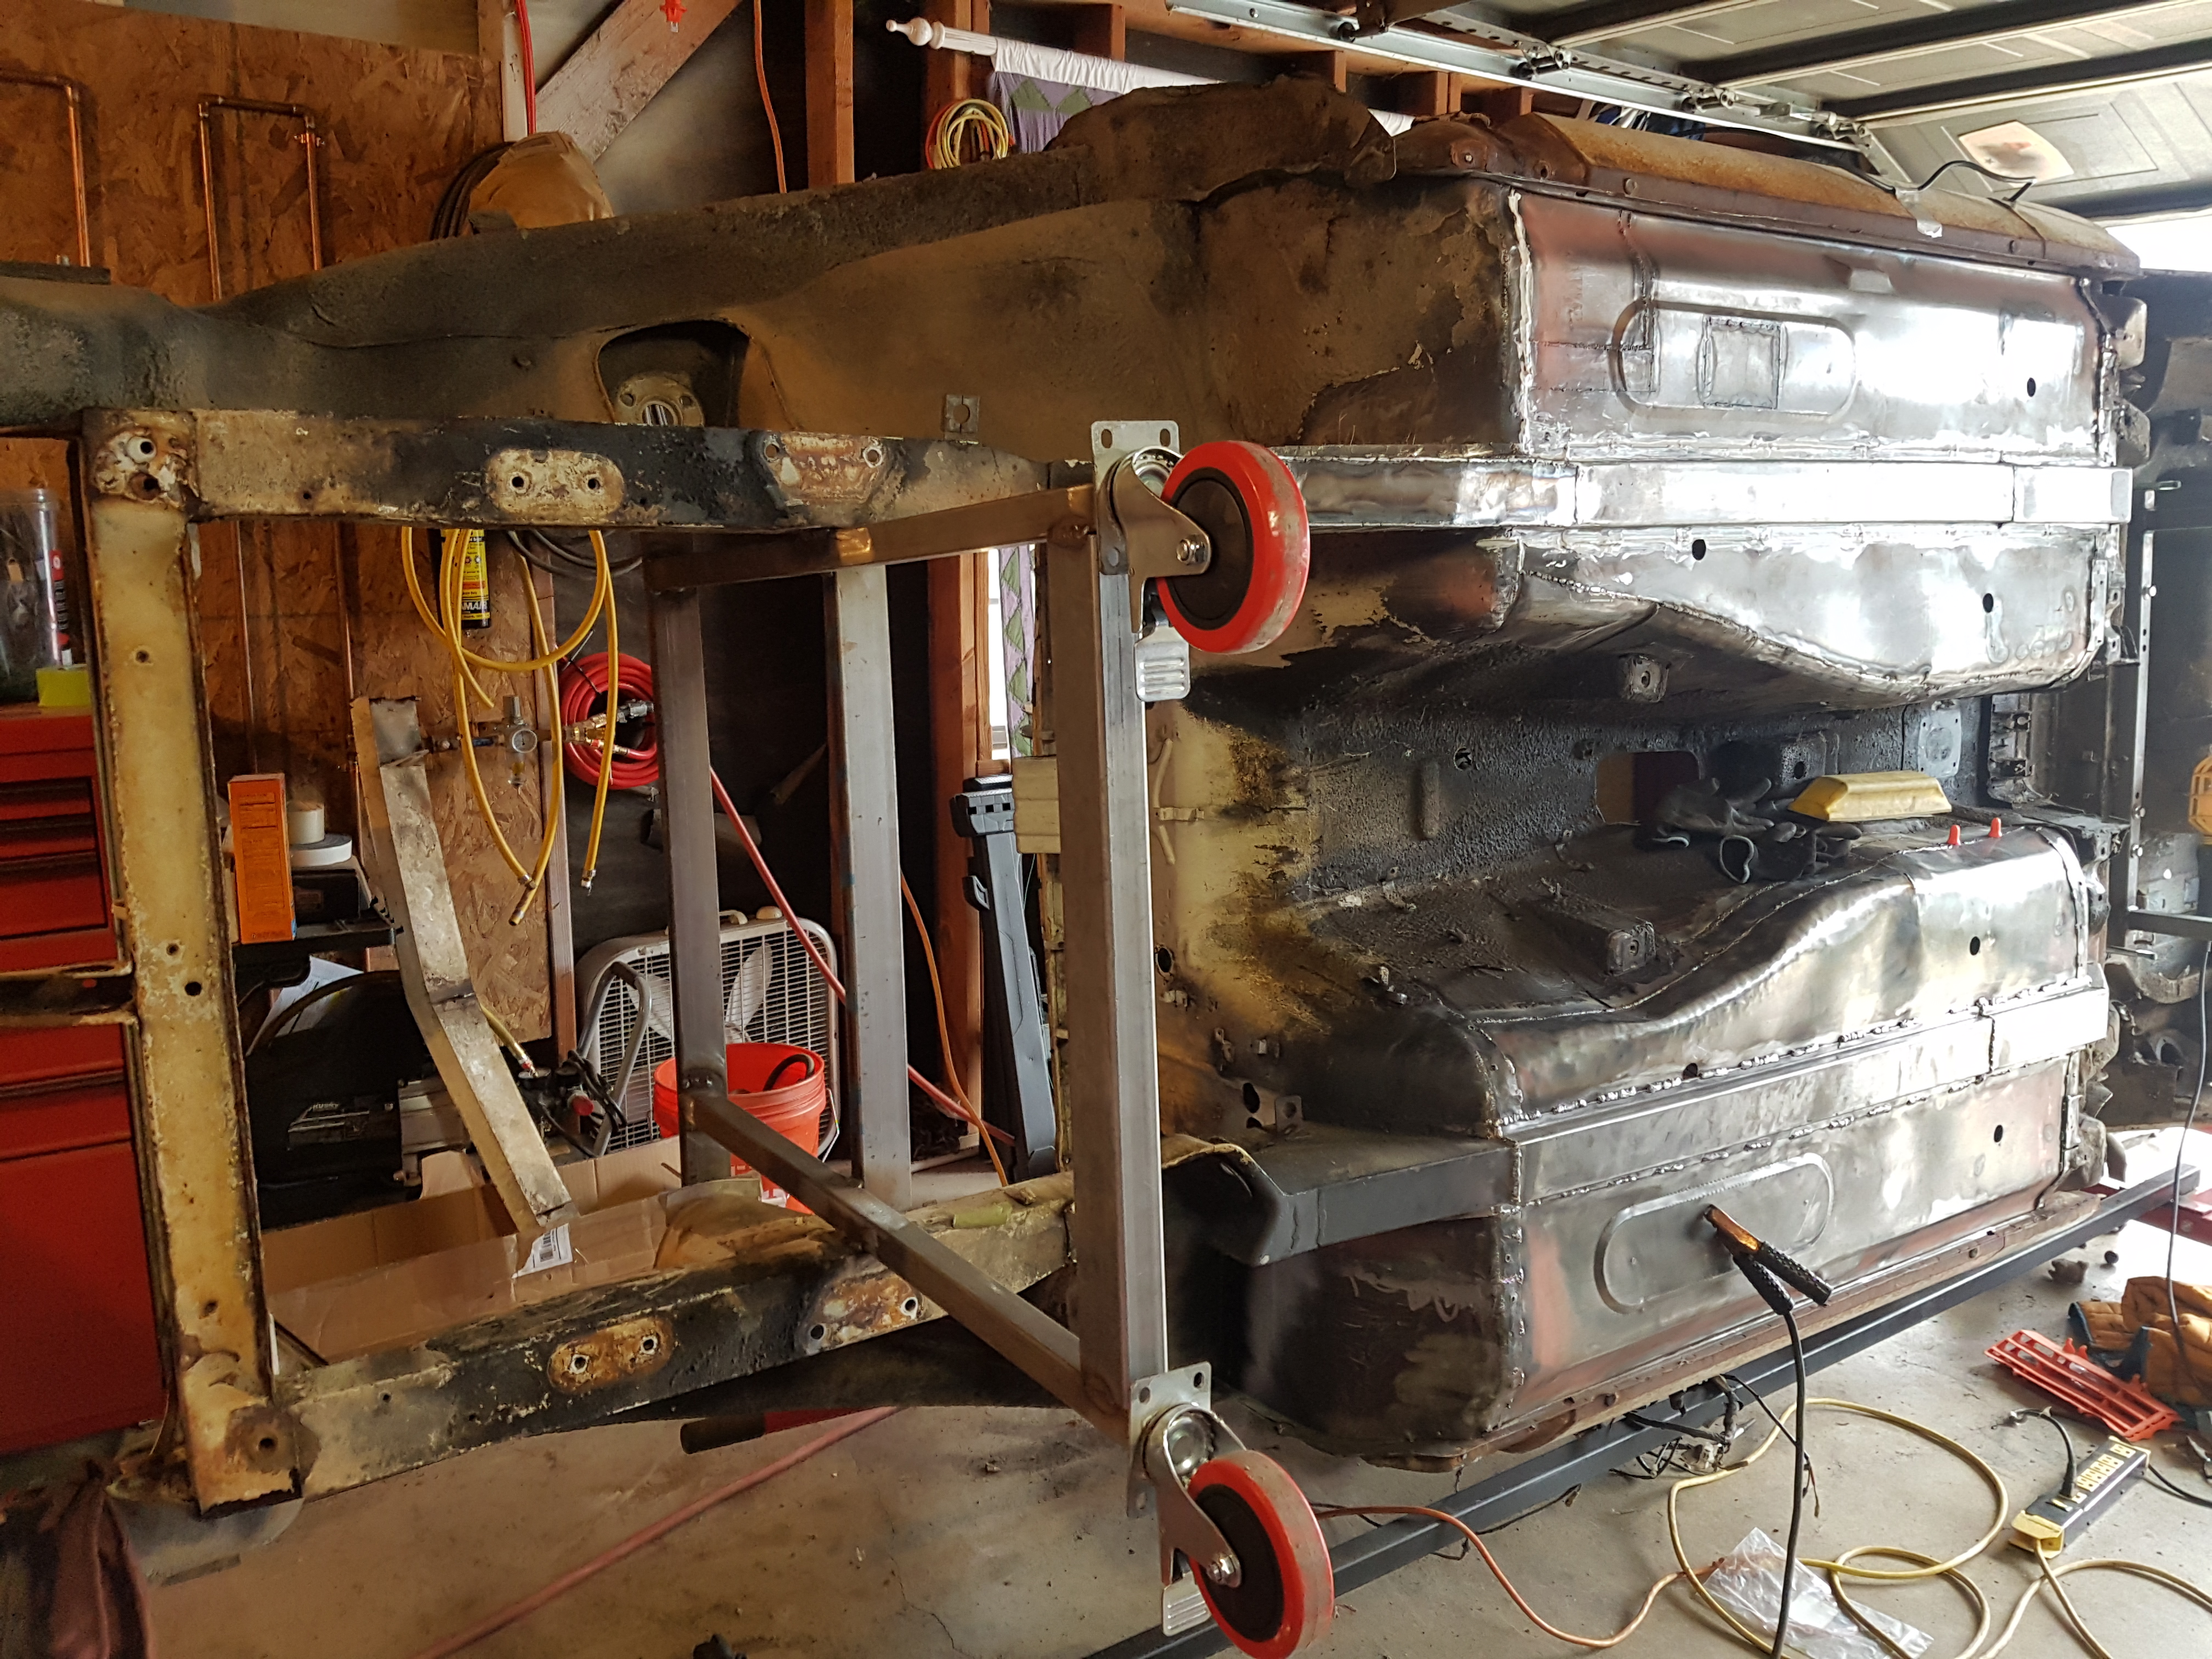
Hey guys, I haven't posted in a while but I've been working a lot on this project. I've made significant progress since my last post, so I'll try to catch up on the updates here. I fabricated and welded in new frame rails and bad dog subframe connectors. First I cut out the old frame rails. I went ahead and replaced the driver side floor pan since I had it on hand and it was going to be easy compared to the passenger side I did. I also welded in seat mounts for driver and passenger. I set the seats in and positioned the mounts and tacked them in, removed the seats, then did stitch welds. Sorry for the crappy picture of this. I need to take some better ones of the floors. Back to frame rails. I POR 15 coat what is covered by the new rail. Some rigging with jacks and I press the new rail firmly to the new floor pan in preparation for welding. Welded in the subframe connectors, too. At about this point I had to pack up my stuff because I was moving locations. It was interesting moving a 240z without suspension. Once I got to my new place I soon built a rotisserie and mounted the car in preparation for sand blasting the bottom, epoxy priming the bottom, and undercoating the bottom. Since these pictures were taken I connected the two stands along the bottom with a steel beam. Did some premature seam sealing before I had a clear plan, but here's a view of the bottom on the rotisserie. The red casters/frames were for rolling the car around the shop before I decided to put it on a rotisserie.
-
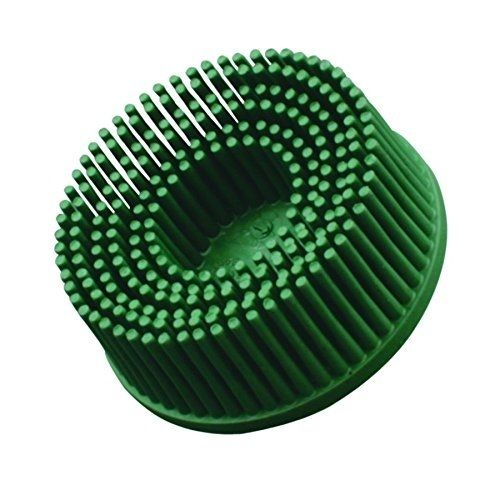
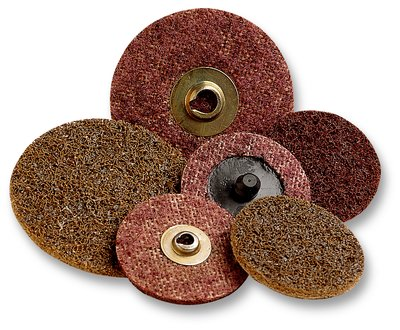
When you guys mention Roloc discs are you talking about the bristle ones or the flat ones? I've used the flat Rolocs. They do work well on flat panel surface rust. Never used the bristle ones. OR
-
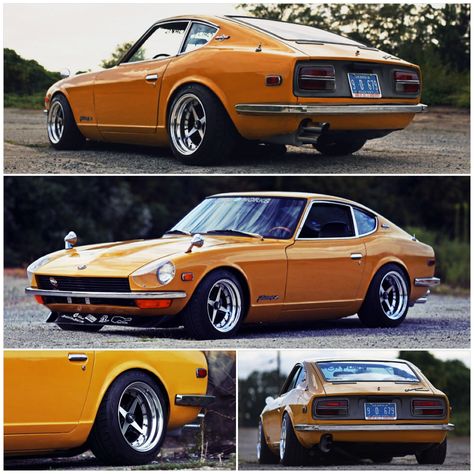
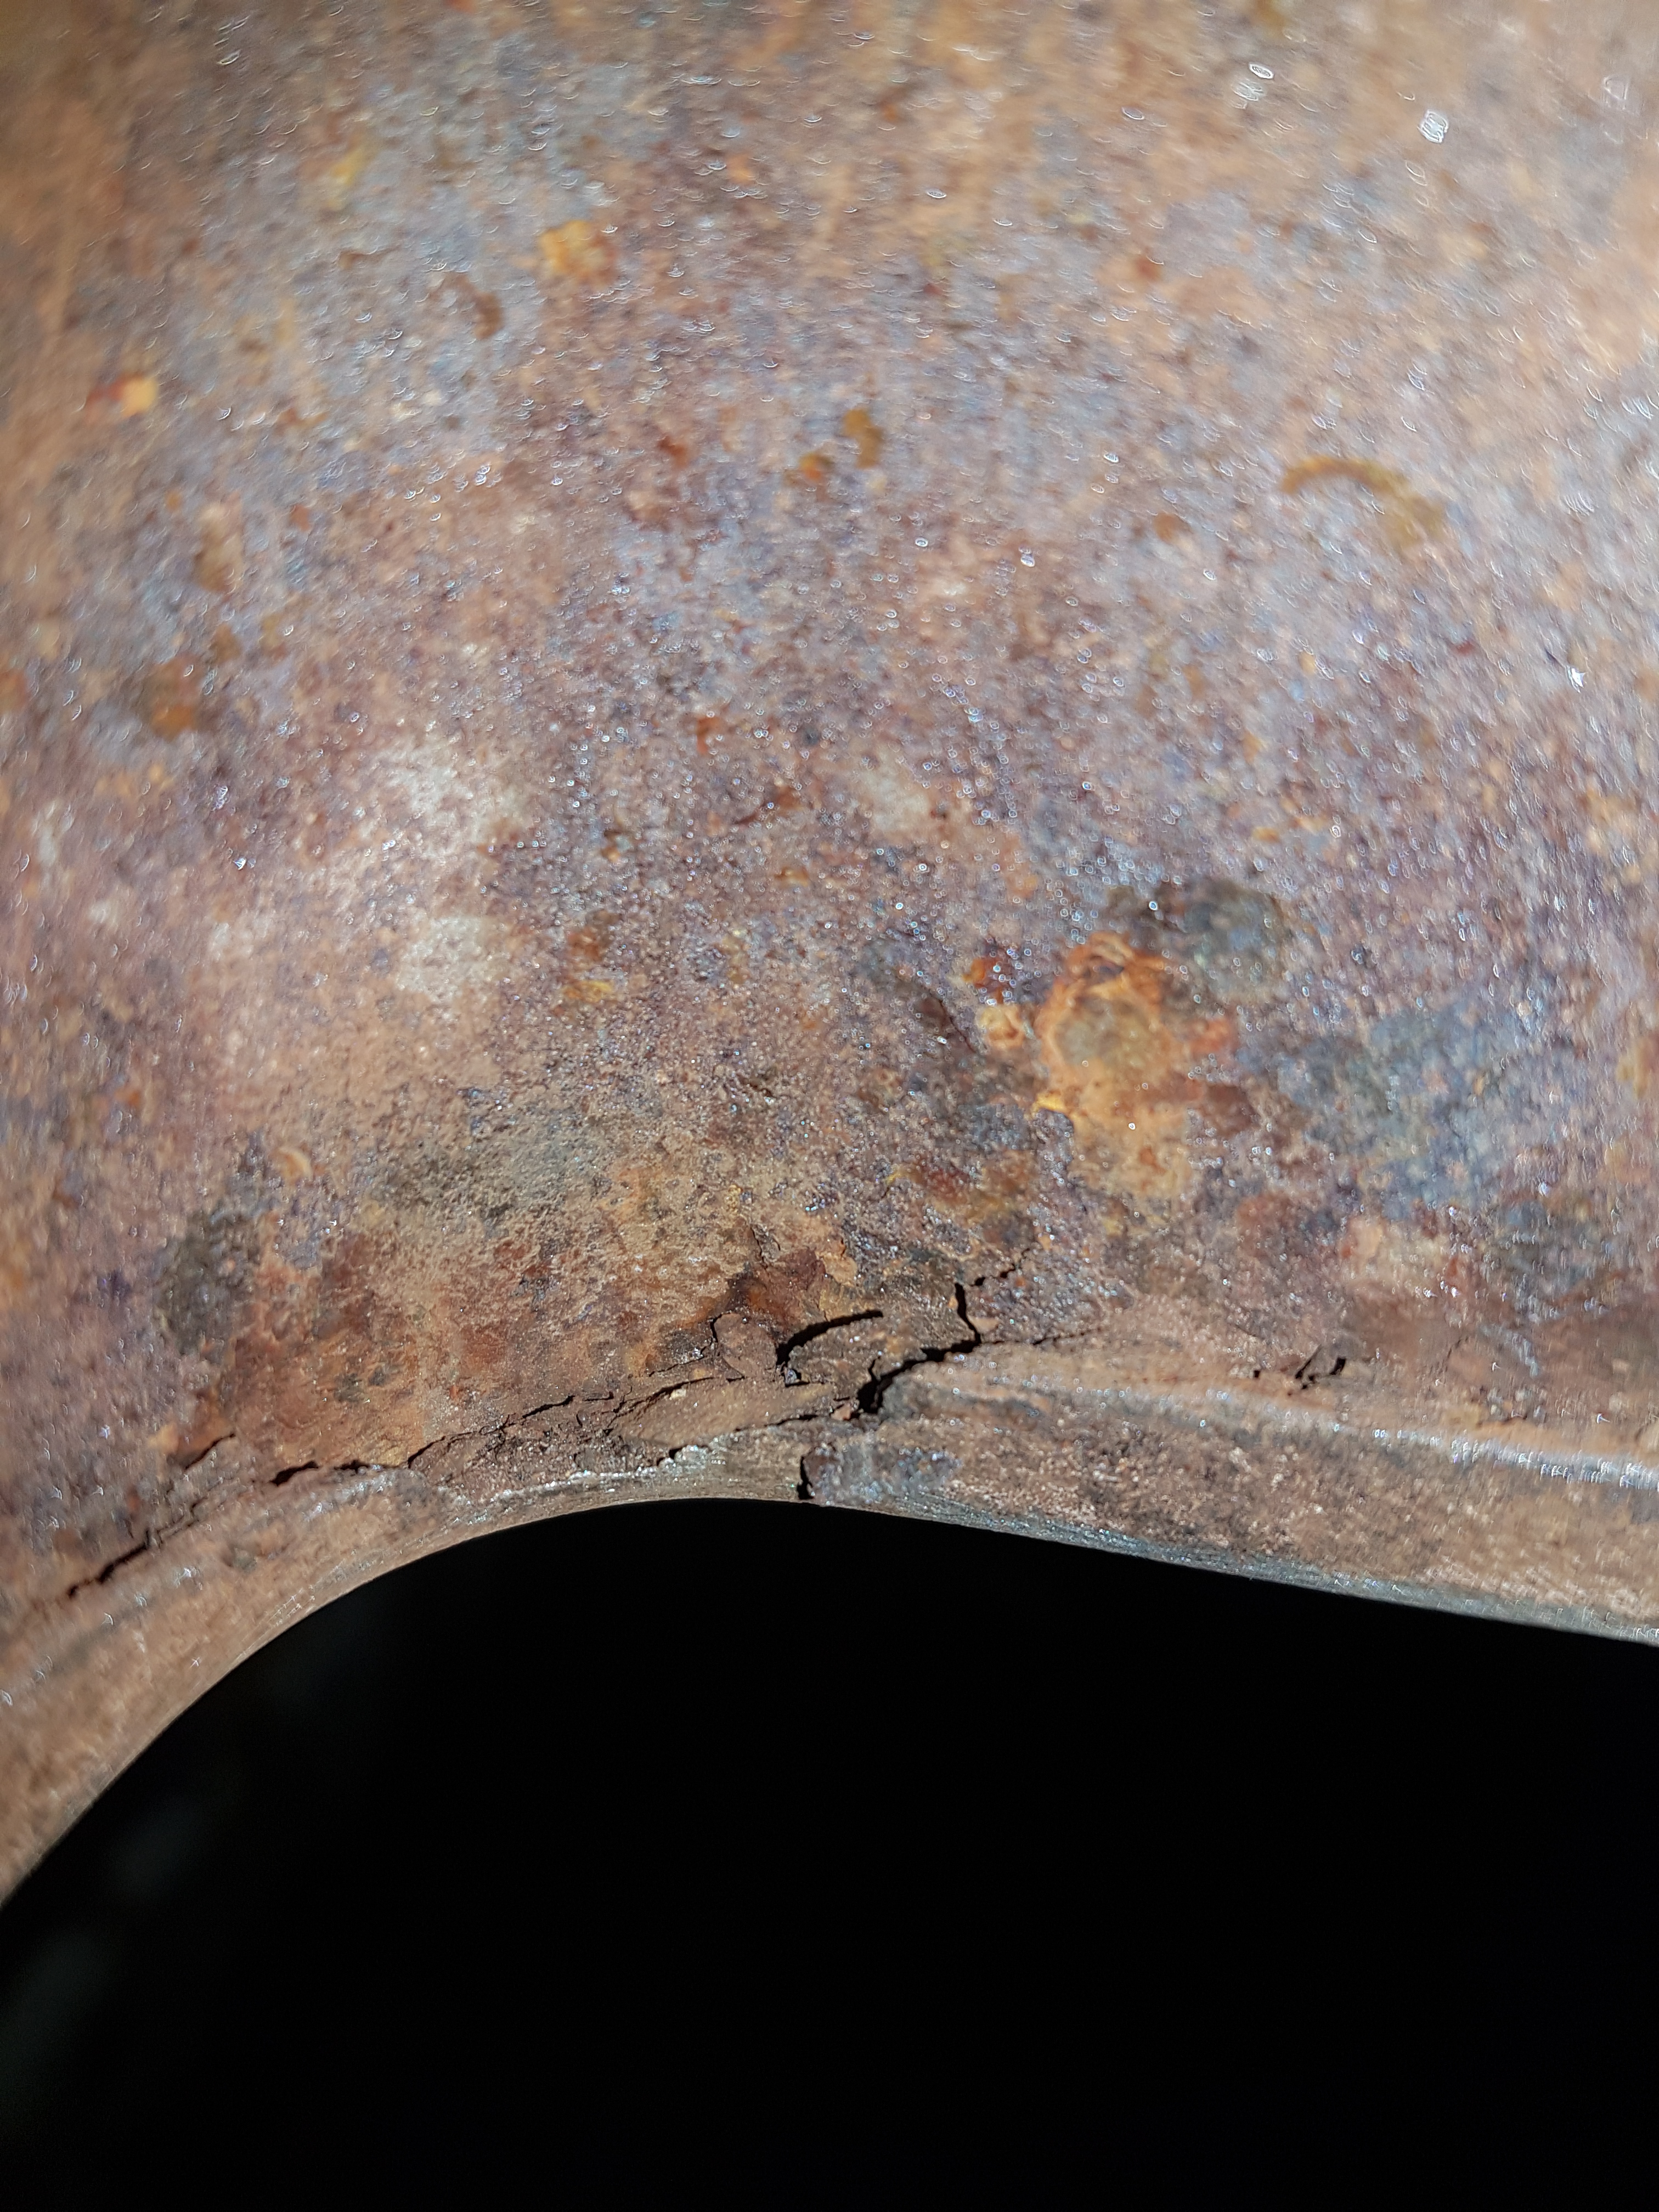
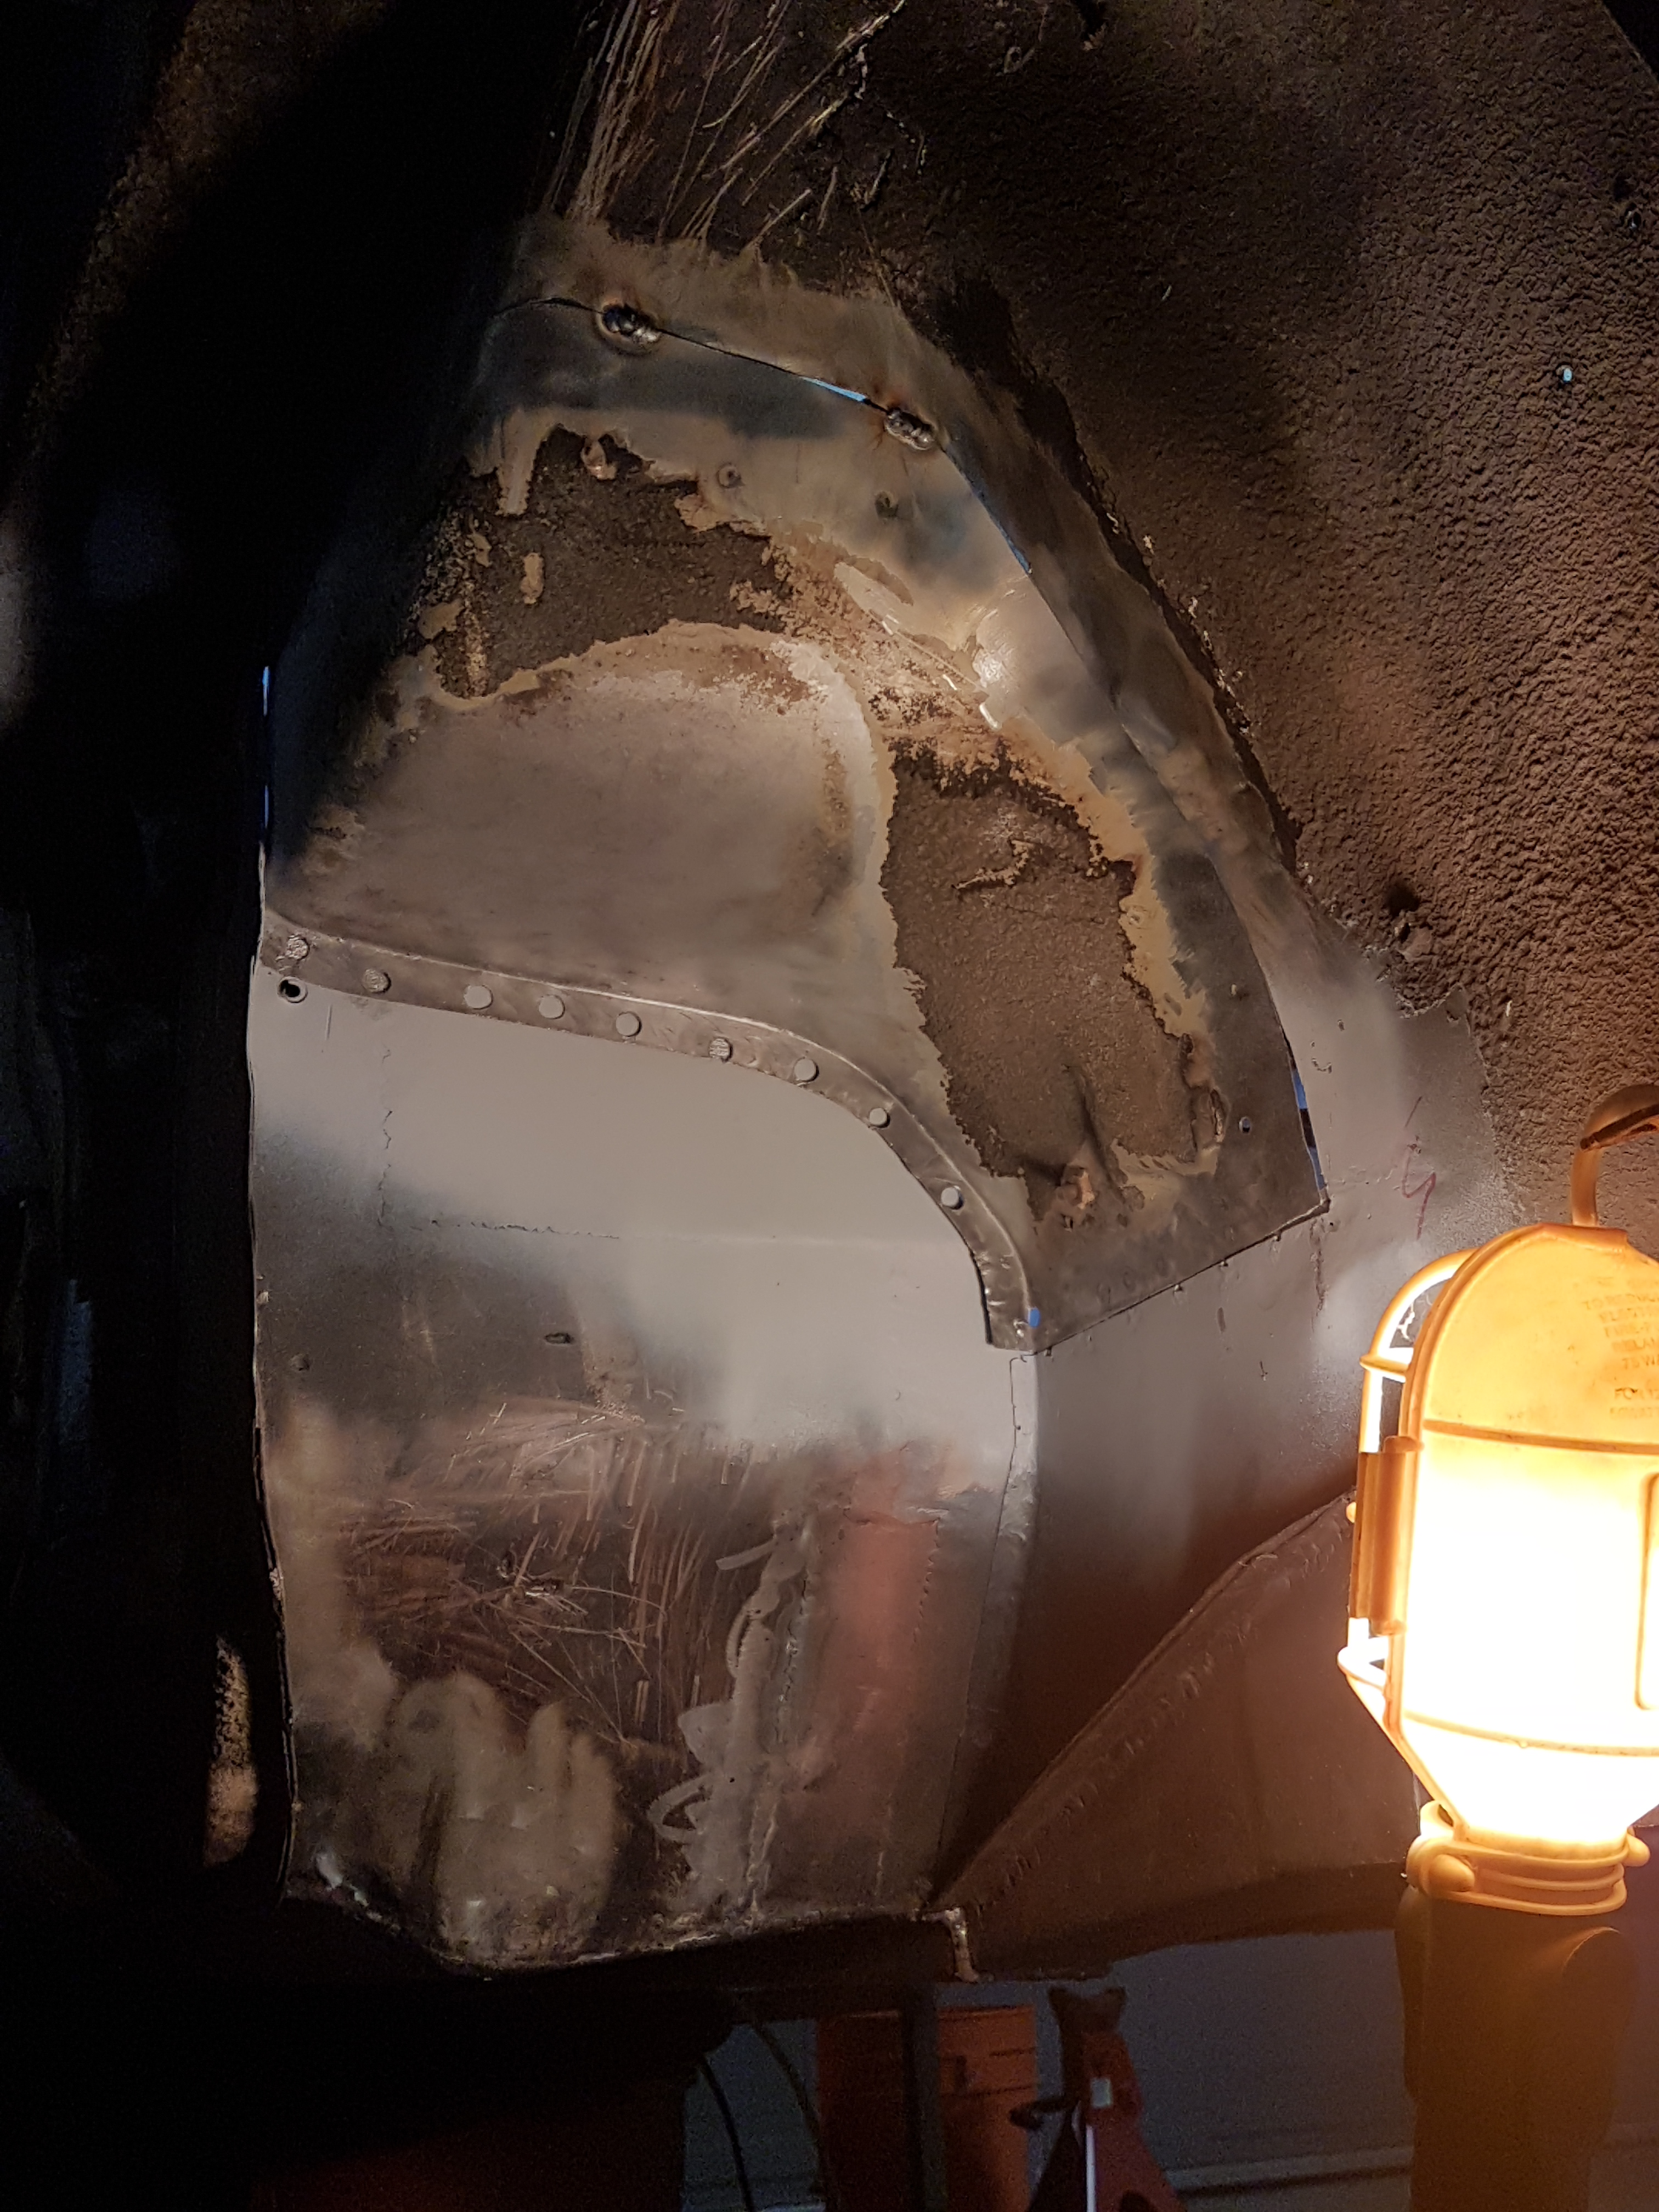
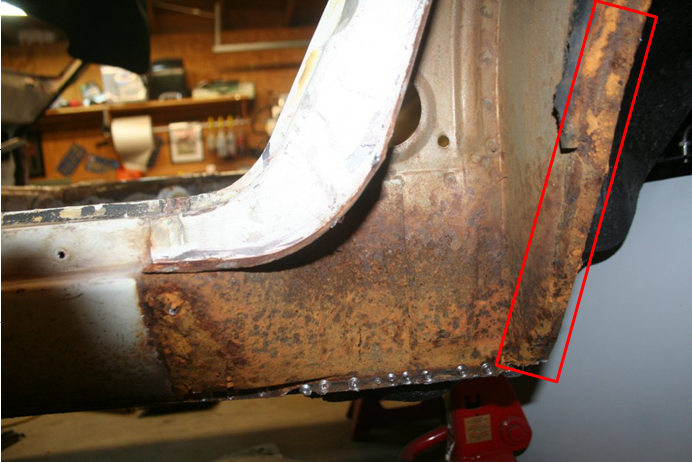
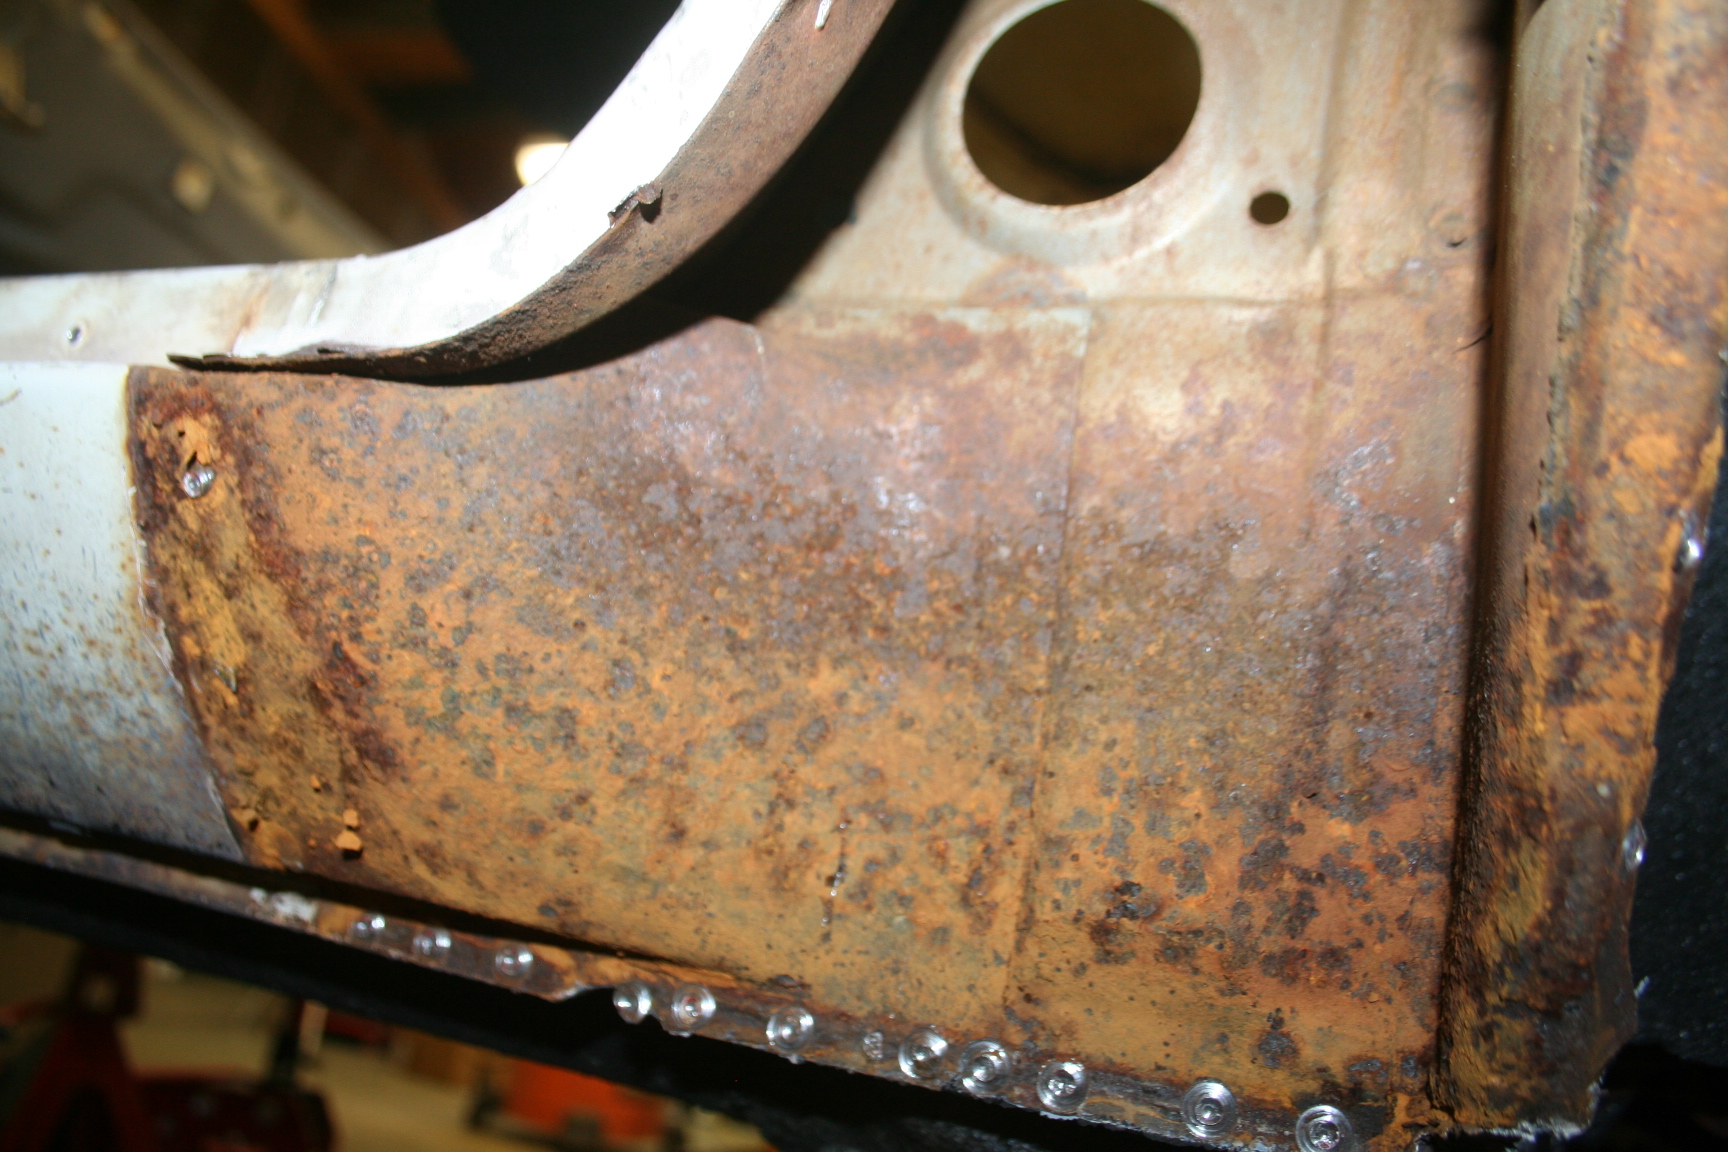
Interesting ideas. Are you talking about this section as the back part of the wheel well? I remember seeing Project Hugo a while back. I'm going to have to do some searching to find the exact pictures -- there's a thread of that build on numerous websites. It's going to be a daily driver but not when the weather is shitty. It will also see some track days as well. And I may enter it in some car shows, but it's not 100% original and not everything is perfect. I'm doing an L28 swap, aftermarket suspension, aftermarket bits and pieces, etc. I plan to keep this car for a while -- I'm not building it with the intention to sell. I may end up doing another zcar or other restoration that is more of a primary track/race car. I'm okay treating surface rust with a converter and encapsulating, just not heavy rust like in the picture. I gotta do something about that! On the fender/inner fender overlap circled in red in the picture I would think there's rust all the way around the length of that overlap.
-
Removed a dog leg this evening. It doesn't look good. Pretty nasty in there. Most of the rust is down low, though, and around the fender lip. Decisions Decisions. I'm not sure if I want to just blast what I can and only replace the dog leg or replace dog legs, rocker, and the fender (inner and outer?) The more I work on this thing the more shit I find!!! Ahhhh!
-
Good luck! I get the crazy bug. I have to always tell myself not to get to crazy or go too far with it. I feel ya.
-
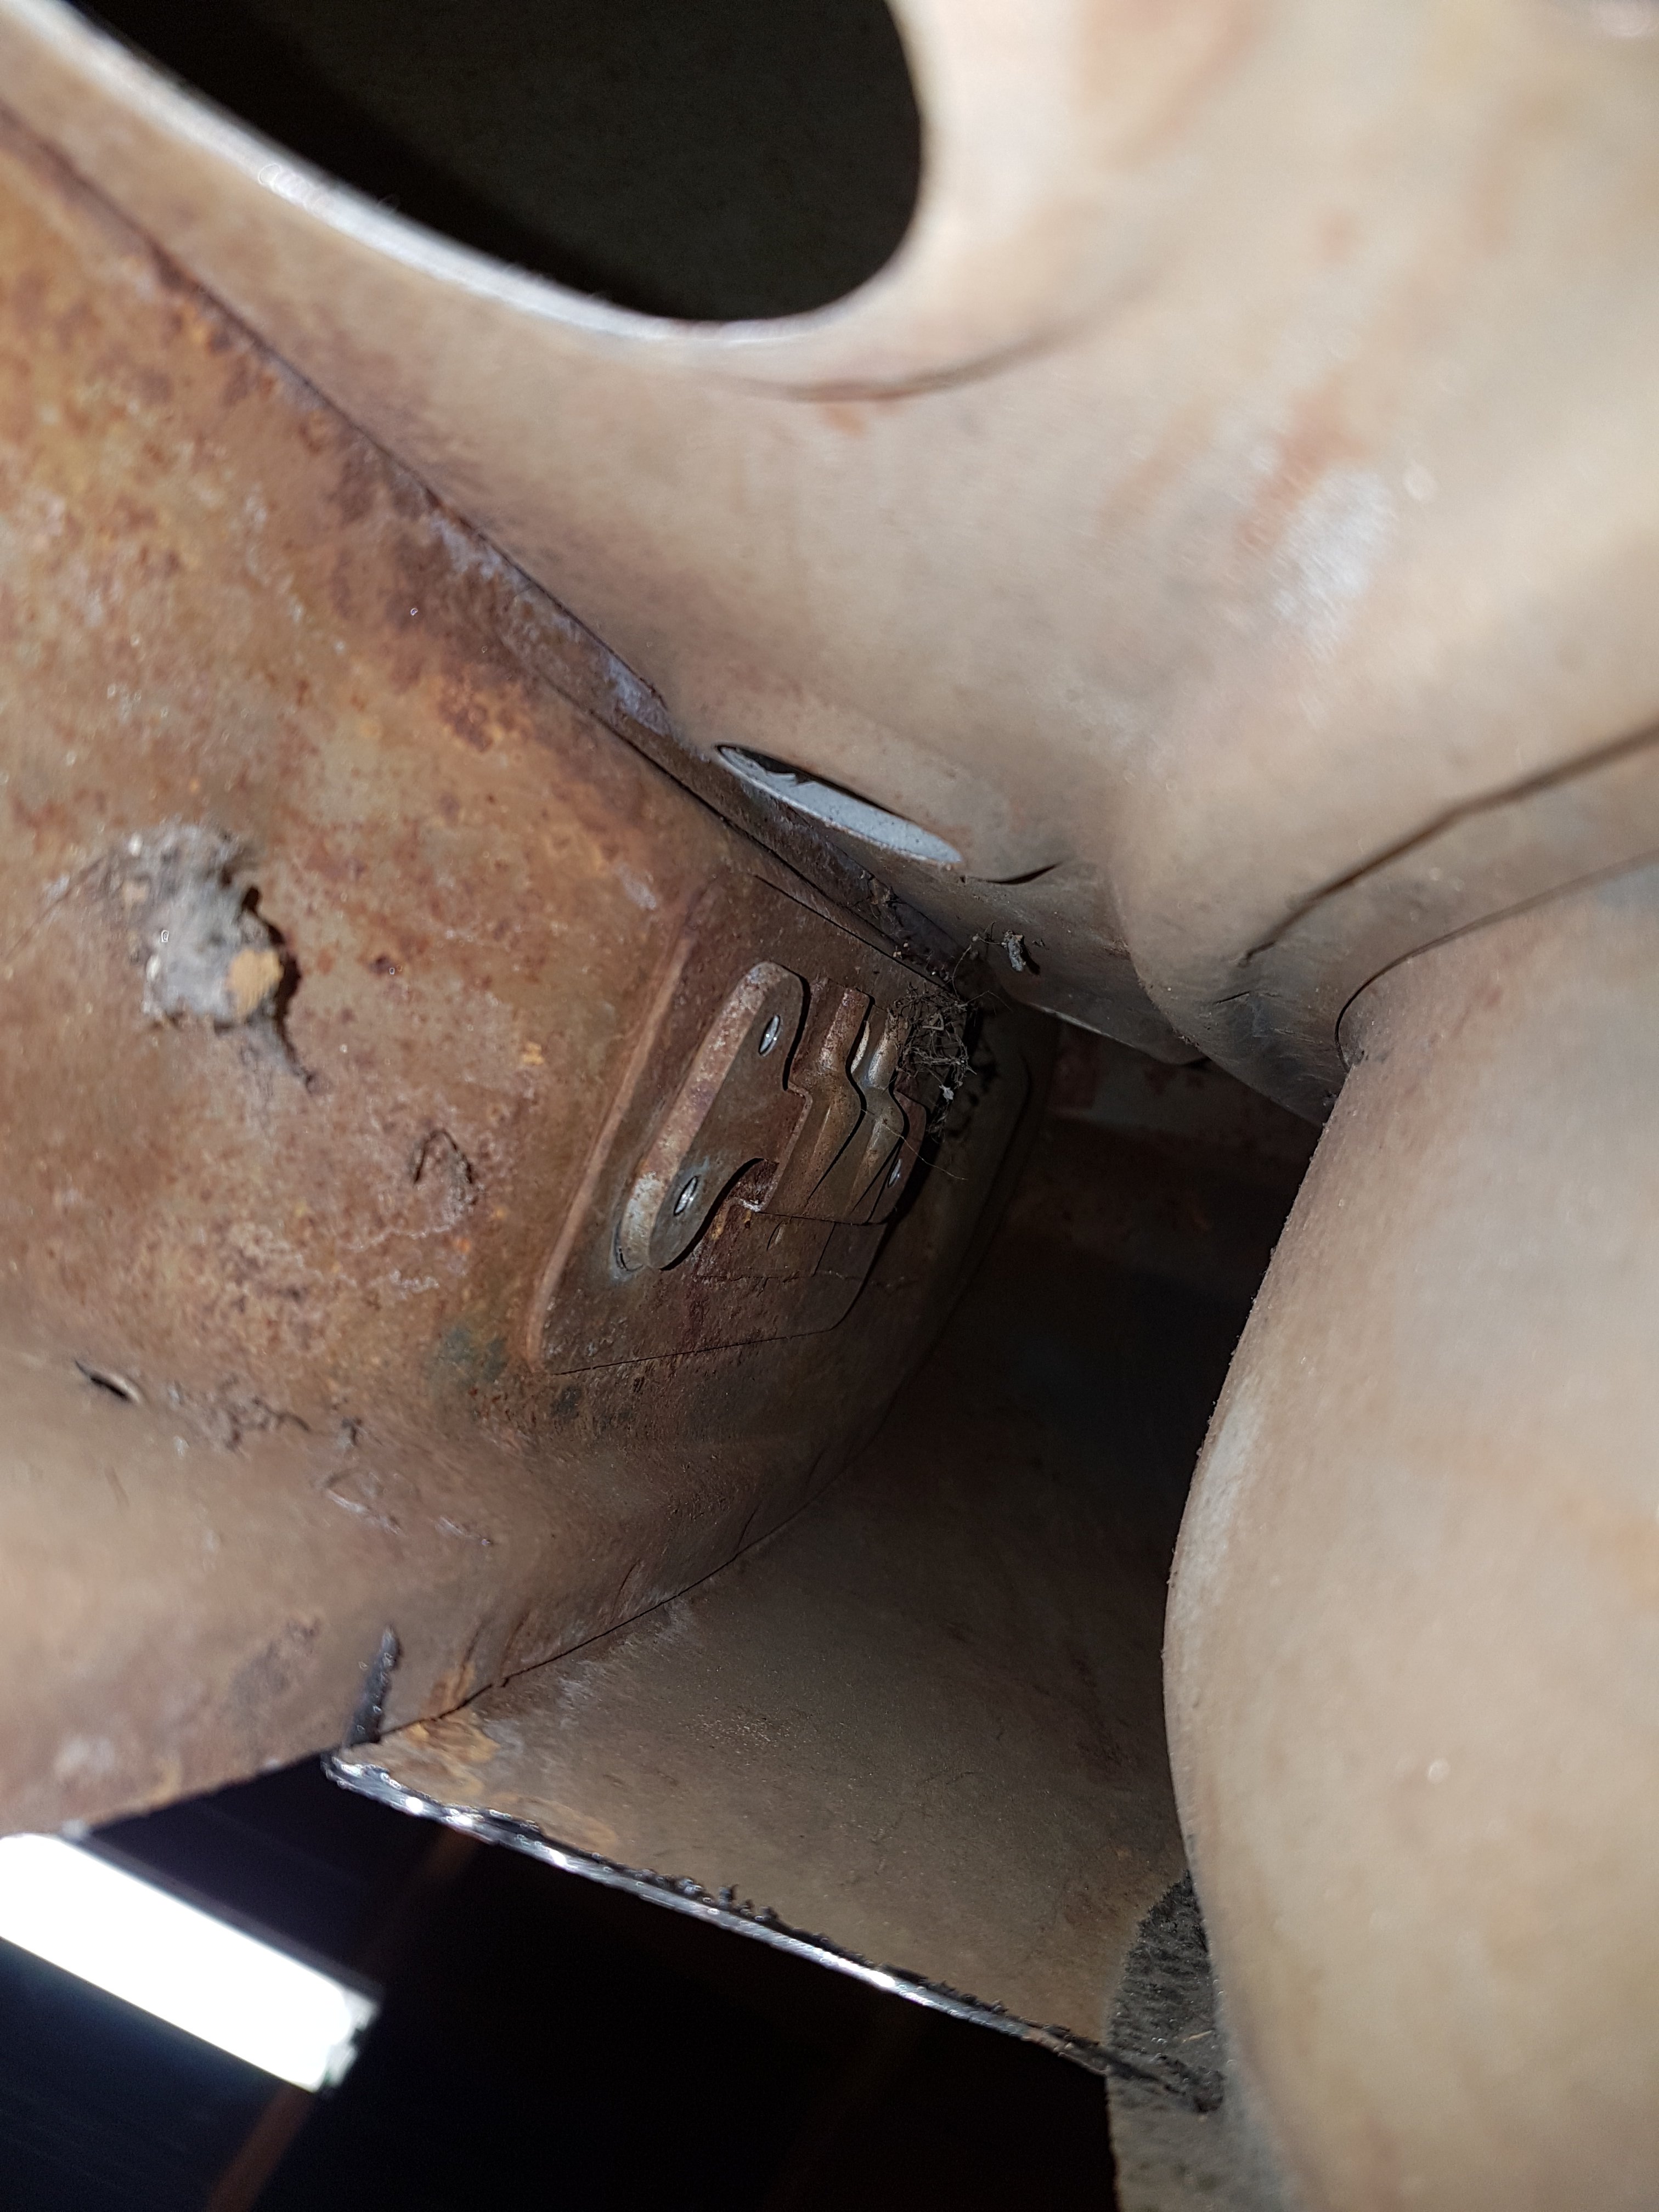
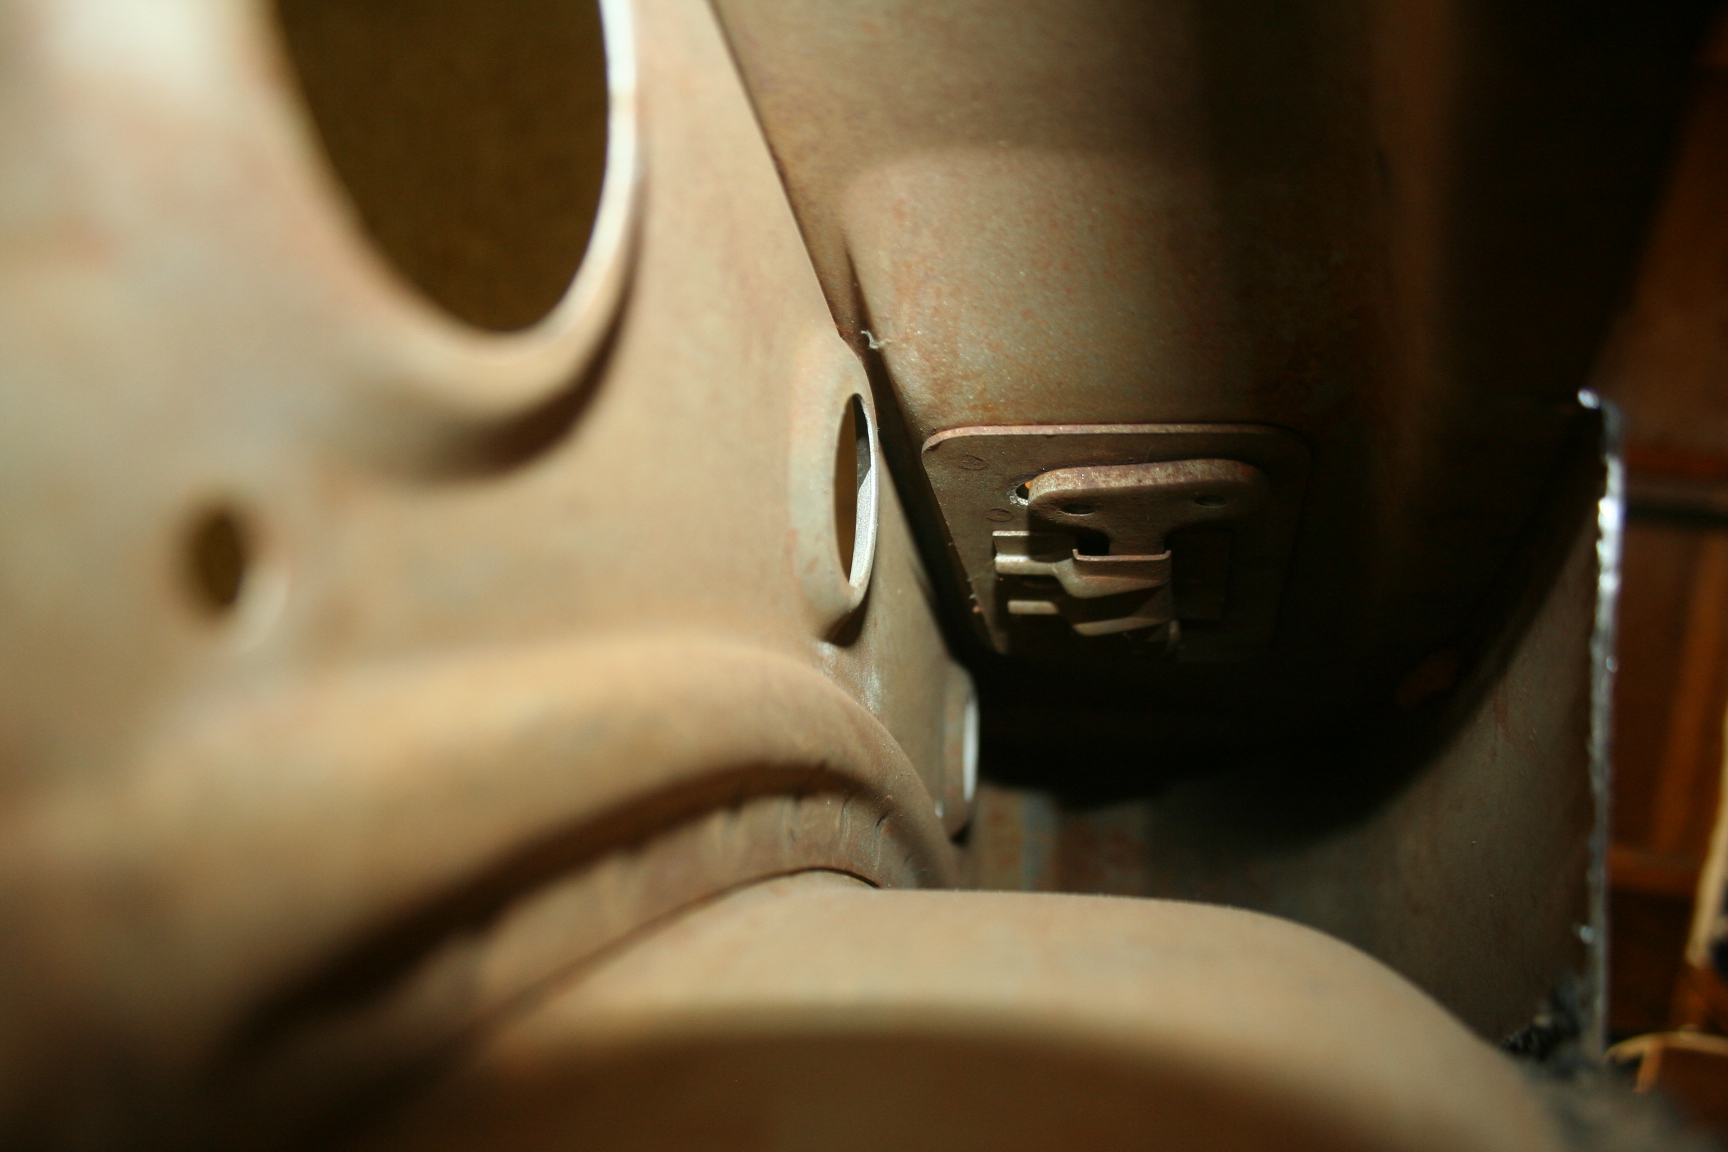
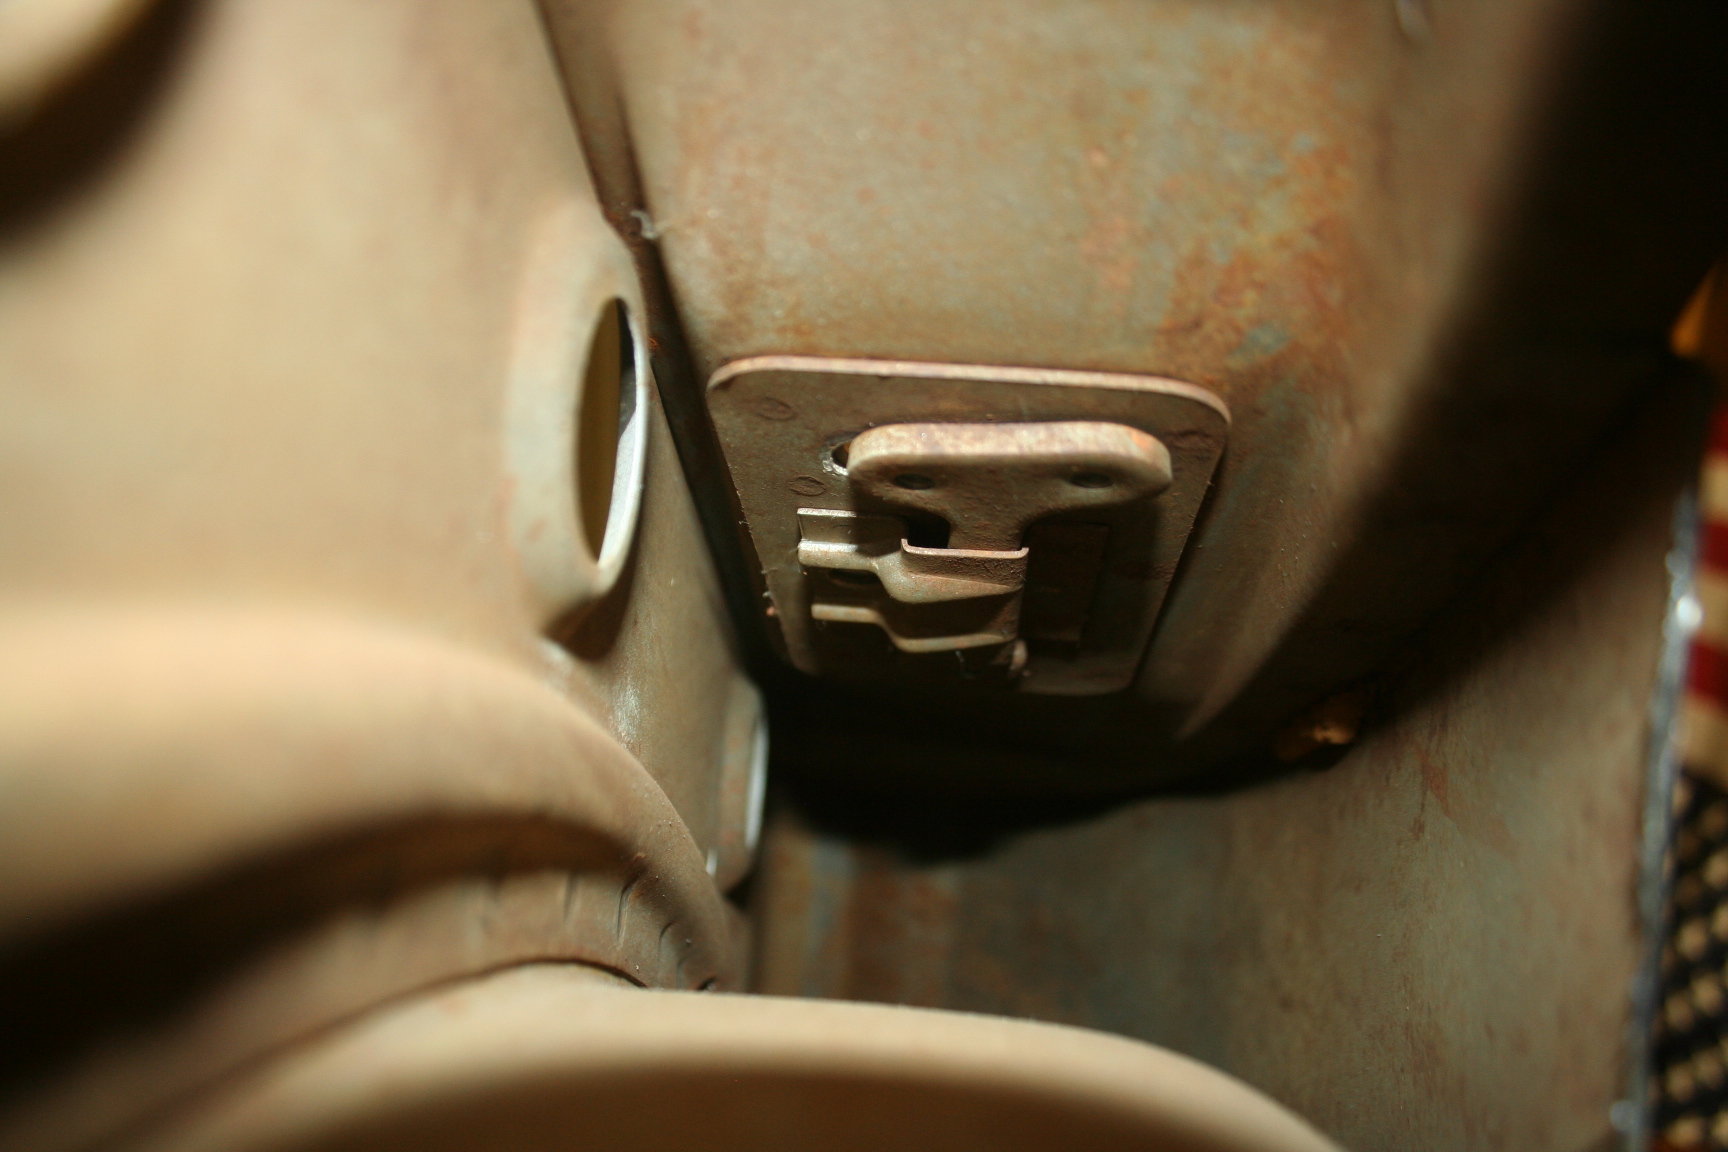
Awesome build! The little part in the corner goes to your door latches. After I plated mine:
-
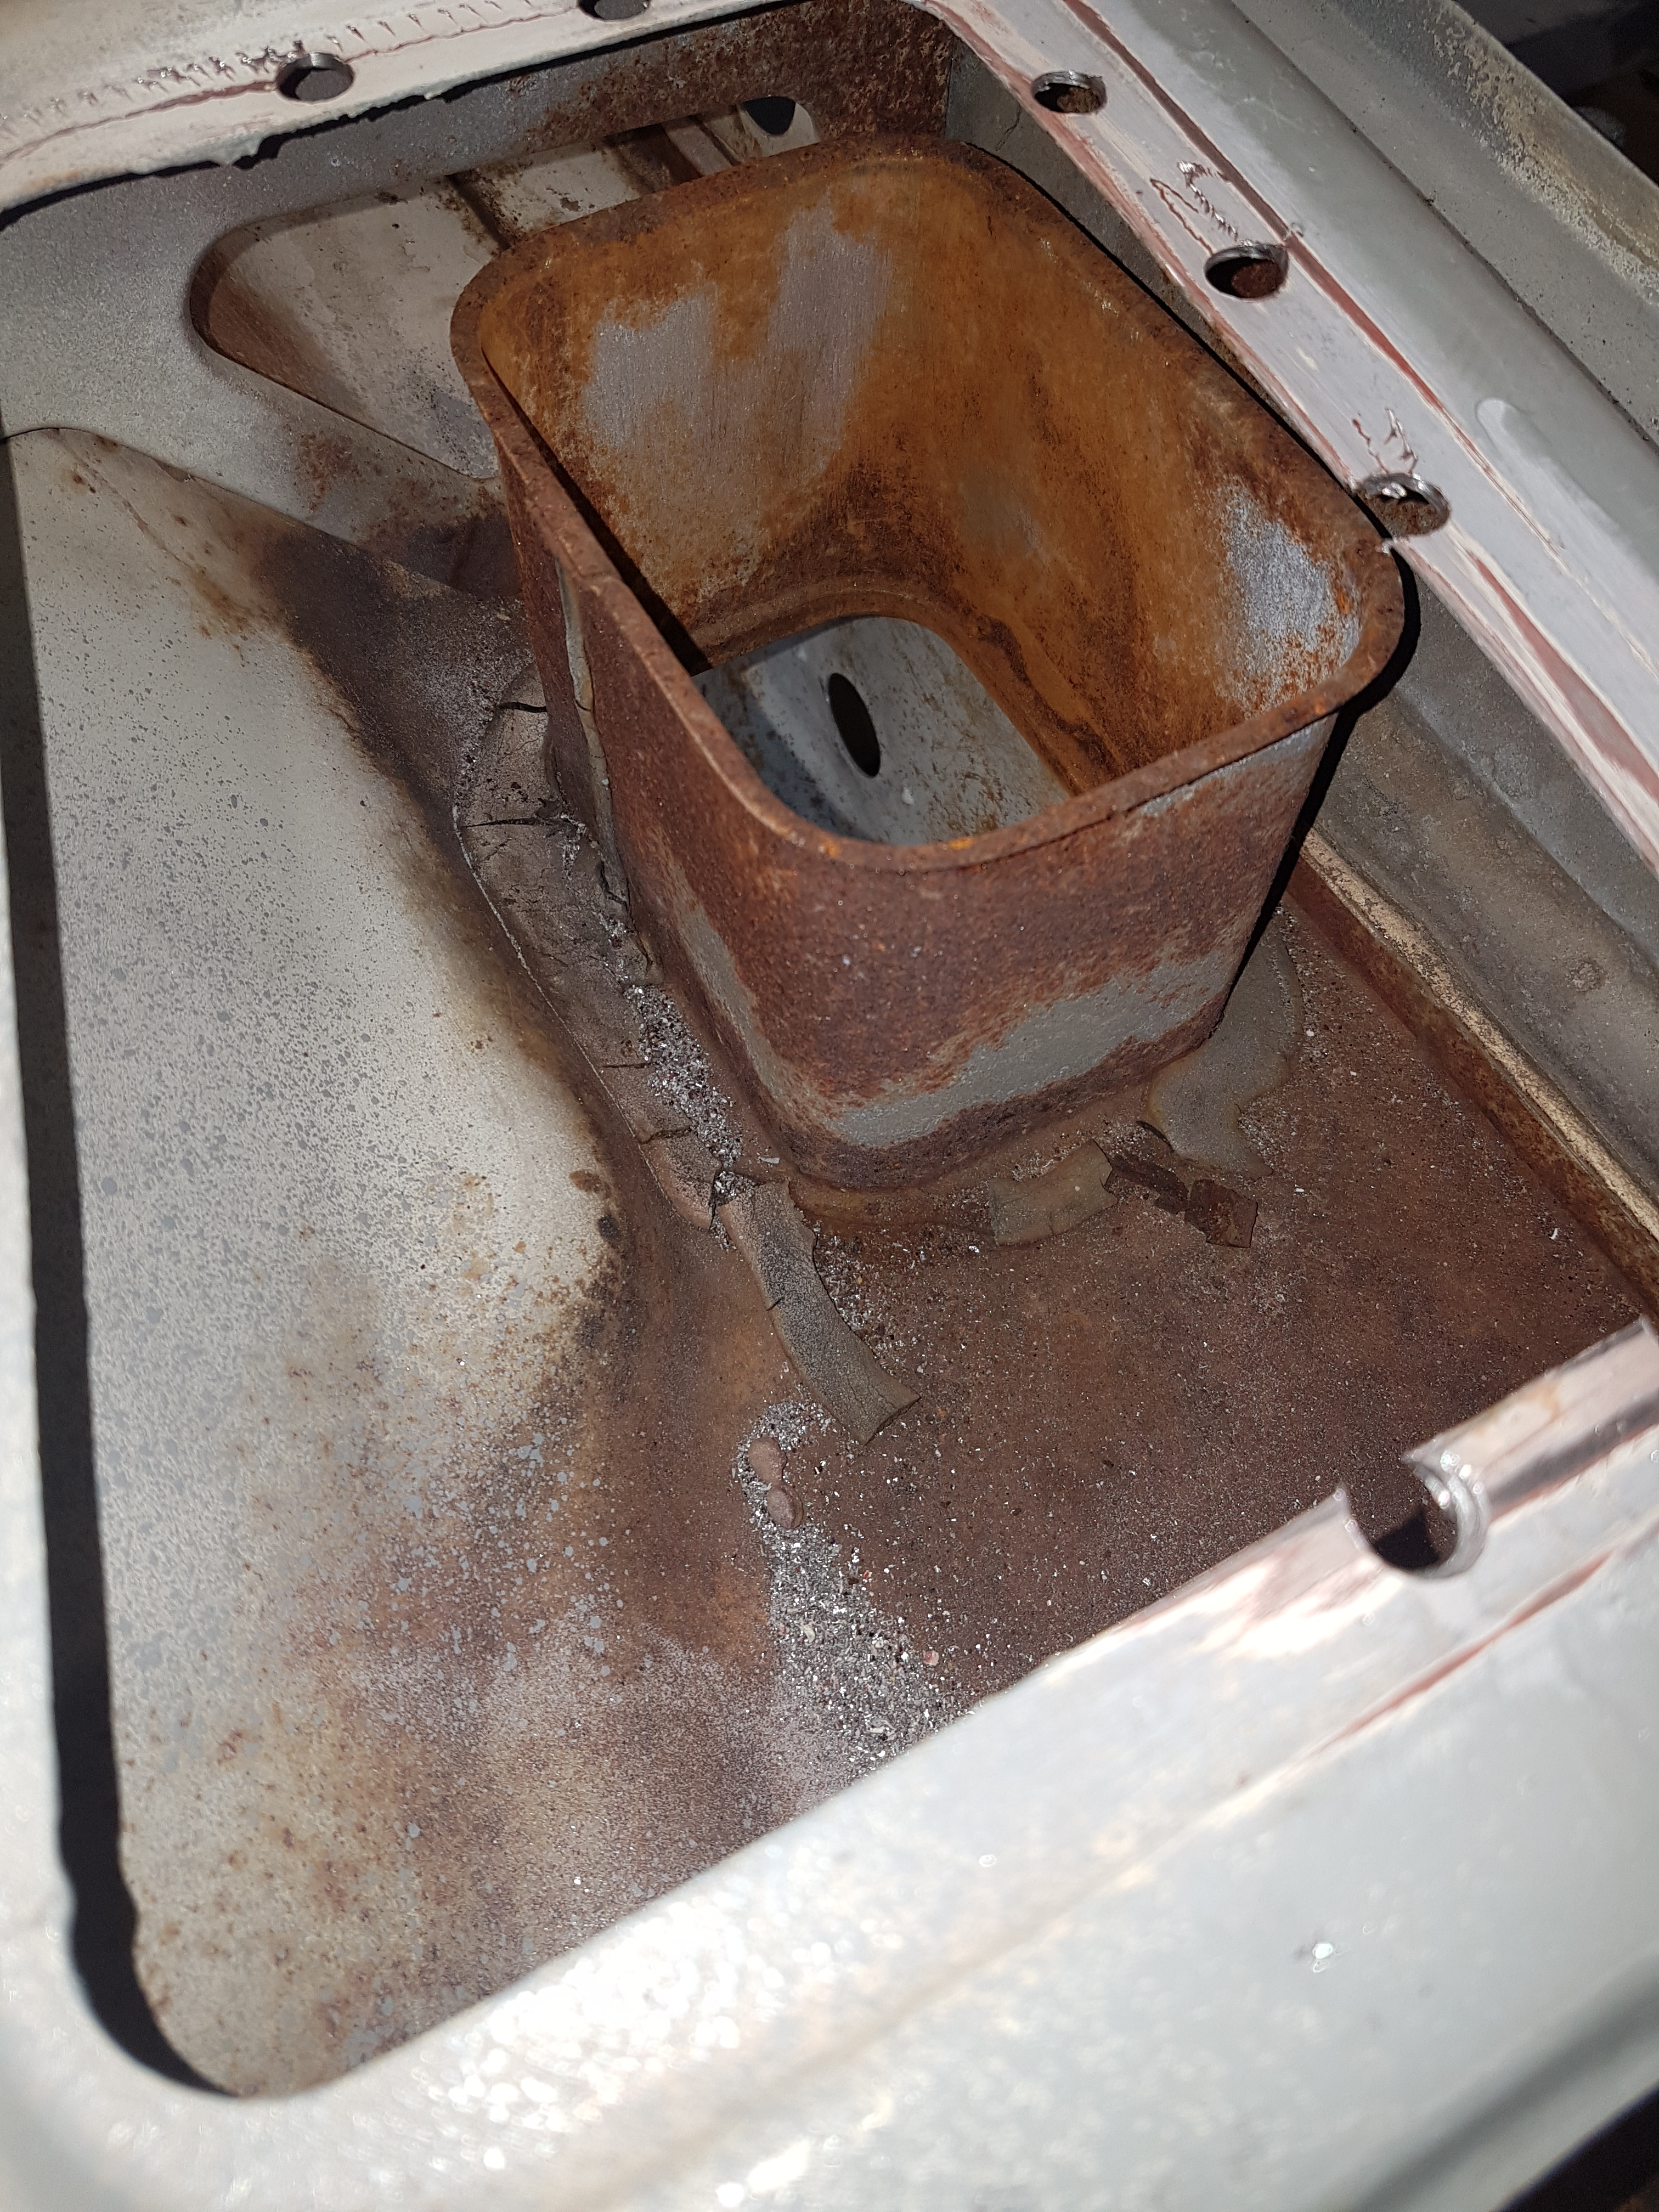
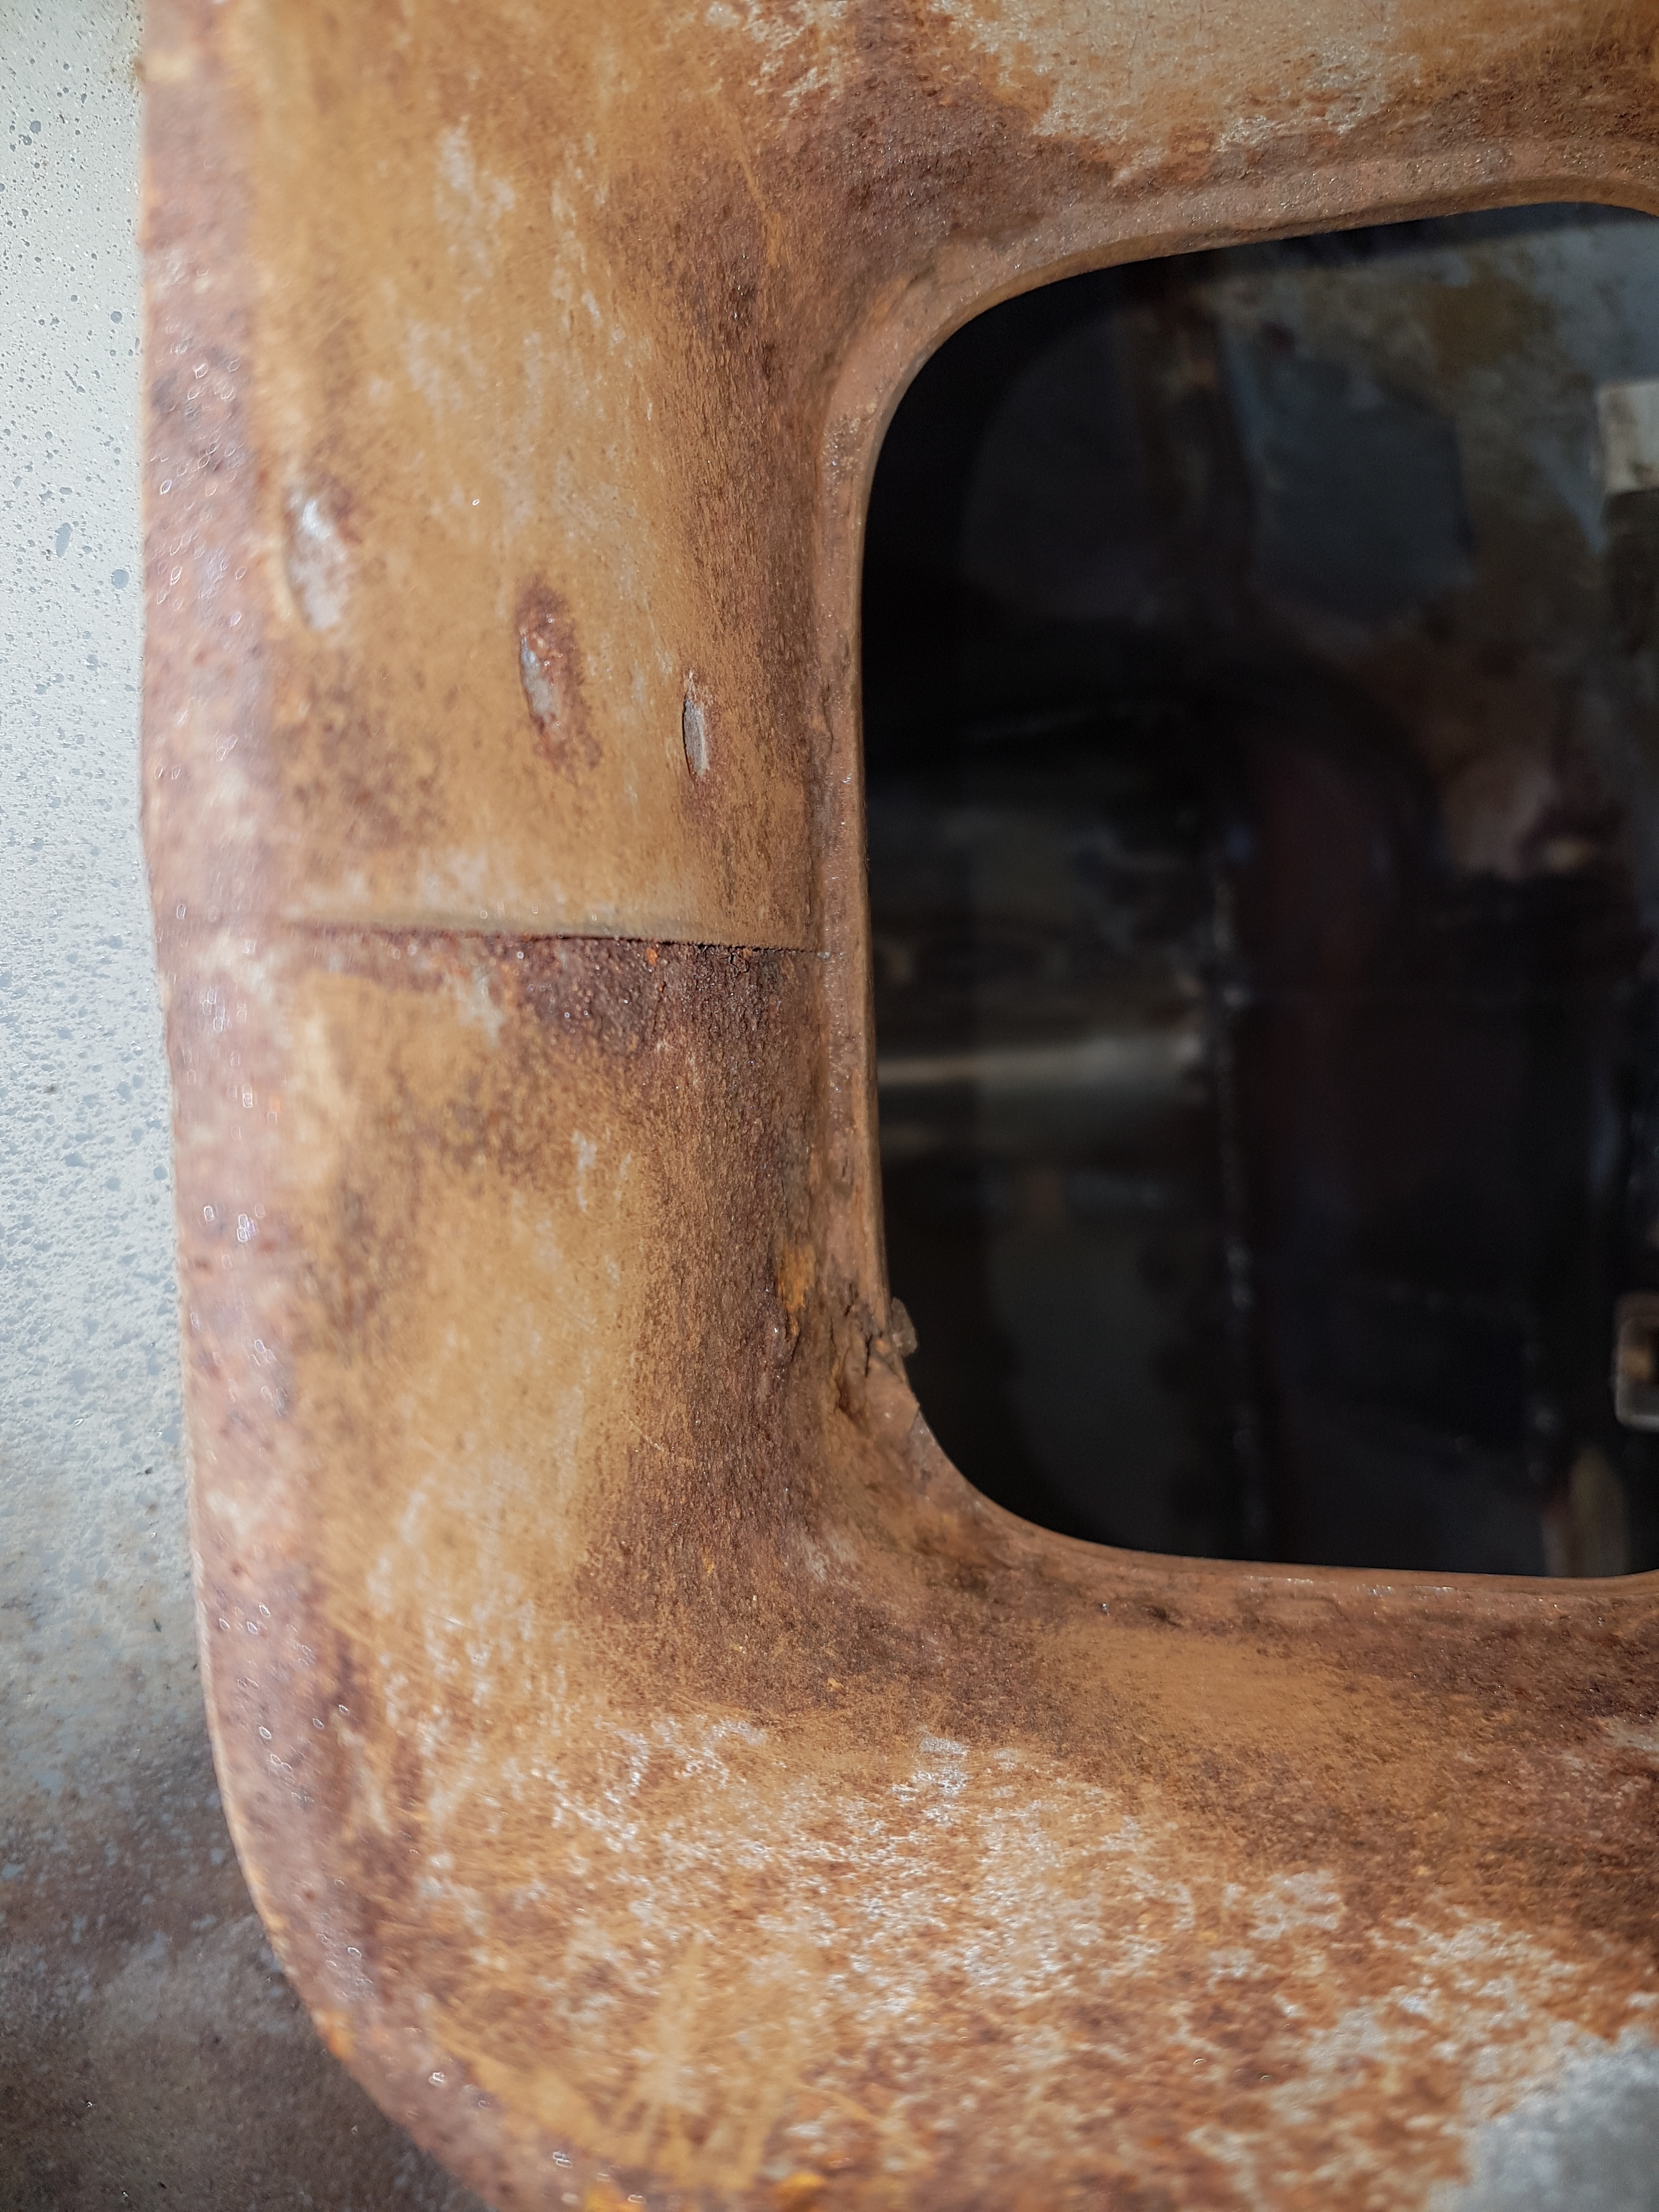
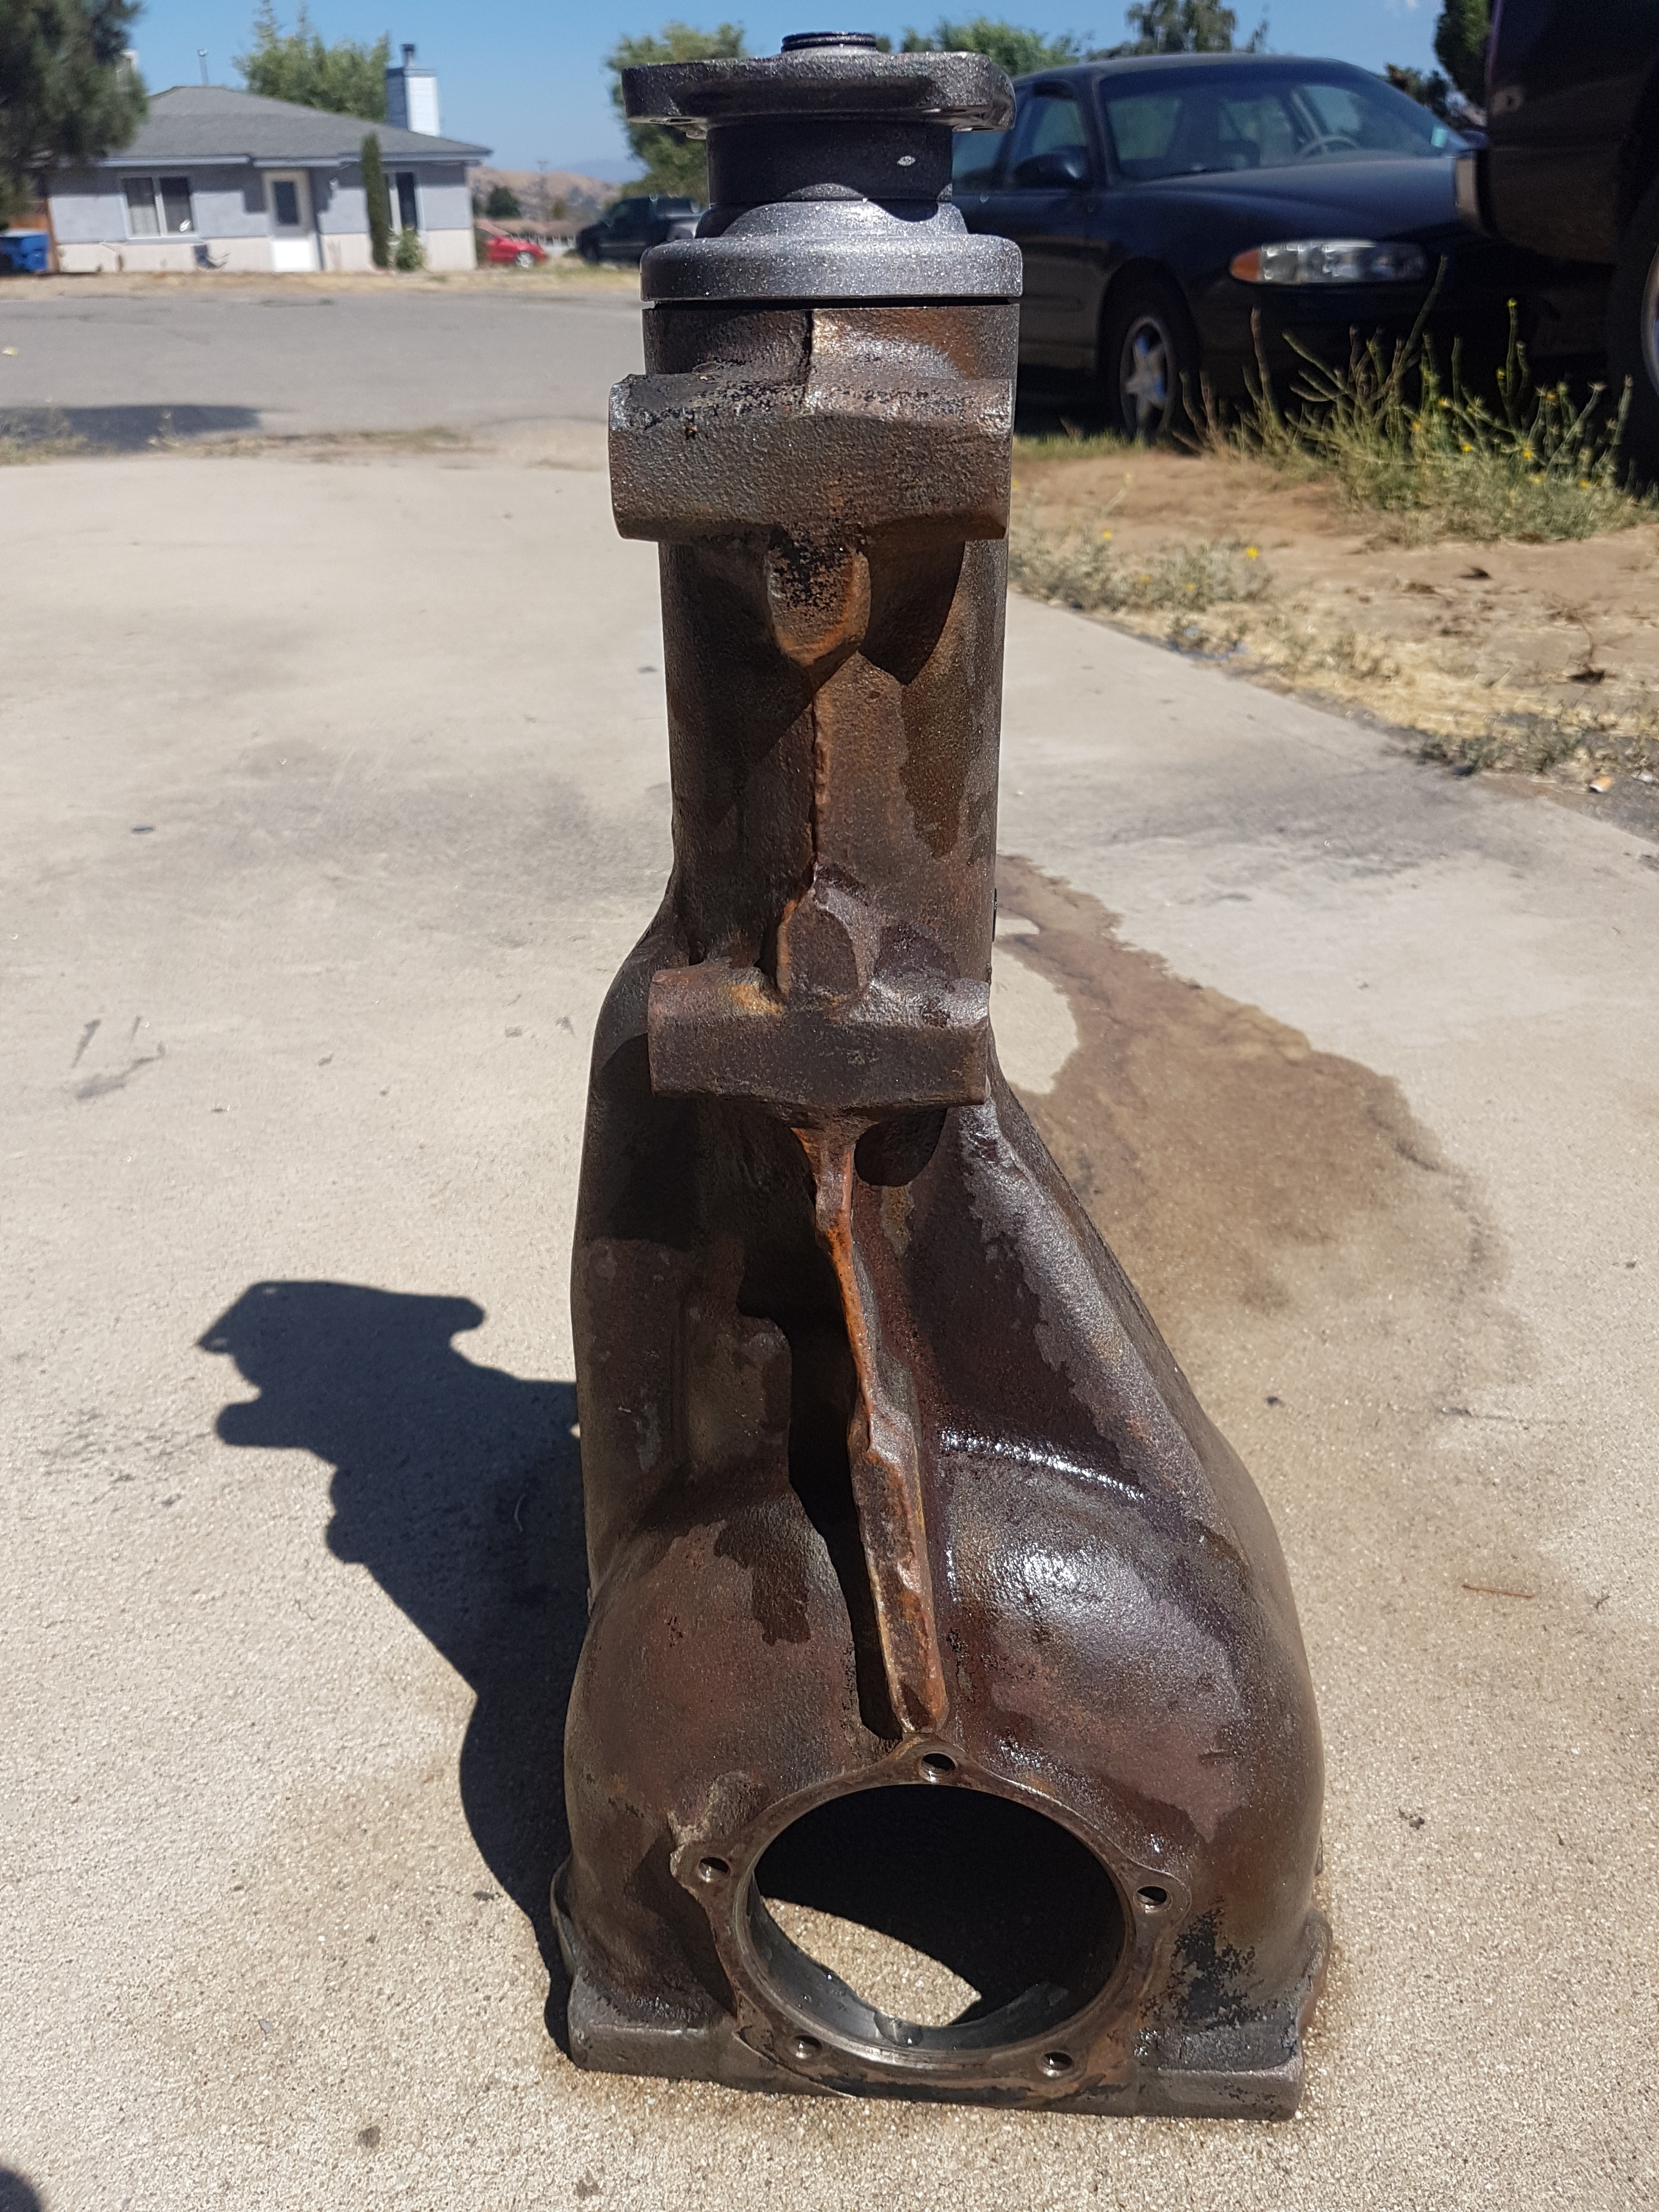
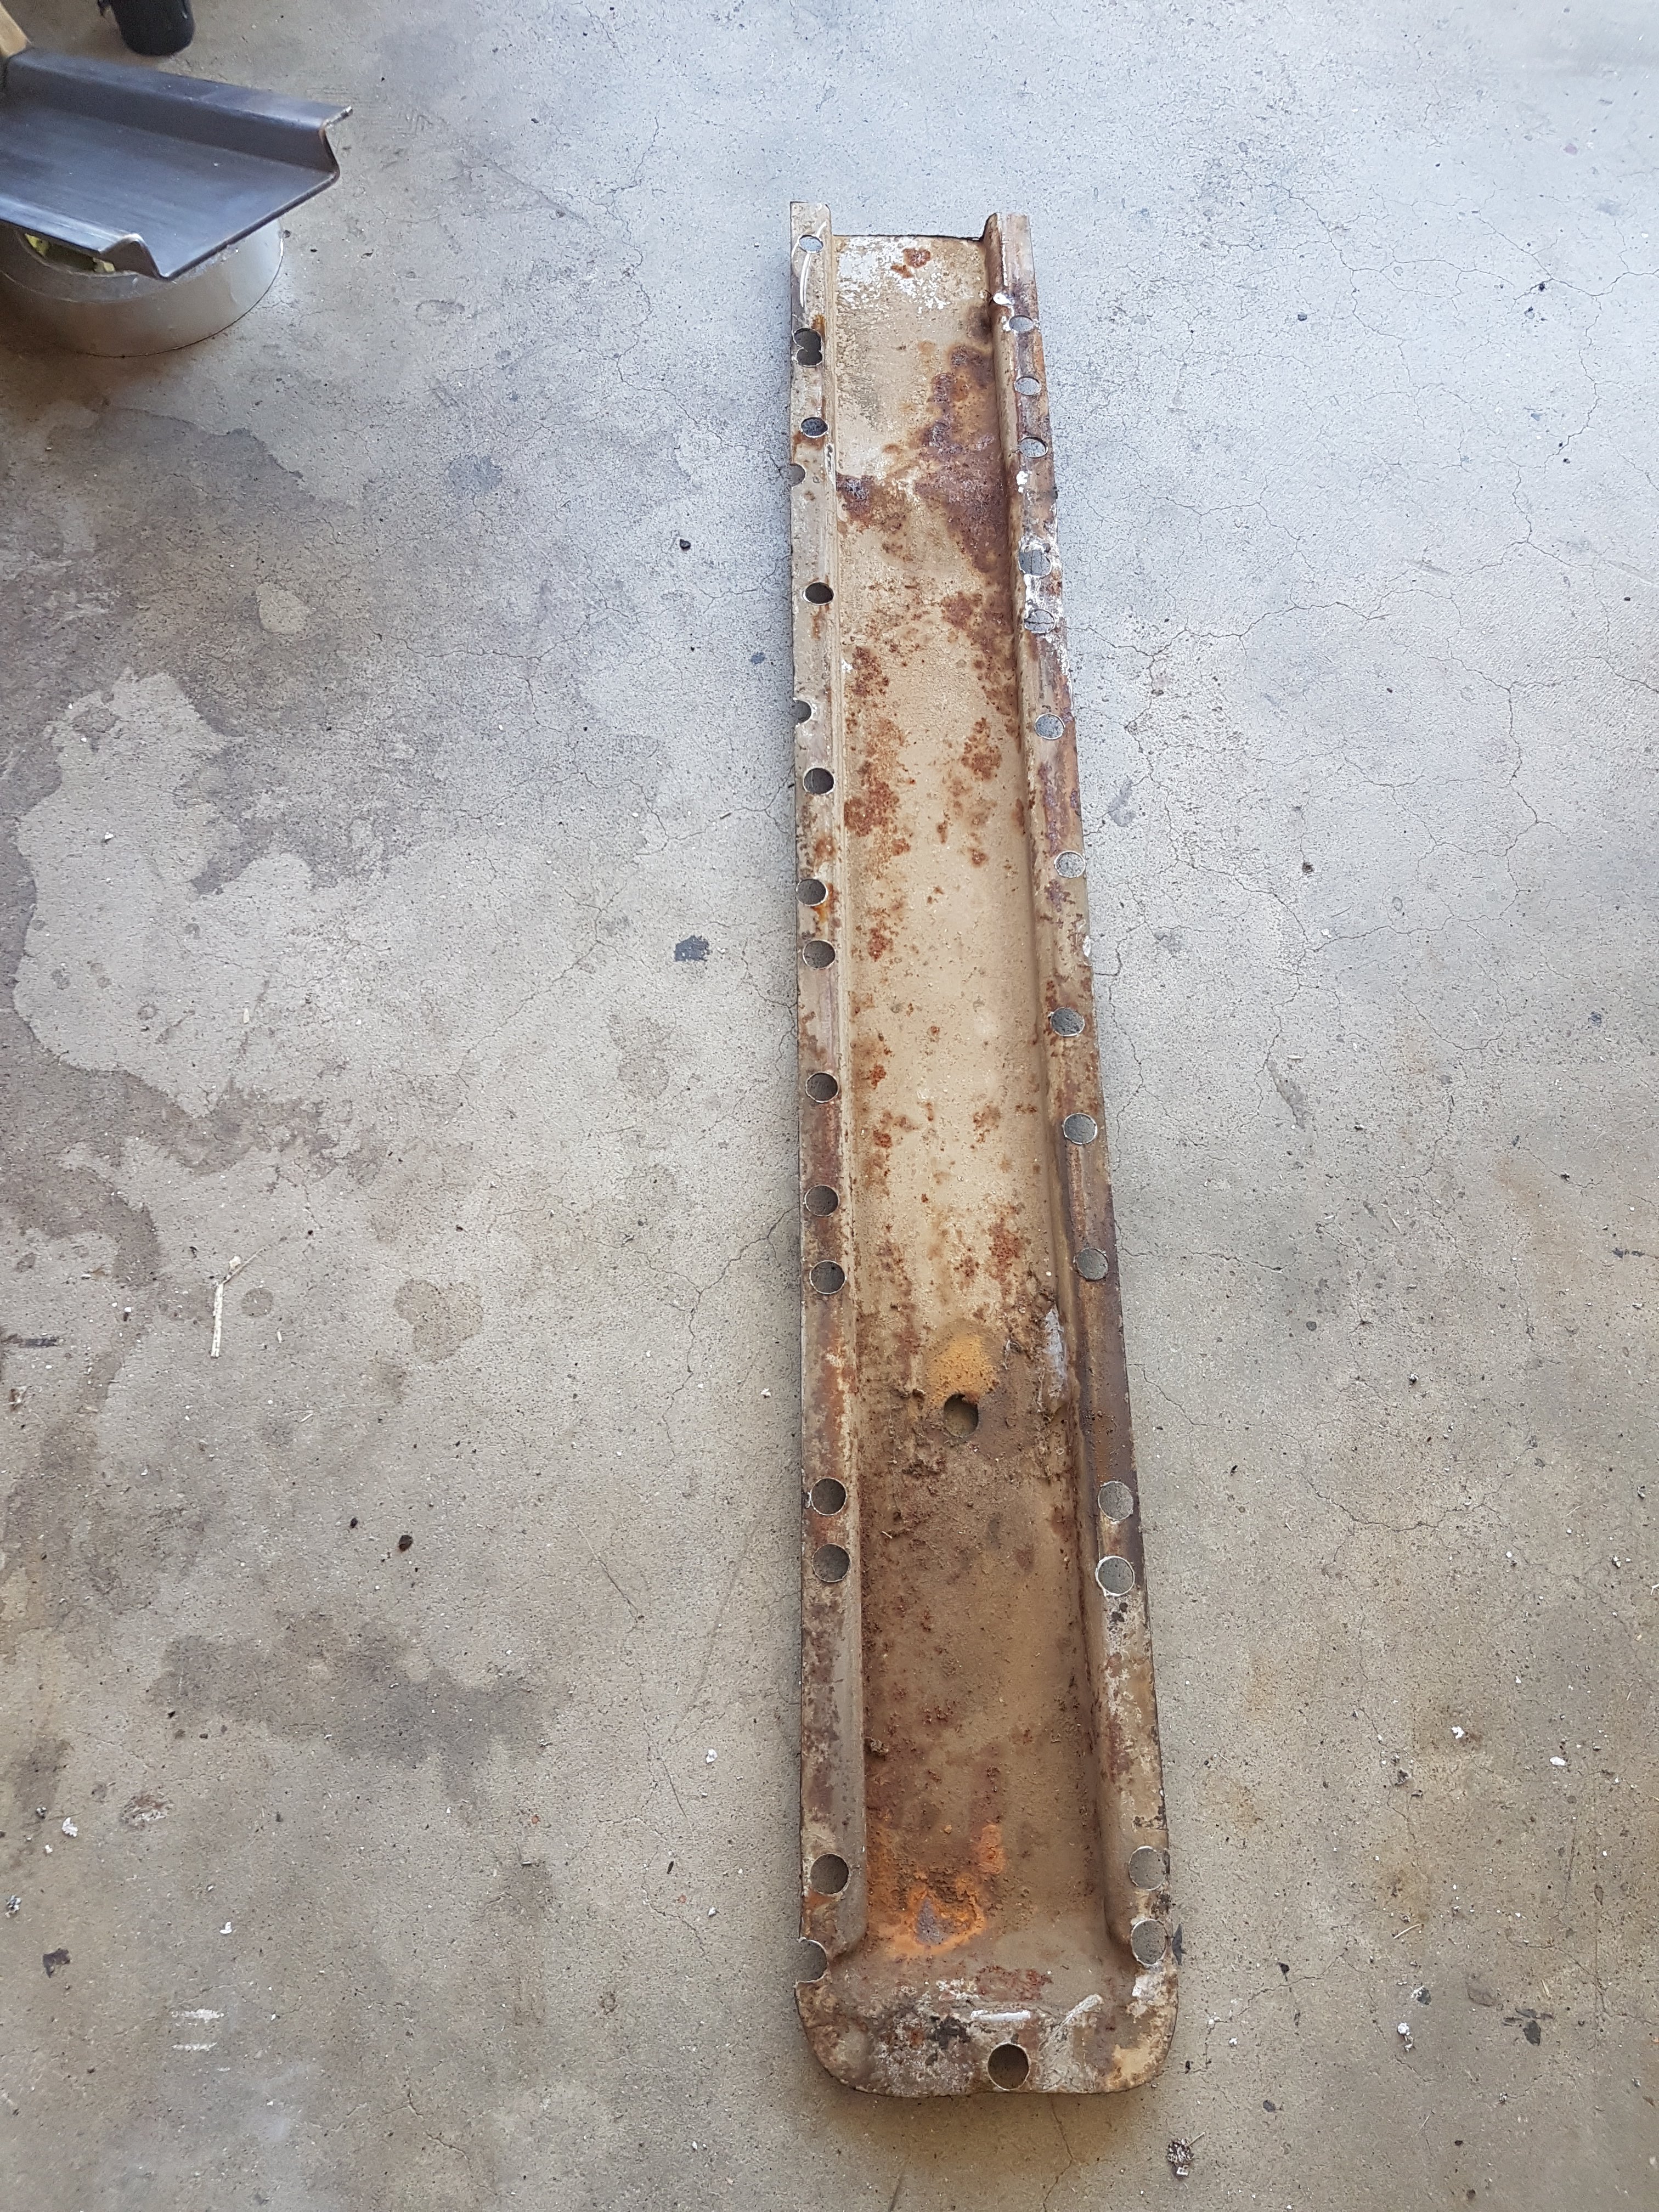
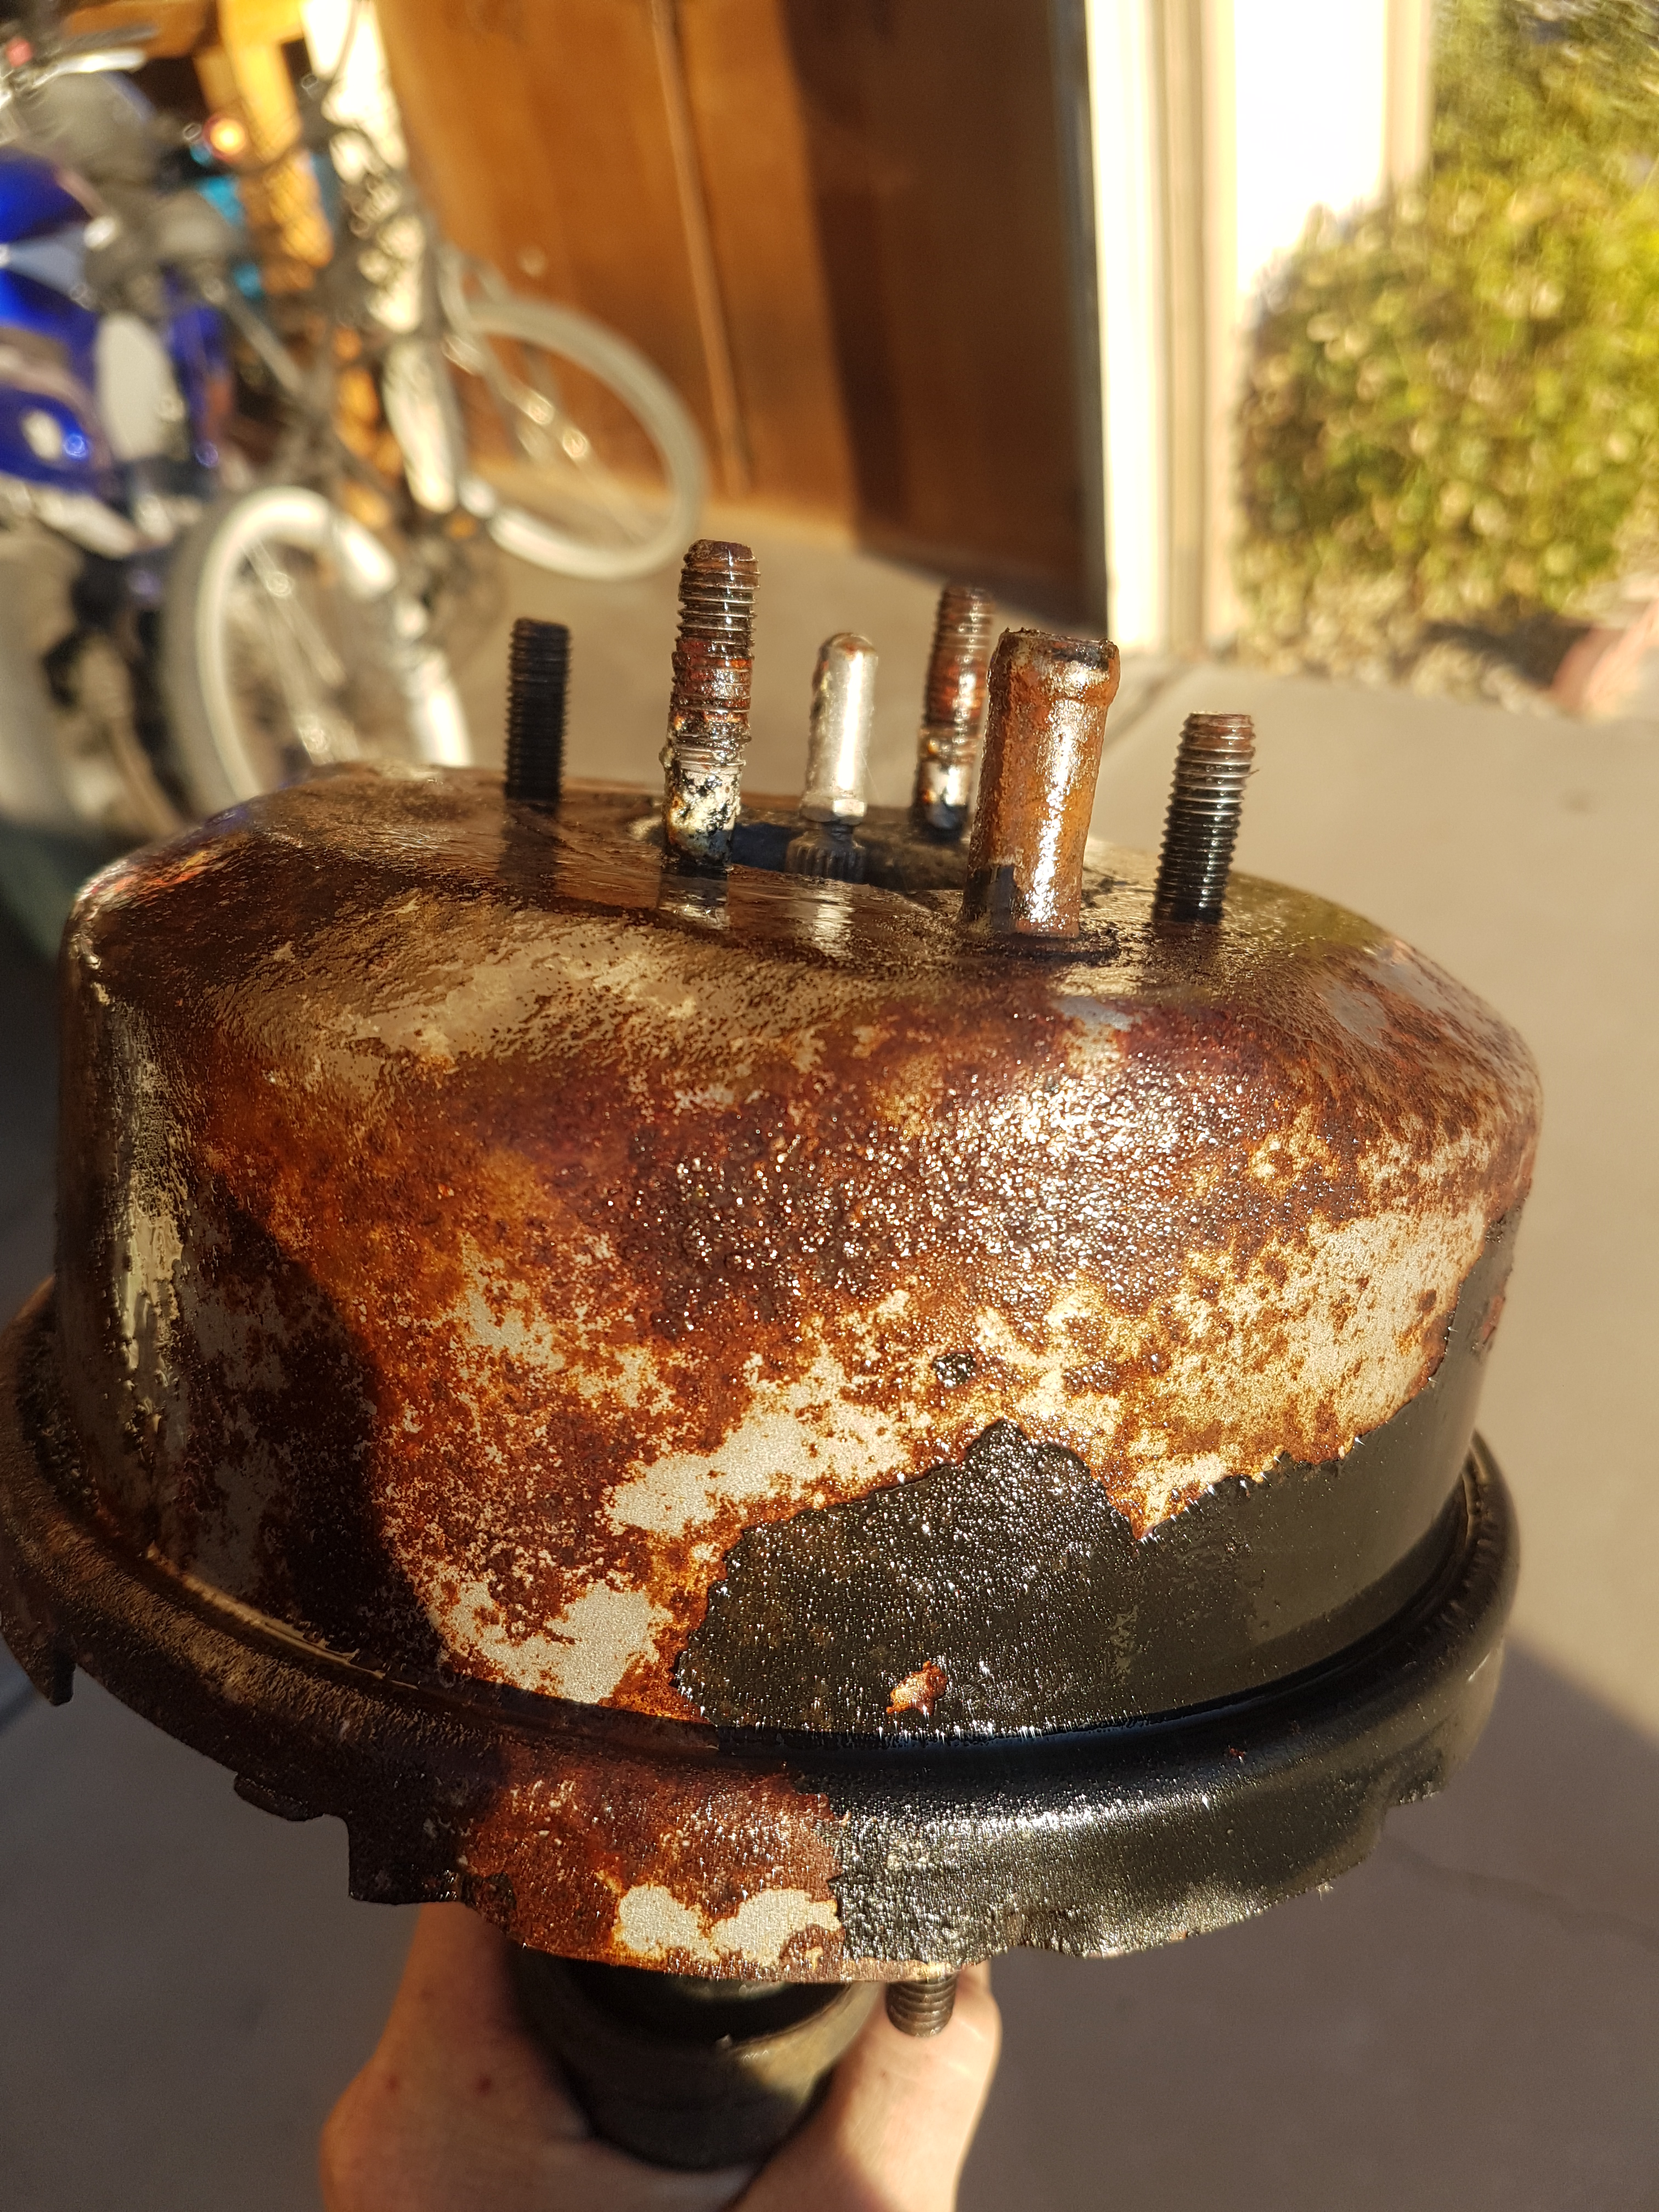
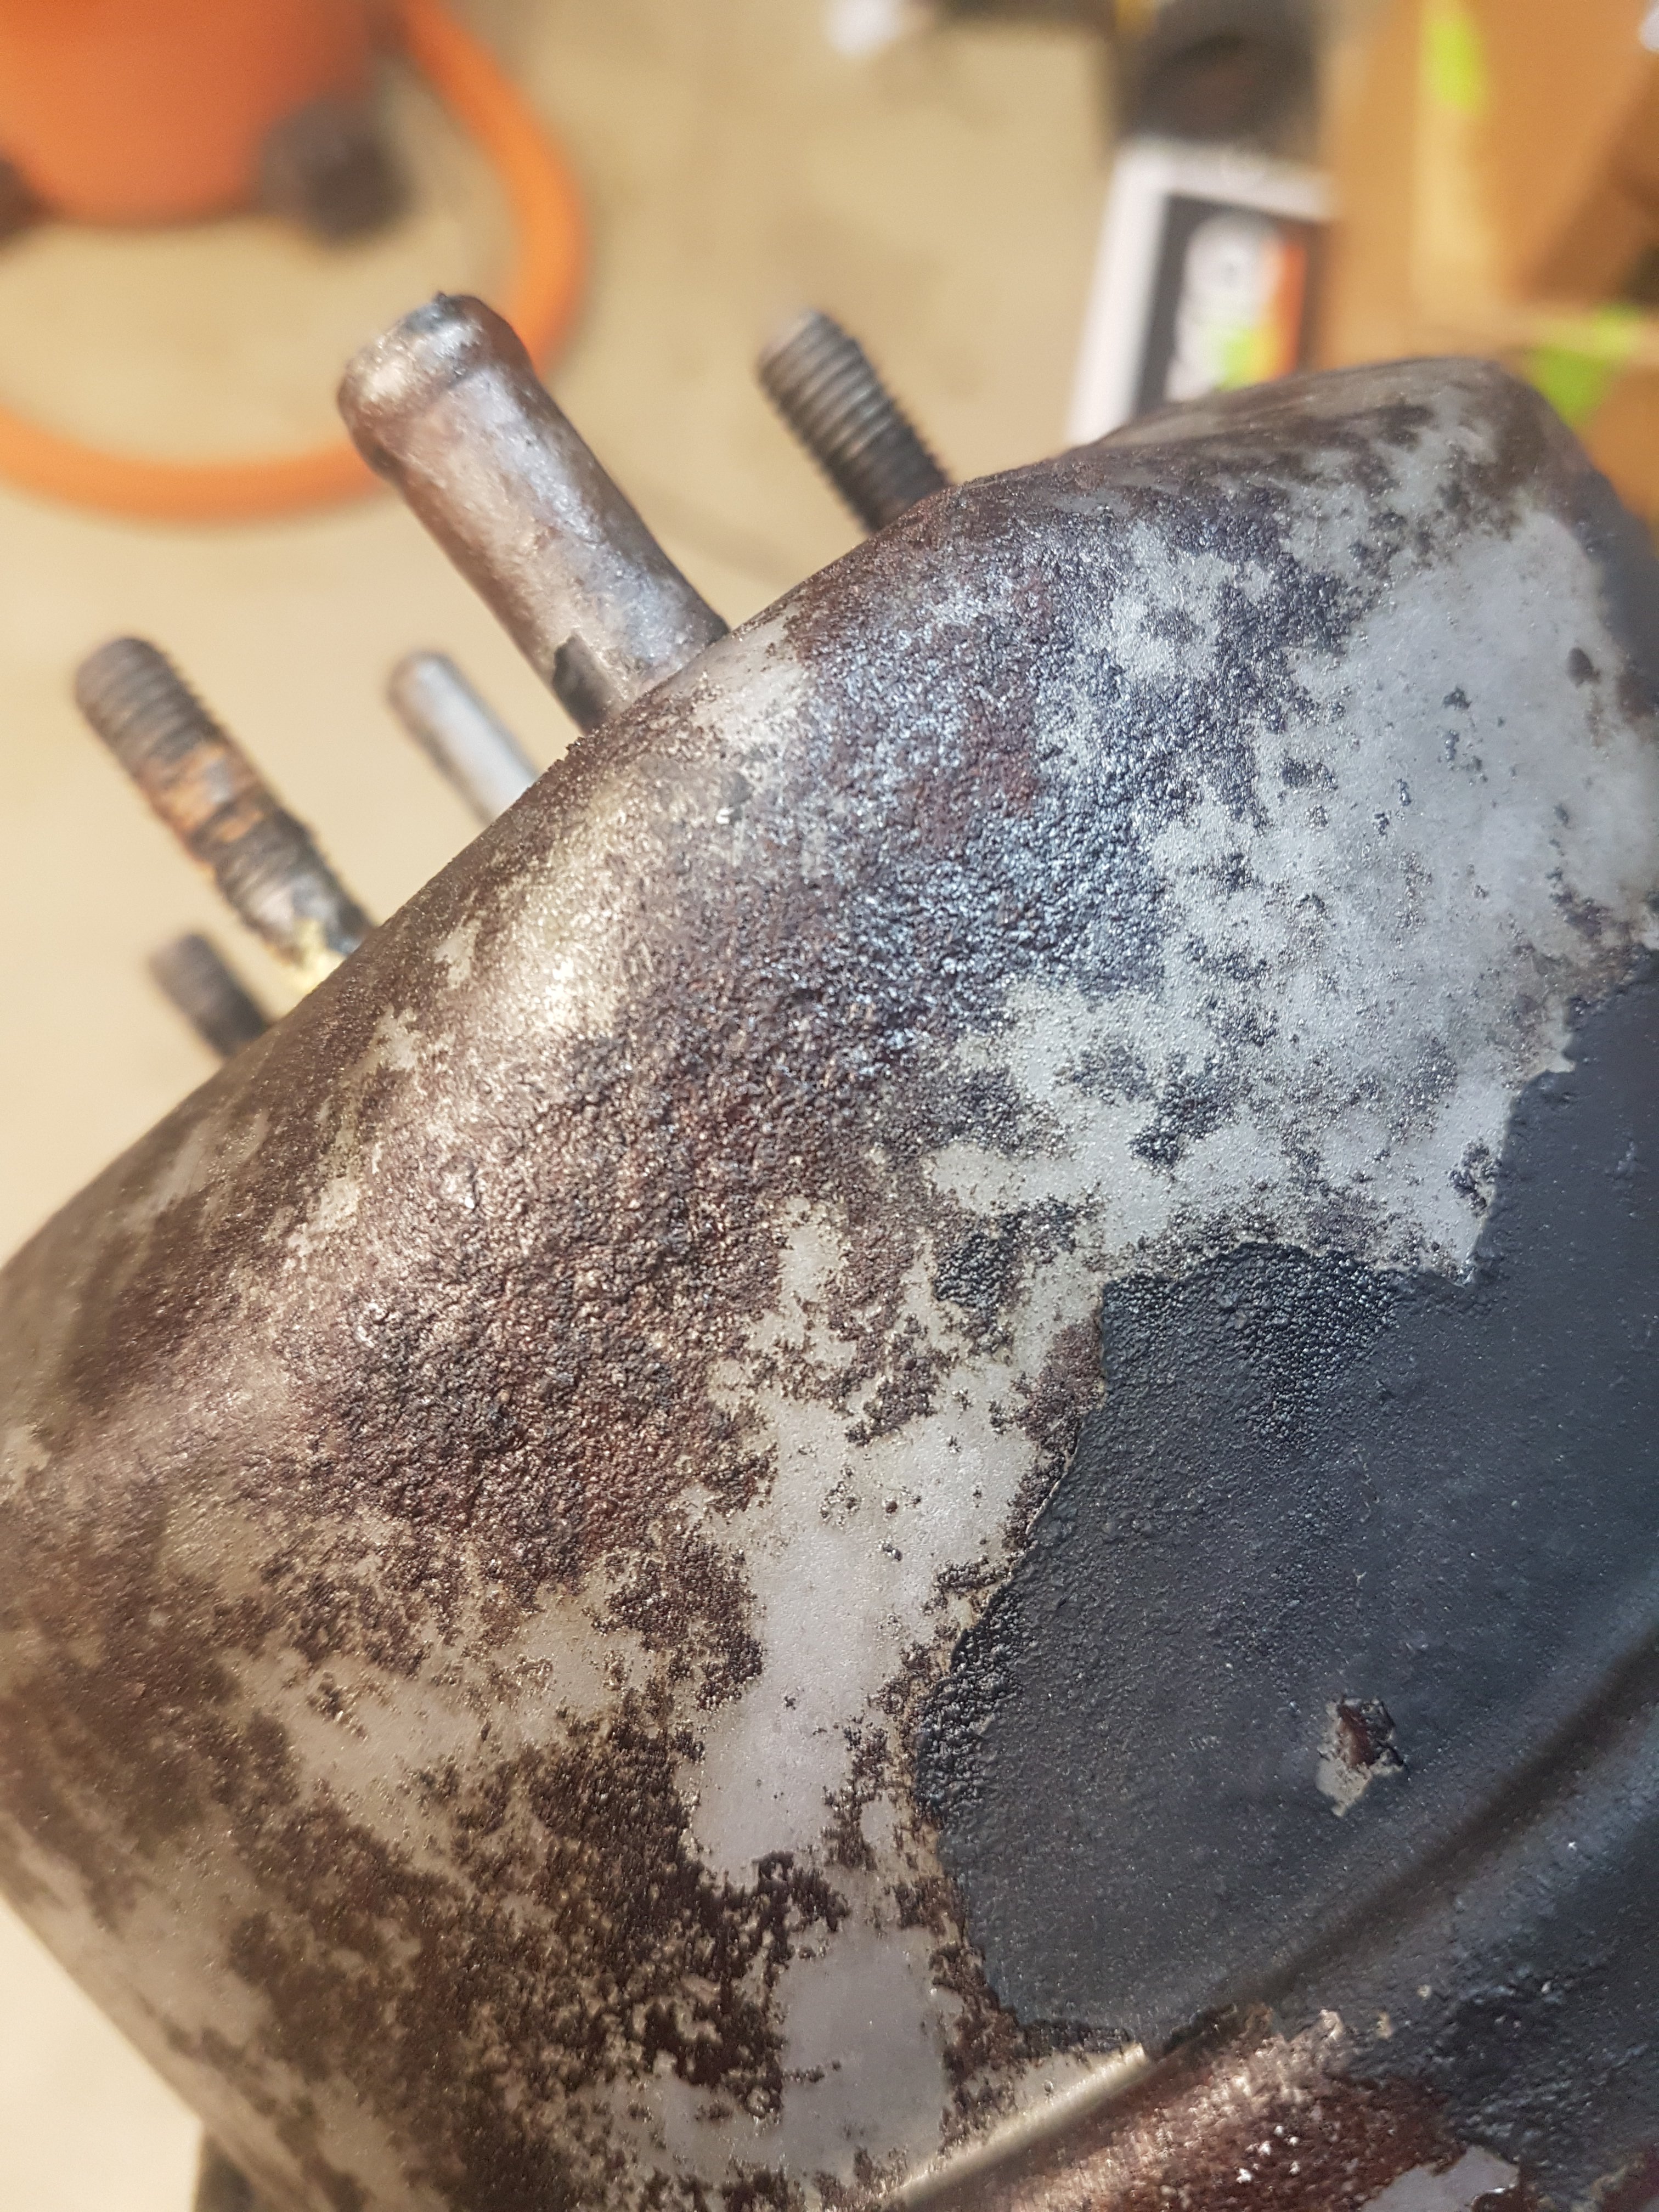
Yeah, that's what I'm learning now. The brake booster was intended to be a test piece that represents the level of rust inside the car's enclosed spaces which I can't access with a rust removal tool. I was going to see if the Ospho would convert the rust and see how epoxy primer would bond to it with only a water rinse and drying, since that is all I can really do in some areas without cutting access panels or acid dipping. Based on this scrap booster it seems like that isn't going to work -- I'm not even going to bother testing the epoxy on it. I'm probably going to end up cutting access holes to get a grinder in those areas before applying the ospho.
-
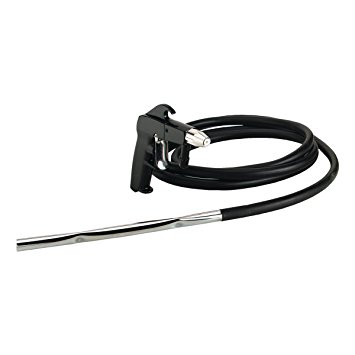
Sounds like you guys have done a lot of what I'm planning to do. I have a good bit of rust in my cowl too, mainly around the vent tube near the passenger side. The vent tube has some rot around it so I'm going to drill the spot welds on the piece of sheet metal covering it and remove that, then cut out the bad vent tube metal and replace it. I'll probably spot blast and Ospho what I can't get to with a grinder. Those little siphon feed spot blasters are surprisingly effective. I'm using mine with a 5HP 60gal Quincy. I feel you on the paying someone else to do it. After doing my own floor pans, frame rails, battery box, and about to be dog legs and cowl vent I'm ready to focus on restoring the interior. Anything but grinding grinding grinding, spot weld drilling, etc. Although, I do enjoy the welding. Those purple 3M wheels look interesting, I might have to pick some up and test themout. I'm testing the Ospho on some rusty parts at the moment. I'm on two coats already and tonight will be 48 hours of it sitting there "converting". We'll see. I'm planning to shoot some PPG DPLV (Yay for compliant California paint ) on there and see how it adheres. I've read that epoxy primers are okay to shoot over Ospho, but a self etch primer containing acid will not bond properly. I've read everywhere that at the very least you have to rinse Ospho off with water to neautralize it. Your process sounds better, except you can't always wipe some areas down with W&G remover. It's nuts how the Ospho instructions don't mention anything about rinsing -- just dust off the white powder and paint. I've read about a lot of paint failure using that method. Initial Ospho application: After 24 hours: It looks darker but no white powder like the Ospho folks mention. After 48 hours: Not much difference.
-
I might try putting in some drop cloth or something similar in the garage to contain it. I blasted in the driveway/yard at my old rental house and the landlord had a little fit about the sand in the yard, if you could even call it a yard -- more like a dirt lot. So, I'm not going to try that again being that I'm still renting. I'll have to clean up whatever I do and it'll be easier in the garage. I've seen those needle guns. They look really effective, especially for undercoatings. I've read the same during my research. I think it comes down to the person doing the blasting, type of sand used, pressure, technique, etc. The safest route is to use walnut shells, plastic, or soda blast it which all have their downsides, so I've read. I might just get some walnut shells for doing the blasting spot blasting I'm doing or just take it easy with the sand and not doing any outer panels. I don't mind sanding. I just have to do something about those rusty inside panels.
-
Yeah, I'm not sure I want to go to all the trouble of trailering the car out to Phoenix. I'm leaning towards blasting what I can and cutting out some access panels to those hard to reach spots. You sure aren't lying about it being messy. I've done a good bit of spot blasting with my 60 gal compressor and something like this: It works pretty well for smaller stuff and the price. I had the bottom of the car sand blasted by a mobile blasting company. It made a huge mess and I wouldn't do that at my house again. A dirt road or a field somewhere is a much better idea.
-
How did you get into the hard to access areas? Like the passenger/driver air ducts that run up the engine bay sides, and the inner fenders above the dog legs, and other areas? Were those areas just not rusted? It is a mindset thing. I'm to the point where I'm pretty OCD about things. Even if I can clean out most of the rust in those pictures, there's still going to be rust in the seams and lap joints that I'll wonder what the state of it is. I dunno, maybe if I put enough work into the engine and make enough horsepower I'll forget about the lap joint rust Also, you can't even acid dip/chemical dip a car in California any more without paying for it with your left testicle. Jeez. I was quote $2600 for just the shell today. I did get a $1500 quote for the whole car in Phoenix AZ. Pretty good price and only 10 hours away rather than 12 hours to Eugene Oregon!
-
I realize this post is 7 years old but I thought I would update it with fresh information. I've been searching for days for places to strip my 240z and weighing the pros and cons of blasting vs. shooting chemicals into the boxed in areas myself vs. getting the whole thing dipped. I just talked to these guys on the phone and they still do the dipping, but the prices have increased a lot since 2010. The shell alone is $2600, doors are another $225 each, and the remaining parts are comparable in price. Out of my budget I'll tell you that. CARB Nazis...
-
The car looks great! It is a tough pill to swallow. I'm still considering it, but also considering other options like shooting Ospho into every nook and cranny, washing it out with water and a pressure washer and then spraying Eastwood Frame Coating into the cavities. Just got done reading your entire build thread. Very impressive timeline and the car looks great. I saw the crap you pulled out of the passenger and driver vent holes. I removed a comparable amount of leaves and probably rat shit from the passenger and driver vent plenums -- 45 years worth of debri, I'm sure. Nasty I'm considering going back and getting it dipped, but a big part of me wants to just push through with what I have and get this thing on the road. There will be more restoration projects in my future, I'm sure. Ill sandblast what i can but after much research I'm thinking about getting a flexible drill attachment with a brush, knocking down what loose rust I can in the rusty boxed in areas, shooting Ospho into all of the boxed in areas, letting it sit for a couple days, cleaning it out with water, and then shooting Eastwoods Frame Coat in there. Then cavity wax on top of that. I figure that should slow the rust rate down a bit. Maybe for another 45 years? I really have no idea. I never really hear of anyone coming back 5 years later and saying "Oh yeah, that rust that I just covered up with rust encapsulating paint still looks great and my rocker panels (or other part) are still solid!"
-
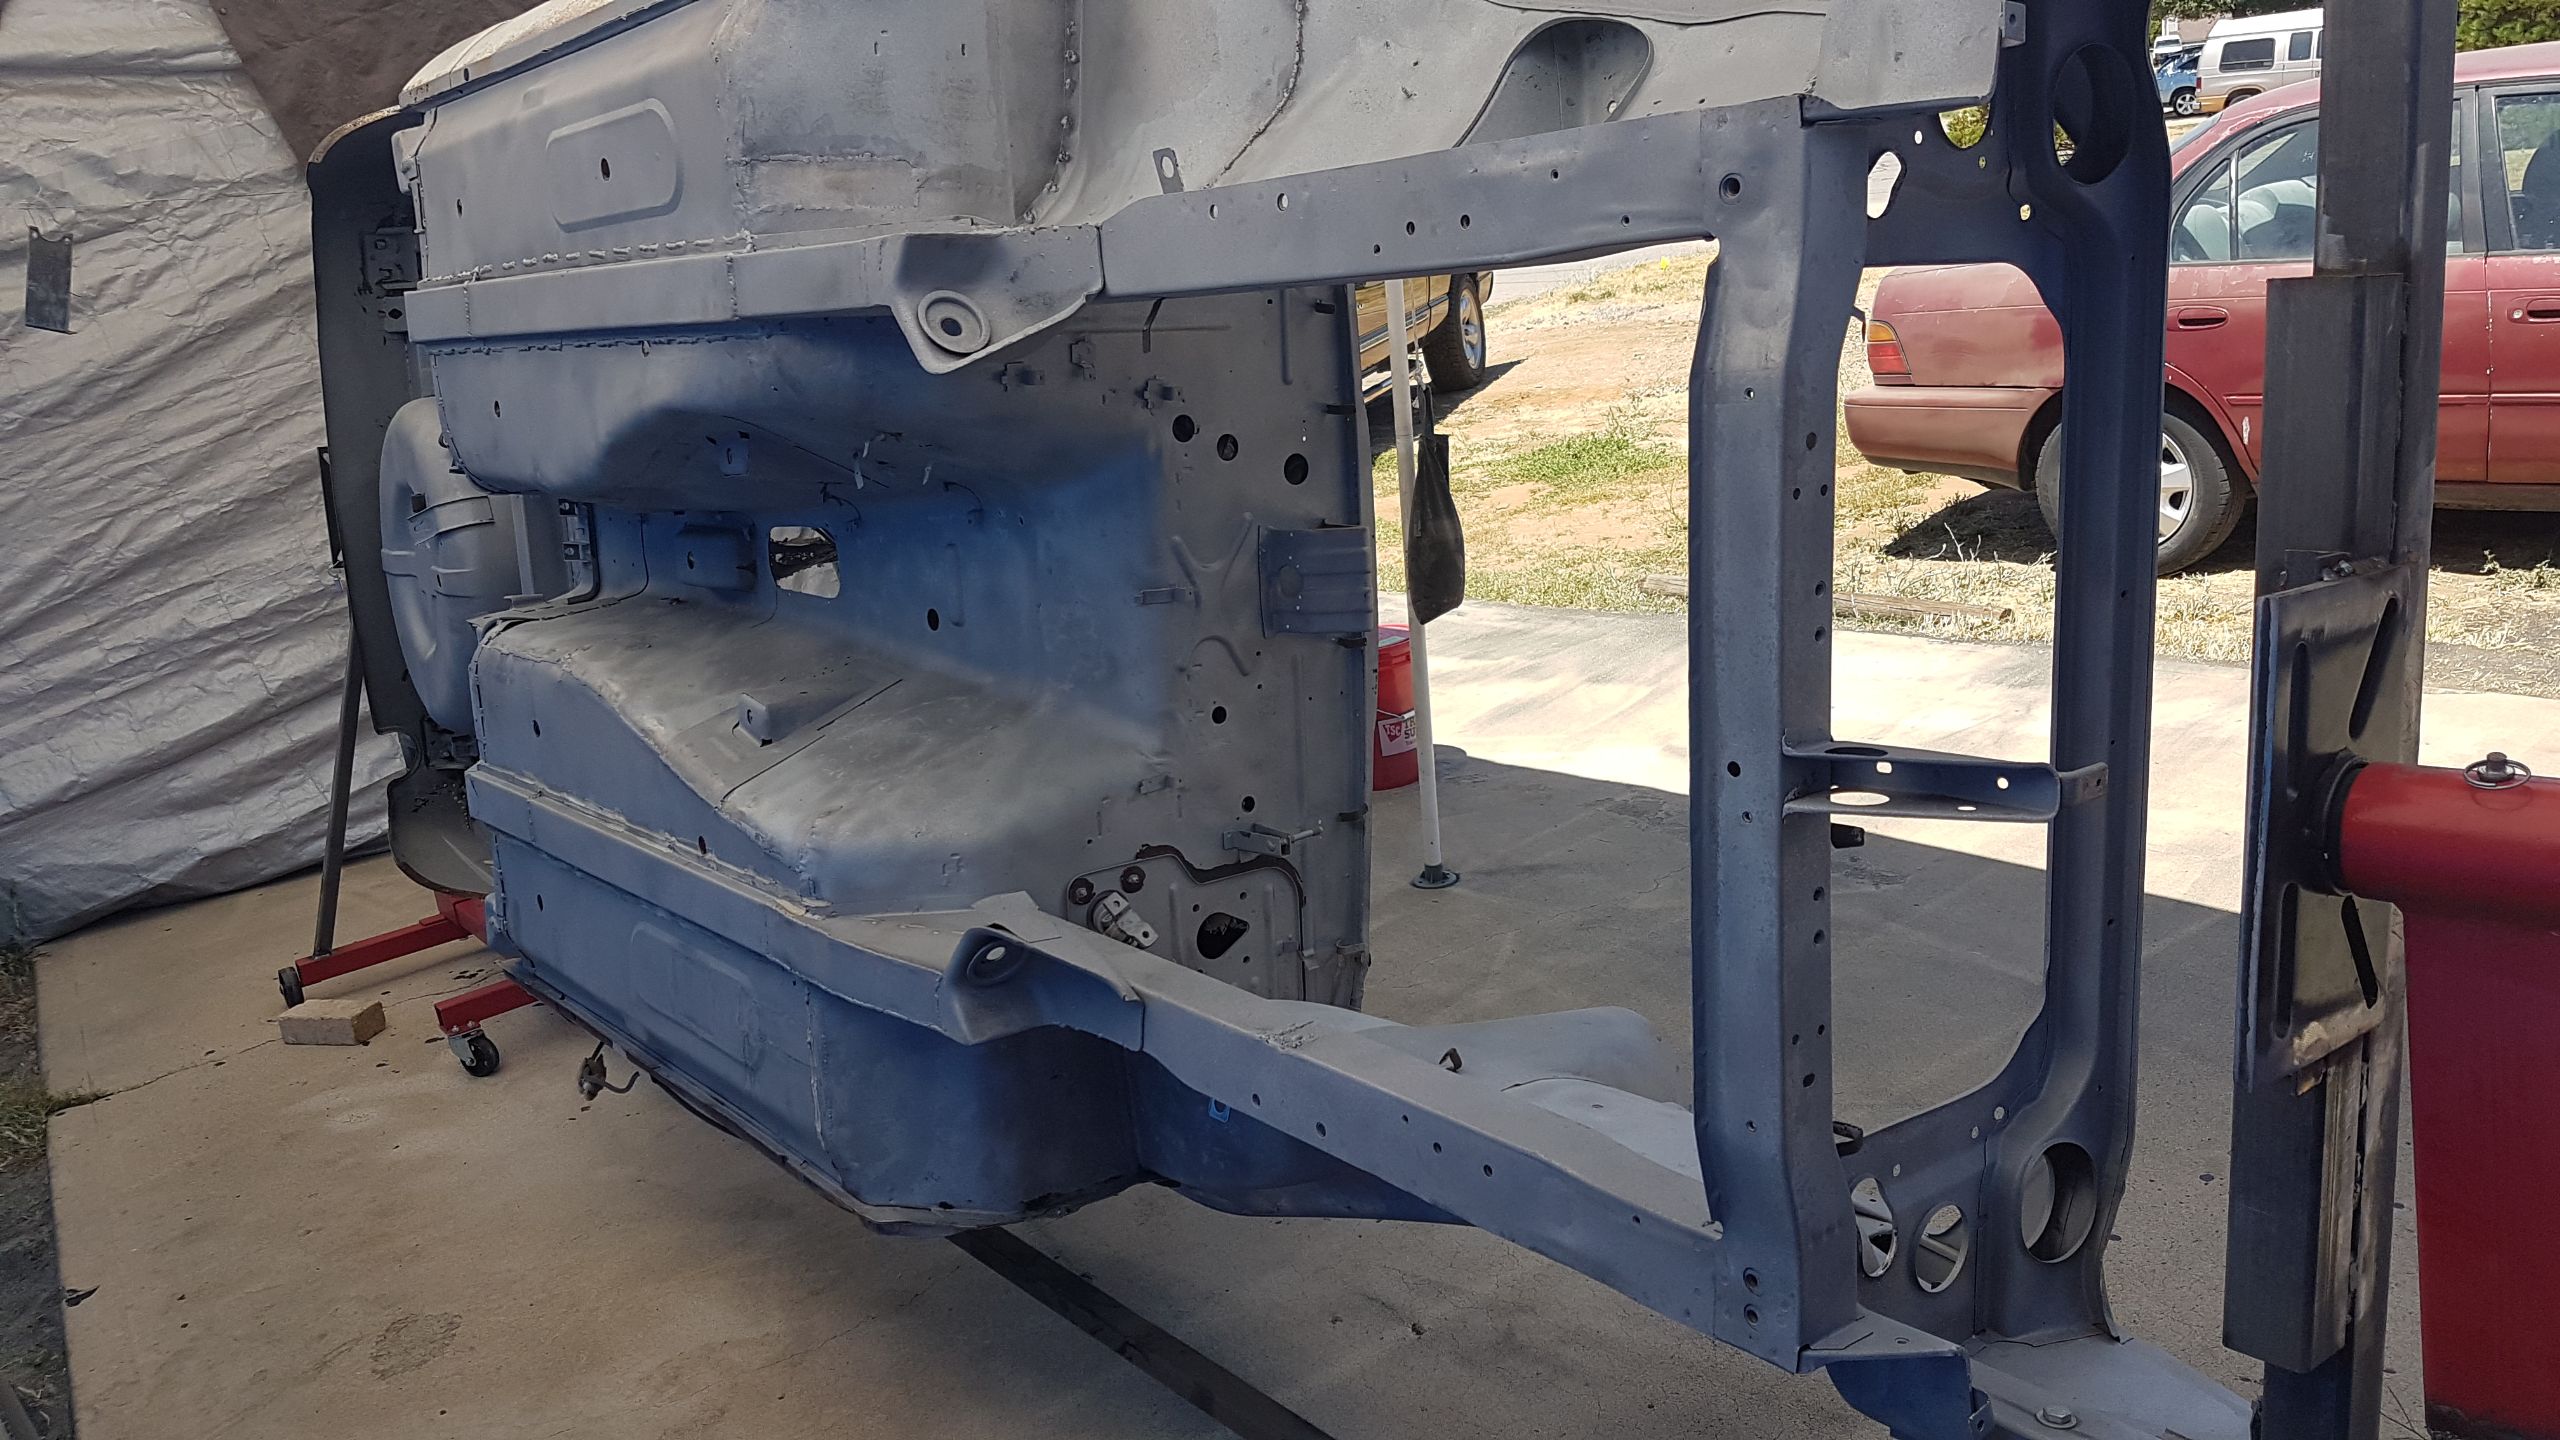
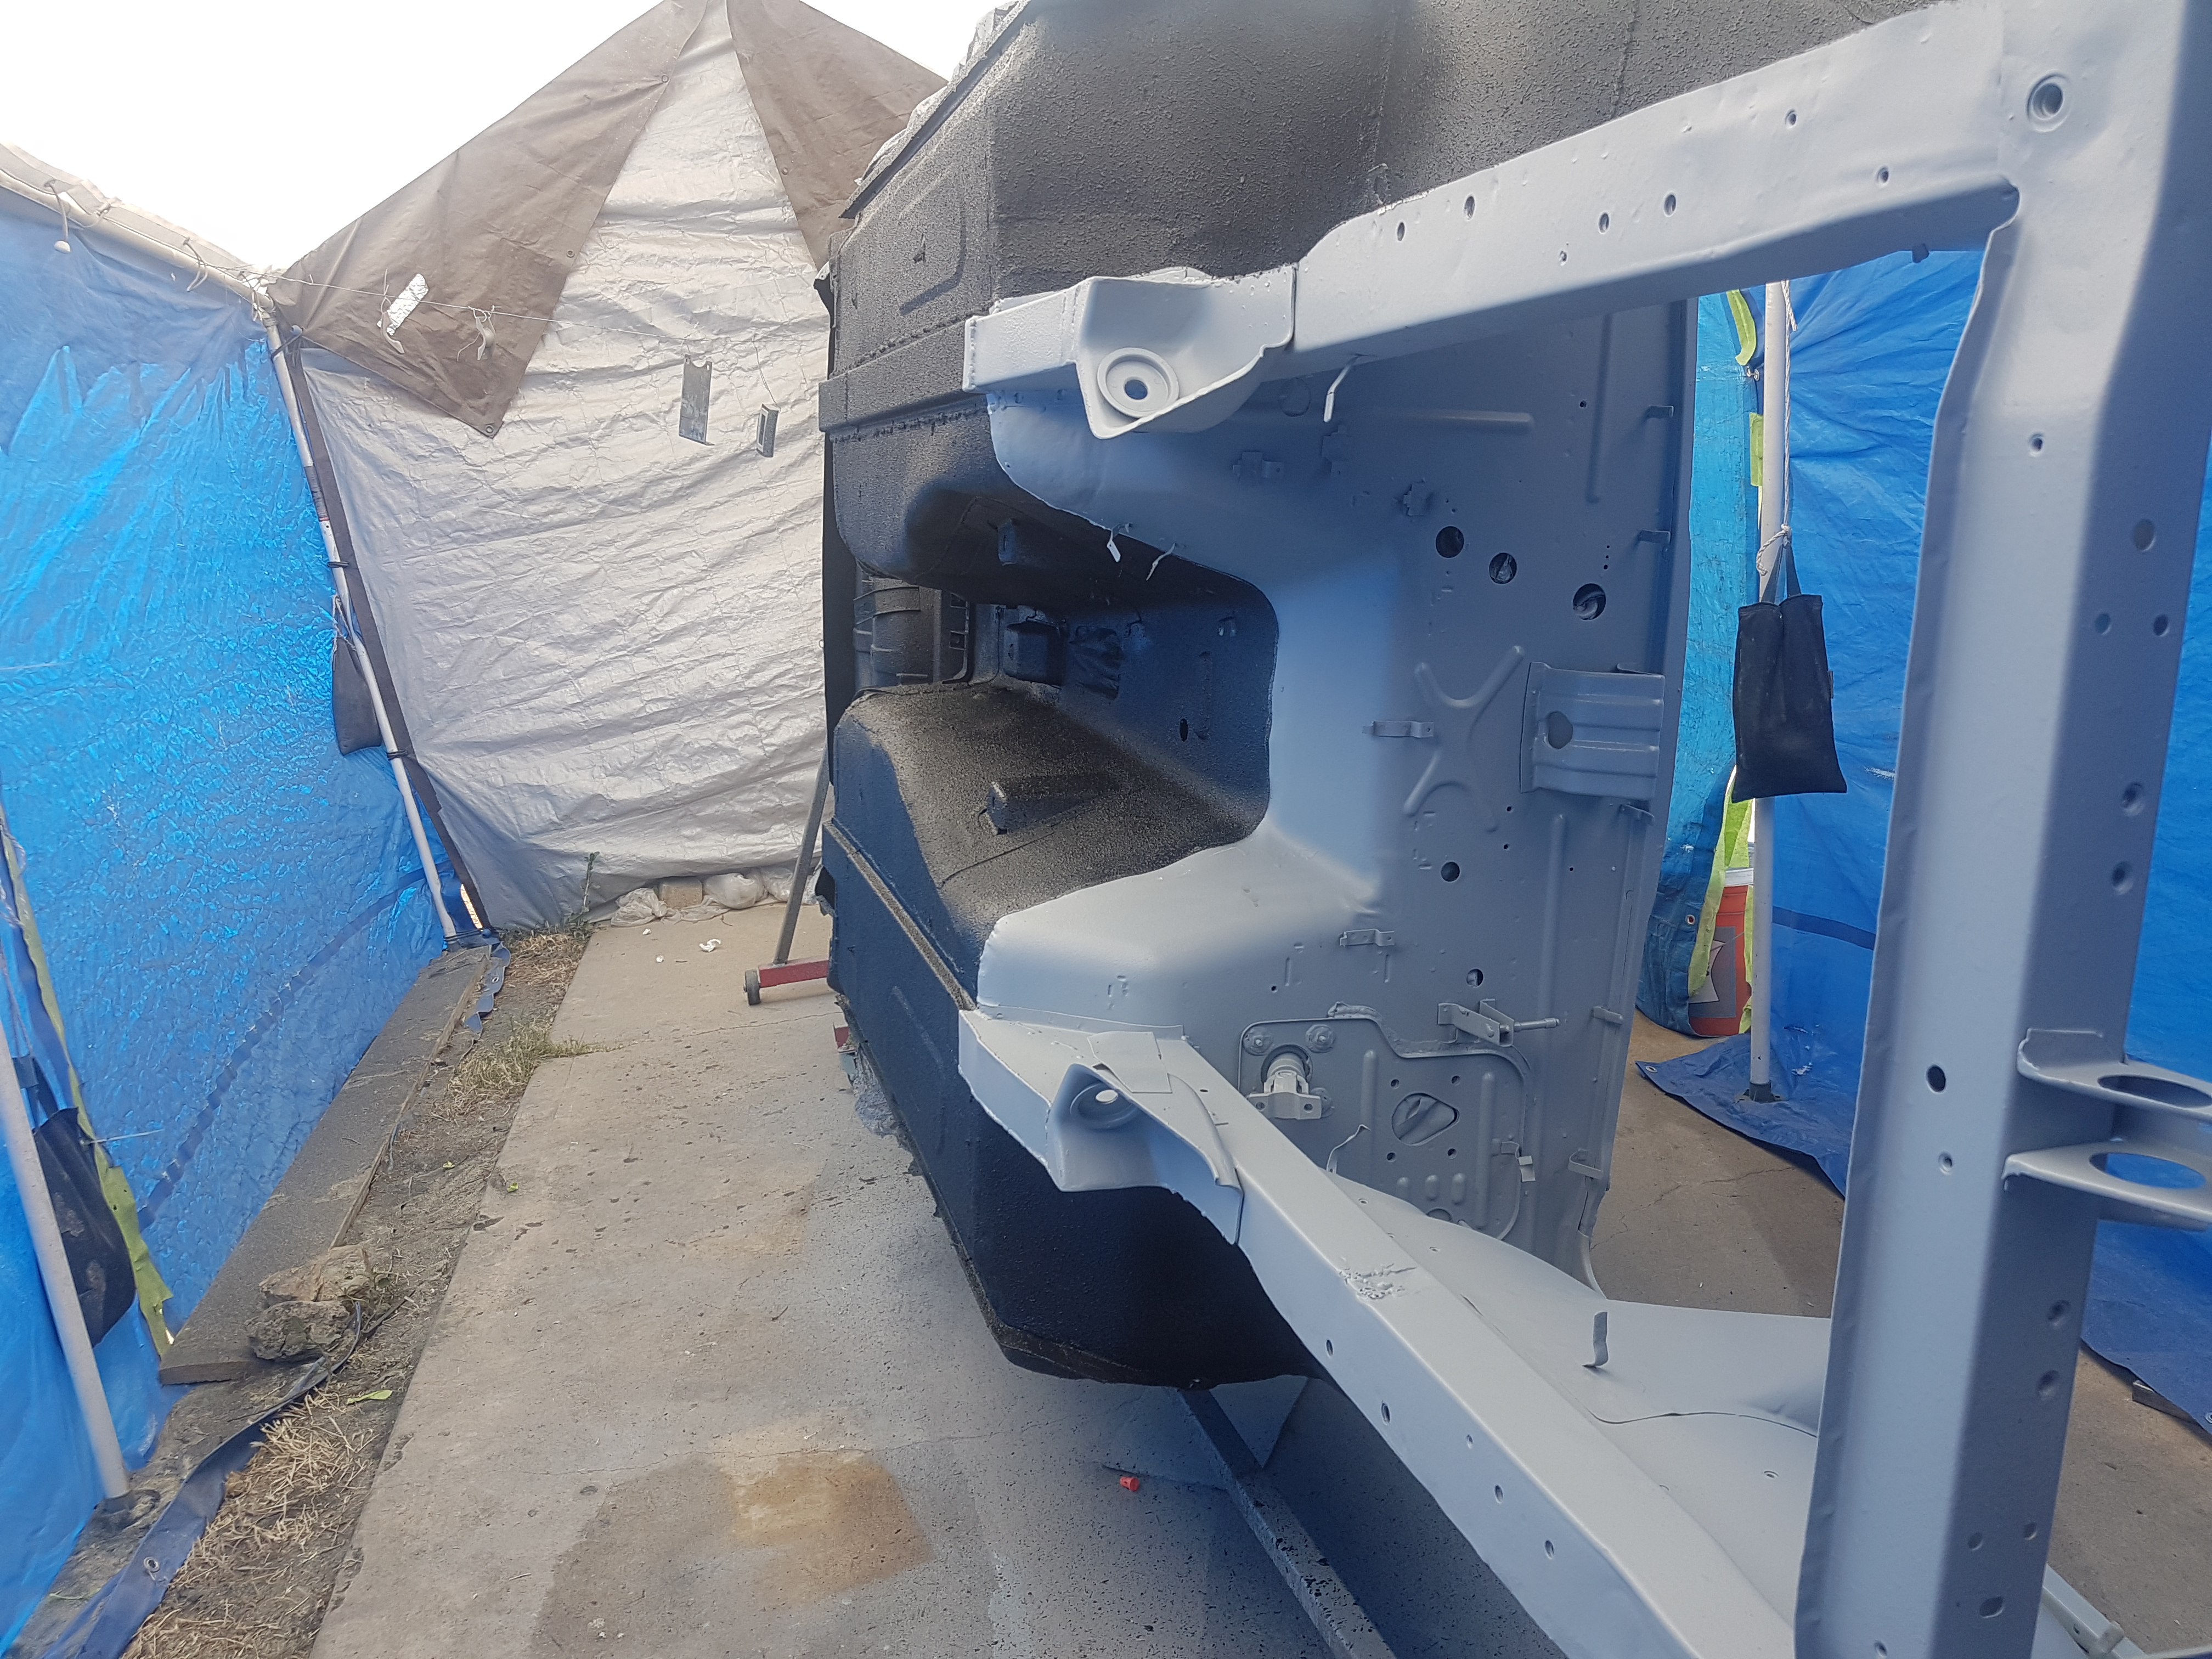
I thought about that. The only thing is my underside is already done (epoxy primed, seam sealed, and truck bed lined). I would be taking a few steps back and eating about $800 and hours and hours of work, but it may still be worth it to have the peace of mind there is zero rust, and they can prime the entire thing for me. I'm not sure. Attached a picture of underside. You think it's worth it? $800 in the grand scheme of things isn't a ton i guess. Id have to pay $500 more to get the rest of it blasted. $1890 for dipping the Z shell, doors, hood, fenders, and deck lid isn't too bad. I saved more than that doing my own battery box, floor pans, and frame rails. 🙄 Has rust come back to bite you since you didn't dip it? Mine is a California car but seems a bit rusty.
-
So you would sand blast the best they can then shoot paint? Would you try to get a rust converter into any of the places that can't be blasted (seams, laps, rockers, vent plenums)? I'm a little hesitant to get it blasted because the guy can't do soda and I'm worried aboit warping panels. He will use 40/70 fine crushed glass. Which he said he's done for body shops before and they like it.