-
Member Statistics
33371
Total Members5167
Most Online
All Activity
- Today
-

Fast Floridian's 240Z Track Build
FastFloridian replied to FastFloridian's topic in S30 Series - 240z, 260z, 280z
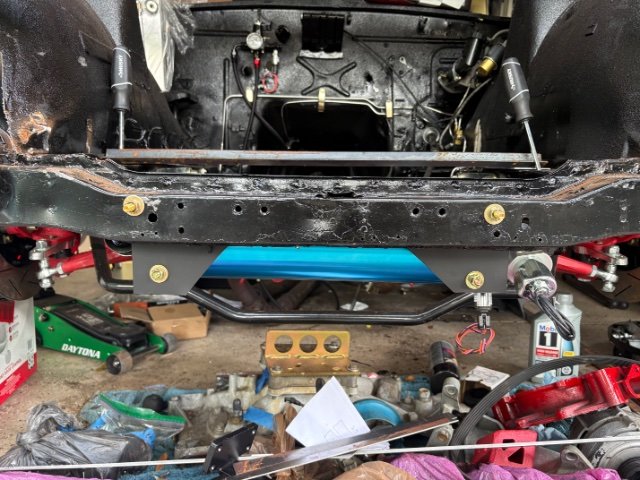
I’m not too familiar with plate mounts, I looked it up a few months ago after looking at your engine bay pics and wondering what that plate was for 😆. Was it easy to attach to the frame? I’d have to take my accessories off, but it’s a good option if I can’t make the cradle work. Thanks. -
Fast Floridian's 240Z Track Build
FastFloridian replied to FastFloridian's topic in S30 Series - 240z, 260z, 280z
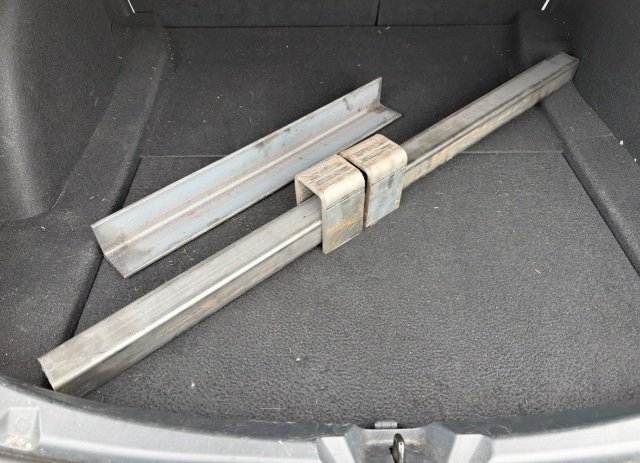
Thats a good idea, I have some rectangular tubing I could cut into c-channel and weld into the notch. I’ll explore that option this weekend, thanks. -
1977 280z driving project from the Netherlands
Mitchel0407 replied to Mitchel0407's topic in S30 Series - 240z, 260z, 280z
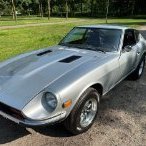
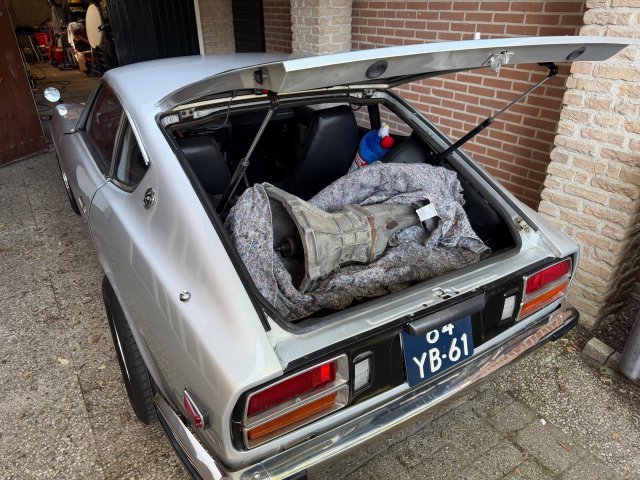
Finally had the time to head south and pick up the replacement transmission and enjoy a cup of coffee while we were at it. And what better way to pick up a transmission for the broken one in your Z then with said Z! 😂 All jokes aside she still drives fine except for a worn out syngro on second gear and a missing fifth gear. The replacement gearbox is a >80’s FS5W71B 5-speed from a 280ZX that’s been in storage for a long time. I’ll be ordering some new seals and transmission oil before switching out the gearboxes for some peace of mind.
-
A tale of two Z's - NA vs Turbo
Mitchel0407 replied to MONZTER's topic in S30 Series - 240z, 260z, 280z
Got to love a fresh coat of paint, she looks amazing! - Yesterday
-

A tale of two Z's - NA vs Turbo
jeffer949 replied to MONZTER's topic in S30 Series - 240z, 260z, 280z
That is just beautiful. As great as always to see your posts. -

Fast Floridian's 240Z Track Build
74_5.0L_Z replied to FastFloridian's topic in S30 Series - 240z, 260z, 280z
I love my front plate/mid plate mounts. It opens up lots of room under the engine and stiffens the front structure. The downside is that you hear and feel everything from the drive line. -

Fast Floridian's 240Z Track Build
flatout replied to FastFloridian's topic in S30 Series - 240z, 260z, 280z
how much of a "notch" would your cradle need to sit down? maybe notch it and attach it to the those apex supports aswell as the frame? - Last week
-
Fast Floridian's 240Z Track Build
FastFloridian replied to FastFloridian's topic in S30 Series - 240z, 260z, 280z
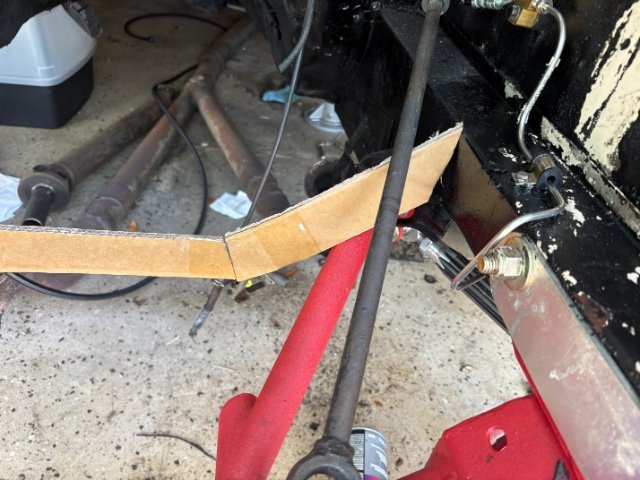
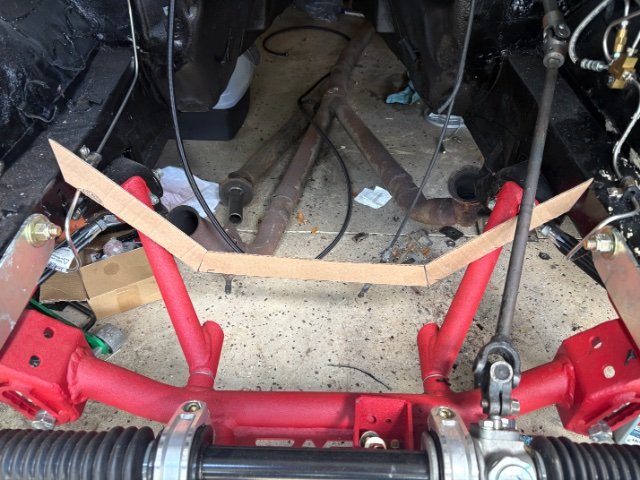
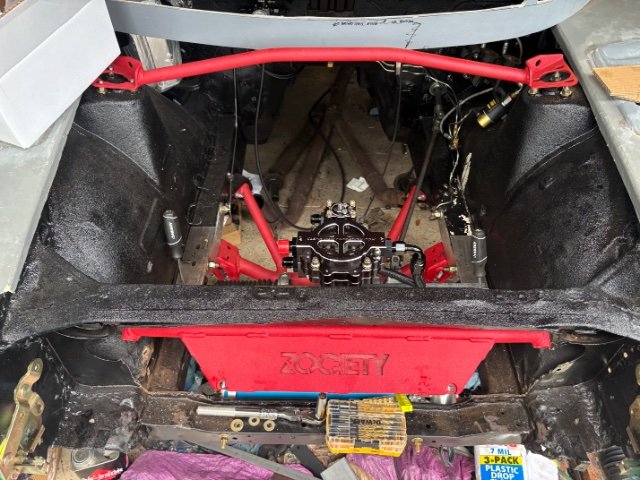
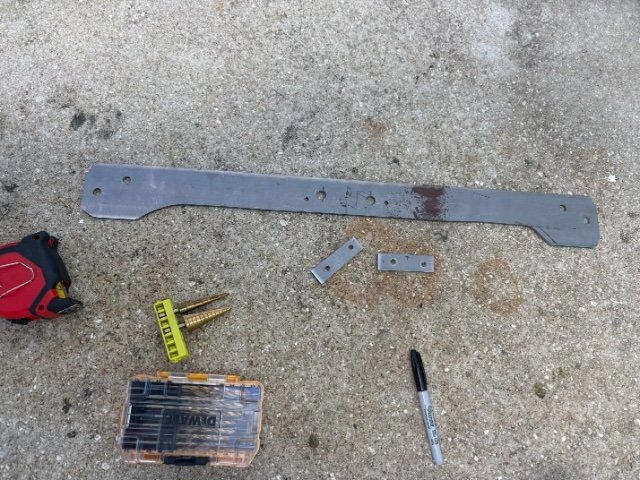
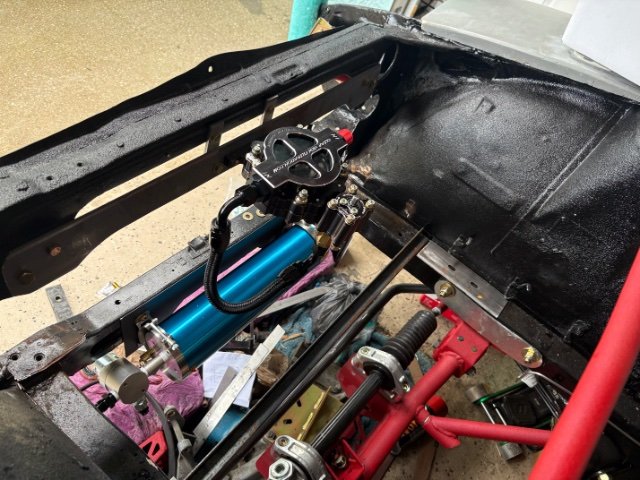
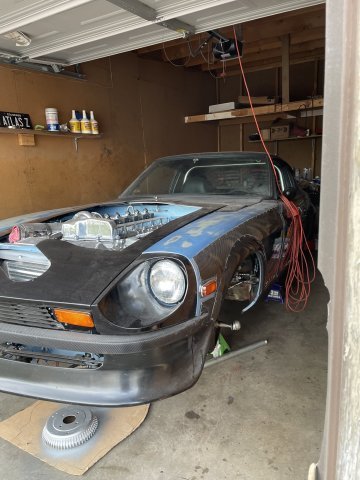
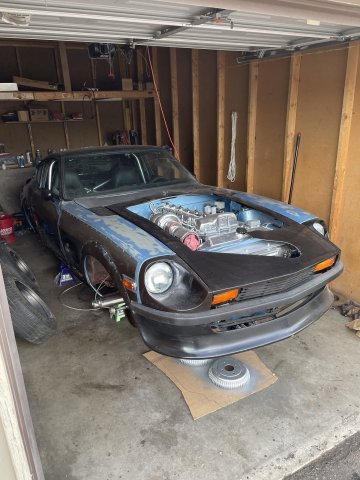
Well bit of a bummer this weekend, I made a mock up of the engine cradle out of cardboard and it doesn’t fit, the extra bracing on the Apex track attack kit interferes. I made a mock up using 1-1/2” instead of 2” and it might work, still a little tight. I’m going to try and make it with the 1-1/2” and change the geometry a little, hopefully it’ll work. Since no fab/metal shops were open over the weekend to get the 1-1/2” tubing I decided to make a bracket to mount my clearview remote filter. I’ll get it painted and re-mount it. Not sure this will be its final location, but I’m happy the way it came out.
-
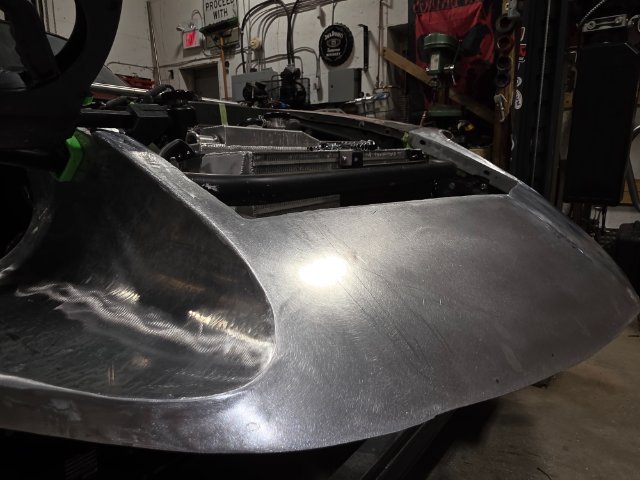
work has been to busy, small update. Headlight bucket has been welded in and planished. Everything is starting to look alot better and starting to feel like an actual car again, not just pieces.
-
280z 1jz track build from a pile of parts
flatout replied to flatout's topic in S30 Series - 240z, 260z, 280z
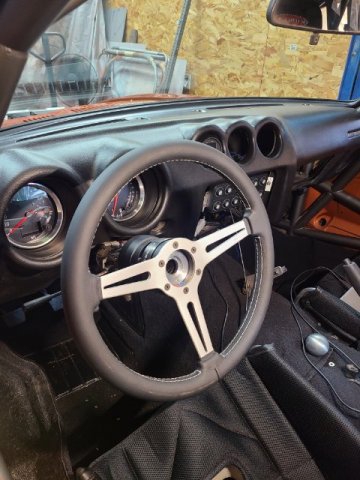
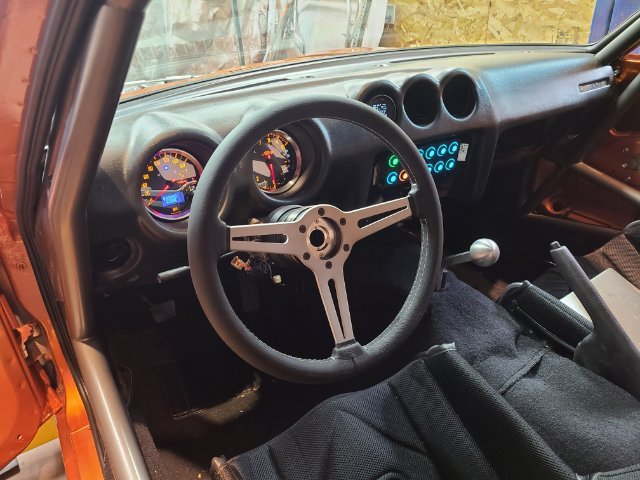
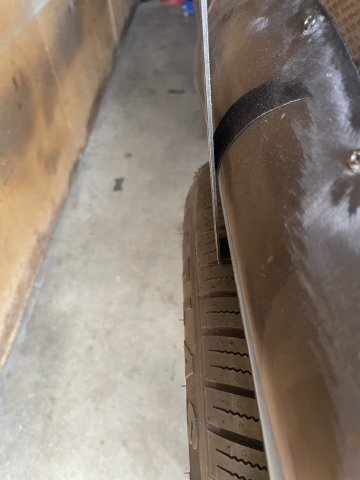
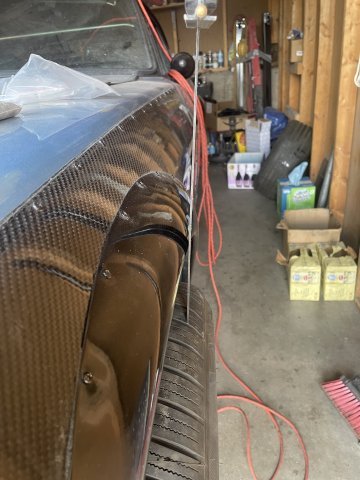
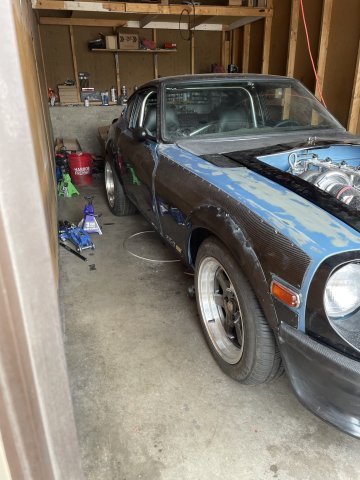
I drove the car about 3/4 of a mile around the block.... tune needs a lot of work (obviously), tires had a slight rub and it rattled a bit but was so exciting and such a relief after a year of hard work. Got the rest of the windows in as well. Wife offered to polish all the trim so I gave her some supplies and let her scrub away. also added a couple interior shots.
-
Someone mentioned steering shaft clearance? I can't see how....tiny engine in a big bay.......
-
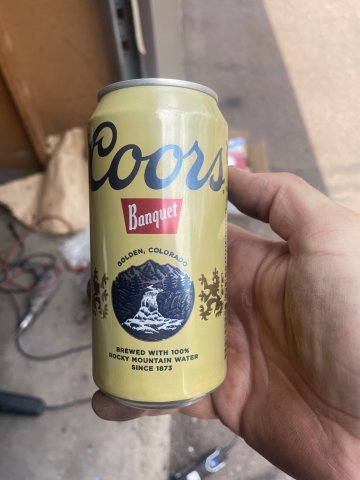
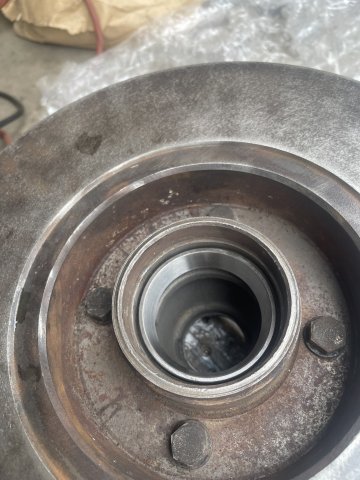
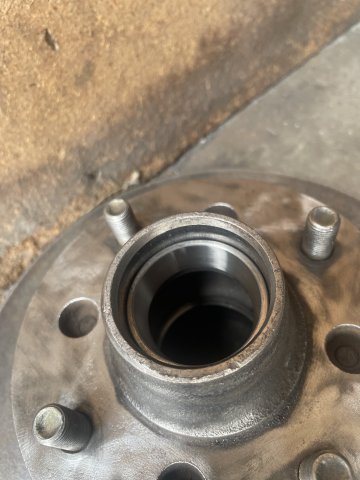
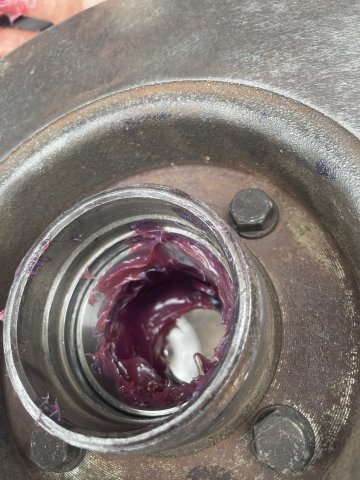
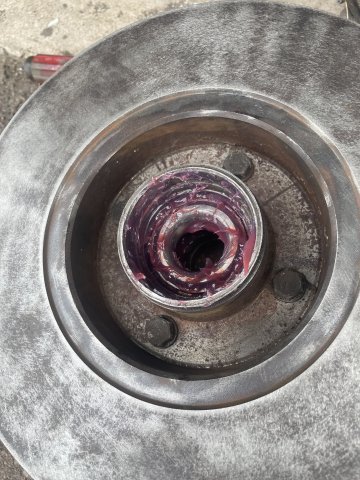
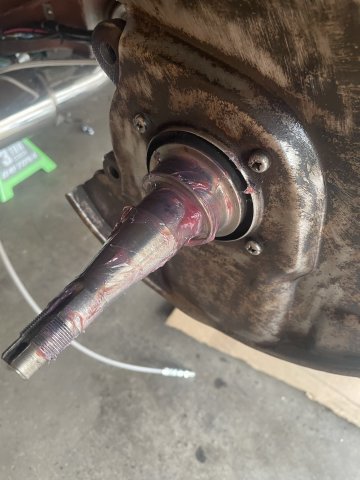
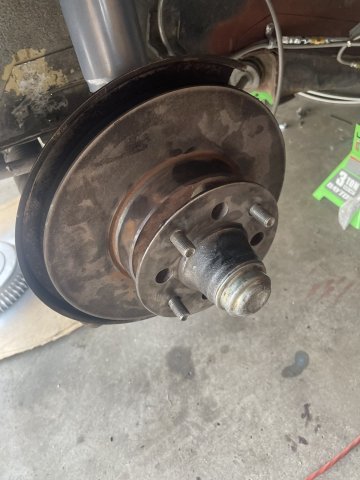
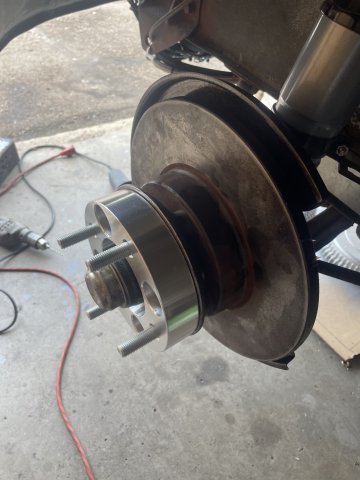
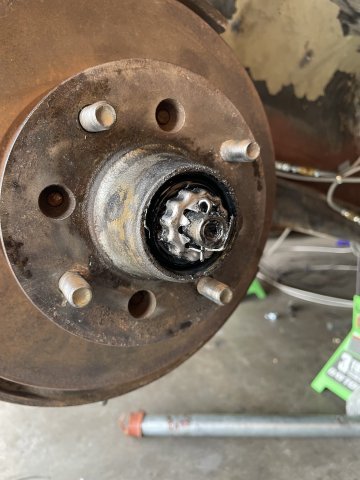
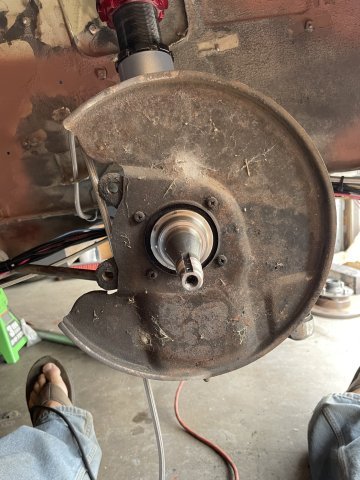
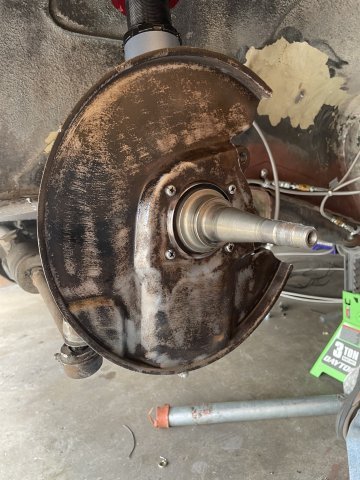
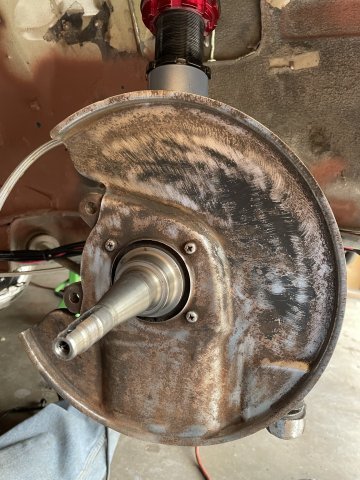
08-09-2026 ATLAS Z UPDATE: Ok, so I was able to get the wheel bearings in the hubs, and decided to just finish up the front wheel bearings today. I didn't have enough grease, so a quick trip to O'Reilley's and I got a tube of Valvoline Hi-Temp "Red" grease. It worked very well! The Lisle wheel bearing packer I grabbed off of Amazon for about 15 bucks did its job as well, and the back seals, I found went pretty well with a coat of grease on them. I lightly used a screwdriver to get it past the inner lip, then used a socket and tapped it with my hammer to make sure it was down and flush. Then in tightening them down I simply found the sweet spot where the play was gone and the nut keeper was aligned for the cotter pin then dropped them in and bent them up. I then quickly threw the front wheel spacers on and held the wheel on to get an idea. I think I am going to have to take a few measurements and have the spacers milled to get them exactly right for my application.:) Cheers! PICS:
-
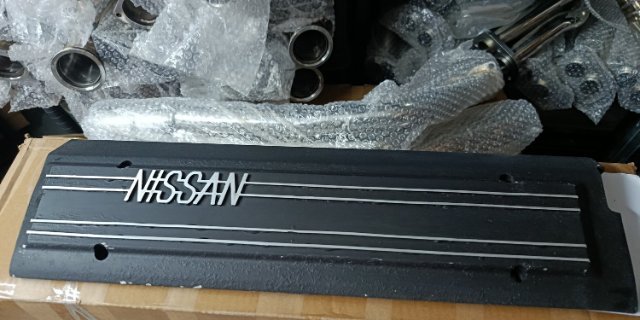
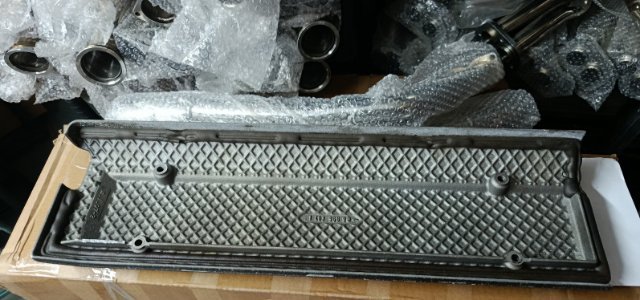
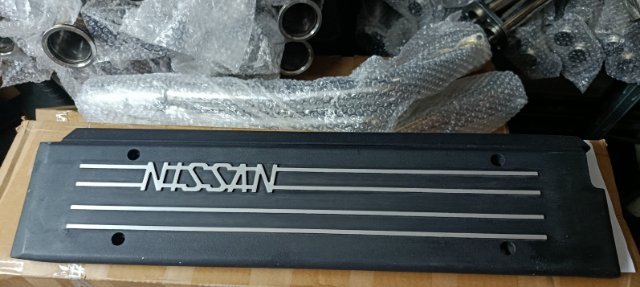
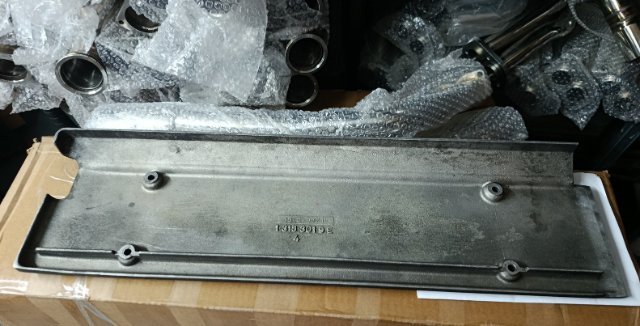
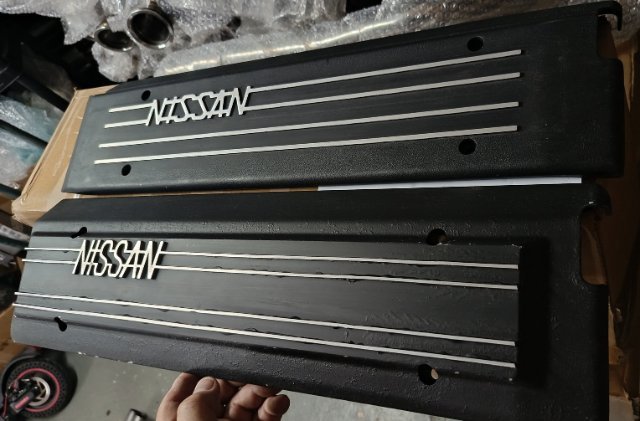
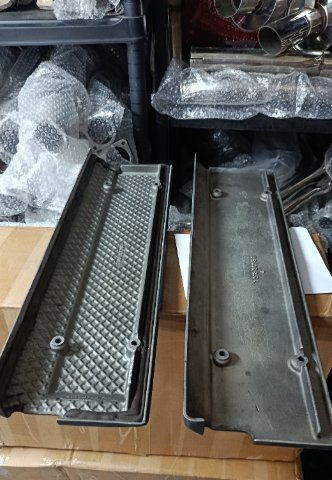
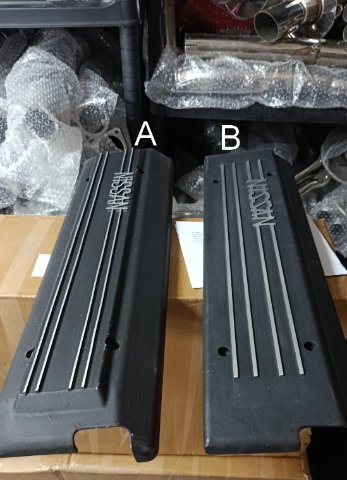
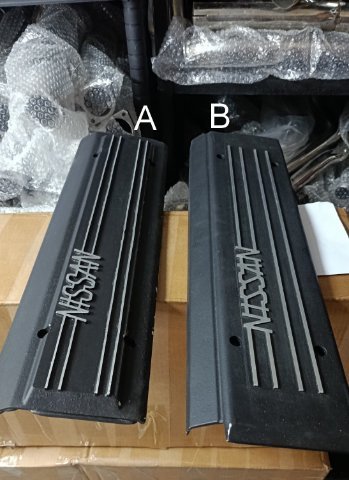
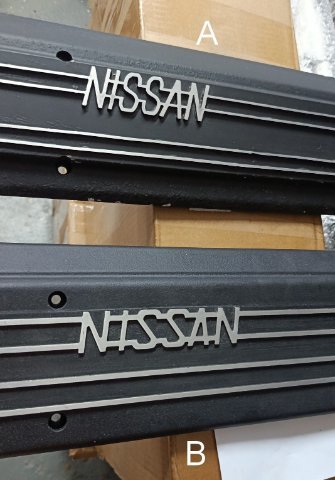
For anyone who's swapped or planning to a BMW S50B32, I have two special, exclusive engine covers to sell. A = usd$250 shipped B = usd$350 shipped
-

280z 1jz track build from a pile of parts
jhm replied to flatout's topic in S30 Series - 240z, 260z, 280z
Looks amazing!!! 👍👍 -
280z 1jz track build from a pile of parts
flatout replied to flatout's topic in S30 Series - 240z, 260z, 280z
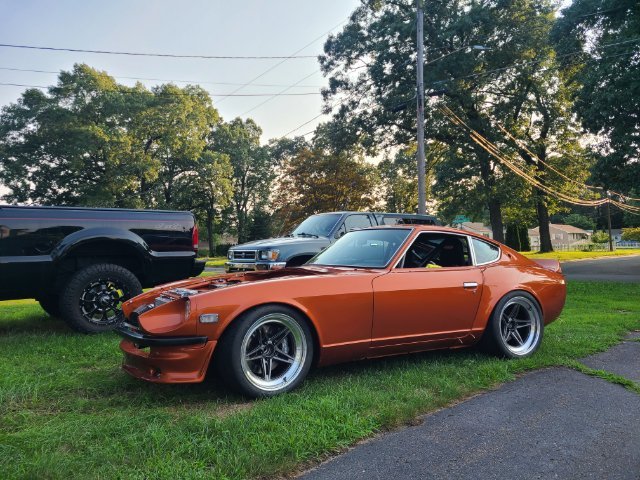
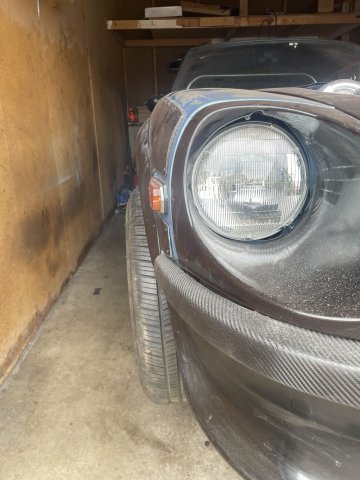
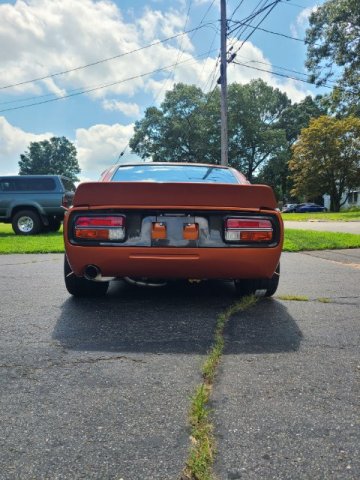
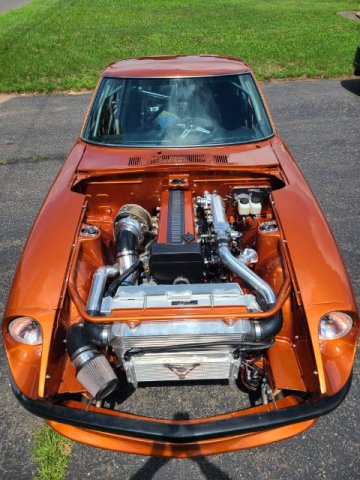
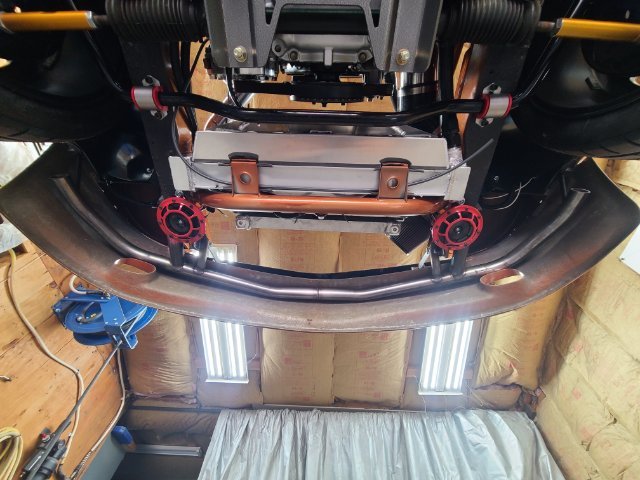
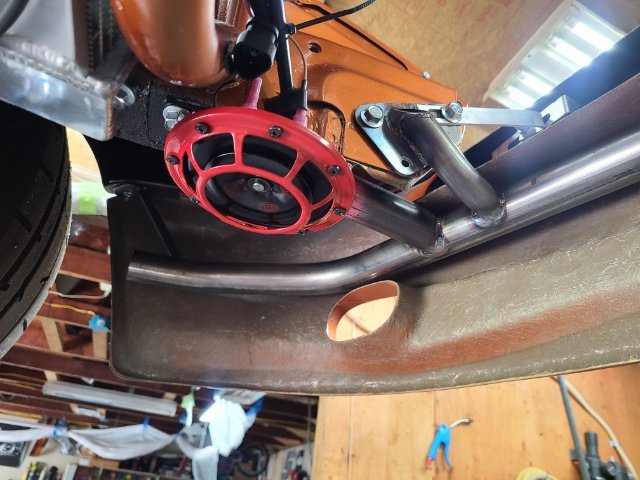
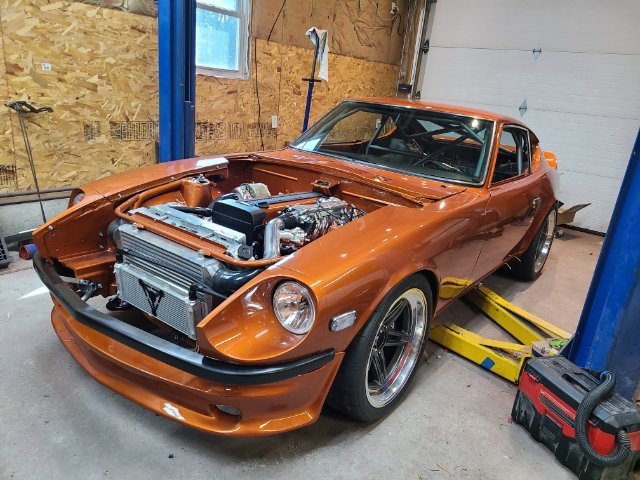
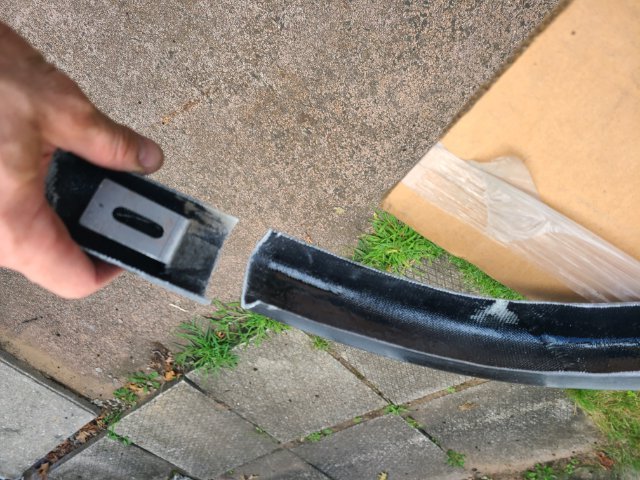
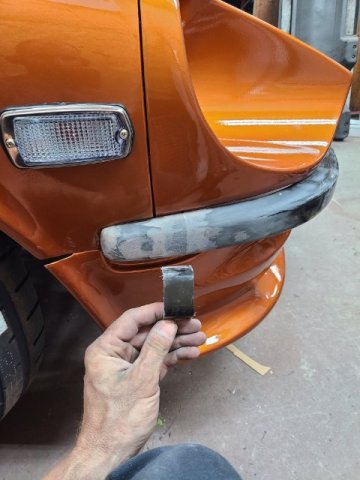
Big update on aesthetics. Got the whole front put together. Made a "crash" bar out of chromoly the support the front valance and fenders. It wraps around the front and the valance "rest" on it for support. Went a little extra because I know in the future im going to build a splitter and having a solid place for mounting will be needed. Front and rear glass is back in. will polish the quarter windows and put the side glass in this week. Fitted the fiberglass 240z bumper (had to do some trimming and fitting). need to make a more permanent center brackets. just wiped up some simple aluminum bars to hold it in place. Then i'll spray it a satin or semigloss black i think. I'll experiment. I don't think it would look good orange but maybe. Finished up the wiring to the back of the car. The PDM really simplifies the amount of wires. Added a few extras for future modifications/add ons. All the lights and electronics are working. Slowly working on the tune. it starts and free revs nicely. I plan on trying to get it registered and insured this week so i can start getting it finished up Then for the first time, under its own power. Drove it outside, took some photos and drove it back in. very exciting. Seeing it sitting in the sun, all the work I have into it and to be extremely happy with it. I'm proud of this one.
-
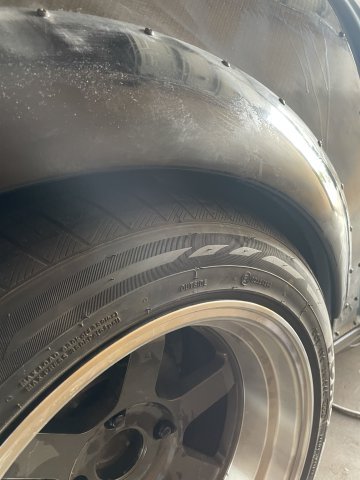
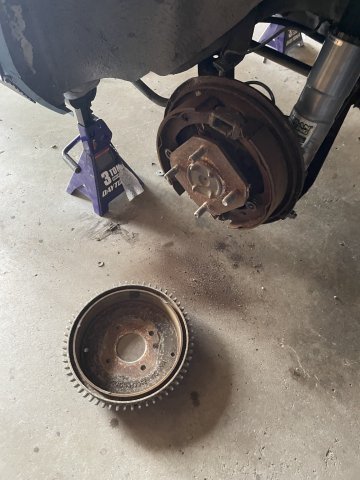
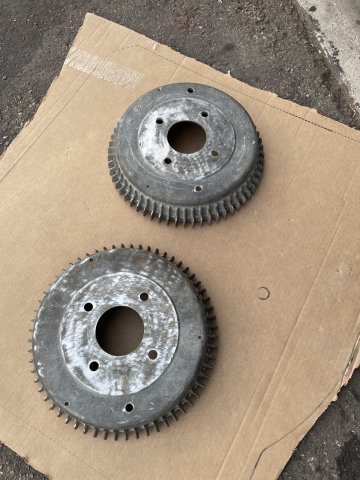
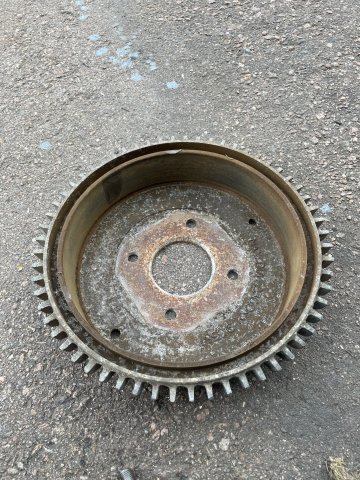
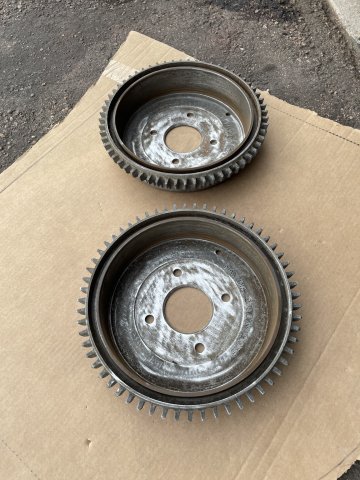
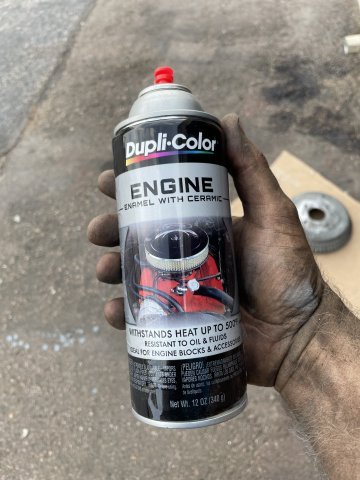
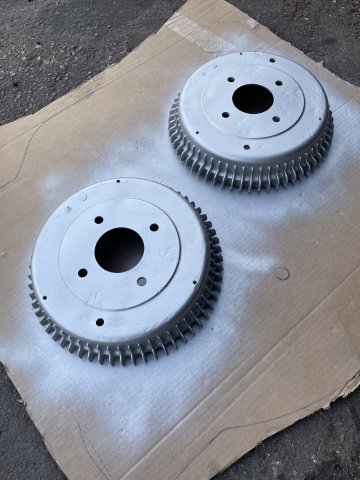
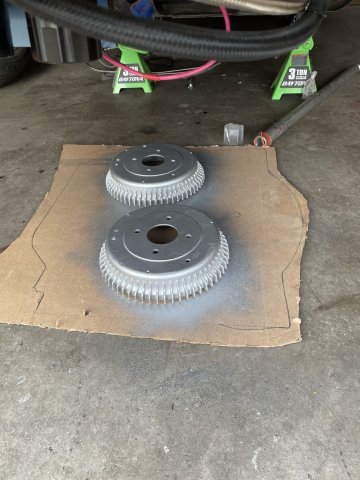
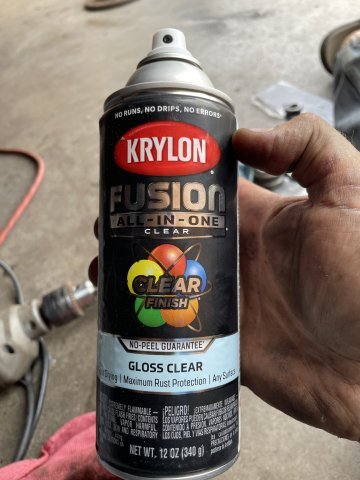
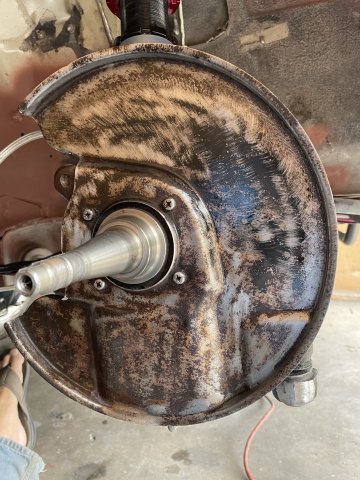
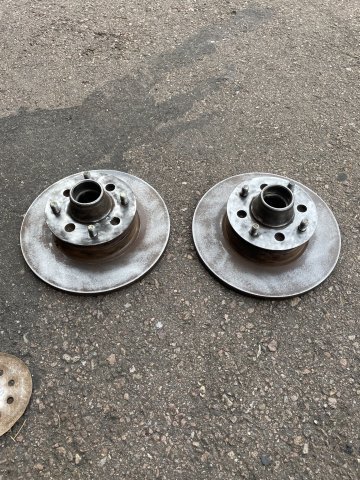
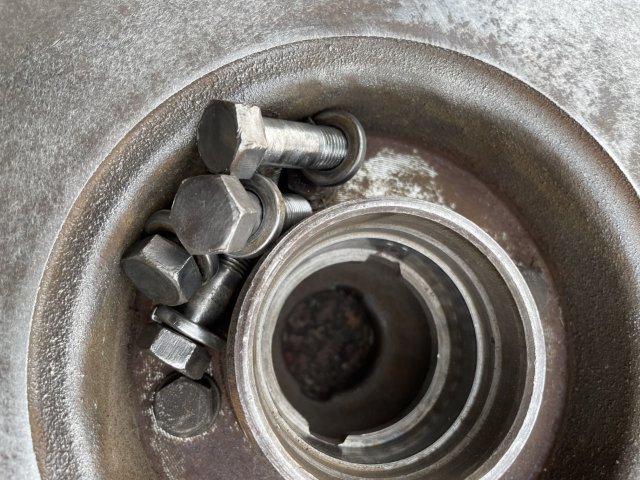
08-08-2026 ATLAS Z UPDATE. Brakes! I spent a couple hours setting my ride height. It is very tiring.... putting the car up and down..... over and over, and taking it apart, adjust, drop it, raise it back up ....over and over. I think it's pretty good. After that I jumped on the brakes. I ordered the parts I needed from Z Car Depot. New front calipers and pads, TC rod bushings, end link bushings. Rear drum pads, complete drum rebuild assy, new drum wheel cylinders, new front wheel bearings and races/seals.....So I pulled the rear drums, cleaned them all up with the wire wheel in the drill and then smoothed out the pad contact surface with some 40 grit sandpaper. they were smooth and no grooves, so just this roughing is sufficient. Afterwards I cleaned up the face on them and gave them a nice coat of Duplicolor Silver engine block paint.... and they are drying. Then the front rotors. The bolts for the calipers I wire wheeled them back to nice condition, then I used a long screwdriver and a hammer and knocked the old races out, and cleaned up the hubs and got all the old grease out. Messy! Because the front rotors have no grooves at all and just surface rust, I went over the contact surface with my DA sander and 40 grit sandpaper and got them to a nice surface that the new pads can break in on well. I dropped the new races in the freezer and cleaned up some of the rest of the rotors with the wire wheel attachment in the drill. While the rotors were off, I cleaned up the splash shield behind the rotos and gave them a layer of clear also. entire braking system is now new.....DOT 5 fluid maybe? Real progress. PICS.
-
jaaaaaaaaaaan joined the community
-
It feels slow often for me from all the ads, pop ups, click bait ect trying to load. Its practically useless to view on a phone. But I get it, need money to host it, but it also destroys it. Sorry
-
 Folkie joined the community
 -
Plastics 4 Performance | Lexan, Makrolon, Polycarbonate Motorsport Windows
-
Fast Floridian's 240Z Track Build
FastFloridian replied to FastFloridian's topic in S30 Series - 240z, 260z, 280z
Painted the bracket and snugged it up, happy with the way it fits. I’ll add a few more bolts but waiting to incorporate the bolts into a bracket I’ll make for the oil cooler when it comes in. I really need to get this engine back in, so I picked up some steel today, going to try and fab an engine cradle following the specs Brian Laine has posted online. Hopefully I’ll get some time this weekend to start on it.
- Earlier
-
The past two days the site has been absolutely perfect in all aspects. Don't know what was done, but it sure worked! Today for the first time in ages absolutely no issues with responsiveness.
-
Where did you order the rear plexi? That’s something I might want to do.
-
passenger floor. 1/4 X 20 nuts and bolts through the floor. Have to get a fire extinguisher over there as well. This car is more race car than street car. Strictly a street car, but it's pretty gutted. Yeah, I have door panels and panels in the rear, but no door windows, plexi rear glass ordered, no wipers, no heater, no vent air, racing style turn signal and lights stalk I have to bolt on but have it.....Just the rollbar and rear strut bar added any weight, most has been getting weight off of it. I had to reinforce the subframe to handle the power. Id like to get it under 2500.....might be hard as they have thicker sheet metal than the 240's do.
-
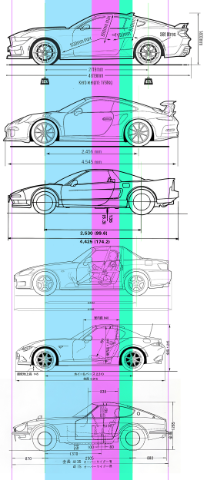
I got curious so i did this layout to approximate scale. It's not 100% accurate, but it gives you an idea of how our car sits in the world. Autos& Vehicles
-

Exact replacement for 280z Steering Rack Boot.
calZ replied to Chickenman's topic in Brakes, Wheels, Suspension and Chassis
ChatGPT spent 20 years as a Nissan parts specialist? -
That's the nicest looking floor I've ever seen. Incredible work.







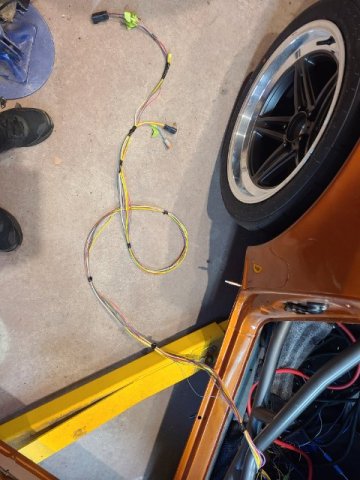
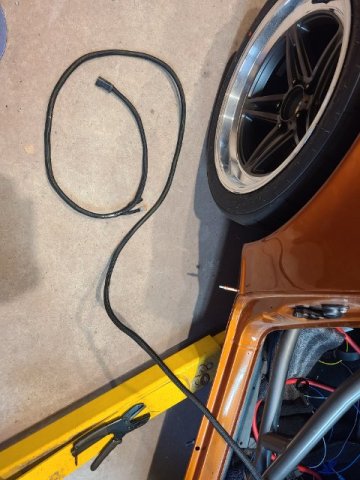
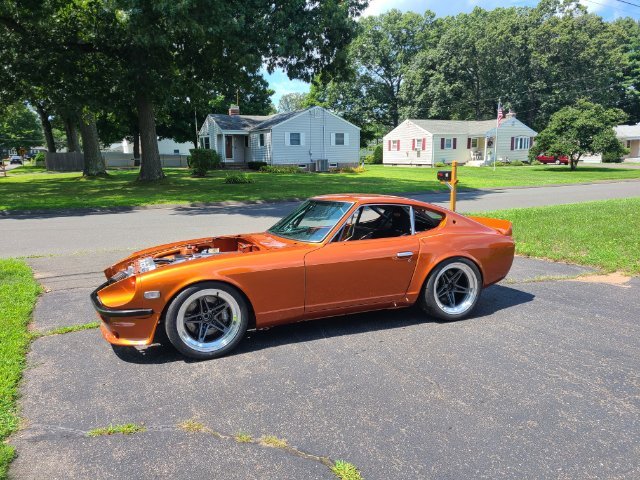
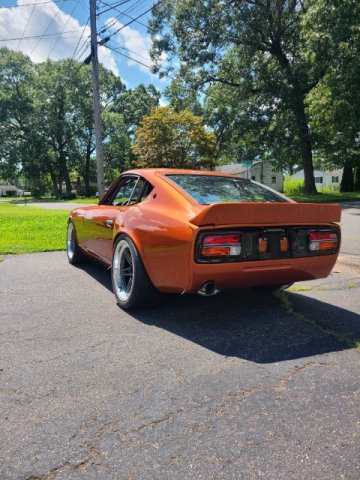
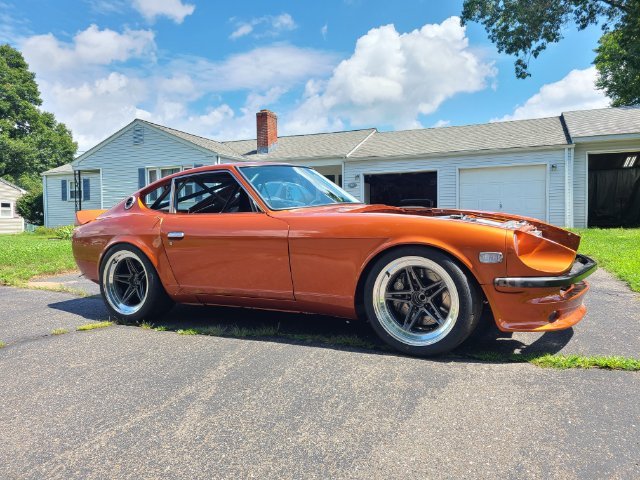
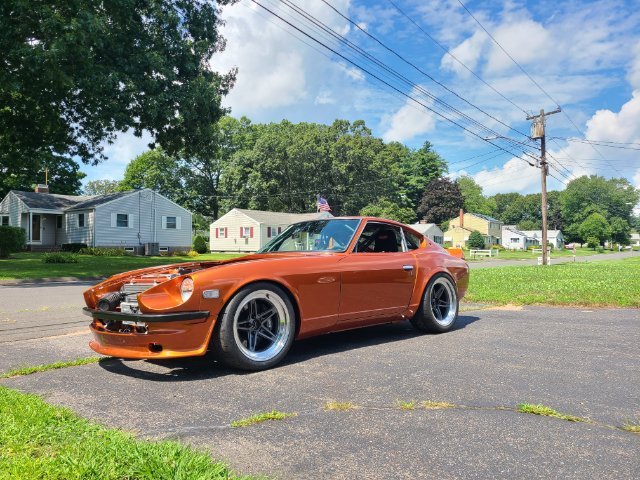
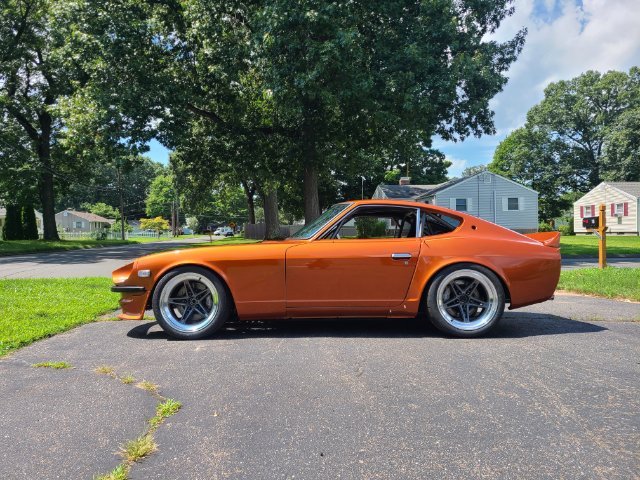
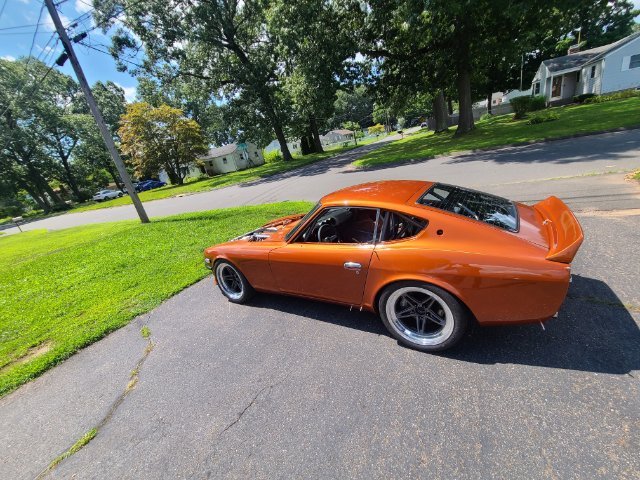




-
Who's Online 0 Members, 0 Anonymous, 639 Guests (See full list)
- There are no registered users currently online