-
Member Statistics
33419
Total Members5167
Most Online
All Activity
- Today
-

Nissan L-Series Cylinder Head Flow Bench Testing and Development
MONZTER replied to MONZTER's topic in Nissan L6 Forum
Sorry, been busy as usual, I have tested my Welded N42 I ran on my 240 for years, I have also tested my PAMS head. Ill post the reports when I get a moment. Hopefully soon. My concern is that as some know and some do not. Flow and cfm do not tell the whole story. Port volume and thus port velocity along with a proper MCA for the actual displacement and peak HP RPM all combined with needed flow is the best answer, not just who flows more. So, Ill discuss this in detail as well so we can look at each head and its proper position on top of what engine. Its a lot to digest, so still thinking how to present it all. I also need to figure out how to get some decent resolution images to post with all the number legible. Thanks for the people who posted some numbers for referance. - Yesterday
-
Old thread but I'm hoping this might help some people find me and my new kits! I offer a near complete full vehicle kit for the S30, with over 2600pcs. The included hardware is as close to OEM as possible, individually labelled for a smooth reassembly process. Nearly all pieces are Japanese made with a few exceptions here and there. Happy Bolting! https://boltright.com.au/#/kit/s30
- Last week
-

Fast Floridian's 240Z Track Build
FastFloridian replied to FastFloridian's topic in S30 Series - 240z, 260z, 280z
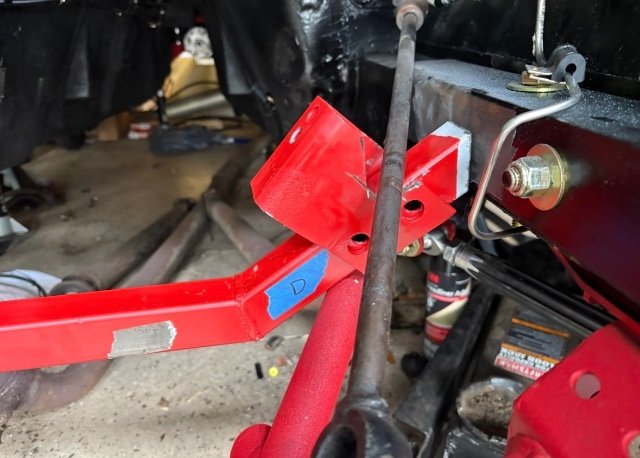
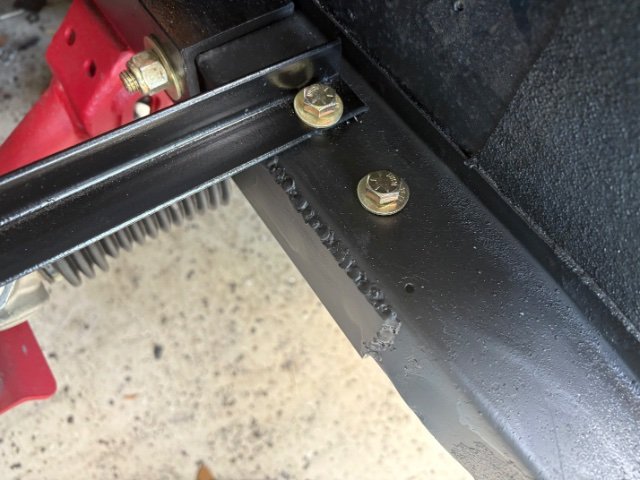
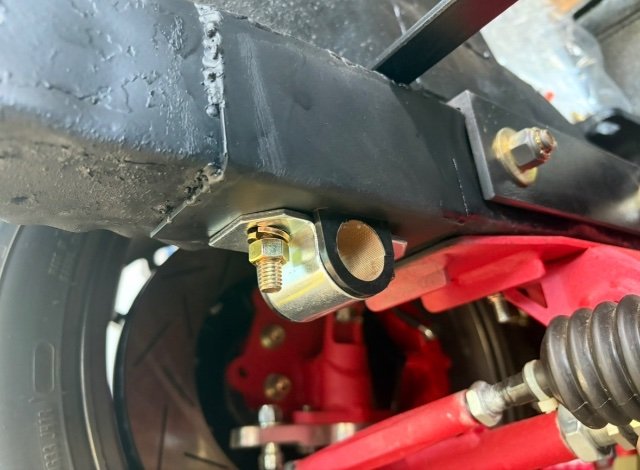
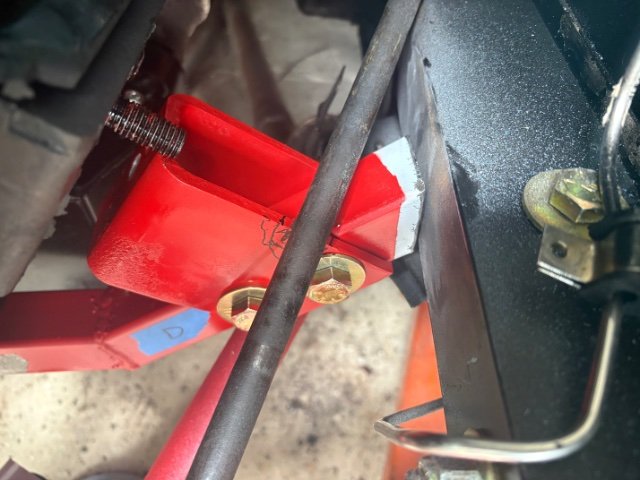
Made a notch on the engine mount bracket for the steering shaft, hopefully I can test fit the engine again next weekend. I finished sway bar mounts. Tacked in sleeves for bolts to through bolt it to the frame. Also tacked/welded this angle support for sway bay bar mounts, should be very solid now, I can check that off the list.
-

5 cylinder GM ATLAS 3700 build with 4L60e transmission
A to Z replied to A to Z's topic in Other Engines
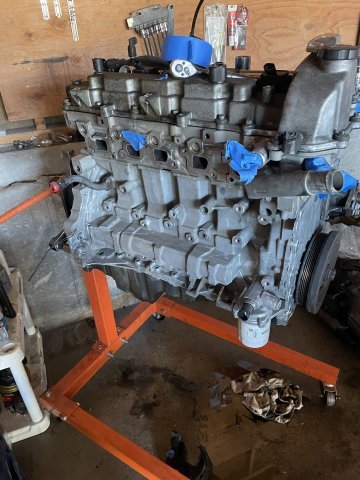
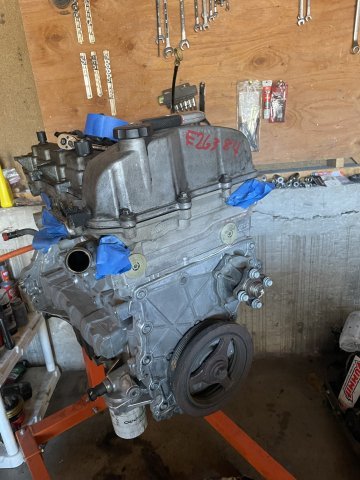
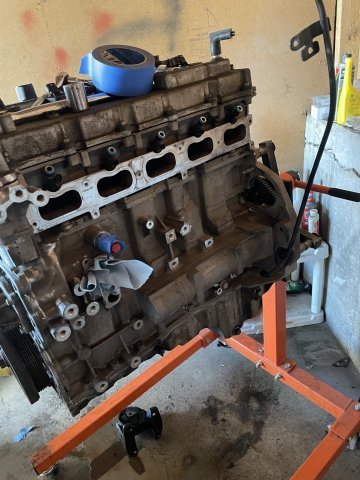
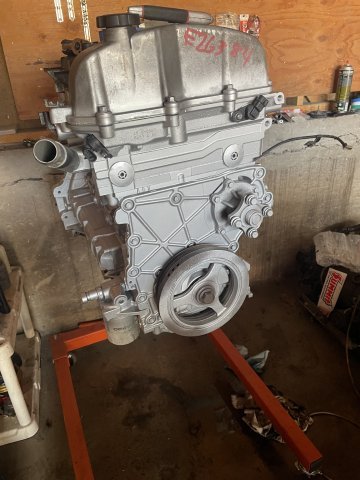
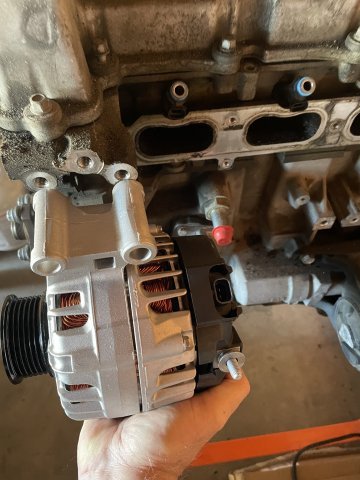
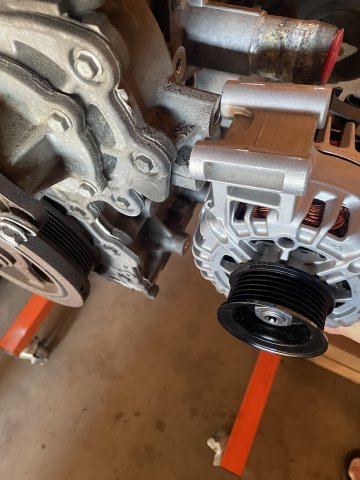
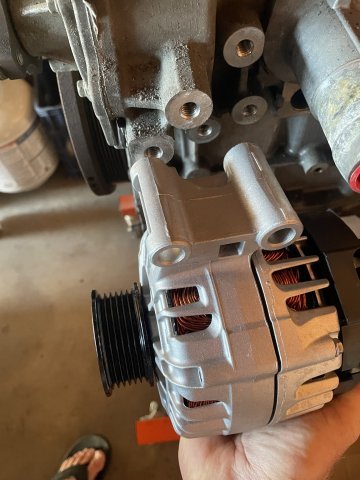
10-17-2026 More ATLAS 5 banger work today. I went ahead and installed the new starter, and water pump. Cleaned up the bolts to make it look nice when assembled, water pump pulley on and then I got the crank pulley cleaned up and painted. I got the new alternator mounted on a handmade bracket using 1/4" aluminum plate.....doesn't look real good right now, as my Angle grinder died, so I will go back and clean up the bracket so it looks better but real progress on it today. The nuts used as spacers will be filed up and made to look better also. PICS:
-
Have you tried Chrome Pin Striping Tape? The Other Option is Model Car Chrome Leaf (similar to Gold Leaf).
-
 Parts acquired - please close. Thanks!
-

280z 1jz track build from a pile of parts
flatout replied to flatout's topic in S30 Series - 240z, 260z, 280z
I'm on day 4 of trying to deal with T3. The guy i keep getting of the phone rushes me off the phone and says hes gonna send me a quote via email but this has still yet to happen. Not sure why. I just want this fixed so i can enjoy the car the limited amount of New England season left. -
@plants00, Welcome, and please feel free to introduce yourself in the "New Members" sub-forum. This is an 8-year old discussion thread; so you may not get any useful information....some of these members are no longer active, and may have even left the forum. If you'd like to start a whole new discussion thread in this sub-forum (with a descriptive title), you might get more results. When you say "400Z", do you mean the current-model Nissan Z? https://www.nissanusa.com/vehicles/sports-cars/nissan-z.html Cheers!
-
plants00 joined the community
-
I had this hood scoop on my 240Z. I now have a 400Z...Do you make one that fits?
- Earlier
-
Quite a few updates since 2025: - re-installed my re-surfaced cylinder head with new valve seals and springs, OEM head gasket. No more oil leaks. - Installed a brand new fuel tank from s30.world. Great marksmanship, looks original, sturdy. This cured all my previous issues with running lean conditions. There was some rust at the bottom of the tank, and I am sure, around the fuel line sock creating fuel delivery problems. It is too bad it took me a while to find it out. I was visually checking my external Fram fuel filter for any debris and it didn't have any. My assumption was that the fuel tank was clean as well. Now the fuel pressure is solid, the car is fun to drive. My old '76 fuel tank is for sale. - still tinkering with fuel VE table and accel enrichment settings in Microsquirt. If anyone is interested in my latest tune/log files, they are at: https://www.msextra.com/forums/viewtopic.php?t=83416&sid=a50f6a4d099311ccc633f94cab012ebe I thought setting up closed-loop idle was hard, the accel enrichment is definitely in the same category.
-
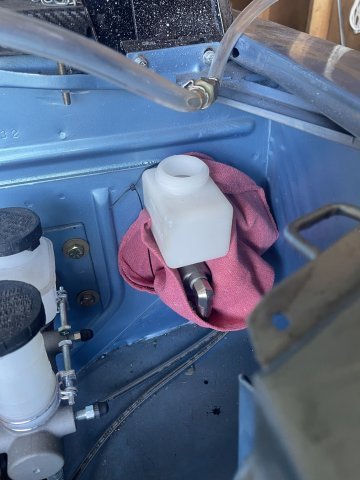
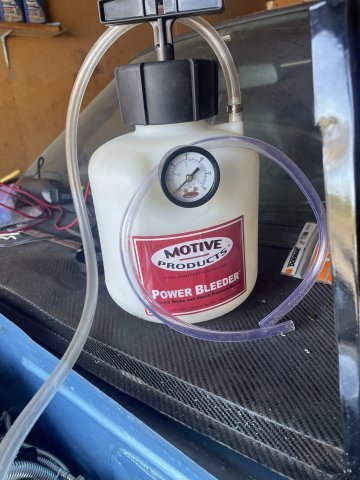
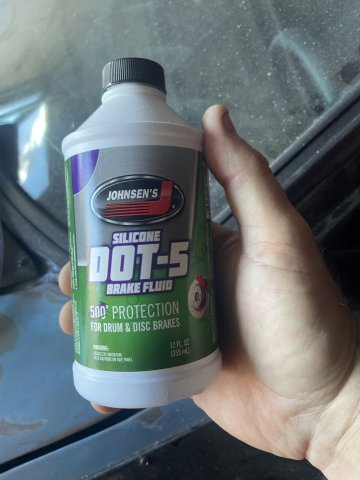
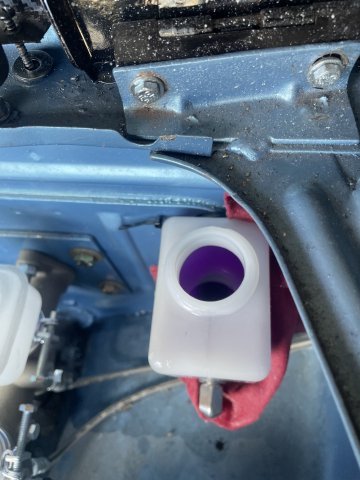
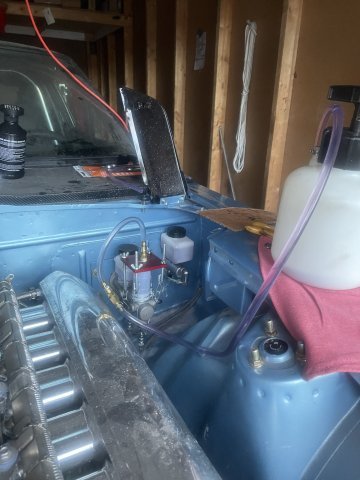
10-11-2026 ATLAS Z UPDATE. CLUTCH AND BRAKE BLEEDING. So, I drug out my Motive Power Bleeder, and hooked it all up and filled it with DOT 5 fluid to "charge" the new brake system, which is all dry. I started with the clutch, which went VERY fast, and It's crazy how stiff the clutch pressure plate is! Then I went to the brakes. It's pretty involved when everything is new, and compeltely dry. So, after playing around for quite a while with it, I then settled on doing it all one step at a time......a bled the master cylinder out with it's drains, both cylinders, then started the process....using the 15 psi, I was able to get the rear brakes bled out, and the passenger front wheel.....but then found the driver's front wouldnt drain unless I pumped the brake pedal AND used the pressure, so something is wrong. I can push the pedal to the floor. not completely dead, pedaled but still...... After getting chat GPT to help me, I went through the line from the brake caliper back step by step and found that no fluid was coming out of the factory port. So, I will have to get a T fitting and go off the port for the passenger front wheel and then it will be like the rear brakes are, both off the rear brake port. VERY close, but challenging. Dot 5, I love the stuff.....it doesn't eat paint, doesn't hold water like dot 3 or 4 does, and for regular street driving will work fine. PICS:
-

A musician's therapist (The $300 Z)
Zetsaz replied to Zetsaz's topic in S30 Series - 240z, 260z, 280z
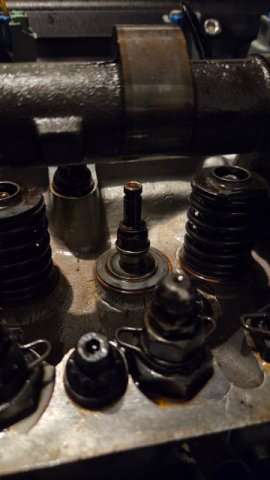
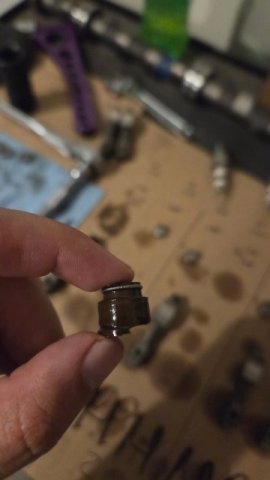
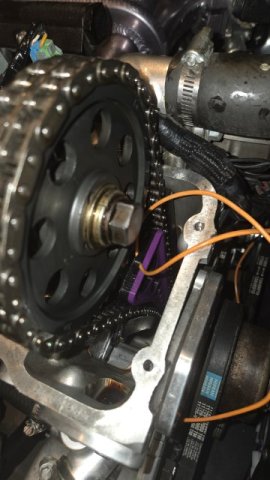
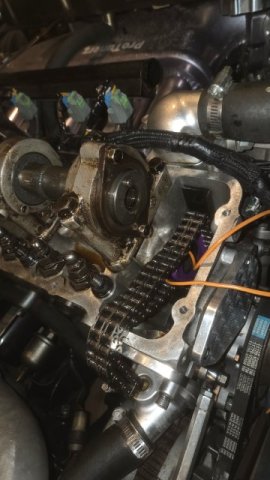
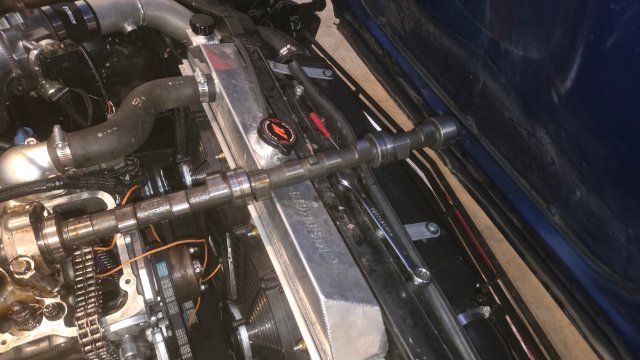
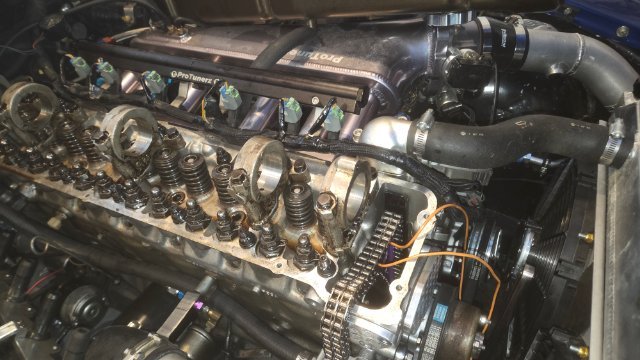
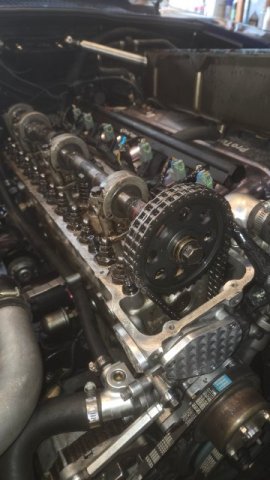
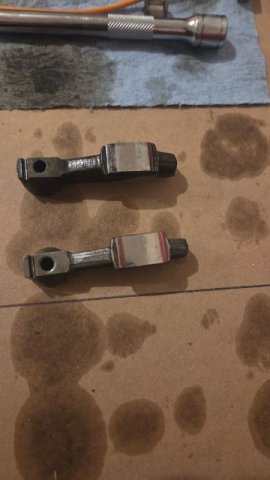
New parts arrived. Valve stem seals replaced. Several weren't even fully seated anymore and one was torn! Glad I suspected them for the oil burning when I realized just how much oil I was going through but the compression tested good. Aside from replacing the rear main seal, I think this is officially the most involved work I've done on an engine. Got the old cam out this morning and new cam in. Managed to get it out without removing the hood fortunately. Tested wipe pattern on the first two valves. Will try swapping the lash pads to see if it's better or worse. But if it's about the same I'm gonna just send it.
-
Fast Floridian's 240Z Track Build
FastFloridian replied to FastFloridian's topic in S30 Series - 240z, 260z, 280z
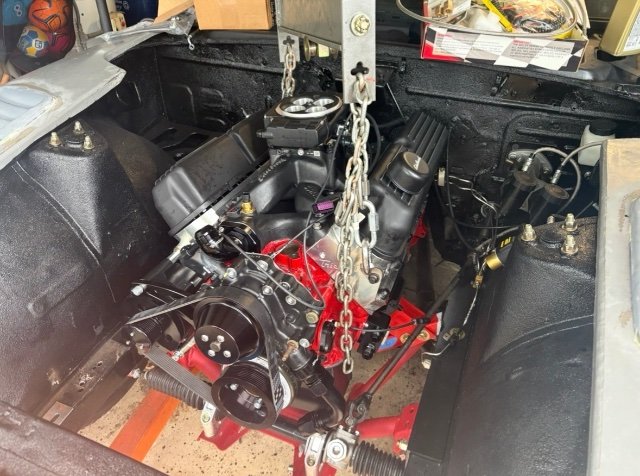
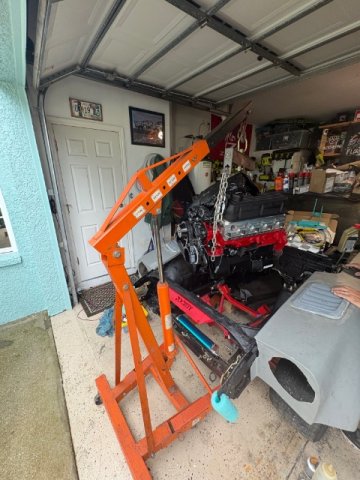
Got the engine on the hoist, doing some test fitting. Looks like I need to notch the driver side bracket, it interferes with steering shaft. Clearance is really tight with oil pan too, I hope I don’t need to find a different one. I’ll trim the bracket a little, then give it another go in a weekend or two, hopefully it’ll fit, then I can weld the cradle on.
-

280z 1jz track build from a pile of parts
calZ replied to flatout's topic in S30 Series - 240z, 260z, 280z
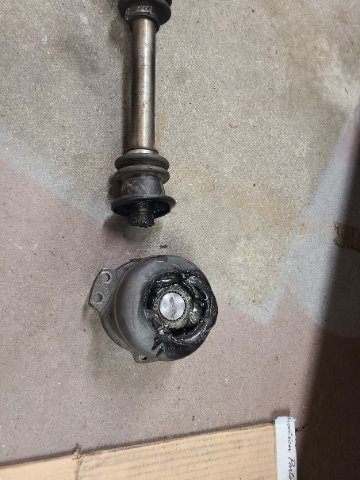
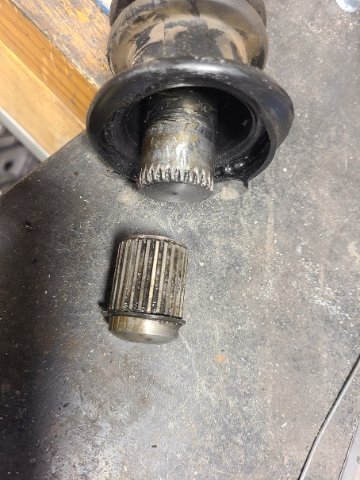
The location and cleanness of the break almost makes me think the heat treating of the splines made the axle brittle. -
280z 1jz track build from a pile of parts
flatout replied to flatout's topic in S30 Series - 240z, 260z, 280z
well...first failure happens to be an axle shaft. kind of surprised by this. I ran lots of bottom 10 second passes in my 240sx with stock axles and this technotoys kit is supposed to be a "upgraded" and shortened shaft and stock 240sx joints. well it broke on the street. it was under power but in 3rd gear without any wheel hop or tire slip. luckily didn't do any other damage. just the shaft and the boot. I have sent them an email as its the weekend to see if I can get another and if they have anything to say about that.
-
5 cylinder GM ATLAS 3700 build with 4L60e transmission
A to Z replied to A to Z's topic in Other Engines
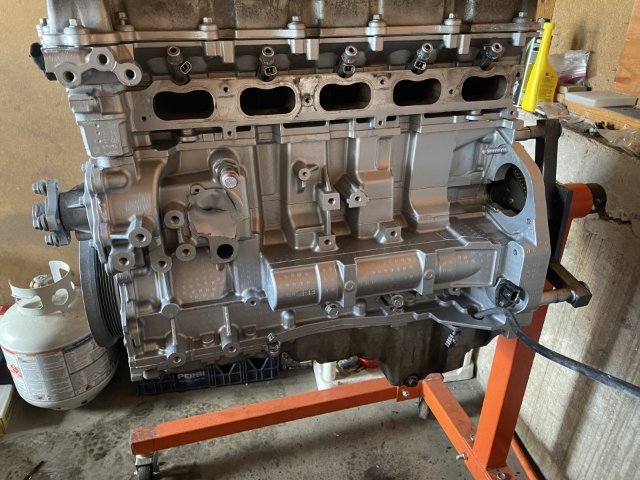
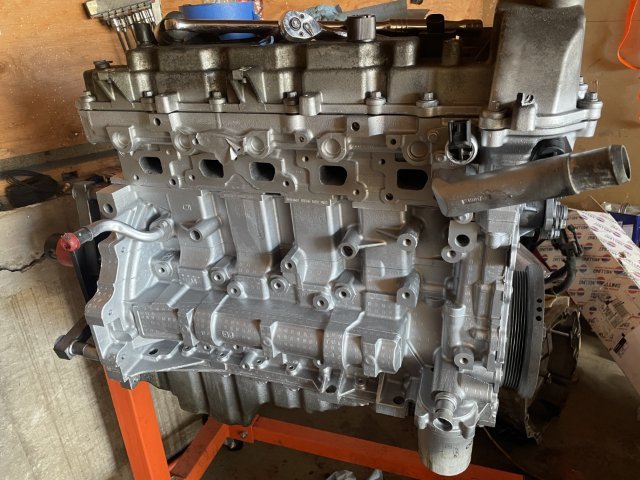
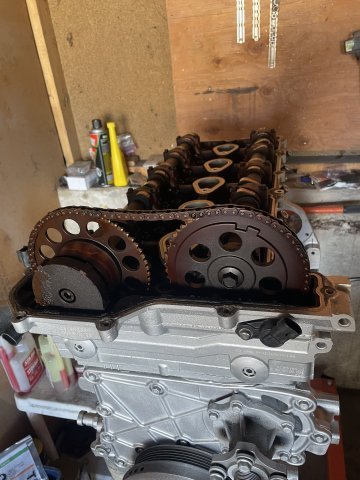
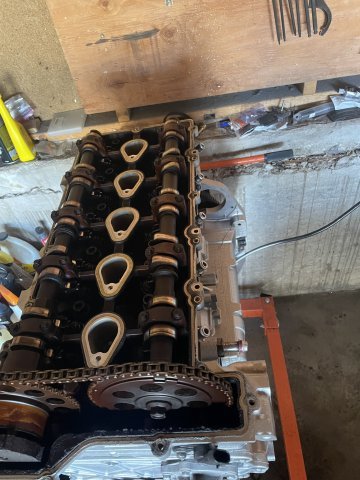
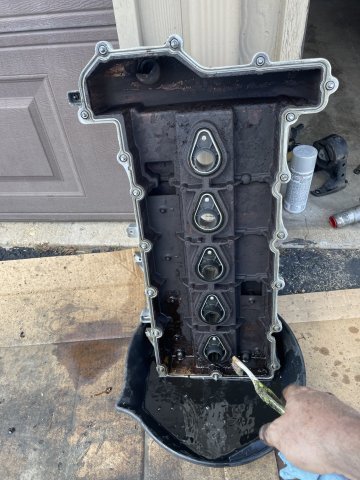
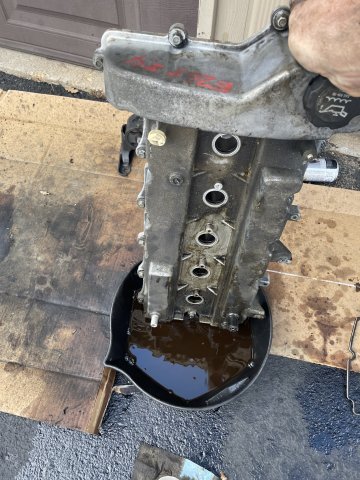
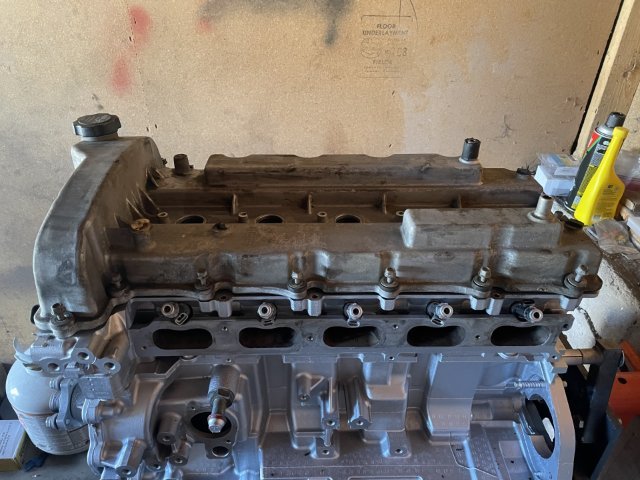
10-10-2026. I finished cleaning the block and then painted it silver with engine enamel. Then I pulled the valvecover off, and did an initial cleaning on it. PICS:
-
 280 joined the community
-
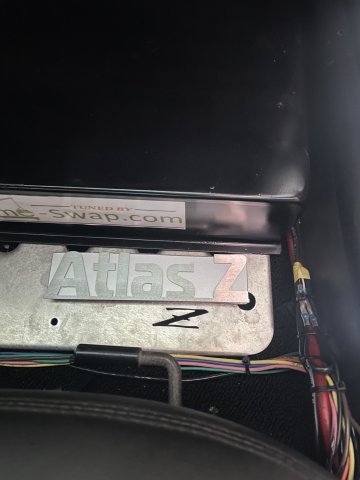
Added an Atlas Z badge to the cover plate on the passenger foot plate. Funny....it looks crooked in the pic, and but straight in person. (shrug). You can tell the foot plate needs to be cleaned.
-
IMSA GTU vintage racer build
74_5.0L_Z replied to clarkspeed's topic in S30 Series - 240z, 260z, 280z
Hey Clark those look like very nice pieces. I like the idea of attaching the sway bar to the arms. That will increase the motion ratio of the sway bar significantly. I have a set of bump steer gages if you need to borrow them for fine tuning. -
IMSA GTU vintage racer build
clarkspeed replied to clarkspeed's topic in S30 Series - 240z, 260z, 280z
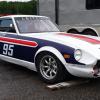
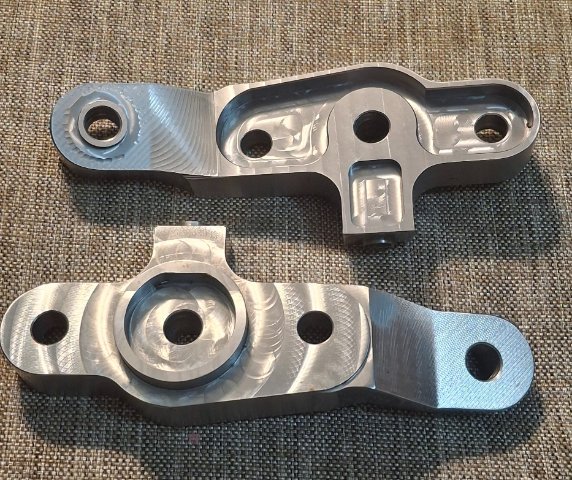
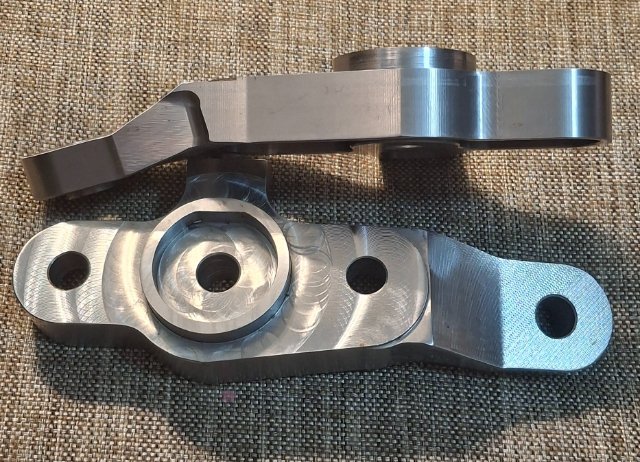
Sometimes life changes my priorities, but I never lose the dream. Being a single father has its challenges and my shop time has been reduced. But the good news is the car is very close to complete. Been waiting on these custom machined steering arms for quite awhile. In the meantime I am over halfway through renovating my race car trailer with living quarters and some heavy maintenance on the 2500 tow vehicle. Anyway here is a shot of the new steering arms. I think I posted about the need earlier. With 8 deg of caster and my circle track steering rack, stock arms just did not work anymore. At least if I didnt want a ton of bump steer. Since I needed new arms anyway, I incorporated an inner threaded boss to mount the sway bar linkage rod end directly to the arm. If anyone has increased their caster to the point of needing similar, let me know, they can be reproduced and sold. Special thanks to my buddy Jim at Native Manufacturing for turning a big piece of barstock into many chips.
-
5 cylinder GM ATLAS 3700 build with 4L60e transmission
A to Z replied to A to Z's topic in Other Engines
10-08-2026. I got the driver's side cleaned tonight. The oil pan and valve cover will be cleaned off the engine. One step closer to paint!
-
5 cylinder GM ATLAS 3700 build with 4L60e transmission
A to Z replied to A to Z's topic in Other Engines
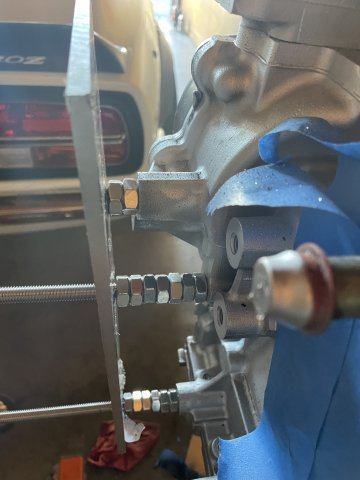
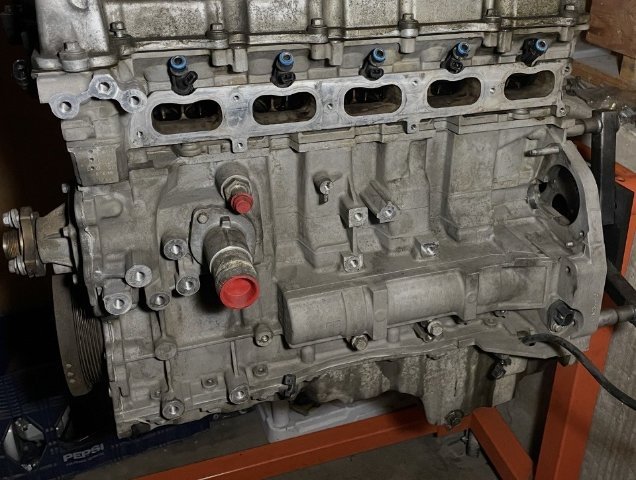
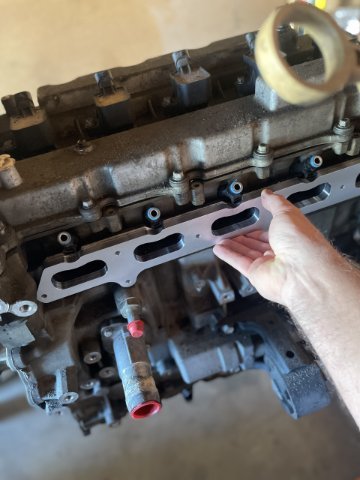
10-07-2026. I had a few moments today, So I took some measurements to get started on the DMZ intake DIY kit. Because of the intake, the original alternator location won't work, So I will make my own bracket and move it down to about the halfway mark. Plate steel or plate aluminum, M10X1.5 all thread screwed in to the threaded holes there, and start drilling holes and get it on there, and then slot holes as necessary to get belt alignment just right. PICS:
-
 ruizblanco40 joined the community
-
 DougieDeee joined the community
-
The S2k is special in the world of cars. The feelings of driving and interacting with it have similarities to the S30 experience. I can see and feel the enthusiasm that the team put into it, given they were both passion projects for a company that otherwise focuses its energy on churning out well-sorted but relatively vanilla products when compared with their competition. The S30 and S2000 both hold a special place in my heart, in a way very few cars do.
-
Fast Floridian's 240Z Track Build
FastFloridian replied to FastFloridian's topic in S30 Series - 240z, 260z, 280z
Good idea, I think I might have 2 tubes that would work for the front bolts, I think the rear bolts will be ok with the radiator bracket stiffening it up. -
Fast Floridian's 240Z Track Build
74_5.0L_Z replied to FastFloridian's topic in S30 Series - 240z, 260z, 280z
Through bolting the sway bar is definitely a good idea. On mine, I ran a thin wall tubes through the holes in frame rail and welded them at the holes in the frame. The tubes allow me to fully torque the sway bar bolts without crushing the frame rails. -
I always thought an S2000 would be fun to own











-
Who's Online 1 Member, 0 Anonymous, 1455 Guests (See full list)