alainburon
-
Posts
583 -
Joined
-
Last visited
-
Days Won
3
Content Type
Profiles
Forums
Blogs
Events
Gallery
Downloads
Store
Everything posted by alainburon
-
Just starting my ls1/t56 build!
alainburon replied to CableSrv's topic in Gen III & IV Chevy V8Z Tech Board
Nice progress, moving along really well -
LS2 HybridZ 240 Sets 3 ECTA Records
alainburon replied to RebekahsZ's topic in Gen III & IV Chevy V8Z Tech Board
Keith, I was going to stop by your place as I mentioned but a change of plans in my project has diverted me to Abiline,TX instead of coming home from Murfreesboro,TN as I planned. Next time I'm in the area I will let you know and if you are ever in Houston give me a call. There a few fast Z cars around here we can go look at. Congratulations on your runs man. -
Electrical Gremlins are the worst man, time consuming thats for sure.
-
1972 240z Procharged LS6, soon to be turbo!
alainburon replied to mistafosta's topic in Gen III & IV Chevy V8Z Tech Board
Congrats, I can't wait to fire mine up. Still a long ways from that though. -
Texas Turbo Tom 240 to LS2/T56/Magnacharger build
alainburon replied to texis30O's topic in S30 Series - 240z, 260z, 280z
Instagram??????????? WTF man??????????????? Just messing with you. Glad to see you are enjoying the car. I hear you about the cooling system, I'm having custom radiator built for my application. It's not cheap but I know it will cover me for the hp I will be putting down. I'm not taking any chances with this motor. Why would you change it to a Turbo car? Just curious. -
Fuel Rails on an LS3 and best way to run
alainburon replied to cooperma's topic in Gen III & IV Chevy V8Z Tech Board
Option one is the best way, I would not do option 2, You want the regulator after the fuel rails not before. Try option 3) Fuel feed to back of one fuel rail, loop in the front to the other rail and go from the back of this rail to the regulator inlet (cap the other inlet) and return to the tank from the bottom of the regulator. This way your regulator is after the fuel rails. The statement below is taken from am Aeromotive instruction guide on how to connect a regulator. Attach the fuel line(s) from the fuel rail outlet port(s) to the regulator side ports using AN-10 (AN-06 if regulator is Aeromotive P/N 13109 or 13159) style fittings and o-rings. If only one fuel supply line is used, install an AN-10 (AN-06 if regulator is Aeromotive P/N 13109 or 13159) style plug and o-ring into the second regulator inlet port. -
Thanks you all, believe it or not I will drive this car. In fact that's why all the undercarriage parts are powder coated to withstand the elements. Even the aluminum suspension parts have been clear coated in order to maintain the same look year after year. Of course I don't intend to drive it in the rain as it will only come out on nice sunny days. I just wanted the option to be able to clean the heck out of it, take it to a car show and be able to represent the HybridZ community well but my main goal is to drive it and enjoy it. No garage queen here.
-
Thank you very much. I appreciate all the kind words.
-
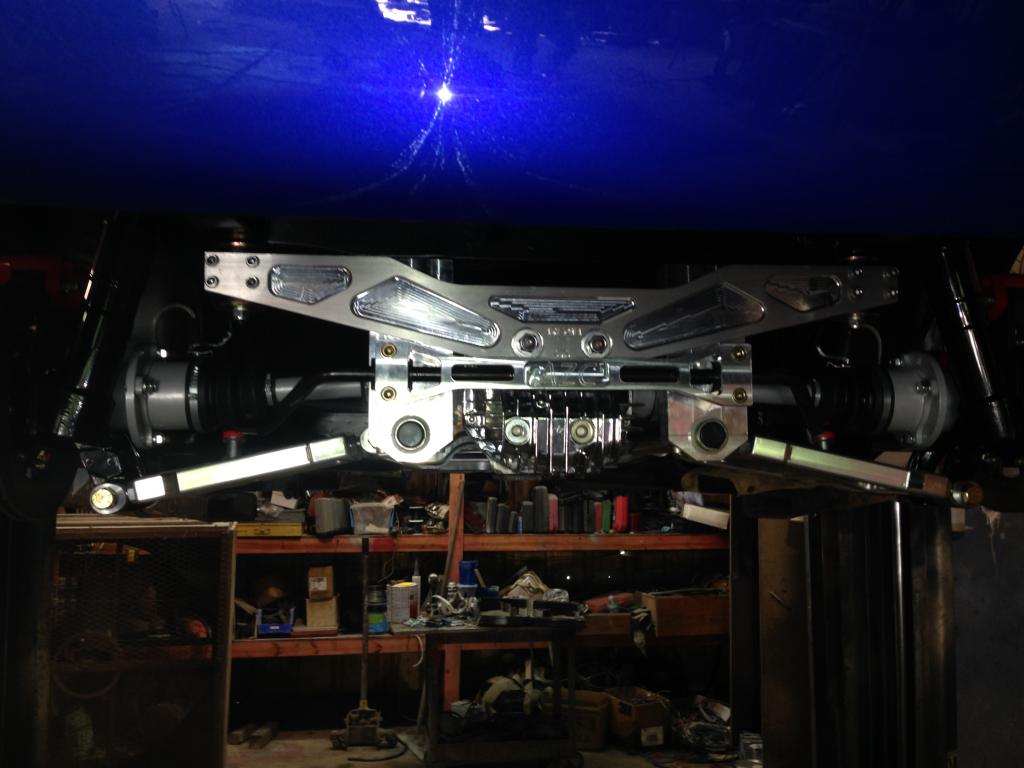
Thanks for mentioning that, I will keep it in mind. I was able to make some progress today and assemble the rear suspension. Not the best pictures since the shop corner that I'm working in is kind of dark.

-
Yes sir you are correct, there is a shop in town that does the aligments on a frame machine. I have been taking my cars there for years and that's where I will take my Z when it is done.
-
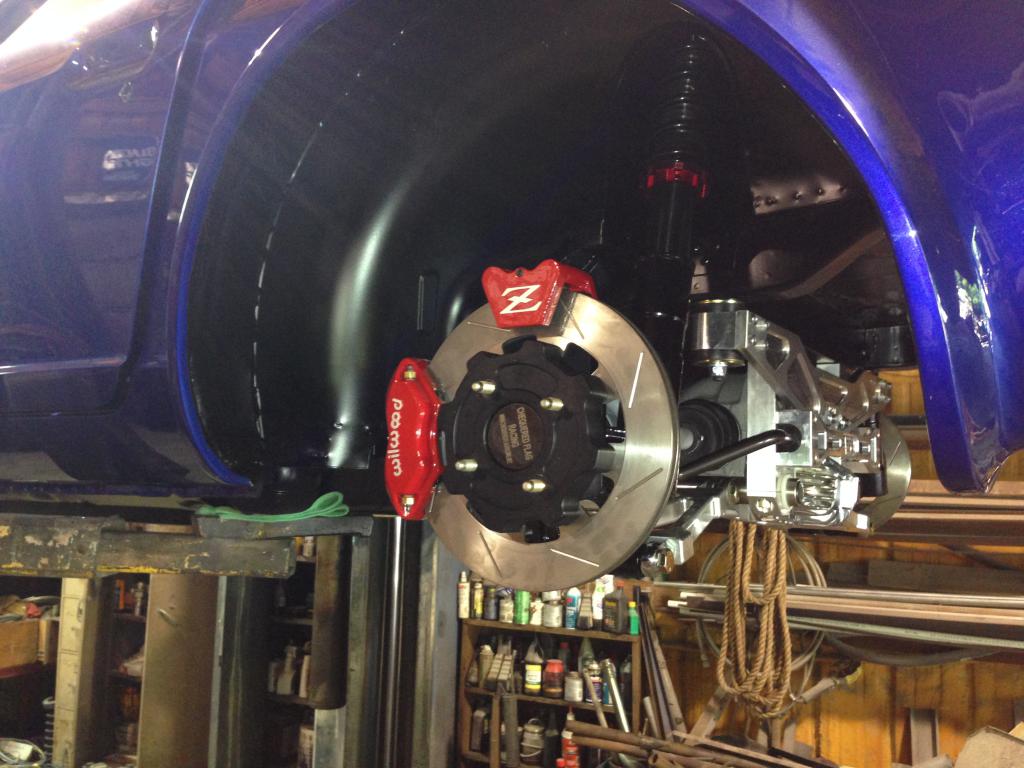
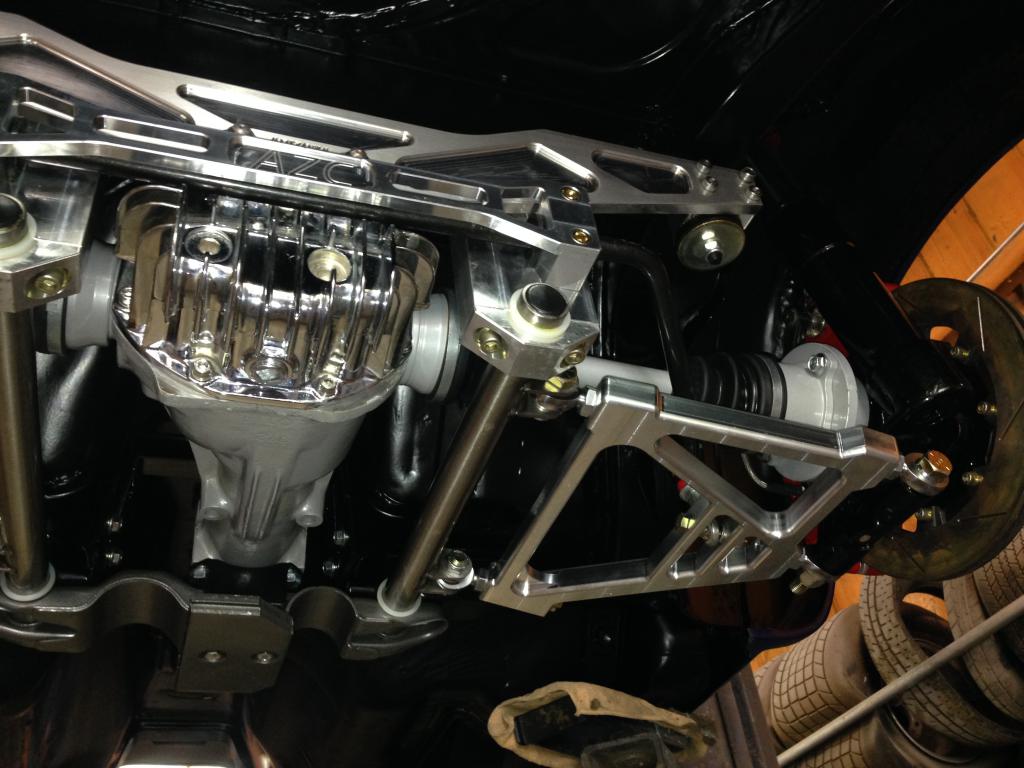
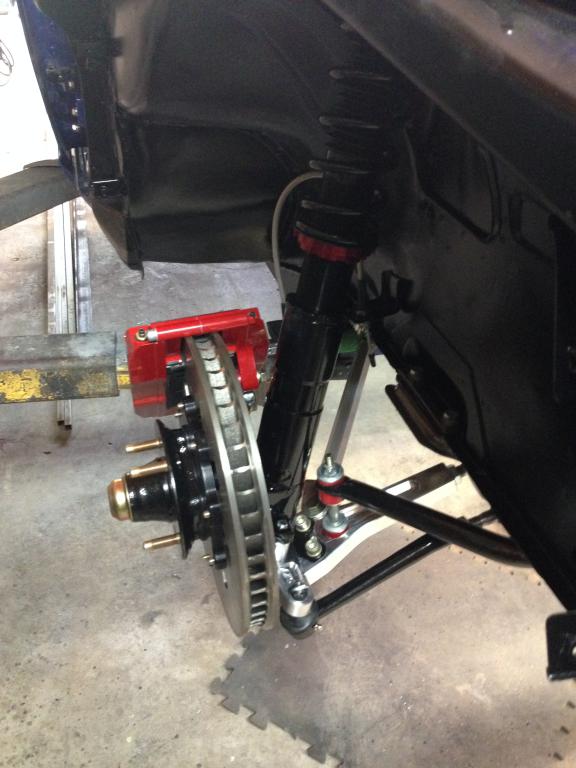
Thank you, I'm using all Arizona Z parts except the coilovers, I went with the McKinney set up since I wanted to retain the stock strut insulators. I had them use a set of 4 new ones as mine were a little cracked due to age. So far fitment has been good overall. I love the quality (very well made parts) and look of it all. I had all the aluminum pieces clear coated in order for them not to tarnish over time. The only issue I have is that these parts come with absolutely no instructions at all. There is so much adjustment on these control arms that they should come set to factory specs or as close to it as possible. This way the car will not look like a 3 legged dog until you have it aligned. Also it will save you time from having to google for pictures to see other's installs. I just set the control arms as close as possible to what I have seen online since it will not be driven before it gets a 4 wheel alignment and suspension adjustment. Other than that I say the Arizona Z parts are second to none.
-
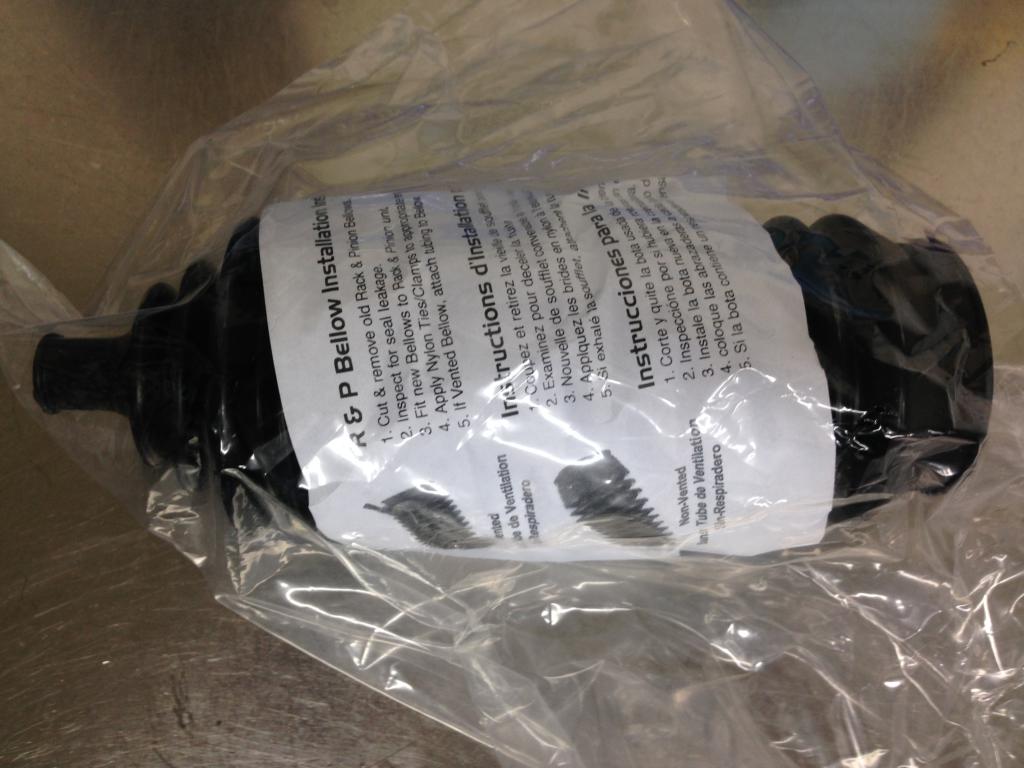
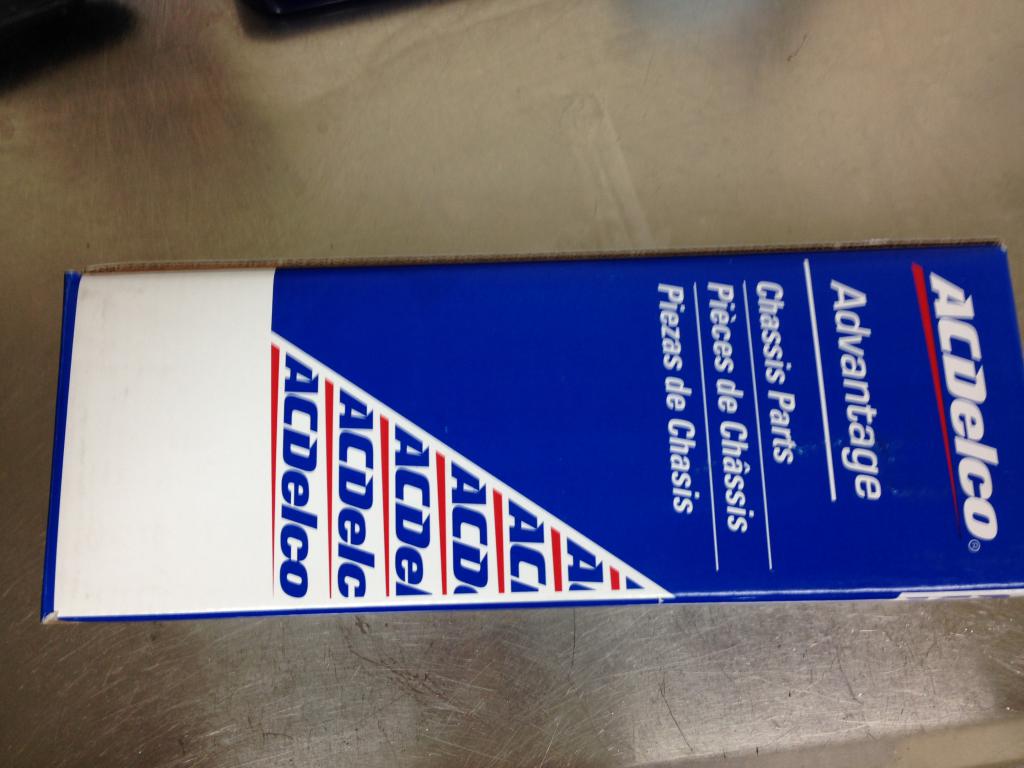
I would not pay $140 for a set of rack and pinion boots. Some of these vendors think they are sitting on a gold mine when it comes to OEM parts for the S30. I have the AC Delco 46A7010A you can have them for $30 shipped. They fit 70-78 S30 with manual rack and pinions. I have them listed here in the parts for sale section. PM me if you are interested.
-
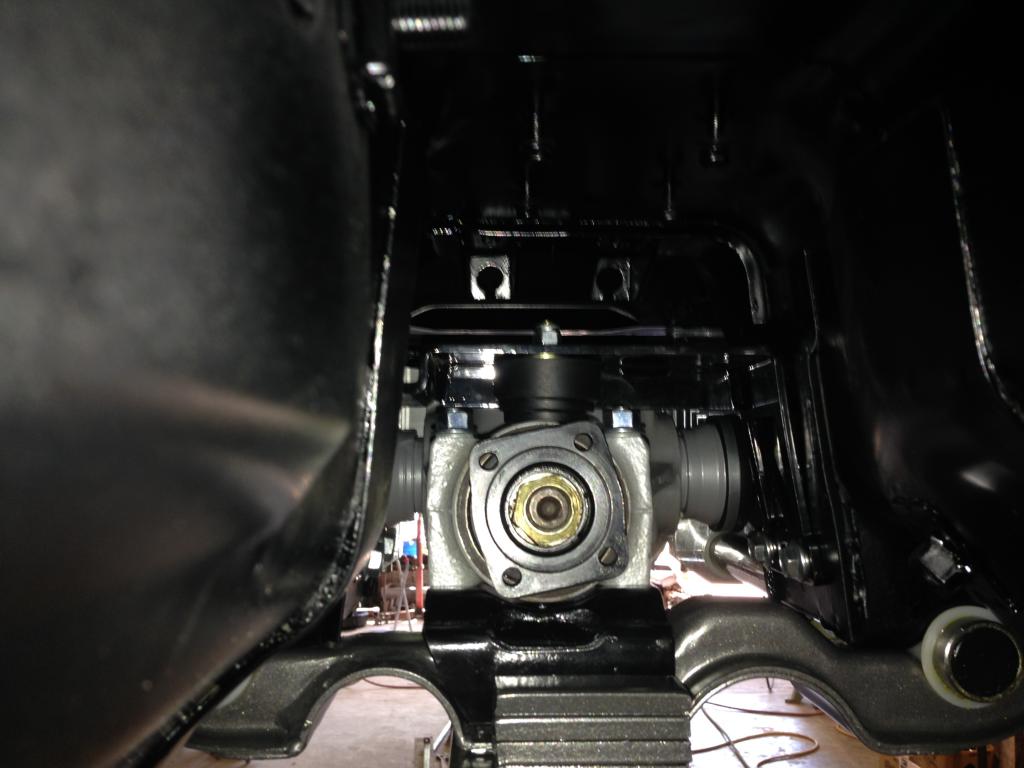
LOL I'm taking off from work tomorrow to install my R200, axles and rear suspensions. Will post some pics after I'm done. Then the hold up with be the wheels, I'm starting to get the run around. The motor mounts are just the JCI mounts powder coated.
-
Nice clean looking interior.
-
I have a brand new set for sale.
-
Thanks Keith, can't wait to get it all together and drive it.
-
The body shop finished my engine bay and the underside of the car. The entire thing was stripped down to bare metal and POR15 was applied, then a coat of semi-gloss black paint was put over the POR15. The engine bay did not get POR15 but did get primer and body color applied. I received the rack and pinion back from being rebuilt as well as the adjustable coilovers. Also got a bunch of parts back from powder coating. I was able to assemble the front suspension. Hopefully I can do the rears sometime this week.
-
Hood clearance on other than stock intakes
alainburon replied to mistafosta's topic in Gen III & IV Chevy V8Z Tech Board
That looks impressive, very nice. -
Those look good
-
LOL, no sawzall but I did tap it with a deadblow hammer just to get some frustration out....LOL
-
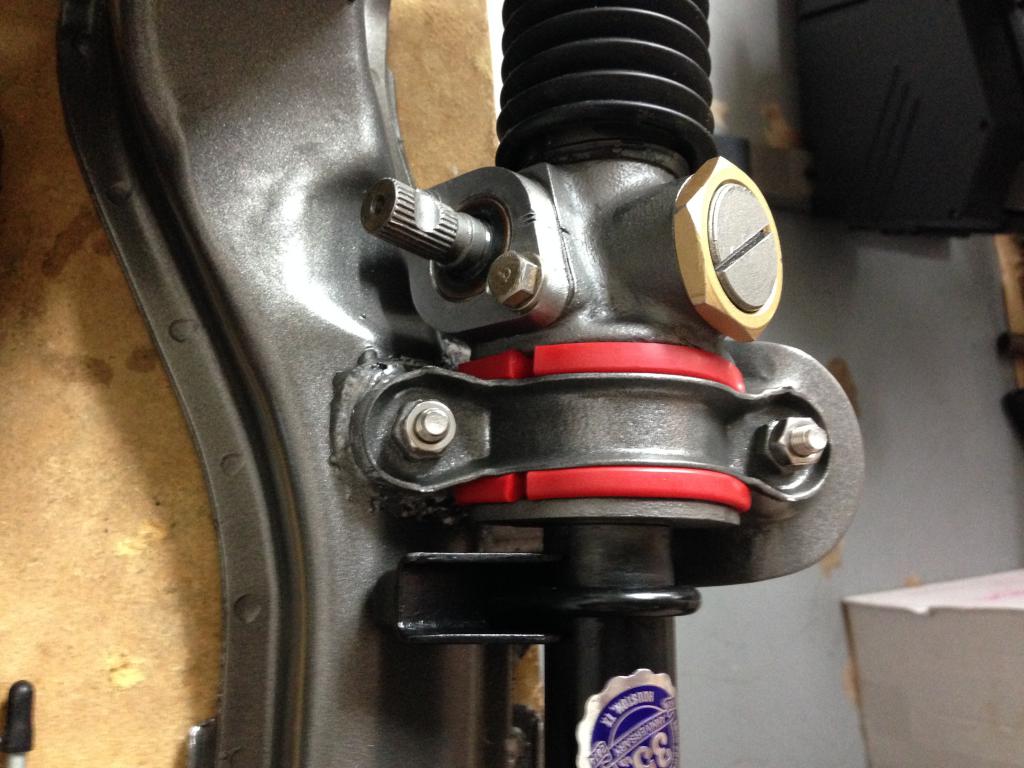
Thanks for the tips guys, Since I live in Texas I figured I try some redneck engineering. I Fippled the bushing since it seemed to fit a little better that way, I took 2 zip ties and tied them on the edge of the bushing then made them as tight as possible. Then I fit the clamps to the specified torque settings and now it looks a lot better. Still has a gap but I can live with it.
-
I tried doing that but it only fits one way.
-
I double checked the packing and its for a 280Z Part number 14-703. I would not mind a small gap but this is a little much for me. Any pictures you can share of yours? I may have to check with MSA to see if they carry a different brand than this.
-
Anyone have this problem? I hope I'm just doing something worng because I just can't see how someone can make such a poor fitting product.
-
The good thing is you will basically have a brand new clock. I have seen some on Ebay go for around $300.