-
Posts
583 -
Joined
-
Last visited
-
Days Won
3
Content Type
Profiles
Forums
Blogs
Events
Gallery
Downloads
Store
Everything posted by tamo3
-
Not all 4 speed located different position for reverse check switch. My 4 speed tranny from '75 280z has it same location with 5 speed 71B. http://www.classiczcars.com/forums/parts-swapping-s30/52692-90-240sx-fs5w71c-swap-into-75-280z.html#post460411
-

Anyone know good shop to shorten driveshaft in SF Bay Area?
tamo3 replied to tamo3's topic in Drivetrain
Hi Spitz17, Thanks for the reply. $150 is only shorten and balancing. Thus, I decided to try to replace u- joint by myself. http://www.classiczcars.com/forums/engine-drivetrain-s30/52686-u-joint-driveshaft.html#post460352 -
If you like wine, drive up to Napa is also great place to enjoy a lots of great wineries. Don't forget to bring jacket, SF night is get colder at night
-

10 years after hybernation - '75 280z
tamo3 replied to tamo3's topic in S30 Series - 240z, 260z, 280z
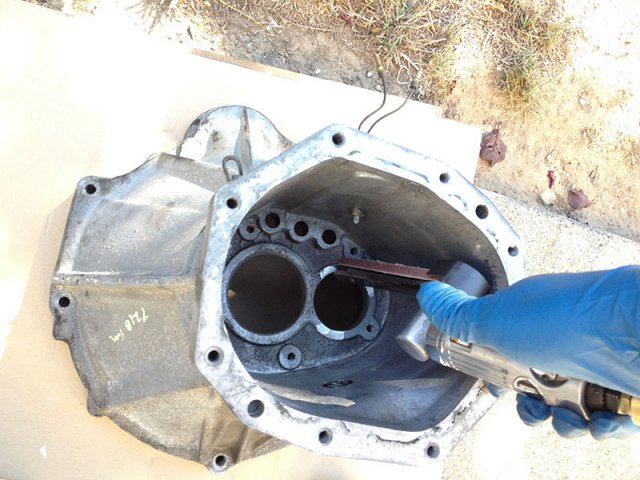
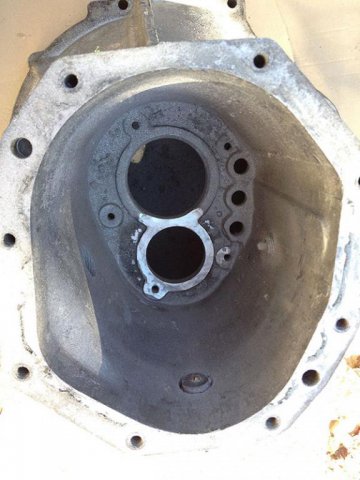
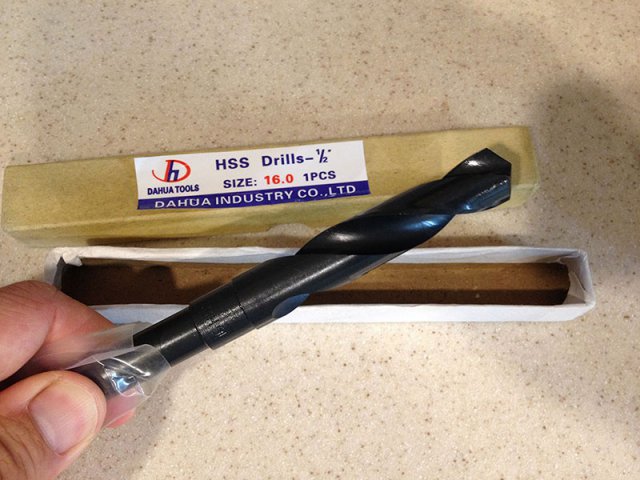
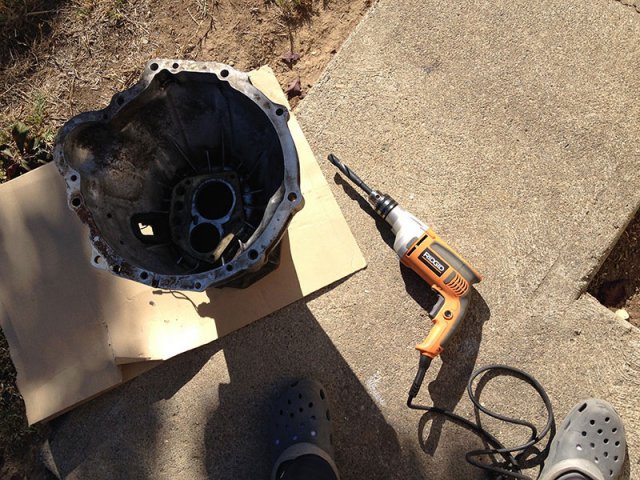
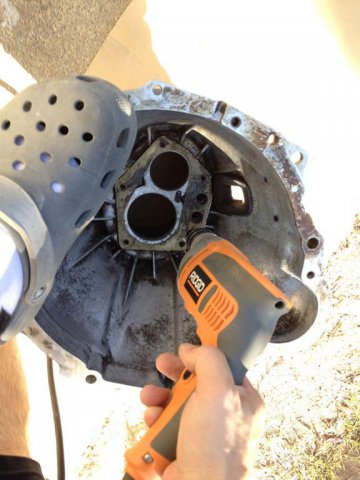
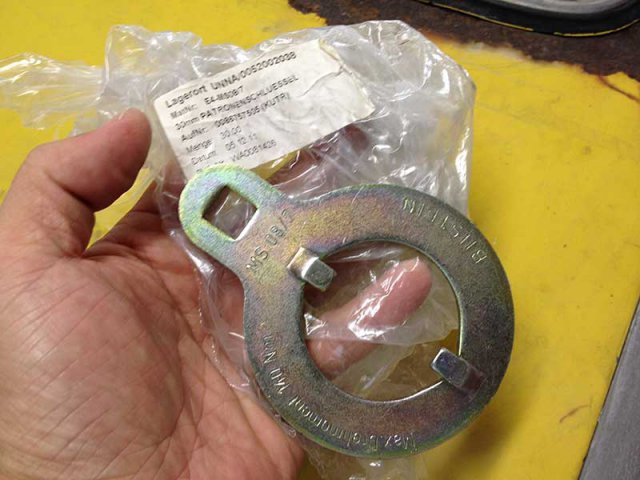
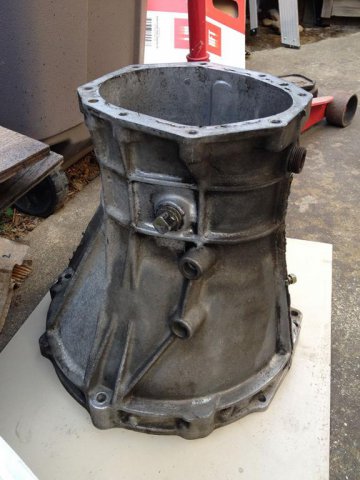
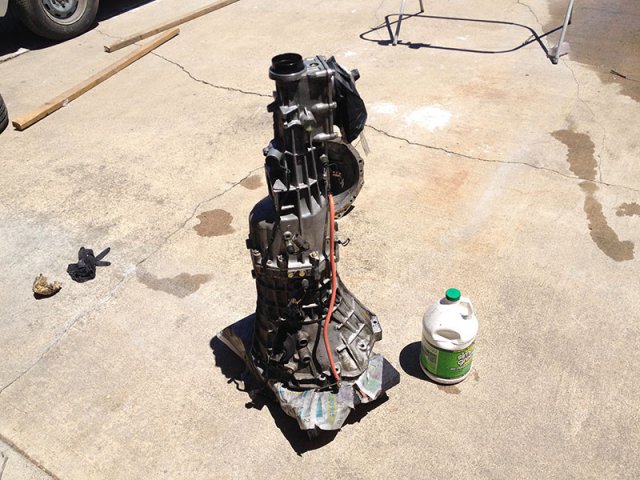
Working on bellhouse mod for FS5W71C to 280z. I just follow this instruction. http://zhome.com/ZCMnL/tech/240SX5spd/Transmission2.htm Use hand belt sander to grind inside. not good enough, need to try more. Got 16mm drill bit @ ebay Need bigger drill. Just drilled from front side.- 230 replies
-
- 280z
- hybernation
-
(and 1 more)
Tagged with:
-
I forgot where I purchased it from. I can let you borrow it:-)
-
-

Anyone know good shop to shorten driveshaft in SF Bay Area?
tamo3 replied to tamo3's topic in Drivetrain
Thanks for the info, Crusher. How much did you pay for the service? Badler, Wow, that's nice to build brand new one! However, I'm not serious for racing or so, I rather just shorten my extra 280z driveshaft. Thanks Spitz17 That's great to know the shop hsa good reputation! I also found article about South Bay Driveline. http://forums.hybridz.org/topic/103882-drive-shaft-gap-after-240sx-transmission-conversion-swap-in-280z/?p=971547 I got quote from them , it's $150 for shorten driveshaft. Did you replace U-joint also? Reading Blue's article: http://atlanticz.ca/zclub/techtips/ujoint/index.html I couldn't find Spicer 5-1501x. Thus, I order Moog / Precision 391 instead. http://www.amazon.com/dp/B009HQK7QU/ref=pe_385040_30332200_TE_item -
Glad to hear your update. I also started new job since May. Commute from San Jose to South SF is killing me... Nice to get P30-0032! Are you going to build coilover?
-
Did you use correct seal? Sounds like the seal is smaller. I rebuild tranny, but I did not have any issue. http://forums.hybridz.org/topic/111648-10-years-after-hybernation-75-280z/page-4
-
Hi, I picked up FS5W71C and 71B bellhouse. I need find shop to shorten my driveshaft. Does anyone know good shop with reasonable price for shorten driveshaft in SF Bay Area? I don't mind other region as long as with reasonable price and quality. Let me know. Thanks in advance. tamo3
-
I'm looking for 240z style front and rear fiberglass bumper. Thanks, tamo3
-

10 years after hybernation - '75 280z
tamo3 replied to tamo3's topic in S30 Series - 240z, 260z, 280z
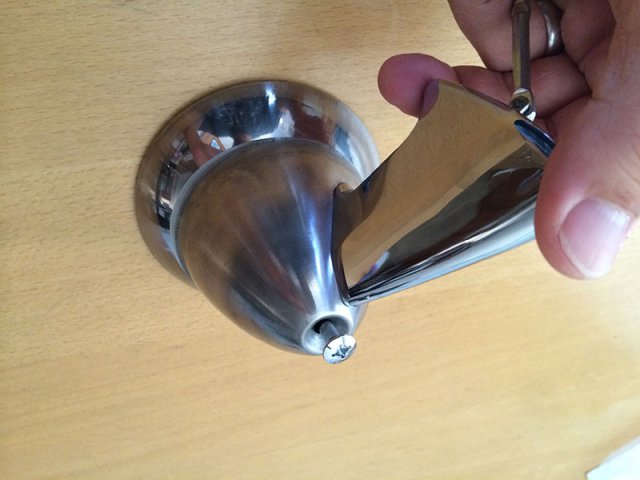
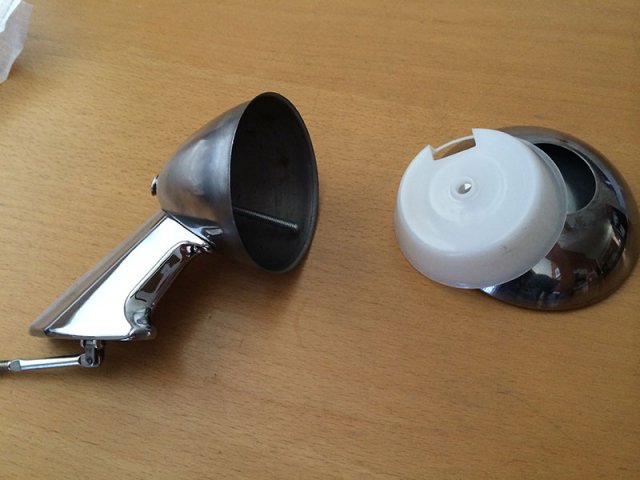
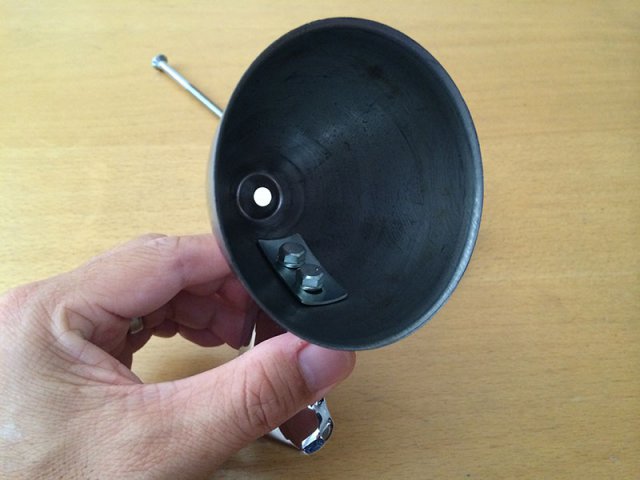
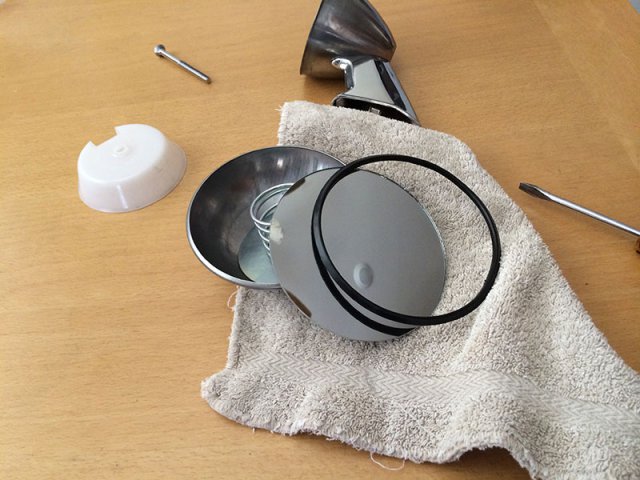
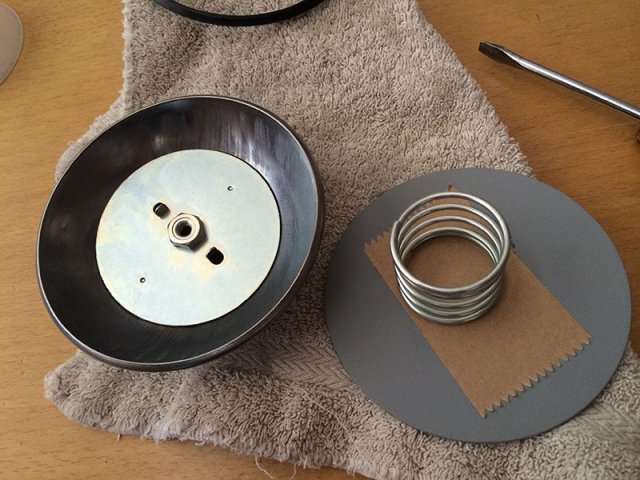
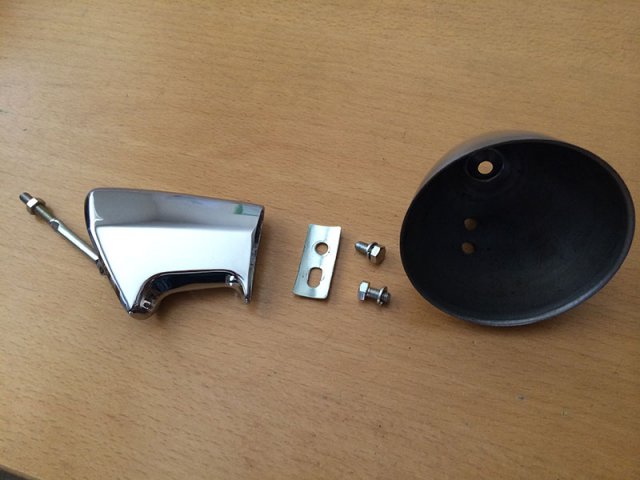
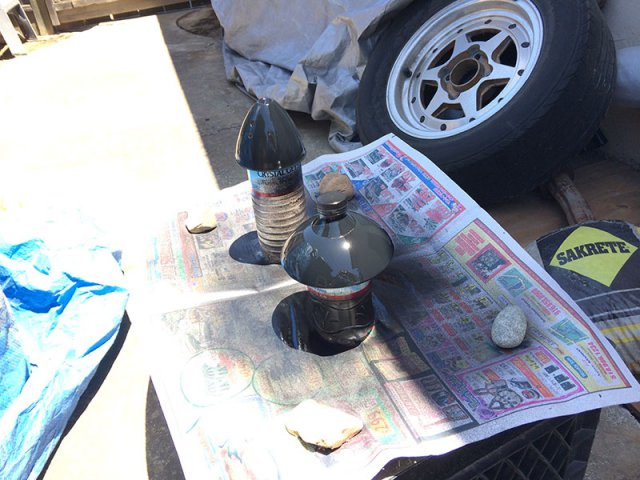
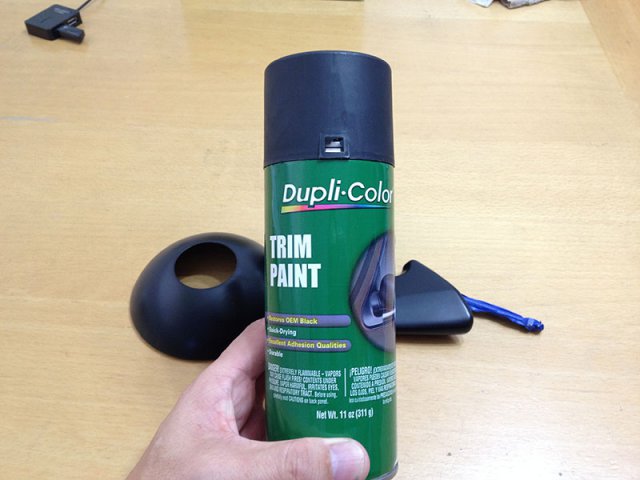
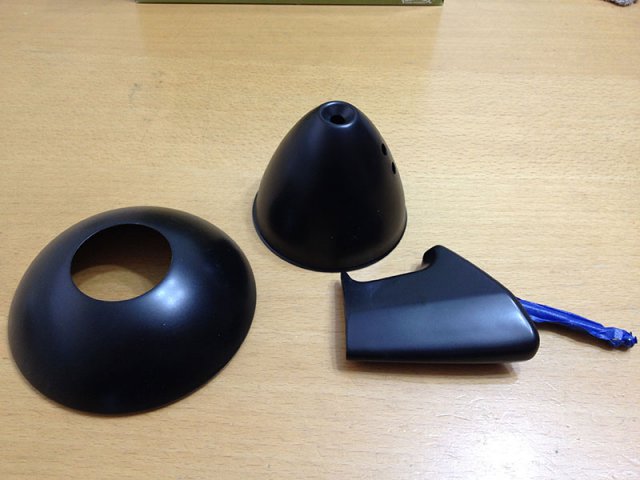
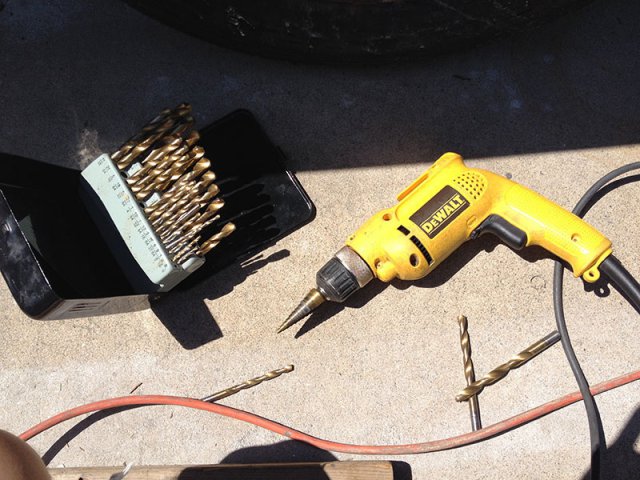
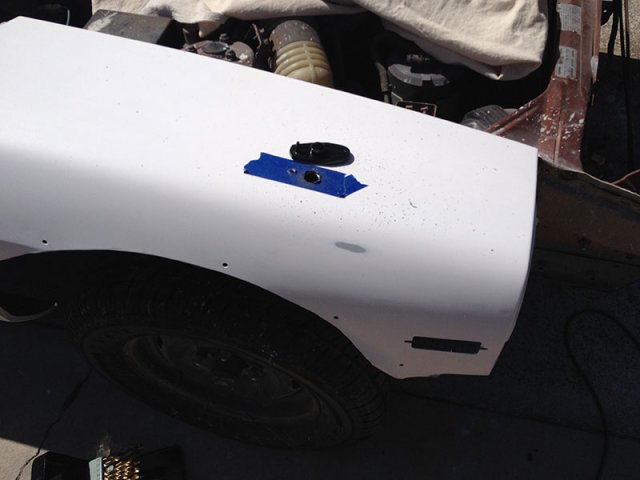
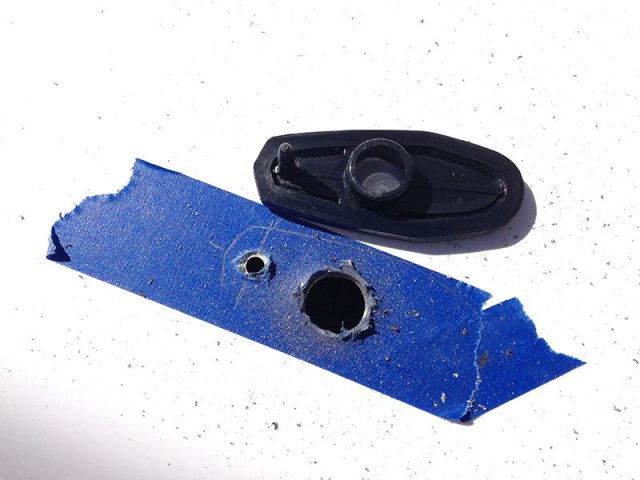
While Watching FIFA World Cup Germany vs France, update my progress. I work for Germany company, but my manager is French. Which side should I be... I got Hakosuka NOS fender mirror via Yahoo! Japan Auction. Need to paint in black. Assemble mirror. Use hair dryer to soften the plastic black ring to remove mirror. I use Duplicolor Trim Black paint this time. Thanks Alan T., aka HS30-H. for sharing information. I follow his instruction to drill holes. http://forums.hybridz.org/topic/50023-fender-mirror-install/?p=549483 The big hole is up to 11/16"- 230 replies
-
- 280z
- hybernation
-
(and 1 more)
Tagged with:
-

10 years after hybernation - '75 280z
tamo3 replied to tamo3's topic in S30 Series - 240z, 260z, 280z
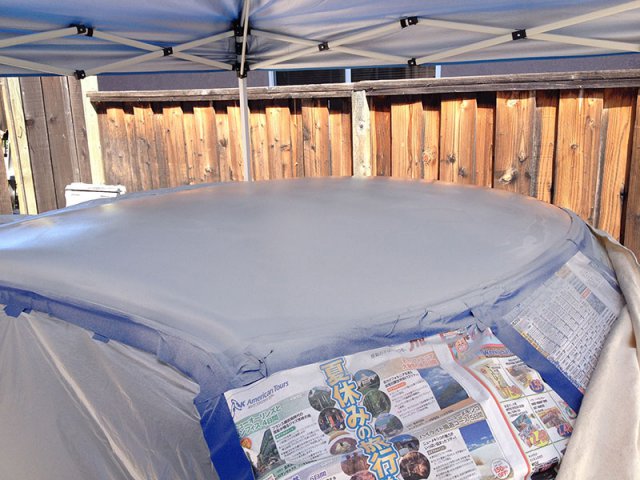
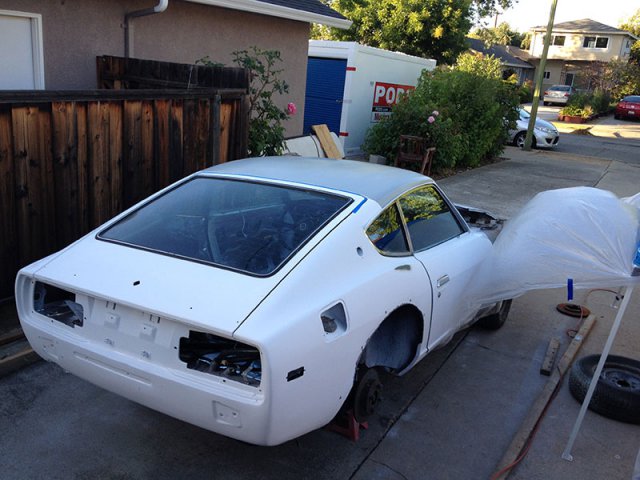
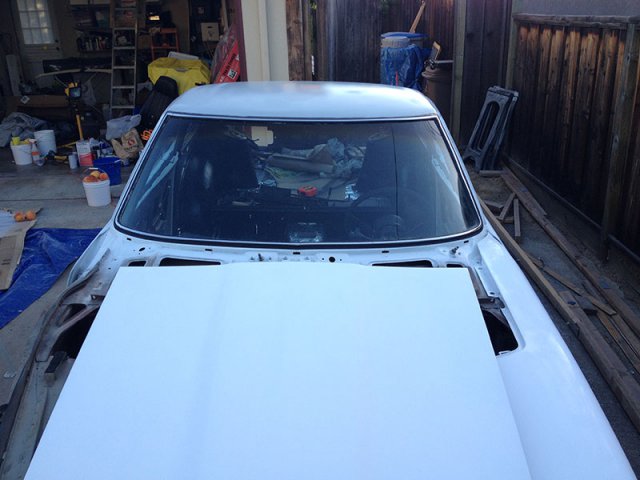
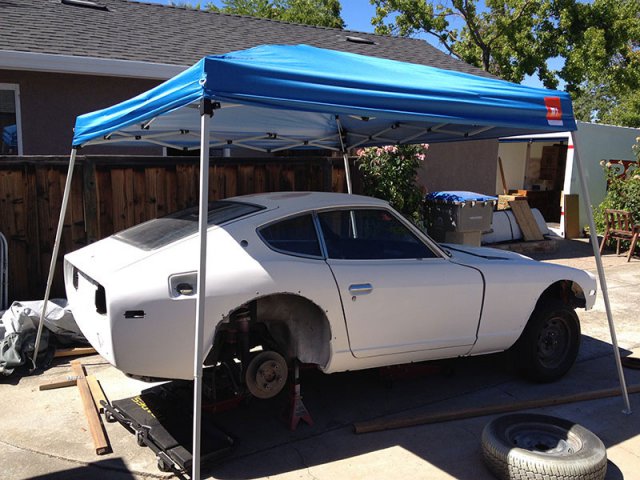
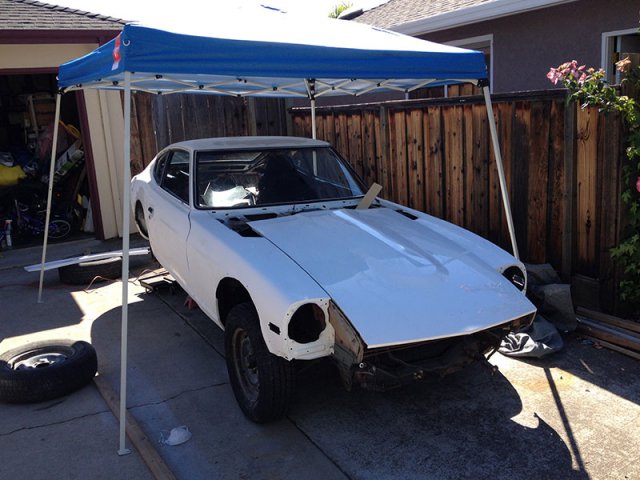
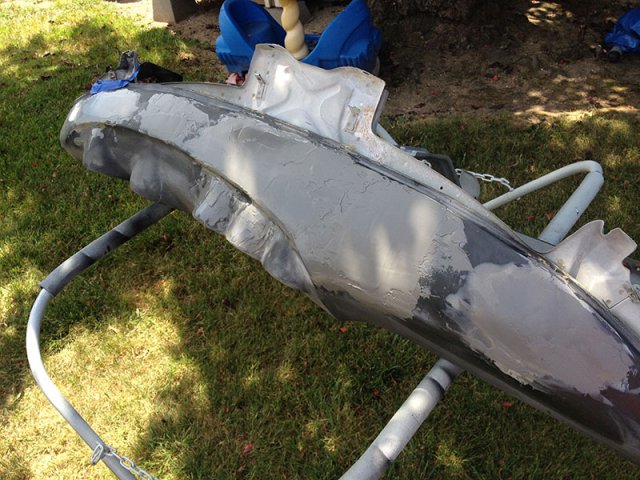
Update. Apply bondo, Sanding, primer, keep repeating 5,6 times. Masking and Epoxy Primer. Before After Primed...- 230 replies
-
- 280z
- hybernation
-
(and 1 more)
Tagged with:
-
I saw CL ads. Congrats for the sales. The new owner is the lucky guy with this great deal of beloved 260z.
-

10 years after hybernation - '75 280z
tamo3 replied to tamo3's topic in S30 Series - 240z, 260z, 280z
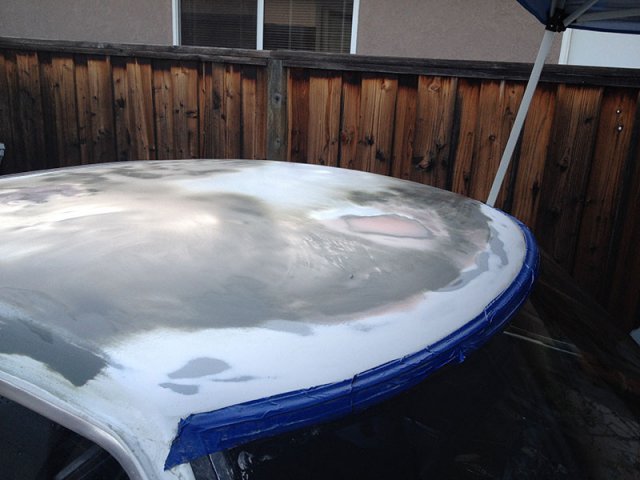
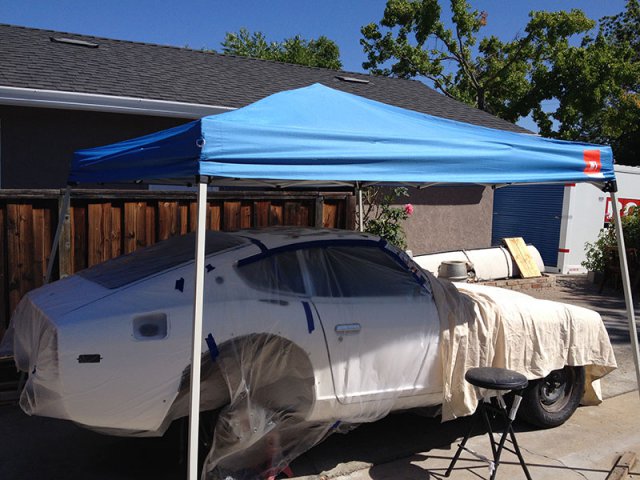
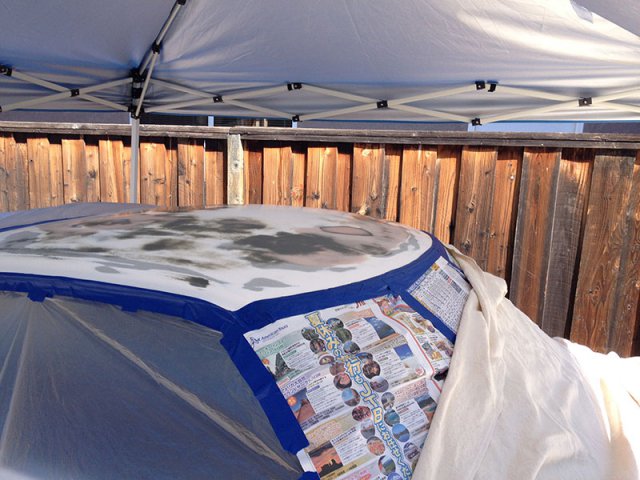
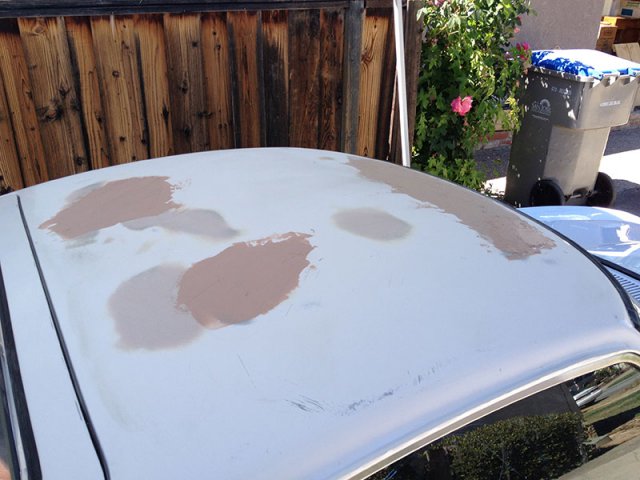
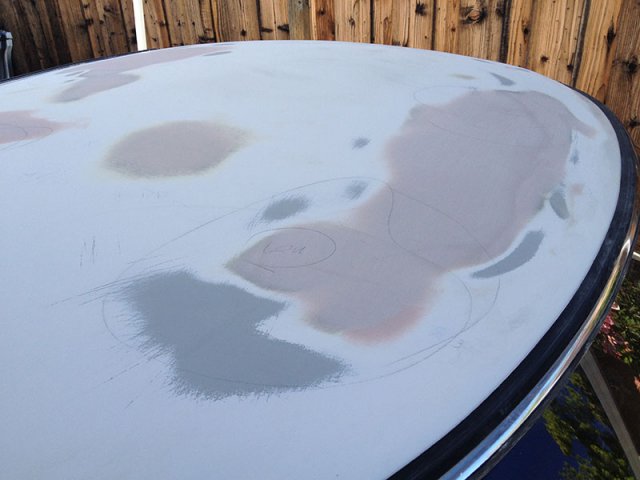
Thanks Seattlejester, terse, I used PPG products. For Epoxy primer, PPG ESU 470. http://www.nedsautobodysupply.com/PPG_ESU470_Epoxy_Primer.pdf For basecoat, PPG Shopline JBX 3.5 VOC For clear, PPG Shopline JC7200 2.1 VOC HS European Clearcoat. However, it was my first attempt, I did not satisfy result. Waterbase paint is so thin and so easy to get chip off just a little scratch. Painting car is so difficult. I recommend to shop around paint shop in your local area. I will re-paint over the July 4th weekend with Urethan paint. Since I decided to redo painting, I also decided to fix a roof a bit. So hot Summer time!- 230 replies
-
- 280z
- hybernation
-
(and 1 more)
Tagged with:
-

10 years after hybernation - '75 280z
tamo3 replied to tamo3's topic in S30 Series - 240z, 260z, 280z
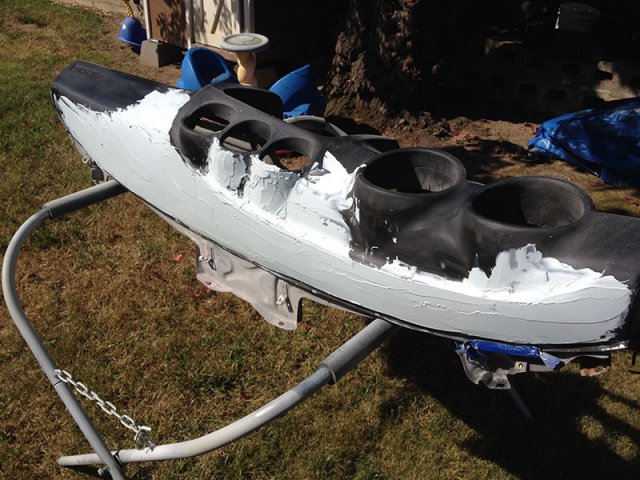
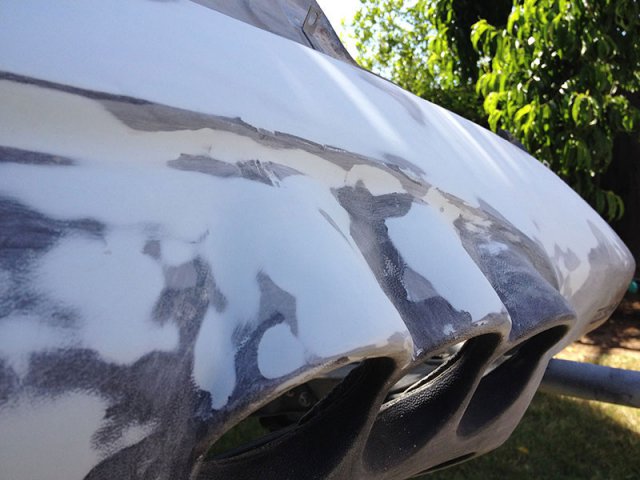
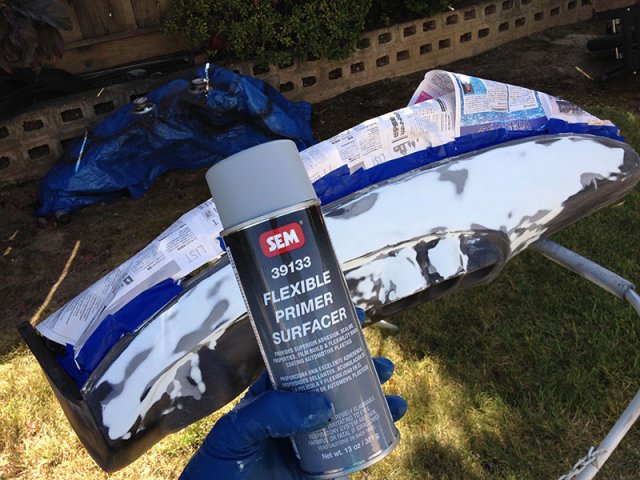
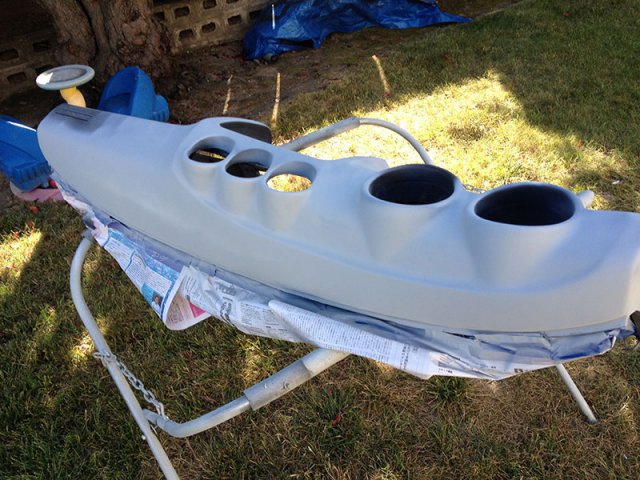
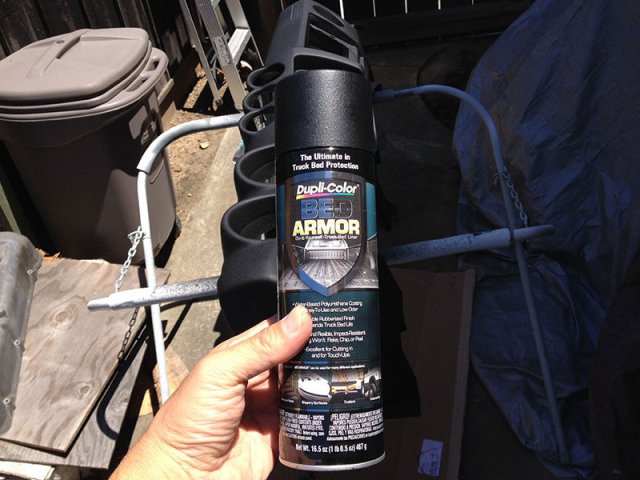
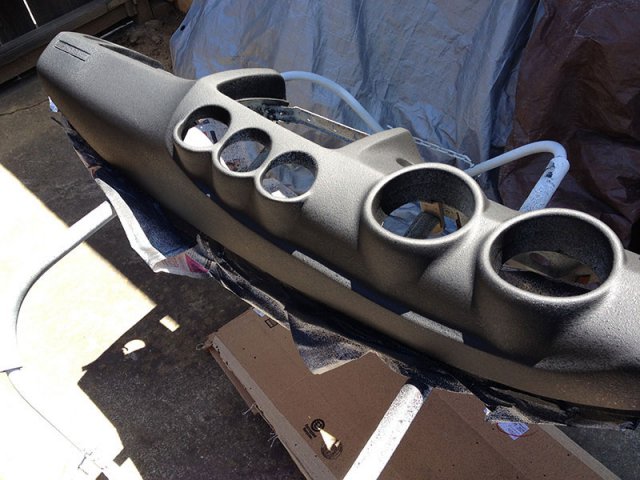
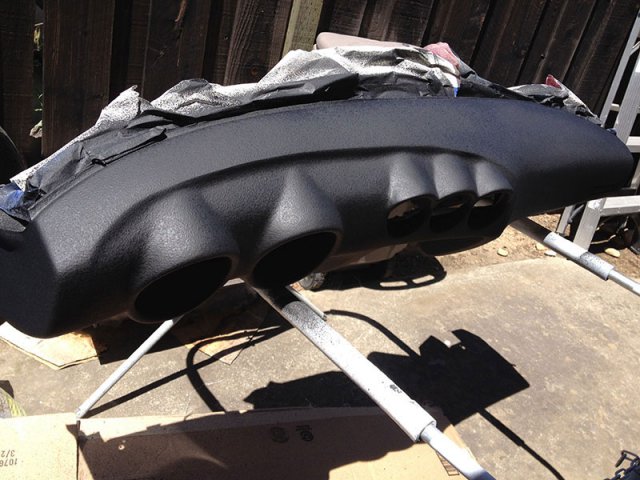
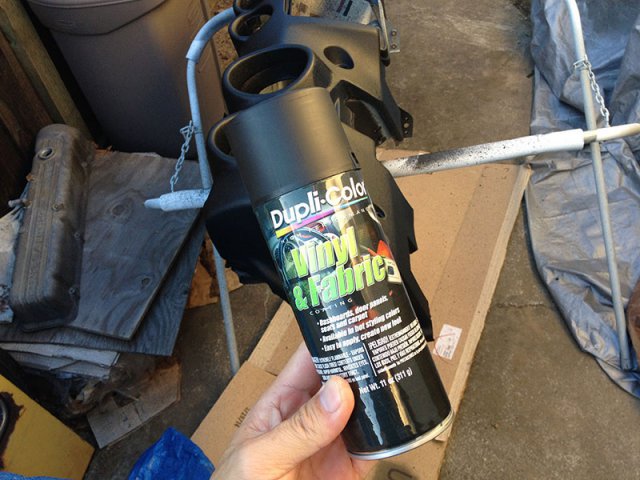
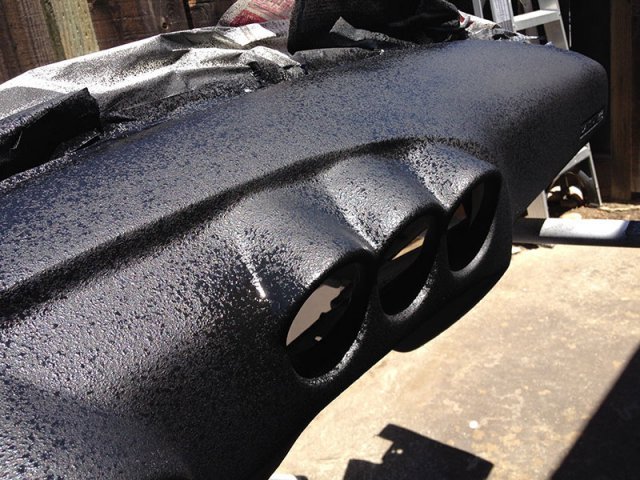
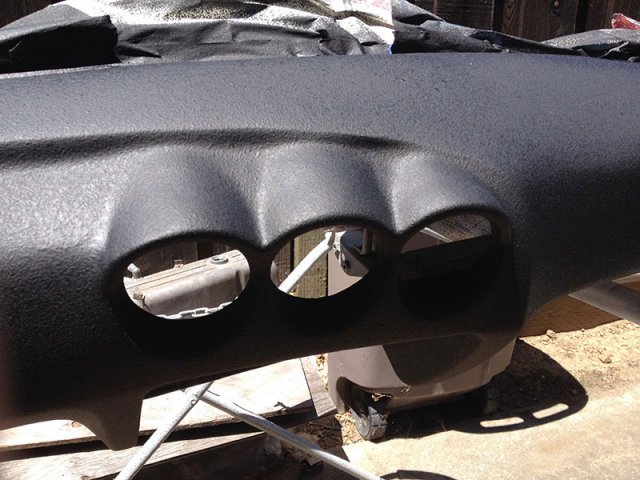
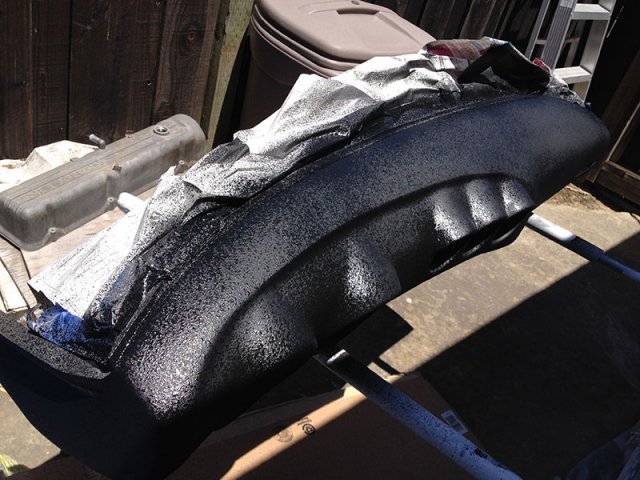
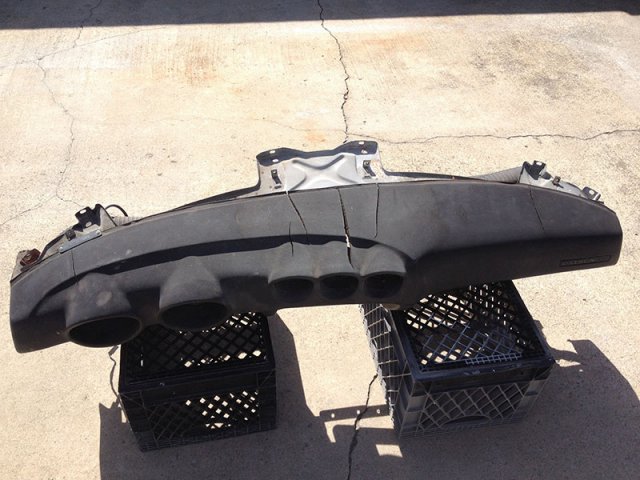
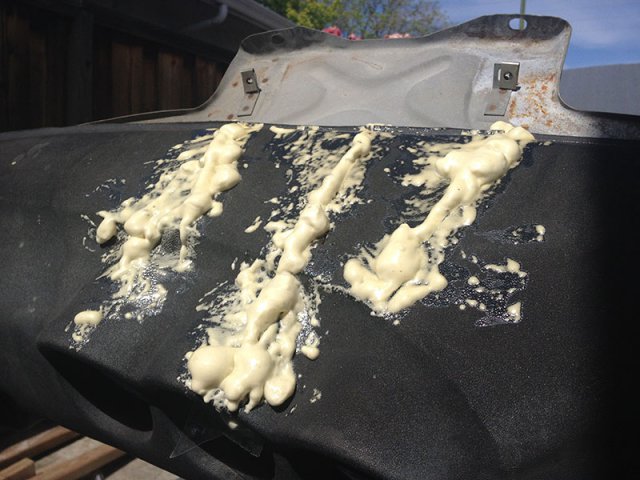
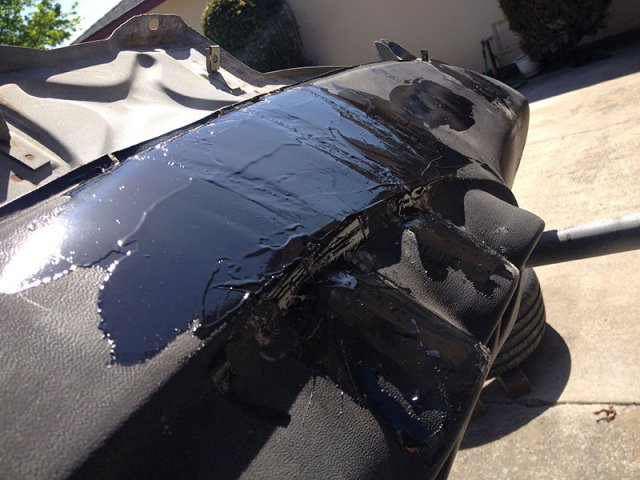
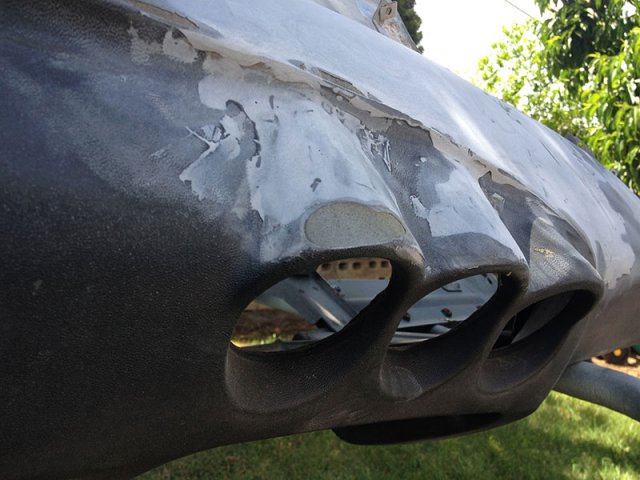
Hi Perfect240z, I already cut the fenders to fit those big tires:-) I kept using JB Weld to fix the dash, but it causes another crack while sanding.... Got better bondo. And Primer Bumper texture. I paint too close distance. a lot of dripping... A bit too shiny. Final flat black interior paint.- 230 replies
-
- 280z
- hybernation
-
(and 1 more)
Tagged with:
-

New? Bolt-in camber top mounts on the market
tamo3 replied to 1vicissitude's topic in Brakes, Wheels, Suspension and Chassis
I'm not sure, but is it good enough for rear? -

10 years after hybernation - '75 280z
tamo3 replied to tamo3's topic in S30 Series - 240z, 260z, 280z
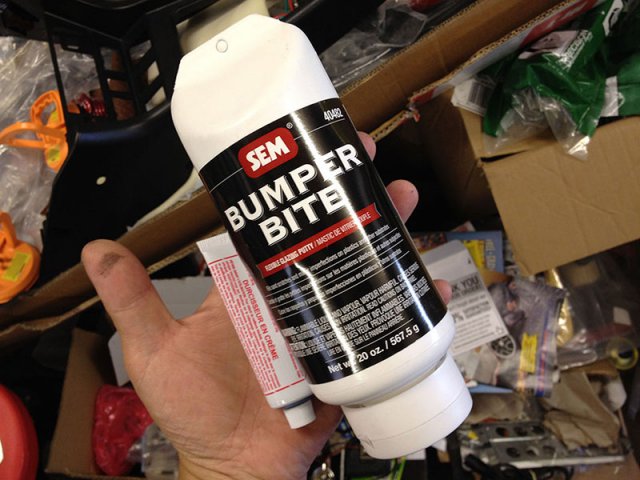
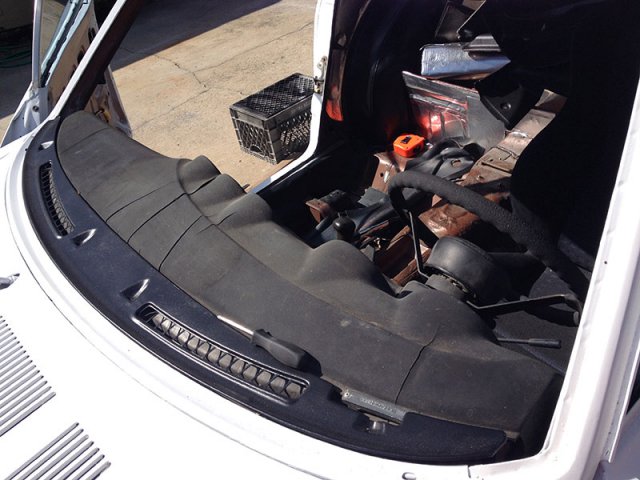
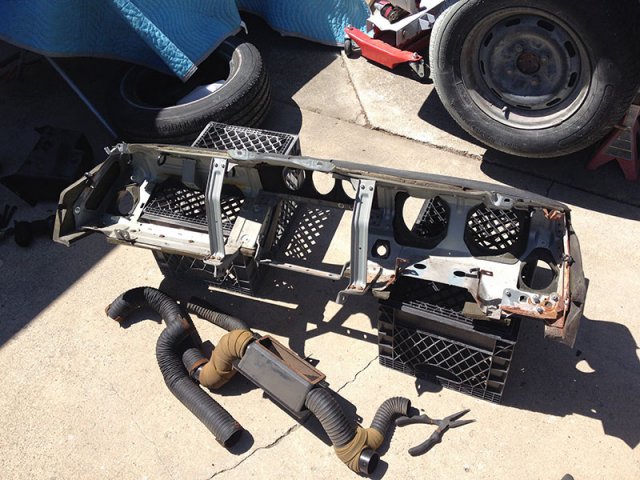
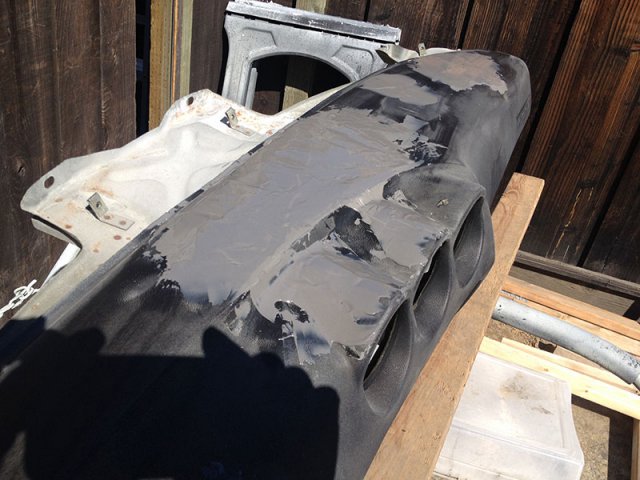
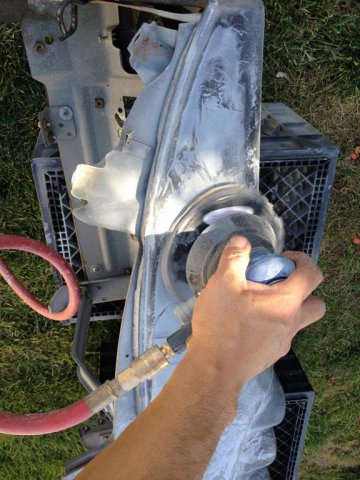
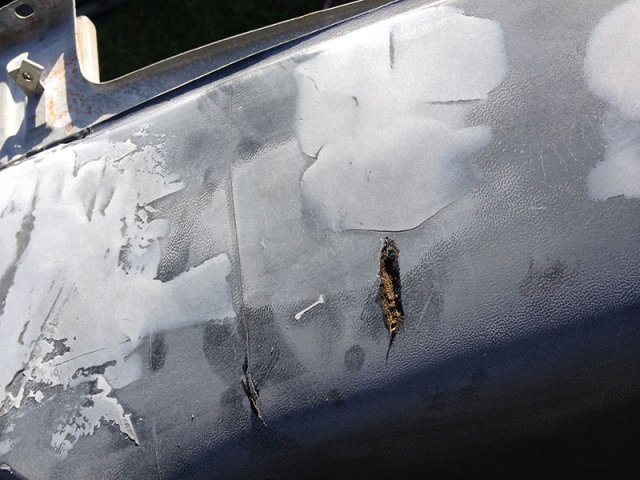
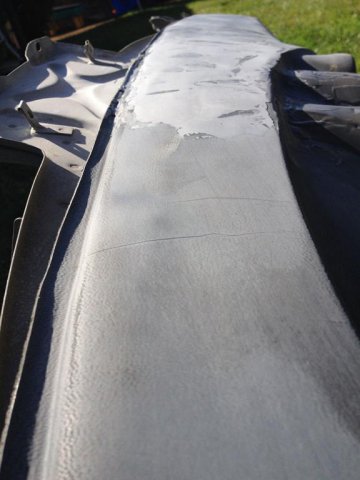
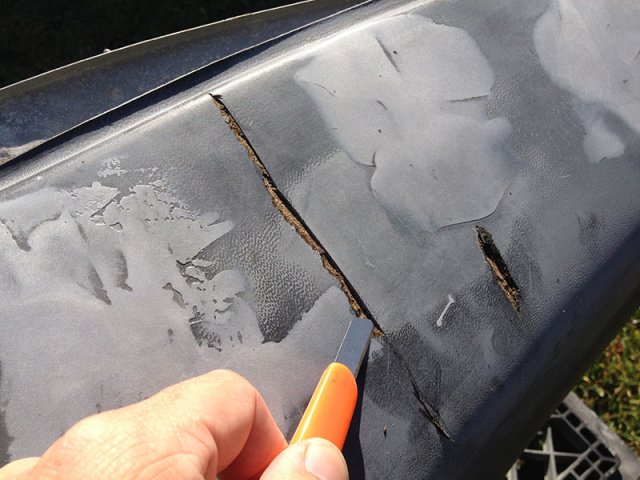
It's been busy after starting new job few weeks ago. I started working on fixing crack of my dash. I need to remove dash in order to install side trim interior anyway before install from windshield. I removed dash carefully not to add more crack damage. Some of the gauge is harder to remove due to the deform of the dash. So, I follow typical instruction to fill "Gap Remover" from HomeDepot. Then Bumper repair. I can't find NAPA's bumper repair anywhere @ eBay, I used JB Weld instead after 1st sanding. Sanding, new crack show up ,JB Weld to fill, Sanding, new crack show up ,JB Weld to fill, Sanding, new crack show up ,JB Weld to fill, .... I kept repeating several times... Try & error, Oversanding...- 230 replies
-
- 280z
- hybernation
-
(and 1 more)
Tagged with:
-
How can we make a raffle entry with $1 or $2? Any paypal account info? Thanks!
-

10 years after hybernation - '75 280z
tamo3 replied to tamo3's topic in S30 Series - 240z, 260z, 280z
No. You don't need clear coat since I apply SEM Sand free. It's adhesion promoter.- 230 replies
-
- 280z
- hybernation
-
(and 1 more)
Tagged with:
-

10 years after hybernation - '75 280z
tamo3 replied to tamo3's topic in S30 Series - 240z, 260z, 280z
I'm glad to hear that. It's easy project and it become better than 40 years old original finish for sure- 230 replies
-
- 280z
- hybernation
-
(and 1 more)
Tagged with:
-

10 years after hybernation - '75 280z
tamo3 replied to tamo3's topic in S30 Series - 240z, 260z, 280z
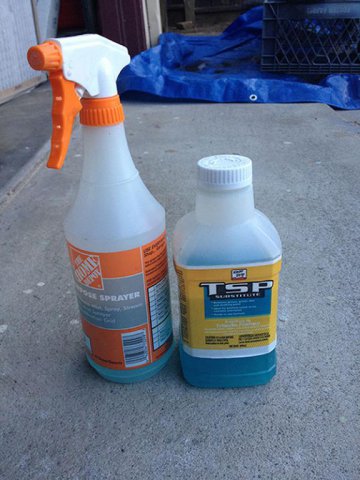
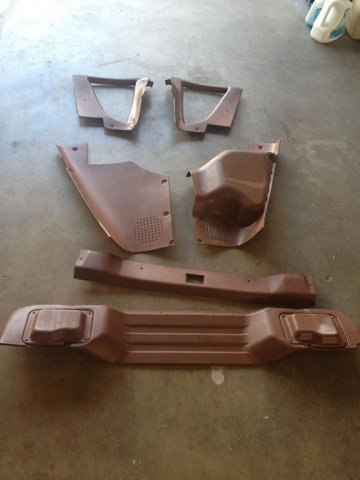
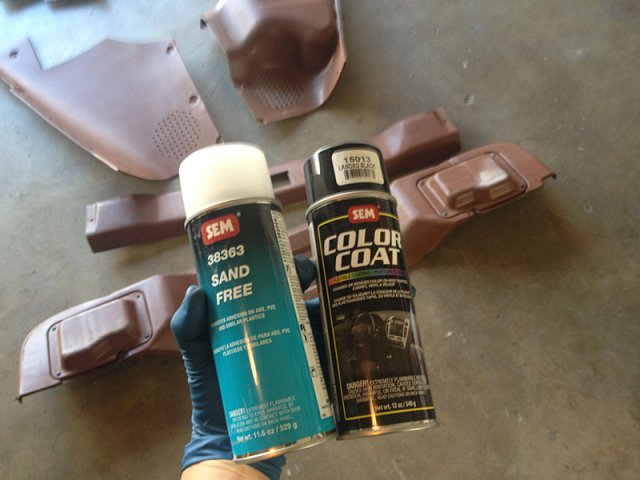
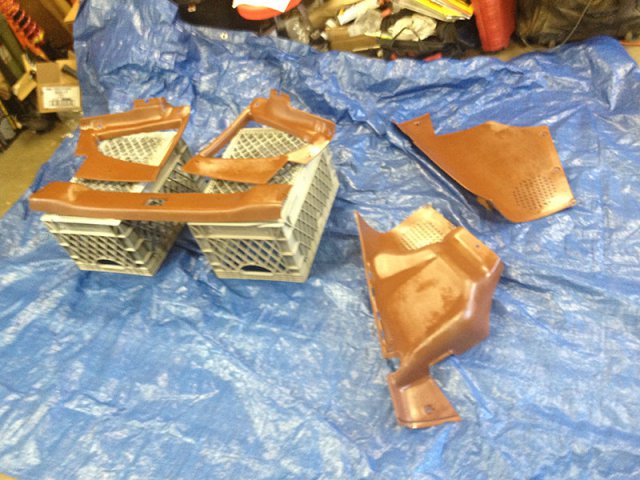
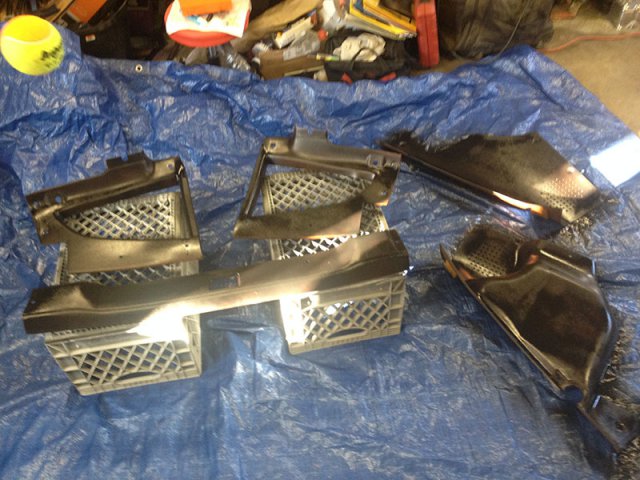
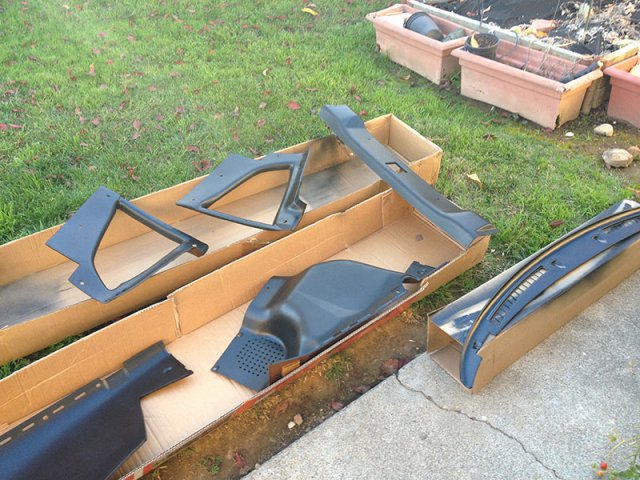
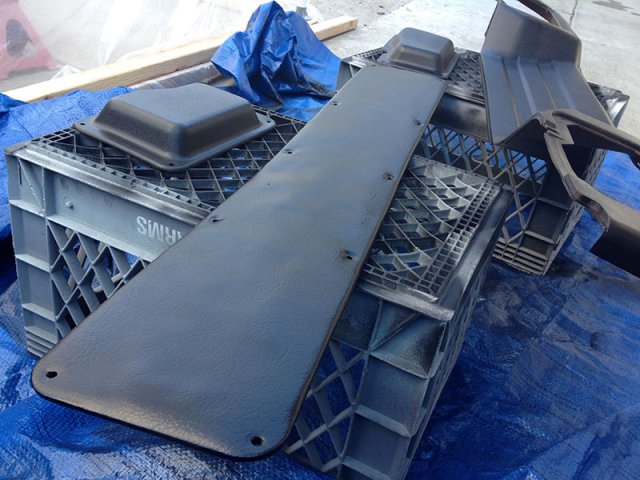
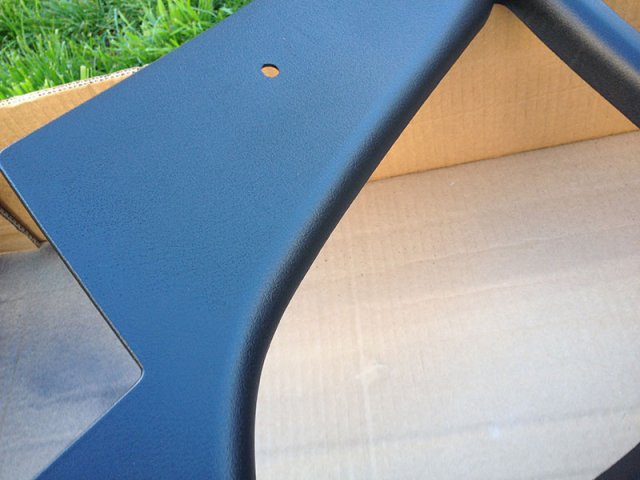
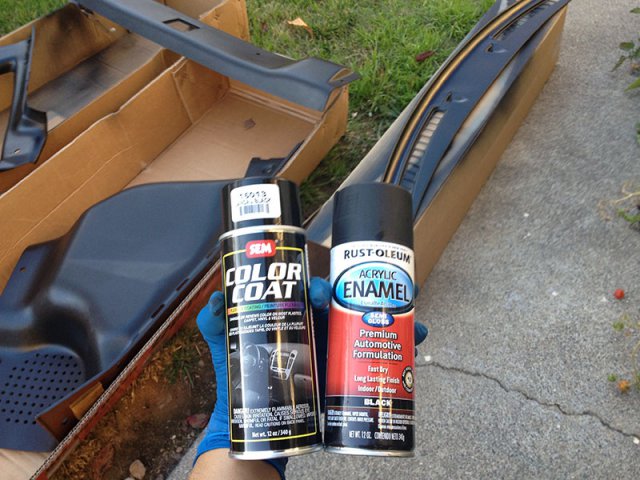
Hi terse, I used SEM Landau Black 15013 spary for all interior. http://www.oreillyauto.com/site/c/detail/SEM2/15013/N0477.oap?ck=Search_N0477_-1_-1&pt=N0477&ppt=C0171 My original interior panel was brown and I wanted change to black interior. First of all, wash and cleaned up with TSP. Then, spray SEM 38363 Sand Free http://www.amazon.com/Products-38363-Sand-Free-Aerosol/dp/B00B3HXM6I While the paint is still wet, I spray the SEM Landau Black 2-3 coating. This paint is stink! But once it get dry, it beautiful flat (egg shell) black. You can paint it vinyl surface too. You can see the difference of the cheap black paint on the dash panel.- 230 replies
-
- 280z
- hybernation
-
(and 1 more)
Tagged with:
-

10 years after hybernation - '75 280z
tamo3 replied to tamo3's topic in S30 Series - 240z, 260z, 280z
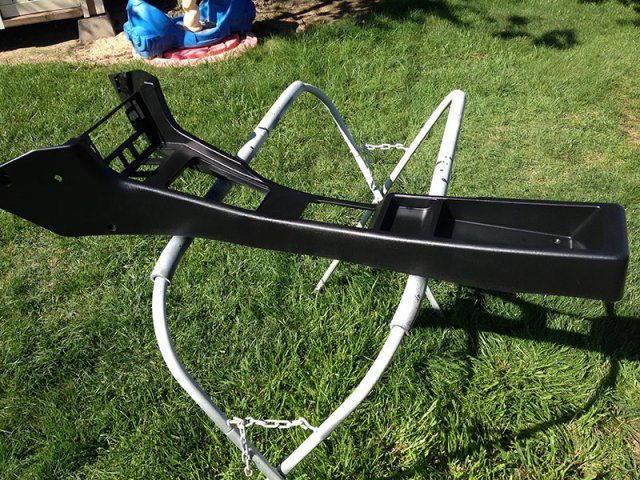
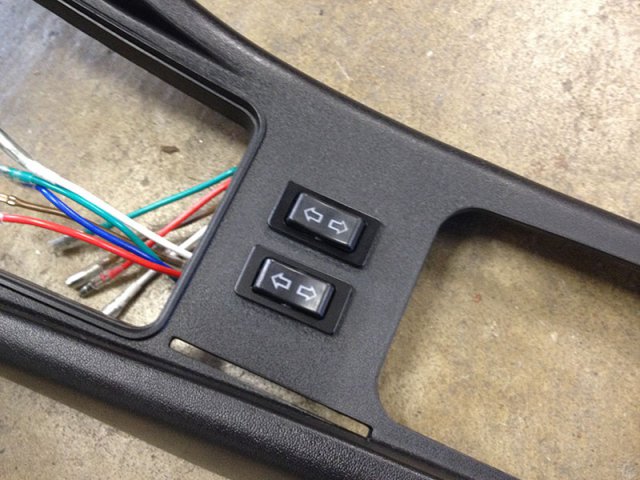
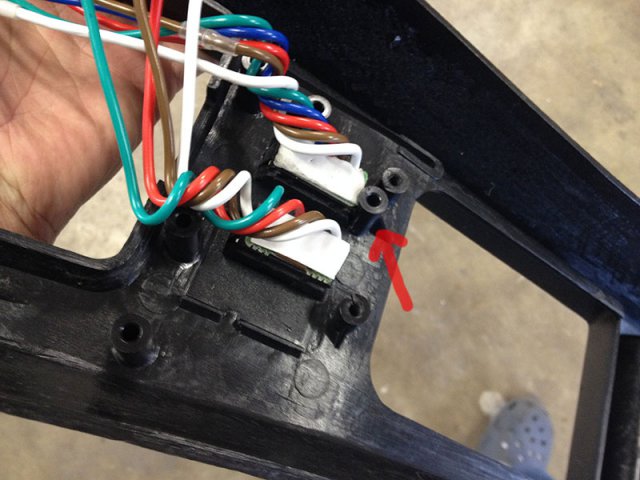
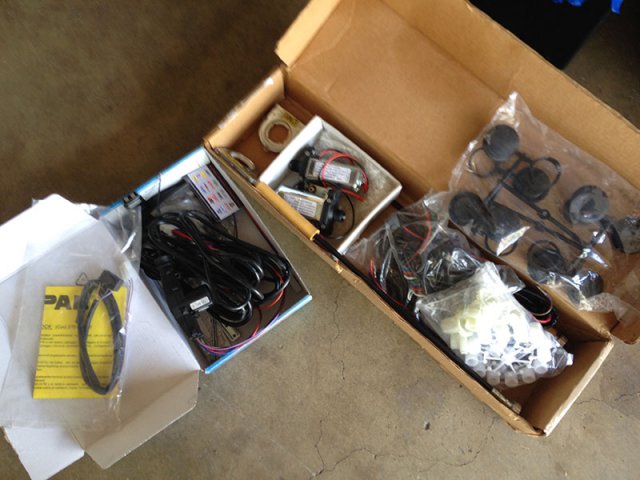
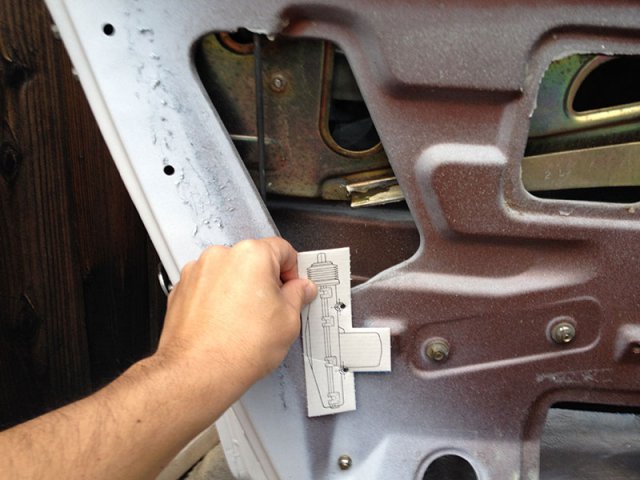
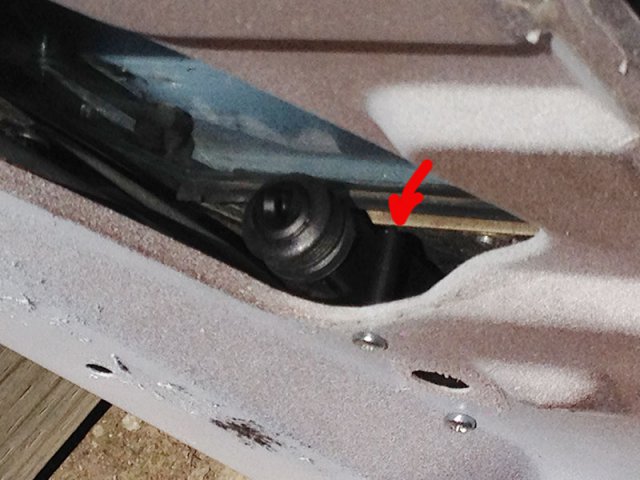
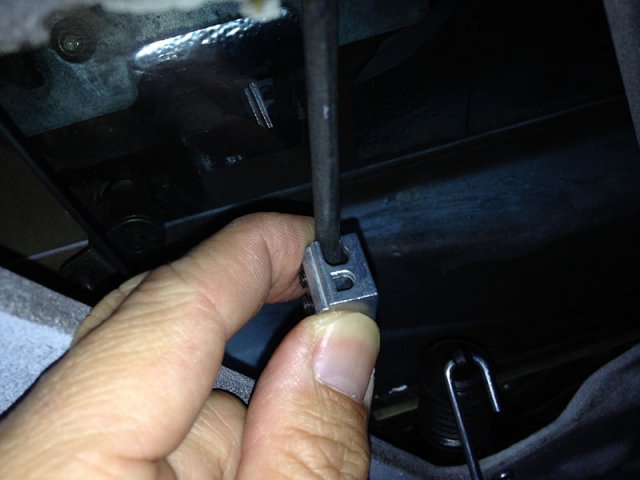
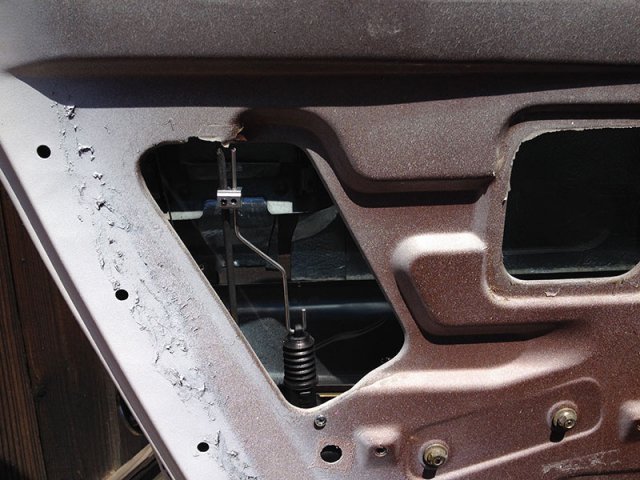
Working on Power Lock and Power Window. I purchased SPAL Two-Door Power Lock Kit 37000148 and switch. Also, I purchase power window kit VPA-80127C from local guy @ craigslist. It's old model, but it's brand new. First, I cleaned up and paint center console. Cut the hole for the power window switches. Try to avoid breaking nut hole of the ashtray holding screw. The SPAL kit comes with paper model to easily to place and make a hole. I need to trim a bit of the actuator since it grinding window frame. Also, the holding parts of of the rod is not wide enough hole. I need to make it bigger hole. and installed!- 230 replies
-
- 280z
- hybernation
-
(and 1 more)
Tagged with:
-

The Midnight Warrior - 71 Datsun 240z - Australia
tamo3 replied to Midnight Warrior's topic in S30 Series - 240z, 260z, 280z
Wow! Super professional great detail work! Impressive!

