ISPKI
-
Posts
243 -
Joined
-
Last visited
Content Type
Profiles
Forums
Blogs
Events
Gallery
Downloads
Store
Everything posted by ISPKI
-
Continuous beads (stitch welding) is never a good idea on thin sheet metal, exactly for the reasons you mentioned. Distortion being the biggest issue unless the piece you are working on is extremely well constrained, but most of the times it isnt. On longer runs, I usually will place my spots a few inches apart. If I have enough access and the joint permits, I will sometimes clamp on a copper or aluminum backer plate which seems to sink the heat out of the sheet metal sufficiently so as to avoid distortion even in long stitch runs but automotive application rarely has the space for it.
-
Yeah I need to get another bottle for my 140A mig, or a bottle of argon so I can run the Tig side of my multiprocess welder. I did just run out of gas so now may be the time. Thing is, 95% of what I am welding is thin body sheet metal with piss poor joint fit up. This kind of welding should really only be spot welded anyways so as to reduce warping as much as possible. I should take some shots of the engine bay side of the fender panel, those were much better fitting and cleaner...and I wasnt welding up which always helps.
-
Driver's side patch panels are exceptionally disgusting. I dont have the right tools to get into the corners so cleaning the rust out before welding was extremely difficult. Hopefully going to have the side of the frame cleaned up by the end of tomorrow.

-
https://www.millerwelds.com/resources/weld-setting-calculators/mig-solid-core-welding-calculator Miller's suggested settings are 220A-250A at 220-270 ipm. I dont know that I could ever run my ipm that low without having the weld sound like a pulse weld. I will give it a shot later tonight though.
-
Took a break from trying to clean out the old frame rail and what not and went ahead and started fabricating Brian Laine's engine cross member. My angle channel is a little heavier than his, .250" thick, using 2"x2"x1/8" wall thickness square tubing. The motor mount straps are 5/16"x3" plate which I cut and welded rather than try to fold them to size in our 50 ton press. I have not done a ton of welding with my eastwood 250i at 24+ volts. It seems to me that the .045" wire is not really capable of standing up to amperage levels over 200. Even with wire feed over 400IPM, it still felt like the wire was exploding during the weld, resulting in alot of spatter.
-
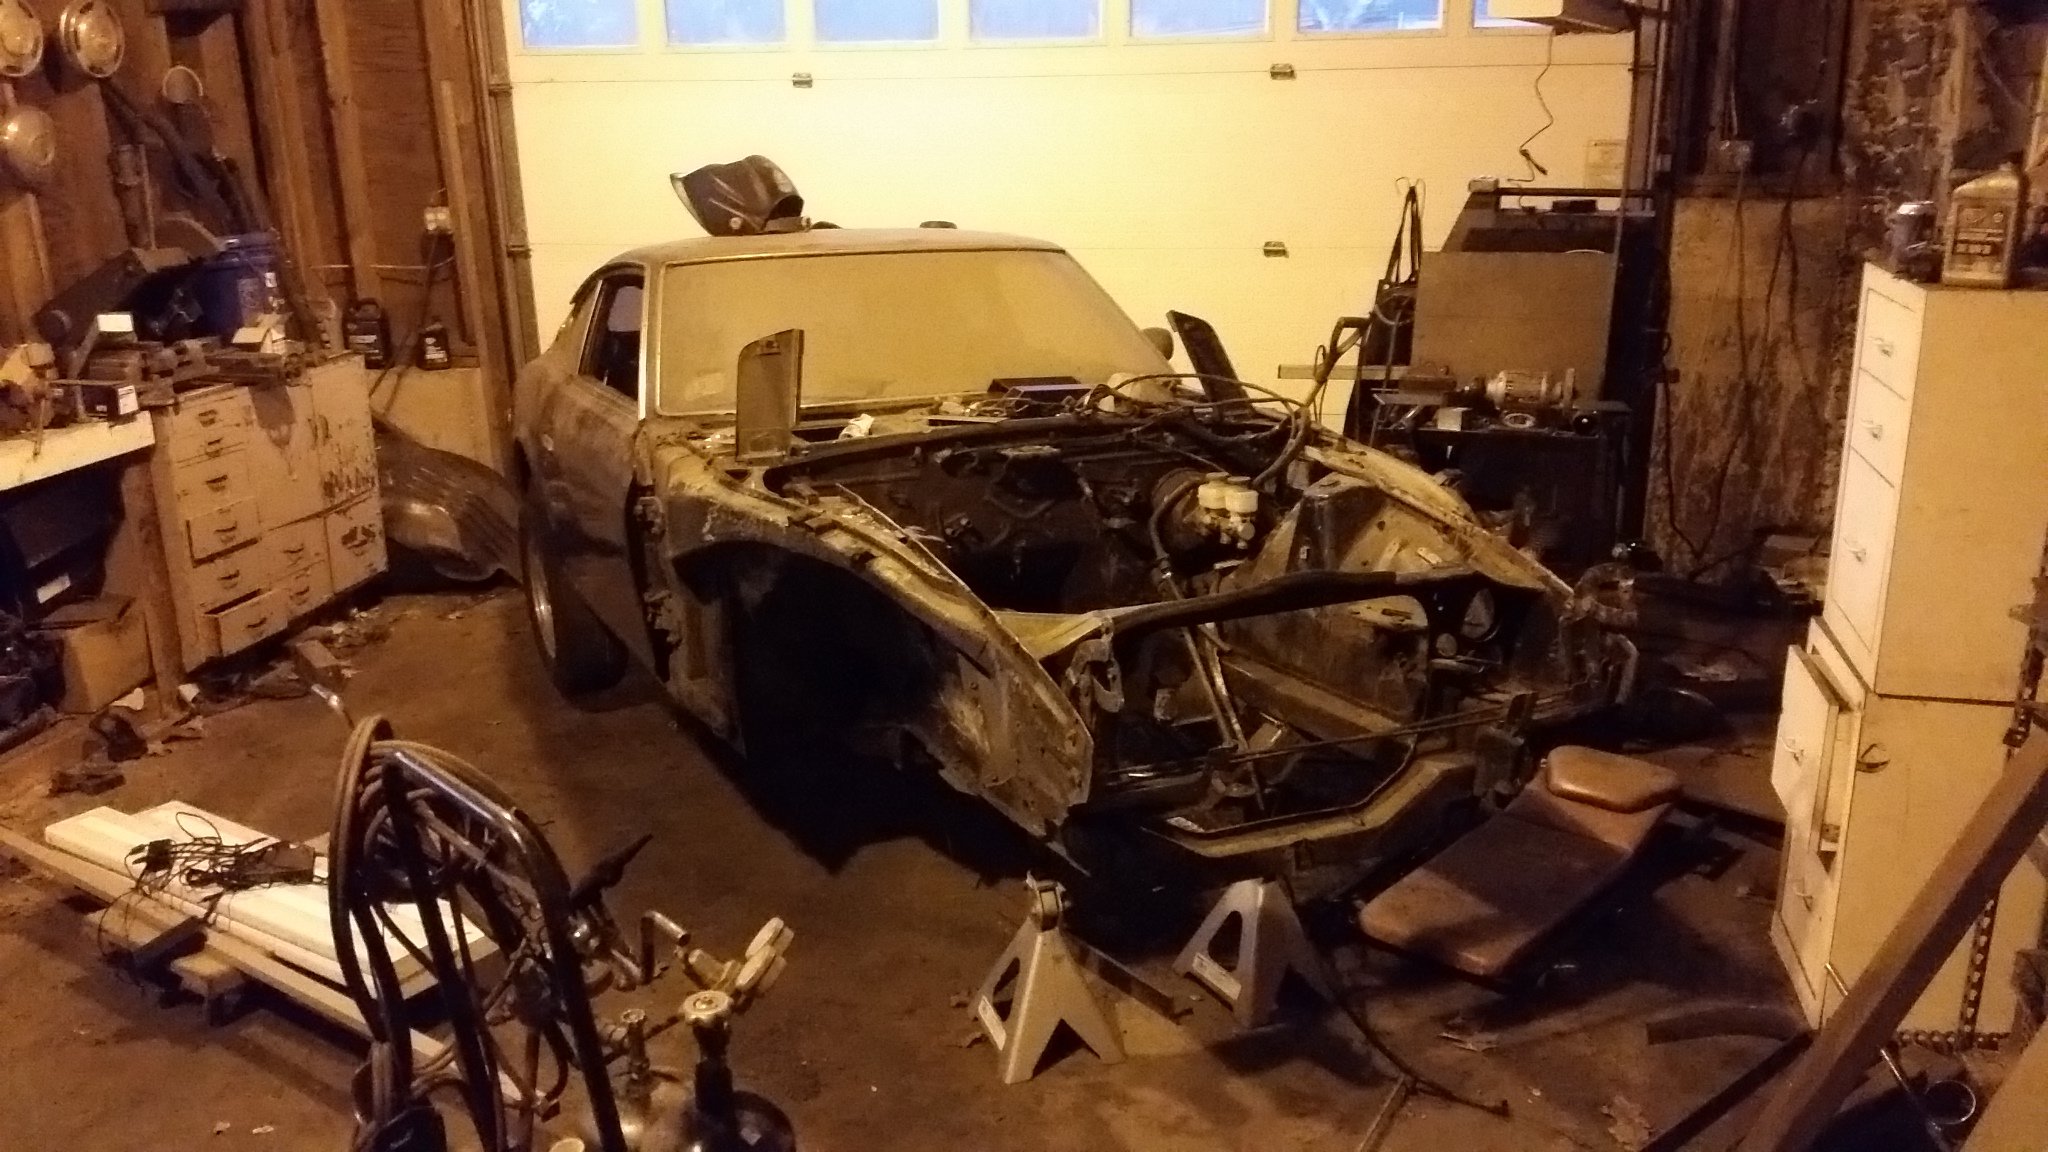
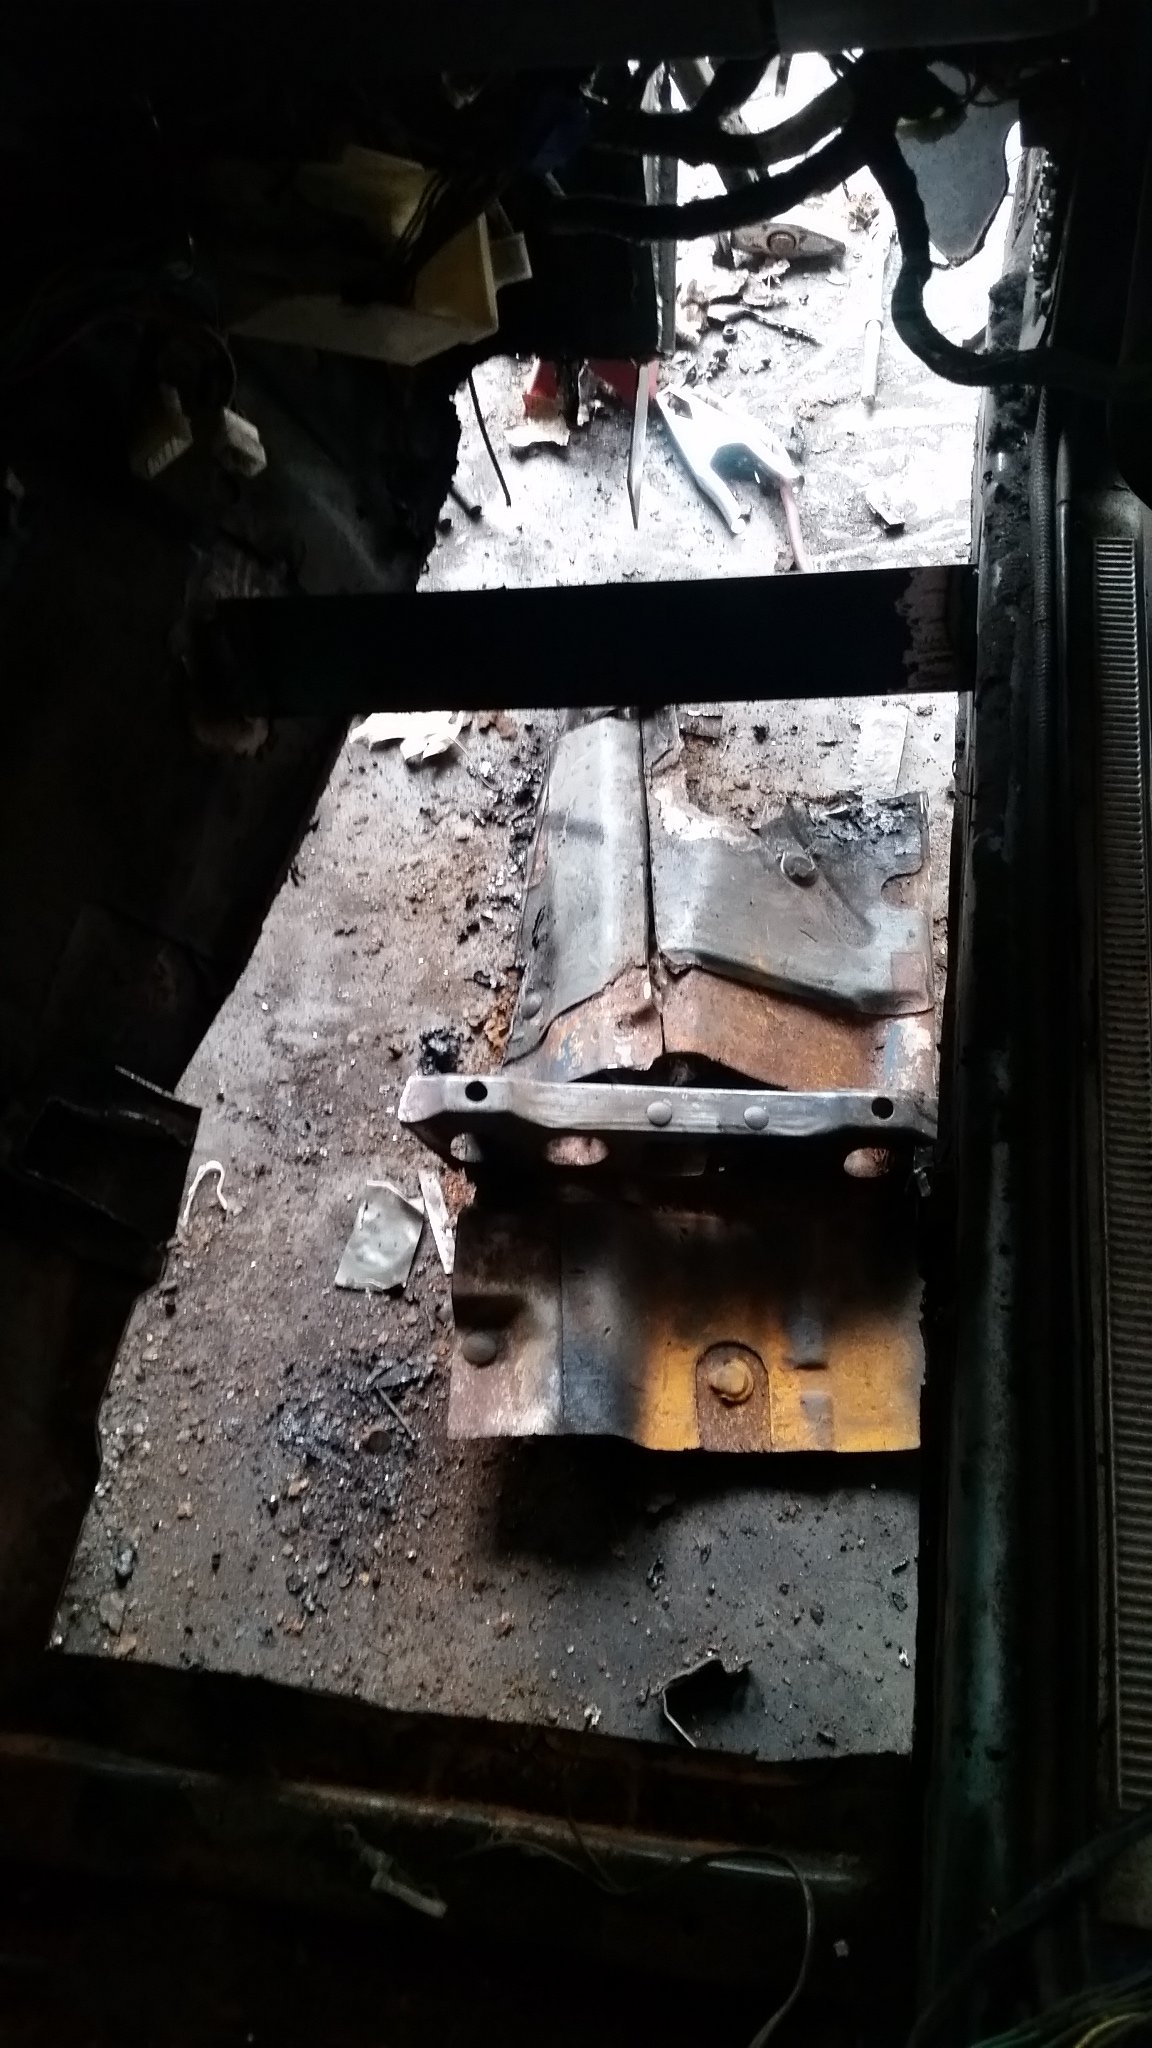
So I ground off the old motor mounts, spun the car around so I could get at the driver side which looked far more solid than the passenger side. I may not even have to replace the floor under the seat rails! However, I noticed a smooth section inside the wheel well on the side of the frame. Tapped on it with a hammer and it felt very soft, tapped a little more an it start popping out, grabbed onto it with some pliers aaand, its a pair of aluminum sheets rivetted over an 8 inch hole in the side of the frame! woohoo. Why did people think that was an appropriate repair?
-
General rule for stick out is no more than half your ceramic cup diameter. They make monster cups and clear cups to help. Also - Trailing shields can make a massive difference. https://www.arc-zone.com/Monster-Nozzles https://www.arc-zone.com/2-Series-TIG-Flooding-Cup-Kits We implement a wide range of custom shielding gas tools like these that can be invaluable when welding certain materials. Another extremely critical aspect of TiG welding materials such as 316SS or aluminum sheets (or any situation where you are achieving 100% penetration from one side of the member) is shielding the root of the weld joint. 316SS is known to propogate root cracking and developing hydrogen embrittlement over time when the root is not shielded. Google "alpha casing" and you can see the issues this can cause.
-
Especially if you are looking at making some decent HP out of a RB or smallblock v8, you will do well by having the added weight of a 280z for daily driving. All that power amounts to nothing if you cant keep your tires on the pavement. Even with the added weight of a 280z, it will still be considerably lighter than nearly every other car on the road.
-
Miller Dynastys are excellent Tig machines. We have several 200DX models in our production aerospace GTAW Lab, alongside some older Maxstar 152s, some 140amp miller mig machines, a very expensive .1A-100A weldlogic lathe welder, and a 580A XMT 456. Our head GTAW welder has been able to weld all kinds of oddball materials and weld joint configurations with them, even .020" thick sintered aluminum mesh.
-
No pictures for this update. Last night, I welded in the rear seat cross member. Making the main tube out of 1.5" square tube, .083ish wall thickness I believe. Kind of heavy compared to factory but it should be nice and secure. I am now trying to figure out how to turn the shell around so I can get working on the driver side floor. My shoppe may be just large enough to turn it 90 degrees and do the work with it sideways...if I move some cabinets around a bit. Interesting side question, does any one know how much these cars weigh with an empty engine bay and stripped interior? I need to yank the old drive shaft out before I move it around.
-
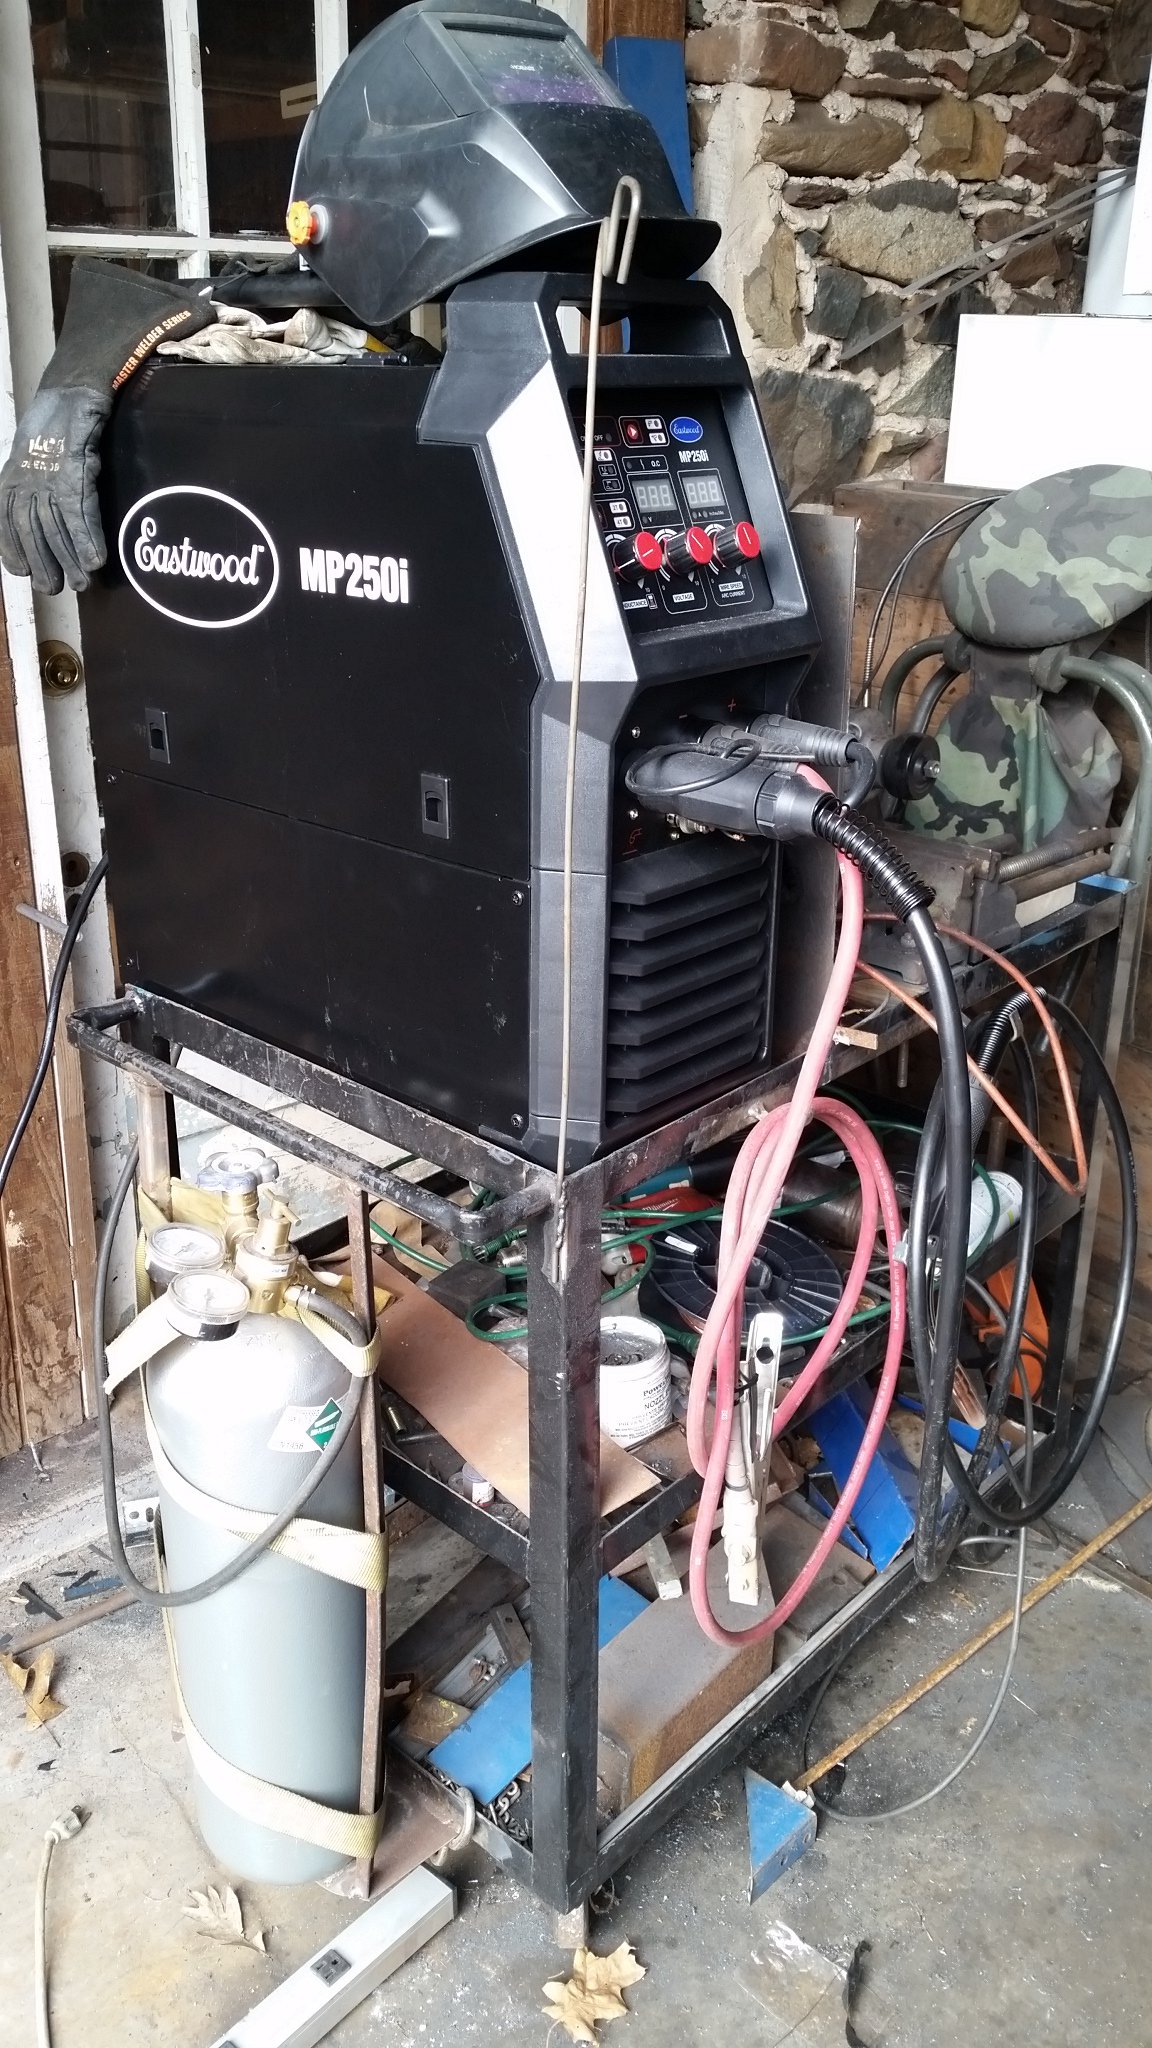
I went with the Eastwood MP250i, 250 amp multi process welder. It cannot natively weld aluminum and it lacks high frequency starting but it mig welds like an animal. Can run on either 110 or 220. They sell this setup for about 1100, however, I have read that the torches and pedal are of very poor quality. I noticed that when you add it to your cart on eastwood's website, it adds the machine as one item, and all of the support equipment as a 2nd item. I went ahead and deleted the support equipment from my cart and bought only the machine which cost 600$ by itself (support equipment was ~550) on sale. I then used the extra $ to build my own 00 gauge ground cable with a lenco clamp, picked up a used Tweco Spray master Mig torch rated for 350amps (air cooled) for ~100$ and already had a WP-9 TiG torch with pedal. I had to make up my own connectors for these torches because Eastwood uses some kind of oddball cannon plug but it works reasonably well. Another note with regards to Eastwood; I purchased this because their customer support is supposed to be excellent but I found that they have a severe lack of knowledge when it comes to their welders. I repeatedly asked them for the pinout connections on the cannon plug for the welding torch and they refused to give it to me, claiming that it is proprietary knowledge. This is a pile of BS, as the professional welding manufacturers (Lincoln, Miller, ESAB) print their entire wiring schematic on the inside cover of their machines. Also - This is not a small, portable machine at all. It is very robust and well built and very heavy for an inverter power supply. We have a number of Miller Dynasty, Maxstars, Intellitigs, and XMTs at my work, and this Eastwood is built just as heavy duty as those machines. It handles considerably higher power than a Dynasty 200DX can handle (200amps at 100% duty cycle vs the Dynasty's 120amps at 100%). There is a device called an "ArcPig" that can be wired into your welder that will give it both High Frequency start and I believe will allow a DC machine to weld aluminum, albeit fairly slowly. https://axiontool.com/products/no-touch-arc-strikes-arc-pig-hf-inline-starter-stabilizer?gclid=EAIaIQobChMIv8DhrL-t5QIVlIzICh1qeQuSEAQYAyABEgI2RPD_BwE
-
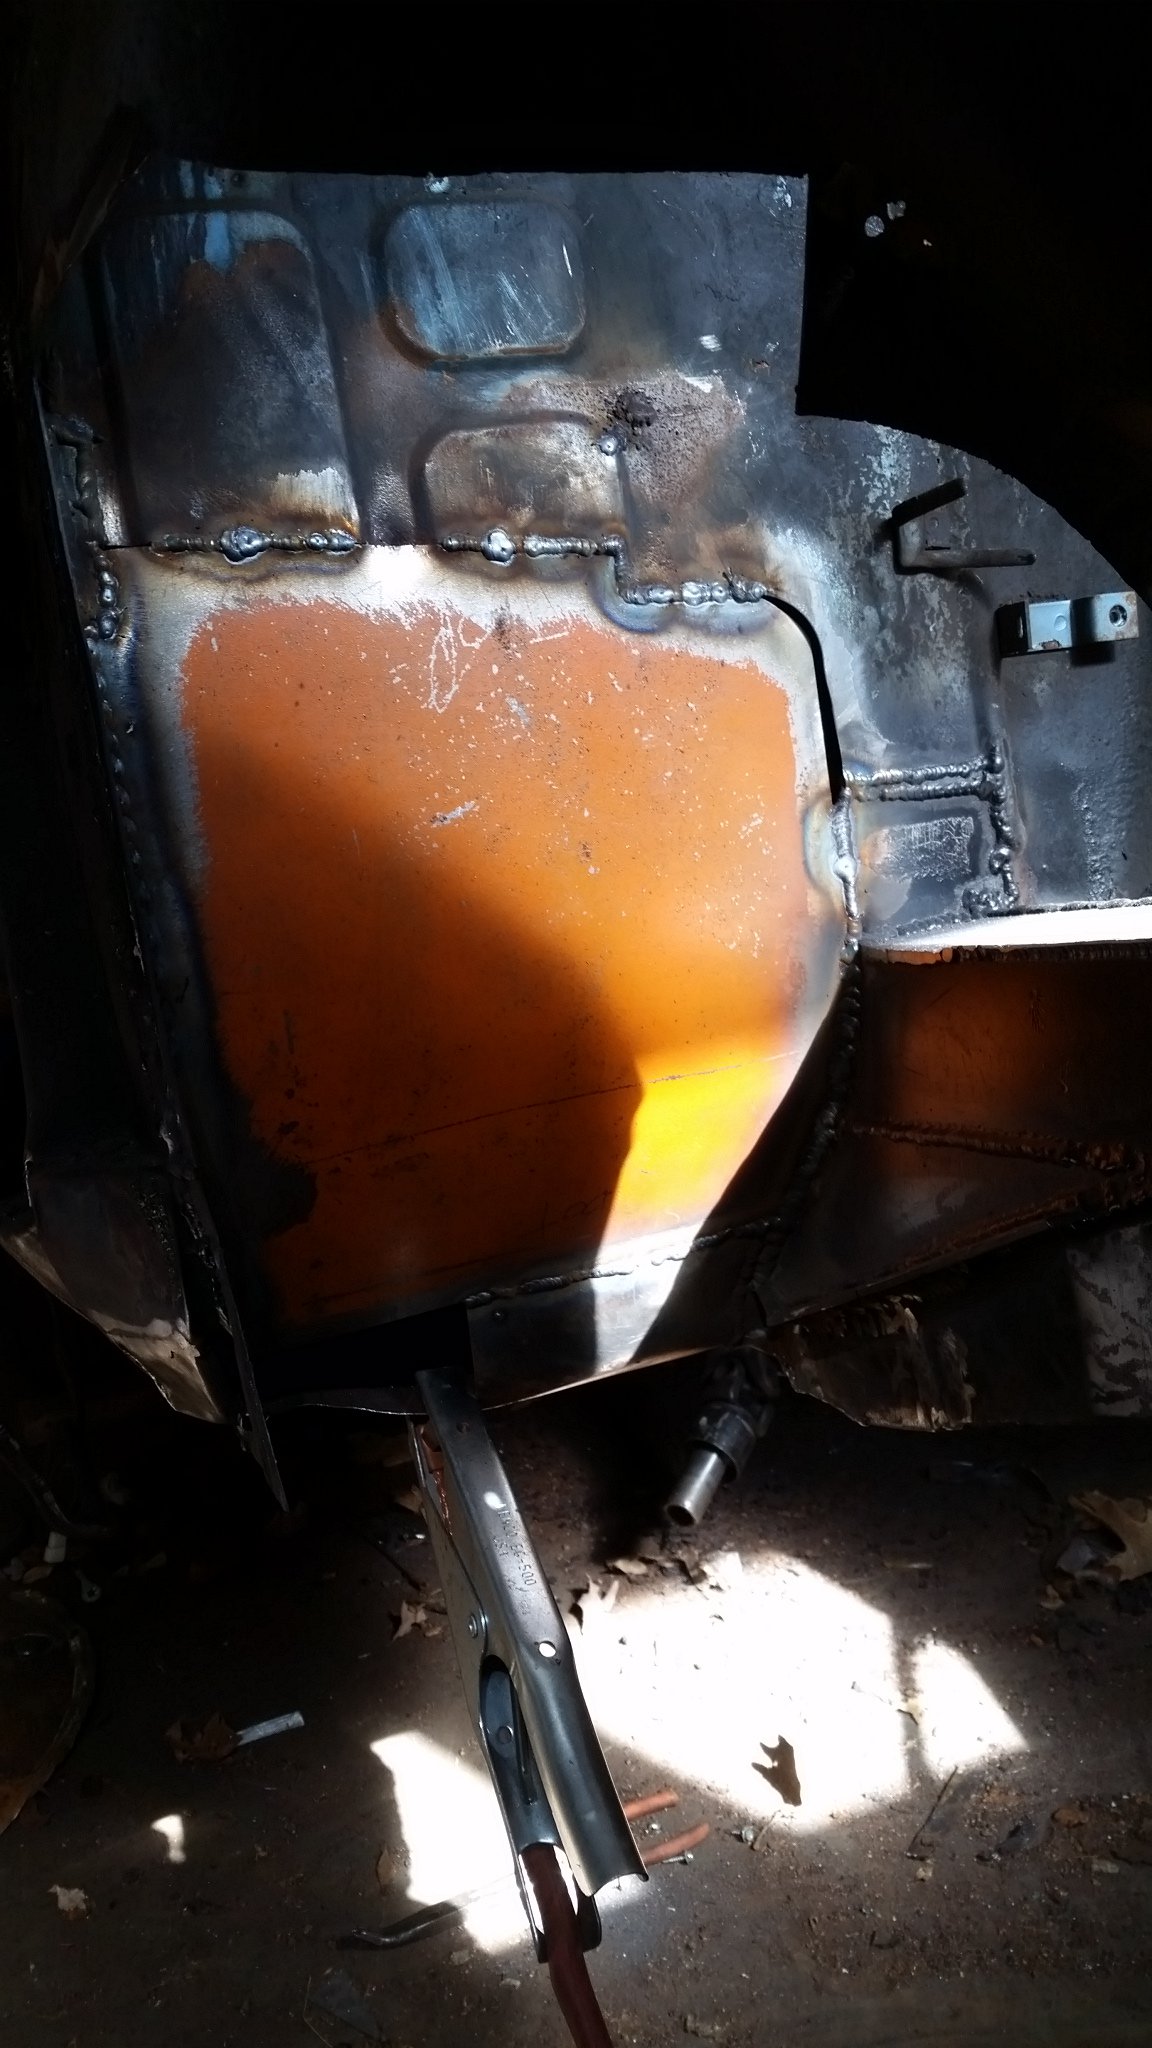
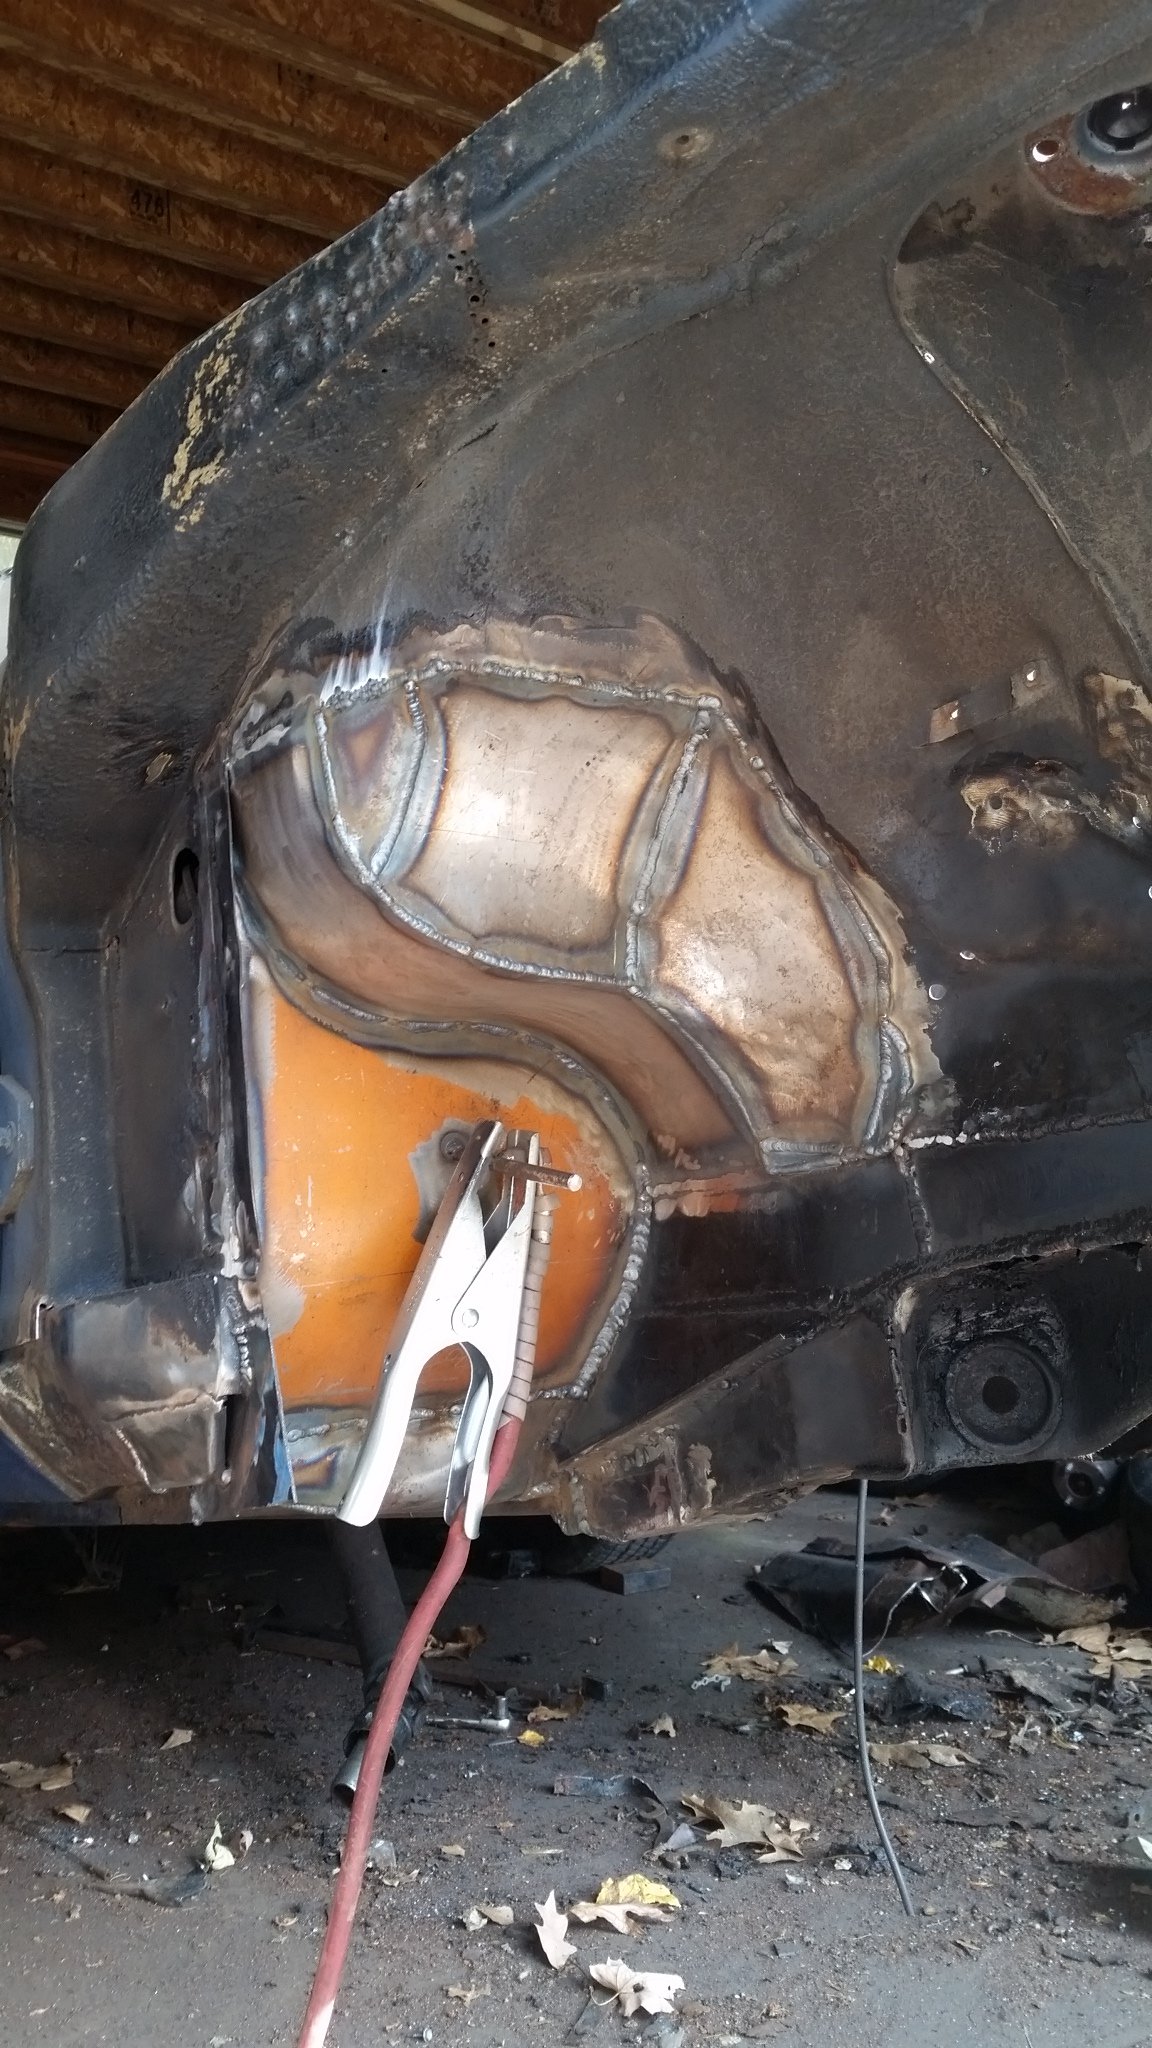
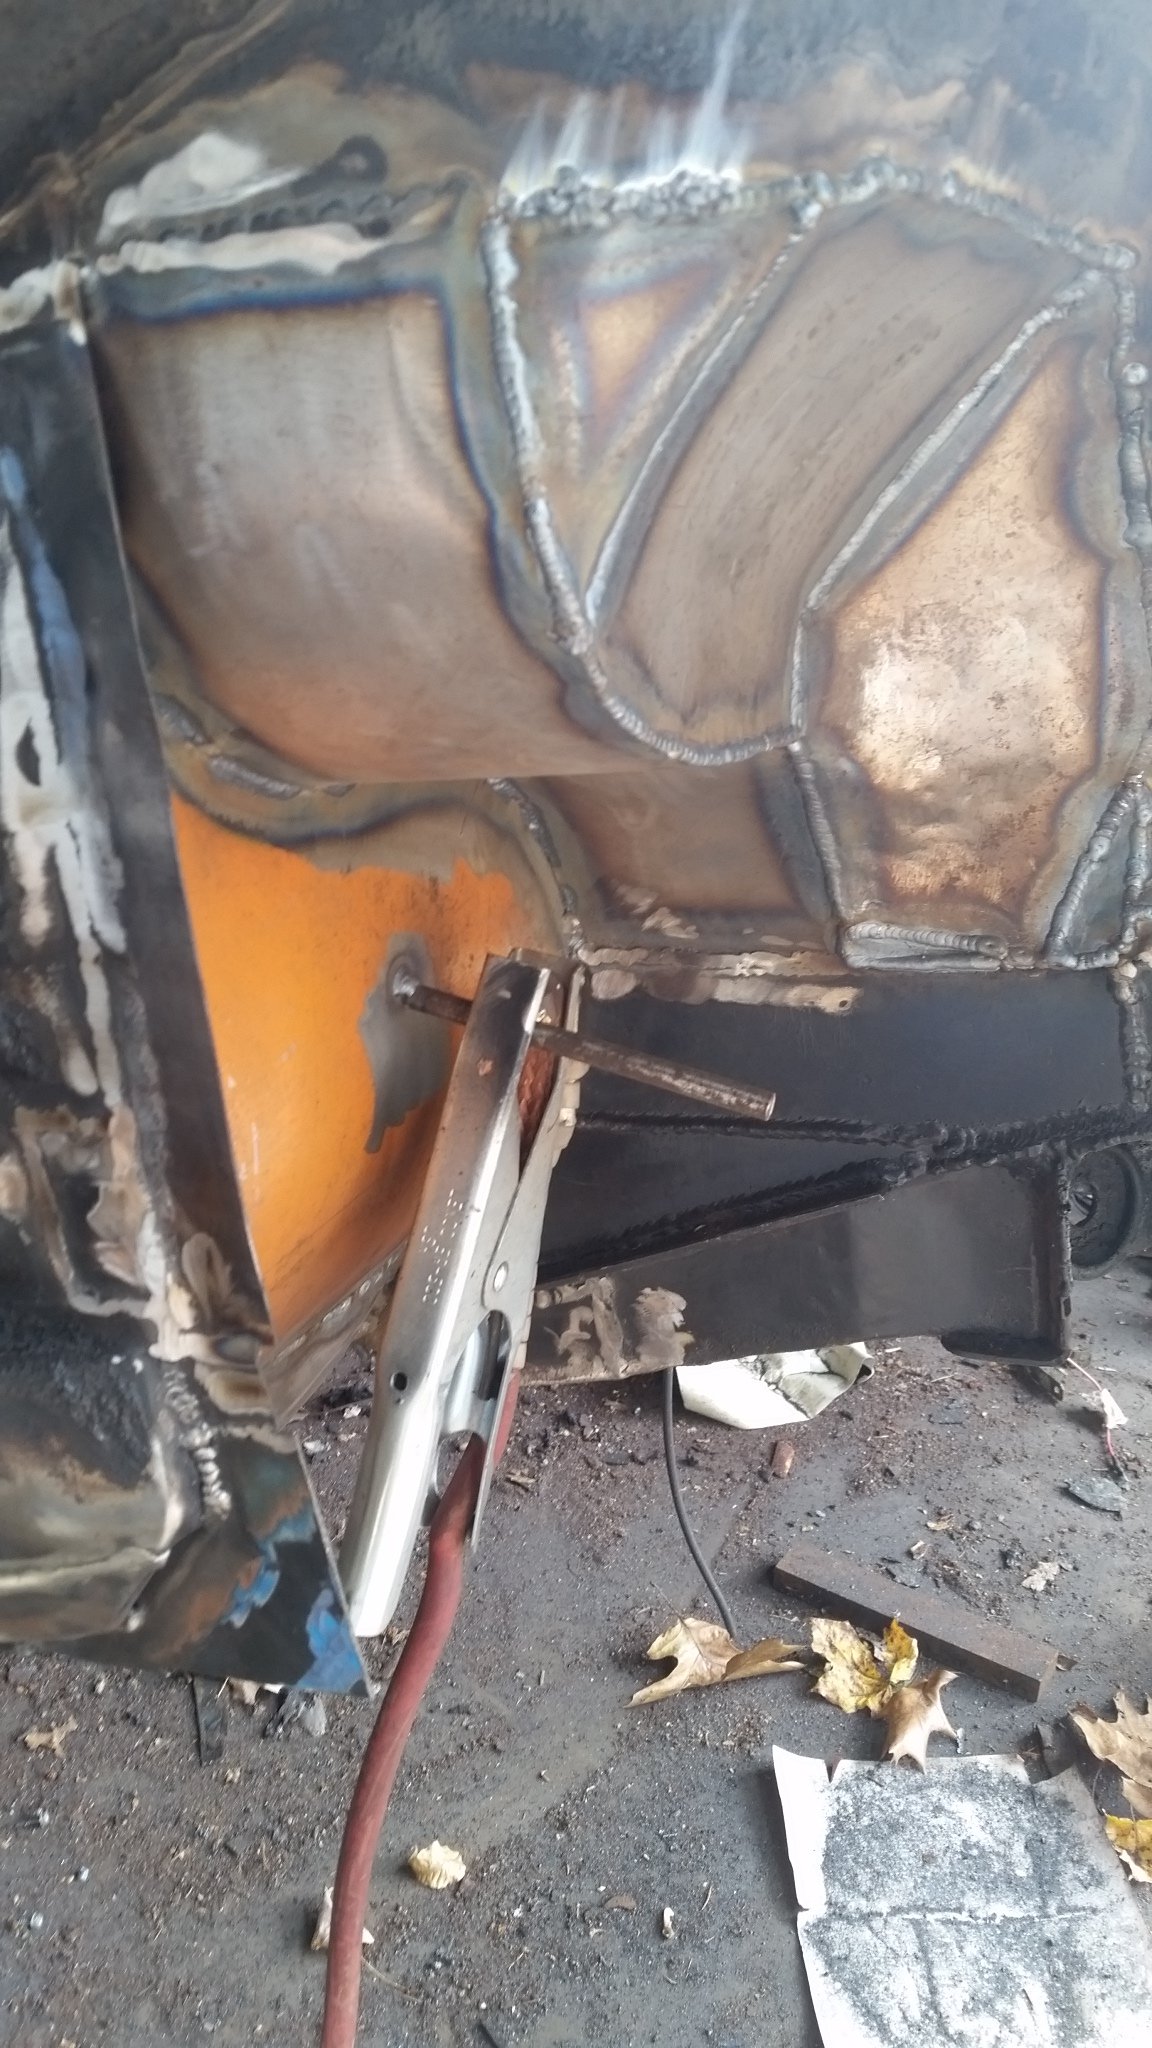
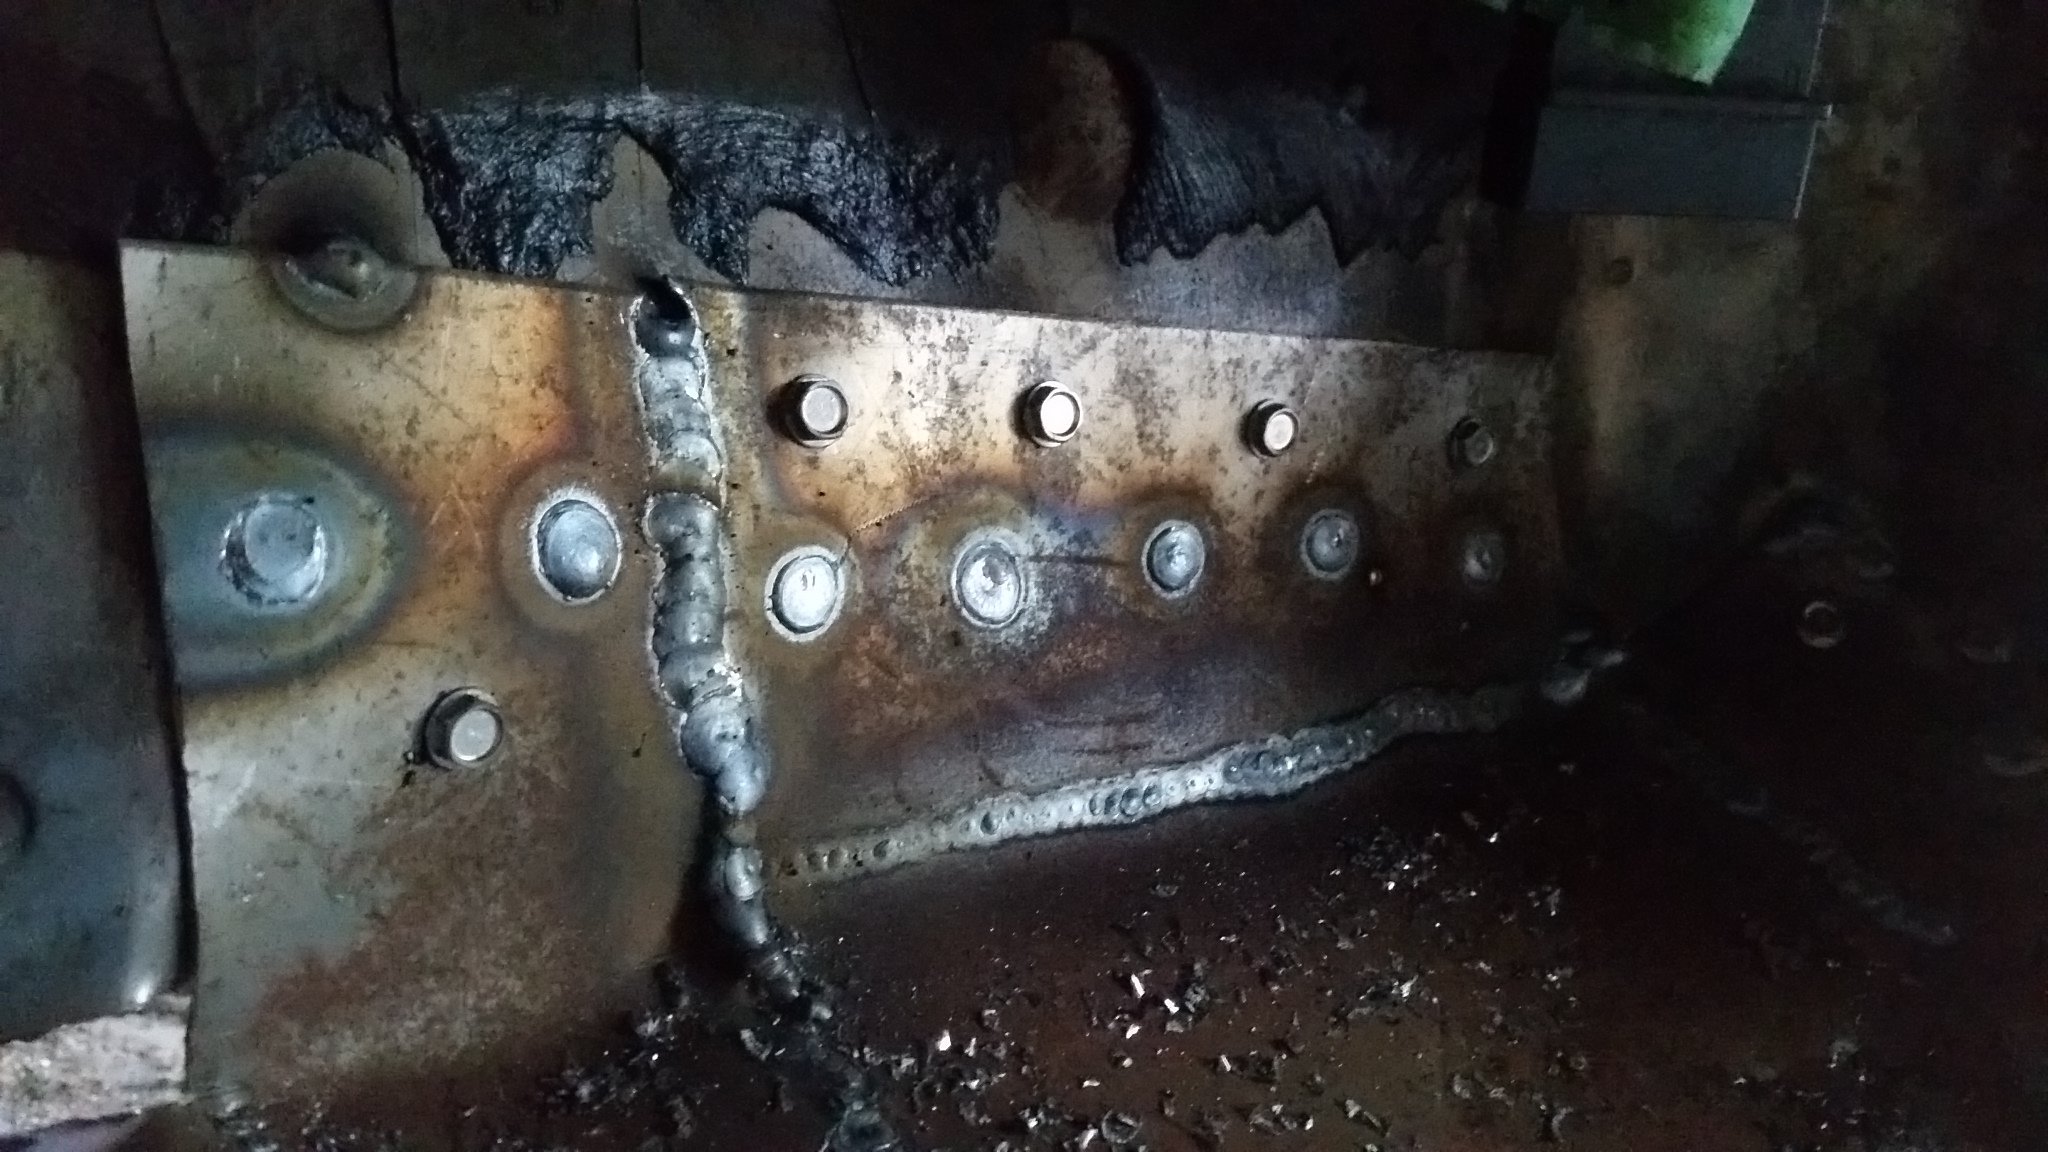
Just finished the passenger side this weekend. I dont have pictures of the floor support frame but I plug welded thru the frame into the underside of the floor. Used a floor jack and some blocks to keep the frame in intimate contact with the floor the whole time. Floor support is welded to the rear and the front frames. Welded in the patch panel for the firewall and fabricated the fender well patch around where the battery used to be. Certainly wont pass for factory but it is more solid than it has been in 10+ years. I tried to fab the curving piece out of a single panel but I just couldnt get it to both curve and twist the way I needed it to so after a couple failed attempts, I just gave up and welded it in. About 4x more weld joints than I wanted but I can finally spin the car around and get cracking on the driver side. Fortunately that side just needs the floor pan.
-
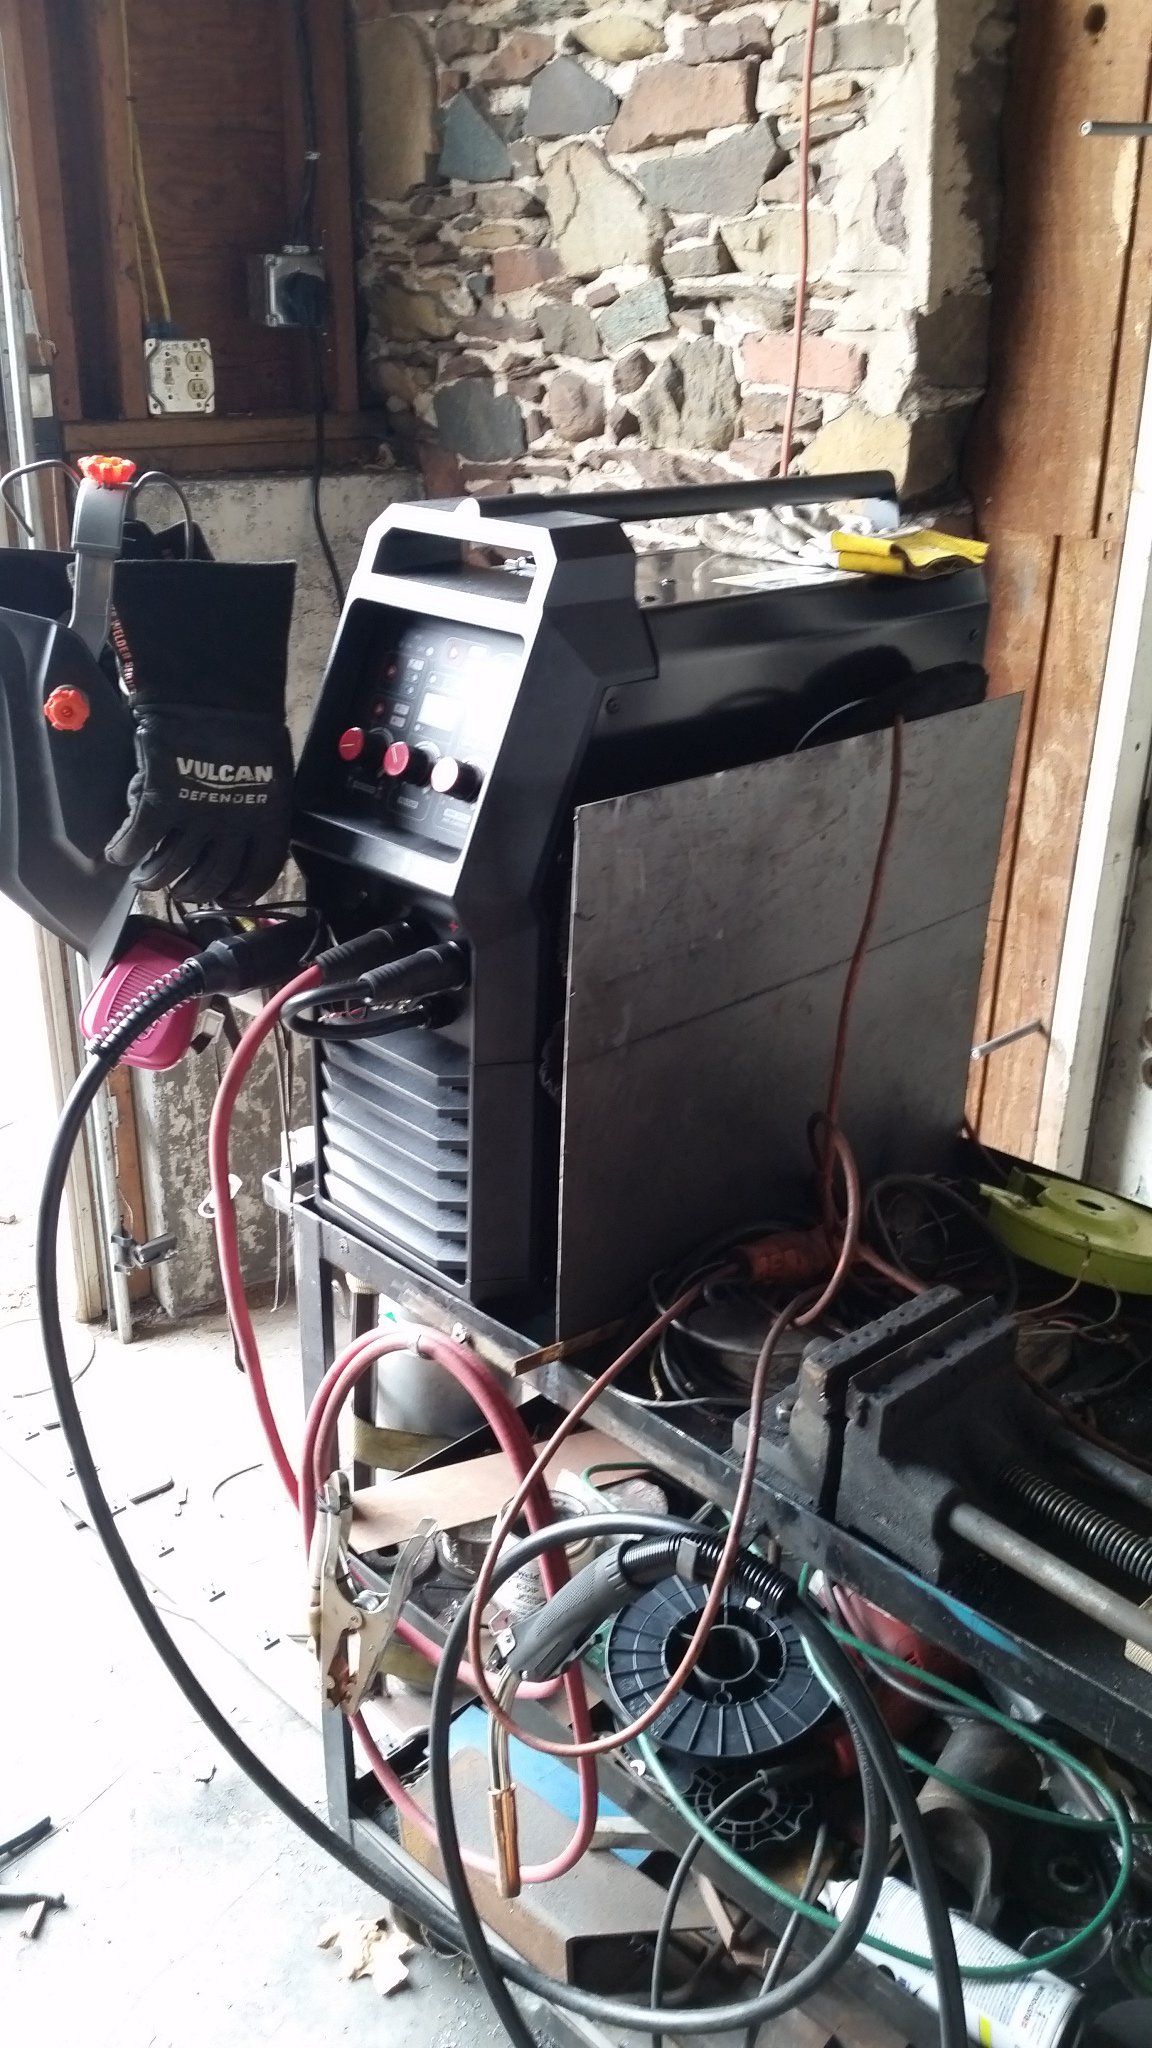
Yeah, I really need to pick up a 2nd and 3rd tank for my setup, or a splitter valve. I have a 140A Hobart that is setup for .023" and a 250A MP eastwood setup for .045" but I have to swap the gas lines and power cables around whenever I want to switch between the two. For most of the sheet metal work, I am running at 15V with a decent wire feed speed on the MP250. Definitely achieves clean penetration (using root flux where possible, or aluminum backing plates to keep the root clean) but builds the spots fast and I have to let the pool cool down between spot welds or I will punch through.
-
I was wondering if anyone has done a 5.0 swap and used the factory Ford EFI system to run the engine. I have a 5.0 out of an 01 mountaineer with the updated OBD2 EFI system. I have all of the electrical out of the donor vehicle, all harnesses, passive anti theft, airbags, literally everything. I would like to use the EFI system but I expect to have issues with anti theft and/or interlock from not having the automatic transmission anymore. I have read a bit on the Moates Quarterhorse chip and was wondering if anyone had any experience with it or another method of getting around the lack of an AT.
-
240z lower quarter panel replacement. Yay or nay.
ISPKI replied to 5 Star Rising's topic in S30 Series - 240z, 260z, 280z
It cannot be stressed enough to suggest that you practice on some scrap metal on the bench first. Practice alot, I mean, lay down feet of practice welds before even touching your car. Sheet metal warps extremely easily if you put too much heat into it. Play around with your settings, practice trying to keep the two members aligned flush, practice not warping your panels as you go. Good body welders have enormous amounts of experience and skill, it is not something that you pick up quickly but you could do a pretty OK job if you make sure to take your time, get the fit perfect, and double check everything every step of the way. You will most likely have more issues blowing holes through your weld joint than you will having lack of fusion. I like to use body magnets to help hold panels together. Make liberal use of clamps and bars all around your patch panel to try and keep it flush. Dont try and make it perfect, it wont happen, just try and focus on getting the whole thing to look "good enough" so that you can easily clean it up when you are done. I have seen people use cold air guns to rapidly chill the weld zone between spot welds that sped up the process and minimized warping. -
I keep forgetting to take pictures of my progress but the floor pan is fully welded in! It was getting pretty ugly over where I cut out the section to weld in the cross bar support piece. I also spot welded in the floor frame rail, just need to connect it to the engine bay frame rail.
-
Wide body build thread! Fiberglass Mafia kit MOLDED
ISPKI replied to juliarosario's topic in Body Kits & Paint
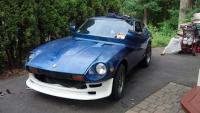
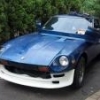
Nice build and gorgeous looking Z, especially exciting considering you are also in CT and also restoring one of these gems. I have alot of body work to do on my 280z still but I would like to know what paint code you used for yours. -
So I did some more prep work this weekend, welded in a square tube for the forward seat cross bar, will need to fabricate side skirts for it to connect it to the middle of the floor. Also did some more spot welds along the right side of the floor, I have about 8in of spot welds to finish that side up. Cut out the temporary cross member I had welded in and prepared the floor frame rail with spot weld holes and paint for welding this week. Ended the weekend running 8/3 romex for the hot tub.
-
I wasnt aware that explorers had IRS ever. I have kept my eyes open for the 90s IRS 8.8 but they seem either extremely rare or expensive. I havent found any anywhere nearby in a long time of searching. I have a co worker who is building an 850hp Z32 who has a contact with a number of open R200s for extremely cheap (around 150$ shipped) and refreshed LSD internals for another 175ish. Seems like it might be the best option for now but I am going to just run the R180 gingerly until it blows up before swapping. As of right now, I have replaced my passenger side floor and am working on frame rails and seat rails. Driver side is on deck. Once that is done I will be cleaning up the engine and getting it mounted. A huge question mark that I have been trying to figure out is how to manage the engine. Either use the factory harness from the donor vehicle and try to work around not having the automatic or figure out another harness solution.
-
Well I am back at the repairs. I have never spot welded thin sheet metal before. Using some tips from a friend of mine who is a certified body mechanic. He recommended using self drilling sheet metal screws to hold the panels in intimate contact. He also said I over did it with the number of spot welds but I think it came out relatively OK for a first attempt, driver's side will be much nicer after using the passenger side as practice. Items left for Passenger side: finish closing up the rear seam. Weld in the new seat cross rails. Weld in the underfloor mount. Weld in the cutout under the support cross bar. Weld in the firewall patch panel. Oh, and I just ran out of shielding gas.
-
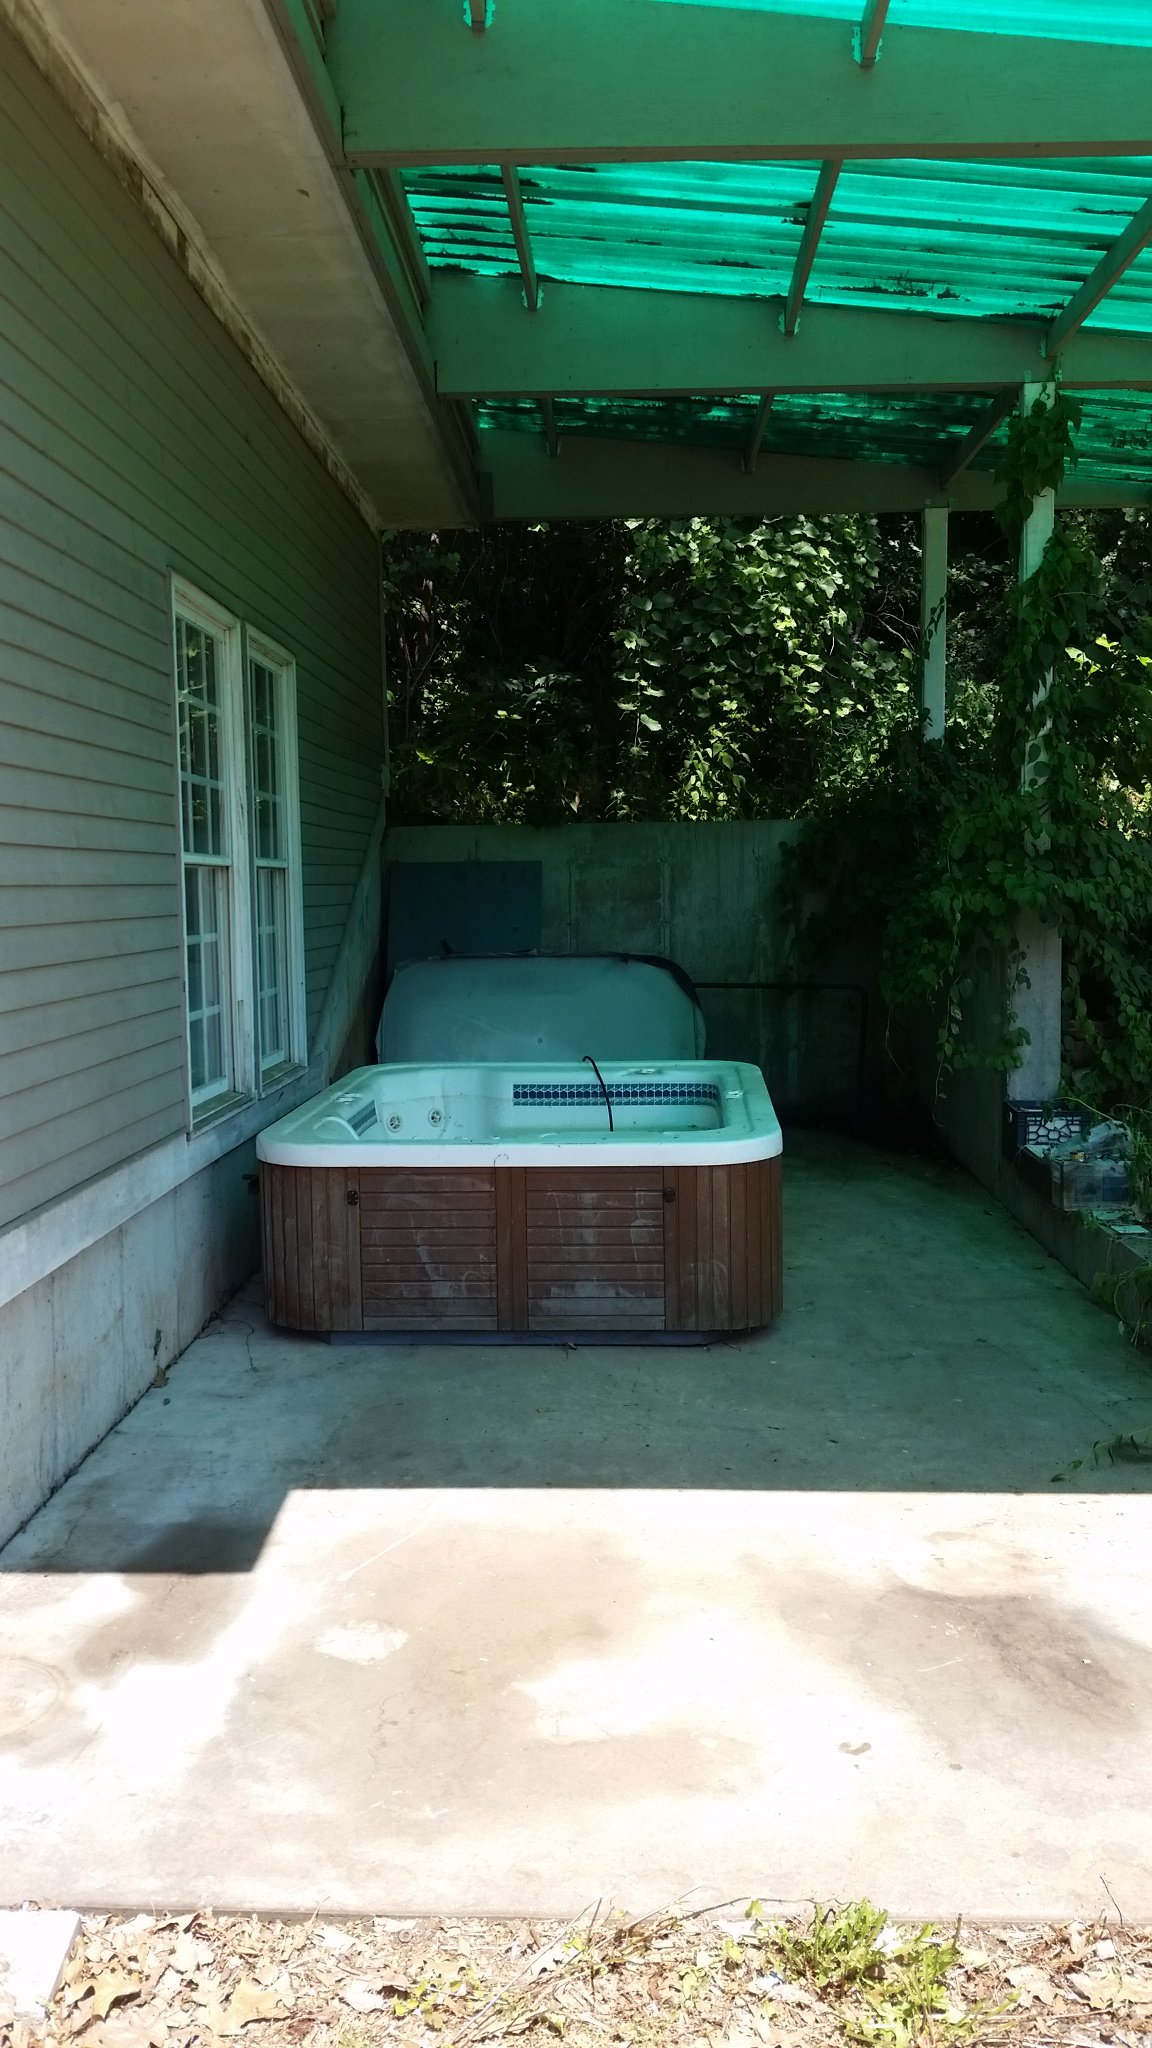
Welded in a large cross bar per Seattlejester's suggestion (thanks) and finished cutting out the floor and the middle seat rail. Proceeded to cut and grind and clean up metal to prep for welding. Ran myself clean out of grinding and cutting discs so the project will have to wait for a day or two while I wait for a 100pc shipment of grinder tools and a steel wire bell brush to come in. Looks like my floor pans got a little surface rust on them after being stored in a box for nearly 5 years! Having to take a break from the Z gave me some time to move my hot tub into the car port for some much needed relief from the 100+ degree weather up here. On a side note, anyone ever heard of swapping a Volvo IRS rear diff into a Z car? Appearently they had a number of years with Eaton G80 locking diffs that were supposed to be pretty stout (paired behind a 300+ftlbs T6 and their 4.4L ferarri V8s). Wrecked volvo S80s are plentiful in my area, significantly more so than LSD R200s and their donors.
-
This is the one that I purchased, I believe it was around 140$: https://images.app.goo.gl/iBEyADFAo1Gsuo6m8 Unfortunately, I do not have a picture of it in my Z as I have it completely torn down for full restoration. Here is a picture of it in another vehicle. Definitely a bit larger than the maxi fuse blocks, but I fell it is absolutely worth finding the space for it. I can say that with my car completely coated in dust and welding soot and other grit, the inside of the fuse hub is completely dry and spotless. https://images.app.goo.gl/Lzc6ncMfDwFfrZYL7 It does not use Maxi fuses. Rather, it uses much higher amperage rated MiDi or AMI fuses plus an array of ATC or ATO fuses. Blue Sea Systems builds oceanic equipment so they tend to prefer MiDi fuses which carry much higher amp ratings (30-200) and are bolted down via stainless steel lugs rather than spring clips. You can see that these are many times superior to Maxi fuses and readily available at most auto parts stores for only a couple dollars. The fuse chamber is sealed with an O ring in the lid. it also stores replacement fuses and the tool to pull ATC fuses inside the chamber as well as a tag so you can write which fuse does what.
-
Your build is an inspiration to us all. I was wondering if you have seen the fuse blocks made by Blue Sea Systems? Reason I mention it is that I had used a fuse block similar to the one you are using and found that the prongs that hold the large blade fuses tend to loosen over time, especially when they get warm. This ended up causing a severe electrical issue and stranding me several times in my 77 280z a number of years back. I ended up replacing my cheap fuse block with their safety hub block seen here: https://www.bluesea.com/products/category/16/Fuse_Blocks Although expensive (for a fuse block), it is much more attractive and about 100x more secure and air tight.
-
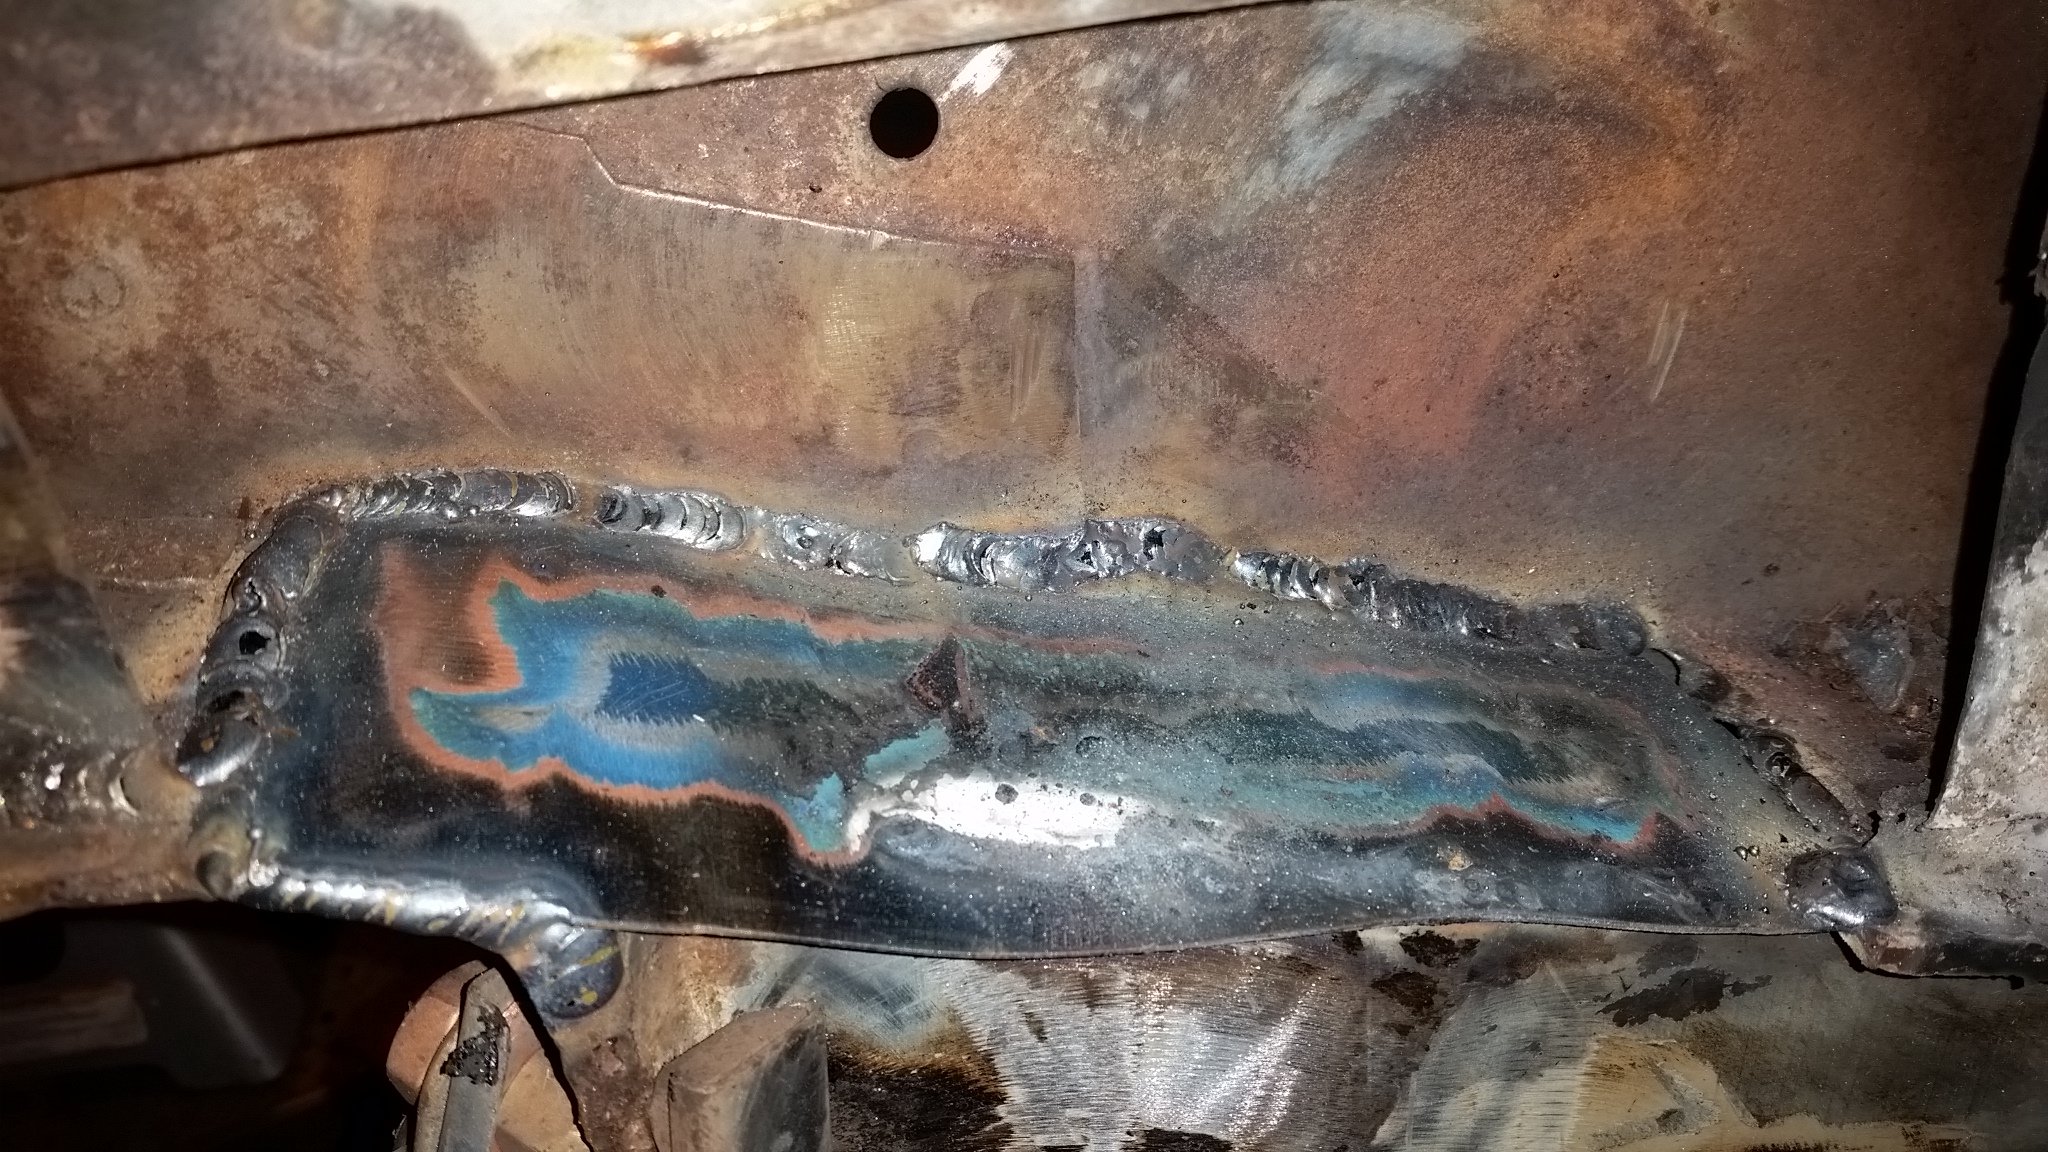
You think so? Definitely not too little heat as I was having a hell of a time keeping it from punching holes through the thin metal. I am using my large welder with large diameter wire so it does build up rather quickly and most of that is single spot welding so it may appear to have a globular appearance, except for the 1/8" frame plates in the 2nd post.
-
Woo, and I just sold some old car parts that I had laying around to fund this project. Full Steam Ahead Cap'n!