-
Posts
340 -
Joined
-
Last visited
-
Days Won
10
Content Type
Profiles
Forums
Blogs
Events
Gallery
Downloads
Store
Everything posted by Exposed
-
-
great quality fabrication in this build, enjoying the build journey
-
-
great job on the 3d print, hows the fitment? Did you scan an existing panel or do everything from dimensions?
-
-
240z SCCA vintage race car, restoration
Exposed replied to AydinZ71's topic in S30 Series - 240z, 260z, 280z
Great looking car. Youve finished a lot in such a short time, Im jealous. -
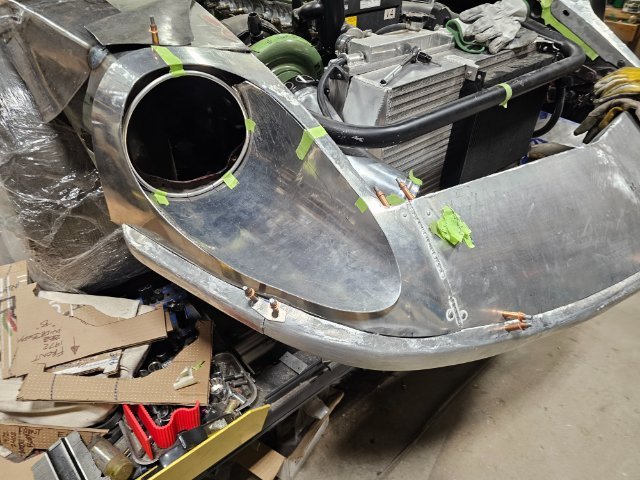
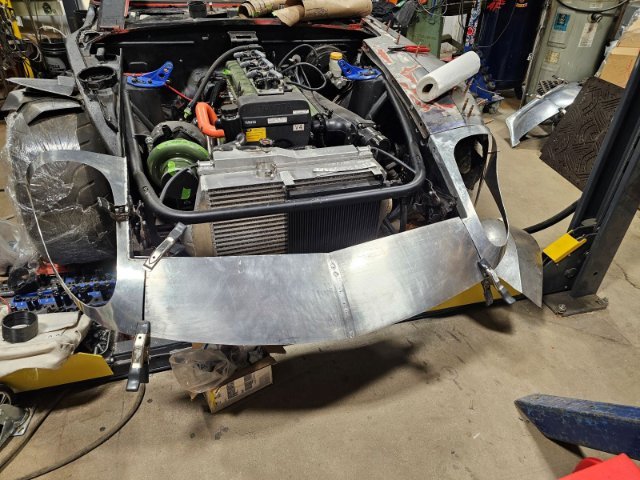
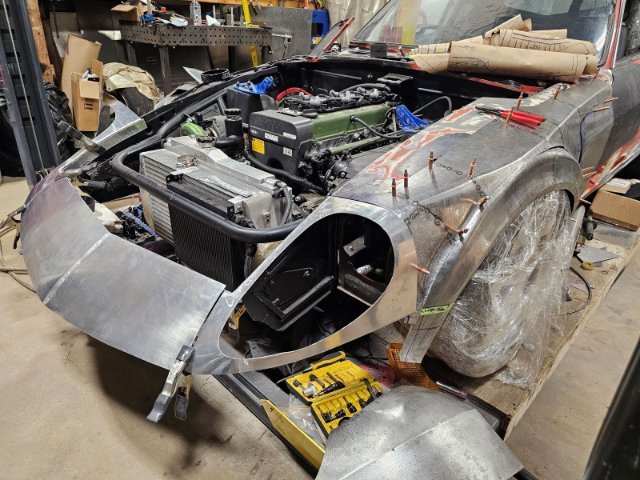
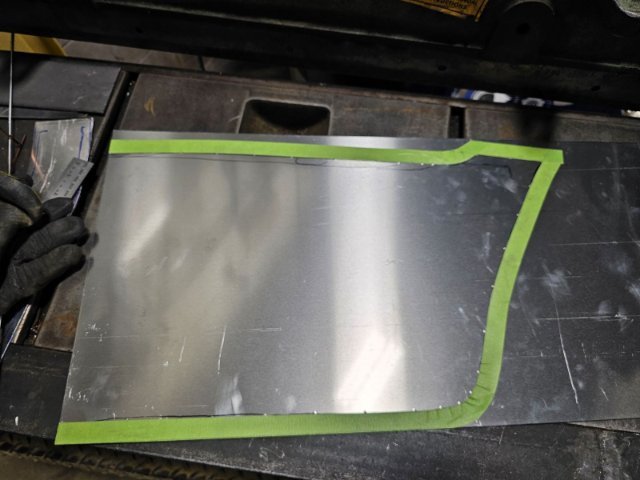
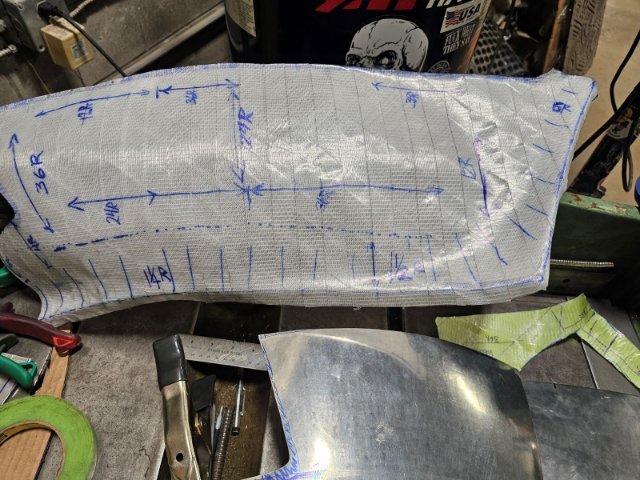
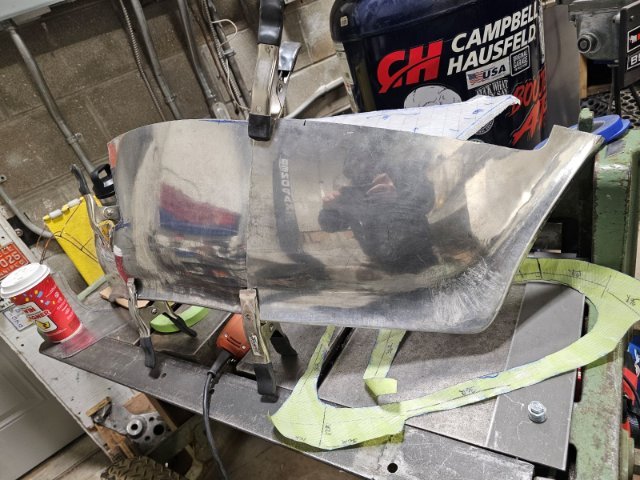
Lower part of the bumper is started. Used a fiberglass gnose to take dimensions from, happy with how everything is coming out.
-
@jhm @tube80z helped me out. super simple solution. For anyone in the future, double check the size of the image (1600x1200) is what i resized to
-

Heavy Duty frame rails and connectors
Exposed replied to toolman's topic in Gen III & IV Chevy V8Z Tech Board
great update, love the look! how did you fasten everything down? Bolts only? or did you weld stuff to. -
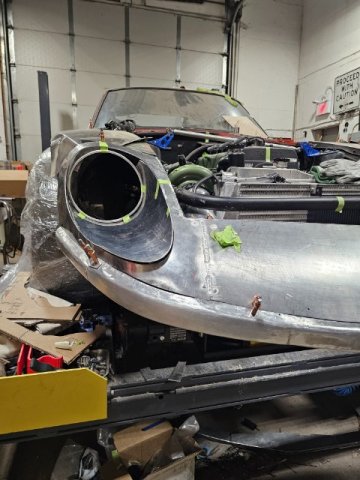
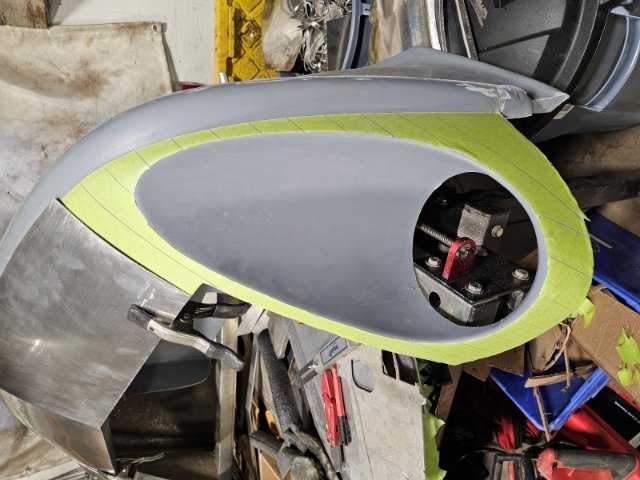
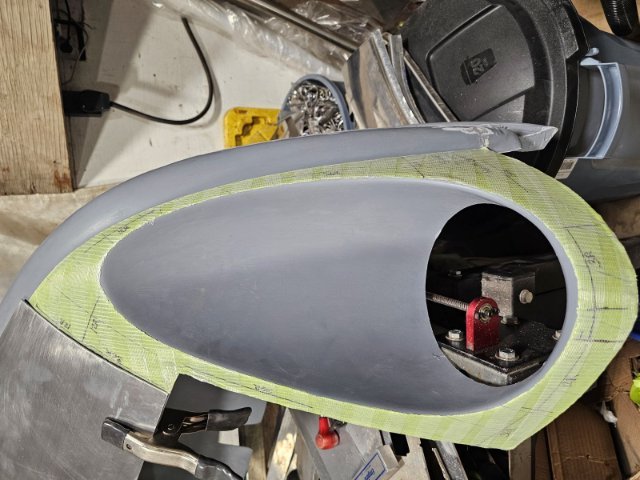
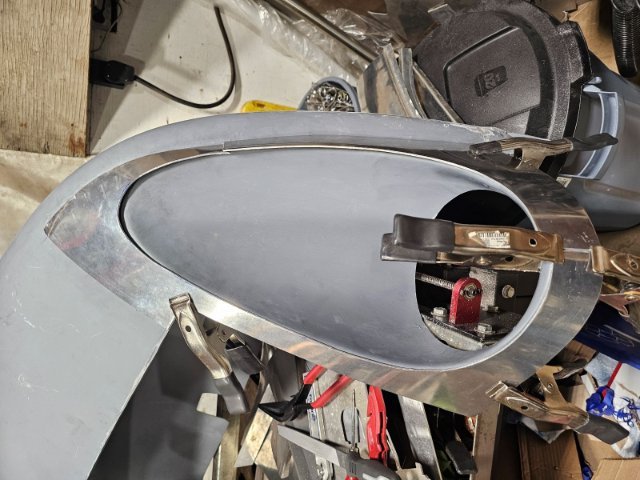
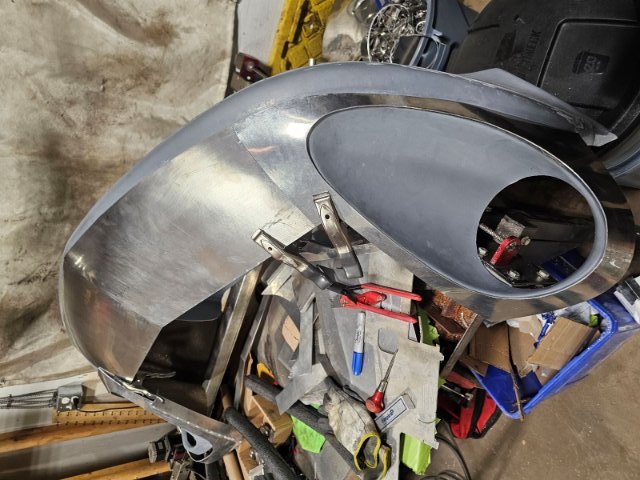
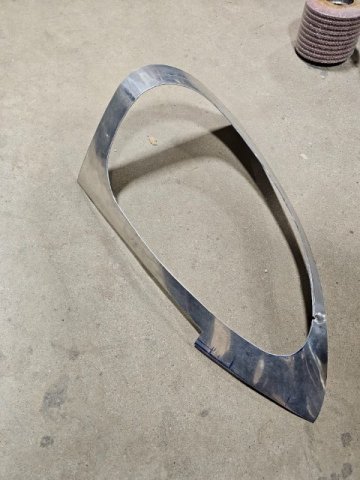
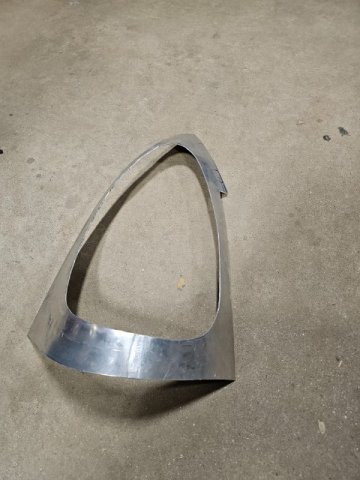
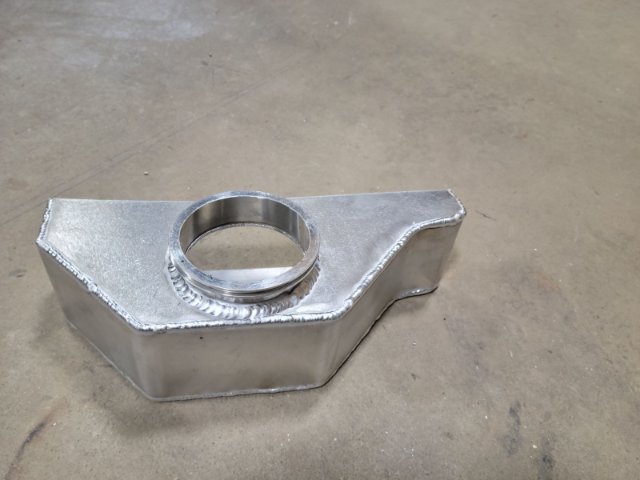
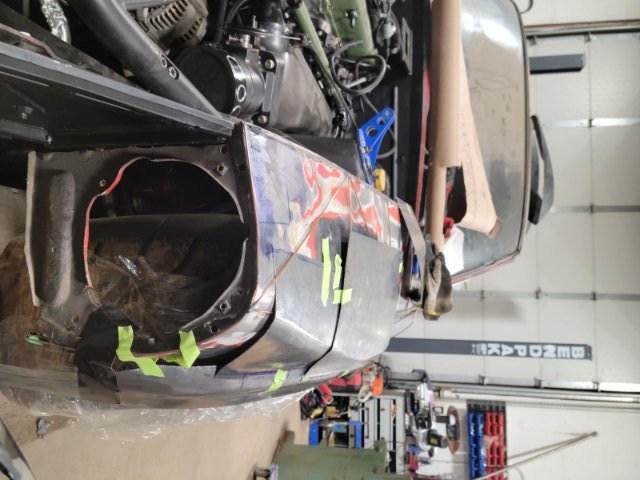
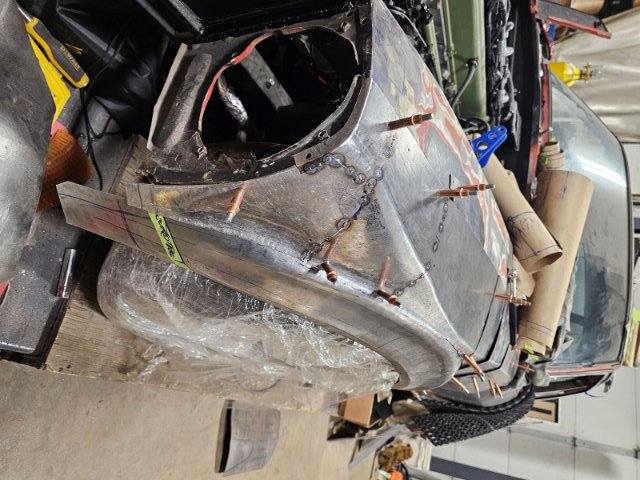
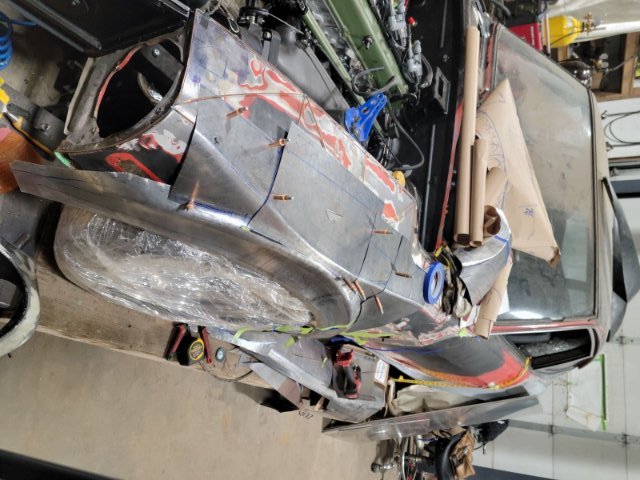
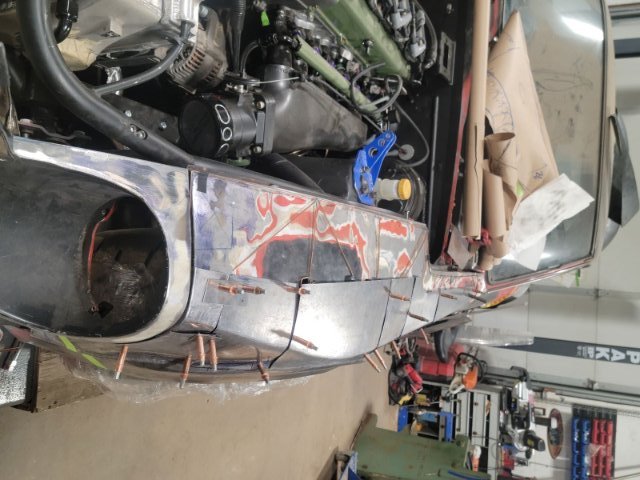
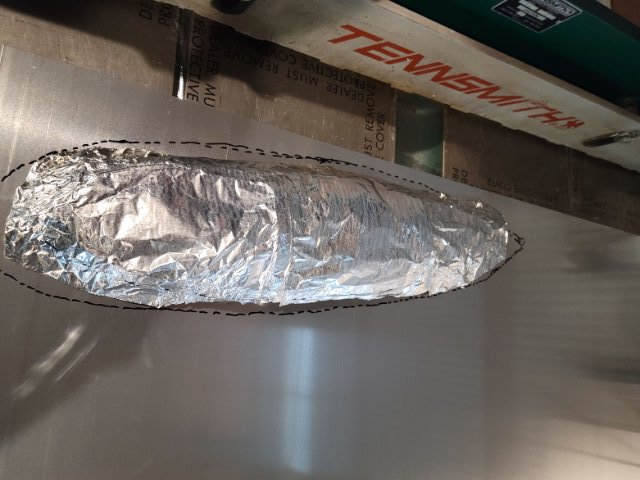
also started the new headlight buckets and front end, going to be using aluminum. Going to be going with a gnose styled end. Last side of my intercooler is almost all fabbed, little more welding then need to attach it.
-
Small update. Im probably the most undecided person, made some small changes. Happy with the progress so far.
-
@tube280z photo sent @NewZed will try again
-
I cannot post photos anymore. Not exactly sure why, it will upload the photo then give me an error once completed "Sorry, an unkown server error occured when upload this file. (Error cod: -200)
-
@Jboogsthethug metal work is just a hobby, couple times a month ill plug away if work isnt to busy. Im a scaffolder by trade. and thanks to the other guys for the words of encouragement
-
Great job, everything is looking really good.
-
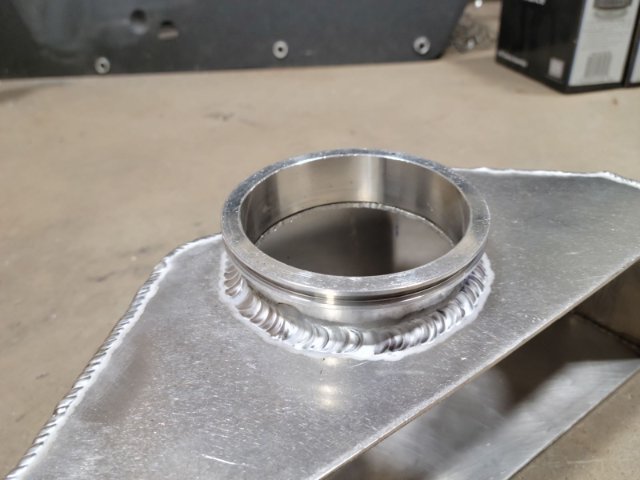
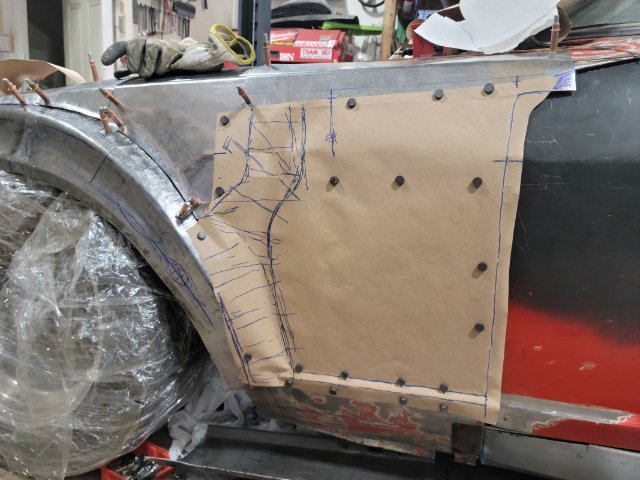
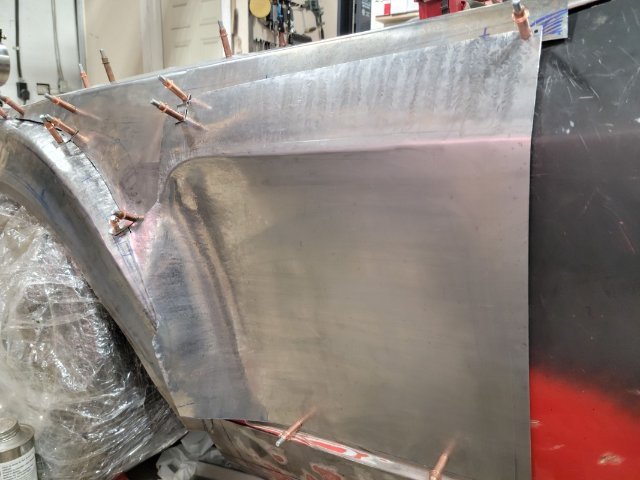
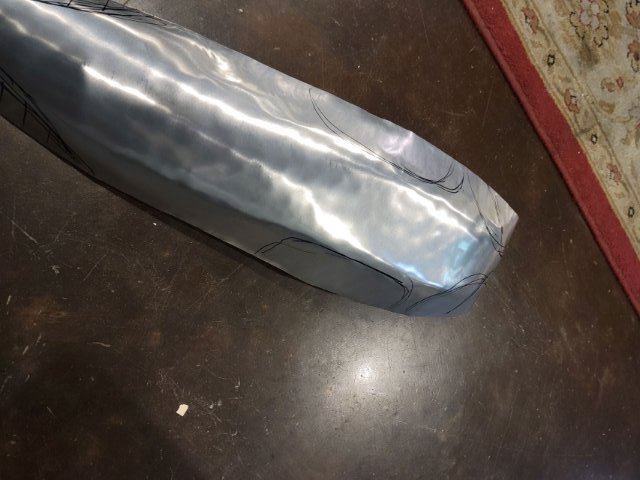
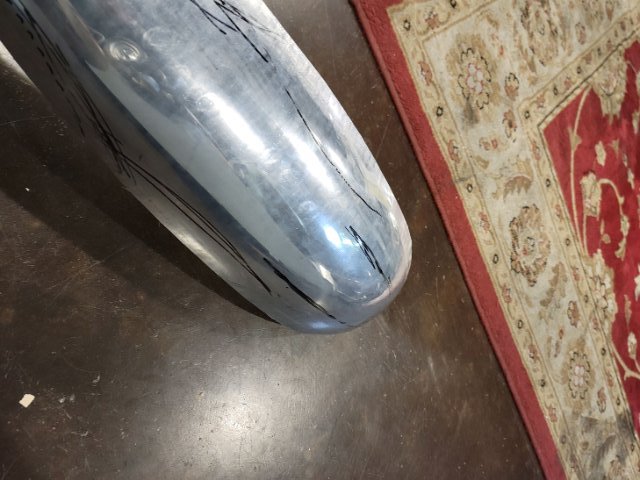
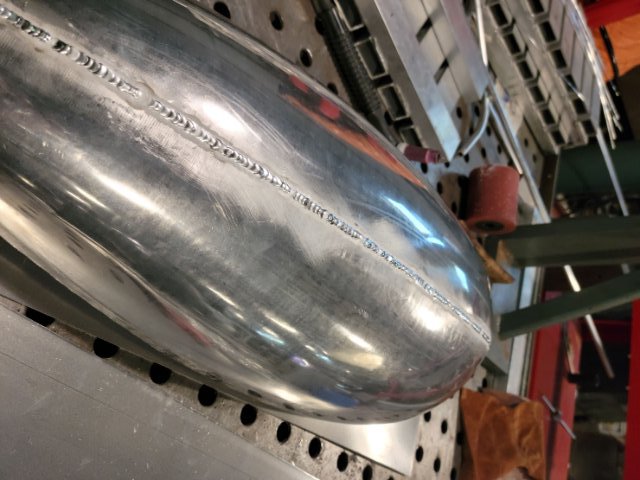
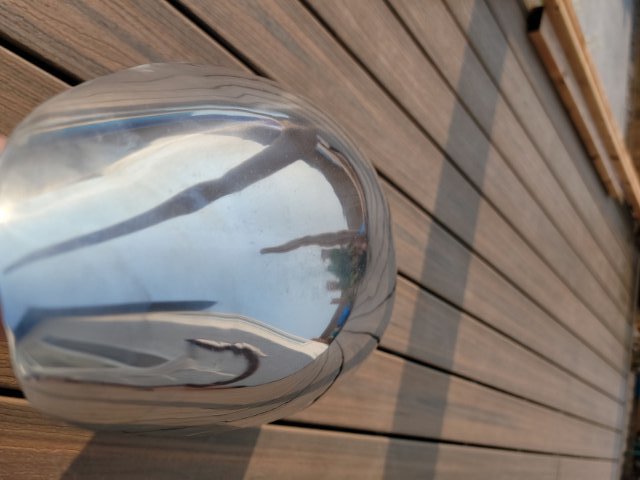
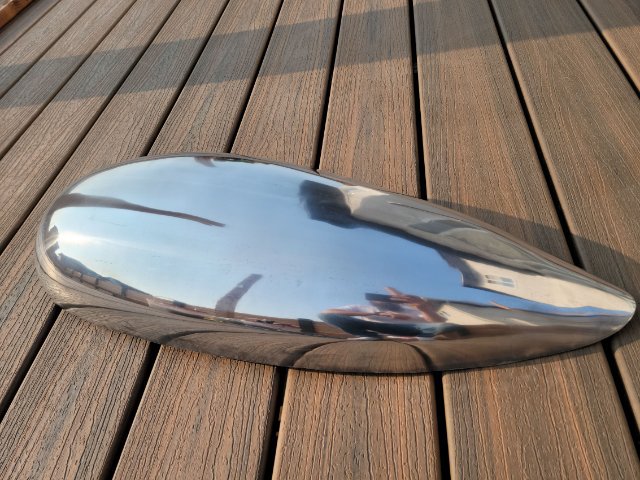
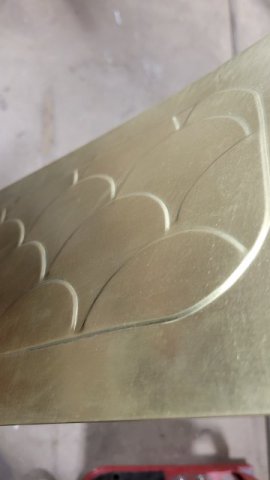
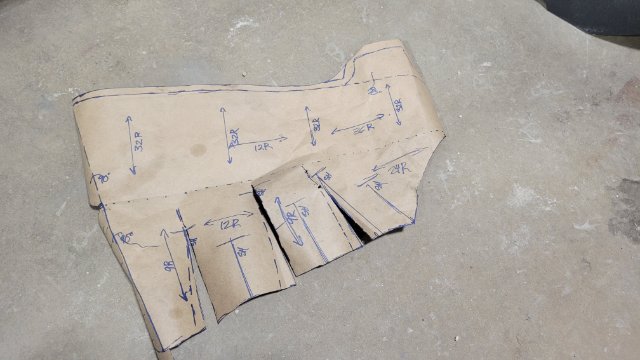
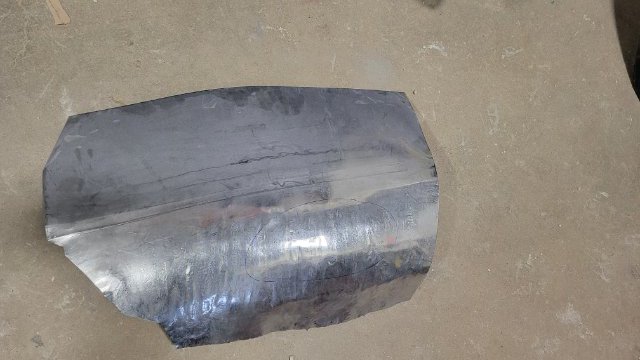
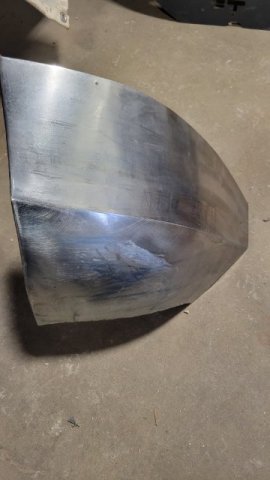
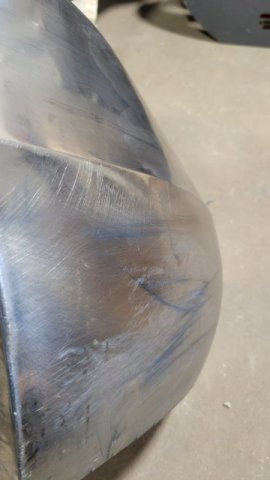
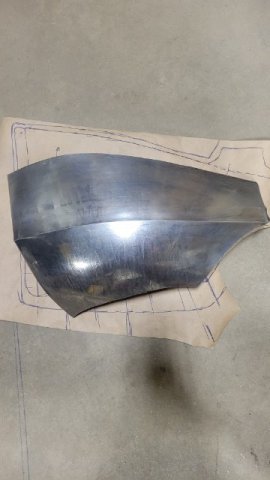
Been practicing my metal finishing before i redo a couple more body panels. Below isnt any specific piece, just a practice panel 1) Pattern, 1/2 of the piece 2) 1/2 section roughed in 3) 1/2 section Wheeled. other section is a mirror image. 4) both 1/2 sections welded together. then finished 5) welded seam gets polished. First picture below has the weld running down the middle of the piece. Second photo is showing its overall profile. and with that I think ill be redoing the hood and from valance out of aluminum.
-
From what I've seen in the past this seems to be an ongoing problem with them.
-
@Bartman is it a spring and bag combo or strictly just bags?
-
-
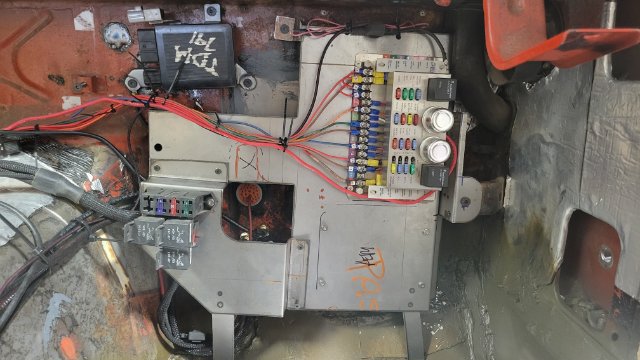
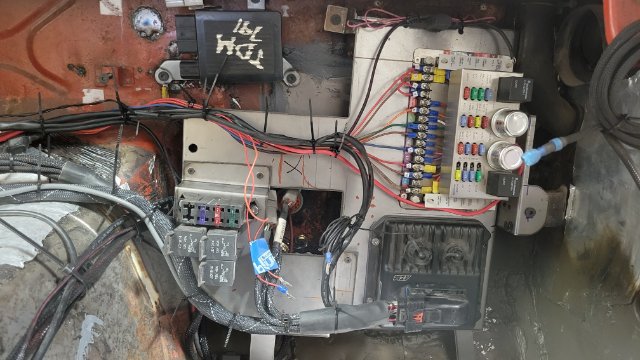
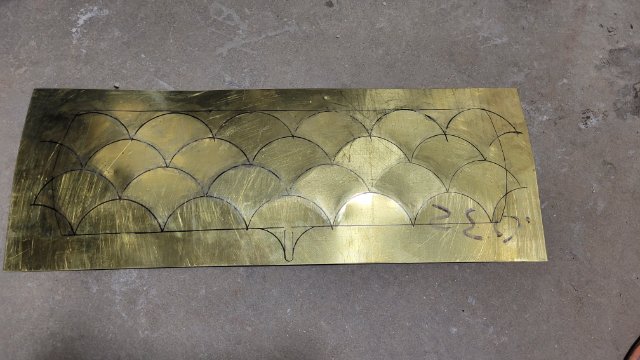
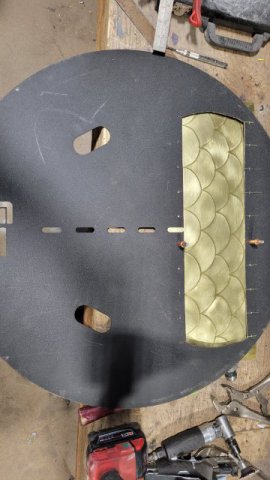
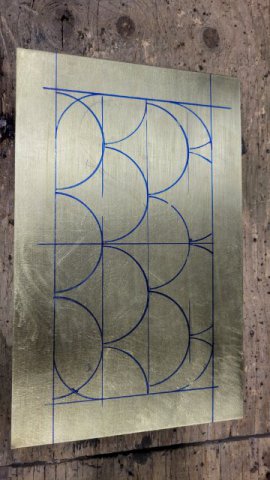
Been waiting on some fuel lines and wiring so I started plugging away on an eletrical panel inside the car as well as some asthetic pieces for the door cards and the spare tire cover.
-
@calZ thank you!
-
Front lower valance is mocked up. Forgot to take a picture of it on the car, still need to trim the section for the lights. I'm happy with how smooth everything came out.
-
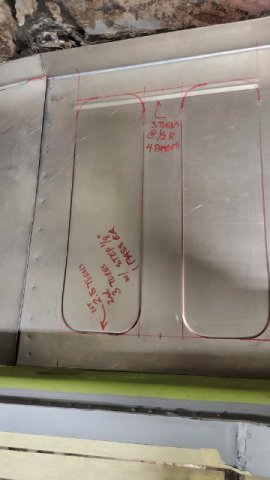
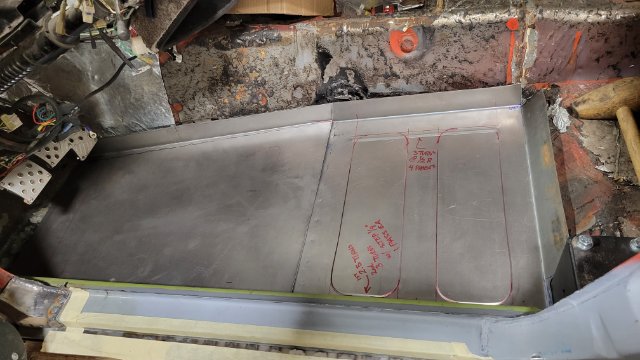
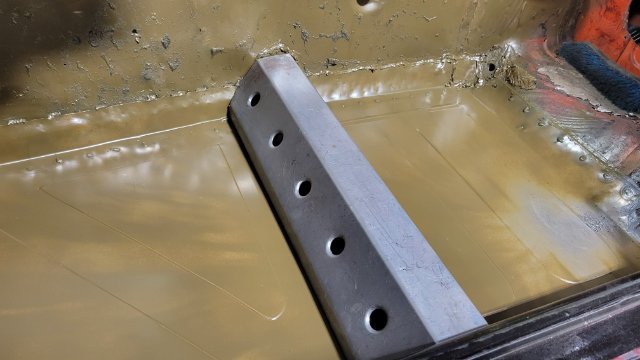
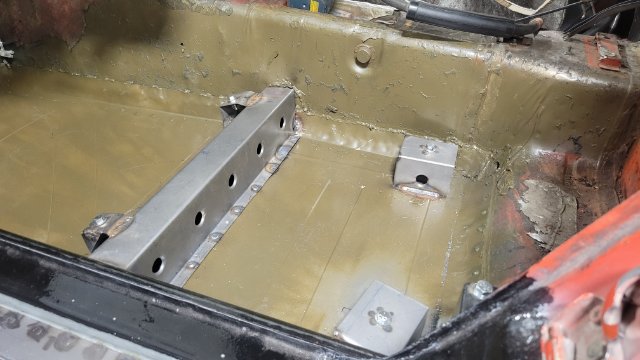
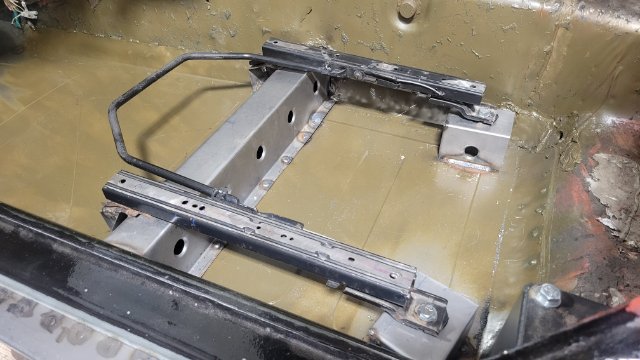
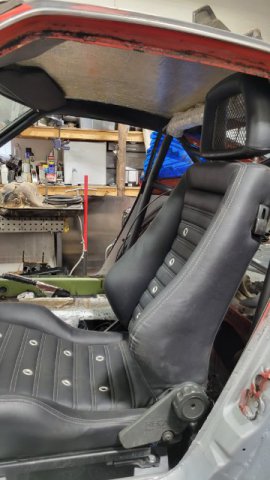
Finally made the driver side floor and seat mount. Rails were picked up at the local junkyard and modified. Seat is in.
-

240z SCCA vintage race car, restoration
Exposed replied to AydinZ71's topic in S30 Series - 240z, 260z, 280z
great progress, how are you mounting your new lights? -
great progress, really enjoy following this build. How much longer is the Gnose front end from the orginal?

