Exposed
-
Posts
344 -
Joined
-
Last visited
-
Days Won
14
Content Type
Profiles
Forums
Blogs
Events
Gallery
Downloads
Store
Everything posted by Exposed
-
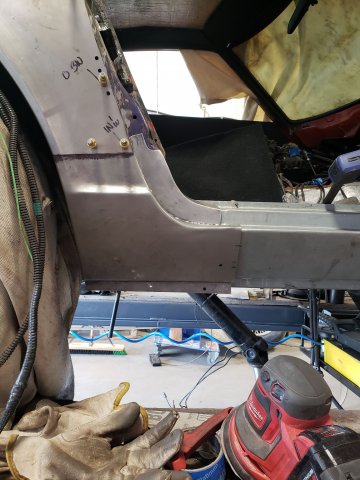
going to start on the inner rocker panel next, hopefully have it finished this upcoming weekend.

-
So much rust, so many patch panels
-
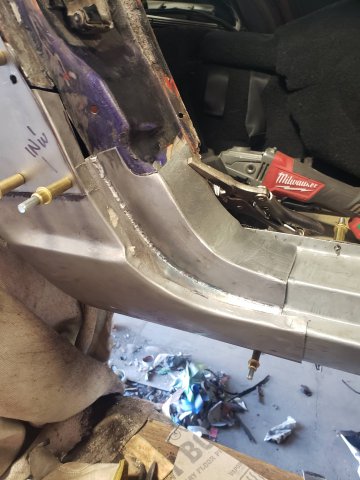
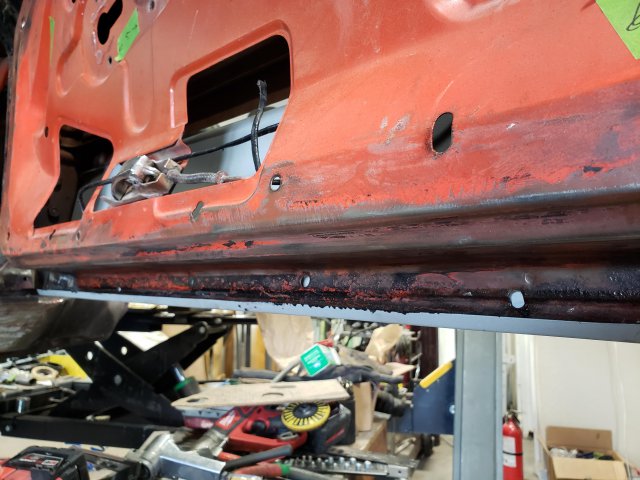
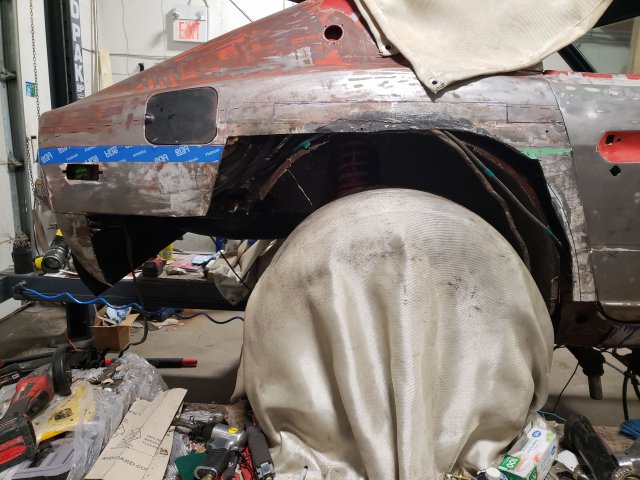
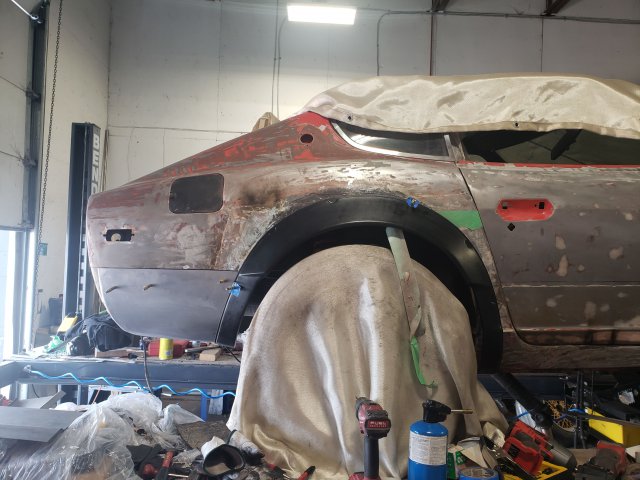
I started removing the old rocker and replaced it with the new one. I was thinking of drilling holes in it just to plug weld it back to the car. Does anyone have any suggestions or input on doing it this way? Once the rocker panel was placed the rear lined up nicely but the front had a 1/2" gap between the door and the rocker. Ill need to cut the rocker and try lining it up better. Was also thinking of address the inside panel now that everything is open.
-
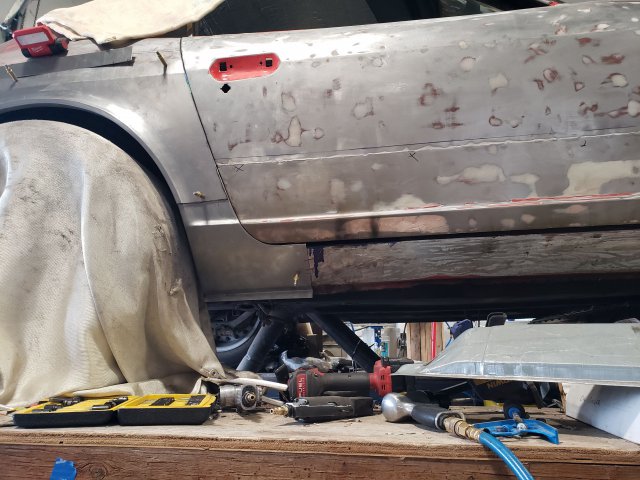
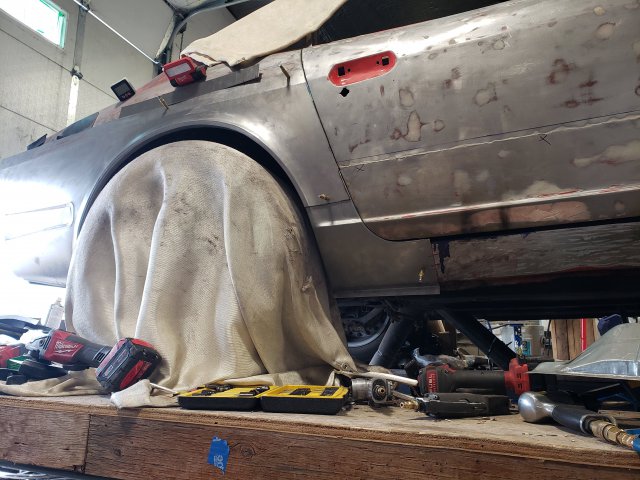
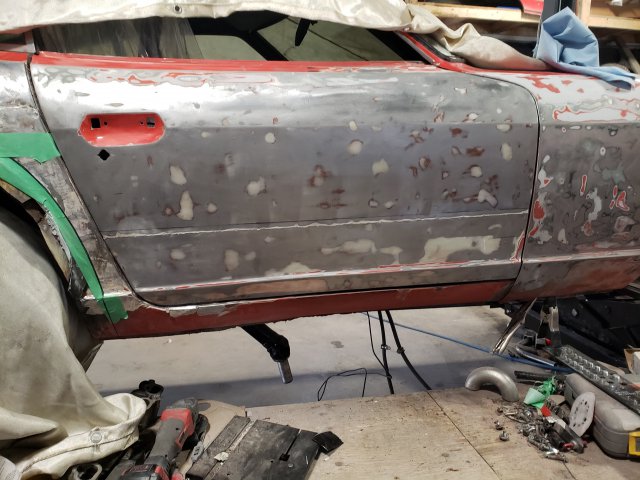
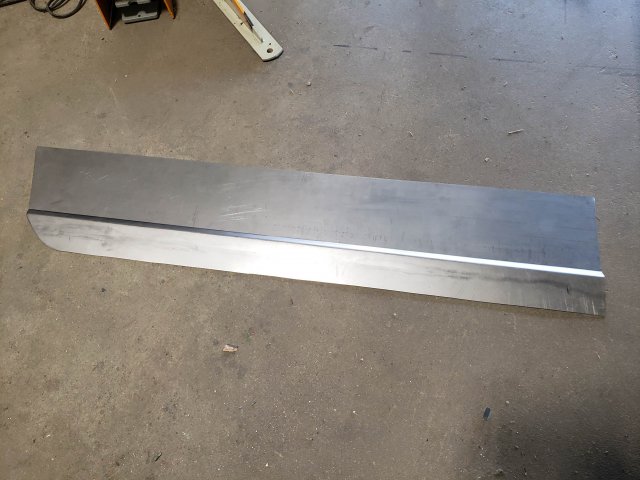
@gerrud Thanks! I with the lower door skin already made I decided to mount it and see how well it fit. Marked the line and cut abour 1/4in below it, came back to clean it up with some shears then finished it with a file. The lower right hand corner had been previously brazed by the previous owner so we cut that out and bent up some more sheet metal.Ended up cleaning the outside edge with a flap disc and file. On areas like this I prefer to use a used flap disc just so it doesnt take to much metal away at once. Door skin was left bigger than the door so I had some room for fine tuning. Bottom edge of the door was folded over and extra material slowly trimmed from the door skin.
-
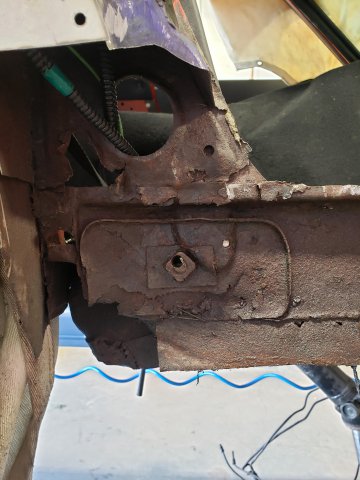
Heavy Duty frame rails and connectors
Exposed replied to toolman's topic in Gen III & IV Chevy V8Z Tech Board
your Z looks amazing, great progress with it. -
@Jboogsthethug I cant take all the credit for the panels, I did buy the rocker panel (#16740L and #16740R) and dogleg? (#16750L and #16750R) from Tabco.
-
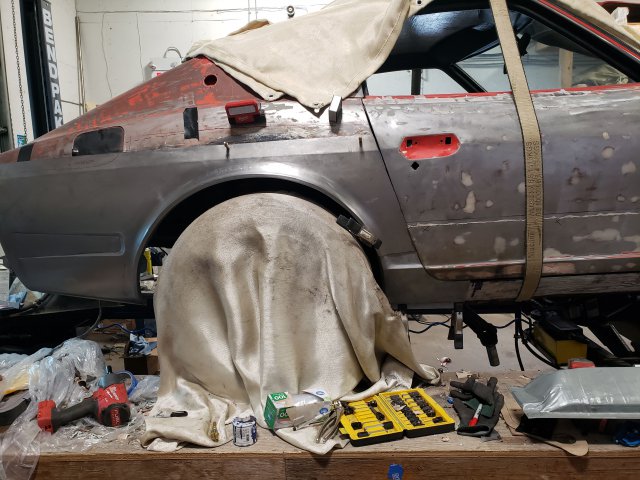
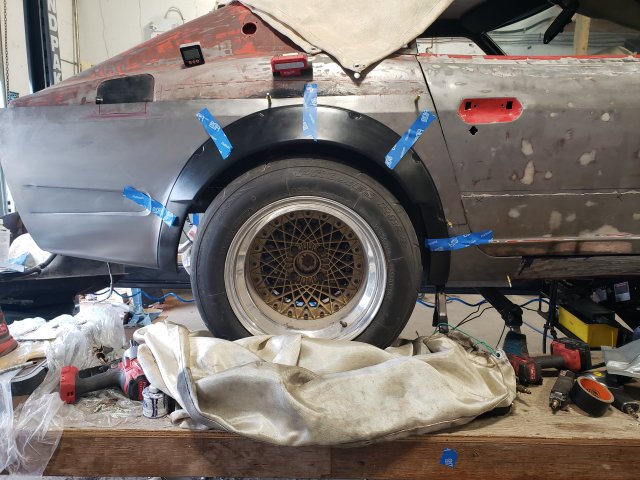
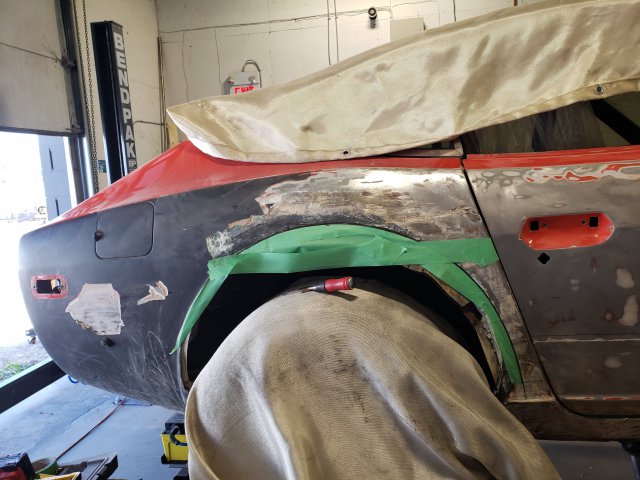
Been very motivated lately. Made some good progress this saturday, cut a couple big sections but left enough there to have something for the clecos to grab onto. The passenger rear quarter is coming our nicely. Incase anyone is planning on knocking out a rear quarter I ended up bending my body line to 12.5 degrees. The body line right below the window is in line perfectly when I put the weatherstripping in. From what Ive been reading one of the more common ways to adjust body panels is starting with the door to the rear quarter. I currently have a 5mm gap+/-. Next ill be doing the door to the rocker. Opinions on the fender flare placement?
-
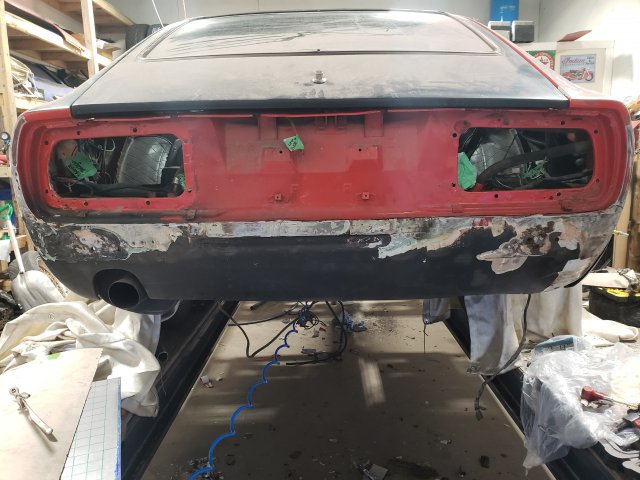
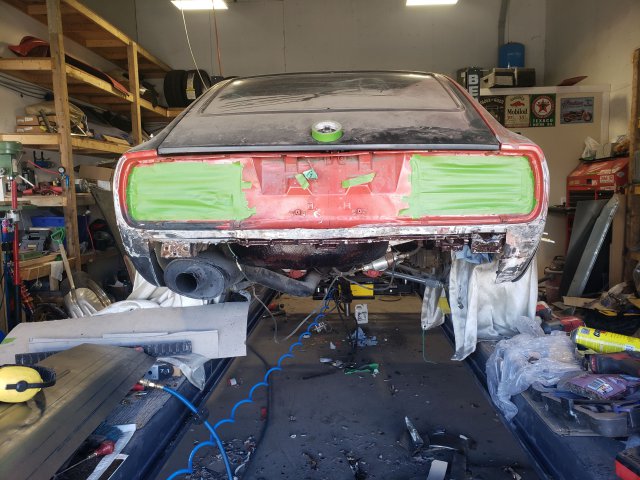
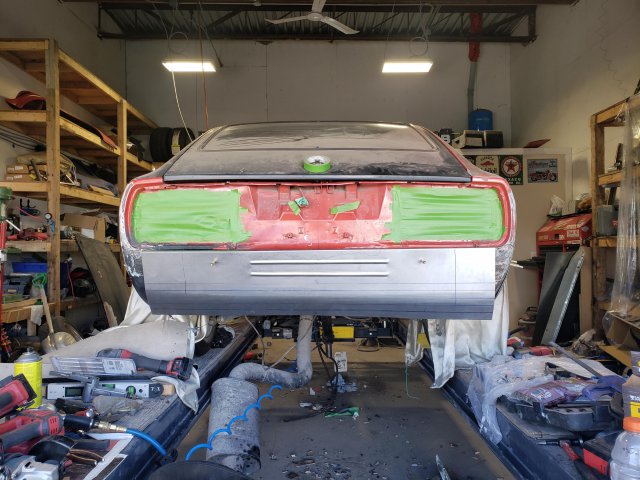
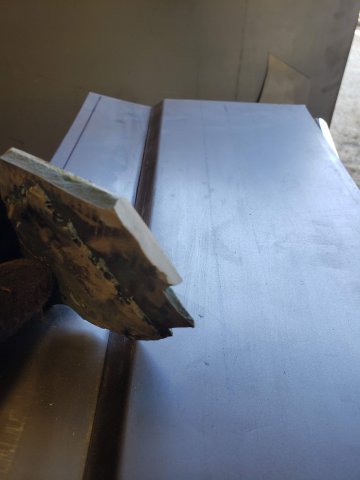
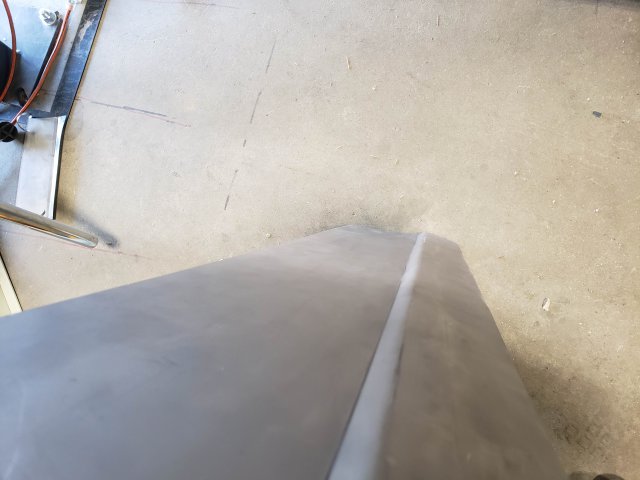
Decided to just scrap the entire back peice. It was layers of filler and metal mixed together. Started remaking the patch panel on the back, ran out of time yesterday but got the basic shape. Still needs to be bent some more in the lower right hand corner and the exhaust opening still needs to be cut.
-
1982 280zx Rear Quarter Panel blueprints
Exposed replied to Randallwvp's topic in Fabrication / Welding
https://www.alfaparts.net/dat300.html @Randallwvp Send Robin a message -
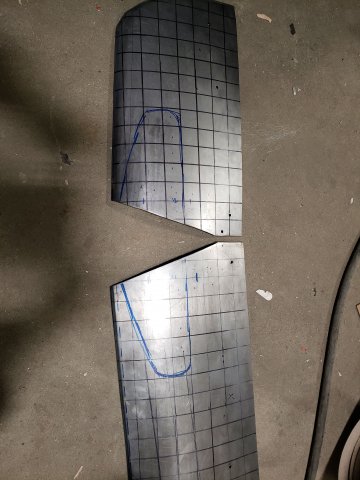
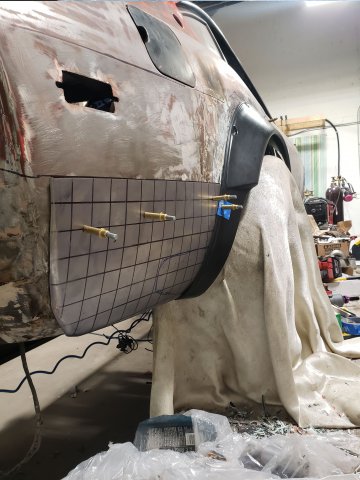
@Jboogsthethug thanks, Im still new to it but its definetly fun to do. I put the squares in as a grid because I didnt make a buck (form) I decided to try using lines to figure out what radius went where, it also helped when making the driver side panel. It gave me a template to follow. Ill snap some pictures of the two panels side by side, they arent 100% but for a jabroni they're good enough. I've been contemplating whether or not I should make the other patch panel I need, the one above the wheel. If I do decide to make it instead of purchasing one Ill probably make buck
-
@EF Ian awesome thanks, I can across the site but wasnt sure on quality.
-
thanks, going to grab some measurements from a local Z today and see where I sit.
-
I ran into something similar on my Z, I was pretty bummed about it too but I think I can finally see the light at the end of the tunnel. In my opinion if your looking at taking it to a body shop thats going to add up quick especially because you dont know how far the previous repairs go. I would pull off the filler and paint myself and see if there is anything you can do to fix it yourself before taking it in. Even if you decide to take it in it will be cheaper if you remove the existing filler yourself.
-
this looks great! good job on the blasting and painting. Where did you source your rear quarter panels from? Im having a hell of a time trying to find some and wanted to avoid making them.
-
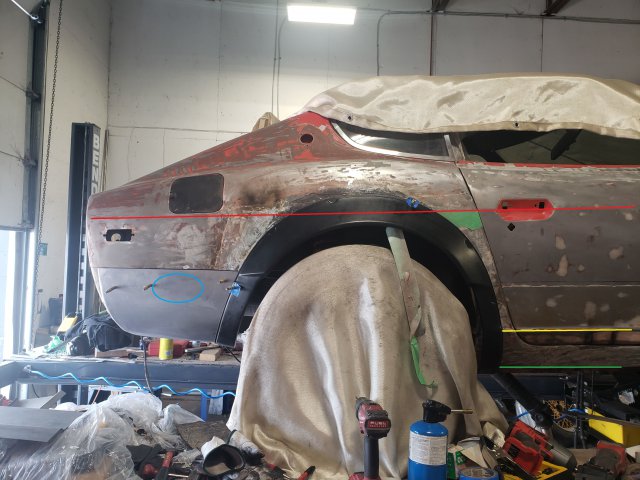
Looking to see if anyone can grab some dimensions for me. -need a dimension from the red line on the door to the yellow body line, from the looks of it when the panel was replaced on this car the body line was moved down. -need a dimension from the yellow body line to the bottom of the rocker panel green body line. -need a dimension from the read body line to the blue circle, want to see how far off the bumper bolts were placed. Another thing is when people are placing there body panels on the car and trying to get half decent panel gaps are they temporarily installing the weather stripping? or is there another way of doing this?
-
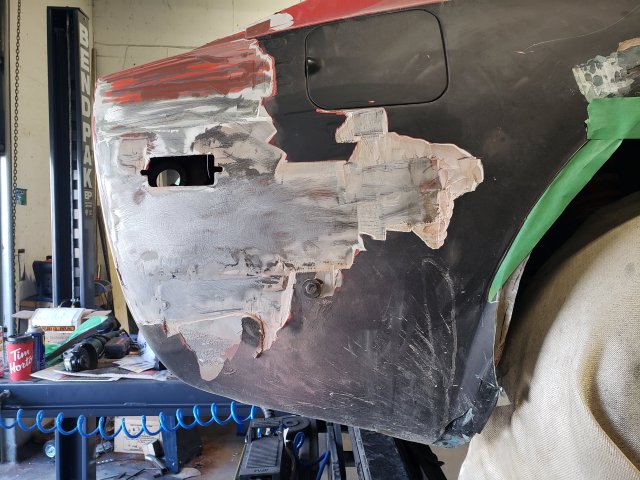
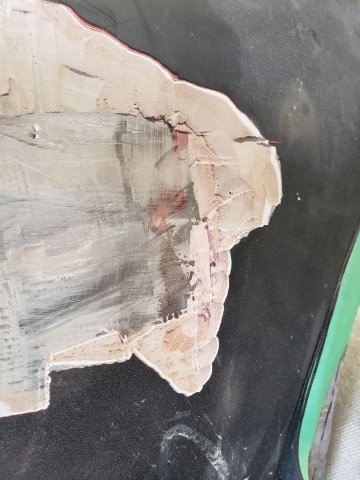
With having a new addition to the family I've been strapped for time, I try to run to the shop at least once a week. I've been in the process of stripping all the body filler from the previous owners and repairing some e previous repairs. I managed to knock out both lower rear quarters, need to make some final tweaks but over all happy with how they came out.
-
This has to be one of my favorite mods thats I've seen, nice excecution
-
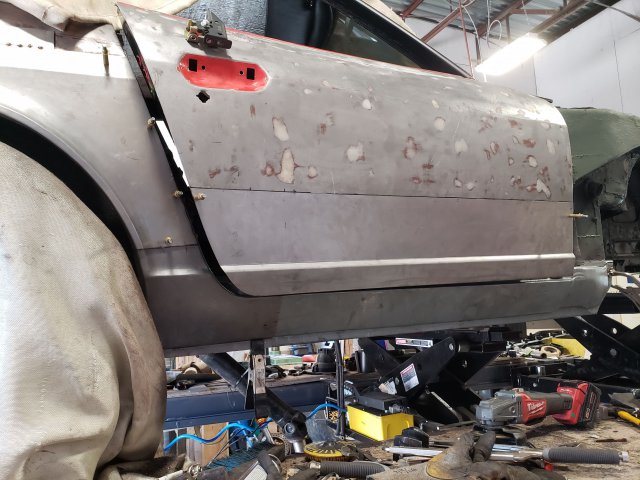
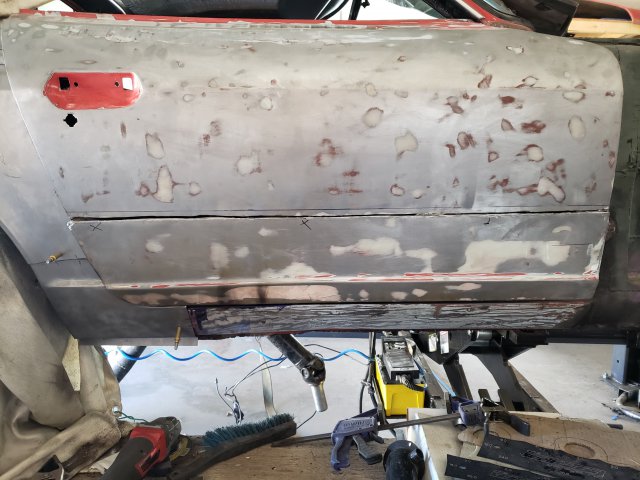
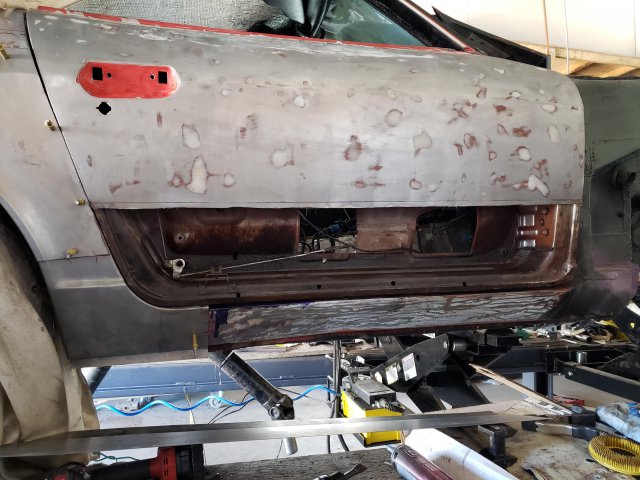
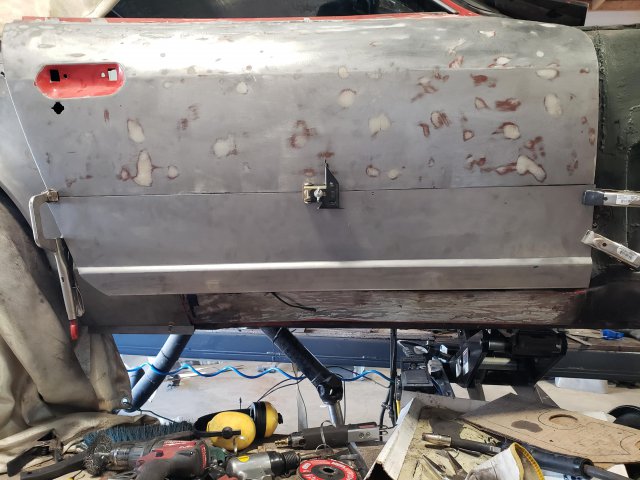
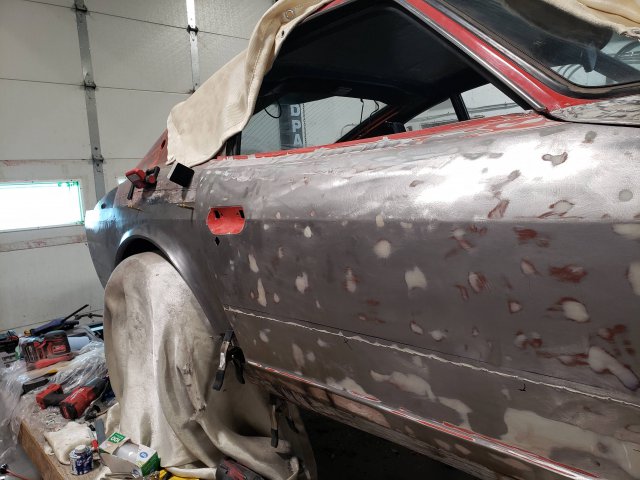
Stripped the door this weekend, found one of the reasons the car had so much filler on it. Made a patch panel for the door skin, Ill just need to find some time to cut and reweld everything together.
-
looking to purchase both rear patch panels. Looking from the patch panel to be from just above the second body line down to the bottom, and from the tail light section to the door.
-
the perks of living with the other snow mexicans, those connectors don't ship to my location. Whats the cost on them on amazon?
-
@Whitley_280z_2+2 great build thread, what weather pack connectors were you planning on using? Im in the process of redoing the electrical in the Z and was planning on using Deutsch connectors. They're a bit pricey though.
-
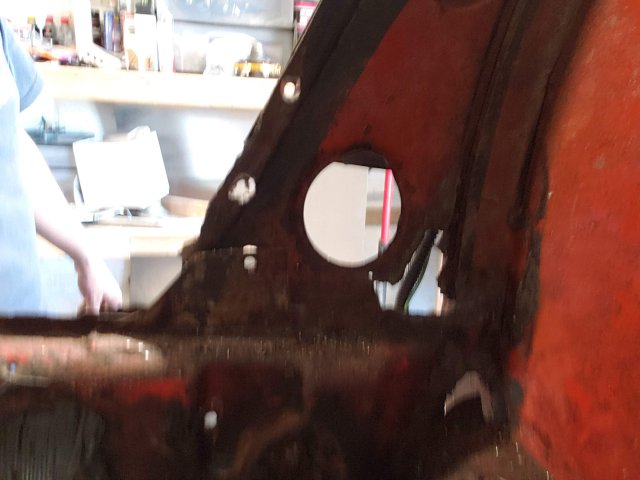
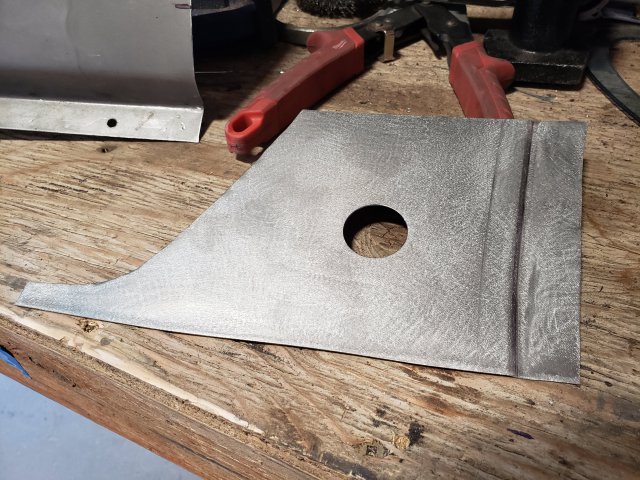
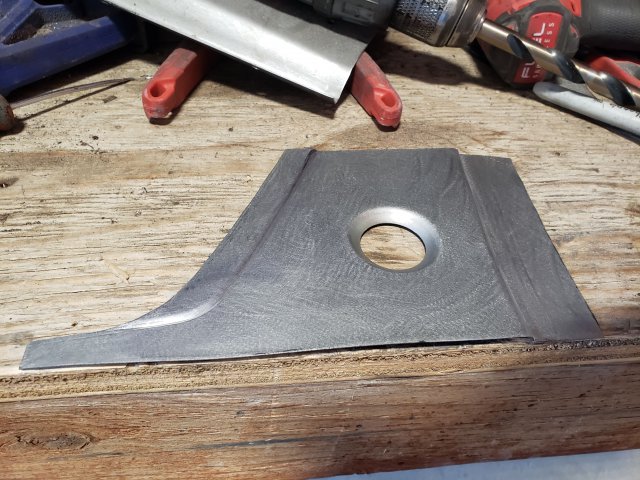
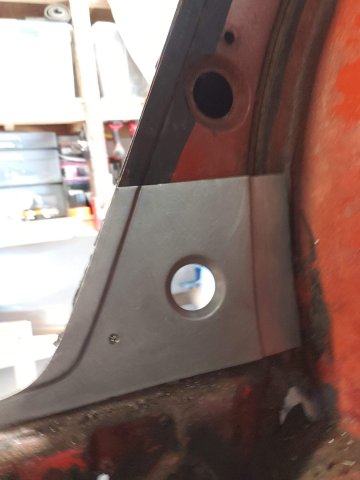
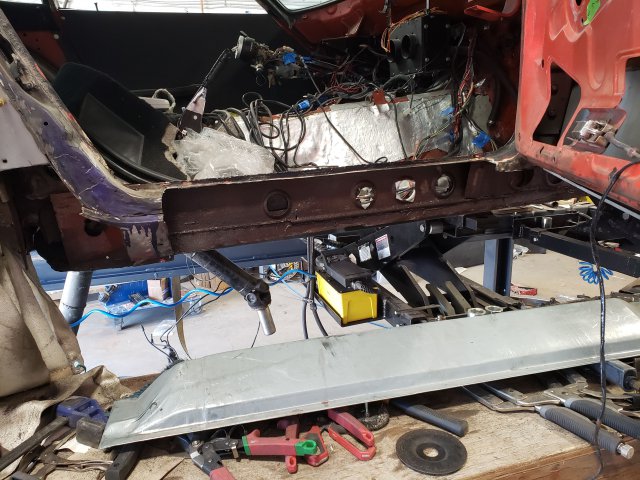
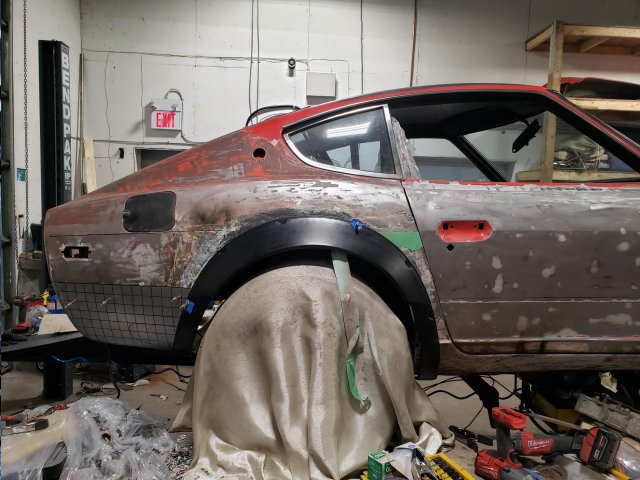
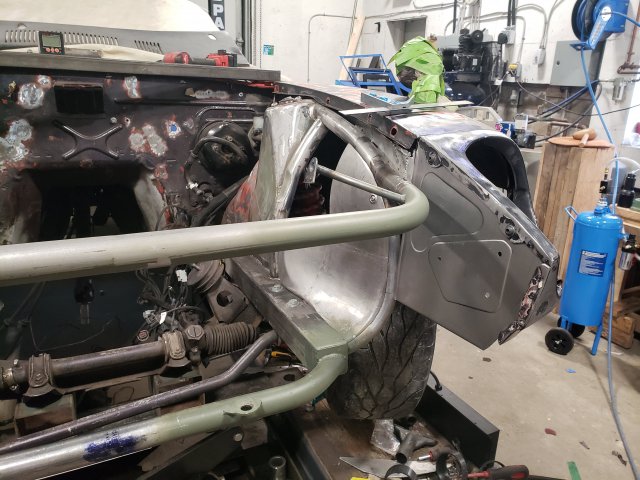
found some time to plug away, got almost all the hole in the firewall plugged and welded up, removed the dash and all of the wiring that went along with it, going to clean it up abit. Got the driver side panels roughed out. Was happy with how they worked out and they're symmetrical enough for me. Upcoming plans will be sourcing a brake booster, getting all the hardlines run, and fabricating some brake and air line brackets.
-
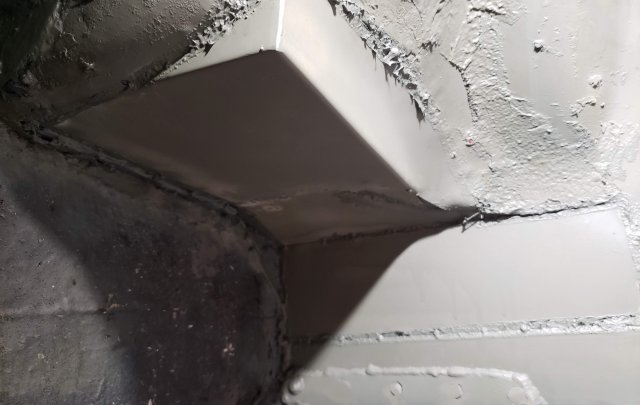
@walkerbk ignore the mess in the back, the battery fits in that space, left it slightly sloped for water drainage.
-
@ISPKI thats pretty much how I did mine but for my sway bar. I drilled out a hole at the top through to the bottom then dropped in the tube sleeve, finished it off by welding and grinding it down. Have it documented on page 11 of my build thread about 1/3 of the way down.
-
thanks, I can snap some more pictures the next time im at the shop.