Exposed
-
Posts
344 -
Joined
-
Last visited
-
Days Won
14
Content Type
Profiles
Forums
Blogs
Events
Gallery
Downloads
Store
Everything posted by Exposed
-
ya thats the hard part, doing mine right now. Trying to have eveything flow is a pain.
-
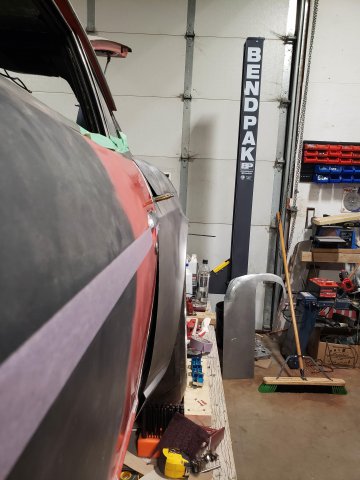
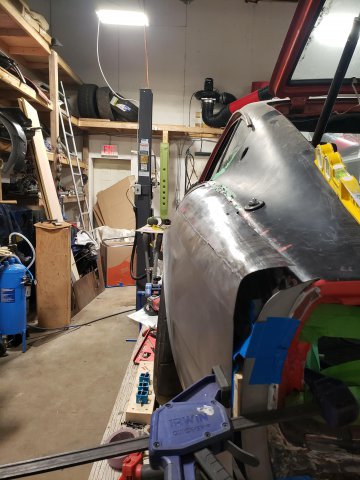
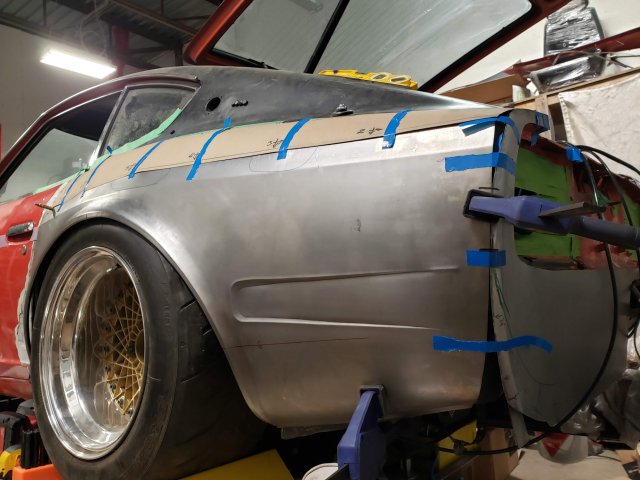
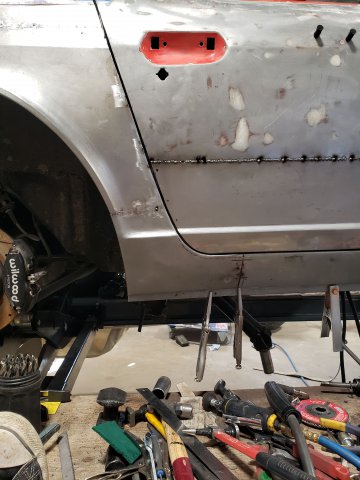
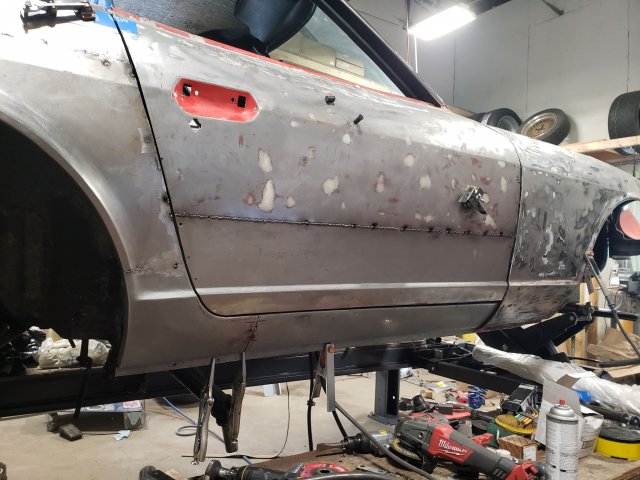
Small update, been trying to finish up the driver side rear fender. Have it roughed out but it still needs to be shaped beside the door and the rear of the panel needs to be brought down another 1.5in after that I can finish welding, hammer and dolly, knock down the welds and then to try to find all of the highs and lows. The panel currently sits past the edge of the rim so that the wheel is tucked in when the car is lowered, I havent decided if I want that or if I would prefer it to be flush.

-
Yup thats them.
-
Great progress so far! Are all of the tabs in good shape that hold the bottom of the rear light panel? If not do you plan of making some, buying them or just leaving it as is?
-
@Jboogsthethug, hopefully! Been taking advantage of some of the days off work. Glad I decided to not use the fender flares, worst part is all the time lost.
-
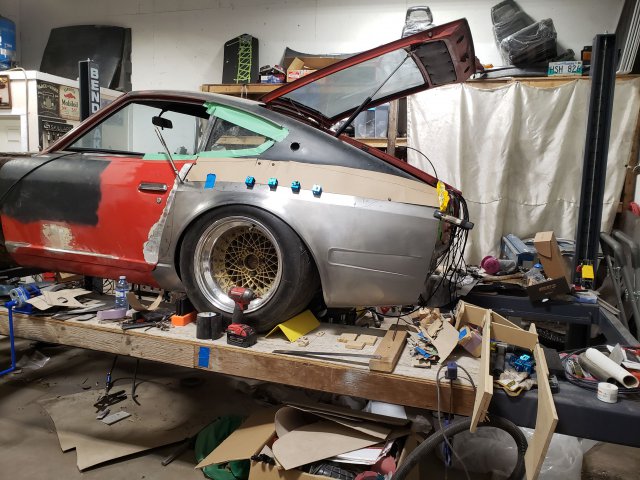
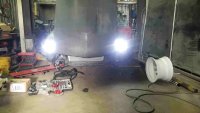
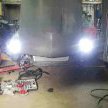
Small updates One of my major milestones on my checklist, the suspension is set up and just about dialed in. (sound off, have the compressor going in the background). Since the video I've trimmed off the remainder of the rear quarter, I was just to excited to see it move. 20201122_195128~2.mp4 I ripped the passenger side rear quarter off and I'm going to stretch it out a bit more. Wasnt please with how it looked with the over fenders. I also finally got around to mocking up the driver side rear quarter. Still need to build out the back end and widen it about another 1inch but really liking the look of the car currently. Did a small clean up as well, I think it was needed...
-
@Nelsonian With the metal buck you have, do you think youll be putting a radius right above the wheel arch or leaving it straight? I've been slowly working on my own buck because I also changed directions and over the past couple weeks I've been on the fence about whether or not to add a radius similar to the stock fenders above the wheels.
-
New, lighter glass for our S30 2 Seater (street legal)
Exposed replied to PrincePaul's topic in S30 Series - 240z, 260z, 280z
Can count me in for the door glass on both sides and the front windshield. -
Got the battery tray drawn up just need to toss it in the bender. Fingers crossed all my measurements are close enough.
-
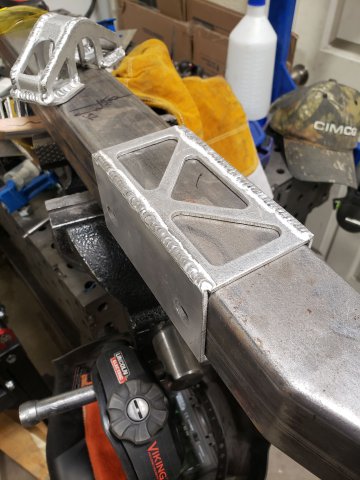
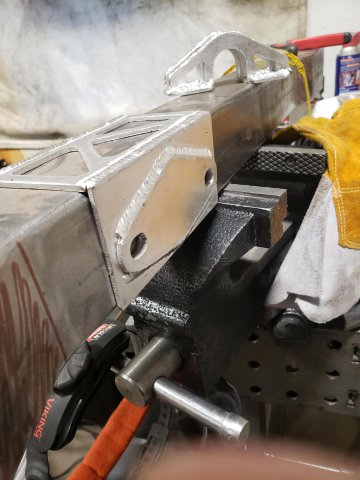
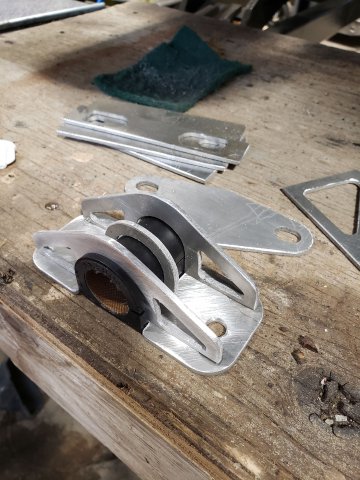
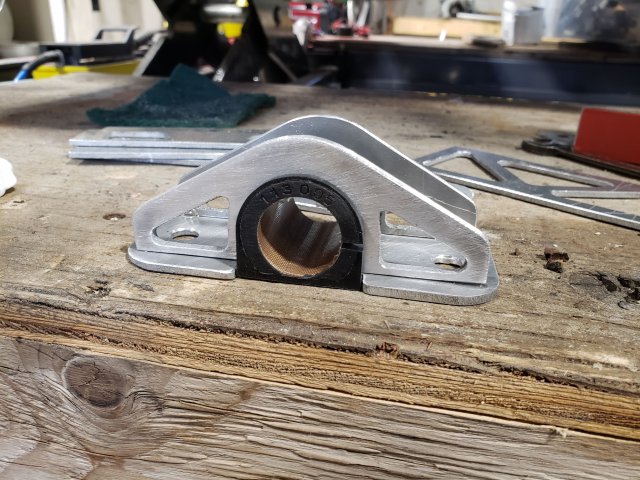
Welded up the sway bar mount this past weekend, going to take @calZ advice and put a tube in there then weld everything together, Ill also beef up the sides a bit.
-
insane amount of changes. been following you on instagram wasnt aware you had a build page on here
-
your right @artishard116 I just didnt get around to cutting it when I posted. I had time to cut it this weekend though! Ill toss some pictures up later today, it should be all sealed up once it welded together.
-
I had thought about tossing a tube in there but ended up not doing it just because I havent had time to run to any metal supplier and with the current situation they're typically closed before I'm done work. I'm planning on inspecting these occasionally and if I see a good bit of flex i'll either add the tubing as suggested or bump up the material thickness by .125in. To be fair though the rona will probably be gone by the time I have this on the road. 😅
-
@Sanchez going through the same thing on the driver side now, its painfully slow. But very rewarding once its completed, keep on the good work!
-
1976 280Z RB30/25 (R.I.P.S.)
Exposed replied to artishard116's topic in S30 Series - 240z, 260z, 280z
great work on everything! enjoying the build, excited to see the final product. -
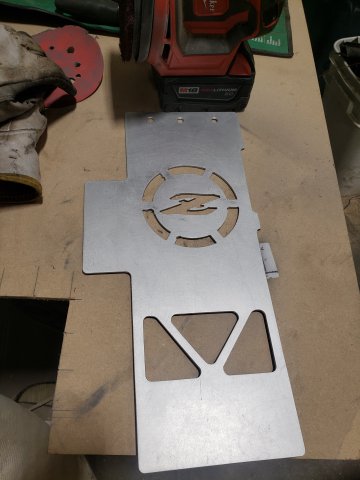
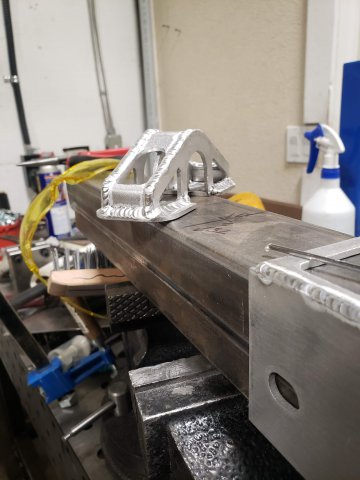
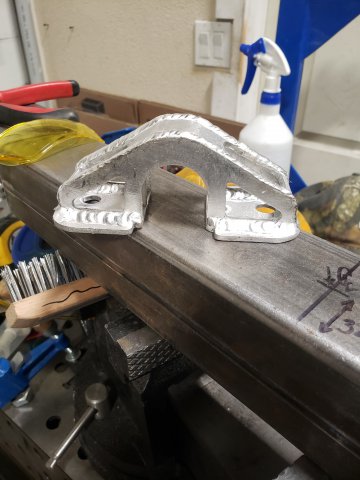
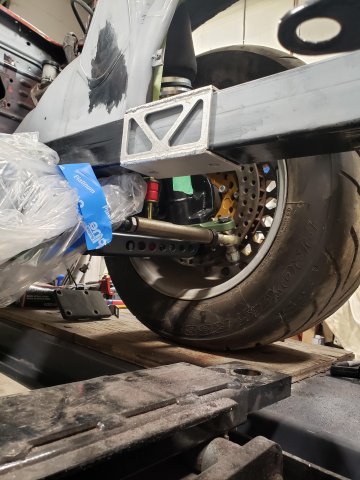
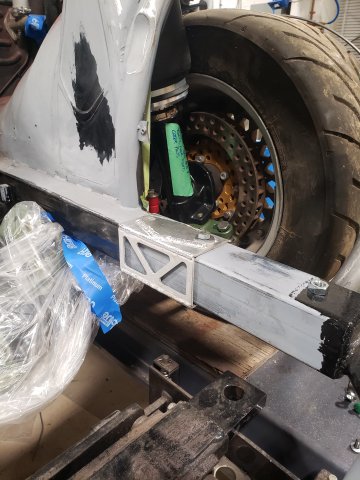
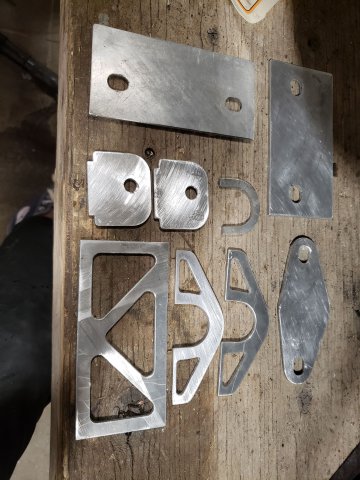
Been a minute since the last update, work has been crazy busy so I havent had much time to go to the shop. I've been playing around with fusion and decided I was going to make my own sway bar brackets. The design and 3d prints of the parts prior took abit of time, once I was happy with it, everything was cut from aluminum. Looking at it now I'm thinking I may make a second version thats a bit thicker. I still need to cut and bend the top peice but I ran out of time this weekend.
-
I had a similar issue with the roof, I did the following. -pushed it up from the inside, because the metal is already stretched it'll have a lot of flex it to. -once its pushed up I would hammer and dolley the areas surronding the dent to smooth everything out. -you'd be stretching the metal more so it'll have a tin can sound to it, you'll need to shrink the metal back -continue to hammer and dolley until your happy with the end result If anyone has anything to add to the above please do so.
-
@seattlejester Yes I've noticed no matter what method is used you still need to hammer and dolley the panel. After the door was fully welded (mig) it sucked out a bit, I've been using a dolley to put it back in place but havent had enough shop time to fully finish it.
-
I didnt have any gas for the tig, I would have prefered to practice with the tig though. Need to be carefull of the heat when welding though. Going to hopefully grab some gas this week and weld the inside of the door with the tig.
-
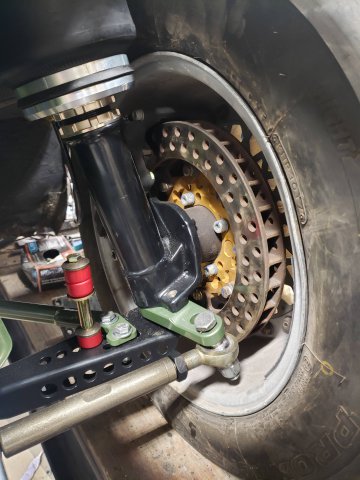
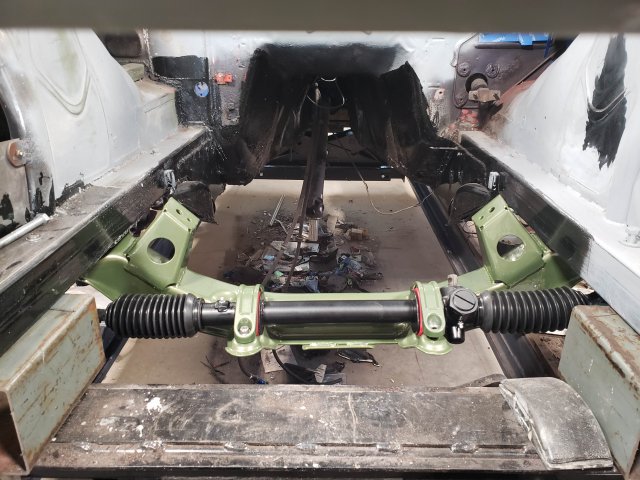
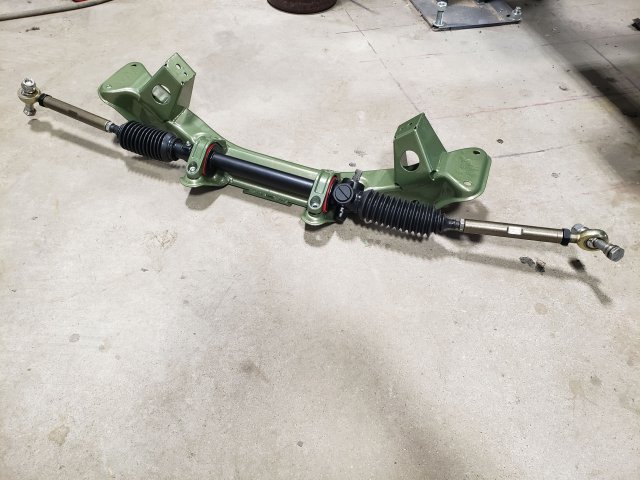
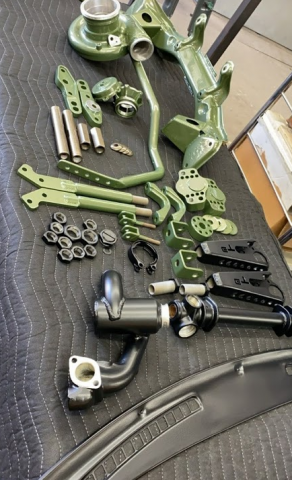
Steering rack was assembled, very pleased with the colours.
-
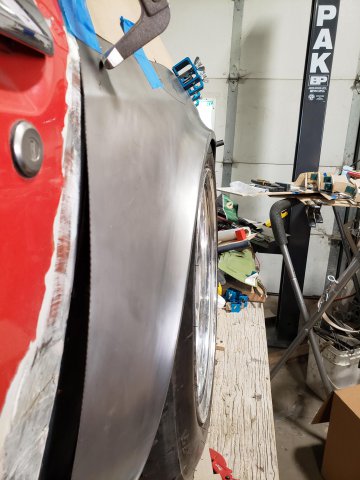
After a lot of fooling around Im pleased with the door gap, will probably need to make some minor adjustments to the body line at the bottom but thats for a later date. Front needs to be adjusted
-
Heavy Duty frame rails and connectors
Exposed replied to toolman's topic in Gen III & IV Chevy V8Z Tech Board
Good job on the paints, great write up on everything as well. Cant wait to see this thing finished! -
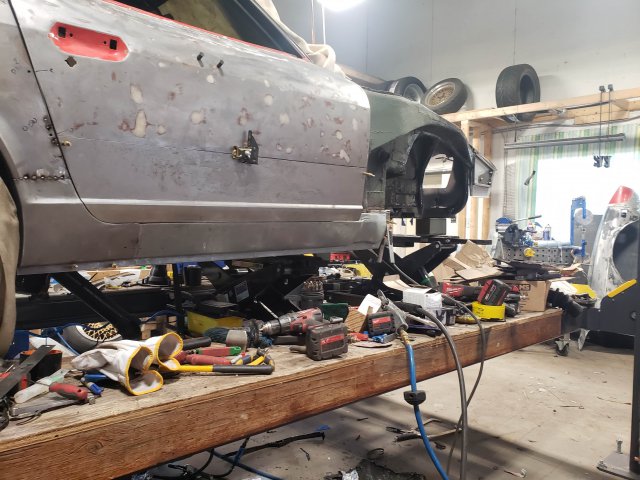
Im all over the map on this thing but just got some parts coated, front end of the suspension is all done up.
-
@Jboogsthethug going to give that a try @seattlejester Yes I was considering doing that, Ill probably end up doing it and see what I run into next. Worst case I reweld the part I just cut off and start again. Hopefully in doing that it corrects the front quarter from being pushed out to far.
-
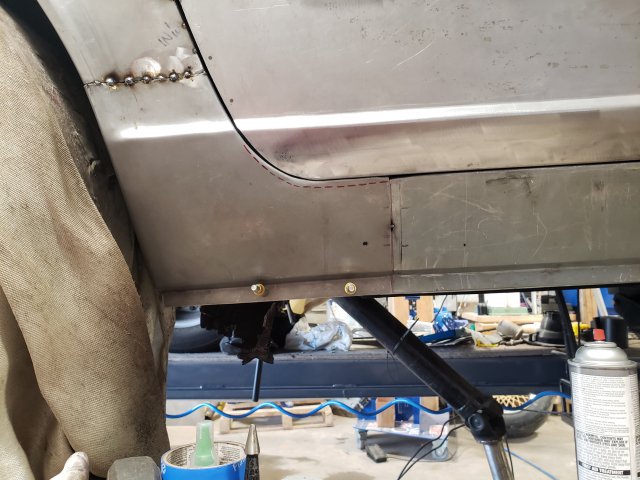
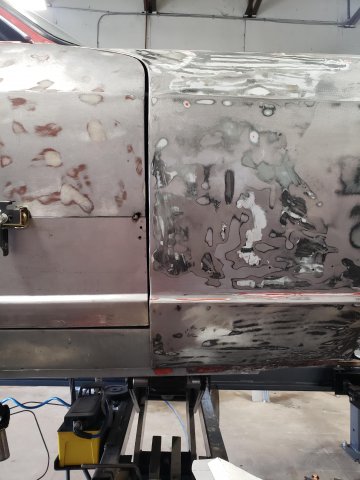
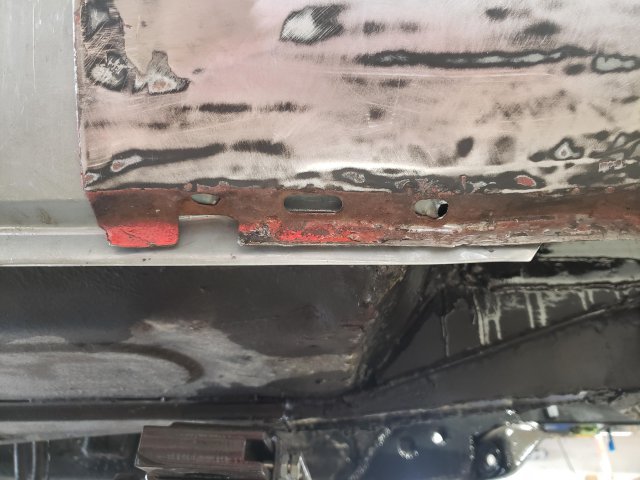
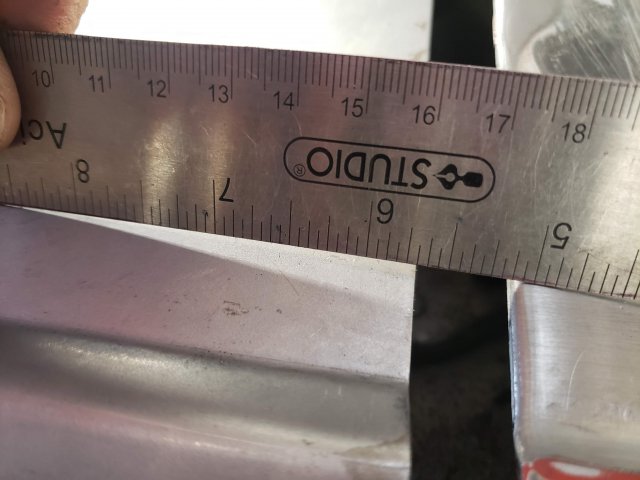
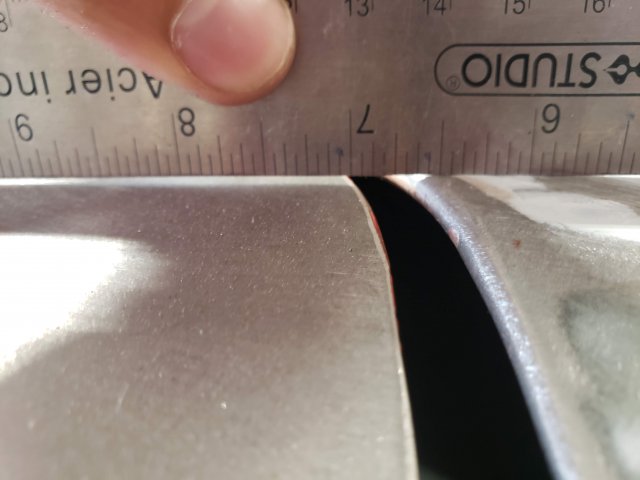
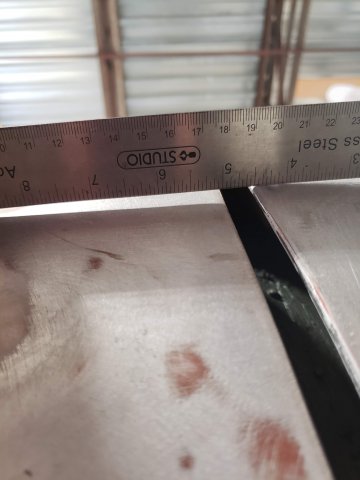
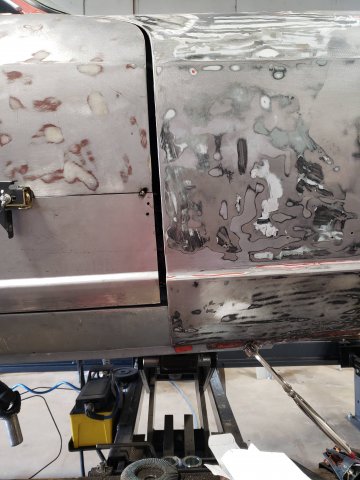
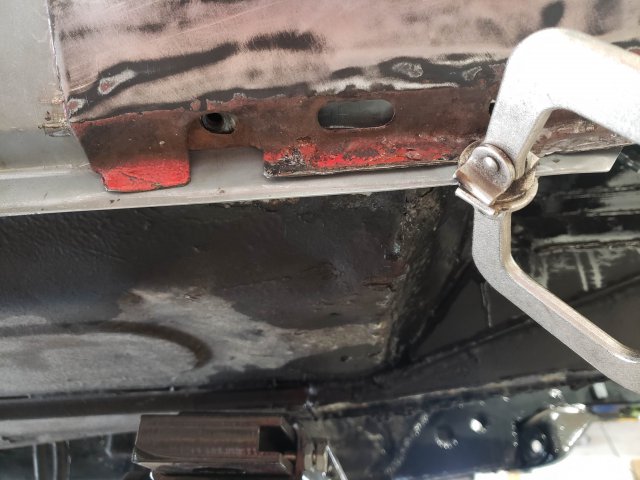
Managed to remove the inner rocker today and set it in place, have it held with clamps at the moment. Running into a bit of a dilemma now. When I set the new outter rocker panel (tabco) I have a choice to either line up the back indentation with the rear quater or line the front indentation with the front quarter panel. If I line the rear up I get pretty good fitment except the front quarter is push out a lot, Ill also need to make a releif cut along my dotted line in the rear drop it 4mm +/-. Here is the front not lined up with the indentation, its a fairly nice gap but the bolt holes dont line up and the front quarter is a lot forward. Was thinking maybe I should just redrill and toss some bolts in, not to sure how exactly I would fix getting both panels to line up. . Heres what lining up the front indentation looks like, I also still have the same problem, the front quarter is pushed out. Any suggestions on how to fix this?