AydinZ71
Members-
Posts
1073 -
Joined
-
Last visited
-
Days Won
27
Content Type
Profiles
Forums
Blogs
Events
Gallery
Downloads
Store
Everything posted by AydinZ71
-
IMSA GTU vintage racer build
AydinZ71 replied to clarkspeed's topic in S30 Series - 240z, 260z, 280z
Looking great Clark!! If you are looking for a really good, affordable metal sealer/primer, give this a try: https://www.speedokote.com/smr-260g-261-2-1-voc-epoxy-dtm-primer-sealer-gray/ I just sprayed my engine bay with it and it is rock-solid! 2 component epoxy, had great reviews. All you need is a quality spray gun which I bought on Ebay for $40. It is a pain in the ass to mix the epoxy, clean the gun with acetone, and wear a respirator...yes. Once she is on though, man does she stick! I used a metal descaler that includes a mild etching compound. Whatever small amounts of surface rust that did not melt away was converted to a stable black material. I cut-out and replaced any severe pitting or swiss cheese. I really like this product as it fills-in holes pretty well with a brush too. I went back and dabbed all the seams and weld joints by hand, to make sure they stuff really got in there. I cant remove my over-spray without sandpaper, so this stuff sticks! -
240z SCCA vintage race car, restoration
AydinZ71 replied to AydinZ71's topic in S30 Series - 240z, 260z, 280z
New consideration: driving to and from the track. I don’t have room for a trailer at my tiny California home, so I don’t have many options other than driving to/from. It’s a straight 1.5 hour drive from my home, almost entirely in interstates. the car is registered and insured. What considerations could I look at for reducing my chances of being pulled-over and worse…referred to a referee? Not trying to “cheat” my CHP friends, but rather make her as street legal as I can! Some of my thoughts: 1) engine is OEM other than the cam really, so not too worried about having to pop the engine bay. 2) rear brake lights are needed anyways, so still have those. 3) even though the headlight buckets have been replaced with nose cones, I still plan on fabricating-in much smaller SAE LEF driving lights into my air dam for unexpected night driving. 4) turn signal…. I would need to add a universal column switch and small LED’s in the front. Rear’s would still work being OEM fixtures. 5) will be running the longest burns stainless muffler I can. Maybe. 12 or 16”. 6) being EP, the body is OEM shape/look. Will need flares but that’s pretty minor. anything else I may have not considered! Is this a dumb idea? -
240z SCCA vintage race car, restoration
AydinZ71 replied to AydinZ71's topic in S30 Series - 240z, 260z, 280z
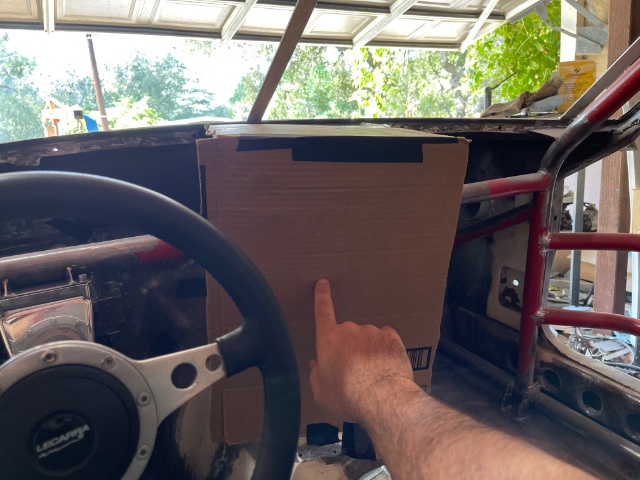
@clarkspeed I really appreciate that Clark! Considering 18 months ago I was ready to sell her after discovering 1/3 of the car was Swiss-cheese and not knowing how to weld. Y’all here have been a big motivation, and it is truly appreciated! 10-4 on the speedo. I can do without. Ordered the hole Saws for the gauges. I’m happy with the location/shape of the cardboard cutout so ready to start bending some AL sheet. 10-4 on the polycarbonate. Figured this should go in before the engine, Since the fasteners are going-in from outside the cab. Back in my model-building days, I learned to polish clear plastic with polishing compound and a buffer. I assumed this would work on polycarbonate? As long as the scratches aren’t deep, one should be able to buff-out minor scratches. On the air box, looking at what you did motivates me to fabricate something myself. The velocity stacks for the SU’s though… Would you 3D print your own again or is someone selling those? If not, I would be interested! -
240z SCCA vintage race car, restoration
AydinZ71 replied to AydinZ71's topic in S30 Series - 240z, 260z, 280z
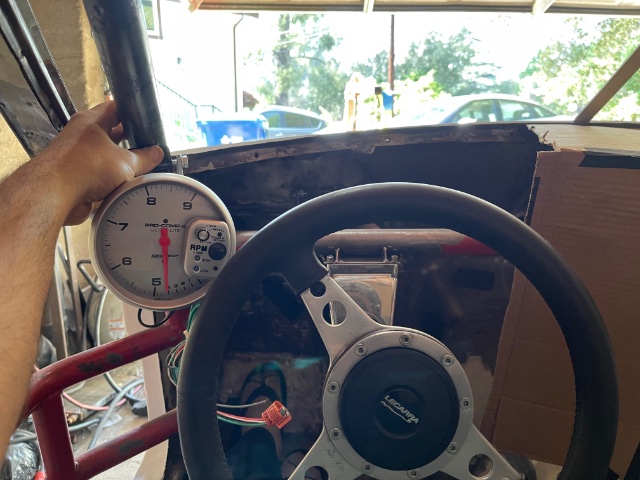
Planning out the gauge and switch cluster. This panel will be made from 0.080” 5052 AL. Tach can be conveniently mounted to the roll bar here, but I have some feedback from folks suggesting it be between the steering wheel spokes. It would be mounted off the steering rack in that case. FullSizeRender.mov -
240z SCCA vintage race car, restoration
AydinZ71 replied to AydinZ71's topic in S30 Series - 240z, 260z, 280z
Yeah that’s what folks have been telling me… I was just thinking the speedo would help as another data point during driving like checking cornering speed, tuning the suspension, etc. il see if I can get away with driving it on the street locally and maybe to the track, but I have not decided yet. Definitely not a grocery getter but taking it to a gathering once every month or so. -
240z SCCA vintage race car, restoration
AydinZ71 replied to AydinZ71's topic in S30 Series - 240z, 260z, 280z
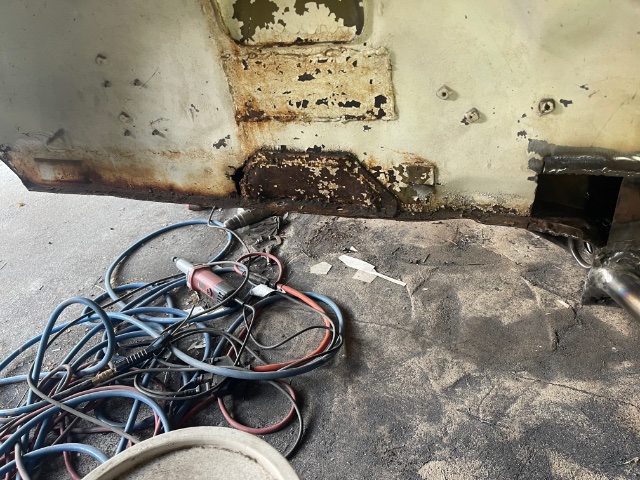
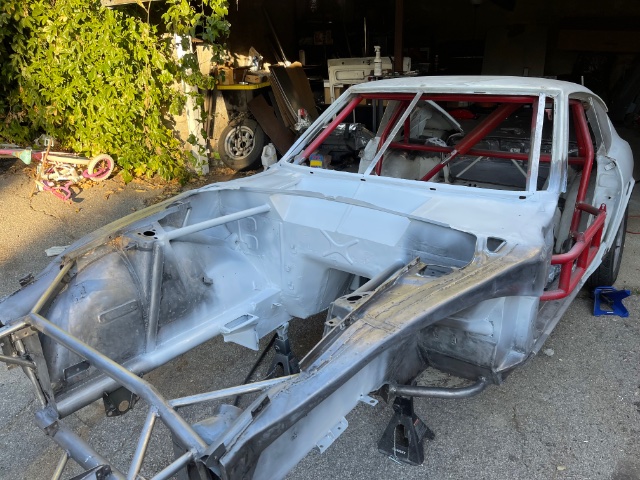
Questions for my experienced friends: 1) speedometer - I was eyeing the auto meter GPS units. Anyone have any experience with these? Full digital dash or data logger is not in the budget at the moment so looking for a top-gap. I could run no speedo and assume based on gearing. 2) I’m ready to fabricate my gauge and switch cluster. Any strategy, or tips to keep in mind? I bought a 1’X5’ sheet of 5032 AL 0.08”thk for the mounting surface. Gauges on hand: 5” tach w/light, fuel level, volts, fuel pressure, water temp, oil temp, oil pressure. My nascar surplus gauges came with a water pressure gauge too, but I don’t think this is necessary. 3) where did you guys source your polycarbonate from? I believe I need 6mm for the windshield and 3mm for the hatch. I have a spare glass windshield I plan to use as a template. 4) anyone attempted a custom air box for SU’s (class rules). I can certainly fabricate the box but curious which filter folks are using. I can use the OEM dimensions but assumed I could source a larger unit which may flow better? I am sourcing air from in front of my rad support. My understanding of fluid dynamics is a filter closer to the carbs will create less pressure drop along the intake ducting. here are some before shots just for shits and giggles, comparing to my most recent primer pics. IMG_4842.MOV -
Ken. AKA hayate_hien.jp on IG. Been following his progress for the past two years. Really amazing work, and thrilled to have someone doing some neat custom (but period correct) engineering. I can’t read Japanese so really don’t know any of the details. Unlikely I will be able to afford one, but I’m a huge admirer.
-
240z SCCA vintage race car, restoration
AydinZ71 replied to AydinZ71's topic in S30 Series - 240z, 260z, 280z
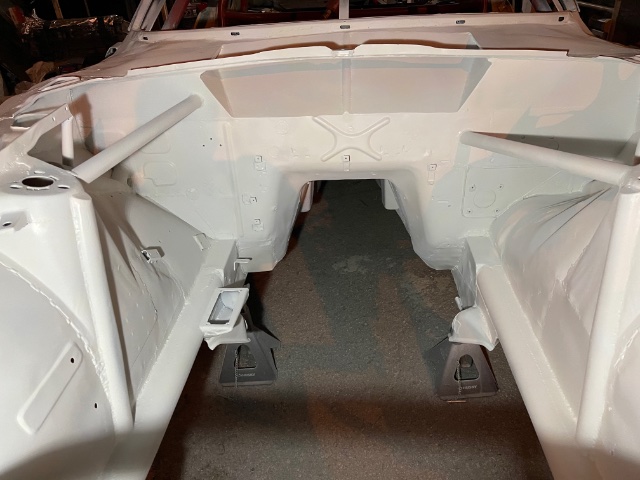
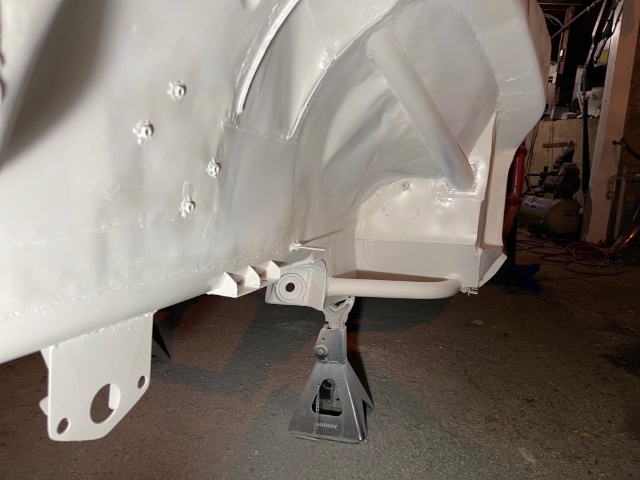
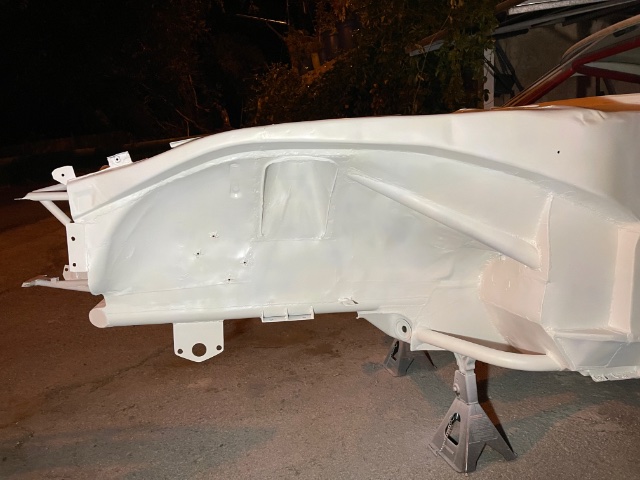
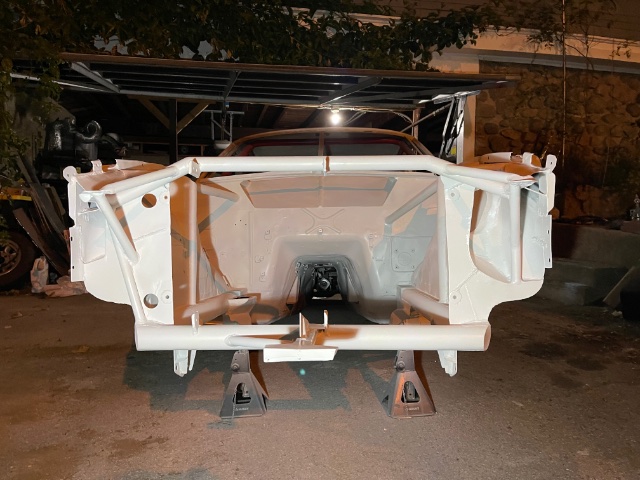
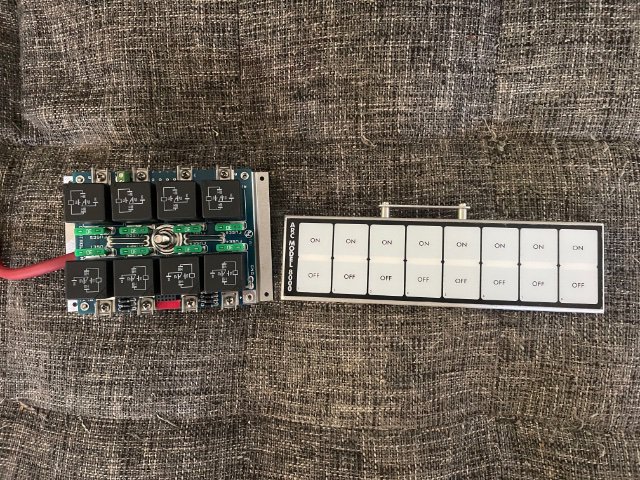
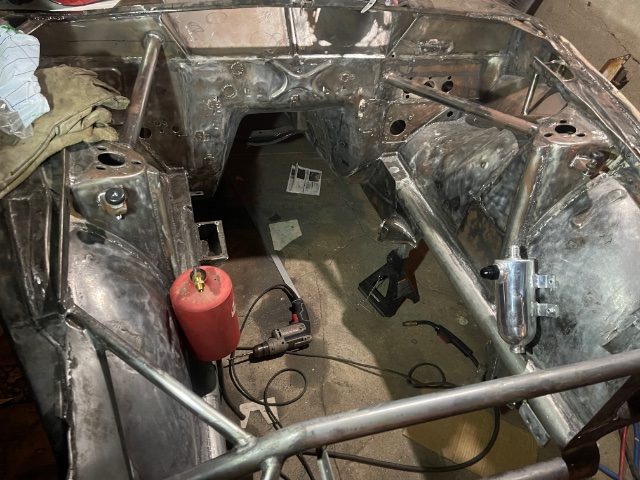
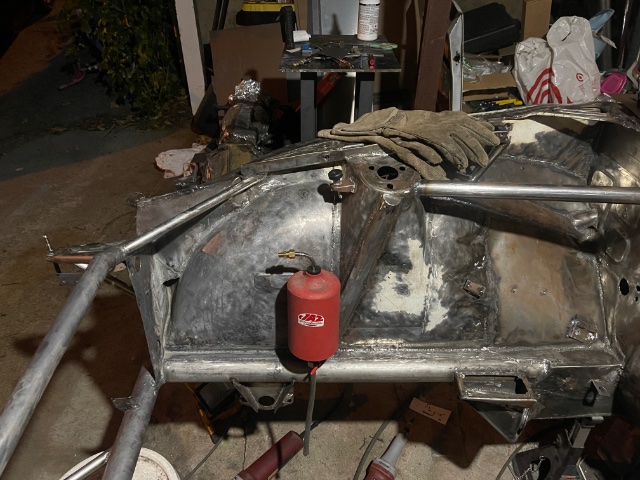
Ok… never done this before. Bought a devilbiss gun for $40 on eBay last year and finally got the chance to take it for a spin. I’m using Speedokote 2K DTM primer in the gallon size. Threw my rear wheels on and carted the sucker out to my driveway. 3 hours of spraying, and she is coated! Everything from the door/fender jam forward is complete. Really excited, because now I can actually see an end in sight! Glad I didn’t try to do it all at once, as the primer does not flow as well as I’d hoped (Need to buy a reducer for it). Now I need to fabricate an AL gauge/switch cluster (so I can weld the roll-bar mounts) clean/scrub the interior and I can primer through to the rear door-jam. OH! ARC switch cluster came in. This sucker in neat! Fuses and relays all-in-one, with a ribbon cable to the switches themselves. IMG_7892.MOV -
Engine Blow-By. Catch Can hose routing
AydinZ71 replied to 5 Star Rising's topic in S30 Series - 240z, 260z, 280z
@NewZed is right. Crankcase pressure will never have gotten high enough to damage your head gasket. Your dipstick popping out is more than enough relief to have prevented any damage. -
Engine Blow-By. Catch Can hose routing
AydinZ71 replied to 5 Star Rising's topic in S30 Series - 240z, 260z, 280z
Ah! you are in Humboldt county. My in-laws live in Eureka, and we visit several times a year. Here are some thoughts for you. The triple Webbers with bare air-horns look cool as hell, but for long-term daily driving you really should have air filters on them. If you are putting on filters, might as well consider an "air box" to funnel cool air in-front of your radiator back to your carbs. Since your header is directly below your carbs, sourcing cool air for your intake will have a noticeable effect on your performance, especially in situations like traffic or continuous high-load operation. The caveat would be if you are applying a quality header coating like Swain, which will actually drop your engine compartment temperatures considerably. In that case, you can perform some sheet-metal work in your engine bay to ensure warm air from your rad is not flowing to your carbs, and the "air box" idea is not as necessary. If you do decide to funnel air from space in front of your radiator (as I am), you can have your catch can vent to your intake duct (ahead of your throttle bodies) which will just get sucked into the engine again and out the exhaust. I agree you do not want to connect your catch can vent to anywhere BEHIND your throttle bodies, as this will be unmetered gas and your carbs will be impossible to tune. If your oil is not milky, and your coolant does not exhibit oil sheen, you are probably OK. No harm in pressure-testing your cooling system to verify. Even pulling the head is pretty easy, and you just need another head gasket. -
Engine Blow-By. Catch Can hose routing
AydinZ71 replied to 5 Star Rising's topic in S30 Series - 240z, 260z, 280z
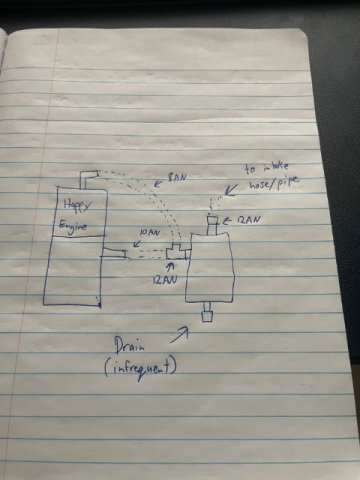
In order for the catch can you work, it has to be open to atmospheric (air) pressure. That way, gas flows from the engine, through the can, and back out somewhere. Attached is a schematic of my setup. You can either put a breather on top, or route the gases back to your intake the way I am showing (reduce stinky engine bay while car is on). why do you want a catch can anyway? Im putting one in reluctantly per race class rules. For many years, I have seen people put a breather filter at the valve cover and crank case vents and be done with it. Only downside as I said is the vapors just hang-around in the engine bay and some inevitably get into you cab. The can doesn’t help you here. You need to route the gases back into your intake system. -
Can you afford a whole new bottom-end? I bought mine 6mo ago for $350. That would be the most convenient option (Quick swap). If you find a set of spare rods, crack open your “how to rebuild” book and read carefully if you are attempting it yourself. You need to check clearances etc. i also believe the wrist pin is pressed in on OEM rod so, there’s that. What are your future plans? If you plan to race the car, upgrade to lightweight rods. Rods are also the weak-point on a turbo engine. About $1500 for a quality set from Pauter. Quick facts on steel: if the rods are heated to the point where they change “color”, the metal becomes annealed. This is the most ductile state of the metal as the molecules have rearranged themselves. If the OEM rods were heat-treated (I don’t know anything about OEM forged parts), you are losing the “hardness” that came from OEM treatment process. I would toss them and not reuse them, unless you know what you are doing and can re-heat treat and “quench”. This process is done BEFORE machining, as heat-treating can warp the steel
-
I'm Back, 1971 240Z and Yes, it will be TurboCharged
AydinZ71 replied to 240Z Turbo's topic in S30 Series - 240z, 260z, 280z
@240Z Turbo ah! I think we miss understood each other. I was advocating for stiffening the chassis if you did not plan to run a cage. Your past example included a an 8pt cage which certainly checks the chassis stiffening box. No worries! Going to sound crazy, but I have yet to use a spot weld removal tool. I simply removed the lap joints all together with a cut-off wheel and replaced them with a full-seem weld. Ground the weld down with a die grinder. When removing one layer of steel but keeping the layer behind it (like on a welded tab), I use a die grinder to carefully eliminate the material holding the spot weld to the first sheet, and pry it off with a screwdriver. Then I grind the surface more or less flat with a flap disk and fill any small holes with the MIG. So far the only “holes” I had to fill where the floor pan drains and firewall holes like the heater bulkhead. In those cases, I just approximated the disk out of 20-gauge, welded and used a flap wheel yo make it flush. nothing wrong with the spot weld removal tool. I just didn’t want to deal with Swiss cheese. Also, this ain’t a street car so not too concerned with eliminating the OEM-looking spot welds. -
looking good! What thickness and alloy aluminum did you go with for the sheet metal? Come join the dark-side, and get an FRP hood with custom fabricated mounts. The one from Z-Trix is only 12lbs!
-
I'm Back, 1971 240Z and Yes, it will be TurboCharged
AydinZ71 replied to 240Z Turbo's topic in S30 Series - 240z, 260z, 280z
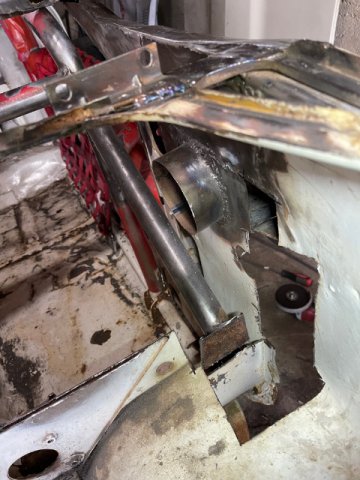
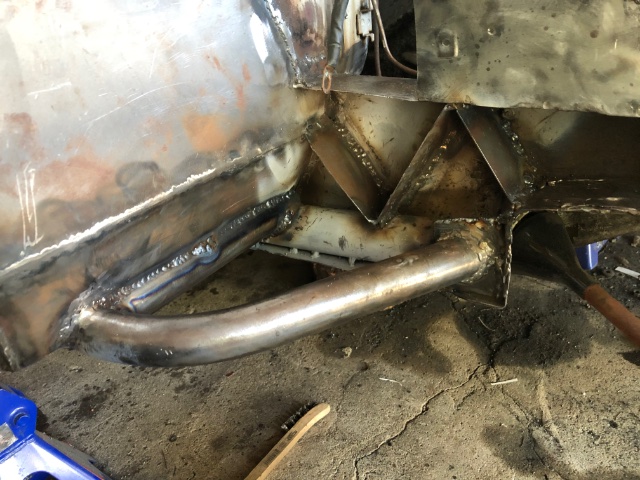
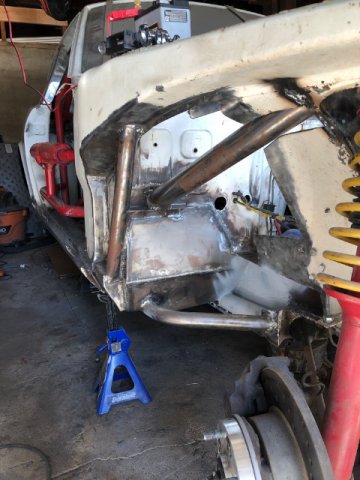
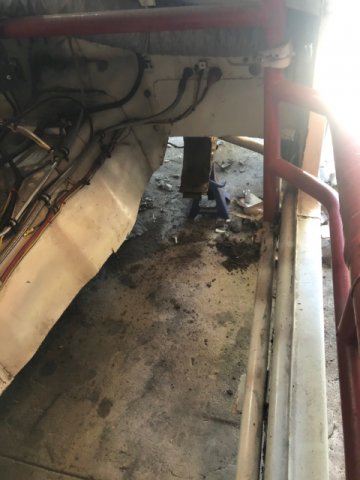
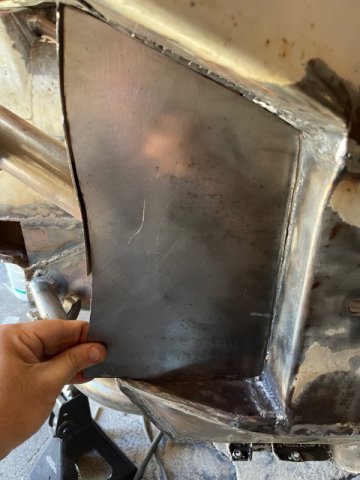
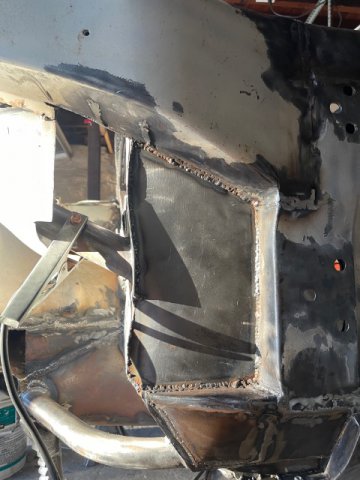
I have replaced 30% of the steel on the race car. The issue I see is all the unprotected lap joints. There are many that are facing areas that would naturally have water splashed onto them in wet weather, or drip-down through them like the cowl. Once water gets ON a lap joint, it gets INTO the overlapping steel by capillary action (like a wick) where it "sits" and starts rusting the steel. All it takes is for the primer to fail at the lap joint, which is very common with overlapping steel that is only being held-together by spot welds. Rust needs a steady feed of moisture and O2 to continue deteriorating. The problem is the more it rusts, the more porous the surface becomes. This accelerates the oxidation over time. Once rust is formed, it will "hold" moisture like a sponge and keep feeding the raw steel the steady diet it needs to turn from grey to red. If it makes you feel any better, It has been one full-year of rust repair on this car, with around 4-6 hours spent per week. Then you have to replace all the fastener attachment points and check fitment, which takes several months as well. The one lesson I have learned over and over = Just remove everything and methodically plan ahead. I have tried to "limit" the scope of repair/work multiple times before realizing it is a huge loss in efficiency. If it is bad enough to damage multiple surface is several directions, just cut it all out, start from scratch, and consider primer-ing the whole area when done. you can scroll the progress on IG @240z_restomod or scroll through my dedicated thread on this forum, if you are looking for ideas on tackling a similar repair -
I'm Back, 1971 240Z and Yes, it will be TurboCharged
AydinZ71 replied to 240Z Turbo's topic in S30 Series - 240z, 260z, 280z
100%. even if you are less concerned with the primary purpose of the cage (safety), strengthening the chassis is a must at the torque you are looking at. To be clear, the torque is the “problem”, but everyone just asssociates HP with torque 🤷🏽♂️. Close enough I guess. the 240z chassis is one of the lightest (and flimsiest) Nissan has made since. I saw significant body flex even at 300ft-lbs. the sheet metal is nearly 20-gauge, which you can “tin can” with your bare fingers. I agree with @calZ that you should absolutely look at opportunities to stiffen the chassis. I have some ideas if you need help getting started. -
Robello actually prefers webers (at least over the phone they did), and experienced racer Greg Ira prefers OER’s. Certainly much more affordable! I see Mikuni’s value in a nostalgic era-specific build.
-
doing this now. Welding a steel AN-10 fitting to the OEM vent tube. Just bought an adapter fitting and cutting off the NOT threads. You can do wonders with a MIG welder! Where I am putting my catch can, it’s a straight-shot (10” hose) to keep weight down. Top AN connection will be connected to the filter air box to reduce some of the leaded fuel fumes in the cab
-
Have your crank checked too while you are at it. The Nissan L series cranks are bulletproof, but they can warp in some cases. Just like the block/deck can. My diesel crank was off by .005 and it had to be straightened.
-
240z SCCA vintage race car, restoration
AydinZ71 replied to AydinZ71's topic in S30 Series - 240z, 260z, 280z
Thanks John! Getting antsy here… yeah I definitely need a crash-course in suspension adjustment. Really, don’t know where to start. I probably have a few months before I need to worry about it, so il get to watching some YouTube. -
That’s weird… I’m not a machinist, but .015” is a LOT. Can you “feel” the difference with your finger tips? Trying to rule-out your measurement device. What would naturally cause your piston to “pivot” on its axial travel would be improper ring gap or worn rings. Beyond that, it could be many things. My head is off, and I’m at -0.35mm (negative for protruding piston) on all 6. i boosted an L24 twenty years ago and thoroughly wore-down the rings to the point where the piston side-skirts slapped the cylinder walls. Detonation was involved.
-
240z SCCA vintage race car, restoration
AydinZ71 replied to AydinZ71's topic in S30 Series - 240z, 260z, 280z
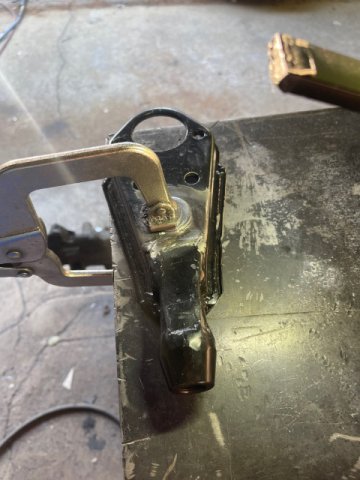
@jhm thanks John! Totally makes sense! Unless you are connecting the end-link directly to the strut assembly, anywhere along the LCA will have less travel (max at LCA-strut mount, 0 at crossmember pivot heim) and therefore, less leverage on the arm. I thought about doing this, but got nervous with the EP requirement to maintain “OEM attachment points” with “introduced adjustability”. Hence the bolt-in camber plates. If I had more experience with the judges, I could consider adding a few mounts along the length of the LCA. I did weld a thick fender washer to the mounting hole, reducing the ID down to a clearance fit and stiffening the mount. i did this because I suspected the heavier spring and cornering loads are introducing some “slop” (movement/strain) at the OEM hole who either had worked it’s way loose over time or the PO had widened. Also got rid of the OEM end-link bushing perch so the carriage bolt sits flush. The bottom-side nut will also have a fender washer, but didn’t see a need to weld that one now that the through-hole ID has been corrected. Y’all have given me a lot to think about! Gosh, I really need some track time before I have any idea what I’m doing adjusting this sucker 😂 -
240z SCCA vintage race car, restoration
AydinZ71 replied to AydinZ71's topic in S30 Series - 240z, 260z, 280z
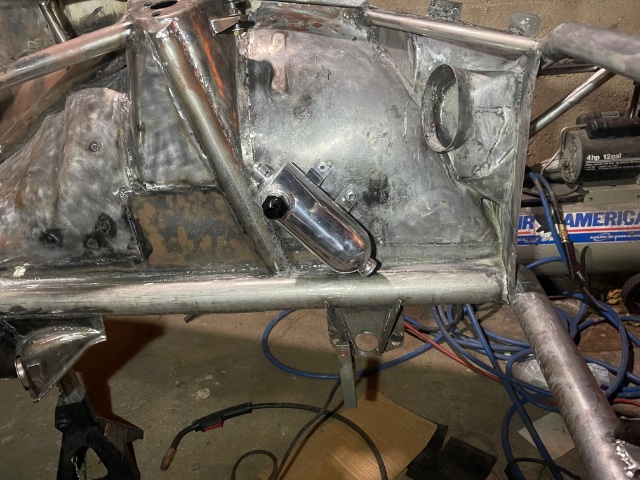
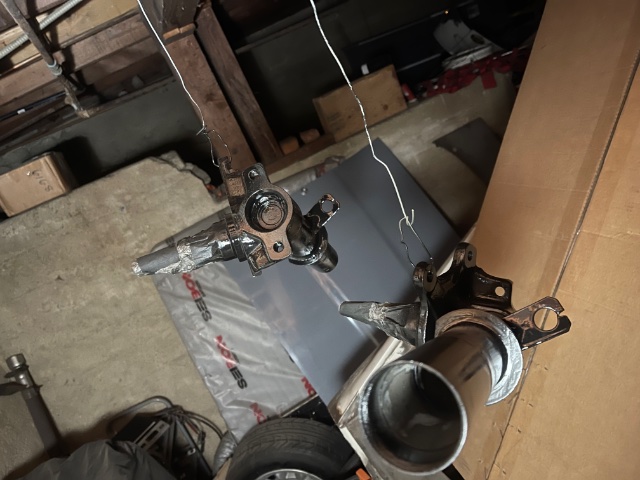
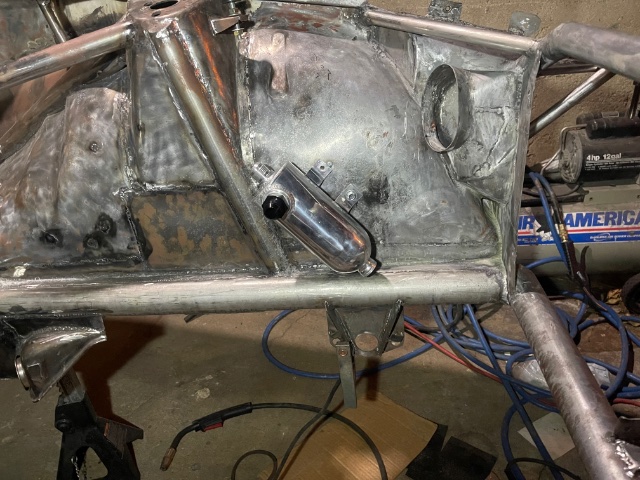
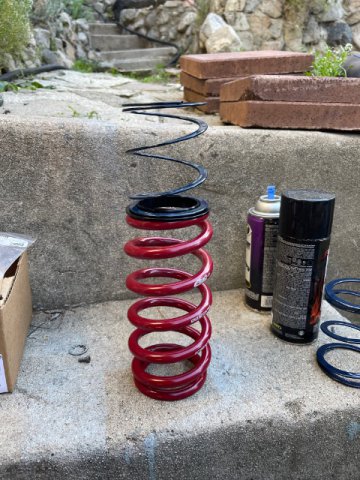
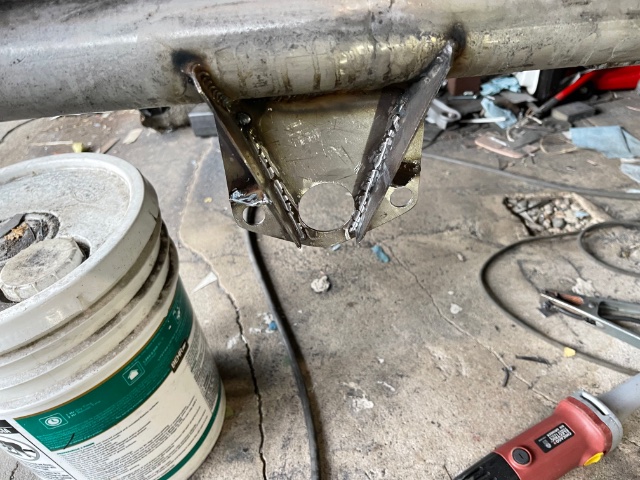
@clarkspeed thank you Clark! Really appreciate it my friend Turns out I spaced the arm holes (5 total per arm) 3/4” apart without even realizing it. The end link I’m using has 10mm fasteners (3/8” more or less), and I ensured a minimum wall-thickness between each hole of 1 diameter, hence 3/4” center-on-center. sooooo latest updates: 1) Disassembled front suspension and finally had a chance to paint the struts and knuckles. Had to remove the brake hose brackets to section them, so added them back. I biased them towards the rear (wheel-well side) because I was worried the OEM length hoses I bought last year (duh) would struggle with the extra track. Although EP only allows +1”, I actually have enough adjustability for +2”. In fact, the shortest it can go now is +3/4”. 2) added another small gusset at 90-degrees to the sway-bay mount because… well, because if I stare at something long enough I keep noodling improvements. 3) Found an oil catch-can that was in stock, had a top fitting, was large enough to meet regulation, reasonably priced ($90) and actually lightweight (NOT billet). Mounted it at an angle on the drivers side. It’s not ideal to mount at an angle but in this precise location, it’s a straight-shot from the block breather tube to the can. I could have added bracketry to make it level, but that just adds weight. I plan to run the top of the can to the carb-side of the engine air filter so I have less fumes to breath. I don’t have windows, after-all. 4) coolant overflow mounted on drivers-side, near where the alternator hangs-out. Keeps the overflow line short, and again no brackets. 5) helper springs and spacer sleeves came in mall the little things… soooo close to primer -
Hmmm… I’d be worried that the heat/cold cycle, vibration and articulation of the strut will loosen or shimmy the clamps. You could try it out and see. Do you weld? That would solve this pretty quickly.
-
Dude, there is a set on offer-up near us for $3600. No thanks LOL. Could buy a new set of OER’s direct from japan (47mm) for $1600. 50’s are almost double that, but I would need to look at a CV or flow chart to know if the difference is worth-while.
