zbloke
-
Posts
110 -
Joined
-
Last visited
-
Days Won
1
Content Type
Profiles
Forums
Blogs
Events
Gallery
Downloads
Store
Everything posted by zbloke
-
ARP head studs won't go in all the way. What do I do?
zbloke replied to dpuma8's topic in Nissan L6 Forum
I used a bottoming tap when I installed ARP head studs on my current engine, even with this cutting another couple of threads right at the bottom of the hole the studs still had approx one thread showing above the deck of the block when installed Use a bottoming tap, wind em in hand tight as far as they'll go and your good -
Relocating LCA inner pivot point
zbloke replied to socorob's topic in Brakes, Wheels, Suspension and Chassis
When I had the same issue I took the OEM bolts to a machinist and had him reduce the thickness of the bolt head to increase the underhead length by the thickness of the two washers I wanted to fit -
Any experience welding L6 head - how much warpage to expect?
zbloke replied to inline6's topic in Nissan L6 Forum
Isn't there some information in the Honsowetz book regarding amounts of pre-bending before welding the head? -
Steering rack parts availability
zbloke replied to RebekahsZ's topic in Brakes, Wheels, Suspension and Chassis
If the OEM style inner tie rods should become unobtainable then Nagisa Auto offer a solution that also does away with the OEM outer track rod end and replaces it with a bolt in stud/rod end bearing attachment at the steering knuckle -
I've got an OSG STR 2CD in my 240Z, driven on the road and used on the track, took a while to get used to the biting point for road driving and still occasionally stall but no major dramas with it Mine does rattle/chatter when the clutch pedal is depressed but its a characteristic of the unsprung clutch cover design, I believe sprung covers are available for some of the OSG range My advice for what its worth, speak to OSG and tell them what your needs are and they'll recommend a clutch, when I contacted them they didn't offer an STR 2CD for the L series engine but in their opinion it was the best clutch for my needs so they said if I'd like one they'd put me a kit together, good people to deal with
-
This may or may not help you but, I've had a couple of air leaks on my Mikunis, only found by listening around the offending areas with a piece of 5/16" rubber fuel pipe in my ear like a stethoscope First one was the float chamber cover gasket, specifically in the area around the vertical tubes that take the cold start mixture down to the inlet manifold side of the throttle butterfly, new gasket cured that Second one was between the face of the carb and the Misab plate insulator in between carb and manifold near the top of the flange, pulling the carb off and having a look there are drilling's, I believe for the idle/progression mixture, which are plugged with brass inserts, the inserts are slightly below the face of the carb and there where witness marks on the Misab plate rubber where it looked as though it wasn't sealing, and the cause of the air leak, I put a little Superglue gell over the brass insert let it go hard then sanded flat, fitted it all back up and retested and could only detect the tiniest hiss when listed to with my 5/16" fuel hose stethoscope After spending some time setting up the gaps on the rubber bobbin and washer mountings that ensure the Misab plates are loaded equally and still having a tiny air leak I think the only way to totally seal the carb to manifold joint, for my application anyway, is to switch to gaskets and solid, phenolic?, spacers
-
Brake Proportioning Valve Location
zbloke replied to JoeK's topic in Brakes, Wheels, Suspension and Chassis
I've fitted an adjustable proportioning valve in the stock valve location, its fairly easy to access if/when I need to make an adjustment http://forums.hybridz.org/topic/89547-how-and-where-to-install-the-adjustable-proportioning-valve/?p=872742 -
DIY shift indicator light with distributor/coil?
zbloke replied to ol doc gully's topic in Nissan L6 Forum
Why not ditch the shift light and have your circuitry powering a buzzer or bleeper? -
Just started playing with Innovate LM-2 on Mikuni 44 2.9L stroker
zbloke replied to inline6's topic in Fuel Delivery
You wouldn't have a link to some of the above would you? -
Pro/Con of combining valve cover and engine breathers
zbloke replied to zredbaron's topic in Nissan L6 Forum
I've ran my with cam cover and crankcase breather hoses joining together and feeding into a catch tank with the tank vented to atmosphere for over 4 years now, no issues to report after numerous on track activities, not had to drain anything out of the catch tank either -
I know someone who's brought a set of rods very similar to the ones in the first post. Had a look at them yesterday and they do appear to be well made and finished, no burrs or sharp edges anywhere and the bolts do have ARP and a part number on them too......non of this means that they'll stand up to hard use though so only time will tell
-
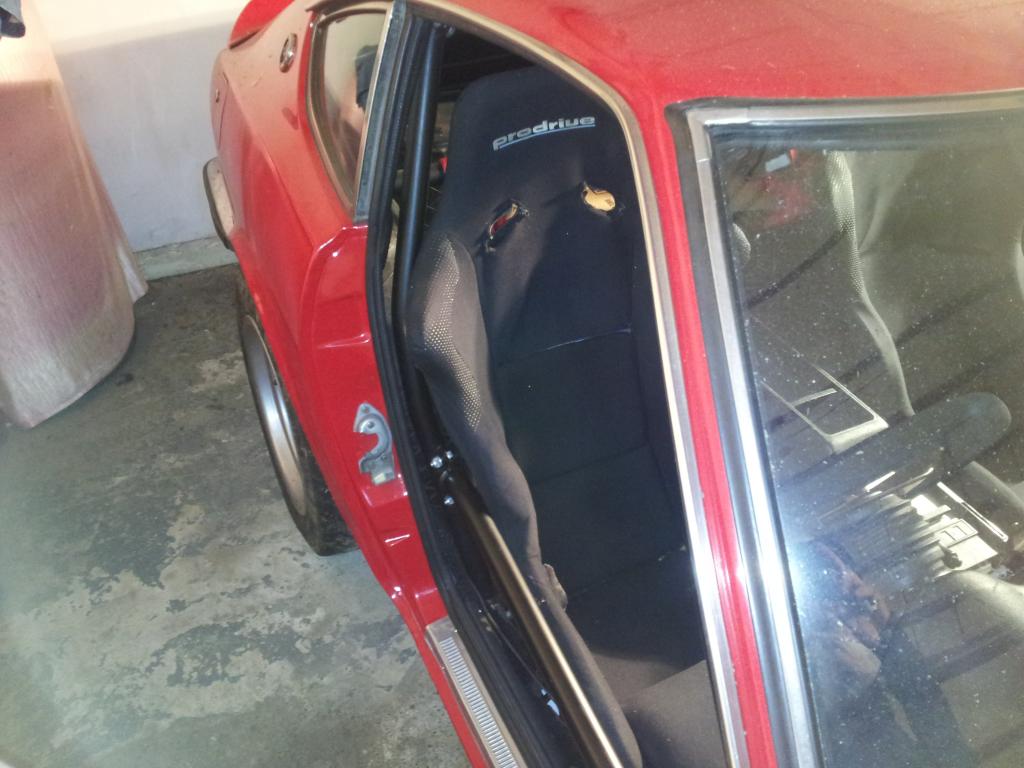
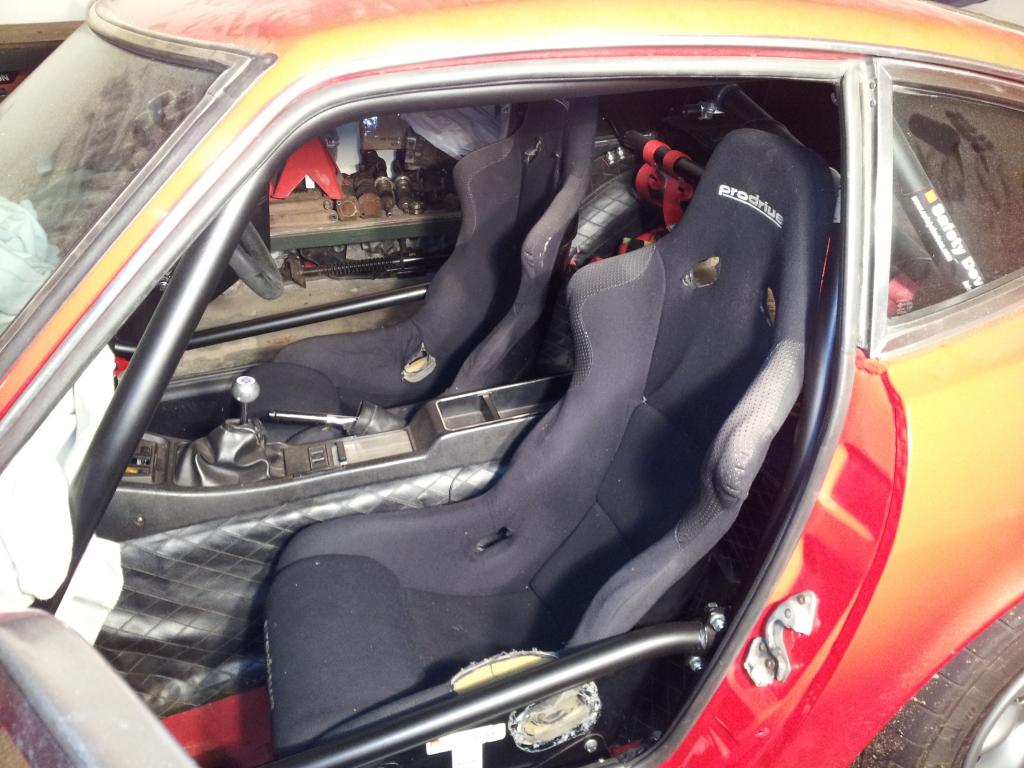
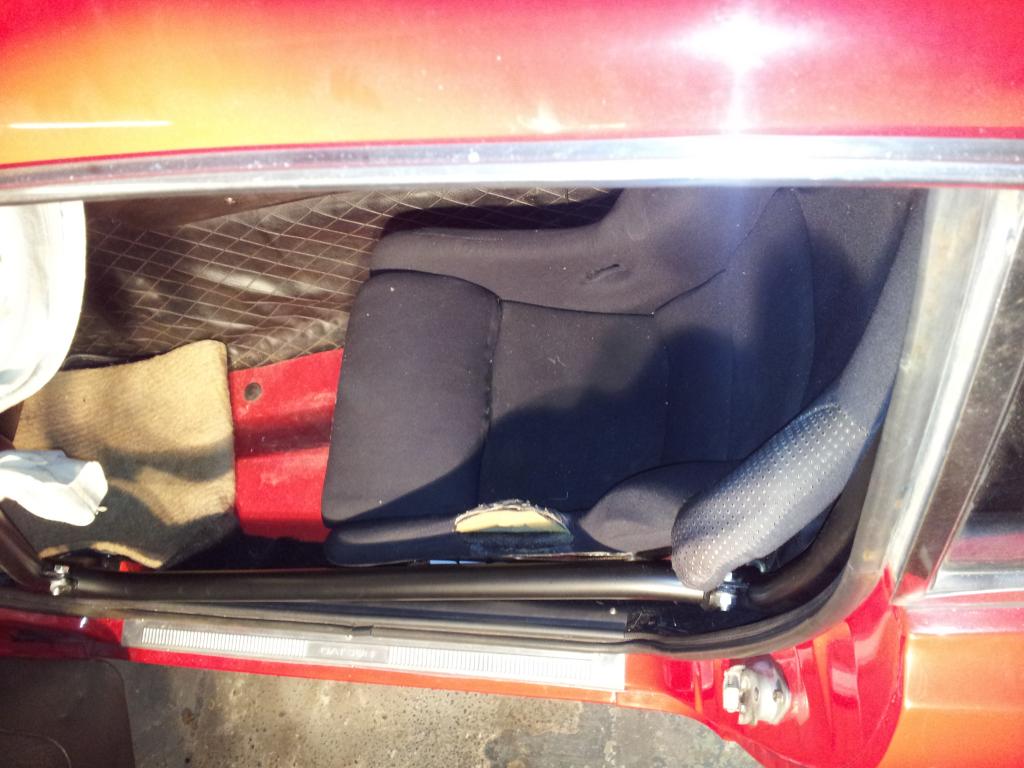
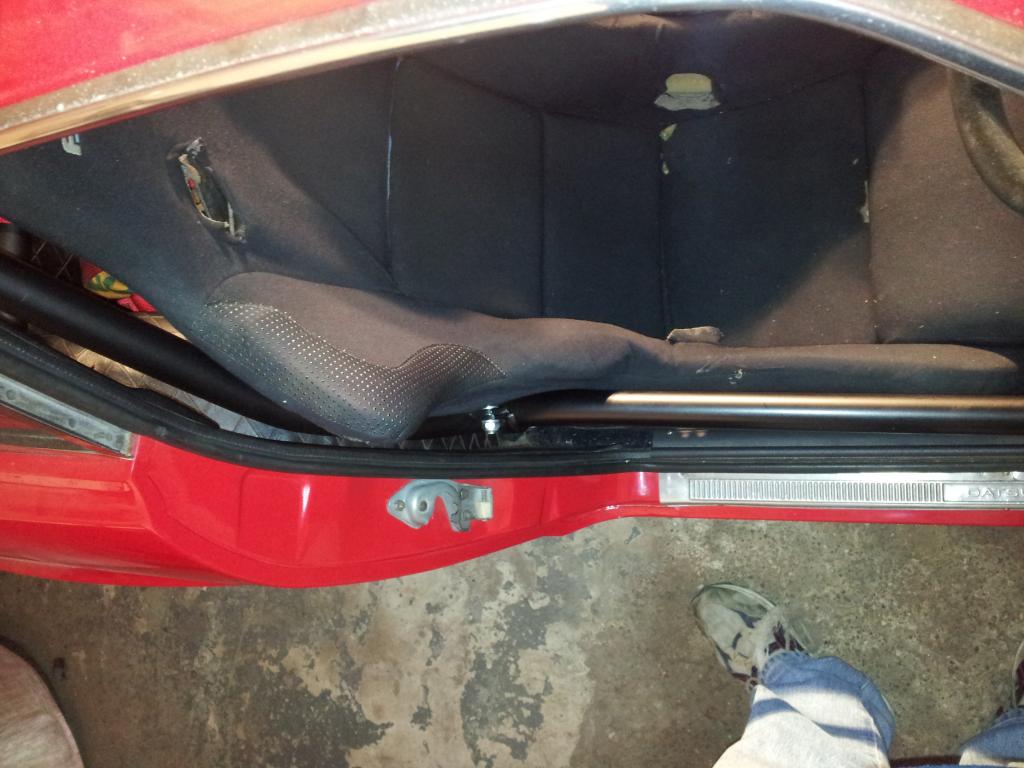
A little update re. the drivers seat and its bolster rubbing on the door card I slotted the rear bolt hole for the outer seat mount inward by approx 1/8 of an inch and then squared the seat mount to the inner sill before drilling the front bolt hole in the extended dropped U section Repositioned the inner seat mount square to the outer one and drilled the front bolt hole for it, fitted the seat....and the outer bolster now just clears the door card, like the passenger one, and the steering wheel feels and looks just as centred, possibly better than before too, to the seat Happy days
-
Door bars that miss the window crank and door handle
zbloke replied to RebekahsZ's topic in Fabrication / Welding
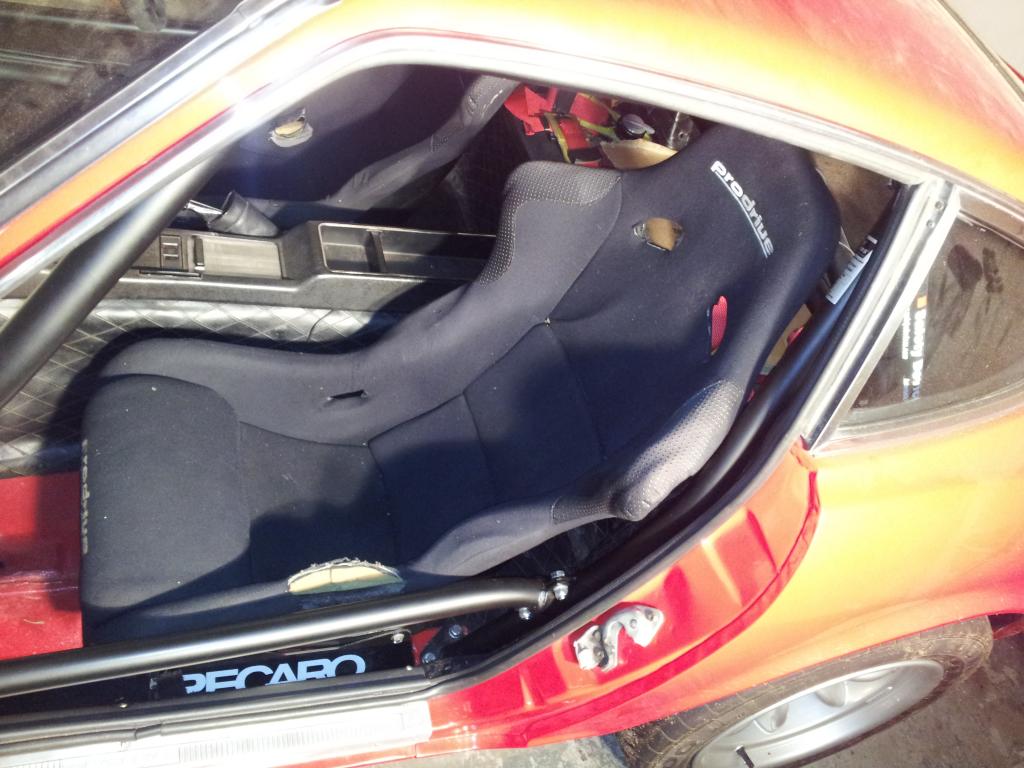
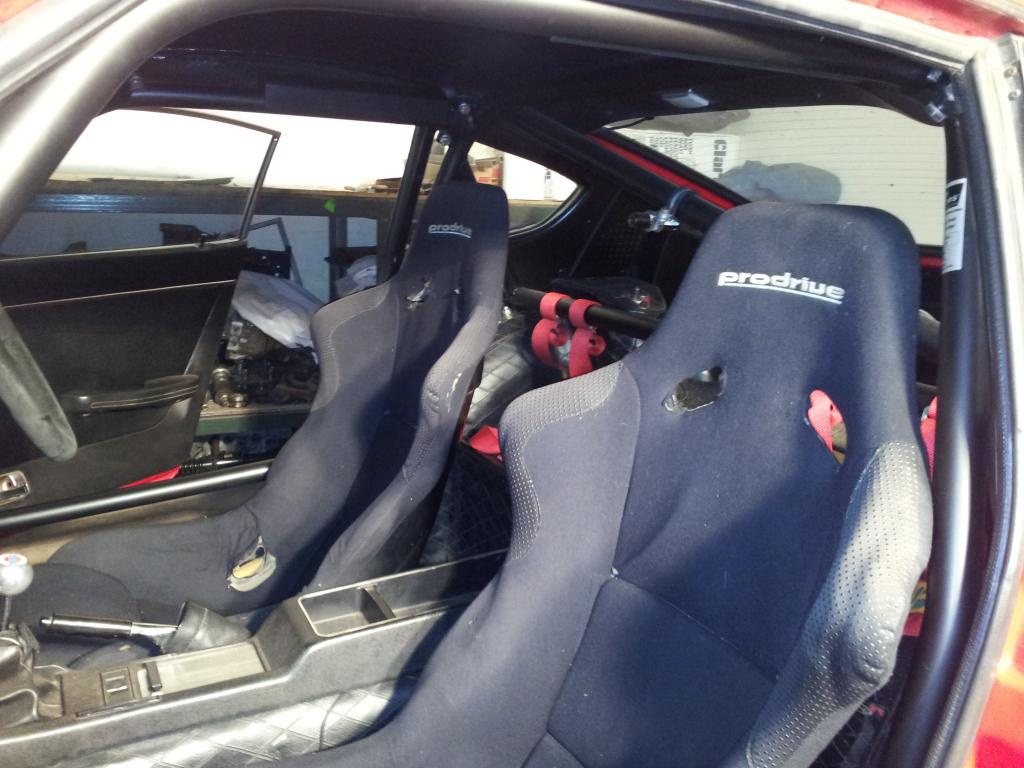
I'd already modded the seat mounts before the cage went in, but its pretty safe to assume my head would have hit.....even with the modded mounts my head would just clear when rolled to the right and with helmet on it would hit the cage I've different seats fitted now, pics are in the "Will Recaro Profi SPG....." thread in Interiors, head is well away from the cage.....and I feel much happier -
Door bars that miss the window crank and door handle
zbloke replied to RebekahsZ's topic in Fabrication / Welding
The door bars on my cage still give access to the window cranks and interior door release levers Weather they'd be legal for your 10.0-certifiable NHRA roll bar is another matter though......
-
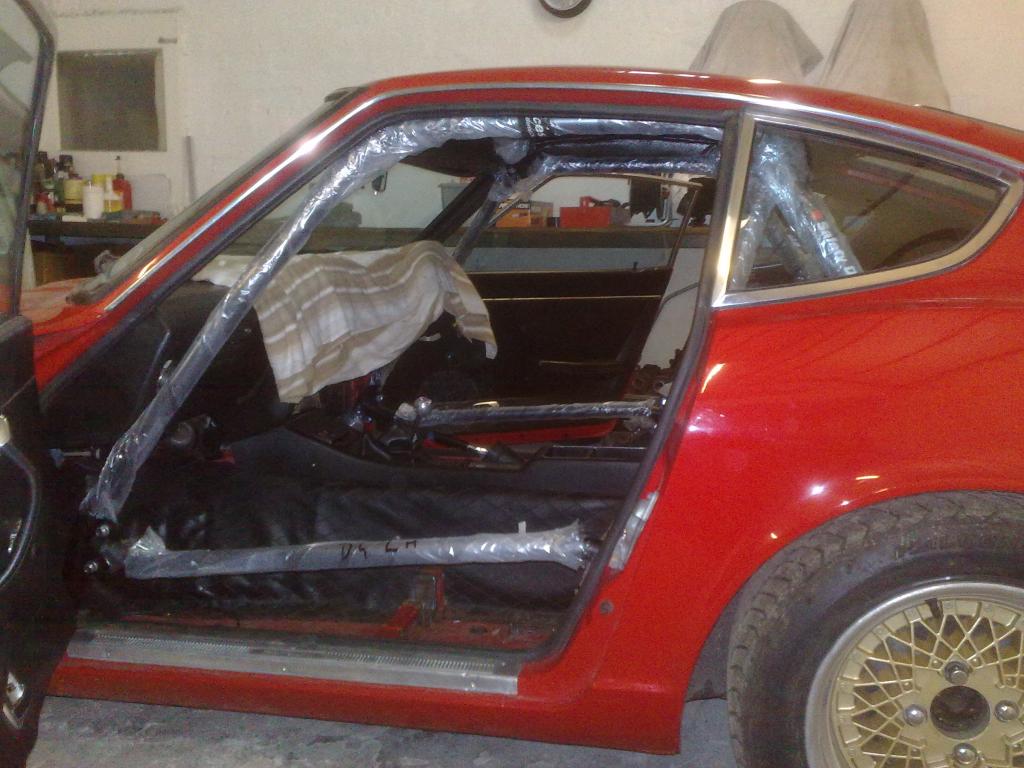
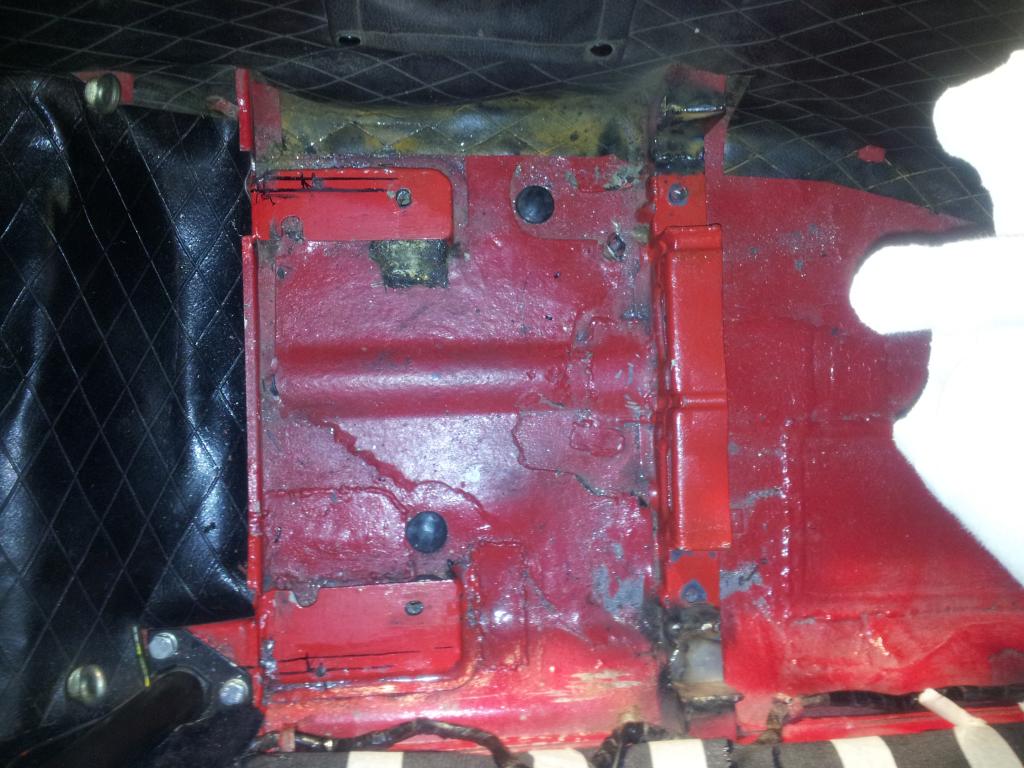
Right then, better late than never........modded seat mounts, not pretty but effective, I cut them down when I had the previous seats fitted and needed to widen the U shaped dropped section in the front mount to accommodate the Recaro side mounts
-
Here ya go.... In an effort to get the drivers seat as central as possible to the steering wheel the outer shoulder bolster does rub on the door card, if this becomes an issue I might move the seat mounts to the left a little, even so I'm much happier as my head is now 2" further away from the roll cage........passenger side outer shoulder bolster just clears the door card When I'm finished I've got some new seat covers to go on the shells I'll get pics of the modded seat mounts over the weekend, basically all that's been done is cut the rear ones down and make U shaped dropped sections in the front mounts
-
Firstly, apologies for dragging an old thread back up. But I can confirm that Recaro Profi SPG, normal width...not the 35mm wider version, will fit in a 240Z I've modded the OEM seat mounts to sit them lower in the car and used the Recaro side mount frames Happy to post pics if anyone is interested
-
This company produce a lighter starter for the L6 http://www.wosperformance.co.uk/ Its based on the Denso 1.4KW base unit and comes in at about 3.7Kgs......OEM stock and gear reduction are both around the 5Kg mark, I only know this as I've weighed both recently
-
This one? http://www.ikeya-f.co.jp/en/product_notice/sequen_shifter.html
-
I've run the OS Superlock in my Z since the end of last year, road and track use, no issues, no funny noises, I'm more than happy with it
-
That looks exactly the same as my Blue Point one
-
How about a bolt in strut brace, leave the mounts attached to the tops of the shock towers and just take the cross bar out to carry all you stuff, take your stuff out at the track and bolt the cross bar back to the mounts?
-
Blue Point Tools used to, and possibly still do, sell a plastic chain wedge suitable for the L6 I have one somewhere in my tool box......
-
Off rotisserie, on 15x14s
zbloke replied to JMortensen's topic in Brakes, Wheels, Suspension and Chassis
Its nice to see your project off the spit and back on its wheels, always a good feeling! However the overall look of it, which I happen to like, reminded me of this........ -
The Blue car that looked like a Triumph is a Daimler SP250 Dart And the Rolls Royce is a Phantom 1, built specifically for the American market in Springfield Massachusetts