-
Member Statistics
33063
Total Members2821
Most Online
All Activity
- Yesterday
-
The branding on their cover annoys the hell out of me. Obviously advertising their name is fine, but using up a significant chunk of prime fin area is crazy. It's similar to T3/Apex/others laser cutting their logo into their plate metal parts in the least structurally sound way possible.
-
Bubben joined the community
-
Sorry for the dumb questions, thanks for the help again
-
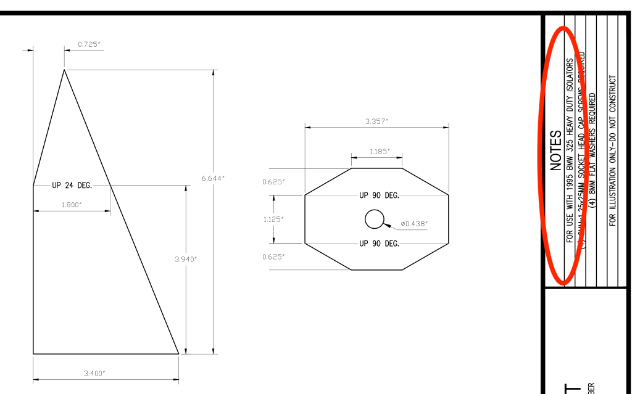
In the upper right hand corner of the prints, there are notes in the title block for 1995 BMW 325 isolators.

-
If you're using the stock rack you need the 113 u-joint listed above. You can then mix and match to any custom (weld-in, double-D, etc.) linkage between the rack and the steering coupler.
-
After reading back through his threads i saw it mentioned that your mount brackets were intended to be used with e30 325 engine mounts, is that correct. I had just assumed e36 so wanted to be sure.
-
Oh sorry, you are right he posted it not you. I got the wires crossed there
-
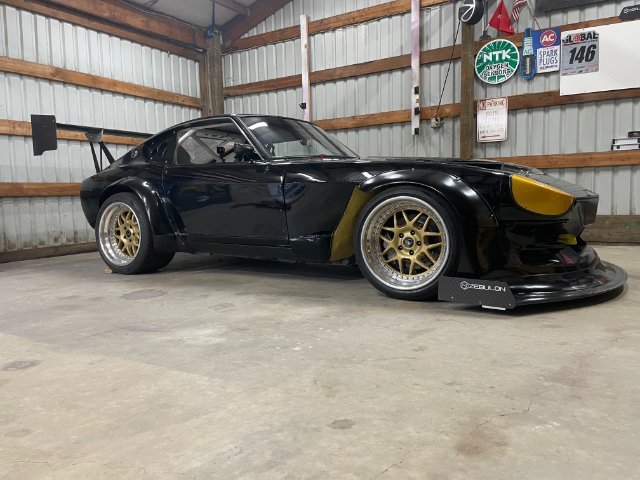
Yet another LS 260z swap :)
socorob replied to christianmoller's topic in Gen III & IV Chevy V8Z Tech Board
I went to Sweden about 15 years ago, and at night we asked people wheres a good place to go in Stockholm. I guess it was after midnight, and several people said Applebees of all places. I thought that was weird until I got there. It was packed, then then I saw why. People were street racing all kinds of crazy stuff that you could see from the outside tables. I saw everything from a Lambo race a 4 wheeler to a ferrari racing a street bike. It was kind of wild. -
i have some incoming gravel road driving so i put audi 3.0tdi filter. holset flange is 100mm and audi filter is 102mm. if anyone needs one part number is below. in EU that filter was 6.5€ i mean k&n filter takes gadfly but mosquito goes thru 8k0133843d
-
http://www.woodwardsteering.com/PDF/7. Steering Universal Joints, Splined Couplers and Shafts.pdf
-
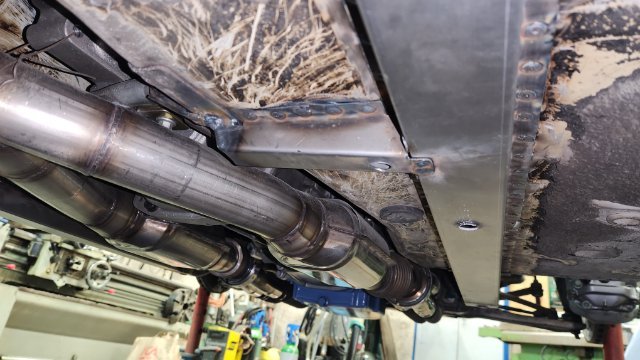
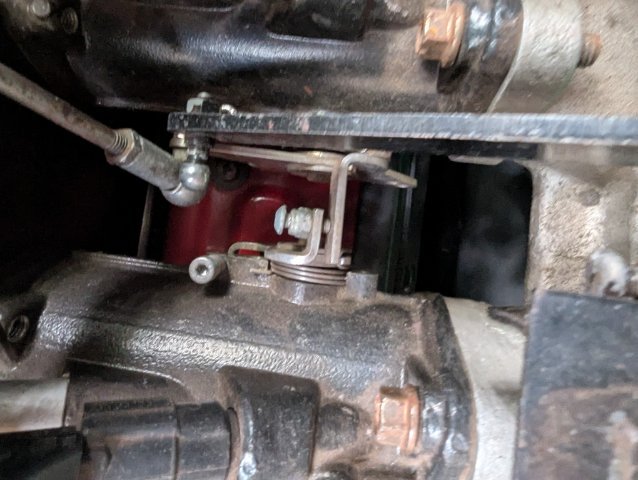
There are couple of ways that you can attack this. 1. You can add a u-joint and rod end support between the existing to get you under the motor mount. 2. You can raise the motor mount pad to allow the existing shaft to pass under. That may cause other issues like hood clearance and drive line angle. 3. You can shift the entire steering column inboard and down. I did this on my car using some 1/4" aluminum plate at the firewall and where the column bolts to the pedal box. But mine is just a race car. My seat is moved 1" closer to the centerline, and I wanted the steering wheel centered on me.
-
Sorry for disappearing for a hot minute... the starter is up and out of the way, its the rubber isolator and mount bracket that end up blocking the linkage.
-
Didn't realize that cover would just bolt up (other than the machining to clear the ring gear of course) Solid choice! I would have done the same with the logo as I'm honestly not the biggest fan of branding. I even had all the emblem holes welded closed before paint on mine. Only logos left are the Z emblems on the quarter vents. My own OSG probably won't ship for another month unfortunately but I'll have to start looking at some shops to rebuild my 3.54 in the meantime so I'm ready to go
- Last week
-
I don't recall making a "revised" mount. Are you talking about the mount katokid posted a picture of? That would be his build and his solution. I don't have any information on it beyond what he posted.
-
Hate to drag this thread back from the dead, but im currently doing this swap on my z with a 2.8 m52. Got a friend building the mounts now off the drawings you posted, was wondering if you had anything on the revised trans mount pictured later in the thread using bmw trans bushings. Seems simple enough to fab up but shop space is limited at my buddys shop so anything i can get fabbed off of drawings helps me keep the project moving while i wait. Either way this is an great build and cant say thanks enough for sharing those drawings with the community.
-
This is the most activity this thread has seen in years, ANOTHER WEEKEND UPDATE! Got the intake welded up, some gasketing on the radiator extractor, and got the car back on the ground. Also got a nut and bolt done on the car. I still need to bleed the brakes, and do a quick fluid check and I'll be in good shape for a few events!
-
 HellrotS30 joined the community
 -
 kukko83 changed their profile photo
 -
I was doing some thinking and think that I have discovered an excellent trick to get some higher compression and better piston rod characteristics from a stock dish piston setup. I don't have the parts in my hands to take exact measurements, but it seems like you can take an L28 with dish pistons, swap in 240z rods (2.65mm longer) and then remove about 2.15mm from the dish piston tops. This should get them to be basically a flat top, with depending on head gasket and block deck height, a nice tight clearance. You get the performance benefits of better rod ratio, smaller trapped area between top ring and piston top, and higher compression for minimal costs. Anybody do something like this before?
-
Yeah........I remember having to pull the mount bracket out to replace a dipstick tube O'ring on many lexus and toyota cars. The aluminum brackets are pretty big and in the way.
-
Yet another LS 260z swap :)
christianmoller replied to christianmoller's topic in Gen III & IV Chevy V8Z Tech Board
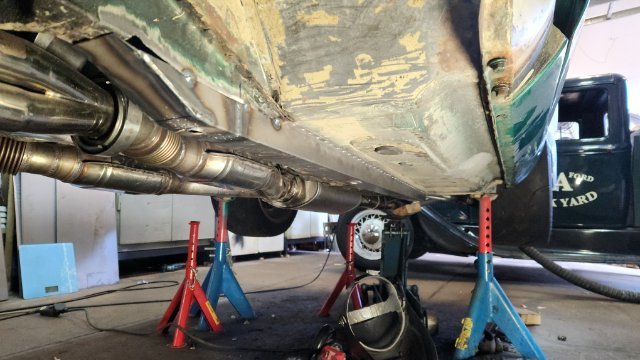
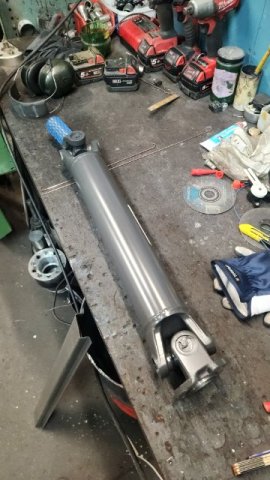
good evening frame rails are done and also some reinforcement to the transmission mount,inspector wants it). He will visit June 16 for the first inspection and after that i have five years to build for the final inspection were he wants to see a working vehicle. i also start with the carpet and sound deadening as i wait for him. Clutch is in the mail and only waiting for the half shafts to be made :). A new props shaft is made, for the first time i bought a new one instead of building my self(want a proper made one:)) /Christian
-

My Z car log....small jobs done and fun things
A to Z replied to A to Z's topic in S30 Series - 240z, 260z, 280z
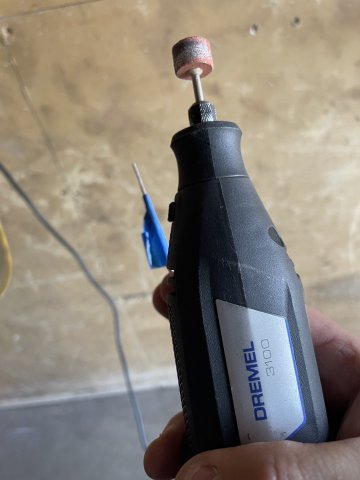
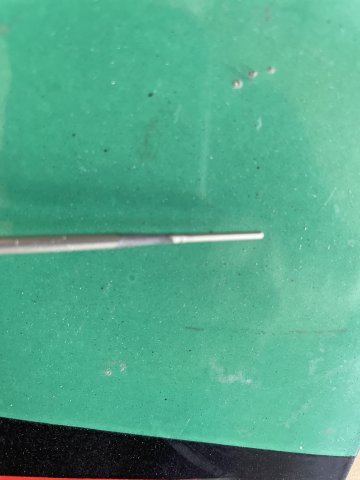
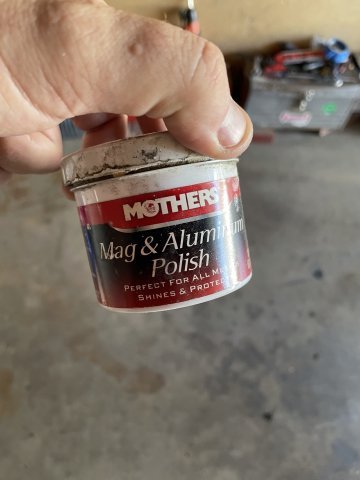
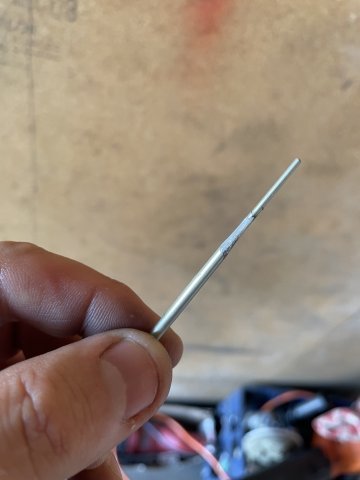
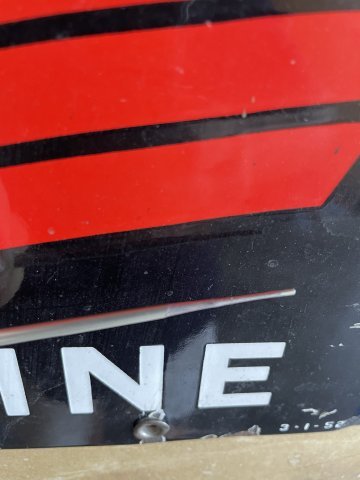
05-31-2025 Test and tune. I ordered some richer needles and today they were here so it was time for more trial and error. The needle rides inside of a "needle jet", and the one that was in there a "Y-8" was one step richer from the stock "Y-6" jet. Well, I went to the next richer size needle jet a "Z-0" and that is the largest one they have. then I took my new needle a "95" the richest needle they make and set it on the lowest (richest) setting. I went and drove it and it added about 50% of what I needed more of to make it just right. I ordered 2 needles, and so I taped off the other 95 needle and with my dremel began modding the needle. I added fuel in the 1/8 th throttle to 1/2 area, and then polished the ground area to make it smooth and put it in the carb and went for another run. Out of the 50% more improvement I needed it gave me another 25%, so just a little more.....pulled the needle back out and lengthened the area to grind down towards the tip a little, re-polished it and installed it....now she runs GREAT! only in one area was it not giving quite enough fuel, 2000-2500 RPM in second gear....roll on the throttle to the floor...... so I went back to my shims I had made to go under the choke and trial and error got me at 2 shims. It is now just right. feels good. strong and smooth, with a 3000+ RPM power band to redline. I did have a bit of a problem, as I wanted to simulate DYNO conditions, i.e. 4th gear, 2000 RPM, floor it and see if it would pull clean, the second time I did it I got a loud POP, and lost power. I started limping home and had to stop at one light, and it started smoking blue, then went to almost white for a second, then all smoking went away the rest of the way home. NO MORE SMOKE ?!? Initially I figured I had blown a head gasket.....but it wouldn't have quit smoking. looking under the hood, the vacuum line for the power brakes and the vacuum line for my vacuum advance on the distributor were blown off. Apparently I had put the car in an almost lug condition under load with full throttle, which shot the boost as high as you can imagine, and I LUCKILY had these hoses blow off, instead of the head gasket. These hoses are not clamped on tot heir ports so the boost was able to just push them off. I also found that one hose connection was leaking at the end, so I sealed it up and will give that 24 hrs to cure. DISASTER AVERTED! Those NISSAN factory Head Gaskets really are top quality. I highly recommend them! When I take it to the DYNO, I will just let them know not to full throttle it in 4th until 3000 RPM. Gradually add fuel until you are at WOT by 3000 RPM. here are some pics of the needle mod.
-
Quick weekend update. I picked up the diff this morning and it came out great. Some people had asked me to share what it takes to build a r200sn q45 diff as they aren't typically built, and as a result there isn't much info out there on these. So I got to be the guinea pig and put my own money and time down to find out 😂. Most, myself included, tended to run these diffs as cheap junkyard specials over the decades but as they've aged over 30+yrs all of the bearings and viscous LSDs are worn at this point. This one in particular came off of a turbo nitrous v8 drag race s30 and was starting to get noisy and show signs of metal in the oil. The builder, Weir Performance, is local to me and has set up a lot of Formula D cars over this past couple of decades and are very knowledgeable on Nissan R200s among other types. Having been around for a while they also make custom parts for diffs and actually have a full machine shop in-house working on other industrial projects. Basically the formula for this diff is s13/14 240sx OSG LSD, custom equal length stub axles that Weir has made in Italy with the stronger q45 6 bolt pattern, and a 39/11 r34 GT-R ring and pinion. I think the important things to note are OSG, unlike other brands like KAAZ, don't make a LSD that fits the q45 unequal length stub axles. The ring and pinion swap is due to the Nissan street car style diffs running smaller toothed gears, I believe the q45 was a 46/13, and the high performance cars like the GTR came with larger and stronger toothed gears in this case a 39/11. I also had a PTZ rear diff cover custom machined to clear the ring gear, open the bolt holes from Datsun to modern r200 case sizes, and also milled off the logo for more of a low-key look. The PTZ cover was needed to change the bolt pattern to suit the Escort rear end setup so I couldn't just run any r200 cover. I could write a lot more detail but I think those are the key points for anyone wanting to build a q45 diff.
-

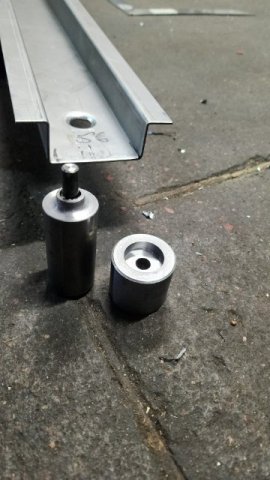
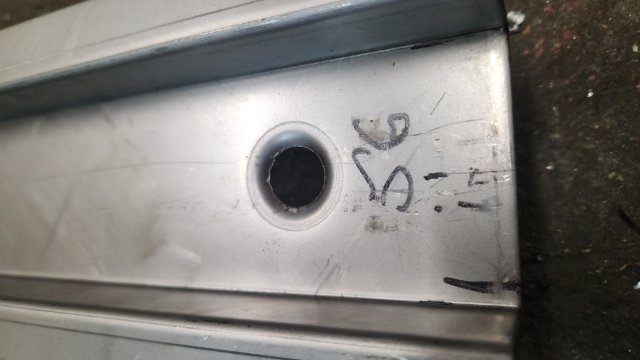
VERY IMPORTANT mod needed for S30 Z cars
jhm replied to A to Z's topic in S30 Series - 240z, 260z, 280z
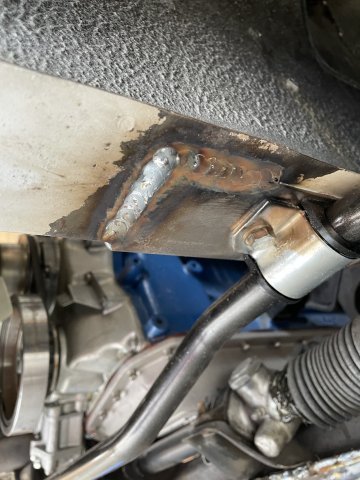
Yep, that's a good mod. You can also get them from Bad Dog, or fab your own from appropriately-sized angle steel. https://www.baddogparts.com/store/product/1970-1978-240-260-280z-sway-bar-plates/ Additionally, I like to run the sway bar mounting bolts all the way through the frame rails. If you go this route, you also need to insert round tubing through the frame rails (to prevent the bolts from crushing the frame rail) and backing plates on the topside of the frame rail (to spread the load, similar to what the reinforcement plates are doing on the bottomside). This is a more involved modification, and not really needed for most street applications.- 1 reply
-
- 1
-

-
kukko83 joined the community
-
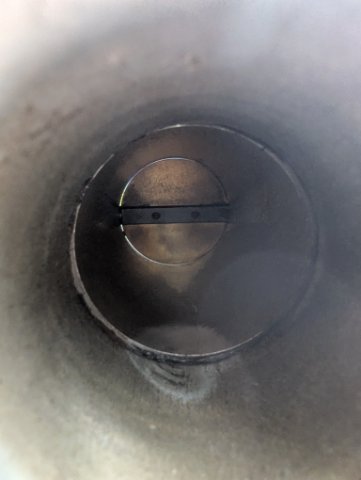
There should be adjuster like this between each, to make each pair flow the same, and the bleed screw is to balance flow within a pair. If the bleed screws don't have enough, then hold the throttle body up to the light with the throttle closed. You'll probably see the butterfly isn't perfectly centered because they weren't assembled very carefully. So they flow different amounts of air. You can slacken the two fixing screws and recenter the butterflies to balance them. But.... Why does the first need more air on yours? That doesn't sound right.
-
I guess I don’t know how that’s done and what it does . I run cable that moves first ITB that moves the rest . The first ITB needs more air but there’s no way I can see to adjust its linkage without moving the others . I hooked up the cable and this engine started and idled great - so no real complaints !
-
 TheSilentCartographer joined the community
 -
I've used this one a few times. Didn't subscribe or do any group drives, just picked a map and went. https://rallista.app
- 1 reply
-
- 1
-
-
If you have a Z car, this is a required modification as soon as you want to put a larger front sway bar on the car. Reinforcement plates. Without these, the larger sway bar will literally pull itself out from the treads and cause major issues. No one told me, I managed to just see them, and once I looked in to it, I was shocked! https://zcardepot.com/products/sway-bar-mount-reinforcement-plate-front-240z-260z-280z?variant=32170183262321¤cy=USD&utm_source=google&utm_medium=cpc&utm_campaign=google%2Bshopping&gad_source=1&gad_campaignid=17820837536&gbraid=0AAAAADgHqXunKXwkRdKYJKxJH-WU_4VvI&gclid=CjwKCAjwruXBBhArEiwACBRtHZNWcNIiwbMvUrypRpviE3xNi1UuajMNdG7ffhovH9Z5NiwuNSG0IhoCQwYQAvD_BwE
- 1 reply
-
- 1
-


-
Who's Online 1 Member, 0 Anonymous, 90 Guests (See full list)