alainburon
-
Posts
583 -
Joined
-
Last visited
-
Days Won
3
Content Type
Profiles
Forums
Blogs
Events
Gallery
Downloads
Store
Everything posted by alainburon
-
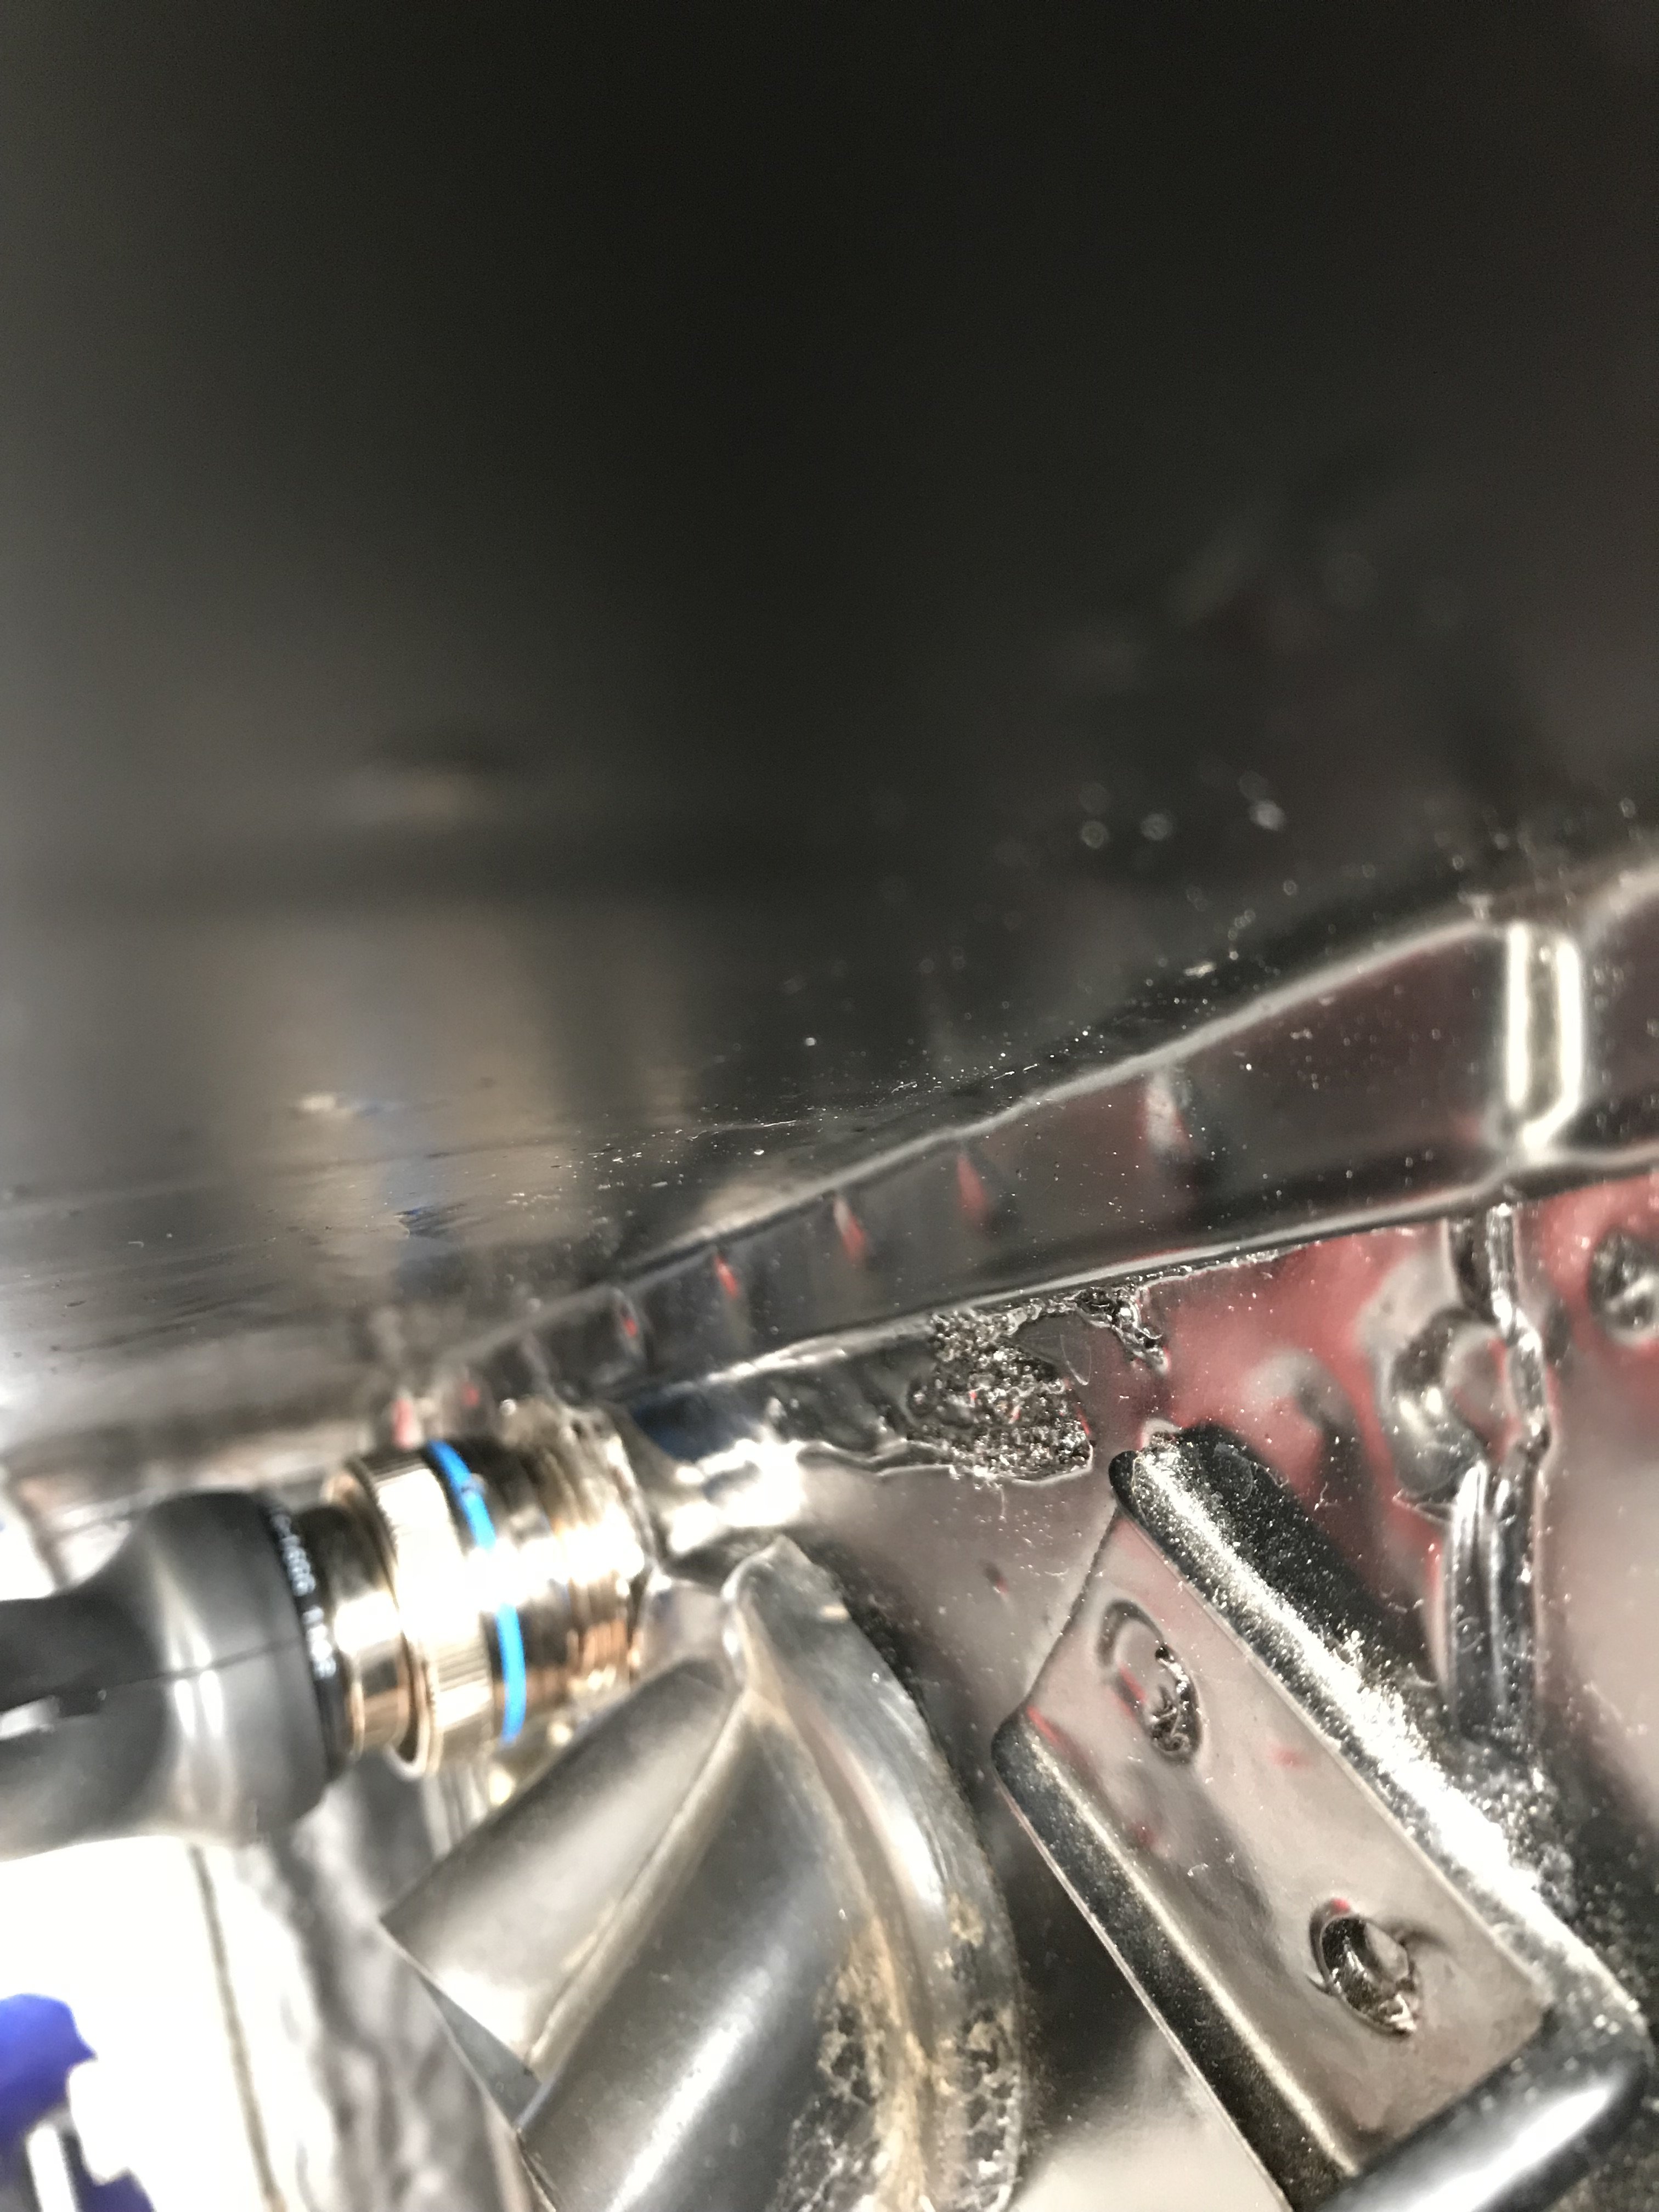
Thank You, I did that already and confirmed what the engine builder suspected. There were fumes coming from the dipstick tube. I also ran the motor with the oil fill cap off and the oil leak stopped. I'm just glad I caught it now before driving it or some wide open throttle runs.
-
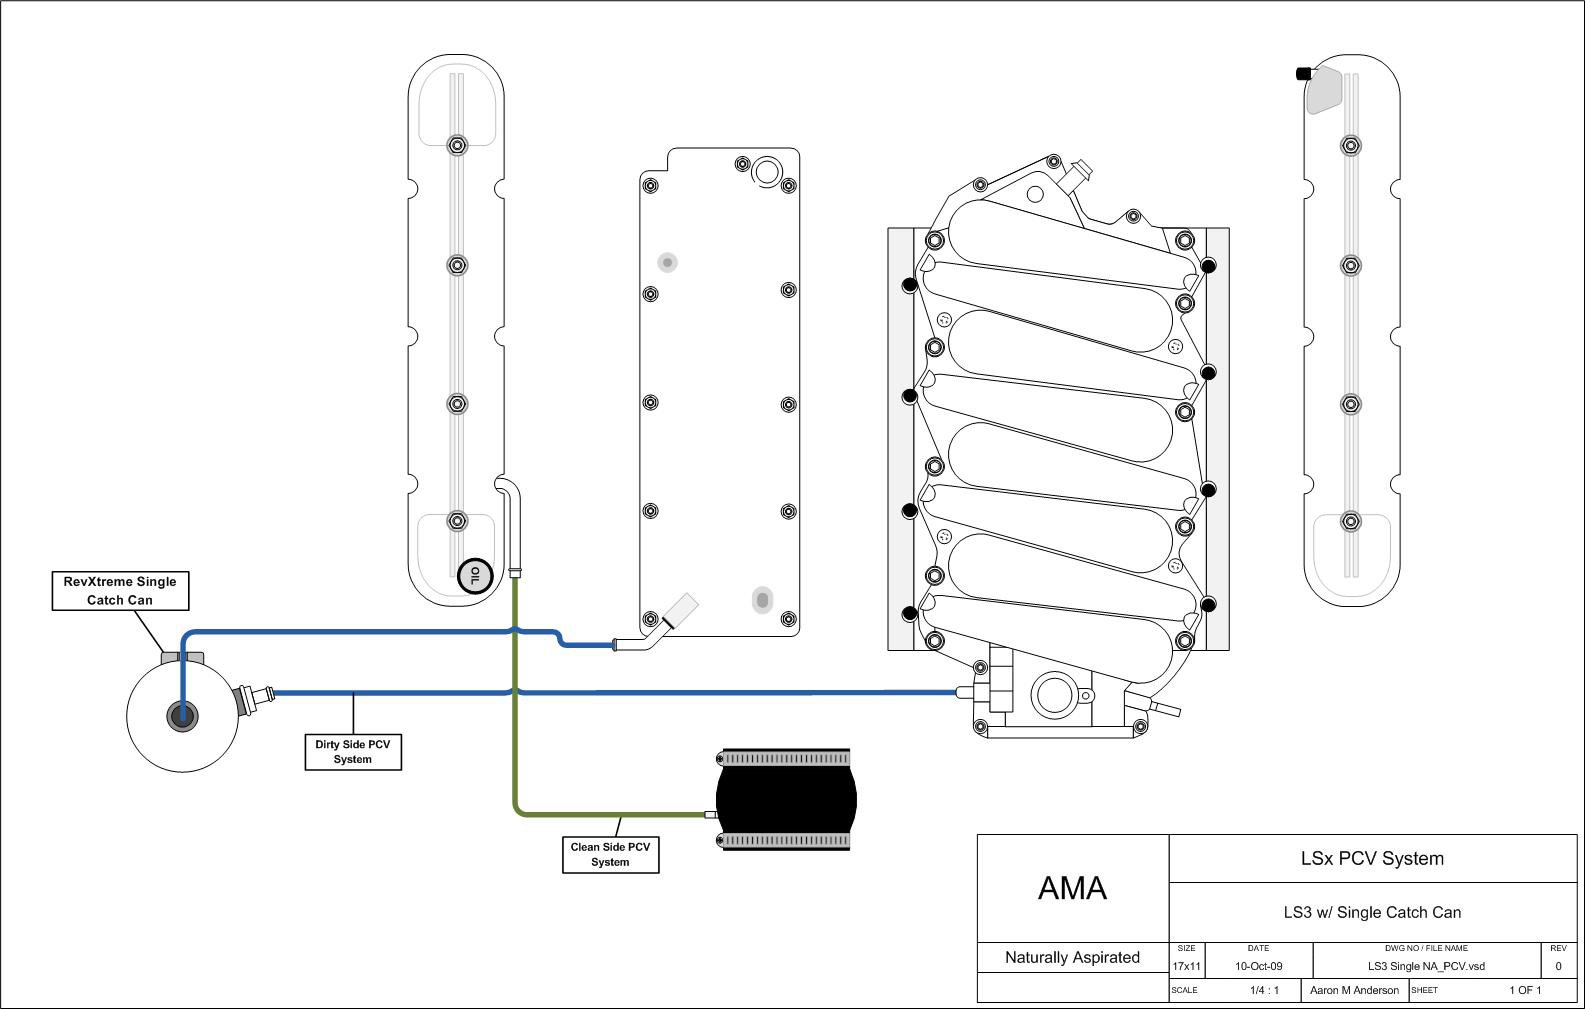
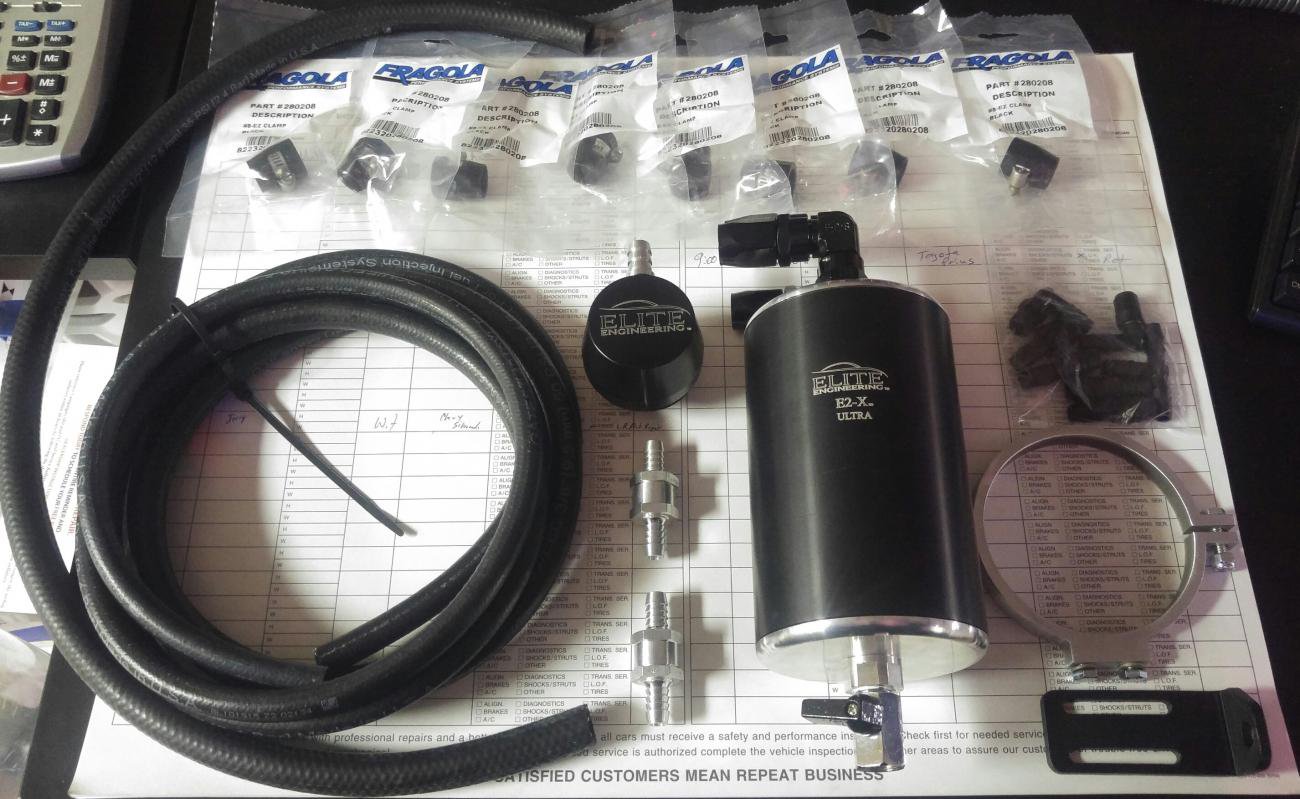
After running my car at idle for over an hour or so I noticed an oil drip from the front and rear mean engine seals. I spoke with the engine manufacturer and they immediately pointed towards not enough crankcase ventilation. I have an LS3 catch can on my car which I was told would provide enough crankcase ventilation as well as remove contaminants from the crankcase. It was designed for a stock or mildly modified LS3. Good thing I did not have my car dyno tuned yet or I would have blown the seals clean out. After reaching out to Elite Engineering's technical support it appears that the catch can I have does not provide enough crankcase ventilation for a stroker motor. It turns out I need a completely different set up. They recommended their Elite E2-X Ultra catch can with clean side oil separator. That kit is designed for high horsepower or boosted engines. I went ahead and ordered it, just waiting on them to manufacture it and send it out. I have attached pictures of what I had which is the chrome plated catch can from Elite Engineering and how it was connected as well as the new set up I ordered and the sketch of how it is supposed to be connected for this application (without the turbo of course). I suggest anyone running an LS motor specially a modified motor to take a close look at articles on the Corvette Forum about this topic. It's not just about venting the crankcase but trapping harmful contaminants produced during combustion. I have spent countless hours reading though all sorts of material on the topic and it appears a lot of people just vent the crankcase by putting a small filter on the oil filler cap or using a vented oil catch can. The proper and legal way to do it is a closed catch can system that provides proper crankcase ventilation or run a vacuum pup which is not feasible for street cars. I will post updates once I have it installed.

-
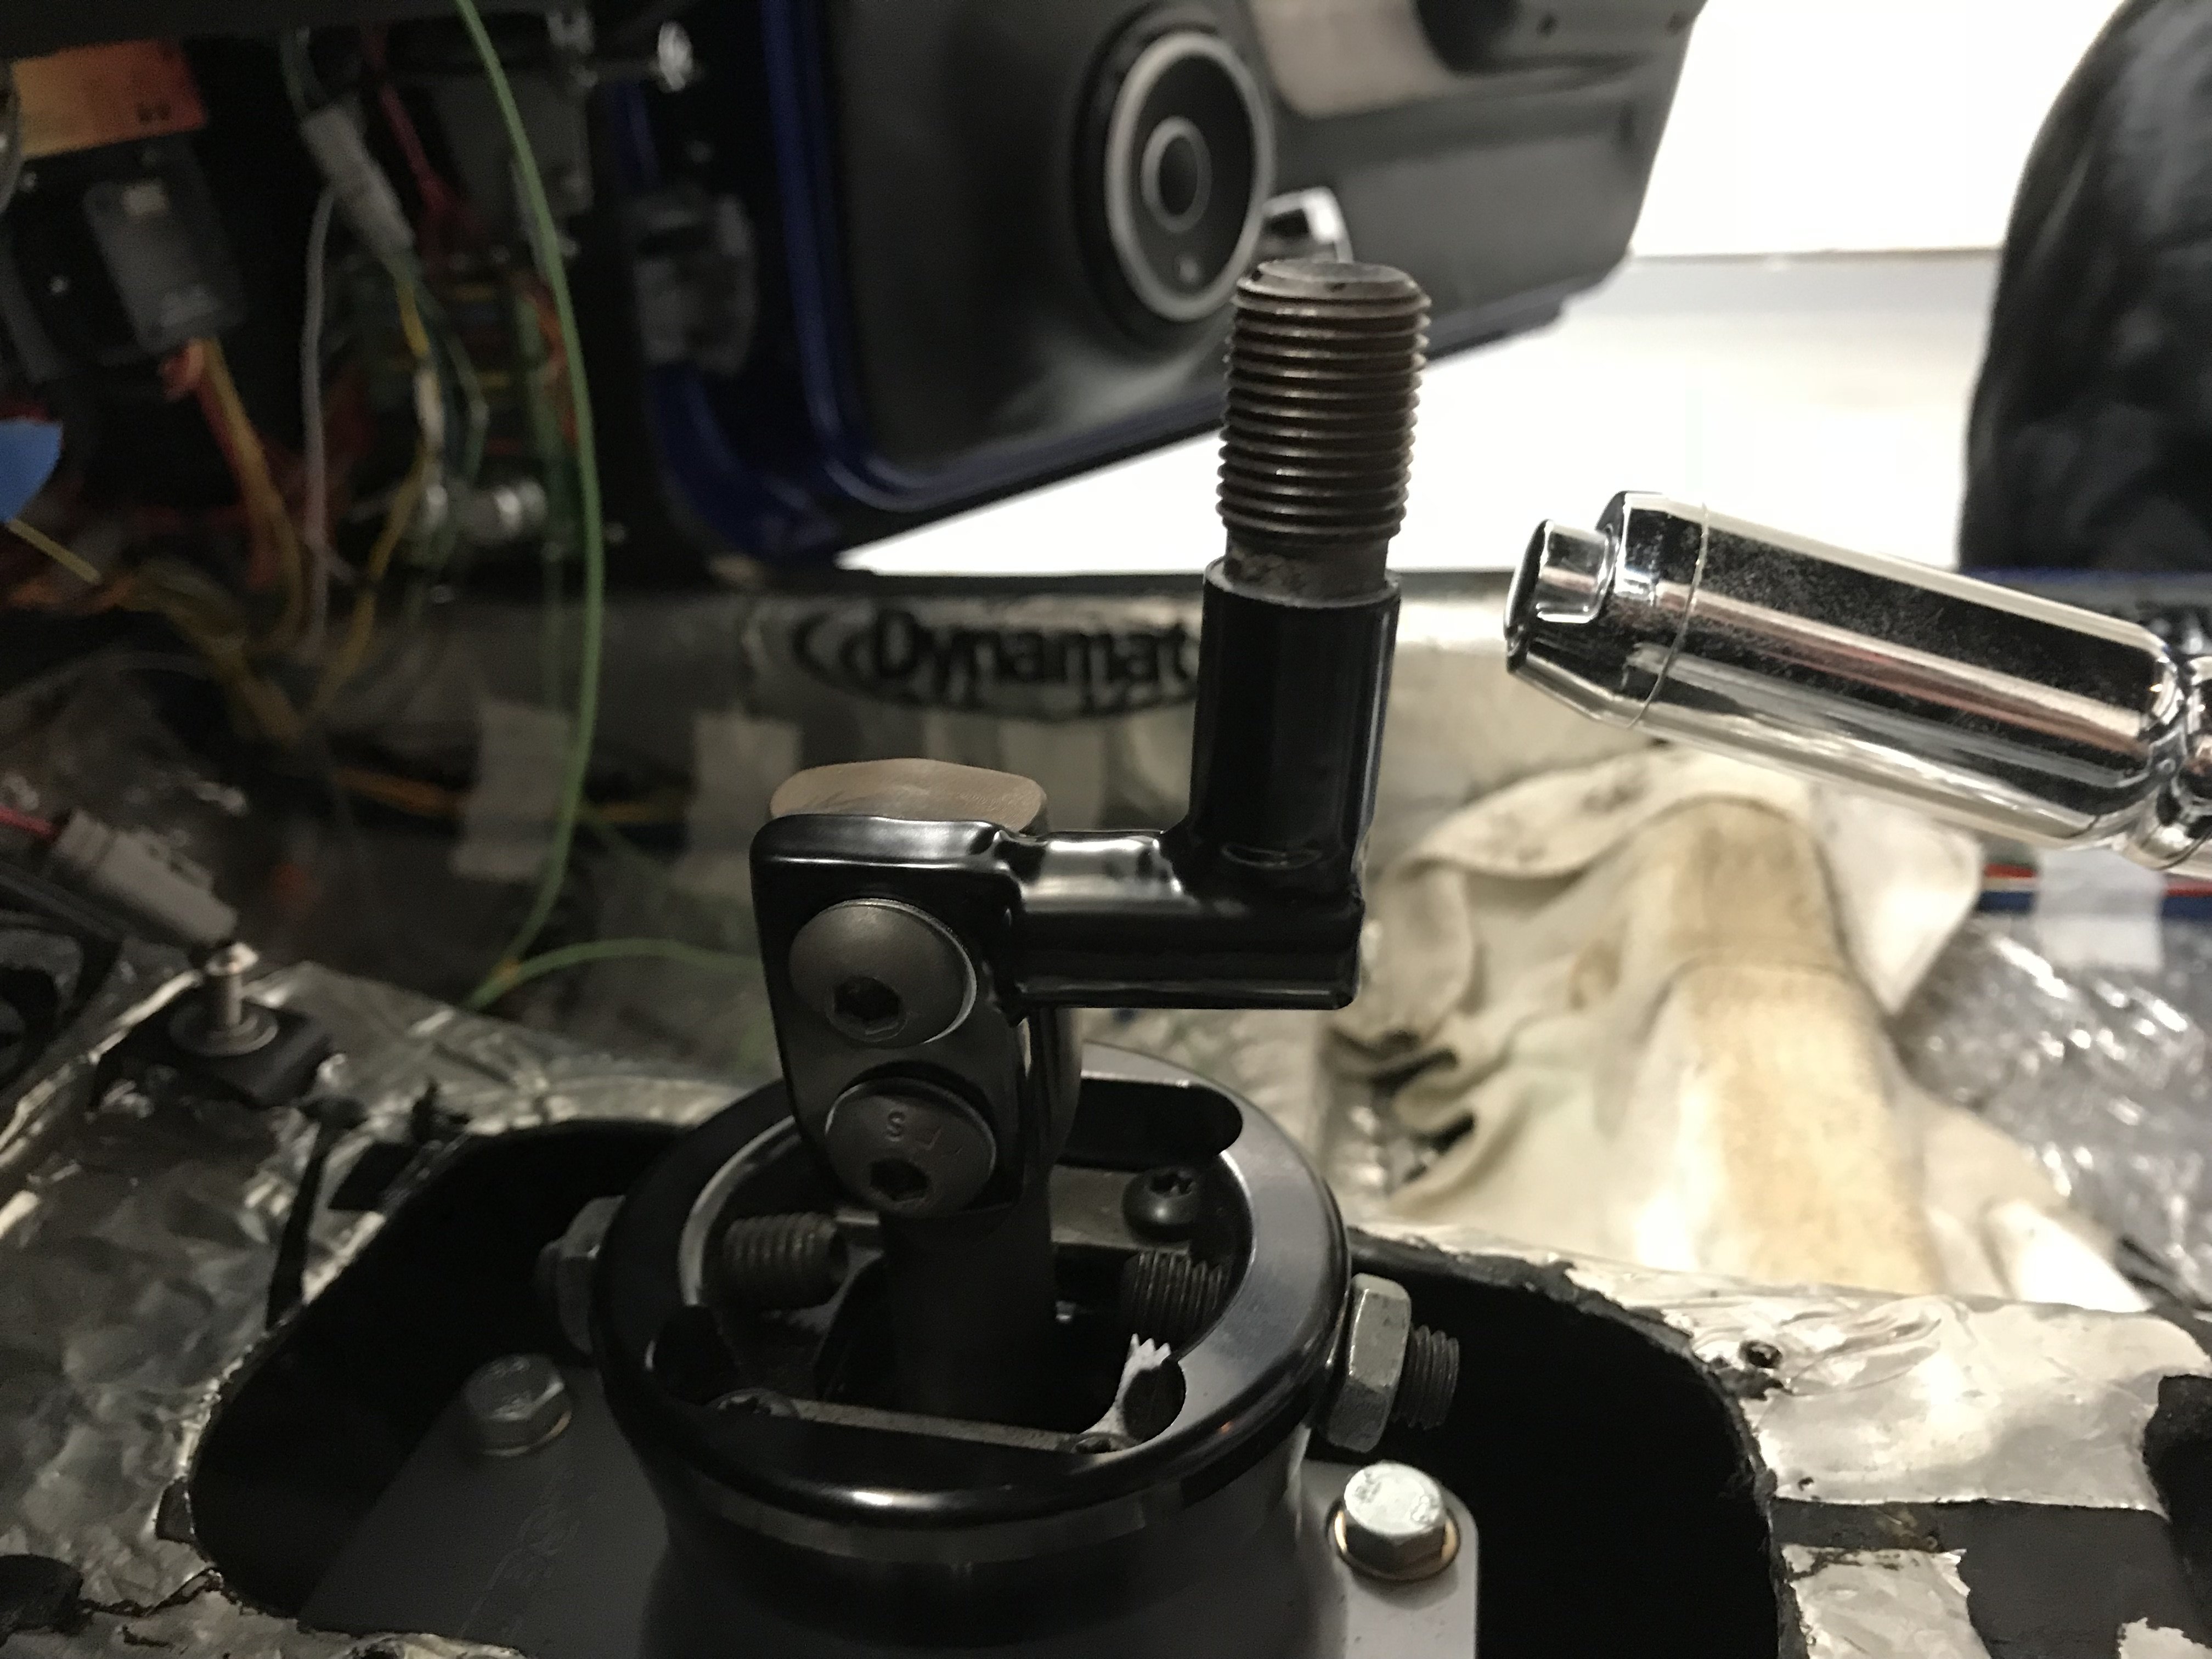
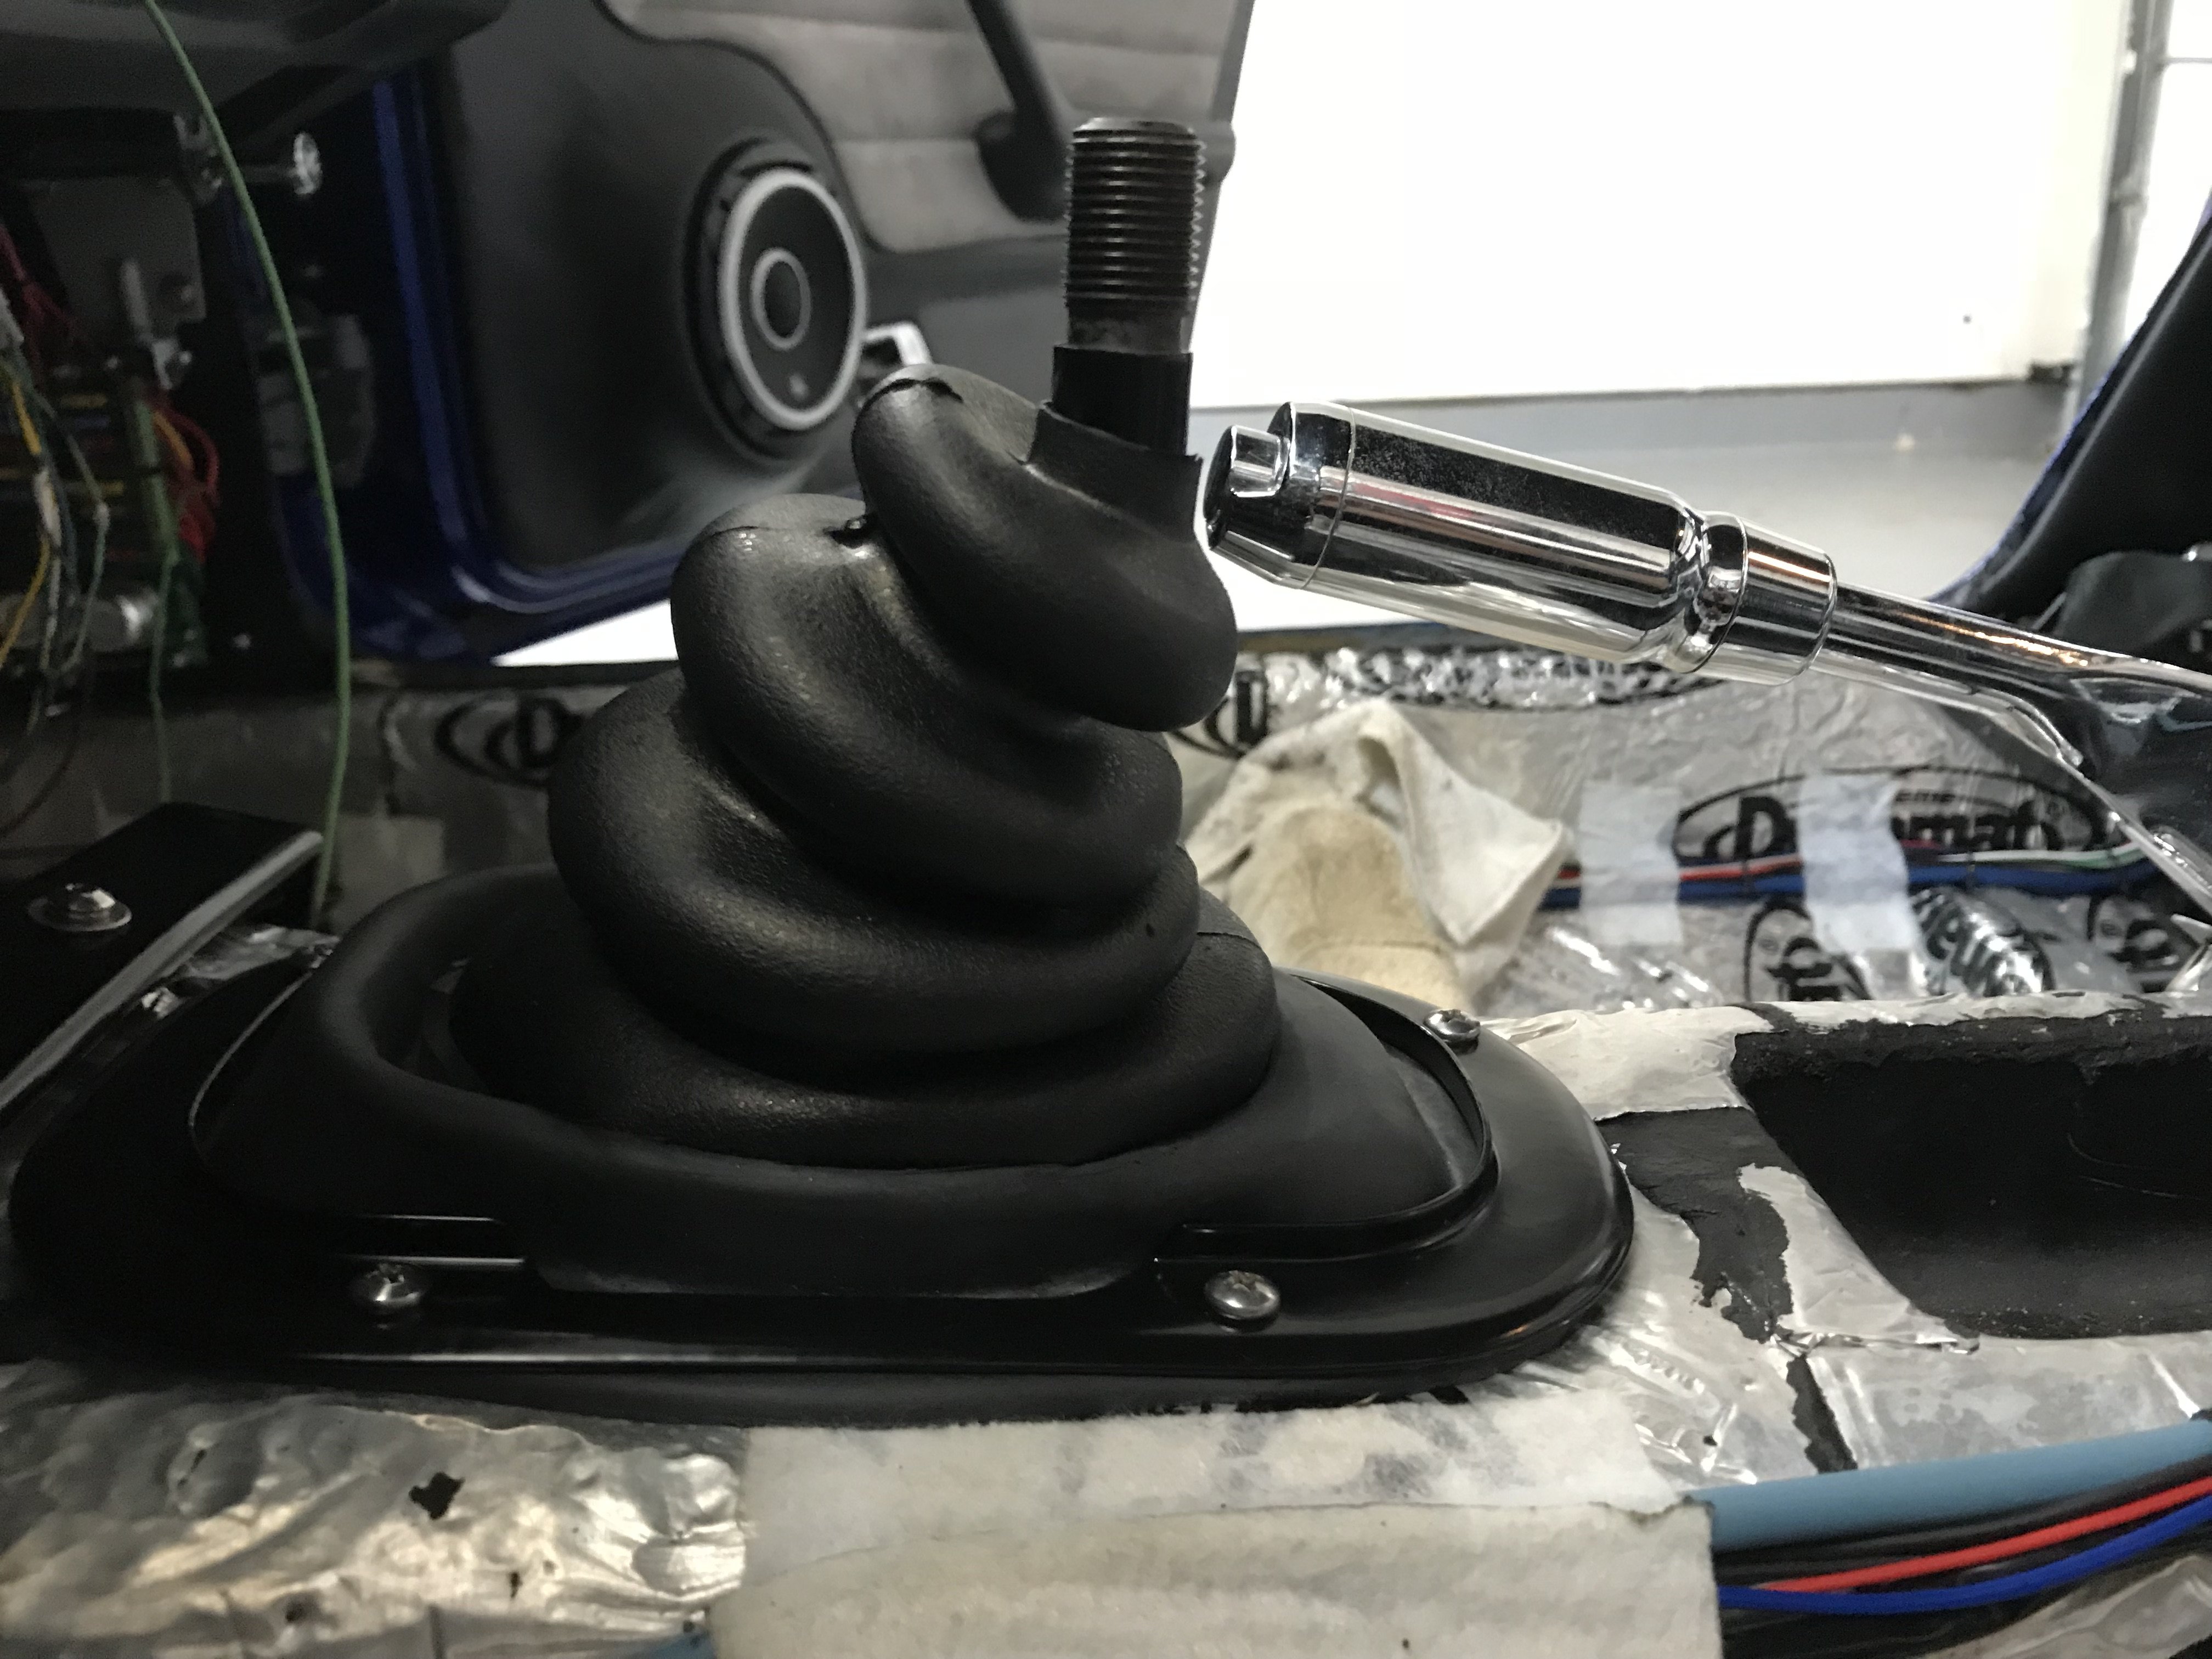
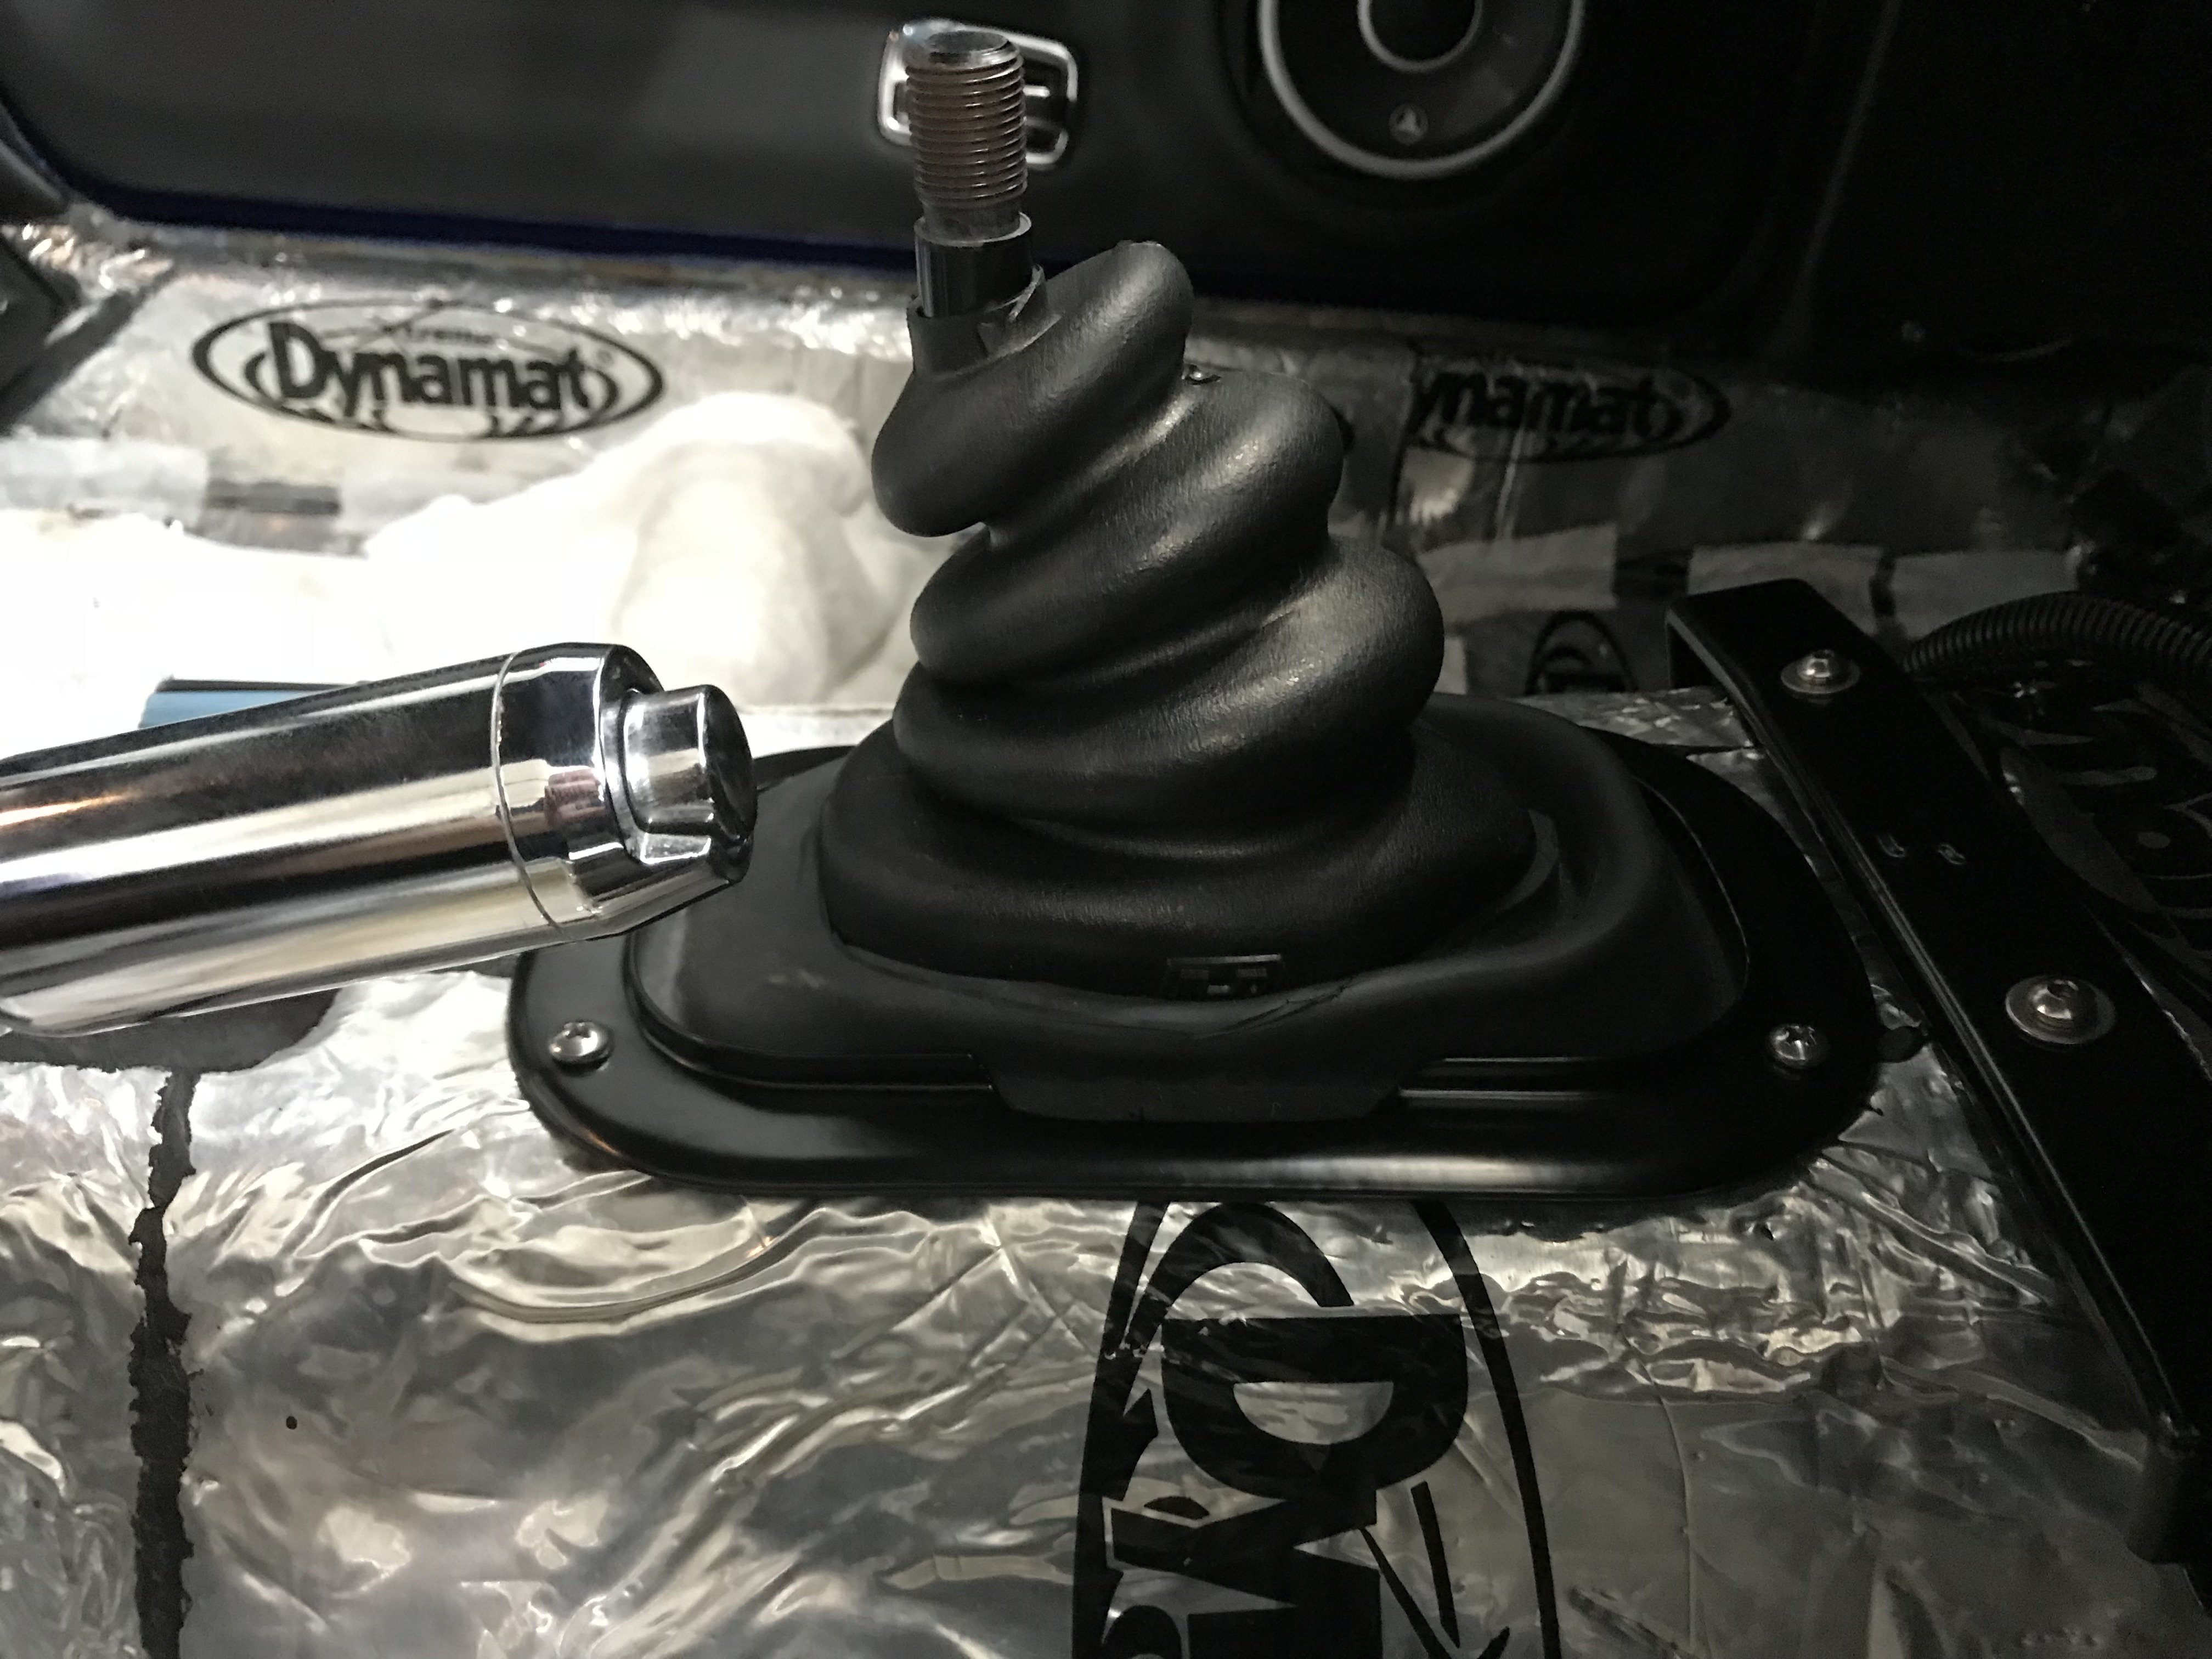
Yes sir, that's the Hurst shifter boot and the Datsun boot combined. We tried the diode route and we could not do it since their kit has a diode already in place. We were able to get a resistor to work and turn the light off but it was getting hot as hell. We then tried a bigger resistor and then nothing would work. I'm hoping the diagram and harness they sent fixes it. If not we will just have to experiment with different size and brand resistors in order to find one that actually works and does not get supper hot.
-
I had to have the Hurst shifter modified since it was too tall and leaned to the left a bit too much. It is now centered with the console and the correct height when I install the knob. Once we get the high beam indicator light sorted then it's off to get the carpet done. The high beam indicator light stays on all the time, it's a bit dim but it's on. It appears this is a known issue with the Dapper Lighting HID kits. Somehow the ballast bleeds back ground which turns on the high beam indicator light all the time. I have been working with Dapper Lighting and it appears the fix is to covert the system to a positive switch instead of a ground switch. They are sending me a diagram and hopefully that fixes the problem. The HID lights work as they should the only issue is the high beam indicator staying on all the time which just annoys the hell out of me.
-
Thank You, I appreciate the kind words.
-
Custom Exhaust Build Questions
alainburon replied to JoeK's topic in Gen III & IV Chevy V8Z Tech Board
I guess it's like most things when building a car. It boils down to personal preference. Personally I think a dual exhaust sounds much better and looks much better than a single exhaust. I know people that love the sound of a single exhaust though. So it's all about what you want. I don't race my car therefore the extra weight does not bother me at all. For racing it may be a different story though, depending on the type of racing being done. -
Custom Exhaust Build Questions
alainburon replied to JoeK's topic in Gen III & IV Chevy V8Z Tech Board
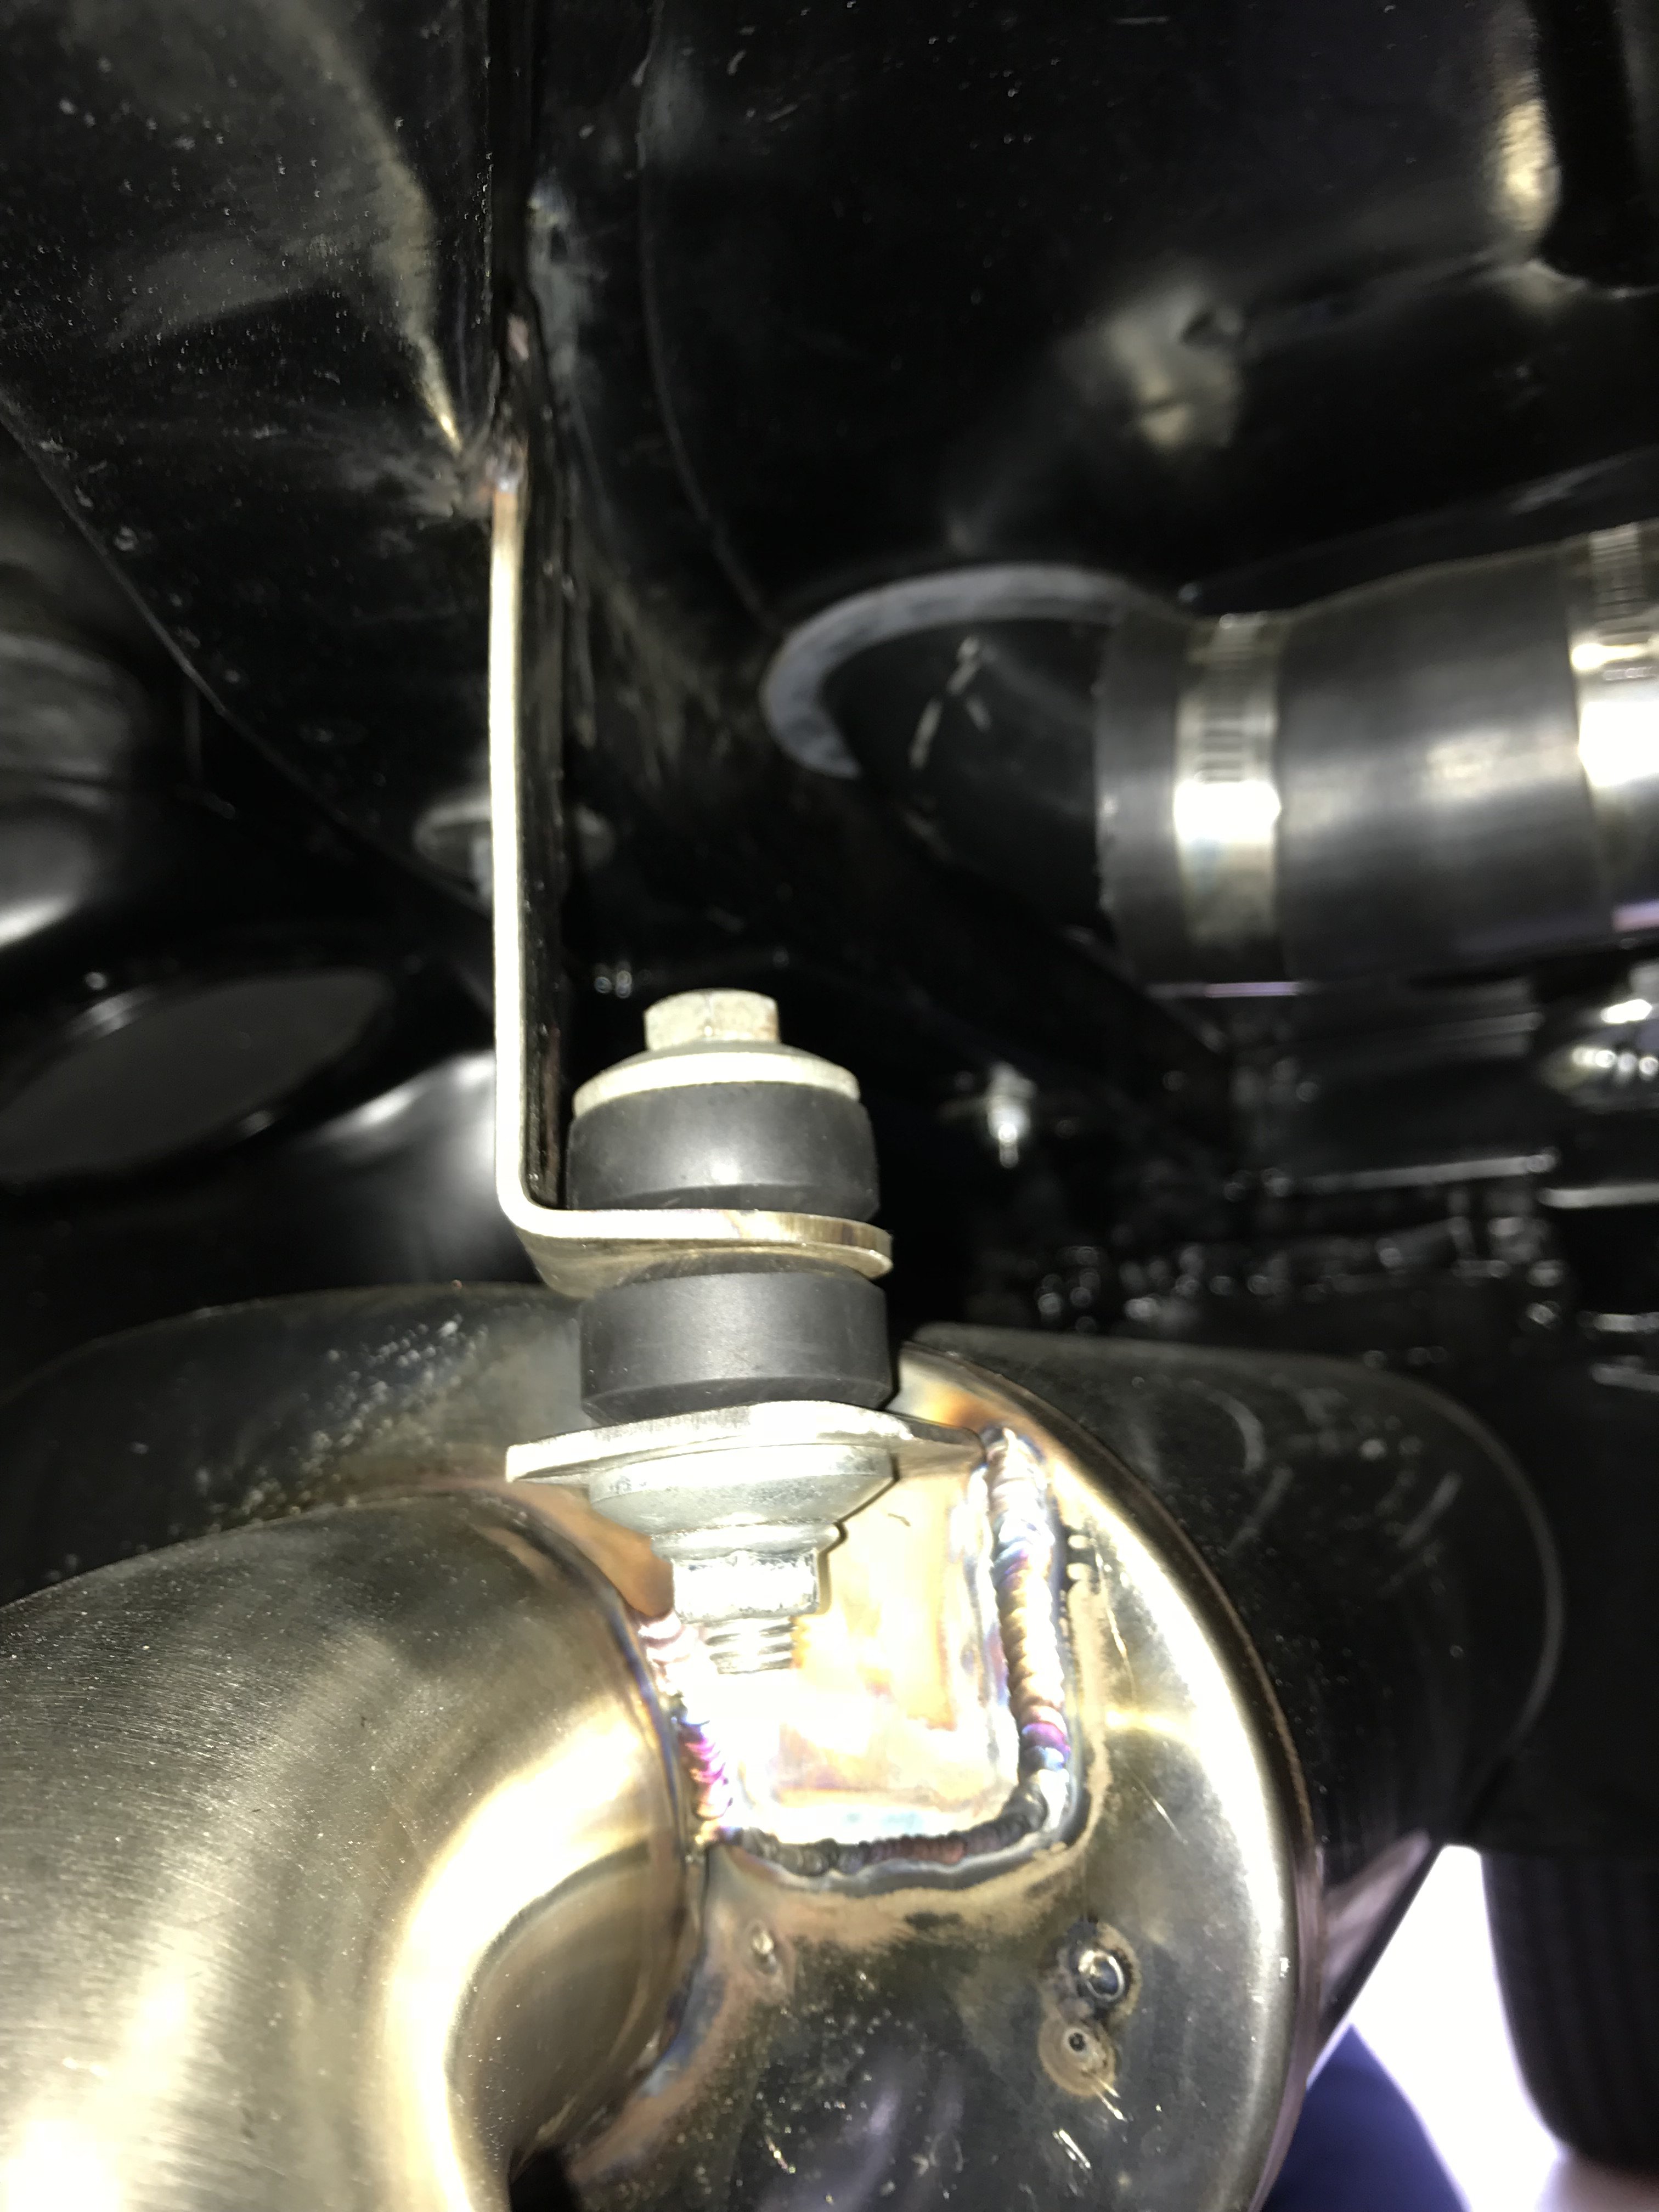
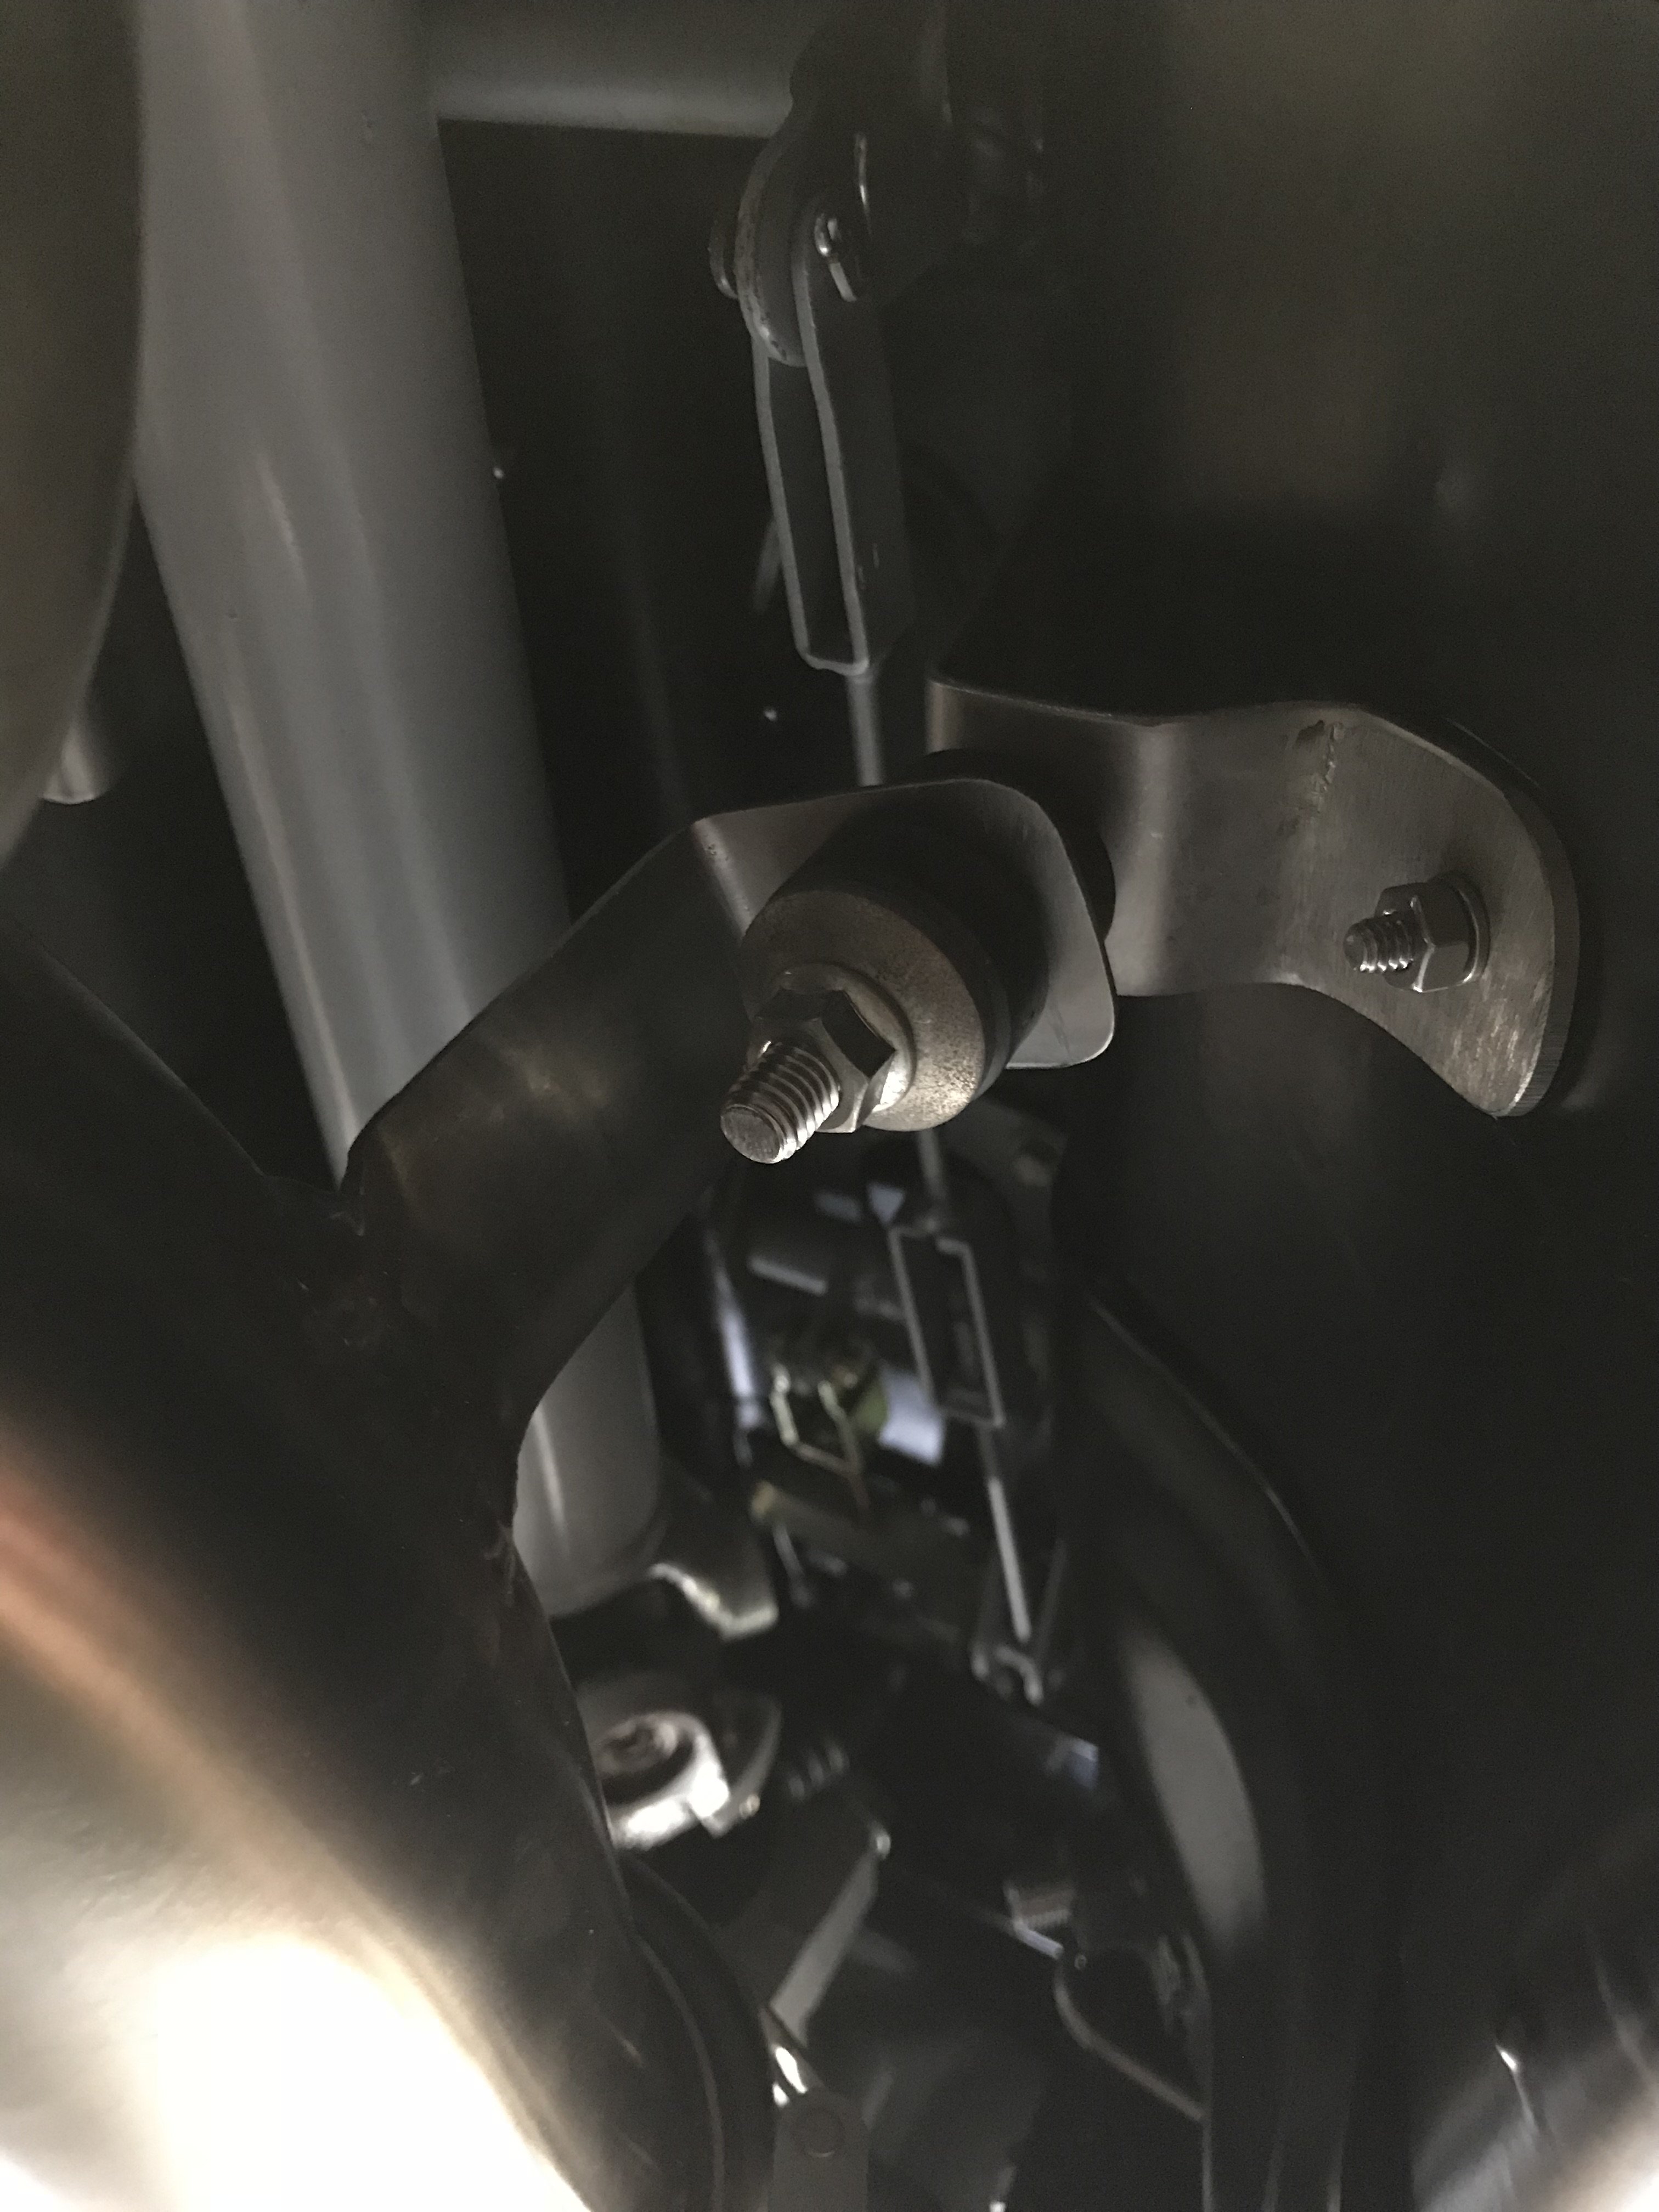
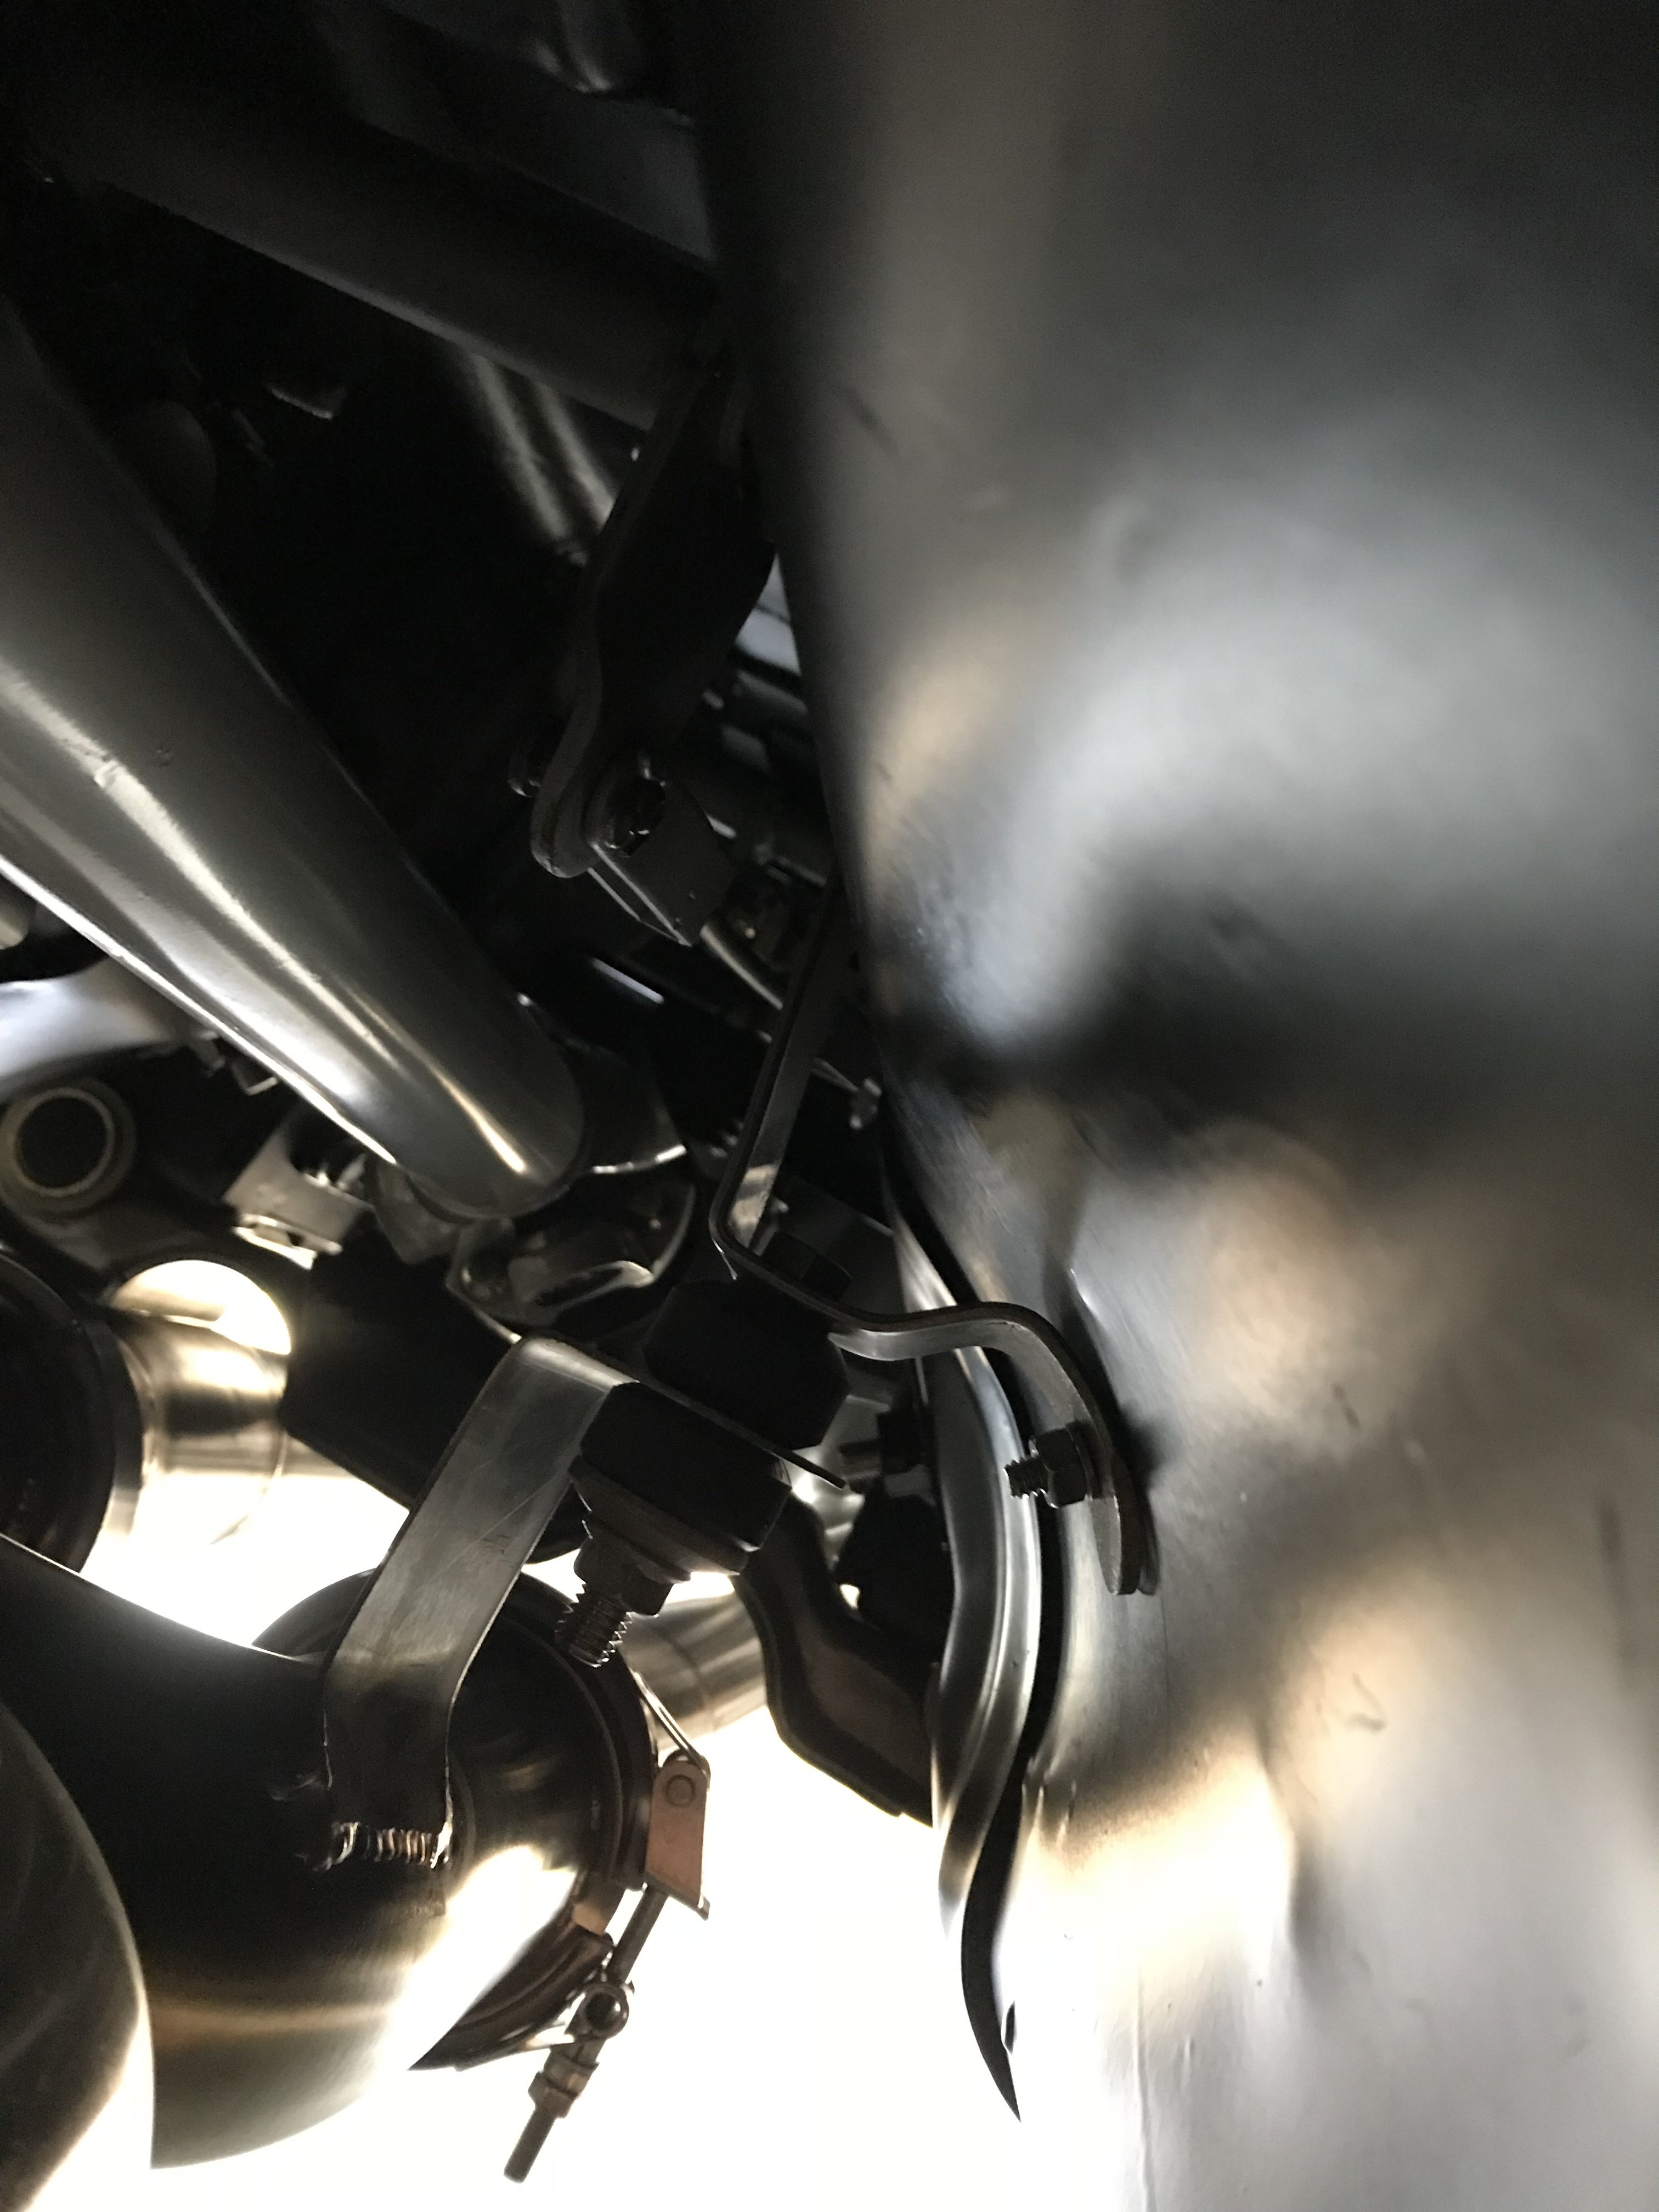
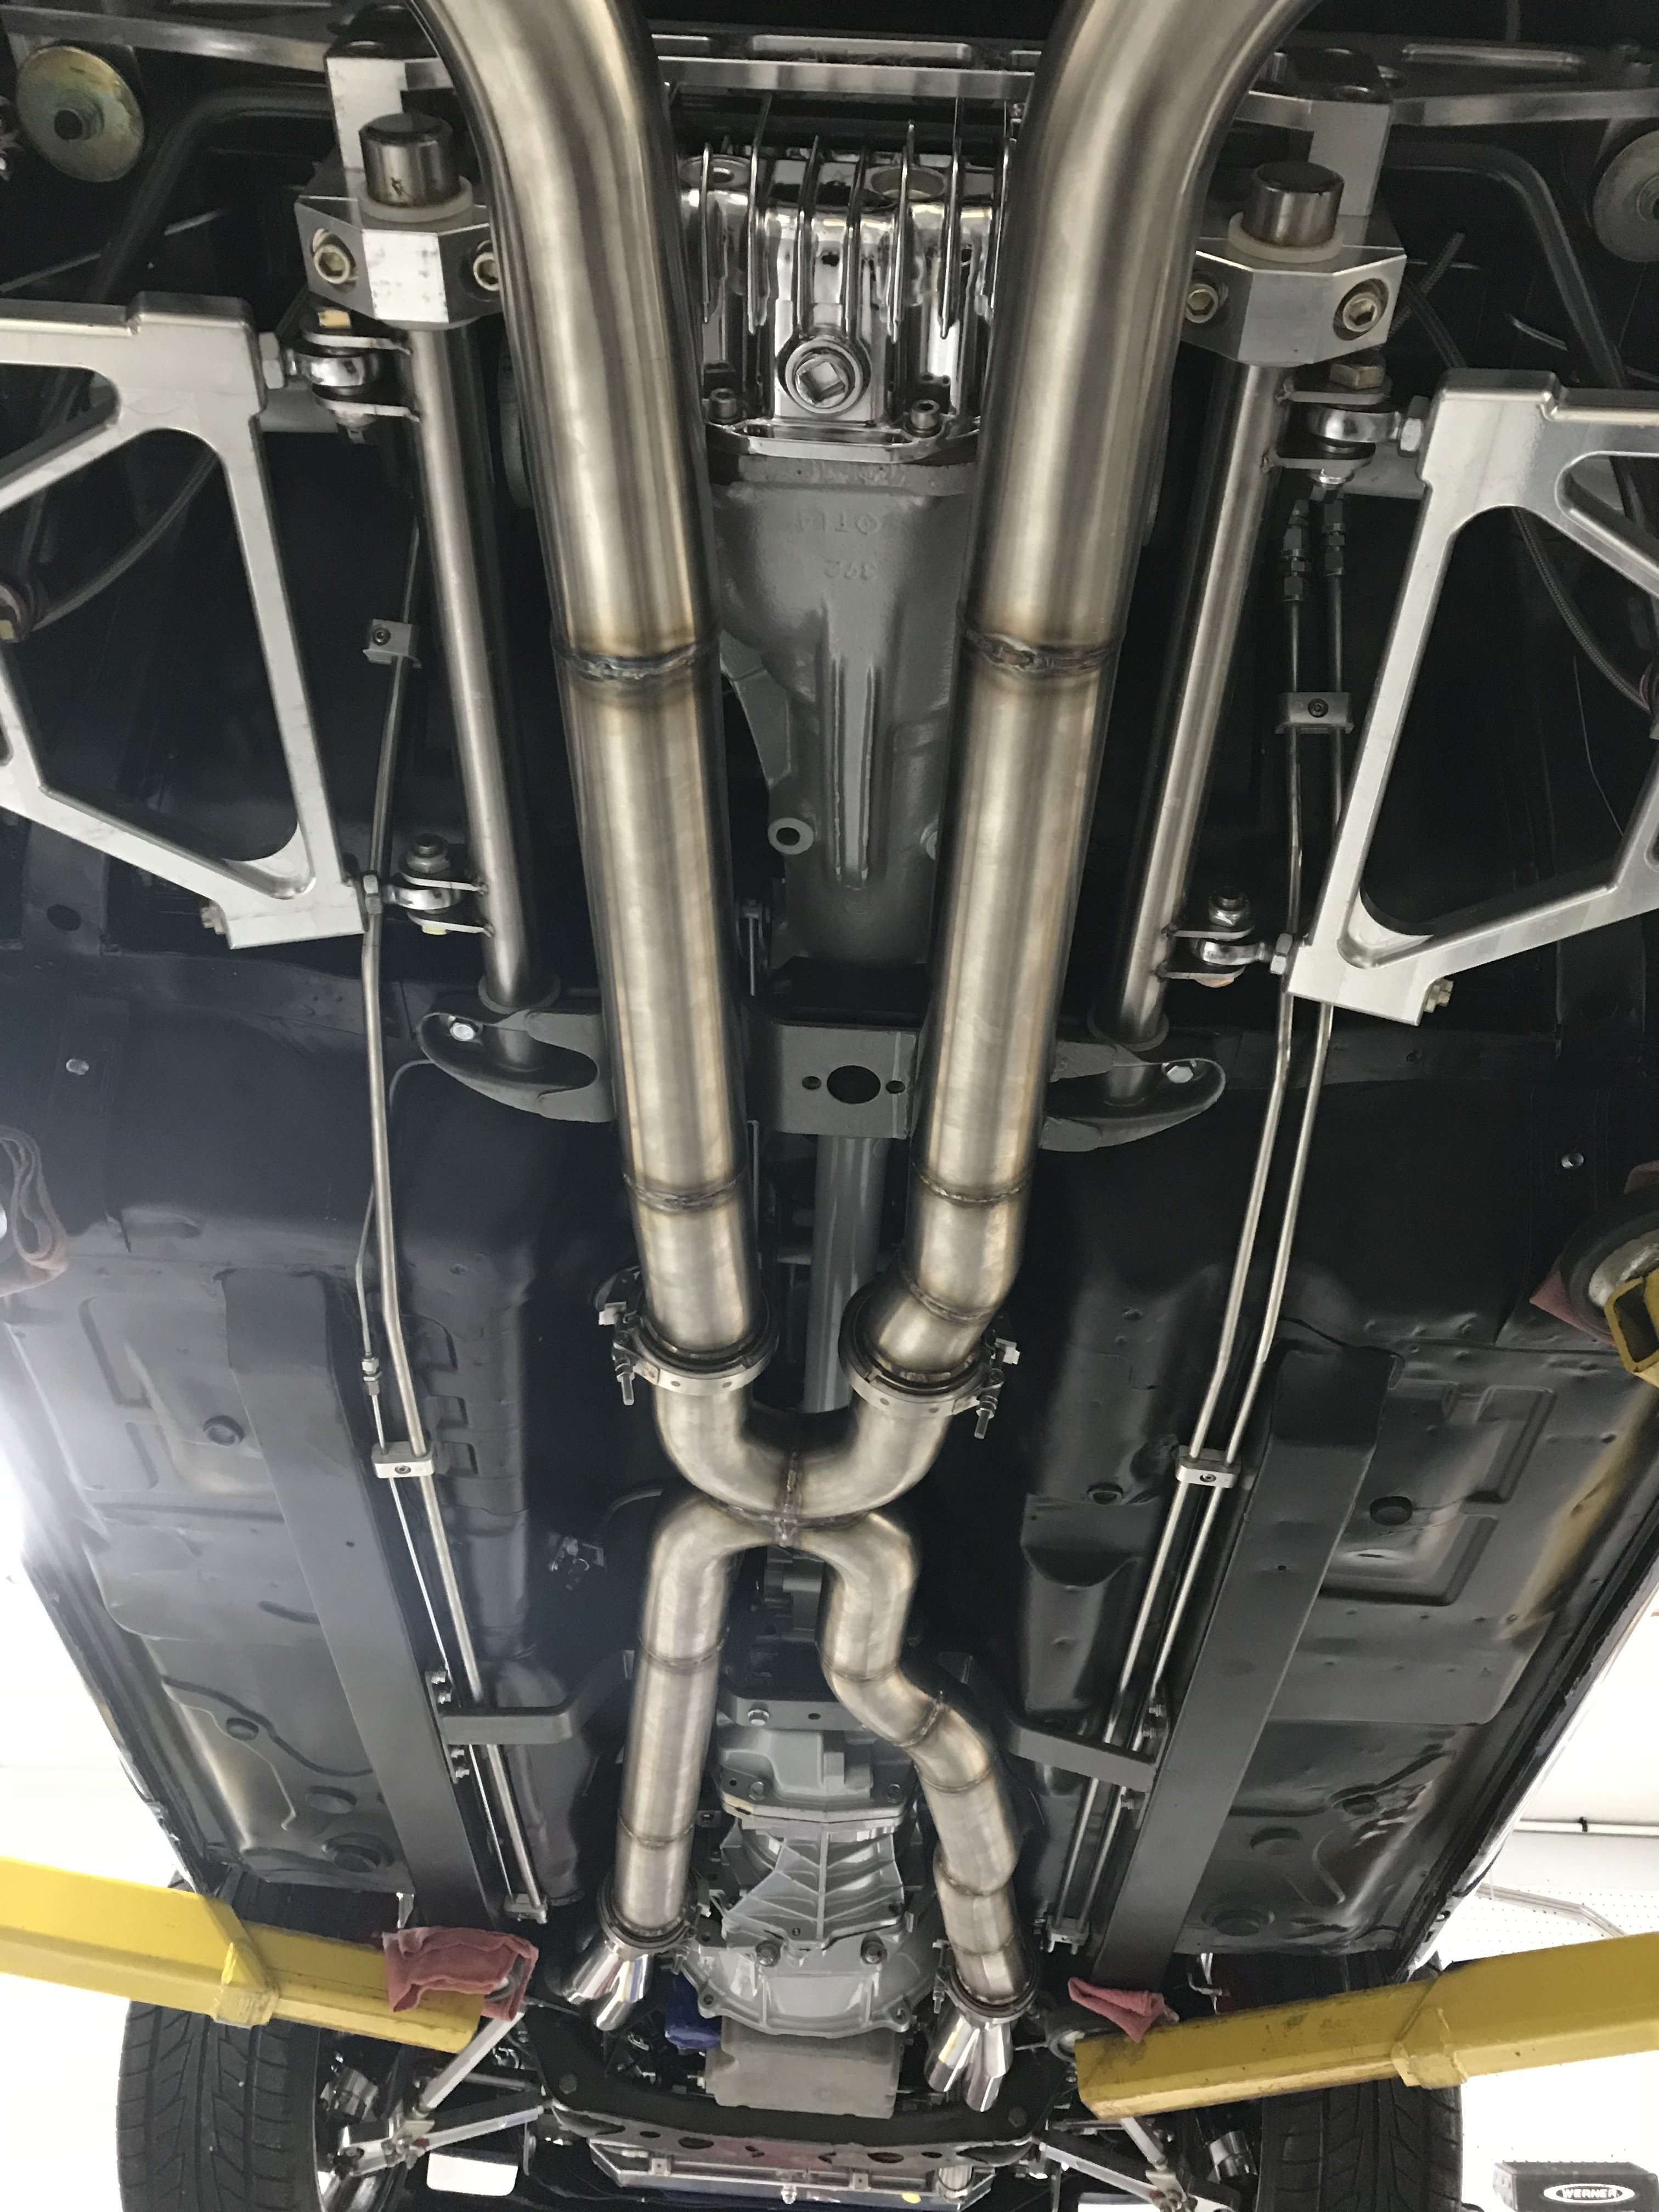
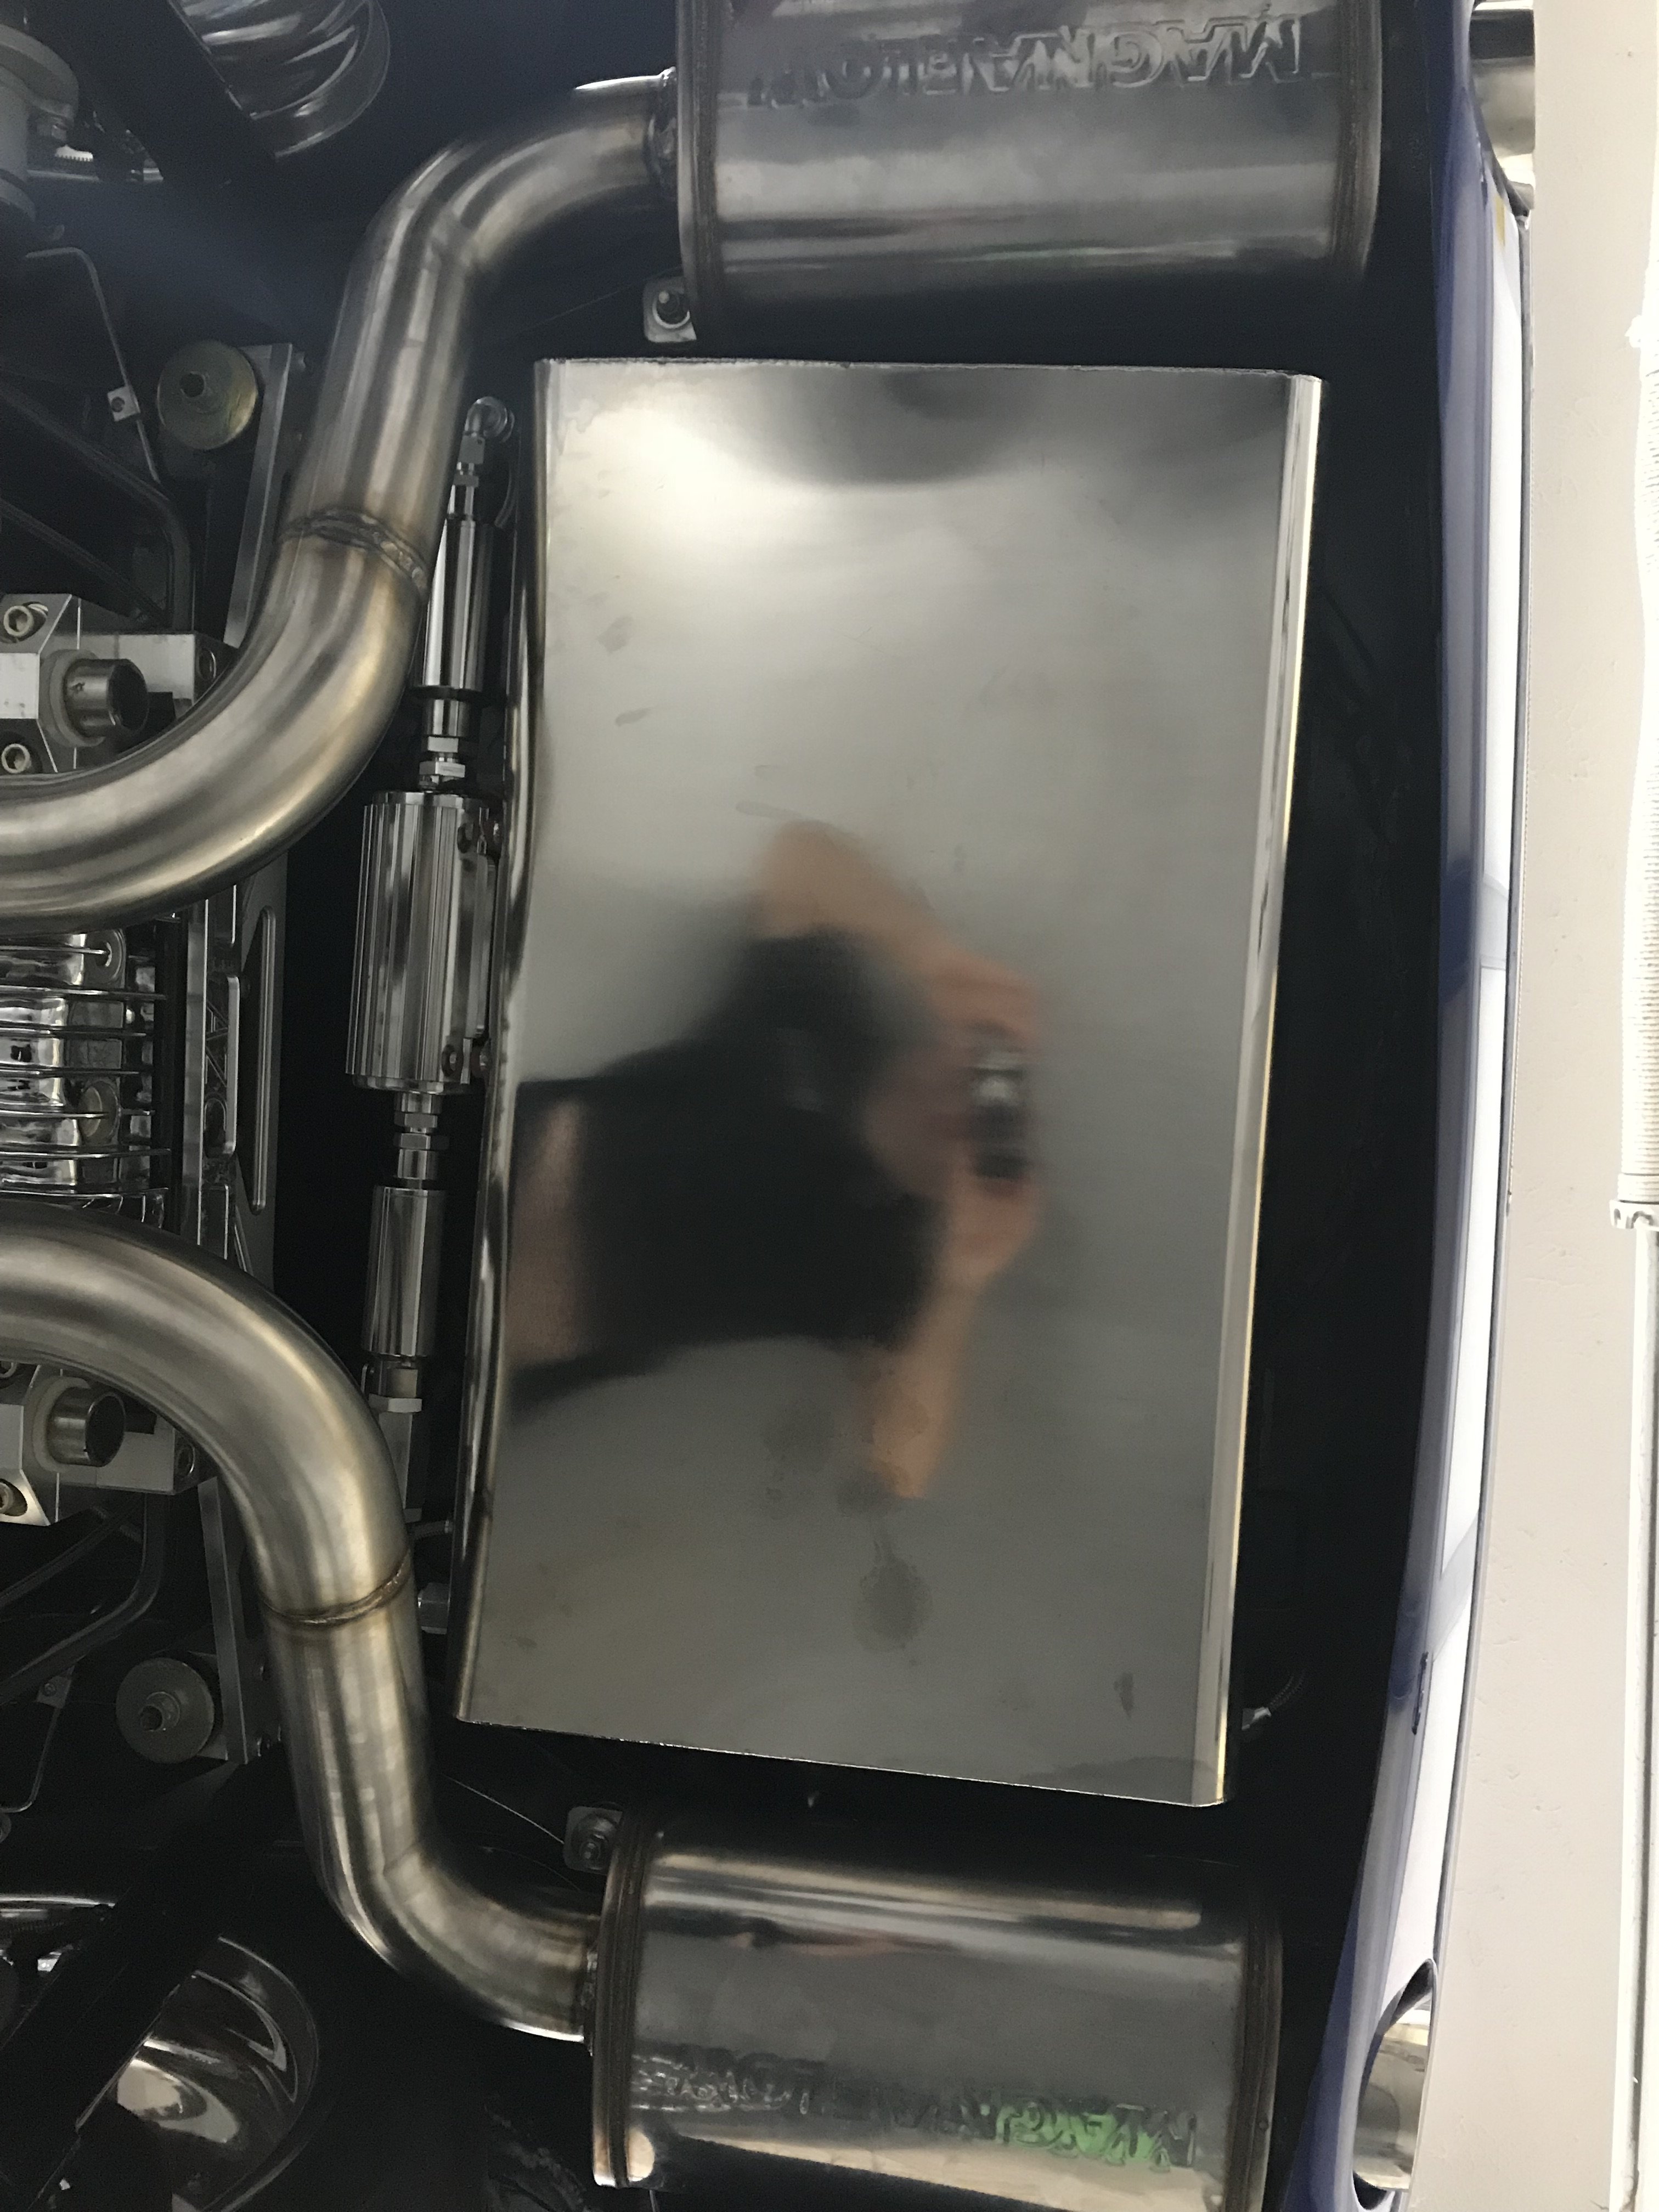
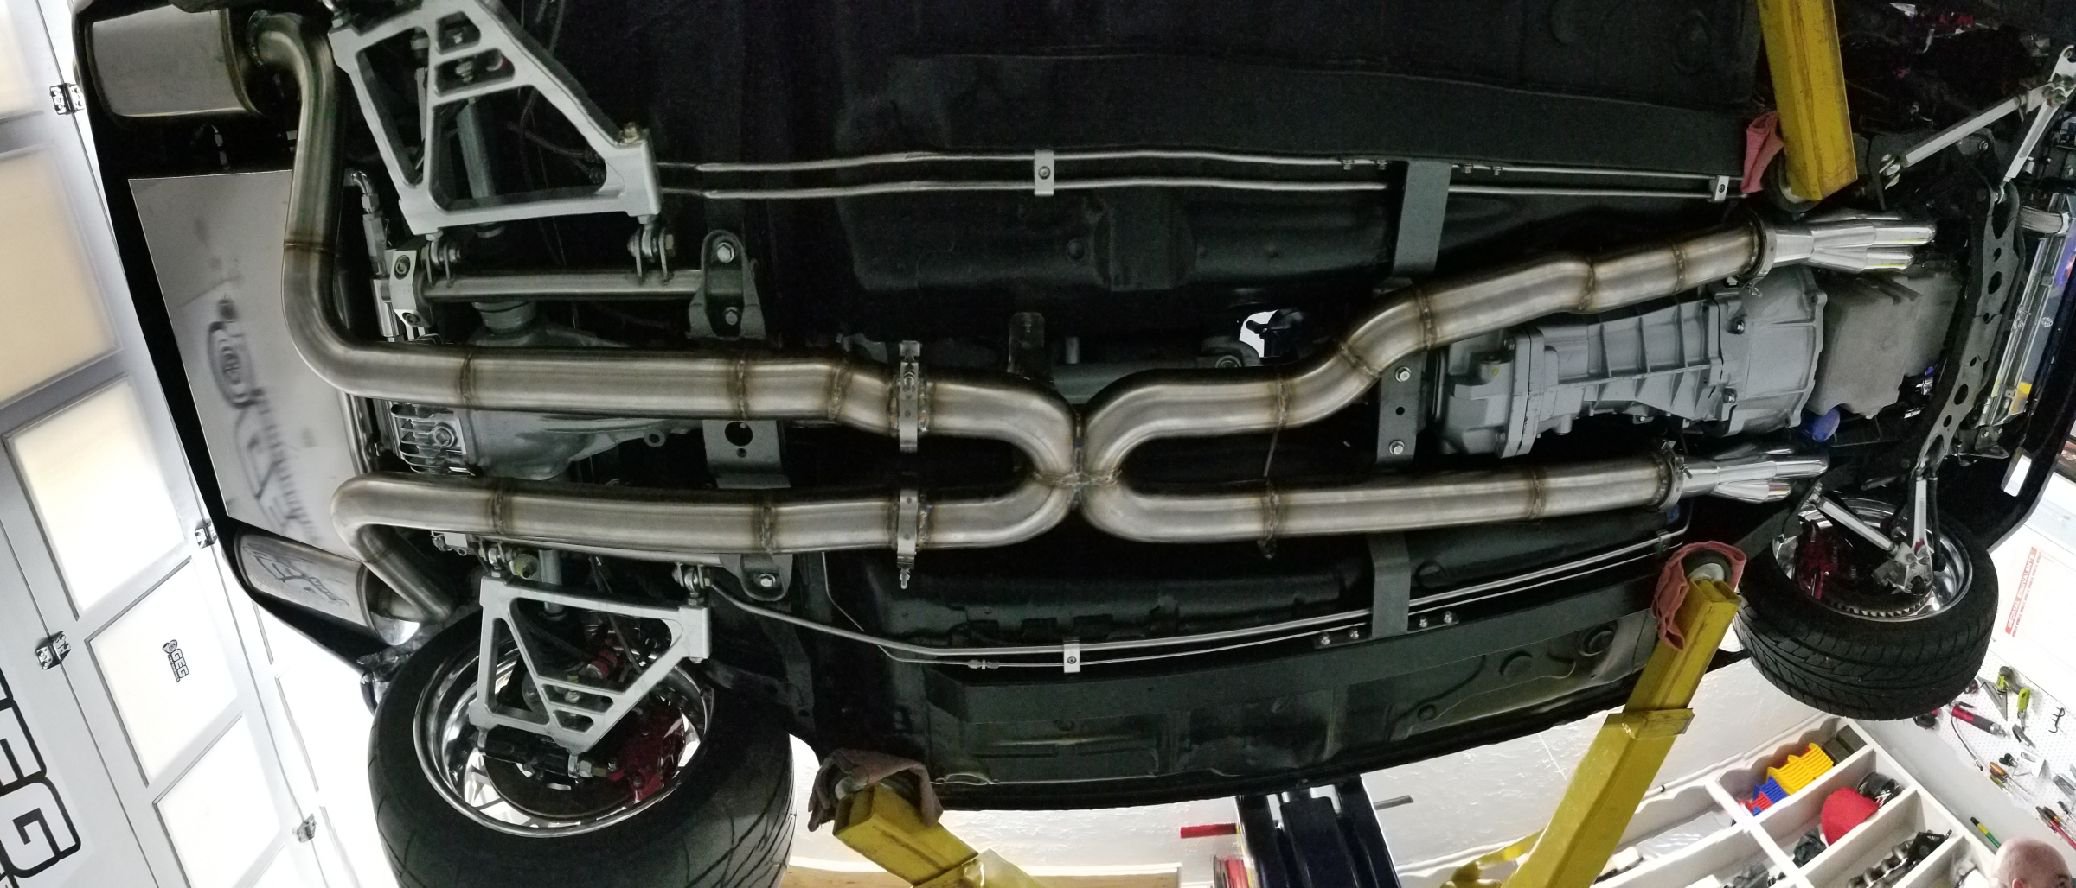
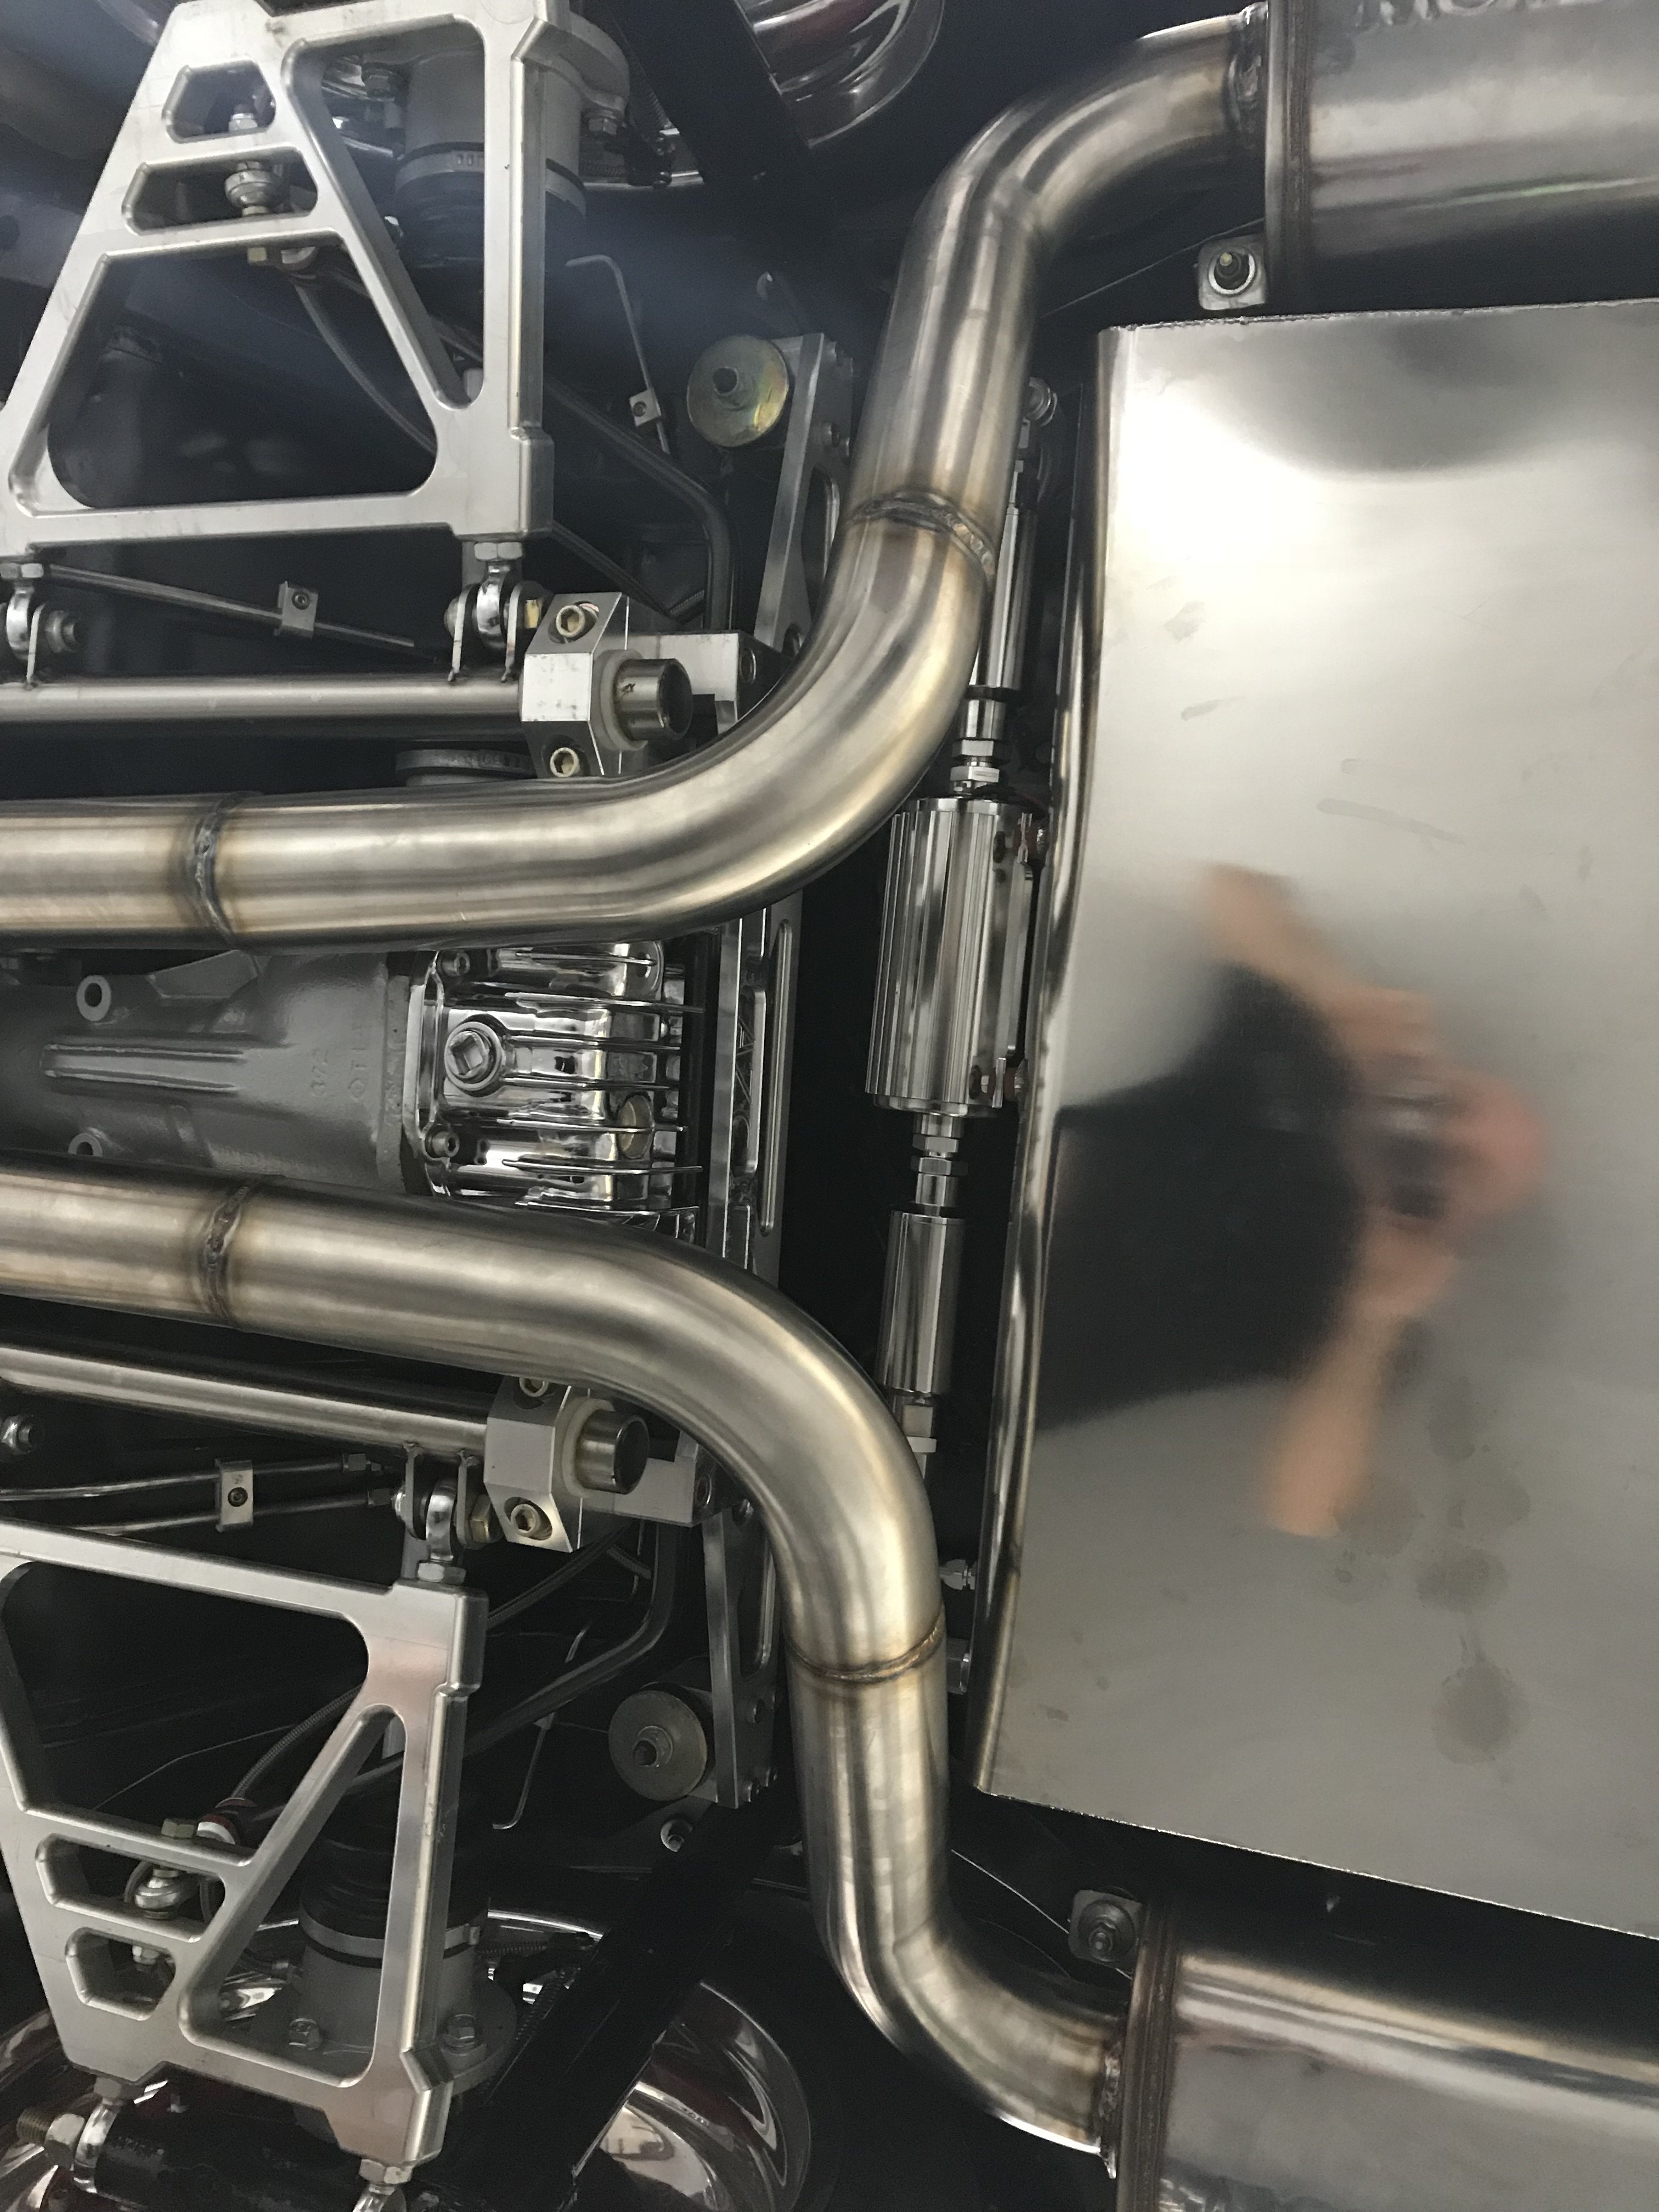
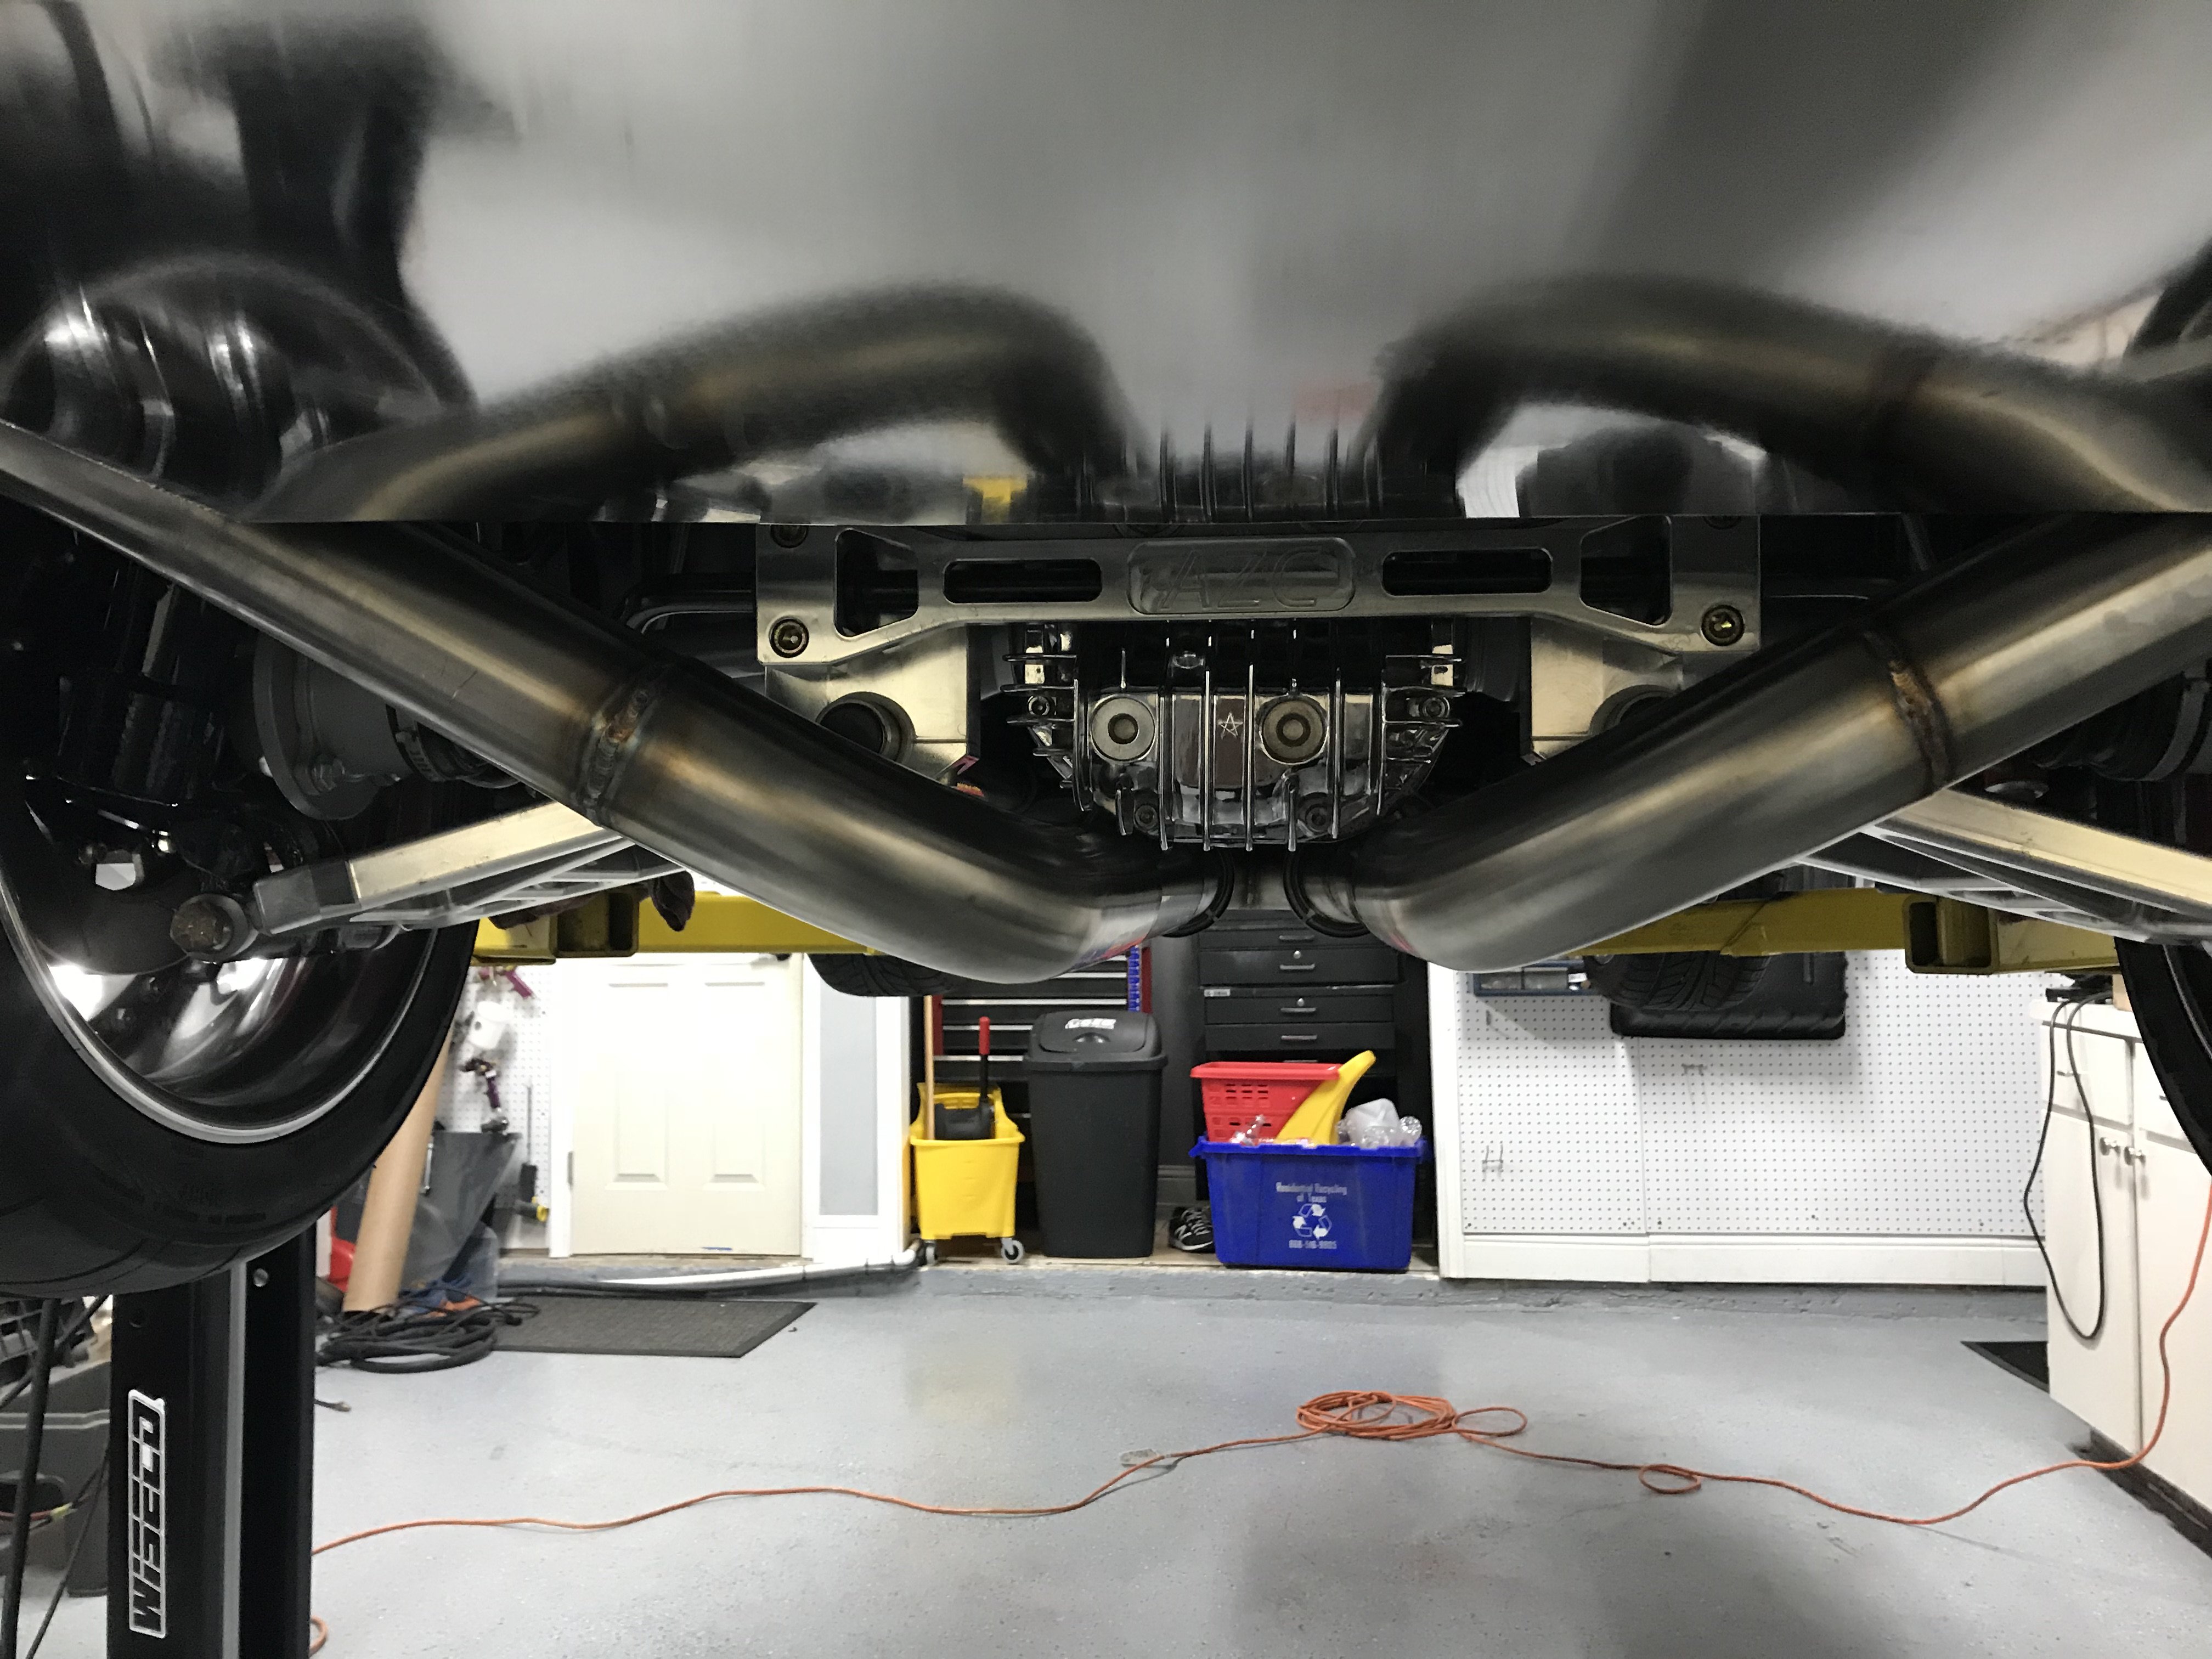
OK, Sorry for taking so long to get back to you with the hanger pictures but here they are. There are 4 hangers on this exhaust. One behind each muffler and one on each side of the X pipe. The exhaust is solid and doe snot move around but has enough flexibility to move some due to the urethane bushings.
-
I was able to vacuum the A/C system this weekend to 30 inches of vacuum. Held vacuum overnight and charged it the next day. Not bad for idling in a 105 degree garage. I think it will do better on the highway. Now to get the oil pressure and engine water temperature gauge synchronized to the ECU.
-
Custom Exhaust Build Questions
alainburon replied to JoeK's topic in Gen III & IV Chevy V8Z Tech Board
I'm with you man, dual all the way back is the way to go. Don't send your parts back just yet. I had my exhaust built since I don't possess fab skills. The hangers were made to fit as well. X pipe was flow tested to ensure it works properly. I don't have pictures of the hangers but I will try and get you some in the next couple of days.
-
Thanks guys, I appreciate the kind words.
-
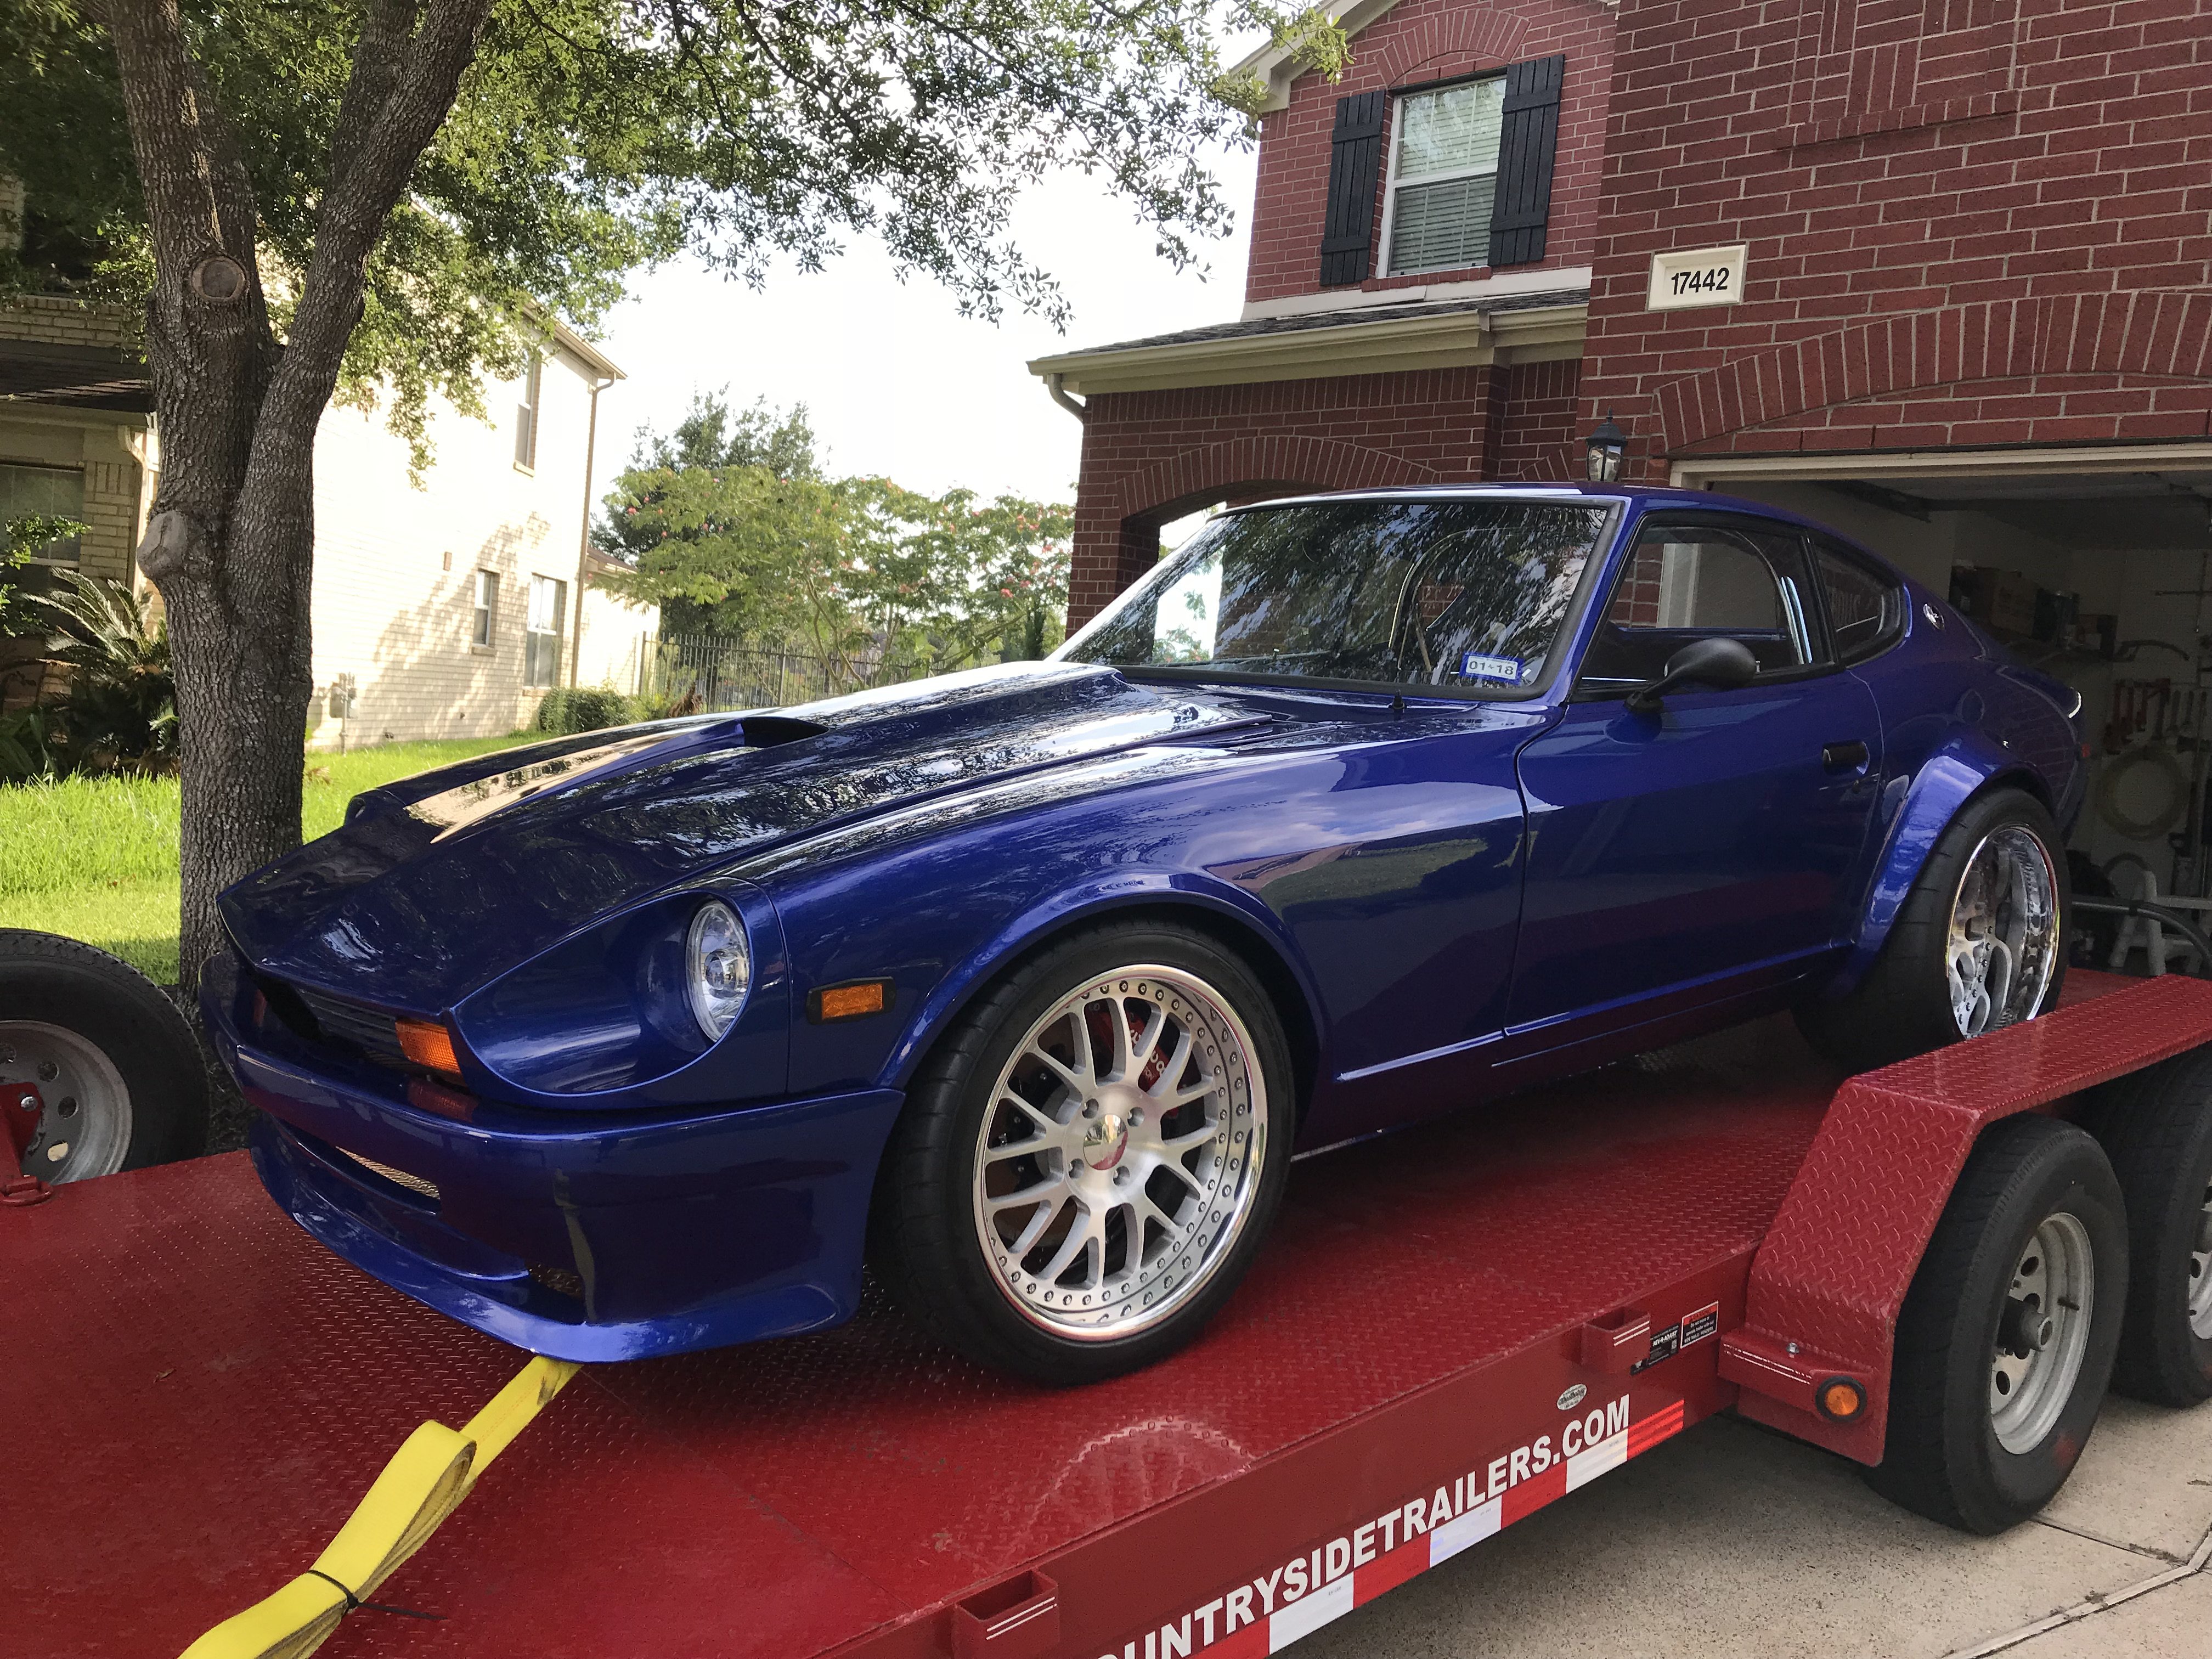
I got the exhaust completed and the car back home. Now the next step is to get the gauges synchronized with the computer sensors and set up a time to have the car tuned.
-
Thank You, I still want to have it repainted. There are some flaws that my anal self just can't live with but it looks good from 10 feet away....LOL
-
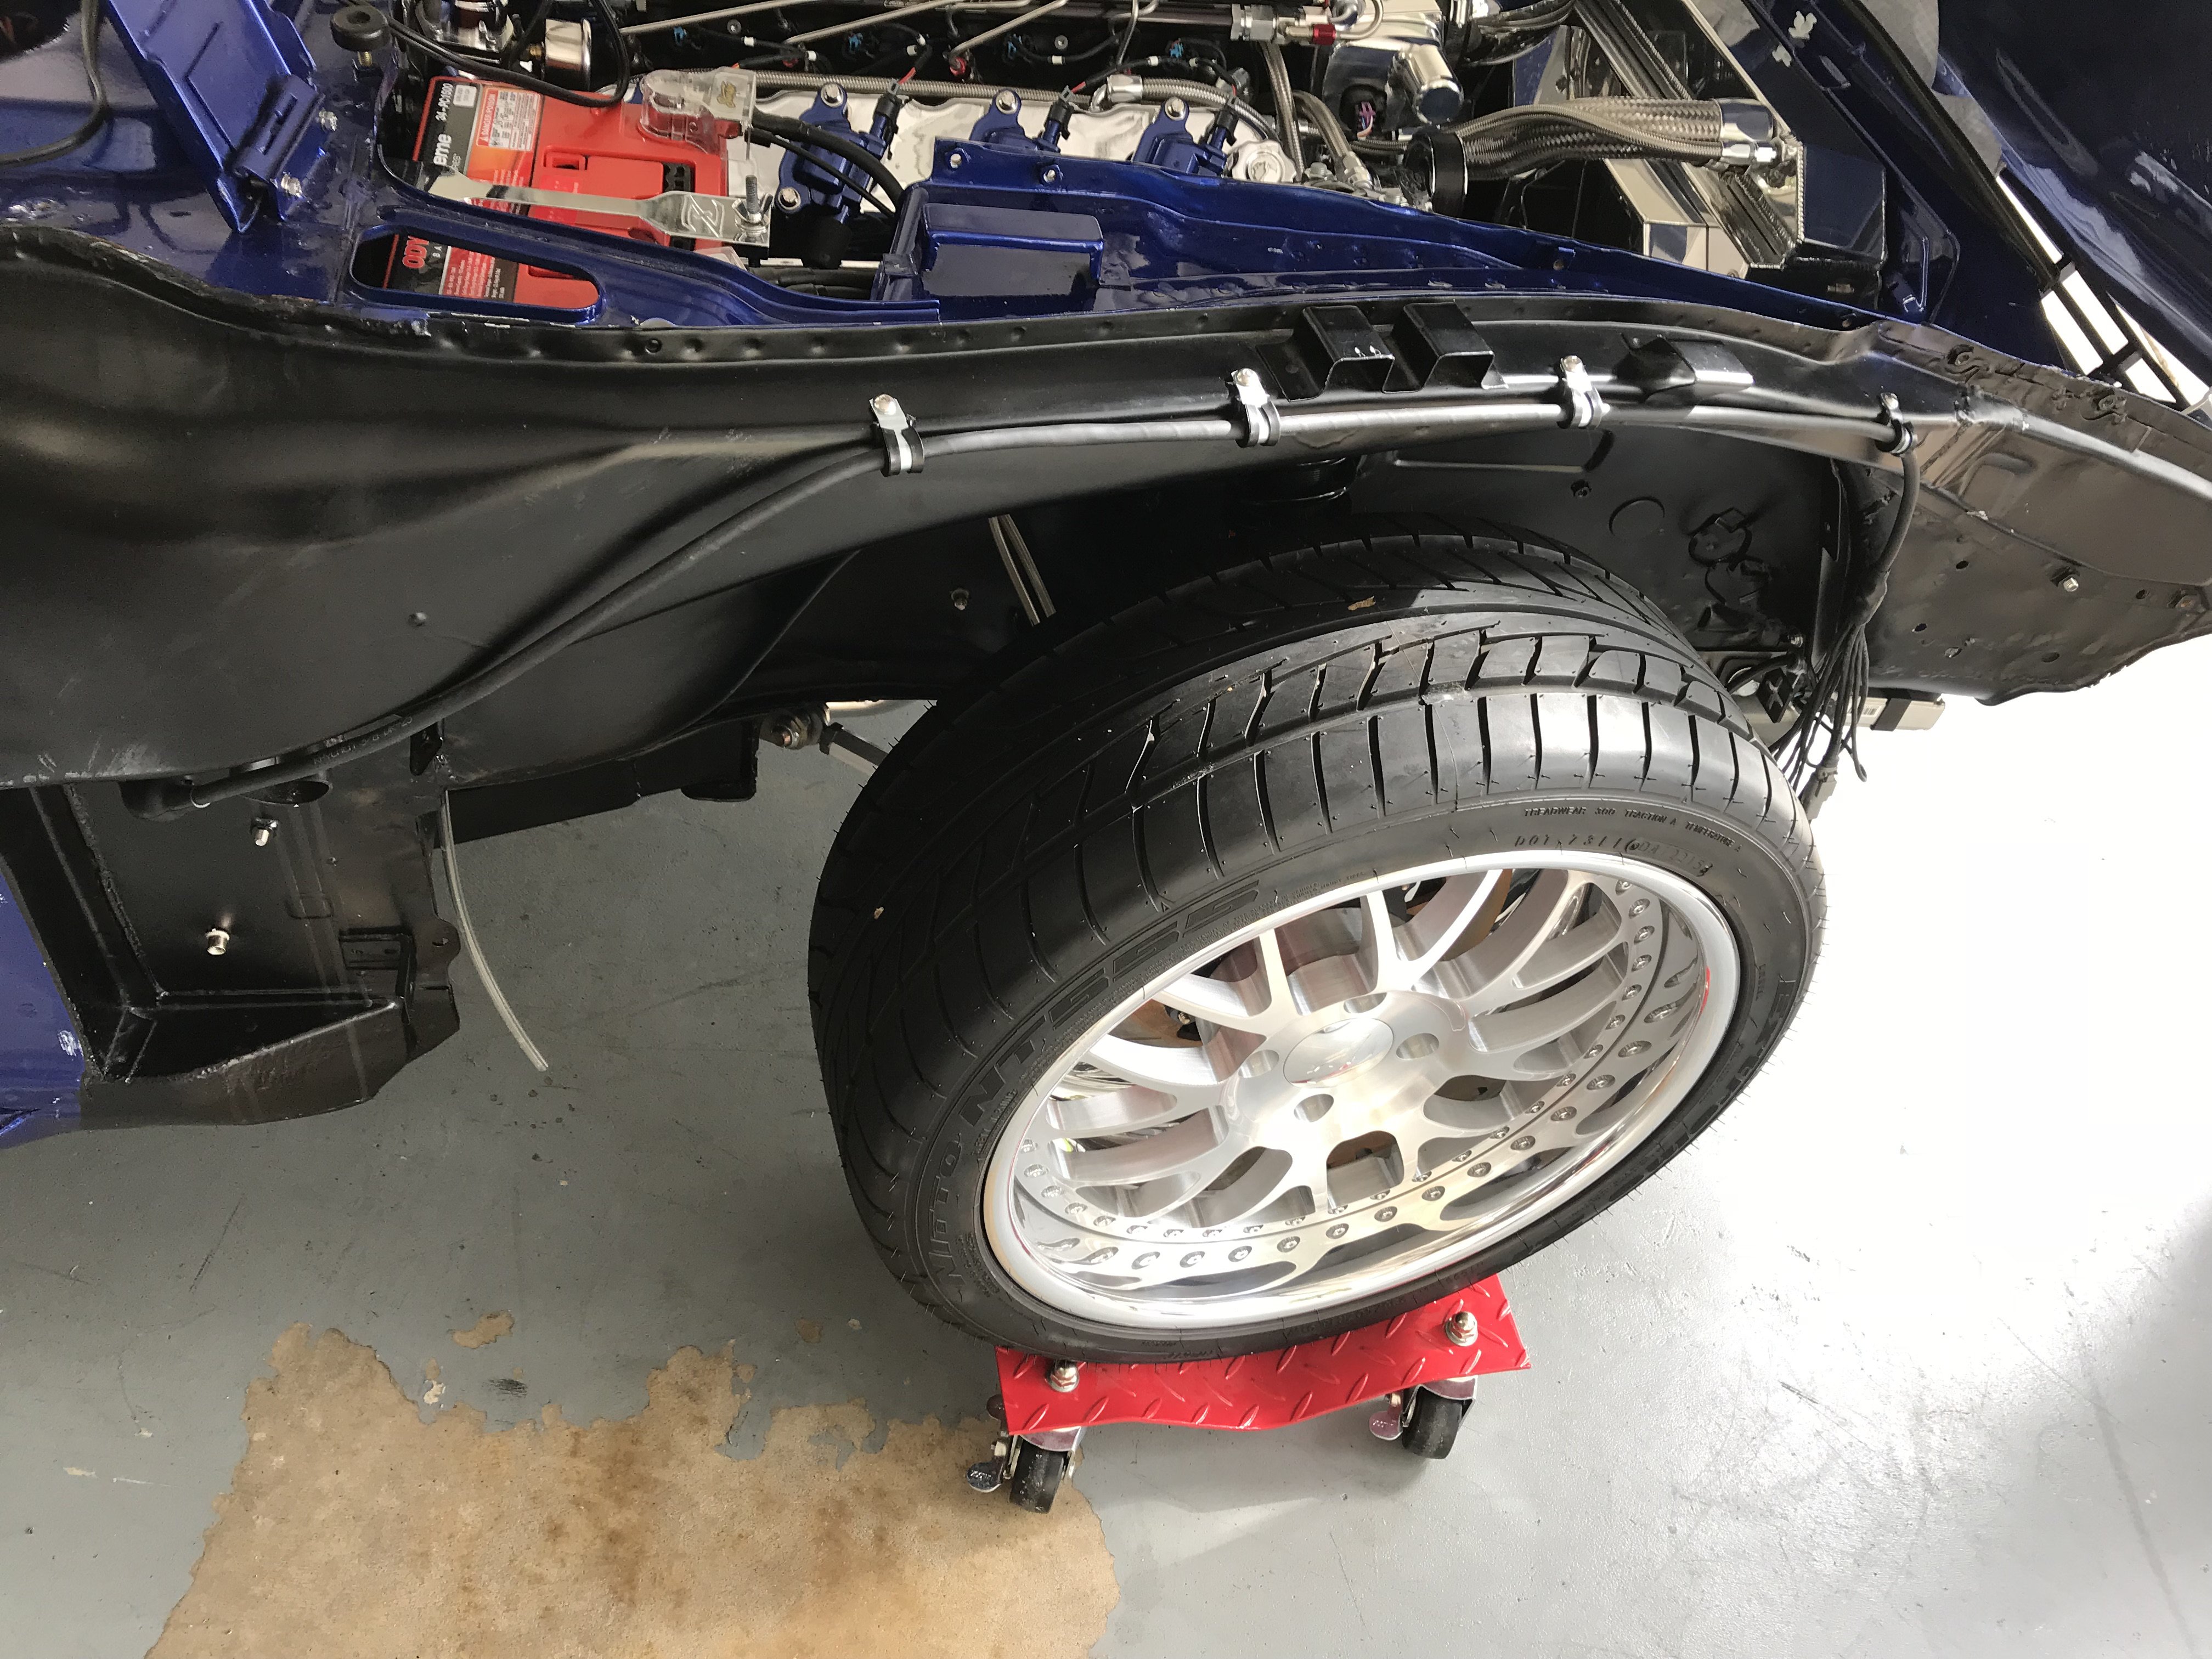
Had the 4 alignment done and dropped the car off at a friend's house to get the exhaust redone. The exhaust was just too close to the inside of the rear tires for my taste so we decided to redo the entire thing since I still needed to have the section between the headers and X pipe done anyways. It felt good to drive it a few feet after all these years. IMG_1123.MOV
-
TrackZpeeds CXRacing LS1 T56 240z
alainburon replied to trackzpeed's topic in Gen III & IV Chevy V8Z Tech Board
looking good -
I'm back working on the Z again. Was able to get the Headlight Harness completed and installed. That harness controls the headlights, horns, side markers, turn signals, electric fans and A/C trinary switch. It should all stay tucked under the fender liner for a clean look. I fitted all the body panels back on the car. Getting ready for a 4 wheel alignment and then to get the exhaust completed, I should be able to get that done this weekend if it the rains holds. It's a shame to do all this work and have to take back apart again when it goes back to the body shop.
-
Headers, how much power can be lost?
alainburon replied to 260DET's topic in Gen III & IV Chevy V8Z Tech Board
You hit the nail right on the head. The main gains from long tubes is low end torque and it changes your power band completely having more usable power throughout. If chasing numbers is the goal then long tubes are not worth the money but if getting the most performance out of your LS motor is the goal then there is no other way to go. -
TrackZpeeds CXRacing LS1 T56 240z
alainburon replied to trackzpeed's topic in Gen III & IV Chevy V8Z Tech Board
Congratulations, well done sir. -
TrackZpeeds CXRacing LS1 T56 240z
alainburon replied to trackzpeed's topic in Gen III & IV Chevy V8Z Tech Board
looks good man, good luck on the race. -
Thanks I will have it on the road this year. Had a set back and it's going back to the body shop in May to be repainted. It bummed me out to the point that I have not touched the car in months. I decided to go with the Odyssey Battery 34-PC1500. It had good reviews and I can get it locally if anything goes wrong.
-
Richard Oben LS1 series 1 240Z build
alainburon replied to Richard Oben's topic in Gen III & IV Chevy V8Z Tech Board
Looks great, hope you get to enjoy it for a long time -
alternator to starter wire gauge
alainburon replied to mrk3cobra's topic in Gen III & IV Chevy V8Z Tech Board
I ran a #4 from the battery to the starter then a #4 from the battery to a distribution block. A #4 from the distribution block to the alternator. I used milspec wire for all that. -
TrackZpeeds CXRacing LS1 T56 240z
alainburon replied to trackzpeed's topic in Gen III & IV Chevy V8Z Tech Board
Those axles do look stout, how much torque are they rated to? -
After 6 years it's alive. I could not upload the video but will try again later. IMG_0519.MOV
-
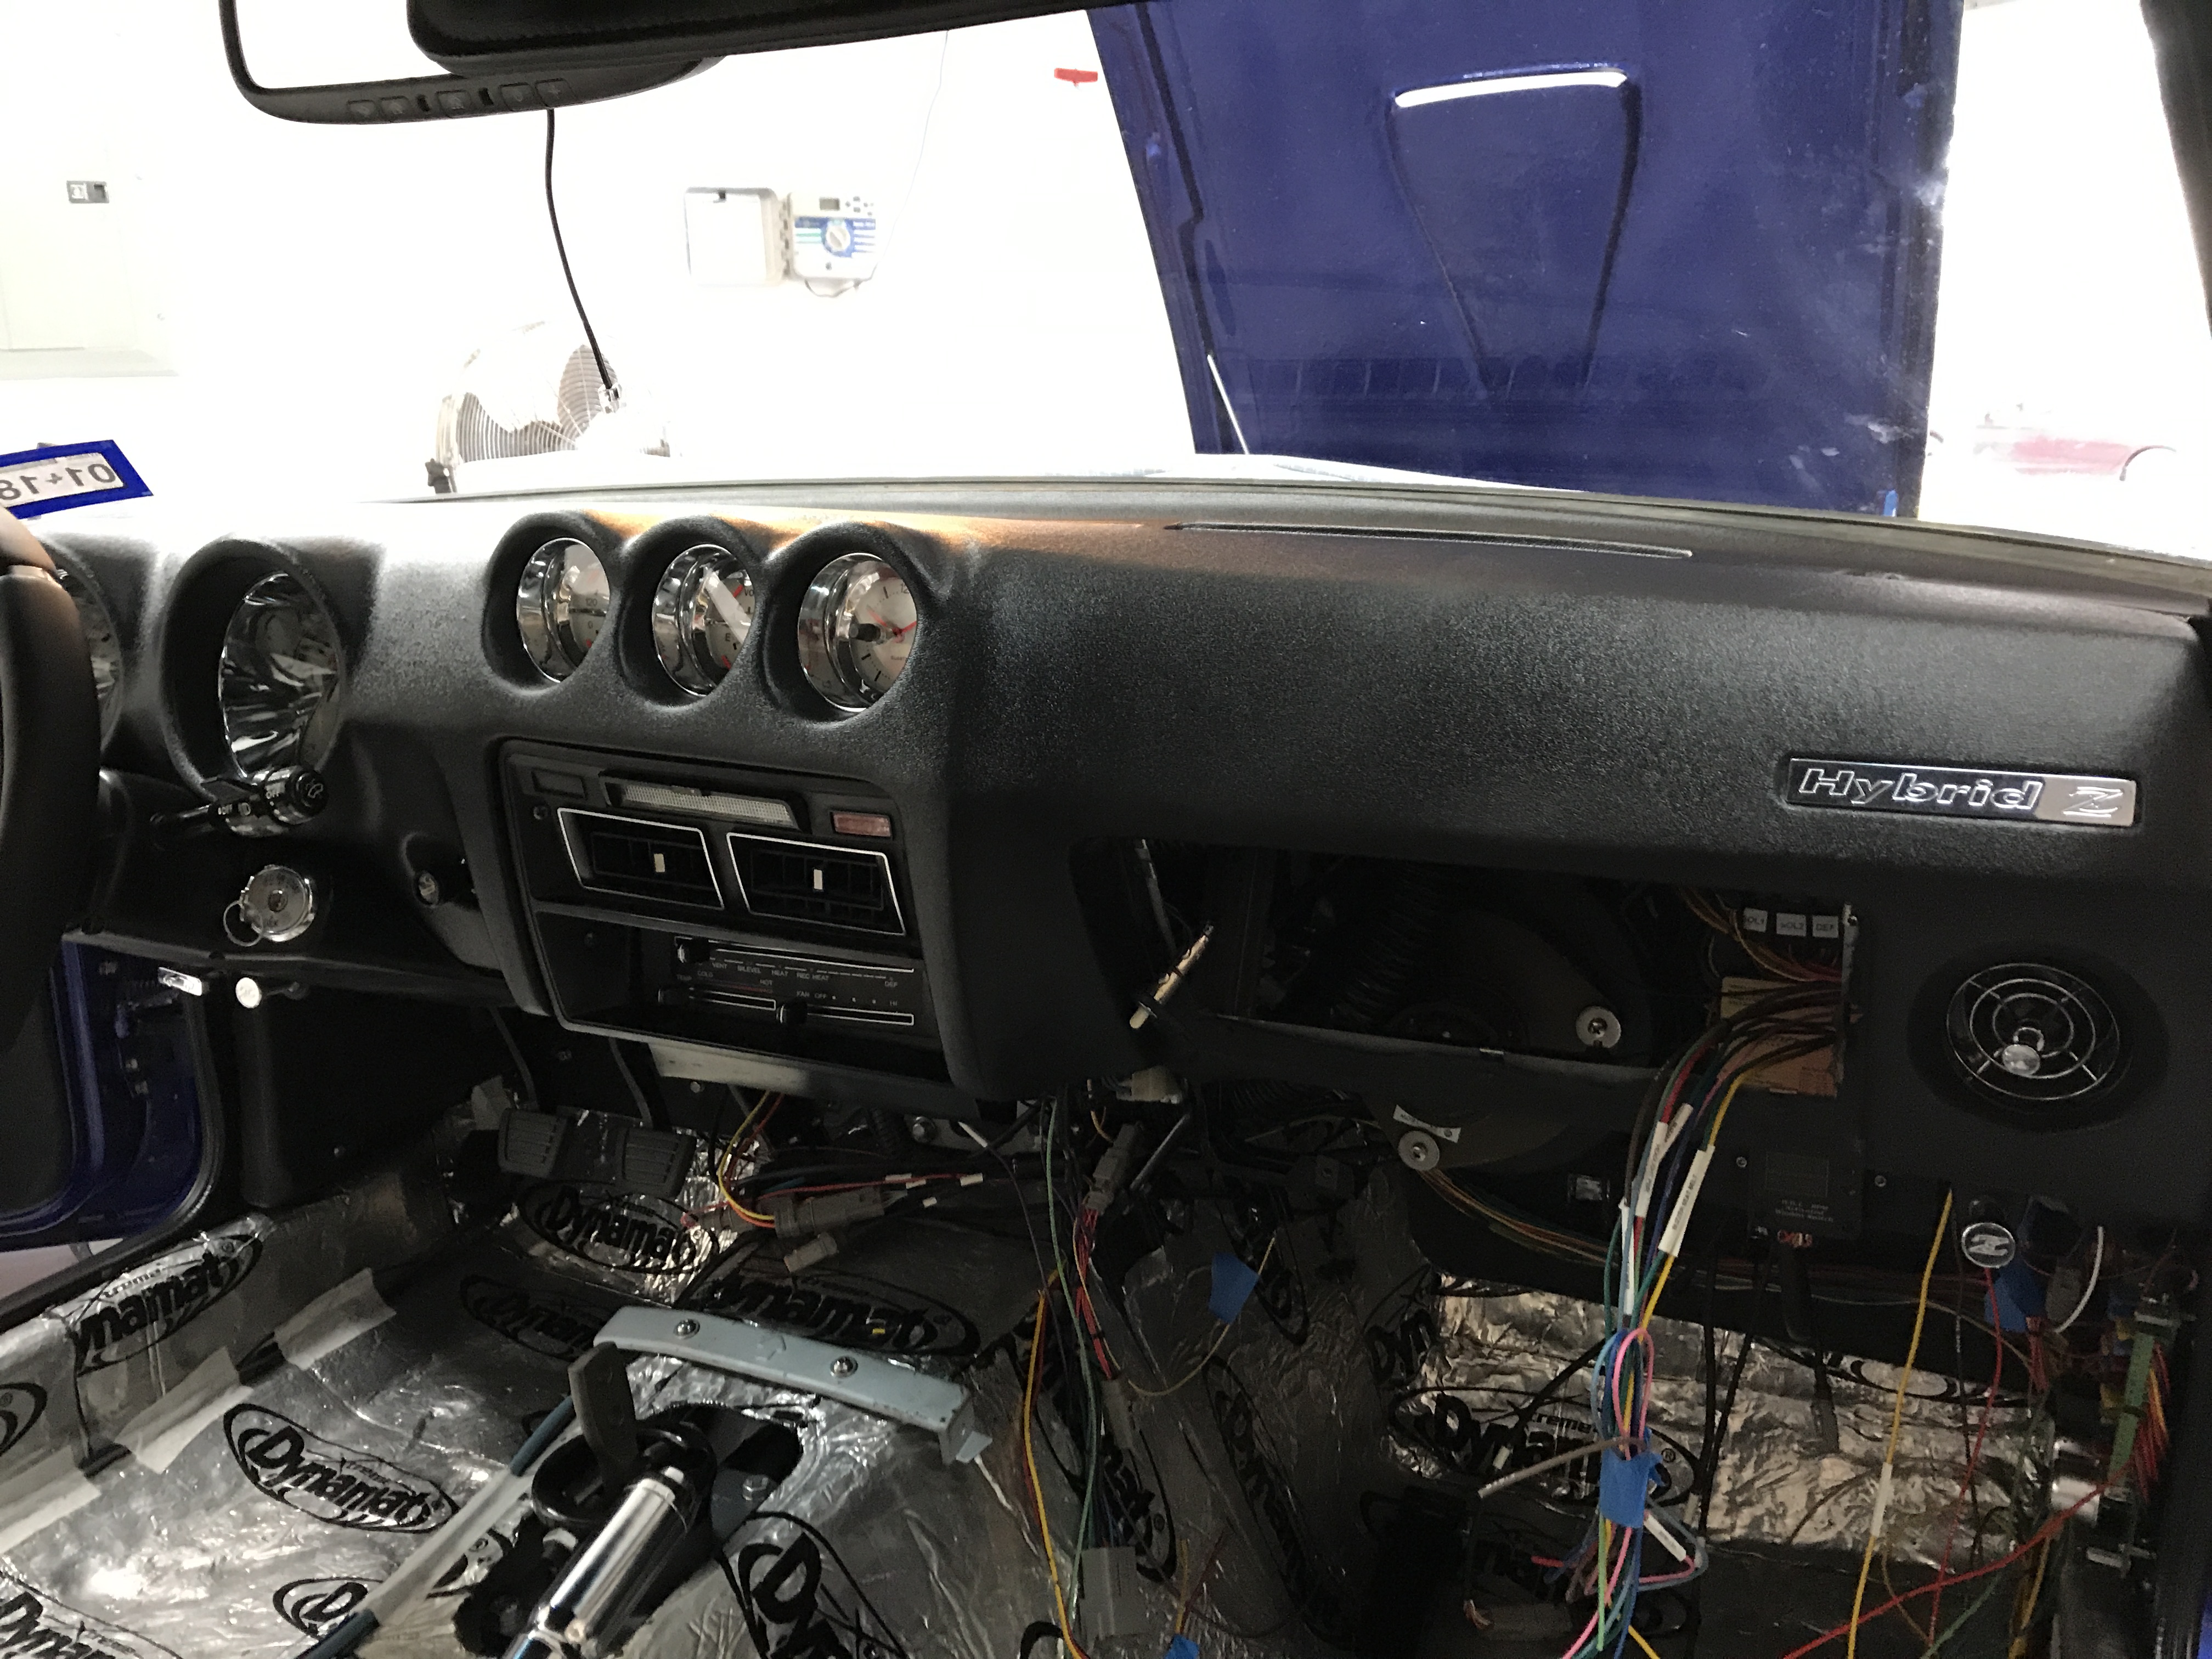
The dash is in, it still needs to be wired but we are getting one step closer.
-
Thanks Richard, I get a lot of inspiration from you guys. Looks like we will be starting the motor this weekend then I should be on the road by the end of October if everything works as expected.