jhm
-
Posts
1413 -
Joined
-
Last visited
-
Days Won
28
Content Type
Profiles
Forums
Blogs
Events
Gallery
Downloads
Store
Everything posted by jhm
-
Delorean- Sounds like you've got most of the big parts needed to do the swap. You may need a different pinion flange, depending on which R200 you've got. See this thread for clarification: "http://forums.hybridz.org/index.php/topic/75675-r180-to-r200-pinion-flange-question/page__p__720437__hl__%2Bpinion+%2Bflange+%2Bswap+%2Br180+%2Br200__fromsearch__1#entry720437". Don't know what you're currently using for forward differential mount, but it's pretty common that you have to flip the mount around in order to mate correctly with the R200 forward mounting bolts. Hope this helps. Good luck with the swap, and be sure to post your results...always helpful to hear what worked and what didn't work. r/John
-
Nice-looking exhaust....more unique than the more common dual setup. I've always been partial to the looks of center-exit exhaust systems. Glad to hear the Holley solved your intake problems.
-
Tokico 280Z rear shock spacer?
jhm replied to Matt K's topic in Brakes, Wheels, Suspension and Chassis
Matt- Sorry for not responding...didn't see your thread until today. It sounds like you've got the problem licked, but if you run into any other suspension or drivetrain issues, John Coffey of BetaMotorsports is a wizard and always happy to help with technical info/advice. He's also very quick to respond to e-mails and phone calls, which is really nice. Good luck. r/John -
-
-
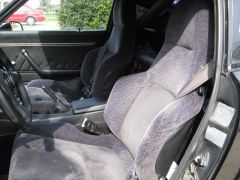
From the album: latest project
-
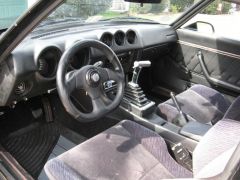
From the album: latest project
-
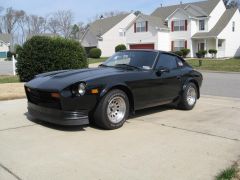
From the album: latest project
-
From the album: latest project
-
From the album: latest project
-
From the album: latest project
-
From the album: latest project
-
From the album: latest project
-
From the album: latest project
-
"JHM, he already has the car, he is just curious what he could get back from it. I concur with 240zip, you'll never get your money back as money, just as enjoyment. I know I'd never get close to what is in my car out of it, not for 40 years at least." Oops...my bad. Guess I got excited at seeing another new Z enthusiast. Zlove, nice car but ignore everything I said!
-
Nice find!! Rust free is HUGE...jump on it. Things like the R200 LSD and air dam are nice bonuses too. Interior is easy to fix. Should be a nice ride and a fun project for you. GL.
-
260z windshield wiper motor wiring EDITED
jhm replied to go 260z's topic in S30 Series - 240z, 260z, 280z
If I recall correctly, there's a 5- or 6-pin plug in the center top of the firewall in the engine compartment. The prongs can get corroded or the plug itself can even come loose. Try checking that connection and cleaning the prongs. And yes, the wiper relay is mounted on the right side of the passenger foot well (along with several other relays). For a free FSM, check out this website: "http://www.xenons30.com/reference.html". That's right....FREE! Can't beat it with a stick!! -
Very unique ride...nice work. That hood is wild-looking! I'm sure you get a lot of attention wherever you go. Thx for sharing, and be sure to keep the updates coming...sounds like you have even bigger plans in the future! r/John
-
Thoughts on Phenolic intake manifold gasket / spacer?
jhm replied to 70 Cam Guy's topic in Nissan RB Forum
I use a 1/2" phenolic spacer on my SBC equipped with Holley 4150. I don't use it for HP gain, but rather as a thermal buffer between the motor and the carb....particularly after shutdown, when engine heat used to cause the carb to boil-over and stink up the garage with gas fumes. Seems to work pretty well for that...can't say I've noticed any HP gains...seems like that would be a bit of a stretch on most setups. r/John -
That is one WILD-looking wide-body -- thx for sharing!! Pls keep those updates coming! r/John
-
Should be a mean set-up! Keep those updates coming, and good luck with the build! r/John
-
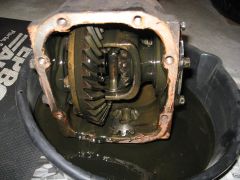
Hey all- I'm looking for an R180 in good shape. I've got a late '74 260Z with the single-bolt half-shaft attachments. Prefer LSD, but will consider all offers. If you've got a unit that meets my needs, I'm ready to hit the "Send Money" button! Thx for looking. r/John
-
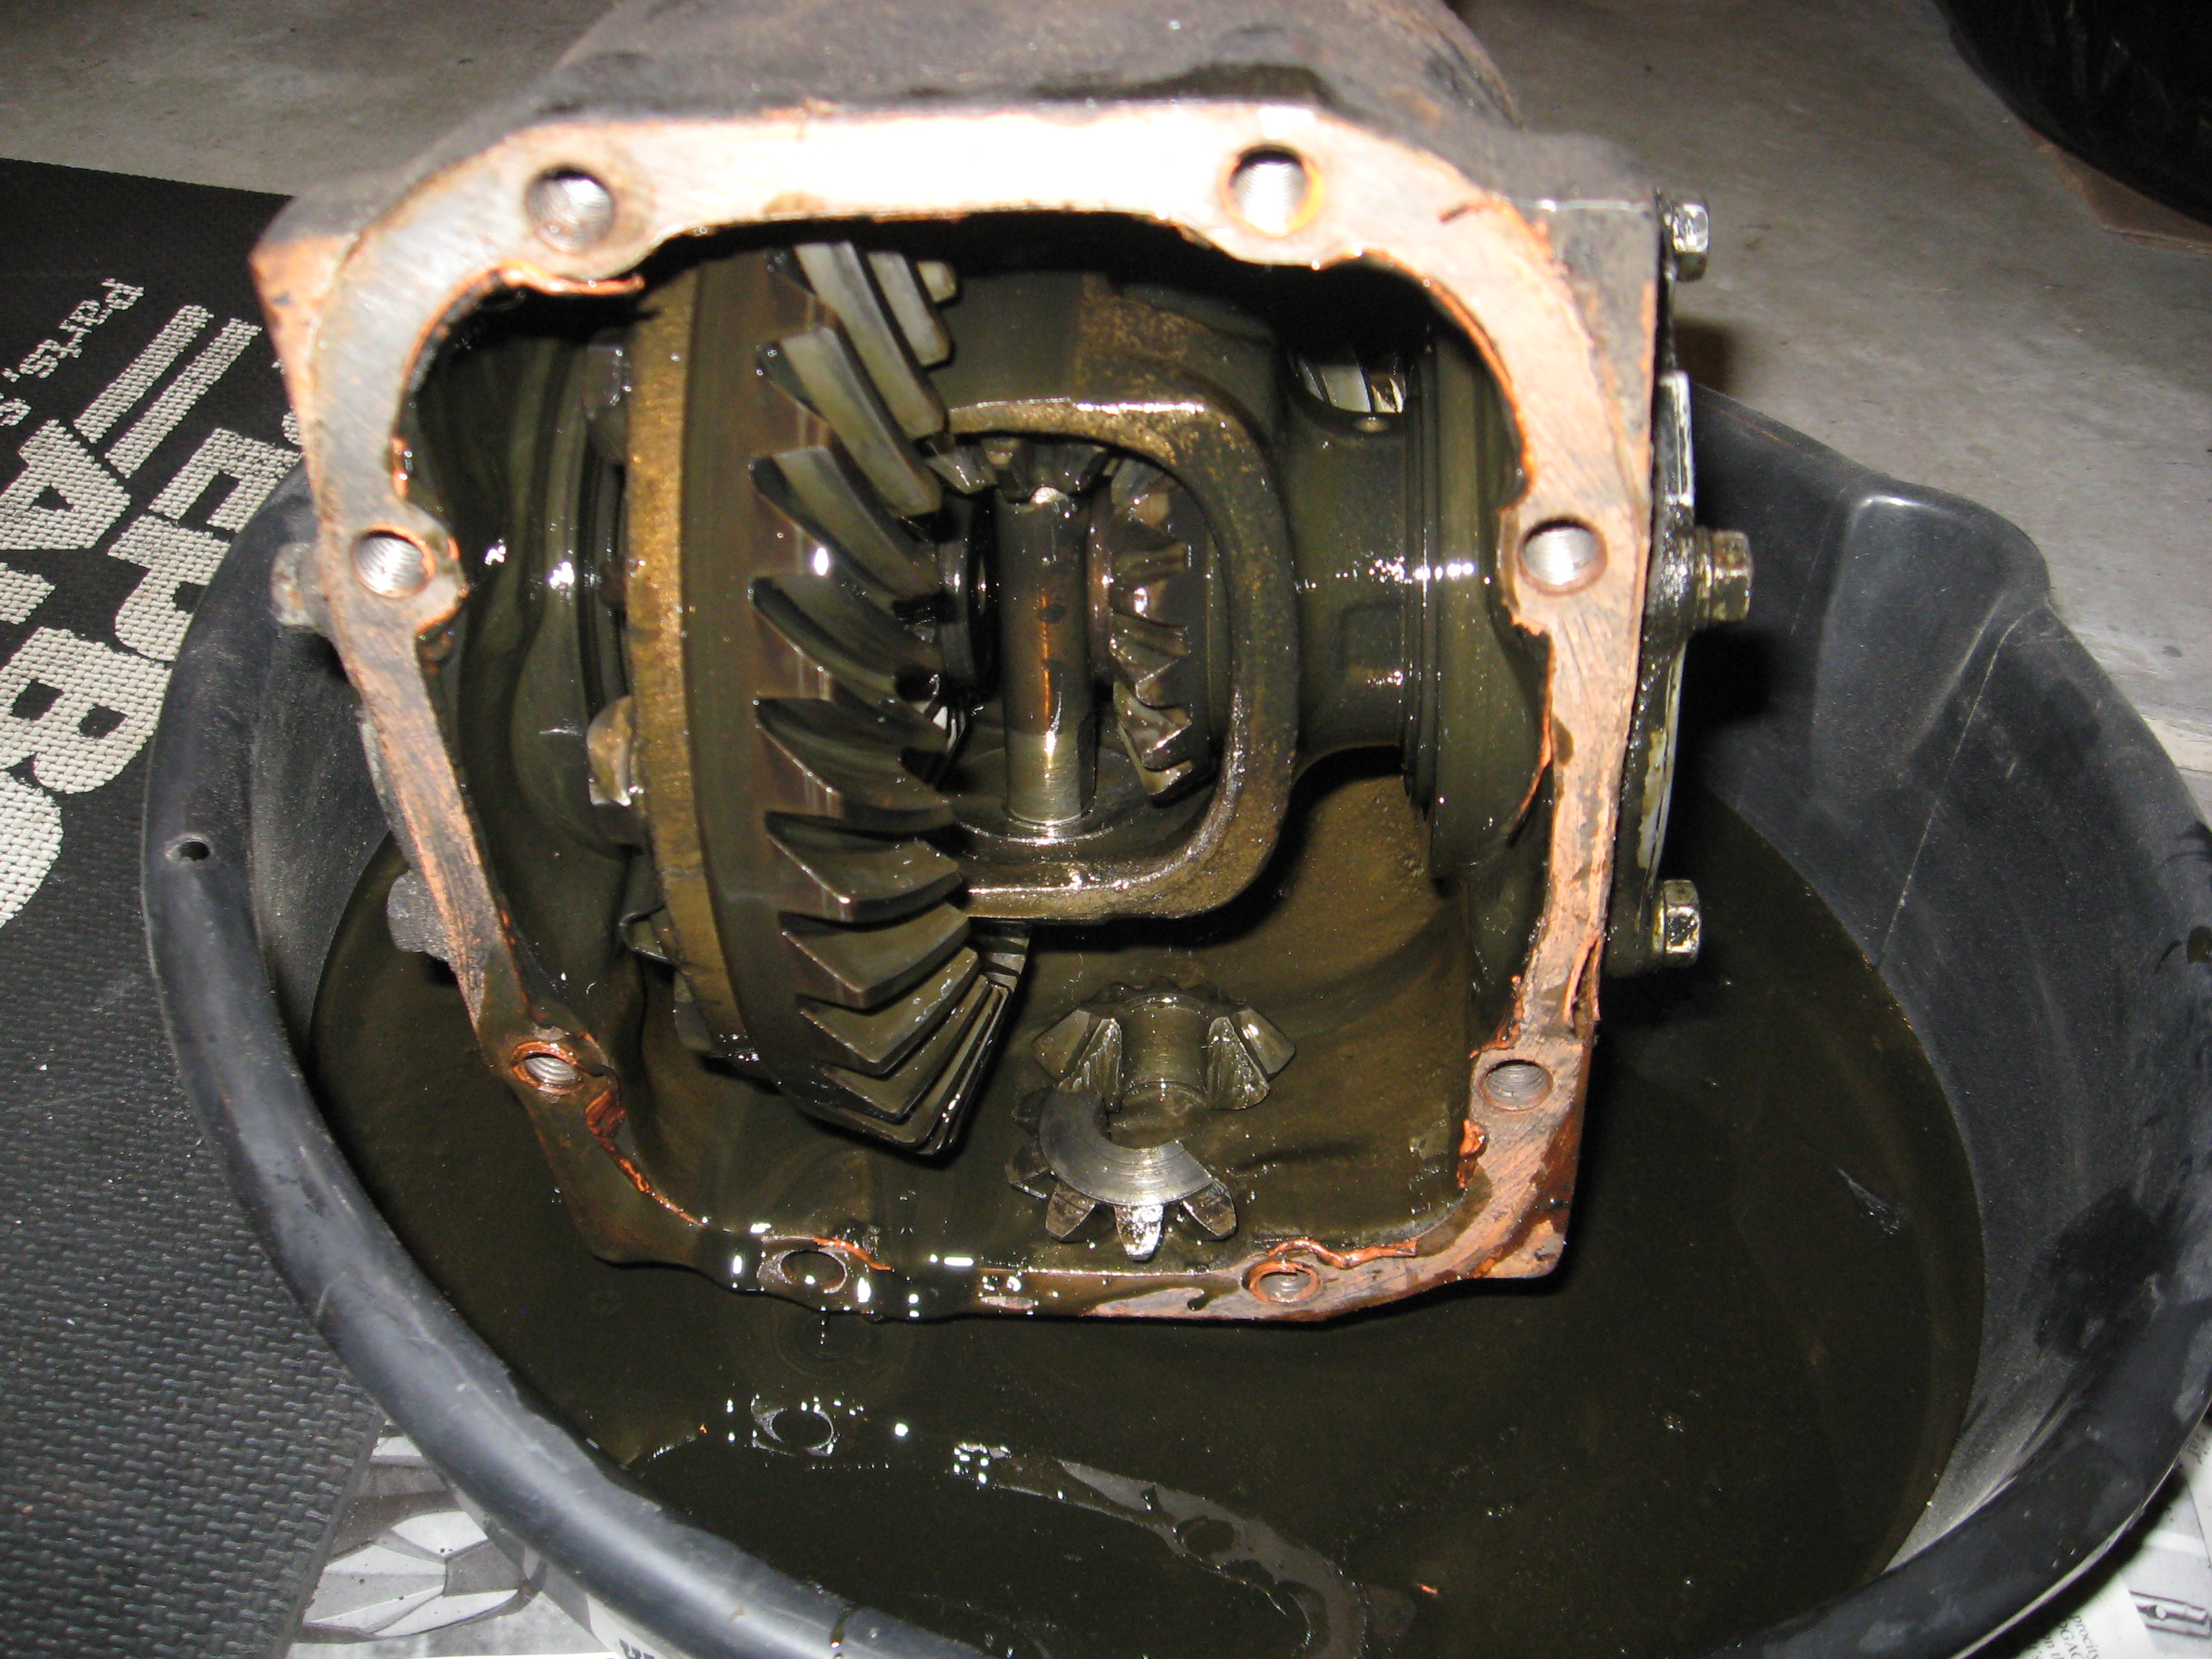
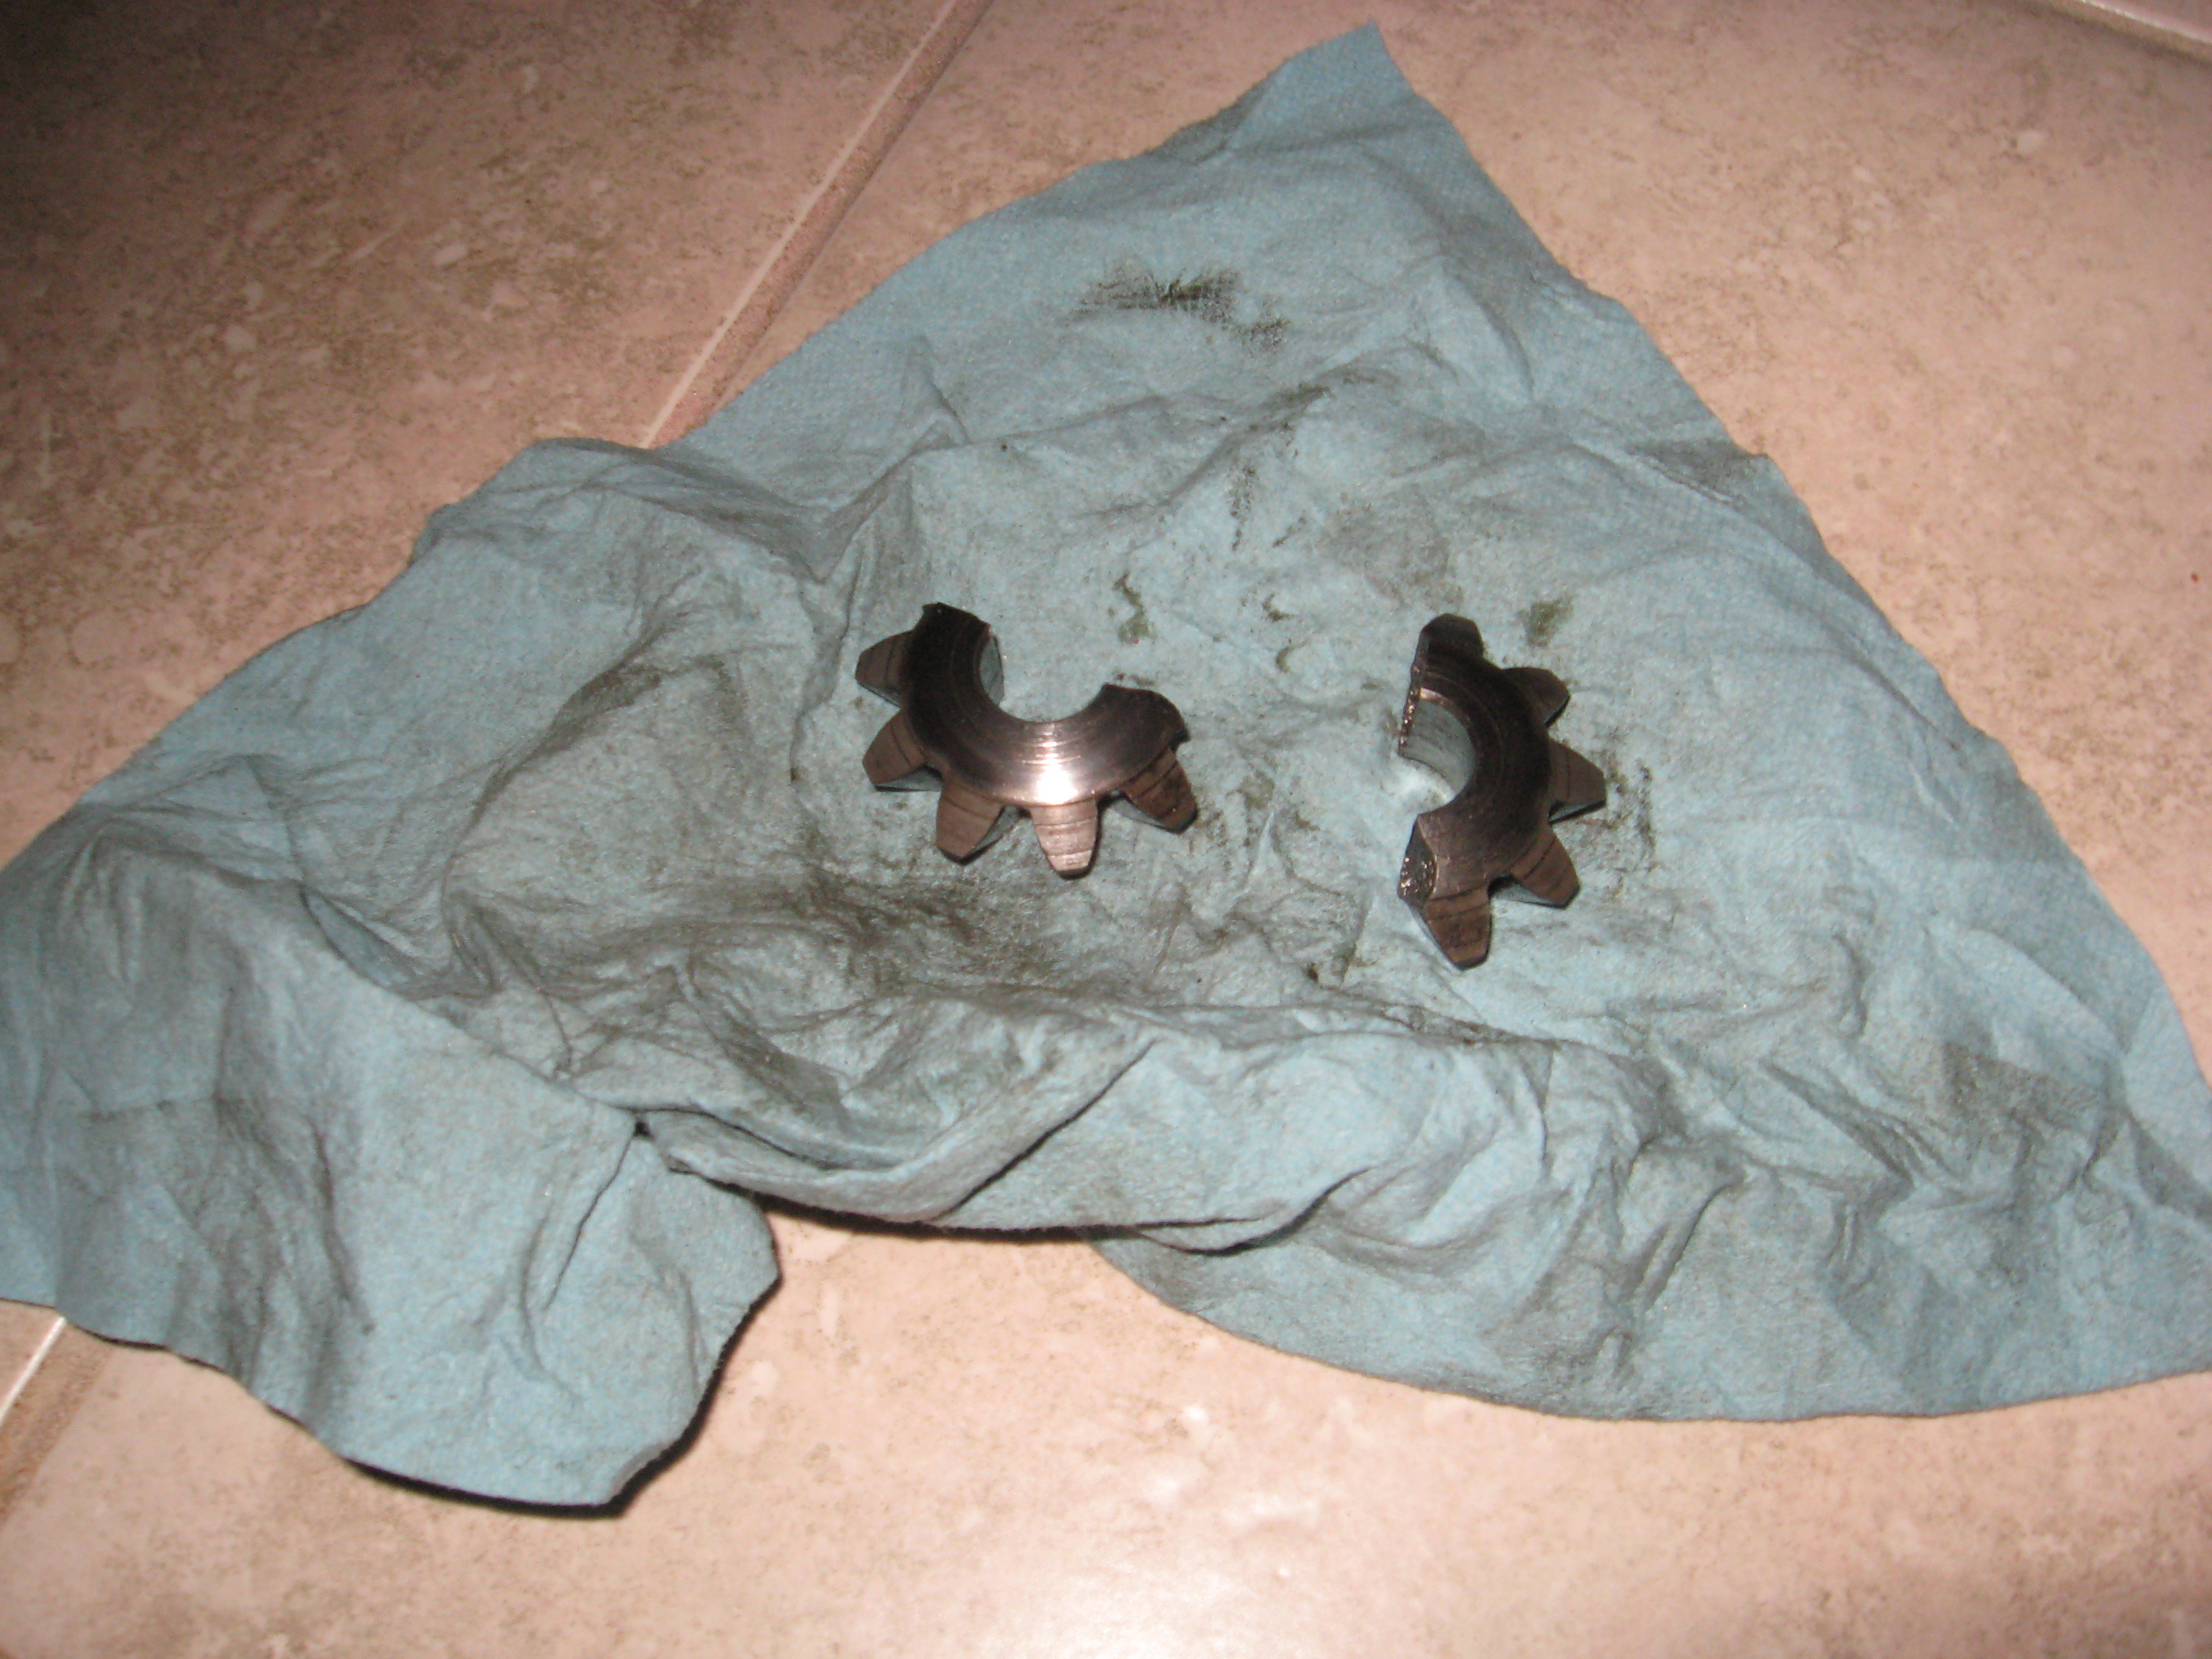
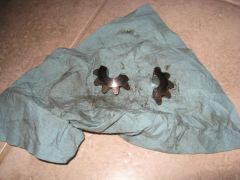
Yep....my rear end started making nasty noises at the local auto-x last Sunday. Pulled the differential and found it to be a few pieces short! I'm glad it lasted the year before puking. Was using much stickier tires that day than I had been at previous events....I'm guessing that contributed to the differential's demise. I'm looking for a used R180 if anyone has one. I need the single-bolt half-shaft attachment style (late '74 260Z). Thx! r/John

-
Saw this on CL...may help. http://miami.craigslist.org/brw/pts/2058687964.html
-
Looking good!!