KevvinG
-
Posts
55 -
Joined
-
Last visited
Content Type
Profiles
Forums
Blogs
Events
Gallery
Downloads
Store
Everything posted by KevvinG
-
Please keep this thread posted with CBF's response re: the sloppy shifter! I'm looking to see if I can find a rear mount shifter that would still fit before I spend the big $$ on the CBF forward mount shifter!
-
Holy smokes Arif this is amazing! Your Z and mine are basically clones drivetrain wise! I've got a built RB26 with a big single turbo swap and I'm running the CD009 out of a 350Z with a collins performance adapter! I haven't had a chance to install it yet as I'm still handling some chassis upgrades/rust repair. How does the cbf shifter fit? It looks like it's a touch forward in the hole. Also, how does it install? Keep this thread alive! It's awesome seeing such a similar build happening at the same time as me
-

High Beam/Low Beam at the same time?
KevvinG replied to JoeK's topic in S30 Series - 240z, 260z, 280z
This has been my experience as well when I was redoing my headlight wiring to use relays. I left it in the original configuration (even though it would be easy to wire it so that the low beam goes on when the +12v is applied and have it always grounded) for fear of overheating the bulbs -
I'm not sure if it would fit into your S130. I know that with the L28's there were different oil pans for the S130s, as their crossmember goes further back.
-
Let me know when you're ready to install another
-
Looking great! Really excited to see how this project shapes up. What flares are those for the rear there in that latest picture? They look exactly like what I'm going for
-
Wow funny coincidence. I literally just photographed my Electromotive HPV-1 Distributorless ignition setup so I can put it up for sale in the next few days. If you're interested feel free to PM me (it'll be sold as a full kit). But to answer your question more directly; The way I handled the crank trigger is by buying a fairly inexpesive 60-2 trigger wheel online (I think it actually was off ebay), and having a local CNC shop machine two rounded slots in it so that it would bolt to the front of the 240Z 2-row pulley that I'm running. The 240Z pulley works great because it has such a flat front face and two bolt holes in it meant for a pulley puller. The slots are great because it allows you to set the base timing to whatever tooth you like. I think all in all I paid $60CAD for the trigger wheel and another $60CAD for machining. Not bad for $120! As for the sensor I just used some aluminum pieces to make that myself. (Remember that it has to be aluminum otherwise it'll throw off the magnetic sensor)
-
Just wanted to add in: If anyone is looking to do this upgrade but doesn't have the right outlet fittings: Flyin Miata makes a M10x1 inverted flare to 3x8-24 one piece adapter. It's pricey but it's one of only two that I know of. https://www.flyinmiata.com/npt-to-metric-flare-adapter.html
-
You can grab just any 240Z rad hoses, I like going with the OEM one over the Lowes style ones since they have all those nice bends in them already. I've actually still got mine kicking around if you're interested. But shipping from Canada might not make it worthwhile. When I bought my Z it didn't have any overflow tank, I ended up just buying a cheapy ebay one and plumbing that in. But there's no reason why you can't just route the hose around to the other side.
-
Hey! I've got experience on this topic. I've got a '77 280Z, you can use the radiator out of any other S30 in 280Z's. I was using a stock 240Z radiator for the past year or so in my car, all you'll need to make it compatible is the 240Z lower rad hose. Now I'm running a Champion 3-row aluminum radiator meant for the 280Z (with the 280Z lower rad hose) as it seems to perform just as well as a mishimoto for a lot less money! In summary, the differences are: -240Z rad is a little shorter than 280Z rad (this means that the 240Z rad will bolt into a 280Z no problem, but putting the larger 280Z in a 240Z involves more work) -240Z rad has a different lower water outlet, meaning you'll need to use the matching 240Z lower rad hose (the water pump inlet that this hose goes to is in the same location on any L-series motor so as long as the hose matches the rad you'll be fine) Everything else is basically the same.
-
Wilwood Prop Valve Adapters
KevvinG replied to KevvinG's topic in Brakes, Wheels, Suspension and Chassis
Sorry I should have specified! The part number is 260-8419. If I'm not mistaken it's got the 3/8 24 NF straight threads. So I guess that means I'm going to need to go with http://www.pacificcustoms.com/mm5/merchant.mvc?Screen=PROD&Store_Code=PC&Product_Code=cnc897&Category_Code=brass-adapter-fittings these? Thanks for all the help! -
Hey guys, I just received my wilwood prop valve and was wondering if anyone had a link or knew where I could order some adapter fittings to mate this up to the stock 10mmx1.0 lines on the car. I've tried both my local partsource and NAPA to no luck as well as searching online a good bit. I know it's possible to just cut and re-flare the lines but I'd like to save that as a last resort. Thanks!
-
Just like others have said it's a pretty simple setup! The wiring you'll need for the L24 is extremely basic, you can ditch just about everything off that L28ET harness, keep the alternator and it's wiring as it's a worthwhile upgrade. Other than that all you'll need to wire up is starter, coolant temp sender, oil pressure sender, and distributor! Then plumb up fuel and your rad hoses and you're all set. I've got a set of Weber 40DCOE's with manifold and electromotive HPV-1 distributorless ignition setup I'll be selling this winter as I'm doing an RB26 swap. If you're interested in either or have any question give me a shout!
-
Awesome progress! Your Z is coming along real well, its good to see more east coast Datsuns! I'm in a bit of a similar position, 21 years old, slightly rusty 280Z that I'm RB26 swapping while going to college and working! When you cut out your floor and frame rail, did you put it on any sort of alignment rack? I've been wanting to get that done on my car but am afraid to do it in the garage in case I end up with a warped chassis.
-
Hey Pat, are you still making these pans? I'll be doing an RB26 swap into my S30 in the near future
-
I'm not running AC but I do plan to in the future. So when I was mounting my hall effect sensor I made my bracket mount off of the timing marker holes
-
If you could take the pictures from a bit farther away it would help to get an idea of what we're looking at. On the second picture that looks like it's the wiring that would normally go to the mechanical voltage regulator. It's a common upgrade to change to the 280ZX internally regulated alternator, when you do that you need to bypass the old voltage regulator by jumping the two wires that are taped off. I've done that on my car and it's great. There should be a pretty big black box type thing on the passenger side between the strut tower and the battery area, if that's removed then you know you've got the ZX alternator mod.
-
Hey guys, I've decided that I want a second steering wheel for when I'm taking the 280Z to the track. Having a big wheel is nice for daily driving without power steering but when I like to take the Z to AutoX or track days and it becomes a big annoying to use. The question now becomes what size do I get? My main wheel is a 14.3 inch (365mm) Nardi Classic in wood, I've been debating between the 350mm and 330mm leather wrapped nardi classic. I've been told I don't want to go under 350mm because it becomes difficult to use in parking lots and such but as this wheel is track only I was thinking the 13inch(330mm) might be a better call. Any suggestions? Or recommendations on other aftermarket wheels? Thanks
-
WOW! What seats are those? They look amazing!
-
1971 Datsun 240Z - L33 - Twin Turbo - 4L80e
KevvinG replied to Ryan Merrill's topic in Gen III & IV Chevy V8Z Tech Board
Nice build Ryan! She's looking better and better! What's left to go? -
I've been looking around for a "Datsun Bucket Seat" similar in style to the Datsun Competition seat that jdm-car-parts.com has for $895 USD. Unfortunately on a student's budget there's just no way I could afford that! But these look to be similar in style, just wondering if anyone knows about their quality. http://www.ebay.com/itm/Pair-Mid-Sized-Classic-Bucket-Seat-w-Sliders-in-Black-Polyurethane-Faux-Leather-/371644785639?fits=Make%3ADatsun&hash=item5687c163e7:g:WnUAAOSwTZ1Xlscn&vxp=mtr
-
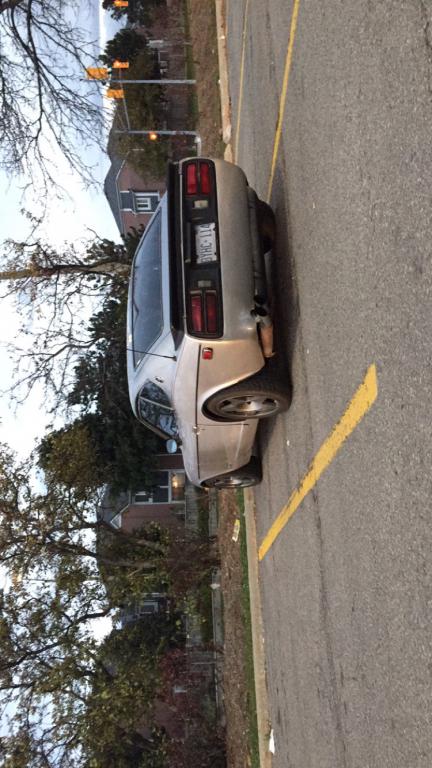
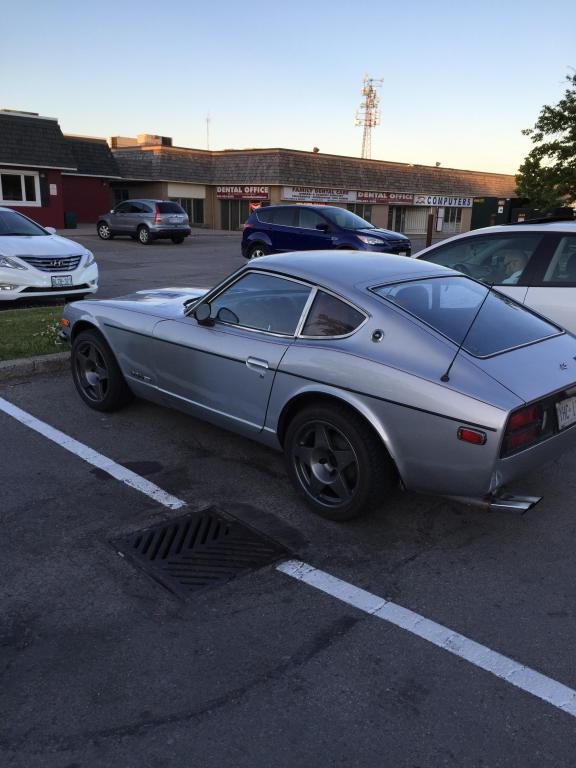
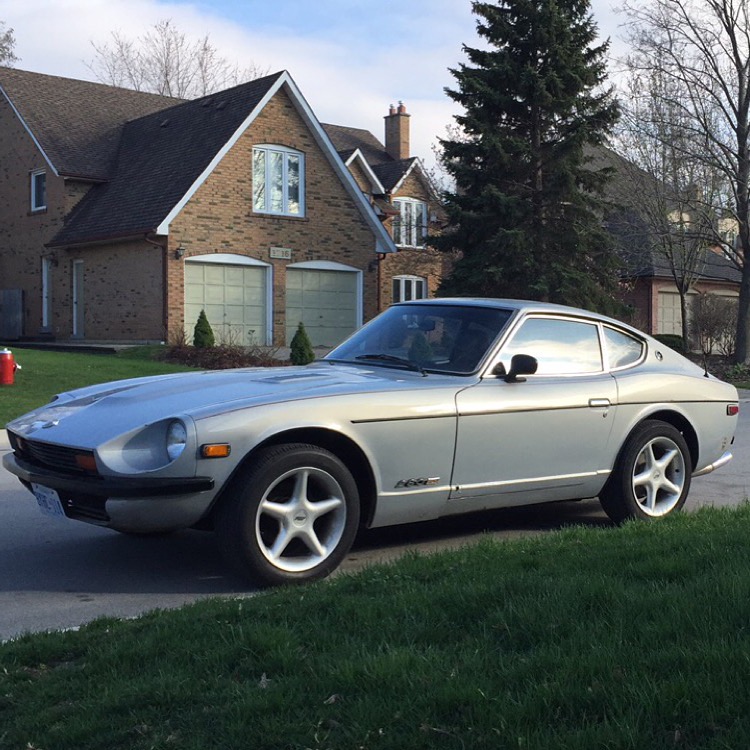
Here's my car before lowering it on the 205/55/16 setup it came with And then with the 225/45/17 setup And then after lowering it on the new wheels (Vogtland lowering springs with 1 coil cut off)

-
I found that the larger tire/wheel didn't help that much with the wheel gap. (My car came with 16 inch wheels which is already fairly large for a z car, went up to 17's without a big change) When I installed lowering springs (with about 1 coil cut off) it set my ride height to exactly what I was looking for. That and some 17 inch wheels made it look solid.
-
Parking Brake Adjustment
KevvinG replied to KevvinG's topic in Brakes, Wheels, Suspension and Chassis
Update: I followed the instructions on the link Miles posted and found it worked well! The parking brake handle goes up to about 45 degrees and that locks the rear wheels up well enough to torque on the wheels. It's still not super strong but definitely good enough to be used as a parking brake. -
Eibach springs- all on back order
KevvinG replied to TR112's topic in Brakes, Wheels, Suspension and Chassis
Vogtland! I've got them on my Z, found they lowered it by only about an inch. I had so much trouble finding Eibachs for a decent price here in Canada I just gave up. Overall I'm quite happy with them!