Exposed
-
Posts
345 -
Joined
-
Last visited
-
Days Won
15
Content Type
Profiles
Forums
Blogs
Events
Gallery
Downloads
Store
Everything posted by Exposed
-
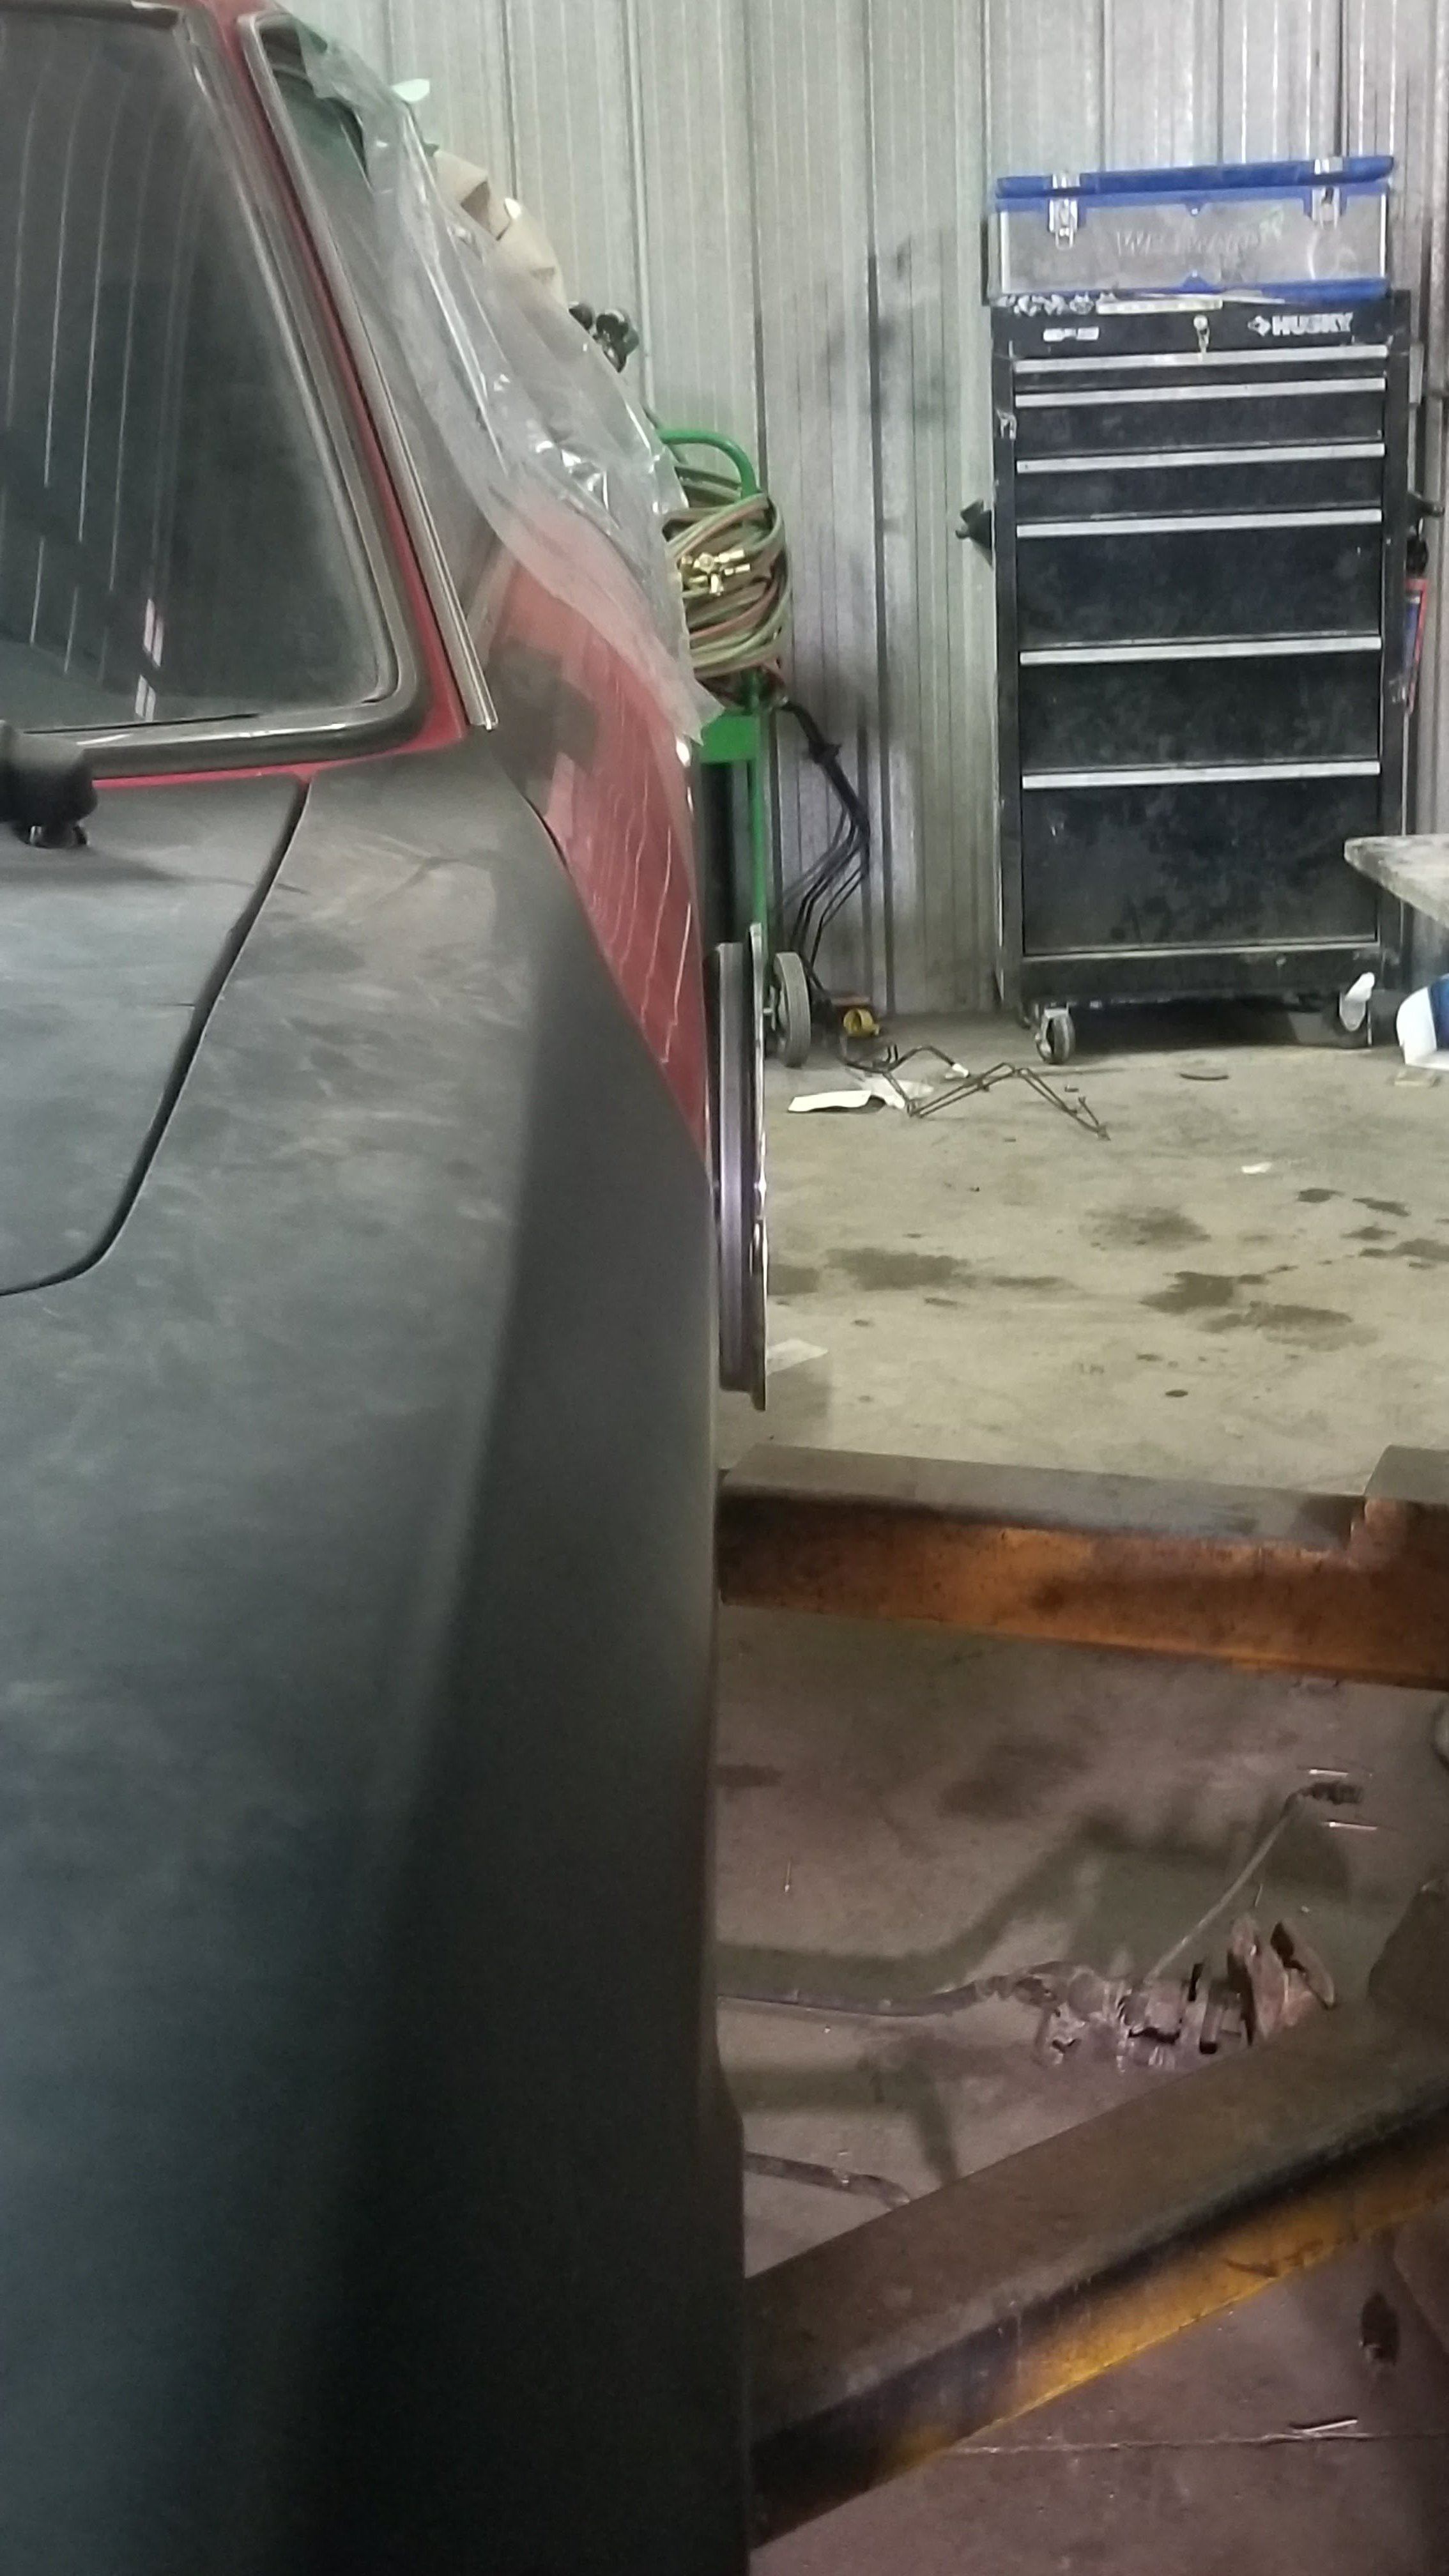
I know where your coming from, I've been trying to prepare myself to cut the fenders up. I'm probably going about it all wrong though, I haven't committed and buying wheels like this.... That's also why I wanted to try making some metal flares and keeping it looking stockish
-
@softopz two of the wheels are 16x10 with 5" outer barrels the other two are 16x10.5 with 5.5" outer barrels. It leaves me with about 1.5"~2" of space from the coilovers. I can take exact measurements if you'd like.
-
I believe the person I dealt with was Tony, has a shop called Love20Bee. I checked the marugen flares out. Noticed they have a couple different styles the only thing is I cant seem to find any sizing on these. Will need to do some searching and post what I find out.

-
For the past little bit I was bouncing back and forth between the idea of cutting up the body and adding flares or leaving them as is. I had bought myself a set of diamond racing wheels but they ended up rubbing on the caliper after switching to wilwood calipers. So instead of running a little spacer I figured I'd just waste money on a proper set of shoes. Placed an order and the guys did a great job on the barrels and the refinish, the wheels came out amazing! now I just need to find or make a decent set of flares to go with it. And just when I thought winter was over, BAM a blizzard hits....
-
Fiberglass Mafia Wide ZG Flares - looking for reviews
Exposed replied to JoeK's topic in Body Kits & Paint
@jeeper42 were they just made poorly? Dont fit well? I've been trying to find a set of quality flares, thinking of trying my luck at making a set... -
Yup I've definitely learned a lot with all the input from the community. Hopefully with all the mistakes I make and post no one will make the same ones.
-
one option depending on the application is to use white lithum grease for any two different metals touching.
-
fingers crossed I don't get a bad solenoid or I havent hooked it up incorrectly. I have my wide band, and oil pressure gauges hooked up just need to tidy up the set up and mount them properly. I was thinking of redoing my electrical panel and building a cover just to tidy everything up and make it look better. Anyone ever use or see someone use MDF for this? Bouncing back and forth between aluminum and mdf at the moment.
-
Started it up today! cant wait for the snow to disappear.
-
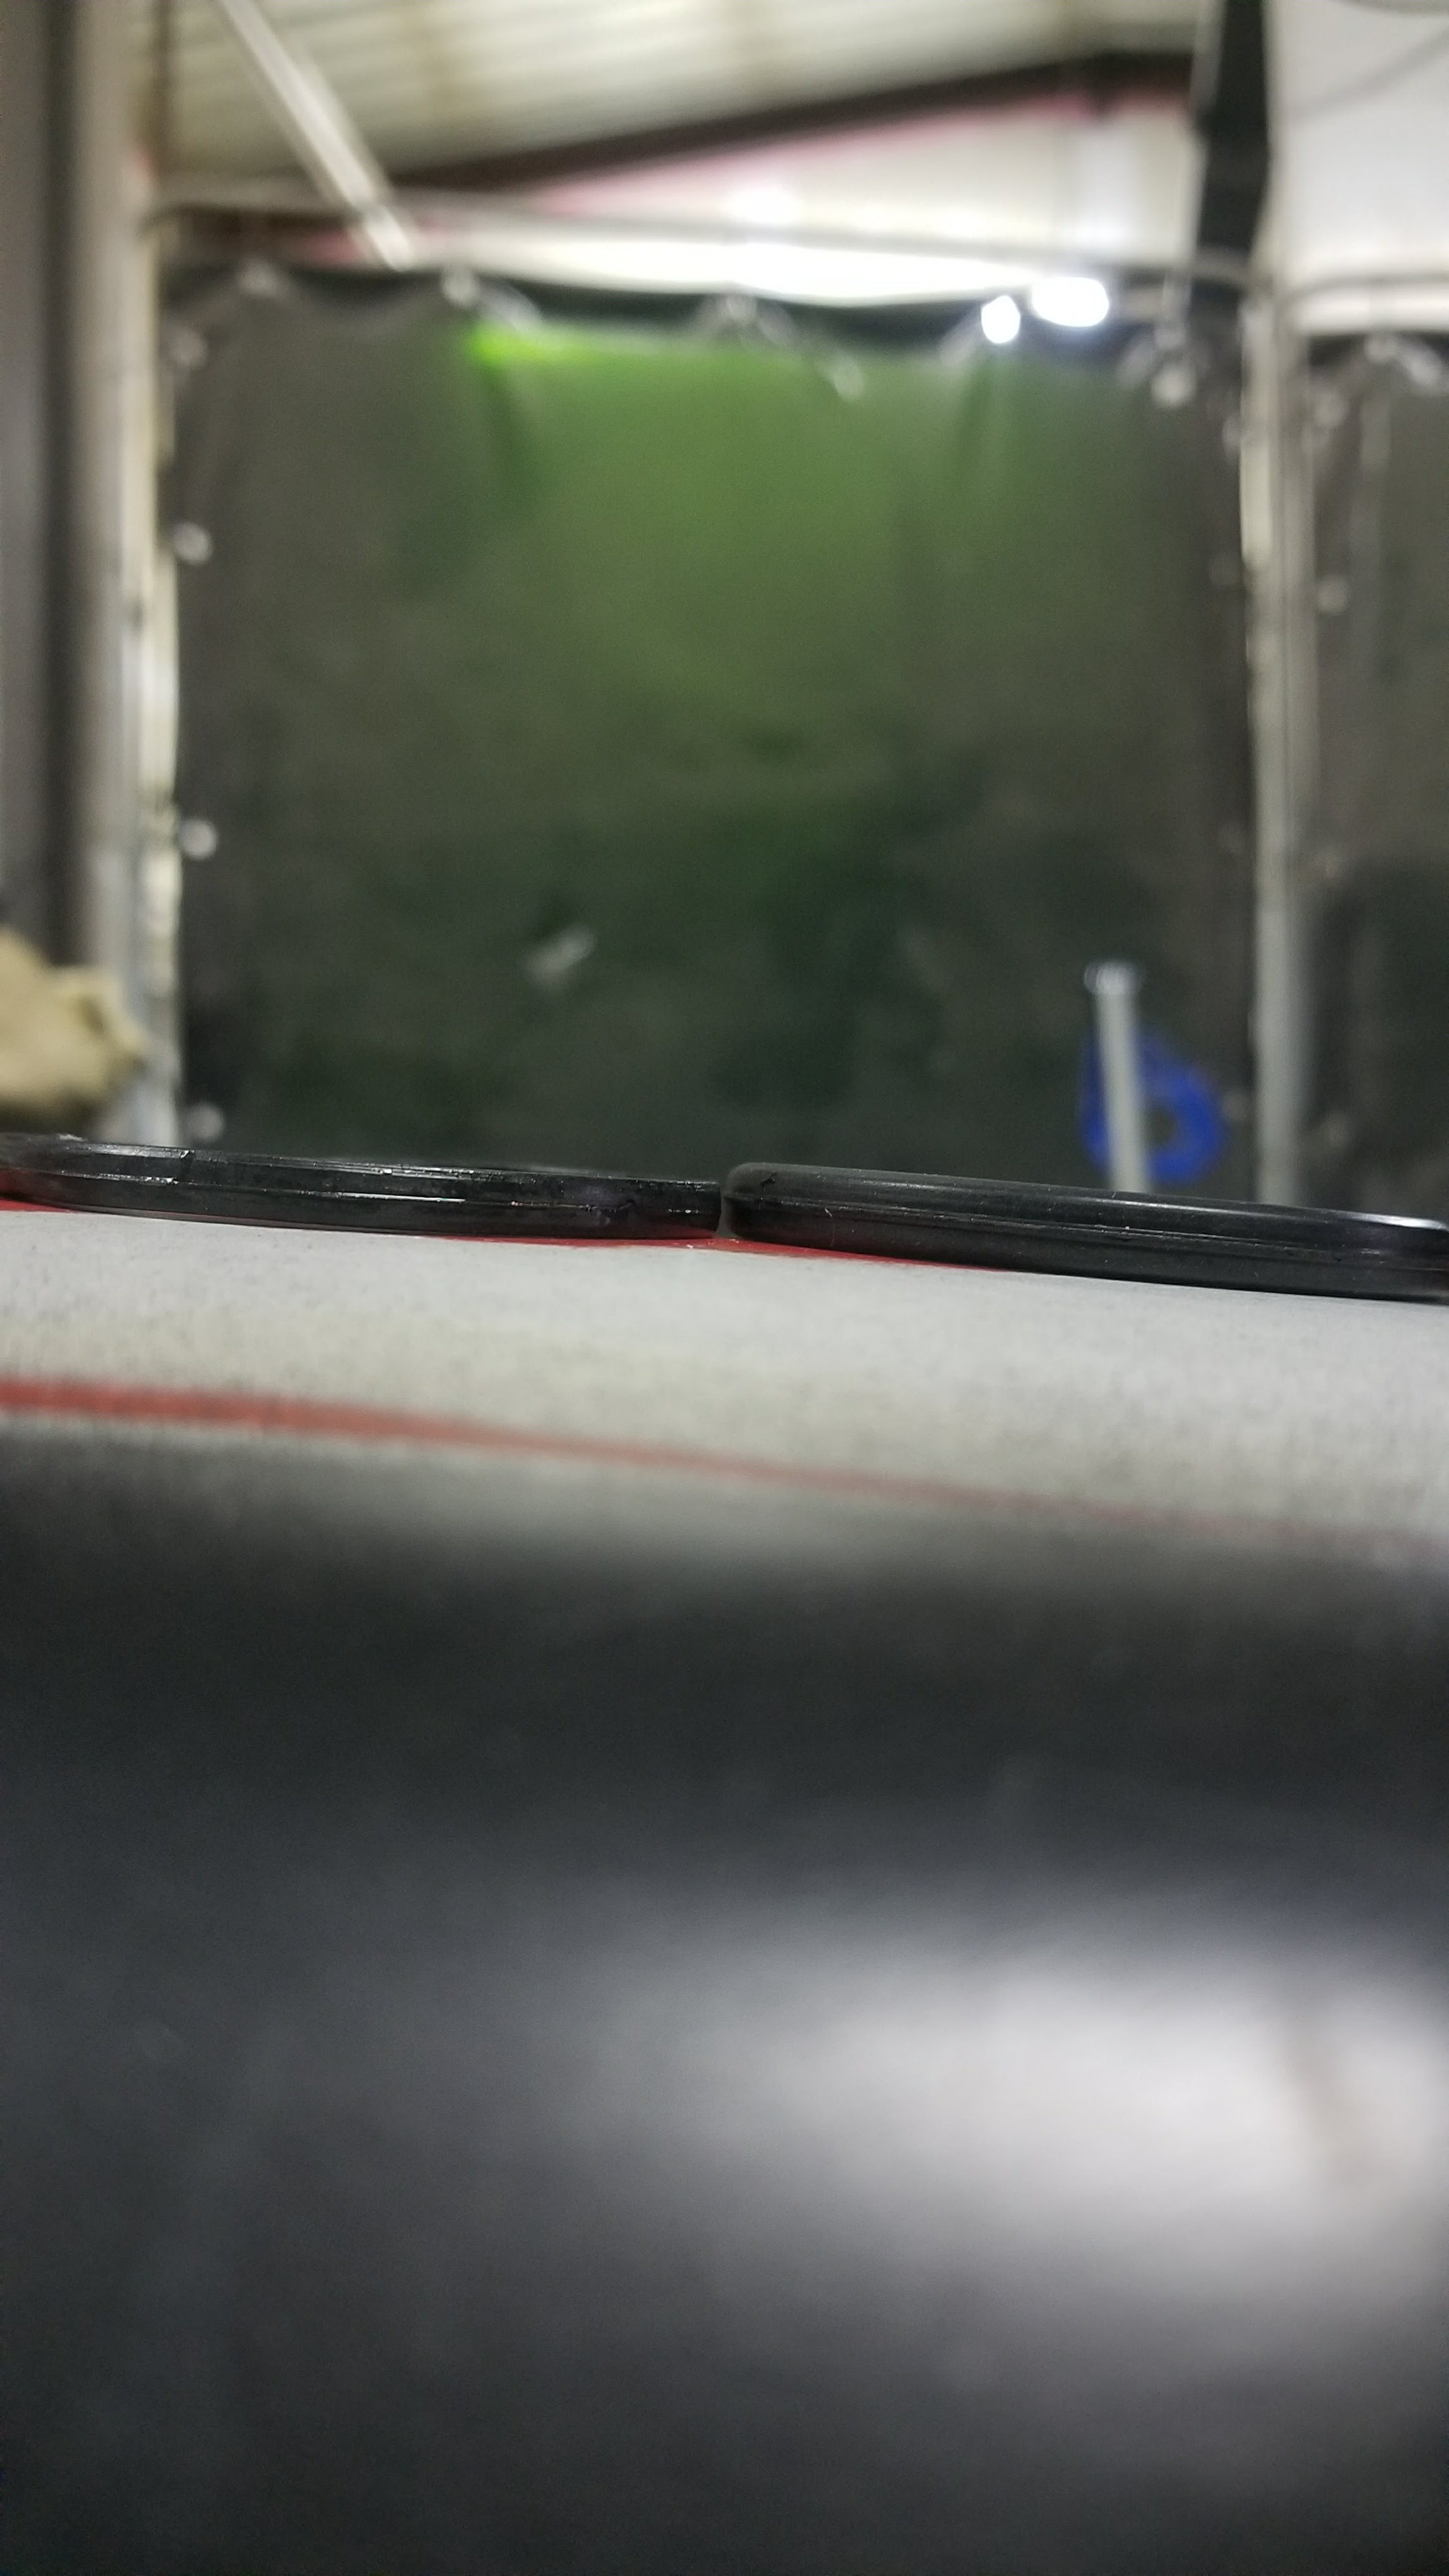
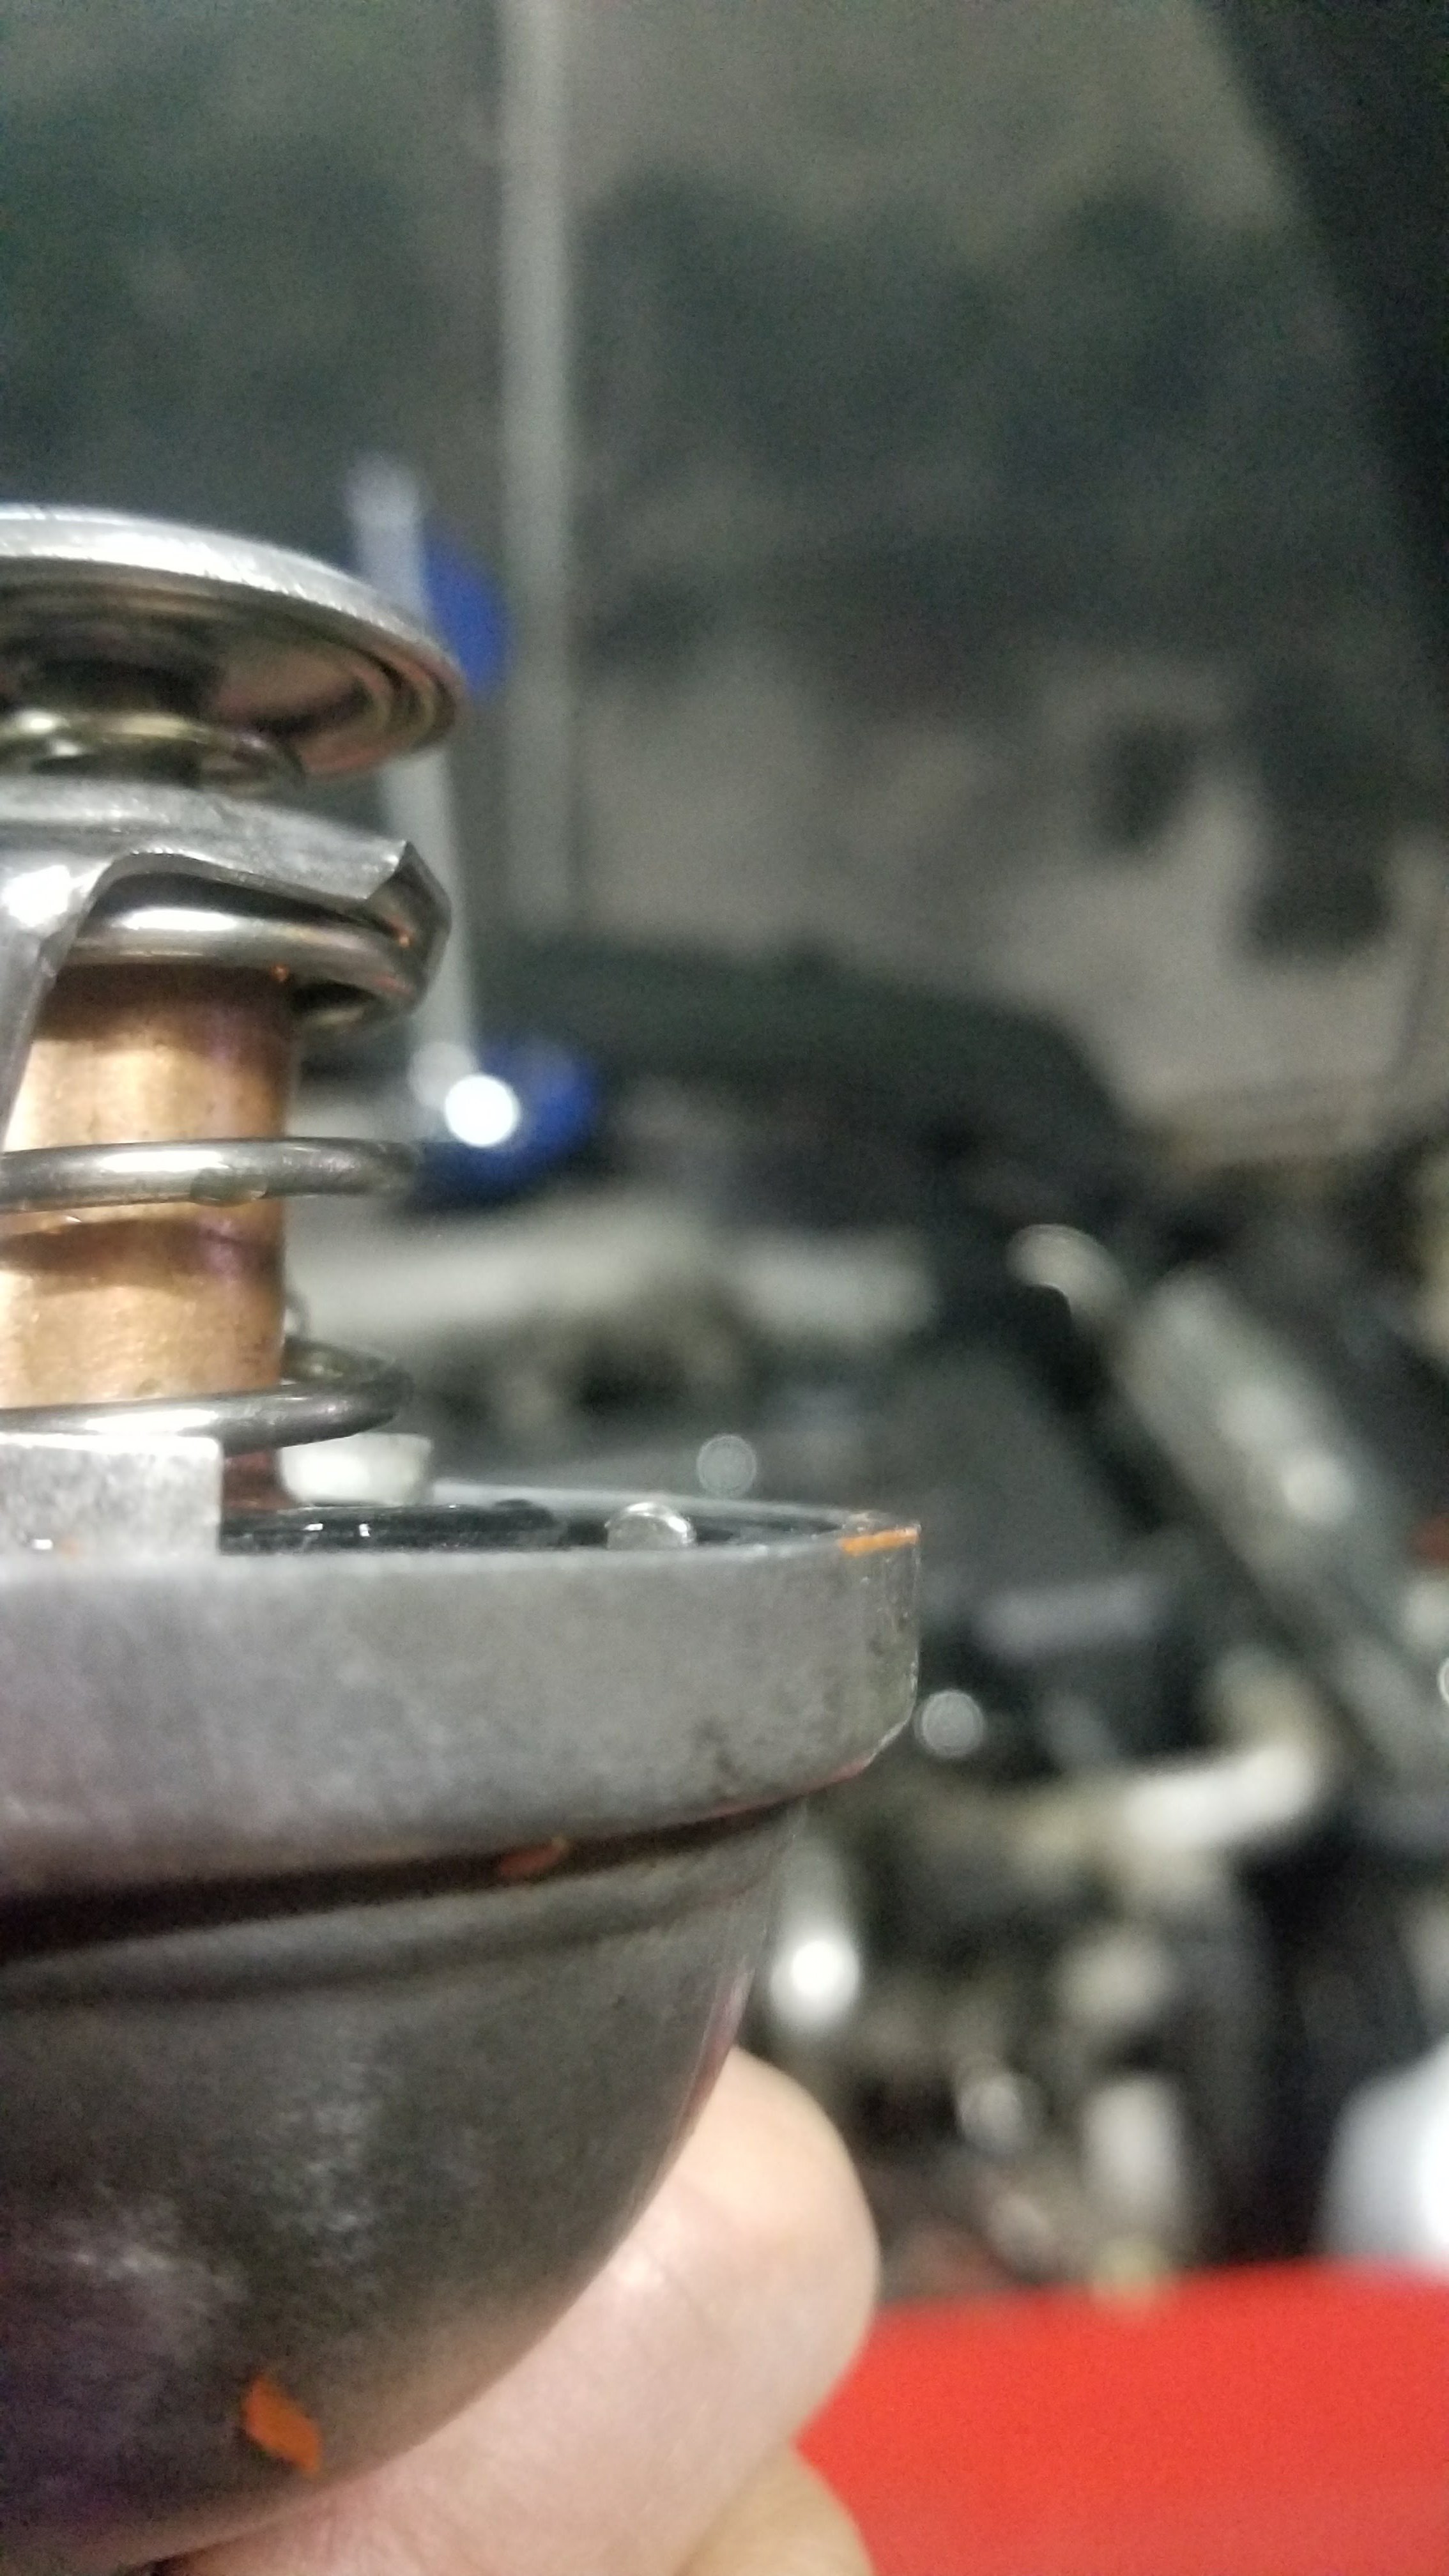
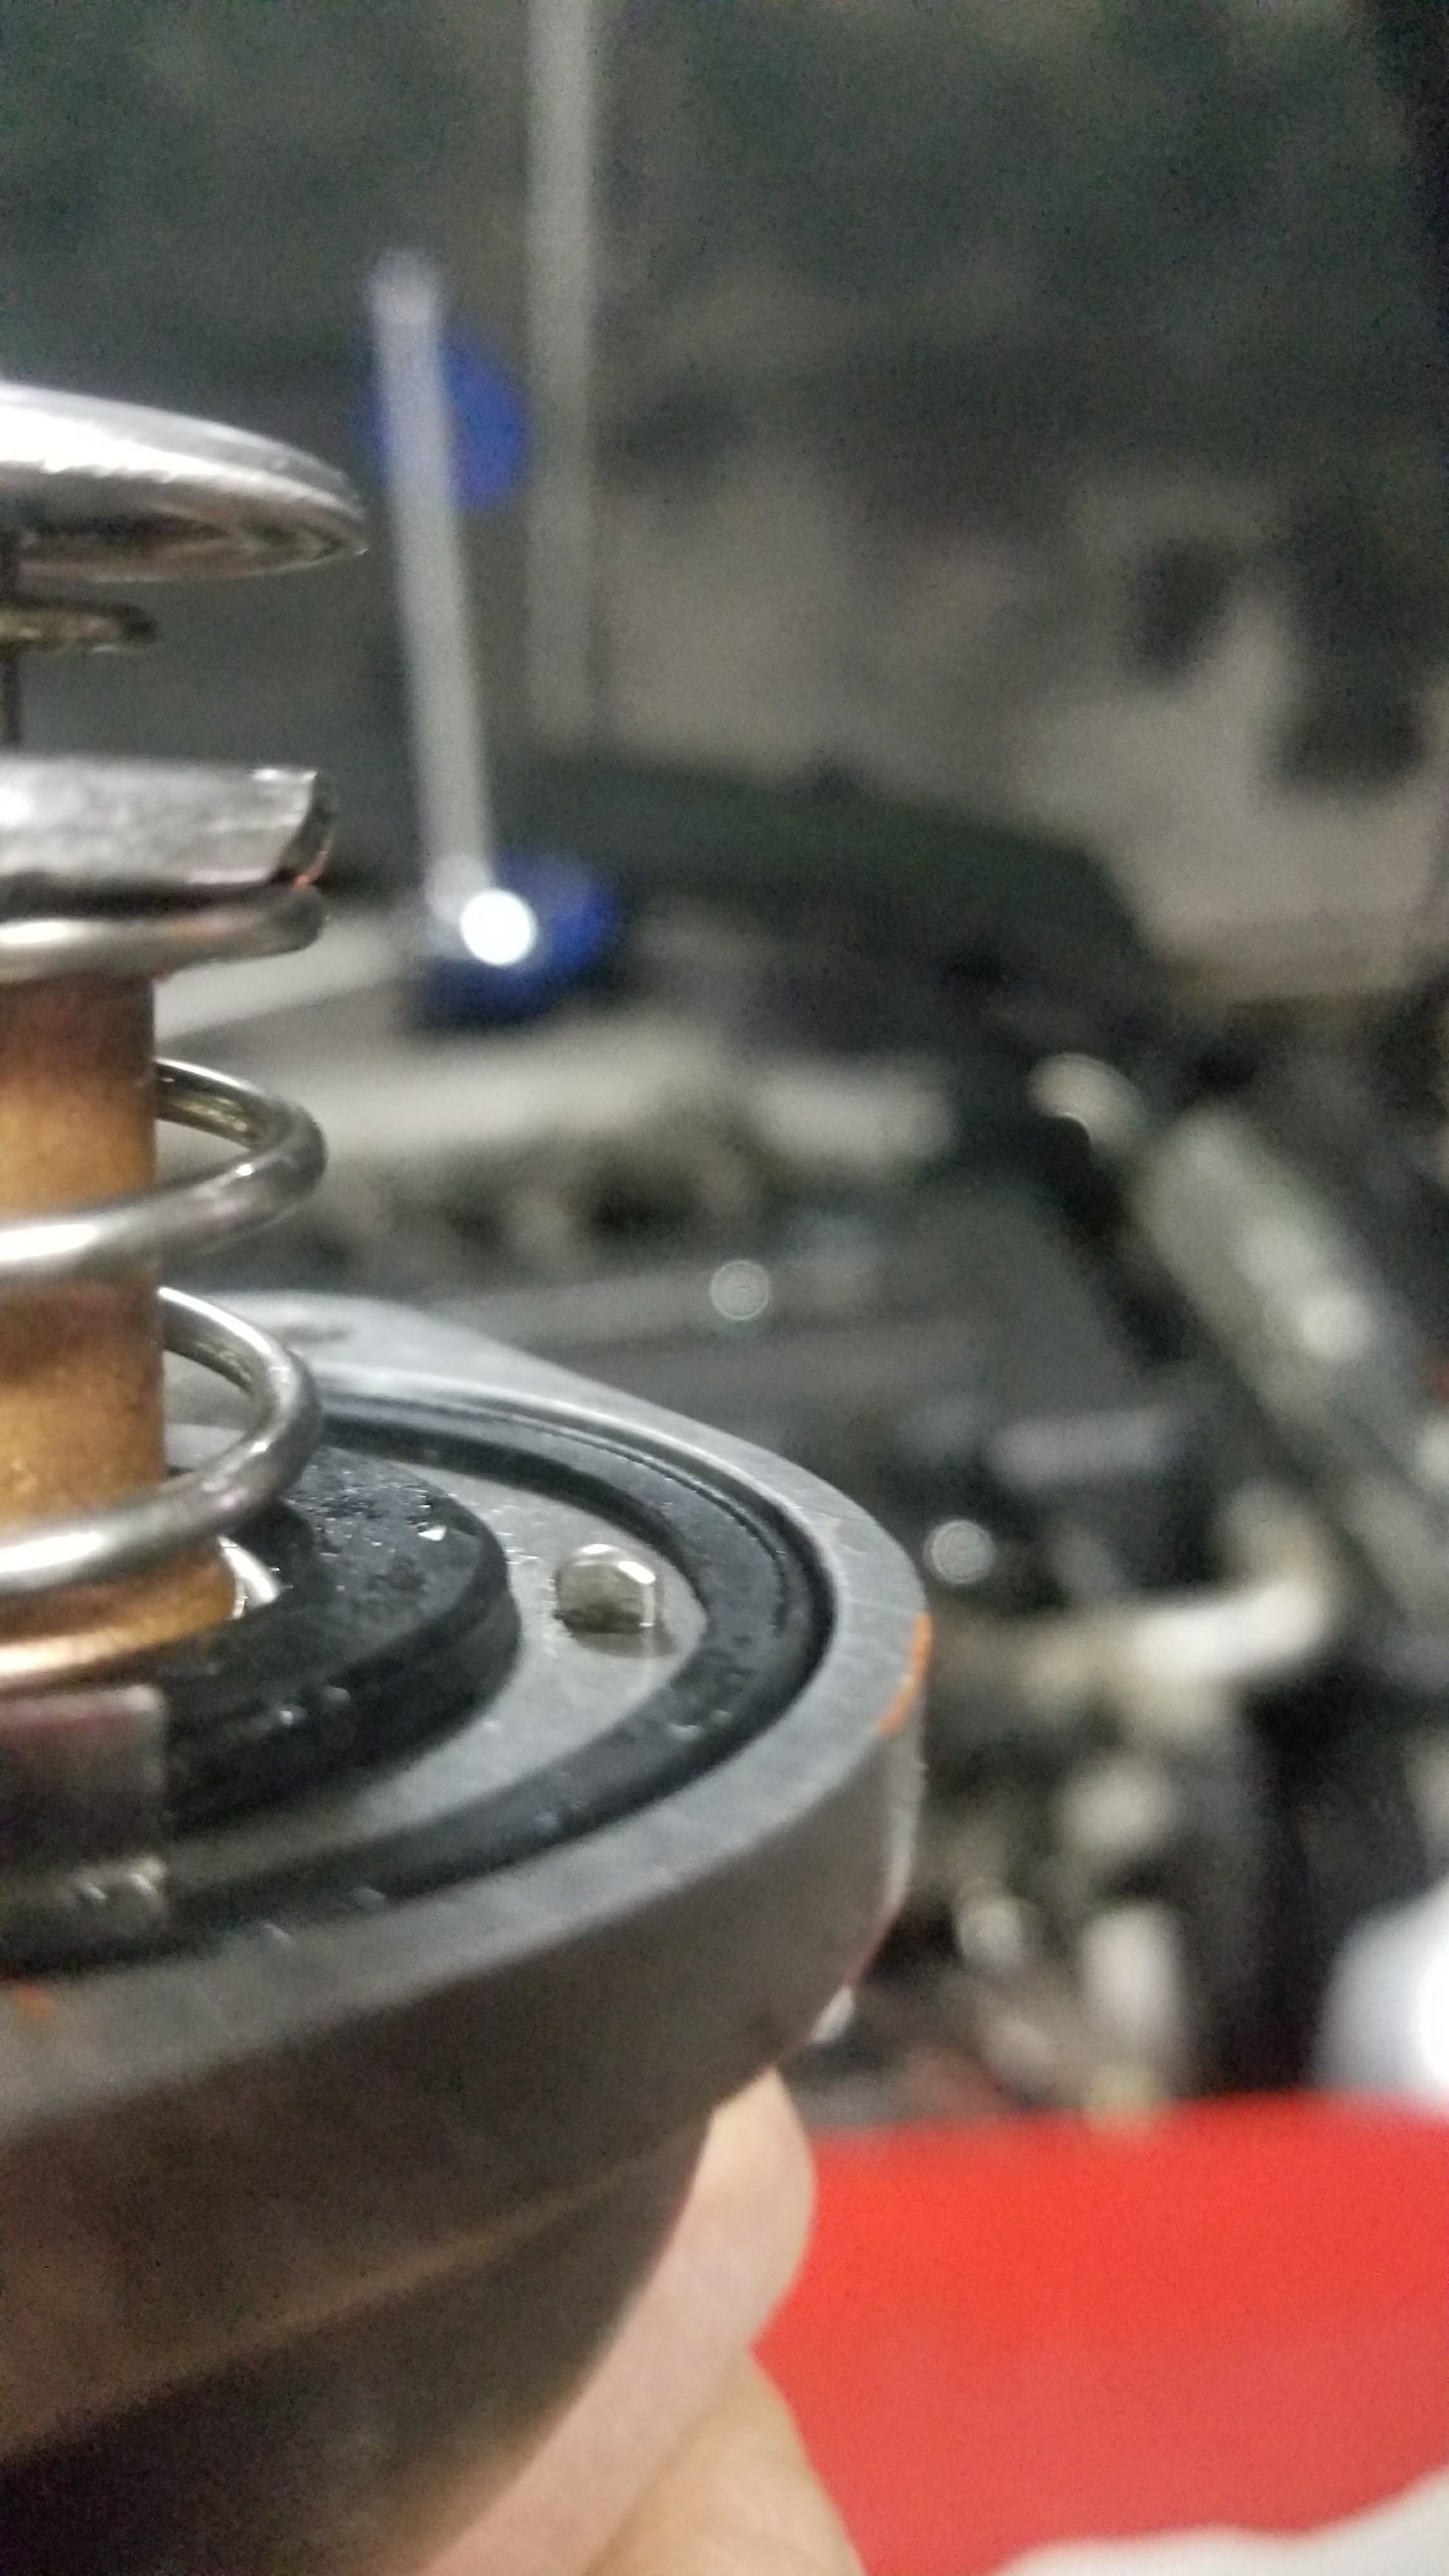
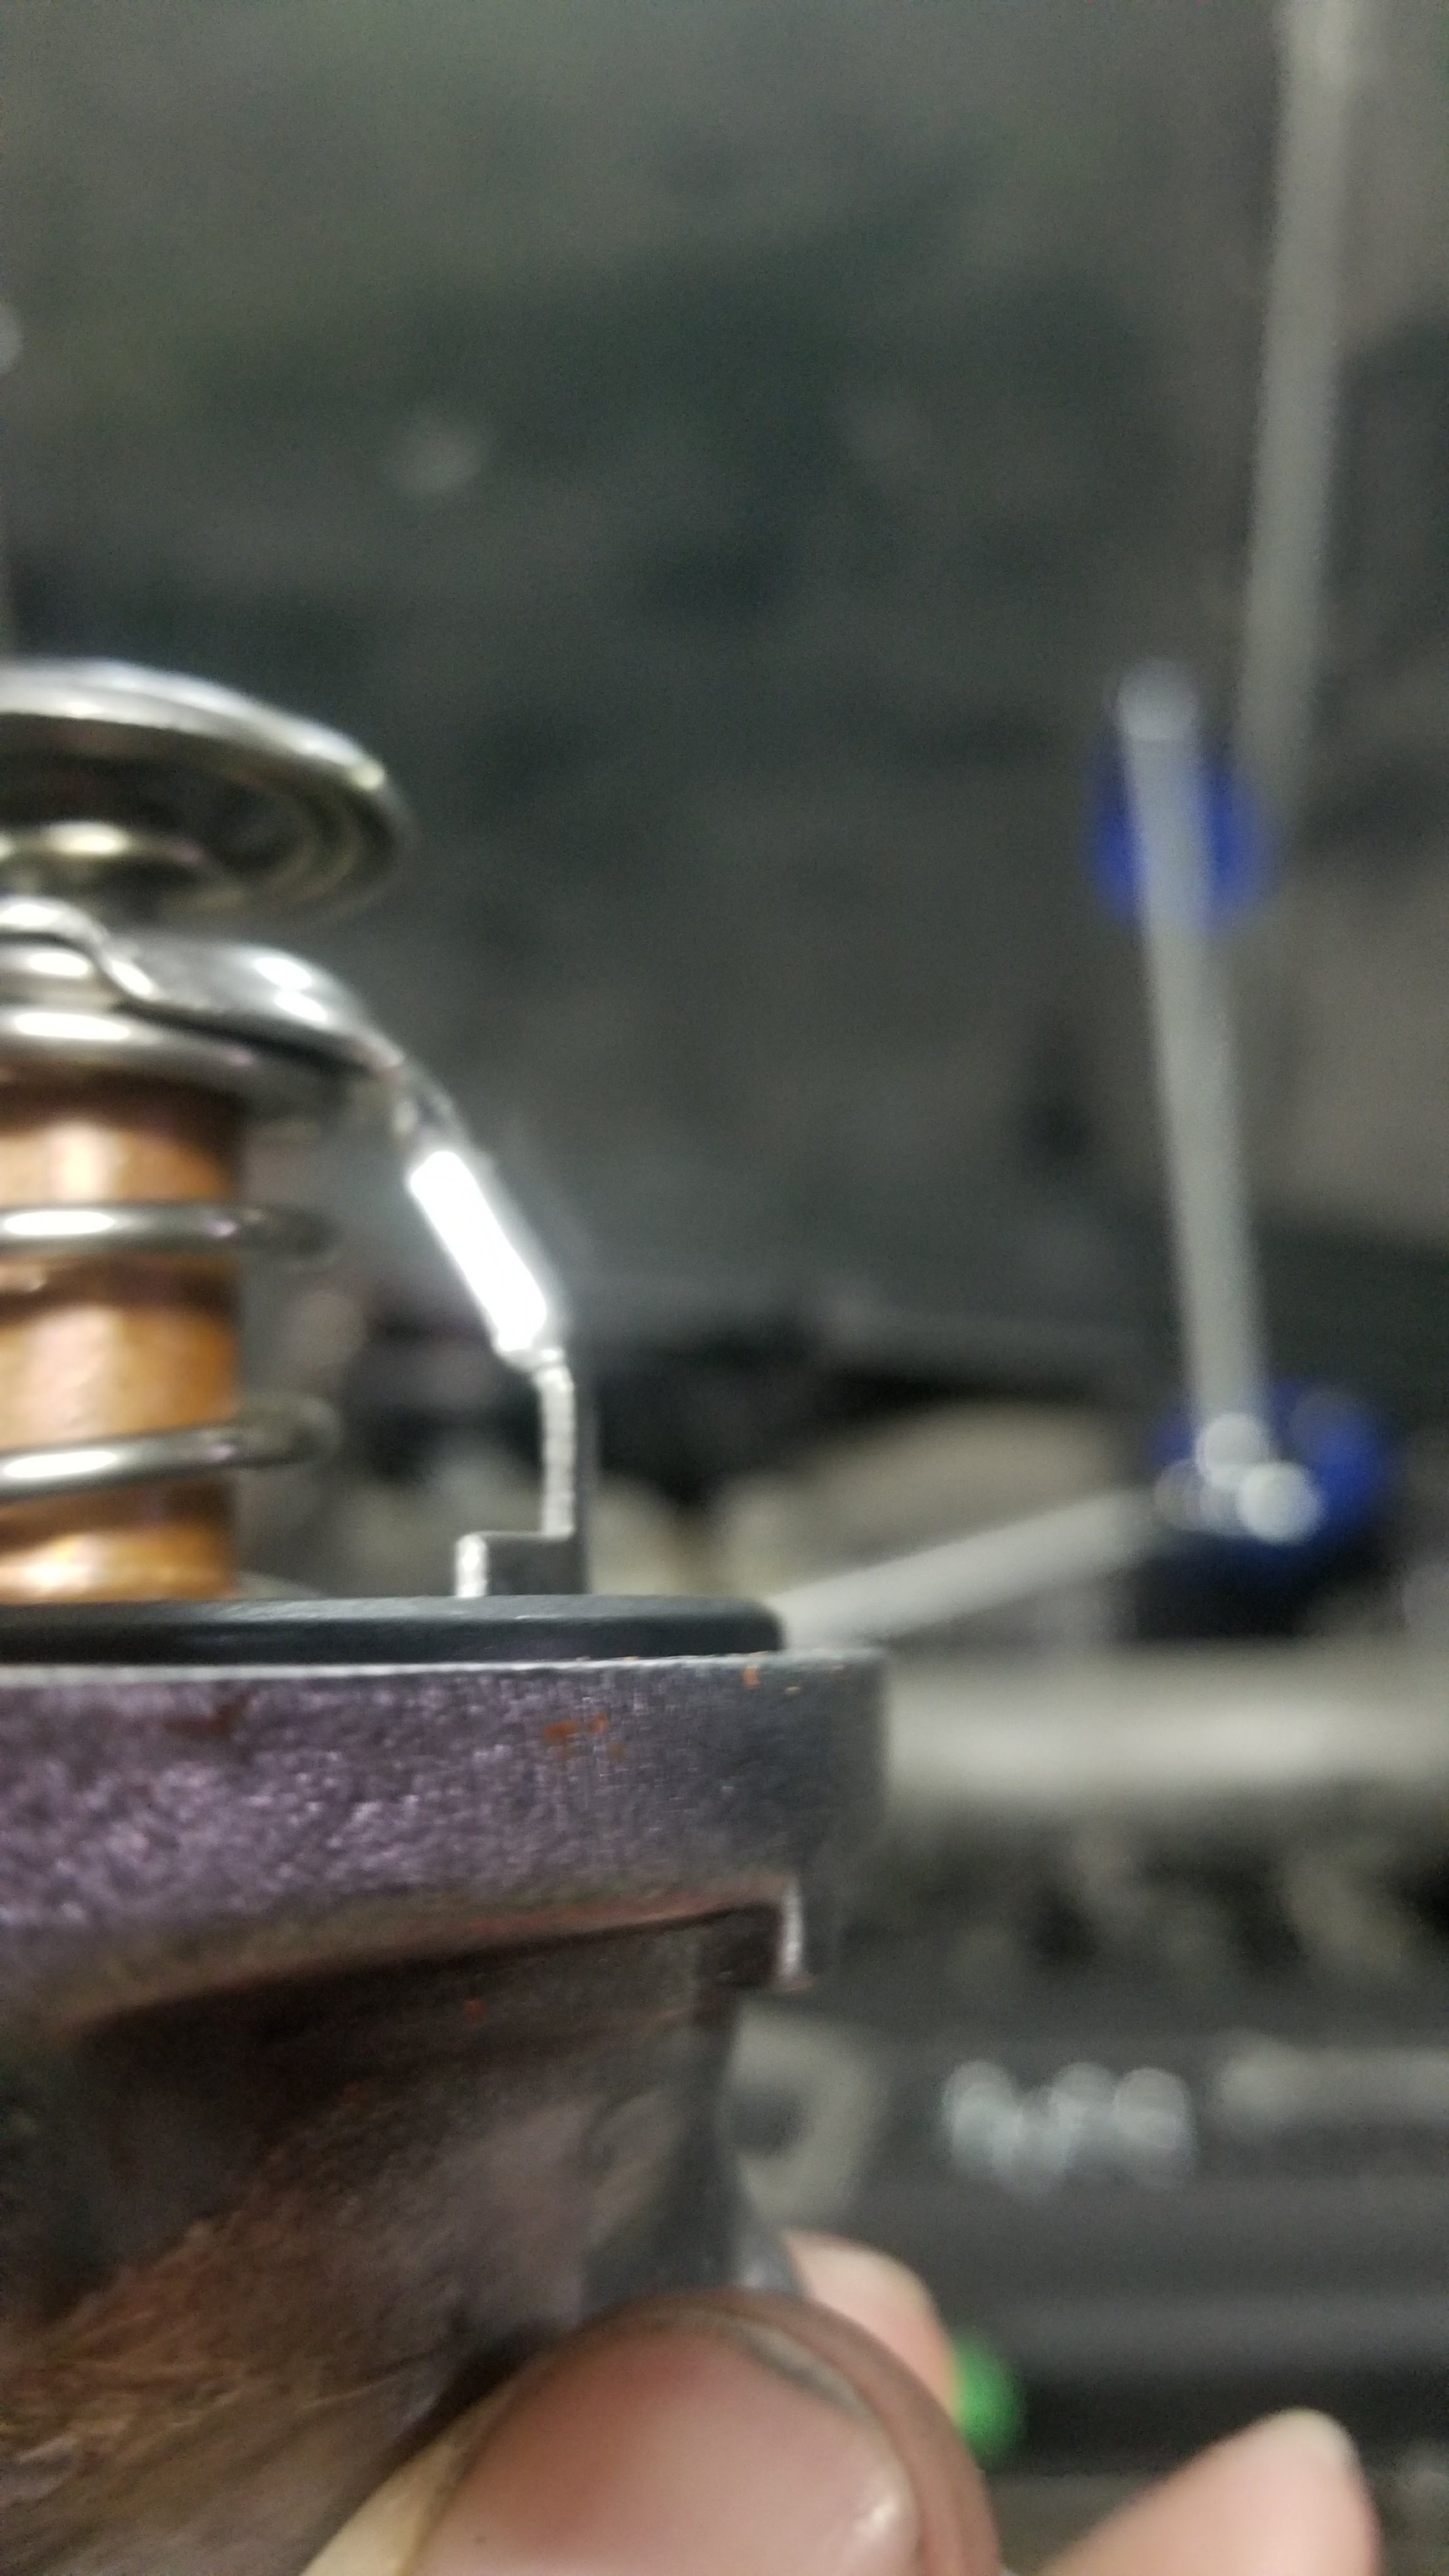
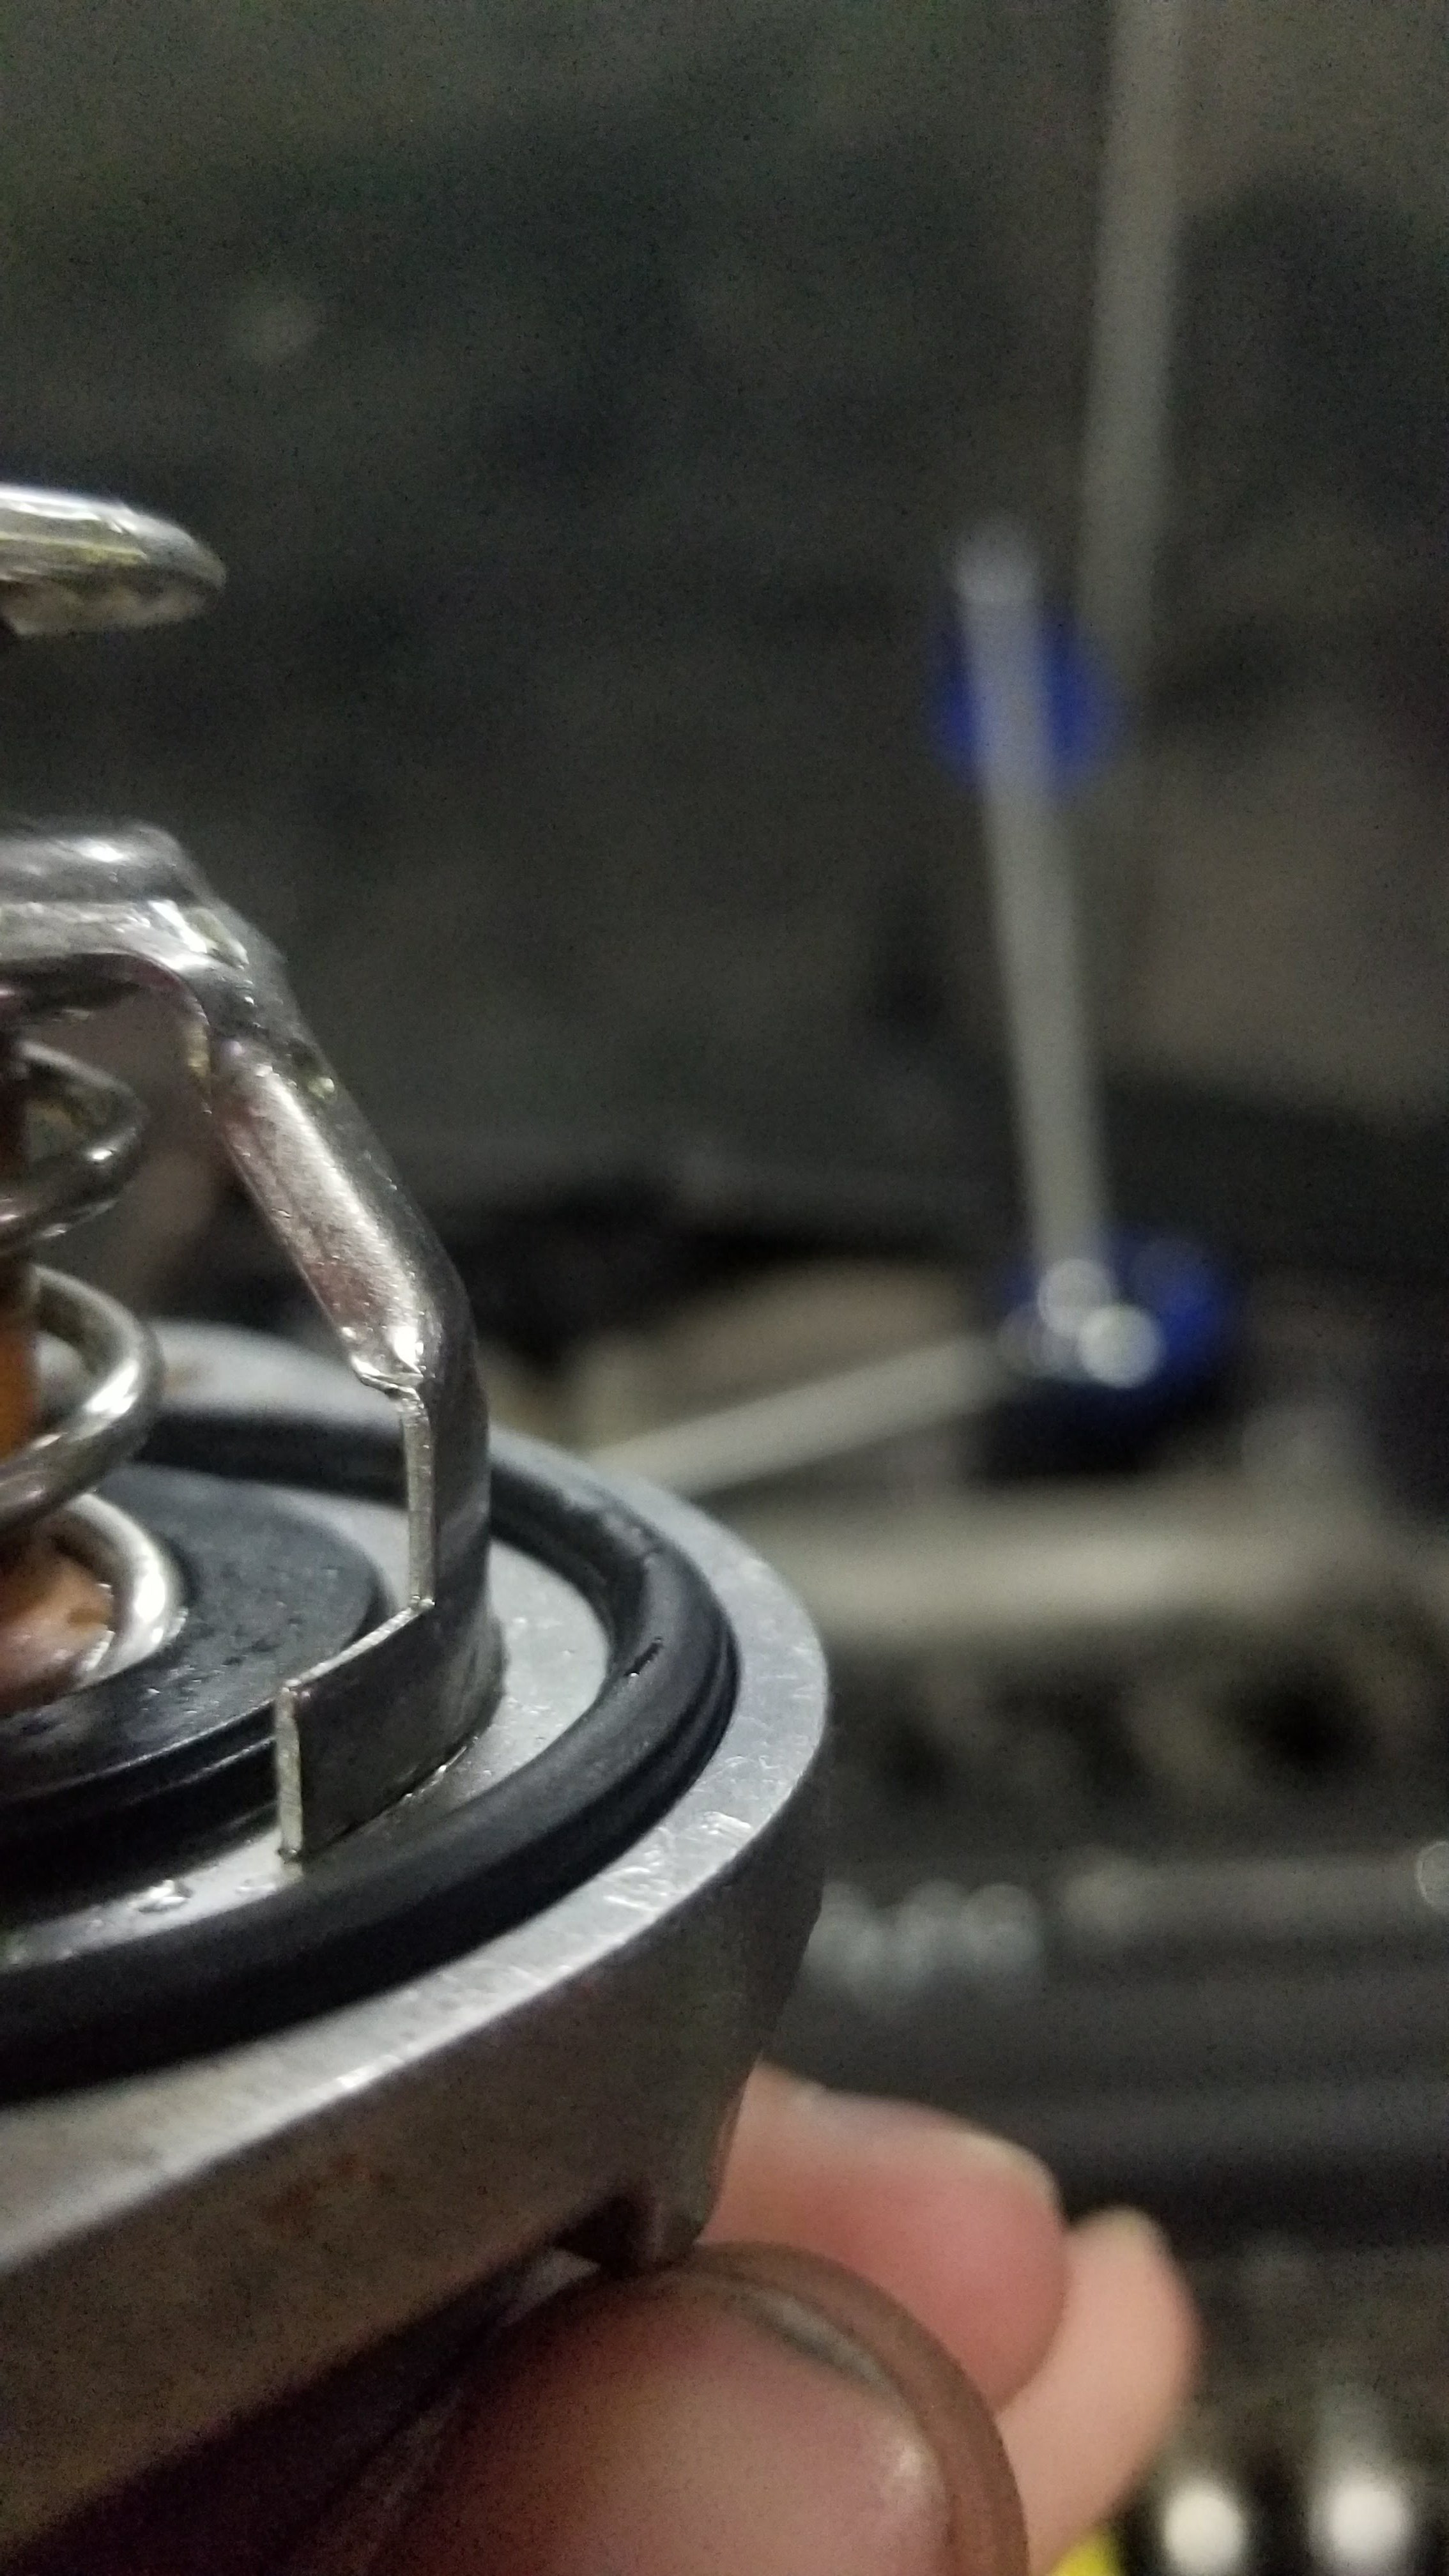
I ended up switching the gasket on the mishimoto thermostat and its fixed my leaking issue for the time being. For anyone thinking of using a mishimoto thermostat check your gasket height. I bought a different gasket from the local parts source, its a "Fel-Pro" gasket and the part number is "16325-62010". Mishimoto thermostat with Mishimoto gasket Mishimoto thermostat with Fel-Pro gasket
-
what happened with your boost solenoid?
-
Thanks! I do abit of CAD sketchs for a couple firms occasionally so I get a bit of practice. Noticed I forgot to toss up a picture of the catch can mod a couple posts ago. Doesn't look to great but does the job.
-
Ya was thinking of swapping out the bolt, measured it out and its an M8 x 1.25. Assuming it has a bit of lock tight on it. heres a rough idea of the height differences in the gasket.
-
Thanks, thats good to know, I'll need to verify the part number for the thermostat I used. Hopefully that's what the problem is.
-
I'll be sure to take you up on that offer, any specific file type it should be converted too?
-
is your printer able to handle ABS material? I would be interested in seeing how an ABS performs in the field. Been jumping between the idea of getting a 3d printer just havent found the one yet.
-
I figured this was the weekend I'd start up the Z but had a bit of a hiccup when filling my fluids. The issue right now is the water neck outlet is leaking where it mates to the waterpump? When I took the water neck outlet off of the engine there wasn't any gaskets so I didn't add any when I put it back together the first time. I filled it up with rad fluid and saw nothing dripping, so I bolted the manifold back up. I went for a quick bite to eat and when I got back I noticed there was a slow drip so I drained the system and unbolted everything, I took the water neck outlet off and put some gasket marker on it thinking it would fix the issue. It cured overnight and I filled everything back up once again...no leaks. I then bolted the manifold on and noticed another slow leak after about a half hour. Having almost no patience left I jacked the car up and the only thing I'm seeing that might be an issue is the manifold touching a bolt. Does anything think when the manifold is tightened its pushing against the bolt causing the water neck outlet to not sit flush with the mating surface? Not sure if this might cause an issue but I also switched the stock thermostat for a mishimoto thermostat. The mishimoto thermostat seems to sit low inside of the aluminum housing, will post a rough sketch to better explain myself.
-
great job on the hand brake. Did you end up out sourcing the 3d printing? What type of plastic was used? I'll be honest I'm a bit jealous of the no snow on the ground...
-
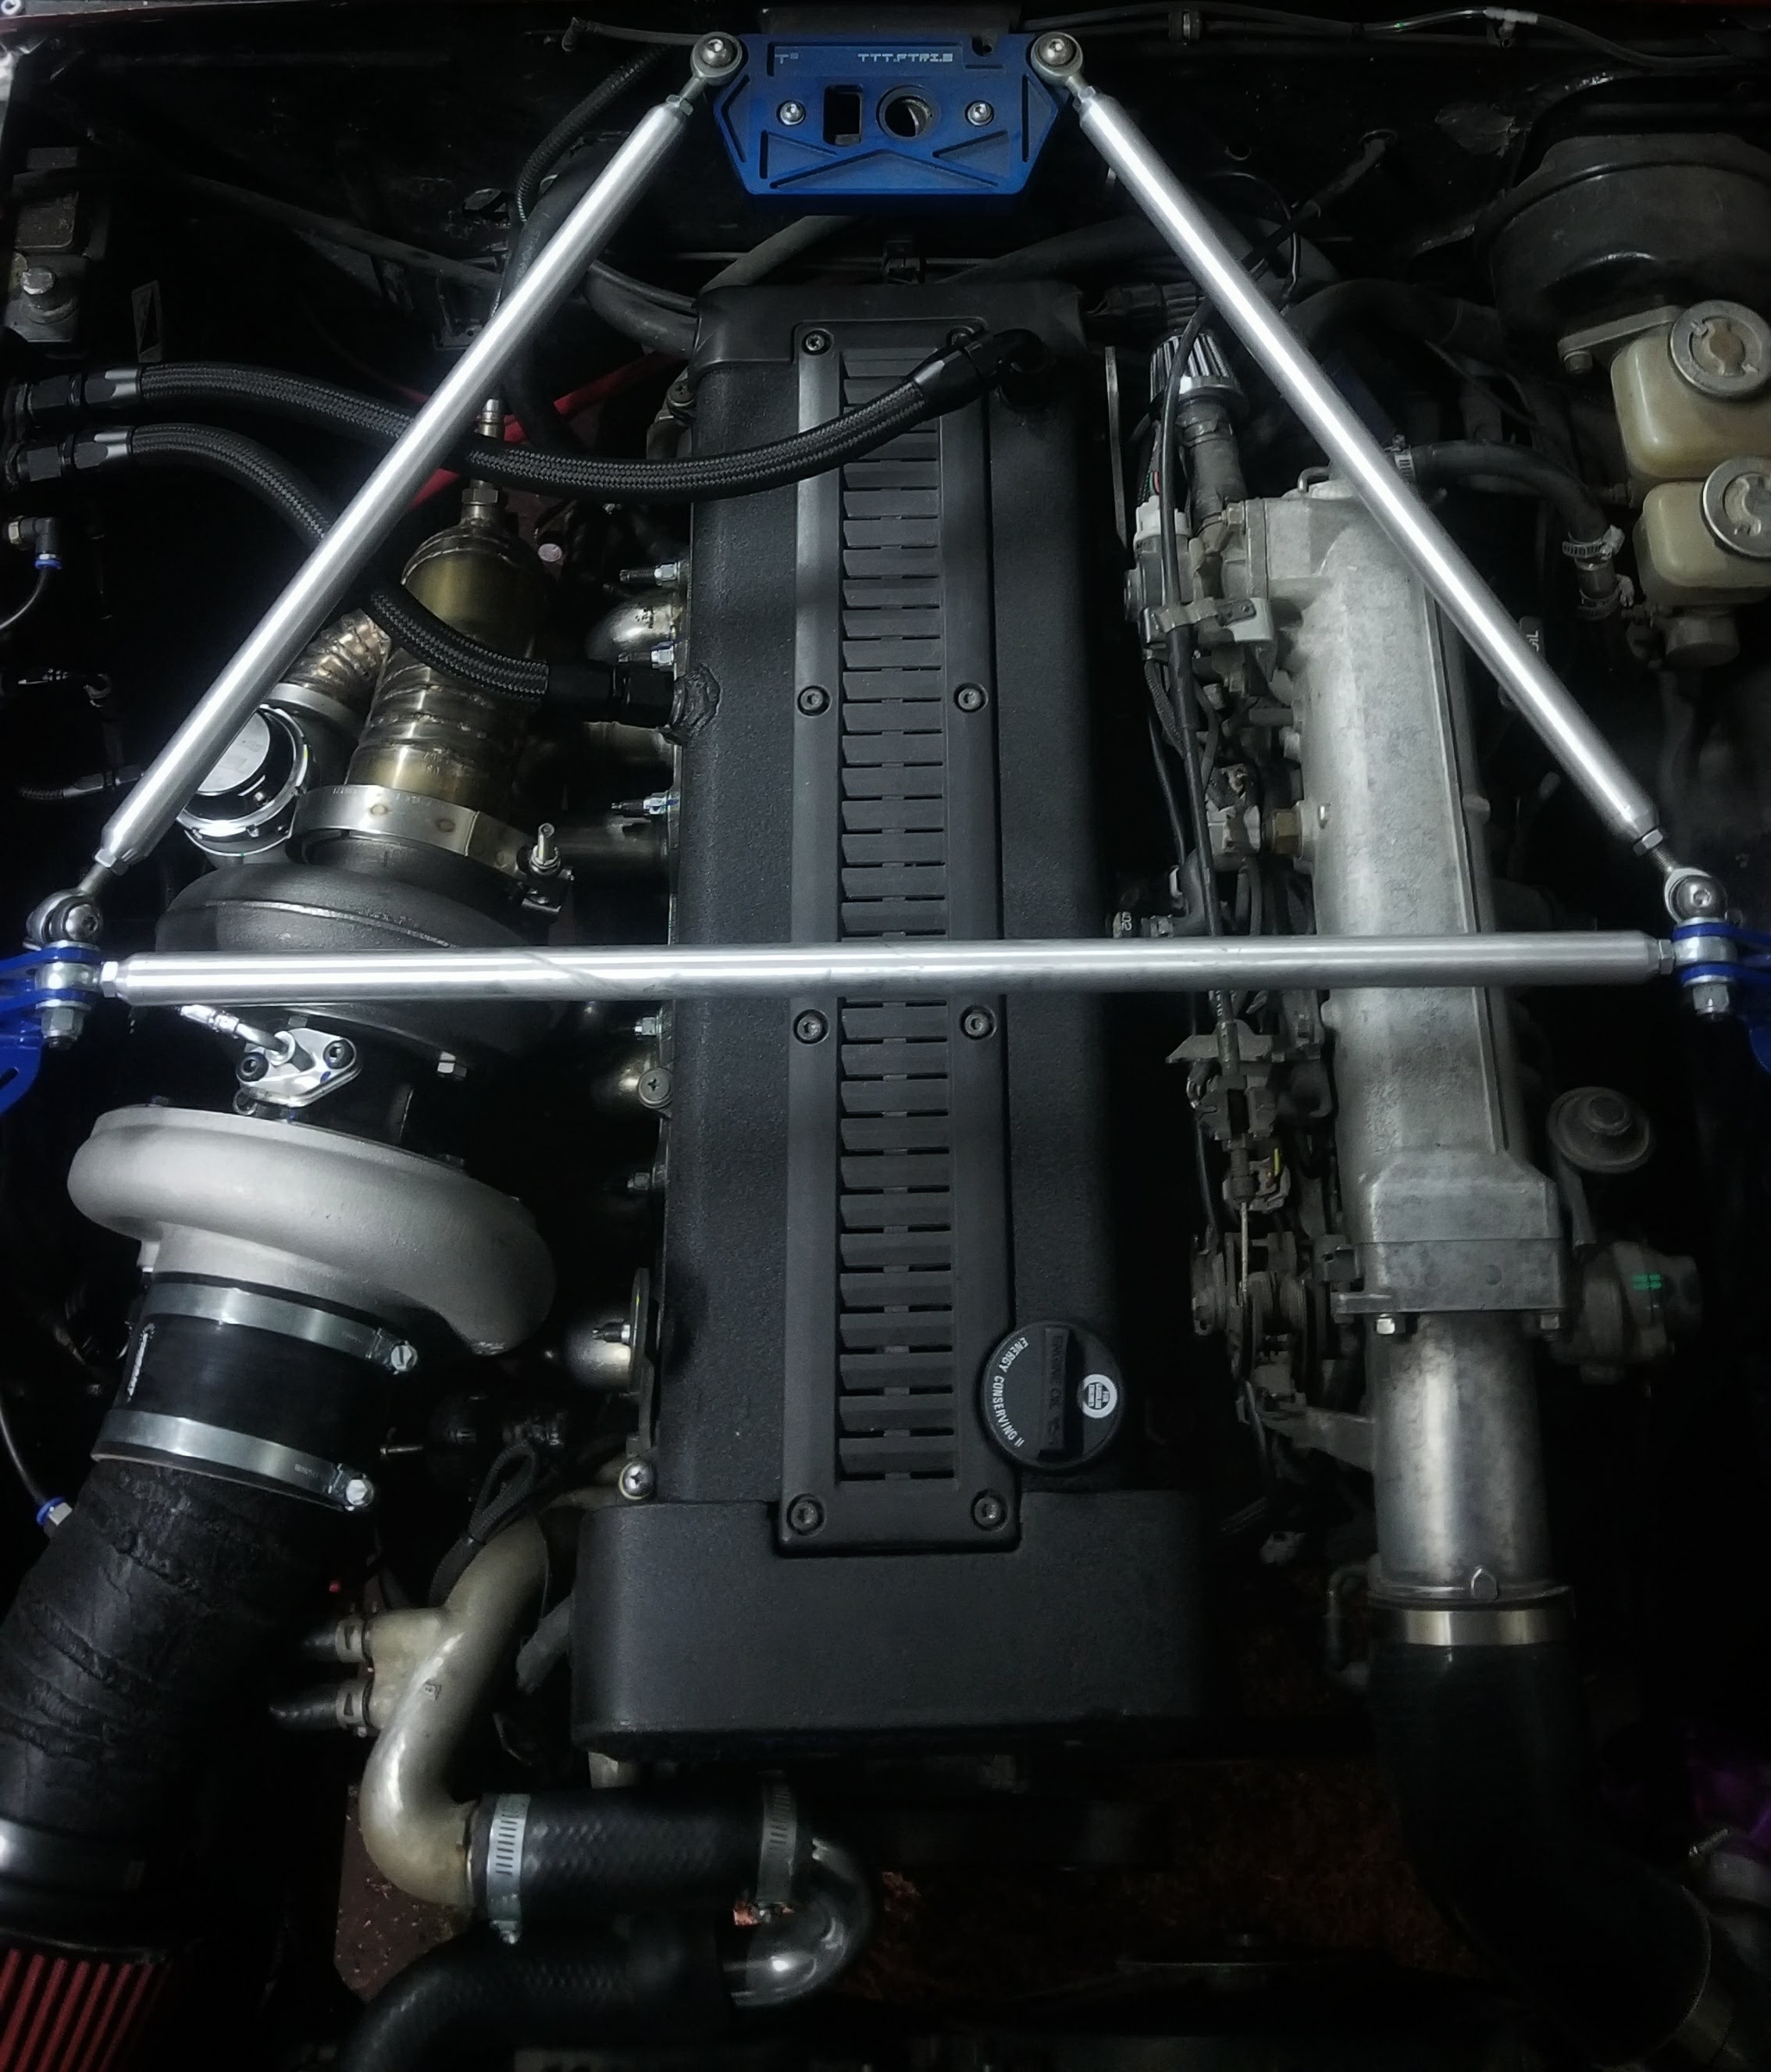
I typically only have time to work on the car after work on weekends so progress is extremely slow. I managed to weld in some -10an bungs onto the valve covers, modified the catch can and switched out the stock oil level sender for an aem oil pressure sensor. For anyone looking to do that the thread is 1/8" bspt, and the aem sensor comes as a 1/8" npt. A part number for an adapter is "EAR-968698ERL" and thats off of summit racing. Managed to finish my headlights, extremely happy with how they came out, I'll be able to see at night!
-
thanks for confirming.
-
@seattlejester just tried a 1/8"NPT, it started to strip the thread, will take a picture and post it. Called a BW dealer to see what the thread pitch is just waiting on a call back. I put a 1/8" npt fitting incase I needed to widen the hole. I ended up putting a 1" dia. tube inside the catch can to help draw air from the inside, also put course stainless steel wool inside. The plug at the bottom will be replaced with a hose so I can drain it easily from under the car. Thanks @Greeko I'm still a rookie though, I see it as worst case scenario I have scrap aluminum and wasted some cash. The best thing is I practice tig welding.
-
appreciate all the info guys, ended up just getting an air filter this weekend and tossed something together to get it on. Also finished my intercooler piping and catch can. Can't wait to get this on the road. Been reading up trying to find out what size fitting going on the front on the turbo, had read it was 1/8"npt, some say M10x1.0, anyone happen to know?
-
some great info above, thanks Geno I haven't seen anything like that before. It's definitely something worth looking into.
-
Thanks for the info guys. Saw a couple of the pictures above but was planning on running a turbo guard filter. I might just drill the existing hole in the turbo housing and use that for the catch can, waste gate and boost controller. Will read up on it a bit more.
-
silly question but would either of these work? I've normally see it run to where the air filter would go but I was thinking of running a turbo-guard filter.