AydinZ71
Members-
Posts
1073 -
Joined
-
Last visited
-
Days Won
27
Content Type
Profiles
Forums
Blogs
Events
Gallery
Downloads
Store
Everything posted by AydinZ71
-
Diff crossmember structural rigidity questions
AydinZ71 replied to Zetsaz's topic in Brakes, Wheels, Suspension and Chassis
Man I have torn this area up multiple times now, both from inside the car and under the car. Purely a guess, but I would agree with Jon & John as long as you are not doing something extreme like doubling your OEM torque or cornering hard. The RT mount stiffens the tunnel walls above your diff, but does not brace straight across and therefore does not effectively resist the strain on your front LCA mounts. What concerned me on the Series one is the lack of stiffening across the tunnel in general. The little “shelf” right behind your seats acts as a pretty effective brace Right where your diff mounts to the side walls with the RT, but other than that there is no brace across the tunnel besides the trans mount and front LCA mount. in my case, I removed the shelf for over 7lbs in weight savings, but that is even more reason to keep the front LCA crossmember. an example of how the Chassis would strain without the crossmember is over rough terrain or uneven surface at speed. The ocilating/uneven forces on either side will want to “yank” the front LCA mounts away from one another, and “push” the rear LCA mounts closer to one another. There is a moment about the strut caused by the accel/decel tire/road forces, and the LCA & mount is resisting that moment. In an extreme case, you could see toe-out in the rear at high speeds. You could keep an eye out on your rear tire wear and see if you spot anything unusual, if you are really worried. -
Agree with Calz. I’n theory, the travel of the pistons is proportional to the pedal travel. Unless the rotor is warped forcing the pistons further away from the rotor. Il be honest, I don’t have enough first-hand experience to know if a single sided caliper makes a big difference but I would look to other solutions first if this is the only concern you have with the OEM calipers. Braided stainless brake hoses, bigger master cylinder, check rotor trueness, etc. PS: larger master will require less pedal travel but increase pedal pressure required. May not be noticeable with properly functioning brake booster.
-
Ahh makes sense Yeah rivnuts are super convenient. I finally broke-down and got myself a tool
-
240z SCCA vintage race car, restoration
AydinZ71 replied to AydinZ71's topic in S30 Series - 240z, 260z, 280z
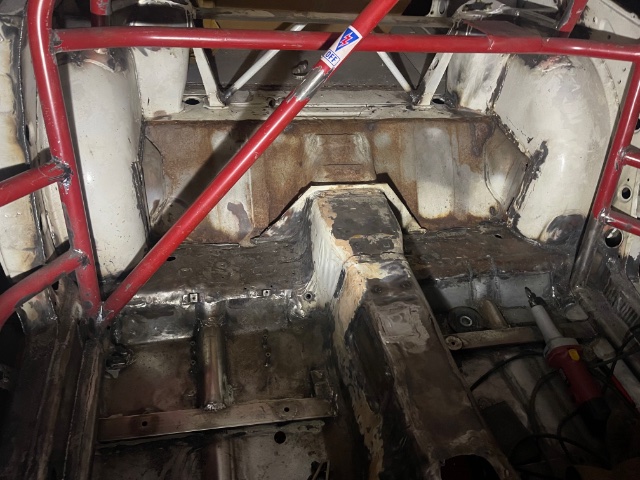
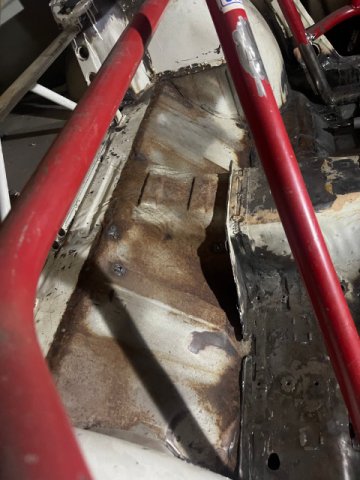
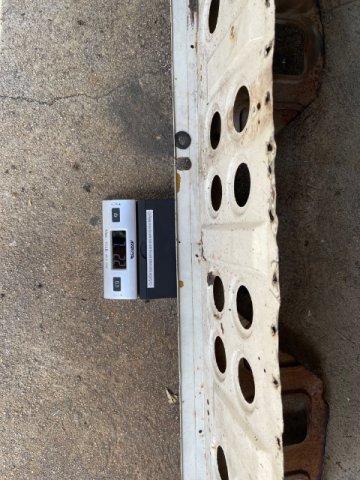
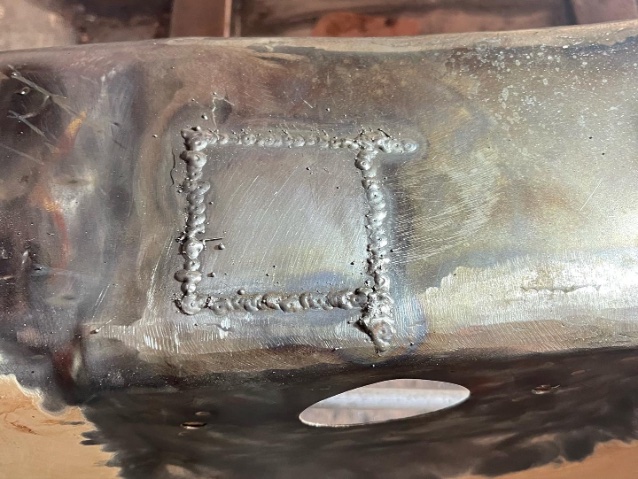
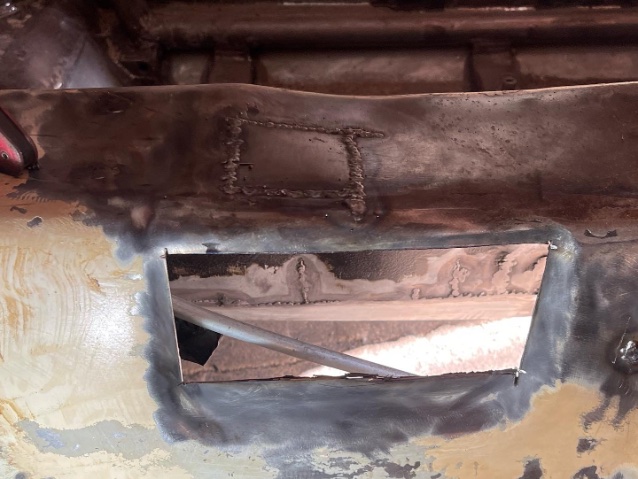
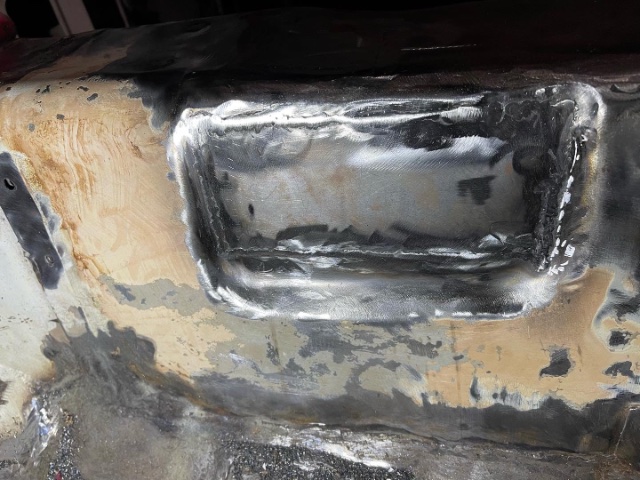
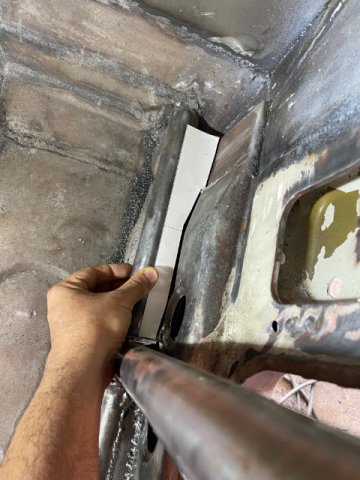
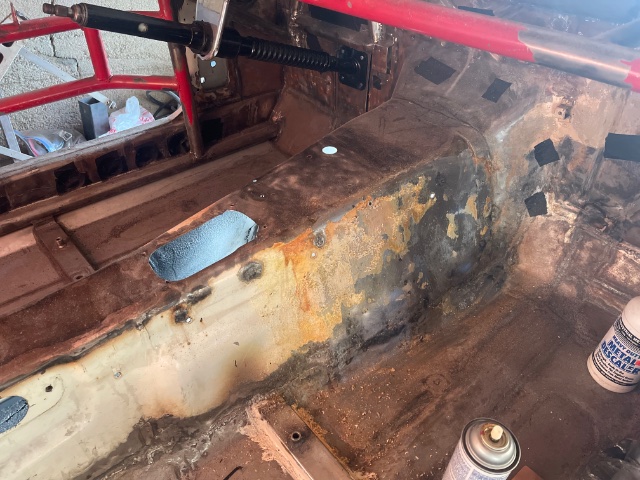
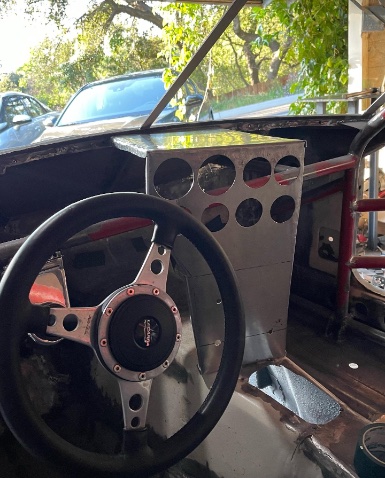
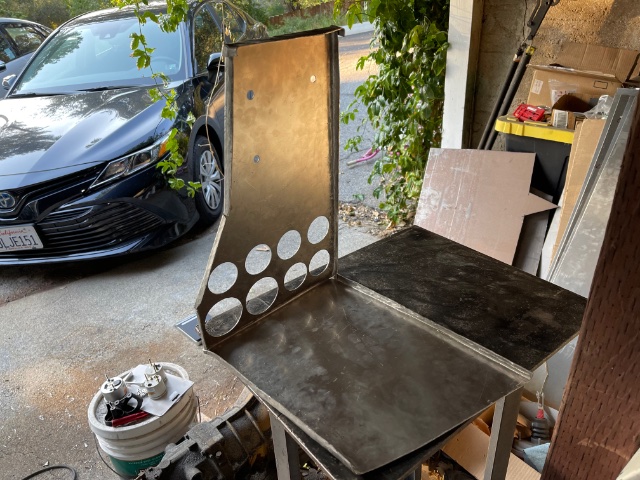
I did a thing… so this style of sheet metal behind the seats in unique to a series 1. Series 2 and on had little storage doors instead. Taking inspiration to Greg Ira’s car, I was surprised it was 7lbs worth! I left a flange and gusset out to reinforce the front diff mount which requires rigidity. Now on to tidying it up. I wonder if someone might want this piece to mimic a series one 🤷🏽♂️ ...Also closed up the gap between the roll bar and my passenger rocker. Filled some unnecessary holes On the trans tunnel. I think this will be the last of the weight removal. Now to tie the roll cage to a few more unibody spots and clean up the interior for epoxy. FullSizeRender.mov IMG_8032.MOV -
oh interesting. hmm, mine has been that same icon (you circled) and still is. I wonder if anyone else sees a skillard "S" too
-
really looks great! I like the attention to detail. Consider cutting off the ends of those sheet metal screws. They will snag you good if you forget they are there! ask me how I know 🤣
-
Im pretty sure it's google ad software showing you what they "think" you are interested in. Is there a little "X" and arrow in the top right hand corner of the banner? if so, its an add and what is being displayed is automated from Google. I don't think the site owners have control on what adds are shown, but I could be wrong of course.
-
@JMortensen Thanks Jon! I have Mr. Washington's hood, hatch, and fender nose-cones so I am pretty familiar with his products. He was kind enough meet me and exchange parts which saved me on freight! I am a bit budget strapped on buying his complete fenders but your notes on flares was helpful! After a lot of positive reviews, I was going with the Marugen-Shoukai ZG flares, but I will need to pay closer attention to how much travel this affords me with my wider track. In my case its all function, so I don't care if they "fill-in" all the way, and I have no problem trimming my fender to accommodate.
-
@JMortensen is there are a flare you recommend for function over form? I actually need them because of my wider track.I was looking at ZG flares but this thread has changed my mind. Thanks oh, and is that other dude for real?
-
@Popeye1 depending on how sticky your tires will be and how heavy you are up-front, going wide had a noticeable effect on mine. When I purchased my street car back (last year) from someone I sold it to 6 years ago, he had put roto wheels 8” wide up front, and 9” in the back. It fills-out the new flares he put on quite well, but the steering at stop (parking lot, etc) is much harder now especially with the sticky performance tires. I was shocked how a 1” difference made a disproportionate effect on steering effort. That is with the giant Datsun bus steering wheel, and if you are considering a performance wheel which will have a smaller diameter, it gets even worse. Even crappier if your rack/pinion has a lot of slop it it. The extra grip will make the rack feel even less in-control. Not a big deal in the grand scheme of things! There are some power steering mods available which you can research through this forum. I would look into the budget before you do the wheels/flares in case that is important to you. If I had to daily drive or even weekly drive my street Z, I would say it is absolutely necessary on my car. Right now it’s just waiting in line for me to get to work on.
-
@Z Bear If you don't find one here, try searching pick-a-parts with 280zx's. If manual, they will have the 5 speeds you are looking for (unless you care a lot about the ratio). They are going for a lot these days (i see them from $500-$1200) because of demand, so you might have to pull one yourself or maybe even buy a junked 280zx and part it out. You could get the whole car for as little as $3-5k, often with title problems which is not a problem for you.
-
This is an unpopular opinion, but please do keep in mind that going ultra-wide does have a negative effect on performance as well. Rotational inertia increases, which will make accel/Decel a little slower and make the car a little less nimble overall (unless traction was a problem for you). Also, without power steering the extra grip up-front will have you considering a power steering mod. If you were optimizing for performance, you would maximize the rear width to give you full traction under load with an LSD. You will then go wider in the front until you no longer have under-steer (assuming your suspension is optimized/tuned). If you are running a big torque bump but not tracking the car, you may enjoy an asymmetric ratio where the rears are a bit wider than the front. If this is 100% aesthetic, go for it. Why not, mix it up. Just wanted you to be aware going big does have some negative side effects.
-
240z SCCA vintage race car, restoration
AydinZ71 replied to AydinZ71's topic in S30 Series - 240z, 260z, 280z
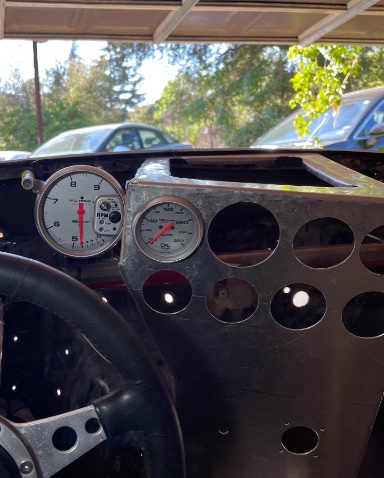
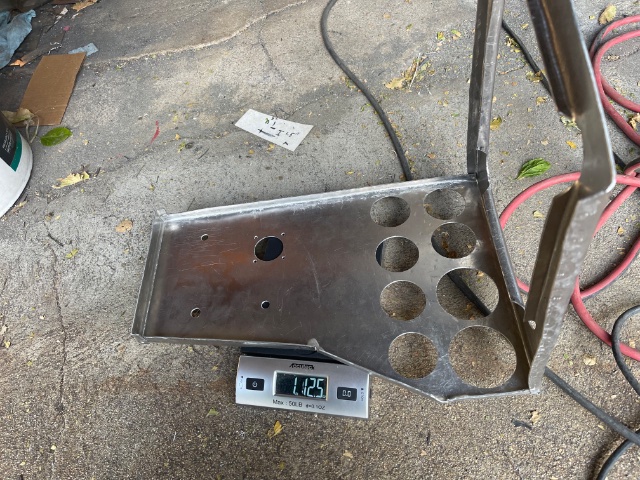
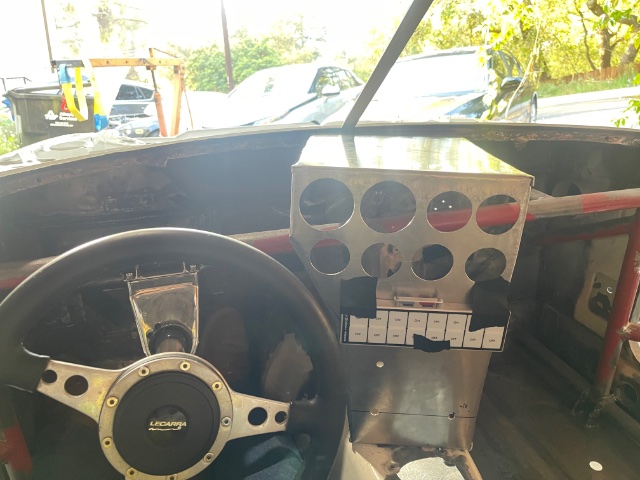
Thank you, sir! added some brackets to mount the gauge panel. Also added a perch for the tach. Off the roll bar. -
IMSA GTU vintage racer build
AydinZ71 replied to clarkspeed's topic in S30 Series - 240z, 260z, 280z
Sweet man! Looks good! What gun you using for those roll bars? -
240z SCCA vintage race car, restoration
AydinZ71 replied to AydinZ71's topic in S30 Series - 240z, 260z, 280z
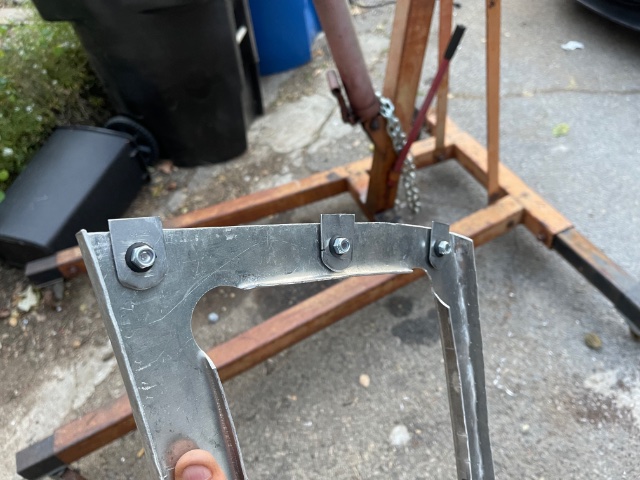
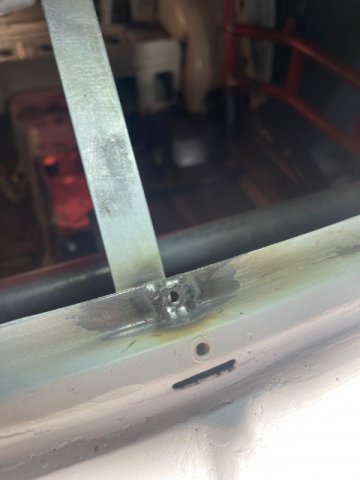
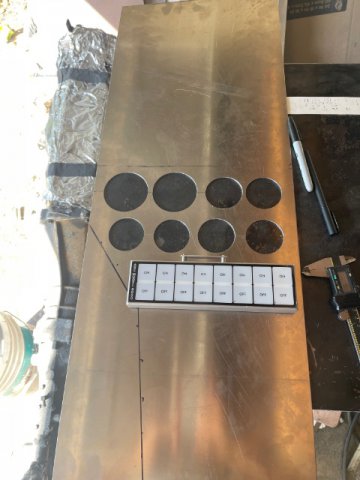
updates: - Got my polycarbonate for the windshield. - reduced the weight of the gauge cluster to less than 2lbs. - will be mounting the power disconnect in the hole created in the top of the gauge cluster - purchased black epoxy and matte clear for the gauge cluster, windshield bars. - continuing to remove multiple layers of paint in the interior and prepare for primer. - replaced riveted windshield bars with -10 screws and nut inserts. -
48 should be fine. OER makes a 50mm carb that is significantly more expensive (almost 2X their 47). I would be surprised if you saw a big performance increase from just the increased diameter. Curious, why did you go with ITB’s? I know they are sexy, but I’m not convinced they are worth all the trouble when most folks don’t lighten the engine internals or go with a smaller diameter clutch friction surface to really make the response pop. Is it for the “wow” factor?
-
Ahhh that makes sense. yeah I’d check your injectors. When she is up and running, I wouldn’t worry too much about the spray pattern and stress about whether the manifold wall is getting coated. Above idle, the flow and engine heat will instantly evaporate the fuel that hits the manifold walls. In fact, the fuel won’t even get to the walls, it will just get carried straight into the motor with the manifold air flow. Most important thing is to make sure all injectors are CCing equally and consistently.
-
@Fairlineguy Hey there. Is your cam duration a typo? Just have not seen anything as high as 480. My race cam is at 320 duration I&E (not streetable), and I don't think there is much room to go from here.
-
Looking great, and we are looking forward to how it performs! A little bit of a nerd sesh...feel free to skip but if you are curious about the reason: There is a direct relationship between flow velocity and pressure. The hood bulging is because you have low pressure on the top of the hood because of high flow velocity over the hood at speed. Meanwhile, you have very low air velocity on the underside of the hood. Its not a huge pressure difference but when applied on the whole surface of the hood, you get some big forces. It is how an airfoil (airplane wing) works. lets just say the hood is 4'X5'. That is 2880 square inches. Therefore, to get just 29lbs of uplift on the hood, it only takes 0.01psi of difference in pressure. When we design fueling facilities, the number-one stress on the canopy structure (that cover over the pumps) is uplift from wind speed. This shocks most people when I explain the uplift can be so high, it can pull the footing right from the ground if it is not designed correctly. one thing you could do is add reliefs/vents to the hood or surrounding surfaces. Air under the hood will rush to the relief because of the difference in pressure and some of the uplift will be relieved. I have two latches in the front of my hood, one in the rear center, and two bump-stops midway down the length of the RFP hood. My plan is to replace the bumpstops with latches if the hood bulges too much, but that may not be enough. Trial and error! Greg Ira has 5 or 6 latch points on his EP car.
-
Wow… that’s a sweet paint job. Mean green machine.
-
240z SCCA vintage race car, restoration
AydinZ71 replied to AydinZ71's topic in S30 Series - 240z, 260z, 280z
-
240z SCCA vintage race car, restoration
AydinZ71 replied to AydinZ71's topic in S30 Series - 240z, 260z, 280z
It is a fuel-cell car haha! I build the fueling facilities and got a really, really good deal on it. Has the torque of a stock Corolla though, but weighs as much as a Camry. The savings on gas and a car payment is funding the Z. You touch on a really good point though, Clark. I need to get realistic about my future plan for the car. My plan a year ago was to sell the car when done but I really poured my heart and soul in this guy. I suppose this is a common problem with folks who are more confident with their fabrication/patience/focus than they may have financial ability to race. tell me, why do you suggest using their car when taking the novice race class? I thought using the Z would save me $500, but it sounds like you have something else in mind. if I wanted to start light (financially), would it be best to take some track days to start? Maybe vintage racing? I need to develop a road-map with a realistic budget. -
IMSA GTU vintage racer build
AydinZ71 replied to clarkspeed's topic in S30 Series - 240z, 260z, 280z
Ohhhh man… yeah that’s is next for me (the interior). I just need to finish my gauge cluster and get any holes/welds done before the interior is also ready for paint. I bought some goggles so hopefully that will help keep the overspray out my eyes. I should probably invest in a set of head-to-toe covers. I was planning on having the cage the same color as the interior so it draws less attention when I’m driving to-and-from. Going with the silver metallic. Have not decided on the exterior yet. sounds like you are quite experienced with the bodywork, so il have to watch closely and take some tips from you. it looks like you have more of a “nascar” type cage. Your’s looks more rigid than mine, as I only have two horizontal door bars with one vertical member. I assume that’s a part of the IMSA GTU concept of stripping as much sheet metal, and replacing with tube? -
240z SCCA vintage race car, restoration
AydinZ71 replied to AydinZ71's topic in S30 Series - 240z, 260z, 280z
So my second problem is, I’m not sure my little Toyota Mirai can pull a trailer 😂. I may need to look to a more powerful vehicle in the future. yeah let me know how much the stacks would be . I built and integrated intake scoop into my rad support for the engine air, so now I just need to figure out how to filter and plumb to the SU’s. i have some 20-gauge stainless I could use for the air box. I don’t have a TIG welder, and I feel thin steel may not be too heavy if I grind my welds. We will see! really appreciate all the support Clark. Greg and the folks here really deserve a lot of credit for the build thus far. -
240z SCCA vintage race car, restoration
AydinZ71 replied to AydinZ71's topic in S30 Series - 240z, 260z, 280z
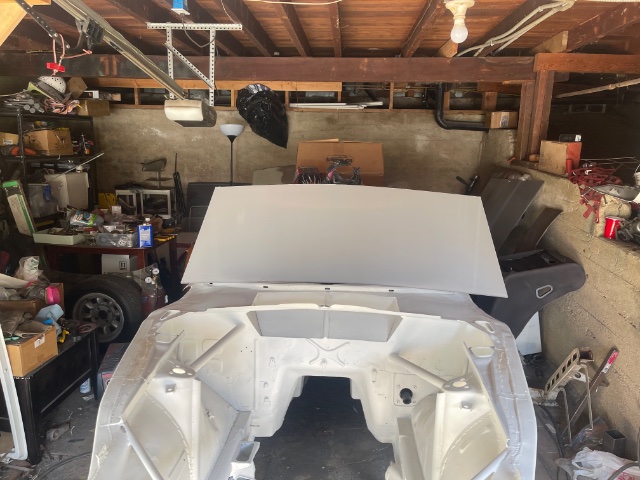
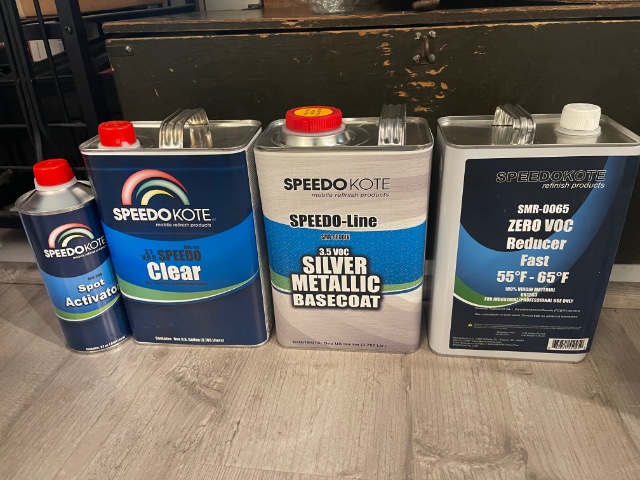
Attempting to be the ever practical engineer, I thought I could get away with the sealer primer as my only coat to cut-back on weight. Now having experienced it fully cured, it is far too porous to leave alone. I can see oil and dirt caking on this surface pretty easily. Got a hold of urethane clear coat, and figured I might as well get a base-coat while I’m at it. In my experience, black and silver require the least amount of basecoat (by weight) to achieve full coverage. Im not an expert, this is just from first-hand experience airbrushing model cars. Decided yo go with a neutral metallic silver basecoat, as it will reflect heat and not absorb it the way black will. Silver also tends to “look” better” when dirty than compared to pure (TiO2) white or pure (C2) black. Seemed reasonable for an engine bay and interior finish.
