kj280z
-
Posts
539 -
Joined
-
Last visited
-
Days Won
1
Content Type
Profiles
Forums
Blogs
Events
Gallery
Downloads
Store
Everything posted by kj280z
-
New LS1 build clutch/slave question
kj280z replied to cheesepocket's topic in Gen III & IV Chevy V8Z Tech Board
Go out and do some donuts in the snow! Just because it's cold out it shouldn't stop you from going out for a good shake down run! -
I'm seeing a lot of dupe replies and dupe PM's I hit the button once to reply, and it sits for awhile, then goes to a "page unavailable" screen, then when you refresh there's 2 posts (sometimes even more than 2) I got 8 of the same messages via PM yesterday and sent 5 or 6 of the same to someone else - same kind of problem Ken
-
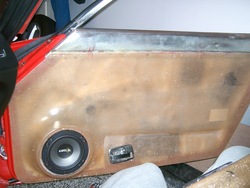
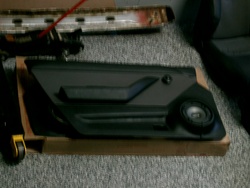
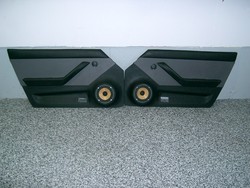
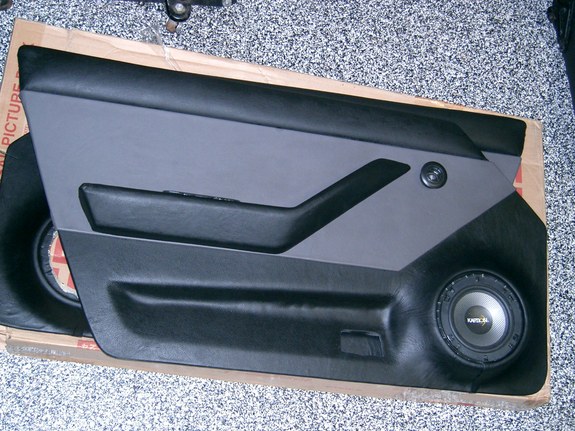
 I'd like to buy a set of these fiberglass door panels- please PM me
 -
I'd like to get a set of these door panels - Are they still available???
-
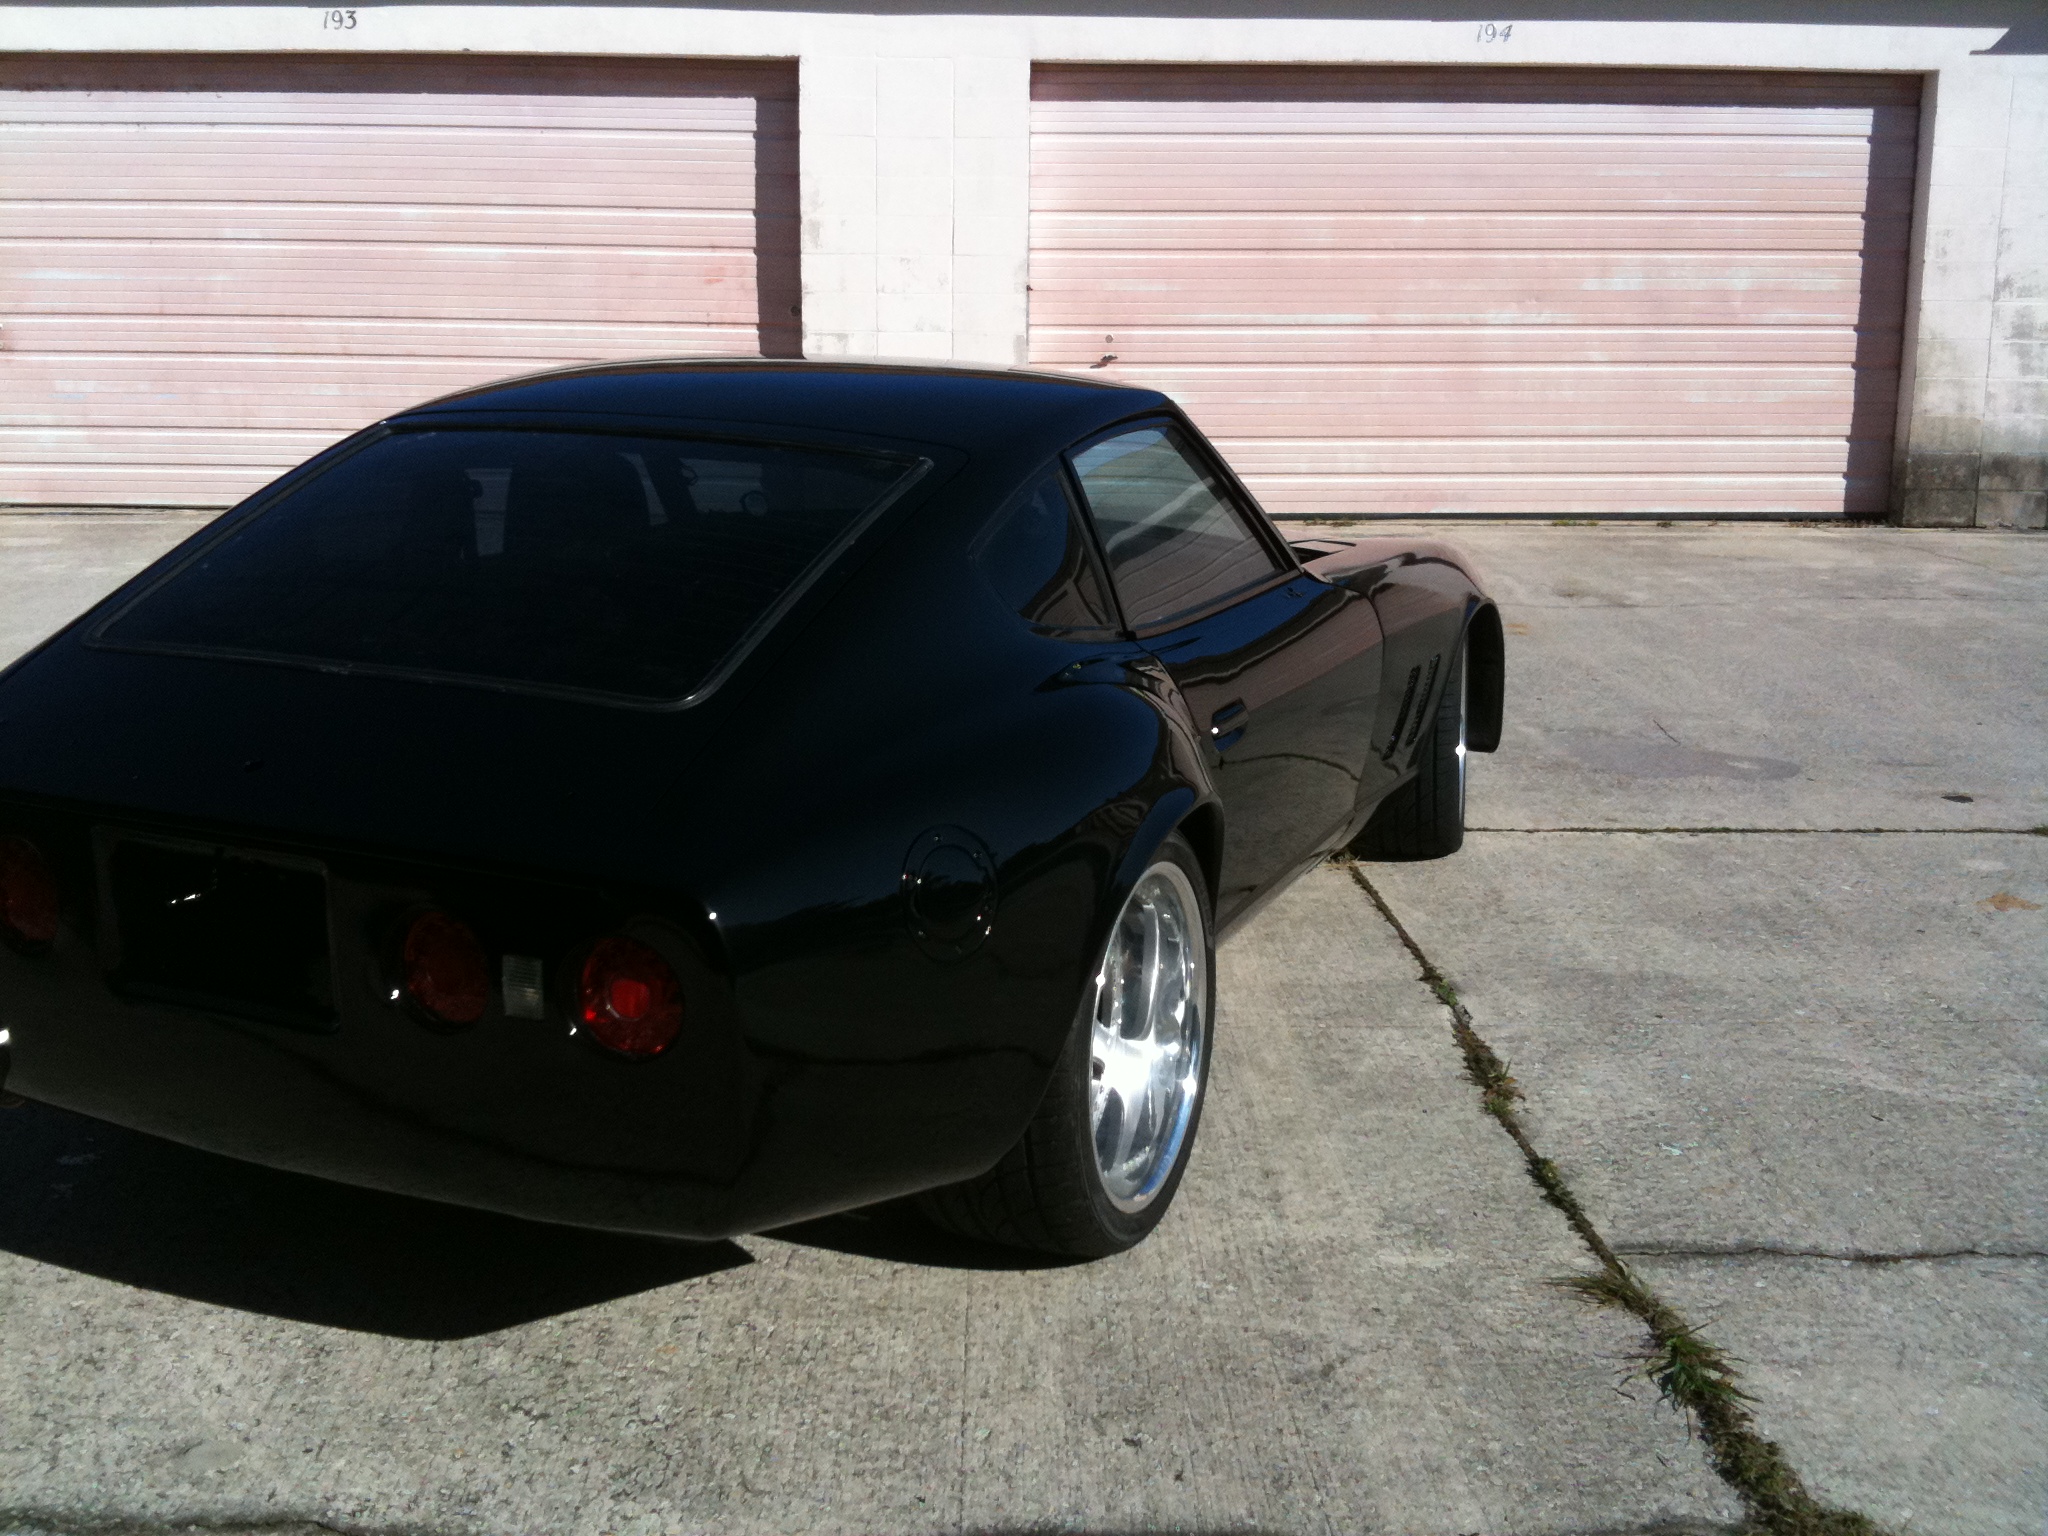
Are you looking at the correct car???? That's my Z for sale. http://forums.hybrid...o-motor-tranny/ Maybe if you're talking about a different car then ignore my comments below I have edited my comments since I realized you're talking about 2 different cars
-
http://forums.hybridz.org/index.php/topic/96423-perfect-1972-240z-no-motor-tranny/
-
I have given Ryan proper advise based on the topic - I'm going to refrain from replying any further - my previous posts reflect my thoughts and experience... If that doesn't carry any weight then I guess you can go get advise from others. So this is my last post on this topic... Ryan if you need anything further go head and PM me. As for the rest, when you don't understand weld penetration, proper bracing, and how to get the FRAME RAIL replacement (rturbo 930 keeps ignoring that) straight in conjunction with the floor repair and tying things in correctly, there's more to it than just a small hole repair... In Ryan's case, it is borderline - can't tell without more stuff being stripped to see the whole picture as I have stated... I also discussed the rocker panels - again - not a job I would recommend a NOOB attempt. - Not sure if Ryans are solid or not, but with the doglegs being in the condition they are, there is enough reason to suspect them - I would be checking them... Anyway To share a story - I saw floors welded (not a Z, but still relevant) in where the owner did it himself and thought he did a great job, got into a collision and his seat was ejected along with the floor it was attached to right through the front windshield (well almost)... The driver hit his head pretty good on the steering wheel and windshield. He survived, but the rear welds let loose in addition to the thin remaining metal that it was welded to failed. I believe it was a buggy kinda car (it was a long time ago). The seats were bolted directly to the floors (great engineering) I guess he read the book
-
And you seem to miss the point that I'm talking about STRUCTURAL repair - Bud - you won't get me to agree - so we will stop it here. You obviously don't speak from experience, so there is no use continuing this - go ahead and weld in your own frame rails - you seem to be an expert if you read a book and educate yourself... I'm just so tired of seeing stuff done so poorly with folks trying to save a buck at the expense of their own safety and others minimizing things as you have. The horrific stuff that happens as a result -which I have seen first hand - is why I get upset when I see comments like this - they all rear their ugly head when you get in an accident with an already not very crash friendly car... When you get a car delivered to your shop full of blood where someone apparently died because a do it yourselfer thought they could pull off a repair - which I have personally seen several times, you will change your opinion - nothing I can tell you in this thread will have the required impact because you need the training to understand what I'm talking about.
-
No - I'm saying that from experience I've seen way too many guys "think' they have the skills and knowledge. And you don't "learn" autobody on structural repairs!! WOW! You obviously have not spent much time around a collision repair facility! Your comment about it being ridiculous that any common Joe can replace frame rails - It's not ridiculous at all. What's ridiculous is the hundreds of examples I've seen of "do it yourselfers" putting their lives and their passengers lives in jeopardy taking a very important and required skill set for granted. Many are not safe for the road! SO now you also jeopardize innocent people driving next to you! Having seen thousands of cars come through our shop I've seen the results first hand - and I'm talking some serious stuff - Please don't make light of how important it is to do the structural aspects of a restoration properly - there's nothing ridiculous about it and the "average person" does not have the skills to do it most of the time - There's reasons why it takes proper training AND experience to do a job properly. It drives me crazy when people make light of it like "anyone can do it"
-
I could not disagree more - the floors and frame rails are a structural part of the car - they need to be done by a pro or someone with experience. With 30 years of auto body experience, I have seen improper jobs (not just in Z cars) that have led to all kinds of really bad problems. Ryan, now that I've seen the rockers and other areas of your Z, I think it will take more expertise to get it right. If the rockers need replacement (they may not), there are very specific ways to do the job which require that precise measurements are taken and that the car does not flex in the process. Find someone that you trust that knows what they're doing and get them to assess the car for you... Based on experience, once you strip some of those areas you may find more than you bargained for, so before starting anything major, make sure you have the whole picture. What I've found over the years is the "the ghost of body men past" -or- better put "the ghost of men who think they're body men" improperly patch and fill things and when you strip away what they've done you find a real mess. I hope you don't have any of those hidden surprises, but there are enough indications present in the pictures to take a much closer look at things before proceeding - again - get the whole picture - sometimes it's best to find a perfect shell and work from there. Once you add up the work required by a pro and the work you can tackle yourself you'll have your answer.
-
I always counsel folks to try to find the cleanest body that you can prior to modifying. Most times the cost of properly doing all the rust repair exceeds what it would cost to buy a nice clean one. Being that you're in California you should be able to find a few good examples - they are harder to find on the east coast - I looked for 10 years to find my 240z (which I'm now selling) Given what you've shown in the floors, it usually is an indication that there are issues elsewhere as well. Depending on what your intended use for the car will be there are different routes to go. If in fact the rust issues are truly isolated to the floors, that's not too bad of a job, but I'd recommend having a pro do it if you're not experienced in body repair.
-
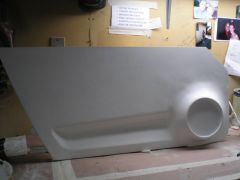
Here's an example of a Mitsubishi Eclipse fuel tank door molded into the YZ rear fenders. I had to make a custom inner fender cup where the fuel filler neck mounts. Quite a bit of custom fabrication, but the end result is that it looks stock imho... I also had to heat the fuel tank door and bend it slightly to match the contour of the YZ fenders... To me, this type of integration is what is necessary to finish off the whole job... Someday we'll post pics of this whole car, it came out real nice...

-
Those are absolutely awesome! I'll take a set! I'd LOVE to get a set of door panels!!! I love what this member did - I was going to do something similar, but if you could make them using your process they'd be much nicer! I'd consider some one offs as well - PM me!
-
New LS1 build clutch/slave question
kj280z replied to cheesepocket's topic in Gen III & IV Chevy V8Z Tech Board
Which is? The point here is that you can't just make assumptions - In some cases it can cause you to blow out your slave thus requiring you to pull the engine/tranny to fix it... pretty expensive mistake if you don't know that the clutch master is compatible with your slave -
New LS1 build clutch/slave question
kj280z replied to cheesepocket's topic in Gen III & IV Chevy V8Z Tech Board
How much stroke did the master cylinder have that you were using when you blew out your slave?? I have been told - it's more important to get a master cylinder with the correct stroke - if you get one with more volume (which I believe is done partially to change the pedal effort) you run the risk of blowing your slave. -
Wiring all components for the LSX Swap
kj280z replied to kj280z's topic in Gen III & IV Chevy V8Z Tech Board
As we work this I want to continue to update this post. For wiring the AC, we finally found the correct wire. It's a Blue/white wire which is in the console harness. The wiring is as follows: The Blue/White provides 12 volts to the AC ref wire in your LS1 harness. If you've switched to the JCI AC compressor, you'll notice that it only has one single black wire. The stock LS1 compressor had a 2 wire connector. In the 2 wire connector there should be a green wire. The green wire is connected to the black wire on the JCI compressor. When the Blue/white wire provides power to the AC ref wire, the GM PCM turns the compressor on. I have not tested this yet, but I'm 99.9% sure this is right. Also, I have to find a dryer with a high/low pressure switch which also get's wired into the circuit. If any of you have suggestions on what dryer you used and how you wired the pressure switch please share what you did! -
Wiring all components for the LSX Swap
kj280z replied to kj280z's topic in Gen III & IV Chevy V8Z Tech Board
Thanks - again the Nissan Wiring diagrams are not accurate (I have 3 different versions) I guess the disparities are caused by the differences between cars with and without factory AC. My car did not have AC so I added all the dashboard controls and AC stuff out of a 1975 280z (same year as mine). I cannot find the blue wire in my harness which I assumed would have been in the harness regardless if it had Factory AC or not, but it's not there. I will post more on this subject as we figure out a resolution. Does the blue wire pull to ground or have 12 volts when actuated? Does the black wire on the JCI compressor get hooked up directly to the blue wire? If it pulls to ground how does the clutch get actuated? -
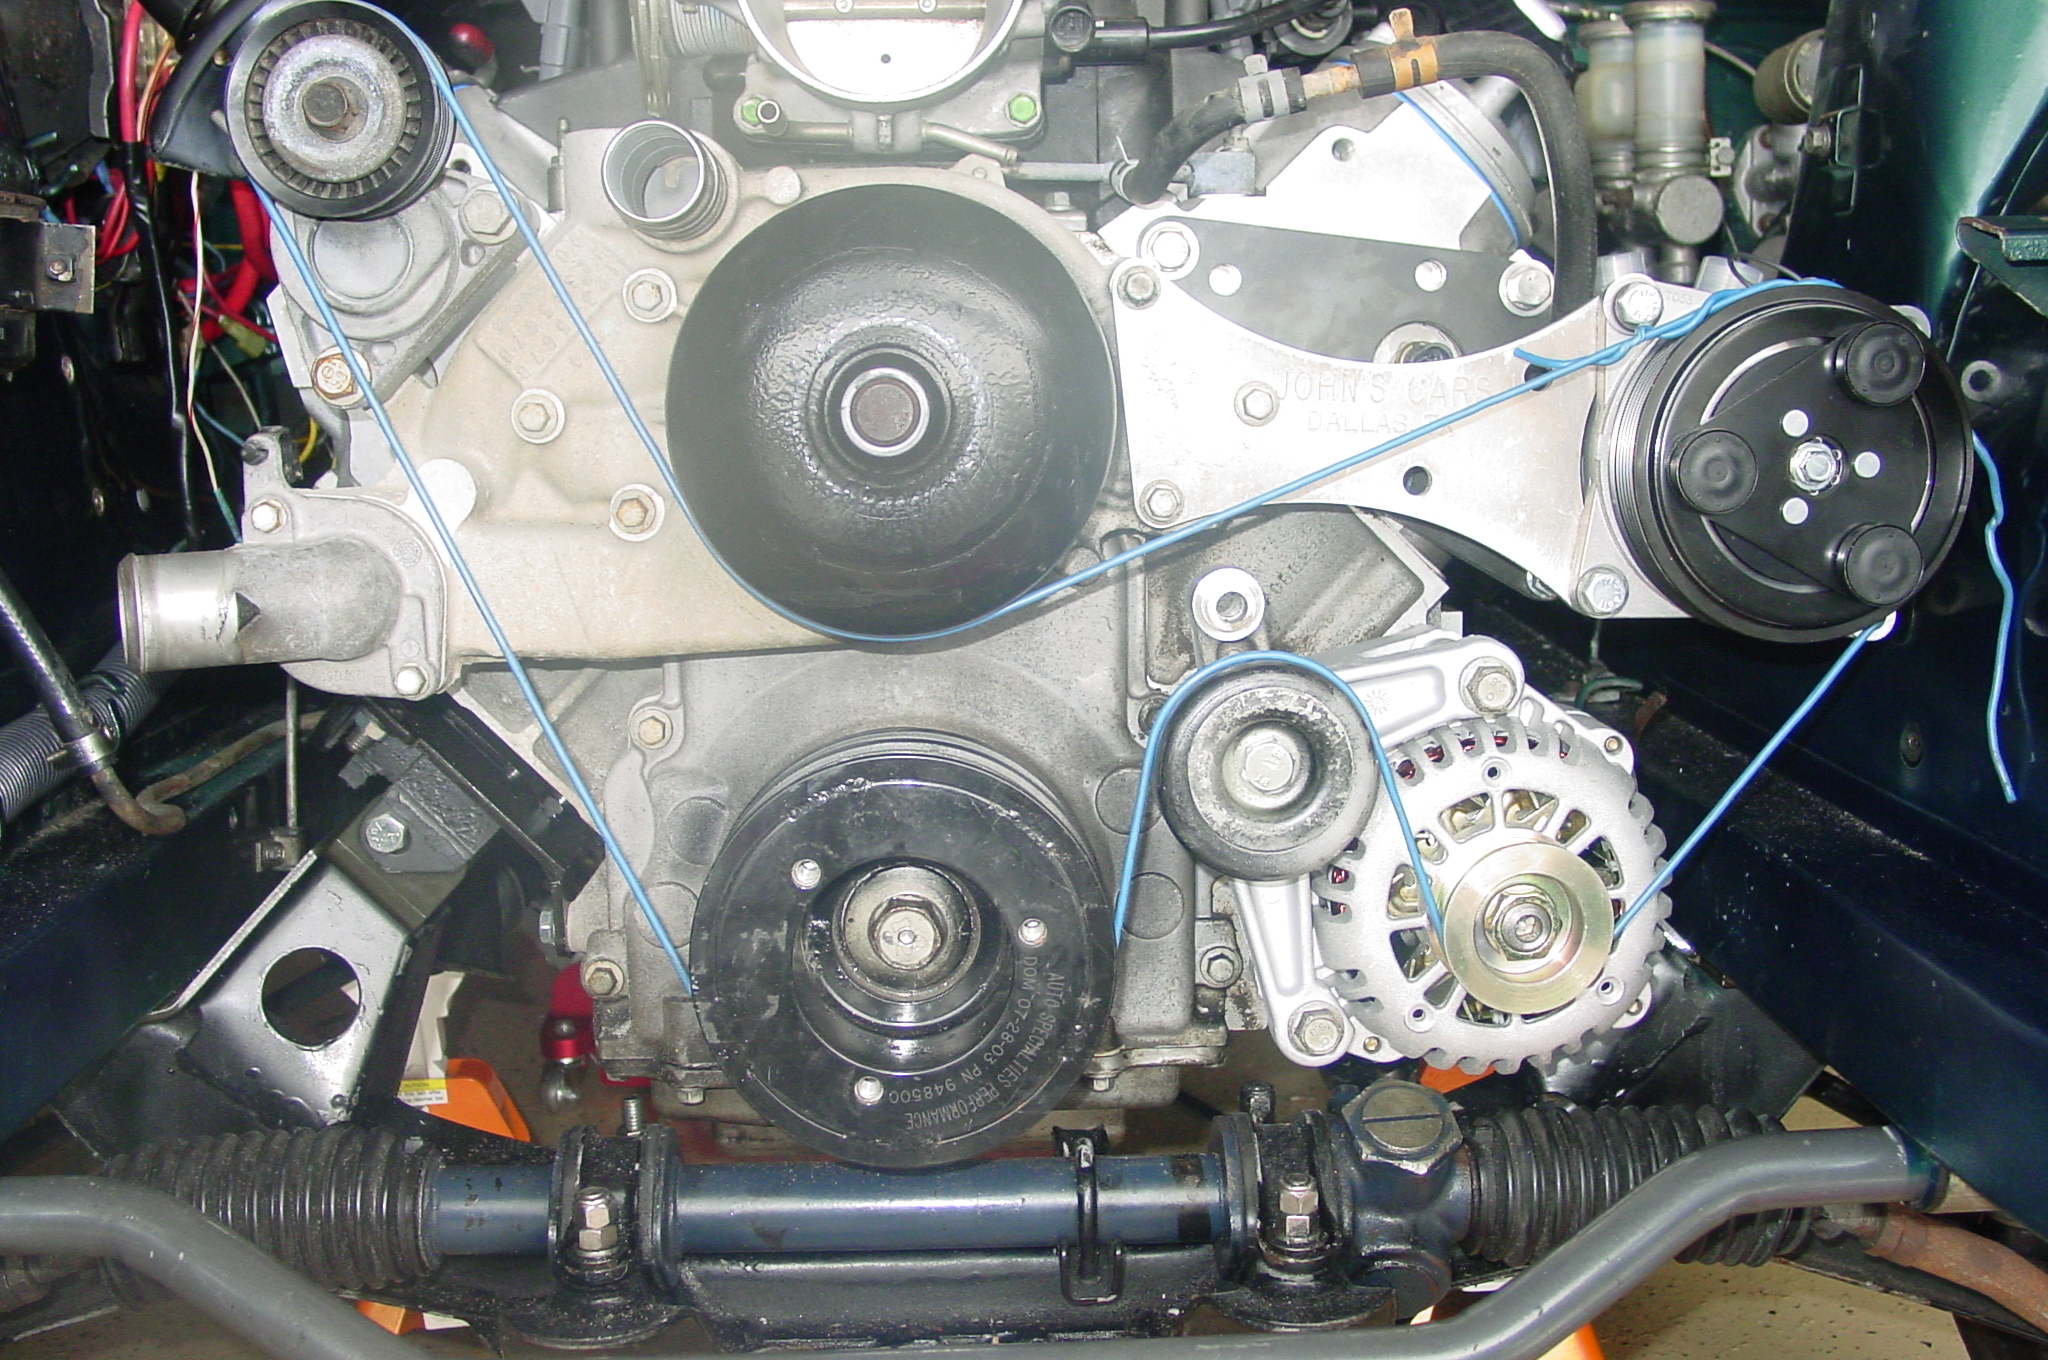
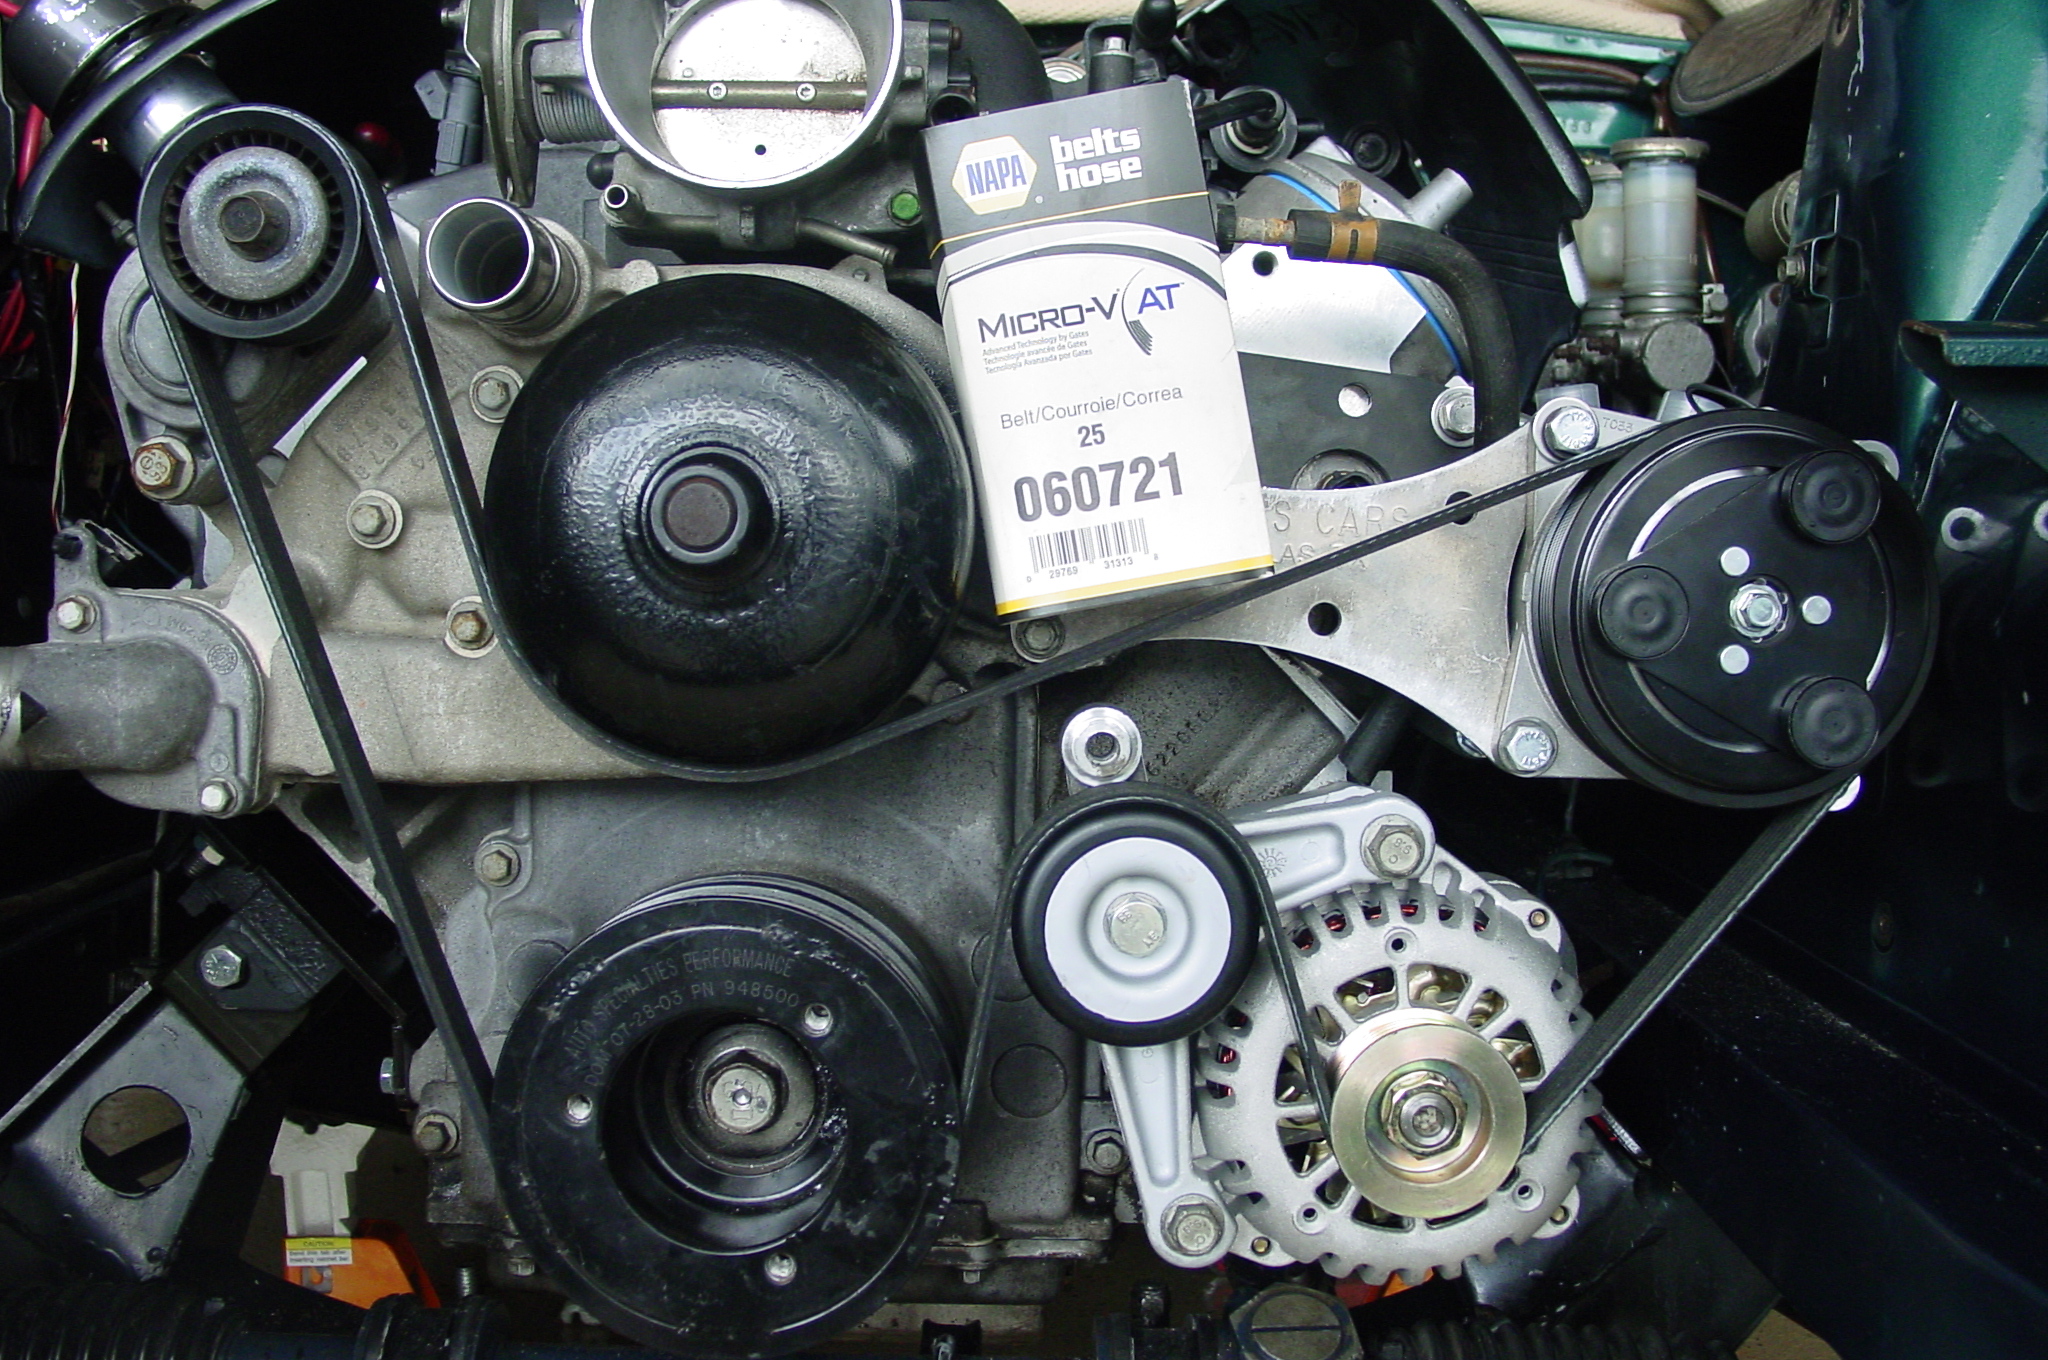
Well - Yours will differ from mine because I have an under drive crank pulley, but it was very simple to get the belt required. Just have a friend hold the tensioner all the way in and have a wire ready that you can route as if it were the belt. Twist the wire together while the wire is very tight in place, then let 1/4 of the tension off the tensioner which will stretch your twist knot, then make a mark on the wire with a sharpie, then take the wire off, untwist it and measure the distance between your 2 marks - that's the size belt you need - then go to Napa tell them the length and you have your belt - if your belt size falls between 2 increments buy the larger on of the two... The belt I used was NAPA code 060721 but don't forget I have an under drive pulley and I think the next larger size would be better because mine is kinda tight Here's a few pics that may help you:
-
New LS1 build clutch/slave question
kj280z replied to cheesepocket's topic in Gen III & IV Chevy V8Z Tech Board
I have heard that it is not necessarily the bore of the master cylinder as it is the stroke. Obviously both are related, but before just buying the 15/16, research how much stroke one has vs the other. I'm not sure about your clutch kit so you'll have to do some research to find the amount of stroke required specifically for your kit. I'm using a clutchmasters clutch kit that required a 1.4" stroke so I bought a Wilwood master that should do the trick (not quite ready to drive mine yet so it's TBD) Here's an assortment to check out http://www.wilwood.c...linderList.aspx -
Wiring all components for the LSX Swap
kj280z replied to kj280z's topic in Gen III & IV Chevy V8Z Tech Board
GREAT! I have located this switch at Autozone. It's out of a 2001 (probably other years as well) Ford Mustang GT. Here's a link to it: http://www.autozone.com/autozone/parts/Duralast-Back-Up-Light-Switch/2001-Ford-Mustang-GT/_/N-jfab1Z9cio2?counter=1&itemIdentifier=739222_0_0_3498,91964 The price on their website is $101, but I'm sure I can find it much cheaper. -
I have been searching and have not found a thread that sufficiently covers this topic. I'd like for this thread to be the place where we share all of our knowledge on wiring for the LSX swap. As part of my swap, we have been going through every single wire in the stock harness (1975 280z) and eliminating all the unnecessary wires as well as (more importantly) identifying all the wires that need to be retained for various reasons. What we're finding is that in many cases when we trace a wire and look it up in the wiring diagrams there are several differences and incorrect information in the books! Granted they are 30 years old but there's quite a bit of stuff in the harness that has been quite surprising. (We even found wires for factory fog lights in the harness!! - never knew they were there!) As part of our exercise, we're rewiring the dash in a few instances to accommodate several new items as well as to insure that the gauges operate properly. We also are eliminating the fusible links in favor of a maxi fuse block. Most of the wiring, while overwhelming is pretty straightforward if you take your time. Some have probably not gone as far as we have, but anyway... I have a few questions to start this topic off, then we'll begin to share in some subsequent posts on this topic the things we've learned. Here's some questions that we're having some challenges with conflicting information in the wiring diagrams: 1. There is a black/white wire that comes off the ignition switch - It's labelled 3 different things in my books. We assume this used to go to the ground on the distributor, but it's also labelled "ALT". My assumption at this point is that it is no longer necessary. What have you guys done with it? 2. What wire are you using off the dashboard controls to actuate the magnetized clutch to turn the AC on? The JCI compressor is a single black wire... The GM compressor had a 3 wire harness. 3. The GM PCM wiring harness has an "AC" wire - We assume that this wire needs a signal (positive or negative??) so the PCM knows to increase the idle when the AC is on... Any suggestions? Or is this wire used for something else related to the AC? 4. Does the GM check engine light pull to ground or does it send 12V to light up the light? 5. What have you guys done for the backup light wiring? The connector is way too close to the tunnel and it will not plug in. 6. What have you guys done to make the stock voltage gauge work correctly since the "charge" light which was in the circuit to turn on the old Datsun alternator is no longer needed? I will share all of the solutions to what we've already done on this post with pictures. It would be great if you guys could do the same as well. Thanks for your insights - I think this post will be invaluable to future guys doing this swap.
-
There's a few other topics in this forum related to exhaust
-
There's a few other topics I'm this forum related to exhaust
-
Works great! I have a 75 280z, but I have seen it installed in a 240z before - some customization was required but it wasn't too bad...
-
Oh well - That time frame won't work for me... I would need a set in no more than 30 days... The price sounds good, but I will say that I have my doubts about the 3" collector clearance - will be curious to see how you are able to figure that out... Also with the larger primaries, there might be other clearance challenges. Finally, I'd like to see the ground clearance - My Z is being built (almost done) to be my daily driver... Also, for the discussions related to increased performance and "max gains" - in order for that to be achieved, in my experience that means that they are designed with a specific cam, intake, rocker ratio, primary length and collector all designed together... otherwise you see marginal gains - my comments about the increased drone from running larger pipes vs. the increased power are still valid within that context. The explanations given by mxgsfmdpx were valid, but that "maximization" in my experience is only achieved with all the other components working in unison...