ktm
-
Posts
1725 -
Joined
-
Last visited
-
Days Won
3
Content Type
Profiles
Forums
Blogs
Events
Gallery
Downloads
Store
Everything posted by ktm
-
If it makes you feel any better, I too am trying to track down a nasty shimmy at 45+ mph. I already replaced both ball joints, and then those were replaced with the T3 GTX2 control arms, checked the steering rack, outer tie rods, I have new front discs, wheels have been re-balanced twice, no play in the hub, etc. It is driving me nuts. The only thing that may still be a possibility is the wheel seating itself. I have Rota Grid Off Roads which are hub centric and our cars use lug centric wheels. I try my best to make sure the wheels are "centered" while installing the acorn lug nuts by incrementally tightening each one before really tightening them prior to dropping the car. It could be that I am not getting it truly centered. This could be your problem as well.
-
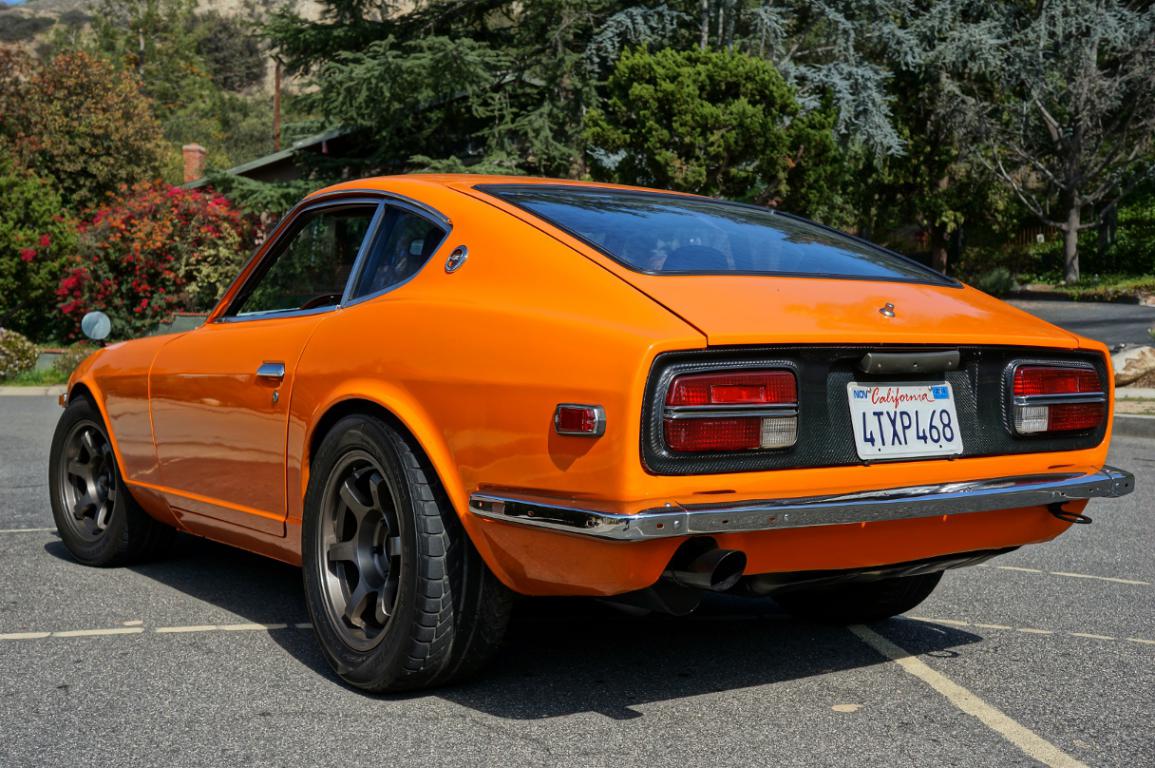
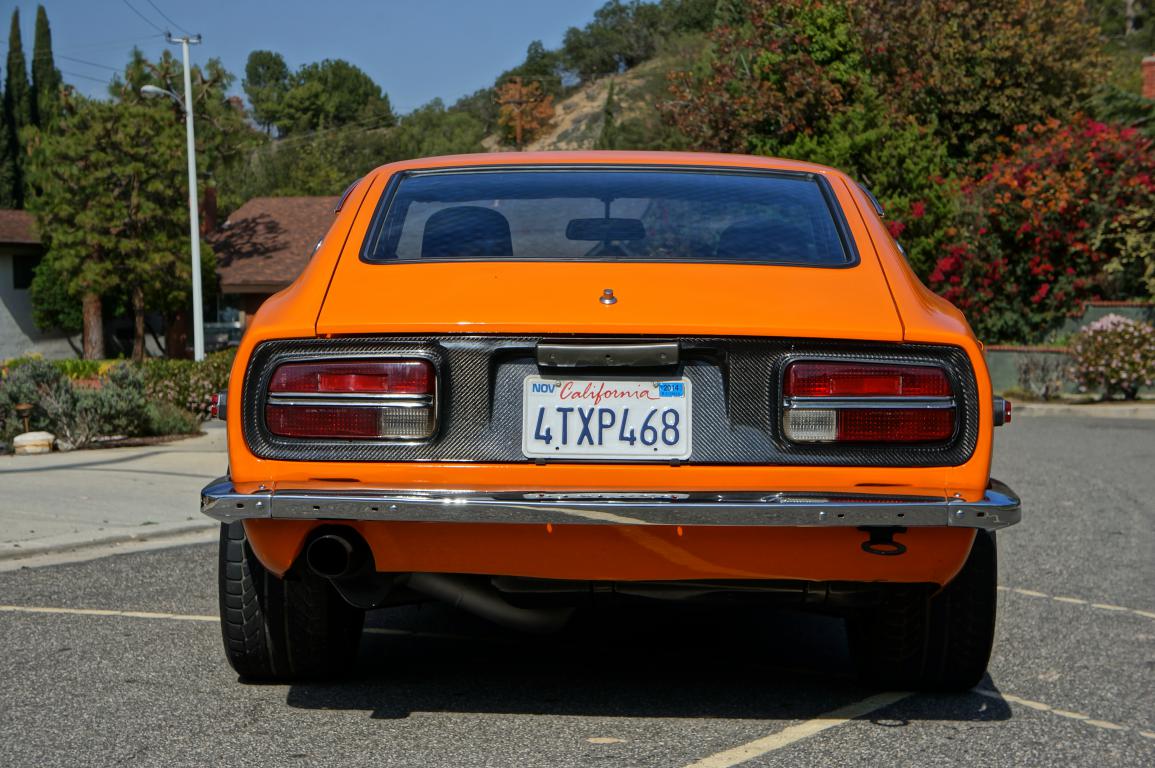
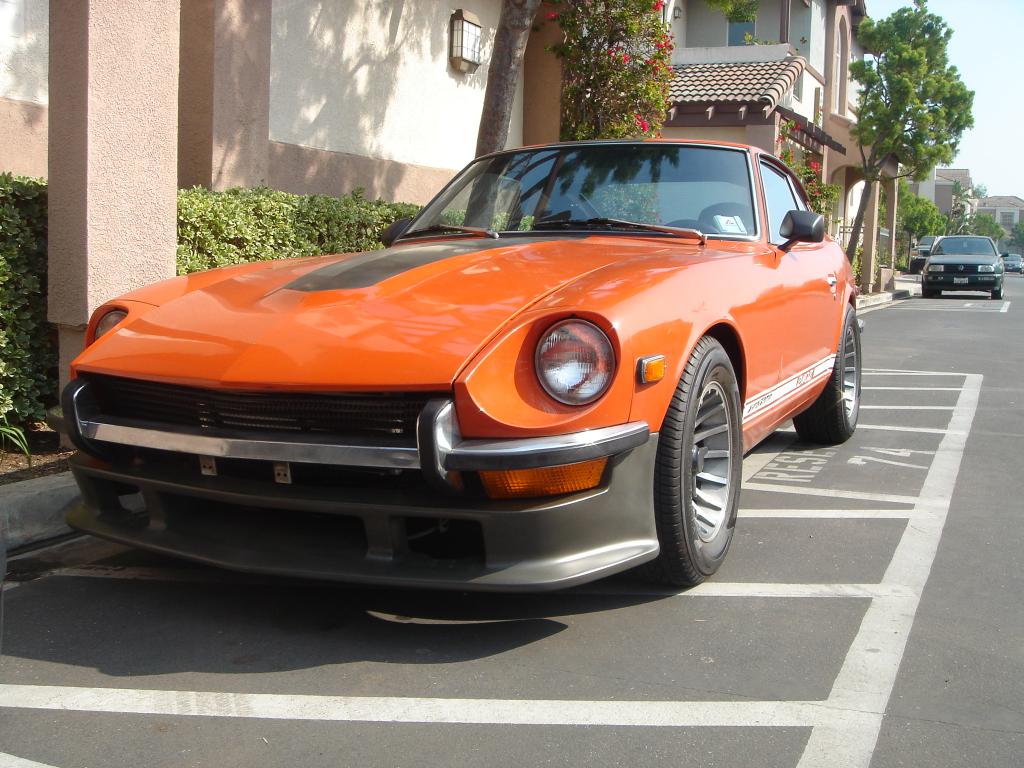
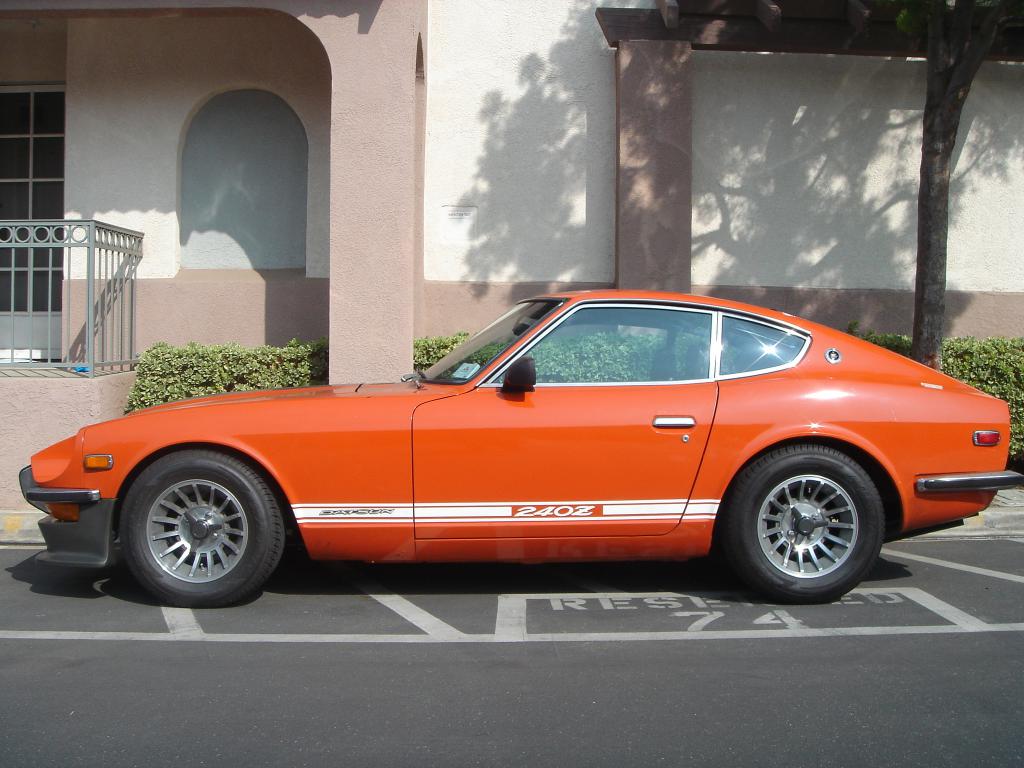
A couple of mine

-
Stony's Unnatural Aspiration Part 4!!!
ktm replied to stony's topic in Gen III & IV Chevy V8Z Tech Board
Welcome to the dark side as they say. I understand the appeal of the 2jz and rb motors, but people need to remember that the LS or even truck motor (5.3) has LITERS of displacement on those engines. The LS/truck motors can then have forced induction on top of their displacement advantage. People pursue build routes all the time for illogical reasons, when logic prevails base displacement is always the best starting point. -
I, too, am using the JTR headers and while I have not found the perfect plug wire, I did find that if I use the 2003 (?) GTO or the MSD adjustable plugs wires along with the stock aluminum head shielding tubes that I am not longer burning wires like I used to. I've had this setup for around 7k miles without issue. I would normally find that my wires were toast by around 2k miles. You still get contact between the aluminum tubes and the headers, and you'll have to slightly "dent" one for clearance, but its better than running just the wires. I tried everything: aluminized heat shielding, the "fabric" heat shielding, etc. and nothing worked. The aluminum tube helps to more evenly distribute the heat and reduces the effect of creating a point contact hot spot......at least taht is my theory
-
Techno Toy Tuning - GTX2 Control arm and T/C Rods
ktm replied to ktm's topic in Brakes, Wheels, Suspension and Chassis
Edit due to mis-reading photos. Damn, that is a bit of a difference. Any chance they would send you a new nut and spacer (assuming it is compatible)? -
I can't help you with the actual power requirements, but the 280zx's came with a gear reduction starter that should satisfy your high compression (?) starter needs.
-
Techno Toy Tuning - GTX2 Control arm and T/C Rods
ktm replied to ktm's topic in Brakes, Wheels, Suspension and Chassis
No choice in colors with the suspension bits, save for the strut towers. You should be fine but you will need to use the bump steer spacer that comes with the GTX2 kit. The spacer is shipped mounted to the bottom of the spindle. You'll need to unfasten everything, remove the spindle, put the spacer above the arm, and re-fasten everything. -
Techno Toy Tuning - GTX2 Control arm and T/C Rods
ktm replied to ktm's topic in Brakes, Wheels, Suspension and Chassis
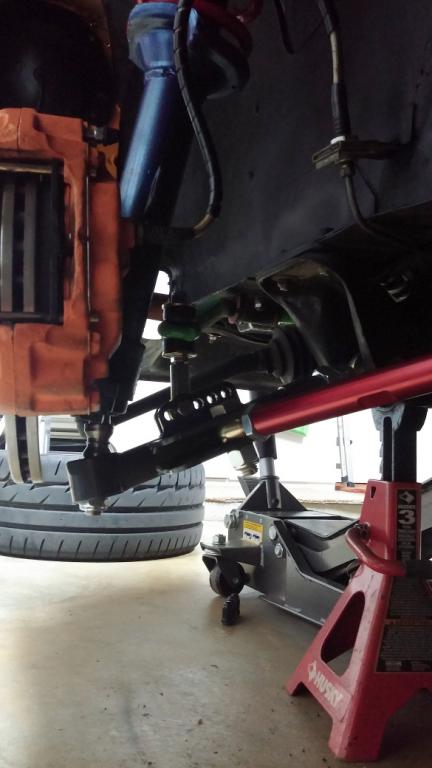
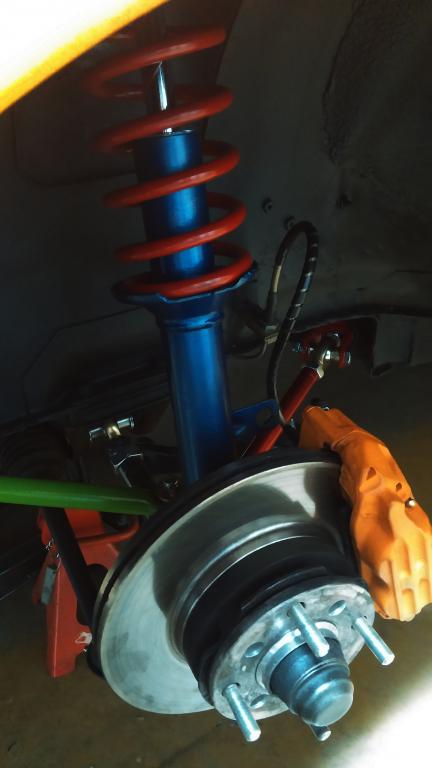
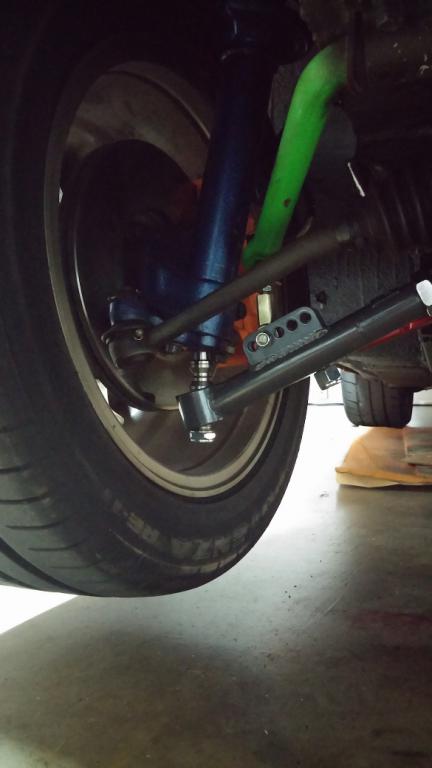
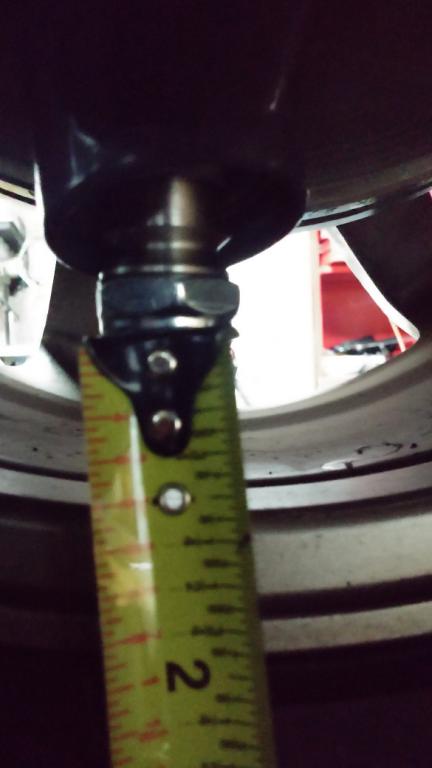
Pictures as promised. I am running 16x8 +10 wheels with a 10mm spacer in the front. I installed the bump steer spacer which helped to raise the lower portion of the "ball joint" spindle by approximately 23 mm (per T3's website). I have around 25 mm/1-in. of clearance between the bottom of the spindle and my wheel.
-
Techno Toy Tuning - GTX2 Control arm and T/C Rods
ktm replied to ktm's topic in Brakes, Wheels, Suspension and Chassis
What issues exactly? There are no issues necessarily. The only "issue" is potential clearance with the bump steer adjustment. Saying that, you don't run a RCA adjuster with these as they have RCA adjustment built-in. socorob, there is not really an "earlier" version of the GTX2 that I am aware of. I believe that they are referring to T3's stand-alone control arm replacement that is based on the stock arm. The difference in the ends is just a refinement in the design that does not address the clearance issue. seattlejester, yes, I installed them yesterday and confirmed the bump steer adjustment this morning. I will finish the install tonight (but not take it off the jack stands) and post a couple pictures. -
Techno Toy Tuning - GTX2 Control arm and T/C Rods
ktm replied to ktm's topic in Brakes, Wheels, Suspension and Chassis
The GTX2 are supposed to be RCA adjustable, so you'll need to remove the the RCA blocks. I think I understand how it works, but I am calling them in the morning to confirm. -
Techno Toy Tuning - GTX2 Control arm and T/C Rods
ktm replied to ktm's topic in Brakes, Wheels, Suspension and Chassis
I plan on installing these today. I picked up some replacement hardware (Grade 8 bolts with sufficient shoulder length) for the T/C-control arm and sway bar end link connections and cut them to length last night. A point of note is that the hardware is not metric but rather SAE sizes. I think the worse part of the install will be getting everything adjusted correctly. I should not have an issue with the roll center adjustment as I am running 16x8 wheels; a previous member had issues with his 15-in. wheels. -
Techno Toy Tuning - GTX2 Control arm and T/C Rods
ktm replied to ktm's topic in Brakes, Wheels, Suspension and Chassis
I am going to swap out the bolt they provided and use a Class 10 (assuming it is metric) bolt in its place. -
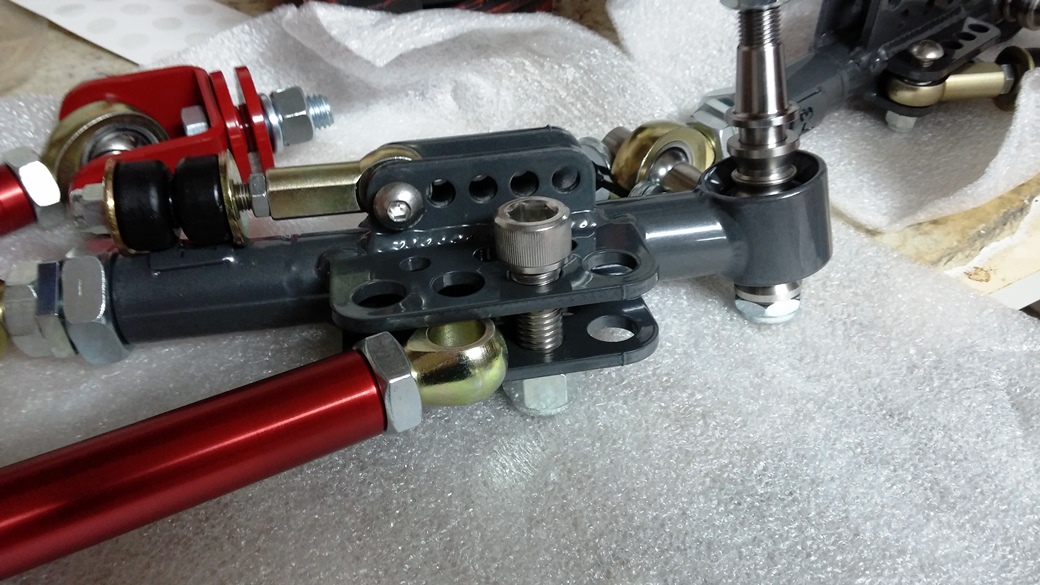
I am just posting a couple pictures of T3's GTX2 control arm and T/C rod package that I just received. There were some concerns in two threads Here and Here as well regarding how the T/C rod connects to the arm. In T3's pictures (seen Here), you can see a rod end where the T/C rod connects to the arm and it can pivot about the connection. As shown in the two photos below, that has now been changed to a solid rod end that has a tight fit between the brackets. I am going to call T3 in the morning and suggest they update the photos, as the posts above as well as the old photos might "scare" away potential customers.
-
I went with a 3 row Champion after having an Arizona Z car unit for 5 years. I was in a minor accident and lost the AZ car radiator, which is why I went with the Champion. When I bought the AZ car unit, there were no other "stock" aluminum rad options at the time. The AZ car unit is nice, but a few things to consider: 1) No drain provisions 2) Its taller than the stock 240z radiator, which is not a bad thing 3) It does not sit flush against the core support. The tabs do, but the body does not, thereby leaving a gap at the top and bottom. This is important as it does not seal up the opening which is crucial for efficient cooling. 4) It is expensive compared to the Champion, nearly twice the price. The Champion radiator is a true stock replacement. My car actually runs cooler now with it than the AZ car radiator under all traffic conditions. I've sealed up the front a bit (just blocked the openings in the core support really) and my car will never see over 180 degrees on the highway when it is over 100 degrees outside unless I am under load (i.e., going uphill for an extended period of time). As heavy85 said above, "Managing airflow is as or more important than the core itself." Just simple things like blocking the holes in the core support helps out quite a bit. When I had the AZ car unit, I did block of the gaps I mentioned above. I also added a piece between the top of the core support and the grill to keep air from going over the top, and I had another piece down low to route the air through the radiator and not go under it. The top piece helped quite a bit, but I've found that I do not need that same piece with the Champion for some reason. You can see the shroud I added and how I addressed the above mentioned gap in the picture below.
-
5.3 wont start could it be the ignition??
ktm replied to milesz's topic in Gen III & IV Chevy V8Z Tech Board
All of this talk and no question about which engine management system is being used? If the stock PCM, VATs could be an issue. -
For a while I ran the 280zx power mirrors in my car and used a 1992 Maxima power mirror switch to control both of them. I loved them, but wanted to go the fender mirror route later on. Below are some old pictures of how the driver side looked.
-
If you are going to swap intakes and want to save a bit of coin on a performance intake, look for an LS6 model which can be had for around $400ish. Saying that, LS1 intakes are dirt cheap since no one wants them. Another great resource for LSx swaps, if you have not already found out, is LS1tech.com.
-
LS1 240 mounts (facts not opinion???)
ktm replied to trackzpeed's topic in Gen III & IV Chevy V8Z Tech Board
John's kit does not limit you to a single pipe down the middle. The pipe down the middle is more a function of whether or not you're running a fuel cell or the stock S30 gas tank. -
Not to be an ass, but please search. There are a number of upgrades available, to include using a GM 10/12 Si as well as a GM CS144: http://forums.hybridz.org/topic/67531-ac-delcogm-alternator-swap-part-2-cs144-installation/
-
taka, nice looking Z. I am running the exact same Bre spook, and if I may make a suggestion, remove the rubber strips from the bumpers and just rock it with the holes. At worst, you can actually pick up some chrome or stainless steel carriage style bolts that will fit in the holes to at least give it a solid look.
-
If you want to save quite a bit of money on an AGM battery, look into the Dekas. There's quite a bit of information on the internet comparing Braille to Deka, as Deka is an actual battery manufacturer in Braille is a re-package. I am using a Deka ETX - 30L which is the largest that they have.
-
You did not do a swap though. Engine. Swap. Slapping a turbo on an existing engine is not a swap. The 4.8/5.3 are not LSx. An LSx is aluminum block (the 4.8 and 5.3 are iron block) 5.7 litre. I can buy 4.8/5.3s for less than $1000 US. Go price yourself a TRUE LSx and let me know where it falls...... So, sounds like you are saying that people like me throw money at something and hope we bought the right parts, When, in reality, we plan our builds, KNOW what we want to buy, have the money to buy said parts, and then execute.. Sounds like you forget that I had a nice L28ET before the LSx, and an L24 before the L28ET. I understand more about swaps than you give me credit for. Can swaps be done inexpensively? Most certainly, if you have the time, patience, inclination, skill and a bit of luck (for finding the parts inexpensively). Removing an L24 and installing an L28 is easily the least expensive swap (see, engine was removed) of them all. An L28ET would be next if keeping it stock. Once you start talking about other engines that are no longer direct bolt-ins you are adding considerable cost.
-
Steve, I had issues as well when trying to degree my Isky cam on my old L28ET build. I wound up with piston to valve impacts (slight) on #1 and #6 while rotating it by hand. I could not, for the life of me, get the cam degreed to the numbers I was given as well.
-
You did say, and I quote, "most swaps". Last I checked, an LSx may fall under that. See, you can't spend less than the cost of the motor and transmission regardless of your skills unless you bought a parts car and sold off the unused pieces. That is an immutable fact. If the engine and transmission cost you $3000, that is the minimum you'll spend. But there are other pieces that need to be purchased: mounting kits or buying the steel to fabricate your own, headers, intakes, possibly turbo upgrades, exhaust (again, unless you are buying the pipes and welding your own), electrical, etc., etc. All of these add up very quick. They add up even quicker if you want to do it right the first time, and by that I mean you buy new parts and are not junkyard diving (which I used to do myself). Let's talk about an L28ET swap. The engine and transmission is a bolt in, you've got that going for you. Let's say you can find a good engine and transmission for $1,000. Yes, there are cheaper ones, but you may be into rebuild territory with them and that negates any savings you think you had. Now comes the other components. Stock turbo or upgrade to at least a T03/04? If upgrading, there goes $600. Fuel injectors? $300 if going for safe power. Engine management? Say Megasquirt - another $600. If you've upgraded your turbo, you'll need a new downpipe along with your exaust. $600 Intercooler, piping and silicone couplers. I am being nice at $200 Electric fan? $100 Fuel pump $120 (Walbro) Associated fuel fittings $150 I could keep going, but I hope I illustrated my point. Some people may suffer from Greek accounting (not saying that you do) and simply refuse to recognize all of the costs for a swap, even if they think they are doing it on the cheap.
-
Uh, LSx requires $4k just for the engine and transmission......I did my own swap and still clocked in at $10k+. I think all of you are just spouting numbers without actually doing anything yourselves. Core LSx swap items: Engine + trans: $4k+ JCI Kit: $600 JTR Headers: $500 HP Tuners or send out PCM: $300 to $500 Fueling (if on a 240z and doing it half-way right): $500 Electrical: $500+ (240z's aren't wired for EFI) Electrical fan and accessories: $150 That totals up to $6,600 and I am not talking about the total cost of the swap.