-
Posts
1201 -
Joined
-
Last visited
-
Days Won
7
Content Type
Profiles
Forums
Blogs
Events
Gallery
Downloads
Store
Everything posted by duragg
-
The painful realization is begining to sink in that I need another 200hp... When showroom stock station wagons can make 600hp all day.. the world has gone f-d.
-
Confession: These images and disassembly were done on a half-shaft I already destroyed changing the u-joints. New u-joints Half-shafts are coming. I think those u-joints will have to come off too in order to do this job. If so, a professional driveshaft shop will do that work..
-
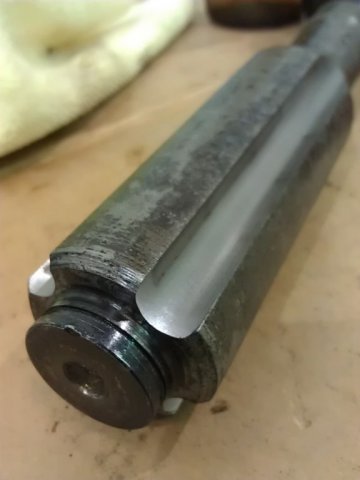
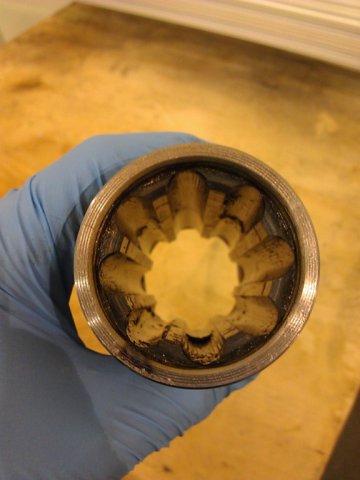
Following my R200 install I am pretty sure my driver side Half-shaft is bottomed out. So I will try to detail how I am fixing that. Disassembly of the Half-shaft is detailed below. Remove rubber boot, remove inboard c-clip and cap (has o-ring). Push the shaft together to expose the internal lock clip area and remove. Pull the inner from the outer and take stock of the balls and shafts. Pull it all apart, get grease everwhere and marvel at the quality of the nearly 40 year old grease and metal. I will have to ask, but I supose these ID slots are cut with some type of gear "hobber"? Surprised there are 8 slots but only 4 in use. Quite impressive. I will take these bits to my machine shop friends and let them chuck up in their massive lathe. I think it will be easiest to just remaching the end cap area 1/2" shorter with the same ring land for the c-clip. Just recreate the end nipple 1/2" deeper is pretty quick work for a lathe master.
-
I just started chumming through old Hybridz posts by searching r200 lsd wanted or for sale. Came up with a short list of targets who hinted they might have one somewhere.
-

Weber jets??All who live for their triples please read this
duragg replied to datfreak's topic in Nissan L6 Forum
Thats for sure. You really can't link the fuel source (idle, prog, trans, main) to RPM. Or to throttle position or load for that matter. Its really a blending combination of throttle position and airflow (RPM). Follow the airflow and reference the butterfly position and you know who is doing what. Tricky little 'tards. -
Wish I would have read (and followed) the heart of this thread yesterday. With my new R200 I went and saw Dave at Arizona Zcar and bought one of his solid diff mounts. Sure makes attaching the drive-shaft easier. I got about 75' down the road and decided I'd had enough. Its coming back out. Noisy. Obnoxious noisy, not cool noisy.
-
Today was r200 lsd install day. And thought I would do the ujoints while I was at it. The half shafts were perfect. I detect a little play in the driveshaft however. Gonna think on that one. I already bought the joints.
-
Oh...woops. The new joints do come with new clips. I will never in my life attempt to re-joint half shafts. TF-PITA. And mine were really just fine when I took them all apart. Left one I managed to complete satisfactorily. But the right one did not cooperate. I had to use my hydraulic press to loosen things up (with a POW! once they gave). I didn't realize on the last cap I pinched the ears and wrecked the whole shaft. And whats up with those retaining clips anyways? Of the 16 I removed about 7 of them were found. The remainder launched themselves into high orbit. Those things really wanted out. Scrounged another h/f from a local Dats guy and its just going in as-is. Today was only supposed to be R200 lSD install day. Hard labor.
-
Anybody know if the end caps on stock half shafts are same inner and outer? I am pushing out my old u-joints to replace, clean & reassemble. Just wondering if I need to keep the inner and outer caps in the same position. They look the same, which is a clue that they might not be.
-
4 pinion 6 clutch R200. Initial 45 break away. 3 shimms of ,004" and one of .0005" made for about 65-70 break away. Done. Easy. Thanks for this great thread.
-
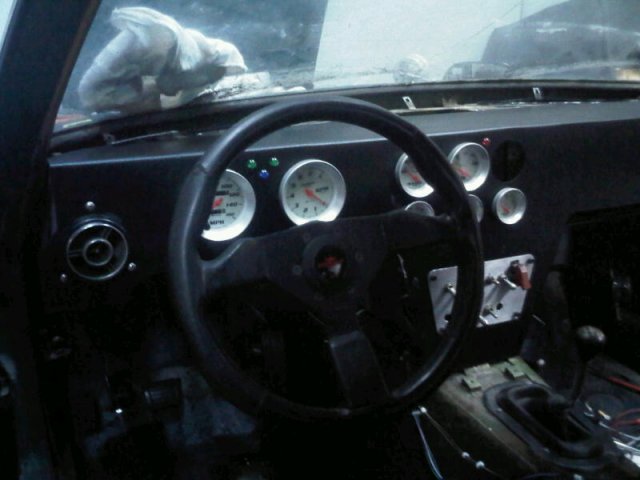
Didn't hear what you said about noise... but the bedliner looks positively electric in that car. I sprayed my custom dash with bedliner and it doesn't make any noise at all. Just sayin....
-

A Diff Divided (4.375 CLSD) Field overhaul and shimming
duragg replied to duragg's topic in Drivetrain
I can't install the R200 in the car for another week anyways. Still collecting all the other parts. So in the meantime all this is keeping me from breaking something else. -

A Diff Divided (4.375 CLSD) Field overhaul and shimming
duragg replied to duragg's topic in Drivetrain
I couldn't sleep with myself if I did that. I like doing things to excess. -

A Diff Divided (4.375 CLSD) Field overhaul and shimming
duragg replied to duragg's topic in Drivetrain
Interesting option. Almost fits.. Arbor shims ARBOR SHIM SET - 2.25" ID x 3.25" OD Each ARBOR SHIM SET - 2.25" ID x 3.25" OD contains the following sizes: 0.001" 0.0015" 0.002" 0.003" 0.004" 0.005" 0.006" 0.007" 0.008" 0.01" 0.012" 0.015" 0.02" 0.025" 0.032" 0.047" 0.062" 0.093" 0.125" -
Wish I had paid more attention to my driveshaft the last time I removed it. Sounds like one of those just jobs you just have to pull everything apart and take stock - make a plan from there. TJ
-
-

A Diff Divided (4.375 CLSD) Field overhaul and shimming
duragg replied to duragg's topic in Drivetrain
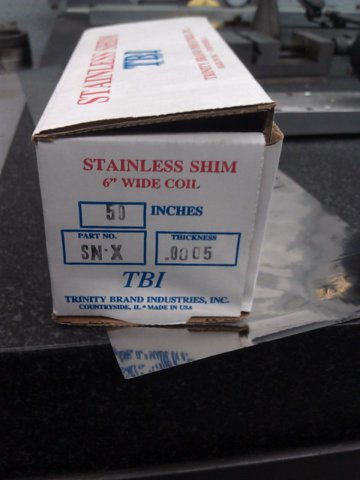
No. All wrong. I grabbed the wrong shim stock- see above. Cut, installed and tested 5 shims which made no difference. Off by a factor of 10. That was ,0005" (half-thou) stock. Beer now. -

A Diff Divided (4.375 CLSD) Field overhaul and shimming
duragg replied to duragg's topic in Drivetrain
Thanks to JM and Gordon and the others for their help. Got some .005" shim stock which I will cut to make some shims. I believe the shim stock will sit on the outside of the furthest outer plate sandwiched against the case. There is no relative motion between this outer plate and the housing so the shim won't wear, just sit and add preload. Shim goes on top of this plate you see here below Note in the picture above, the holes in the case leave an impression in the plate and clearly there is no relative motion. You can see the outer face of the outer-most plate through the housing (where those impressions were left). When done you will be able to see the shim stock through these holes on both ends. And to complete the overhaul, some new output shaft seals which Autozone had in stock. Tomorrow I will shim and lube and shim again and get to my target Break Away Torque (BAT) with my new handy tool being welded in the morning. Will gladly take more pics while I am at it if anybody cares to see any other specific thing while I have this apart. -

A Diff Divided (4.375 CLSD) Field overhaul and shimming
duragg replied to duragg's topic in Drivetrain
Getting like 45 pounds break away (wet). Took the unit apart and allbis in order still. That very first bellville plate with outside ears is funny cause it looks like you carefully center it and then draw the cover down on it- hoping the ears are centered and in their grooves. Holding for guidance and machine a better plate to get a torque wrech on a concentric nut. -
On the last day of my F54 build I switched front covers for one that was in better shape, but must have come from a milled block; Tears of a clown. I didn't think to check and->Leaked stupid. The fix isn't pretty, but it no longer leaks.
-

A Diff Divided (4.375 CLSD) Field overhaul and shimming
duragg replied to duragg's topic in Drivetrain
I'm thinking if you break a later R200 you are making TB launches on a big-boy motor and have broken a LOT of other parts along the way. Some more pics of my disassemble. Thought I was going to need a different input shaft but this looks normal I think. Found new side seals at Orielly picking up today with some stub shafts from a DD member. -
Interesting reading here. Is your front cover machined to match the milled block? Squish and Quench; spending the rest of today reading up on this. With the pistons already stabbed, seems like head gasket adjustment would be easiest. Why not sacrifice one in a press and measure the crush?
-

A Diff Divided (4.375 CLSD) Field overhaul and shimming
duragg replied to duragg's topic in Drivetrain
Ok, Hybridz back online, SNL is over, things are improving... Does this show the "ramps" These control the expansion of the center based on power and squeeze the clutchpak? Some Spider shots. Not thinking I remember any thrust washers, but they could have been stuck to something. -

A Diff Divided (4.375 CLSD) Field overhaul and shimming
duragg replied to duragg's topic in Drivetrain
I will take pics of the ramp. Those are the guides the spider rides in? I didn't see any washers on the spiders but will look at that too and report back. Q; should I bother changing side bearings? They look great. Q2: the side seals are readily avail? From? Q3: do I even bother checking break away? -
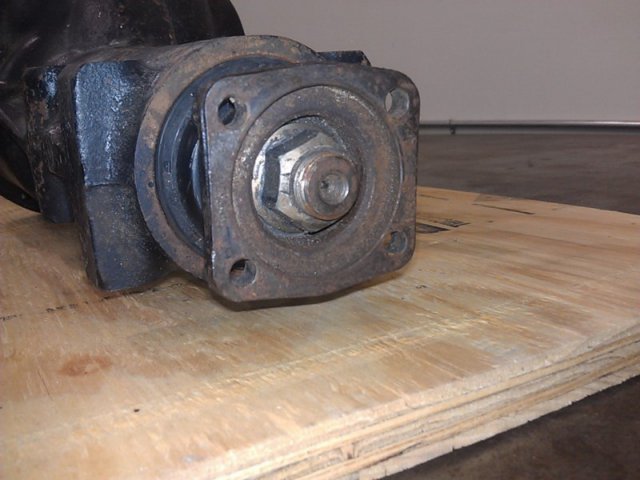
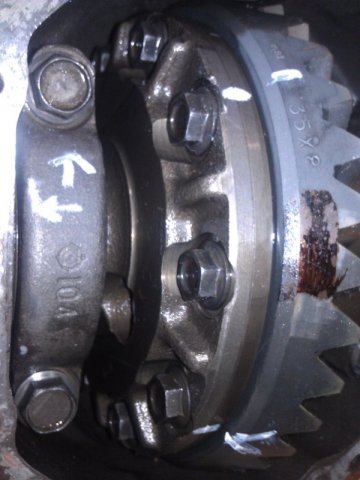
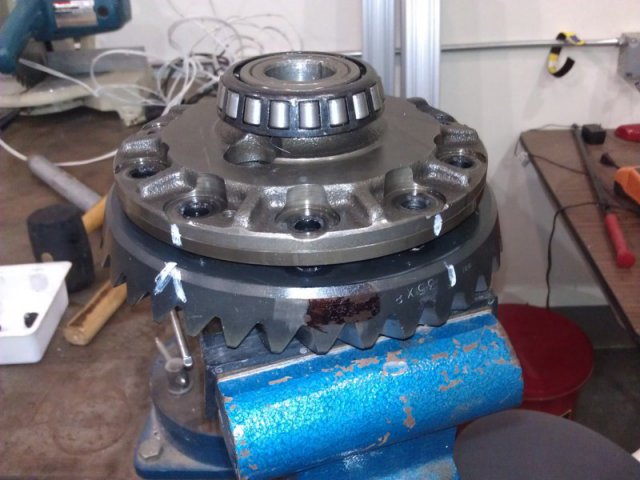
Picked up my R200 CLSD 4.375. Took it apart of course... Will upload the remainder of the pictures tomorrow. It has 3 internal and 3 external tabbed clutch pads on each side. I think this is good? Stne simple


