Ben280
-
Posts
353 -
Joined
-
Last visited
-
Days Won
26
Content Type
Profiles
Forums
Blogs
Events
Gallery
Downloads
Store
Everything posted by Ben280
-
Awesome to see some interest!! In my opinion, a car is never really finished. So unless its not drivable, don't let that stop you from coming out and turning a few laps! Threw a poll up on the first post (this new HZ forum software is nice!) so vote for your preference.
-

Front Suspension Swap? Anybody done one
Ben280 replied to rabrooks's topic in Brakes, Wheels, Suspension and Chassis
Leon, you are correct and I would be remise to claim that the only reason for the Z's not being on par with newer cars is its strut suspension. All that is meant to imply is that at peak driver performance, a SLA front end WILL outperform a strut front end. Can mere mortals get to that point in driving? That remains to be seen. Going off topic, but the bigger issue for competition (for my case at least) is the lack of power. I'm at minimum class weight and with a 8.5/10 motor build, about 9lbs/whp, with the guys at the pointy end of the field closer to 6-6.5 lbs/whp. For auto-x the Z has a lot going for it; light weight, excellent weight distribution, narrow even with monster tires on it, and lots of space to modify and add parts. The class I race in allows for most of the foils in the suspension to be fixed, and the excellent aftermarket support these cars have found recently makes it easy to get the adjustable parts. I'm getting closer with the car, and still believe that the nut behind the wheel is the limiting factor. Once that ceases to be the case, I'll be sure to post pics of my front suspension conversion. I will say that doing a front end conversion like this is a fabulous way to add years of development to a car, if not well thought out, or completely ruin a good car if it's not thought out at all. -
Front Suspension Swap? Anybody done one
Ben280 replied to rabrooks's topic in Brakes, Wheels, Suspension and Chassis
The strut setup on these cars is ok, but there's a reason they aren't competitive anymore. No camber gain in roll and the nightmare front hubs (hello, scrub radius called...) are challenges that can't be solved with this arrangement. The Apex Engineering is in my opinion the kit to get. It lets you lower the car and raise the inner arm pickup point to correct your roll center. I've drilled out my stock sub-frame, and that mod combined with the outboard roll center adjuster blocks make for a wizard handling car. You MIGHT be able to graft in a Miata front subframe, but you'll undoubtedly run into some hilarious issues with this. I say go for it, particularly if you've already exhausted the adjustments in the stock configuration! And post photos if you do. -
Hey Everybody, Trying to organize some kind of meet up/race day with the fine folks of the pacific northwest! There are a handful of events that will likely work, so I'm throwing out some dates to see if there is any interest. The obvious site is in Packwood, WA. Phenomenal site, huge courses, free on site camping and equidistant from PDX and Seattle. Oregon Region SCCA has a few more events up there this year that might work well. Possible dates for a race day: August 11/12 September 15/16 Let me know if there's interest, I'll be there either way!

-
I'm more excited to see people come out and have a good time! As my project shows, these cars are always evolving, so you gotta take time and smell the race gas.
-
NA 3.1L=>head & camshaft questions. No shortcuts, max
Ben280 replied to zredbaron's topic in Nissan L6 Forum
I have the T3 45mm, steps down perfectly to the OER ITB setup. Excited to see how they stack up in your testing! -
On a side note, I'm wondering about organizing a Z-day/Auto-x meet up at one of the Packwood events later this summer. The site is phenomenal, great pavement and a cool chance to test out your Z. Matt and Jon were out to an event last year, and we mentioned the potential of getting a bunch of people together for a day. Its about 2.5 hrs from Portland and Seattle, free camping on site, and has high BBQ potential!
-
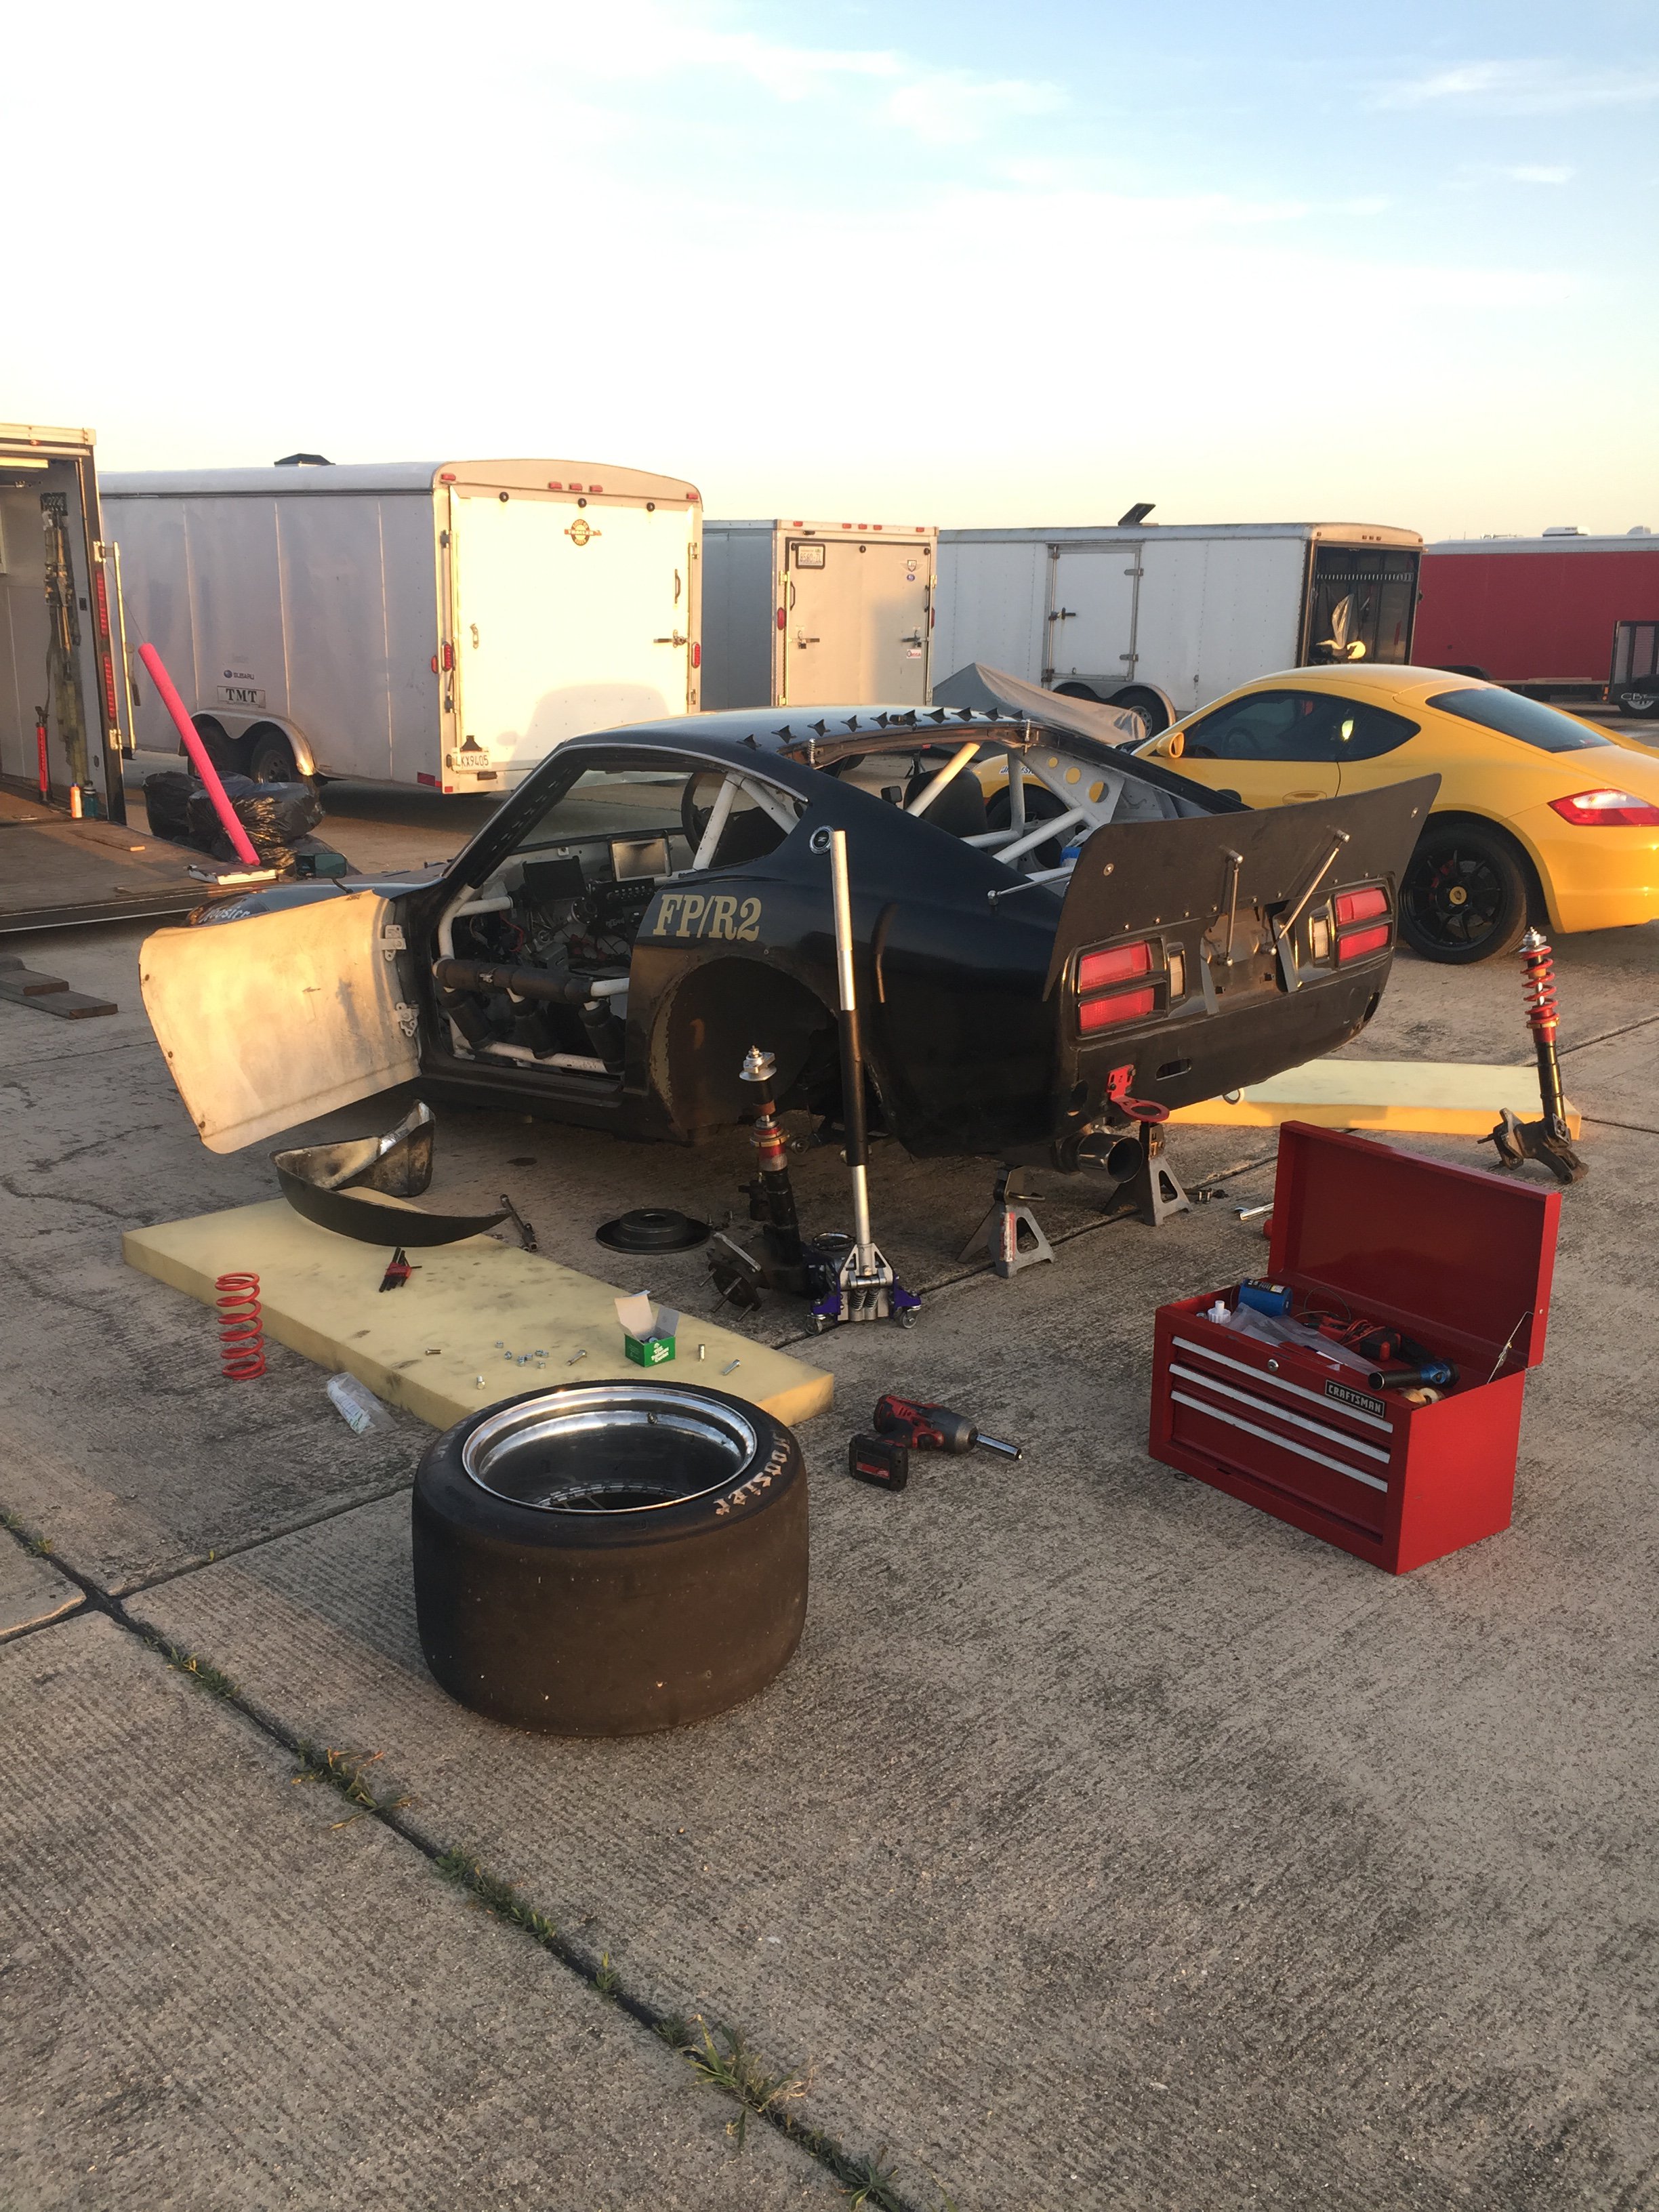
Once I got back from California, the mods started right away. First was getting more travel in the suspension. I had my friend who machined the top hats make some spacers to adjust them down 1.5". This let me move the spring perch down 1", effectively gaining more droop travel and raising the car .5" (it was really low before!). With the droop travel solved, I went after the bump. There's lots of room in the car for that, I just had to cut some more body out to get there! The rear of the car is essentially tubbed now, no more conservative ZG flare cut for this Z! Full (pre mod) droop to ride height. Full compression came right before the tire hit the body. Not enough! Little bit of persuasion with a grinder, hammer, MIG welder, more hammer, more welder and some foil tape and we got suspension travel for days! Another big modification that needed to be addressed was the rear roll center. I've done the common modification of drilling holes in the front cross member to get better angle in the control arm, and the car really turns as a result. The rear however was a mess, and would "fall over" in roll, causing the car to porpoise under heavy acceleration. Not ideal! The solution was partially raise the rear of the car, and then lower the outboard control arm mount. I drilled out some 1.5" cold rolled steel on the lathe, bored it to 5/8" and welded it to the bottom of the knuckle. Heavy metal! Three passes with the knob cranked to 11 (on a 220v machine). Much better control arm angle. The factory hole at this ride height is about level, and .5" lower was angled 5-8* upward. Had a chance to test out all these mods two weeks ago at the NWR ProSolo, and I have to say it went real smoothly. Particularly in comparison to the California event 3 weeks prior! The ProSolo revealed a couple more flaws, but the mod list is getting shorter and shorter each event. Really looking forward to the Packwood NT/ProSolo events in July!
-
First event of the year was a wet race at the PIR lot, and essentially useless for determining if any changes needed to be made to the suspension. We were able to figure out (using math!) that the ideal starting place for the adjuster knobs was slightly below the bottom of the Koni adjusters. So that made it easy, just leave everything at full soft and add as needed for balance. Second event was the National Tour stop at Crows Landing, just outside of Paterson CA. We made a quick detour to visit Steve Parmley and pick up a new windshield, as my numbers matching piece finally cracked after I got a little rough with it trying to save the gasket. Pretty funny loading the car on the trailer without front glass! Upshot of this was some cosmetic changes in the cabin that should make driving the car much nicer. Being the first real event on the car, the test day at crows was a literal s$!& show. Right off the trailer it was idling like dirt, so we did a couple pulls and added some fuel to the accel enrich map. That smoothed out the idle, but it was still misfiring like a bastard. Pulling the plugs found that the #3 cylinder had come in contact with the plug and closed the gap. No gap, no spark, no explosion. We re-gapped it and clocked it correctly, and we were good to go. Ish. We actually were worse than we started. We never corrected out that fuel we'd added to make up for no #3 spark. So now it was running so rich, it couldn't accelerate its way out of a paper bag. After 2 hours, frustratedly downloading Megalog Viewer at the end of a runway, and doing a couple terrible practice runs, we reset the tune to the start of the day, and all was well. Off the trailer with a new windshield! Thanks Steve! On the practice course, we decided that we were crashing into the bump stops on transition, and we didn't have enough droop travel to keep the inside rear down when in a turn. Remember that teeny tiny rear gap? Well as cool as it looked with flares, it lead me to be super conservative when setting my bump stops. So we weren't hitting the body, but we were getting infinite spring rate mid slalom. No bueno! But as prepared cars go, we got F'n Prepared and proceeded to remove most of the rear suspension so we could trim the bump stops, and space down the tophats. More droop, and more bump. Well, that didn't go exactly as planned! We couldn't get washers small enough to let us space the top hats down, so we cut the bump stops, pre-loaded the springs, and added some compression to try and hold up the rear of the car. The contingency plan was to throw some spring blocks in as well, and go from 500/400 to 600/450. Not ideal, but we didn't have a better option! As we went to put the car back on the ground, the final gut punch to a rough day came in the form of a deck screw in the center of the rear tire. We threw the wheel in the back of the truck and went to the hotel for beer and showers. If you can't make it worse, at least make it something! Bright and early on race day. Right where we left her (and the toolbox too!) Yup, we were so exhausted that we left the toolbox out overnight! Lucky for us, auto-crossers are a trusty bunch. One of the guys from Oregon Region that we were hanging out with had a patch kit that he generously loaned us, we slammed the patch in and she held air. Now to shift focus from thrashing to driving and having fun! Looking good! Hawk DTC-60's are the best braking dust pad I've ever used! We were running in XP, and massively outgunned by a pair of RX-7's. I drove off pace Saturday, but got some much needed confidence Sunday and managed to be more in the mix. I landed predictably in last place, but Zack drove the wheels off the car and got 2nd. A positive result and I had a long list of mods to make before the next event!
-
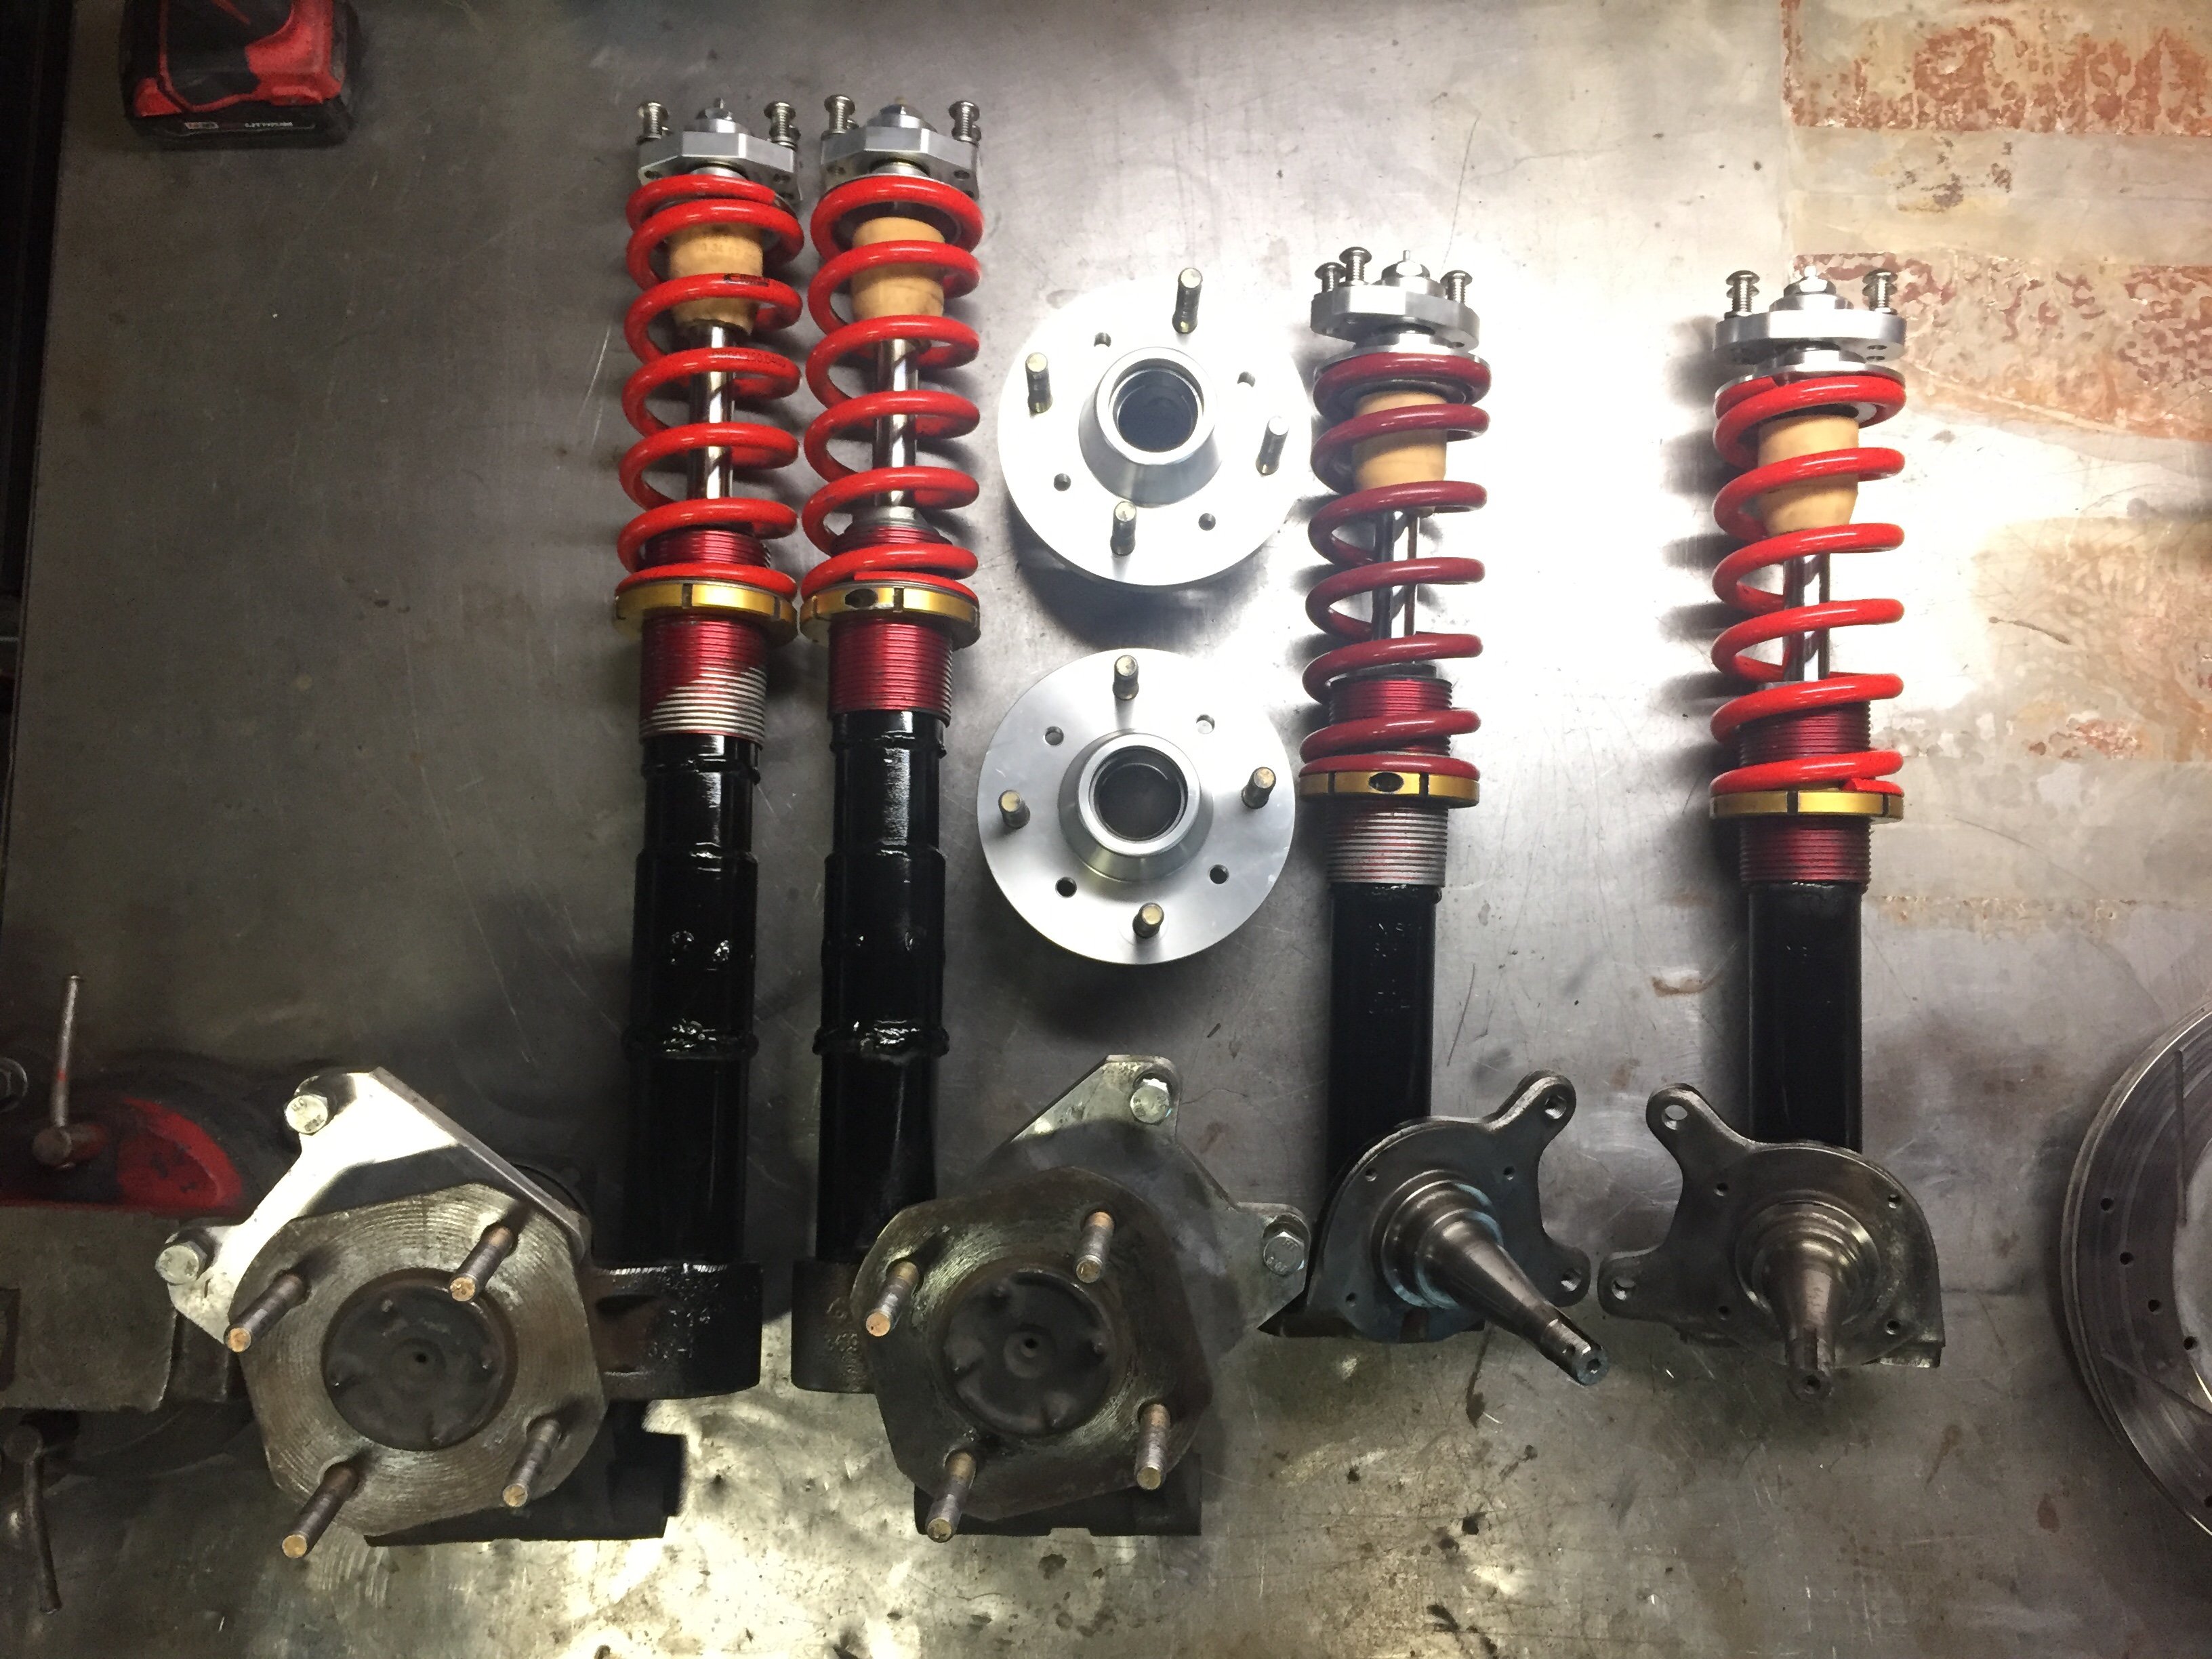
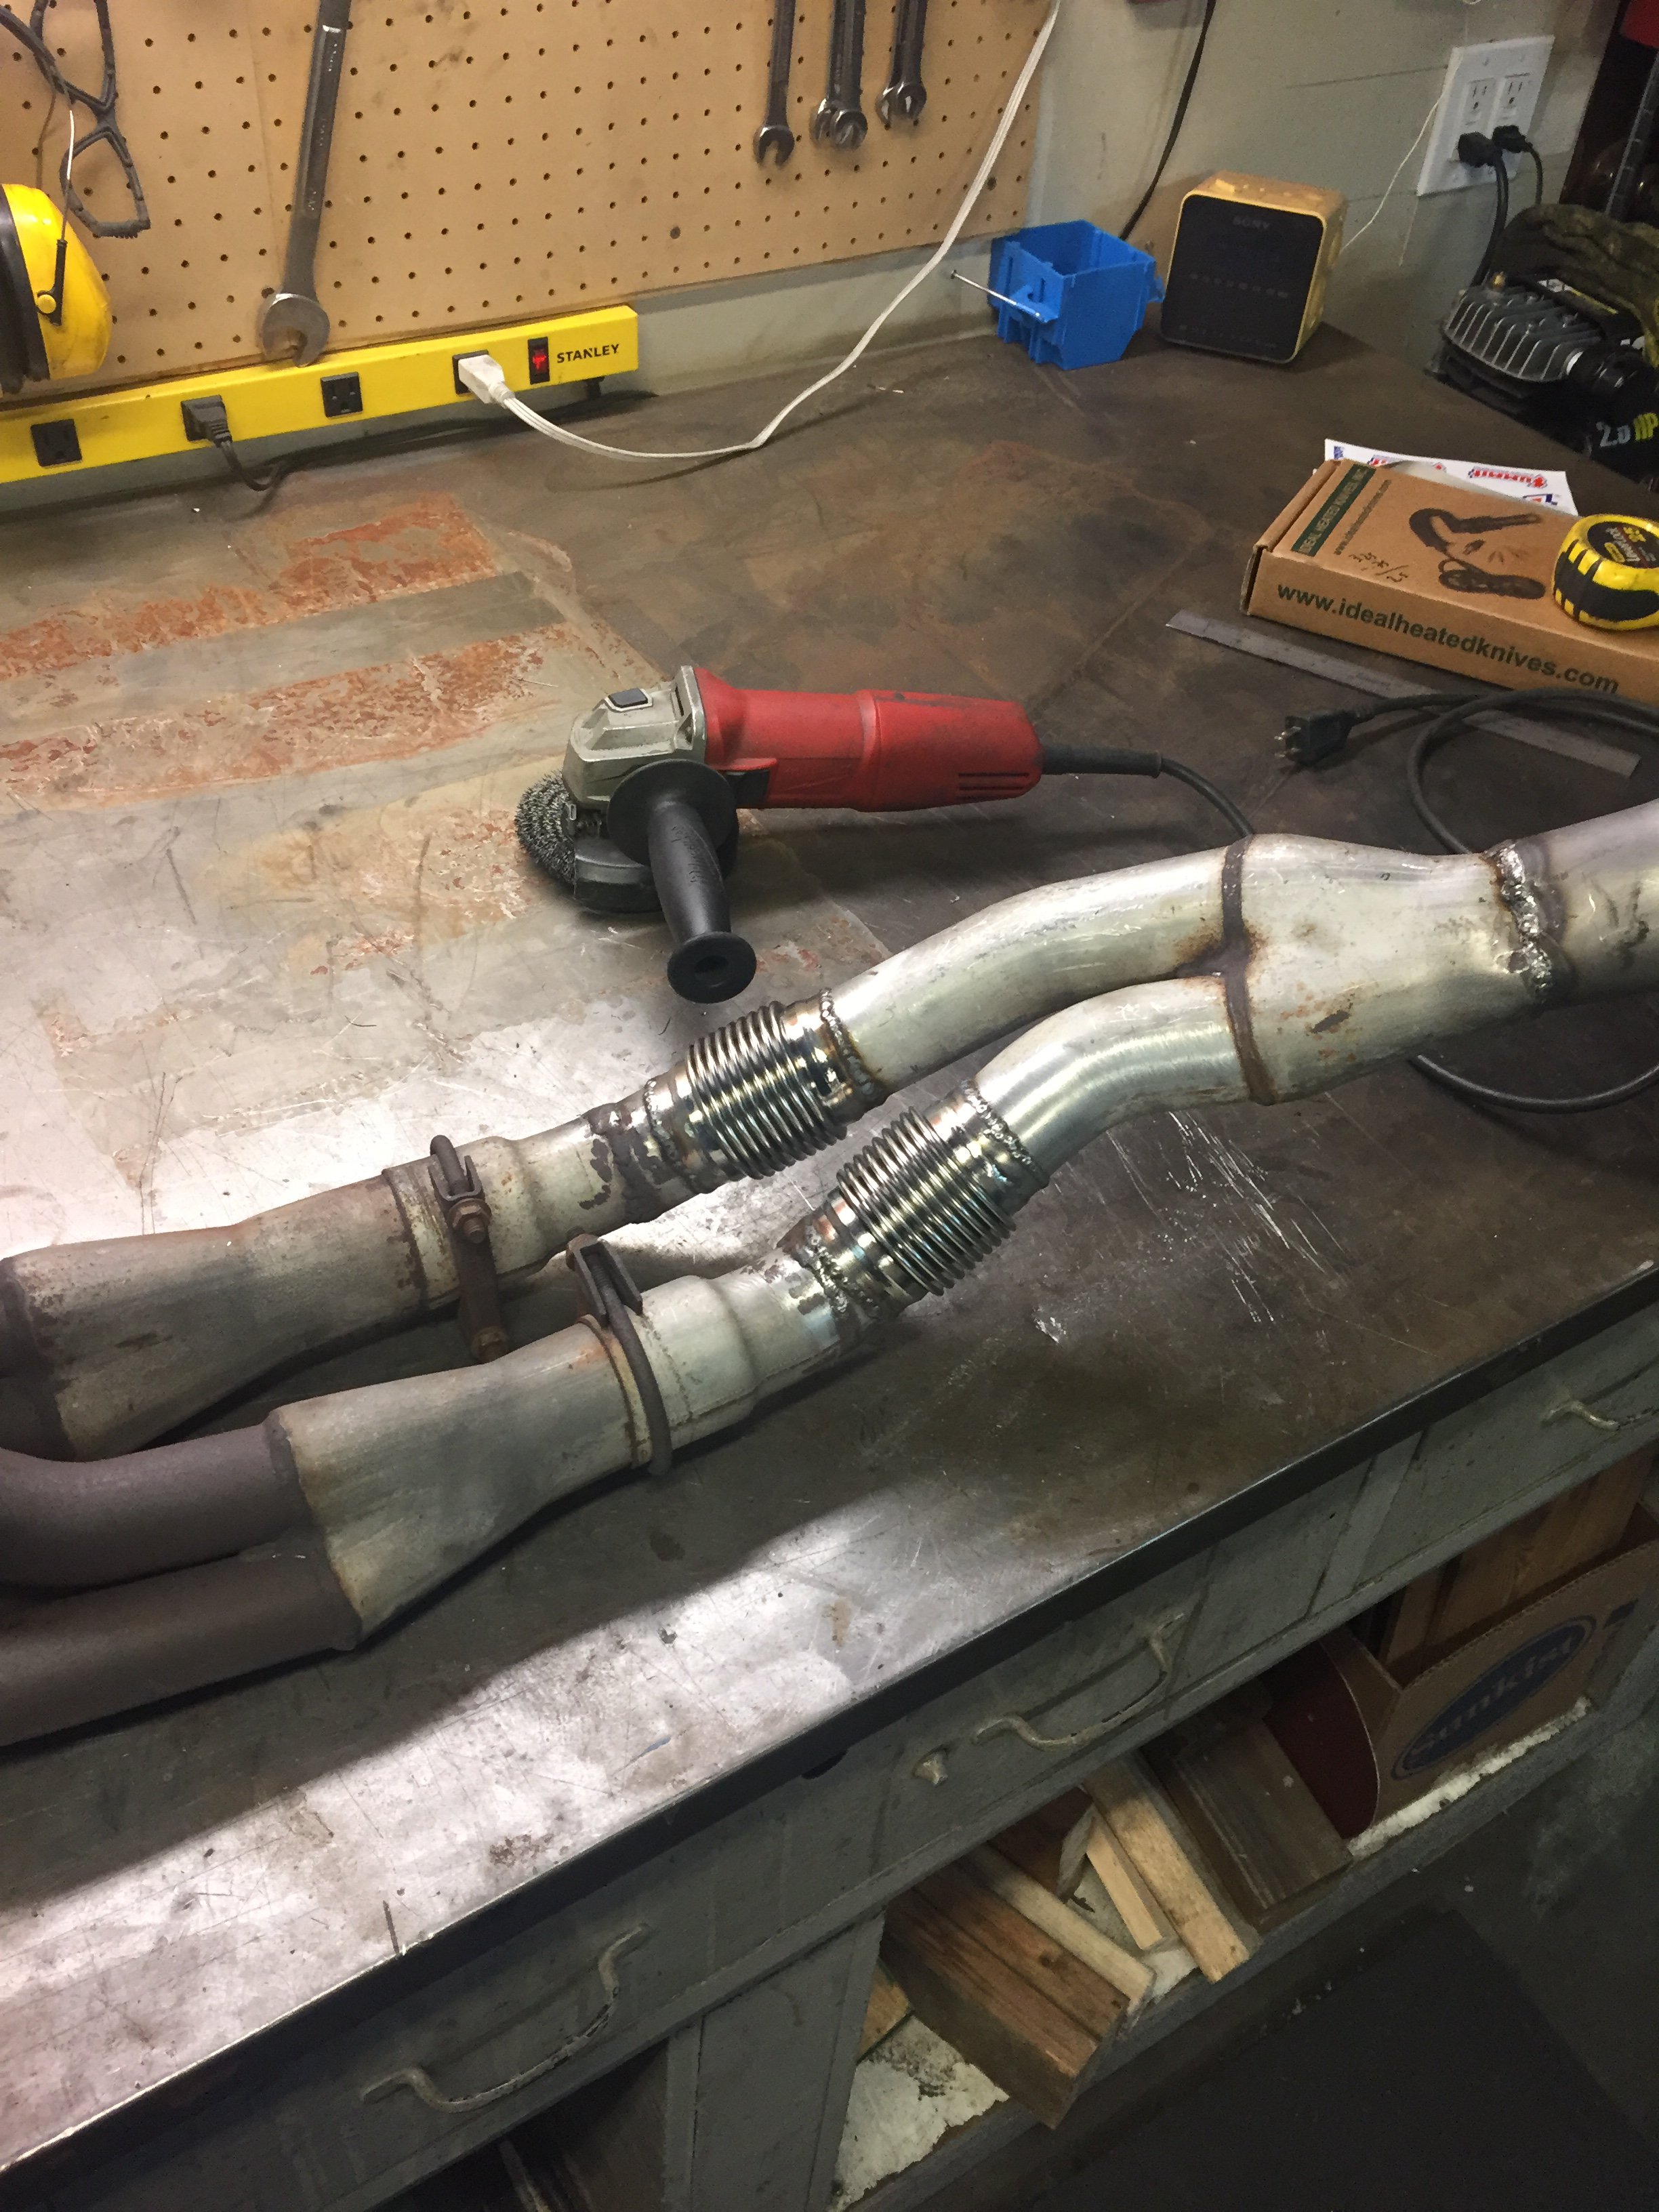
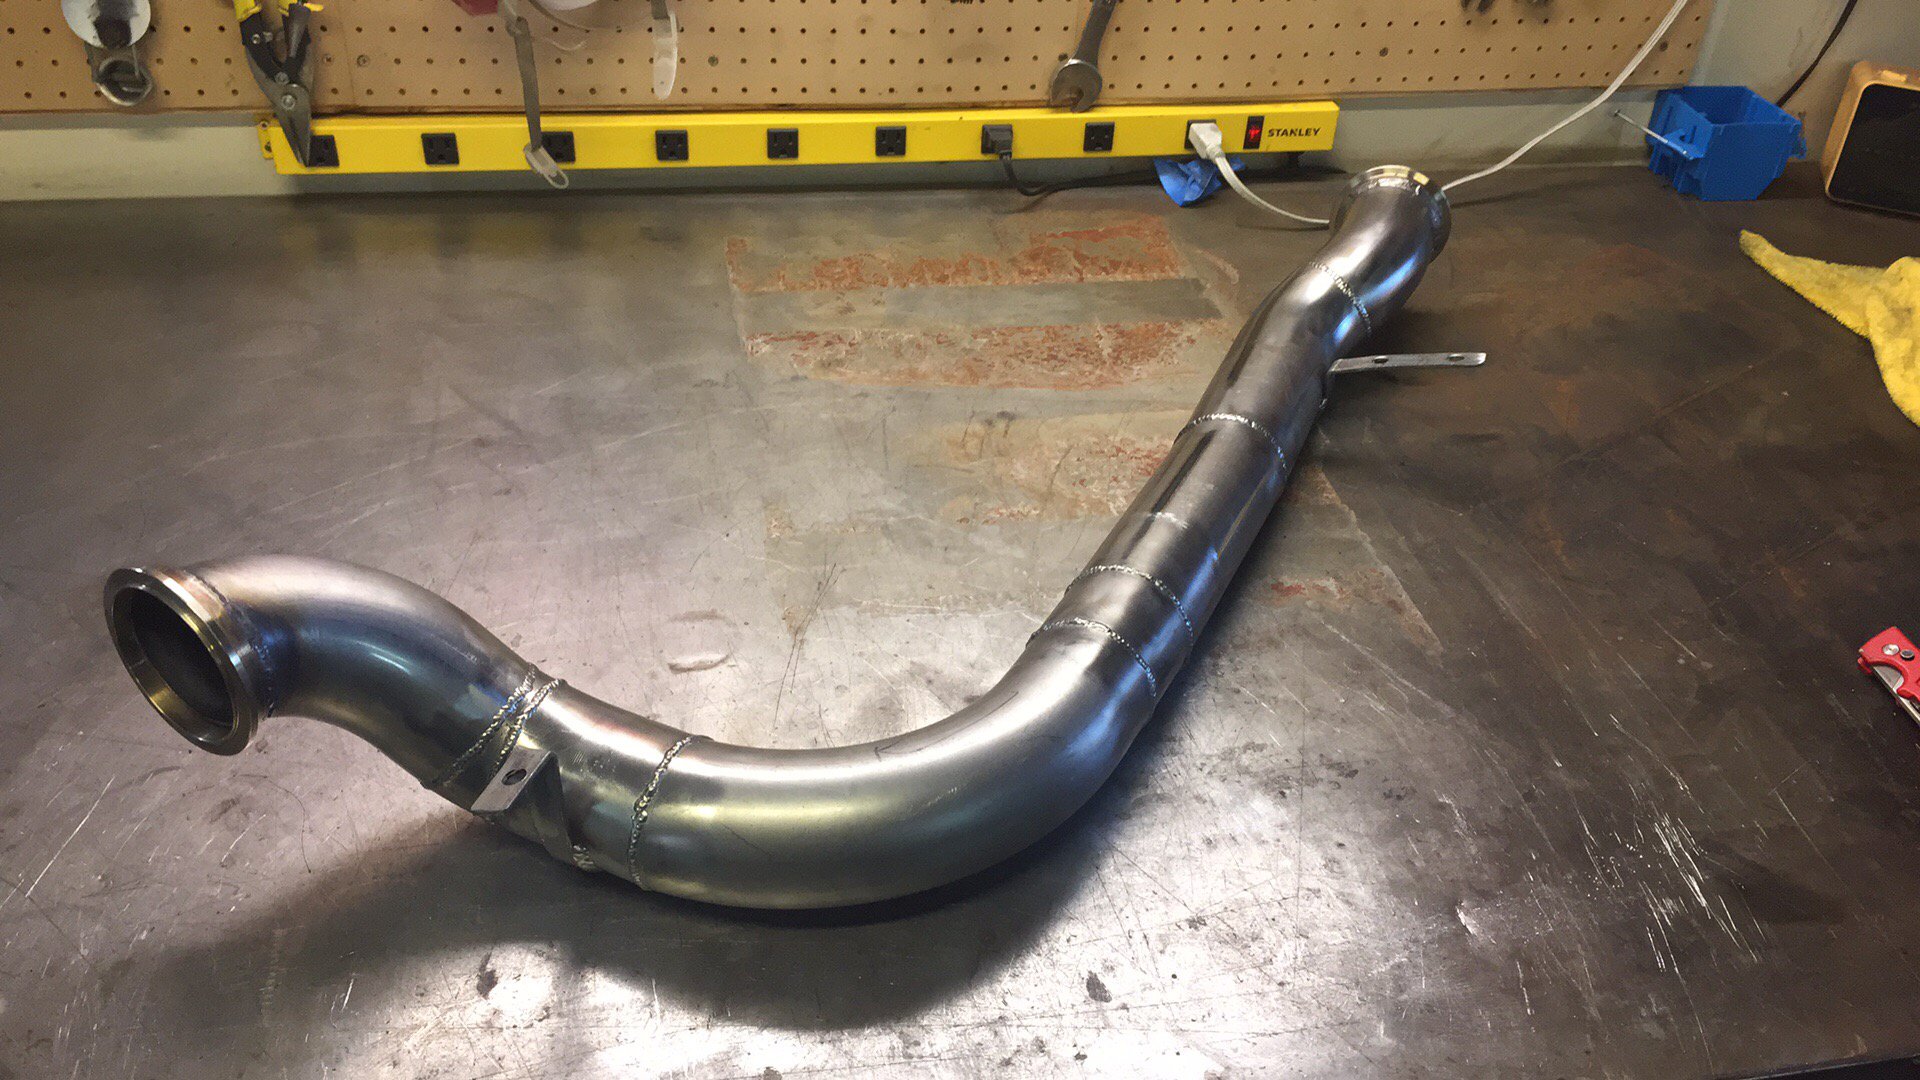
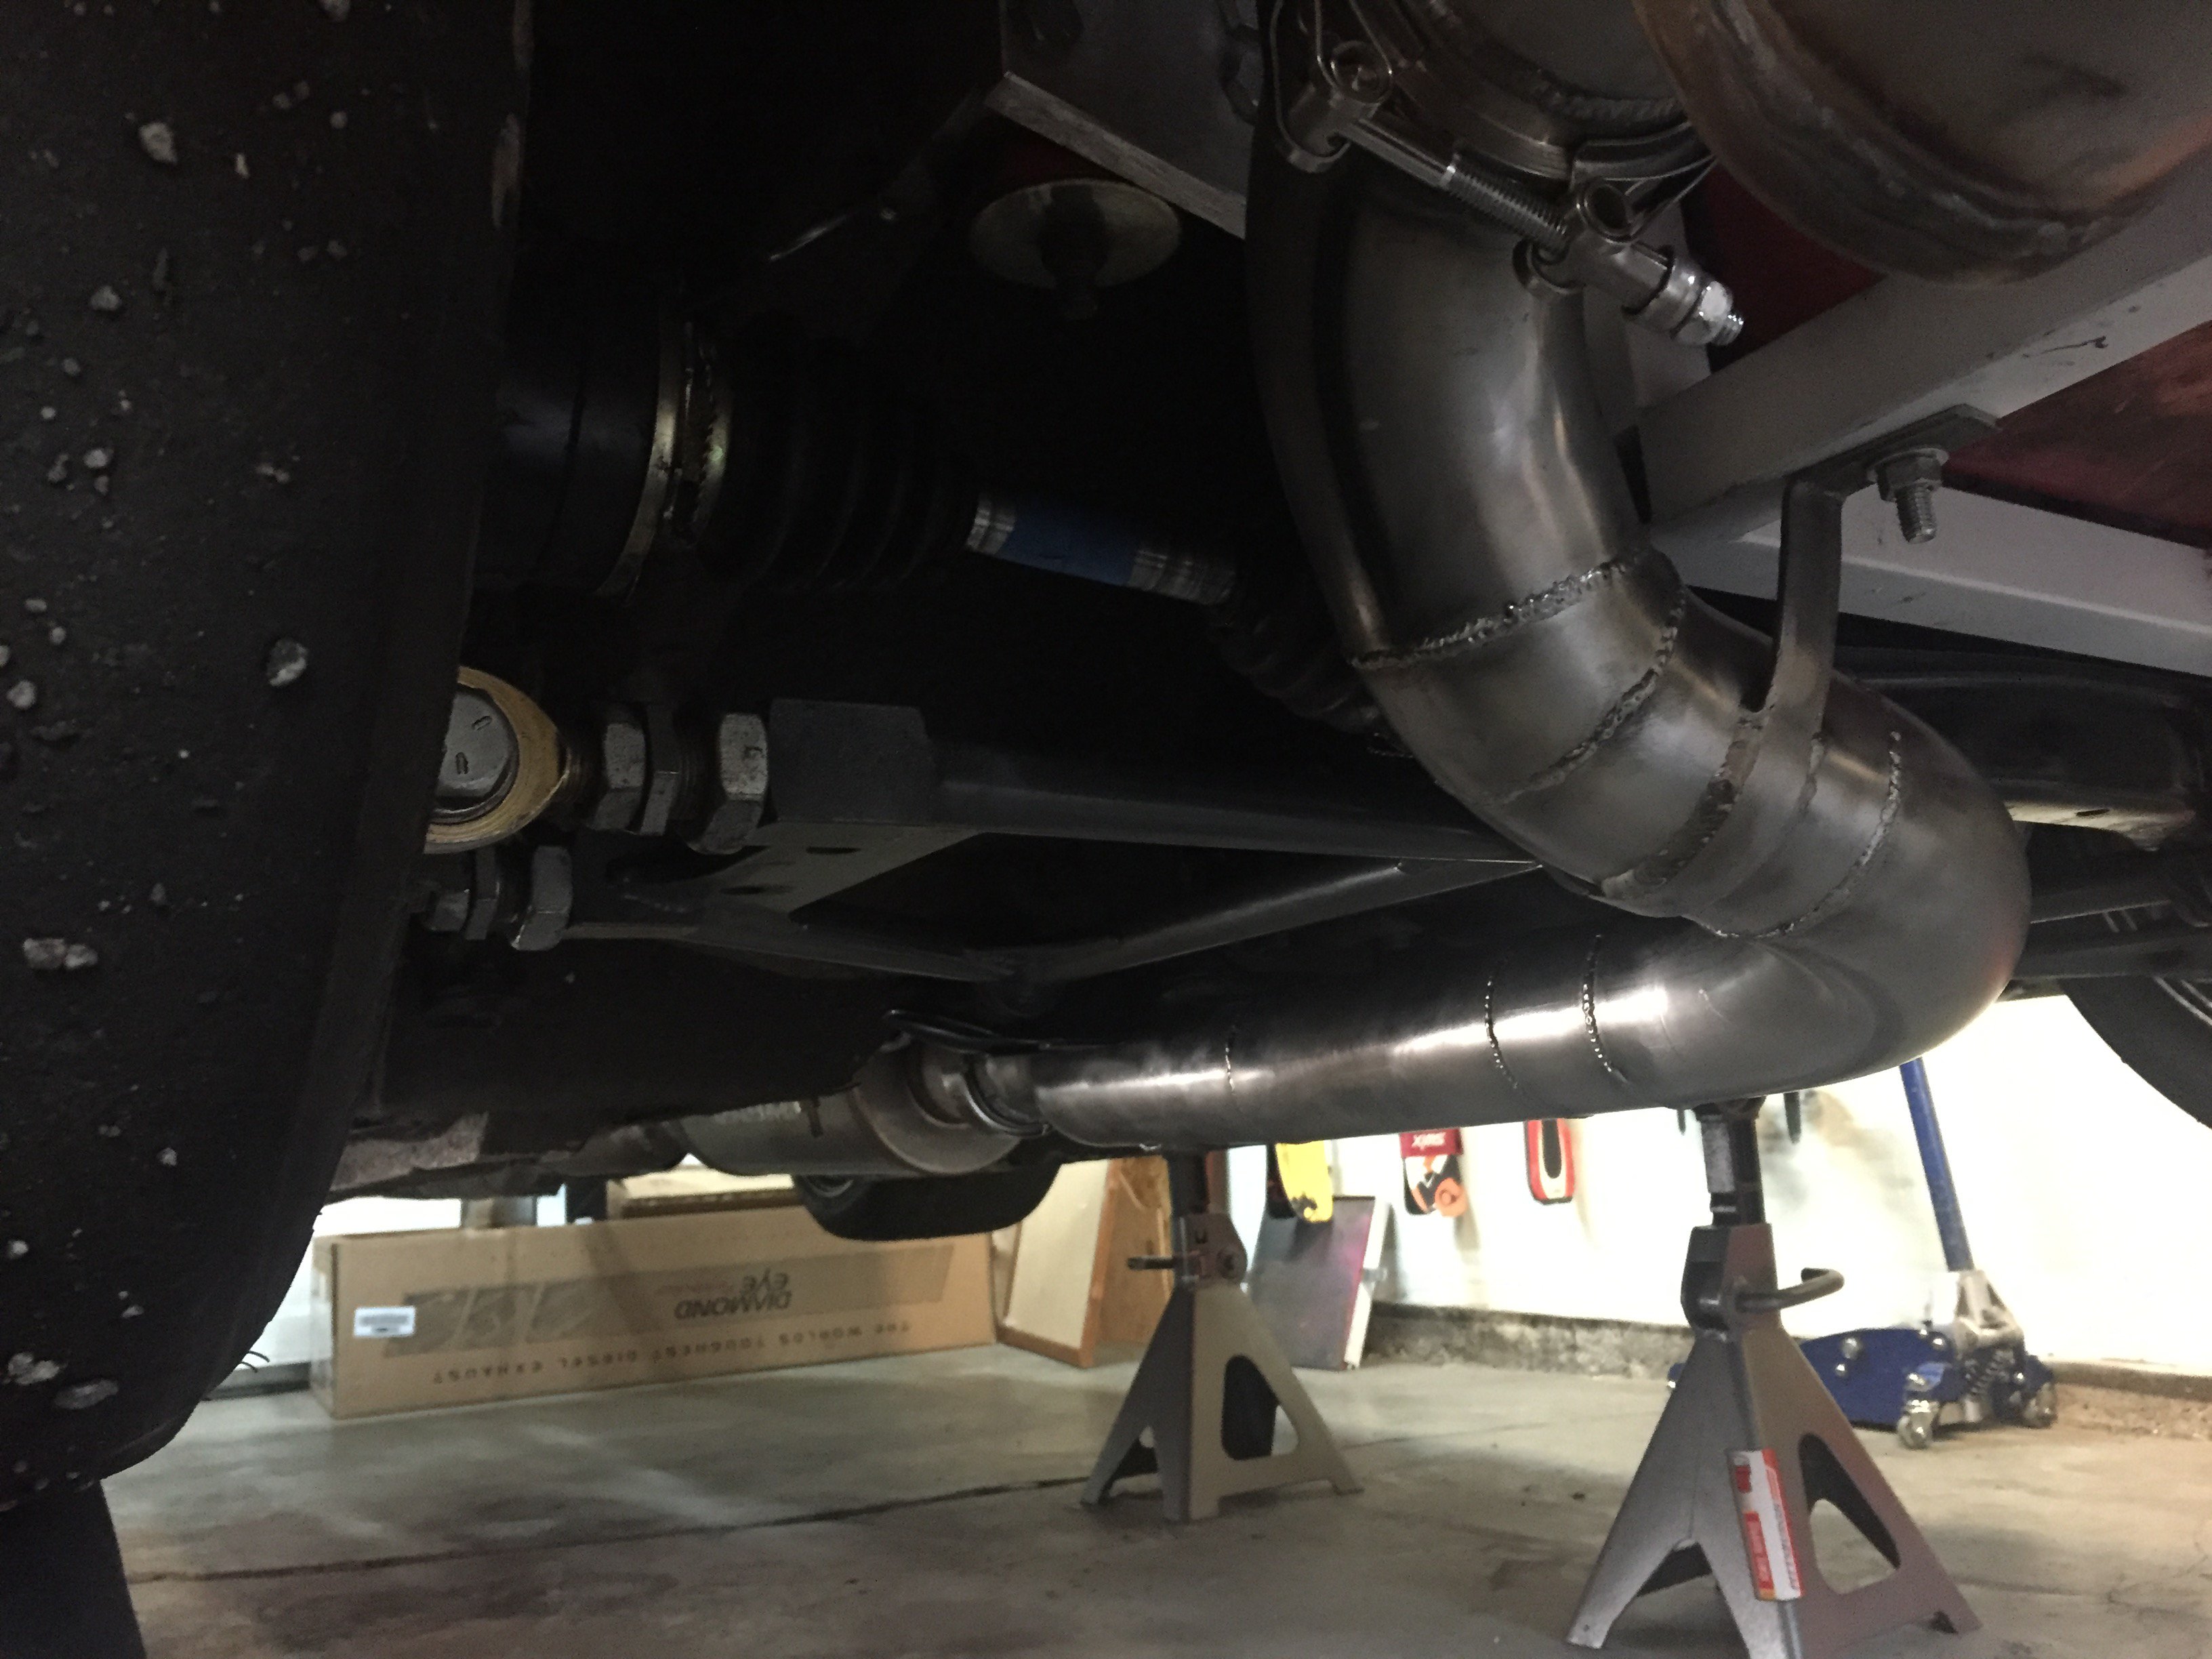
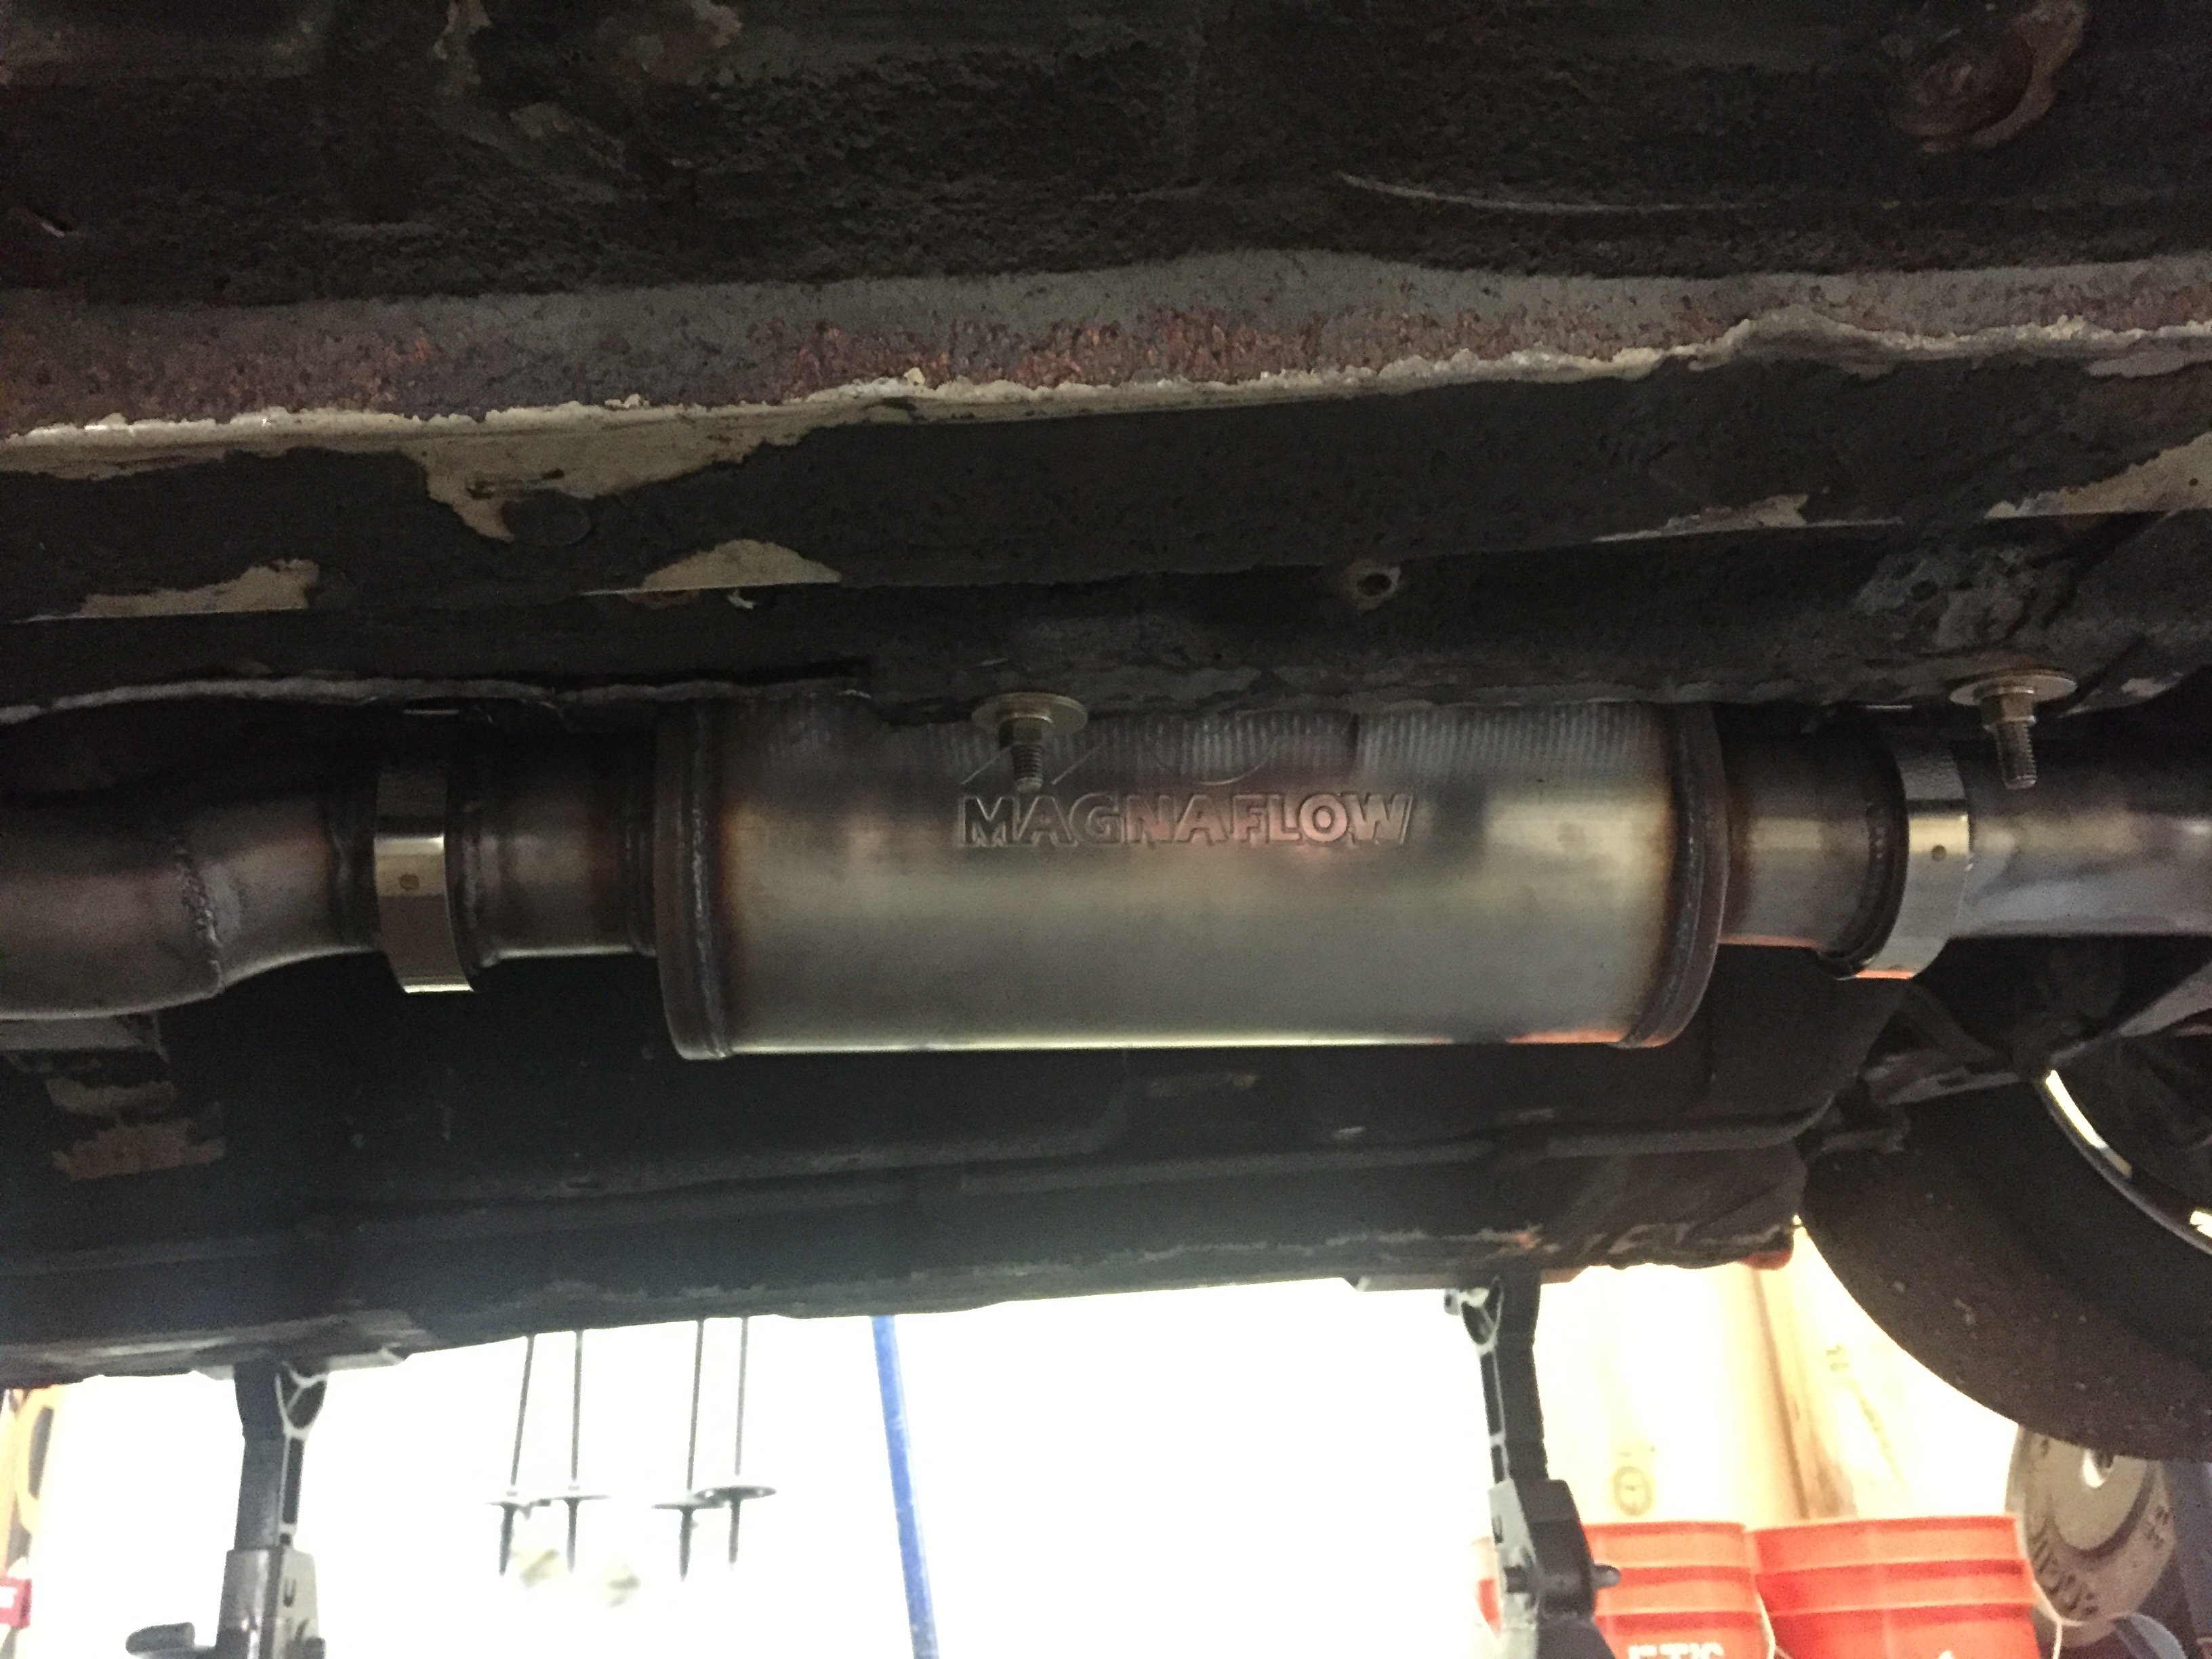
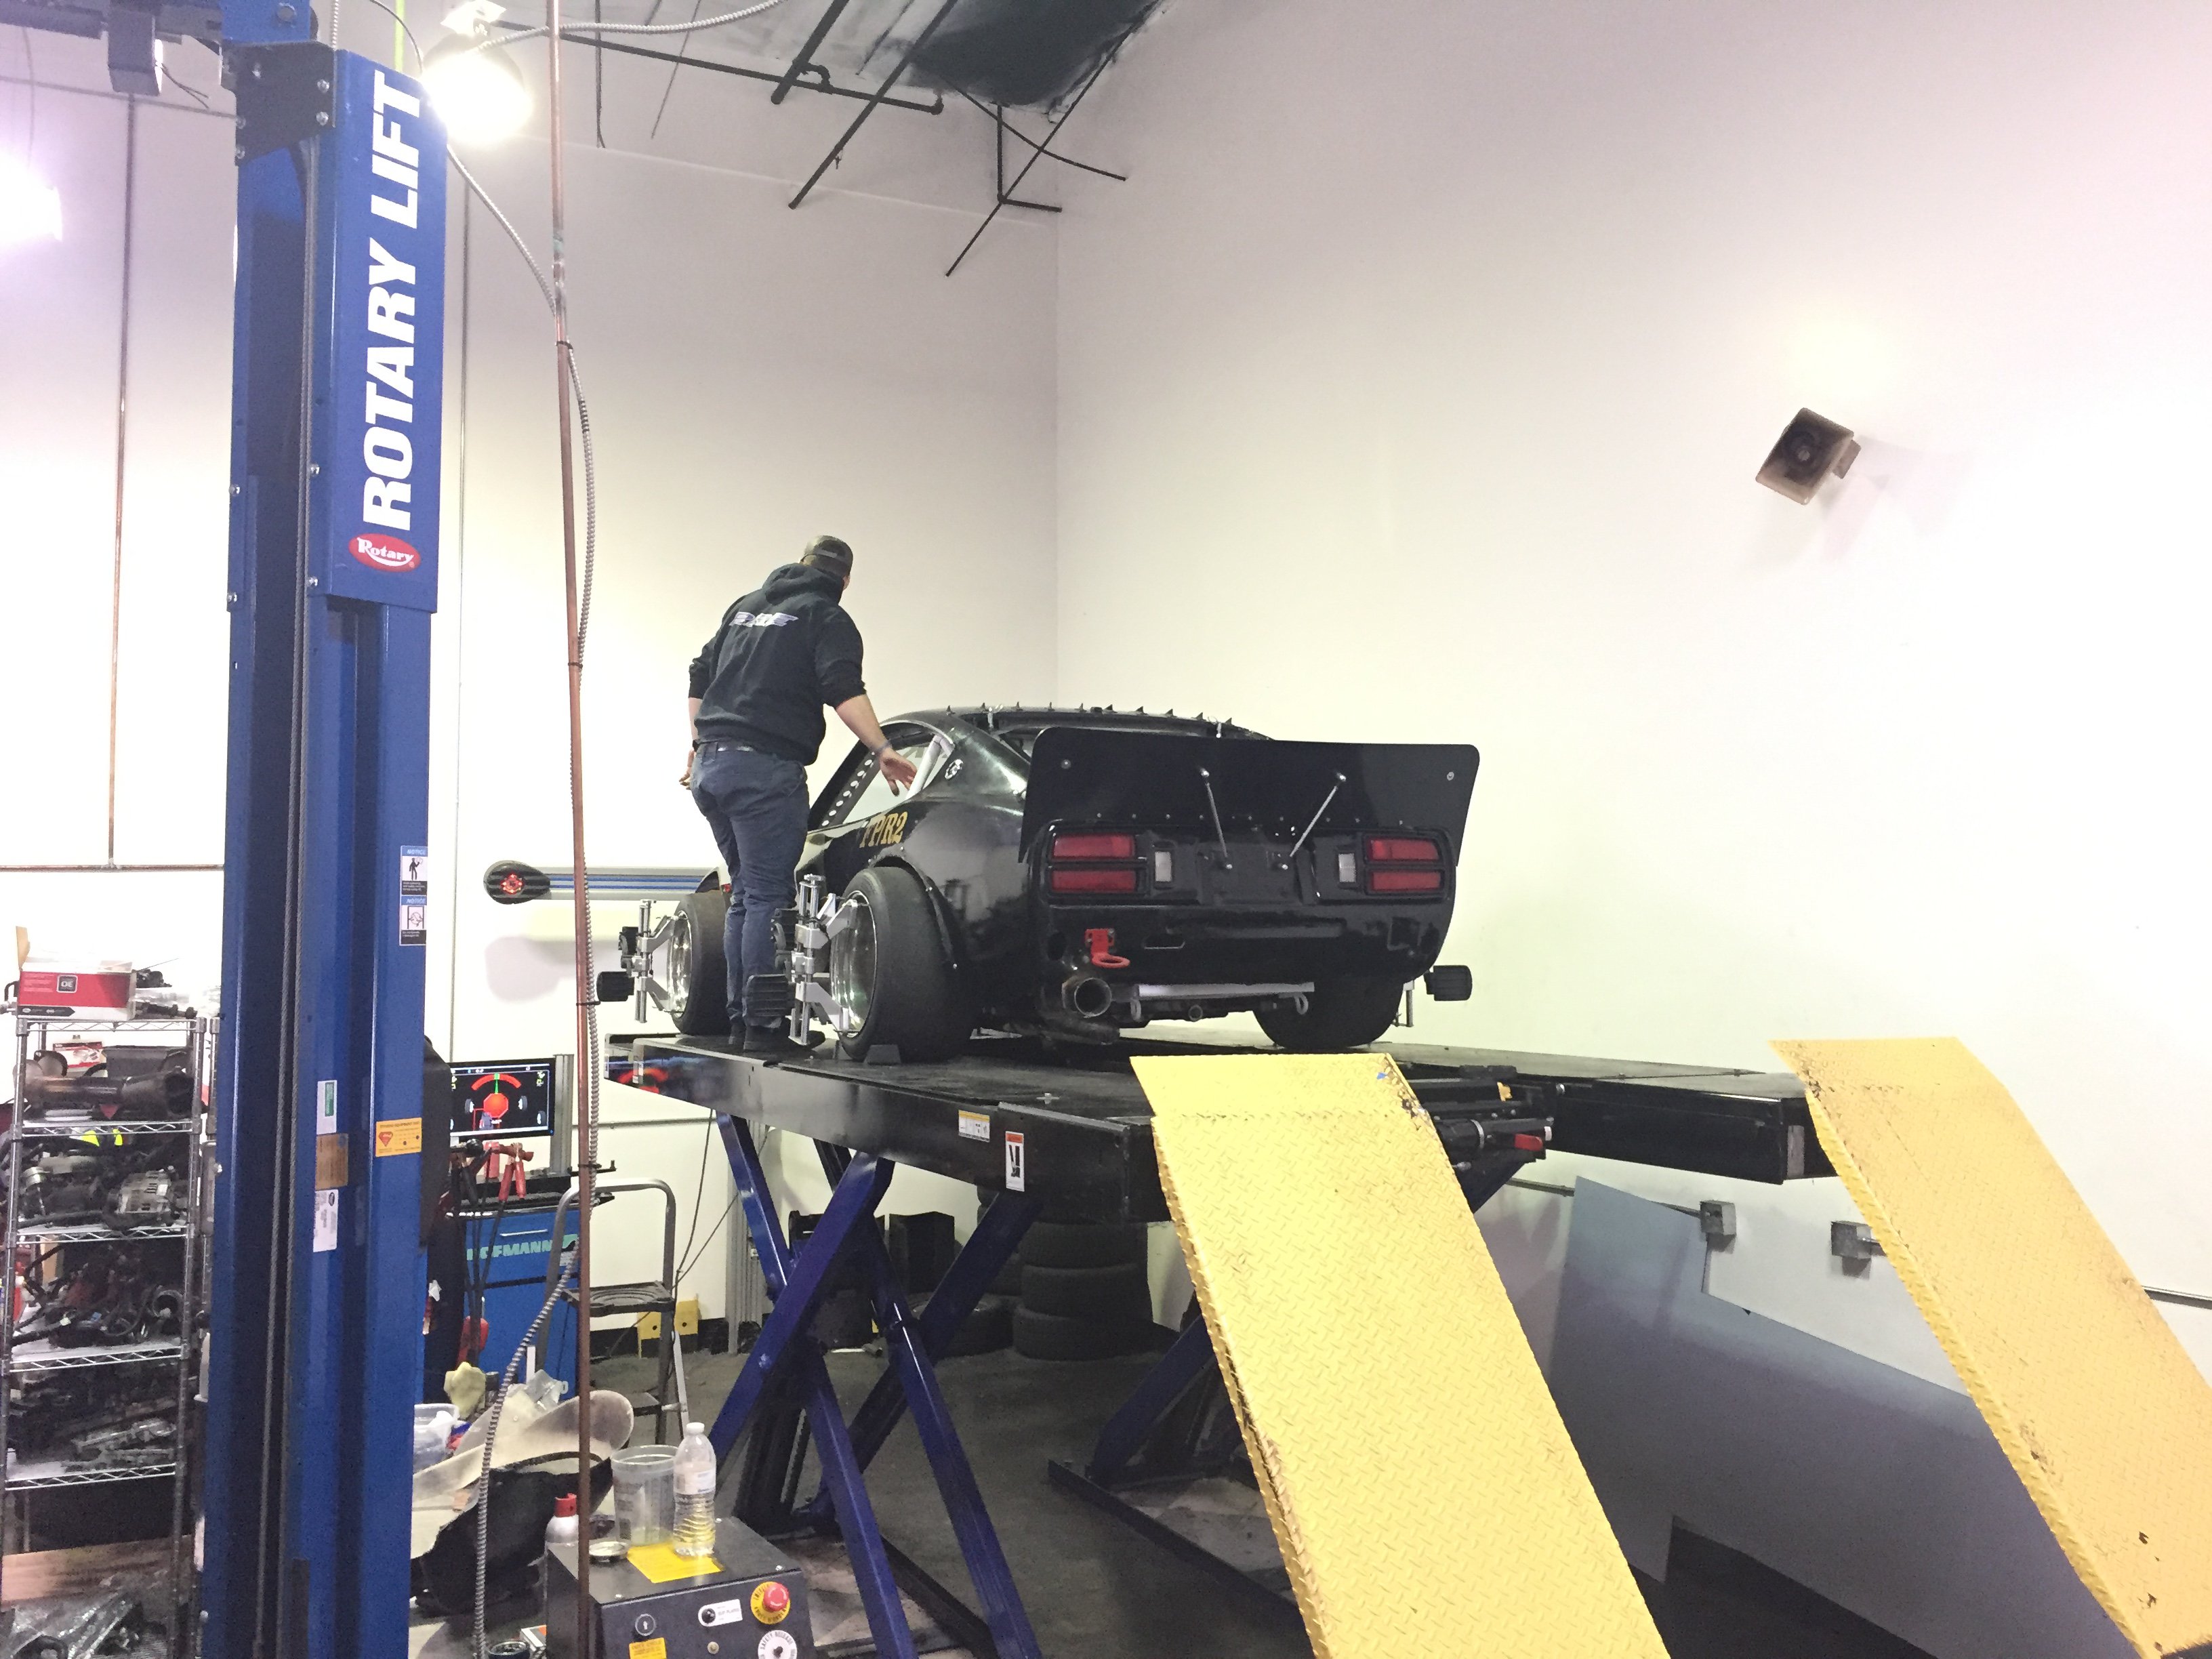
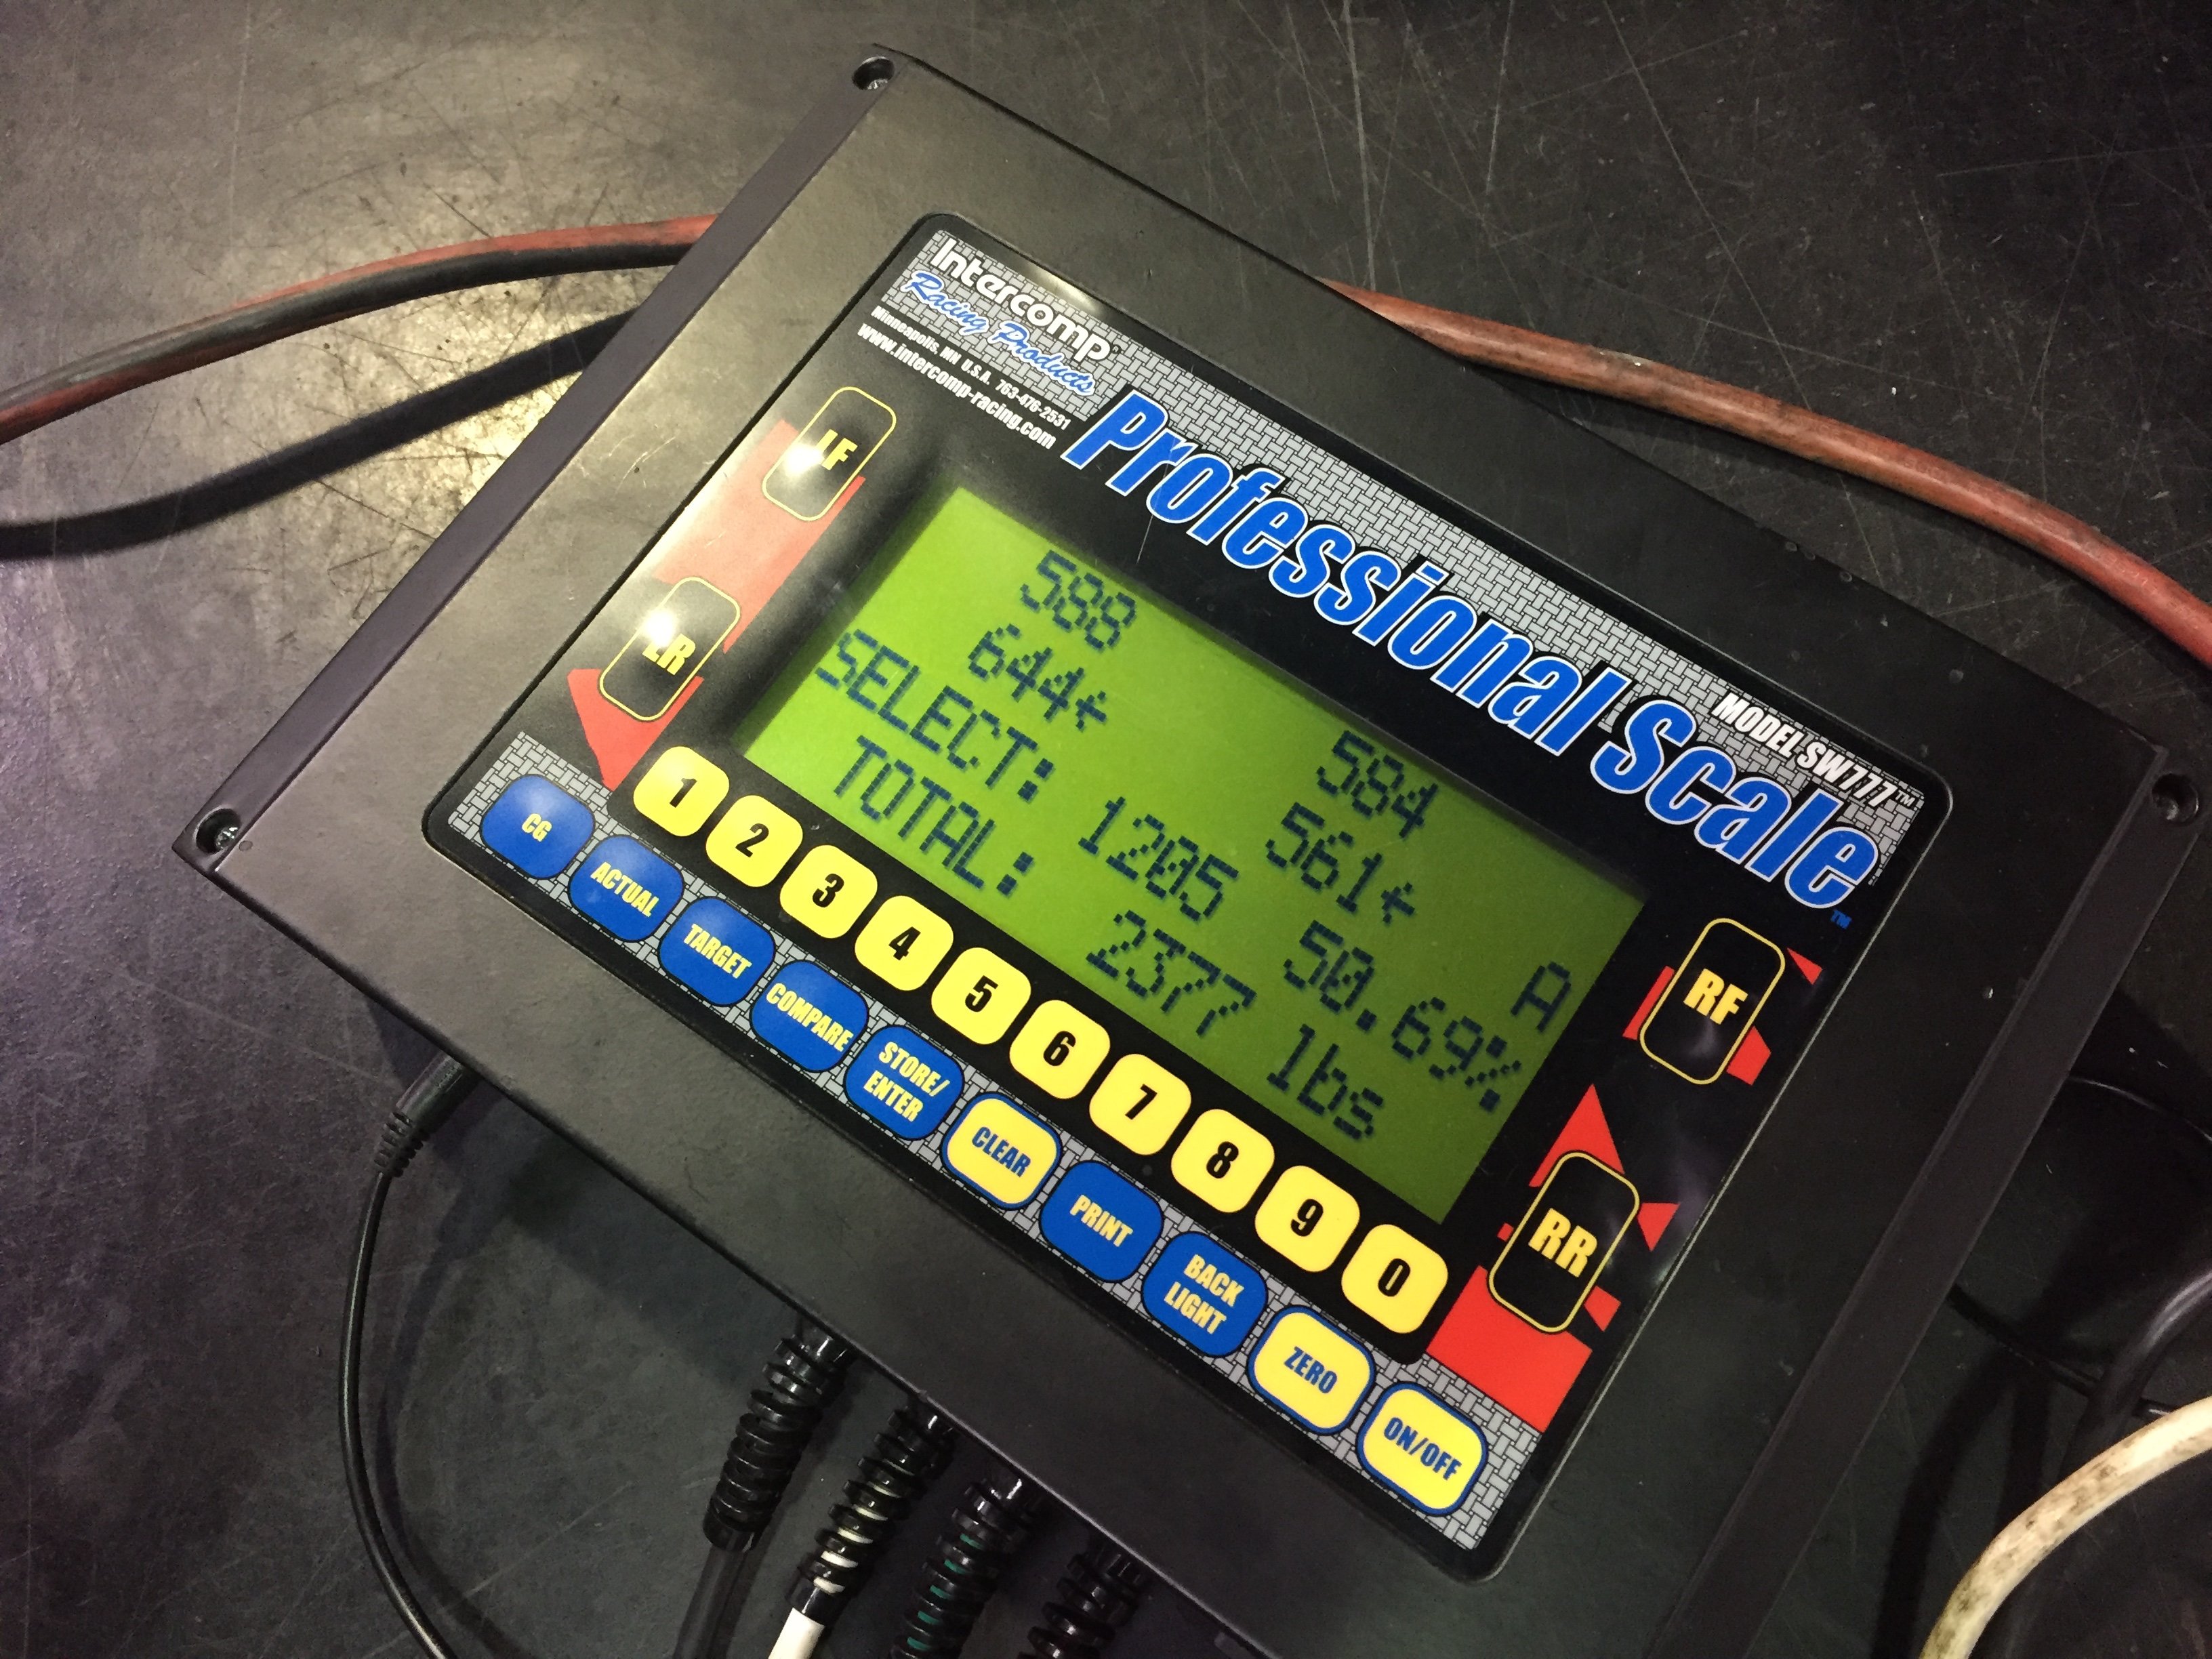
Ok, few events in and there are some updates! Mods over the winter went smoothly, if a bit slow. Lots of new suspension parts, custom top hats, "custom" housings, Koni 8611 double adjustable shocks and some freebie ground control perches and we're off! Got some first run T3 aluminum hubs as well, but they haven't made it on the car yet, got some other very trick parts that need to be designed first! Helps to have buddies with CNC machines! I did get frustrated half way through this project with using up all my machine shop points, so I bought a lathe. That's helped a bunch with some of the more fiddly parts I've had to make since! Another big project was getting my exhaust sorted out. The one that came with the Rebello motor was very hacked together and left a lot to be desired. Crimp bends, weirdly necking down from 2.5" to 2" and back to 2.5" and just general rust were but a few reasons to throw it all in the scrap pile. I got a good deal on a bunch of parts, and busted out the welder. I decided to go full 3", with two mufflers to keep the sound down. Having been on the wrong side of the "DB meter-o-lies" I wanted to make sure I didn't get booted out for ignoring simple things. As most of you know, getting exhausts in these cars with ground clearance is easy until it really isn't, particularly around the diff. I opted to solid mound the exhaust and get better clearance, and added some proper flex joints in the header to keep everything happy. Nice Vibrant flex joints welded to 2 notches above garbage. Don't judge me! We've gone full danger noodle! This is out of the center muffler, around the diff and into the secondary muffler. Solid mounts to the diff cross member and fuel cell cage Glorious ground clearance! Pipe is as tucked as possible. This perspective is tricky, the entire center muffler is above the frame rails. Crammed in there! You can sneak the driveshaft out tho, so it's a win in my book! Last mod before the season started was to get a proper alignment and corner balance. I've been working with the guys at PRE in Portland (Zack the shop manager has a pretty wizard Evo that I have to race against) and they were the obvious choice for the first real alignment this car has had in years. On the rack. Check that rear wheel gap, it's gonna pop up later! Adding/moving around some ballast. Lost a bit of weight over the winter, need to add it back! Before we started balancing and moving weight around. This is with my weight in the drivers seat, fully ready to rock. No after pic cause I forgot, we got it close though! We were able to make some great adjustments for CAI, scrub, caster and camber. The alignment rack had a feature showing us wheelbase, and so we were able to even those out. The car had been in a crash before I got it, and the drivers side tension rod pocket was about an inch further back. With new exhaust, suspension, alignment and corner balance, we were ready to rock and roll!
-
NA 3.1L=>head & camshaft questions. No shortcuts, max
Ben280 replied to zredbaron's topic in Nissan L6 Forum
Excited for the results on this, will be following along closely. I'll be particularly interested to see heat gain on the gear-train over the course of several pulls. I did a little testing of my own with the T3 stacks and adding/removing a filter element on back to back runs, and did see a notable pickup. Good luck on the day! -
In search of a 280z dash. Can be cracked, but ideally will have all the foam intact. Message me with pics and price. Local to the PNW is better, shipping these things is annoying! Thanks!
-
So far, I haven't had any issues with the fuel cell foam. However, I have only used clear 92 and VP 110 gas. When I spoke to the people over at Fuel Safe, they said that any ethanol content at all would cause problems. I'm trying to get up to one or more of the Bremerton events this year, although we had an event at the end of last year at Packwood where myself, zredbaron and JonMortensen were in attendance! Need to coordinate a big Z autox weekend at some point.
-
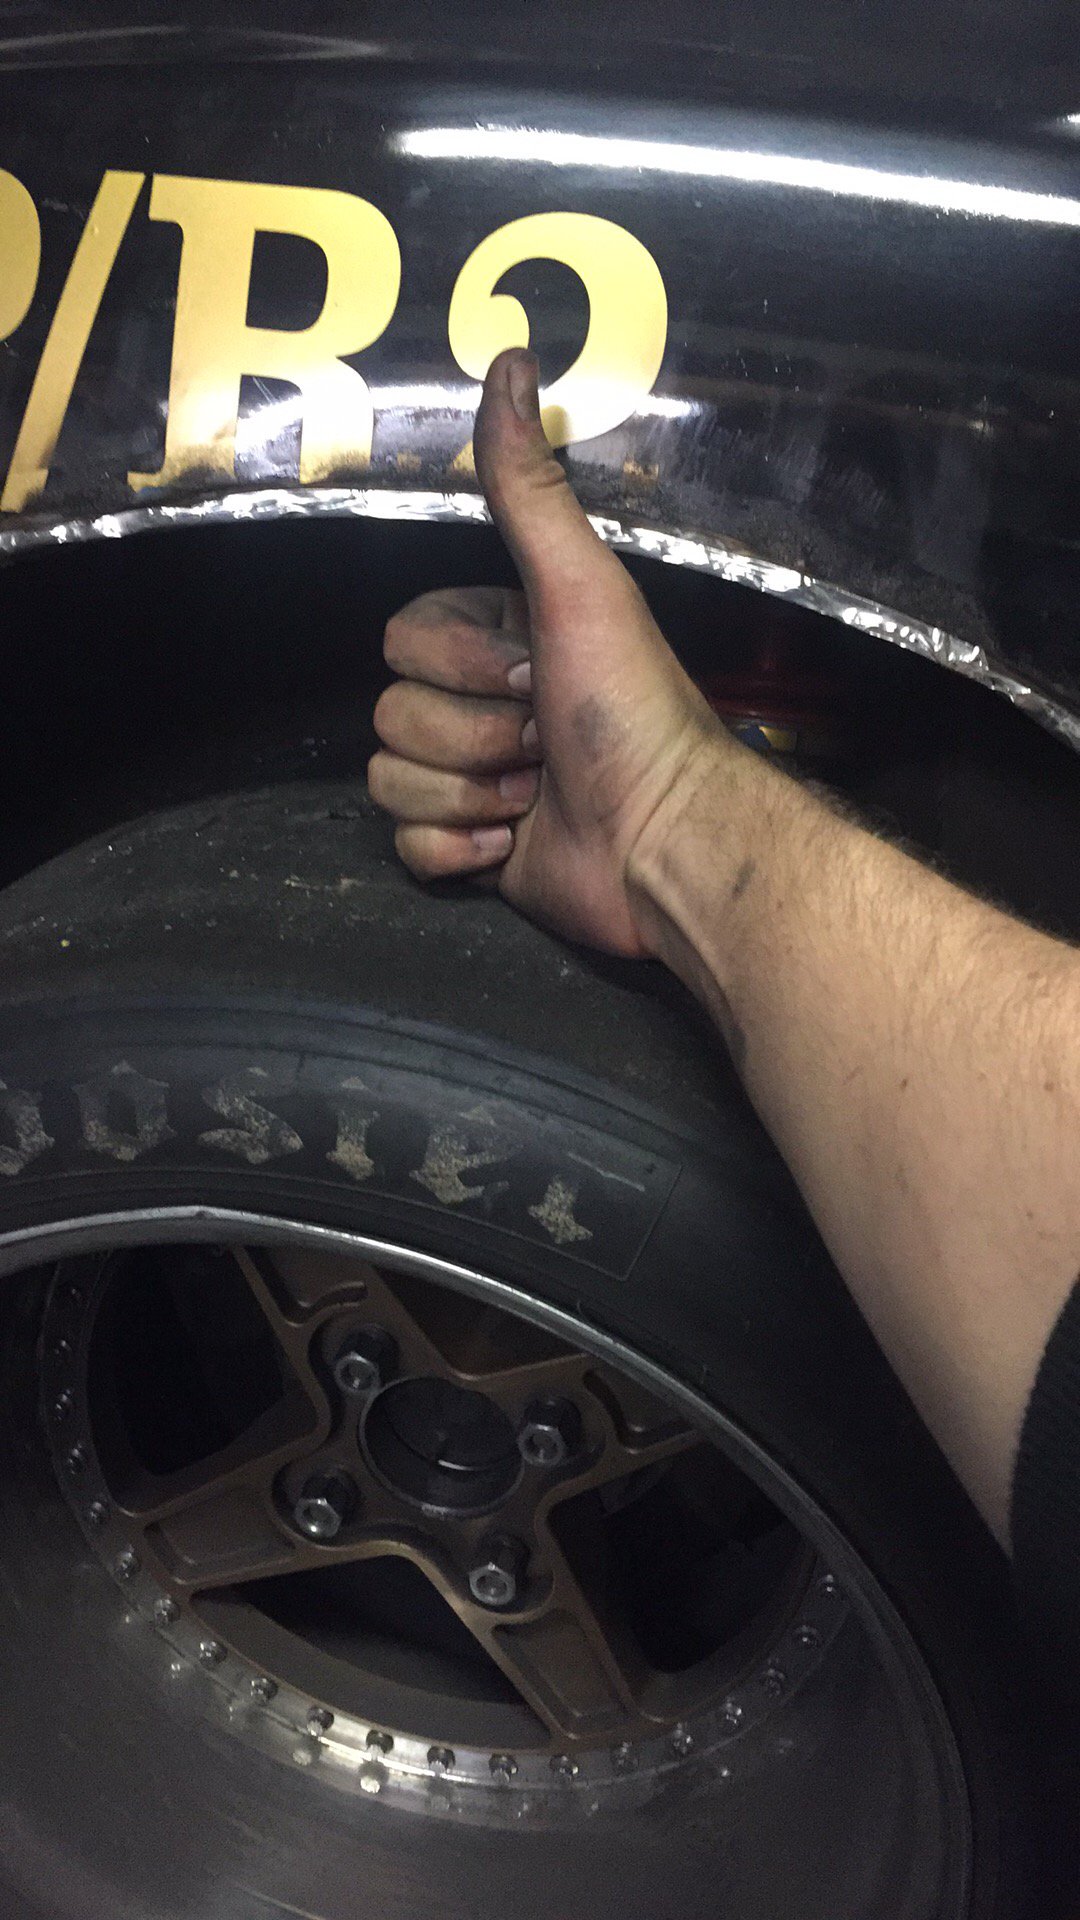
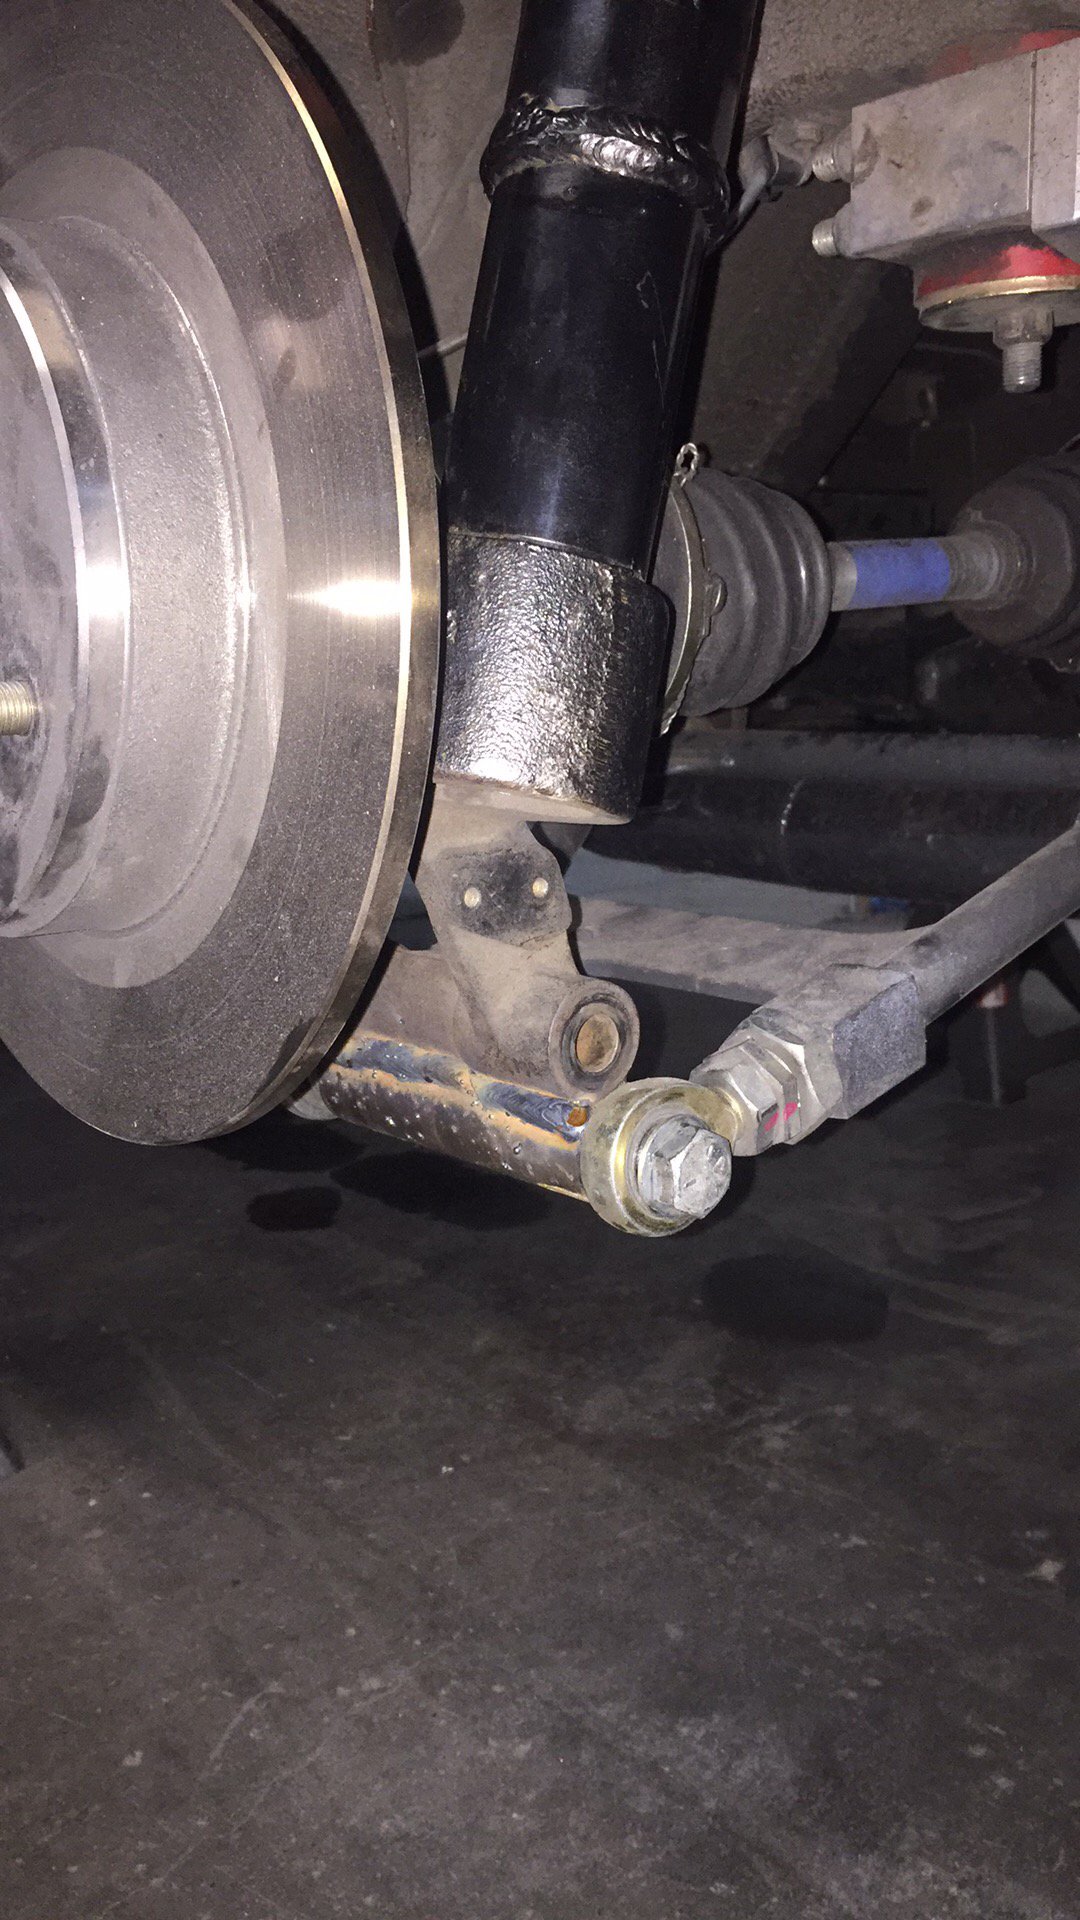
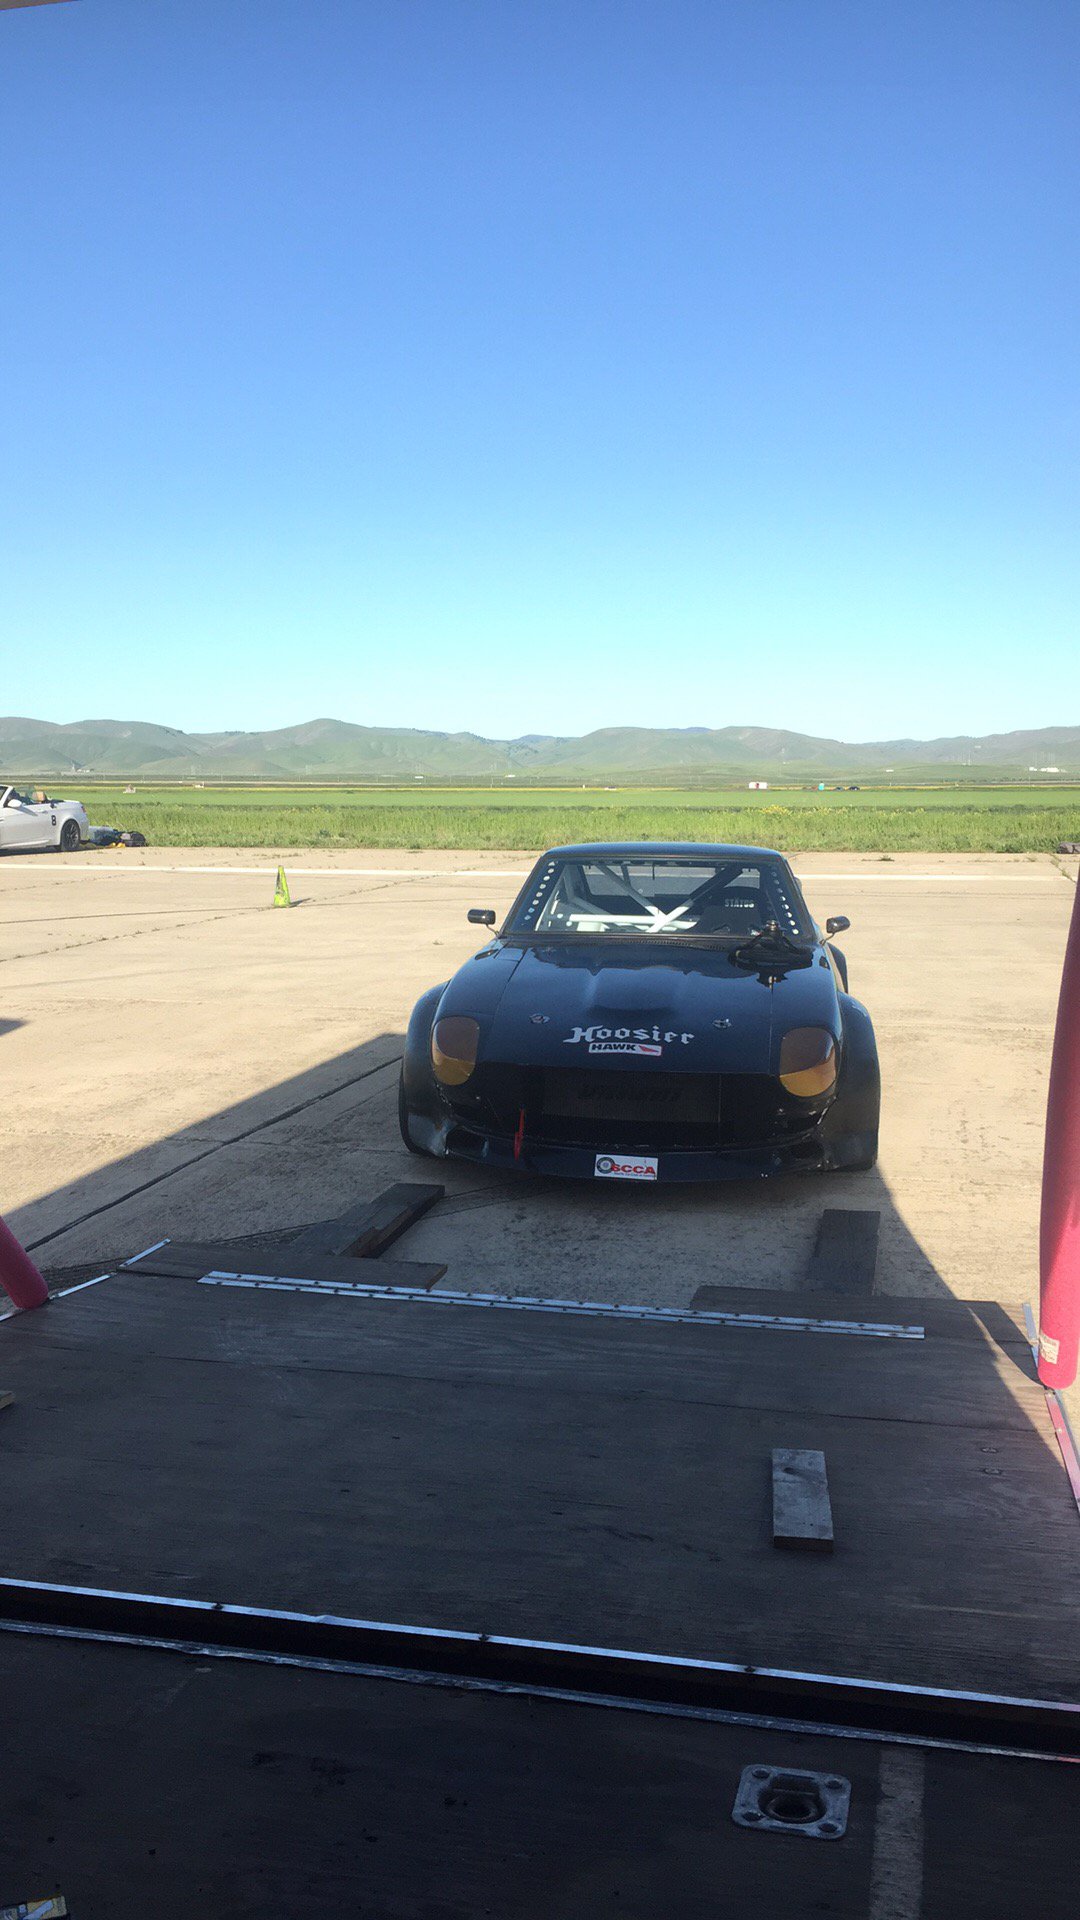
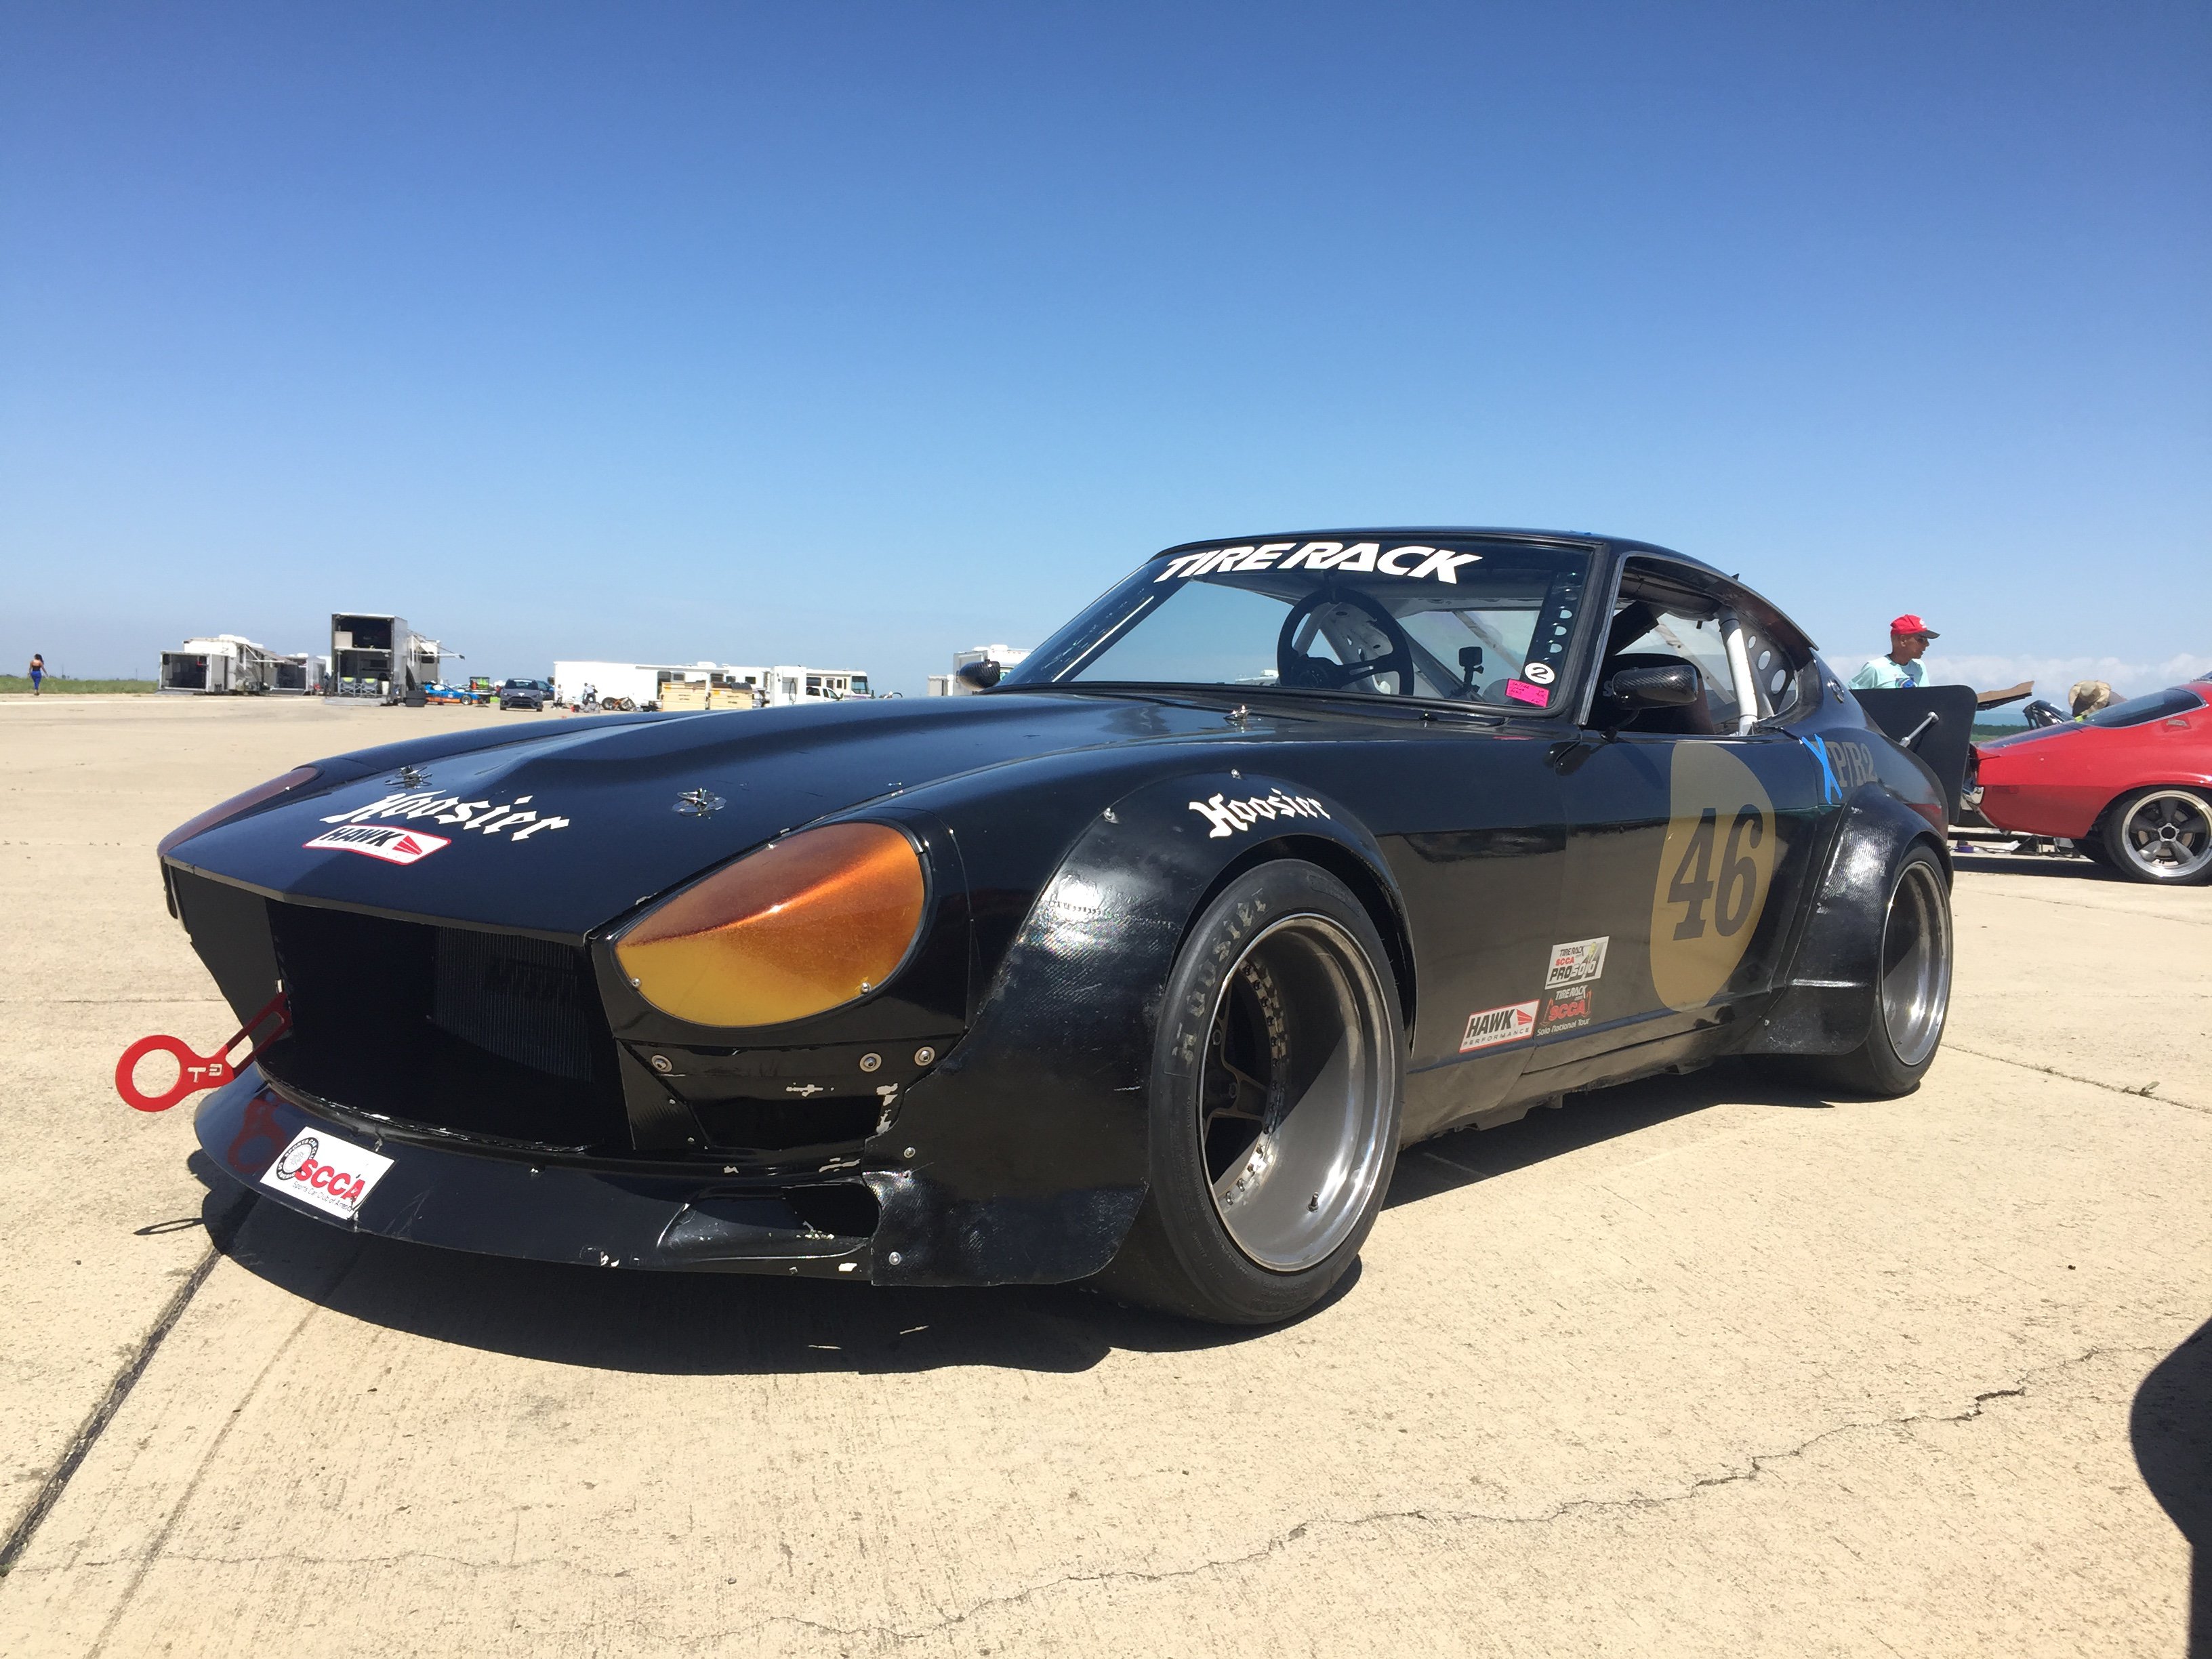
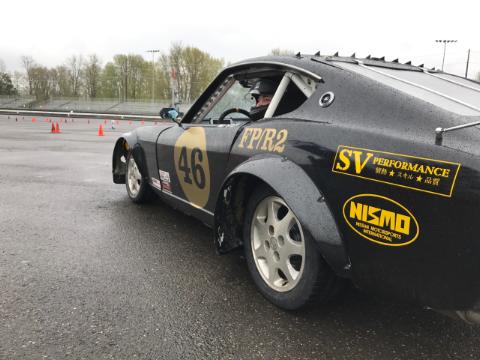
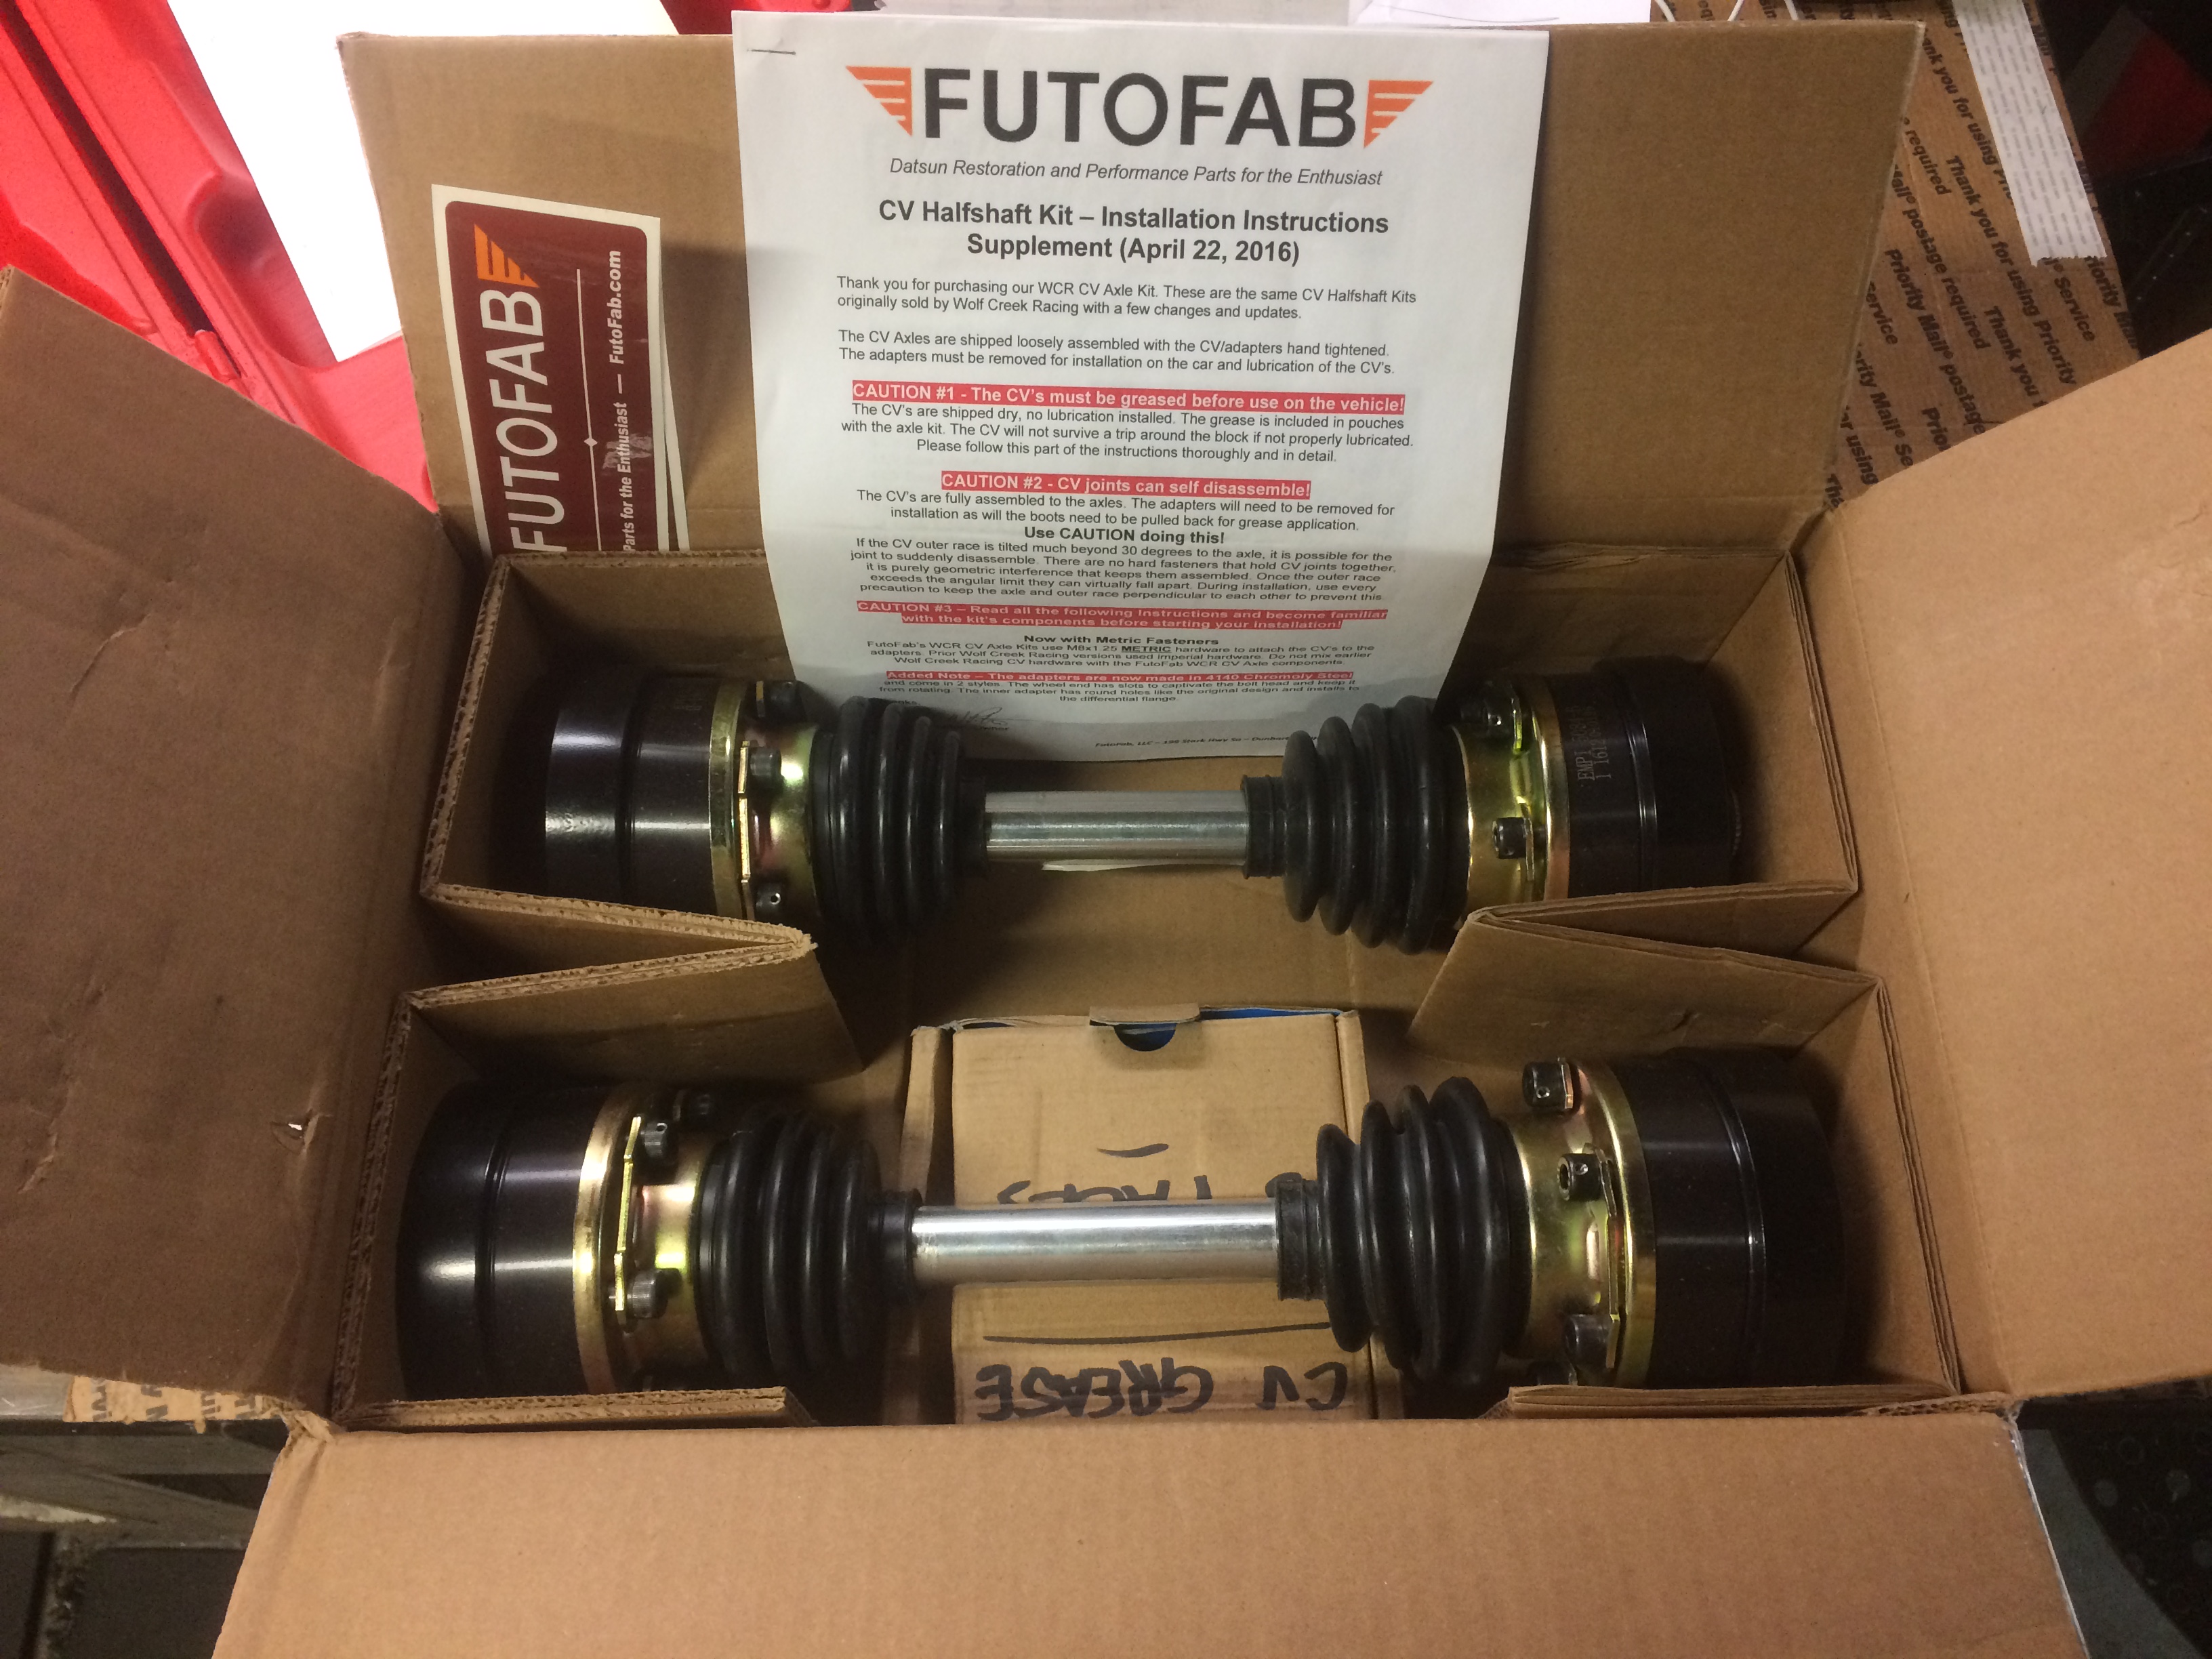
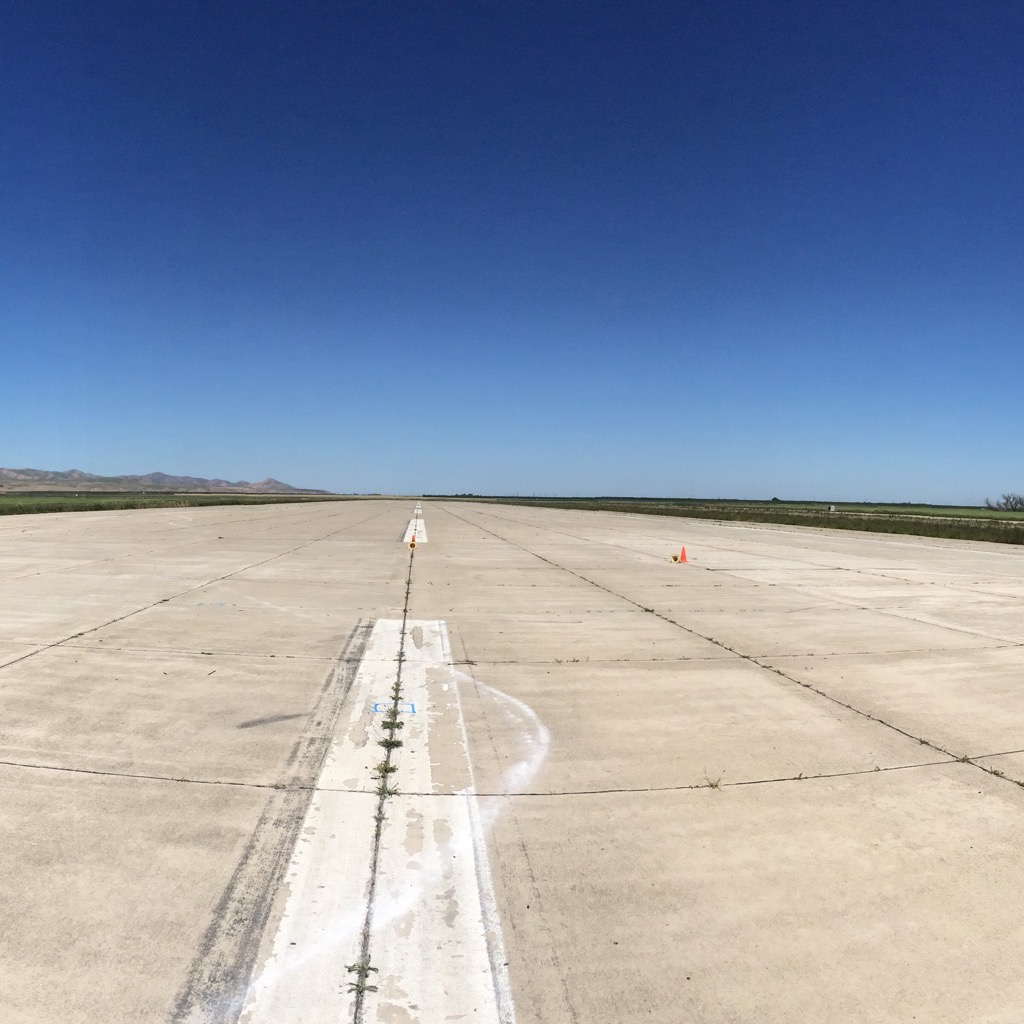
Man been a while since I updated. Must be having too much fun racing to post here. For those who don't know, following BrokenJawRacing on instagram and facebook will get you SLIGHTLY more frequent updates, and sometimes a video if I can manage it. Since we last hung out, well, lots has happened. Firstly, got the car tuned with the ITB's. English Racing in Camas WA has been my go-to shop for this for the past couple years, and they did a great job getting it set up out of the box. Put down 223whp and 200tq. For comparison, we popped off the filter and picked up 4hp and 3tq, but I think the longevity of the motor is more important than a pretty minor HP gain. First couple events of the year were wet, so we couldn't even make use of all the power. The car did earn a new nickname while it was wearing some street tires, and now has a "hovercraft mode" if it gets too wet outside. First dry event that we had with even a slightly warm/grippy tire and we broke the u-joints in the drivers side halfshaft. These were recently rebuilt with good MOOG joints, so I was a little disappointed that they failed so soon. It was a good excuse to buy the Wolf Creek Racing CV kit, especially considering the next event was in California on even grippier concrete. Hovercraft mode with some 15x6.5" 240sx SE wheels on the car Dry weather = broken u-joints Futofab kit, mmmmmmmm shiny The Crows Landing event was a lot of fun, if a bit stressful. Had some early issues with the tune, since I was finally able to run at wide open, I found that the tune was loading up and dumping way too much fuel into the car. Once we leaned it out it ran great. The ITB's are funny, and require a fair bit of maintenance to keep optimal, particularly as weather/barometric pressures change. Also ran into a fuel pickup issue, where the fuel cell foam caused the holley hydramat to sit on top of the fuel when its around 3 gallons. Once all those got figured out, it was just a matter of running the course and keeping up with a very fast XP field. Crows Landing NASA Test Facility. Best concrete on the west coast The rest of the season went pretty smoothly. Sticky, hard throttle cable got replaced with a custom Pegasus piece, perpetual tuning and fiddling with the ECU and ITB's, it will be interesting to see where the car sits when I bring it in for its annual baseline this winter! The Packwood NT and ProSolo were a lot of fun, did well at the tour, managed to hang onto the back of what I think is the car to beat nationally in the class. The Pro was fun on its own, didn't place well, but the R2 category is one of the hardest classes IMO. Fixing the throttle cable at the Packwood ProSolo, with the PRE Evo behind us. More of the field for the ProSolo, K swapped Lotus and FD RX-7 with a monster turbo. The FD driver has been a national champ more than once with that car. This winter has been "light" on the upgrades, compared to the past two years. The major outline is to change out the Arizona Z Car struts for Koni double adjustables, and build a new exhaust. Lots of other little maintenance projects and cleanup as well, but those are the highlights. Excited to get the car back on the ground soon, and see where these changes put me!
-
Tried to send a PM but says you can't receive messages! I've got an 11mm o-ring Pallnet rail in my garage, which would be great, unless you're looking for one that works with the OEM injectors.
-
I think the RP968 team that was running this at WTAC ran into oiling issues during the event. Hope they come back next year and have it working! Would be awesome to see its potential.
-
There's a thread on here somewhere with somebody a similar subaru engine swap. It is FAR from drop in, FAR from easy, almost 100% custom, and this attempt ended as badly as anybody could expect, with the donor Z rusting to death in a ditch. If you have everything out of the car, and want to embark on a multi year project, I'd love to see you have some success! Project Binky is a great resource for what problems you can expect to encounter. Ken Blocks Hoonicorn build is another great example of trying to jam an AWD driveline into a non AWD car. http://www.speedhunters.com/2014/12/the-hoonicorn-rtr-build-story/ The Fast and Furious guys did a similar treatment with the AWD charger in the most recent film. Also remember that all these examples are being built by PRO shops with a lot of $$$ behind them. They have lots of time, lots of expertise and lots of planning! I'd advocate drawing it up in CAD first, before you ever set torch to steel.
-
Cheap 2-1/2 ID springs for coilovers
Ben280 replied to RebekahsZ's topic in Brakes, Wheels, Suspension and Chassis
Great tip! Just picked some up. -
Scca E Prod slick size
Ben280 replied to plygasser47's topic in Brakes, Wheels, Suspension and Chassis
I'd look into Hoosier R7's. A 225/45R15 will fit nicely on a 15x7, and is 22.8" tall for nice gearing. Tread width is 8.6" Fairly inexpensive option at $260/each. https://www.tirerack.com/tires/tires.jsp?tireMake=Hoosier&tireModel=R7&sidewall=Blackwall&partnum=245ZR5R7&tab=Sizes http://www.hoosiertire.com/assets/Circuit%20Racing%20For%20Web%203%2029%2017.pdf Another good option if you are concerned with budget (not sure about skill level/experience/wallet size etc) would be Spec Miata takeoffs which are the right size (205/50R15) and should be really inexpensive. http://www.jbracingtires.net/ John is a great resource for used tires if you can't find anybody local to you that uses them. -
Chickenman, good call with the pyros! That's on the list for sure, but it is a pretty expensive piece of kit to add. Good reminder, and easy to hook up through CANBUS. I'm going into the dyno in a week, I'll keep everybody posted with what happens, and if the tuner has opinions!
-
The Reverie piece is really nice. My one issue is that the #1 and #6 stacks sit really close to the edge, and on mine I had to file down the inner radius to get them to sit flat. As a general work of caution with it, make sure you have a way to get to the velocity stack hardware! I had to use allen button heads with a ball ended allen wrench. The sausage filter is awesome and very easy to fit! I'm excited to do an on/off dyno run with the filter.
-
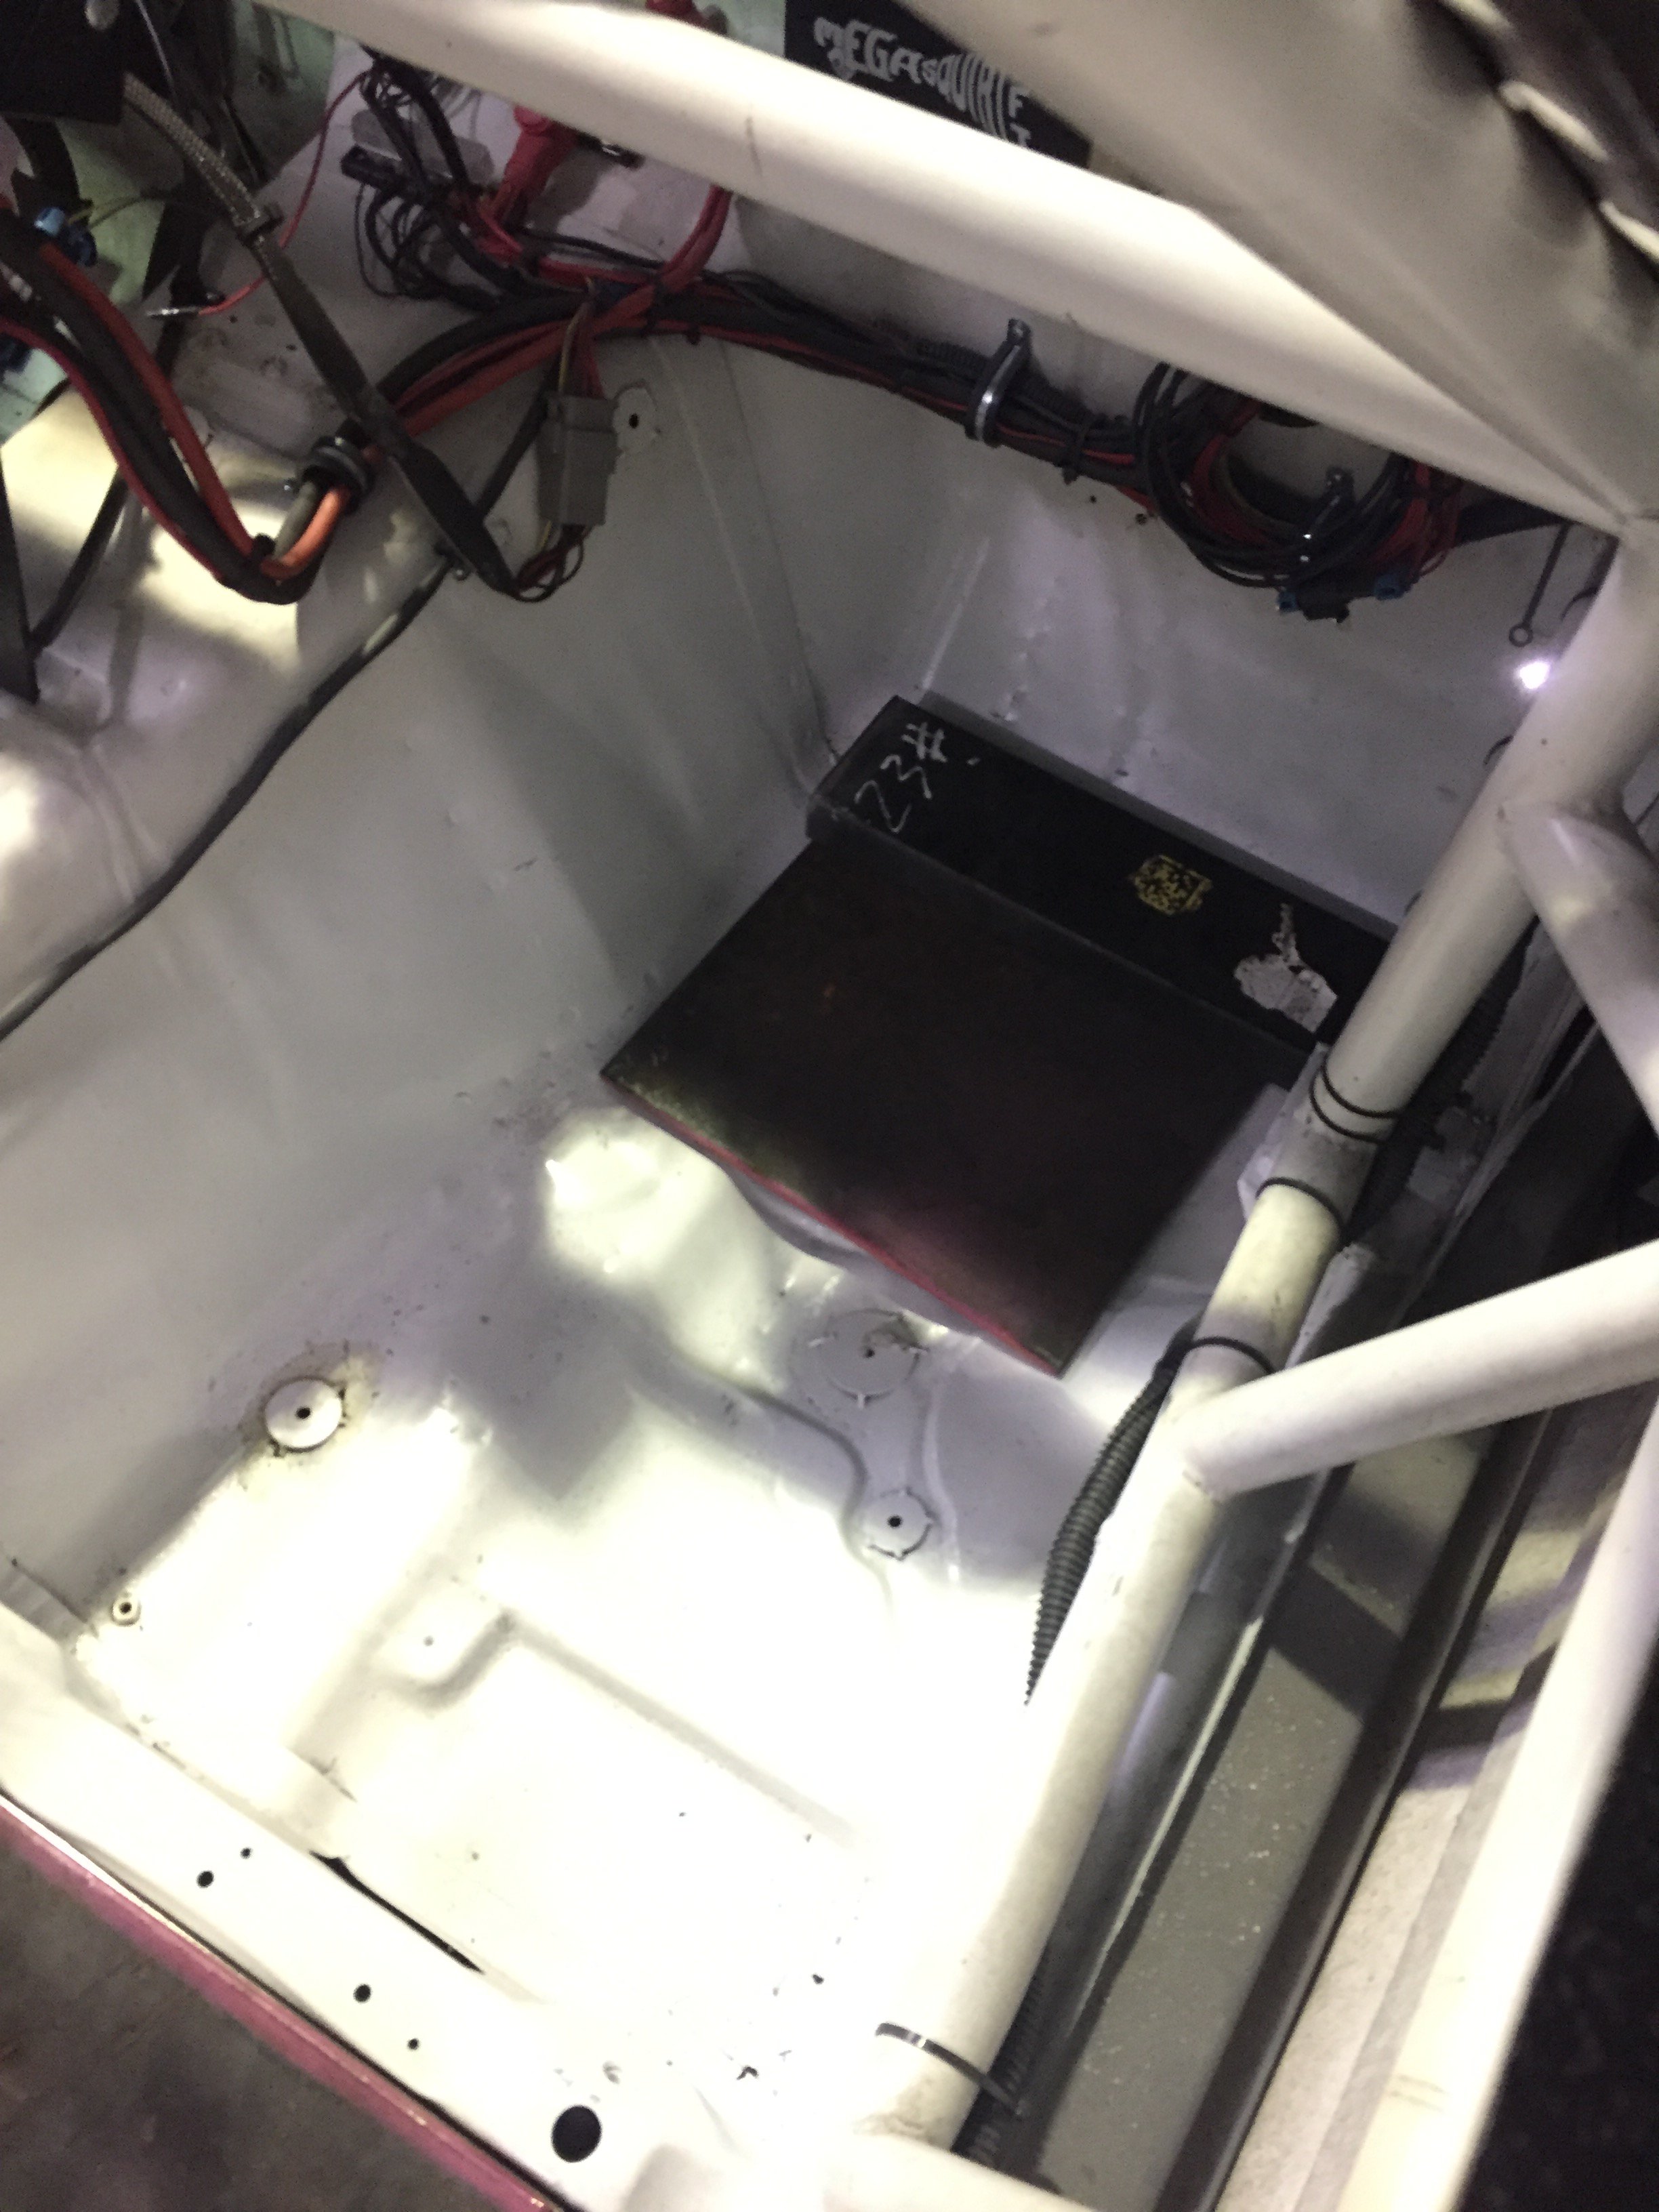
Oh man, where to start! Left you guys hanging here, and months later the car is back together and running! Lots of stuff happened with no photos, but I’ll try to give you the high points. We left off when the original 2.8 had blown up and I had found a new engine. A 13.8:1 Rebello auto-x engine in a friends car and 240sx transmission was going to make an excellent upgrade to this machine! A big fixture of this rebuild was the ITB’s! Thanks to the HybridZ classified section, I scored a set of OER ITB’s that used the FC RX-7 injectors that I was using already. I had to get ahold of a new manifold, and sourced a Kameari unit from a yahoo Japan auction. Once I had that piece I was able to get runner lengths and found that the 75mm Techno Toy velocity stacks were going to give me a good powerband with optimal induction wave at 5500rpm. My excitement to blow up the new engine by not running filters was super minimal, so I was off to find a good filter scenario that would with with the fuel rail. Most of the traditional carb filters have interference issues with the rail, and I didn’t want to run the sock filters that most ITB’s require. ITG is a top name in the filter game, but their traditional filters weren’t going to work. Luckily some searching revealed that they make a “Sausage” style filter, which is curved for a more clearance. I also found a company in the UK called Reverie that makes carbon airboxes for formula cars. Fortunately for me, lots of the stuff they make fits on inline 6 formula cars, so I was able to pair up a couple custom UK pieces to keep this engine rolling! Also had to figure out getting MAP signal from the ITB’s. The Megasquirt ITB tuning mode uses MAP pressure up to a certain percentage, then switches to AlphaN/TPS position. I got ahold of a vacuum log/accumulator that I can run all 6 ITB’s into, and get a good MAP signal up to about 30-35% throttle. Was also able to spend some time working on the exterior and maximize my aero allowances! Rules say I get 10” of spoiler, so I’m taking everything I can get! Using NASCAR truck spoiler adjustment rods, pretty excited about how it turned out. Also added Techno Toy Tuning tow points for ease of recovery! Not that prepared cars ever break down Finally got the whole rig running over the weekend, and it’s idling nicely! Syncing the ITB’s was an essential step, needed to get a snail gauge on it and get everything working well. https://youtu.be/MS7ahQA511E
-
Lots of good ideas in here guys, thanks! Money and wires are definitely issues to concern myself with. I've got a PLX SM-AFR and an Innovative LC-2 at my disposal, just need to decide if the data I can get is something I'll use, or if it's a case of "more for more's sake". Jacky4566- Was looking at the Spartan 2's they seem like a great deal, particularly when you don't need anything crazy! Wish I saw them before I bought my LC-2 last year =( Not a street car anymore, so frankly, fuel economy is the last thing on my mind, but full lean conditions tend to yield the most power. They are best before they blow philosophy. Seattlejester- with the MS3X I get 8 injector and coil drivers, so if I had a cam signal I could run full sequential. As is I just have crank trigger signal so I have to run batch fire and wasted spark. The MS3x board has an input for a 2nd wideband as well, so I can look at a single log for everything! Madkaw- the OERs are pretty nice so far, I'm updating my build thread with the past 6 months of progress, including ITB setup!
-
Little about my setup for background, and those not familiar with my build. MS3.57 with the MS3x board for heaps of outputs. OER 45mm ITB's, Kameari intake, high comp Rebello engine. My new (to me) header is a Pace Setter 3-2 style that has 2 O2 sensor bungs right before the merge meaning I can pick a side and run 1 sensor, OR get all fancy and run 2, keeping track on 1/2/3 OR 4/5/6. I'm on more of a budget now than I used to be, and I'm wondering if anybody can help me justify running dual widebands, rather than a single. I'm thinking it would be helpful to keep tabs on all the cylinders, sort of a "more you know" philosophy, particularly if the ITB's start to drift out of trim. I'm also thinking that the ITB's shouldn't drift too much since everything is running off the megasquirt, rather than trying to line up a bunch of carbs. Input and experience appreciated!
-
List of Options for Crank and Cam Position Sensors
Ben280 replied to cockerstar's topic in MegaSquirt
BHJ Dynamics/Rebello have some off the shelf versions as well.