TrumpetRhapsody
-
Posts
905 -
Joined
-
Last visited
-
Days Won
5
Content Type
Profiles
Forums
Blogs
Events
Gallery
Downloads
Store
Everything posted by TrumpetRhapsody
-

Rota Fast Forwards (Watanabe Replicas)
TrumpetRhapsody replied to jacob80's topic in Brakes, Wheels, Suspension and Chassis
Kim just emailed me back and said they are unwilling to produce the RK-R in the RB-R group buy size at this time or in the foreseeable future. Guess we're out of luck -
Rota Grid V and RK-R
TrumpetRhapsody replied to dice's topic in Brakes, Wheels, Suspension and Chassis
More than interested. I've sent Kim countless emails, with no response past the first one. -
Rota Fast Forwards (Watanabe Replicas)
TrumpetRhapsody replied to jacob80's topic in Brakes, Wheels, Suspension and Chassis
In Rota's pre-specified sizes, or has he made any mention of our custom sizes? -
Rota Fast Forwards (Watanabe Replicas)
TrumpetRhapsody replied to jacob80's topic in Brakes, Wheels, Suspension and Chassis
I've emailed Kim several times over the past month, asking for updates. Have gotten nothing back since the initial reply. -
Can we get some pictures of your setup RebekahsZ?
-
I wonder how the bias of this compares to the 240sx rear caliper option, and if this bracket is cross-compatible with the 280z.
-
TR's 260z L28 Build Thread
TrumpetRhapsody replied to TrumpetRhapsody's topic in S30 Series - 240z, 260z, 280z
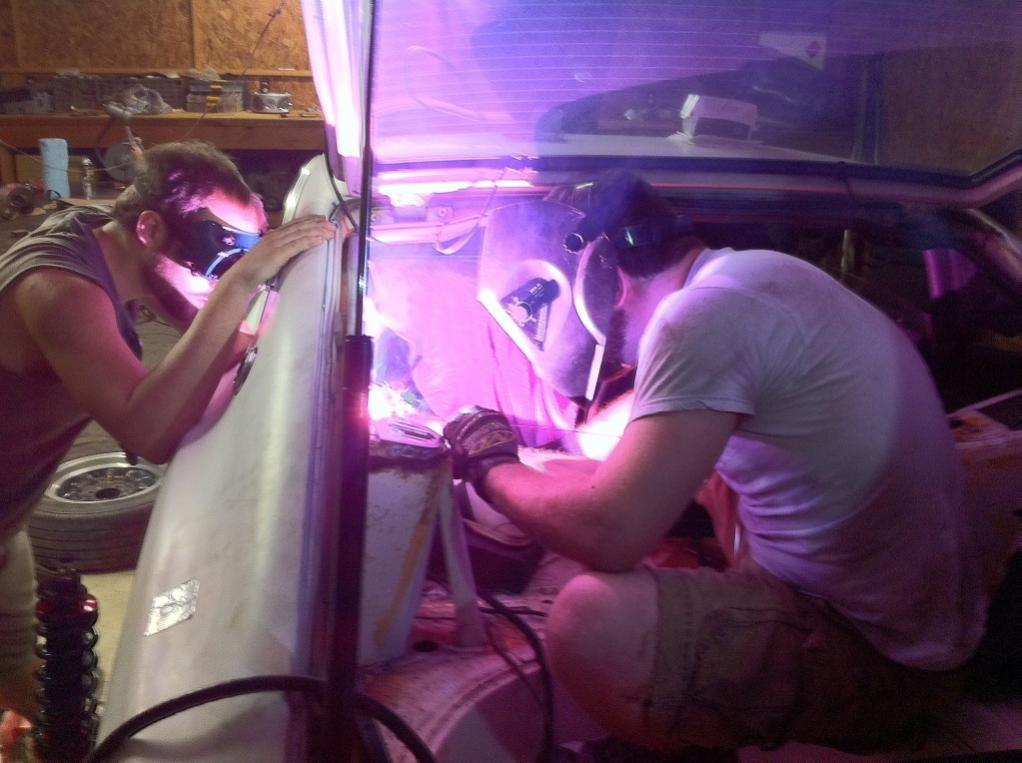
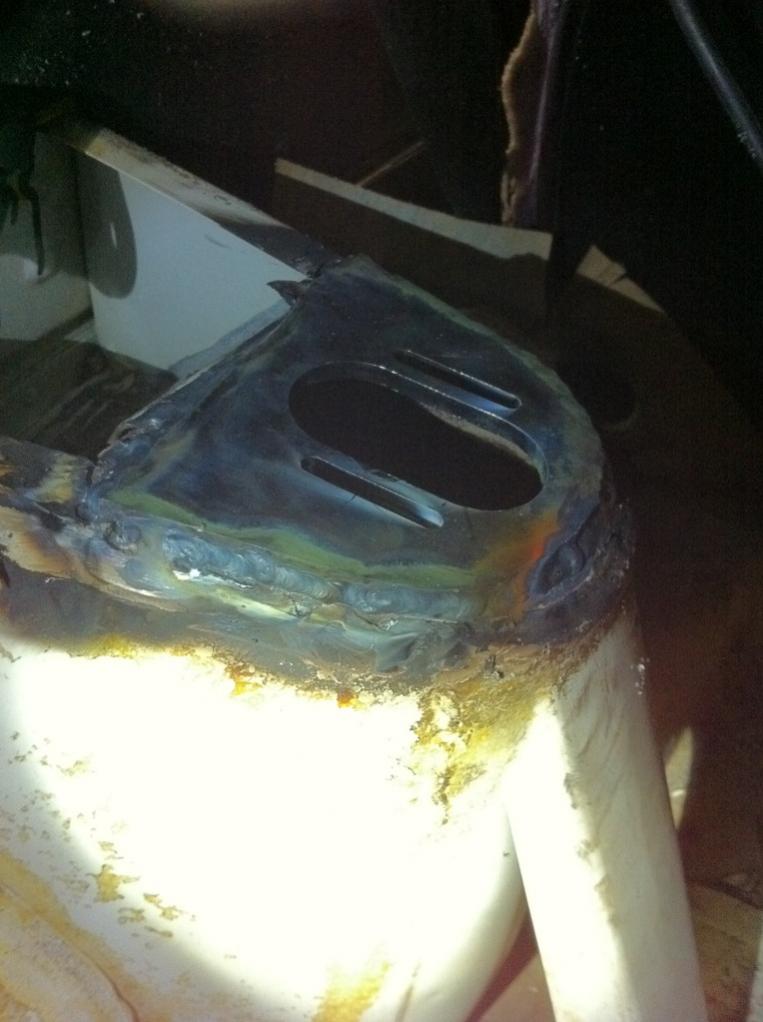
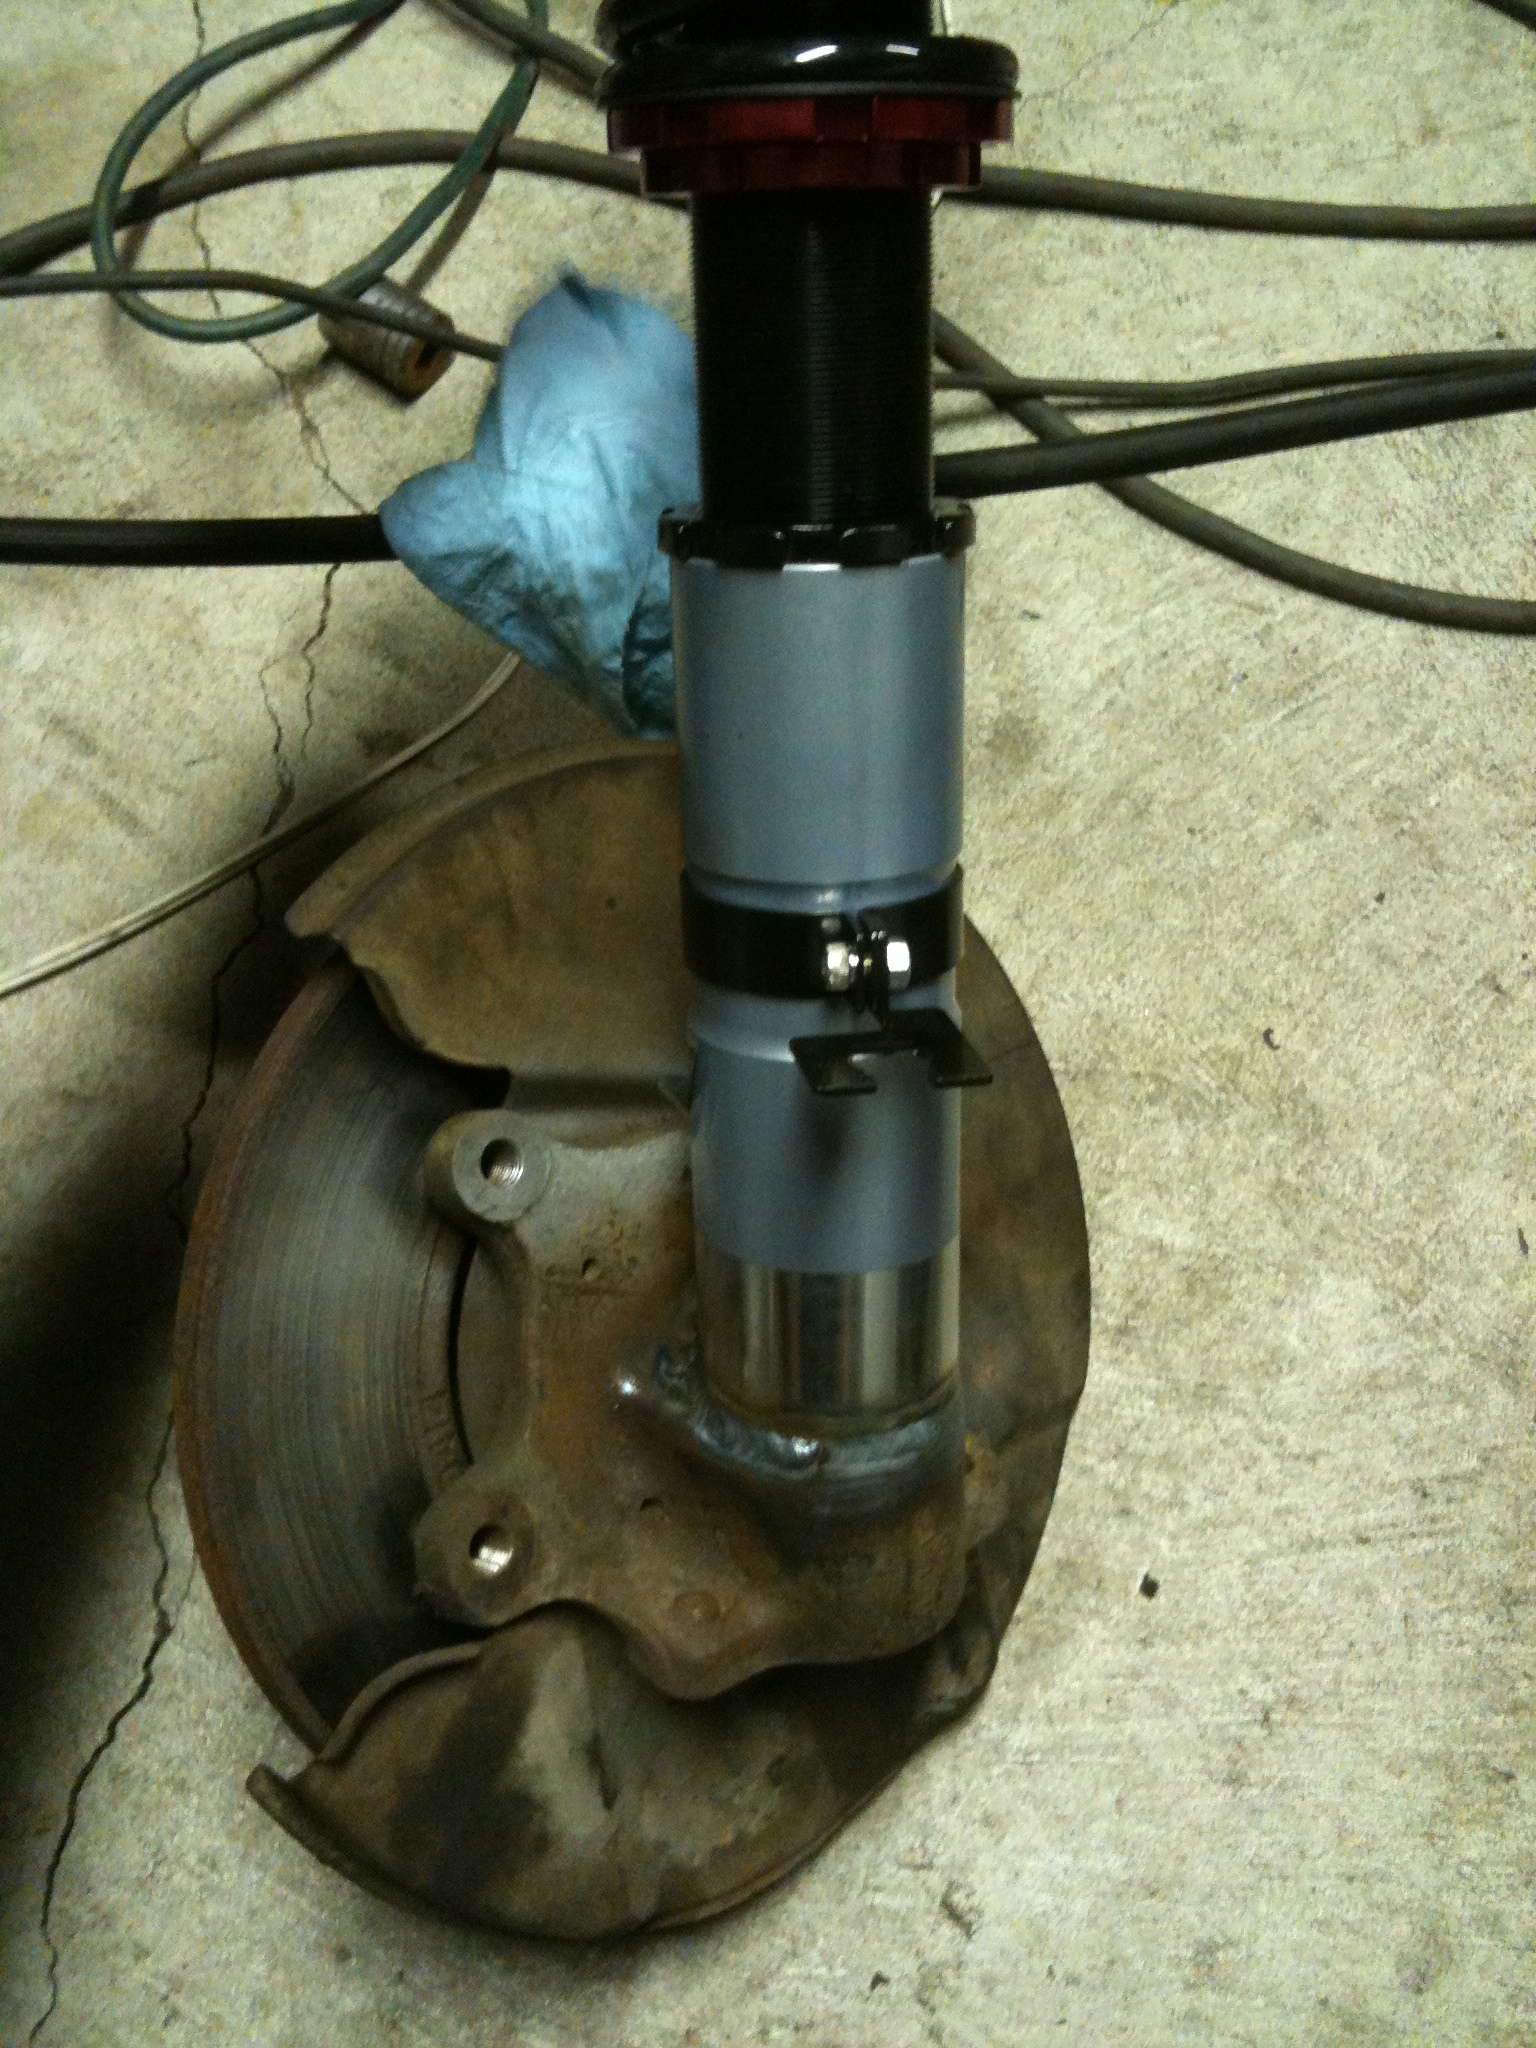
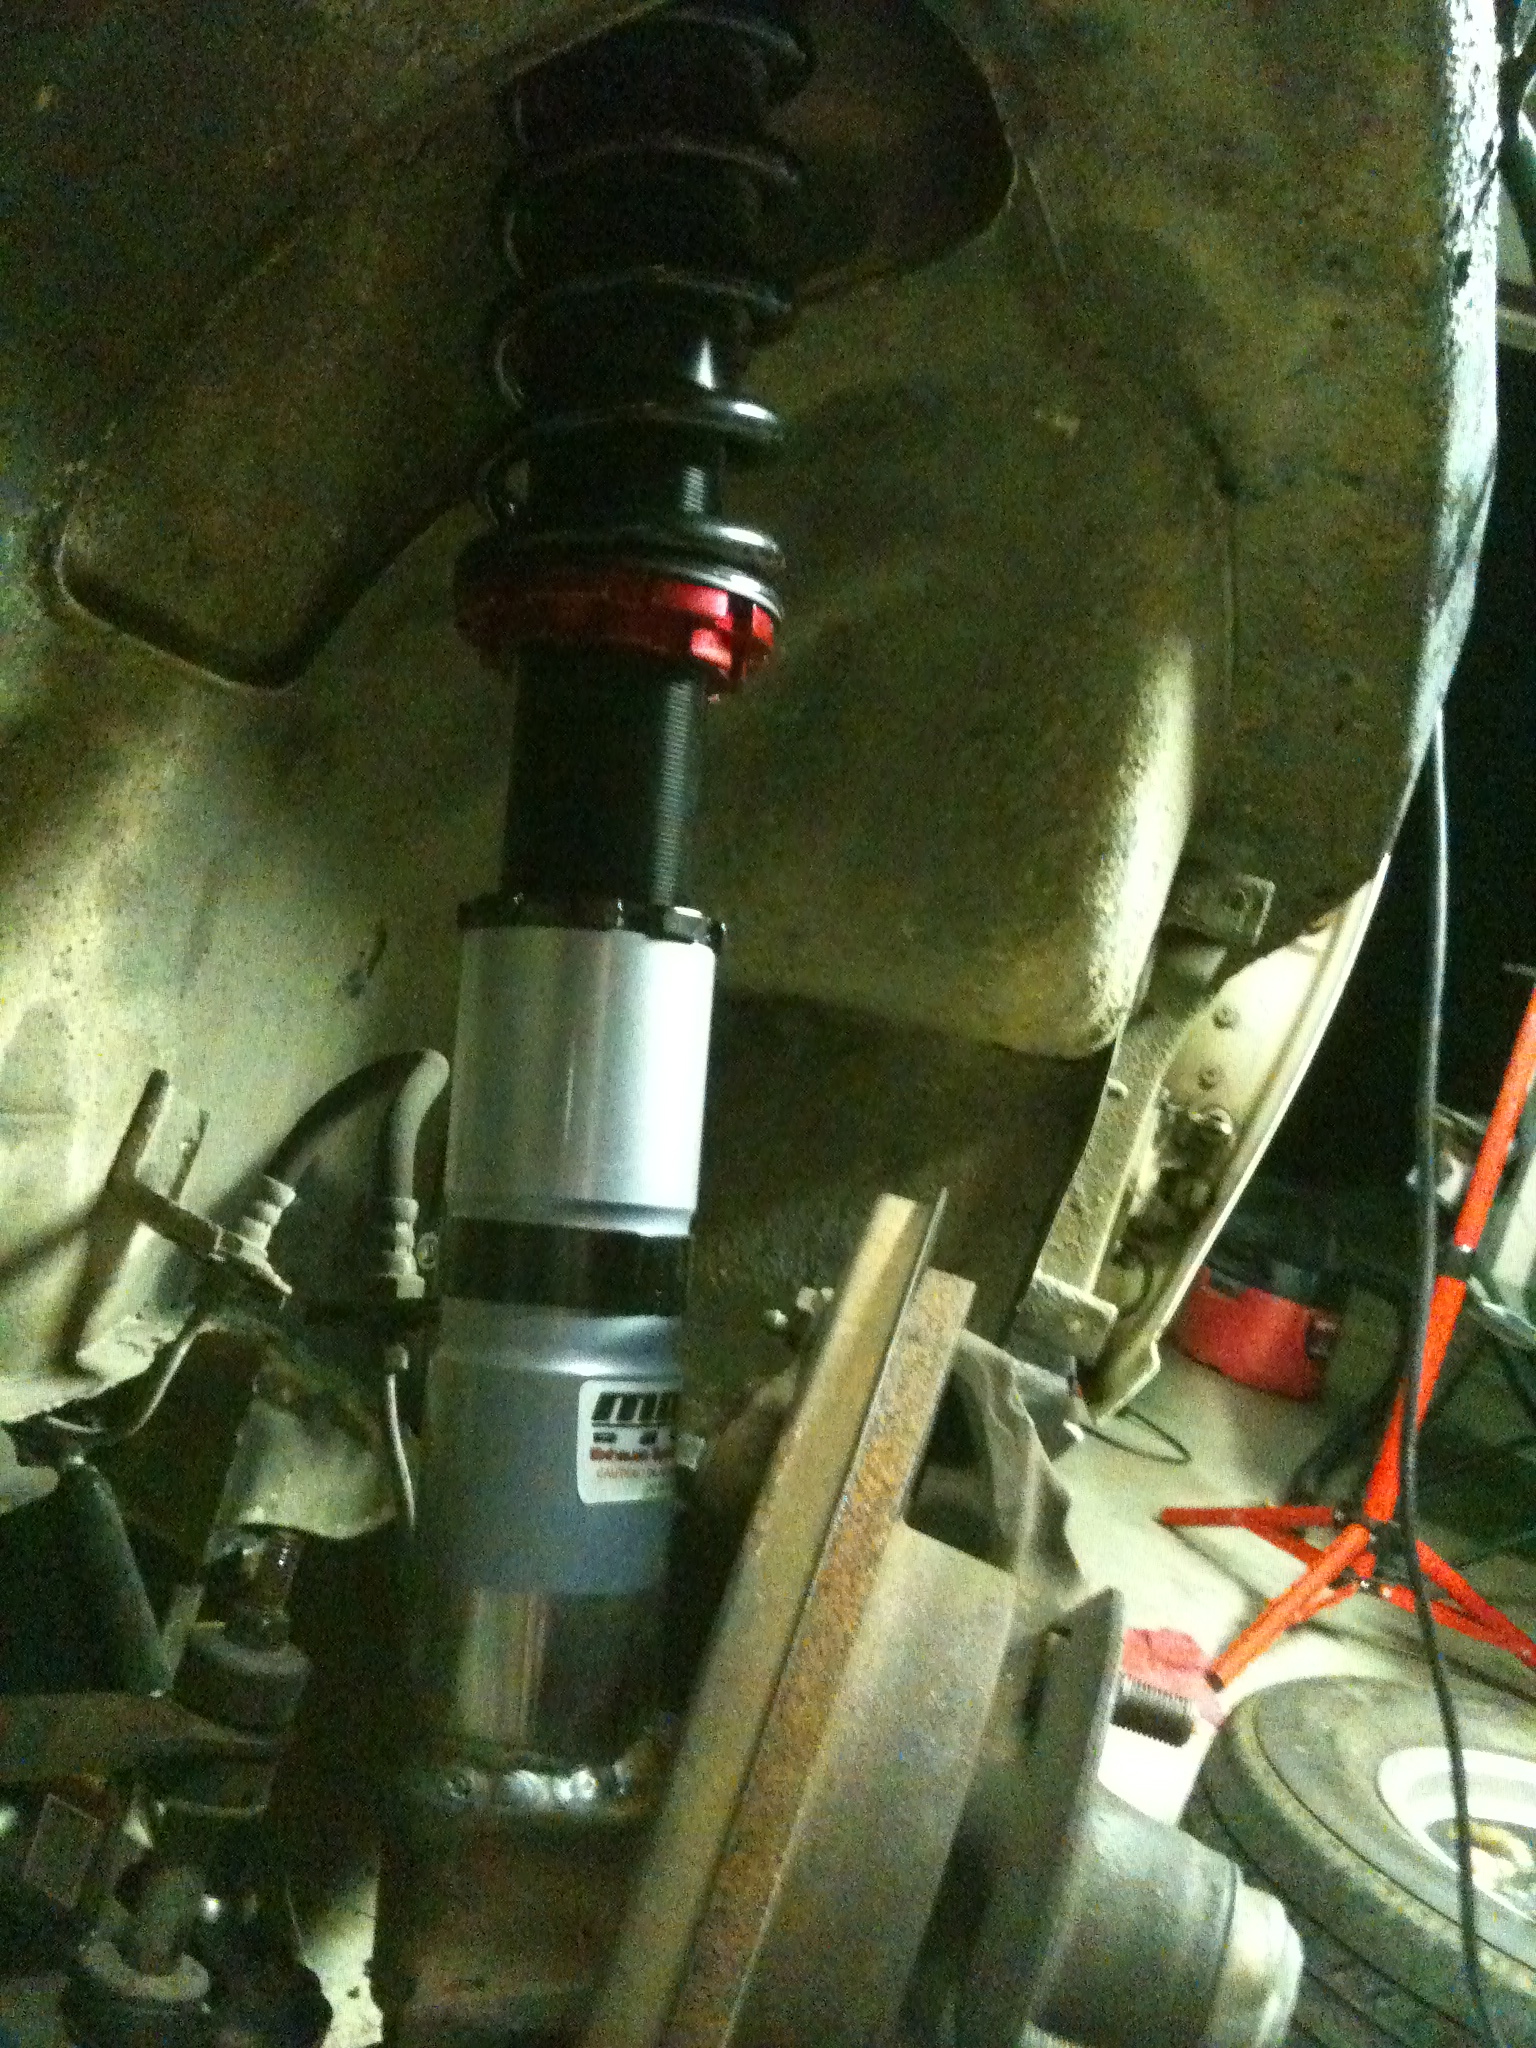
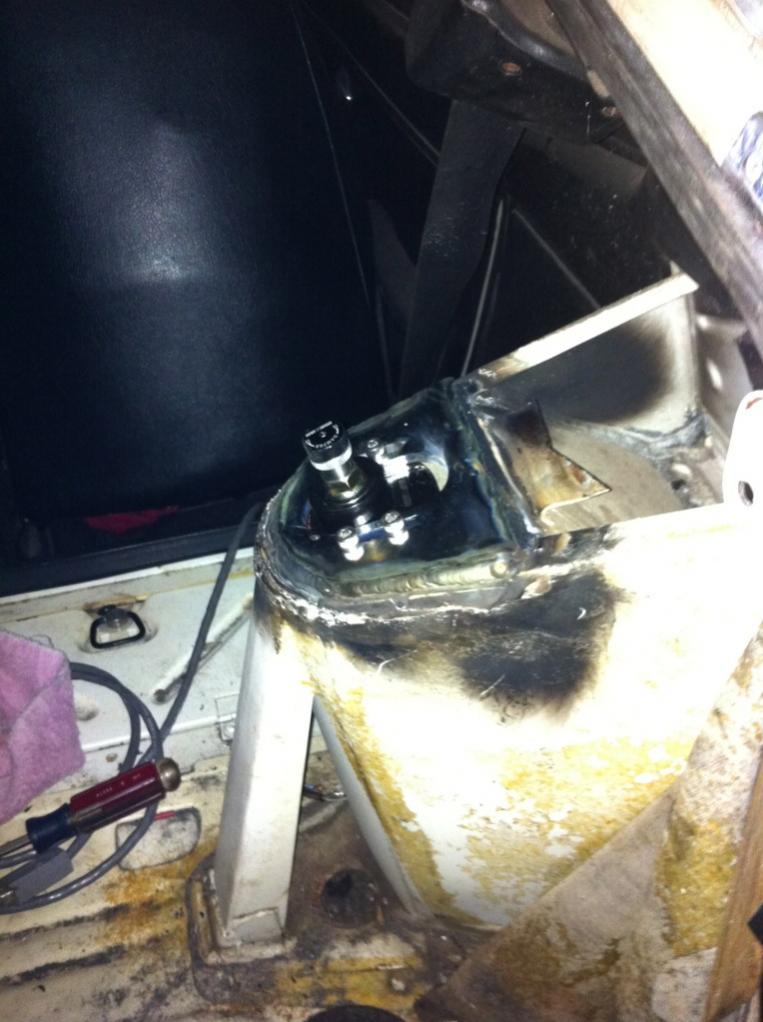
Some updates: I rebuilt my back brakes a few weeks ago, SUCH a difference. Actually brakes like a proper car now. After 3 years I finally got my coilovers. Total install took about 20 hours. It should be a pretty significant improvement, both in performance and safety. My left strut retainer was hand tight, and the right one was backed out enough I could move the strut up and down about 1/4" by hand. Guess I found my clunk! That and the left side was completely blown. The front should prove to be equally terrible, I won't be surprised if they're both blown. I did have to slot the hood to clear the strut tops, and though I haven't tried I don't think the adjusters will fit regardless. Minor detail. This also gave me a chance to install my AZC TC rods I've been sitting on for over a year now. Glad to be rid of the stock deathtraps. The difference driving the car is amazing! No more clunks over bumps, feels super tight, lack of body roll is amazing. It's stiff, but I don't think too stiff. It's a level I think I can live with on the street. It's really not all that much worse than my shitty cut springs I was running, just more precise. It feels a bit bouncy, but I've heard that'll subside once everything breaks in for a bit. I've been running it without the rear bar for now, and I think I'll need to upgrade my front. Can't wait to start playing with getting it dialed in. Just need an alignment now.
-
Megan/McKinney Coilover Install
TrumpetRhapsody replied to 503Alex's topic in Brakes, Wheels, Suspension and Chassis
Mine hit too, I just had to clearance the hood supports. -
Rota Fast Forwards (Watanabe Replicas)
TrumpetRhapsody replied to jacob80's topic in Brakes, Wheels, Suspension and Chassis
Yeah if there is going to be as much lead time as there was with the RB's and RBR's, I want to get moving on this, haha. -
Rota Fast Forwards (Watanabe Replicas)
TrumpetRhapsody replied to jacob80's topic in Brakes, Wheels, Suspension and Chassis
Has anyone talked to Kim yet about getting us a group buy for this? If not I'm going to email him. -
Rota Fast Forwards (Watanabe Replicas)
TrumpetRhapsody replied to jacob80's topic in Brakes, Wheels, Suspension and Chassis
16's are nice for looks, but you can't beat 17's for tire options. Hopefully we can get the choice of either. -
Rota Fast Forwards (Watanabe Replicas)
TrumpetRhapsody replied to jacob80's topic in Brakes, Wheels, Suspension and Chassis
+1 for GB if they have them in x9 and x9.5 and the proper offset. Heck I might even go this way and just use spacers... I'd definitely rather have these than the RB-Rs, I love the stepped lip and style. -
Nice! So as a summary: Get a pair of V6 pathfinder axles, swap tripod cv from a 300zx axle on, use 1/2" spacer on the drivers side, with MM 300zx adapters? Could you skip the cv swap step if you used two of the same side pathfinder axles, or is there a length issue there? Also, have you driven it, and if so how do you like the 2-way action?
-
Anybody make progress on this yet?
-
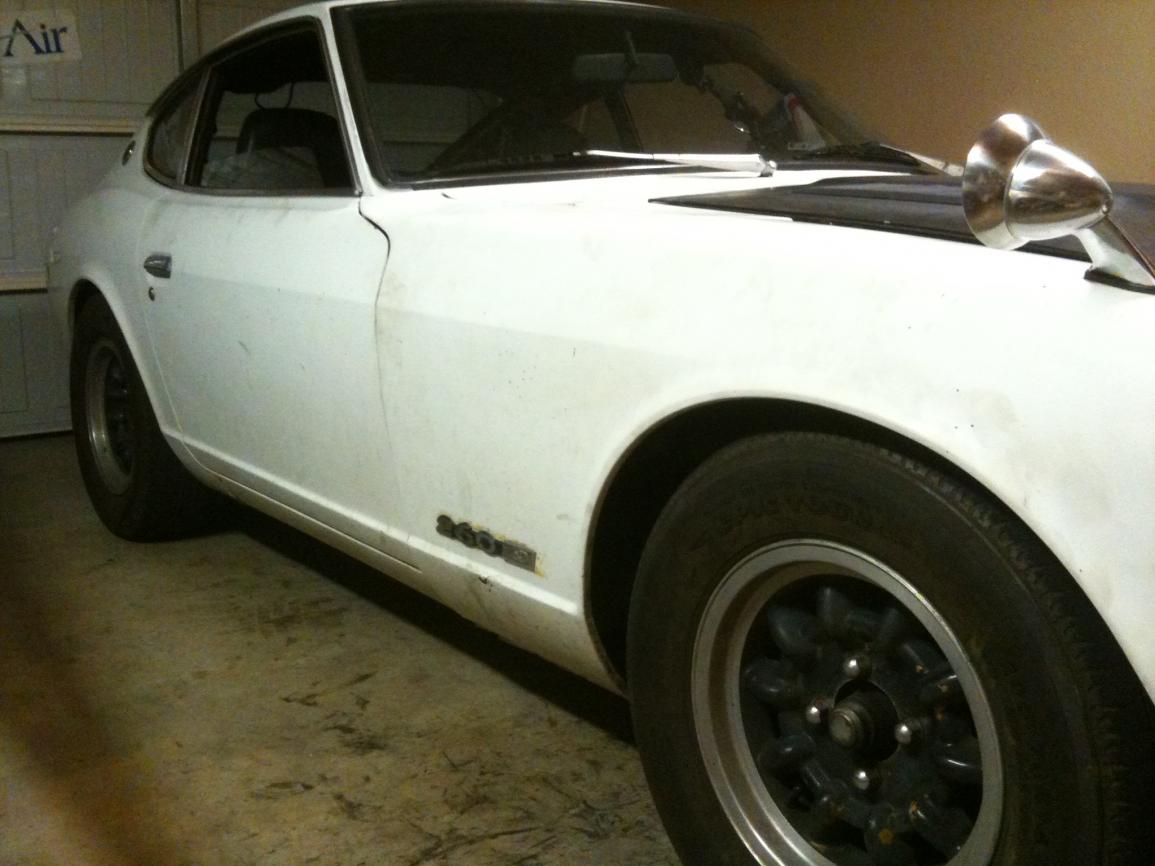
I've always had the car bug. It doesn't run too deep in the family, but my dad had his share of muscle cars when he was younger, and we had a '57 Bel Air sitting in the garage I used to go play in all the time and dream about fixing up (still just sitting around sadly). I watched him rebuild the top end of a motor once, tinkered with smaller engines etc. When it was time for my first car I wanted something relatively powerful, but sadly also comfortable and 4-door so I could haul around my friends. I ended up with a supercharged '98 Buick Regal, which was a fantastic first car, but it didn't take me long to realize I craved something lightweight and RWD. So I stopped putting money into the Buick and started saving up for something better, a true project car. I made a friend in college who was a Z fanatic, and eventually he got me hooked. I fell in love with the elegant design and small compact light frame, not to mention the community built around them. We watched Big-Phil's videos religiously and dreamed of building our own Z's. About a year went by before I finally found one locally and pulled the trigger. Around the same time I moved off campus, so I could have a garage to work in. Everything aside from general oil changes and brake jobs I taught myself from this forum and the FSM's. Wiring troubleshooting, motor pulls, carb tuning, and eventually setting up Megasquirt was all based on intuition and internet shade-tree mechanics. Three years later and it's still not where my goals were/are leading it, thanks to other diversions diverting my funds, but it's made great strides and has been a fantastic learning experience I wouldn't trade for anything.
-
I was going through some old threads and i came across your post in the upgrading 260z alternator to the ZX internally regulated alternator. I was wondering if you had a late model 260z and what guide did you use (Zcarcreations or atlanticz the wires in the guides have different colors) to do your wiring. If you have a late model 260z how exactly did you defeat the interlock module?
~thank...
-
Hmm I certainly wouldn't think a gradual fuel cut would be a good idea, like you say it would just lean out and detonate. I use spark retard, then a hard fuel cut. So far I've felt the retard first and avoided the fuel cut.
-
Replace your bulbs with LED's
TrumpetRhapsody replied to dapiper's topic in S30 Series - 240z, 260z, 280z
I've got a set of those, just leave the incandescent ones in the signals since they're only on very briefly anyway. Not as bright as stock, but still bright enough to read. The dark spots aren't as noticeable in person. I have them in my autometer gauges too, so it all matches.
-
TR's 260z L28 Build Thread
TrumpetRhapsody replied to TrumpetRhapsody's topic in S30 Series - 240z, 260z, 280z
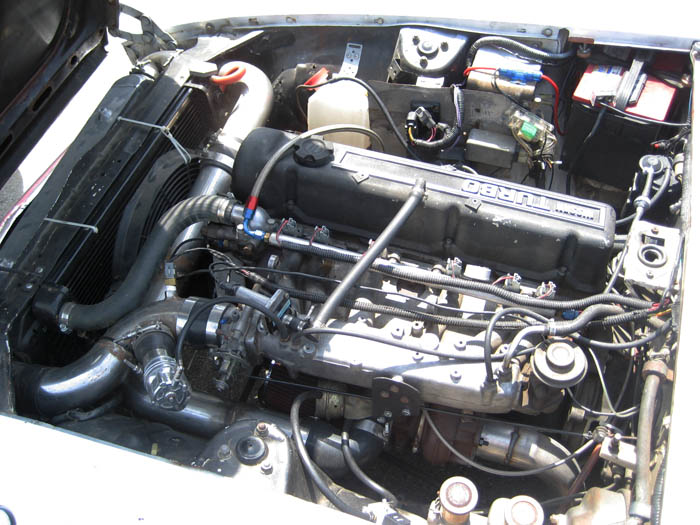
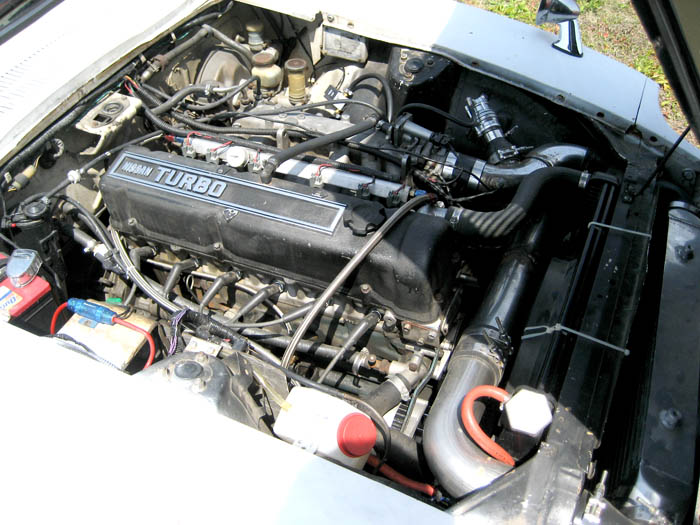
Here's some updated pics of the engine bay. My roommate was nice enough to polish the lettering on my valve cover, looks good Still need to tidy things up a bit, but it's making progress. Tuning is coming along nicely, hit 18psi somehow on one of the runs, but probably just a creep fluke, it's usually around 13-14. At these higher boost levels my unbaffled gas tank is rearing it's ugly teeth. Anything below half tank is not a good idea. It would also be nice to get a aeromotive FPR, new fuel filter, and have my injectors cleaned, but one step at a time
-
TR's 260z L28 Build Thread
TrumpetRhapsody replied to TrumpetRhapsody's topic in S30 Series - 240z, 260z, 280z
Alright, got her all buttoned up, and runs better than it EVER has. I got my 3/8" turbo spacer in the mail, but two of the studs were too short. So, while I had the exhaust manifold in the machine shop having the bolts extracted, I went ahead and had them true up the mating surface on the mani and downpipe flanges. Both surfaces were warped and leaking. Shamrock had the new studs I needed, for the both the t3 flange and hot-side outlet. I did go ahead and use proper gaskets, instead of RTV like I had planned. Hopefully they don't blow out again. I also went ahead and shaved the rest of the old wastegate bracket off the holset, and with my new-found clearance clocked it to a MUCH more ideal position. The angle coming out of the cold-side is soooo much better now. I wasn't able to find a gasket for the hot-side outlet, so I'm running copper RTV. Hopefully it will hold. It's like a different car now. It's never been this quiet or smooth. I can hear the turbo spool and blow-off at partial throttle/load now, which is something usually I'd only get under WOT. It spools sooner and quicker, and feels MUCH more powerful in general. I'll let everything settle in, get stuff re-torqued, then start upping the boost little by little. My tires are the limiting factor now though, safety may be an issue in the short term. -
I like the new layout, it's nice to have all the stickies in one location. I too tended to forget which section certain writups were in. On that note, is there a timeline for fixing all the broken picture links, or is it even being worked on? Some of the writeups have become pretty useless after the IPB migration, losing all the pictures.
-
TR's 260z L28 Build Thread
TrumpetRhapsody replied to TrumpetRhapsody's topic in S30 Series - 240z, 260z, 280z
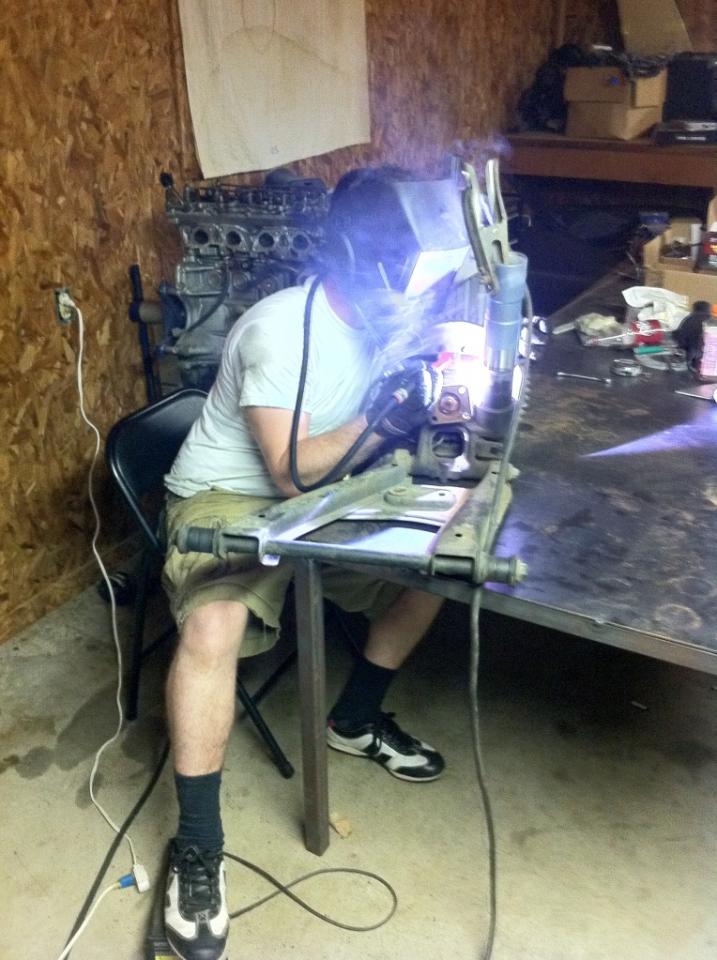
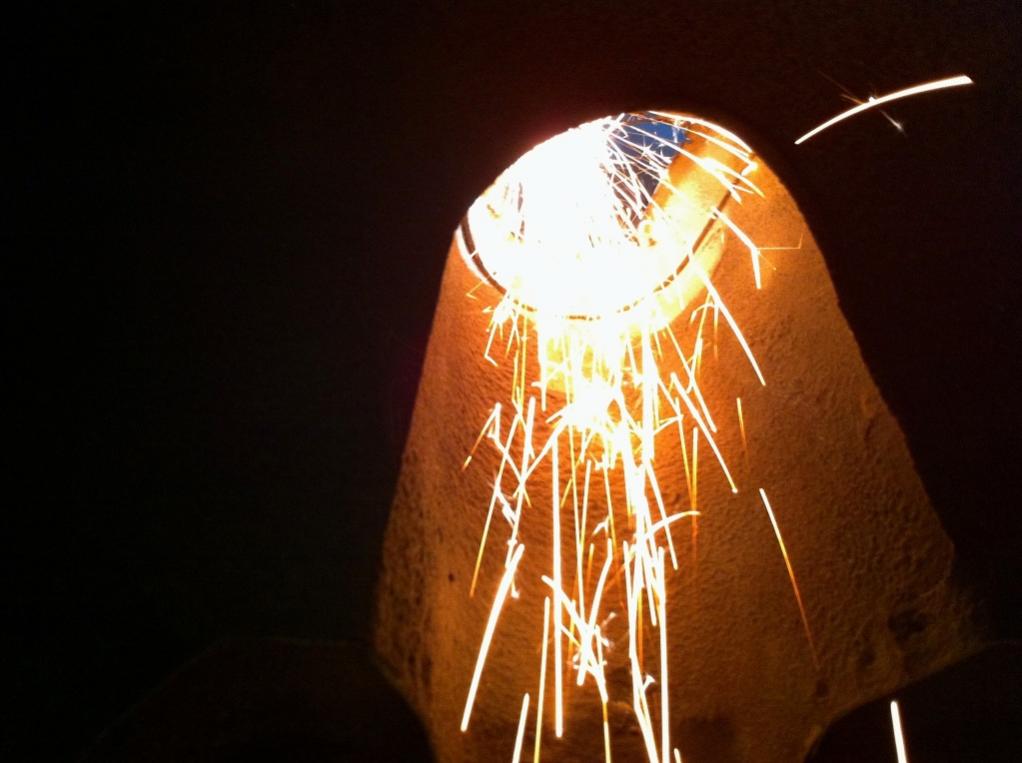
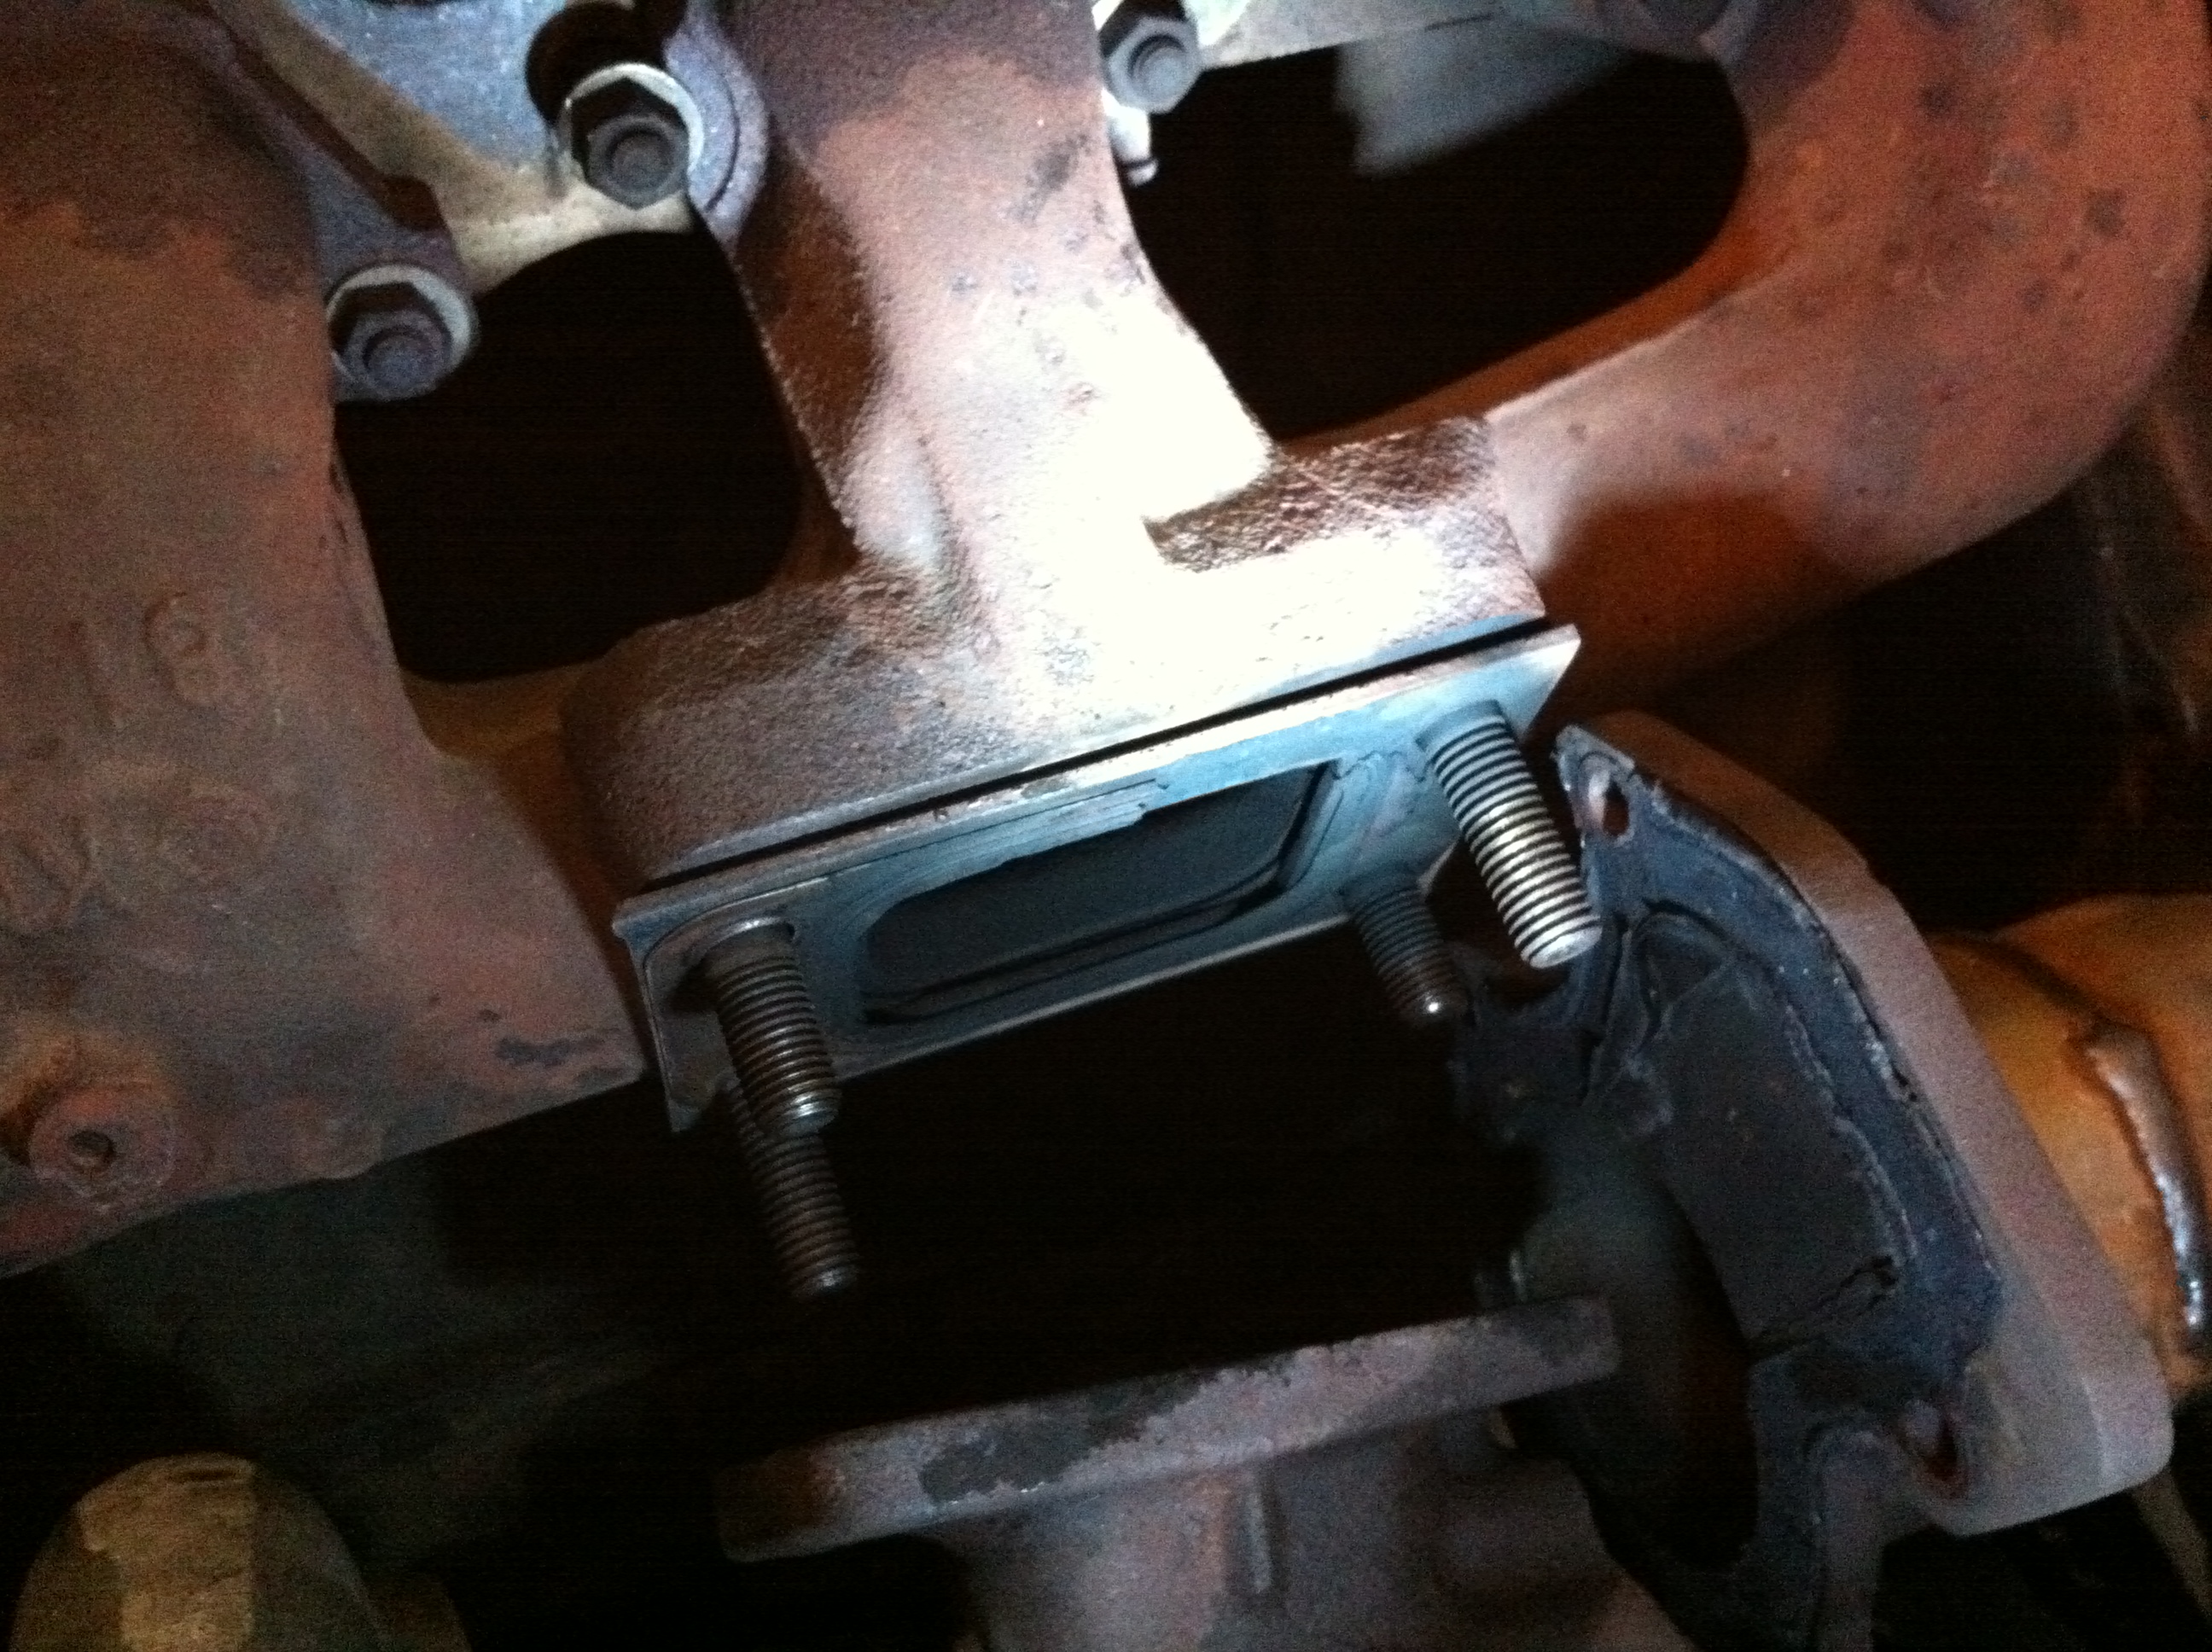
Alright, so a bit of an update. Last week I had my exhaust completely re-done. Took my downpipe flange to a local welder to have the outlet enlarged from 2.5 to 3", and have a section of 3" welded to it properly so my exhaust guy could make me a full 3" out to my original 3" bullet muffler. It's still crush bent, but oh well it'll do for now. Immediately I could tell the difference. Based on my logs, I was spooling around 1k rpm faster, and my boost creep was down to only 1psi or so vs the 3psi it was before. Unfortunately, I still had an exhaust leak. The exhaust guy noticed that he could wiggle my turbo. Once I took a closer look it became obvious that I was leaking around the T3 flange to the exhaust manifold, BADLY. I tore it apart tonight and found this: Click image for larger version Name: IMG_1240.jpg Views: 0 Size: 94.3 KB ID: 1045Click image for larger version Name: IMG_1241.jpg Views: 0 Size: 97.3 KB ID: 1046 Apparently at some point, I think on the way back from Branson Z Fest last year, I blew out one of the gaskets. On top of that, some of the nuts were a bit loose. So while I'm at it, I'm going to replace that gank spacer I hurriedly made just to get it running. I've ordered a 3/8" mild steel spacer and will use copper rtv instead of gaskets. Fingers crossed my new exhaust still fits right once I get it all back together.
-
(P.O. installed mods) L28e running rich
TrumpetRhapsody replied to richracing's topic in Nissan L6 Forum
I thought YOU bought and adjusted the FPR? That would be the reason it's so rich, excess fuel pressure. The cam would be likely to need a bit of extra fuel to compensate for the extra air, but not THAT much more -
(P.O. installed mods) L28e running rich
TrumpetRhapsody replied to richracing's topic in Nissan L6 Forum
I'm no stock EFI expert, but I wouldn't go above stock fuel pressure levels. The super richness on WOT especially supports that. What I think you need to do is adjust your AFM at idle. Get it to a proper AFR using your wideband, then (at stock fuel pressure) do a WOT run and make sure it doesn't go so rich at the top end.