TrumpetRhapsody
-
Posts
905 -
Joined
-
Last visited
-
Days Won
5
Content Type
Profiles
Forums
Blogs
Events
Gallery
Downloads
Store
Everything posted by TrumpetRhapsody
-
I play, gamertag FlyingTrumpet ... But my roomate just got GT5 and has a Logitech G25 wheel (best out IMO, won't break), so we'll be focused on that for the foreseeable future
-

OBX Differential Inspection and Installation
TrumpetRhapsody replied to TrumpetRhapsody's topic in Drivetrain
I've still got quite a bit of clunk with your previous kit, so I may see about picking up your revised set and tearing the back into the diff again this winter to see if I can get it tighter. -
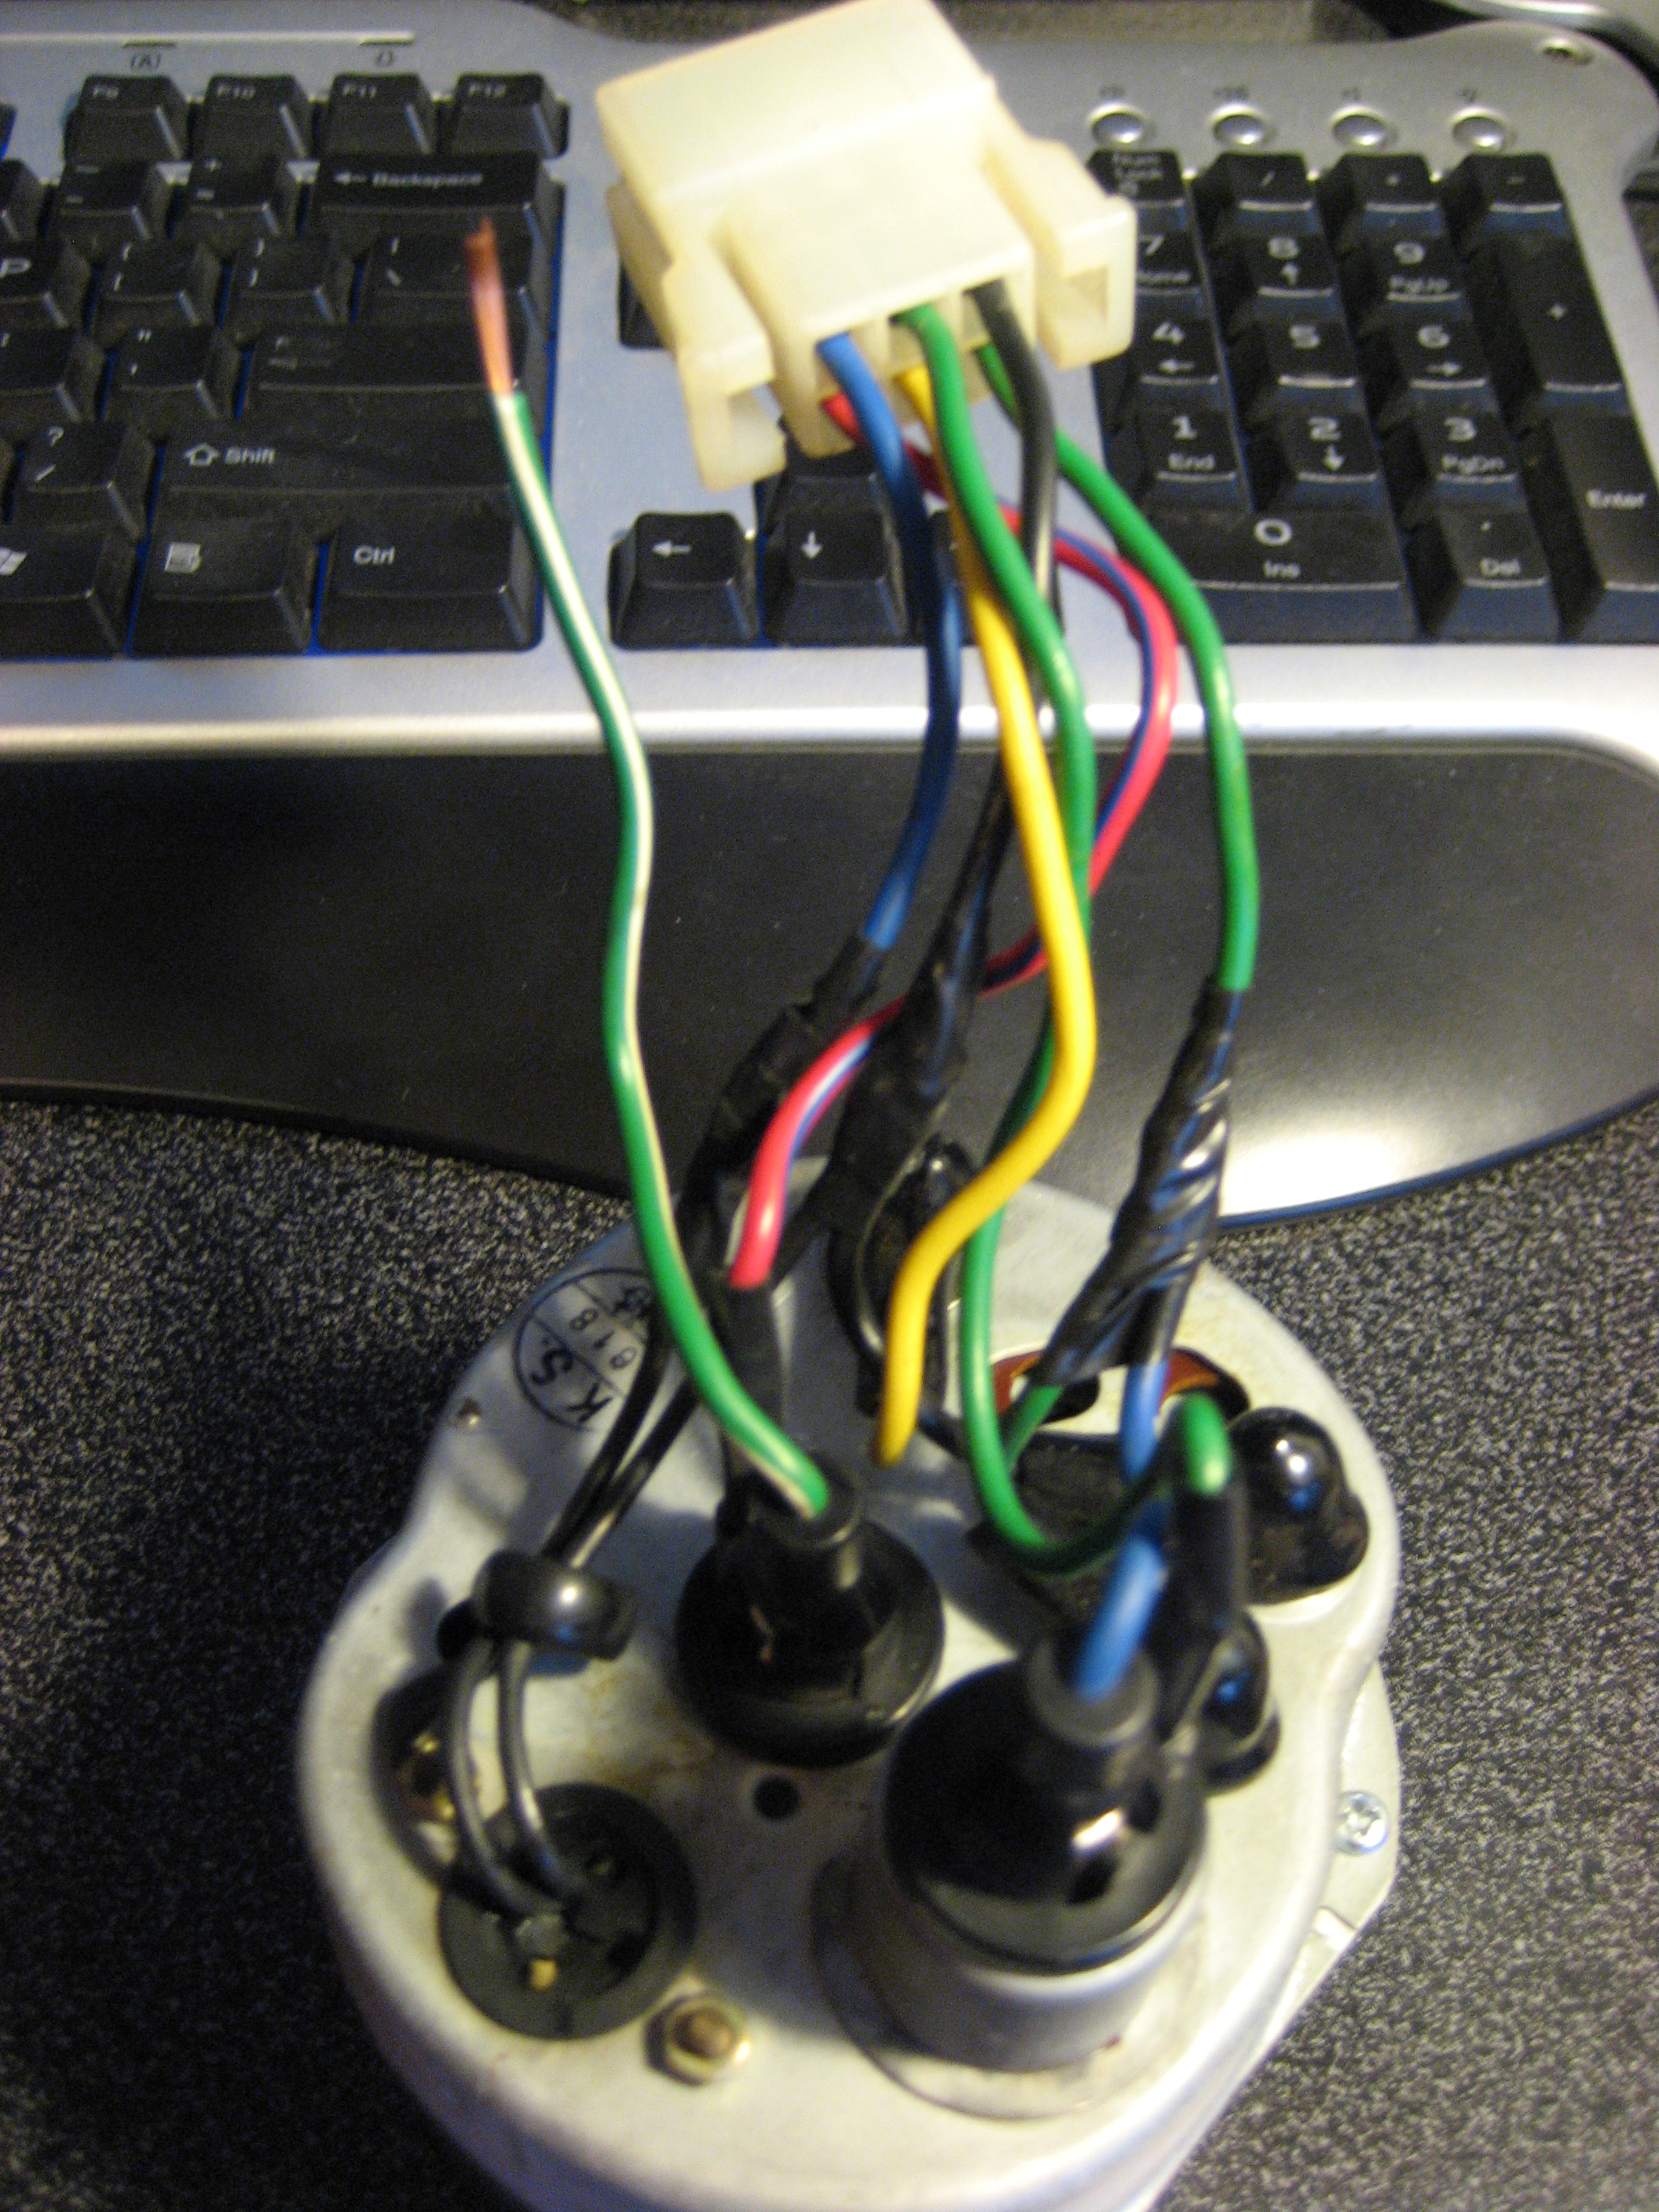
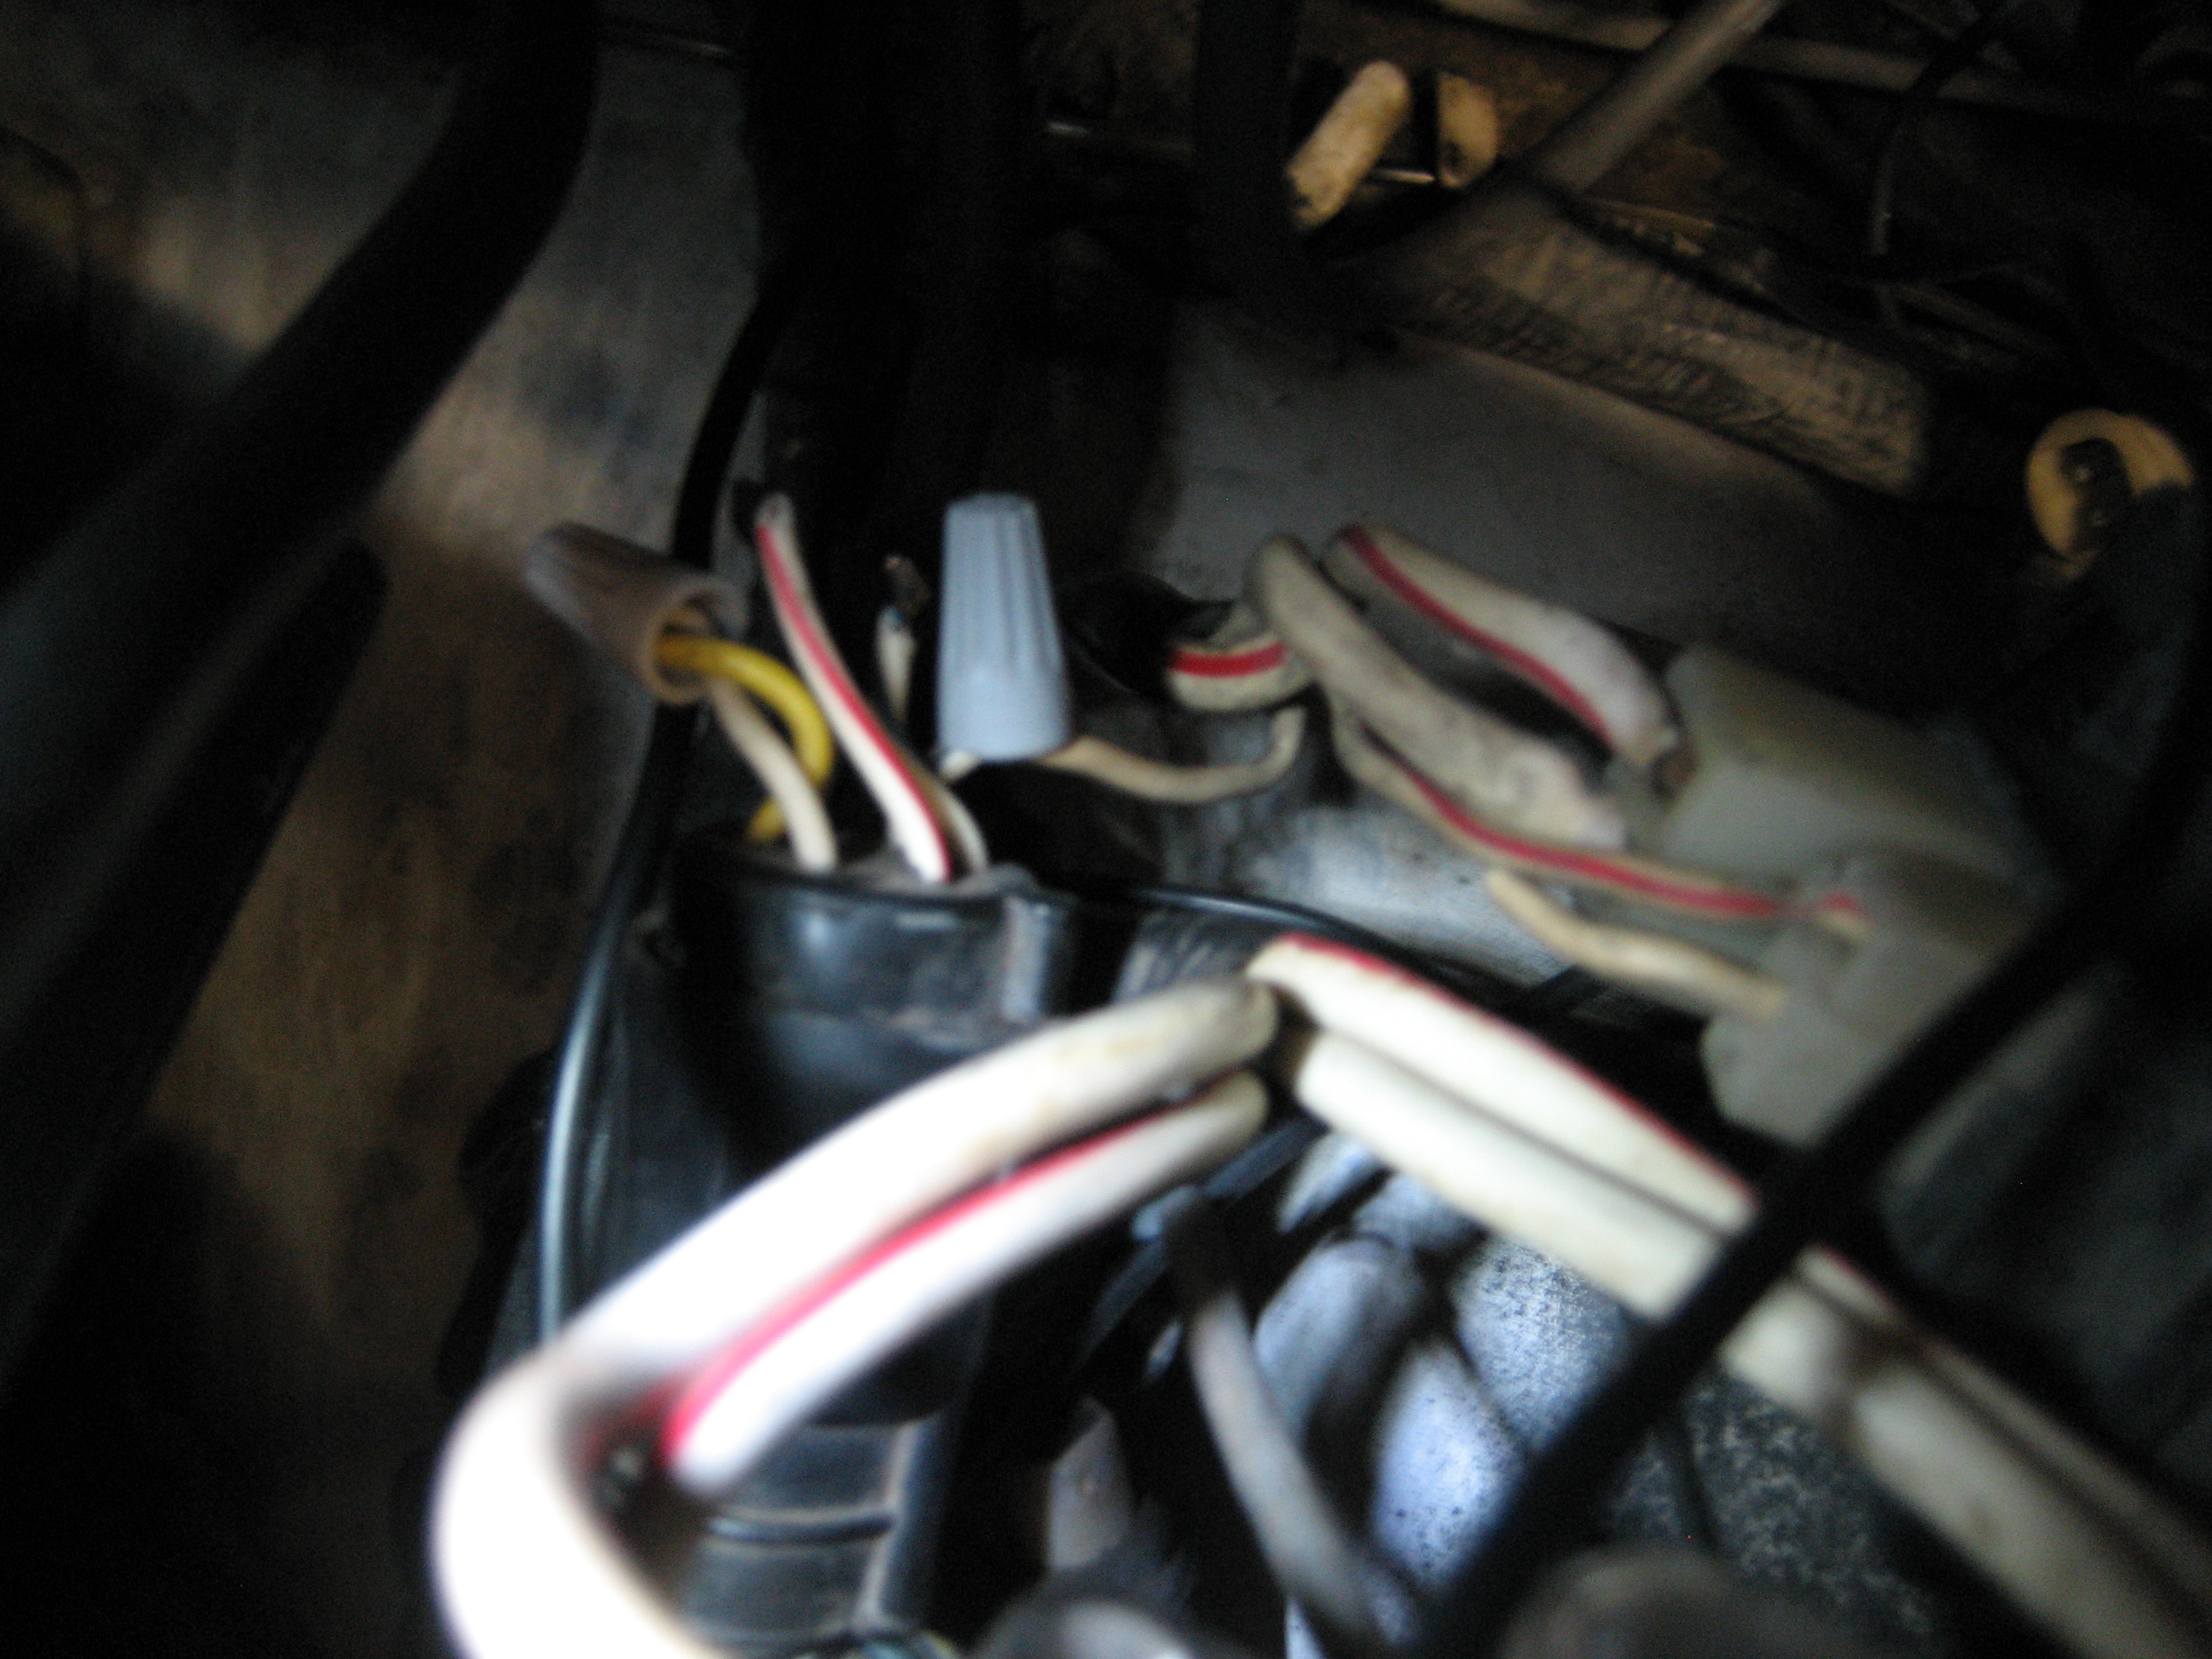
After 2 years my Autozone battery gave up the ghost, so I finally decided to upgrade to a voltmeter to keep me from getting stuck away from home again. In the process I re-checked and re-evaluated my external regulator wiring bypass, and expand on the way everyone above was wiring in the voltmeter. I've attached some really bad pictures just to give a general idea. I decided to keep and modify the stock gauge wiring instead of swapping over the ammeter's wiring. Here is how I did the wires at the gauge so that it plugs into the stock harness with no modification: -Voltmeter positive red sleeved black to the connector blue -Voltmeter negative black spliced into the connector black -Back-light green/white to the green/white bullet connector in stock harness -Charge light blue to the connector green Now in the engine bay down at the external voltage regulator connector: -Cut the white thin shunt wire, and connect it to your White/black at the regulator connector -Connect together the yellow and white regulator connector wires It would probably be a good idea to put a diode on the shunt white to white/black wire to stop it from back-feeding, but I haven't done it yet and it's been running fine. This configuration is an easy way to do a minimal amount of harness cutting, but have a functional charge light without running new wires. Additional thought: It might be a better idea to connect the voltmeter positive (black with red sleeve) wire to the green connector wire so you only get a voltage reference with the key on. It might not be as accurate as a straight feed to the shunt, but right now my gauge reads all the time, which over a long period of time might have a slight drain on the battery. If i don't drive the car for an extended period I usually unhook the battery anyway, so it's not a big deal for me.

-
FIXED! Ok so I replaced the alternator, and it still wasn't charging... so I spec'd the two wires going into the plug, and I wasn't getting my switched +12v source to excite the alt. Did some digging into the electrical diagrams and found out that wire ties into the green wire (my blown fuse circuit). As it turns out, the alternator was blowing that circuit. With the new alternator and a new fuse, everything is back to normal. Moral of the story? Autozone re-manufactured stuff SUCKS. Some might consider 2 years a good run.... I don't. I've had and heard of plenty of other longevity issues to attribute this to random chance. It wouldn't be worth the trouble if it wasn't for their lifetime warranty.
-
Unplugged the tach and all the gauge connections... which as far as I know is everything that green wire from the third down left fuse goes to. Unless someone knows something I don't, it must be a short somewhere... I just don't understand why the motor running triggers it.
-
So I'm having a few issues. My Z had been sitting for the last 2 or 3 months without being driven (garage kept, highly doubt it was rodent related), and today on the second day of putting it back into service it's started blowing the third fuse down on the left, the turn signal and tach/fuel/amp gauges power feed fuse ONLY when the car is running. I've looked through the wiring diagrams and can't understand what the car running would have to do with anything. I also tried unplugging the hazard switch, with no change, so it must be something related to the gauges. Do any of you have a better understanding of things and have an idea for me? I'm really trying to avoid pulling the gauges and starting the arduous process of wire tracing in the harness Not sure if it's related or not, but my alternator stopped charging around the same time. Ran the battery dead, went home tested it and found it not giving any charge. It's an Autozone reman so I'm going to go warranty swap it, but I figured I'd mention it in case someone thinks they're related.
-
Making My Life Simpler...Selling Off My Cars..Farewell Pics
TrumpetRhapsody replied to slownrusty's topic in Non Tech Board
Sorry to see you go, but good luck with the new job! By the way, were you at Branson Z Fest on Sunday? As we were packing up to leave I saw a Roadster there that looked JUST like yours, and asked the owner a few questions. I was the really tall guy, was that you? -
Hella vs Cibie vs Bosch vs AutoPAL H4 Housings
TrumpetRhapsody replied to 240Z_Master's topic in Miscellaneous Tech
This is the newest relevant thread, so I'll update here since it caused me to re-consider waiting for the HID group buy and to pull the trigger on some Hella E-code housings and Hella Yellowstar 80/100 bulbs from rallylights.com. They were $118 shipped, but the Yellow star bulbs added something like $20, so depending on your choice of bulb it could be closer to $90, a fantastic deal IMO. I haven't updated my wiring harness yet, so I'm only getting something like 11v or less (eww) to the lights, but the difference is still remarkable. My field of vision at night is MUCH improved.... though the lack of current makes the high beams pretty much useless at this point. I've never seen such a precise light output and cutoff from halogen headlights. One interesting thing to note is that after re-wiring my connectors for H4 instead of sealed beam, my bright-lights indicator on the dash glows dimly, getting somewhat brighter when actually flicking on the brights. I've previously looked through the lighting system wiring diagram and am confused how this could occur unless there is some sort of short into the brights circuit from the low-beams. Hopefully I'll get it figured out when I upgrade to dedicated lines and relays... unless of course this is common and someone has a solution for me. I'll update with some pictures once I get my harness upgraded... so anywhere from a month to never -
OBX Differential Inspection and Installation
TrumpetRhapsody replied to TrumpetRhapsody's topic in Drivetrain
I am disassembling my OBS HLSD as I'm typing this over at Chris'[TrumpetRhapsody] house. My gears were installed the 'wrong' way, and my washer stack looked like this: ()()(()) *edit* Crap >_< This is FlatBlack BTW The washer stack suggested on RBryant's website is )()()( [silver, bigger OD washers in bold] The silver washers bottomed out on the retainers. After some trial and error, I am using all 7 black washers as ()()()()) -
You should paraphrase for us. Your forum requires admin approval and an intro post to view the thread.
-
TR's 260z L28 Build Thread
TrumpetRhapsody replied to TrumpetRhapsody's topic in S30 Series - 240z, 260z, 280z
Haha yeah, I felt like I did >.< I missed Hybridz... but with the new software and the fact I've been getting like no email notification for threads before the switchover, I just wouldn't frequent the site like I used to. I'm slowly catching up to the learning curve, but it's still just not quite the same. *shrug* Knocked two off the list last night. Unless I just have a ton of cash to blow someday, I've given up on the front end. I spent most of last night trying to get my front end to line up better, with marginal results. I just finally threw in the towel and installed my fender mirrors. Looks so good! When I get my HID's I may try to install the other set of headlight buckets I have, since these are kinda out of round and pretty badly aligned, but for now I don't really care anymore.
-
TR's 260z L28 Build Thread
TrumpetRhapsody replied to TrumpetRhapsody's topic in S30 Series - 240z, 260z, 280z
Yikes, 3 months without an update, sorry guys. The whole site change thing kinda threw me off balance, and school's been keeping me busy. So with Branson Z fest coming up I should probably make my list of things I'll never get done in time, and give some small updates. For the past couple months my car has been making this horrible honking/train whistle noise. Now I had heard a dying turbo when my stock T3 oil line got clogged and shelled, but for some reason I still thought this noise was the Holset telling me that it needs a rebuild. Big thanks to flatblack280 for kicking me in the ass to look at it... all it ended up being was a boost leak. I tightened all my IC piping clamps, and the noise is gone! It's been nice to drive the car without worrying about the horrible noises it's making and thinking the turbo is going to shell every time I get into boost. Well... the diff is still making horrible noises, but whatever lol. So now for the things I'd like to see get done before branson: - Swap to the better hood I'm getting from tnkrstoyco - Pull the fenders and try to align them better on the body - Install my fender mirrors (been sitting in the boxes for over a year now) - Possibly weld up my mirror and side marker holes - Do a little rust maintenance and re-flatwhite the car - Polish the lip and repaint my current wheels - Get my EAE tuned a bit better - IF I have time, install my boost control mod for Megasquirt (unlikely) - Possibly swap to the 240z tail lights I have (also unlikely) With it being the end of the semester and the fact that I'm moving to a new house May 1st, this is a pretty tall order to fill. We'll see if I can deliver. -
Lol this is what I get for not being active on hybrid for months, missing a thread that applies to me. I'm 6'9", and fit great in a Z (with a smaller steering wheel and shortened turn signal stalk). It really surprises me how much room there is in these cars. Sorry to bring a thread back from the dead
-
Check the pinout of the DB37 connector for the IAT feed and measure the resistance between it and the connection where you wire in the IAT sensor. Easy way to eliminate the relay board for that issue.
-
What follows are my experiences with the OBX unit (part number LSD10528). I still suggest you read through the related threads (HERE and HERE), as they give a more complete overview of the issues/solutions. This writeup is also not in "install" order, so be sure to read through it completely before starting, so you don't miss a step. Additional pictorial guidance can be found on rbryant's writeup. ________________________________________________________________ First thing of note is that due to a copyright issue (assumed?) all of the gears are installed backwards in comparison to the quaife. This causes the axle gears to slam into the bellville washers on accel, presumably causing premature wear and failure. Here is an illustration of the difference, (pic via batou) Be sure when swapping all the gears around that BOTH axle circlip grooves are toward the inside of the case. This will ensure both axles will clip in properly. ________________________________________________________________ Second thing of note is the poor quality of the stock bellevelle washers and stock casing bolts. The combination of bolt stretching and the breaking of washers has been known to lead to premature failure in these units. The solution is to replace these parts. rbryant sells replacement bolts and washers as a package HERE, or you can source your own or reuse the case bolts and get new bellevelle washers HERE. The actual orientation of the washers IS NOT as important as the final preload once you get everything put back together. The machining tolerances of these units make it impossible to suggest a universal washer orientation. The best advice is to try one, test it, rinse repeat until you get the proper amount of preload. Suggestions for various orientations are littered throughout the two linked OBX threads, so find the one that works best for you. A good way to quickly estimate the preload is by counting the number of turns on the case bolts. From rbryant's writeup: Rbryant's original writeup suggestion for the R200 washer orientation DID NOT work for me, so again, measure your preload and pick your own orientation. Examples of McMaster washer orientations: John Scott - ())()(() lbhsbZ - ((()())) cygnusx1 - ()()(()) EMWHYROHEN - ))))(((( Stock Quaife - )()()()( Examples of rbryant washer orientations: ())(() - (originally suggested) )(())( - (what I ended up using)()()() )()()( ________________________________________________________________ Also, if using a S30 or S130 ring gear, it will use the 10mm ring gear bolts. Some have said it is a good idea to use these spacers (10 needed) to take up the slack in the bolt hole, which was designed for 12mm bolts. If using a 300zx ring gear, it will use the 12mm ring gear bolts, and the spacers will not be necessary. ________________________________________________________________ All other steps pertaining to installing this LSD can be found in your FSM, as it is just like installing any other open carrier. Hopefully you can re-use your stock carrier bearings, as I couldn't find them anywhere for less than $60 EACH. For ease I will include a few important items below. Necessary Specs Suggested backlash: 0.0051"-0.0071" in 10mm Ring gear bolt torque: 43-51 ft/lbs 12mm Ring gear bolt torque: 65-72 ft/lbs Carrier main cap bolt torque: 65-72 ft/lbs OBX case bolt torque: 30-36 ft/lbs Breakaway torque: ~10-15 ft/lbs (.5-1.25 case bolt turns from snug to clamped)
-
Sure, I'll make my next post a writeup, and you can delete this one. I didn't take writeup quality pictures, so I'll have to borrow from others where needed.
-
Alright, got it all apart and such. Seems like the washers flattened out... and didn't spring back. This could be why it seemed ok at first, then loosened up. Putting it back together I tested a few variations, and I'm going to try with the washers oriented like this: ))()(( If I was checking it right, the bolts took about a half turn from snug to clamped. I have no way to check breakaway torque for sure, but it feels right around 10lb-lbs turning by hand and using a torque wrench on an axle nut. The axle gears no longer clack back and forth and the whole setup seems much tighter. I've also flipped the axle gears back with BOTH circlips toward the center of the carrier, and now both axles clip in properly. The passenger side clipped in about 1/2" too far out when I tried it last night, so both DO need to be oriented to the inside. I'll update one last time once I get it all together and give it a test run. We're currently in the middle of an Arkansas blizzard... so it might be a few days.
-
Interested. PM and Number coming.
-
We will find out for sure once I tear it back down. Like I said, when I was putting the case together there DID appear to be preload, both in the gap of the carrier and the turns of the bolts. Why that preload disappeared once installed in the housing is yet to be determined. My point with the stacks was that you did say you had 20+ installs, which led me to believe your orientation was best instead of the 6 or so other suggestions on this thread. I assumed since you suggested it that you had first hand confirmation that it worked, not a lack of complaints. All things considered, I don't think my remarks were all that "negative" in the context of the additional work and possible cost this is going to mean for me. All I did was state my displeasure that a vendor's suggestion for how to use their product didn't work for me. Until I determine the reason this didn't work... there isn't much else to be said.
-
Well maybe i'll pop it all back together and see what happens. If nothing else but for the benefit of the thread. (and my sanity) The opposite side of my carrier from that shown in the picture had the clip groove to the INSIDE of the core. AKA the drivers side, which I currently have an axle clipped into. I'm pretty sure the clip grooves can't BOTH be to the inside of the core. This is what prompted me to swap and flip instead of just flipping.
-
Alright... took a deeper look on the passenger axle. Looks like the diff is going to have to come out. I was able to ROTATE one of the washers just by twisting on it with a screwdriver. If there was any preload at all... that wouldn't be the case. I'm not terribly happy about the fact I was sold a product (the washer and bolt set) and then told to install it wrong... but I'll keep further comments to myself out of courtesy. I did afterall CHOSE to listen. Another interesting tidbit is the location of the axle circlip in the axle gear. When I swapped my gear set around, I flipped AND swapped the axle gears, to keep the axle clips at the same depth as when I took it apart. From the pics, it seems like most of you guys aren't doing that... you're JUST flipping them. Either that or mine came with the swapped from normal to begin with, and I kept them that way. Either way, but my axles definitely clip into place with it this way... so I don't see how yours are too. Cygnus: Me: Another confusing morsel is that you can SEE the preload gap in this picture. This was taken right before I assembled it. What changed???
-
I'm almost positive that when I put it together there was about a 3mm gap in the case (washer preload, I assumed) that closed as I torqued the bolts. Thinking back it does seem like the new washer stack was skinnier than the stock washer stack... but it still had preload... I thought. UPDATE: Took off the passenger axle... both sides have that same amount of play on the axle gear. Not sure whether to bother putting it all back together and trying it with the circlips or...
-
Alright so I just got my OBX installed this weekend, the first time around without axle circlips installed (I know I know, but I couldn't get them out of the old carrier). Well, on the test drive there was a pretty serious clunk when shifting or on hard accel/decel, so I took the extra effort tonight and got the axle circlips out and started to swap them into the OBX. While I was installing the first side (drivers if it matters), I noticed that I could move the axle gear back and forth quite a bit with my finger... Call me crazy but shouldn't the axle gear have some pressure stopping it from moving... at least not with as little of pressure as my finger can provide? I used rbryant's washer stack configuration (figured since he was selling them that he'd know what's up). From his website: With the side stub in I can rotate about 15* before the gears lock it up, and when I do so I can feel the gear pulling and pushing the stub about a 1/2cm in and out of the diff... maybe less it's hard to tell. Is this normal or do I need to tear my diff back down and change the washer stack orientation?
-
ok, what do you make of this???? HG Failure....
TrumpetRhapsody replied to jc052685's topic in Nissan L6 Forum
Here is what i've been running. I combined, averaged, and smoothed a bunch of people's maps, and tweaked it a bit based on drivablity. It's fairly conservative IMO, and will be improved once I get knocksense going. I've only had this up to about 180kpa so far, and it's on my full Turbo motor (F54/P90).