-
Posts
147 -
Joined
-
Last visited
-
Days Won
1
Content Type
Profiles
Forums
Blogs
Events
Gallery
Downloads
Store
Everything posted by jkelly
-
Great pictures. That looks really good. I see what you're talking about. Maybe that's a shadow. It looks darker around the gauges.
-
I would really like to see this installed if you get a chance to take a picture, or even just a picture of it on the frame. I've been asking Vintage Dashes for a picture of one installed but they surprisingly don't have one. That's one of the main reasons I haven't pulled the trigger yet.
-
Interesting. I think the hole on the left he used for speaker wire. It's also on the other door. But the hole on the right I have no idea. I'm getting ready to epoxy prime these and then weld up the PO holes. Didn't want to weld up anything I needed. Thanks for looking at yours.
-
Hey guys, I think the previous owner drilled extra holes in my doors to route wires for speakers. I'm trying to figure out which holes are supposed to be there and which are not. This is on a 1972 240z. Does anyone have an idea or maybe a picture of this side (door hinge side) of their 240z doors?
-
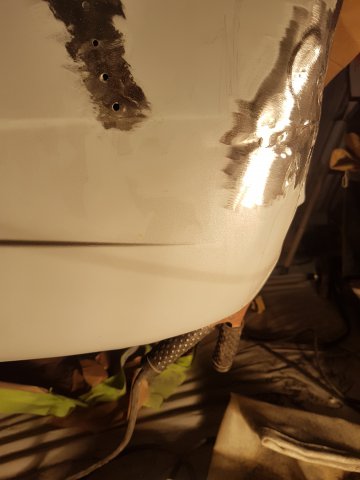
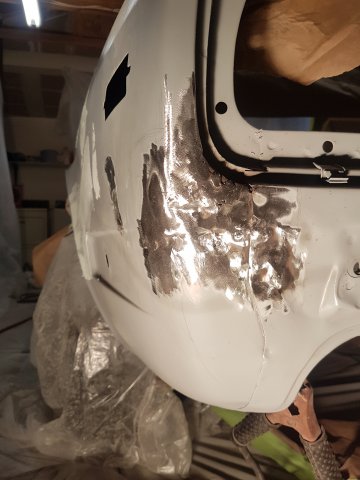
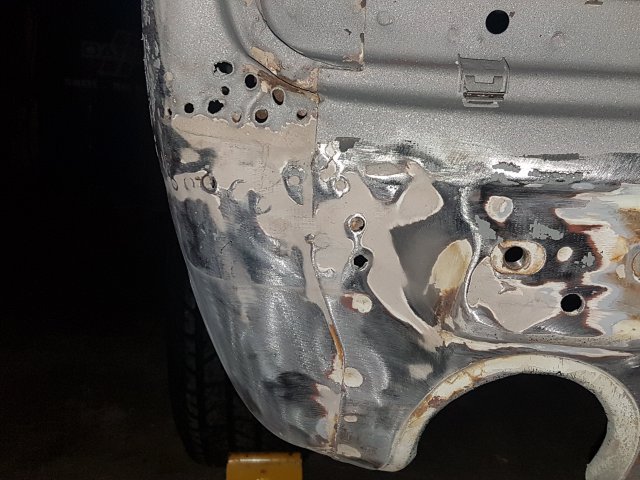
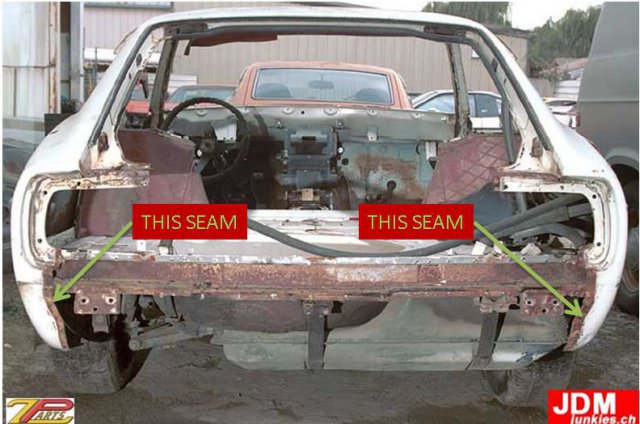
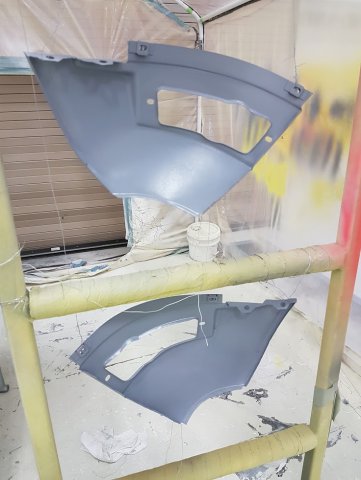
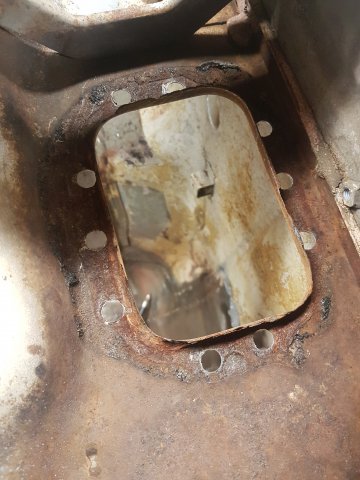
Thanks guys for the responses. I think I probably will go back in and weld the seam if nothing else just for peace of mind that it won't crack. The main reason I decided to fill the seam in the first place is because of the body damage I found hiding there after I stripped the paint. Someone had pulled out a big dent and filled the many holes with bondo. I welded up the holes the best I could but the panel was still pretty mangled and uneven, so I smoothed it over with the Evercoat Short Strand and then the Evercoat Xtreme. The issue with trying to hammer and dolly this section is the large structural supports behind the panel keep you from getting a hammer OR dolly back there. I wasn't sure how to fix it. Any advice or comments on the original situation? The hiding damage. These holes were all filled with bondo and the metal was very uneven: I welded the holes, but the metal was still uneven. I filled over the welds with Evercoat Short Strand. The backside was mostly inaccessible. More holes on the side of the quarter panel. I ended up welding these and filling over that with Evercoat Short Strand, too.
-
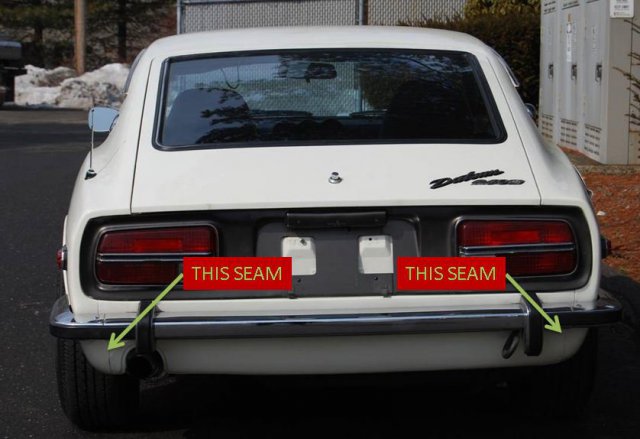
Hi, On my '72 240z I smoothed out the rear lower panel seam where it is spot welded to each lower quarter panel. I first sand blasted the seam then applied Evercoat's Short Strand Fiberglass Reenforced filler, which they advertise as a seam filler and as being waterproof. I then used Evercoat's Rage XTreme Plastic filler over that. Do you think this area of the car will see much flexure? Will it crack over time? Should I go back and weld the seam? I've sprayed epoxy and high build polyester primer, so I'm not too far to go back, I guess. Pictures for reference
-
Thanks for the replies guys. I get what you're saying. I would hate to destroy some nice forged pistons while learning how to tune the setup, though. I've heard of people doing this and other people recommending learning to tune on cheaper cast pistons then upgrade to forged. Don't some people run up to 300 - 350 whp on cast flat tops + P90 and pump gas if detonation is under control? Maybe not. I'm certainly still learning. I think TonyD ran (runs?) a boosted L28 with flat tops and N42 at 8.5:1 CR. I'm not sure what kind of power he's making.
-
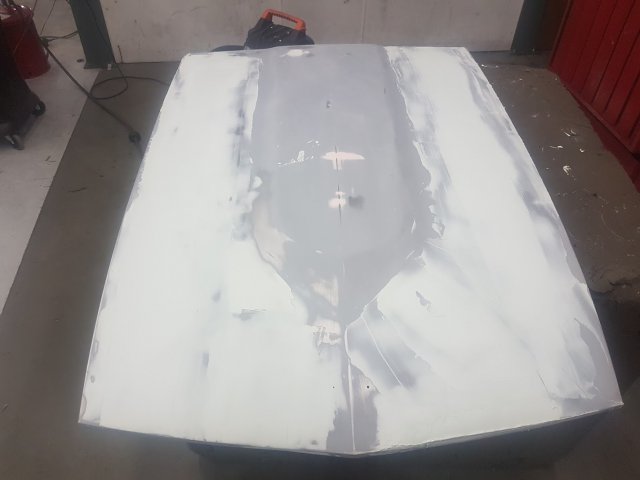
That's really unique and cool! I remembered last night that I may still have the hood from my old 280z, but it's a long shot. I'm going to go look this evening. I'll get back to you. My current hood was warped by the sand blaster and in the process of trying to fix it things started getting worse. So, now it has a lot of filler on it -- no more than about an 1/8 inch, but it's over a large area. Ugh.
-
Hey guys, I'm looking for a 240z 260z or 280z hood in good condition in the southern California area or nearby. I'm willing to drive several hours. Let me know!
-
Gotcha. Thanks guys. I imagine shipping would be pretty expensive from there to CA.
-
Well I ended up buying a P90 head from someone, so I'm thinking I'll put the P90 on the N42 block with flat tops and use a Nissan head gasket for about 8.5:1 CR.
-
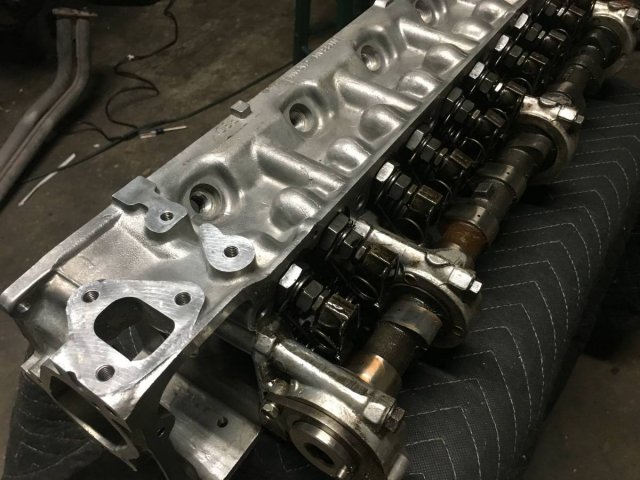
Hey guys, I"ve been reading around here a bit and have a few questions on what route you think I should go. I have a build thread over in the members rides section too. What I want: A streetable/daily driveable turbo car that's also fun on the track and has room for growth. 300 - 350 horsepower to start with. Budget: Budget isn't a huge concern, but it's not unlimited. Block/Head options I have: Completely rebuilt L28 NA from a 1978 280z 2+2: Rebuilt N47 head with NA Schneider .460 260/260 cam, 300zx springs Rebuilt N42 block with 0.020" overbored flat tops Non-running L24 from a 1972 240z: E88 stock head P30 stock block Non-running L28 from a 1975 280z: N42 stock head N42 stock block Maxima stock MN47 head Intake/exhaust options: Non-egr shaved N42 intake manifold with 60mm TB Turbo (?? something like a Garrett T3/T04E Stage III Turbo 50 Trim 0.63AR??) BOV (??) Wastegate (??) Intercooler (??) L28ET stock exhaust manifold Fuel/ignition management: Megasquirt 3 with MS3x board COP using LS coils Full sequential ignition Fuel delivery: Stock 240z tank Walbro 255 Carter low pressure lift pump 1 liter surge tank 5/16" fuel feed line (big enough?) 5/16" fuel return line 440cc or 550cc high impedance injectors Do you guys have any advice on what head/block combination I should use from above? Should I start looking for a P90 head? Should I swap the NA Schneider cam for a turbo cam? With the N47/N42 and a 2mm head gasket I'm still looking at almost 9:1 CR. With a P90 and the N42 block with flat tops I'm looking at about 8.5:1 with a stock gasket and less prone to detonation using the higher quench head. Any other general advice or suggestions? Once I get this figured out I'm going to start sizing my turbo.
-
My '72 240z project -- Rotisserie Restomod
jkelly replied to jkelly's topic in S30 Series - 240z, 260z, 280z
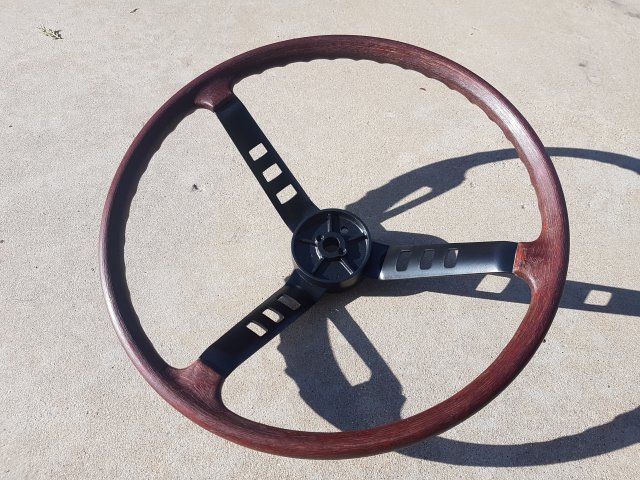
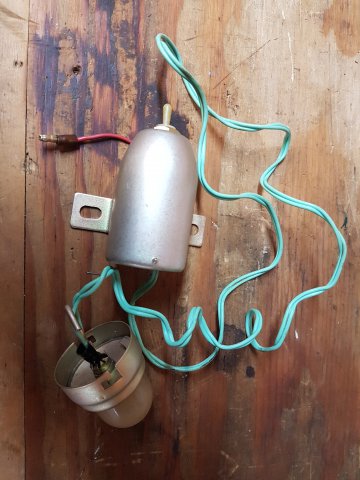
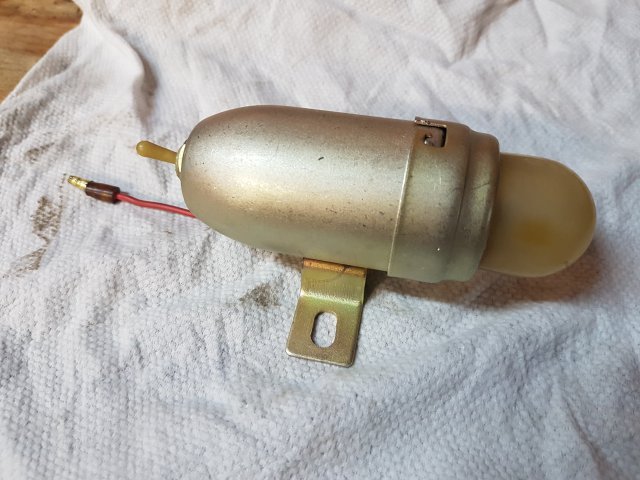
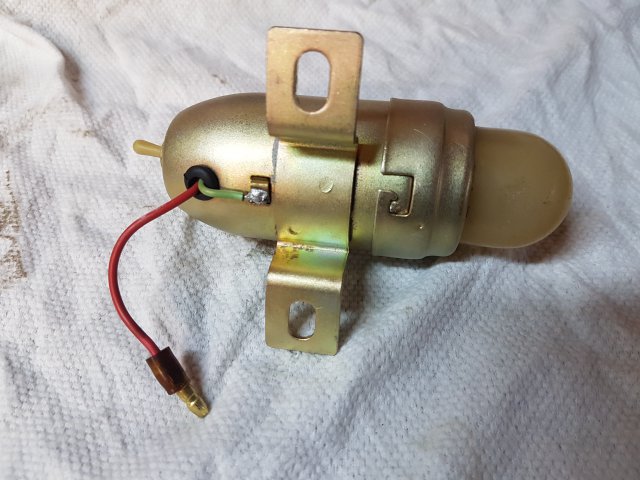
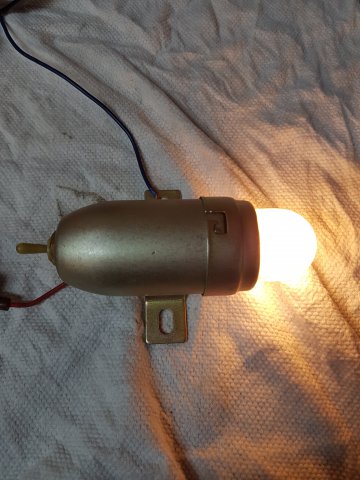
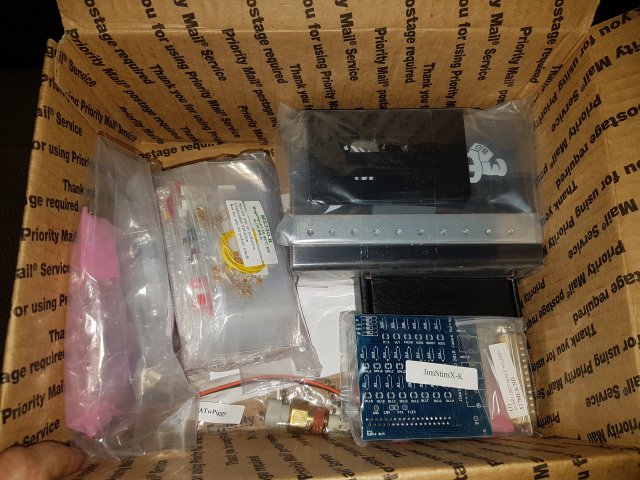
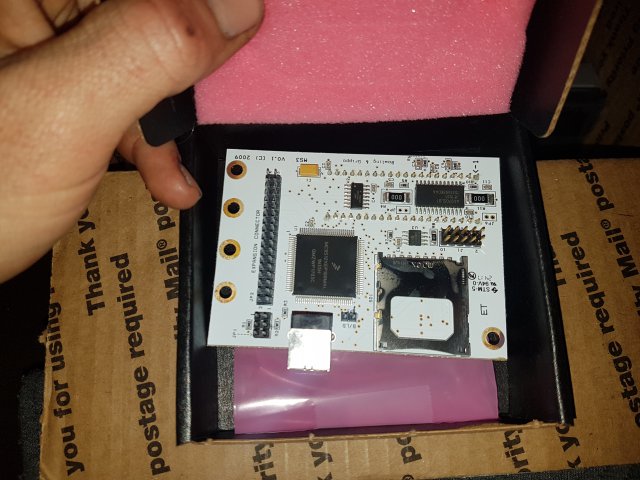
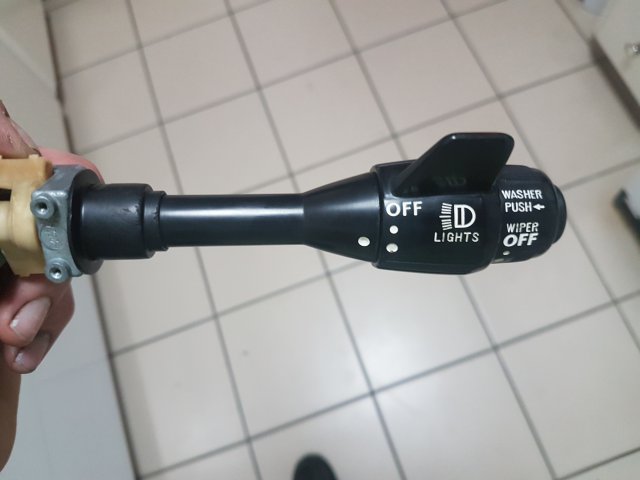
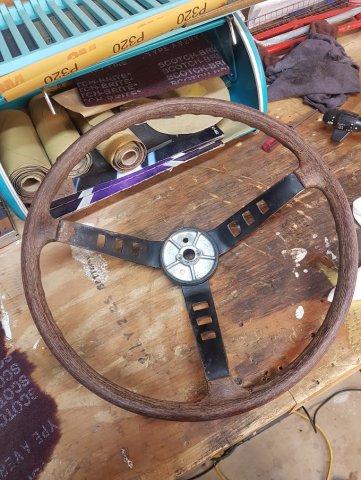
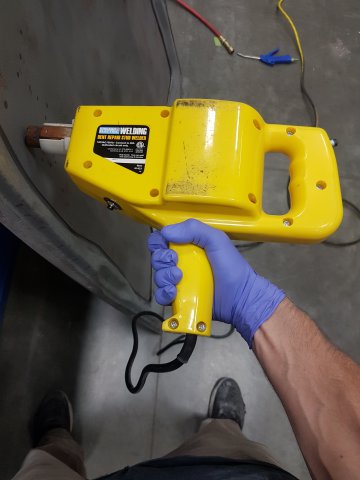
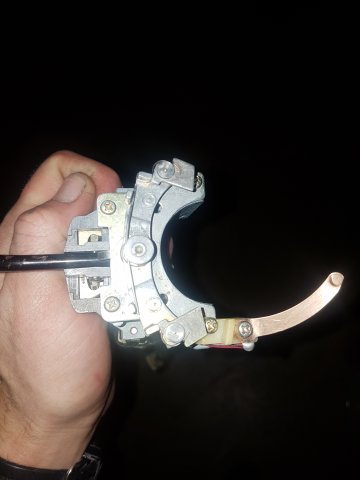
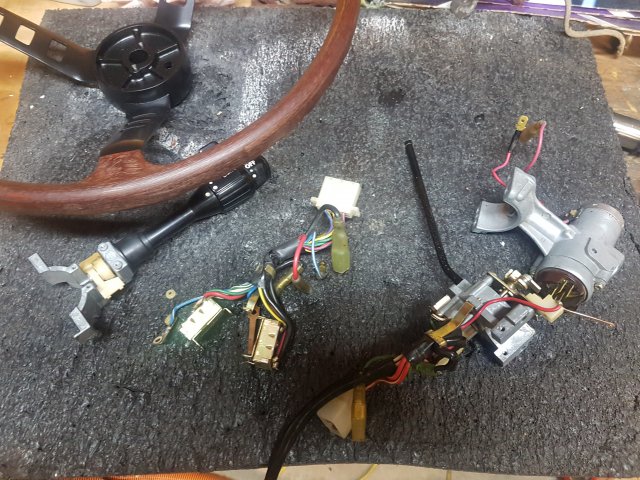
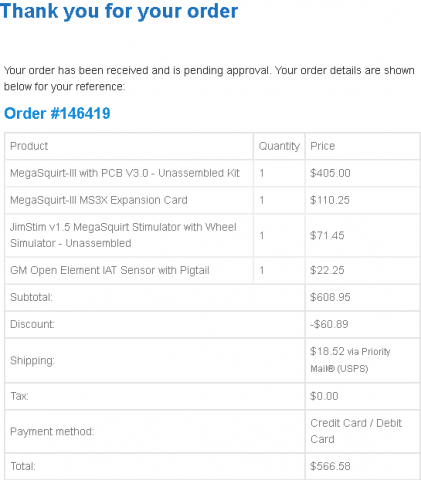
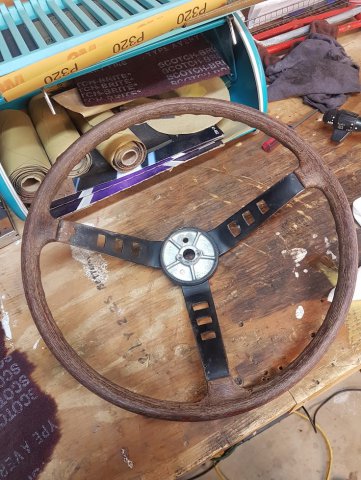
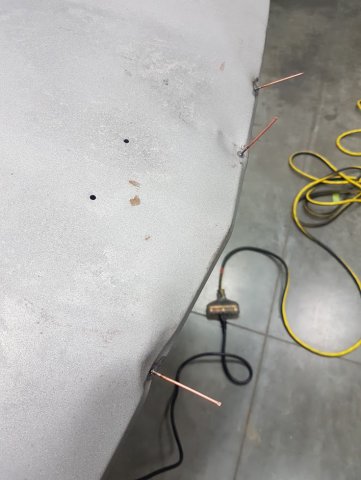
I've been spending most of my time doing body work on the hood, fenders, and deck lid. It's hard work getting a panel straight. I've been using a stud welder to shrink parts of the hood and decklid to reverse the damage done by the sandblaster. It's a long process of shrinking with the stud welder, hammering flat with the hammer/dolly, and then deciding where to shrink gain. I've done some other stuff on the side, like the steering wheel, engine bay inspection light, turn signal switch, and headlight switch/controls. Before: After. I used a Red Walnut wood stain for the wheel and SEM Landau Black for the metal. Before: After. The cadmium plating didn't come out great on this particular part, but It's not bad. It is real cadmium plating, not zinc. Started cleaning up the turn signal and headight switches/controls. I used electrical contact cleaner (aerosol), rust converter gel (for corrosion on metal parts), and scrubbed everything down. I lubed moving parts in the turn signal mechanism with a PTFE dry lubricant . Oh and what's this!? My DIY Megasquirt 3 with MS3x and JimStim boards came in! Woohoo! I'm looking forward to getting these wired up and doing some custom electrical work which is kind of my forte. I've done some printed circuit board layout in the past so I'm thinking about designing my own printed circuit board for fuses, relays, additional datalogging from the MS3, etc.- 76 replies
-
- restoration
- metal fabrication
- (and 19 more)
-

My '72 240z project -- Rotisserie Restomod
jkelly replied to jkelly's topic in S30 Series - 240z, 260z, 280z
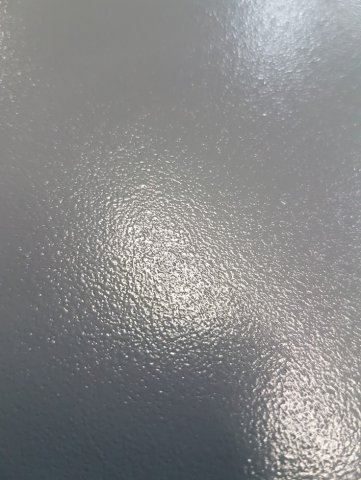
Well I sprayed some more epoxy last night after my friend showed me how he mixes and sprays paint. It went on A LOT smoother. Northwoodz, like you said, he turned the pressure up even higher than I was spraying with (about 40 psi with a half trigger pull and maybe around 25psi with a full trigger pull -- I really don't know what these two measurements are called. I've heard the terms "at the cup" or "at the tip" -- maybe that's the two?) We also used a slower reducer at a higher ratio and used a little less hardener than recommended. Unfortunately my prep work was lacking and there was a surprising amount dirt, rag lint, highs and lows, bondo edges, etc. in the primer. Ugh. A lot more work to do before I even go to high build primer, not to mention basecoat!- 76 replies
-
- restoration
- metal fabrication
- (and 19 more)
-

My '72 240z project -- Rotisserie Restomod
jkelly replied to jkelly's topic in S30 Series - 240z, 260z, 280z
Also just ordered the MS3 system for the car. I'm excited about getting to the engine work once I wrap up body work this winter. I'm planning to go DIS and use D585 COP coils and drive them directly from the MS3.- 76 replies
-
- restoration
- metal fabrication
- (and 19 more)
-

My '72 240z project -- Rotisserie Restomod
jkelly replied to jkelly's topic in S30 Series - 240z, 260z, 280z
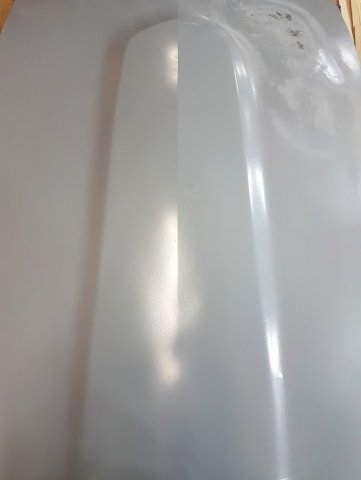
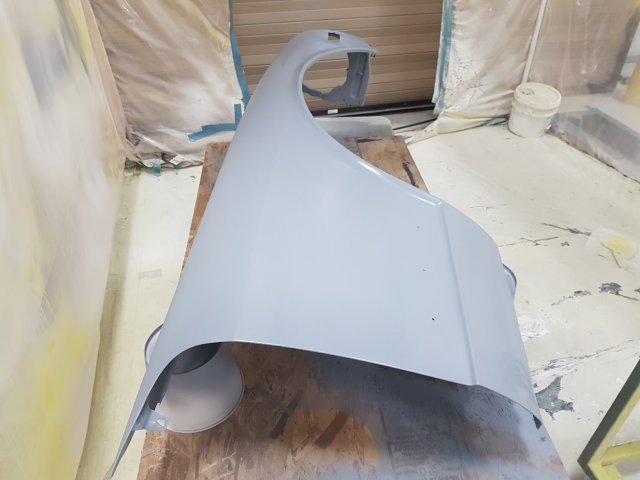
I've heard that too. I've been spraying my epoxy around 25psi with a 1.3mm tip (but with a really cheap gun) and over reducing it too. It's laying down better than it was before, but still not a smooth finish. I'll see if I can turn the pressure up even more. It looks like this right now:- 76 replies
-
- restoration
- metal fabrication
- (and 19 more)
-

My '72 240z project -- Rotisserie Restomod
jkelly replied to jkelly's topic in S30 Series - 240z, 260z, 280z
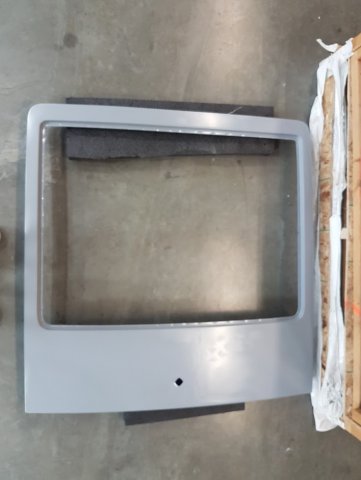
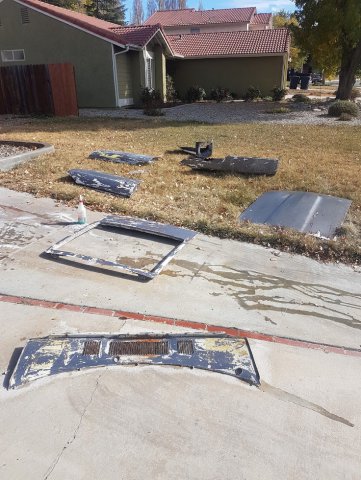
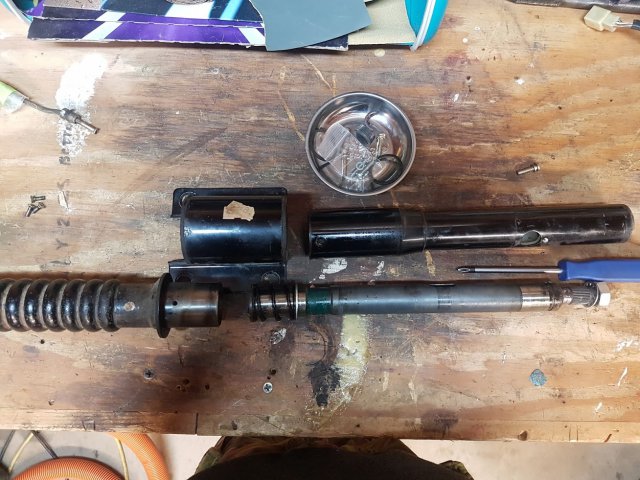
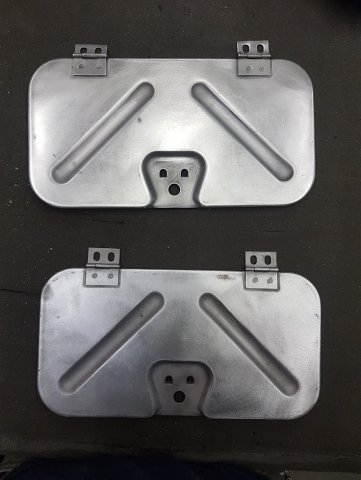
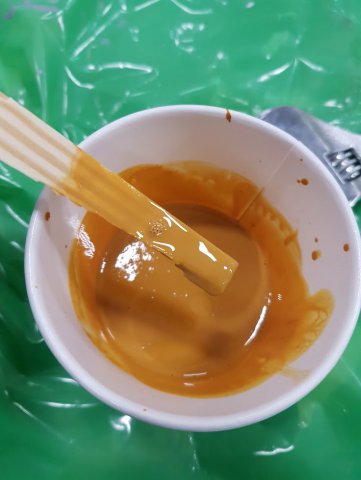
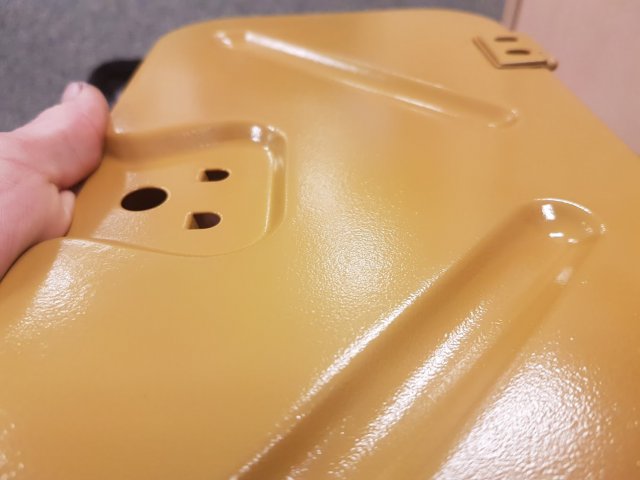
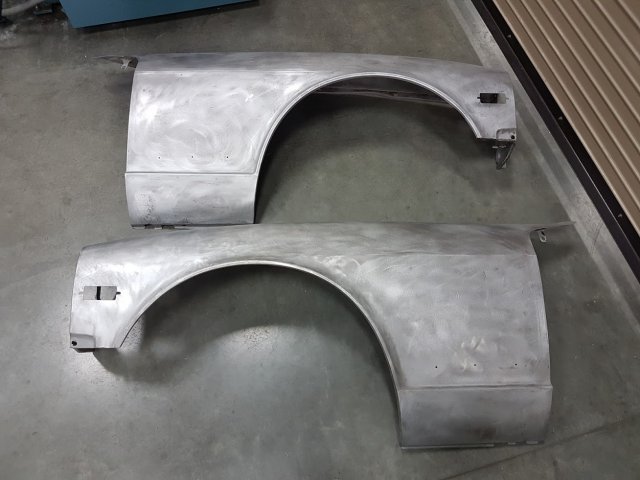
Did some more body panel work. I stripped all of the panels using aircraft stripper and then had a friend clean them up using his sandblaster. Despite reading in several places that YOU SHOULD NEVER SANDBLAST BODY PANELS! I did anyway and boy should I have listened. The panels aren't ruined but the hatch was warped about a 1/4" on the bottom section and oil canned on both sides. I used a stud welder and hammer and dolly to shrink the panels back close to factory (within about an 1/8 inch). It was tricky to repair because when sandblasting the metal one side gets stretched (tension) and the other side is in compression. This is why the metal will raise up towards you on the side you're blasting. The hatch is about 1/4" warped After much shrinking After some epoxy primer, a lot of Rage Extreme plastic filler, and sanding. Also started work on the lower valance center piece smoothing it out. Welded some rust holes and prepped the fenders for epoxy too. Started work on the hood. Repairing some dents in the front edge. I didn't get keep back perfect, but they're probably within a 1/4". I'm just going to accept that this car is going to have some plastic filler. Oh well. At this point at least I'm using quality plastic filler (Rage). When running a straight edge across it the hood also seems to have some low spots, maybe due to sandblasting, maybe not. I've used the stud welder to shrink a little on them, but unfortunately they'll require some plastic filler. Got a couple ounces of Safari Gold in PPG DBC and sprayed it on the tool compartment covers. I obviously need some more practice spraying paint before attempting the entire car! Nasty orange peel/dry spray texture. I like the color though -- I think I'm going to stick with it. I also started disassembling the steering column. It took a while to figure out how this thing came apart, but I finally got it. I'm just going to clean it up, re-grease the shaft and bearings, paint it, and re-assemble. I'm also planning to refinish the steering wheel. Cleaned it with dish detergent and a scotch brite pad. It should look nice after some wood stain and new black paint.- 76 replies
-
- restoration
- metal fabrication
- (and 19 more)
-
DIYAutoTune is 10% off. But they've also increased their base prices a bit over the last several months...
- 2 replies
-
- cyber monday
- parts
-
(and 1 more)
Tagged with:
-
Still looking. Anyone have one laying around or know someone willing to sell?
-
Hi, I'm looking for a replacement hatch for my 1972 240z. If it makes a difference, I don't need the glass or any hatch associated hardware/brackets, etc. I need just the hatch frame itself. The sandblaster warped mine and I'm having trouble shrinking it back to the correct contour. I'm located in Tehachapi CA (2 hours north of LA). Thanks,
-
No problem. Yeah, it sucks. I imagine it's driving a lot of business and businesses out of CA. Speaking of which, yep, I'd say it is worth it. If I weren't so far along already I would trailer mine out there to Phoenix. They've also been hit by some EPA regs I think. The Redi Strip was bought by a company called Clean Metal Industries and they told me they no longer do automotive stripping. I did get a quote from a company called Xpress Metal Cleaning for the entire shell and parts (fenders, hood, etc.) for $1500. That was about a month ago and their website has since gone down -- maybe the EPA police got them too! Ridiculous. I'm not sure who else there is around the area. Xpress Metal Cleaning LLC 1146 E. Buckeye Rd. STE A Phoenix, AZ 85034 Office: 602.628.7306 Fax: 480.907.1469
-
Yeah, I got a quote from them a while back ~$1750. I'm sure they do great work, but that's too pricey for me.
-
You make a good point. Why cut corners now? I'll use some copper backing plate since the metal is so thin and just weld it up.
-
I ended up just drilling the spot welds from the bottom side and removing it to sandblast it and sandblast around the cowl area. I'll just spot weld it back in from the bottom. It has a few rust holes in it. I think I'm just going to fill these with body filler or something easy, instead of welding them.
-
Excellent work! I like following your build -- motivates me to work on mine more! Can I ask, what part number/vendor did you get those door switches from? On my '72 240z I think one of the door switches is only a one wire and the other is a two wire. MSA does't carry the one wire anymore. I could modify the two wire, but I'd rather have OEM.


