AydinZ71
Members-
Posts
1073 -
Joined
-
Last visited
-
Days Won
27
Content Type
Profiles
Forums
Blogs
Events
Gallery
Downloads
Store
Everything posted by AydinZ71
-
240z SCCA vintage race car, restoration
AydinZ71 replied to AydinZ71's topic in S30 Series - 240z, 260z, 280z
-
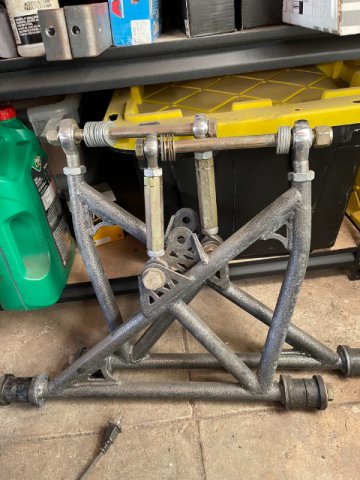
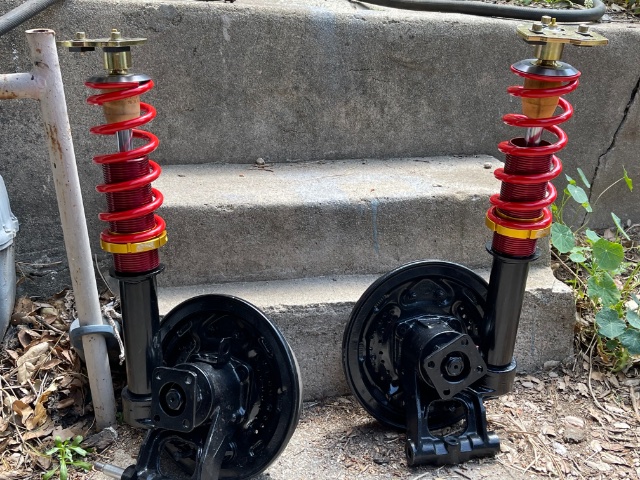
Hi all! So I got this pair of apex rear control arms I picked up used from another dude locally almost a year ago. Finally putting the suspension onto the race car, and honest have no idea what I’m doing. I have disassembled the old control arms so I am familiar with the OEM geometry and parts. With the apex units, I’m clueless! A few questions: 1) so no bushings on the strut side of the arm? Seems like it’s just a 5/8” bolt and washers. 2) what are the washers for? Do they come this way from apex? 3) any adjustment I should make before I put them on? How exactly do you adjust the track width on these guys? 4) the link on the left is on a heim join and pivots up and down (in and out of the photo). Is that normal? Does it need to be bolted down further so it does not pivot? any help you can provide would be most appreciative!!
-
Beyond @clarkspeed‘s points, it would be great if someone could provide the complete weight of the powertrain and battery pack combo, including all cabling, modules, VFD’s etc. my experience would tell me that the weight is extensive. The weight difference between the entry-level model 3 and the long-range dual-motor version is nearly 500lbs. Completely different thought process to consider when comparing low-high HP ICE based cars. still a great idea and I’m sure it will be a killer Z if successful.
-
super helpful! Thank you!
-
LOL!!! I think the black smoke and smell of gas might tip me off 😂😂 although, that’s a great point because I wouldn’t have thought of that until you mentioned it. many reason you like the PLX over, say the AEM gauge? I looked at the PLX unit and the price is attractive!
-
240z SCCA vintage race car, restoration
AydinZ71 replied to AydinZ71's topic in S30 Series - 240z, 260z, 280z
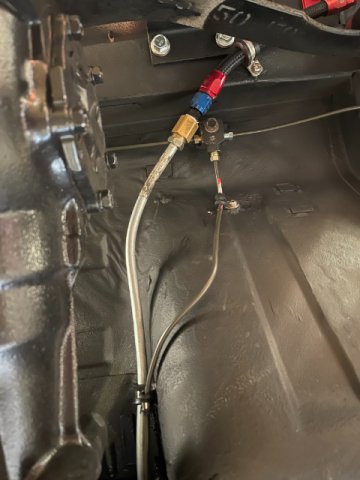
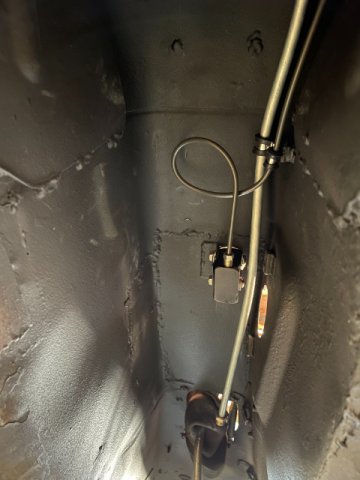
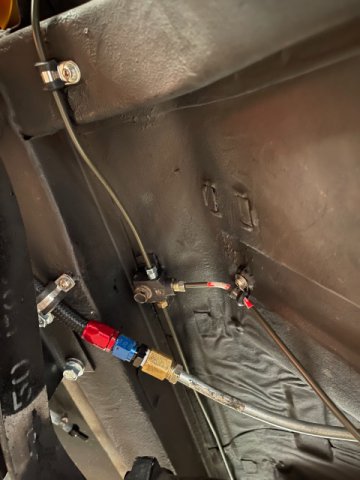
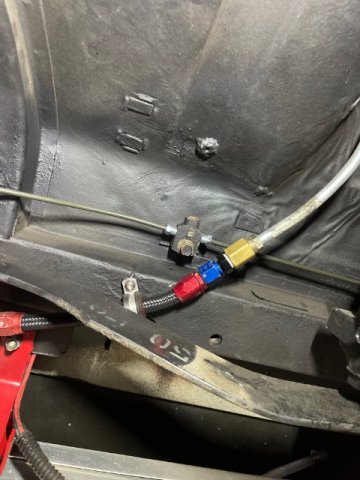
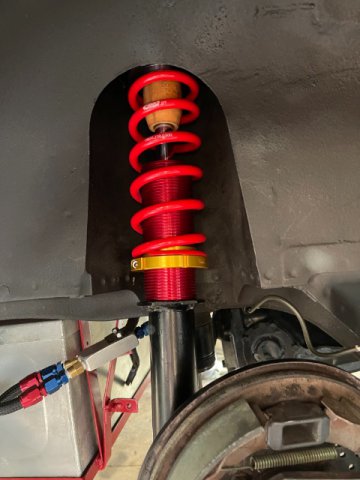
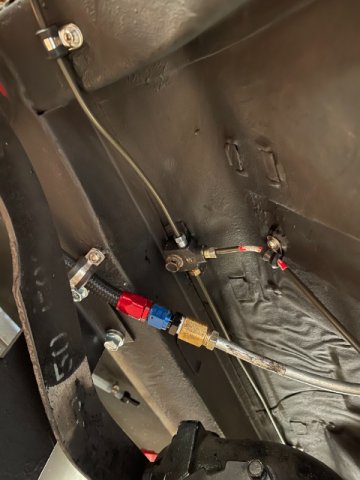
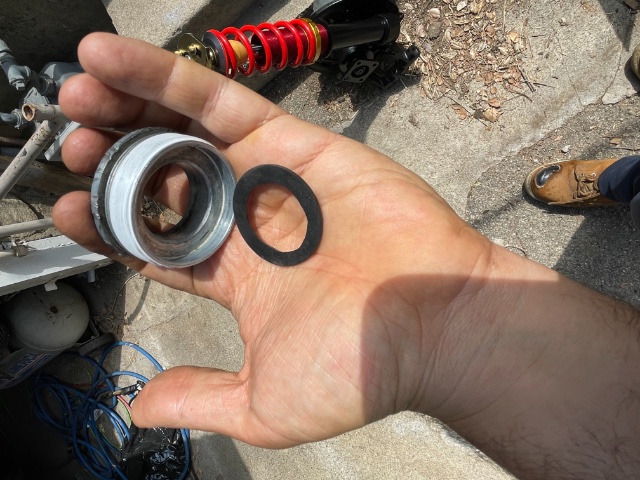
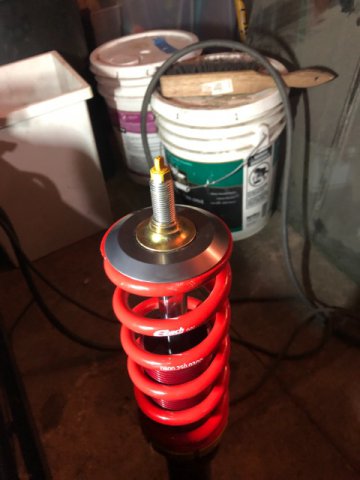
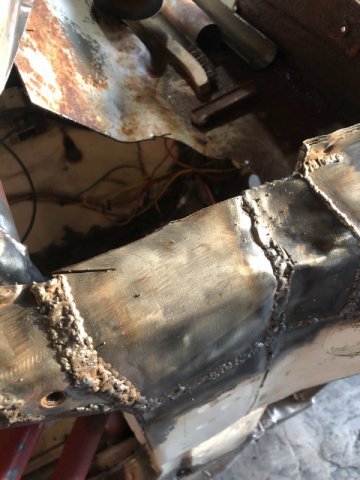
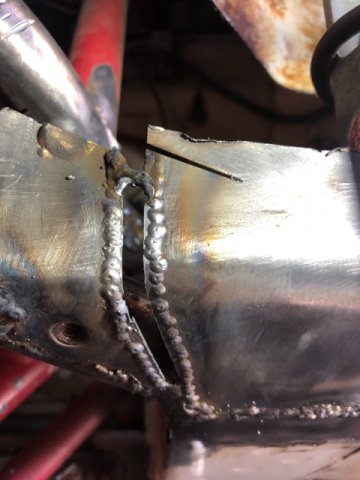
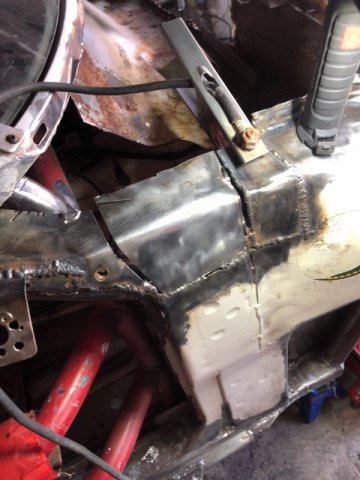
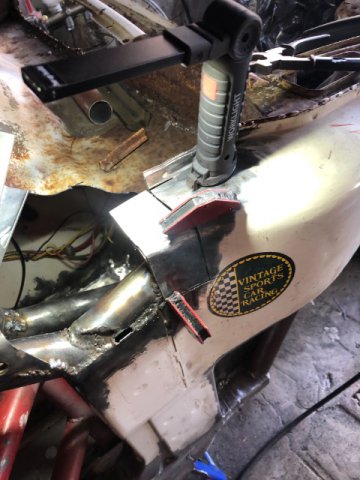
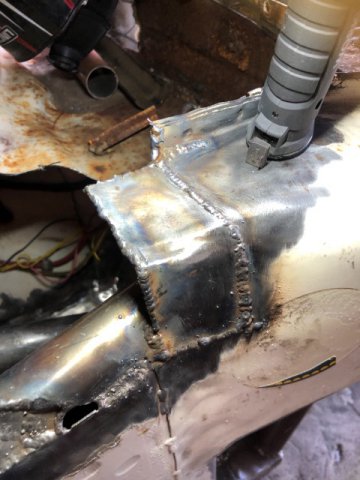
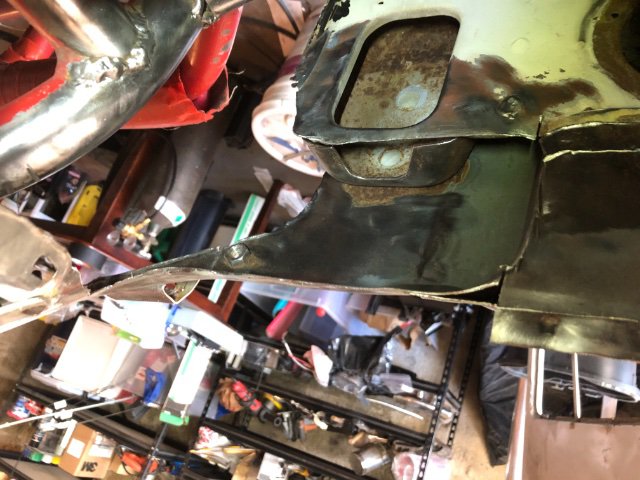
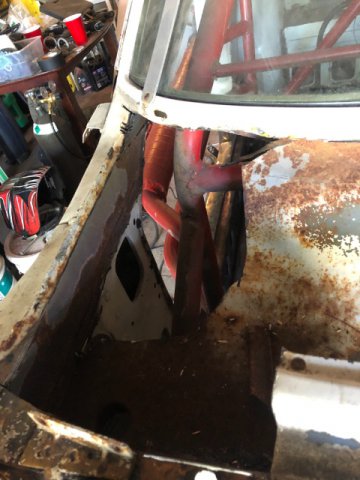
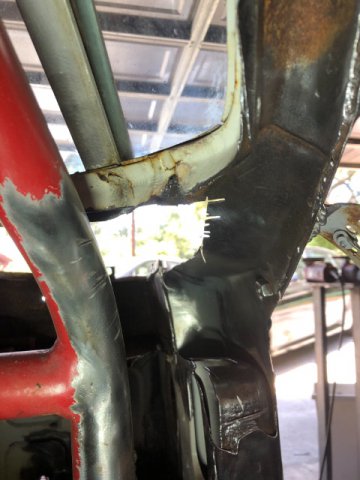
Update: took a deep dive And removed most of the cowl chimney/box. Starting to make templates for the replacement steel. In the rear, I just need to put in the replacement brake lines and I can reassemble the rear suspension. I finally assembled the struts (thanks for all your help!) and made a neoprene gasket to keep the oil-fill from oozing. Also helps cushion the shock against the gland nut. -
A local friend of mine just sold his from a series 2 240z for $300. If there aren’t any differences between the 280 and 240 in this specific panel, You will likely get more for it (300 or more) from a 240 user. PS: you might get even more if you sandblast it yourself
-
I was thinking that too! Unfortunately my header is a 6-1, not the 6-2-1 . I totally agree though! If I stick with one, il have to remember any change in measurement can potentially be a 1/2 contribution, but it will still show up in the reading. maybe il start with one, and if it becomes too frustrating I will get the 6-2-1 header and buy another meter/sensor
-
The OEM one has three adjustments. Kameari makes one with infinite adjustment (slotted). I believe NISMO made a 6-position adjustable one, and I believe there are some aftermarket suppliers that make a similar one.
-
thanks for your help! I'm glad to hear someone else out there is doing this Sometimes I think of these ideas and need a sanity-check.
-
Nothing in particular (yet). If the engine has trouble running during a race (or otherwise), the most likely culprit will be fuel with SU's in mind. The float could get stuck, the fuel pumps could die, fuel pressure/flow issues, vapor lock, etc. Not planning on it, but it would be good to have a gauge that would instantly let you know if you have a A/F issue. I plan to go with a crank triggered ignition and eliminate the distributor, so the ignition system should be pretty darn reliable.
-
So I’m a total NOOB when it comes to tuning w/o a dyno. Running SU carbs can be frustrating at times, and over time they do fall out of adjustment. I am considering a wideband O2 sensor and gauge for the race Z to help diagnose fuel delivery issues and adjust them in the field. I will be running SM needles, and have been told the A/F will not remain constant over the flow range. Hence, tuning the idle mixture to compensate. 2 questions: 1) does anyone else use an A/F meter to tune their SU’s or carbs for that matter? 2) any recommendations in make/model of sensors and gauges?
-
I got my kit last week. Great workmanship
-
Drum brakes for a racing application
AydinZ71 replied to AydinZ71's topic in Brakes, Wheels, Suspension and Chassis
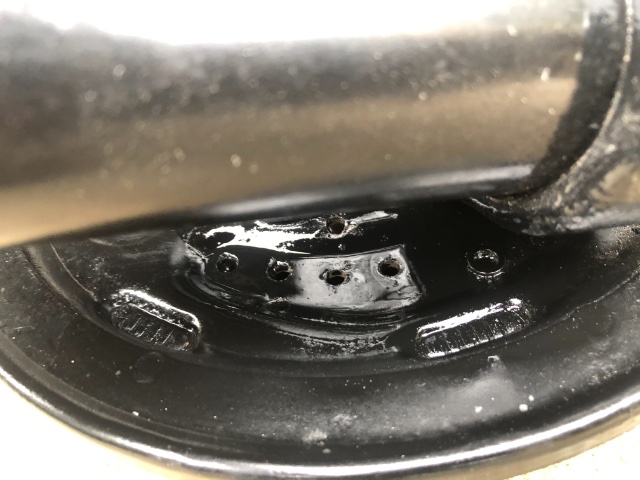
So here is what I ended up with on the OEM drum backing plate. Went with several 0.215 dia holes instead of one large oblong hole. I figured this was a reasonable compromise between venting, not weakening the steel too much, and doing something I had adequate tools for. When you add up the holes, it equates to a little over 2 in^2 of of passageway. Here a hoping It makes a difference! I opted not to drill/modify the AL drum since it already flexes so much at high temperatures. -
Looks like I have cut springs... what now?
AydinZ71 replied to AydinZ71's topic in Brakes, Wheels, Suspension and Chassis
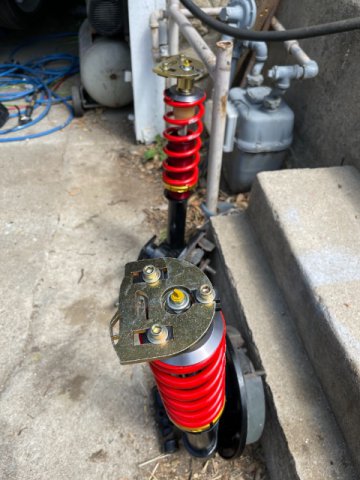
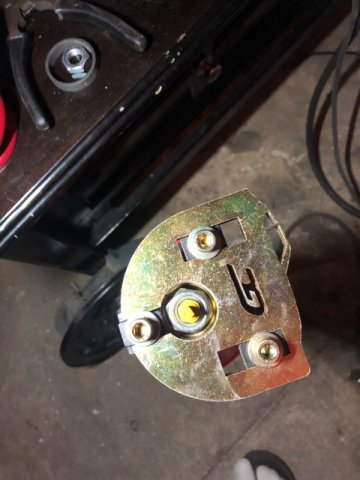
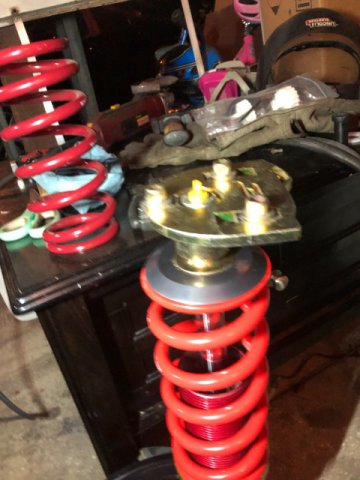
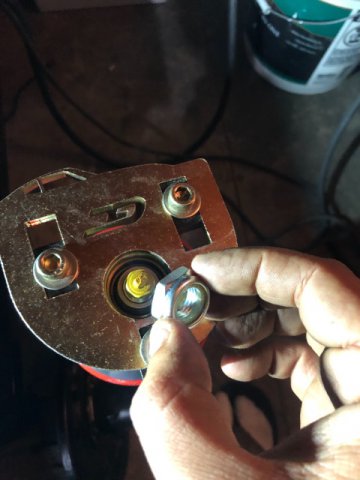
Thanks @calZ & @jhm John! The locking nut in the photo came with the camber plates. I also have nuts from the Koni's, which are not locking. I need to go find a socket that will work, precisely because of what you mentioned. The 21mm socket doesn't engage the nut, and my 22mm socket wont fit into the gap. Thanks for the torque spec on the camber plate! Do you recall the torque spec on the adjustable spring perch (also allen) and the top shock retaining nut? I didn't seem to find these in any of GC or Koni's docs. Sometimes it feels the better the car product, the poorer the documentation/installation instructions. Also, double checking. That bushing I am holding in the pic, that is supposed to go into the top of the camber plate bind the shock shaft to the thrust bearing right? -
So the rule of thumb on blowers (and pumps/fans really) is if the distance from the intake/exhaust of the unit is very short to the cab/outside, the duct only needs to be as large as size of the openings on the blower. If the ducting needs to be long (more than a few inches), then you should upsize depending on the distance the air needs to move. The assumption is that the engineers designed the fan with the appropriate apertures to maintain velocity and minimize pressure drop. If the ducting is long, the extra length contributes to more pressure drop so an upsize will compensate. Centrifugal fans/blowers operating near ambient pressure are very sensitive to restriction (think central air in your house), so its good that you had this in mind. When the pressure the fan is generating measures in inches of water (less than 1psi), there isn't much room for pressure drop. Since you are keeping the stock chimney/cowl-box for your HVAC, i would consider angling the surface to drain to one specific location, then consider draining into the engine bay somewhere visible. You can use lightweight filler to achieve this, and seal it up real good with epoxy (either por-15 style single component, or dual component) I think a common rust point is where the cowl drains through the cab and into the fender cavity. Since you rarely look there without the fender off, its a common place for surface rust to proceed to full-blown pitting. This being a race car, I thankfully did not need to worry about a blower at all. I am however adapting to the passenger size fresh air intake into the cabin, for the driver. Funny note, it seems a literal rats nest was made right where it meets the cab down by the passengers feet. Previous owner had the car outside for years. That was fun to clean-up.
-
Looks like I have cut springs... what now?
AydinZ71 replied to AydinZ71's topic in Brakes, Wheels, Suspension and Chassis
Six months later, and I’m finally ready to install my rear suspension. Reviving my original post to make sure I get this right. Your input is very valuable! These are ground control coilovers, with ground control bolt-in camber plates. I sectioned the strut, put a few ounces of motor oil in the tube, and slid in the shock. the camber plates came with a bushing, and I believe it’s supposed to go on top to capture the pivot bearing from both ends? also, silly question: how do I tighten the locking nut if the shock just spins? I want to be ultra careful and not scuff the surface. One idea I had is to use a pair of locking pliers up high on the shock, with a rag as a buffer. -
sorry didn’t mean to cause any trouble. They were just on my “feed”. Tried looking just now but I don’t recall the specific user names. They were all the parts laid out on the floor. One was laid out in the kitchen floor. This was over the course of the past few months. If my post had any “point” at all, it would be that the kit will take quite some time to install. It’s a lot of work. Hence, it might be a while before we get a lot of direct feedback on the performance.
-
I see 3-4 people on instagram showing off their recieved kits. Its the fun an exciting stage before they realize the difficulty and adjustment necessary to perform the install. My guess is it will be another 4-6 months before someone completes the install themselves from the Black Friday purchases. If they give it to a shop, might start seeing some done in a month or two. I'm sure we will have a lot of feedback by 2022!
-
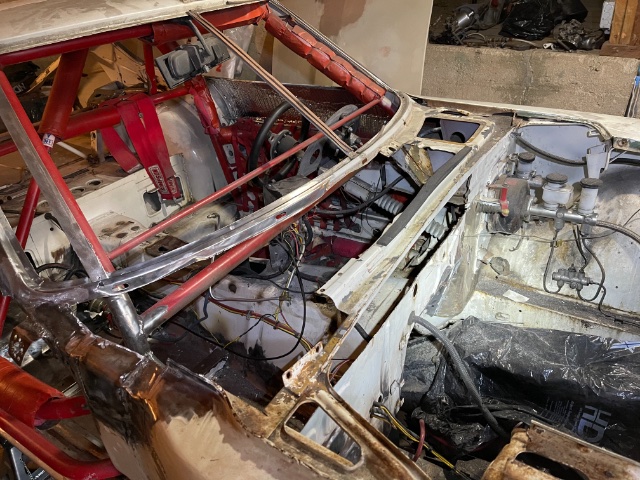
You and I seem to be working in the same area. I am eliminating the "cowl box" altogether. Previous owner already cut into the firewall to vent the engine bay through the cowl. Since its rusted quite bad (previous owner did not pay much attention to drainage), im going to rebuilt it with drainage in mind. Where the cowl vents are present, I'm going to build a ramp for air in the engine bay to continue escaping. Where the cowl is flush, I'm eliminating the cavity and placing 20-gauge sheet metal directly under the cowl. Rain water will now drip towards the engine bay and through the fire wall. Il be sure to seal the seams real well. I already eliminated the drain that passes from the cowl box, through the cab, and into the fender cavity. Since its race car, I no longer have a dash, and have no reason for the OEM mounting points.
-
Hood struts to replace tension rods
AydinZ71 replied to fusion's topic in S30 Series - 240z, 260z, 280z
It is remarkable how long these tension rods work for. 50 years later, they are still helping to keep the hood aloft when you have it open. Previous owner removed the stock hinges/tension rods and replaced them with horizontal "pins" into the sides of the hood, making a half-assed hinge. One of the few times i drove the car before the restoration process, the pins gave way and the hood flew off at 75mph. I was very lucky it did not hit anyone, or my windshield. It tore the hood pins (near the cowl) right off the sheet metal, tearing open a bag of chips. My only advice on the topic is, think it through and make each component stronger than you think it needs to be. There is a tremendous force of lift on the hood on an S30. I went back to using the OEM hinges and tension rod, and plan to put in new hood pins with custom mounts. -
Question about potential engine swaps
AydinZ71 replied to Projectcarguy's topic in S30 Series - 240z, 260z, 280z
Yeah that is a fair assessment. When I stated Z's are nose-heavy, I should have been more specific. Most of the mod's I have entertained, or look forward to doing, seem to place more weight up front. My street Z has an L28et (yep, all that plumbing and core you mentioned). The 300zx rotors and 4X4 calipers put even more weight up front. Meanwhile, going fuel-cell reduces the weight in the back. I had kept the drums in the back as well. Considering the weight distribution was not really something I paid enough attention to when I built the car ~20 years ago. It is something I am much more aware of now, and consider closely on each and every addition/subtraction to the car. PS: I don't believe there are significant technical differences between JDM, US, or German engines to classify as a "sound" unique to the country of origin. V8's have a unique sound for sure. so do 4-bangers, V6 vs. inline, etc. I think the biggest influence on the sound you are looking for will depend on your exhaust system, and the number of cylinders/arrangement of your engine. -
I’m sure bonding will be OK there aren’t many forces on this top panel anyhow. It’s a ledge for the tail light bezels. done forget the seam sealer. As you can see from your assembly, there are lot of steel lap joints for water to work it’s way in. One drive in the rain can start the rust all over again :(
-
240z SCCA vintage race car, restoration
AydinZ71 replied to AydinZ71's topic in S30 Series - 240z, 260z, 280z
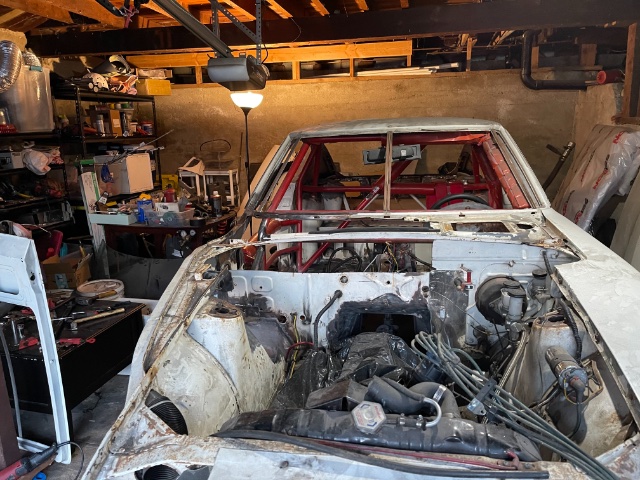
Taking the cowl “box” apart, replacing rust, and eliminating most of the structure, and replacing some sections with steel tube. IMG_5906.MOV
