-
Posts
264 -
Joined
-
Last visited
-
Days Won
2
Content Type
Profiles
Forums
Blogs
Events
Gallery
Downloads
Store
Everything posted by JoeK
-
Slow Build 240Z LS1/MN12 - Build Thread
JoeK replied to JoeK's topic in Gen III & IV Chevy V8Z Tech Board
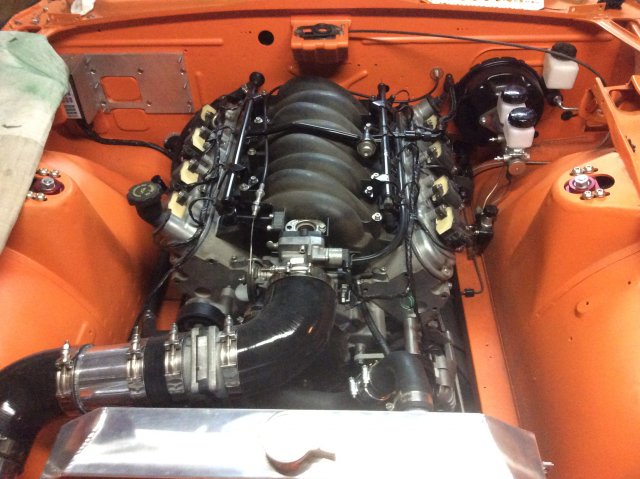
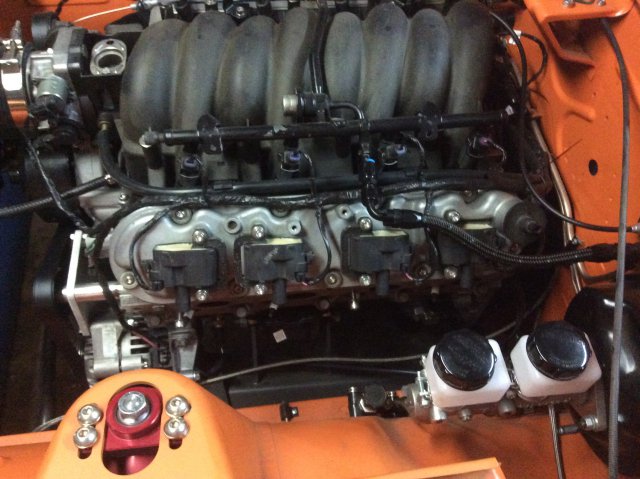
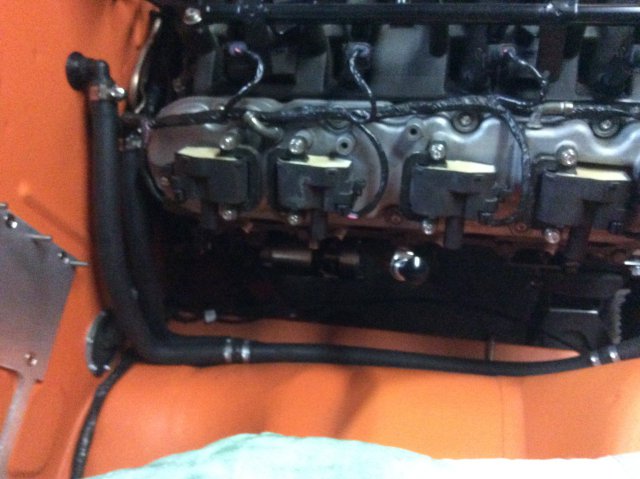
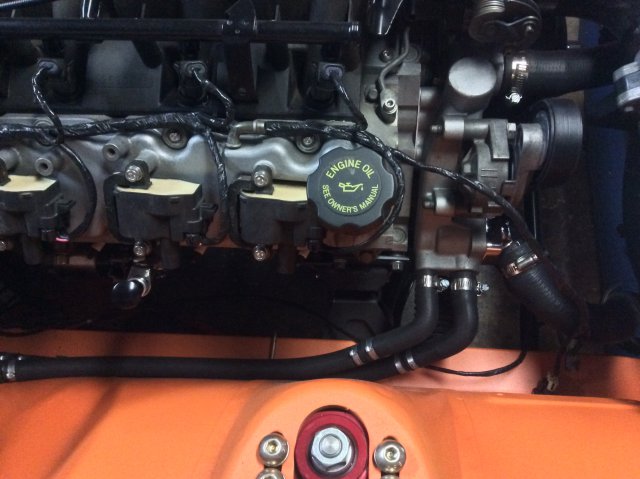
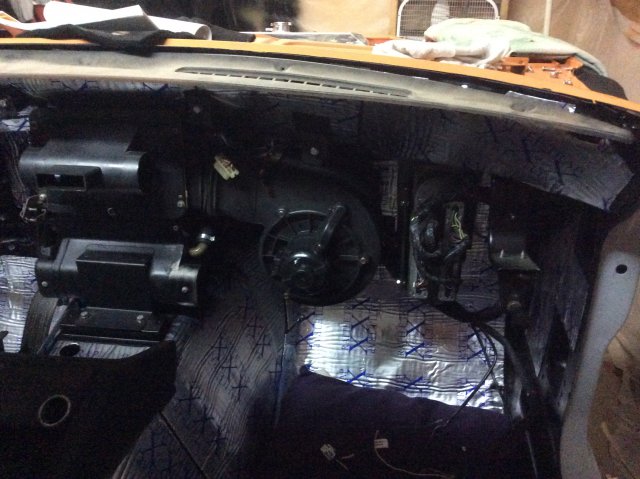
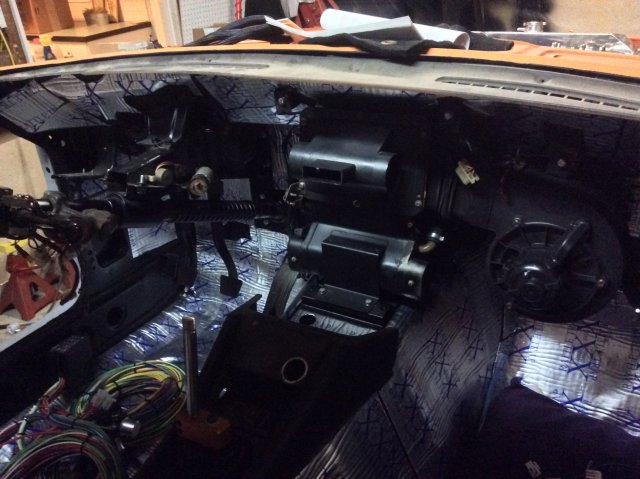
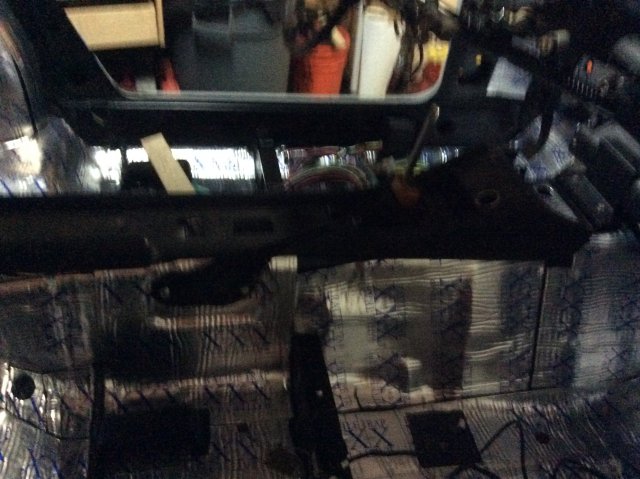
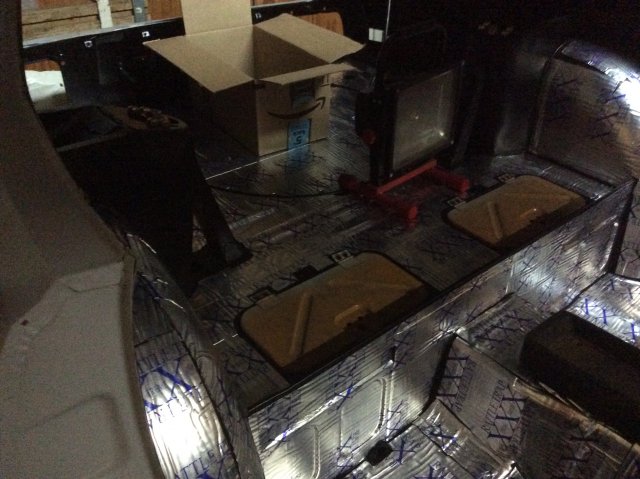
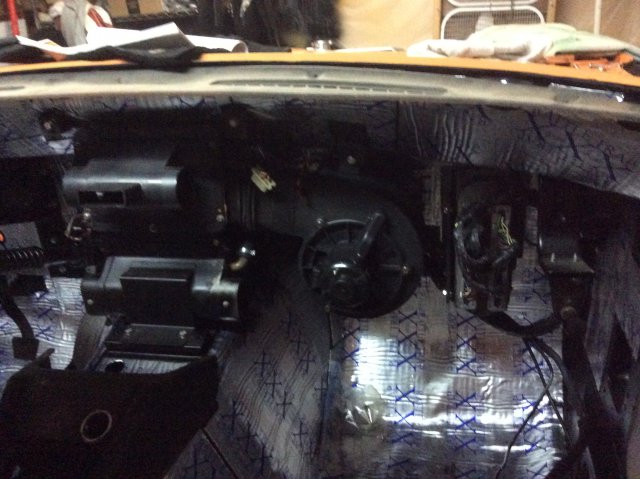
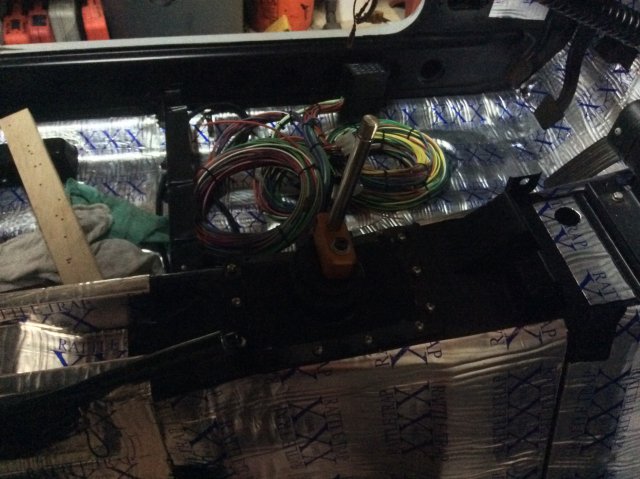
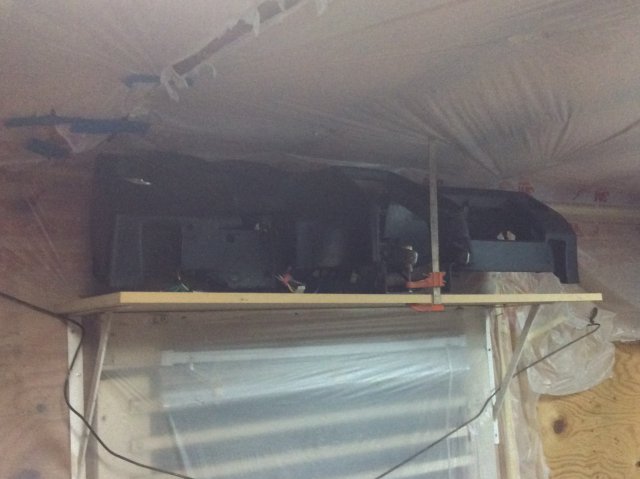
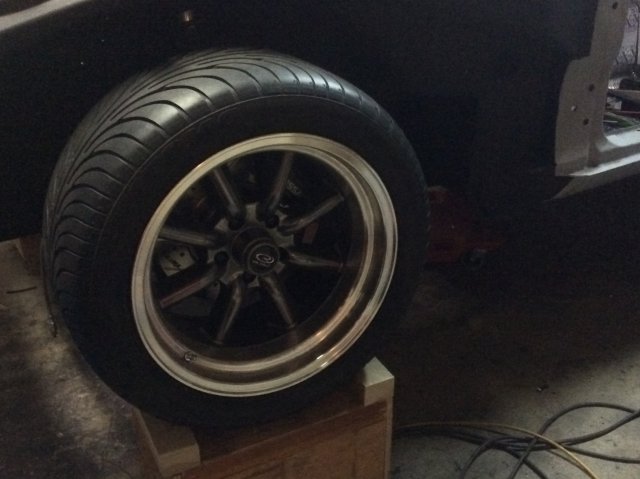
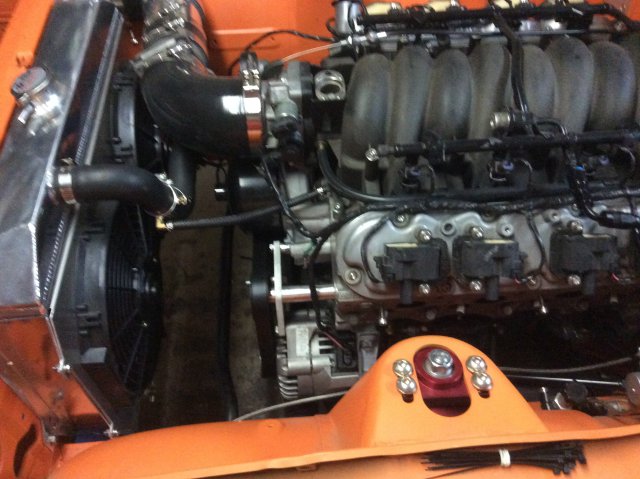
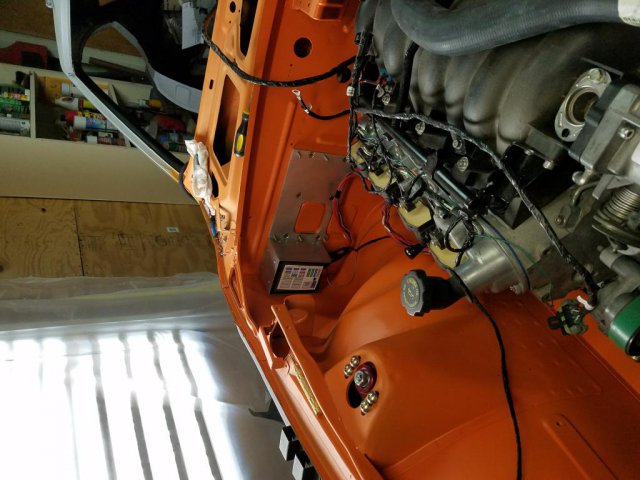
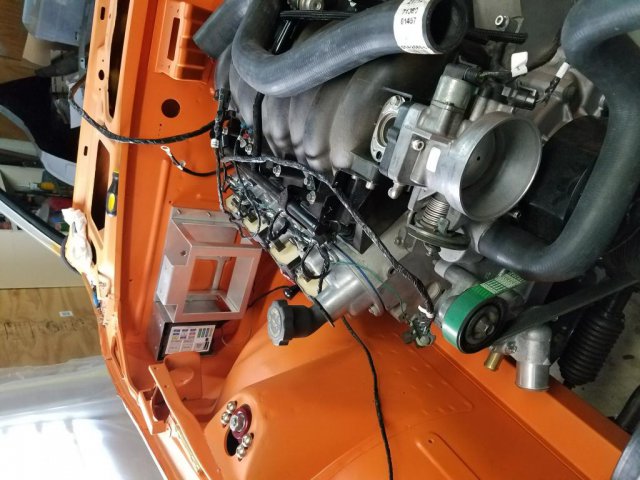
It’s been 6 months since my last update. I’ve been getting stuff done, working steadily but still no leaps or bounds. Until last week when the family decided to visit family on the other coast and was kind enough to leave me behind. I was able to really tackle and complete some loose ends. Got the engine harness worked out. It had trunk lines that seemed long enough to put in a truck, and I wanted to move a few things around. So pretty much took it apart, sliced and diced it, a little shortening here and lengthening there and voila. A harness I sure as hell hope works. I made a boxed mount for the ECU and got it tucked up nicely next to the blower motor. I restored the entire HVAC system, and got that reinstalled. Rebuilt heater core, fresh paint, upgraded blower motor from a Kia. Radiator and fans mounted. All hoses run. Went through a lot of hoses finding what would fit. What worked for others didn’t seem to work for me. Ordered 3 different 45 degree thermostat elbows, and they all showed up with 60 degree angles. Still not sure if I like the location of the steam fitting and vent in the upper hose, might move down so at least it’s horizontal so I can get the air out of the system (if I ever get to that point). finished the majority of the cold air intake. Still need to mount the air filter, which arrives tomorrow. I have an adjustable stiffener arm by Spectre that I hope will work to hold the filter up. It just doesn’t seem like it will be that stable otherwise. Made a shifter boot out of neoprene and a retainer ring out of sheet metal. Had to hack a substantial amount out of the center console to make it fit over the MGW short shifter, and will need to figure out an interior boot at some point. Restored the dashboard and am really happy with how it turned out. We’ll see how long it lasts. 5 new Speedhut gauges, with new Millhouse pods for the smaller gauges. Sound mat on the entire interior. Used Rattletrap extreme. Great bond, same thickness as the big well known stuff but half the price. I don’t really know effective it will be, but certainly can tell the difference when knocking on the panels. Camaro tank installed, plumbed and wired. Just need to get fuel gauge worked out. Next up is the body harness. Have a 20 circuit EZ Wire harness and am trying to get my mind into it. Electrical is kinda my kriptonite, it makes me weak in the knees. Then I guess it’ll be time to throw some fluids into everything and see if she’ll start. -

Question about dual master cylinders...
JoeK replied to JMortensen's topic in Brakes, Wheels, Suspension and Chassis
And I think Photobucket changed the settings so that you have to pay money now to share pics -
TTT are adjustable without removal. What flares are those?
-

Fiberglass Mafia Wide ZG Flares - looking for reviews
JoeK replied to JoeK's topic in Body Kits & Paint
Anybody take the plunge on these yet? -

Hoke Performance LS2/T56 install starts today.....
JoeK replied to mrk3cobra's topic in Gen III & IV Chevy V8Z Tech Board
Very nice looking. My set up is very similar to your routing, though I don't think I would have space to put the steam vent fitting in that spot. Mine is curretly lower down, about halfway along the vertical portion of the upper hose. Not sure if its in the right spot, worried I may not be able to bleed it if its not at the top like yours. -
Pics would be grea. I need to do this too
-

Techno toy front control arms
JoeK replied to mrk3cobra's topic in Gen III & IV Chevy V8Z Tech Board
I have the GTX2 control arms. The car isn't running yet, but I can say the for perfect, look nice and stout, have plenty of adjustment, and the ladies love them. Not so sure about that last bit, but they do look fancy and of great build quality. -

Lightweight, longer lasting, better performing, lithium battery upgrade
JoeK replied to Savage42's topic in Drivetrain
I'll be using the Braille B3121 for my LS swap. Its a little less costly at around $230. -
Well, I haven’t figured out how to post website pics from this iPad, but the most common power steering delete belt routing I see has very little belt contact at the crank pulley. And the belt is really close to the alternator bracket bolt. Too close for my comfort, when I set mine up like that anyway. I am planning switch to the Low Alternator Mount from these guys http://lsbrackets.com/category/alternator-only-brackets/ Another solution would be an upper right mounted A/C compressor like the one that JCI sells, but that doesn’t help much if you weren’t planning to run A/C🤡
-
How are you routing it now?
-
I’ve done the TTT R230 swap, though my car isn’t running yet. Yes, I had to trim and box the rear crossmember. Wish they mentioned that on the website, the original design did not require the trim. Tyler said they changed the design for a better driveline angle. The rear mustache bar had to be spaced back, as it didn’t clear the rear cover on the diff. I was unable to get a rear sway bar to fit. I tried 2 types, the MSA and the ST. The MSA didn't fit because of the Bad Dog rear frame rails, and the ST wouldn't clear the dogbone. I’ve seen the same picture of the twisted front mount. Don’t know what caused it but it is the only failure I’ve heard of. The TTT piece does look kinda weak
-
New episode up a few days ago
-
I just finished restoring my dash using the Polyvance stuff. I got most of the stuff for maybe 30% less from a company called urethane supply products, or something like that. You can search google just using the part numbers from the Polyvance stuff and you'll find this other company. It is clearly the same product with a different label. I think they had everything but the flextex. I'm very happy with how it turned out, but only time will tell how long it lasts. If you take the repair route, check very carefully for other areas that are very brittle, or spider cracks. Repair these areas too, or they will surely crack soon.
-
Resurrecting this from the past. I just received a Vintage Air Compact unit. I didn't realize there is no fresh air supply. Looks like I might be able to install the OEM fresh make up air damper, if I take it off the old heater fan motor. It would be pretty hard to get it to plumb directly into the Vintage Air unit, but would at least supply a source of fresh air to draw from when open. Anyone else do anything else like this?
-
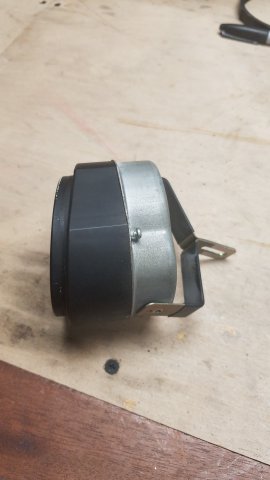
Looking for one of the smaller gauge pods. Wanting the pod in the front and the case in the case in the back, as well as the mounting bracket. Don't need the actual gauge parts, will be stripping them out anyway to make room for aftermarket gauges. Looking for what is pictured below, which is out of a '71. I don't know if later years are different.
-

ANOTHER Datsun Z/LS3/T56 Swap Thread
JoeK replied to Ironhead's topic in S30 Series - 240z, 260z, 280z
Sounds like fun. And yet more LSx S30's in Norcal. -

TrackZpeeds CXRacing LS1 T56 240z
JoeK replied to trackzpeed's topic in Gen III & IV Chevy V8Z Tech Board
I ran my cold air intake tubing on the passenger side, so that I'll still have fresh air on my side. What the passenger doesn't know, wont hurt 'em. -

Interesting S13 front suspension conversion
JoeK replied to Globerunner513's topic in Brakes, Wheels, Suspension and Chassis
Seems like there would be a lot more spring, dampener and brake options -
How do you mean to beef up the front mounts?
-

Slow Build 240Z LS1/MN12 - Build Thread
JoeK replied to JoeK's topic in Gen III & IV Chevy V8Z Tech Board
Yes, they are really nice. I had a set, but sold them as they weren't wide enough. -
Has anybody tried these flares yet? These look like the same as the ones as the that Japan Garage was selling, but since they are no longer, I need a new source. http://www.fiberglassmafia.com/store/p9/Wide_ZG_Fender_Flares.html
-

Slow Build 240Z LS1/MN12 - Build Thread
JoeK replied to JoeK's topic in Gen III & IV Chevy V8Z Tech Board
Wish I had more of an update, but really its just been a while since I updated. Big restore, again, on the vintage trailer in the avatar after major rains cropped up new leaks. So that took all of my free time, and some of my not so free time. But I've been working on the wiring harness. I bought a harness from Rolling Thunder, but after fitting it, I realized I needed to move quite a few things around. AC wire on the wrong side, IAT and MAF on the wrong side, Relay center had like a 4' cable on it, but need to cut about 30" off of it. So now its a big pile of spaghetti on the work bench. Ordered fans a shroud for my Champion radiator. Wow, was that kit really a kit. No mounting holes for the fans, no instructions, no bolts or screws. Not too hard to figure out, but would have been pretty easy for them to put a simple instruction sheet together too. decided to go a with a Braille battery. Didn't have a battery tray anymore after rust repairs, and though the firewall mounted battery would work out well. Had to make a 1/4" plate to mount on the firewall, to space the battery away from those indents on the firewall. Pics below. Started restoration of my dashboard. Didn't want to get too far without the new gauges though. So got those ordered and they took a long time, then arrived in the wrong color. Vendor made a mistake, owned up and is taking care of it but it'll be another wait to get those back. And I just read that Japan Garage went out of business. Now I need to find another source for wide ZG flares. So lots of starts and stops, but no completed tasks just yet. I need to focus on one task at a time, before I get overwhelmed. I'm going to try to concentrate on the harness, and likely roll into the body harness from there. Just need to cut the larger hole through the radiator support for the intake tubing, so I can be sure I'm getting the MAF and IAT harness wires to the right locations. -

Import Duties On Ebay Wheels
JoeK replied to nicksoccer22's topic in Brakes, Wheels, Suspension and Chassis
I don't know about import duties and such, but $260 for shipping seems steep. Is that wheel much different than this? https://www.18racing.com/collections/rkr/products/copy-of-rkr-1590-4x100-0-67-1-magnesium-black -
Did you use rubber or silicone tubing? Any issue drilling the hole? I have ordered an 18mm drill bit, and will try a test fit hole in the hard pipe, as I have a grommet for the sensor, but test holes I did with 11/16 (too small) and 3/4 holes (too big) looked a little rough, and the grommet looked odd on the round pipe. I saw someone who had sections of pipe with bungs welded in, but can't find it now.

