Search the Community
Showing results for tags 'Restoration'.
-
Hey guys been a member on here for a while but haven't been very active. Anyway for a little background, I live in Barbados in the Caribbean which is a pretty small island. Despite the obvious benefits of living on a tropical island like all year good weather and lovely beaches, our duties on vehicles here are crazy (over 200+%) and also there are serious restrictions on vehicle importation for instance nothing older than 4 years which automatically rules out any s30 Zs. However I have always wanted one of these cars so I was left with the only legal option of importing a shell or basic chassis and building a car from scratch. I spent some time scouring the net for just that and finally found a 280z in pretty good condition and the owner was willing to strip it to the point I wanted. He had done a basic restoration a few years back to the point of primer but it was too rough a job for my purpose so I decided a full strip down from the ground up was in order and at the same time I would modify to suit. One of the issues I faced was that there were no other driving Zs on the road and just a couple S30 shells lying around and since the body came missing most parts I would have to educate myself thoroughly on the workings of the car. Also because of the unreliable work ethic of many persons available I decided that for the fun and general experience of it I would undertake the restoration and modification almost exclusively along with a good friend. This naturally required somewhere to work and the tools to get the job done, so my first order, even before I had the car was to start getting the tools I didn't already have. It's been an on and off 3 year project so far and still not done. The car in it's original state when I first got it. Looked decent from far but far from great... Of course after stripping some rust issues were found but all in all was pretty good. After the rust areas were dealt with the next plan was to convert the car from LHD to RHD since that is the side of the road we drive on here. Finding donor parts prooved to be a bit of an issue so we eventually decided that the only real way was to fabricate everything from scratch. So we made up a couple templates and pulled out our spot weld remover bit and got to work. The next step was getting everything stripped down to metal and epoxy coated. Best way for this would be a rotisserie so that was our next project, building one. Then the fun could begin... After hearing alot of horror stories about 'professional' sandblasting services I decided to blast the car myself with a small blaster from eastwood and some glass. It was NOT fun. But the results were rewarding.
-
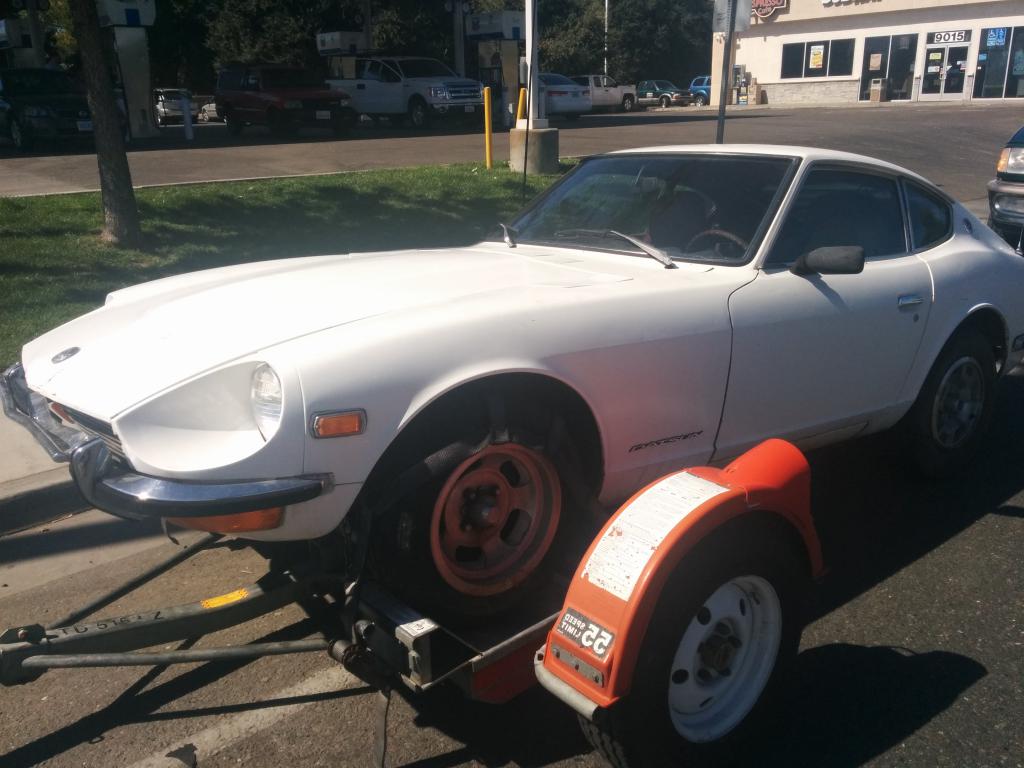
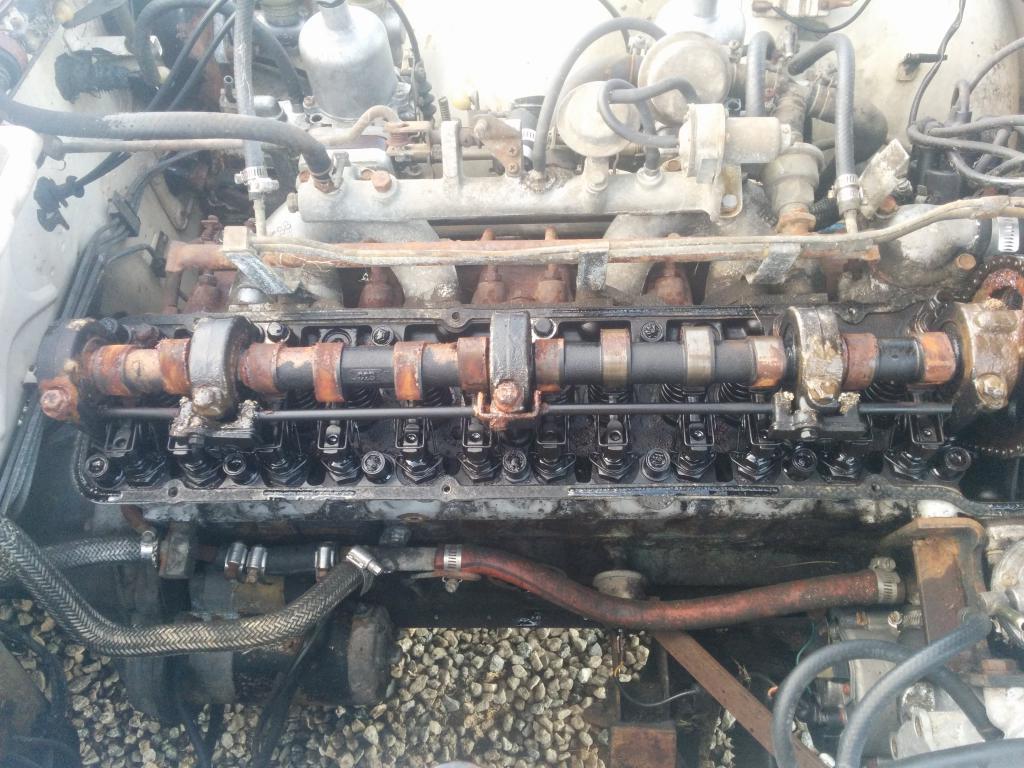
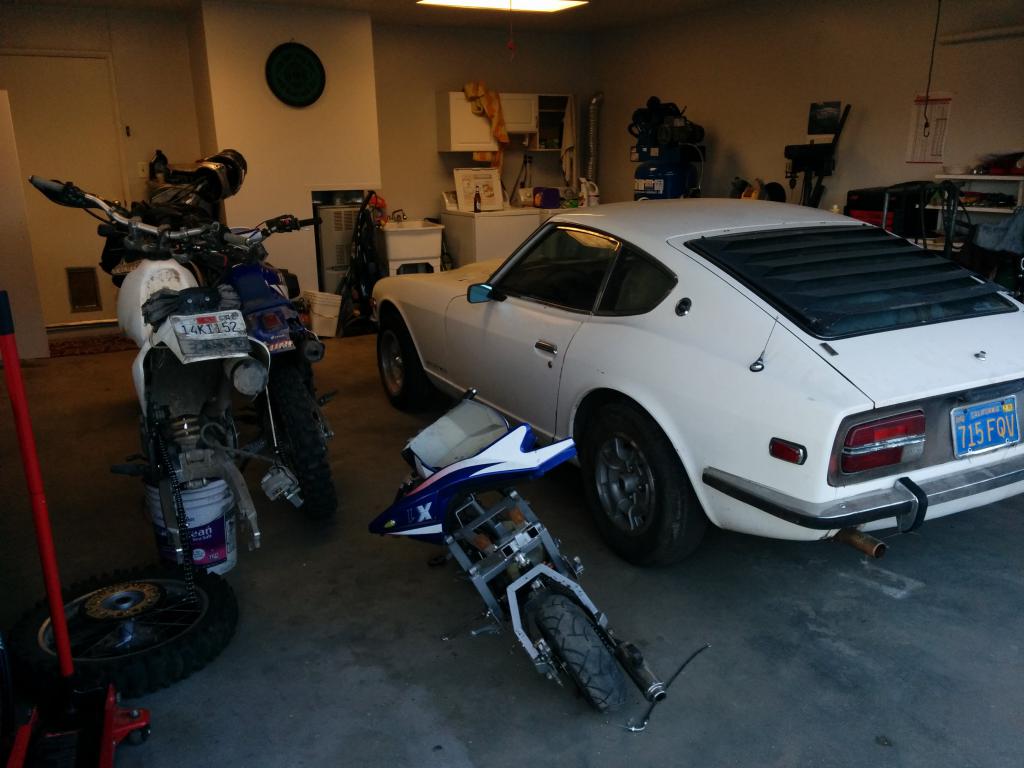
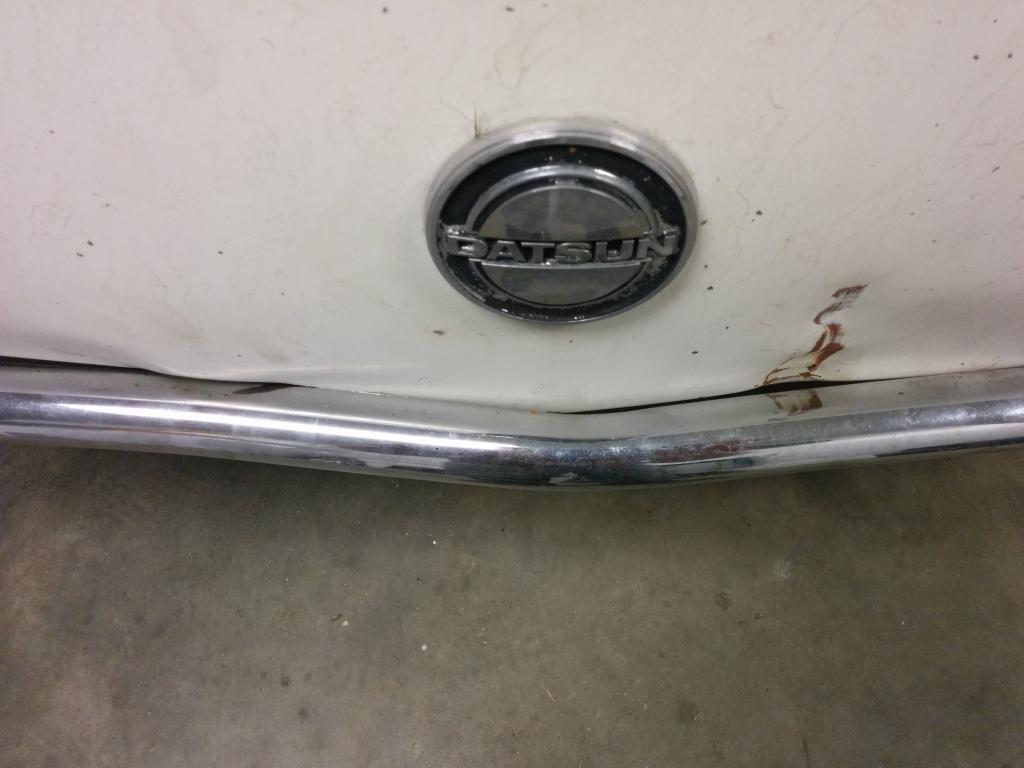
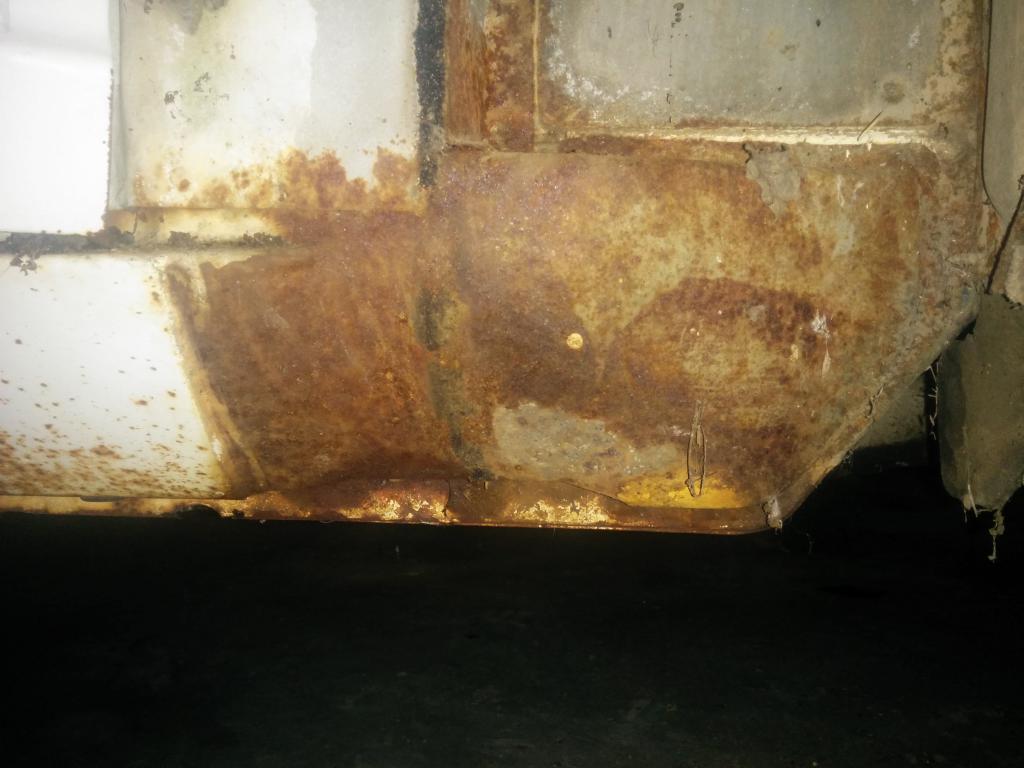
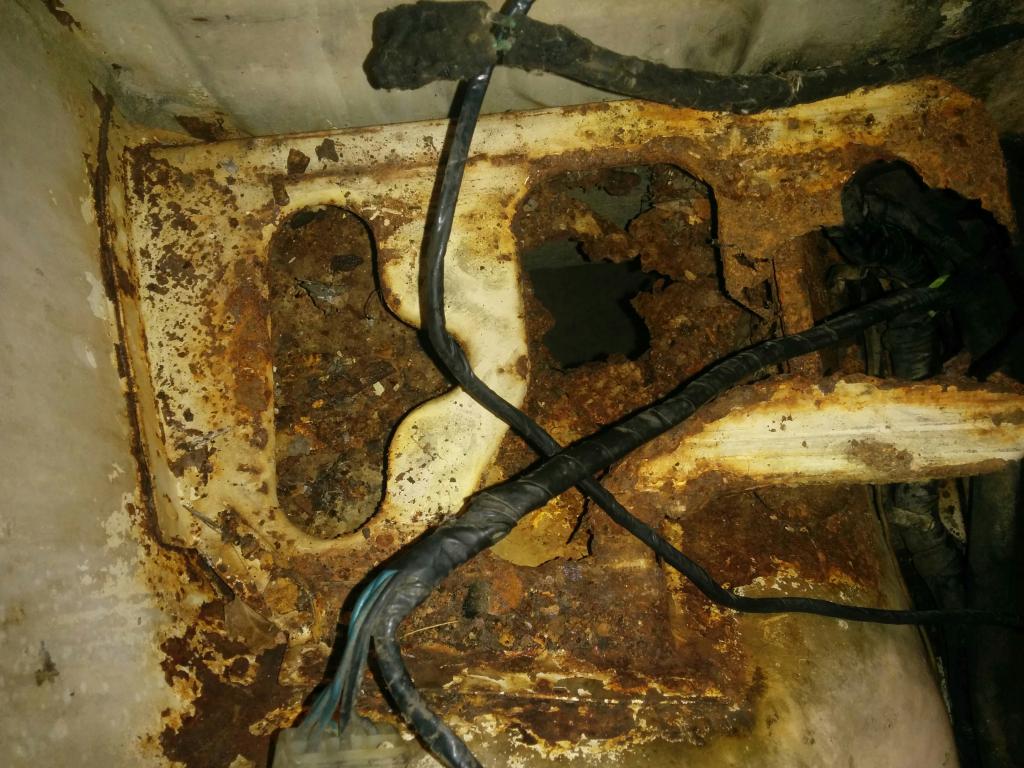
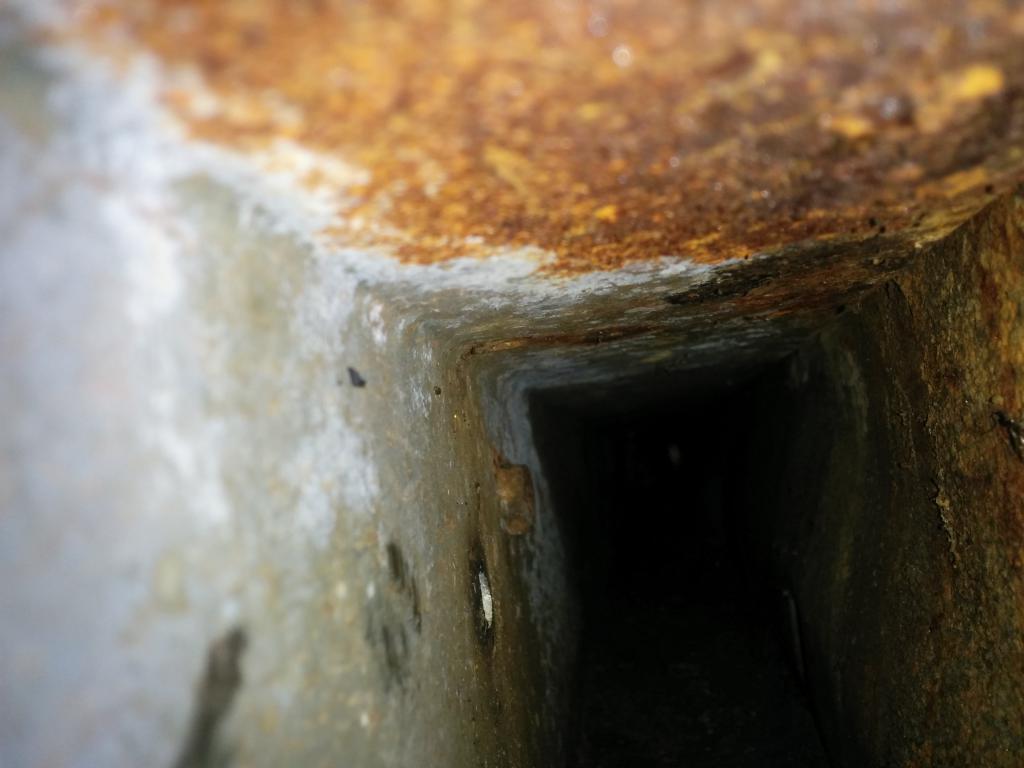
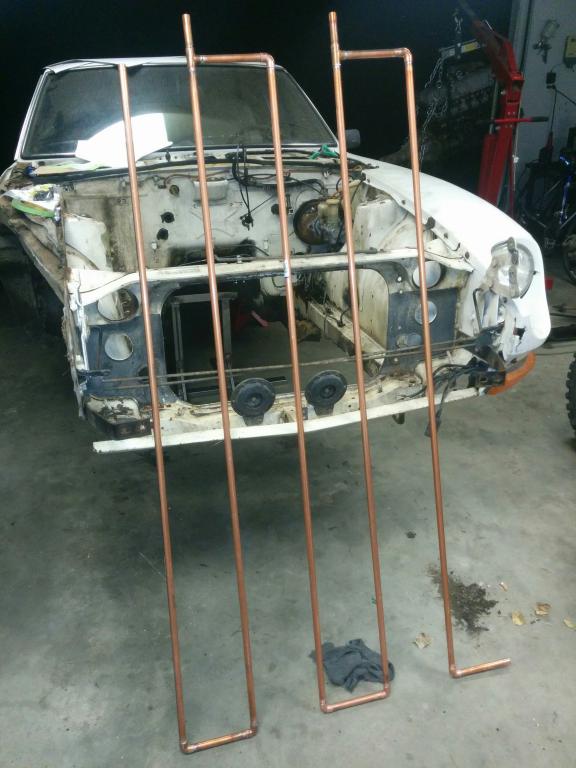
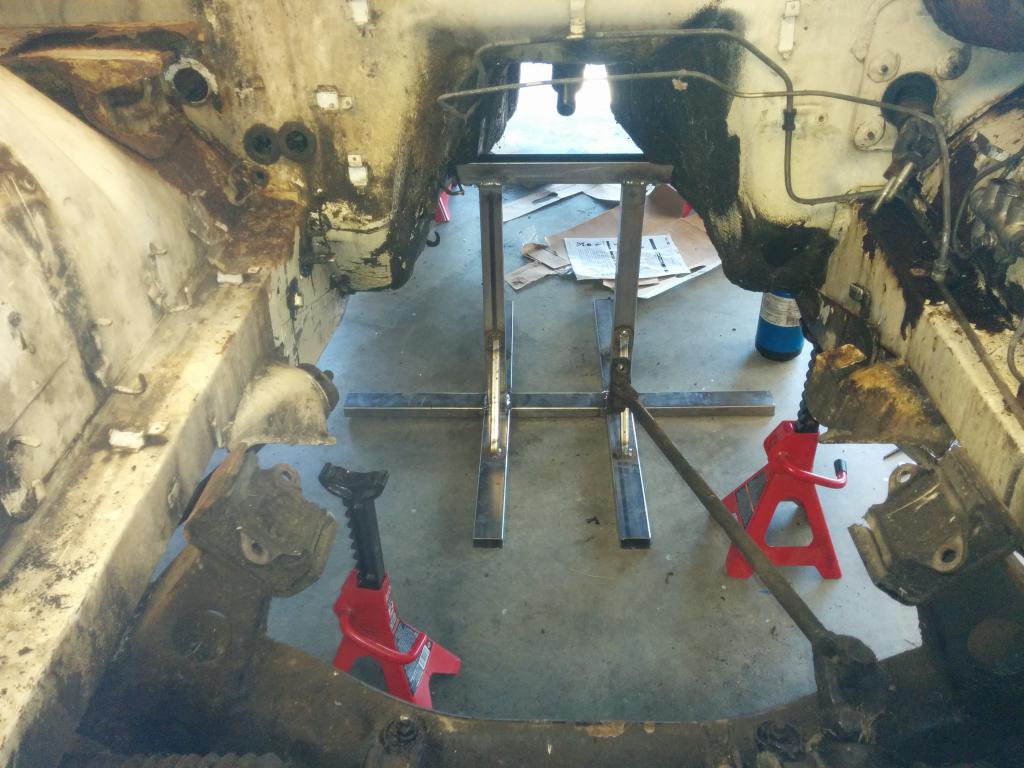
Hey guys, I recently bought a 240z and it ended up having more rust than I originally thought, thus begins my new winter project. Pulling her home with my 1987 2WD Toyota Pickup. That was a long haul between northeast of Sacramento and Southern California. The truck performed well though! The car sat for a while and the engine internals have rusted. The overview plan is to pull the engine, fix the front half of the car's rust problems, swap the SUs from the L24 to my rebuilt L28, install the engine, and drive it while fixing other things (interior). Some hood damage. Hopefully I can bump these out. Starting to inspect for rust on the passenger side frame rail/firewall interface. It's definitely in need of some work. Inside engine bay rail. Engine removal In preparation for cutting into frame rails I dropped the front suspension to remove as much stressed from the rails as possible. Stand I welded up to support car from the transmission mounts. I've made a little more progress -- started making patch panel templates and cutting metal from the battery tray area. It looks like I'm going to be replacing a lot of metal around the battery tray area -- frame rail, battery tray inner fender, a piece of the firewall, and passenger side floor pan. Hopefully driver side isn't this bad.

-
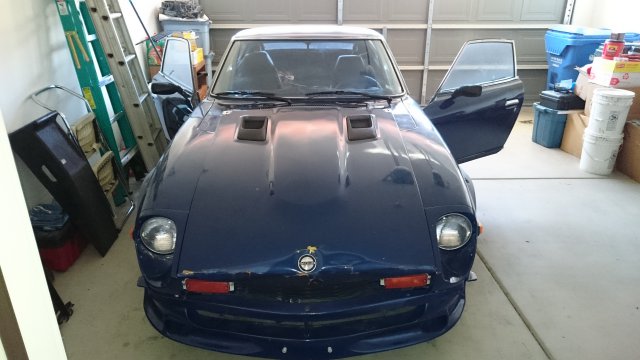
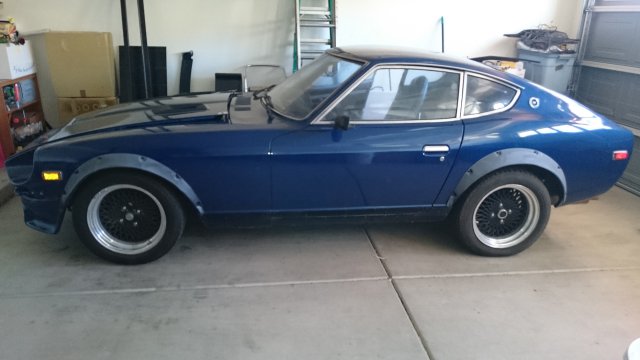
So I found an '82 280zx in beautiful condition for having sat out in snow, rain, sleet, hail, sun, etc. for almost 12 years. I contacted the owner and he told me he had no plans of restoring it and will give it to me for $1500. There's almost no surface rust and the engine still runs after all this time. I am planning on completely restoring it then in the future modding it as I make it through college and stuff. There is a slight misfiring issue whenever it starts, but the owner says he thinks it's spark plugs, but to be safe i'm replacing the spark plugs, ignition coil, fuel filter, oil filter, and ignition distributor rotor to get it running smoother. The driver side seat cover is torn, so I will also be getting new seat covers and also probably a dash cap since the old one has cracks all over it. I will then use that to learn manual (I know I'm a disappointment, I've wanted to learn for so long, just never had the chance to). I will post some pics of the car so you all can see the current condition and give updates as I find out more. The plan is to have the car in 2 months, then get it back running within that month, then drive it for a week or so to learn stick then I will set it in the garage and start the internal restoration. If anyone has any recommendations or if you find anything in the images, feedback would be very appreciated.
-
Hi everyone! I'm looking for rubber door seals for my 1978 280Z. The rubber I am looking for is the membranes that house the dome light switches which signal the dome light to turn on/off when the door is open/closed. I'm aware that of all the rubber I can get for the car THESE haven't been in production for years. If you have new or used pieces I am interested as I need them for my restoration.
-
Hi Everyone! I'm new to the forum, but not to your posts of wisdom. I currently have a 1978 280Z (S30 not S130) that I acquired from a friend back in 2014 that was/is in need of a lot of TLC despite being nearly rust free. I wanted a Z, preferably the 240, ever since I was a teen (I'm 38 now) and even more so after being able to drive a restored one in 2011. Anyway, for 4 years the poor thing sat in my garage where I would go out and occasionally tinker with it, but never felt I made much headway. There are two very important things to know about the Z and I. First is that while I know how to perform general maintenance and some modifications on cars with I am by no means an expert, but rather a junior mechanic...if that. Second is that my Z came to me with modifications already done that, while awesome, left me largely at a loss on how to proceed. The Z has a 327 V8 from a '68 C-10 pickup and a 700R4 from the 80's/90's and the wiring in the engine bay and the dash is a mess. To the now, the Z (pictures to follow) has been professionally tended to by Lefty's Electric and after several months I am happy to report that all the electrical and fuel systems have been cleaned, tidied up, rerouted, etc and she starts right up on the first try! Now it's on to replacing the suspension, ALL the rubber and some minor body work.
-
After much thought on whether or not I wanted to create a full thread of my first 240z build I have decided that it would be worth it in the long run and nice to look back to. I will have about a year to catch up with then I will continue to update as the build goes on. Backstory: I bought this Miata when I was a senior in high school. I wanted to see if I was truly passionate about cars and if I enjoyed working on them/driving them. This car was a blessing and a curse, I quickly found out that I loved cars and all of my money would be taken by them. Fast forward and I had supercharged it with all the basic Miata mods. The car was extremely fun, but it was not a car that I saw myself keeping for the long run and I had this long list of parts/mods I wanted to do to it. I had always wanted a few cars but they were just out of my price range; 240z, s2000 and a few old muscle cars. I thought about it and decided that if I was going to pour tons of money and time into a car I wanted it to be a car I wanted to keep and loved the looks of, not just enjoyed the drive. Once I had made this decision I was a sophomore in college and began the long search for a Z. I spent about 9 months of searching everyday for a s30, primarily looking at 240zs.
-
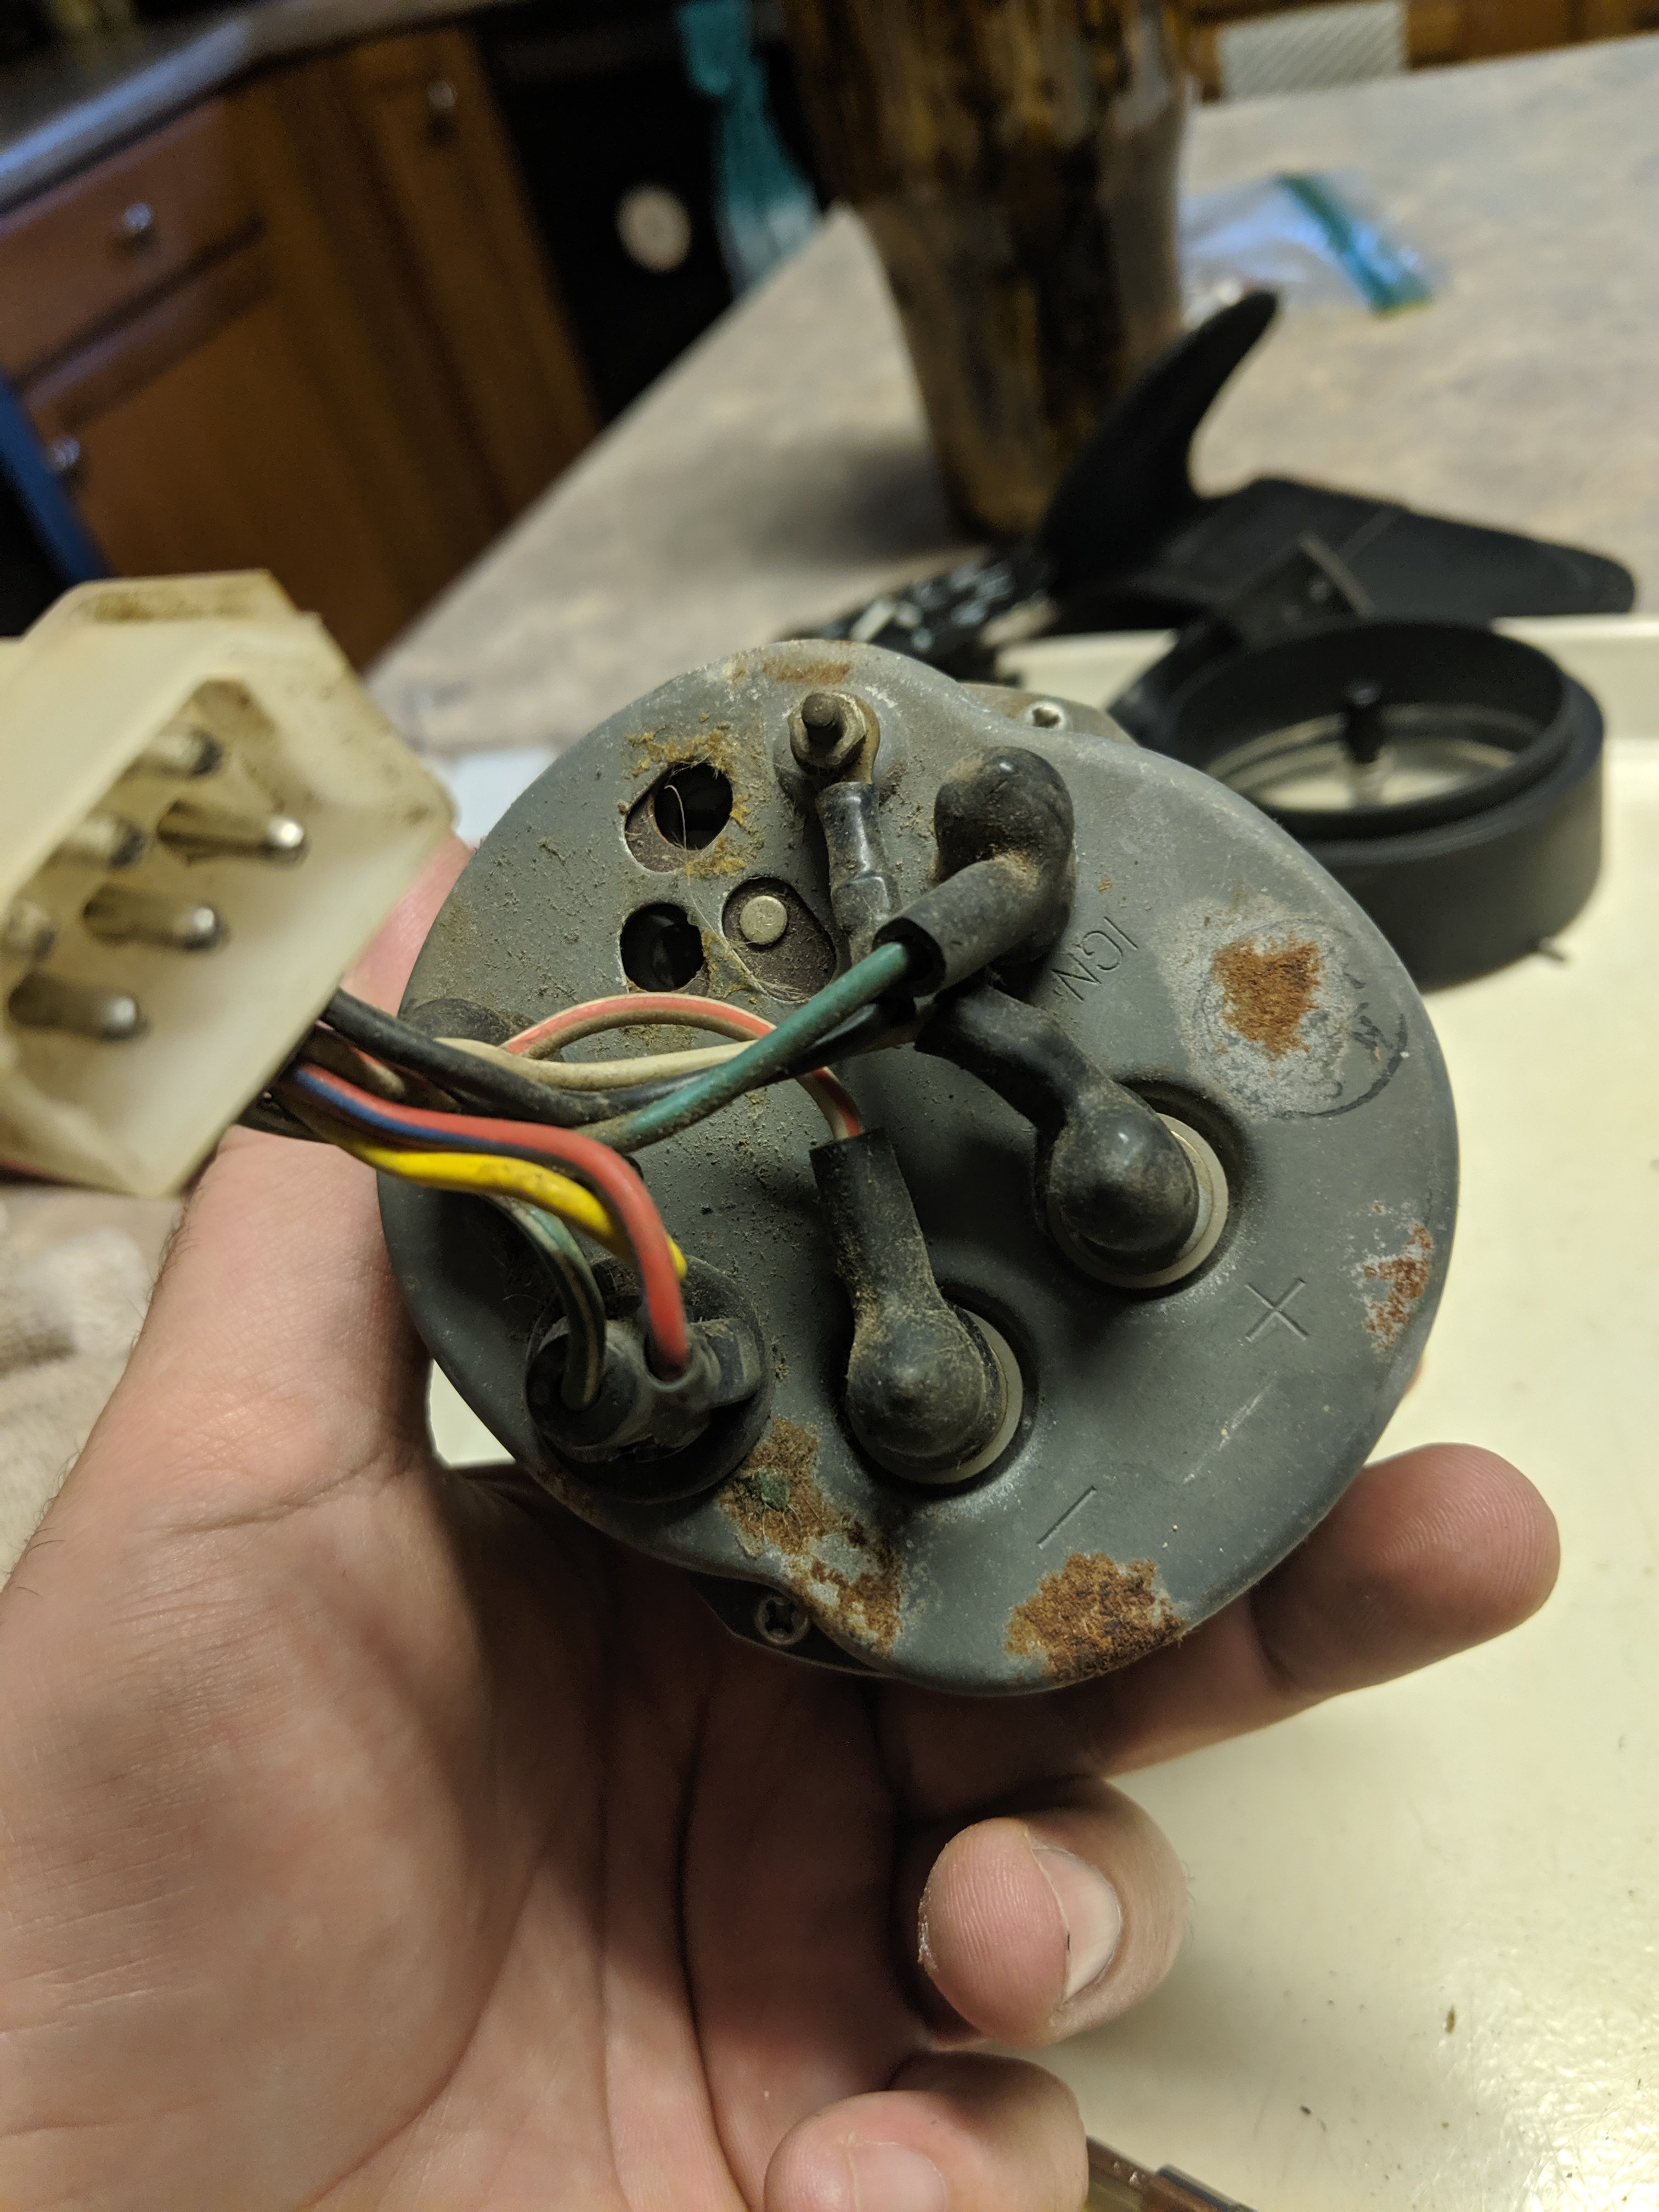
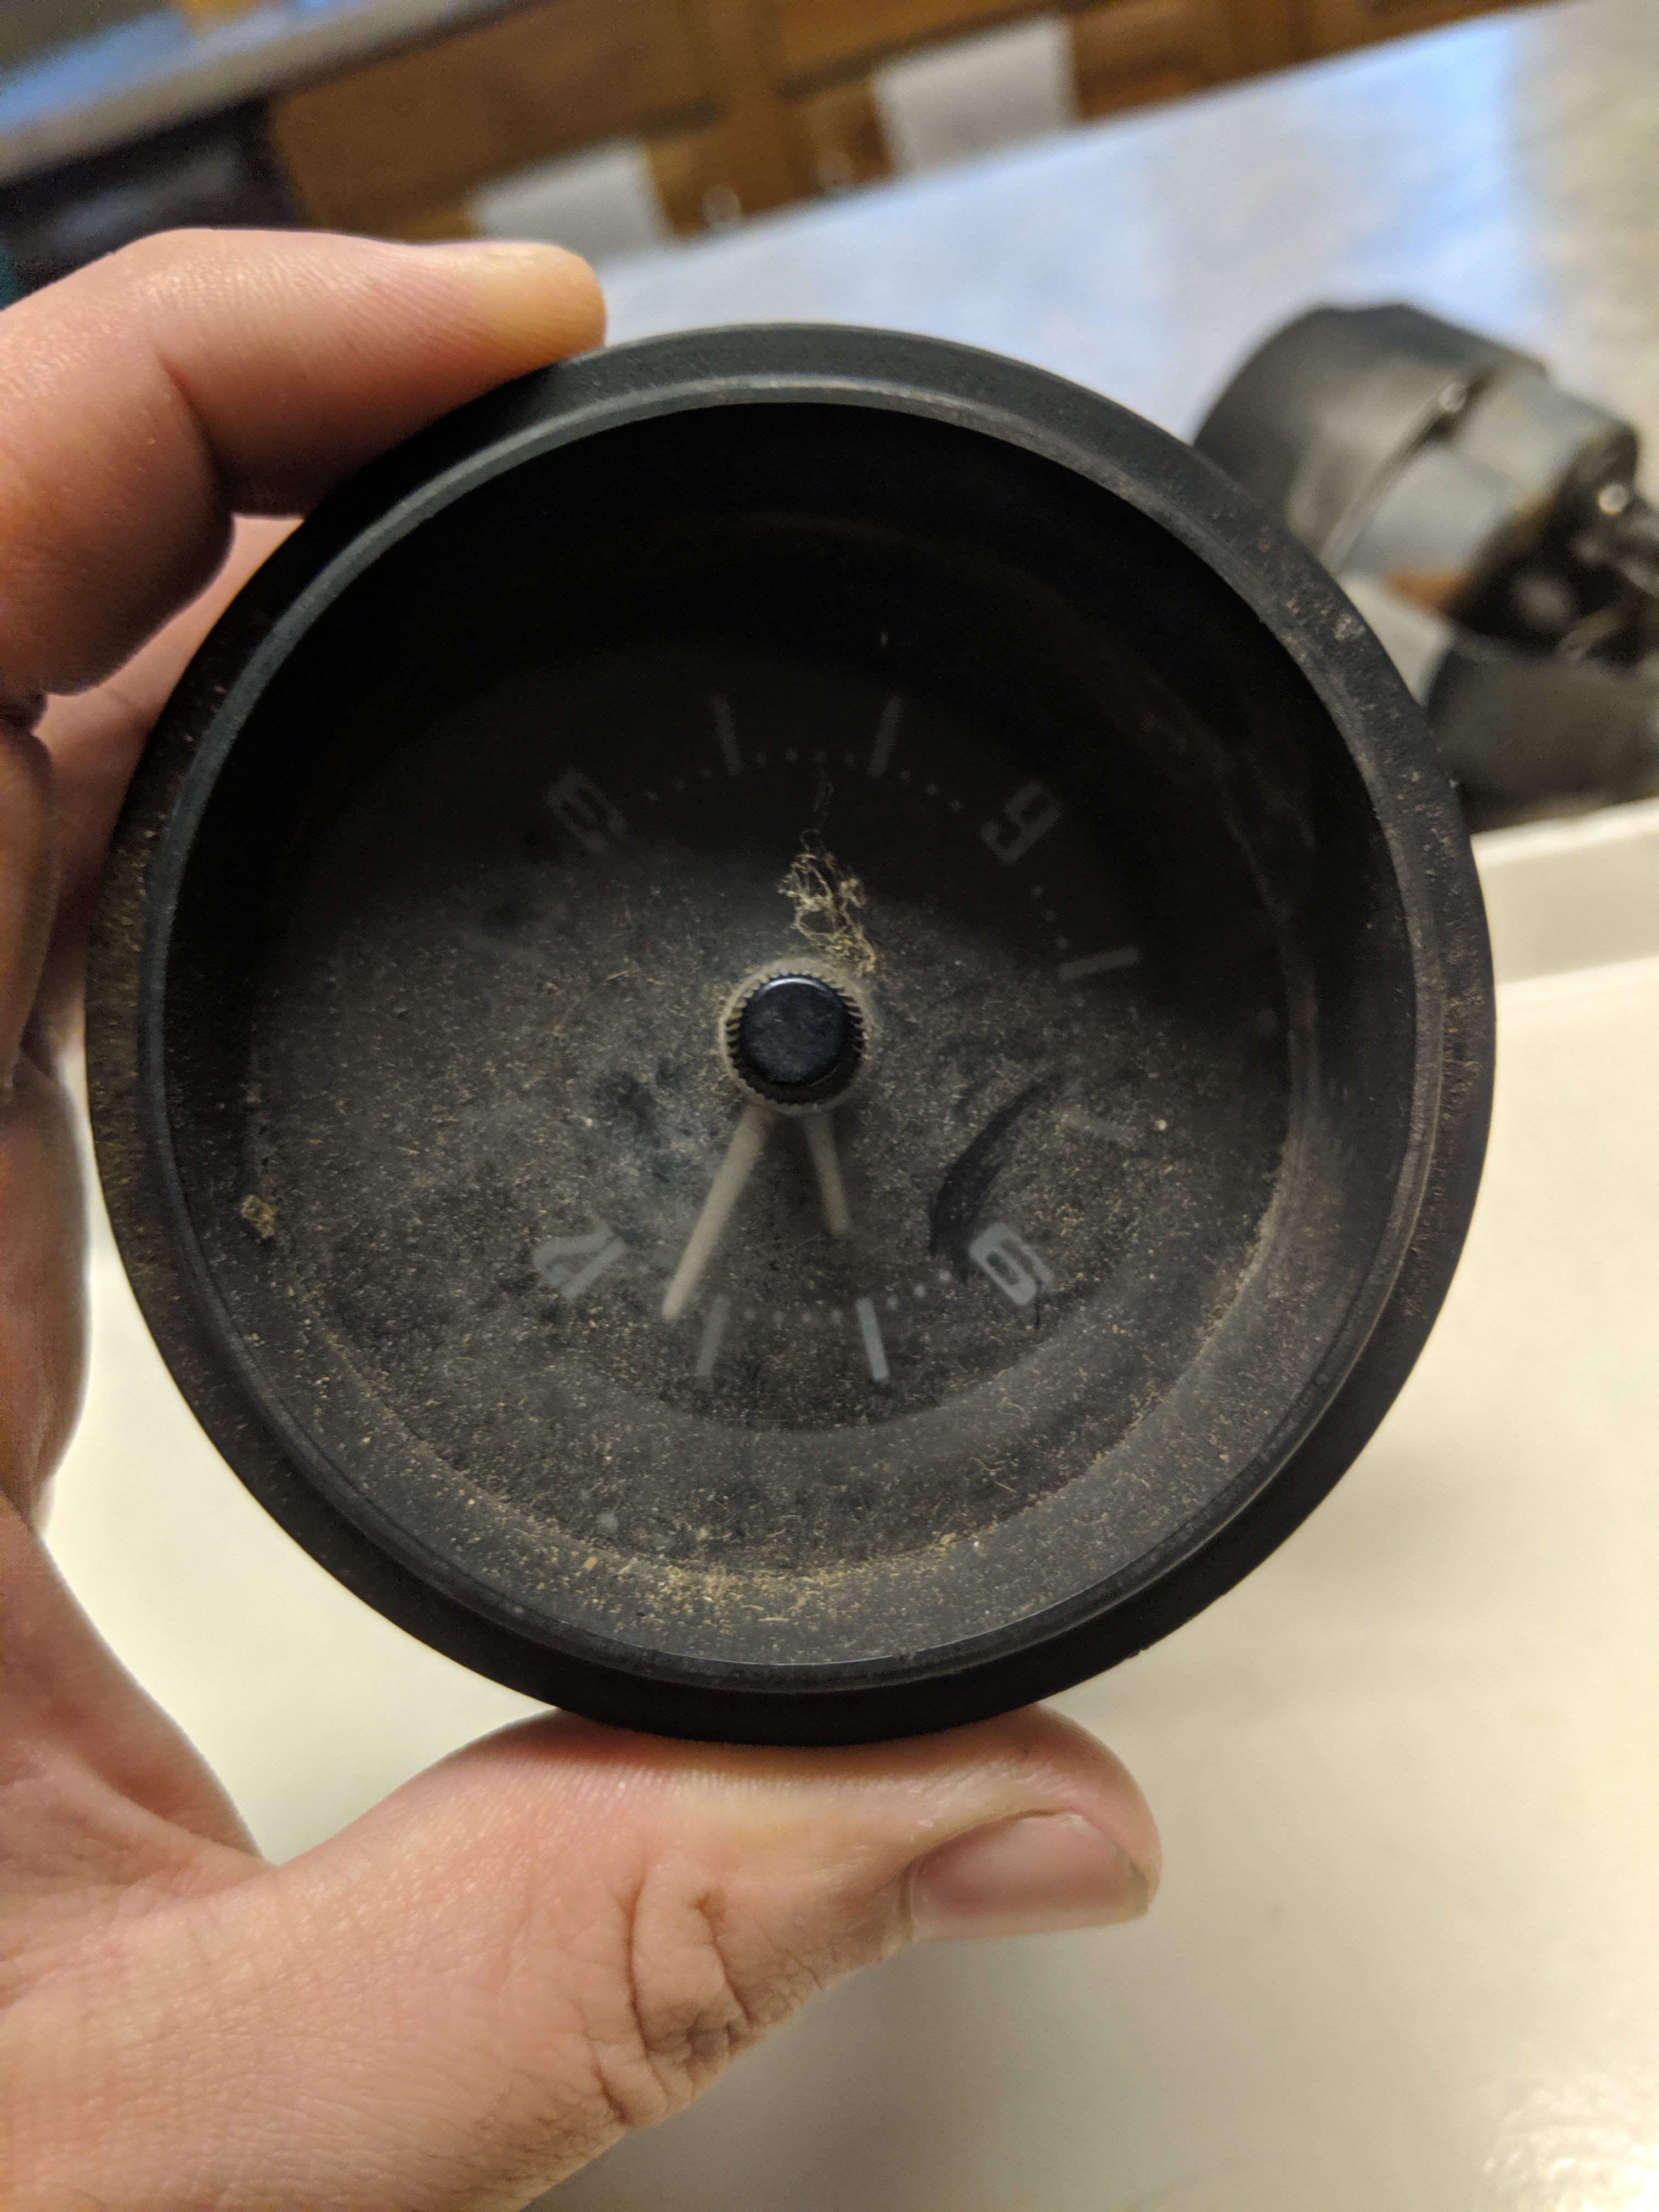
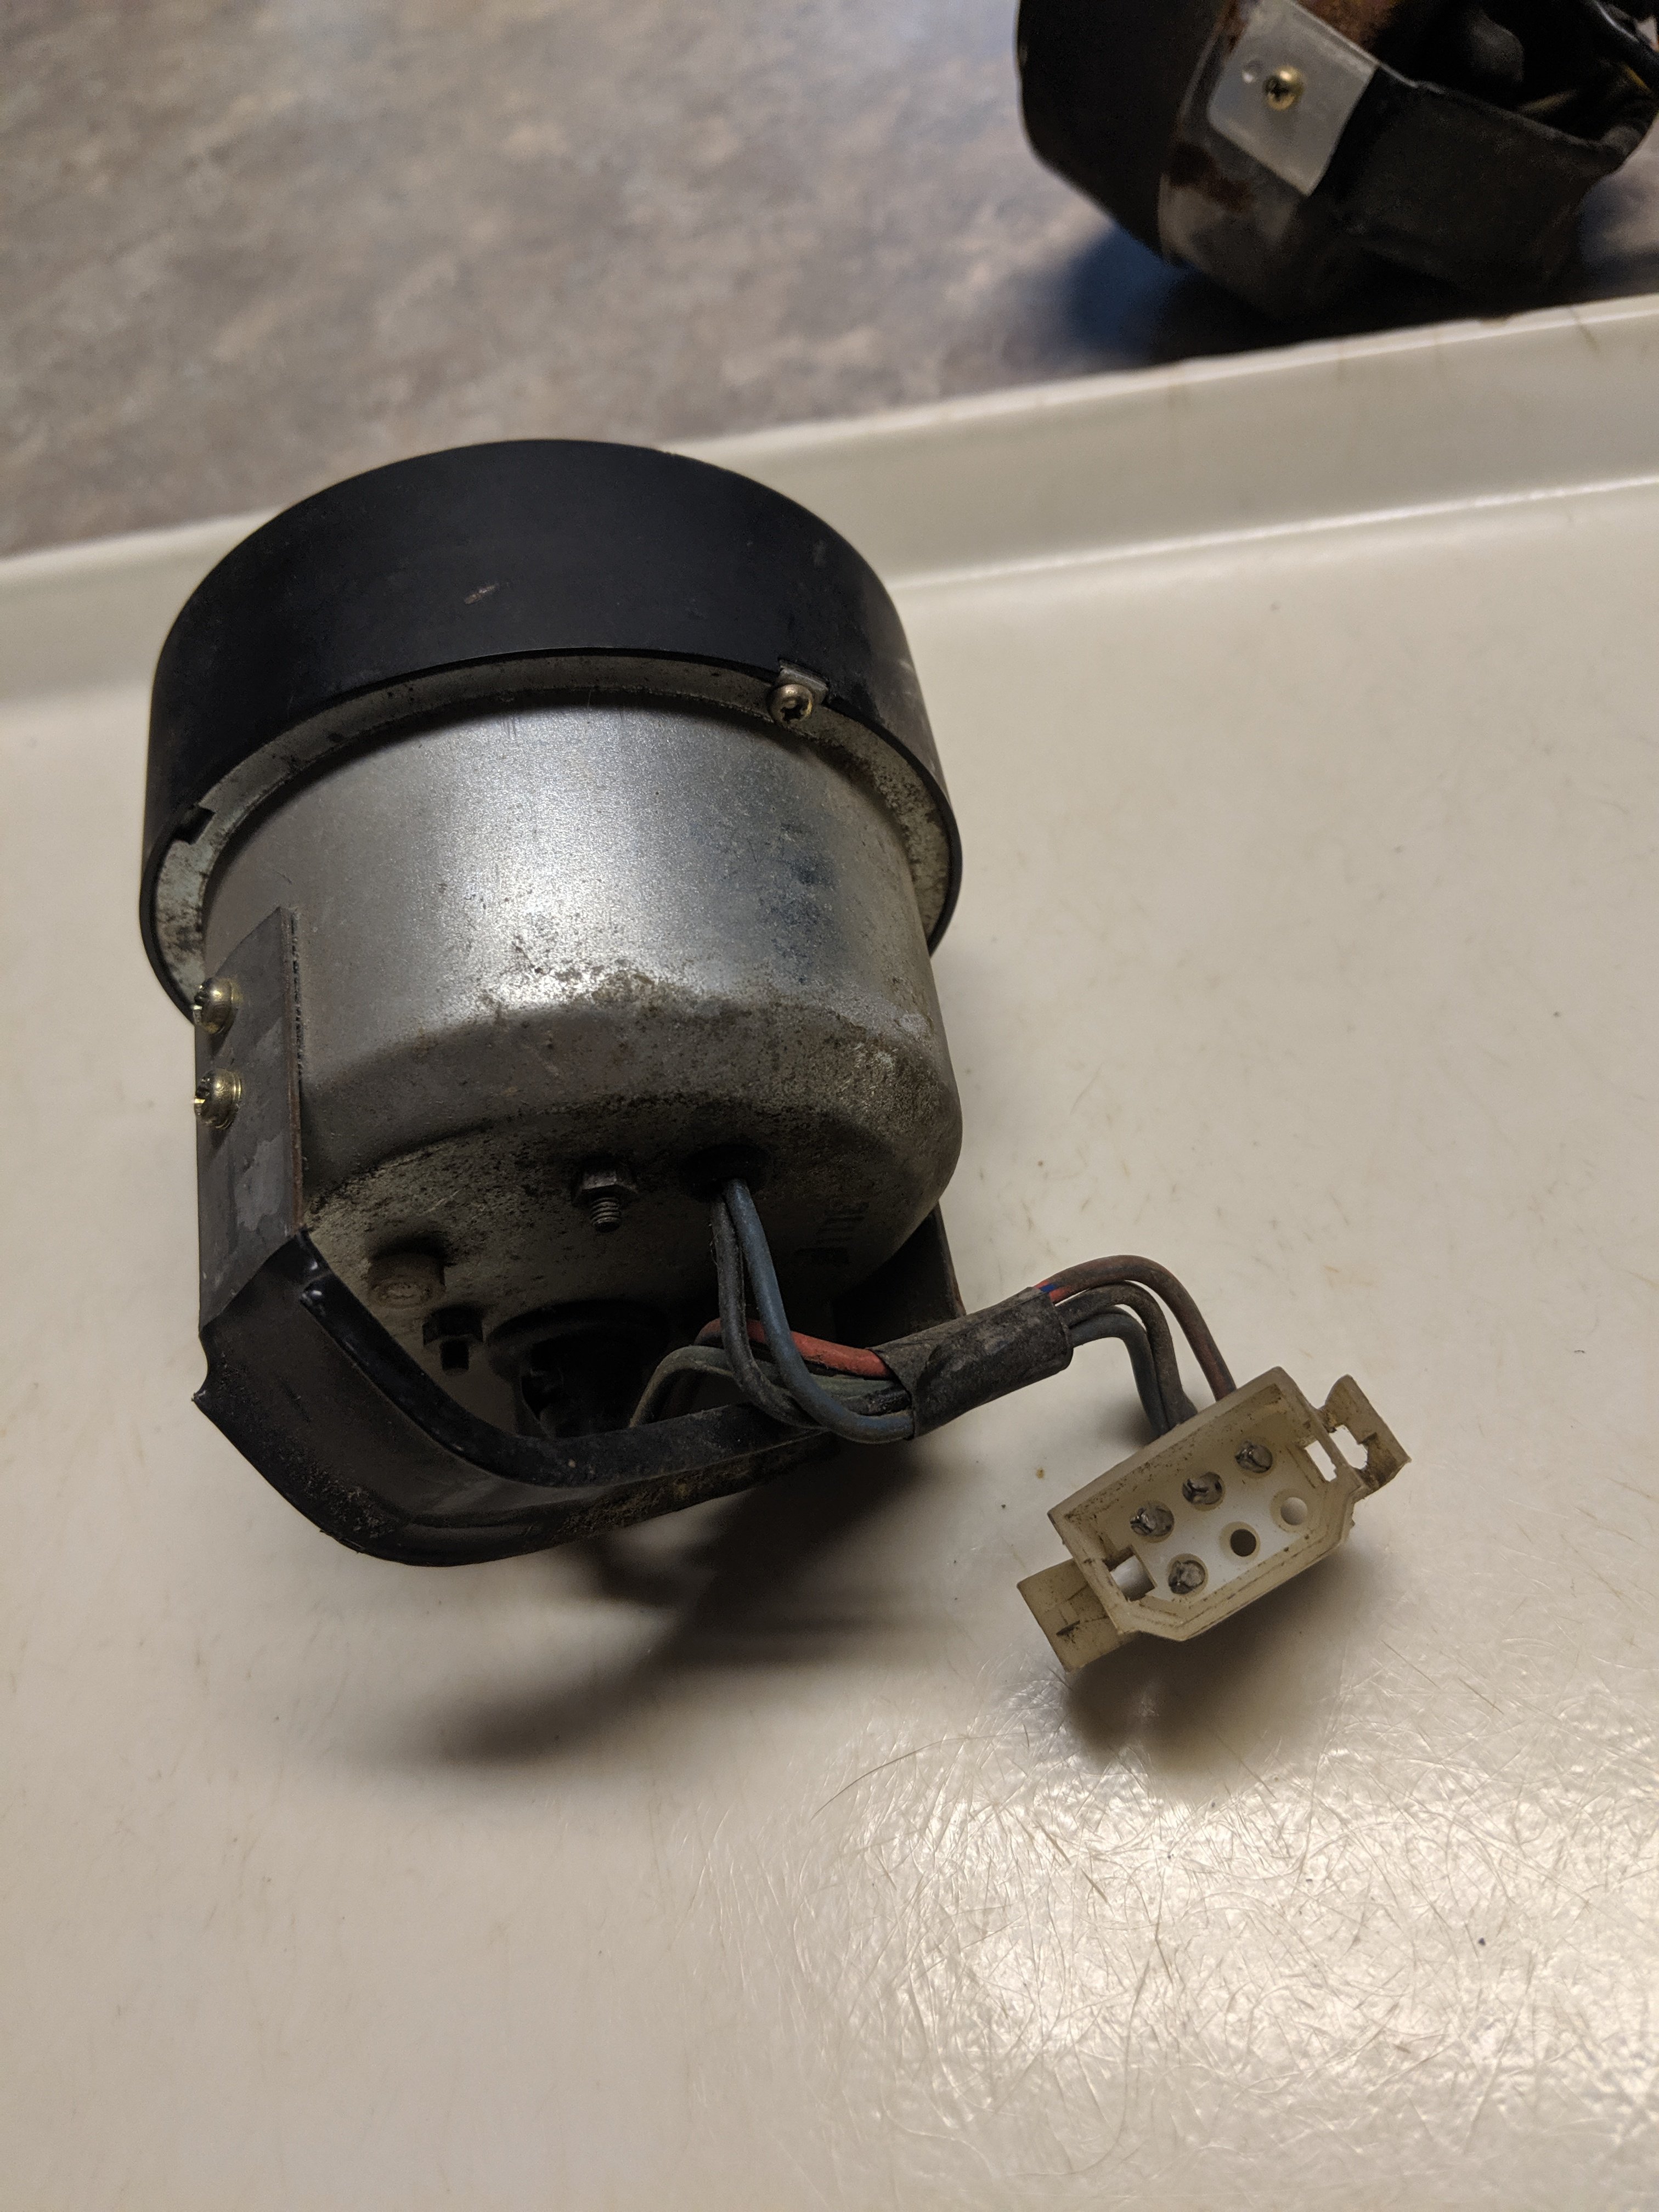
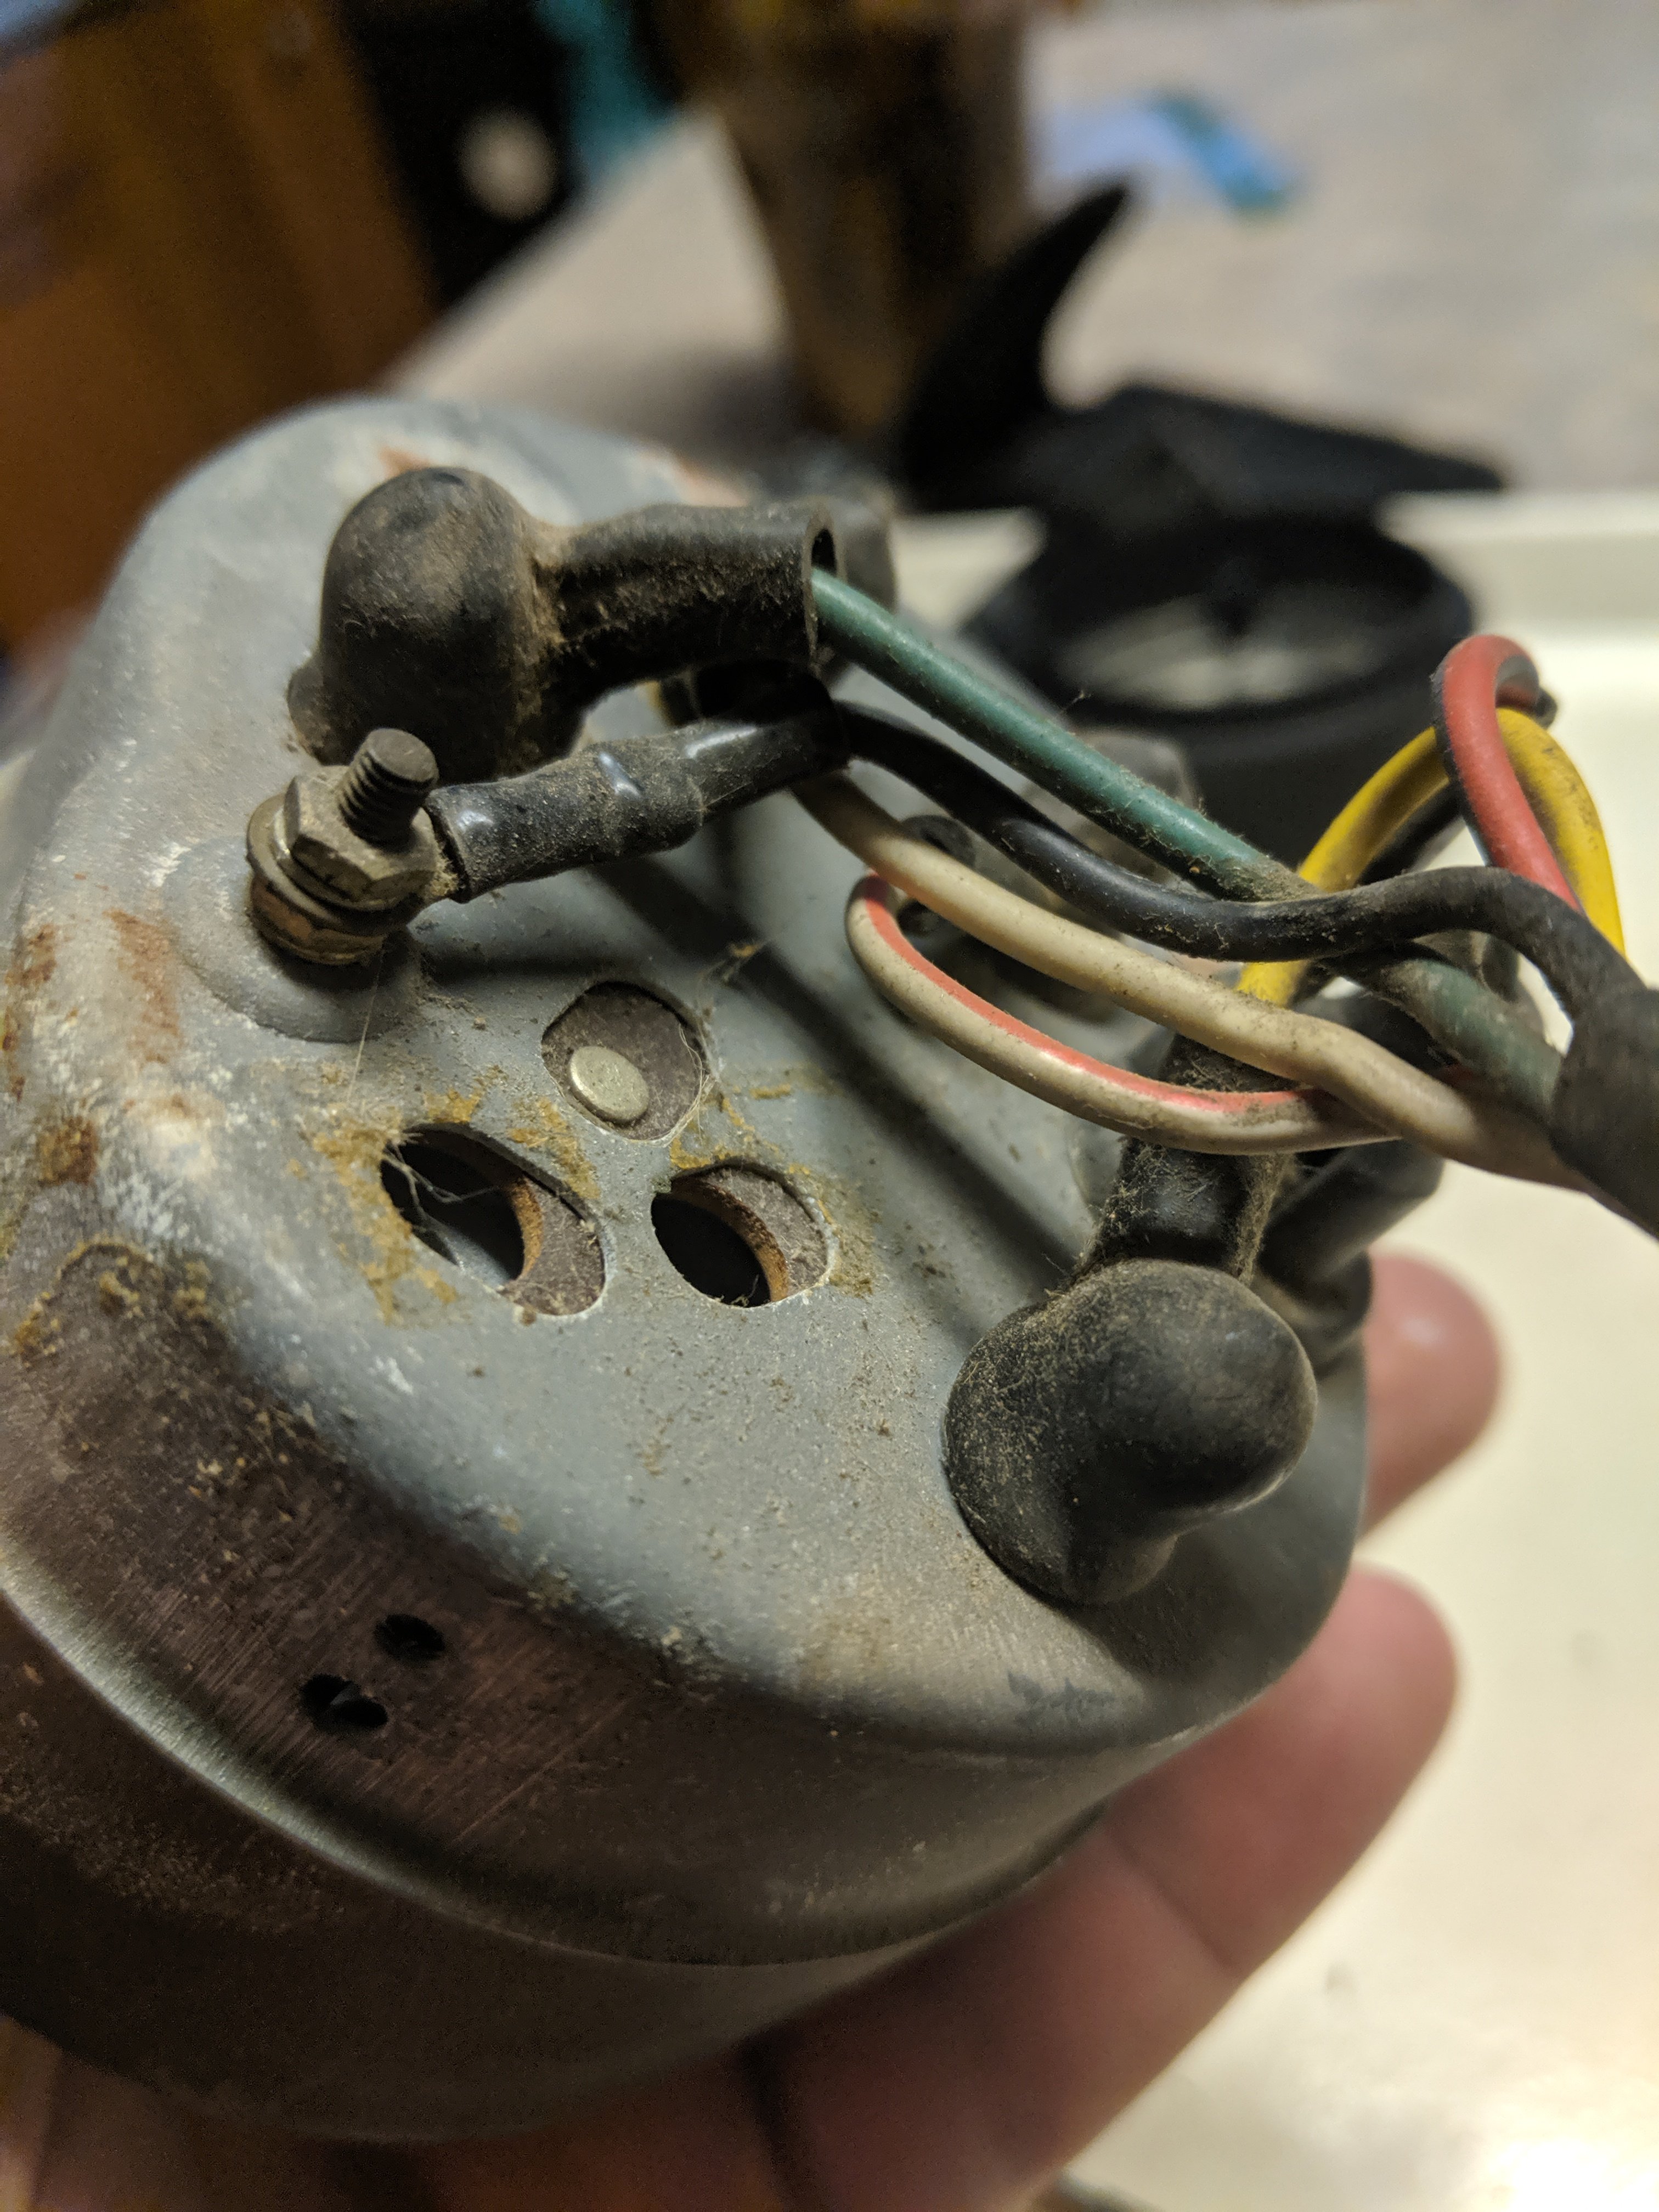
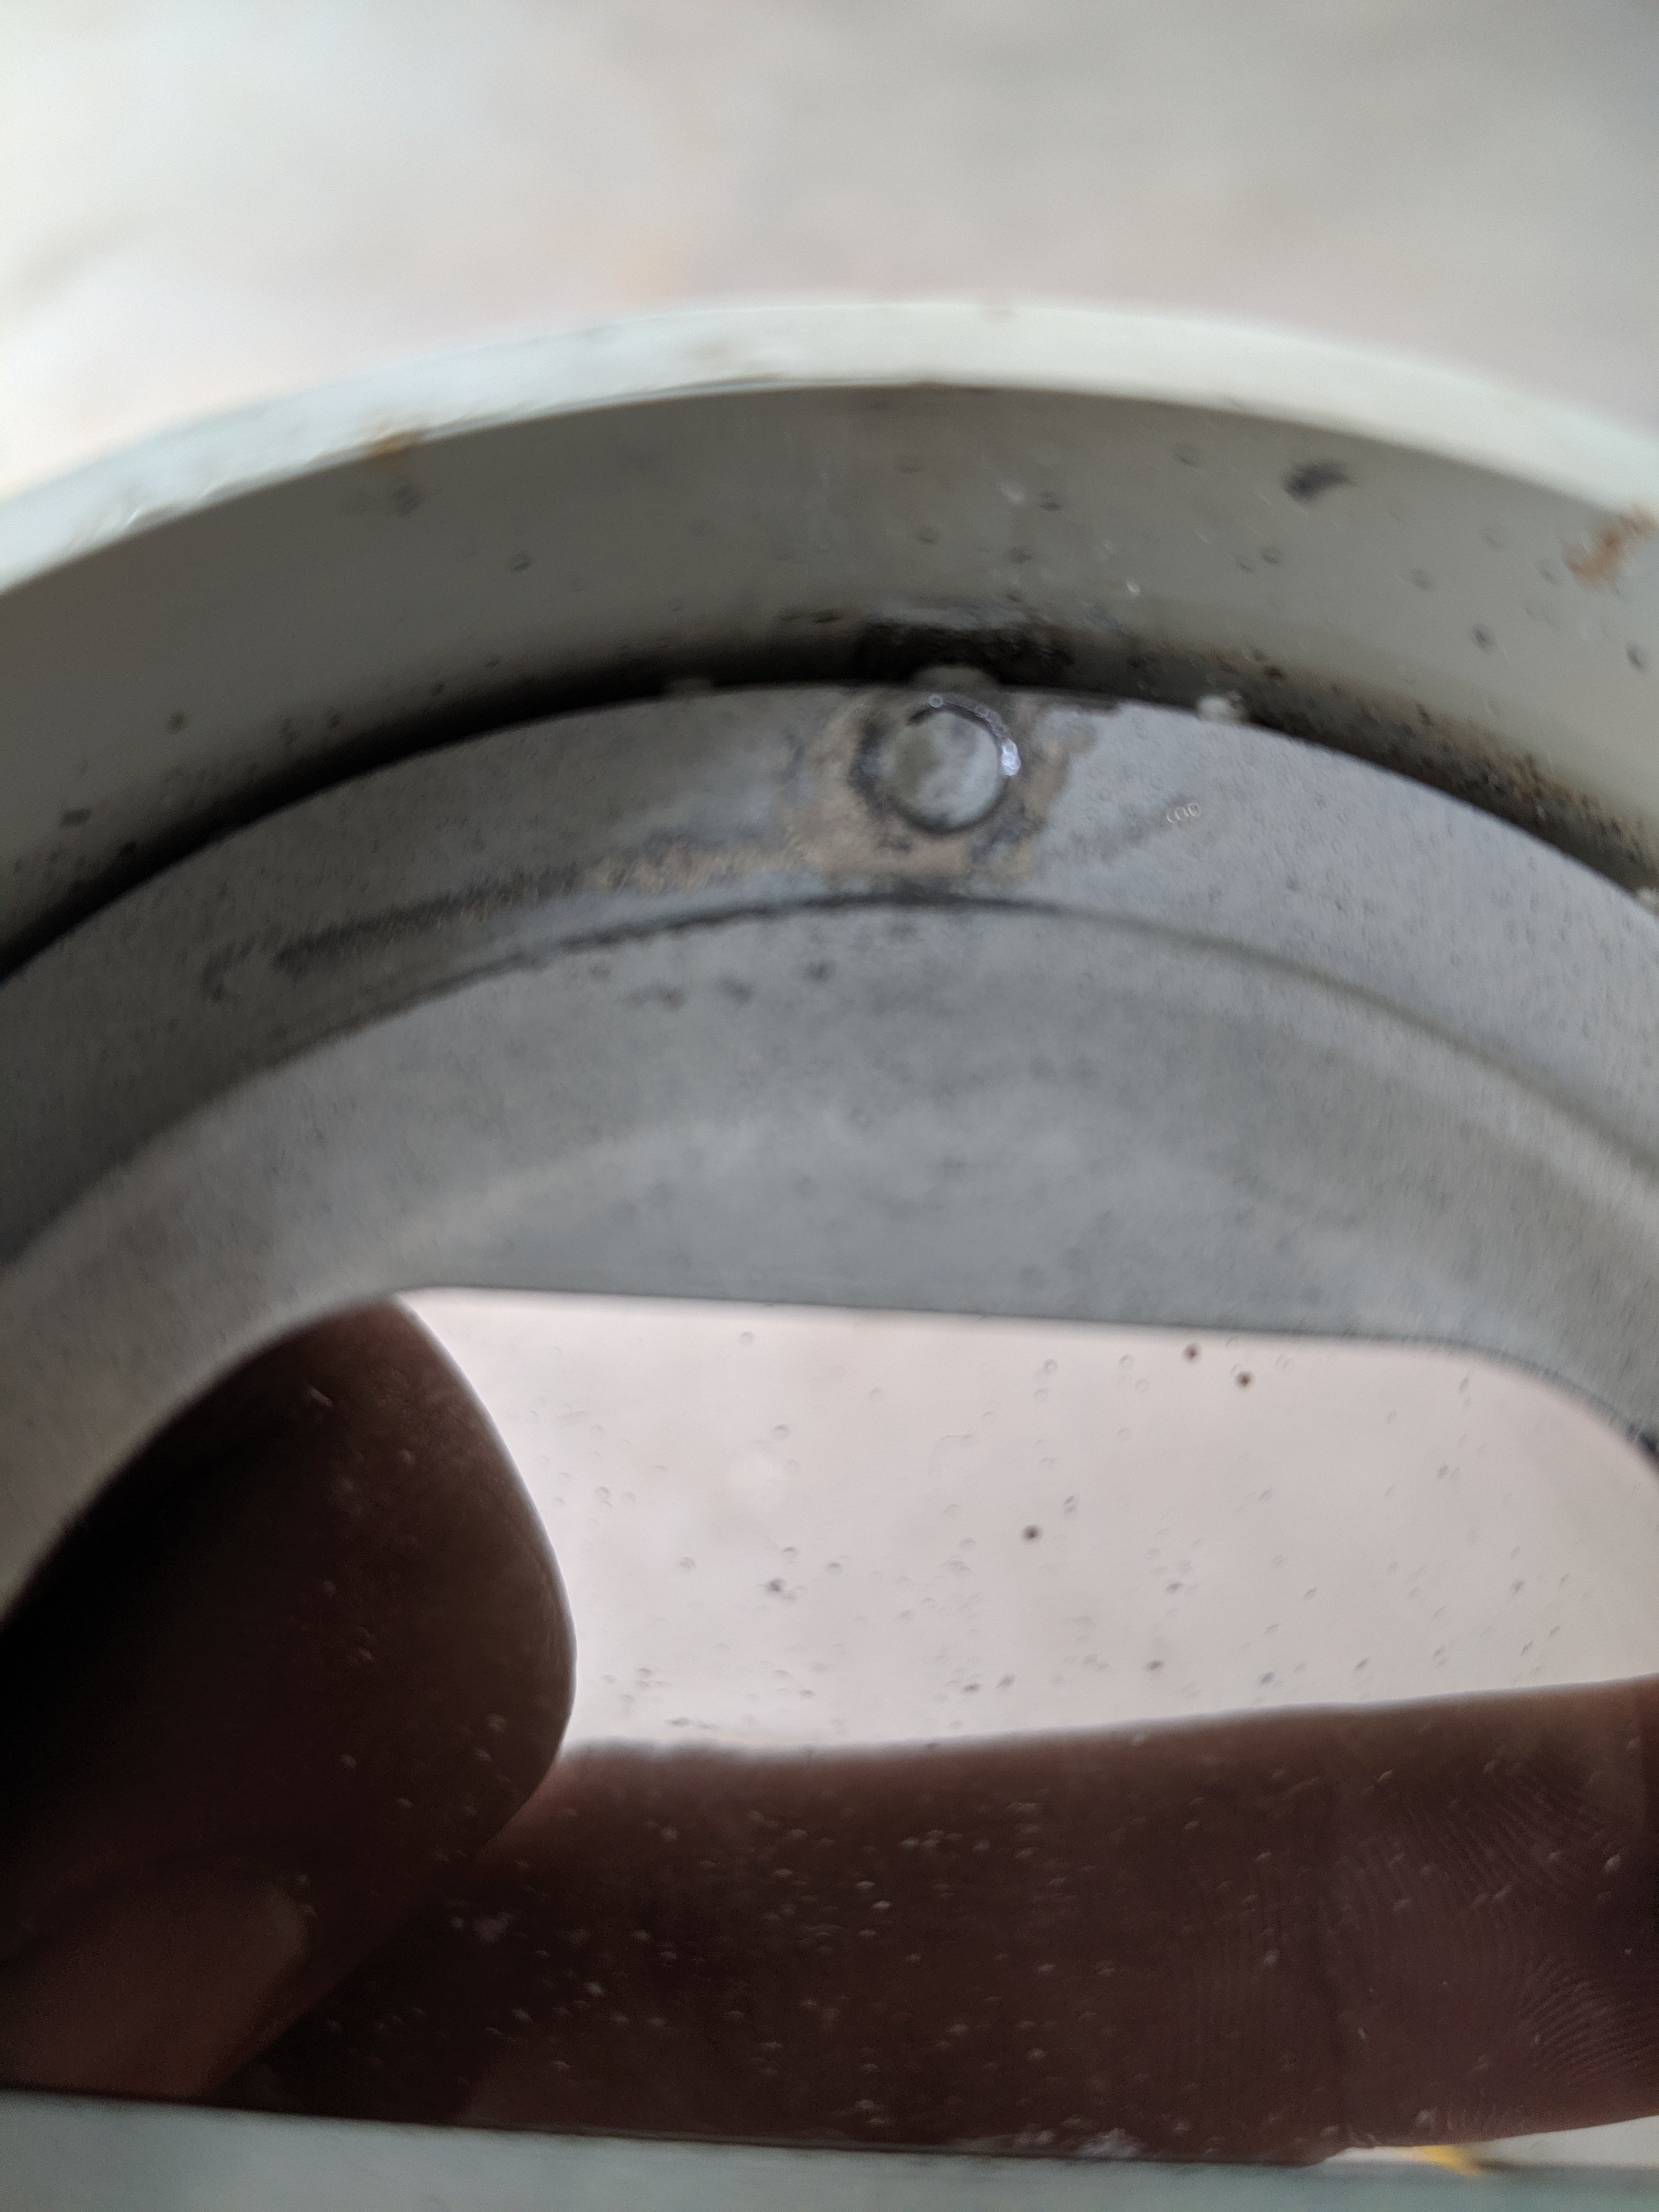
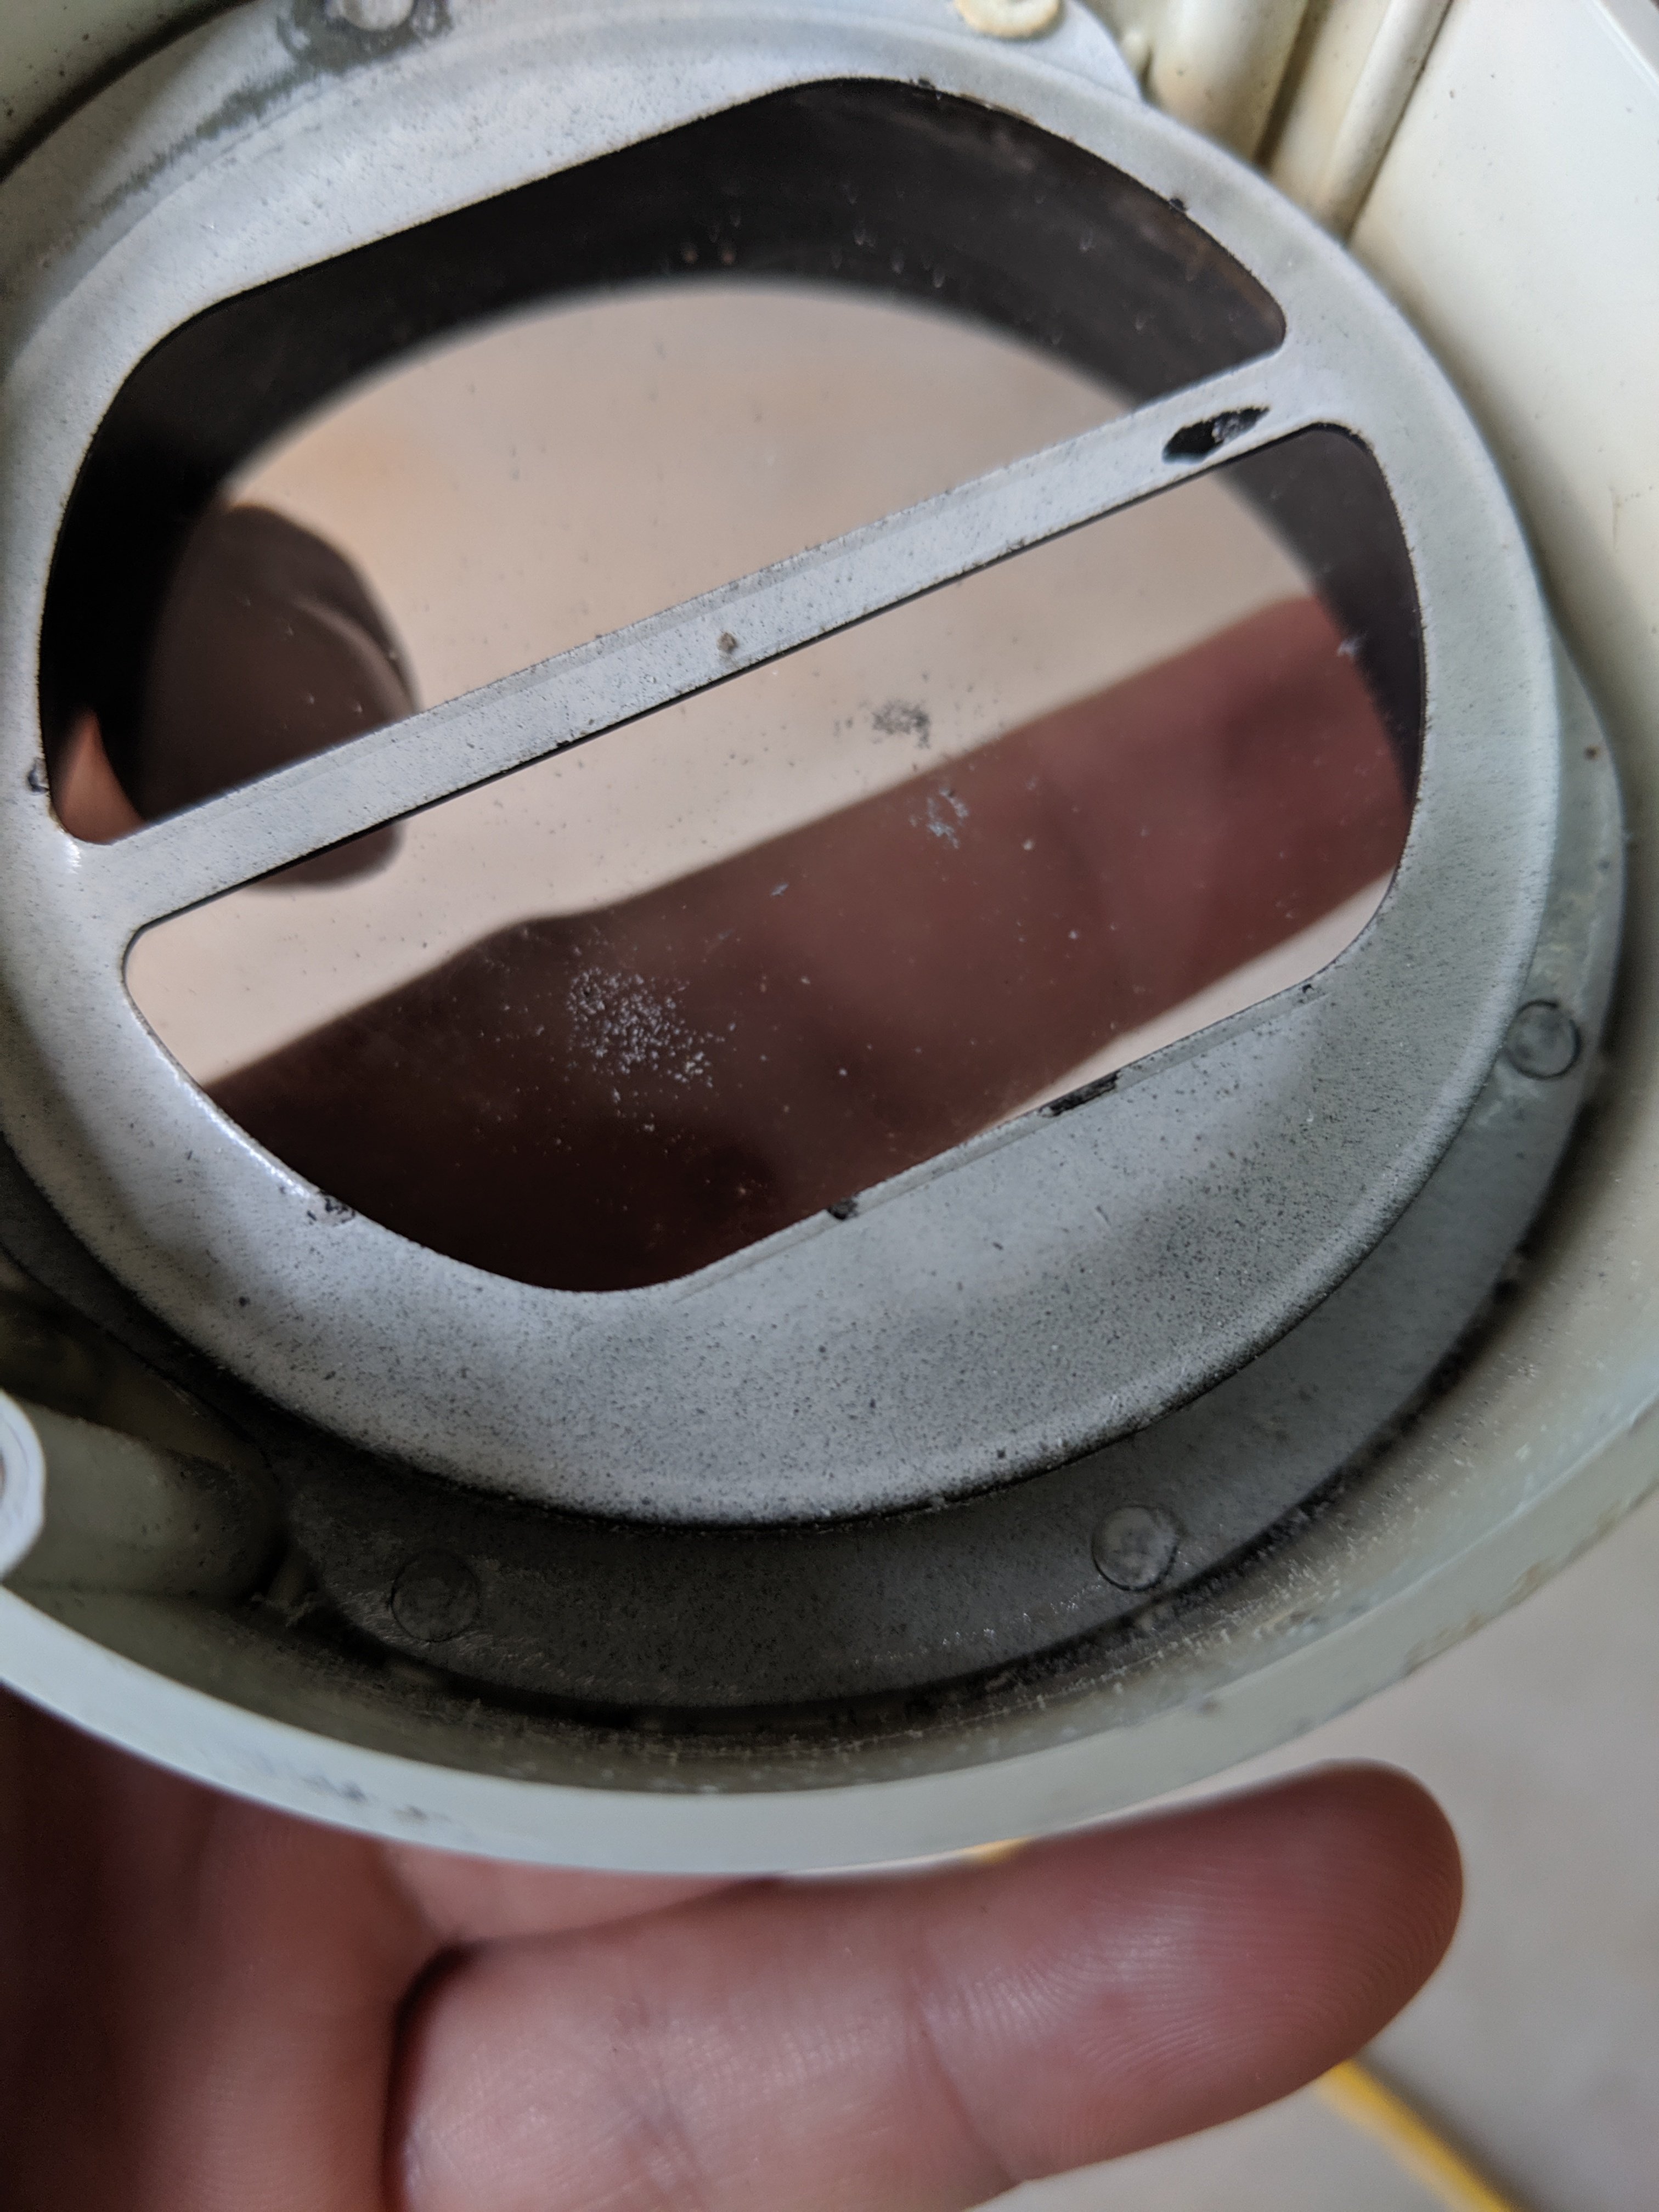
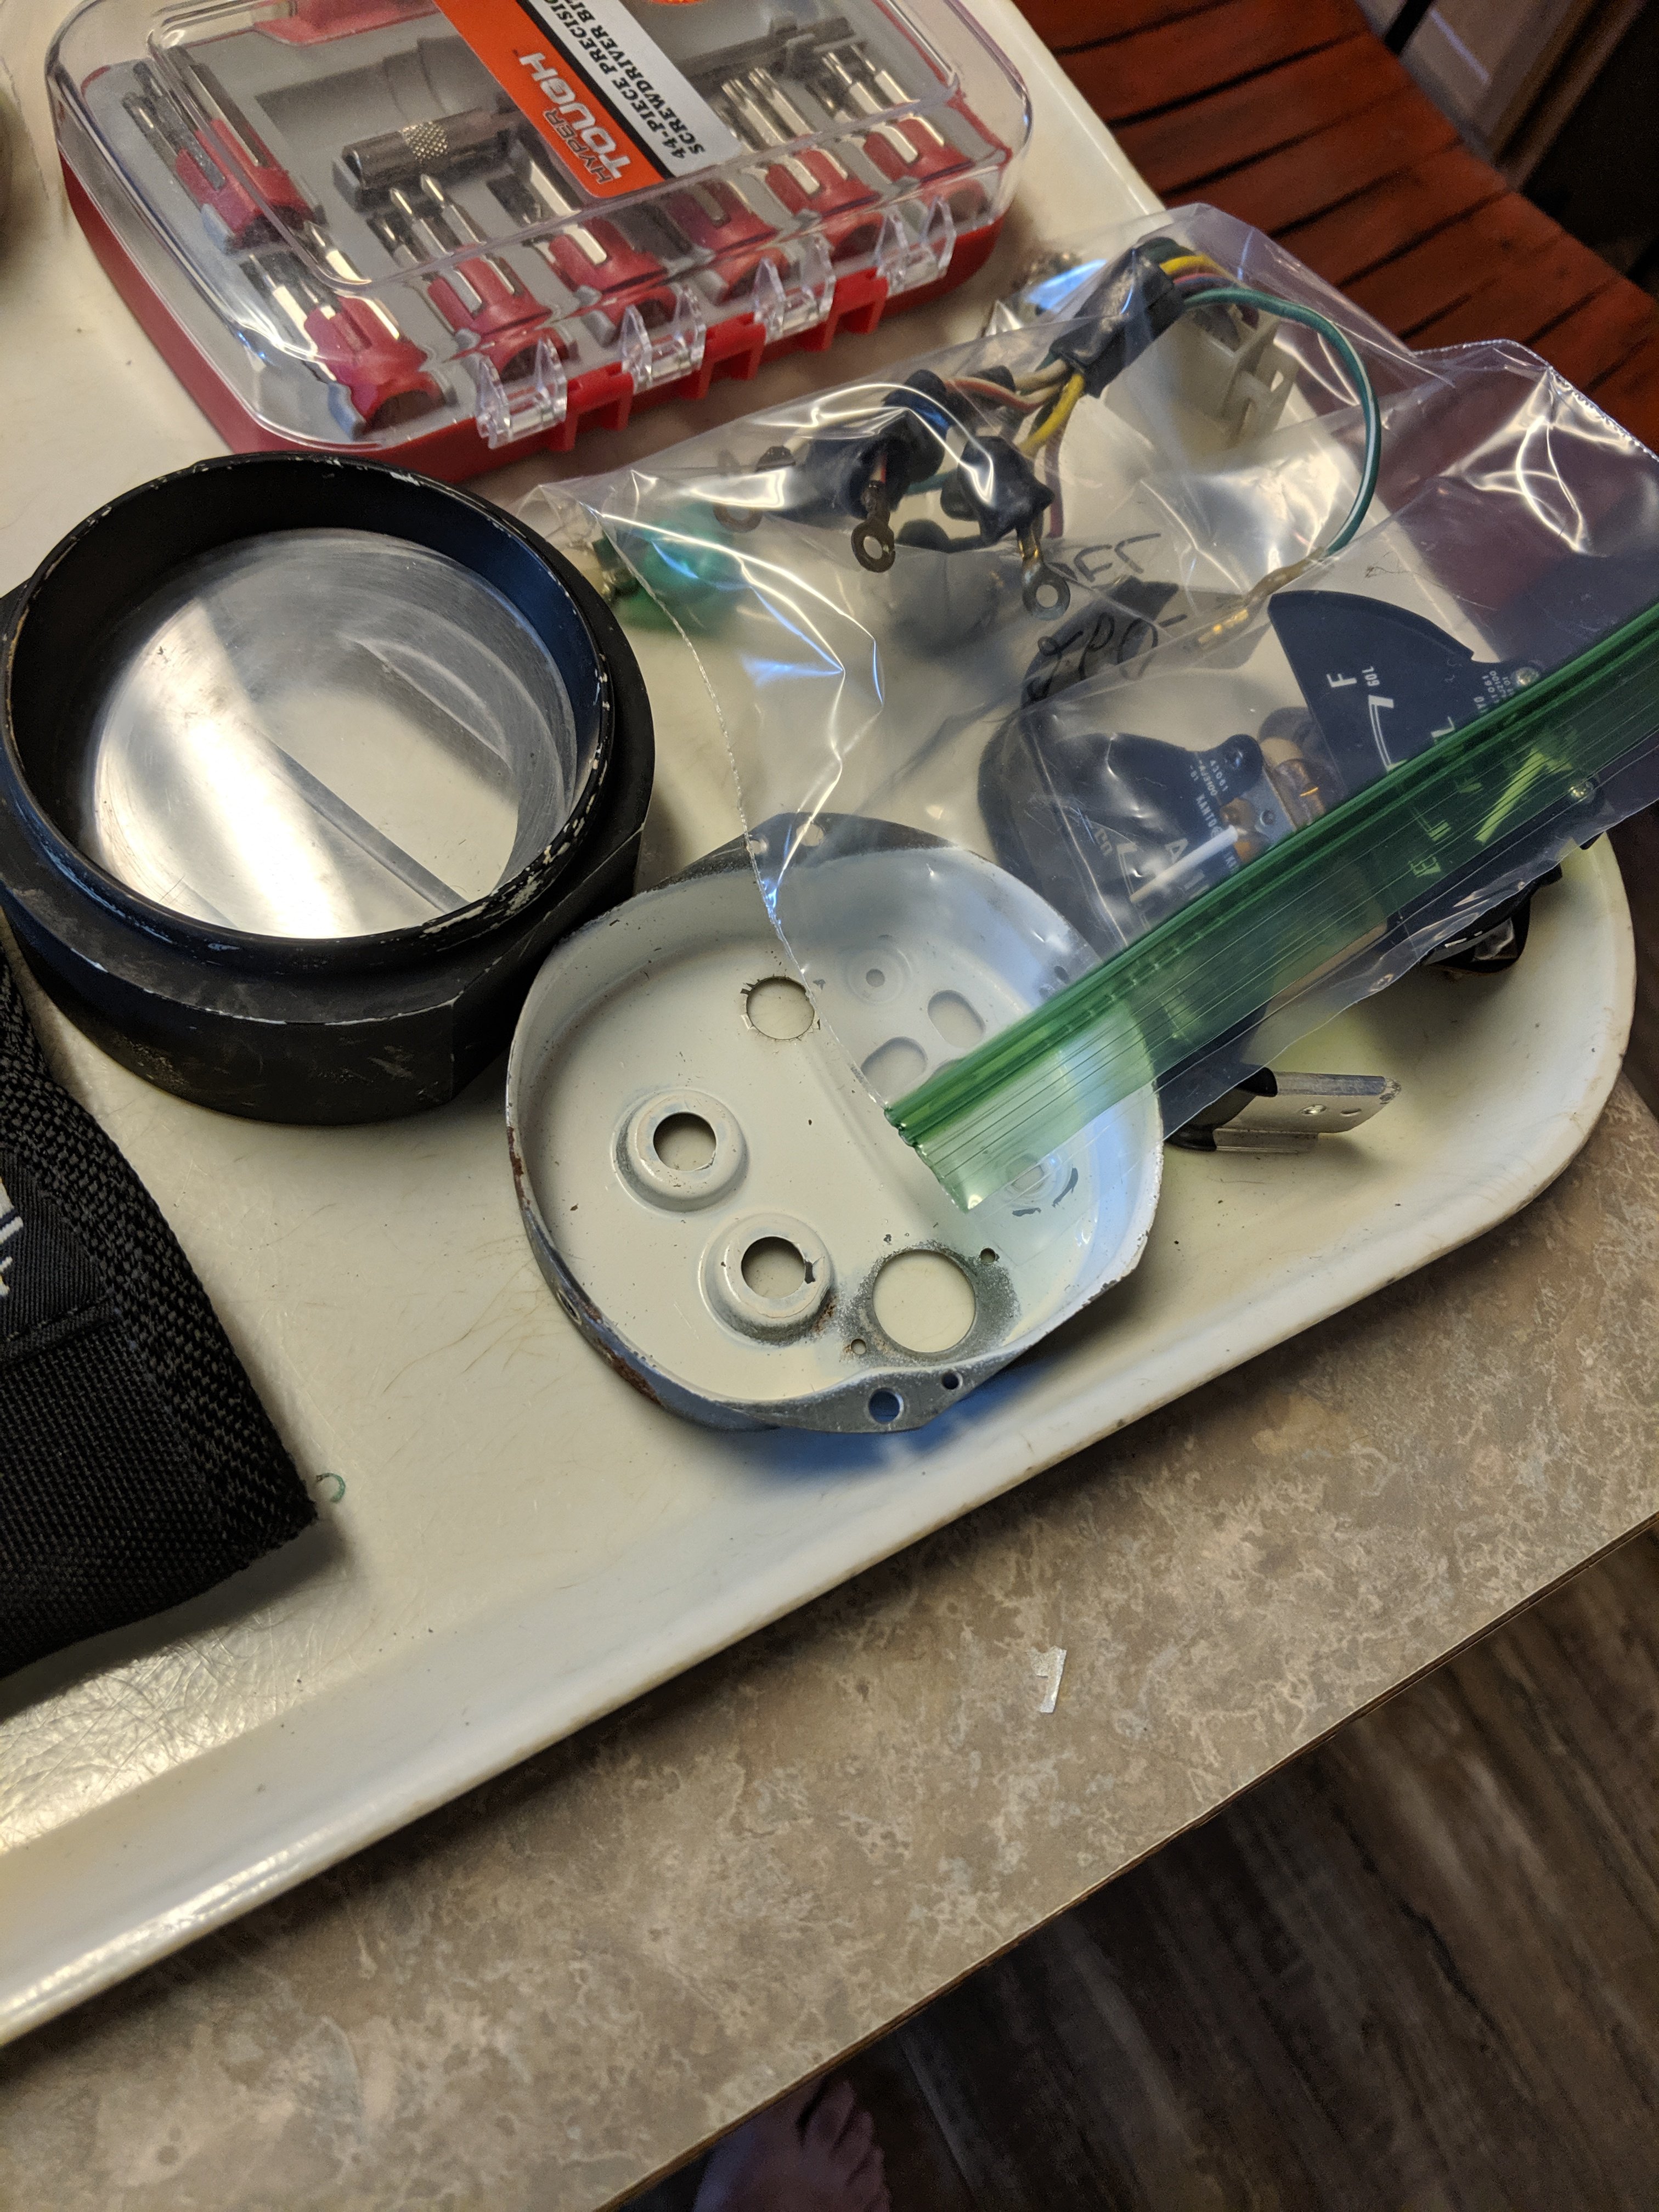
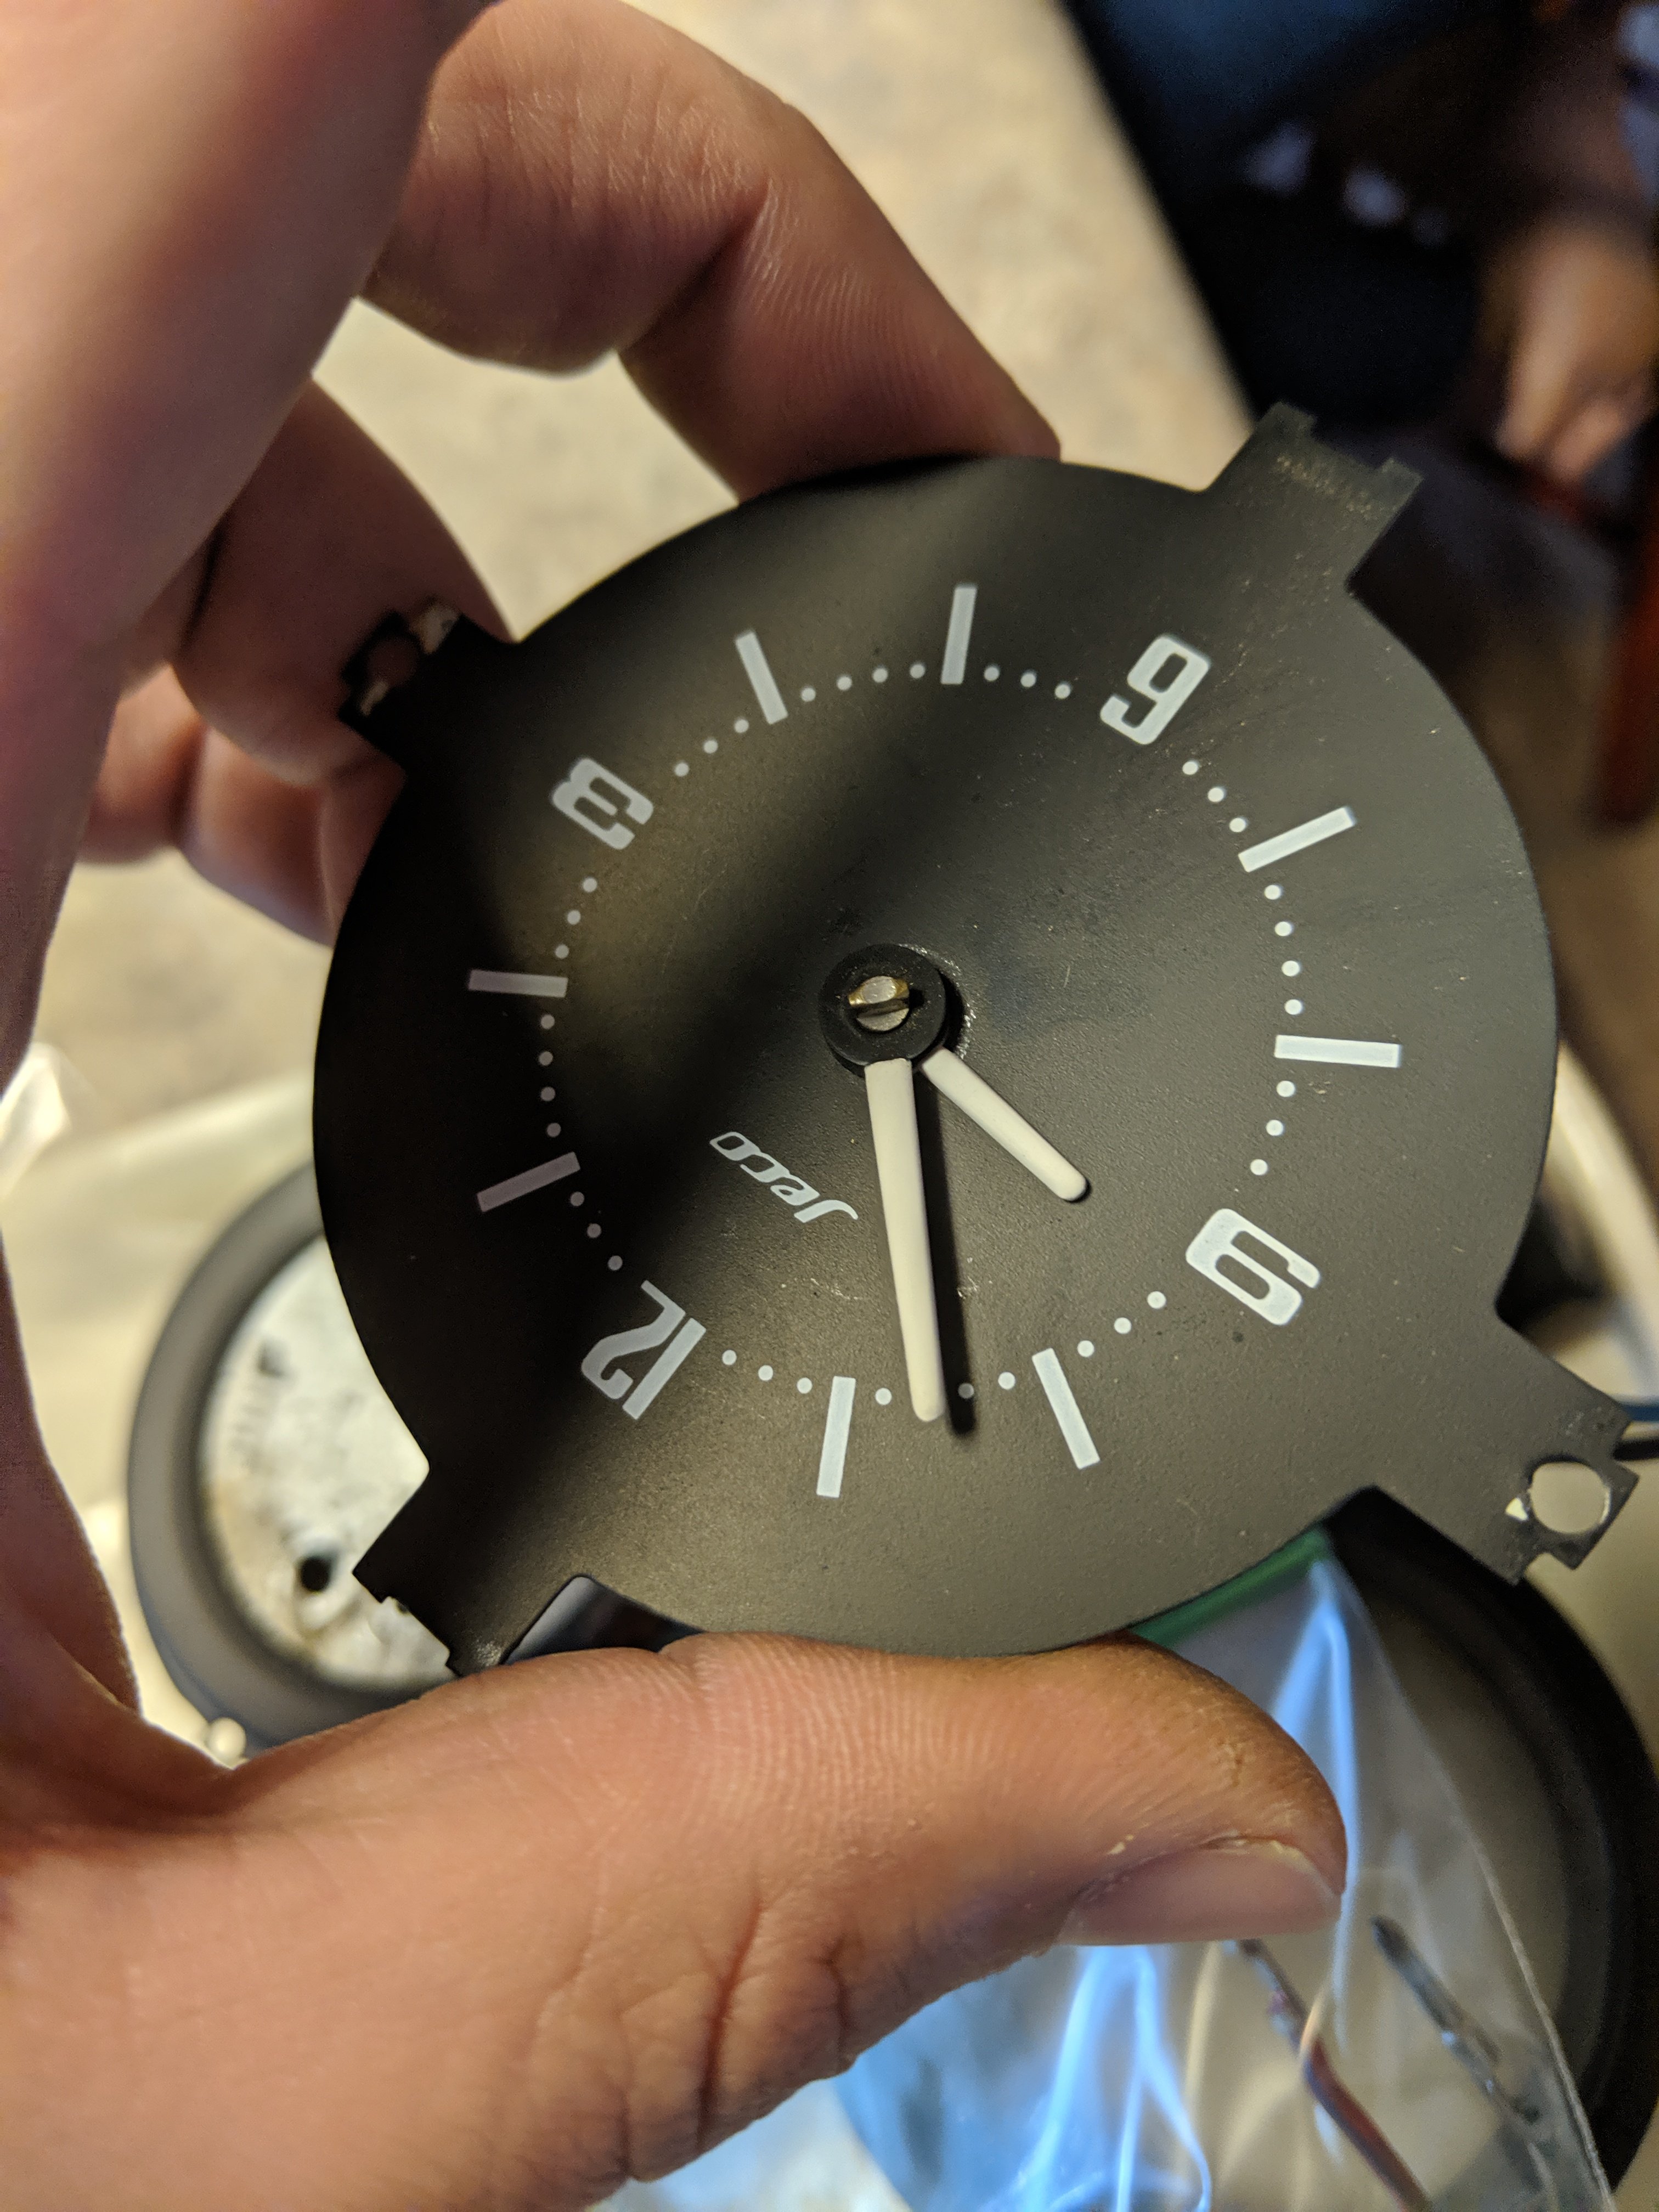
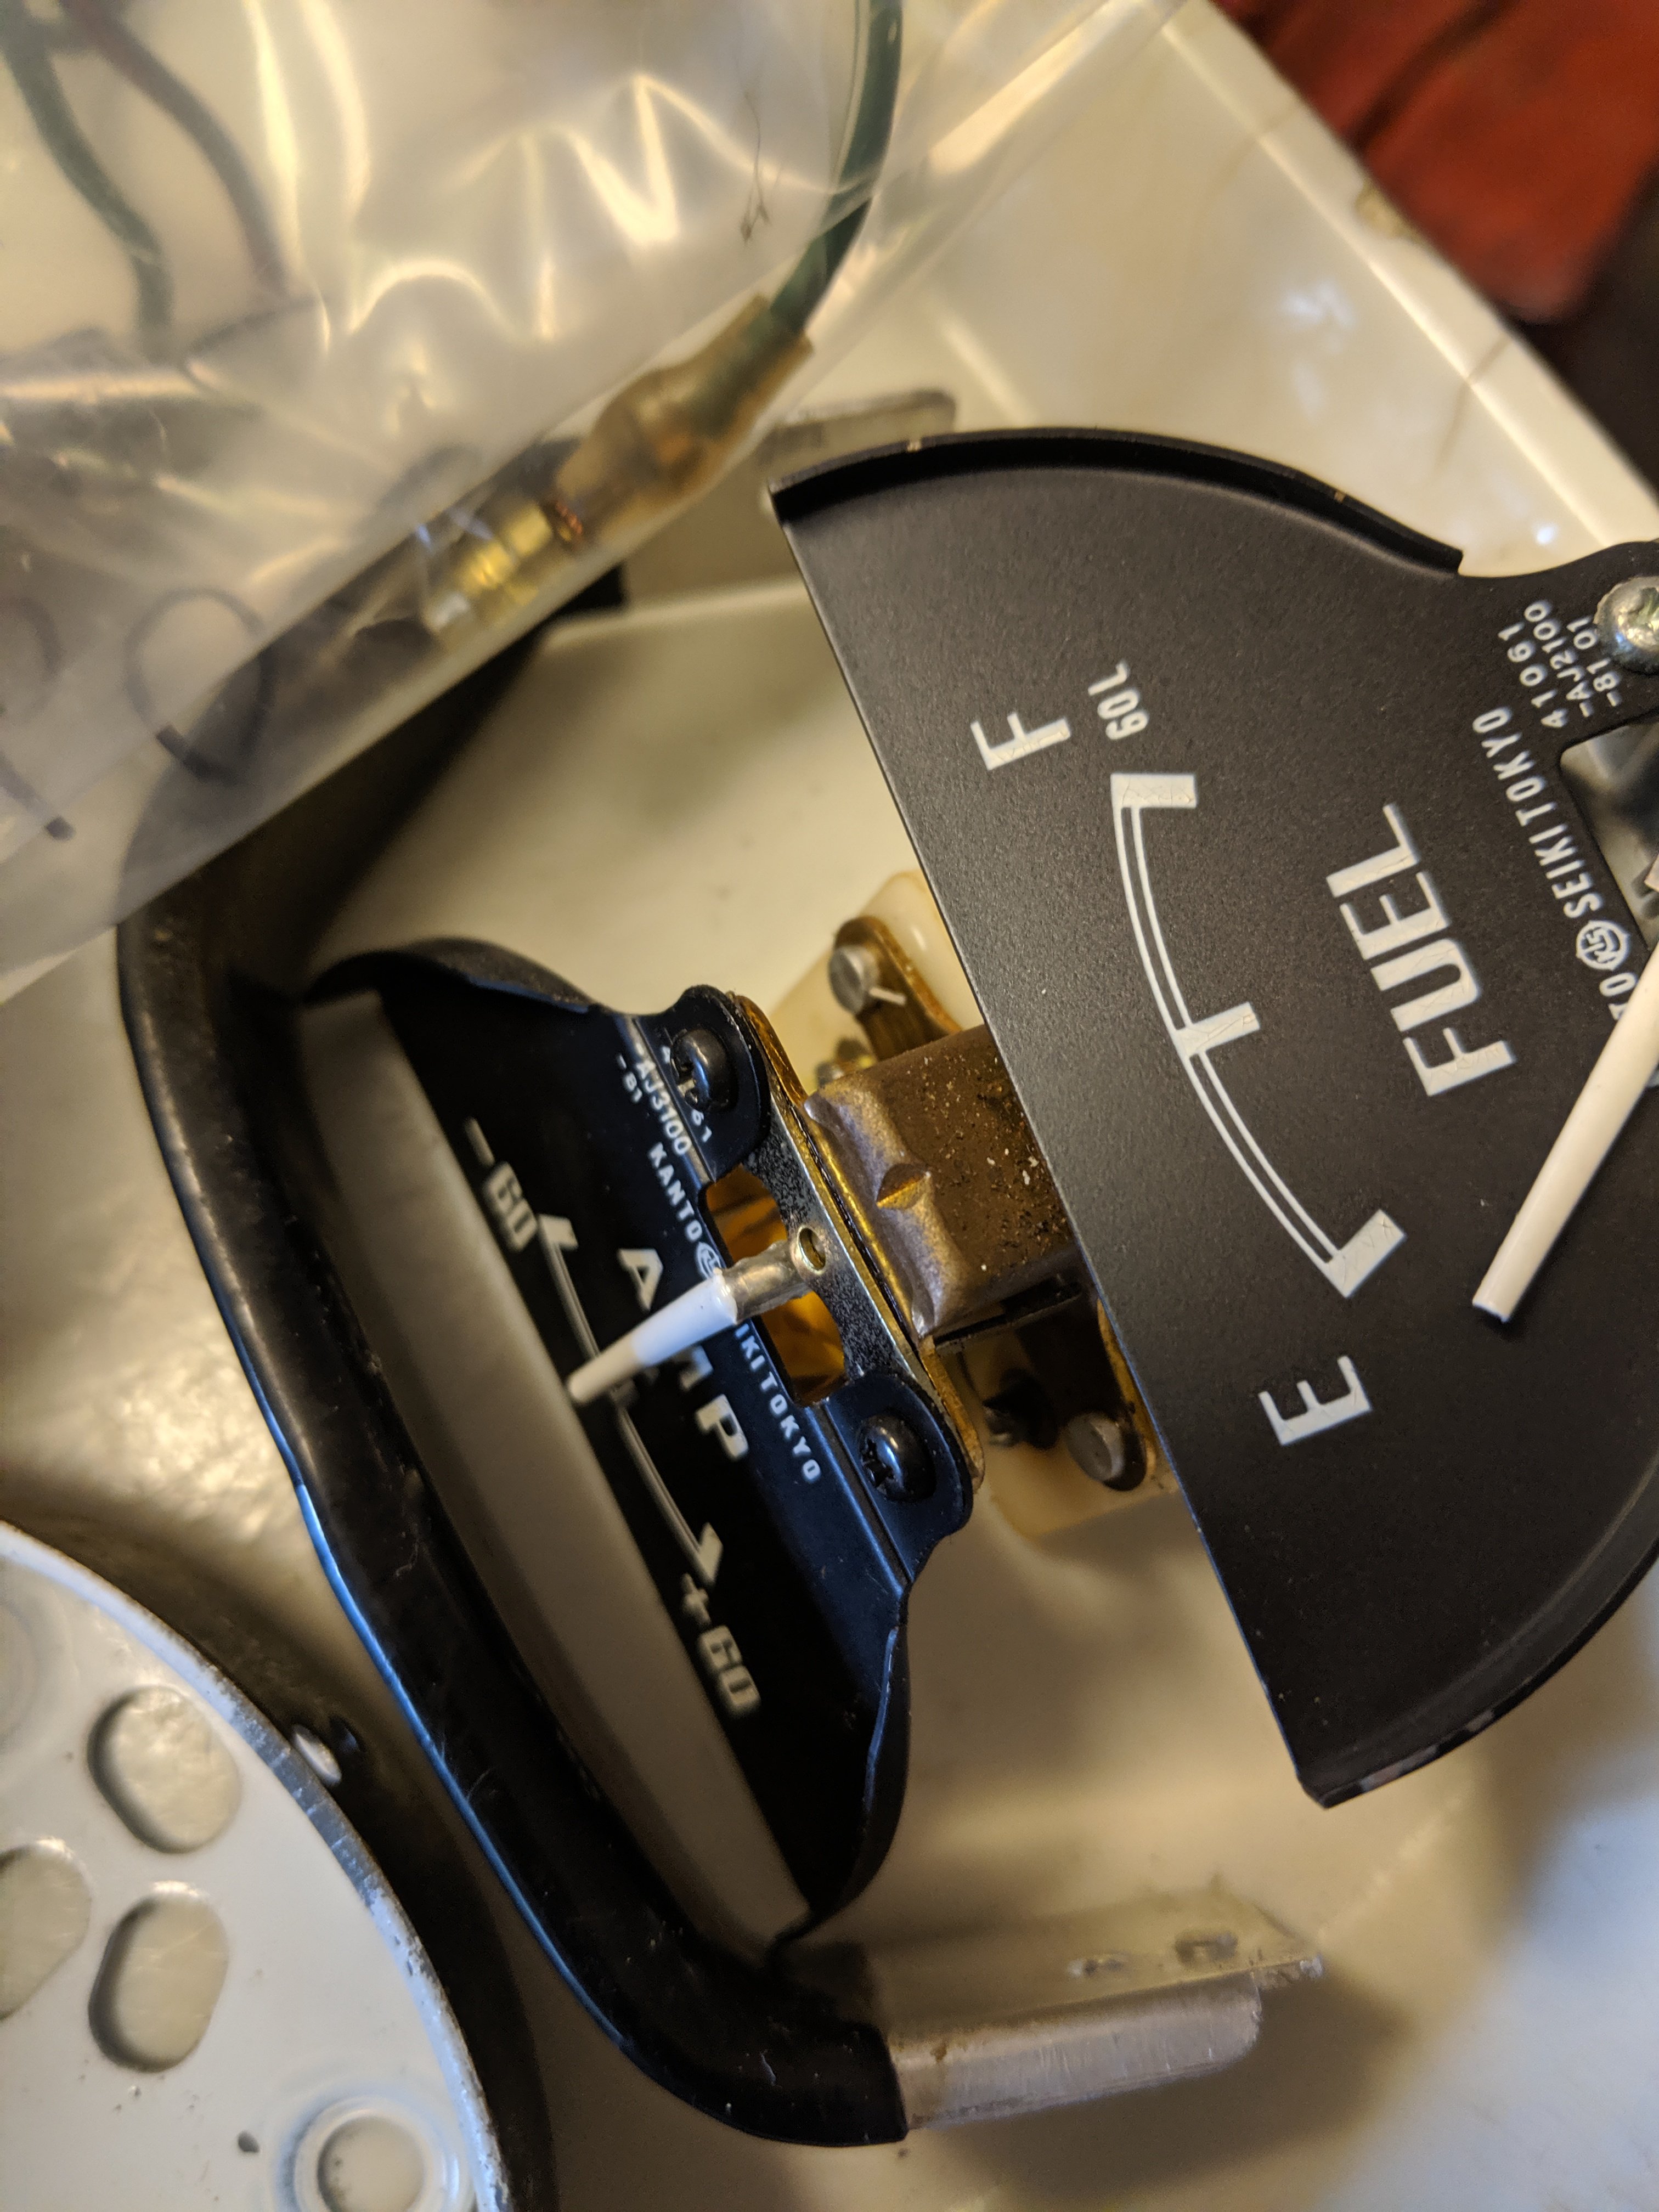
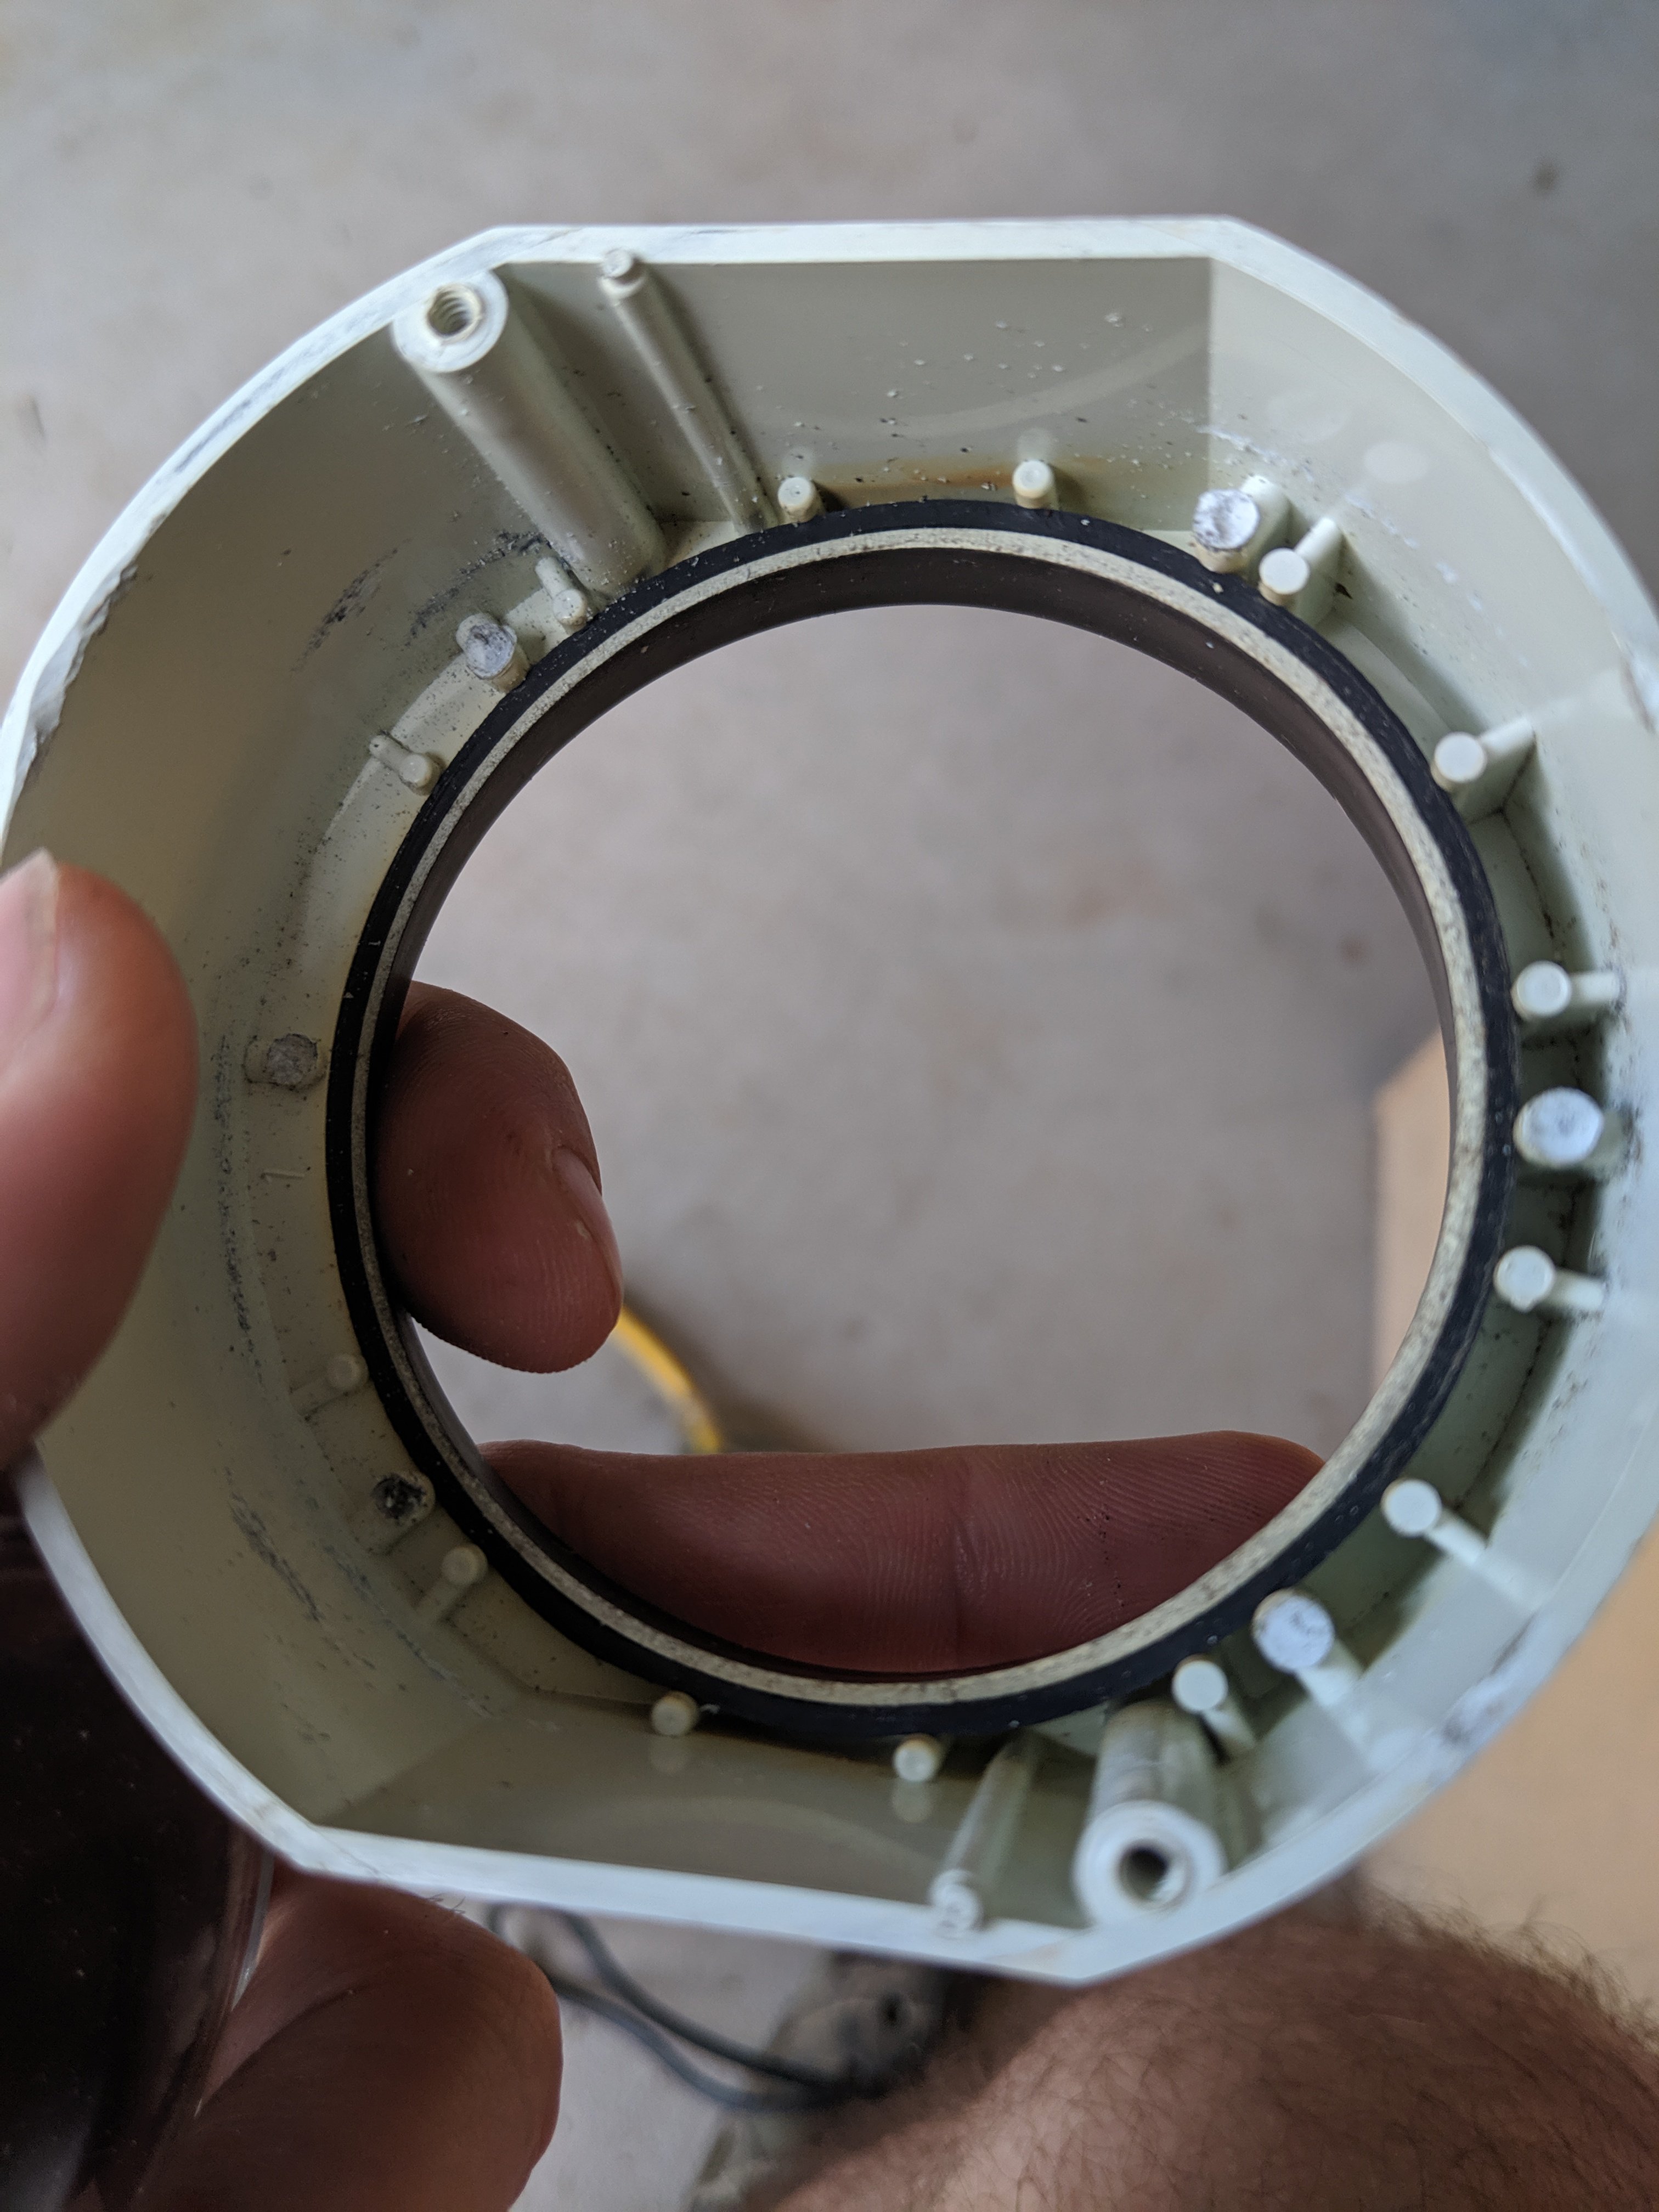
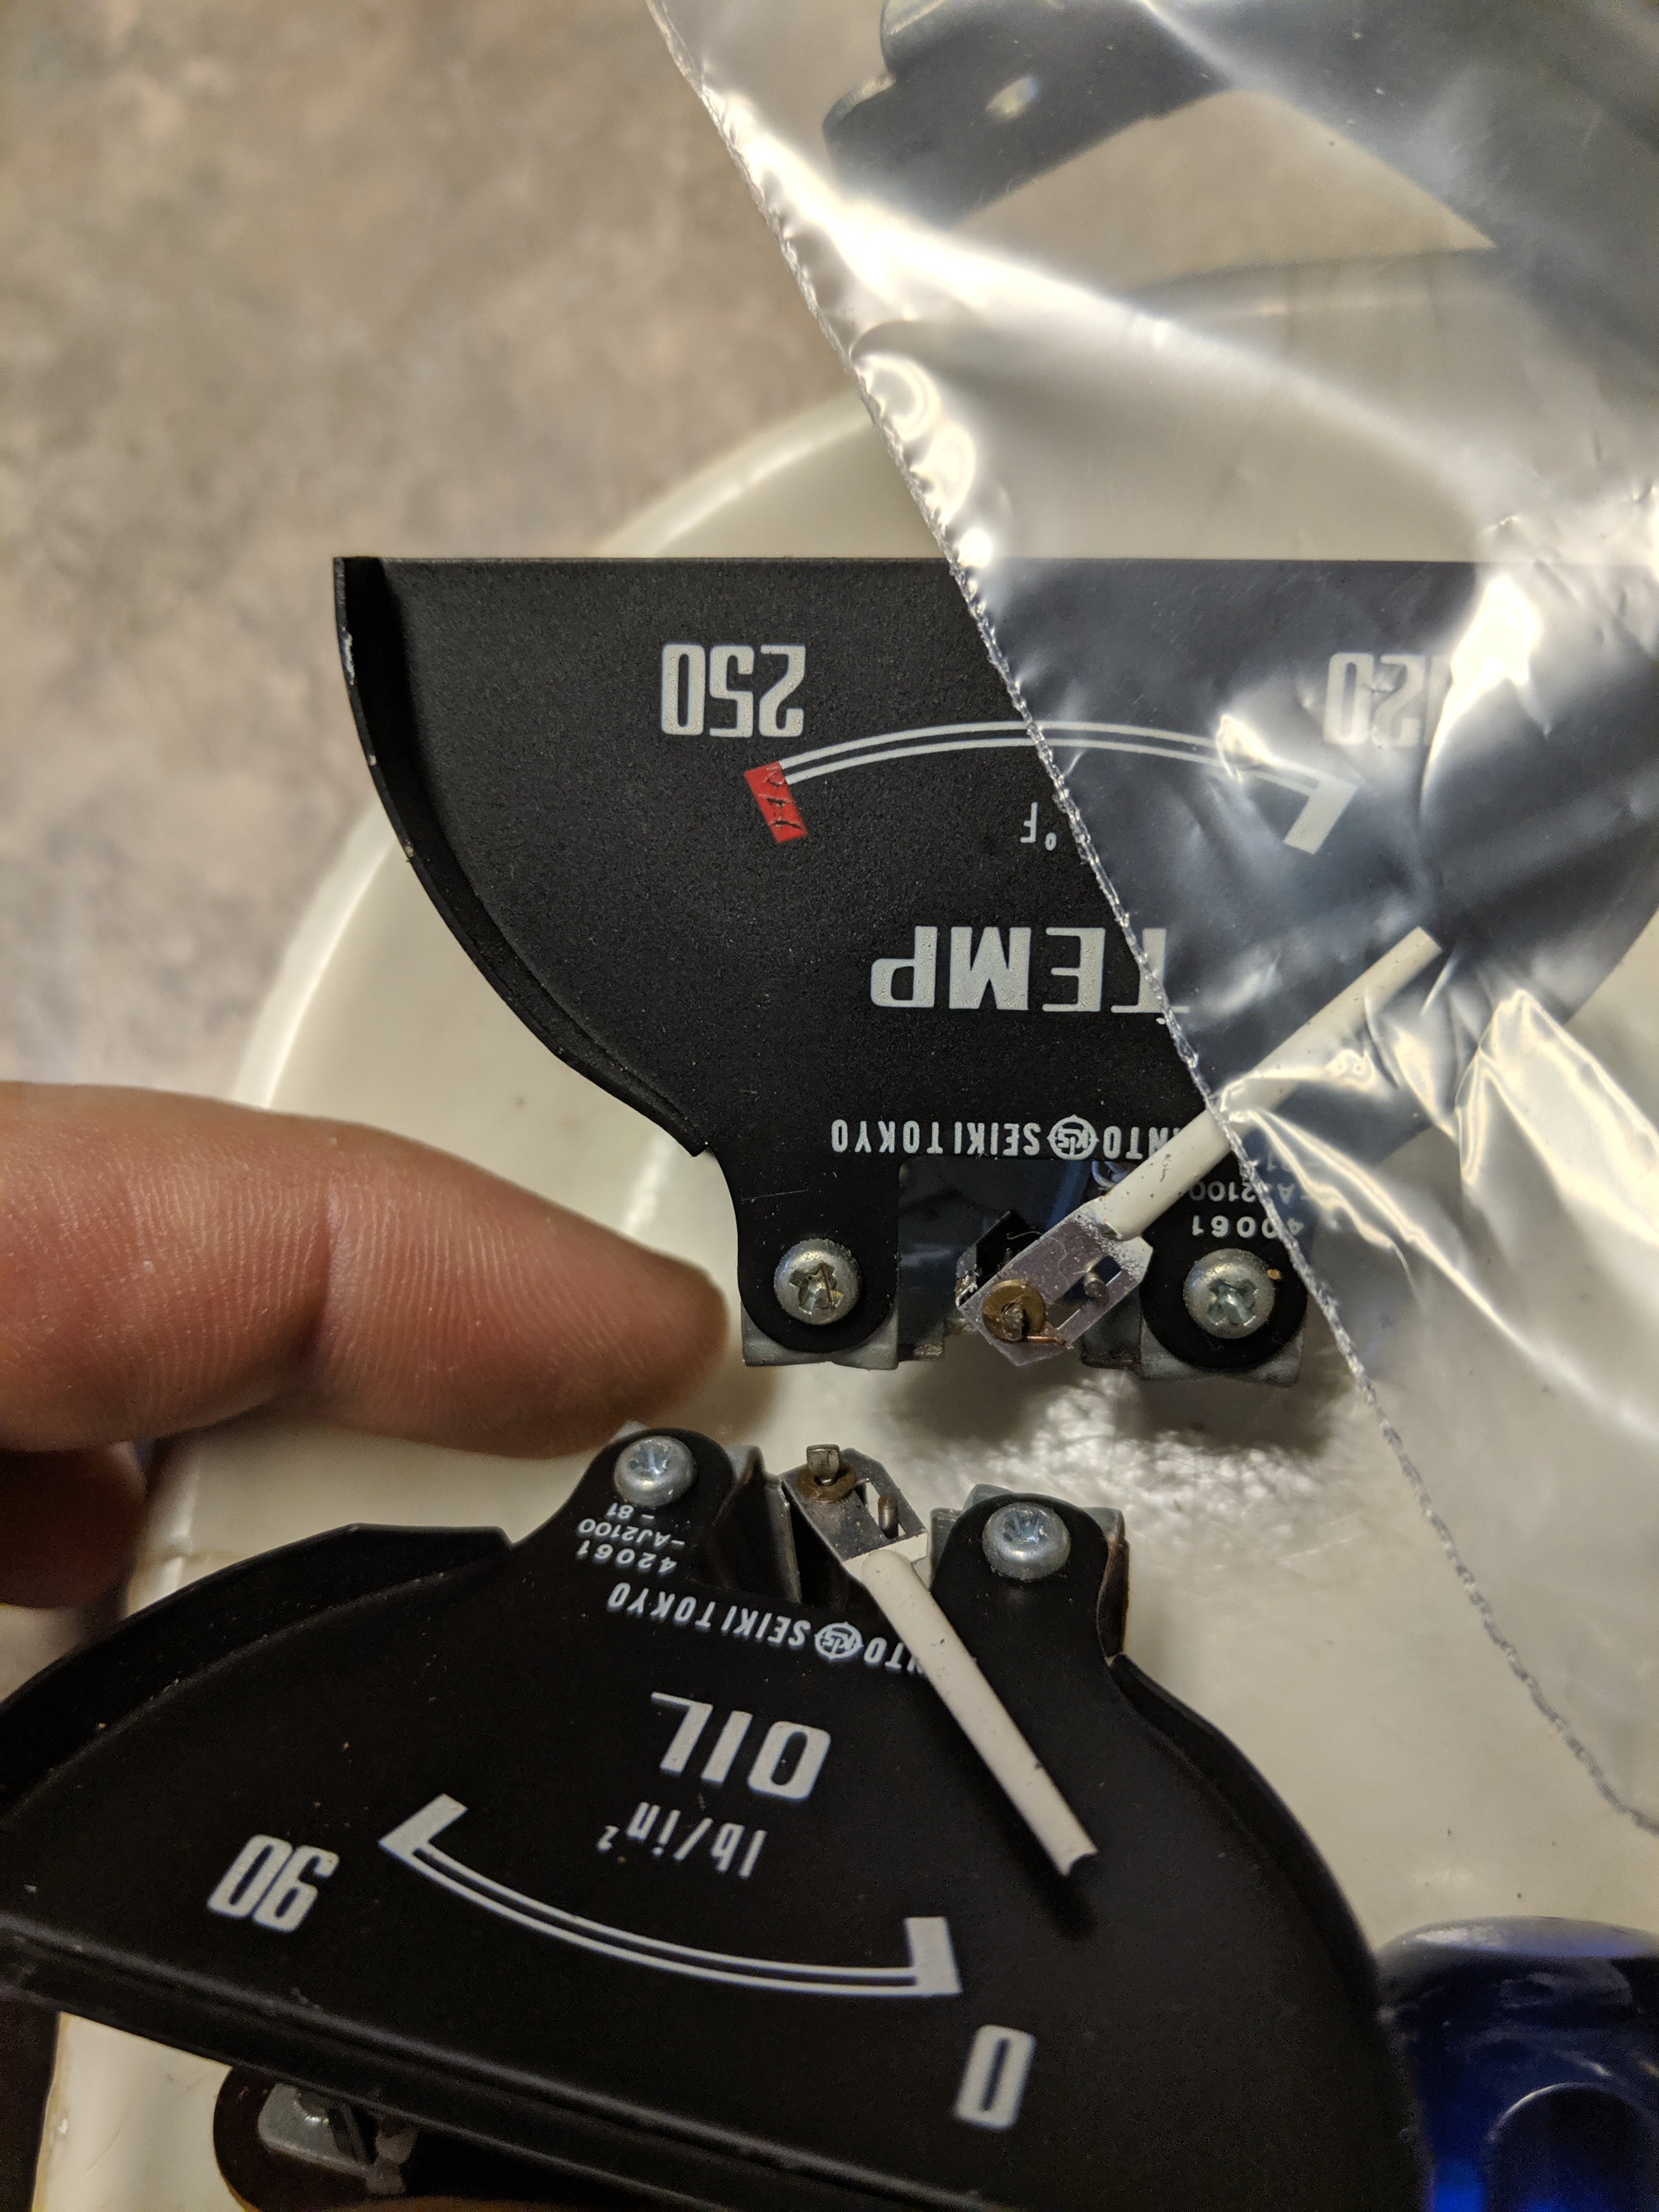
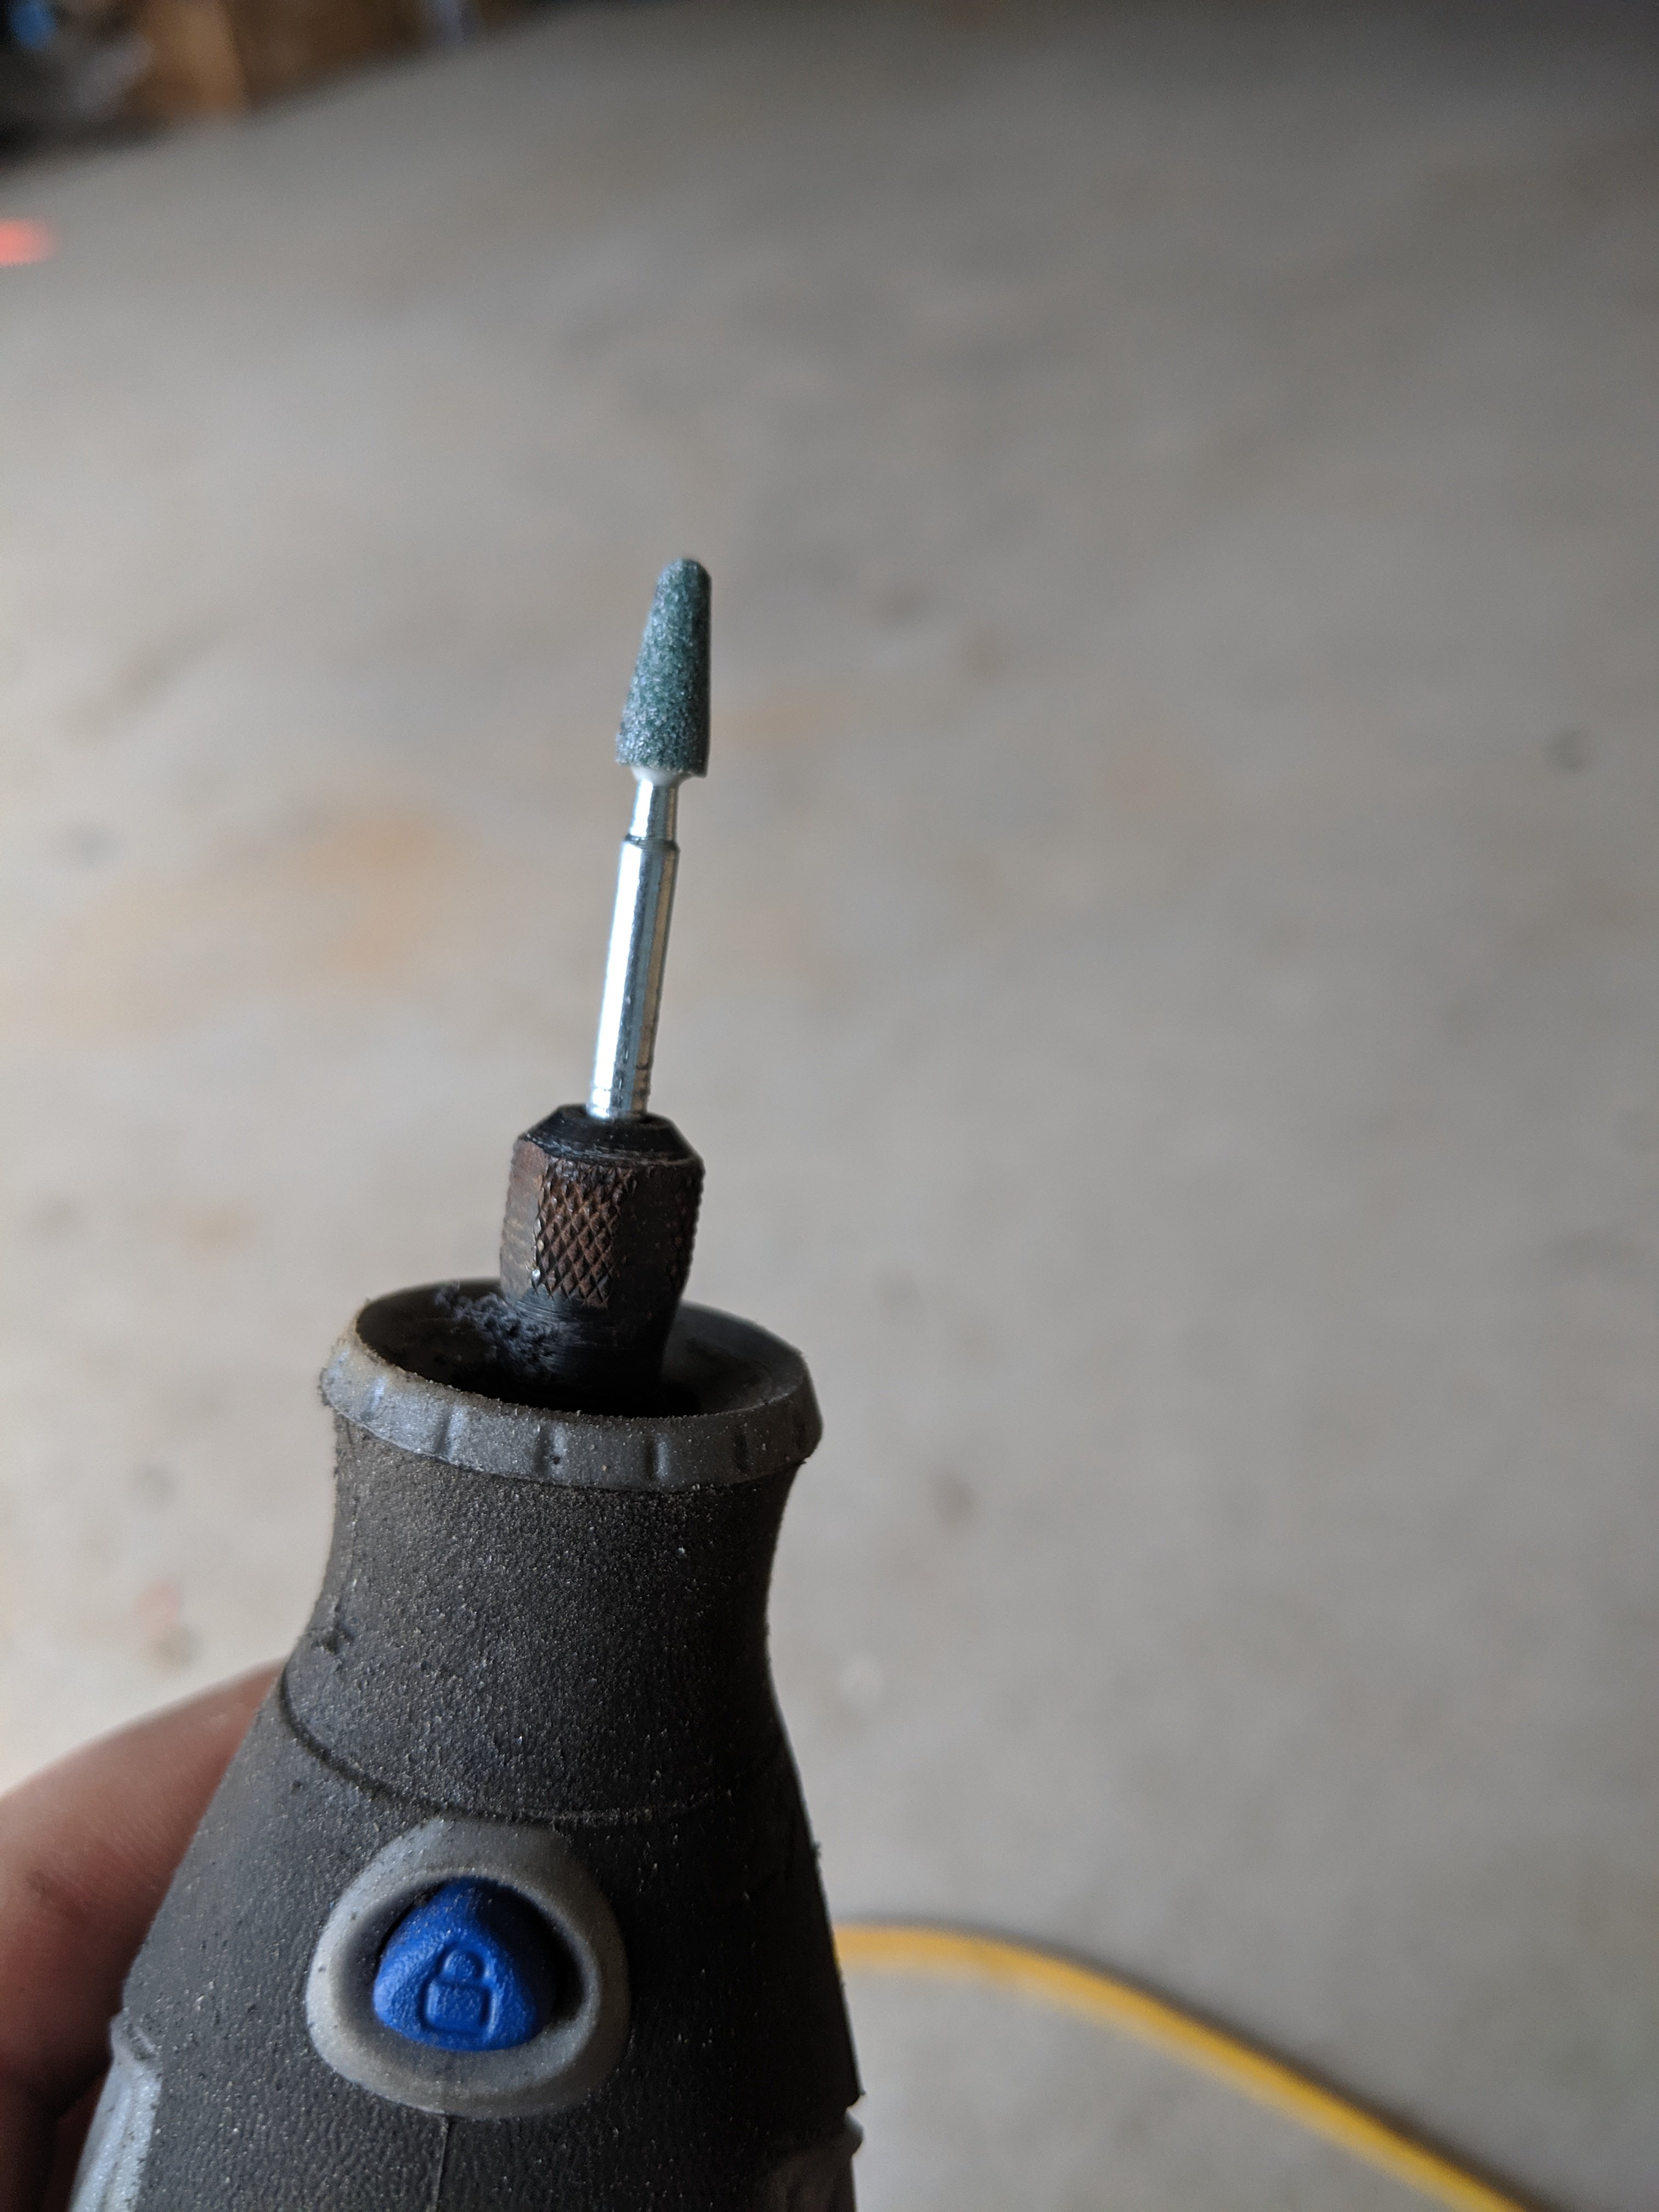
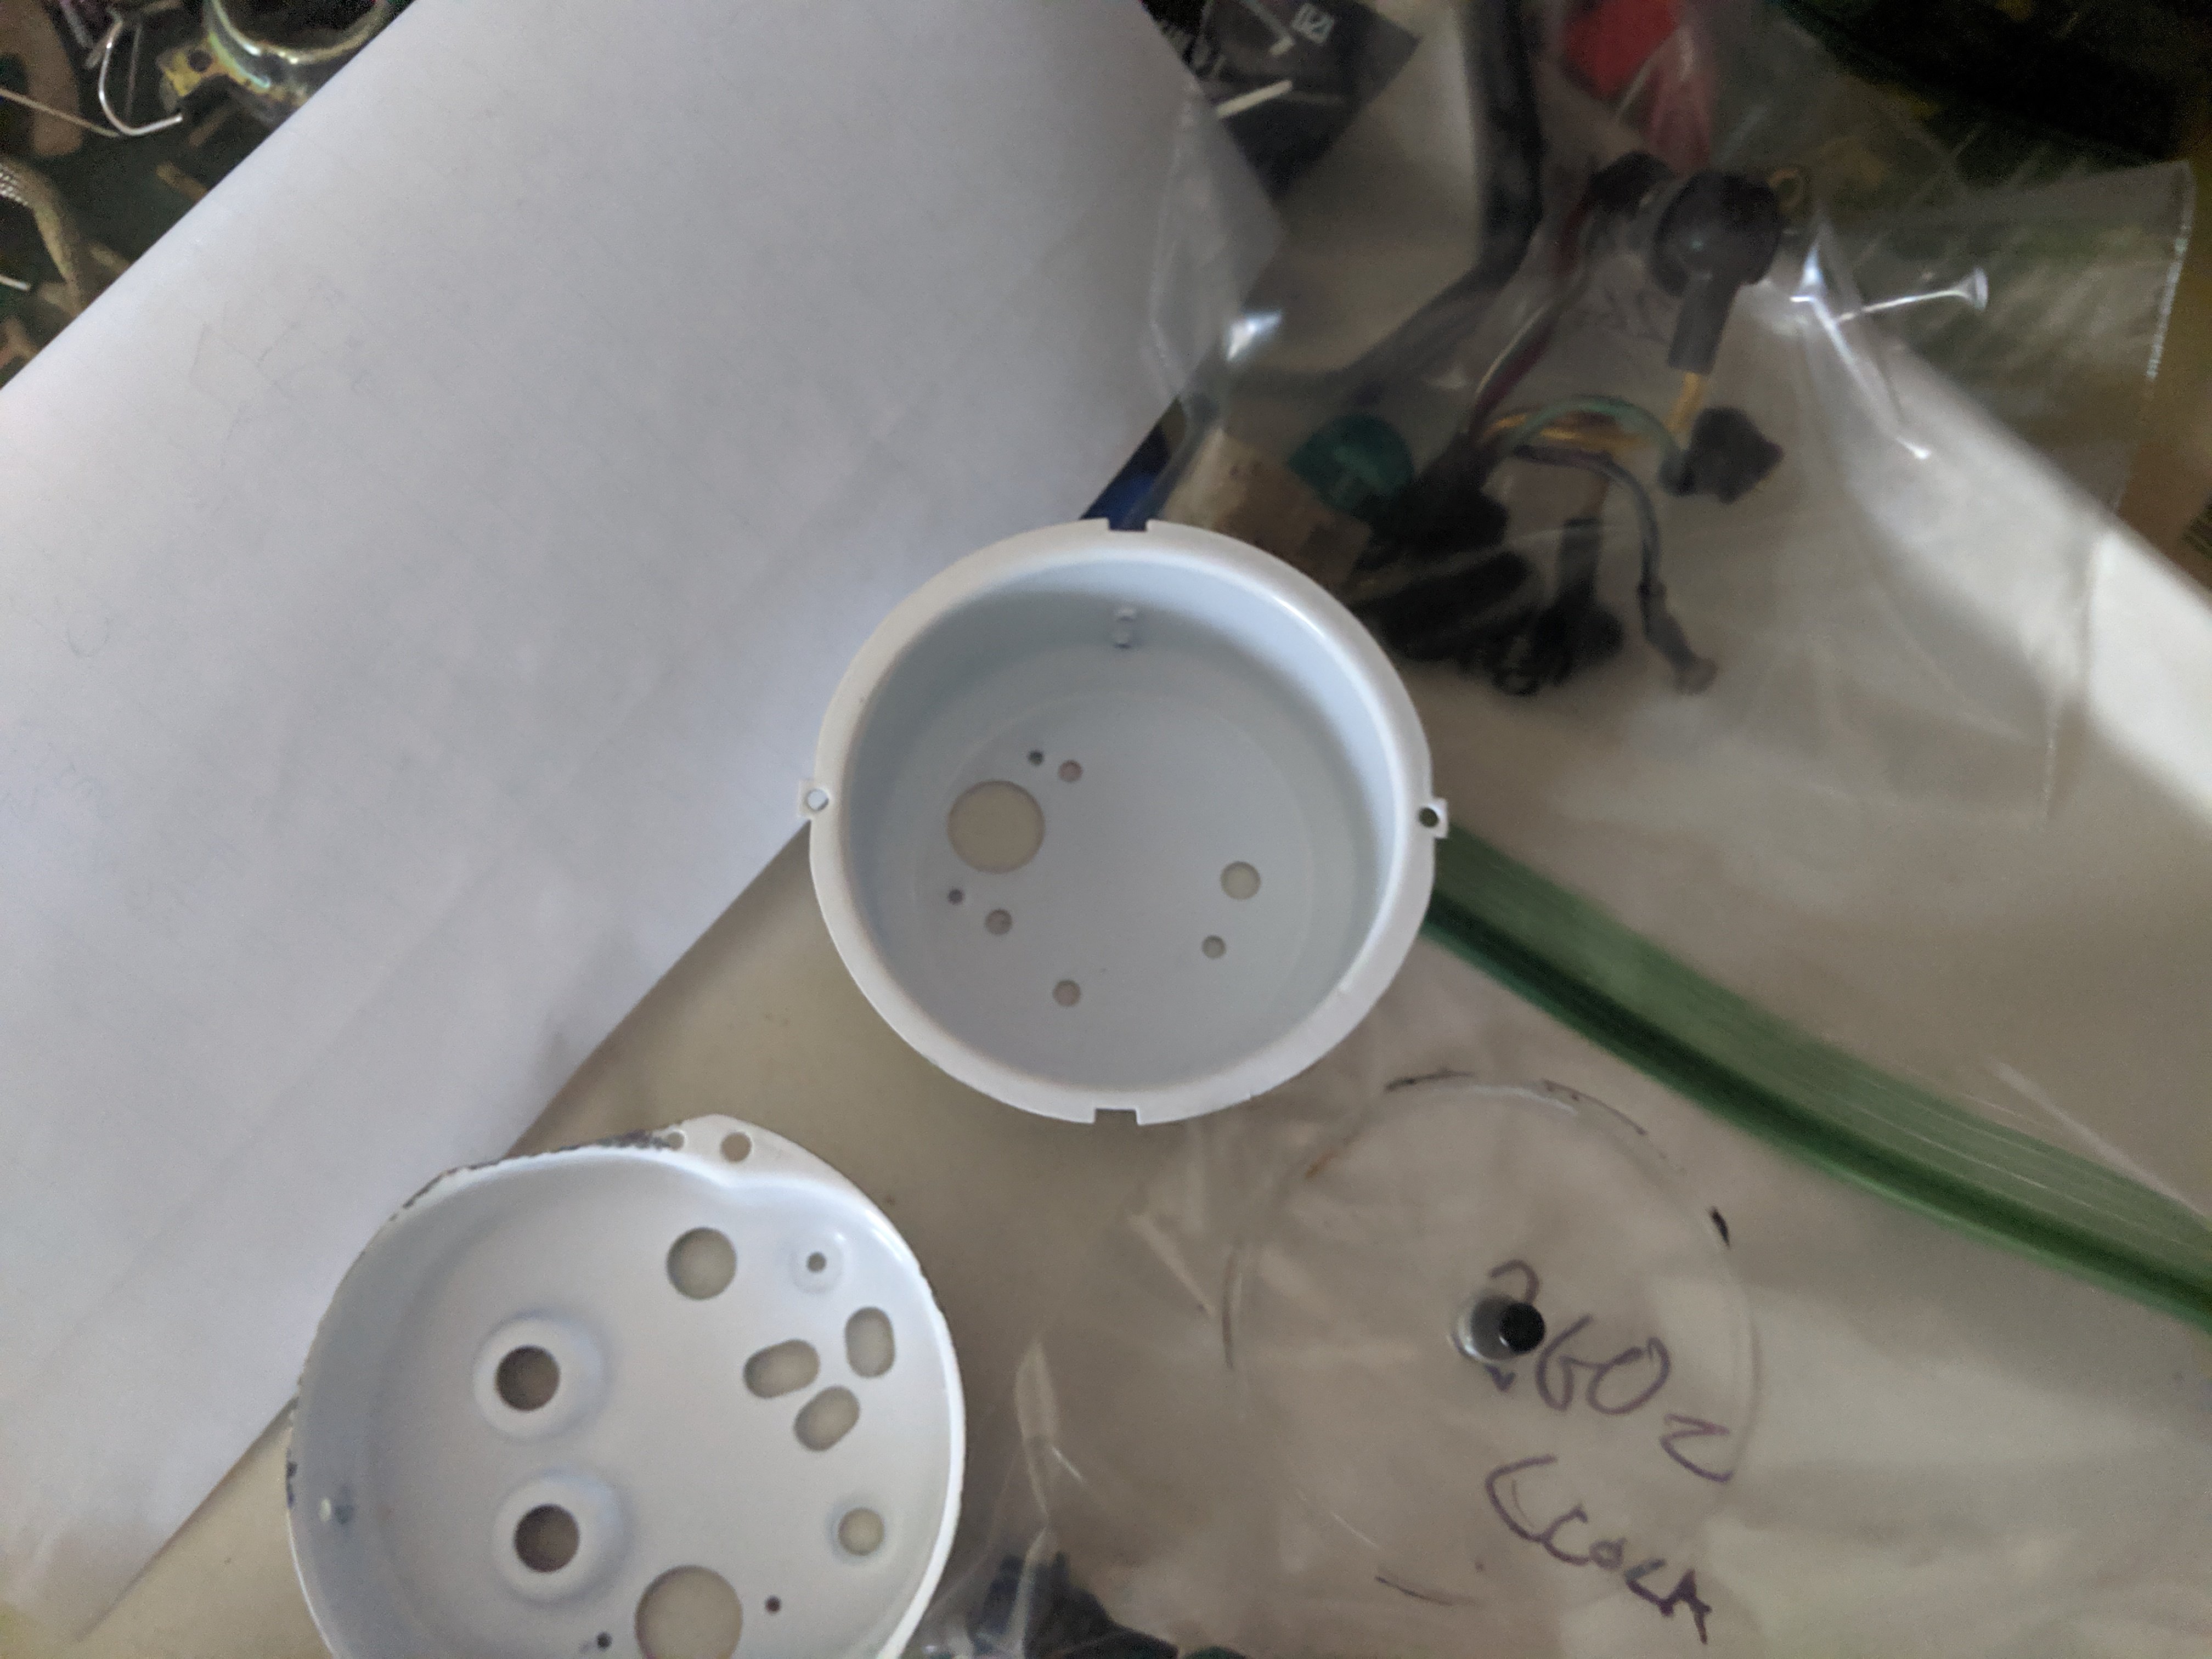
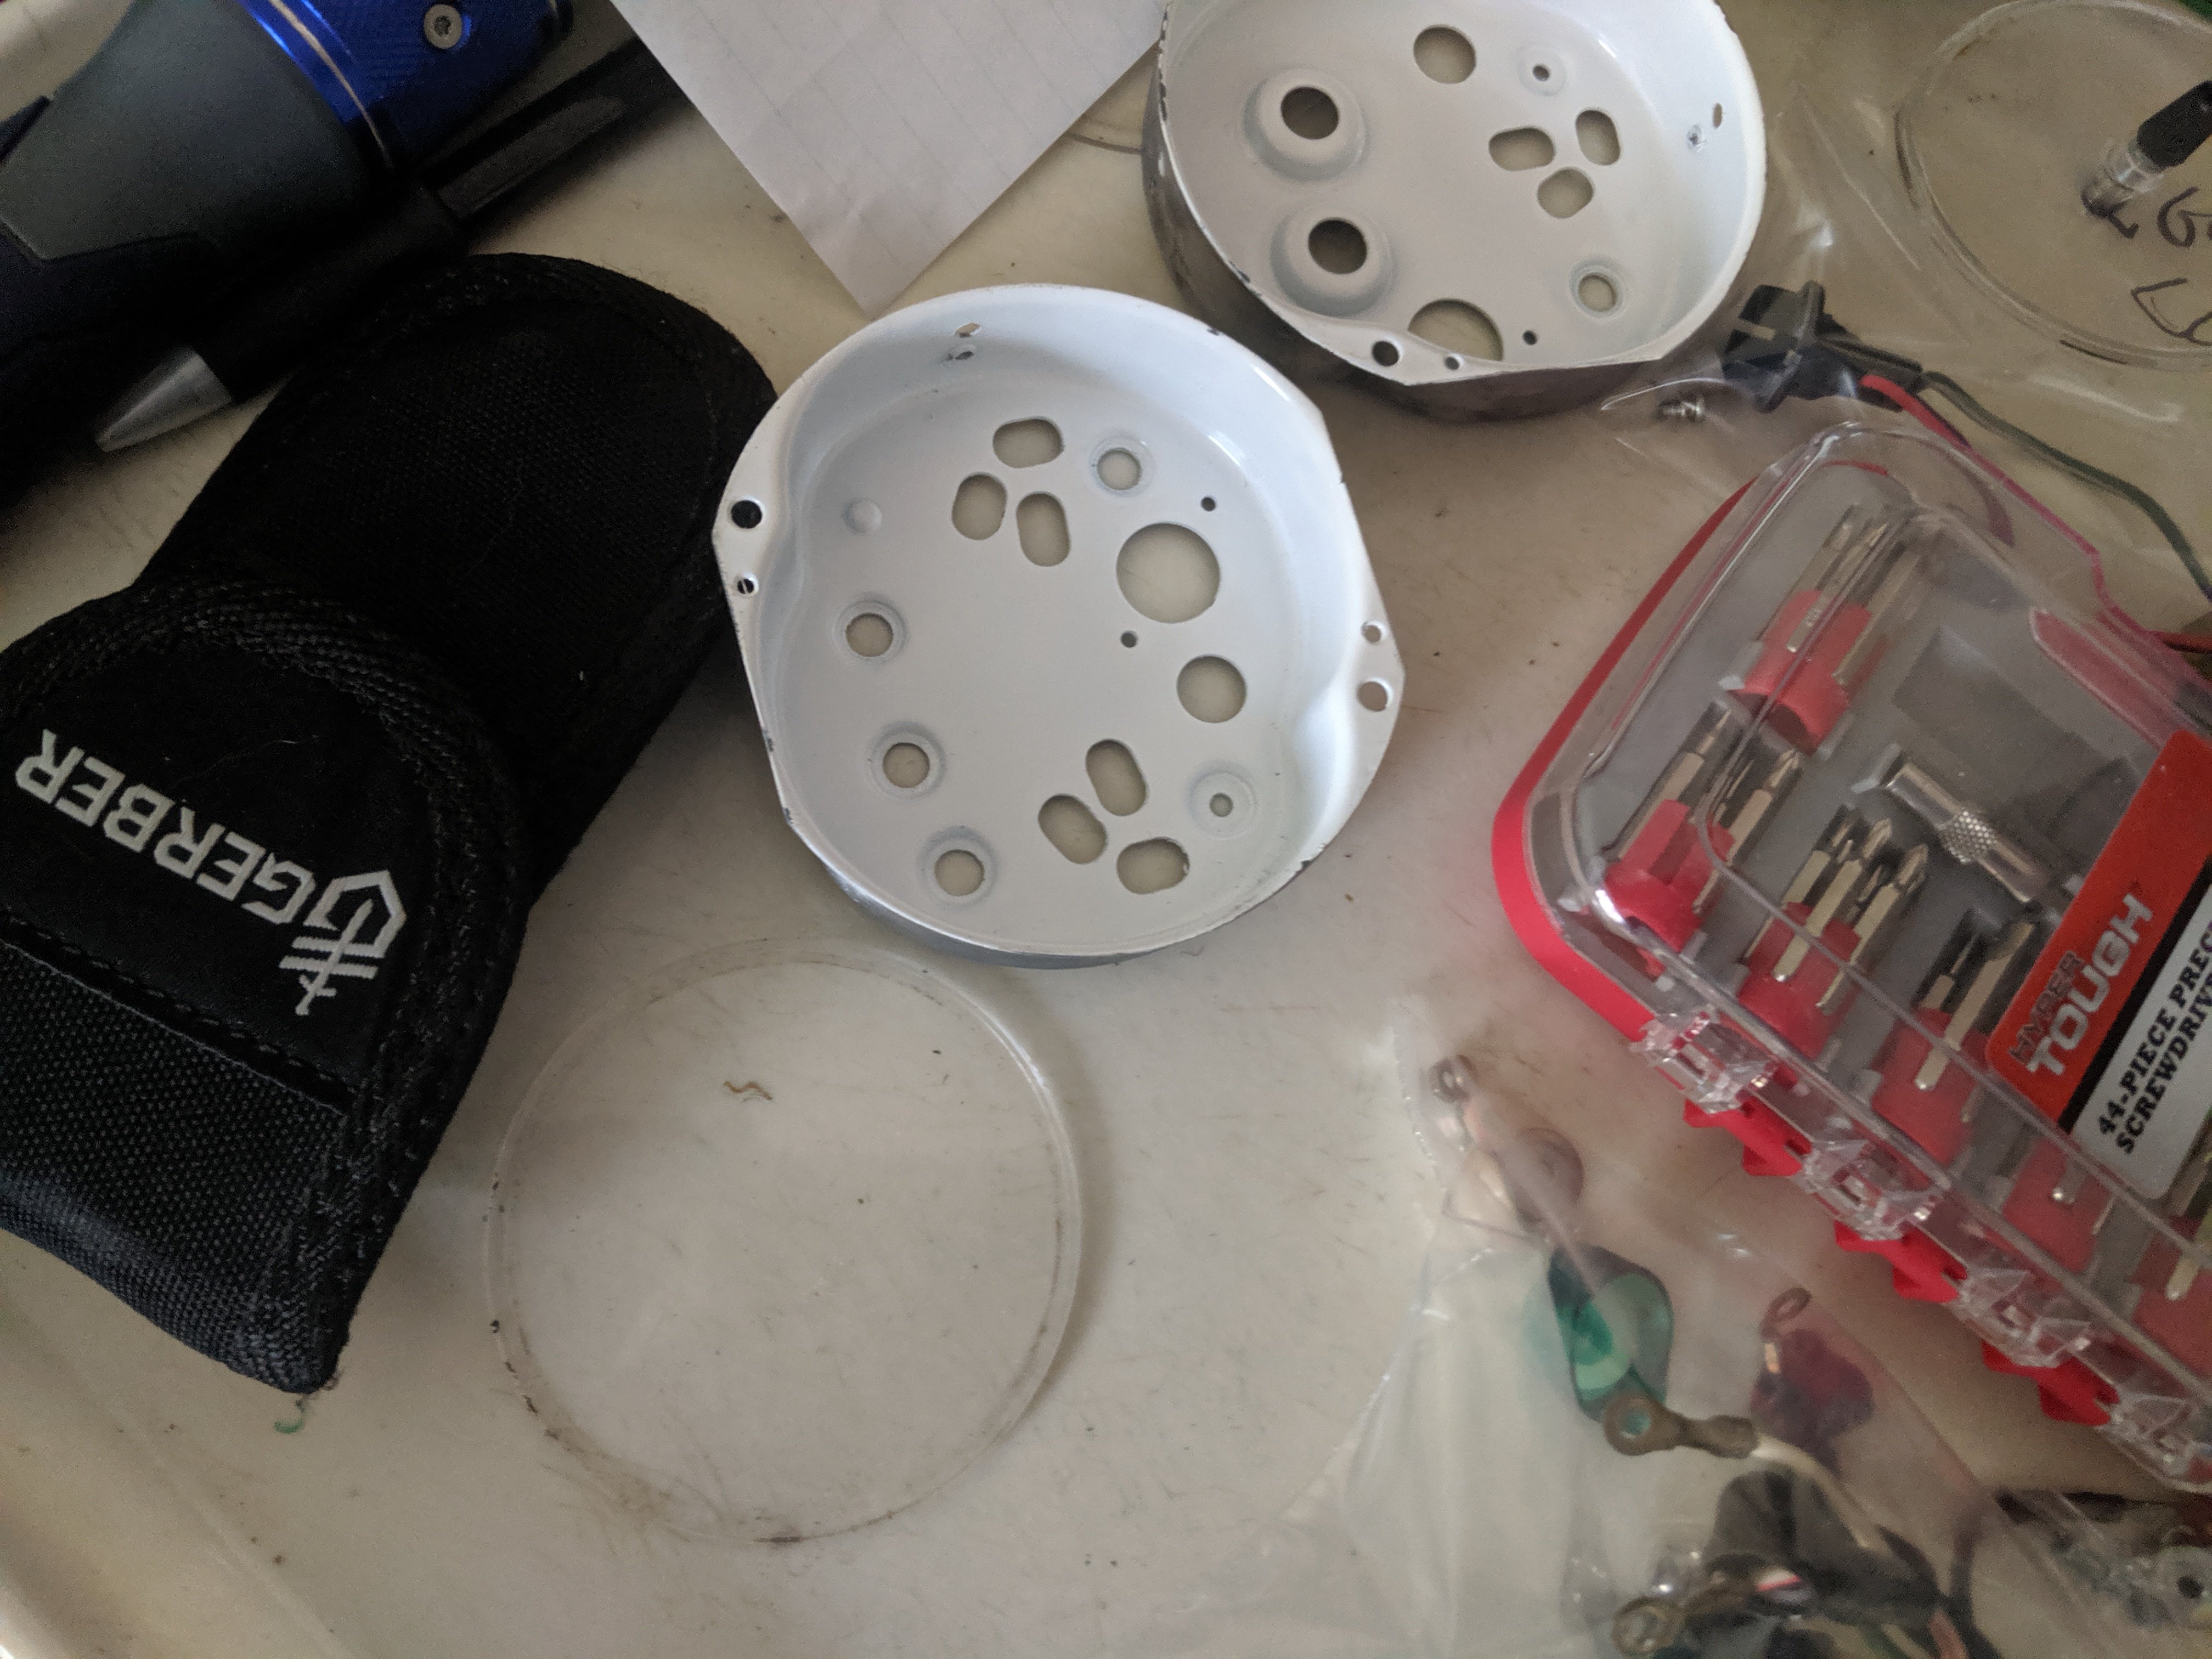
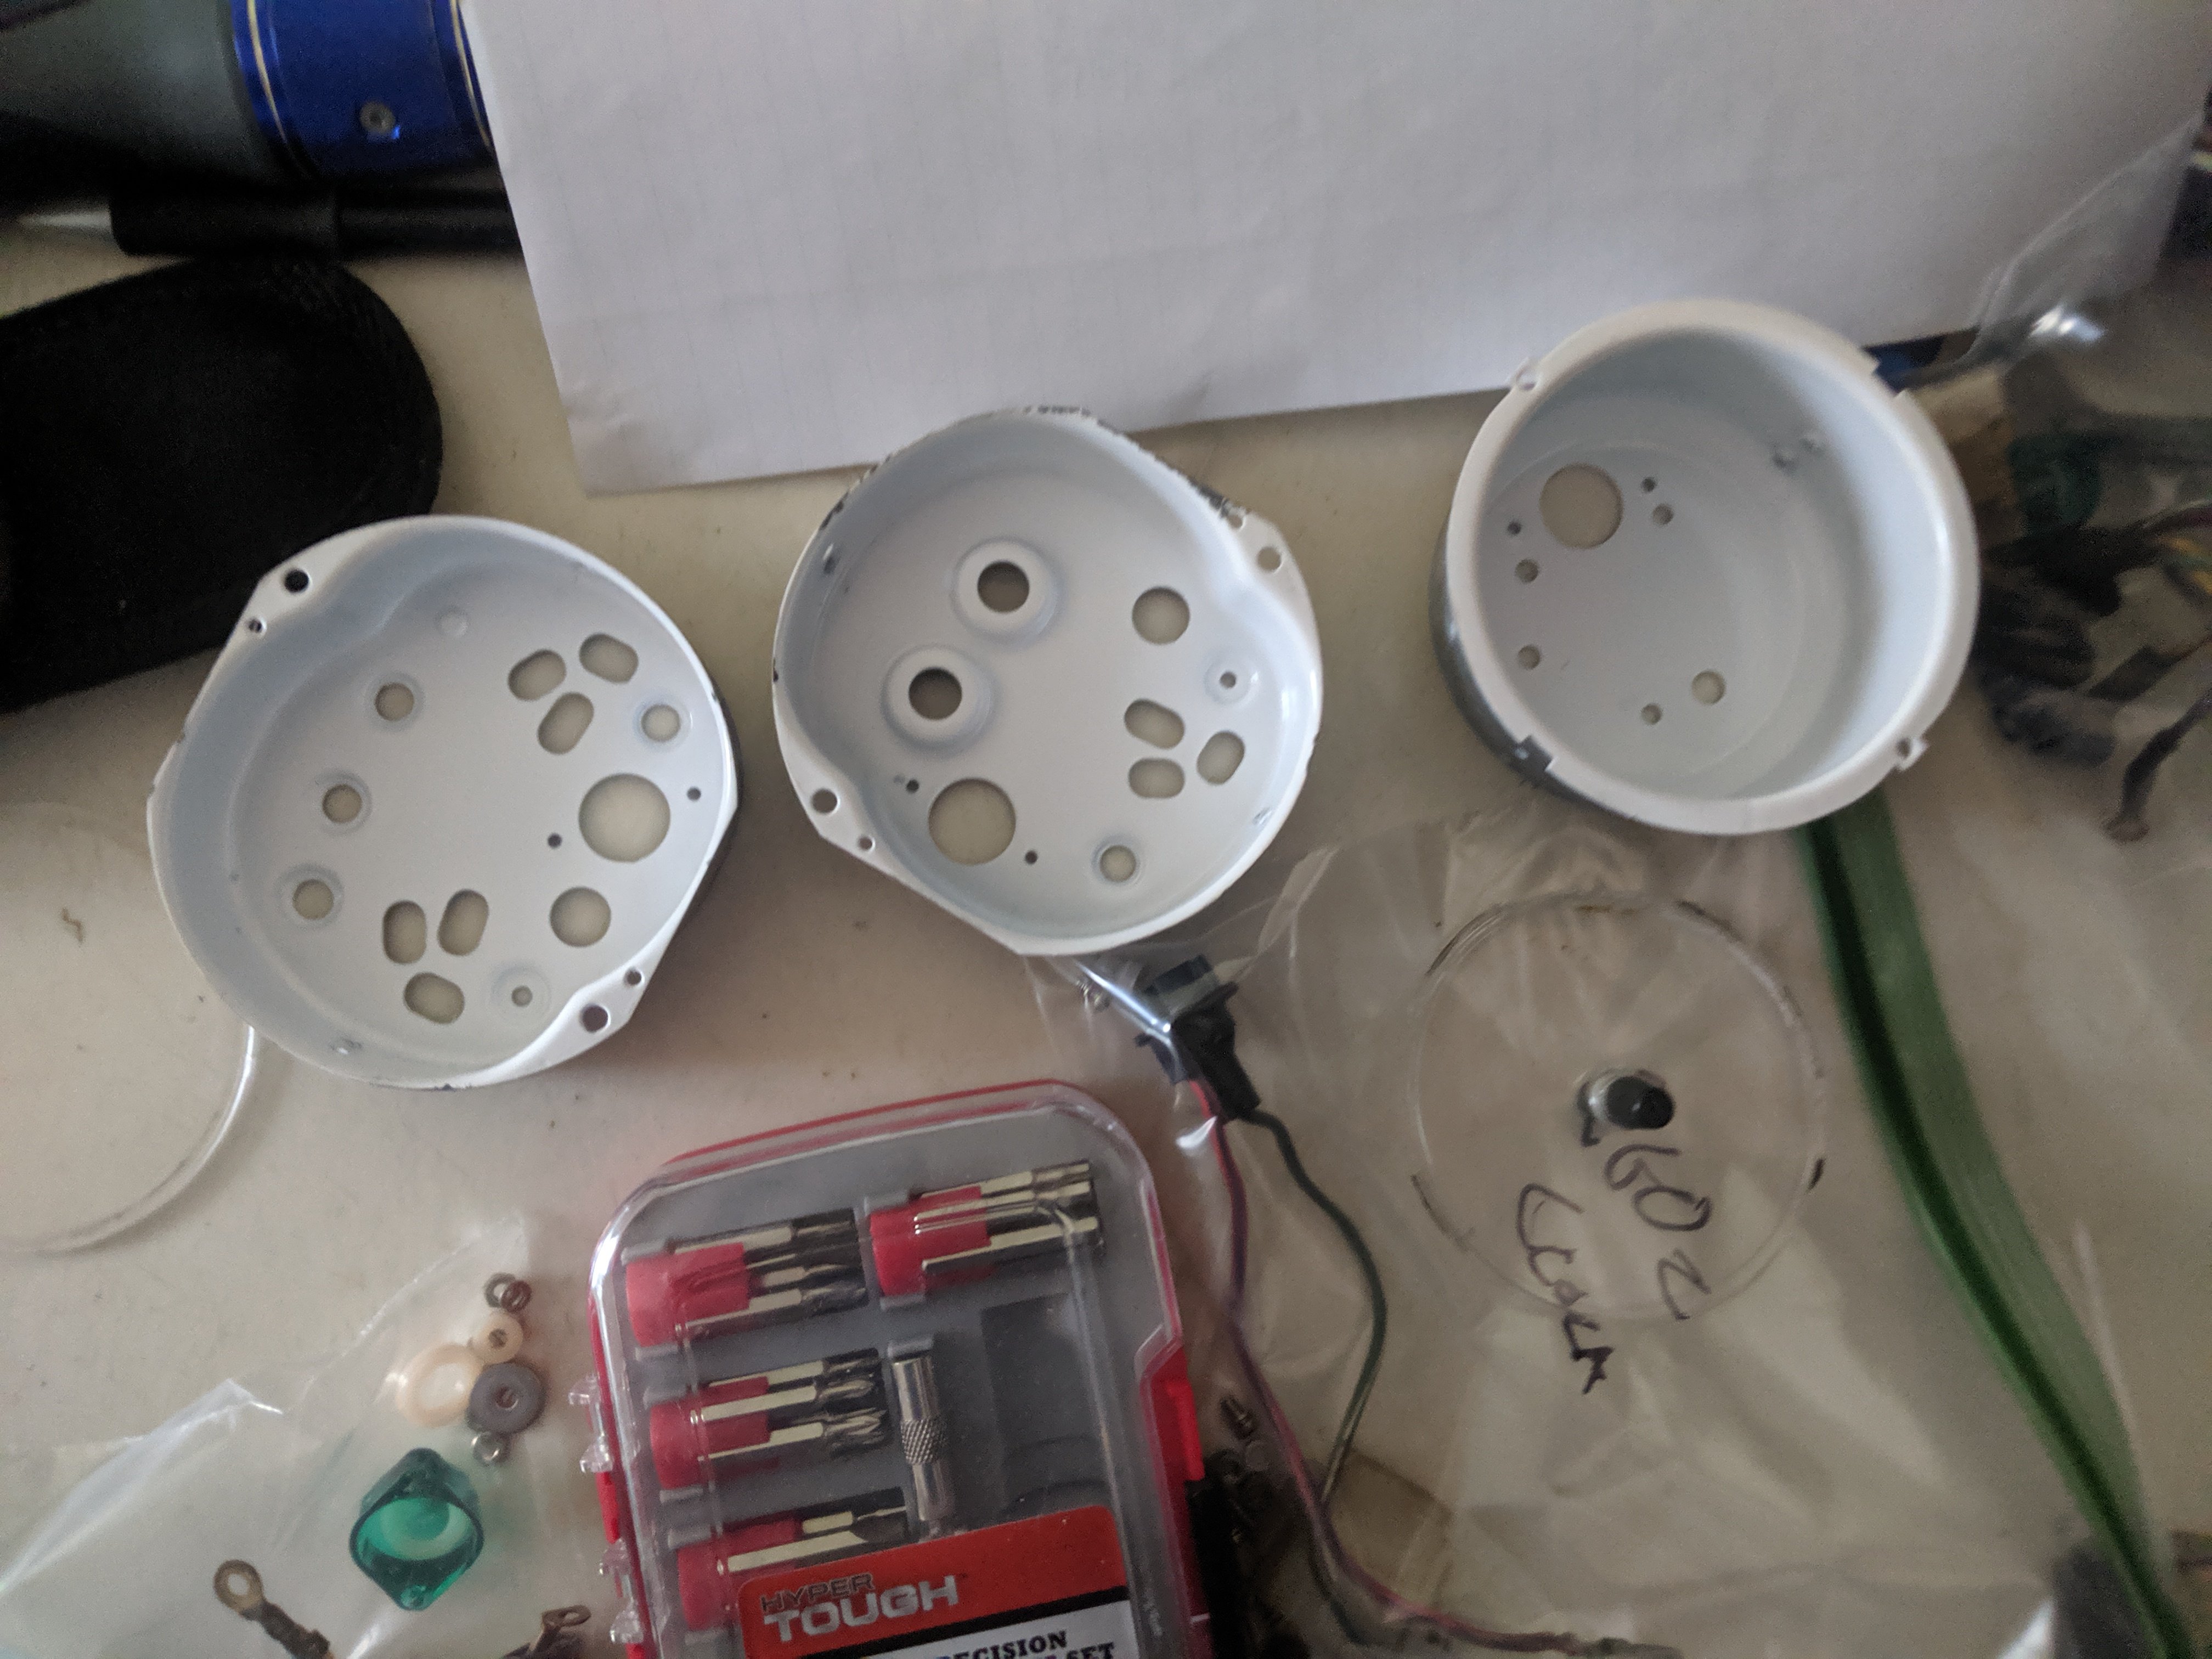
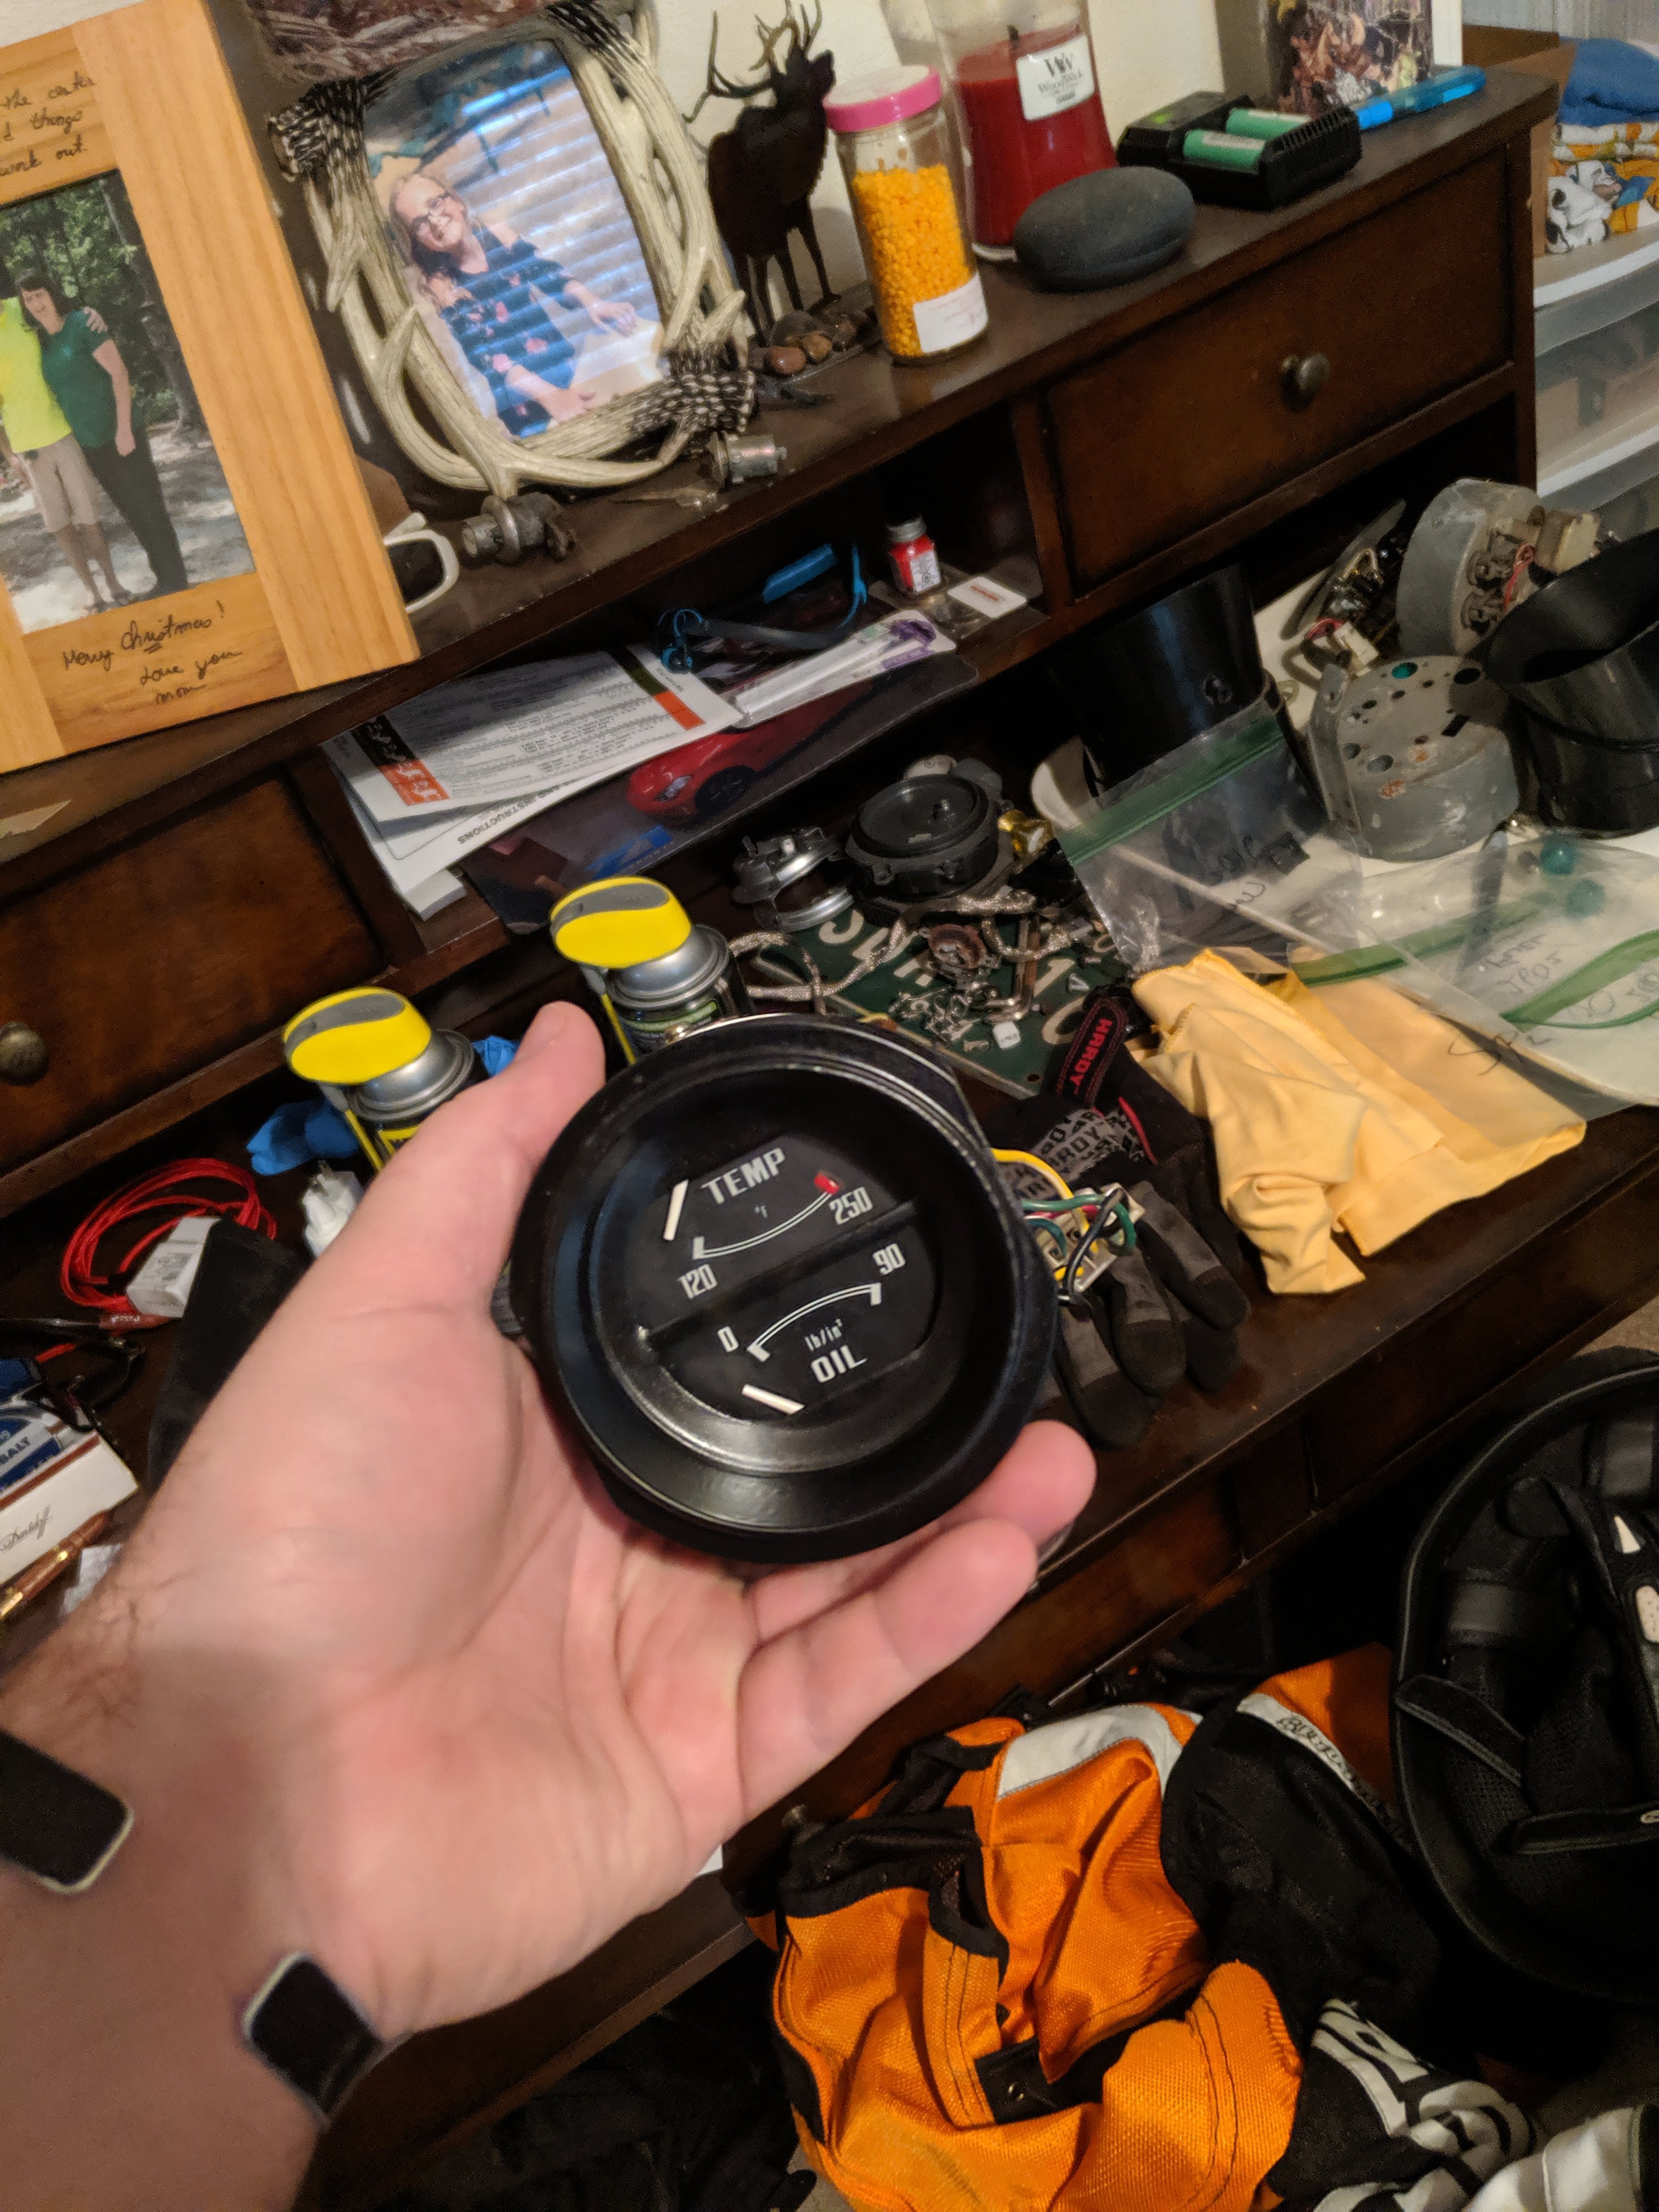
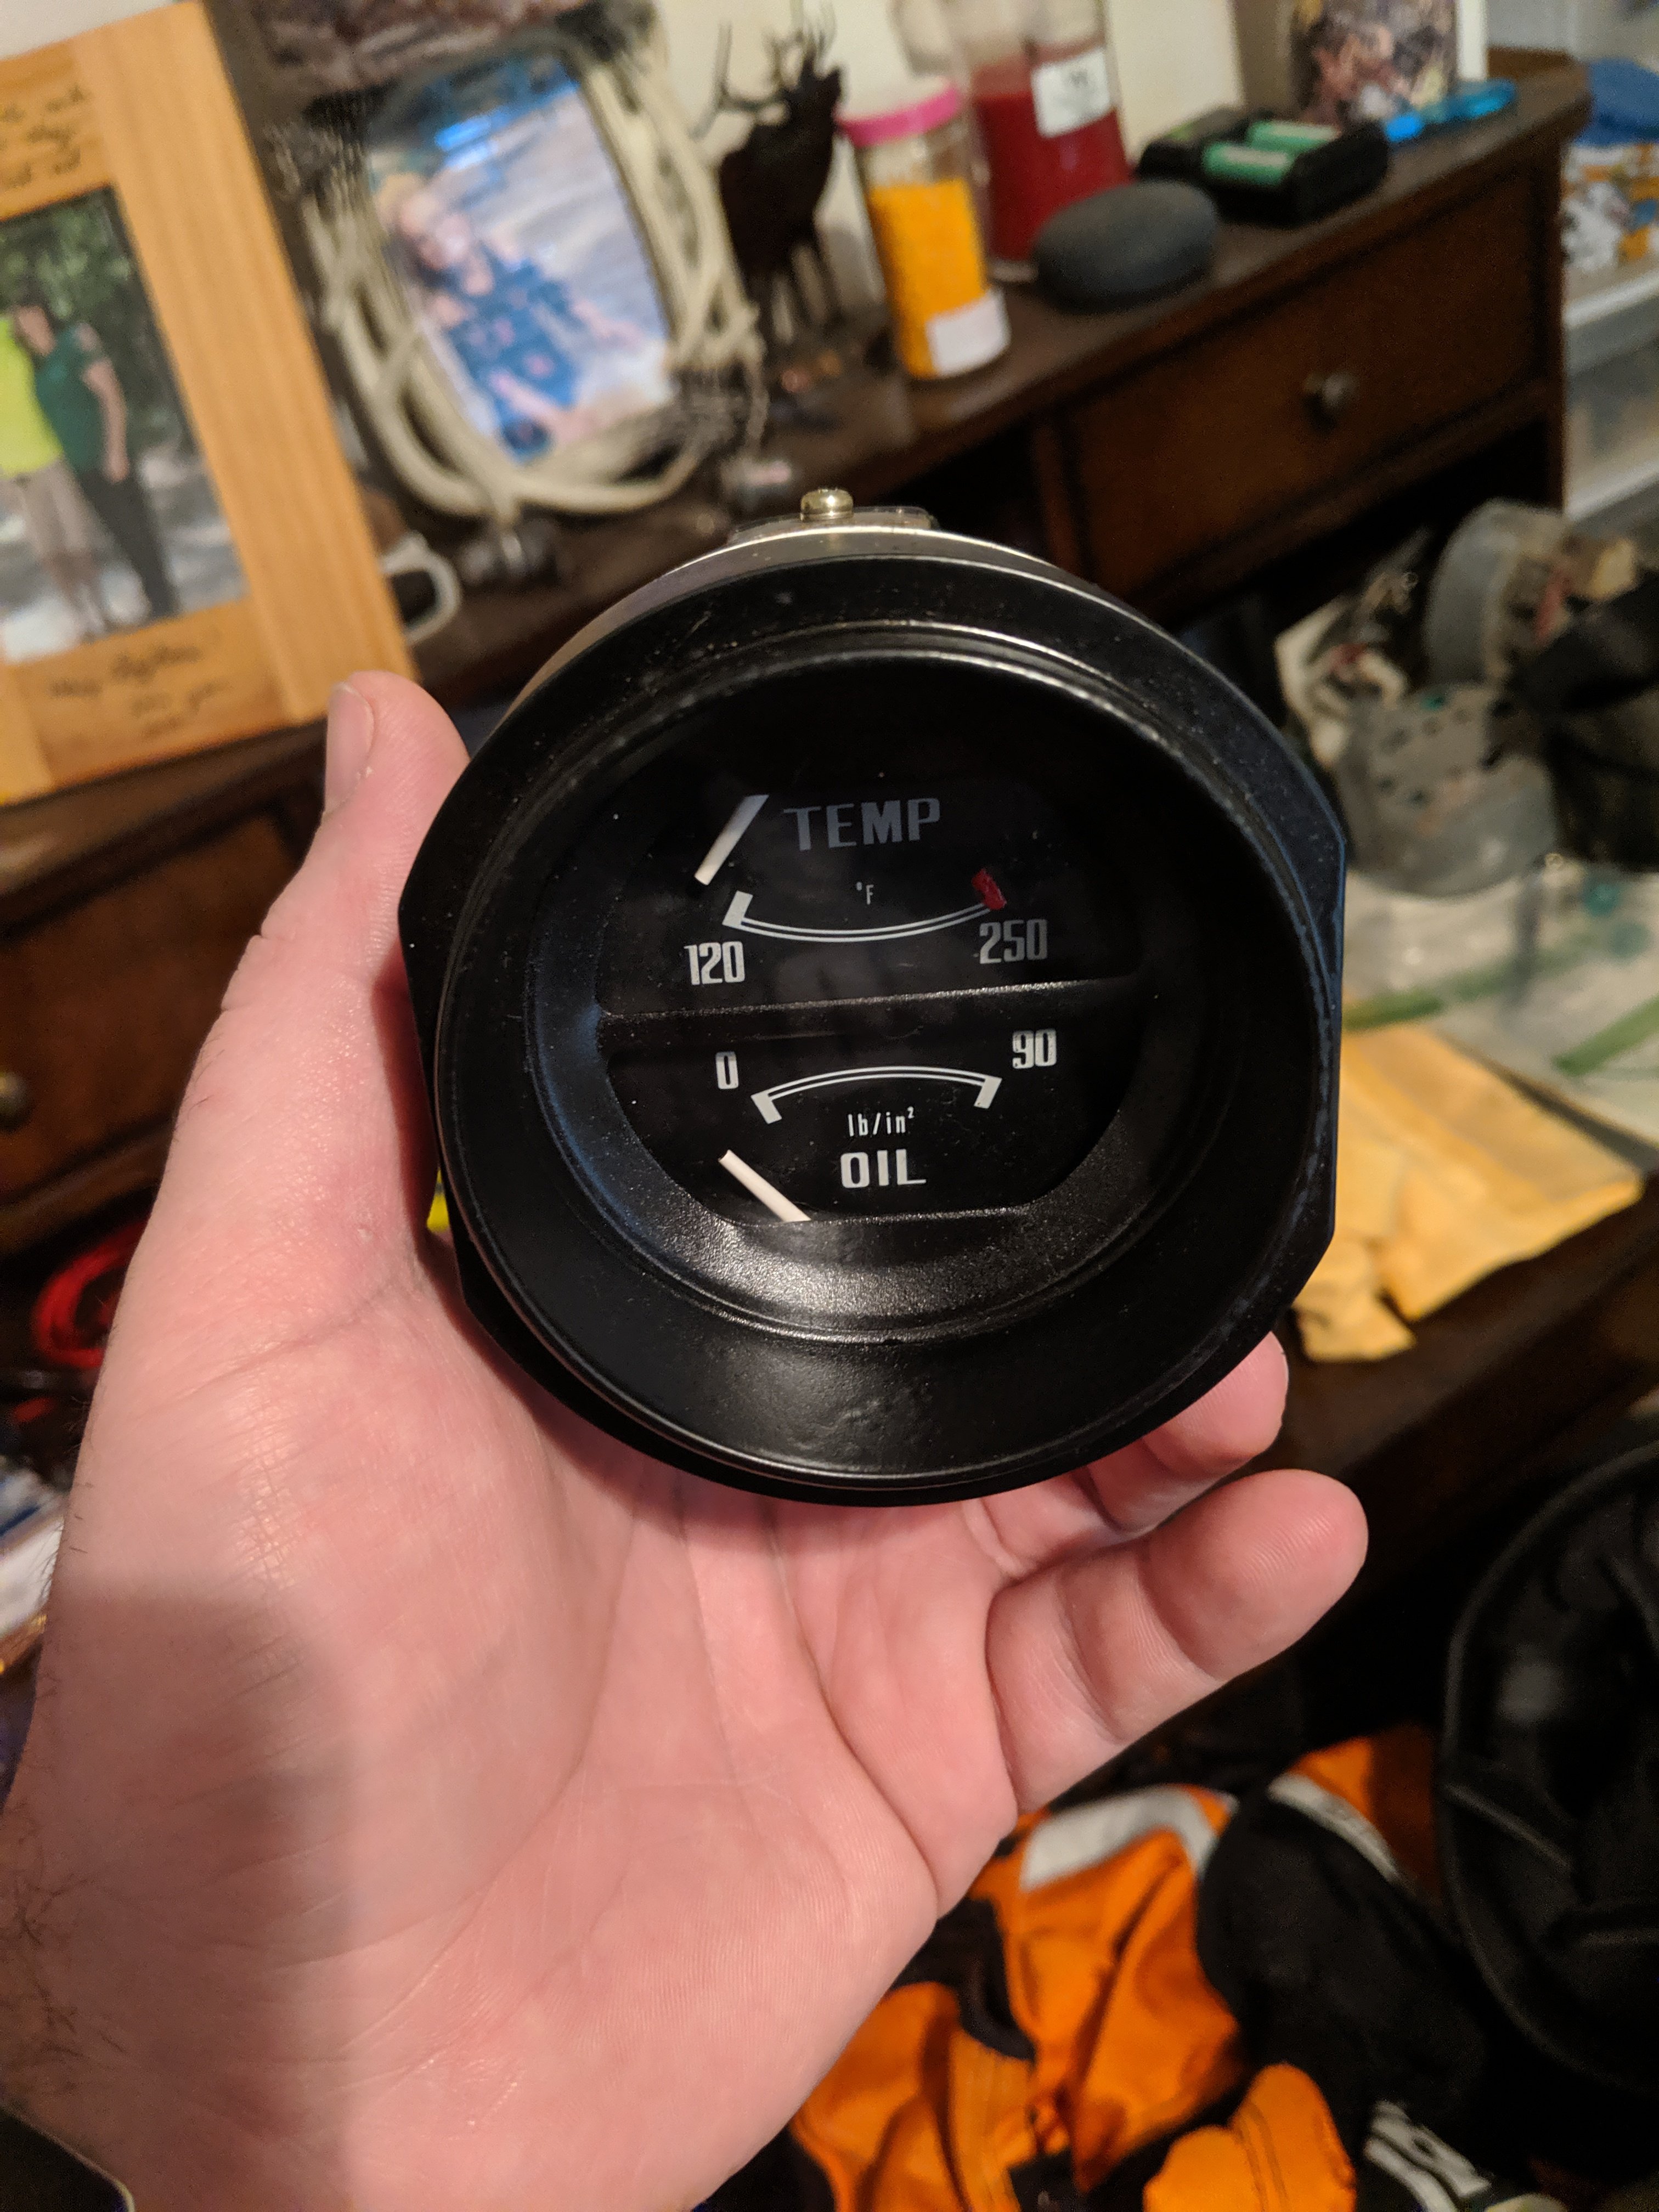
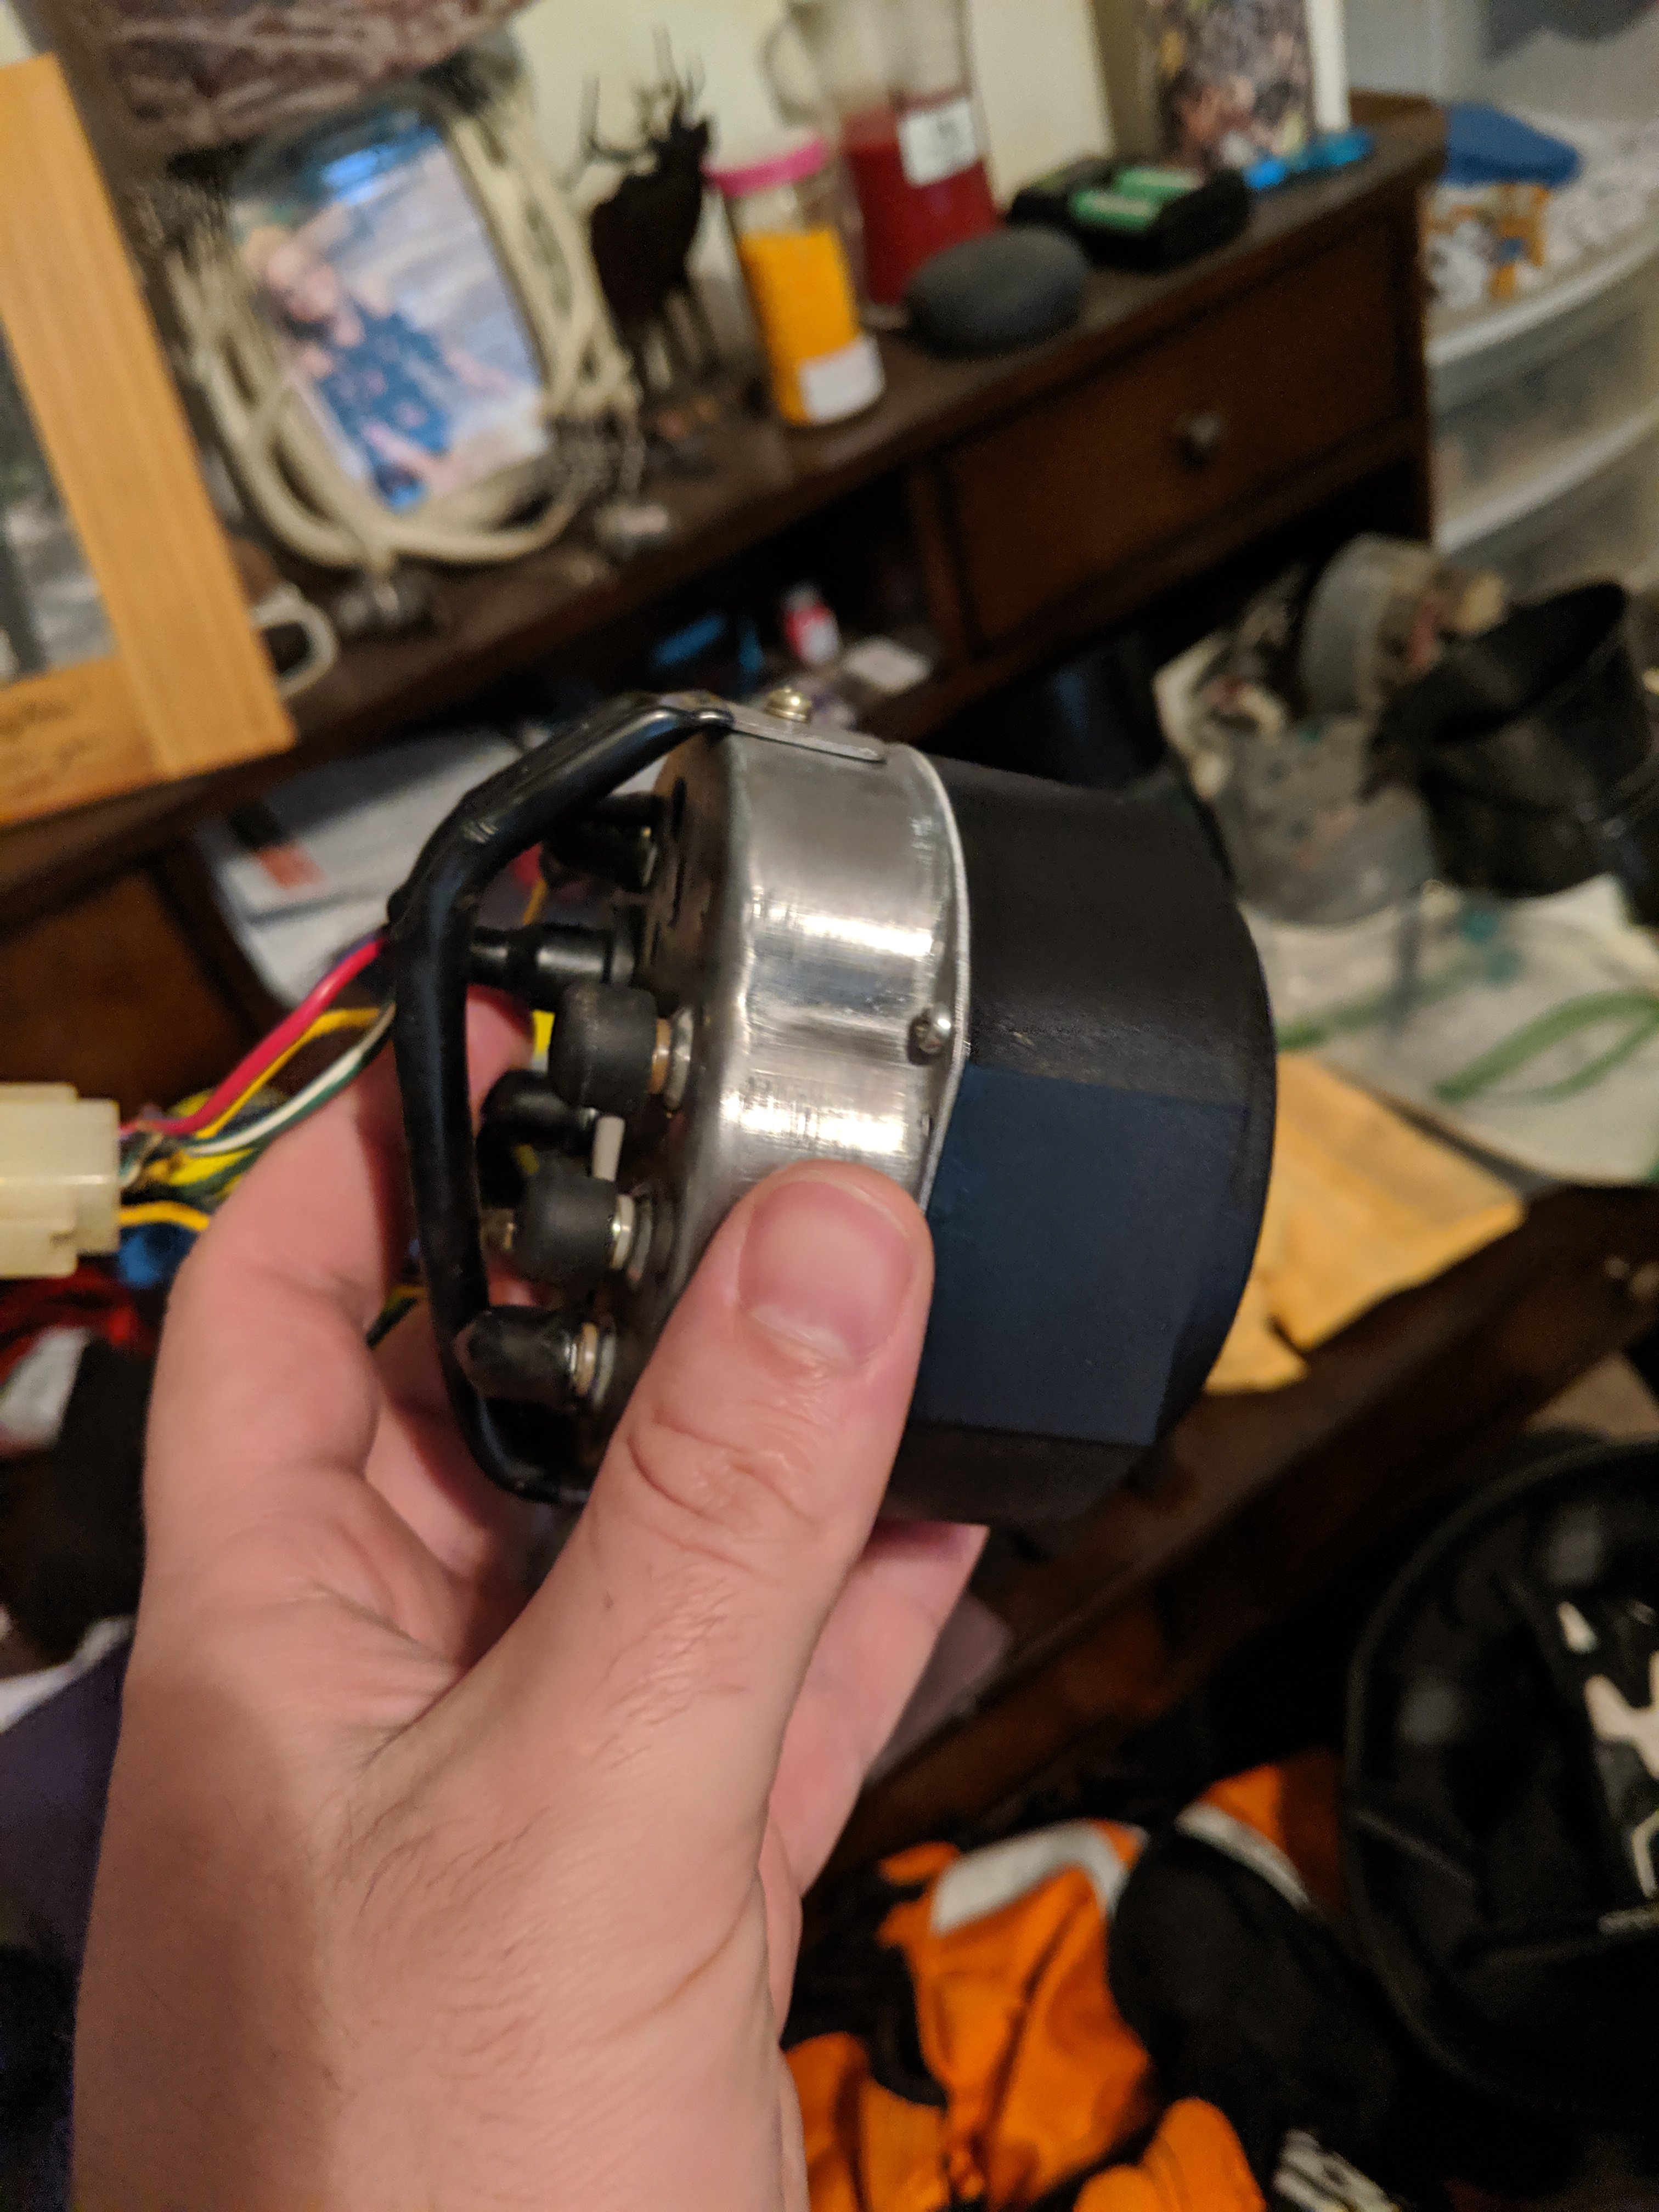
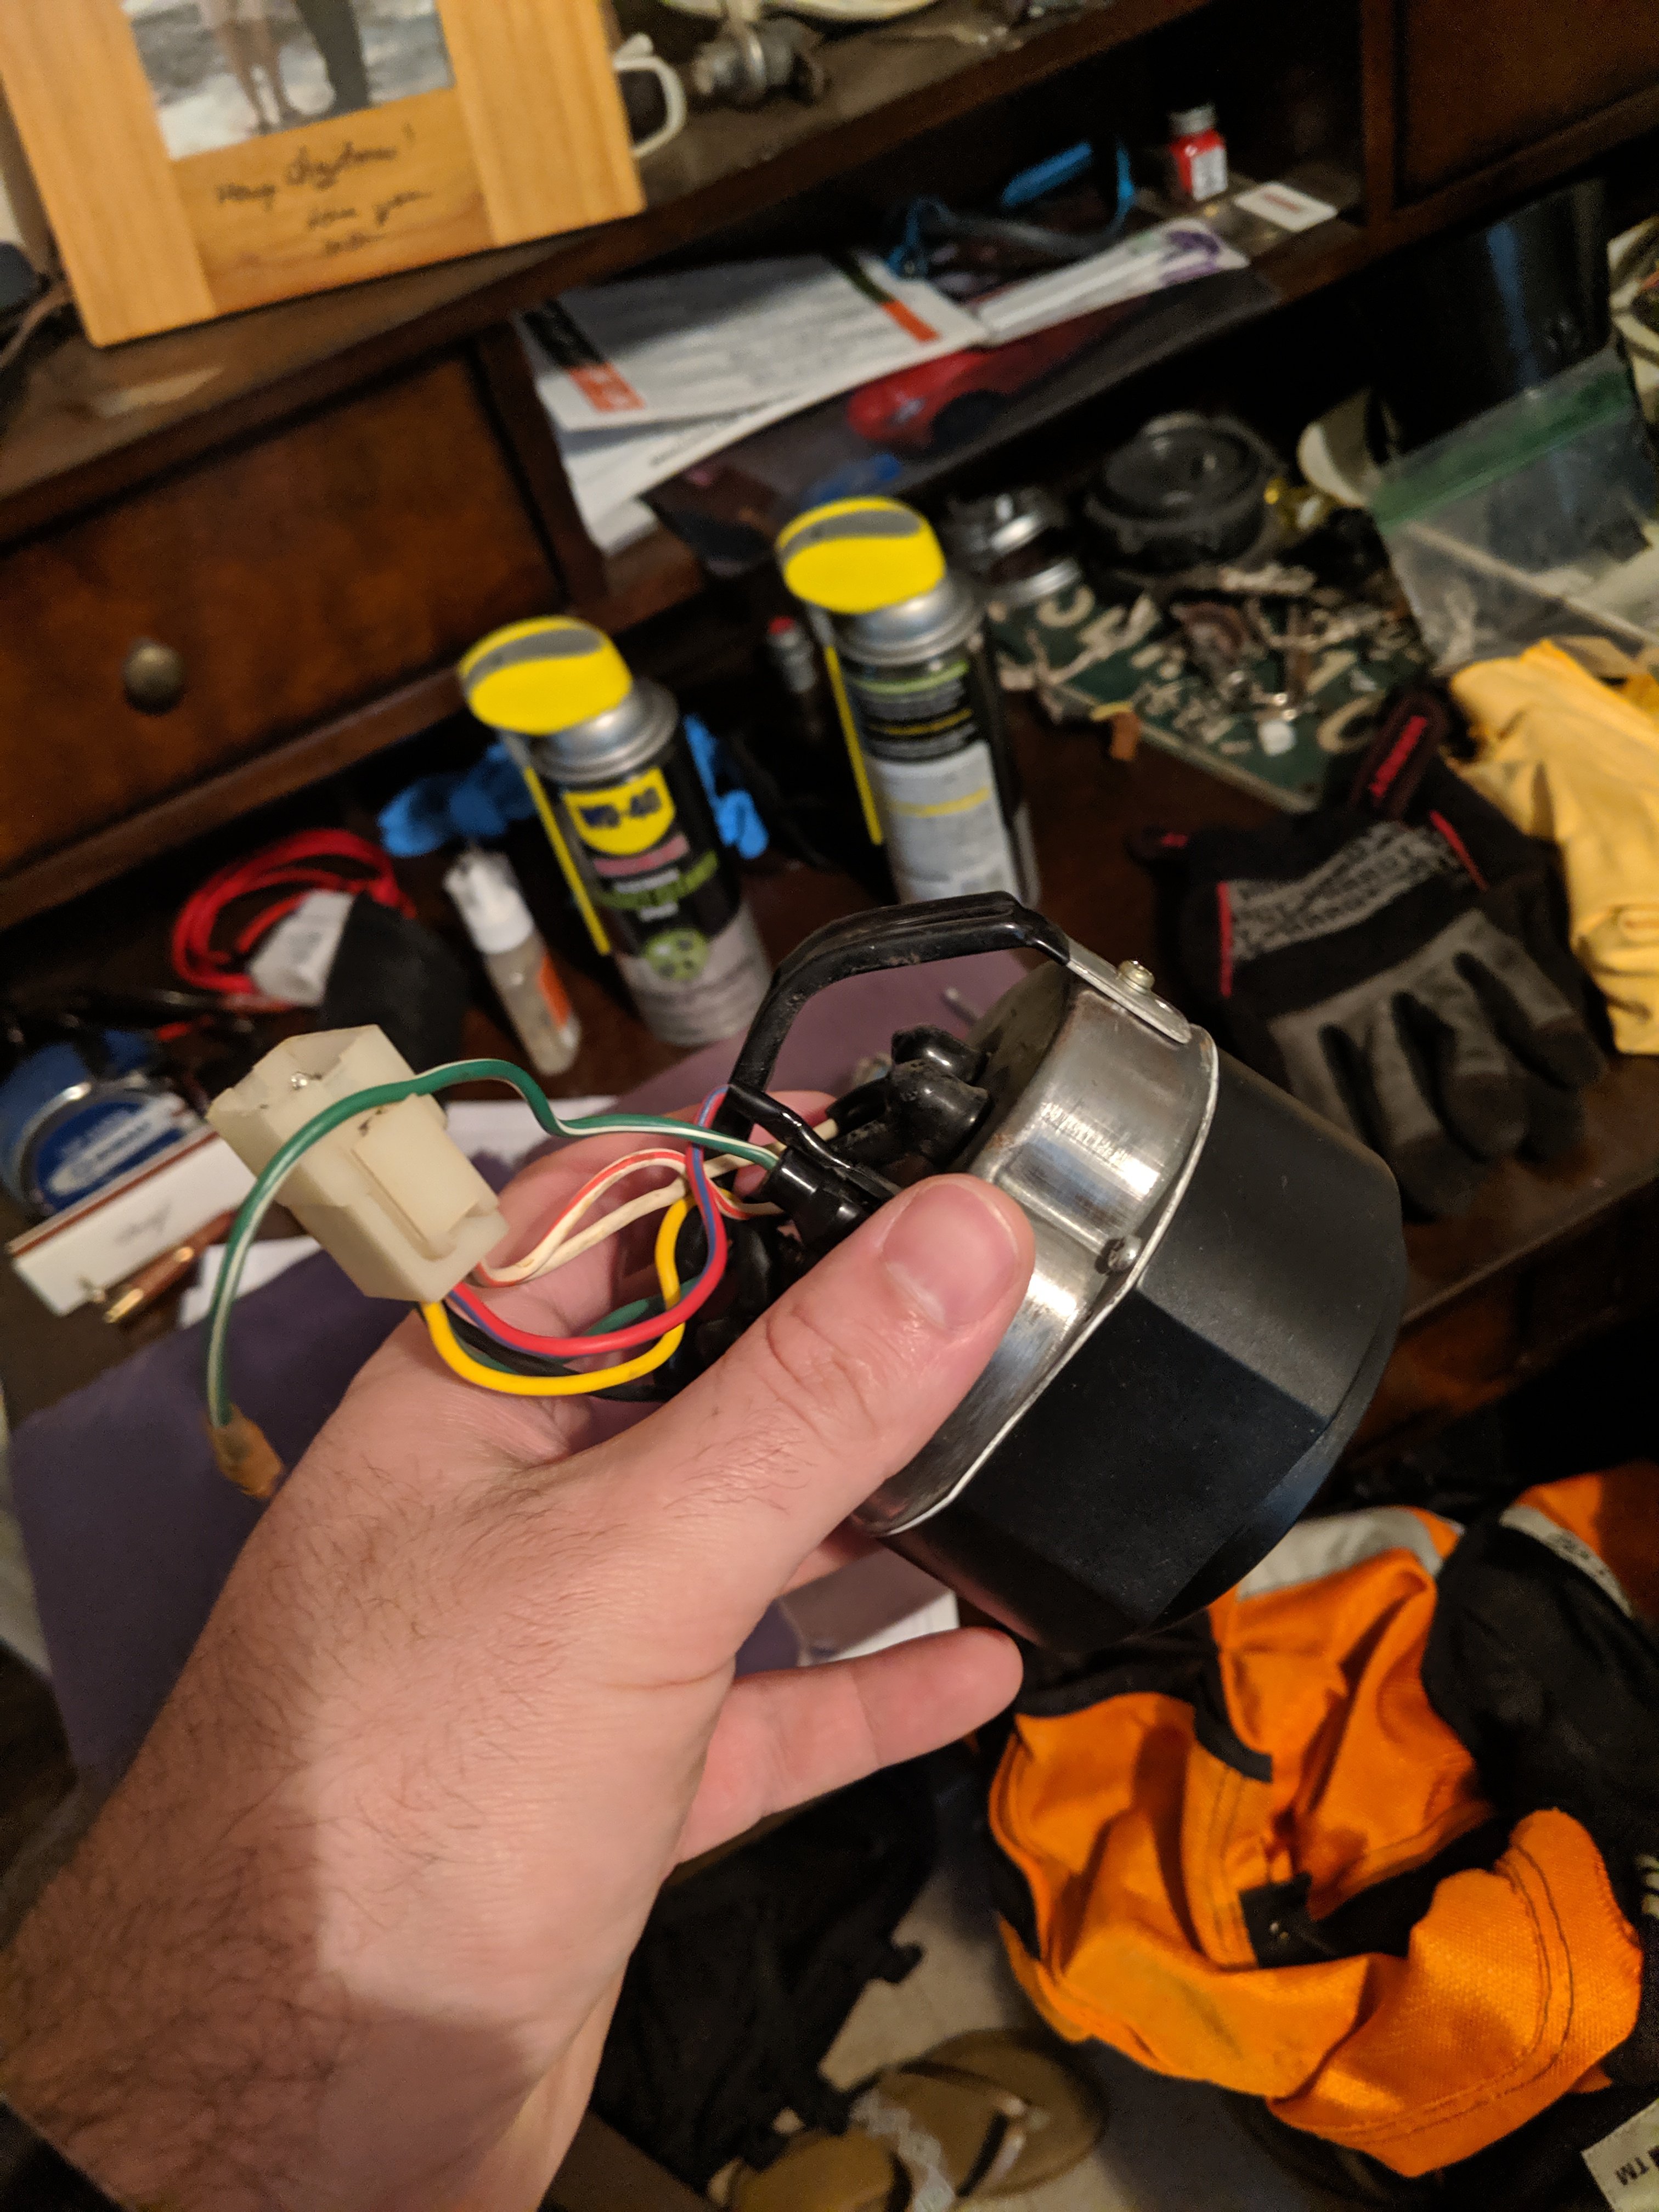
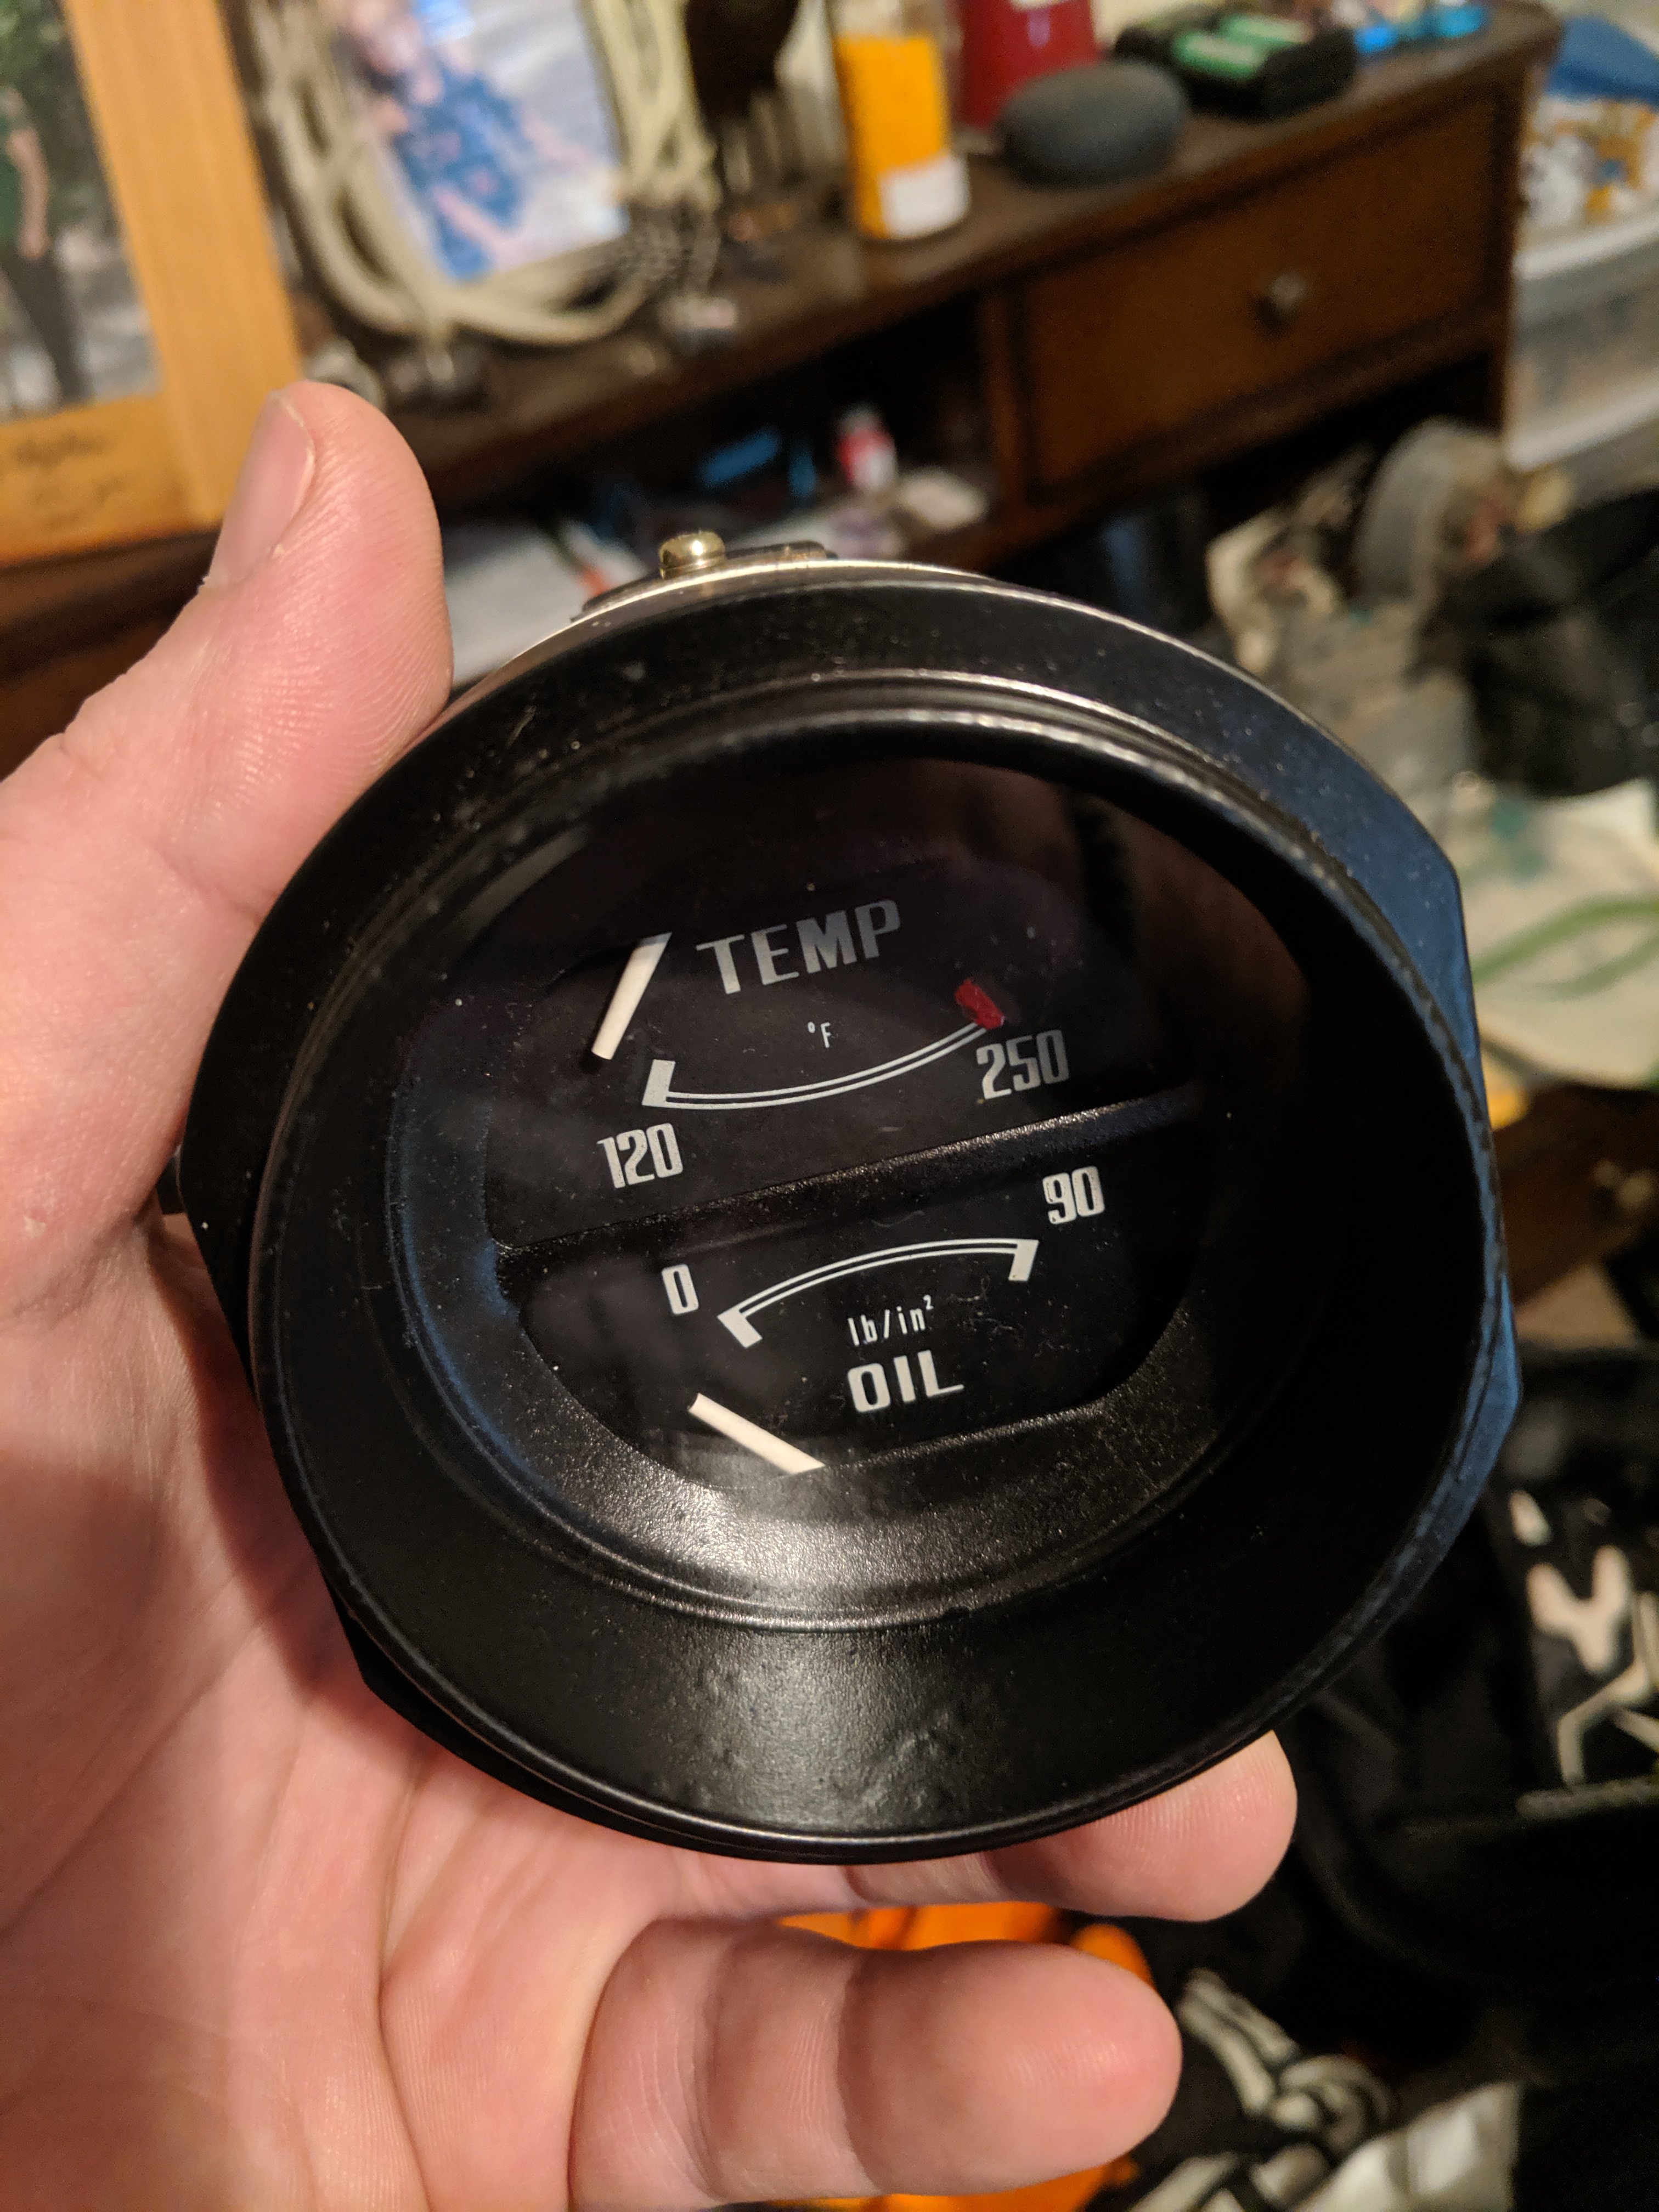
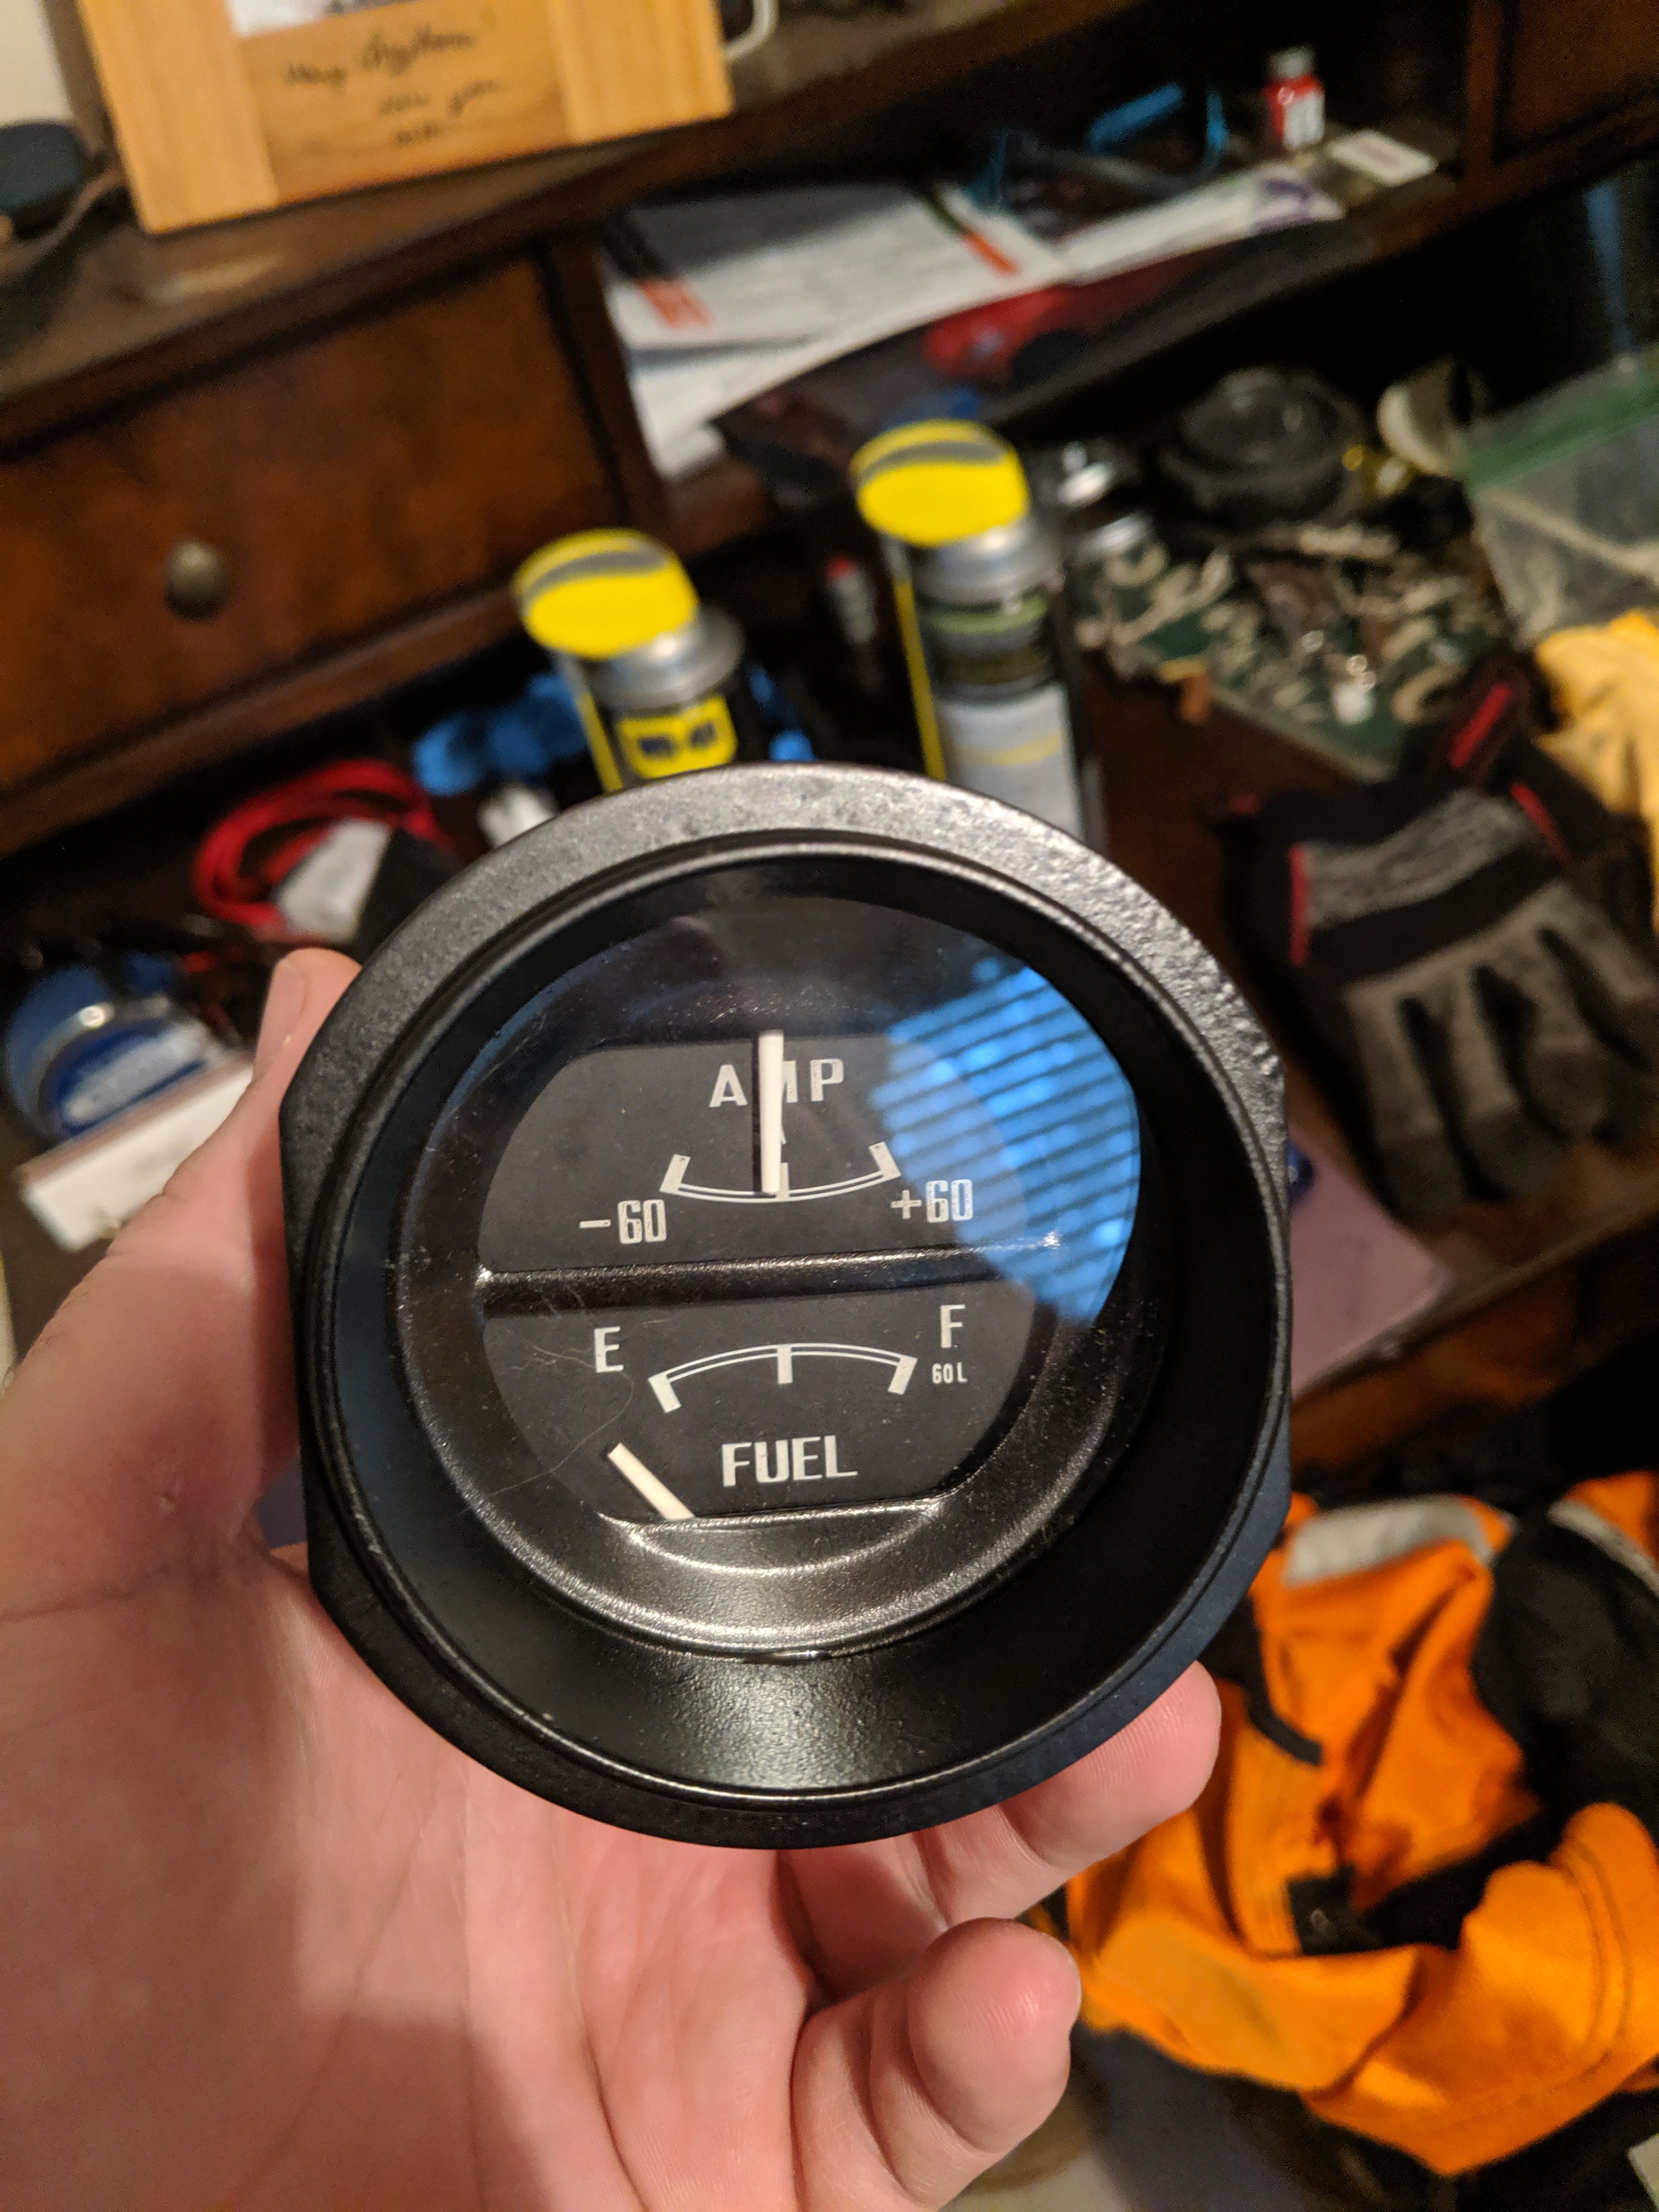
So this isn't the best write up but when I started restoring these gauges there was nothing anywhere with this type of info so I felt I had to. They started off like this. The most important thing to do in any electrical restoration is to: A - take lots of pictures for reference. The more the better. B - label or draw a wire layout, I drew mine out because I needed to deep clean the connectors and wires. C - don't rush yourself. Take all the time you need and if you get frustrated take a break. Slowly take apart the wiring harness and remove the bulbs. Remember to label everything. Next take apart the two screws that hold the front housing onto the back gauge plate. It is only two small screws on each. Once disassembled, to this point there is 6 tabs on the dual gauges that need to be drimmeled out to remove the glass and metal divider. Be careful. The clock takes pressure because it's glued. Be careful not to brake the lense. Apply nice even pressure. Next I removed all the paint from the metal piece before applying a high filler primer because of the wire wheel lol. Then I sanded down the plastic gauge cover. Prepped them all and applied the primer to both side. Remember which side needs to be black and which white on the gauge divider. I used a satin black for all the parts requiring black paint, and a nice gloss white for the rest. The white is what helps reflect the OEM lights. To re attach the gauge lenses to the housing I used a high heat, clear gorilla type glue. Be careful applying it because if it gets on the lense you won't be able to fix it. I re used the clock lense and had a local glass shop cut two new Plexi lenses for the dual gauges which cost me 8 USD. Take your time putting everything back together and the finished project will look like this or even better.
-
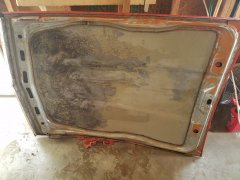
From the album: 71 240z
Getting the hood ready for some paint. -
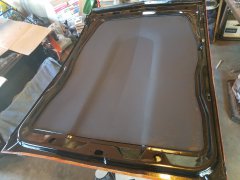
From the album: 71 240z
The under side of the hood painted flat black in the center and gloss on the edges. -
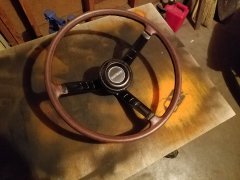
From the album: 71 240z
Tried to clean up the steering wheel. -
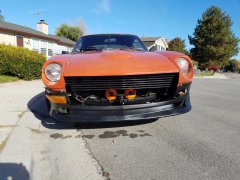
From the album: 71 240z
After putting everything back on it's looking much better. I really need to take care of that signal light though. -

From the album: 71 240z
Painted horn and hinge. -
From the album: 71 240z
After cleaning up the horn, hinge and hardware. -
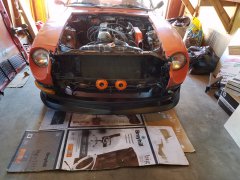
From the album: 71 240z
I put most of the front pieces back together but I'm waiting to paint the underside of the hood so I can adjust it while the grill is off. -
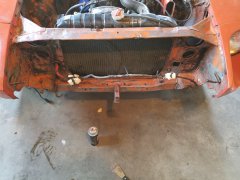
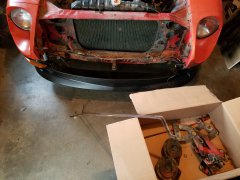
From the album: 71 240z
Cleaning up the radiator support area. -
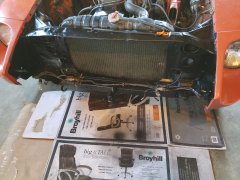
From the album: 71 240z
Front nose panted. -
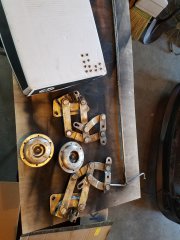
From the album: 71 240z
Parts taken off to be cleaned up and painted. -
From the album: 71 240z
-
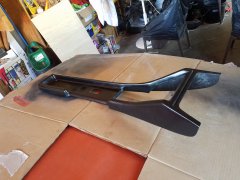
From the album: 71 240z
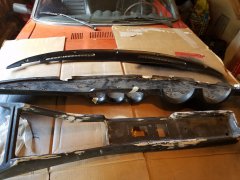
Finished center console restoration. -
From the album: 71 240z
Finished the restoration, it's not perfect but it'll do for now. -
From the album: 71 240z
-
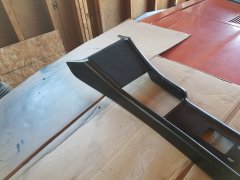
From the album: 71 240z
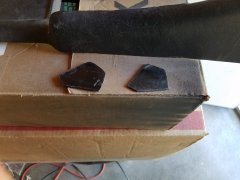
Plastic pieces to be molded into the console to cover up holes. -
From the album: 71 240z
-
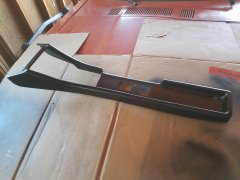
From the album: 71 240z
-
From the album: 71 240z