-
Member Statistics
32476
Total Members2093
Most Online
All Activity
- Yesterday
-
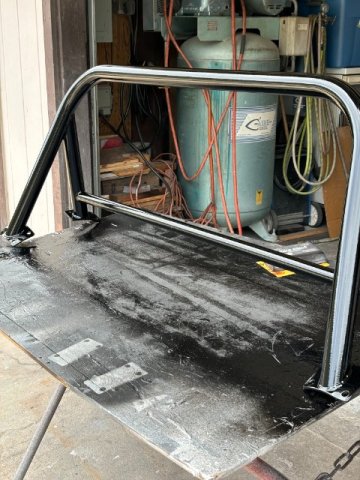
It's welded on. Mine looks like one of these (called a bimini pad). If you could find one that was the right dimensions, it might work. Mike is welded on via the two screw mounting holes.

-
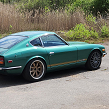
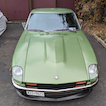
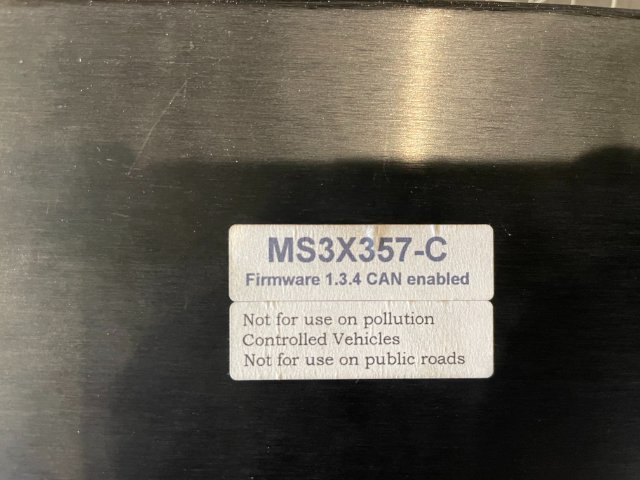
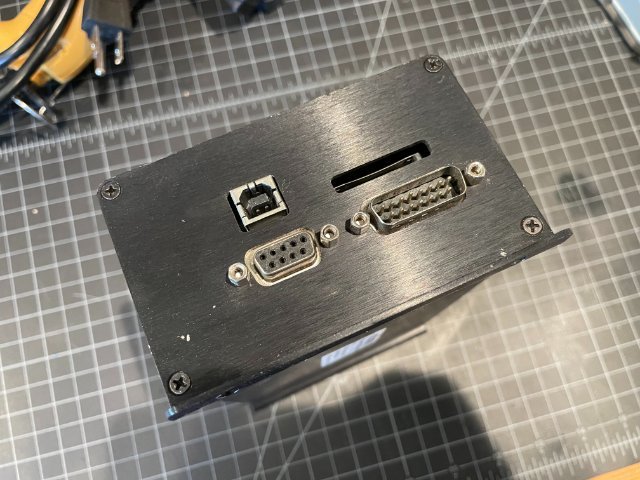
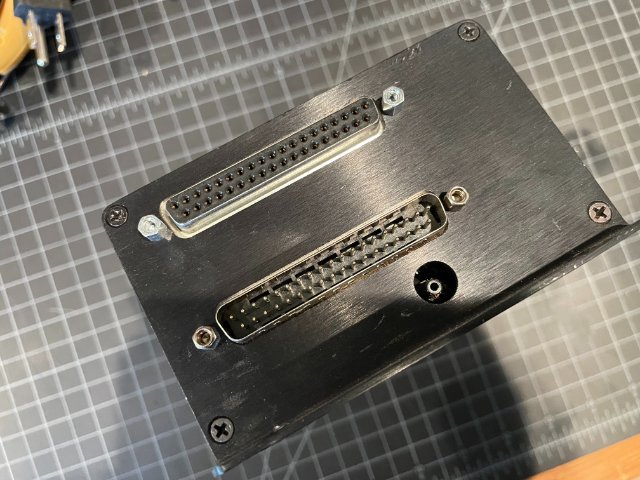
Selling my ECU! This has successfully run 2 versions of my L28 (one with ITB's) and a LS V8. Megasquirts are known for being very powerful for the price and have a huge community behind them. Lots of details, here's a link to the data sheets: https://www.diyautotune.com/product/megasquirt-iii-ems-system-with-ms3x-expansion-v3-57-assembled/ New is $700, I'm asking $500 shipped.
-
If you got the torque I’d go with the 3.54
-
Yet another LS 260z swap :)
christianmoller replied to christianmoller's topic in Gen III & IV Chevy V8Z Tech Board
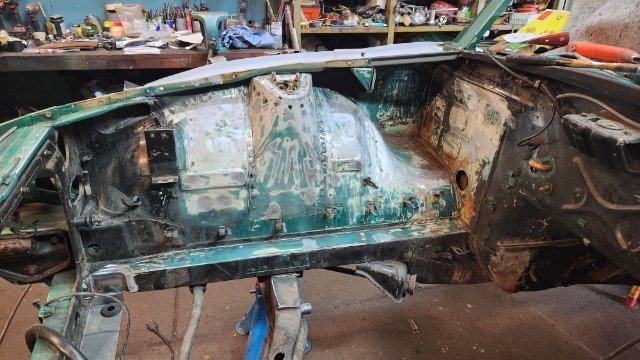
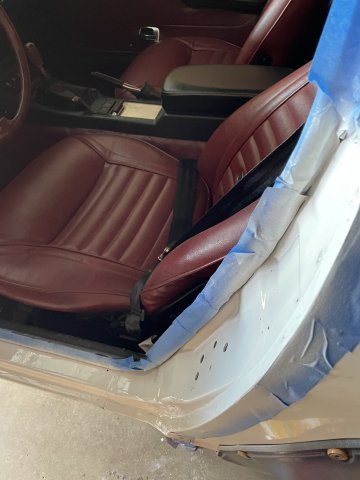
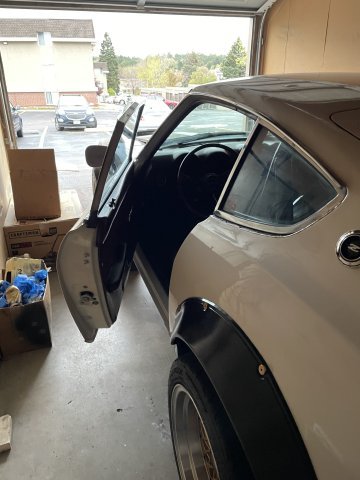
I have now started the NOT so fun job with removing old paint from the engine bay, it has been painted with some black paint that sticks in the paper of the sanding machine so a knife, elbow grease and hours................but need to be done😴. I read Toolmans post about the media blaster from Auto Zone, could be usable for the surface rust under the former battery tray. Heater has also been solved, new bracket and hoses
-

cant figure out steering clunk/pop
kaibiagi replied to kaibiagi's topic in Brakes, Wheels, Suspension and Chassis
I haven't done anything yet. The car is actually in storage for the summer at my college and I'm on a ship for the entire summer, so it's gonna be like a first thing as soon as I get back. Thanks for the tips, I will certainly do that. I'm also glad it looks cheap and easy, its too bad I found it after replacing basically all the wear components on the front end of the car though haha. They needed to be replaced anyway though, even if they weren't the source of the noise. -
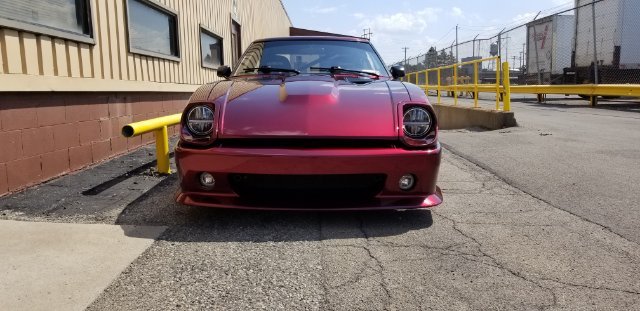
Alright, I've been going over the harness the past few days, refreshing the grounds, making sure connections are tight. I have also been rigorously tuning, both manually and using autotune. My fuel pump issue has mostly resolved itself! I believe it was a combination of the grounds and the base tune I got from the map sticky. Car cruises very nice with good AFR's. A bit rich, but ok for now. It still happens here and there, and throws a sync loss error of 2, so I will still research into that. This car is quick!!!! I can only build about 4psi of boost atm, I think I have an exhaust leak before the turbo. Either way, with my zx tranny and the matching 3.9 rear diff, this thing moves. It chirps tires off the rip and will even twist a little in 2nd or third if I don't miss my shifts lol. I'm thinking about throwing my stock 3.54 diff back in, it revs almost too fast. Took her for some overpriced burgers yesterday.
-
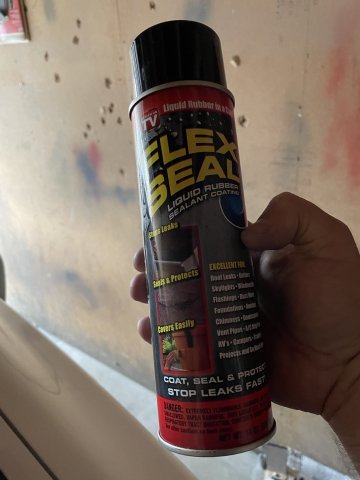
A little tip that I learned years ago. If you plan on stuff being painted or coated, the use of anything in a rattle can should be avoided. It's just a extremely poor paint, and your just causing yourself more work in the future. When I have parts I need painted, I have a local smaller auto body should that sprays black parts for me with high end 2 part paint. I drop them off and as long as I am not in a hurry, he sprays my parts when he is spraying anything black. Or I have the powder coater do the same. I think the 60% gloss black powder coating looks almost identical to stock Nissan black.
-

Heavy Duty frame rails and connectors
jhm replied to toolman's topic in Gen III & IV Chevy V8Z Tech Board
$150 is a steal — nice find! IMHO, the Autopower bar is the nicest roll bar produced for the Z…it’s what I’ve had in my last two cars. Thanks for the update!! -

Heavy Duty frame rails and connectors
toolman replied to toolman's topic in Gen III & IV Chevy V8Z Tech Board
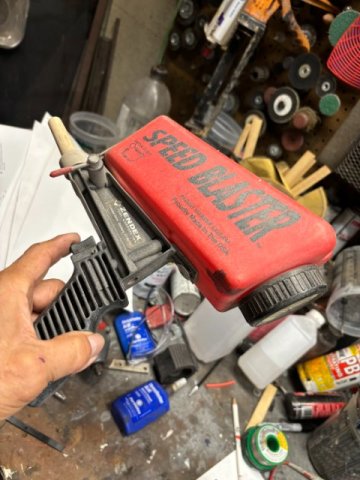
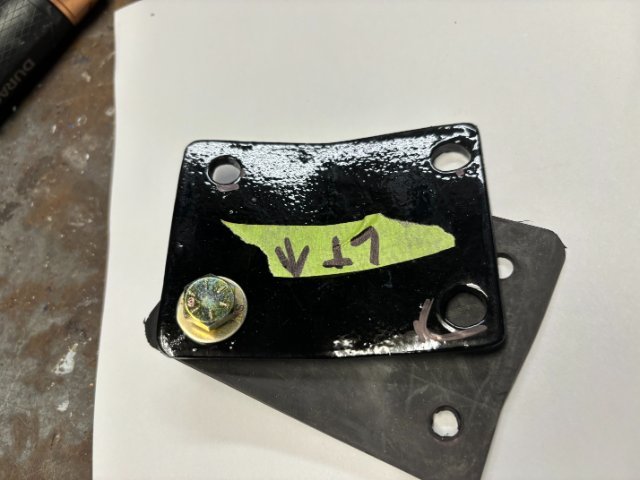
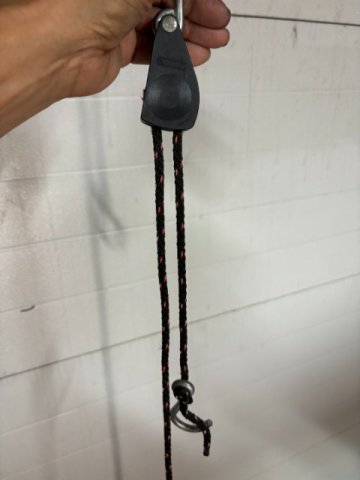
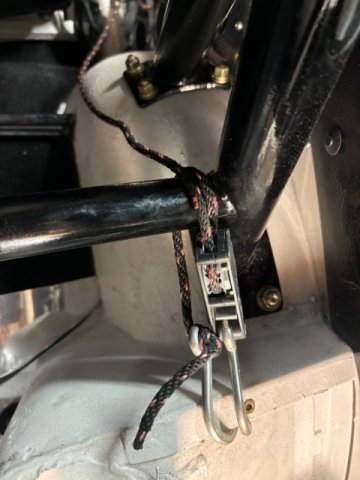
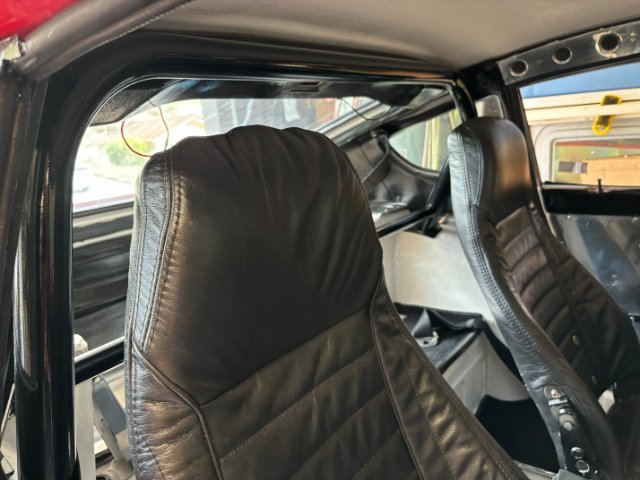
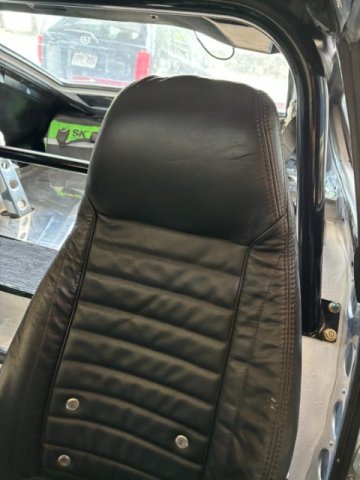
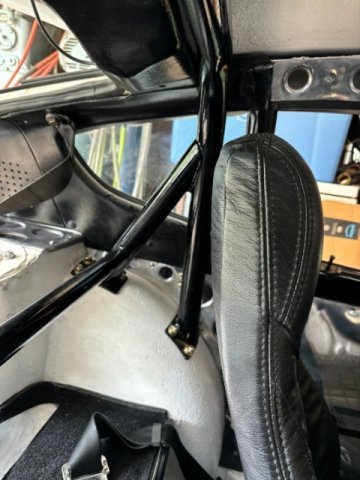
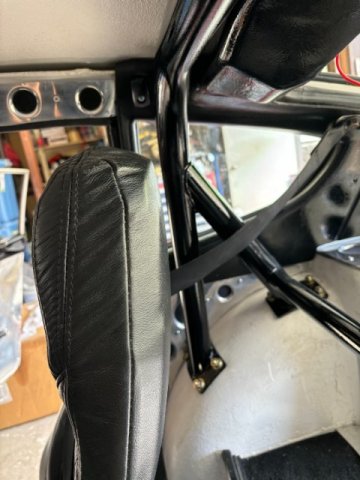
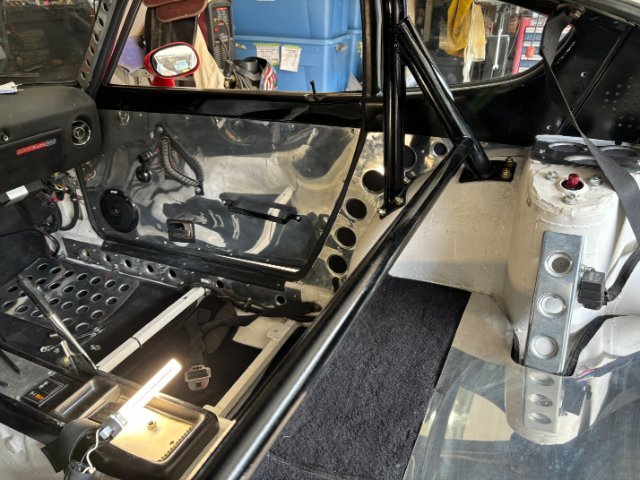
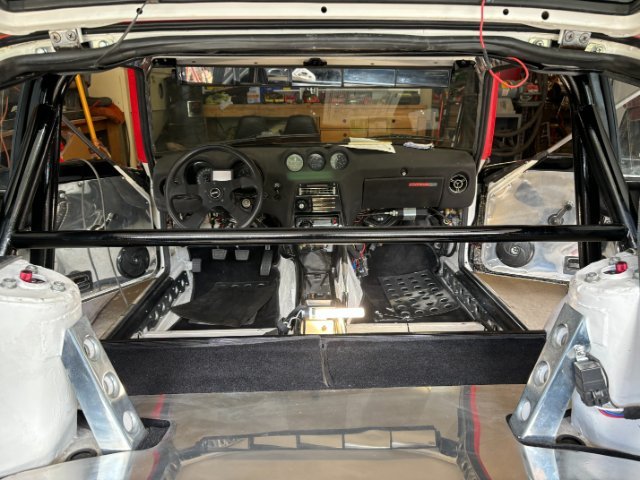
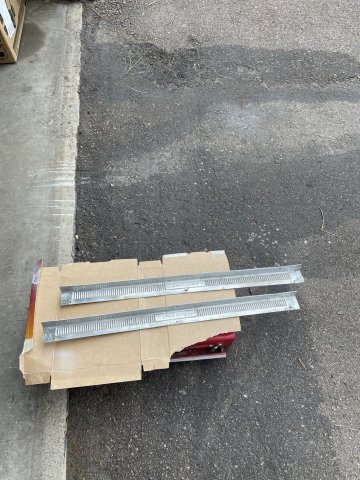
ROLL BAR INSTALLATION- While I was at a local 240z gathering, I found one Z owner who was selling a AutoPower style 240z Roll Bar for $150. It was missing the Four Mounting Pads and mounting bolts. The Roll Bar was first stripped of existing old flat paint using an Orbital Sander. I used 80 grit sandpaper for this process. Next, a small portable Speed Blaster air powered sand blaster. Similar sand blasters are sold at Harbor Freight and on Amazon for about $30. These sand blasters do a great job for rust and paint removal especially in tight areas. After paint removal, the Roll Bar was primered and preparred for color. As the Bottom Mounting Pads were missing , substitute plates had to fabricated from 1/4" Steel Plate. A 5lb Sledge Hammer and 12 ton Press were utilized to form the matching shape of the Roll Bar pads. !/4" thick Rubber Mat was used to go between Upper and Lower Mounting Plates to seal water from coming in the wheel wells. Cadmium Coated 3/4" NC x 1 1/2" bolts, Flat Washers and Lock Washers provided the mounting hardware. To hold the Roll Bar in position while marking the mounting blots hole with a Felt Pen, !/4" Rope Ratchets were used. They are sold at Home depot for about $20 each. They are super useful (holding up driveshafts, calipers, keep hoses out of your way,etc). One of the Rope Ratchet hook was attached the Rear Strut Tower Support. The other hook was wrapped around the Roll Bar Tubing. Adjustment is made by slowly tightening the Rope Ratchet to get the correct height. Shifting the Roll Bar side to side is done to obtain similar spacing on both sides of the mounting pads to the interior walls. Once the Correct height and Side Clearance is established, a Felt Pen is used to mark all the mounting holes. Then a Center Punch is used to prevent drill bit to drifting due the curved surface of the wheel housing. A slightly larger than 3/8" drill bit is utilized to drill all of the mounting holes. When assembling the Roll Bar on, One 3/8" bolt for each side is inserted thread first and tightened slightly to the Bar in place while installing the other bolts upward from the inside side of the wheel housing. Left Wheel Housing with Lower Mounts installed- Looking Sideways in car -checking Roll Bar Height Looking Forward at Roll Bar Viewing the Right Inside Wheel Well Left Side Looking Back Passenger Seat Looking Backwards View from Rear forward I posted a lot of pics of the Roll Bar installed so people can see the clearance available with this model. Many Custom Roll Bars don't have enough clearance for Tall Drivers. Interior View of Roll Bar without seats installed.
-

Thoughts about installing carbs on an na2j?
chatapokai replied to chatapokai's topic in Toyota L6 Forum
Well well well, it's been a hell of a couple years for me personally and a lot has changed since then (jobs, world on fire, etc). Regarding the Z, I bought a 73 240Z frame in decent shape and have been putting it together. Took the rear end off the 260z scrap I had and currently am trying to put it on the 240z (and of course I'm stuck on the spindle pin holding the strut assembly to the lower control arm. Already broke the zcar depot tool...) Anyway back on the carbed 2j. I basically finished it and figured out how to get it running. So I cannot make it fully mechanical and will need a crank sensor + an ecu to make it go. The good news is that I can get the cheapest ecu, turn off fuel, and input the alternator points, aftermarket crank sensor for the 2j (i have the older one that doesnt have one), and the knock sensors for it to run. - Last week
-
cant figure out steering clunk/pop
jhm replied to kaibiagi's topic in Brakes, Wheels, Suspension and Chassis
Oh, yeah...that's loose....REALLY loose. Silly question, but did you try tightening the 4 bolts that secure the coupler? You usually need to experiment with the right combination of box -end and open-end wrenches (because of the tight clearances and angularity of the joint). It also makes the job a lot easier if you rotate the steering shaft to get full exposure of each of the four nuts/bolts, as you tighten them. I do them in 180 deg pairings (like you would your lug nuts)....probably not necessary...just my engineering obsessive/compulsiveness. Glad you found the issue, and that it seems to be something cheap & easy to fix! -
 Recd. mine. Nice quality! Thank you Ryan.
 -
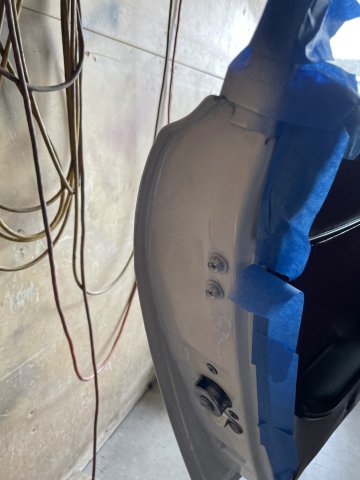
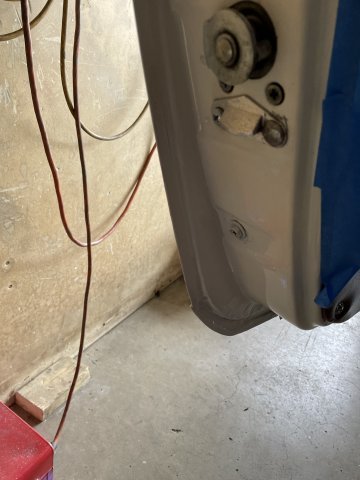
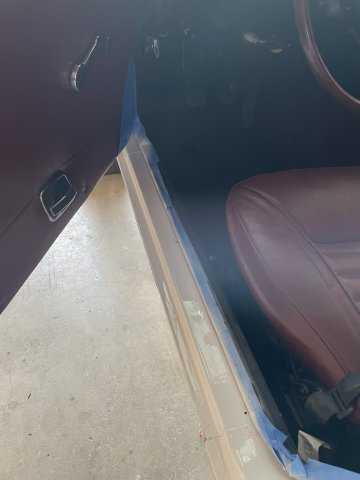
05-11-2024 UPDATE: One of the last things on the punch list is to get the door jambs cleaned up, so I did that today. I also drained out the transmission oil as it is GLP-5 and is bad for brass syncros. I then refilled it with RedLine MT-90, which is of course synthetic, and is GL-4 rated....safe for brass internals. I also went ahead and undercoated the bottoms of my door sill plates. I will take them down to J&S Polishing to see if they can be polished, as you know they are very thin, we'll see! Pics:
-
Hey, whats happnin slownrusty! Been awhile. Always liked seeing images of your car. I'm on 20yrs this year. Been in my family since new
-
 A friend has a set of NOS 240Z frame rails for sale - in Rockland County, NY. I think he's asking a pretty penny for them though.
 -
After almost 25 years, still together.
-
I wasn't expecting that.
-
ZX rack is mounted behind the crossmember.
-
I have been looking at the options to add power steering. I haven't seen anyone use a 280zx hydraulic rack and pinion. I don't know the dimensions of the rack, but it seems like it would be closest to the proper size as opposed to other options. Any one have any thought on the 280zx rack? Are folks using Miata or Subi racks because the 280 rack is not as good? I think the 280 rack is slower. Something I will need to consider.
-
Yet another LS 260z swap :)
christianmoller replied to christianmoller's topic in Gen III & IV Chevy V8Z Tech Board
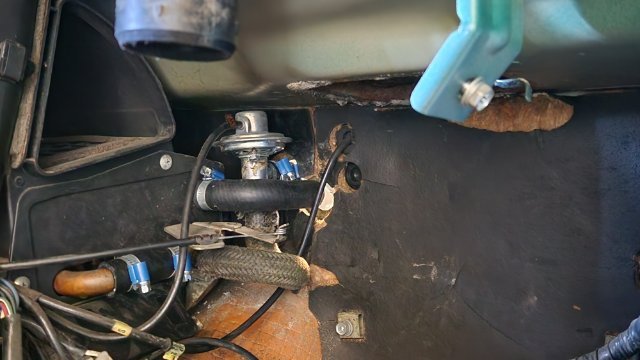
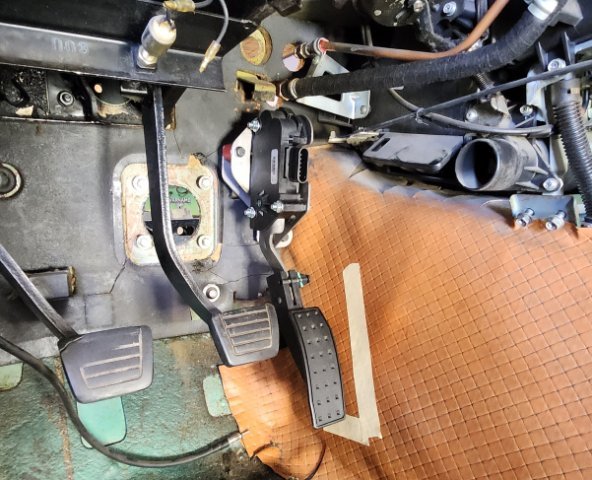
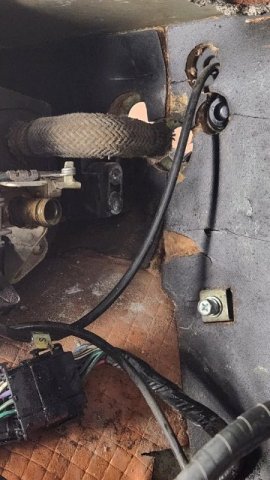
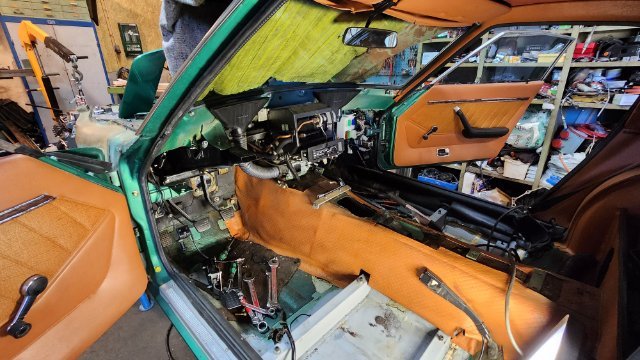
Today i created a milestone, i mounted the throttle pedal😱😁😎. I also welded some old bolt holes and took some not wanted brackets away from the engine bay. There were also time for some thinking of the water lines, i think i have a solution, move the vacuum/water thing closer to the heater valve and i have deleted the short pipe that goes thru the fire wall. What is the actual purpose of the vacuum/water valve? i'm well aware that it shut the water of but the heater valve does the same?!?!? When i look in the FSM for Air condition i see that is open in every mode of operation (AC/Heater) or am i missing something? 🍻 Edit: been reading some more......it seems like the vacuum valve blocks hot water in AC and Vent positions and the HOT/COLD lever don't do anything in these positions,...................i think so if i keep the heater valve closed in these positions i might be able to delete the vacuum valve, or? It will help a lot when plumbing.
-
Did you finshed the wiring? I'm in the process of rewiring my 240z. Do you have any guidance you can give me. I can be reached at 661-910-5467, I'm in Yuba City.
-
Yet another LS 260z swap :)
christianmoller replied to christianmoller's topic in Gen III & IV Chevy V8Z Tech Board
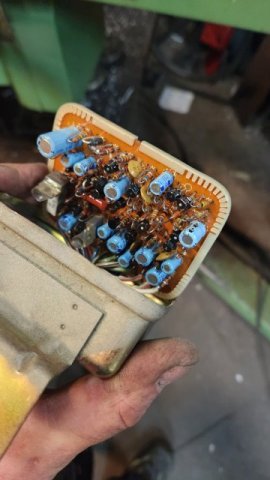
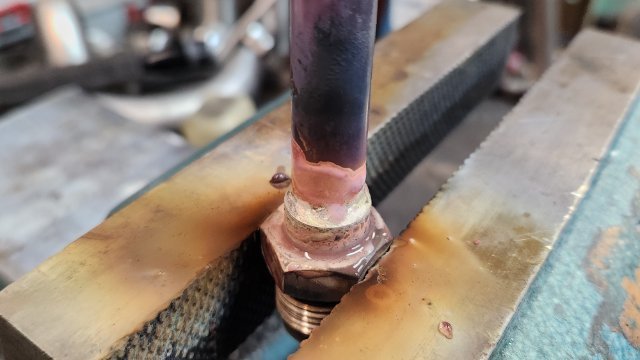
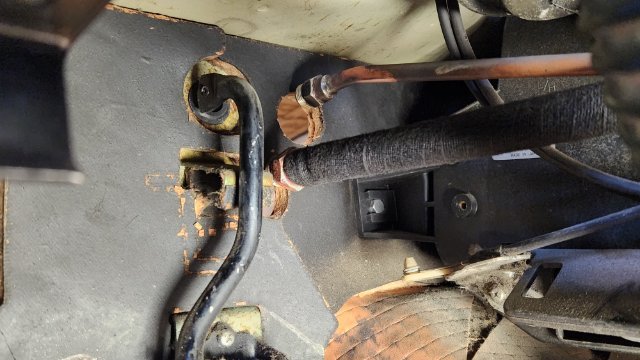
Good evening , Today's work was finishing engine room harness, take the dash board iut and start with the heater and Ac lines. I cut my record of taking the dash out by 15 minutes so i'm down to 30 minutes🤣🤣 AC lines were easy, just shortens 2.5 inches so the joint went inside the car, heater lines need some more work. I need to have the joint inside the car as the pipes hit the cylinder head so a 90° bend is needed at inlet/outlet in the firewall. Shorten the vacuum ting and move the water valve will probably do the trick(we will see tomorrow🤣). I also open up the "Interlock" unit, lot of ancient komponents. All of it's funktions are deleted as they are not needed anymore. /🍻Saturday Christian
-
 Received mine too! Thank you!
 -
Michael8018 joined the community
-

HybridZ Apparel Order Thread - 100% of Profits Will Be Donated, round 5
Leon replied to cockerstar's topic in Vendor's Forum
Got mine a few days ago--looks great! Thanks very much for your efforts Ryan!


.jpg.b34f27553f5960421801c8ab2cbf5db3.thumb.jpg.7889e8073010b6a0d8d6aae0626e768b.jpg)


-
Who's Online 1 Member, 0 Anonymous, 162 Guests (See full list)